Give your friends $10 off their first order!
Refer a FRIEND


WHAT YOU WILL NEED:
White card blank 7 x 7"
Black card 5 3/4" square
White/black cardstock
Watercolour HD3D Into The Forest Embossing Folder
Saying Hello Stamp and Die Collection
Secret Forest 8 x 8" paper pack
SBM Hybrid Ink Pad: Midnight
SBM Pigment Ink Pad: Cotton
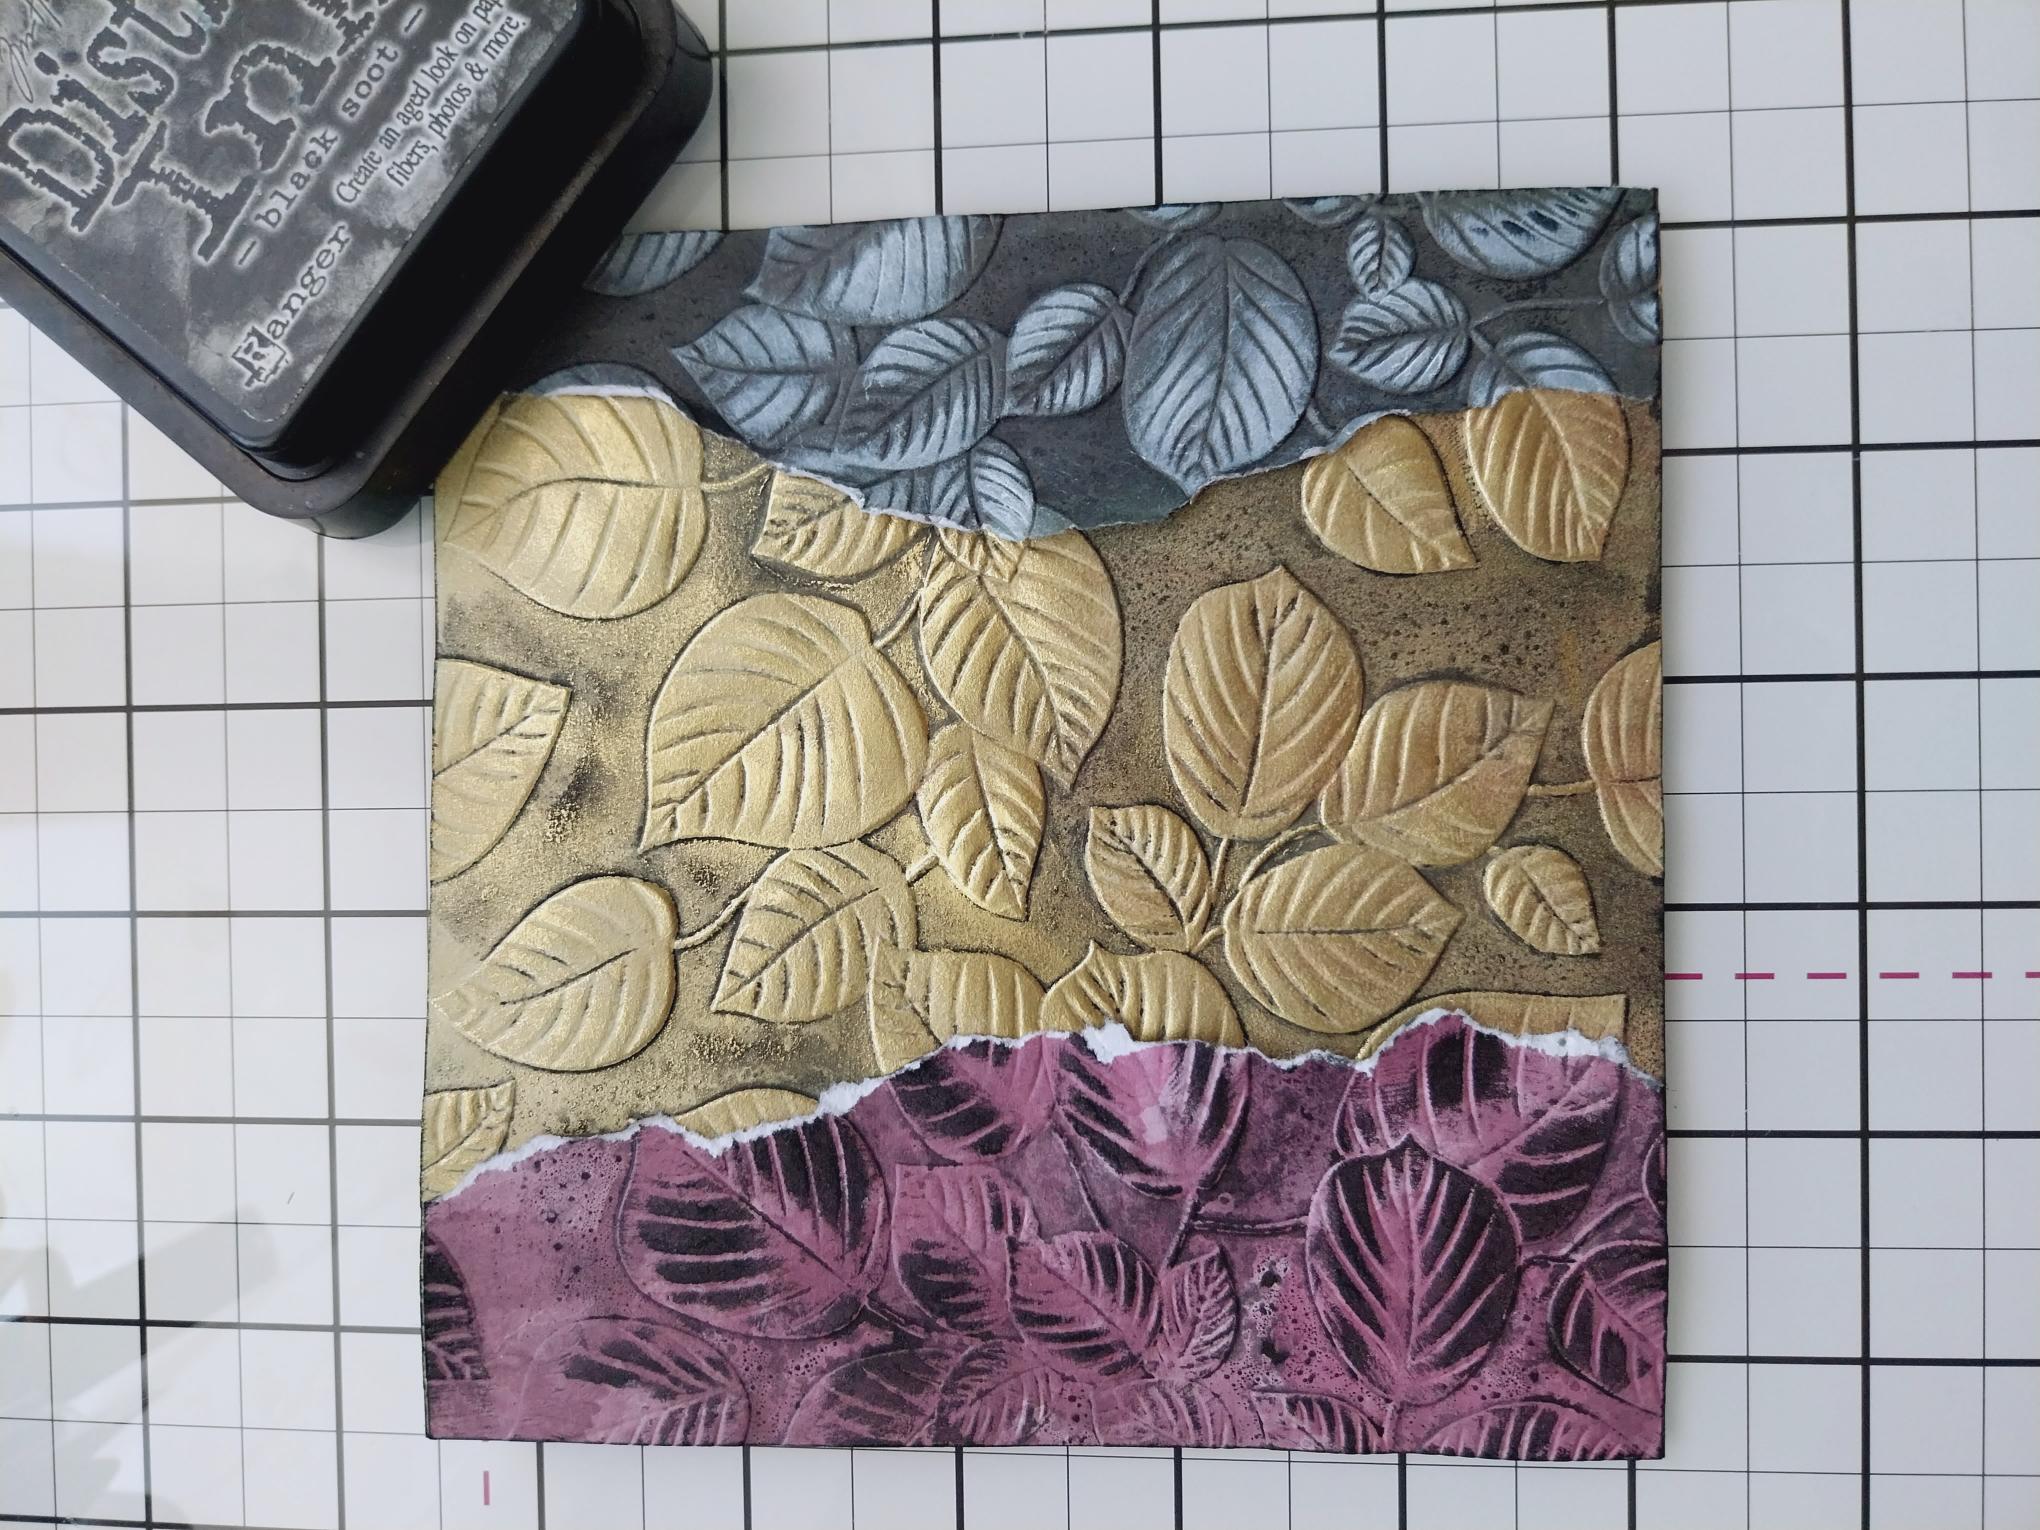
Distress Ink Pad: Black Soot
Gold gilding wax
Water spray bottle
Eureka 101 Watercolour Tablet
SBM Magnetic glass mat
Paper Trimmer
Perfect Together Glue
Foam pads
Die Cutting machine
[click image to enlarge] 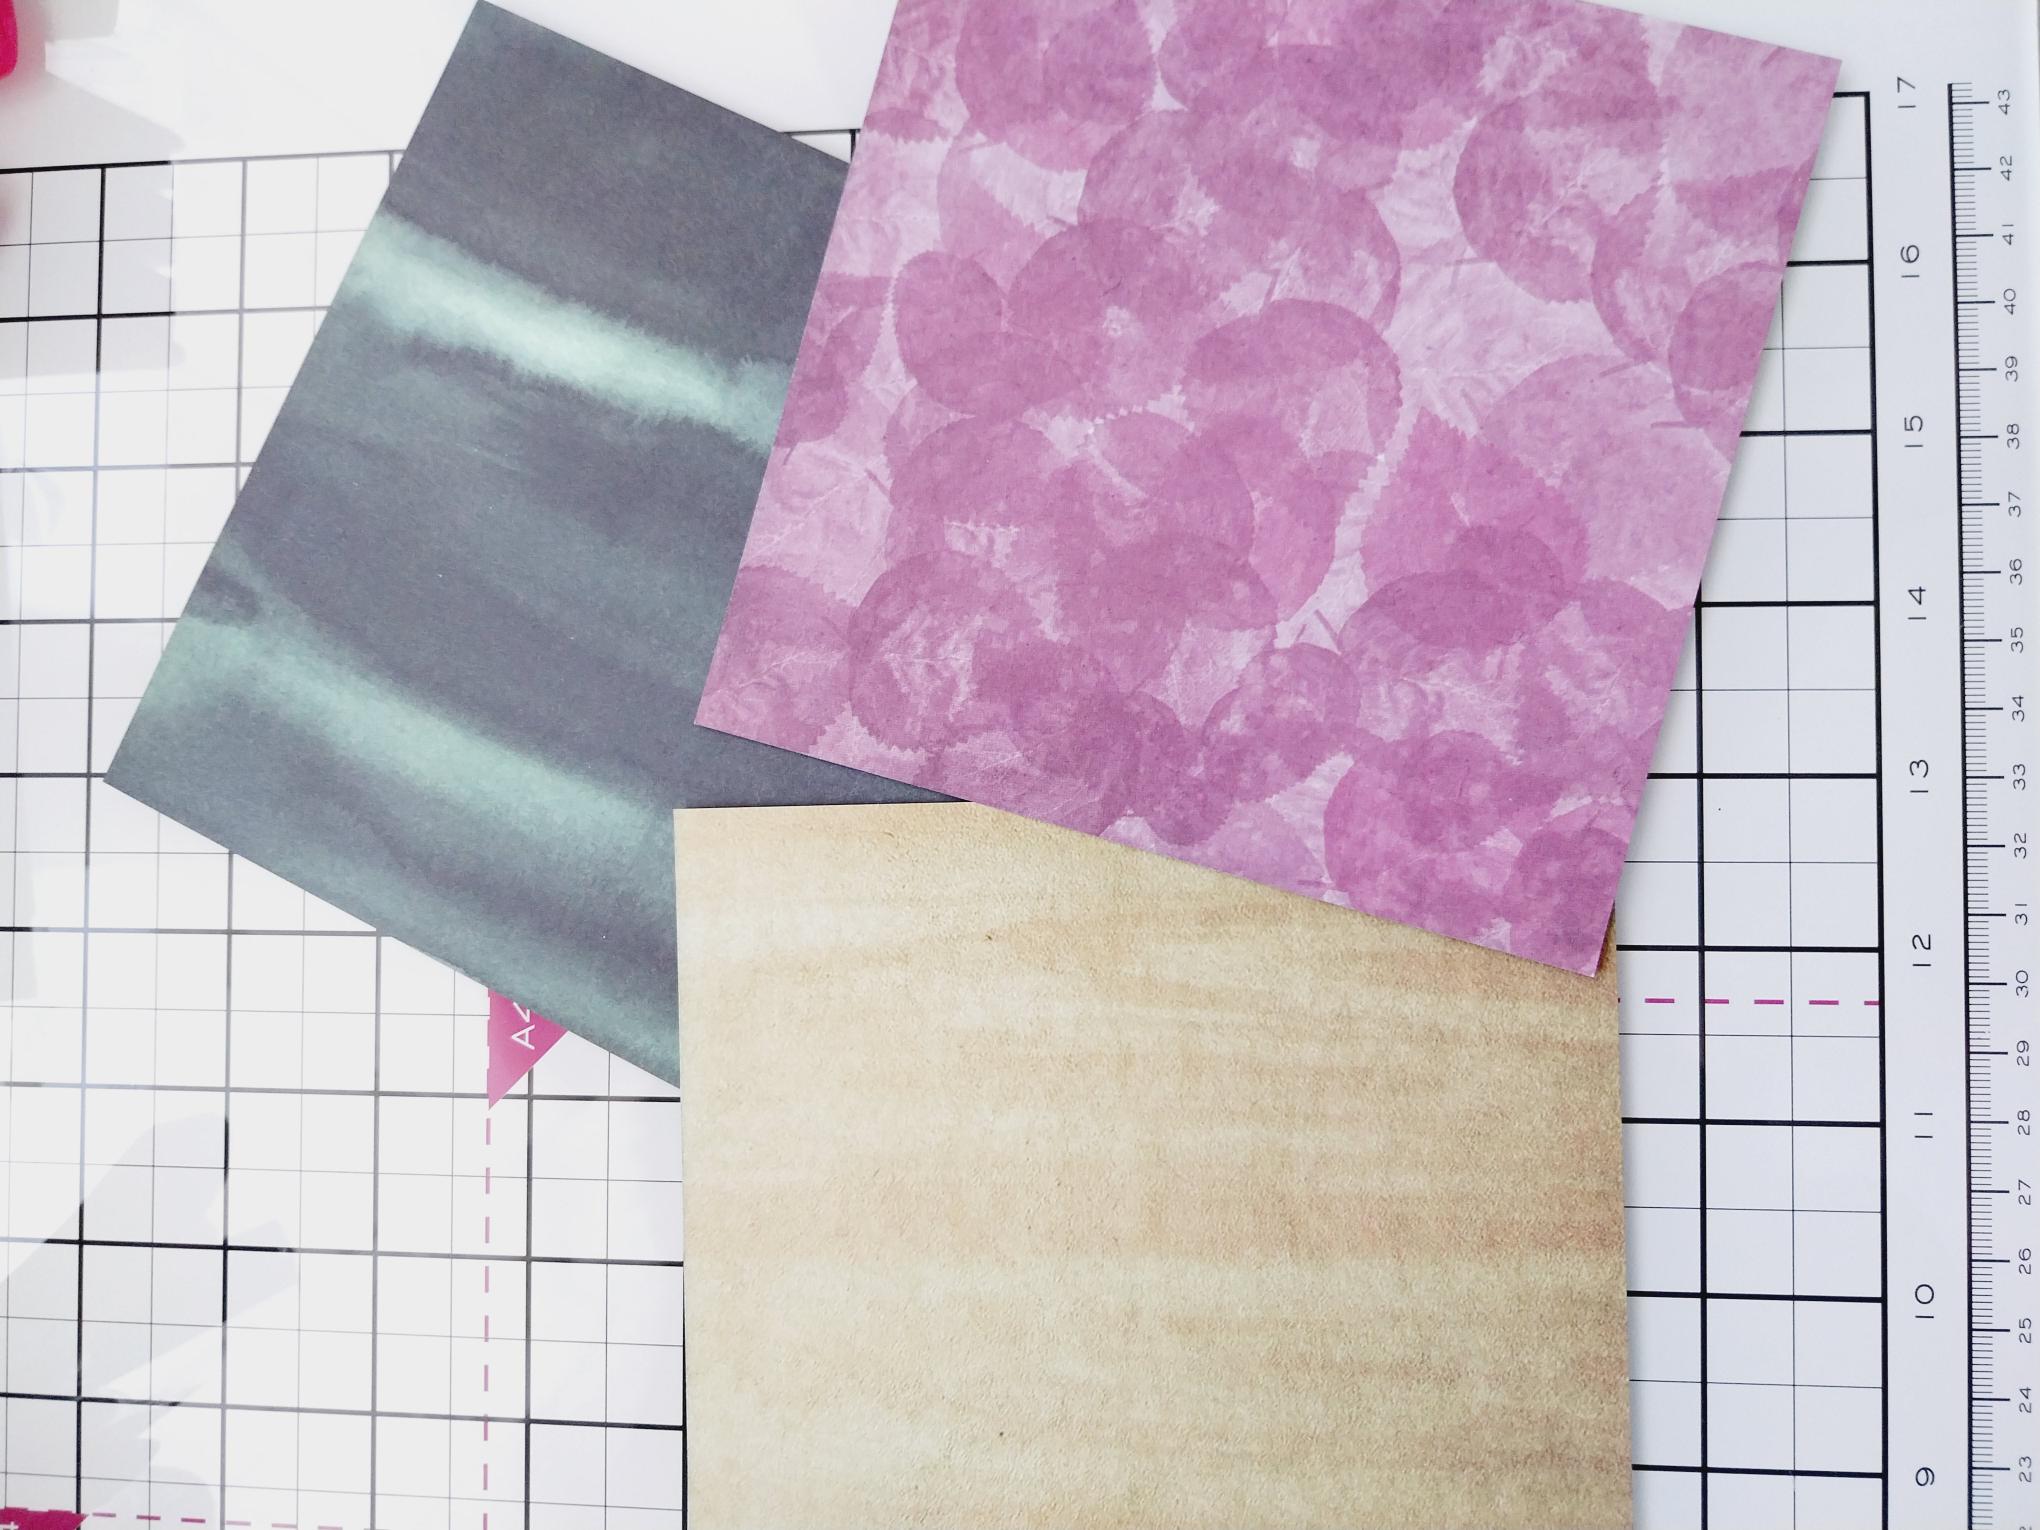
|
Remove these 3 papers from the Secret Forest paper pack and trim each one to 5 1/2" square. |
|
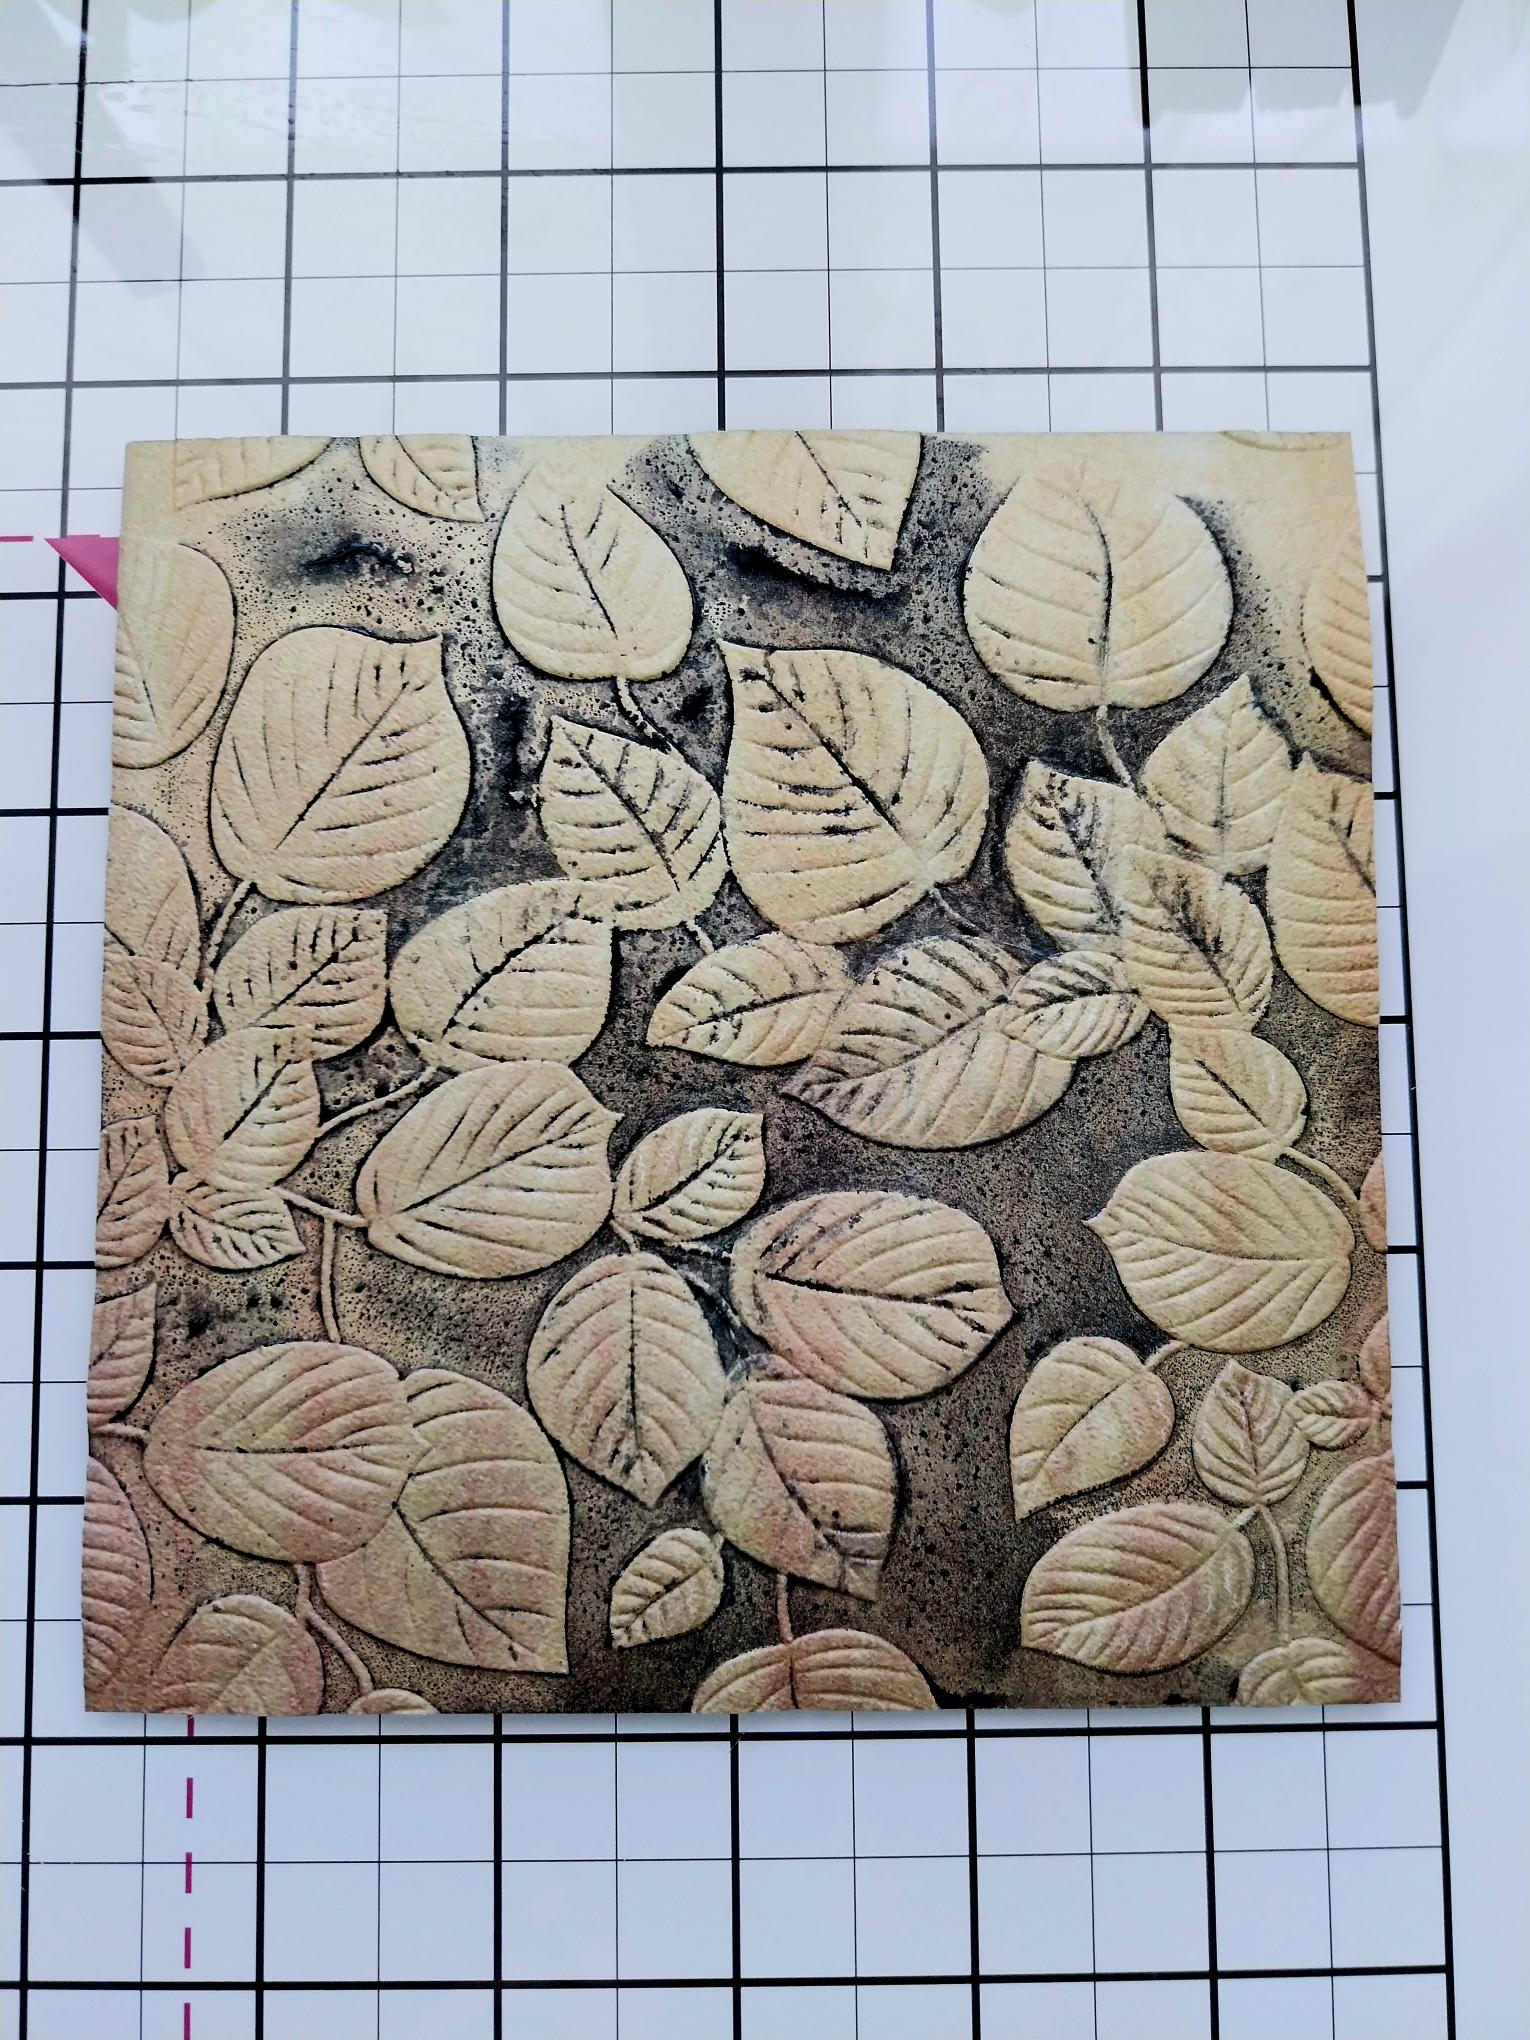
Ink up the debossed side of the embossing folder with the Black Soot, spritz with water and place the first paper inside. Run through your machine. |
|
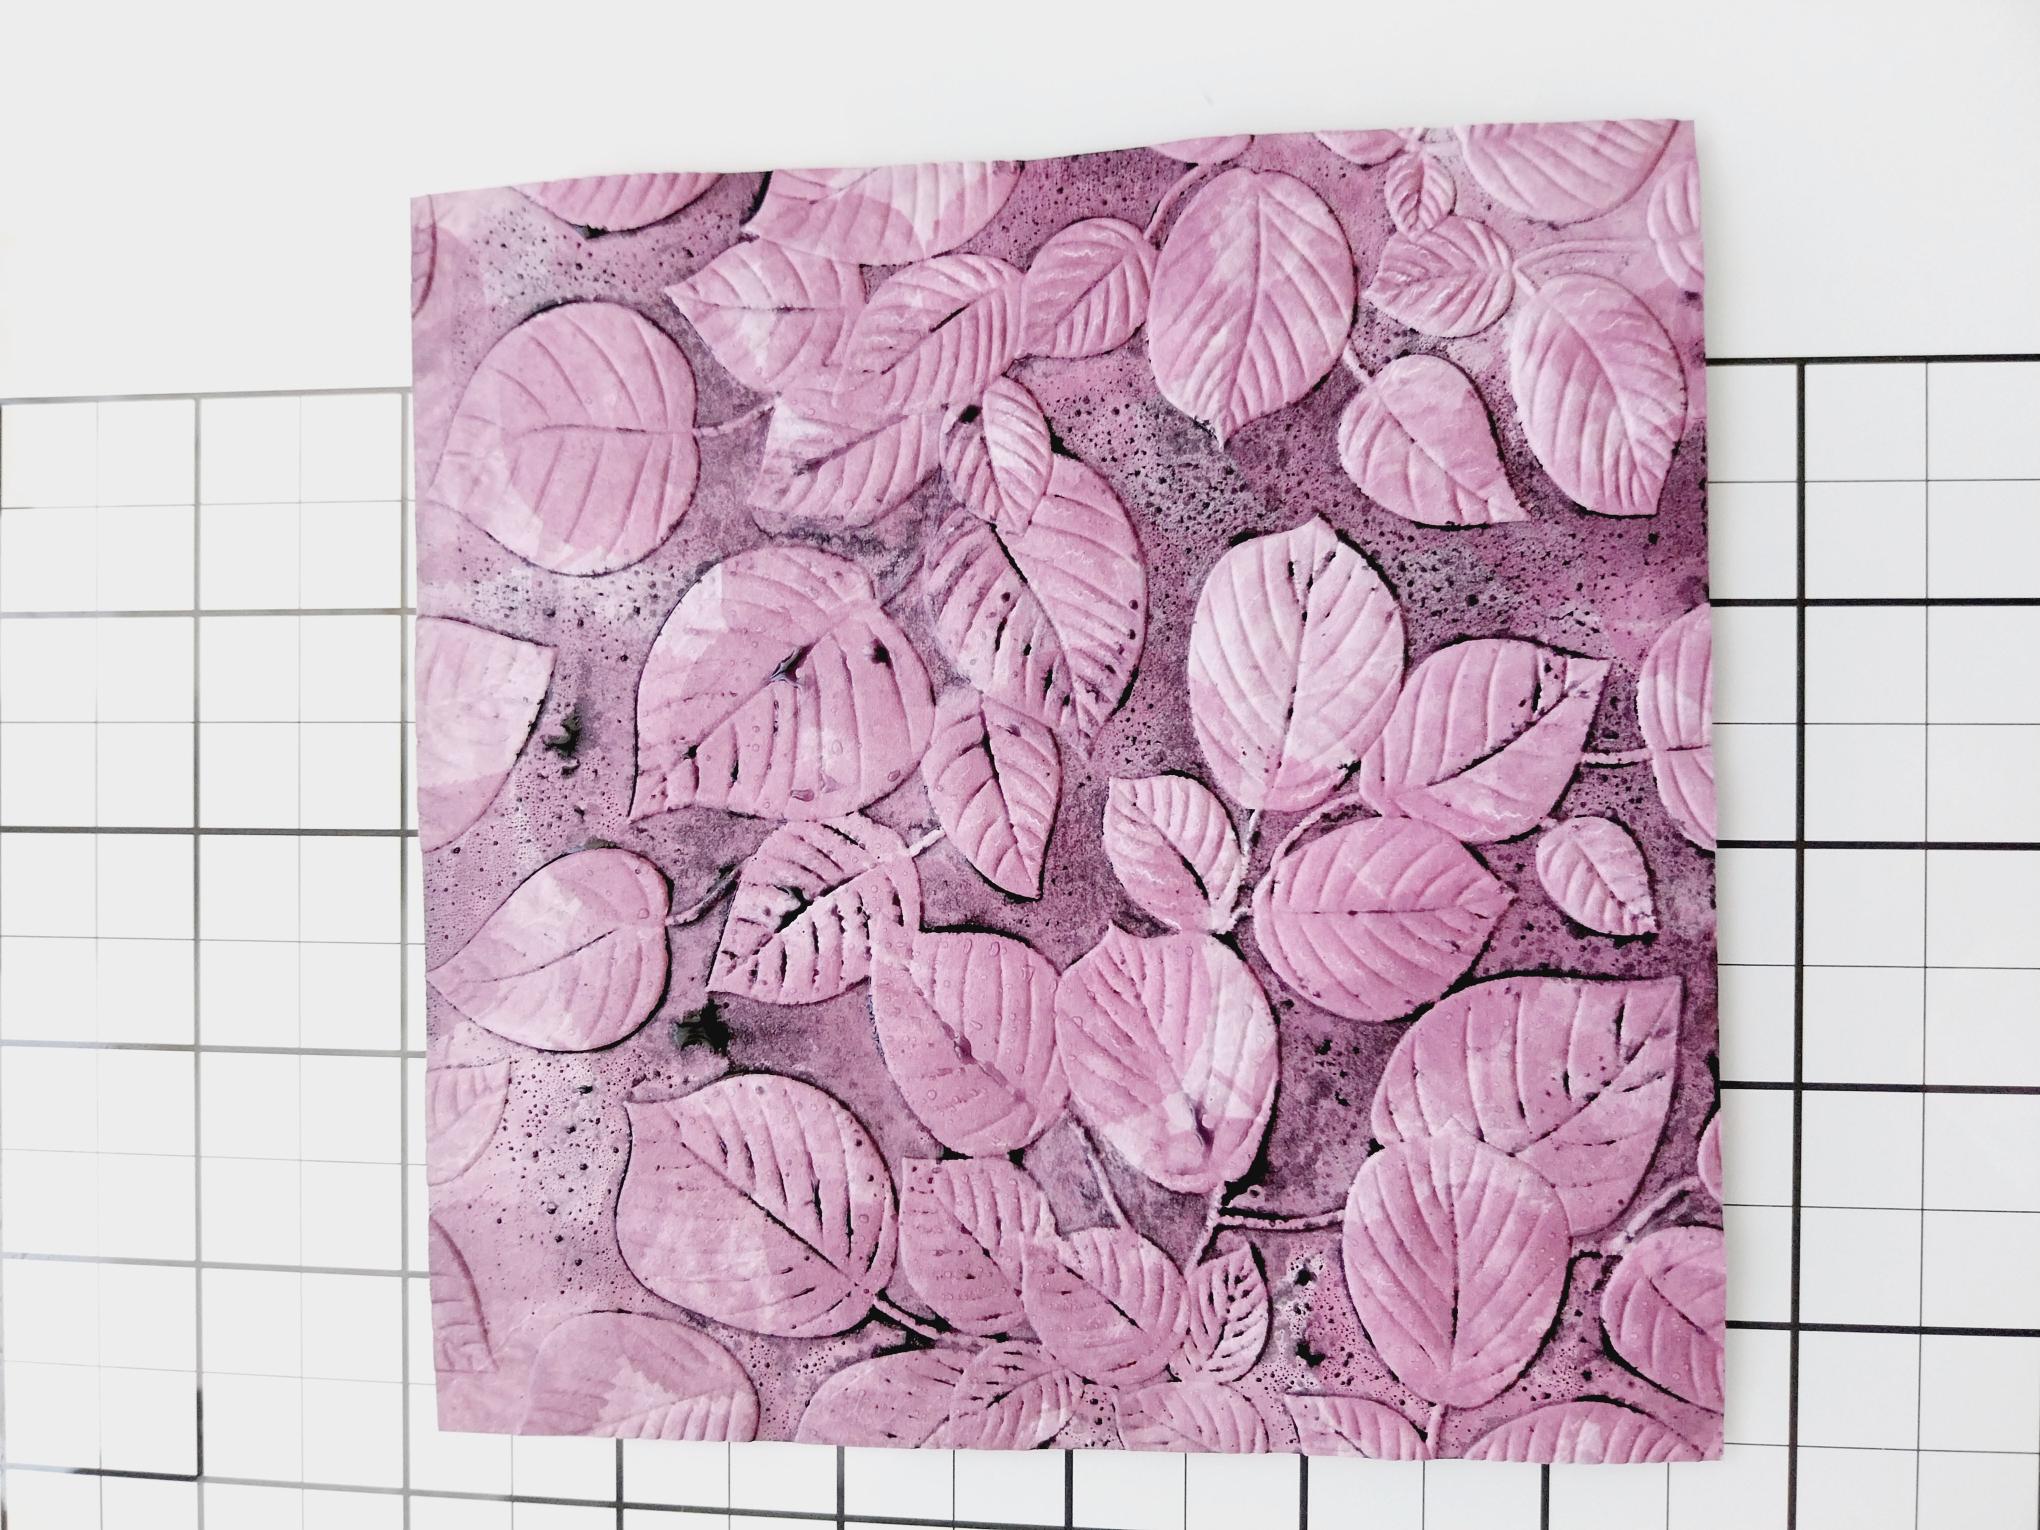
Repeat with the second paper. |
|
Repeat again, with your third decorative paper. |
|
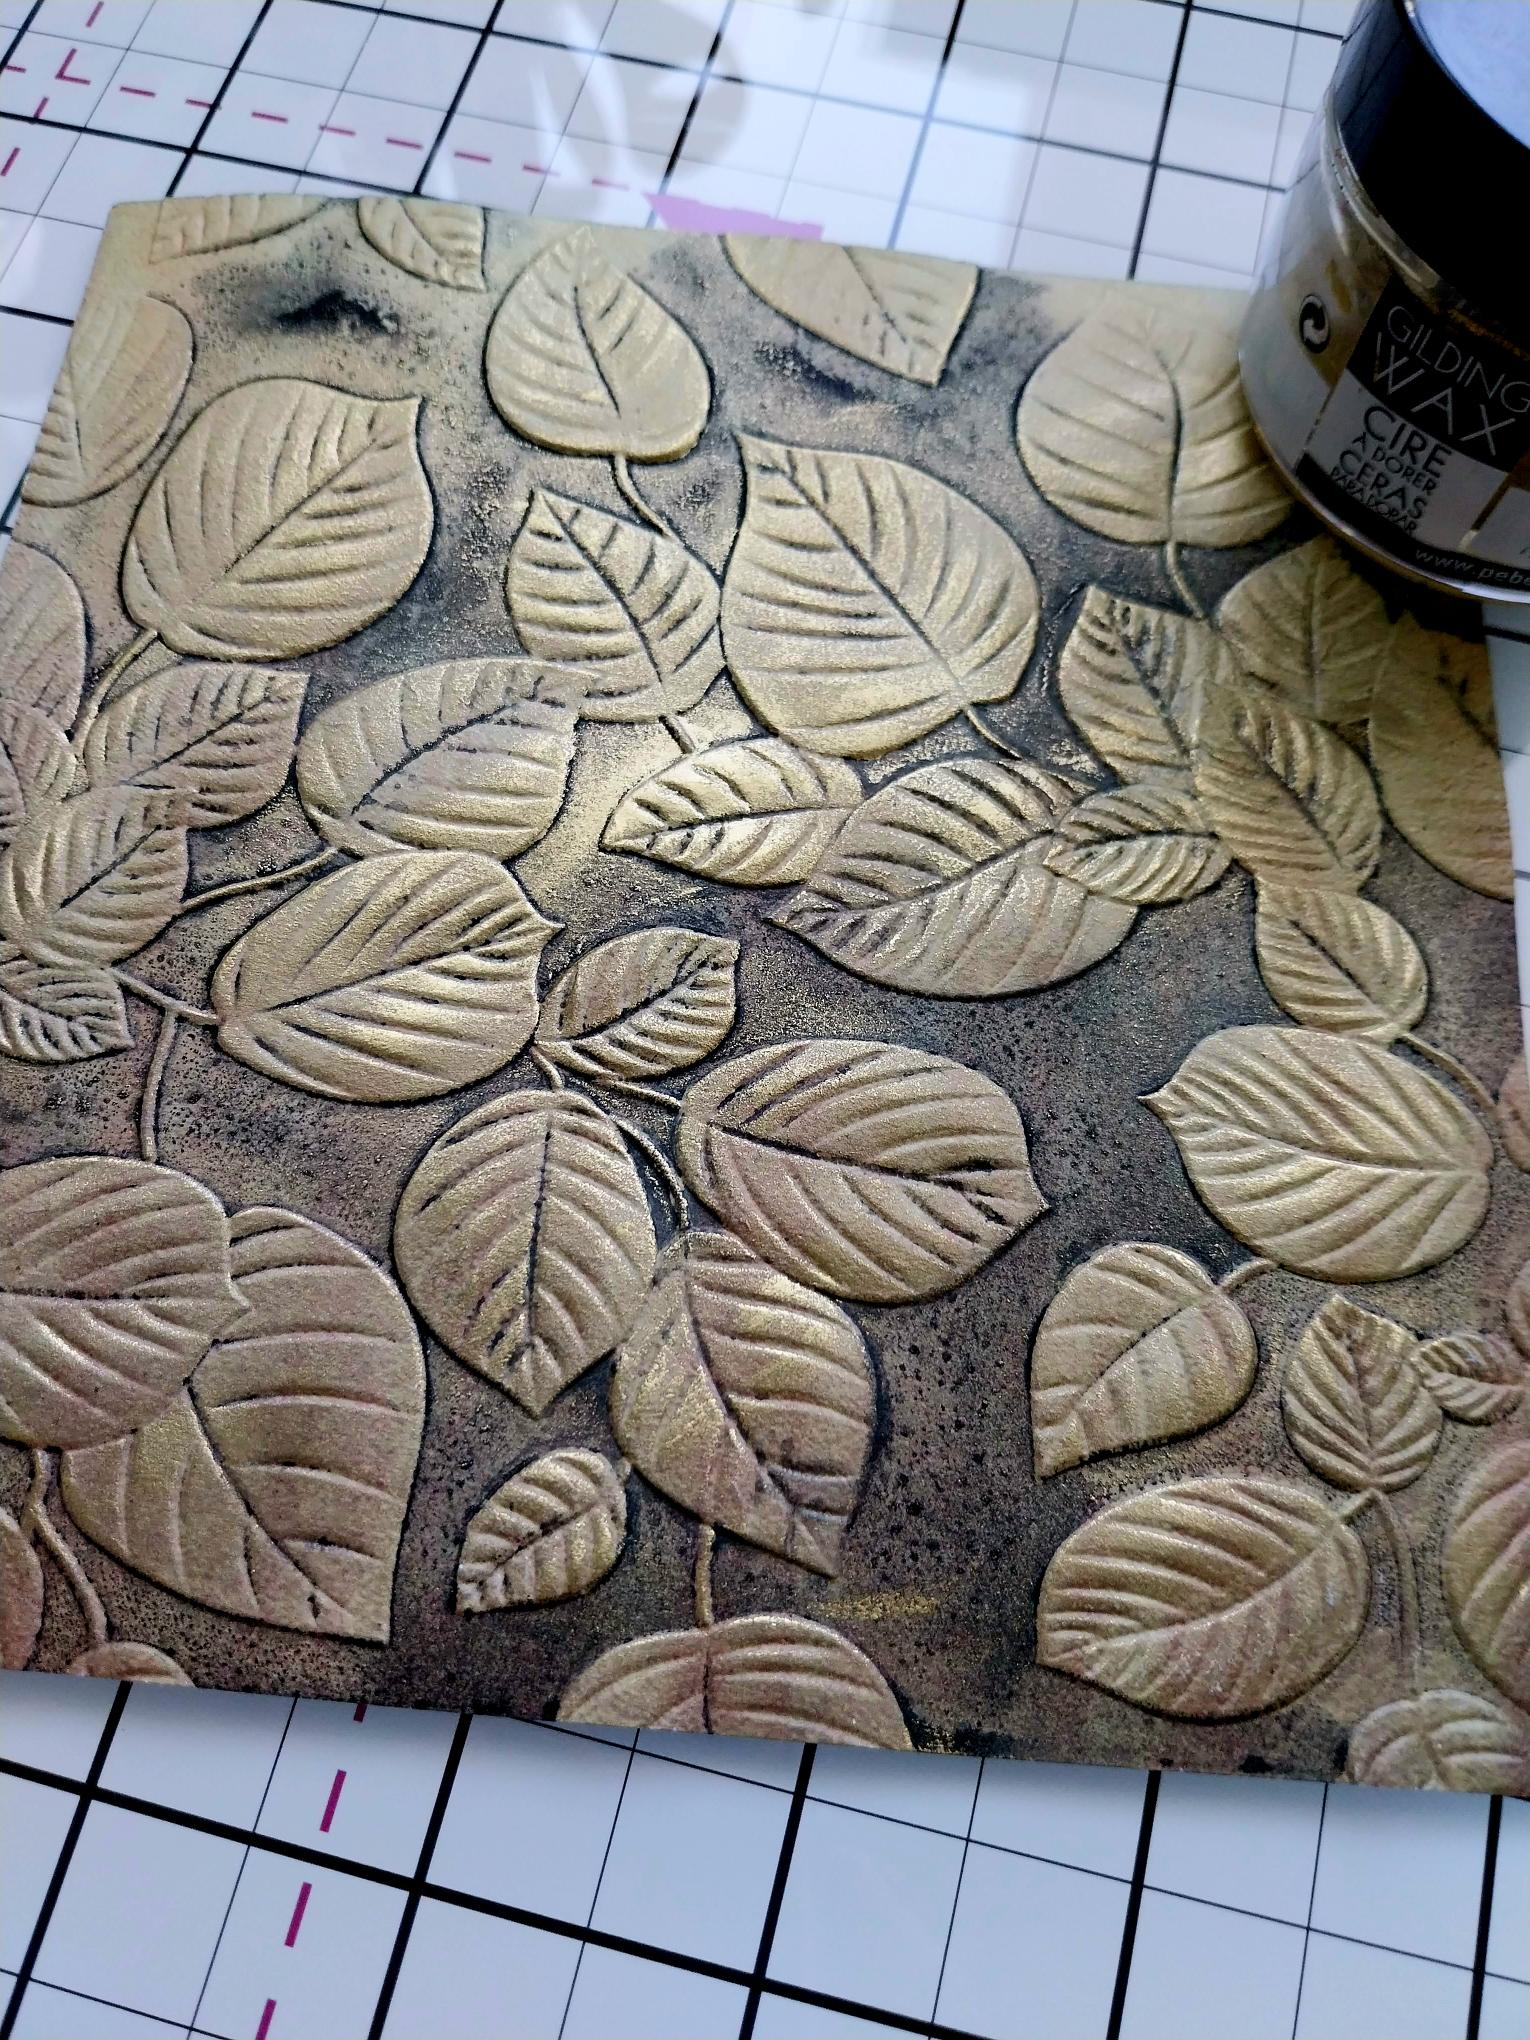
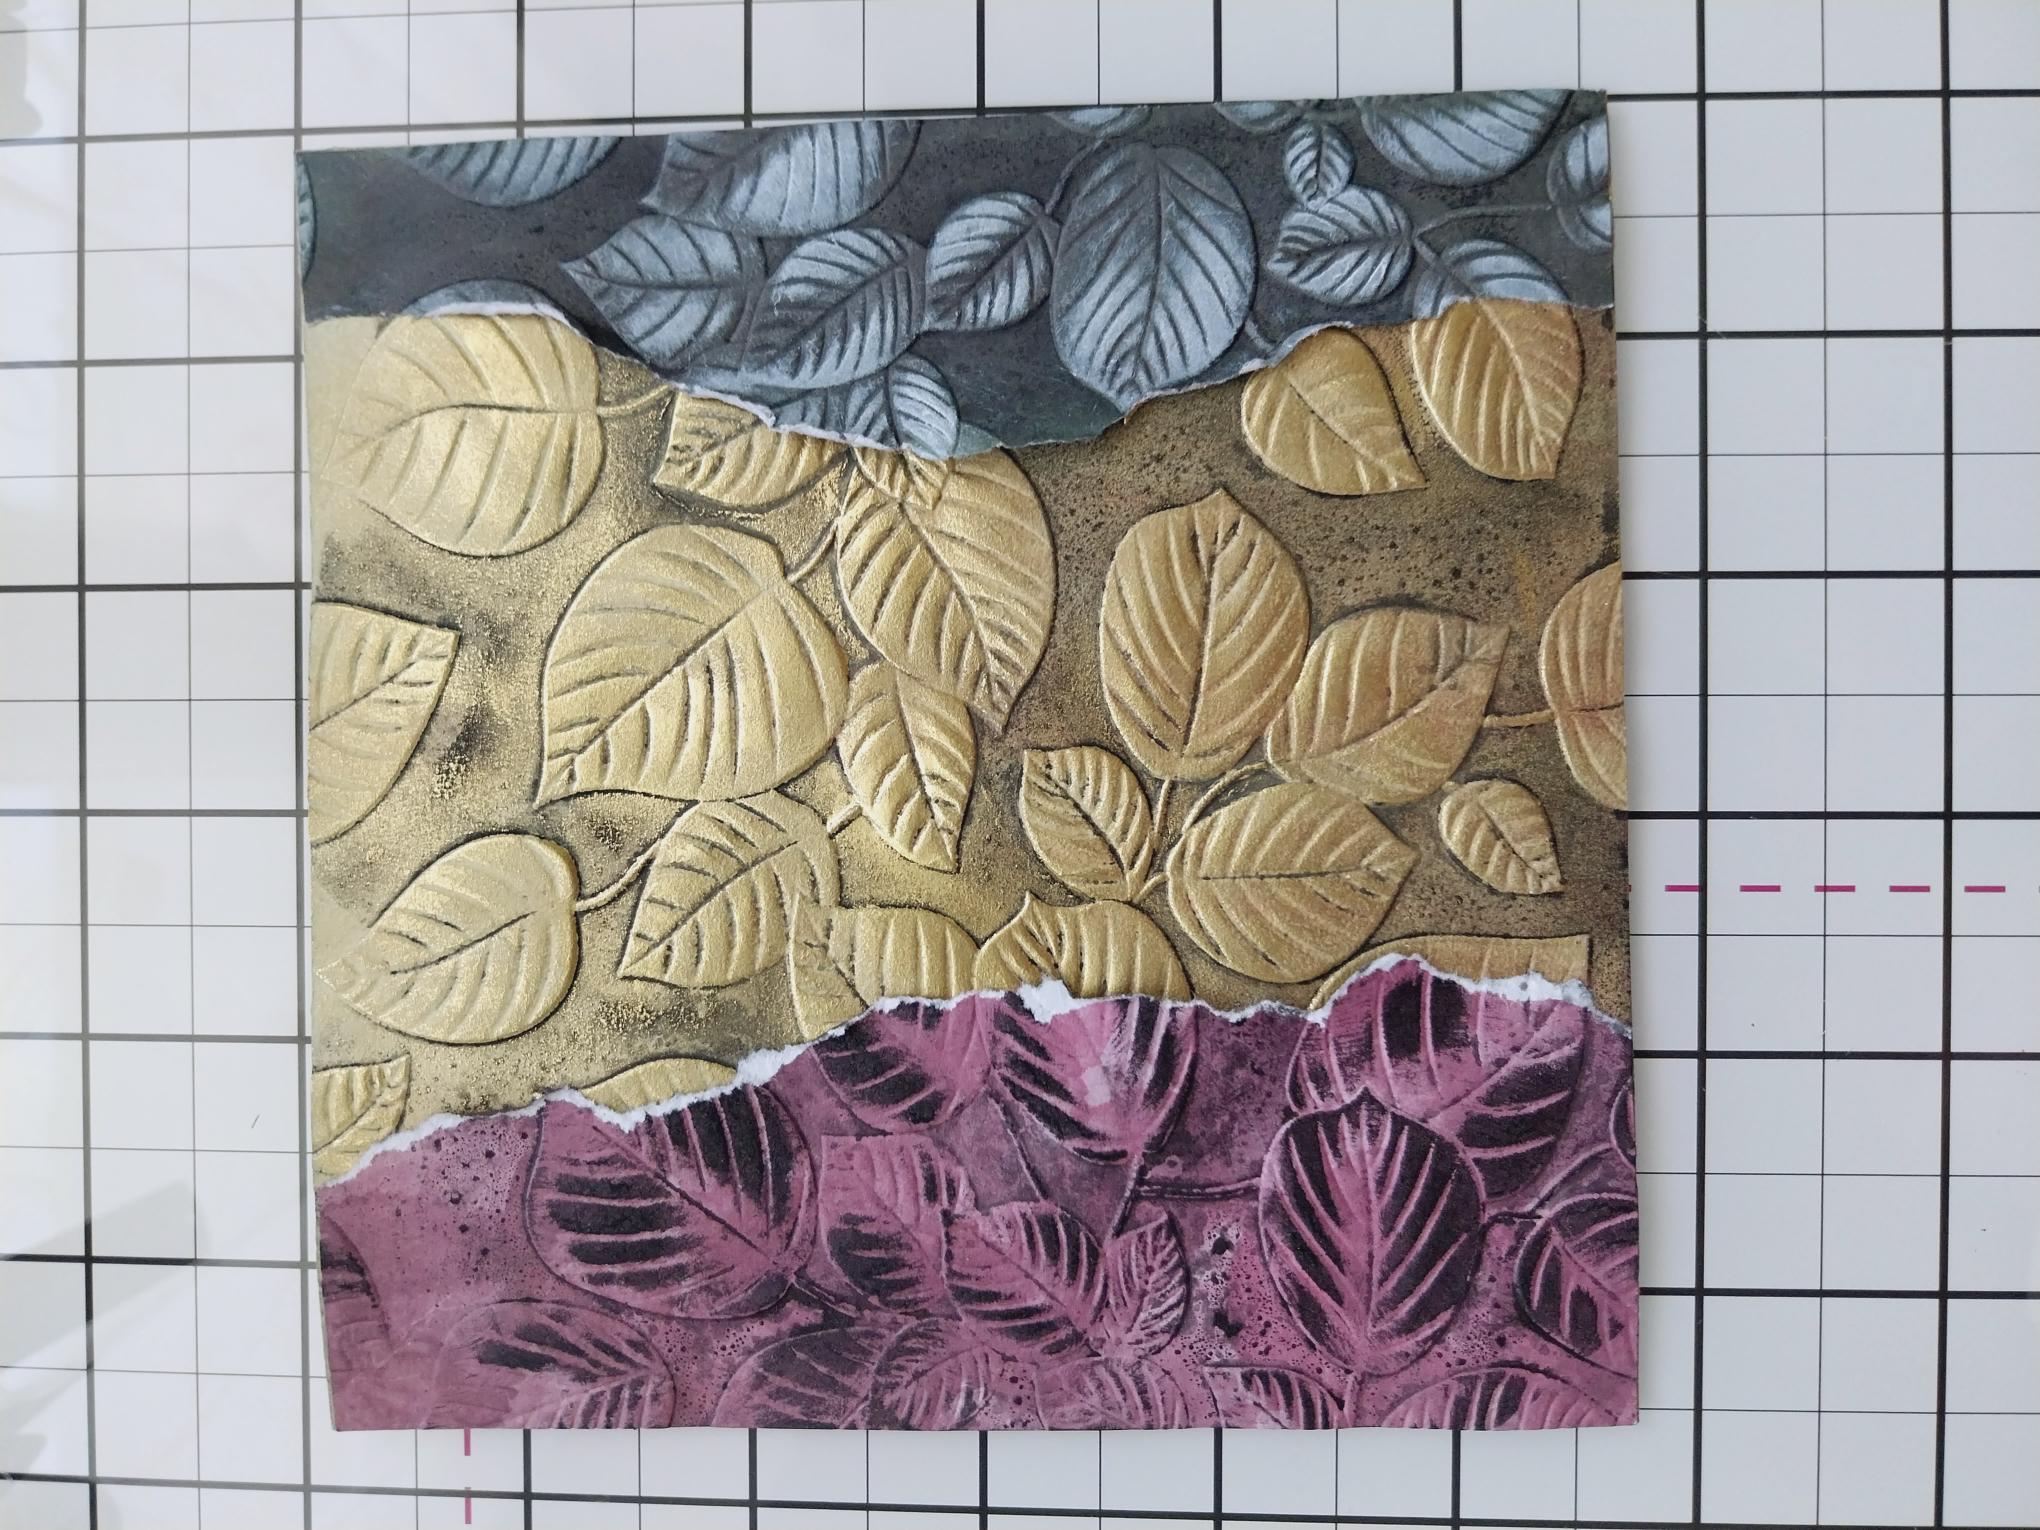
For this first paper, lightly apply your Gold gilding wax over the embossed areas and buff with a soft cloth, to lift the shine. |
|
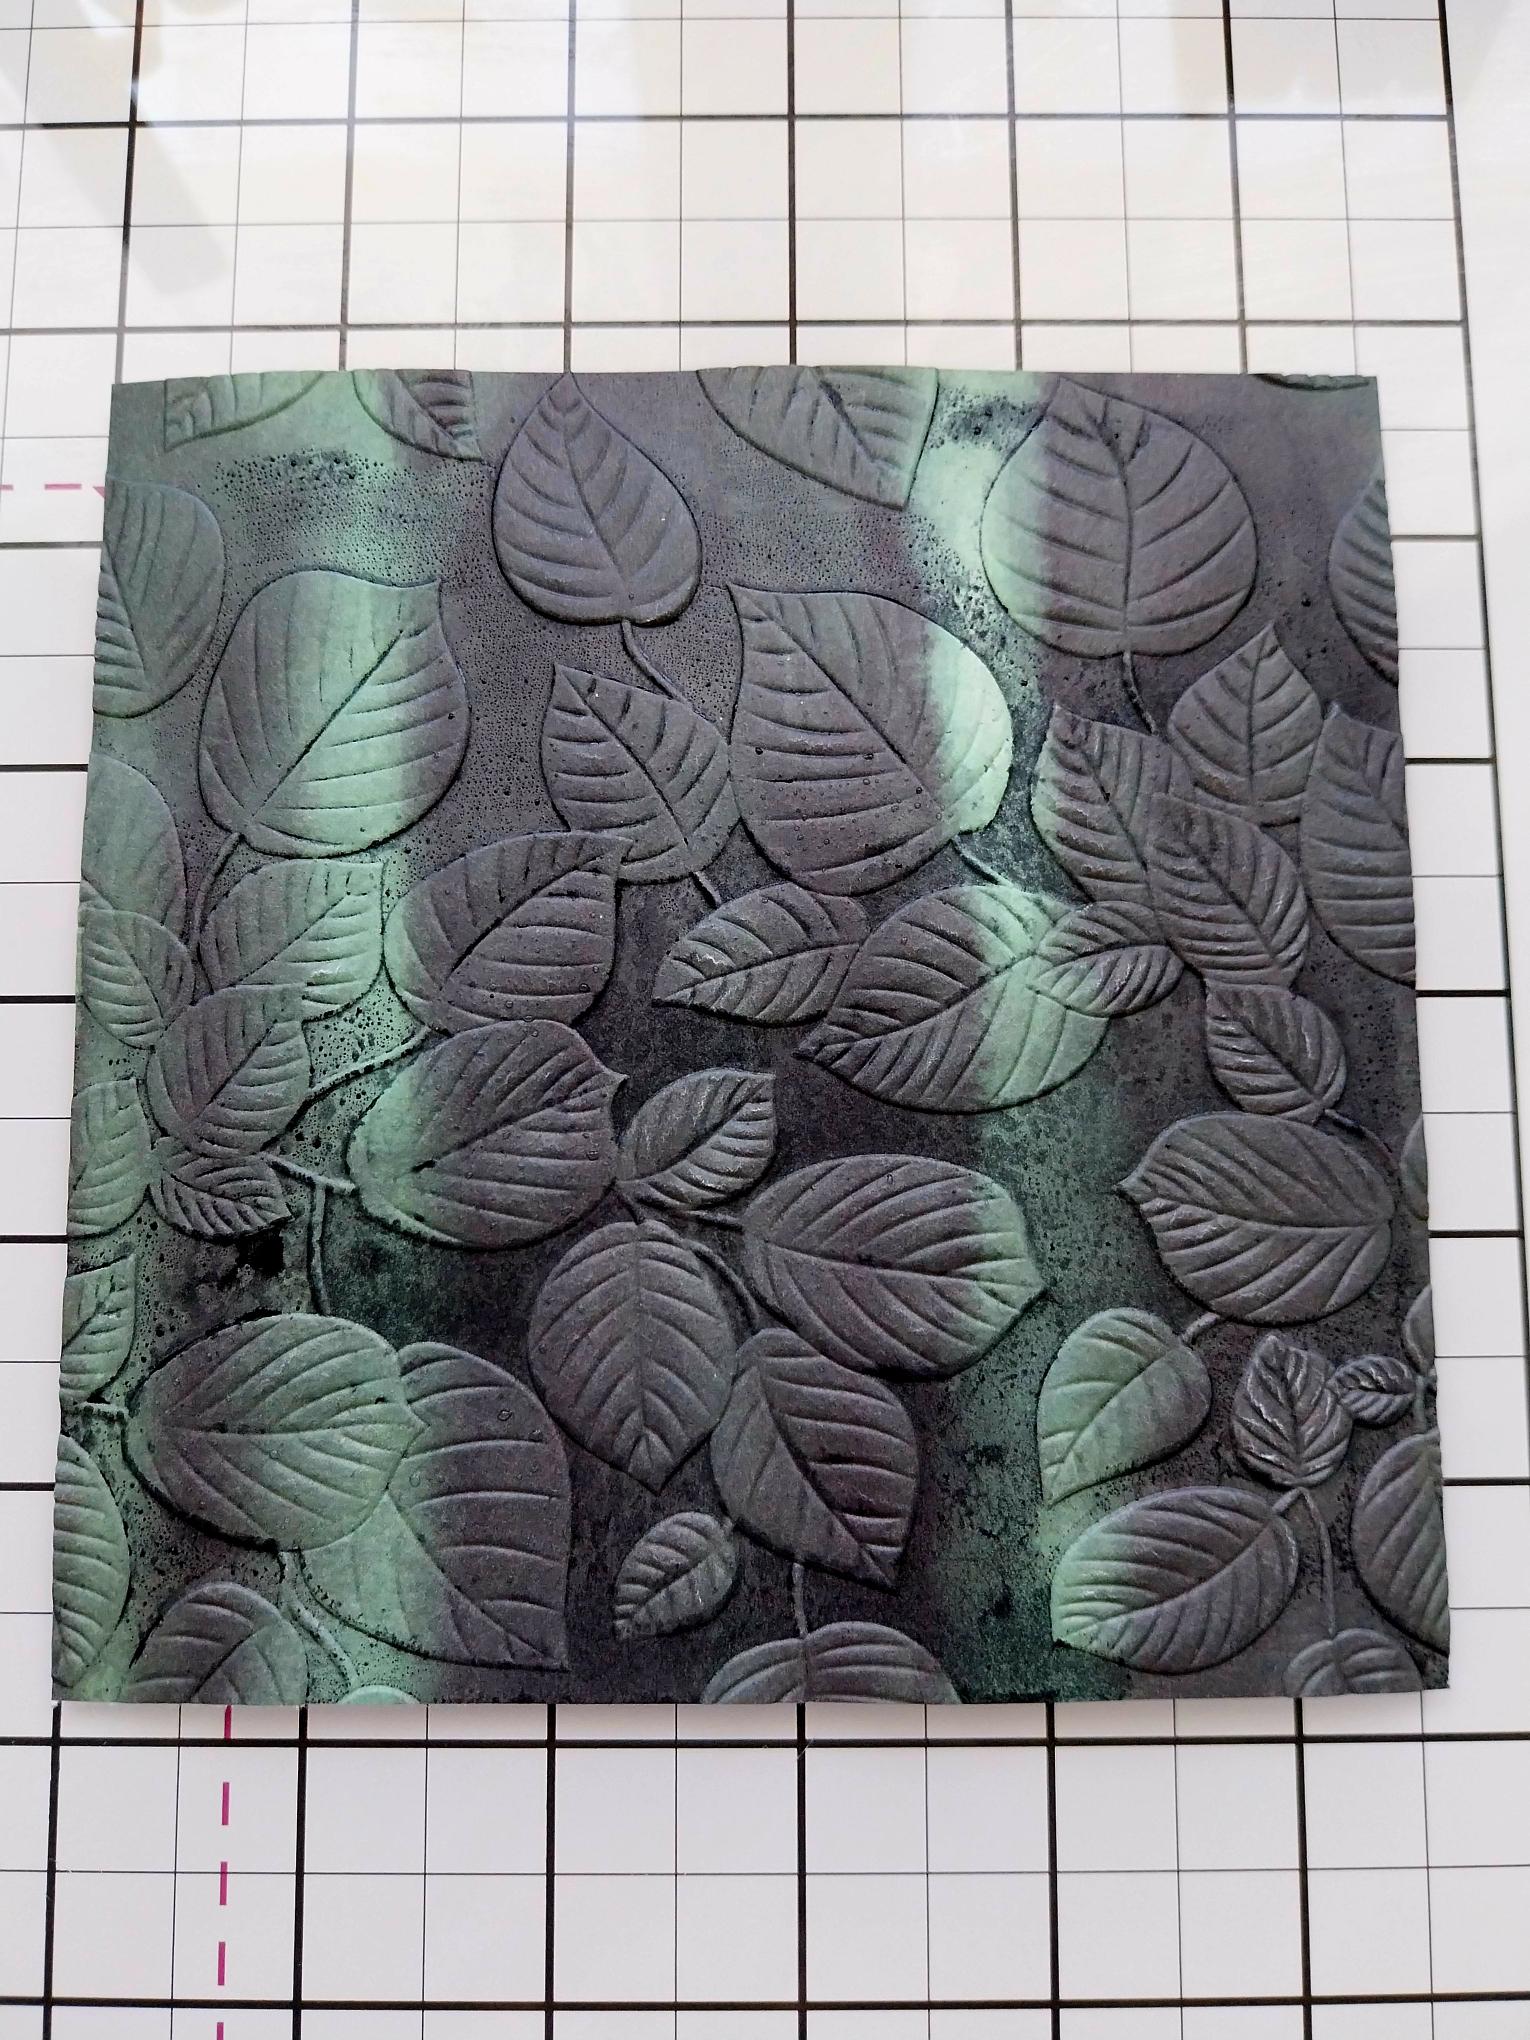
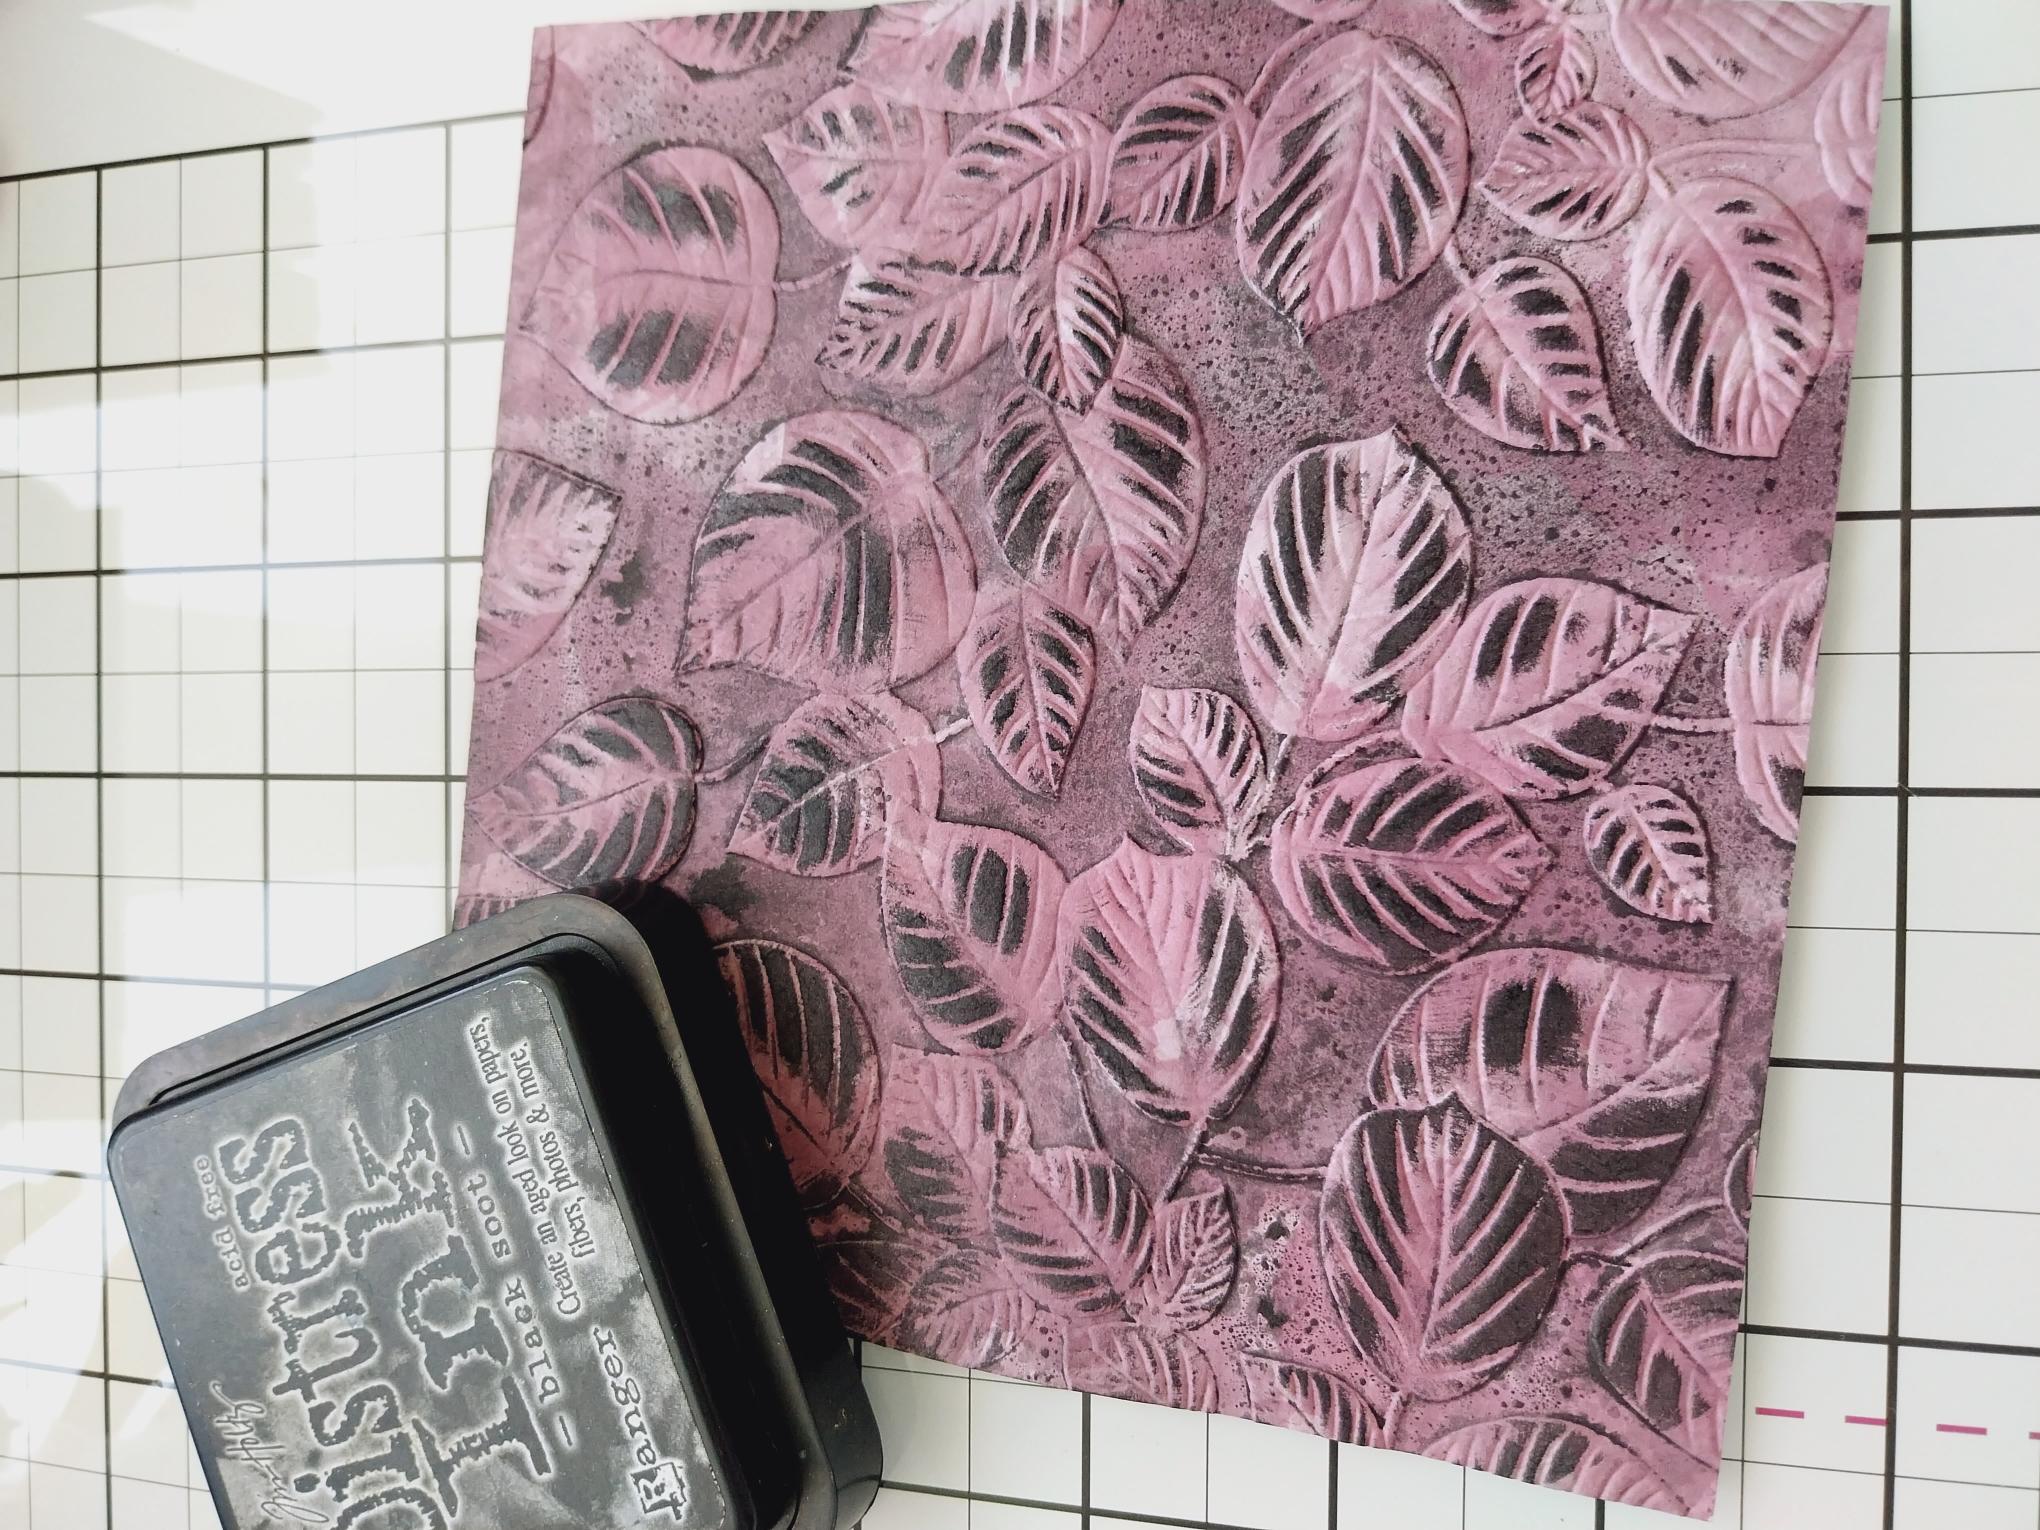
For this paper, gently swipe your Black Soot ink pad over the embossed areas. |
|
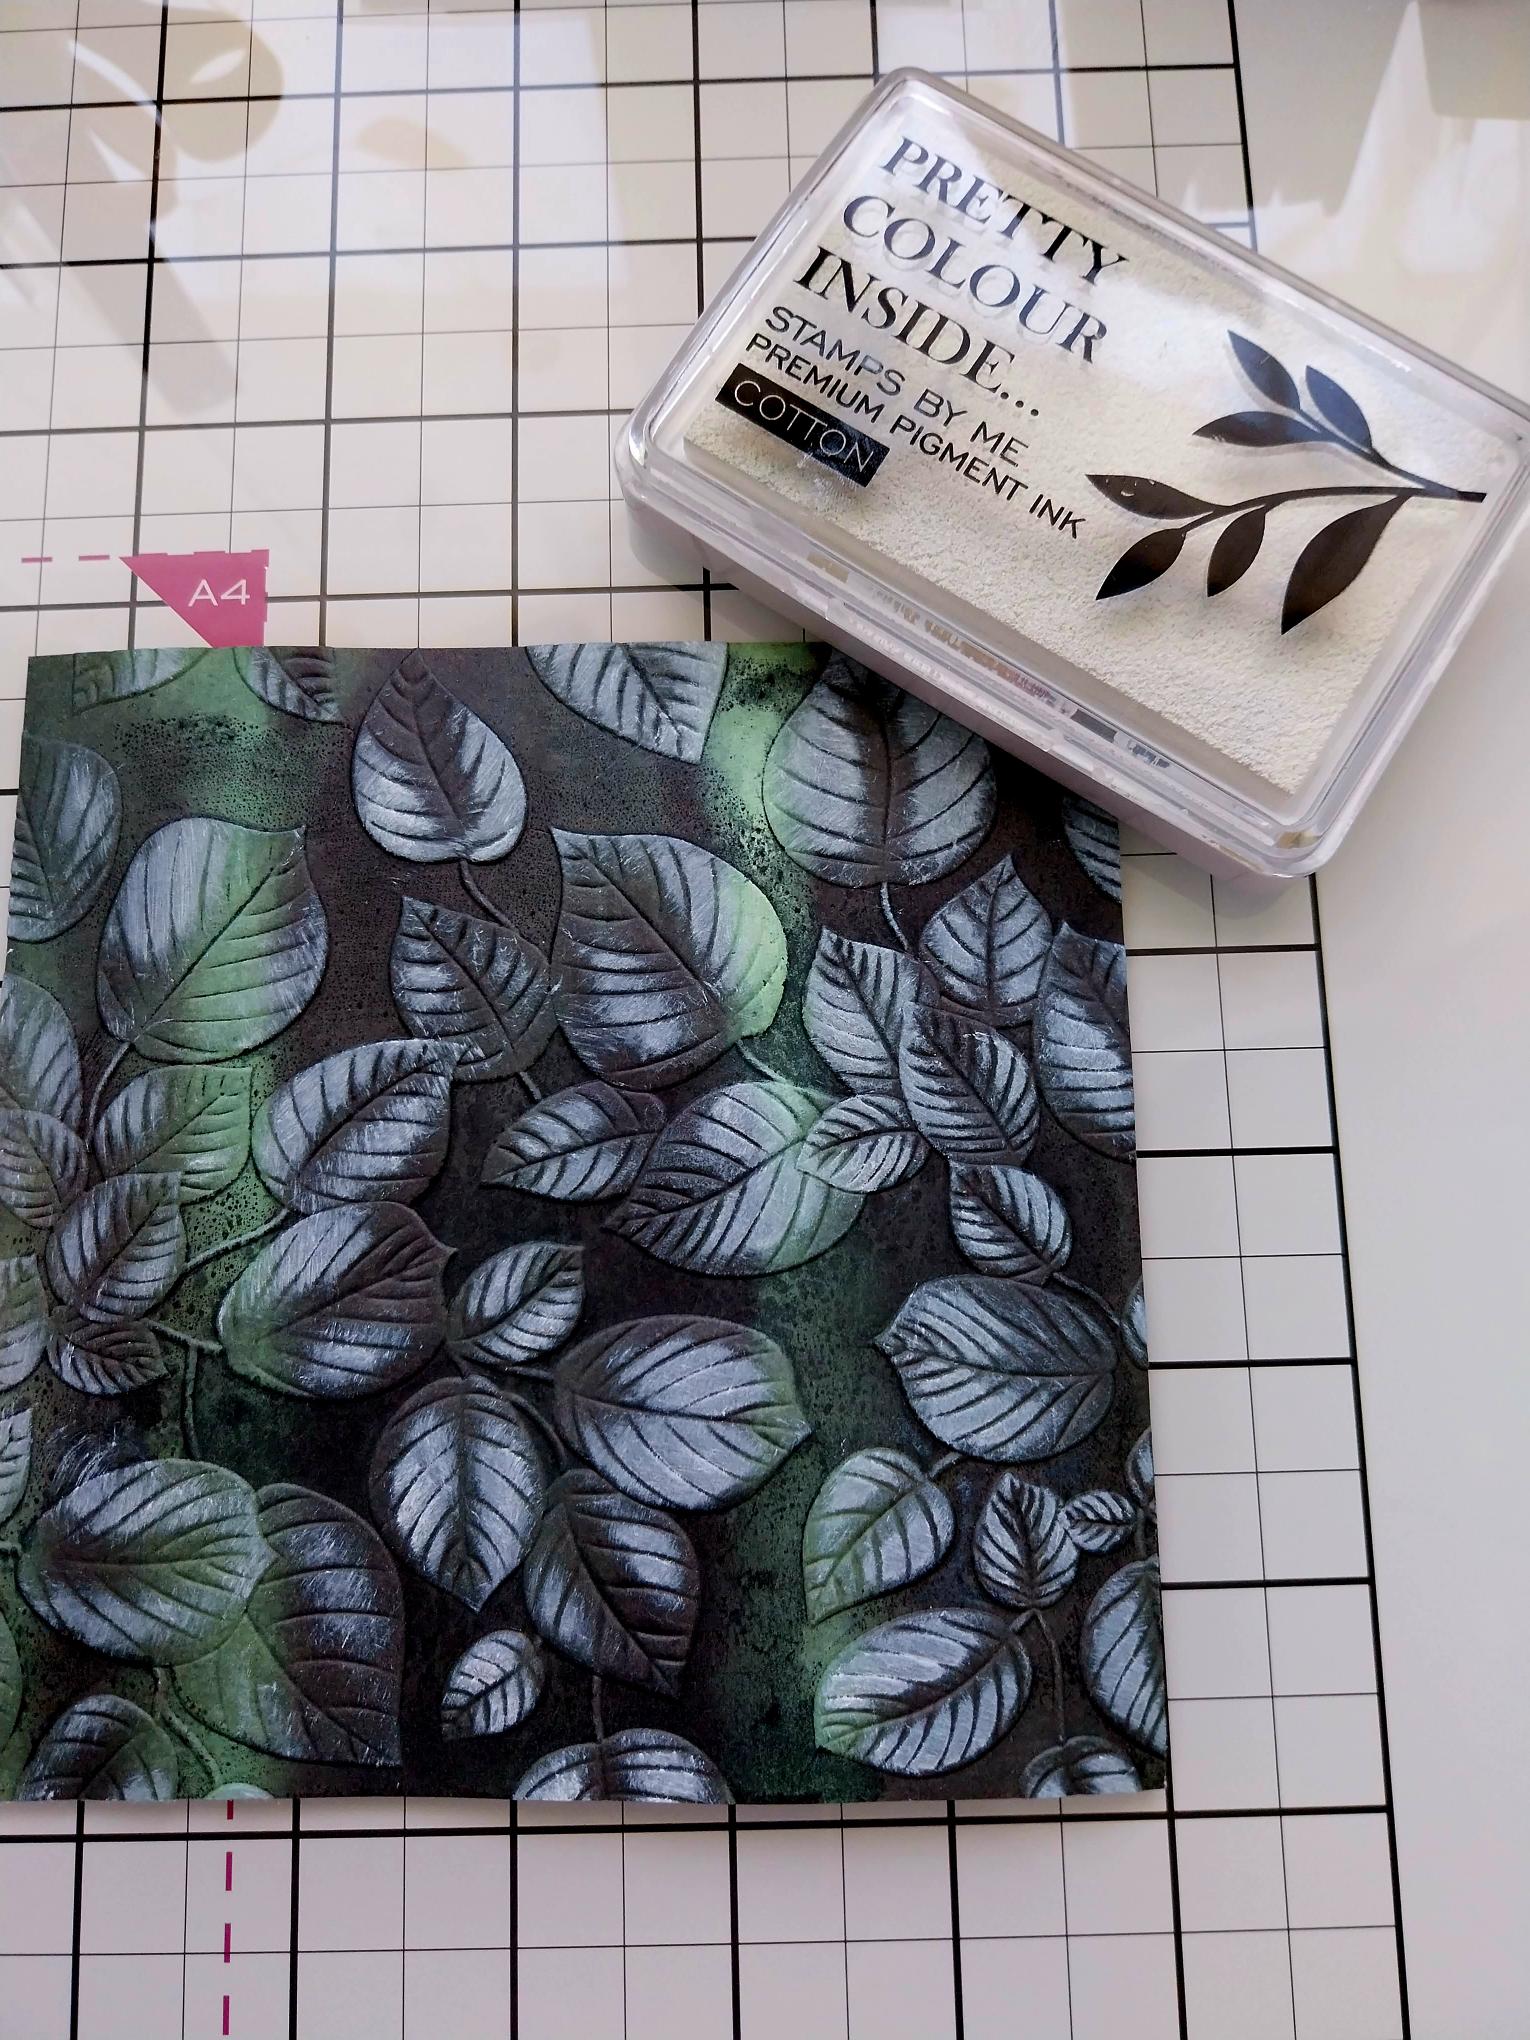
For the last, darker paper, swipe your Cotton pigment ink pad over the embossed areas. Dry all the inked papers thoroughly, before proceeding to the next step. |

|
Tear the pink embossed paper, leaving the left hand side untouched. Repeat with the green paper, this time leaving the right edge of the paper untouched. NB: Don't throw away the leftover, torn panels as you can use these for other projects. |
|
Line up all the embossed leaves, before adhering the pink flush down the left side of the gold embossed paper and the green flush with the right side. Lift and scrunch the torn edges, to add effect and dimension to your artwork. |
|
Wipe your Black Soot ink pad around the 4 sides of your papers, bringing them all together. |
|
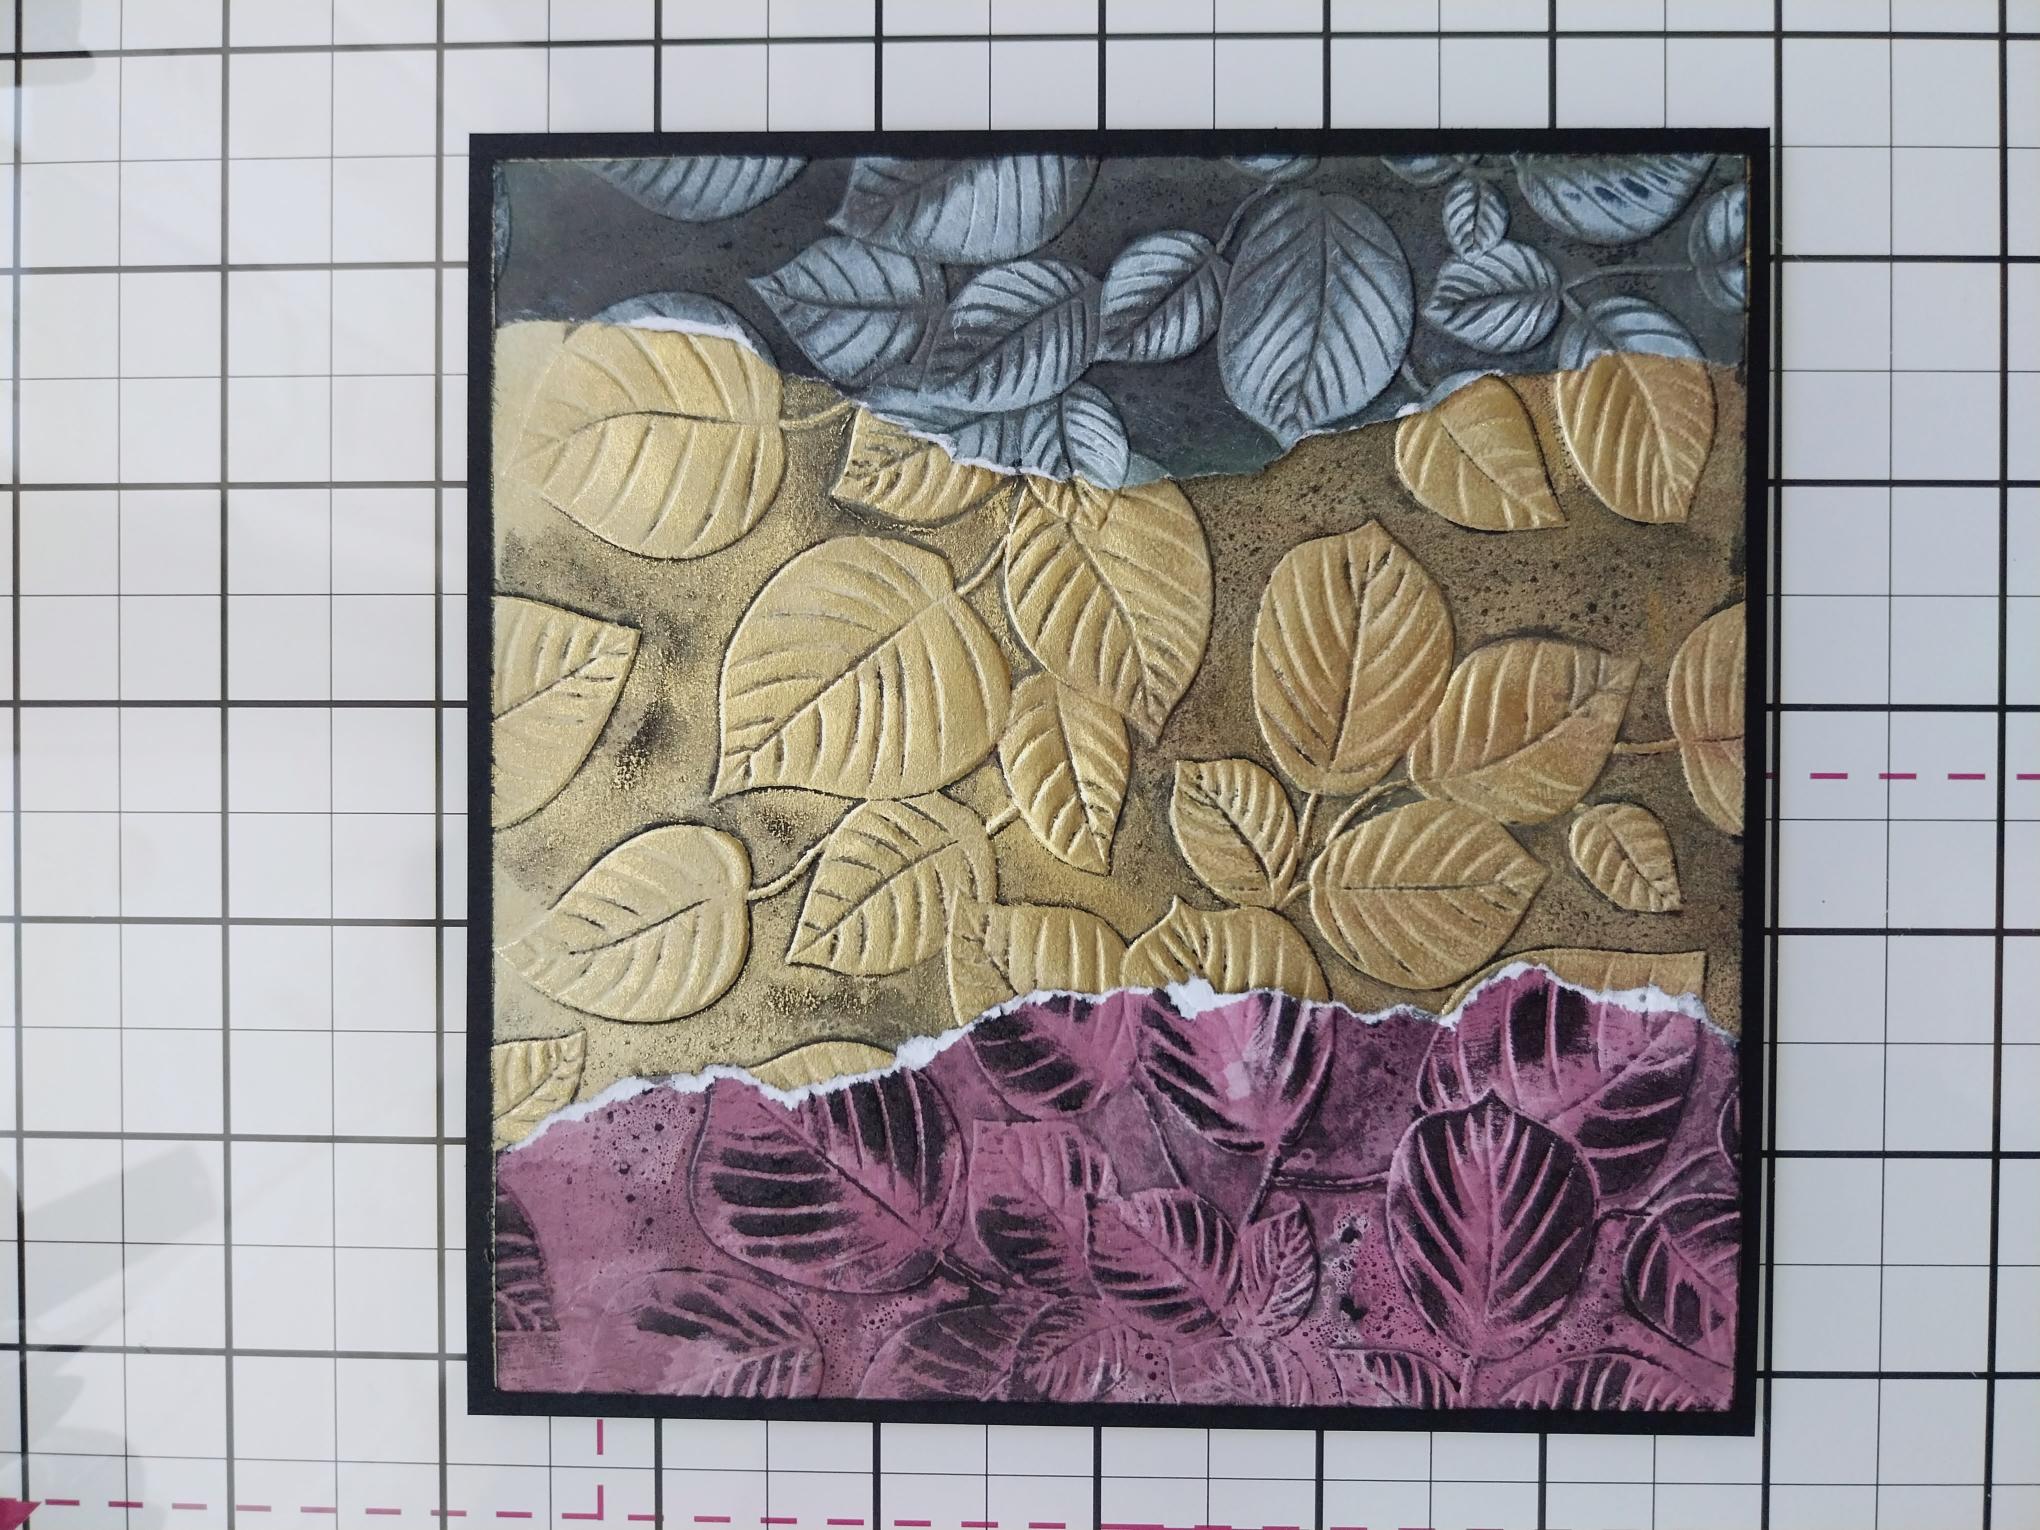
Adhere on to the black card trimmed to 5 3/4" square. |
|
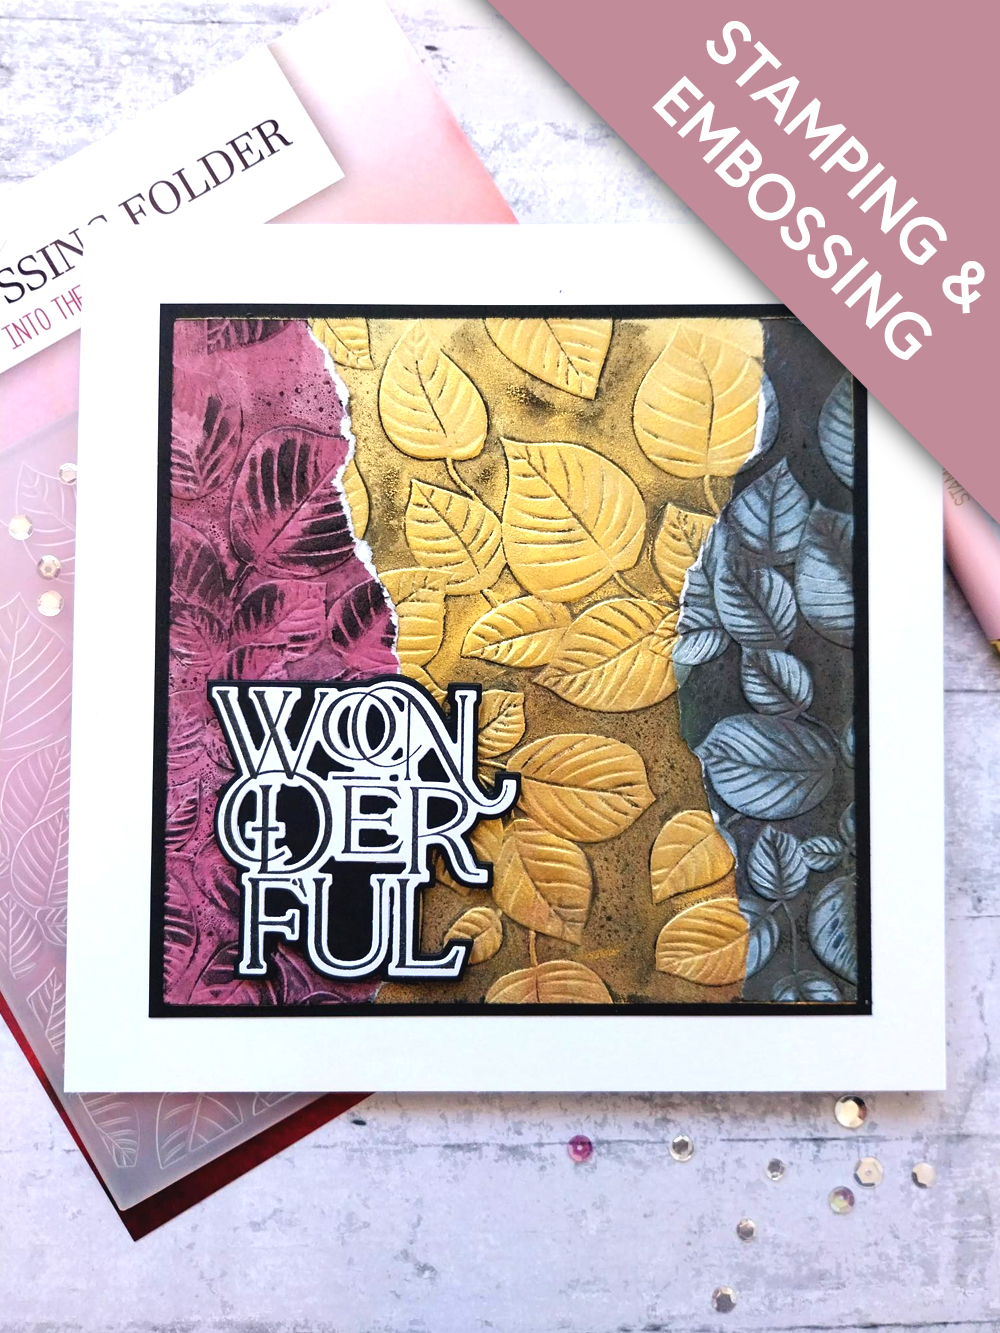
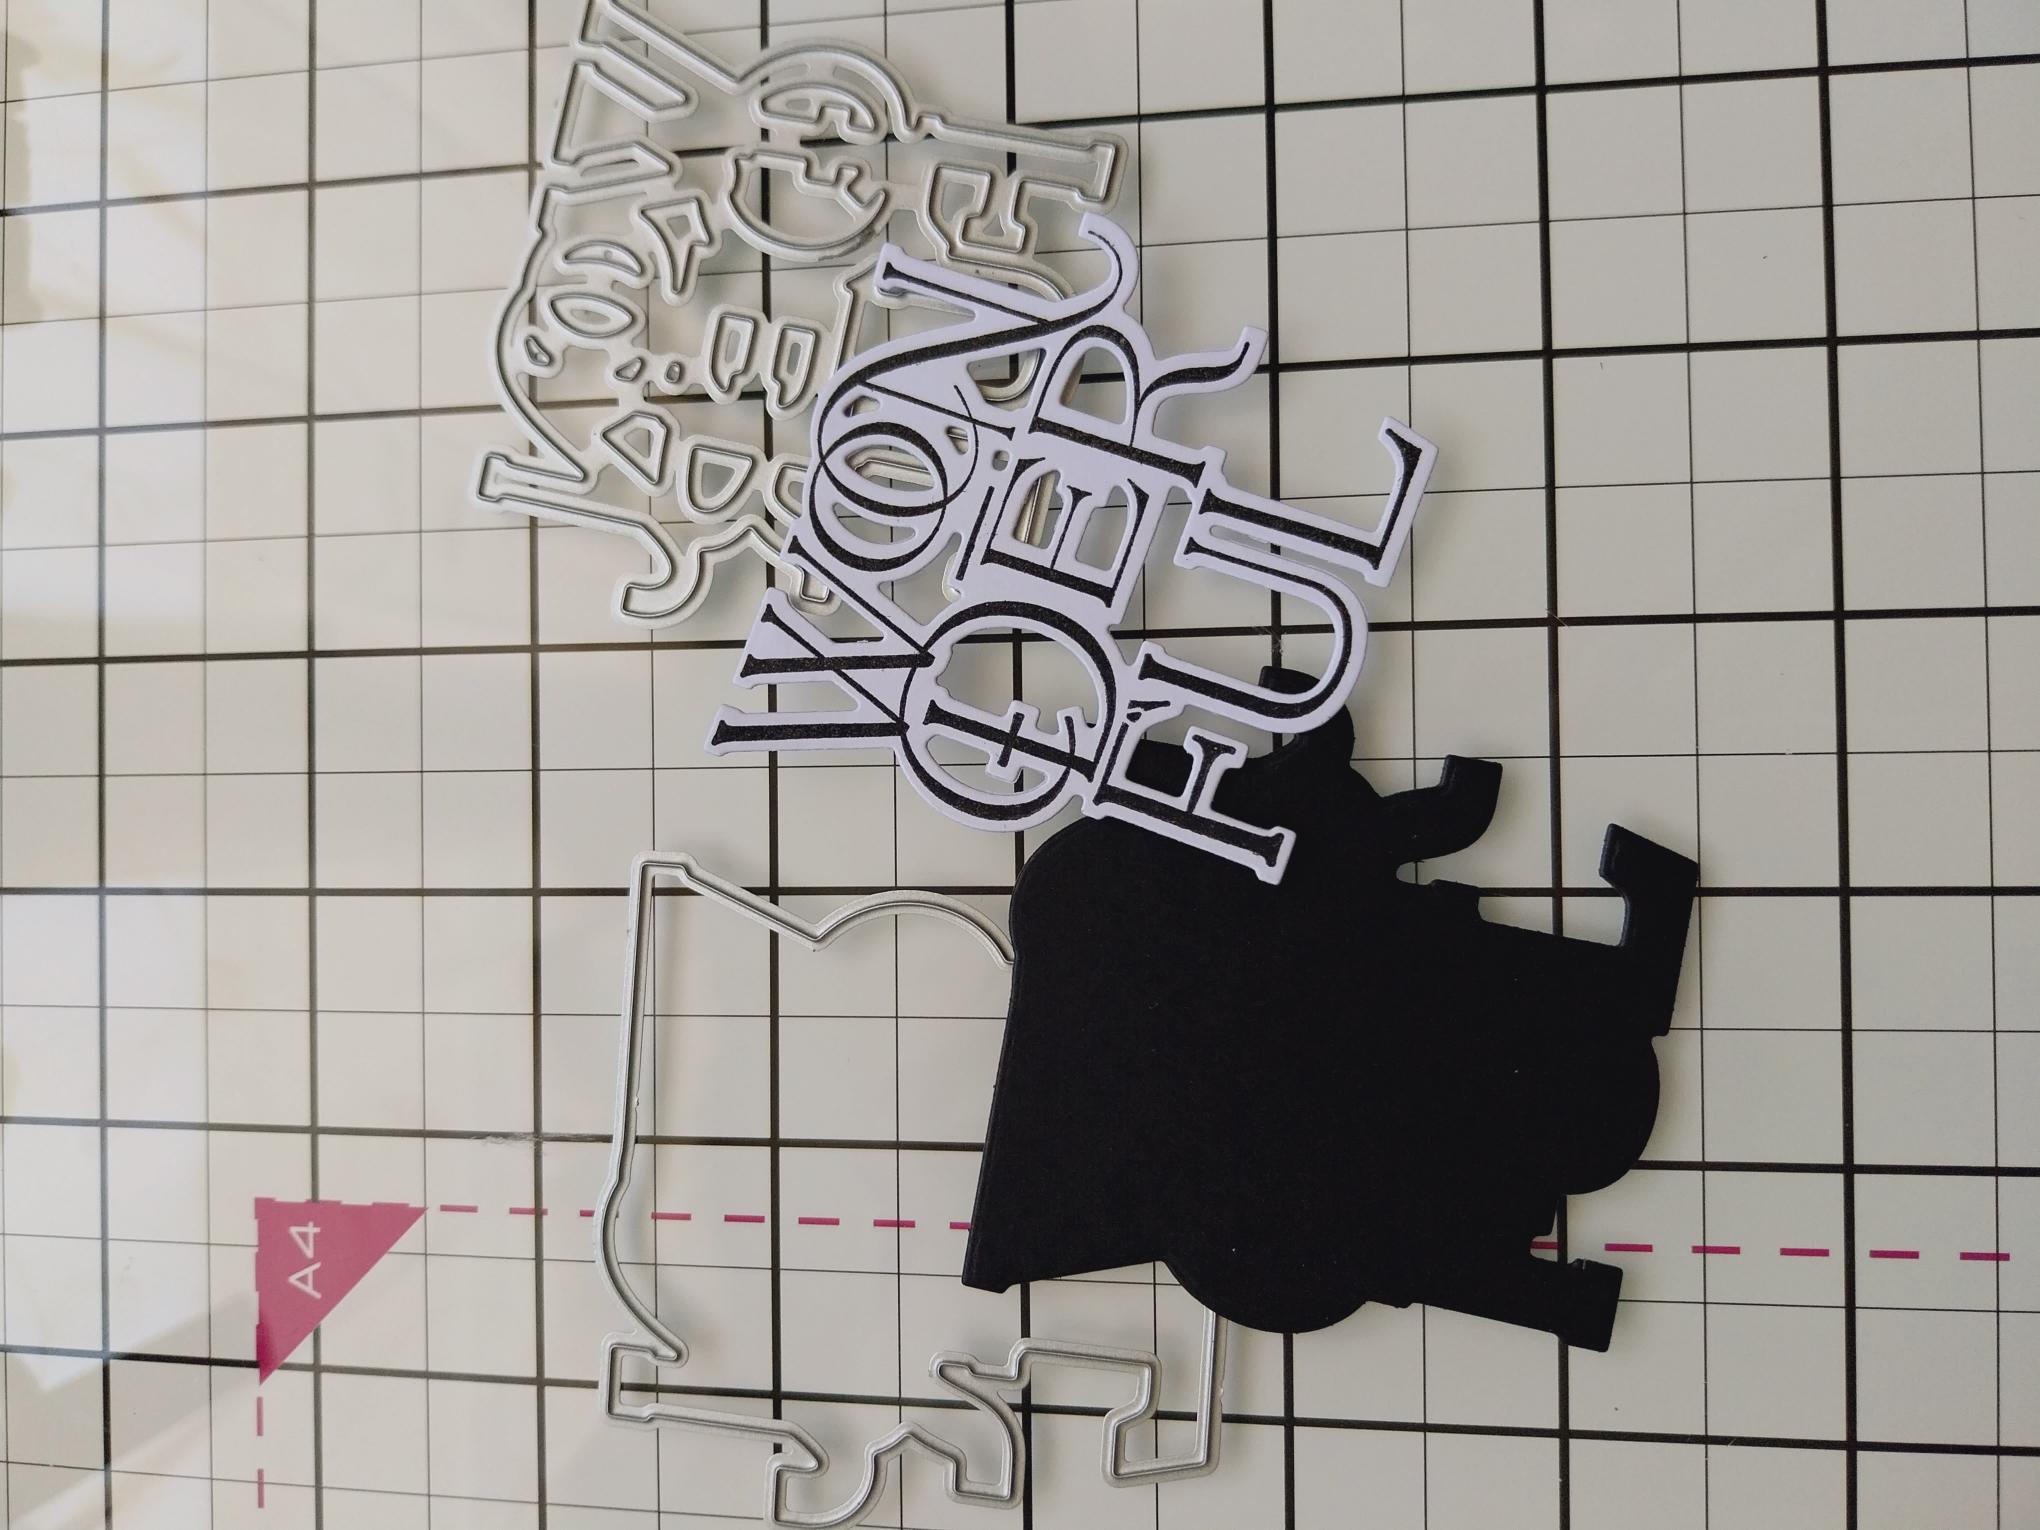
Stamp the "Wonderful" sentiment, from Saying Hello, in Midnight, on to a piece of white card. Secure the coordinating die in place. Pop the layering die on to black card and run both through your machine. |
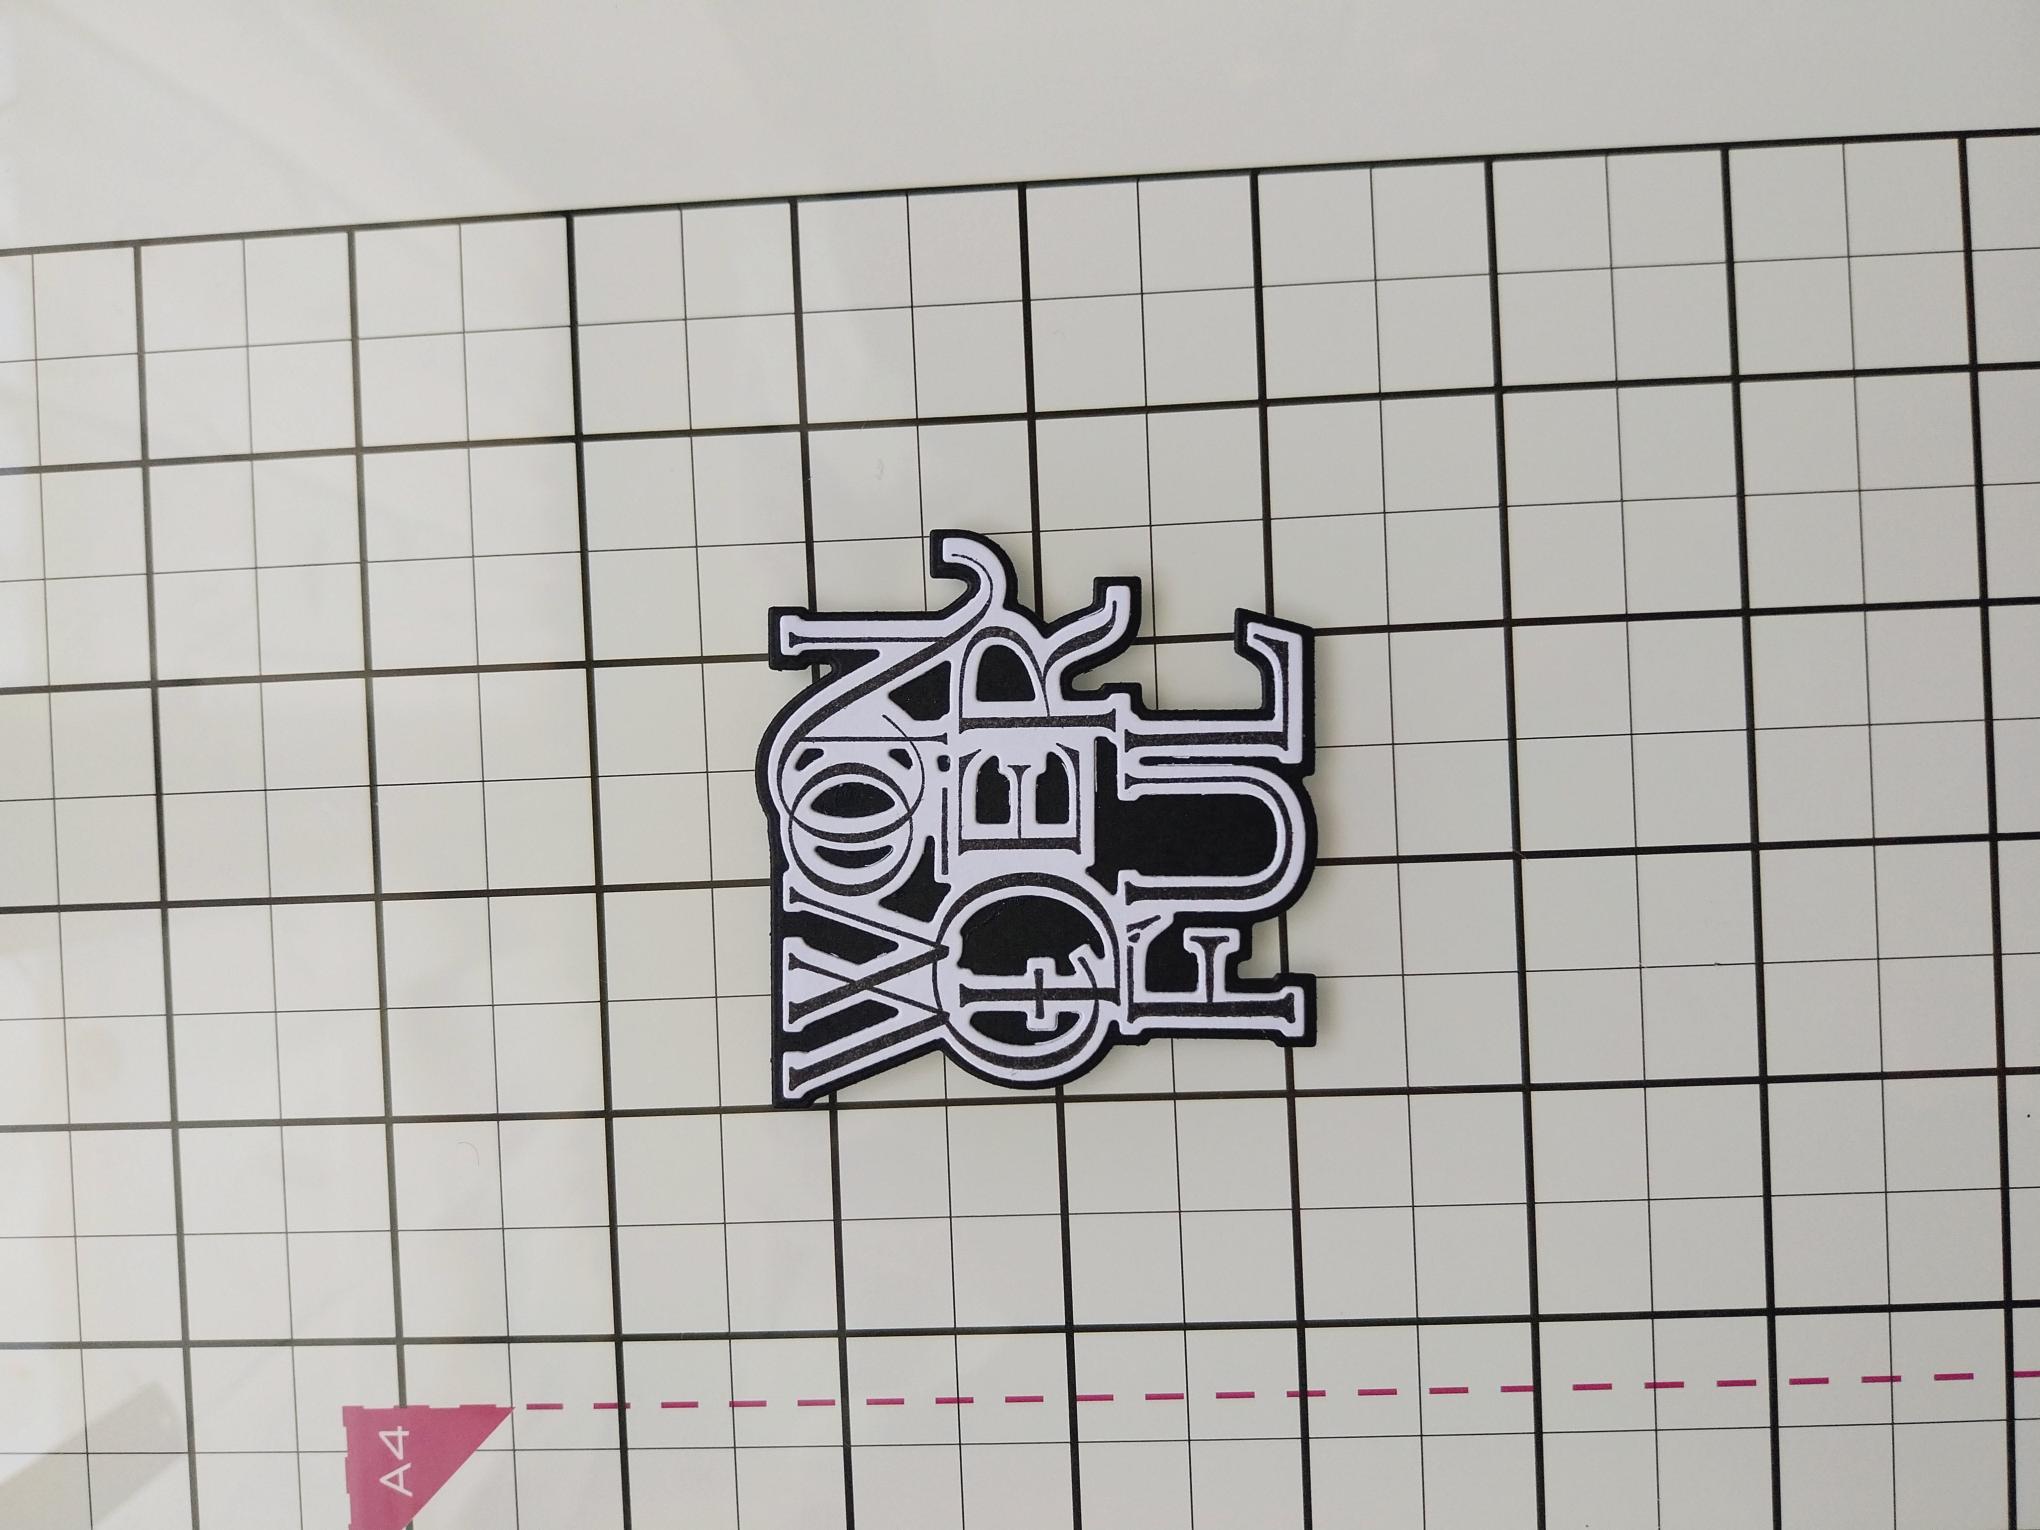
|
Adhere the detailed sentiment on to the black mat. |
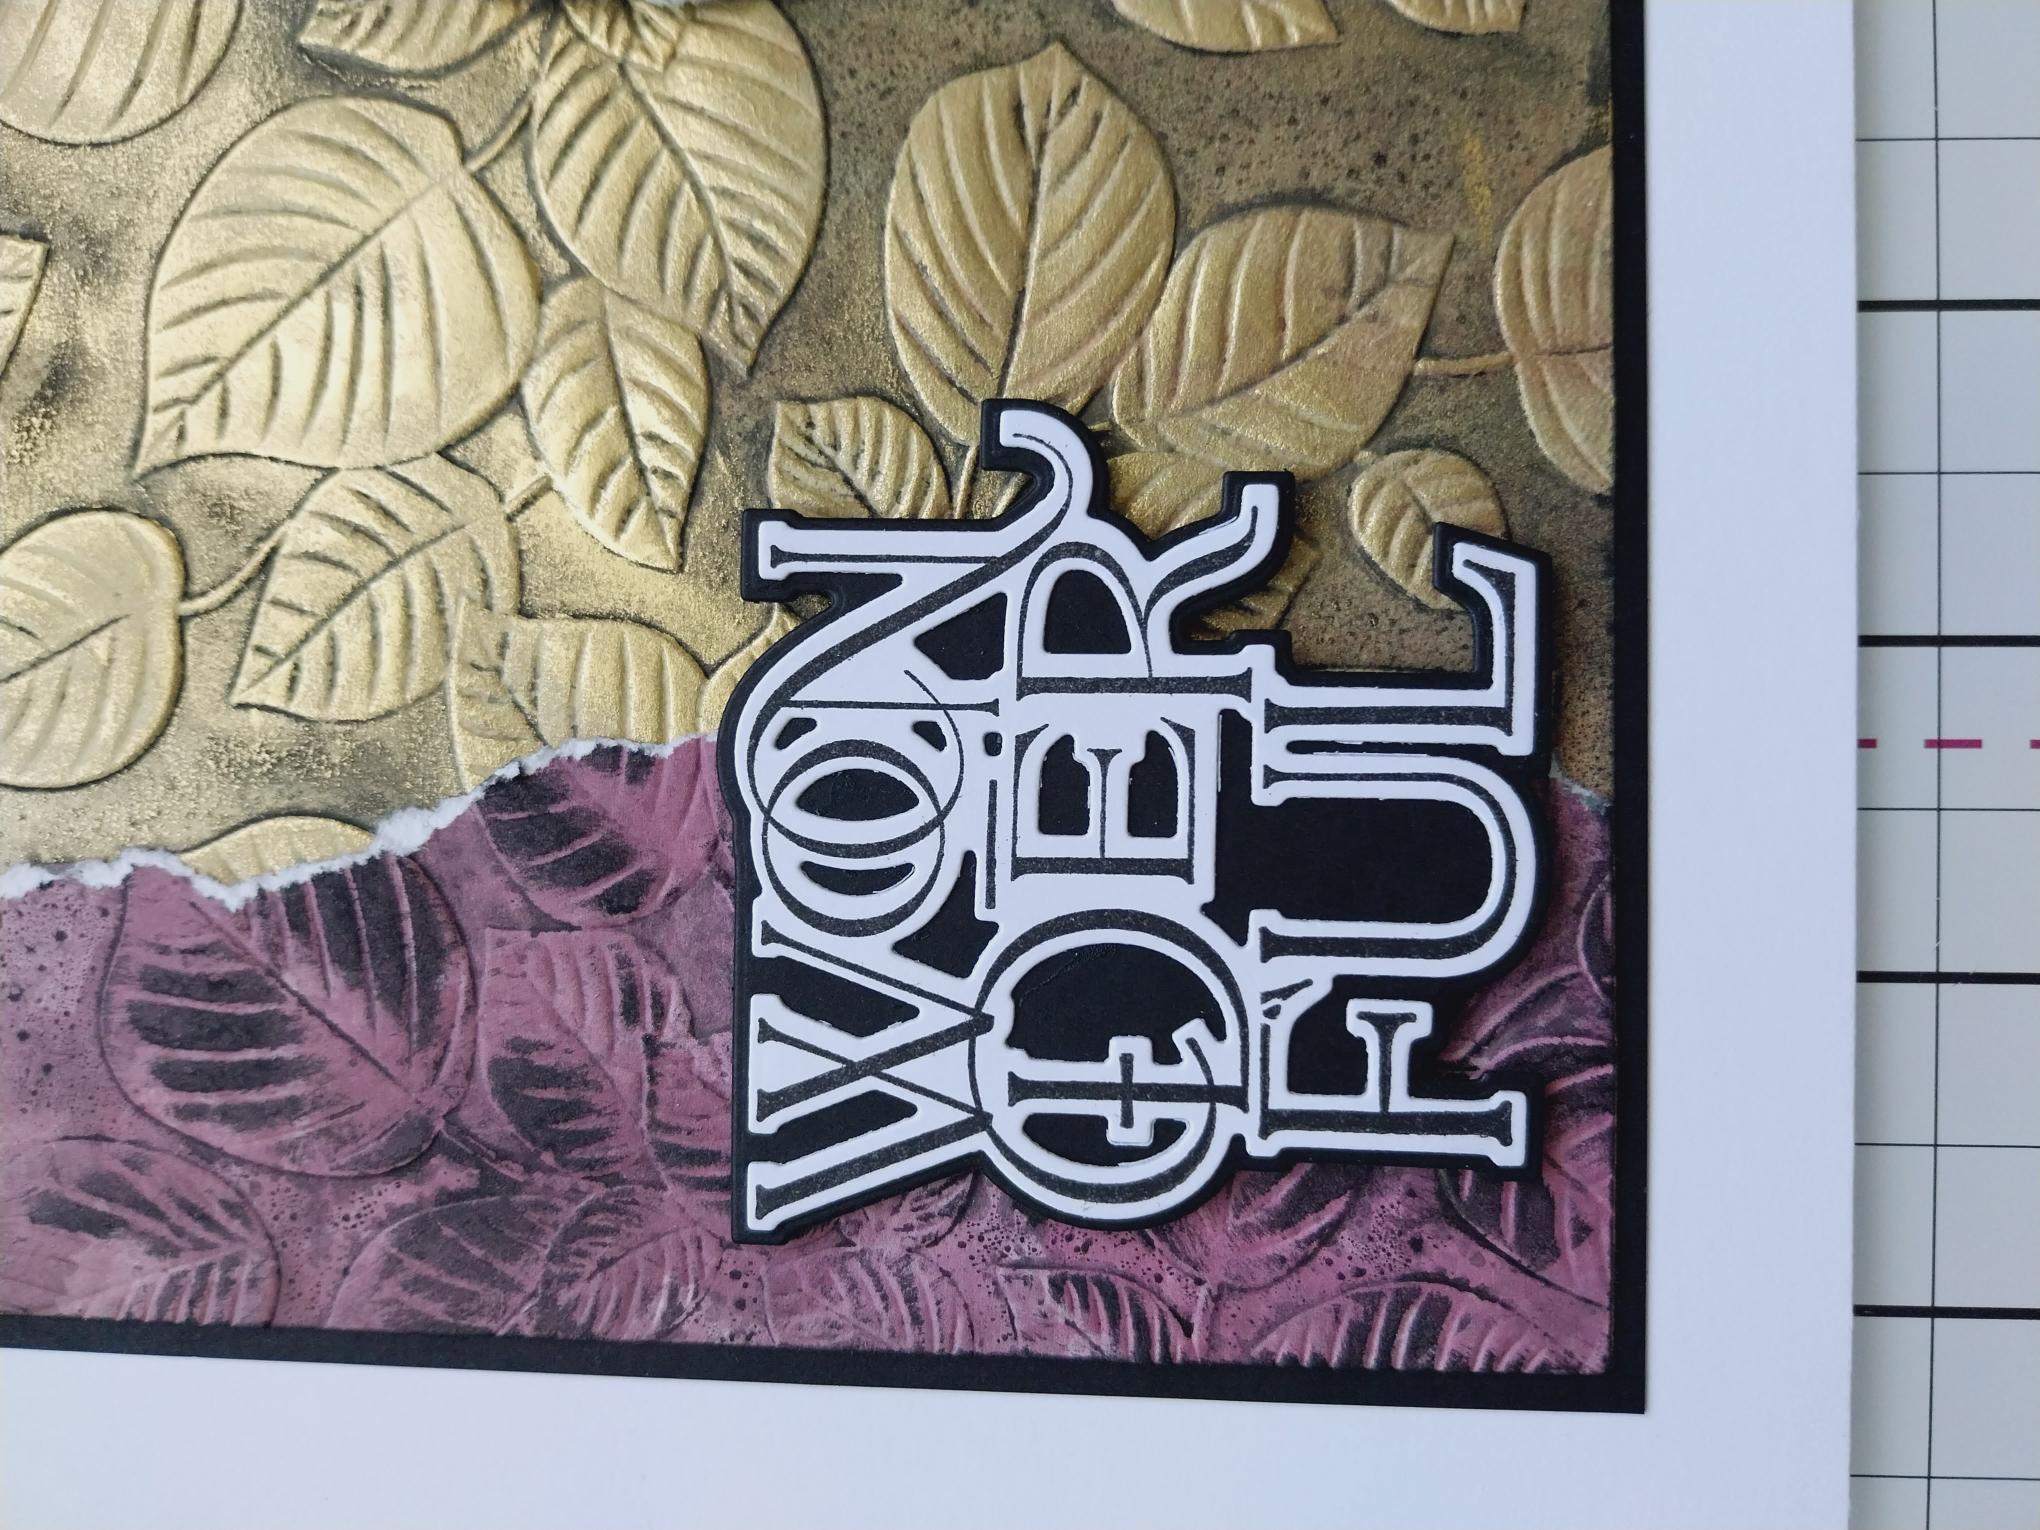
|
Adhere to the bottom left of your embossed artwork, before adhereing this on to your white card blank, to finish. |