Give your friends $10 off their first order!
Refer a FRIEND


WHAT YOU WILL NEED:
Grey top folding card blank 7 1/4 x 5 1/2"
White card 6 3/4 x 5"
White card 6 1/2 x 4 3/4"
A4 white card
Vellum
Watercolour Sympathy HD3D Embossing folder
Stone Tabs Washi Tape and Die Collection
Gossip clear overlay sparkle pen
Paper Trimmer
Perfect Together Glue
Double sided adhesive tape
Die Cutting machine
[click image to enlarge] 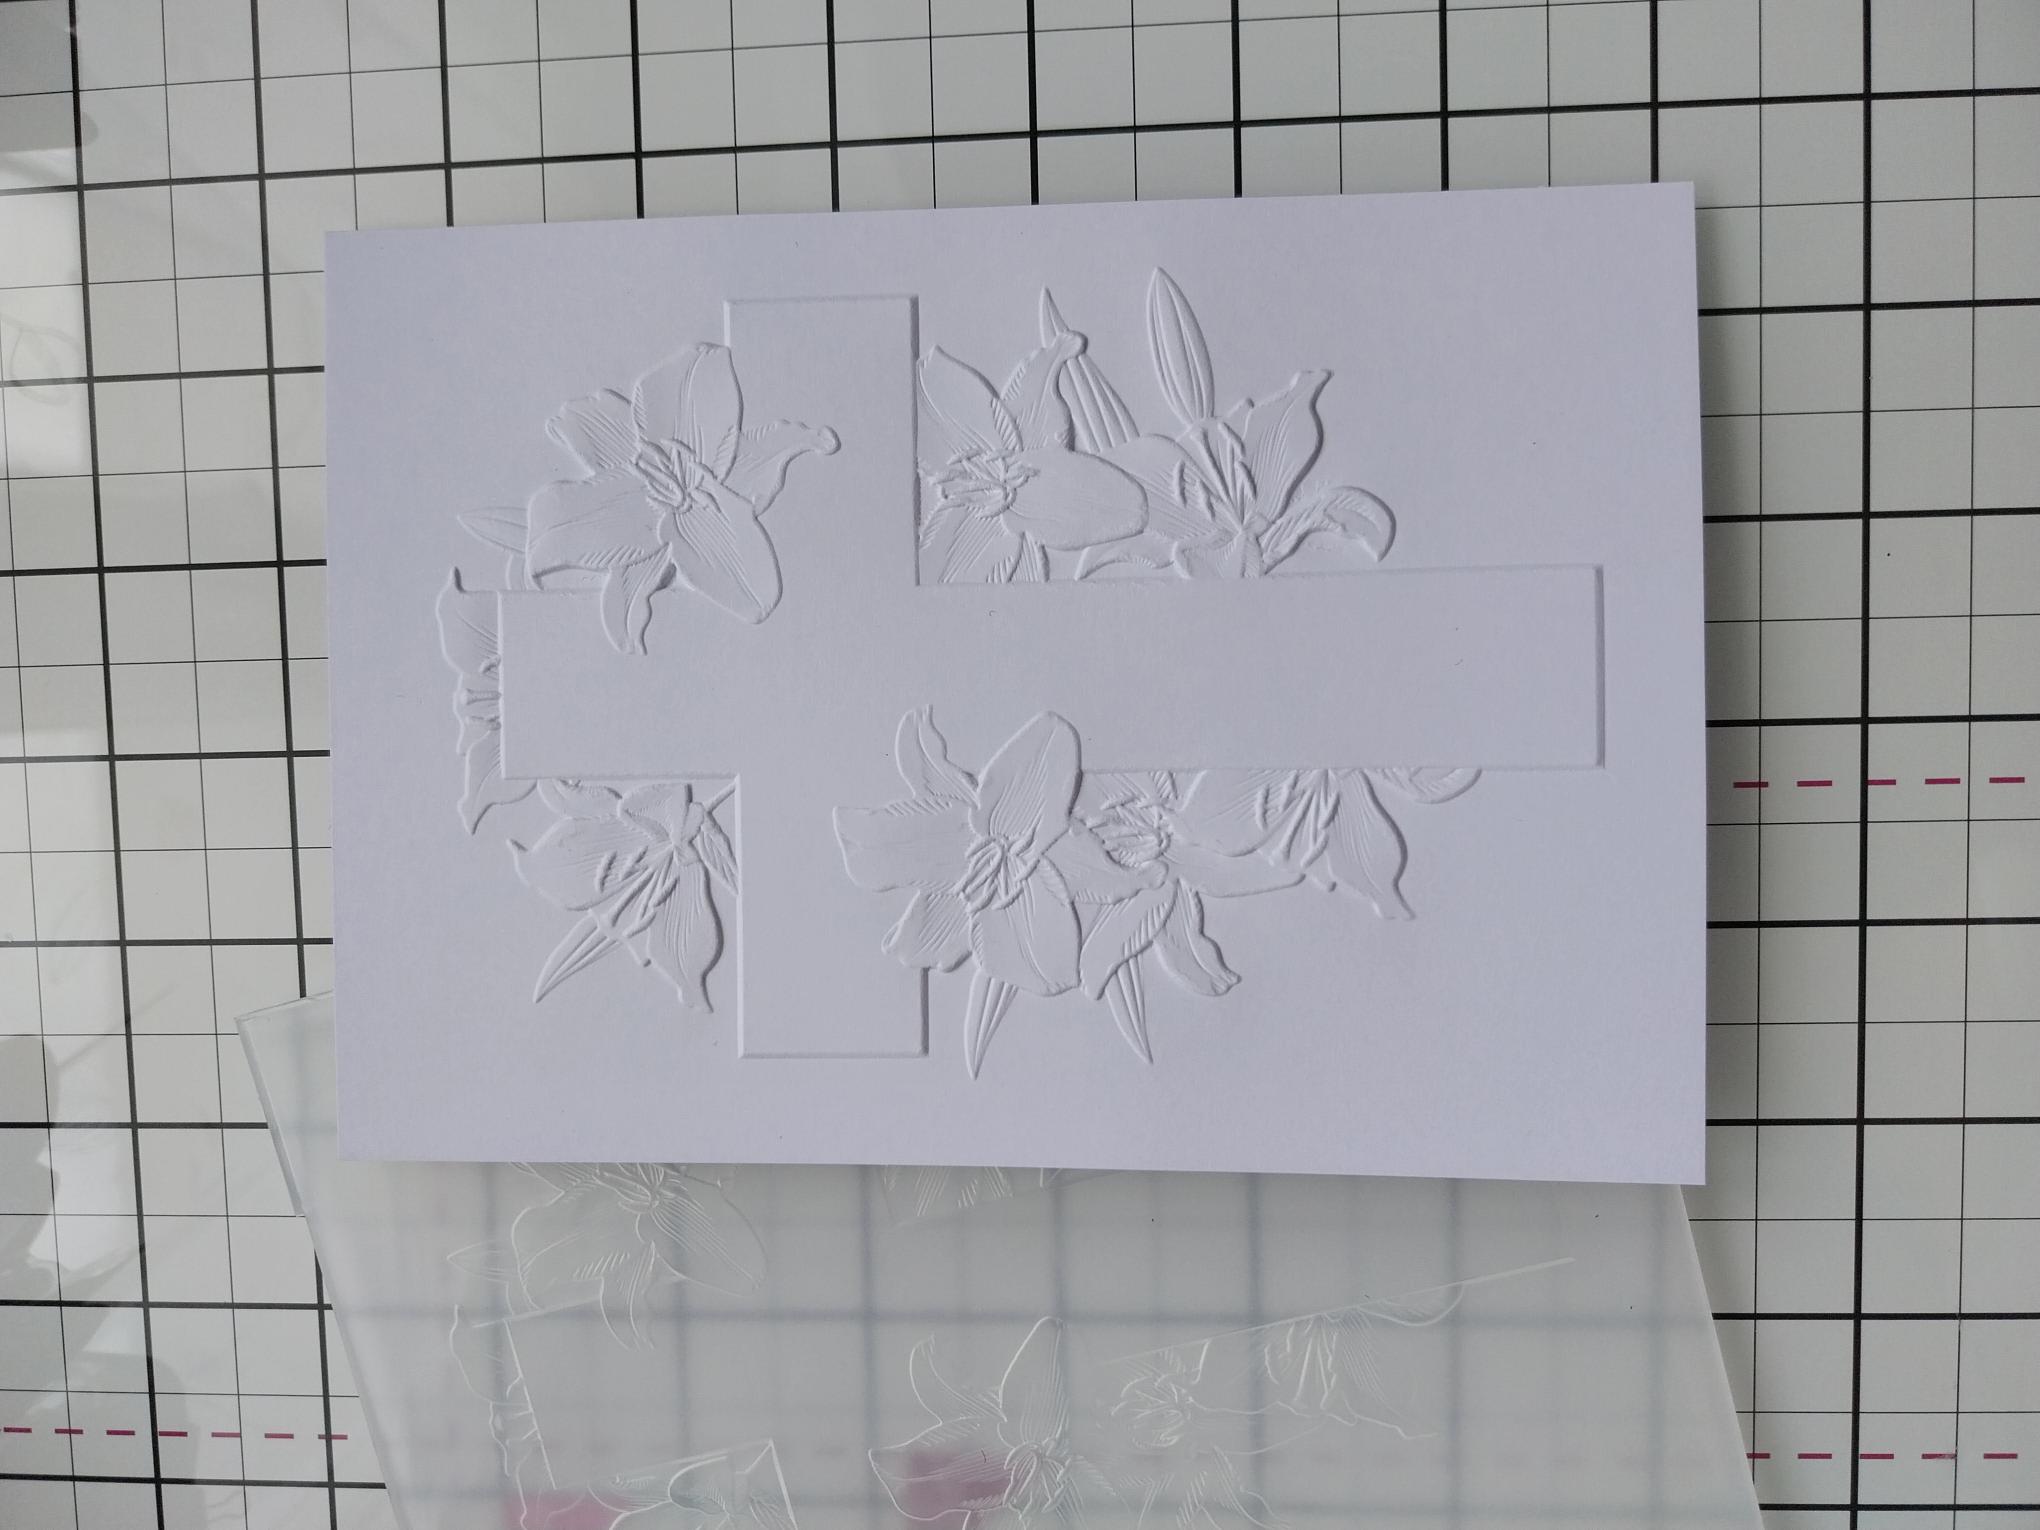
|
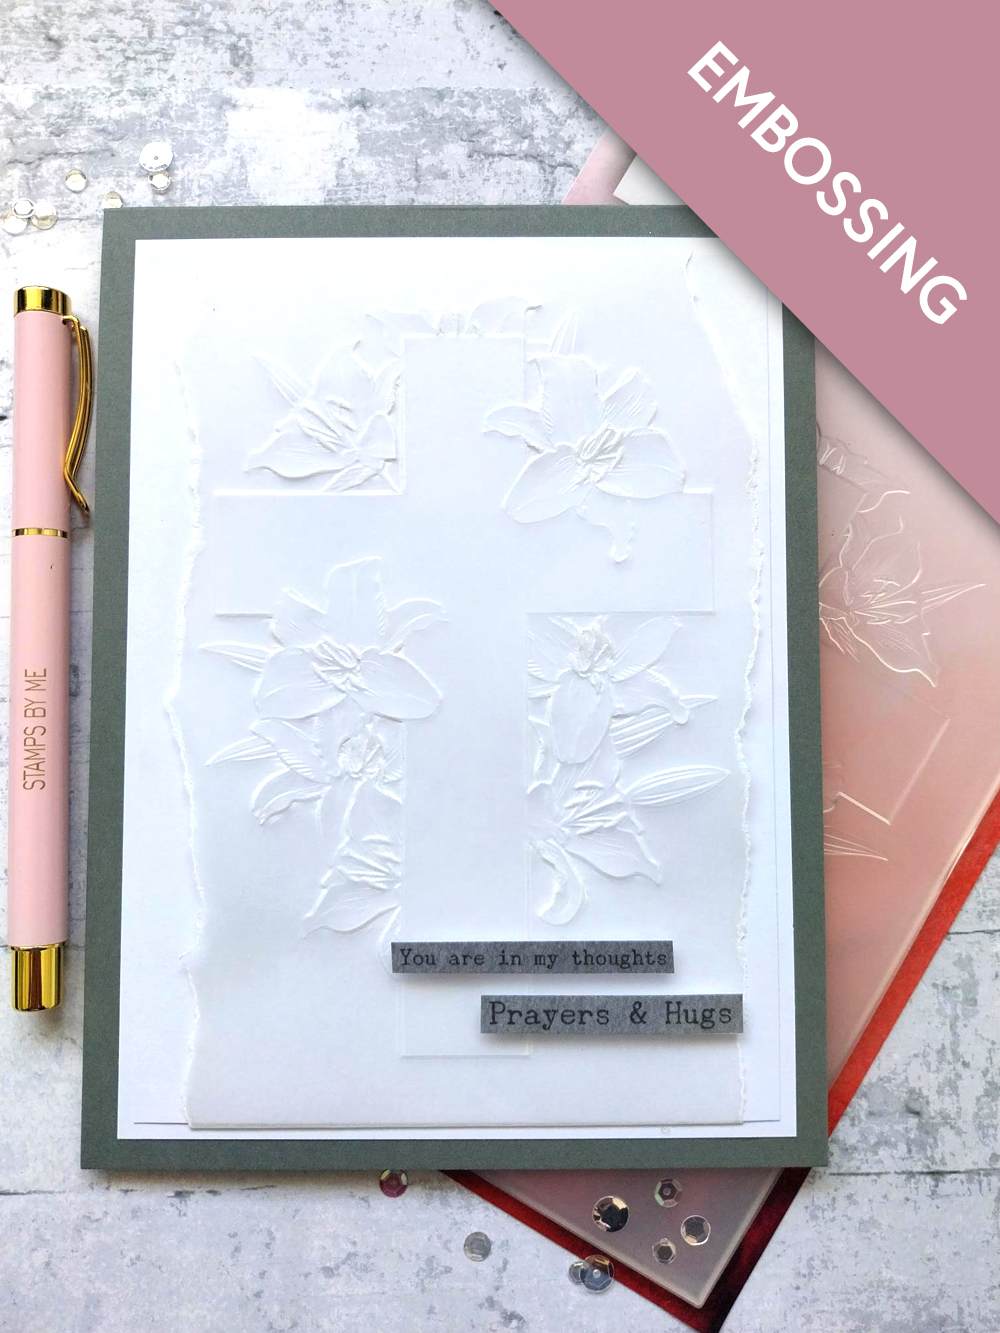
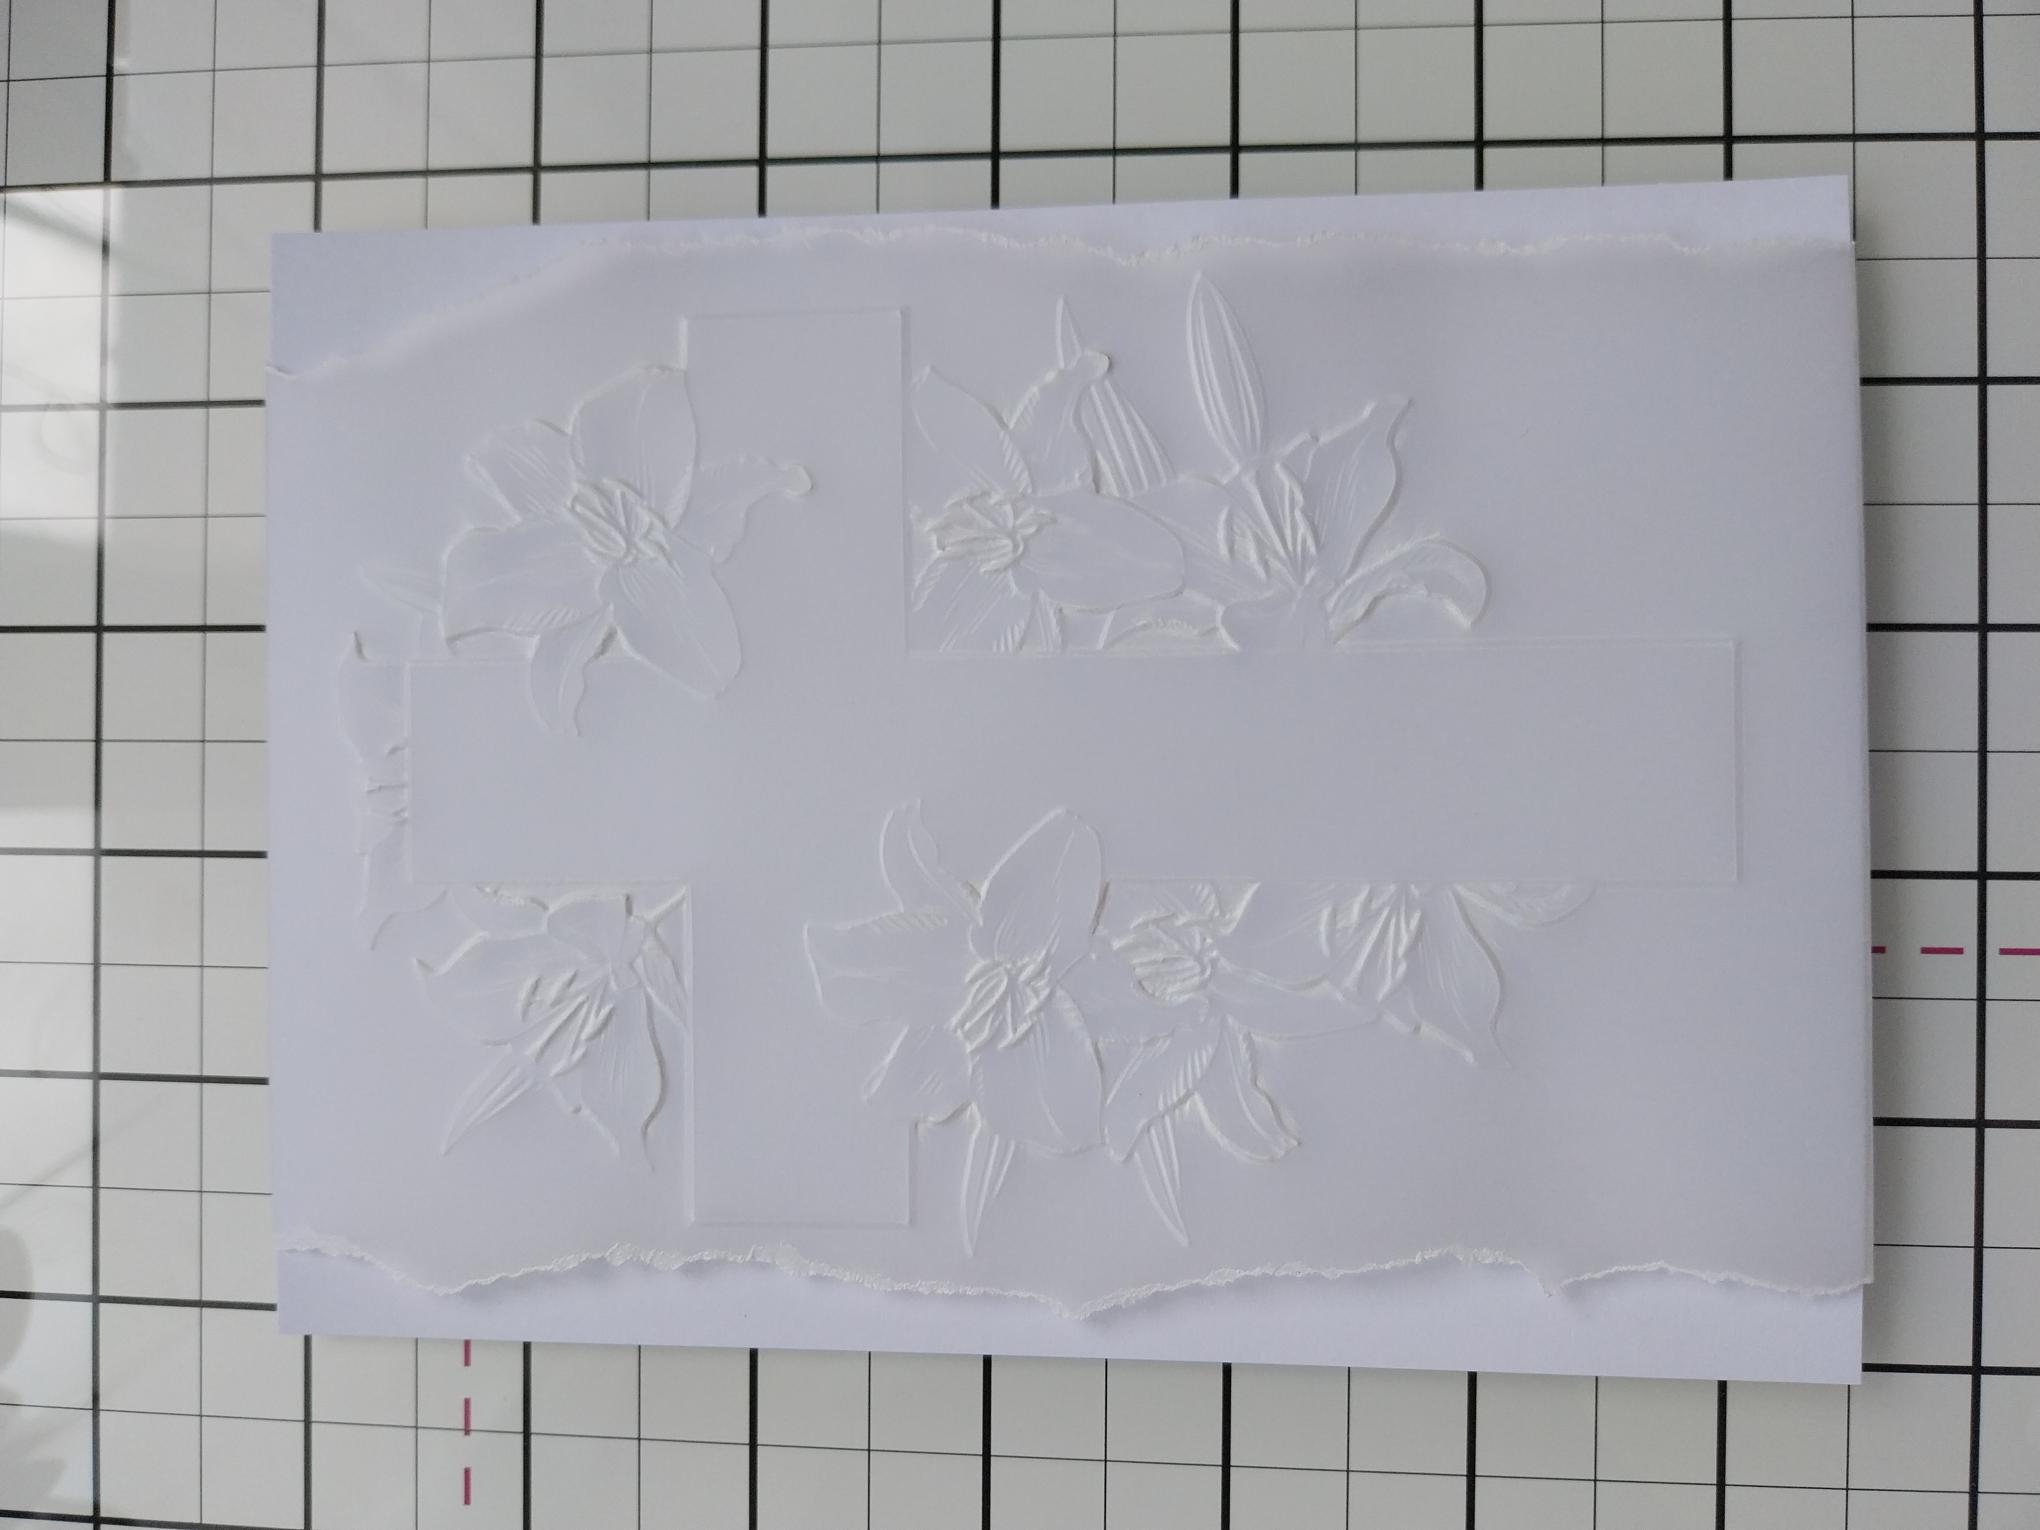
Place the white card, cut to 6 1/2 x 4 3/4", inside the Sympathy embossing folder and run it through your machine. |
|
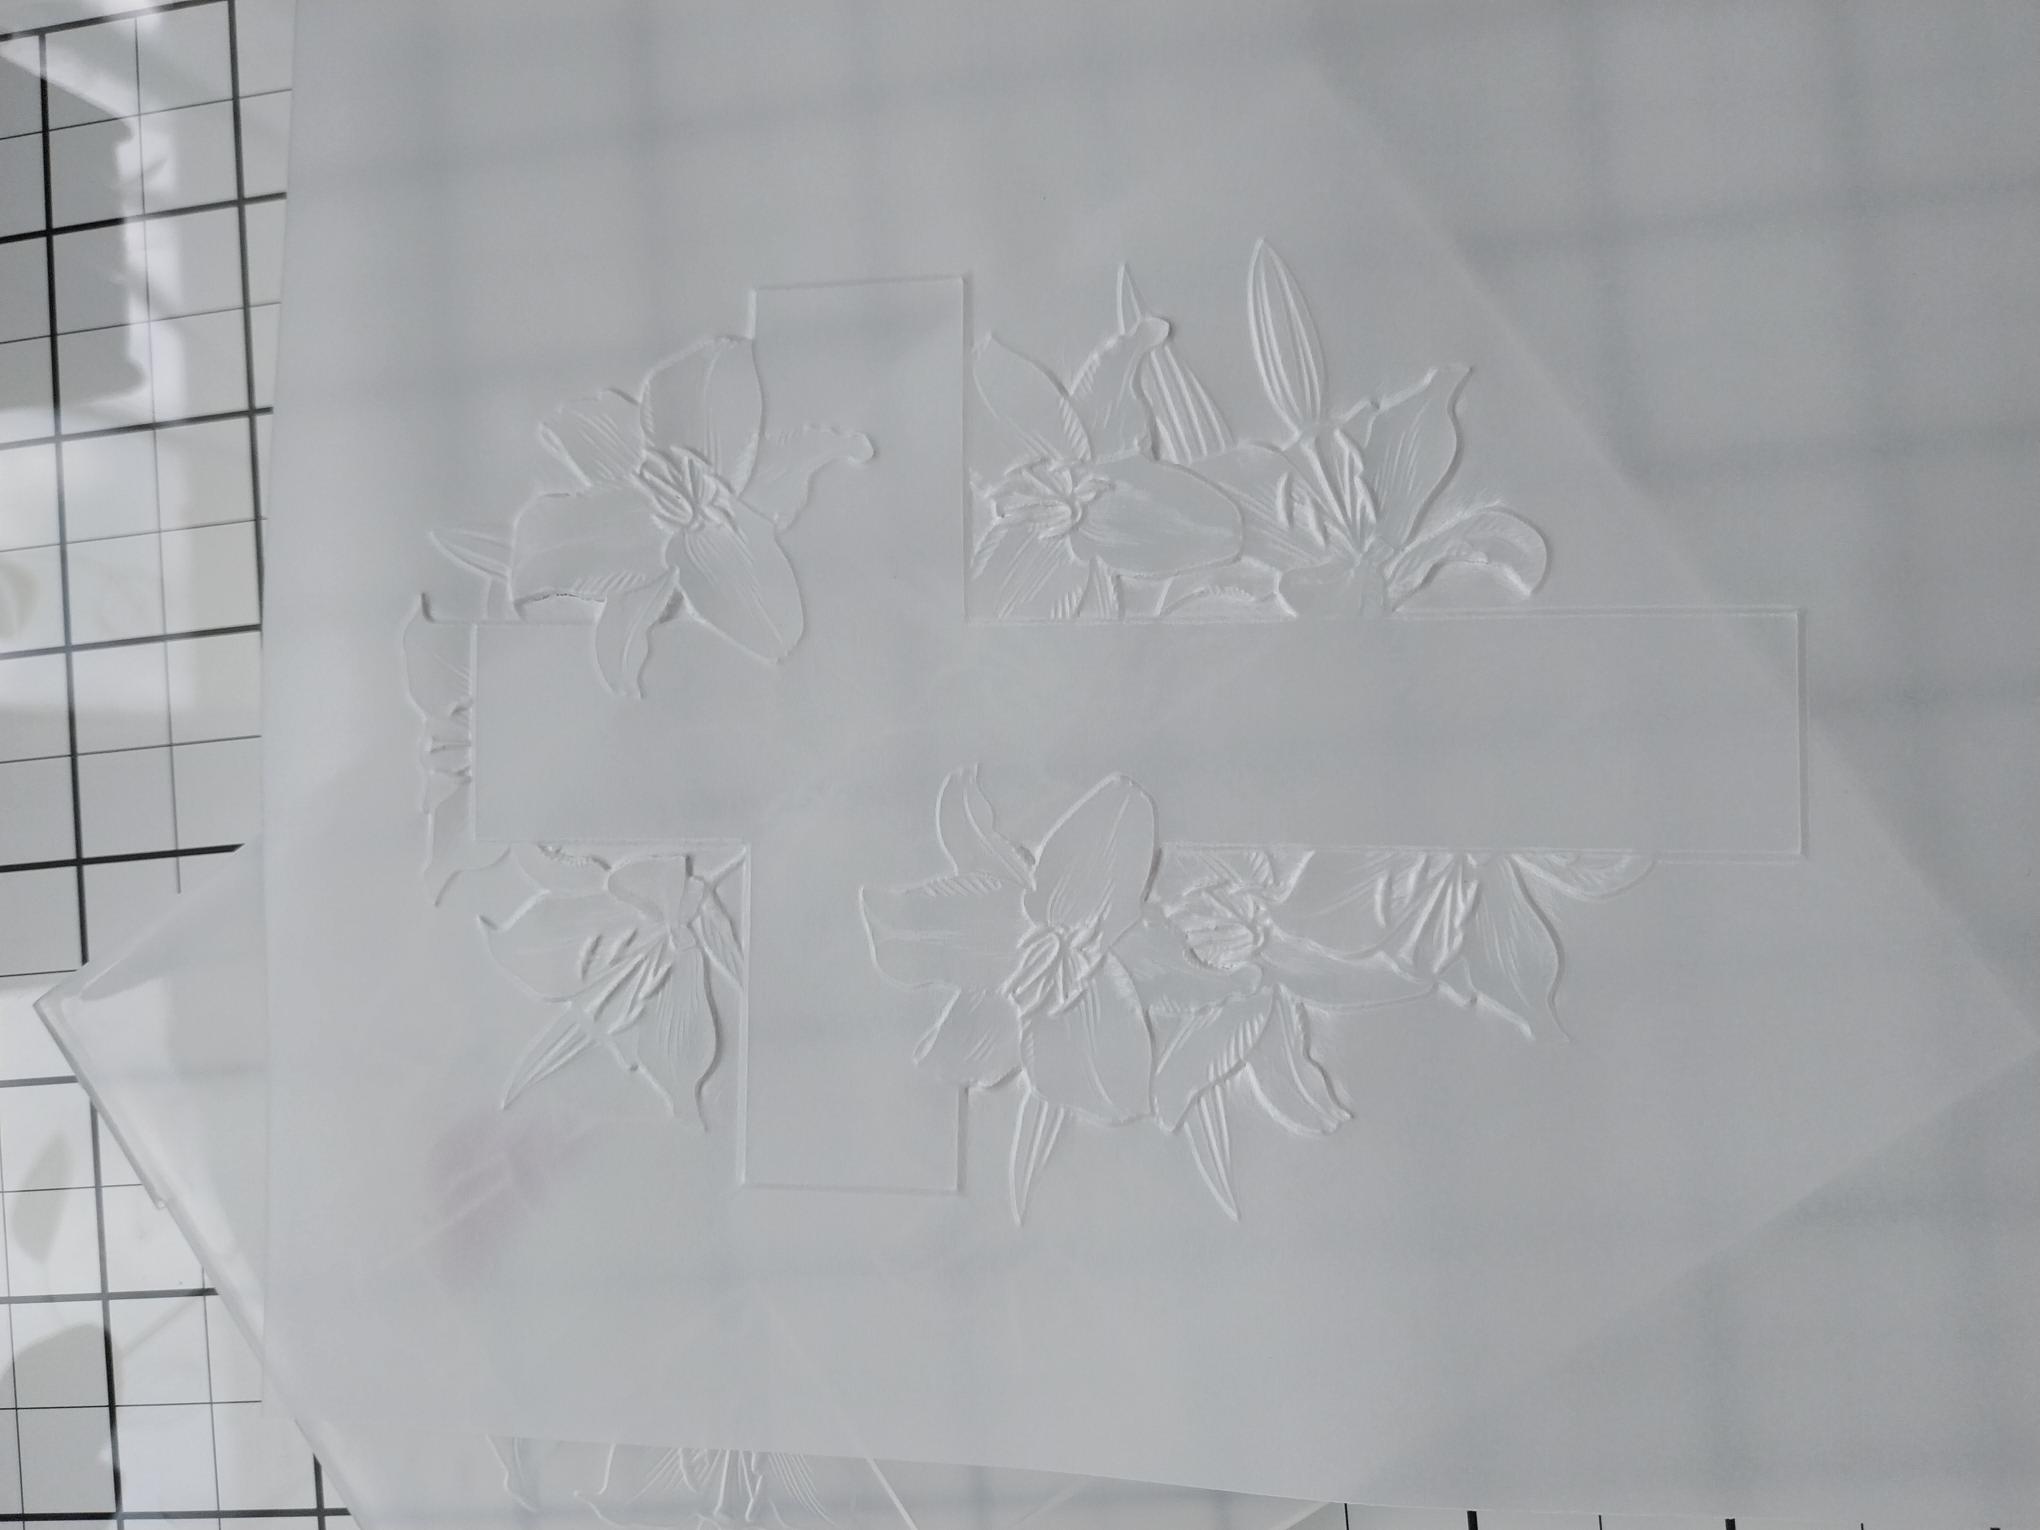
Cut a piece of vellum to 7 1/4 x 4 3/4" and run it through the embossing folder, tucking over approx 1cm of the vellum at the top, before you emboss it (this will be tucked over edge of card to secure it in place). |
|
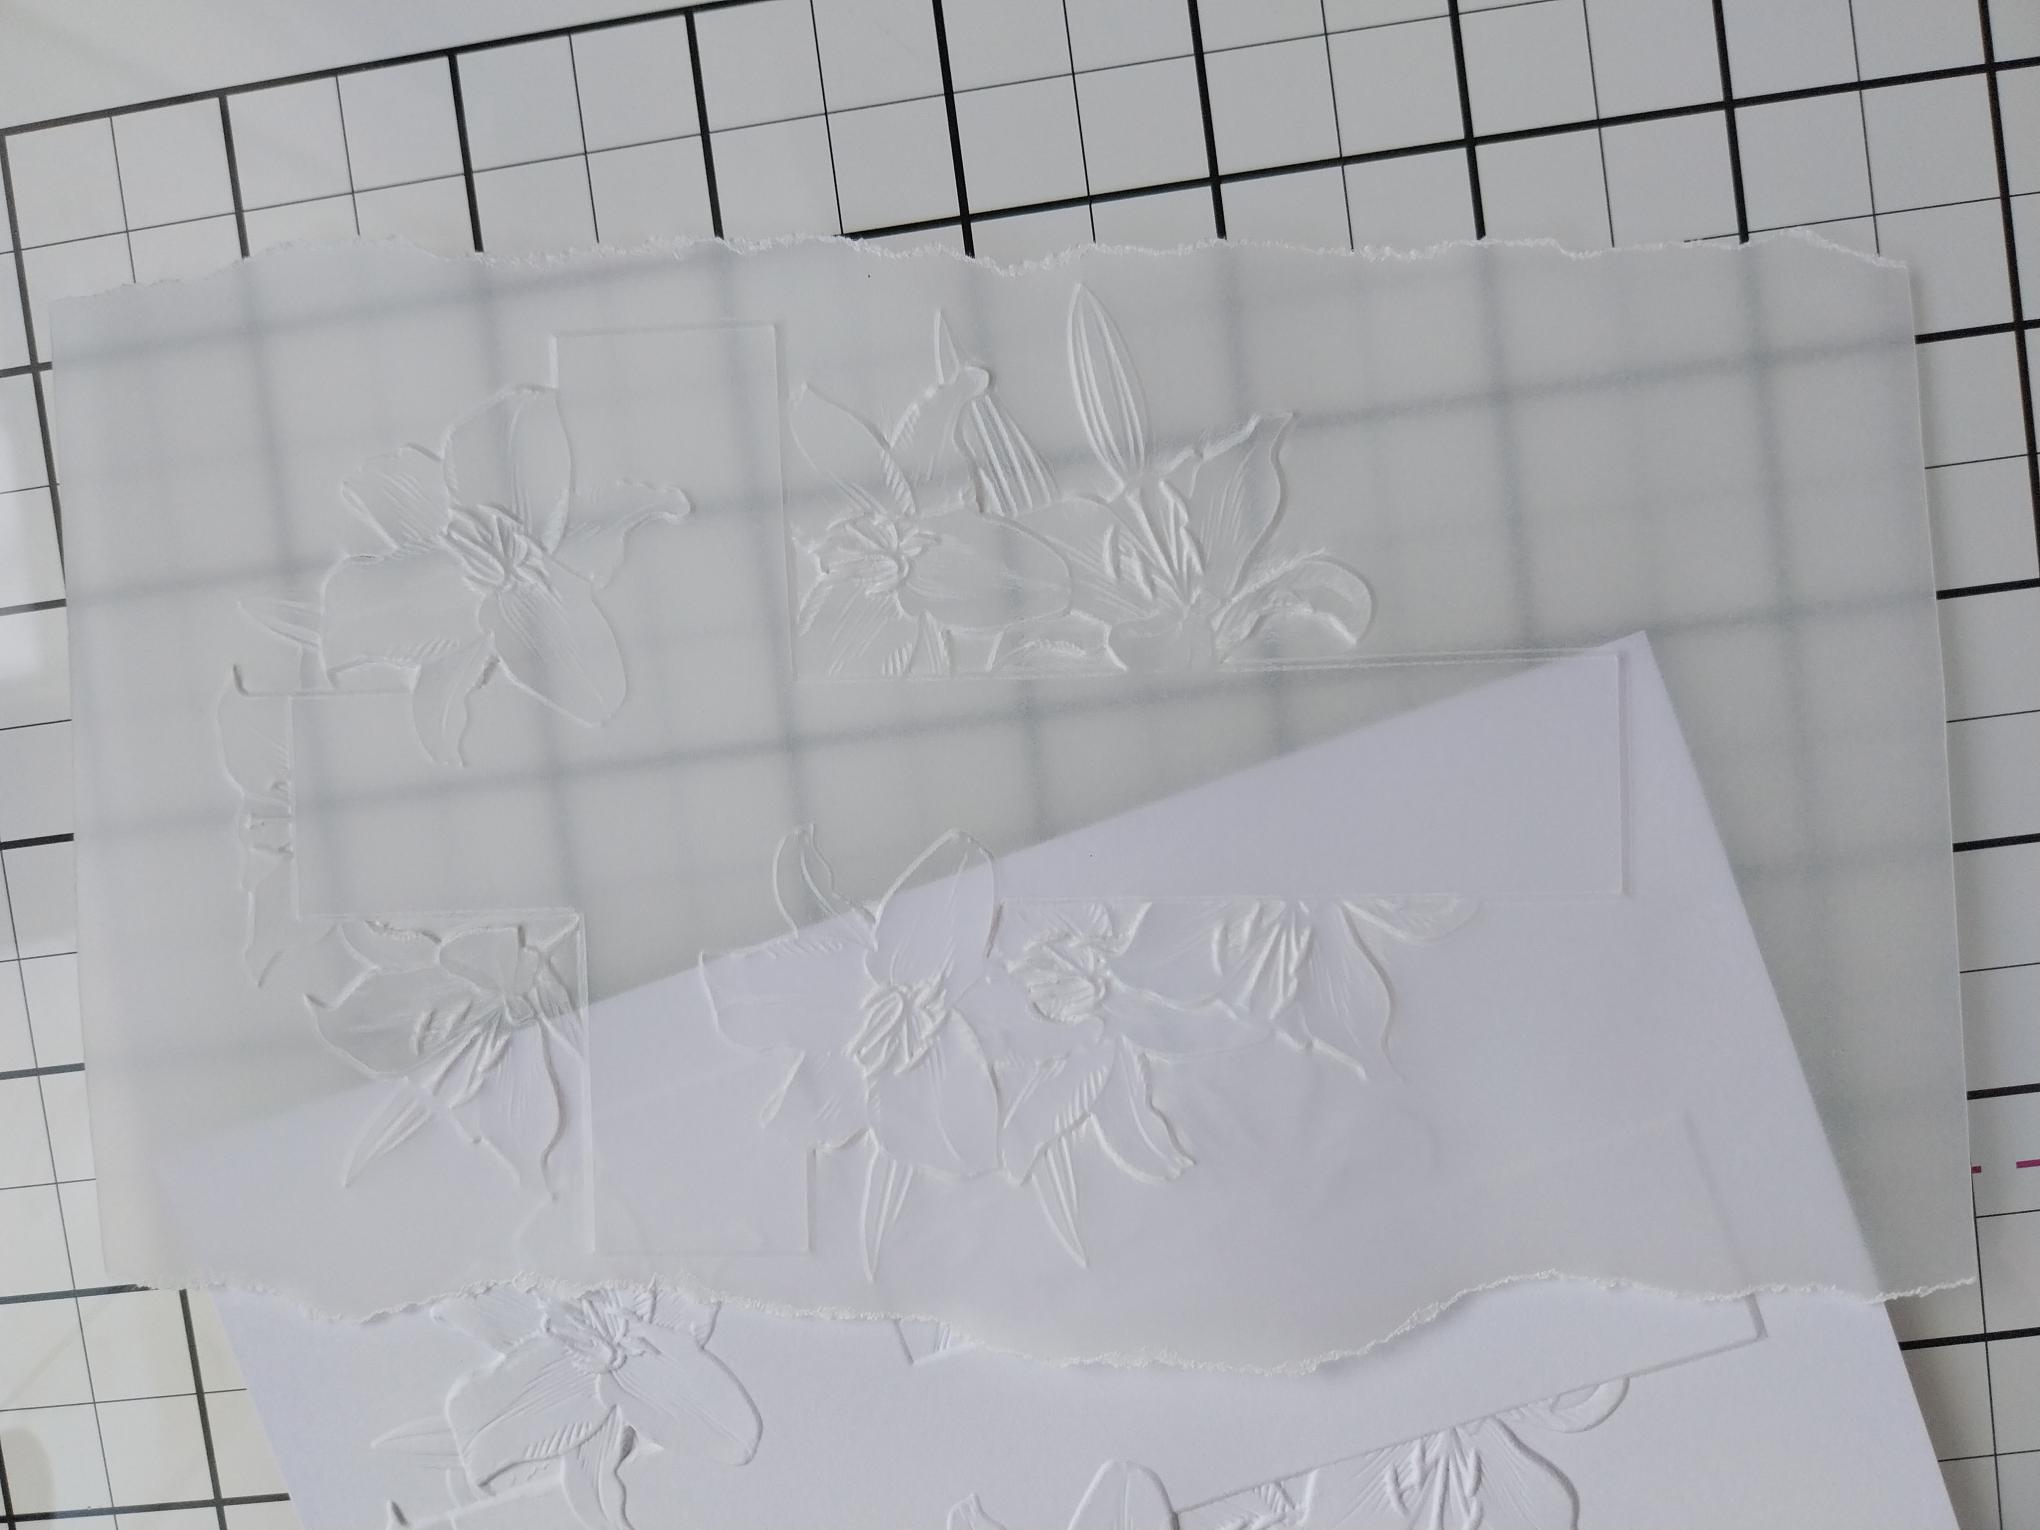
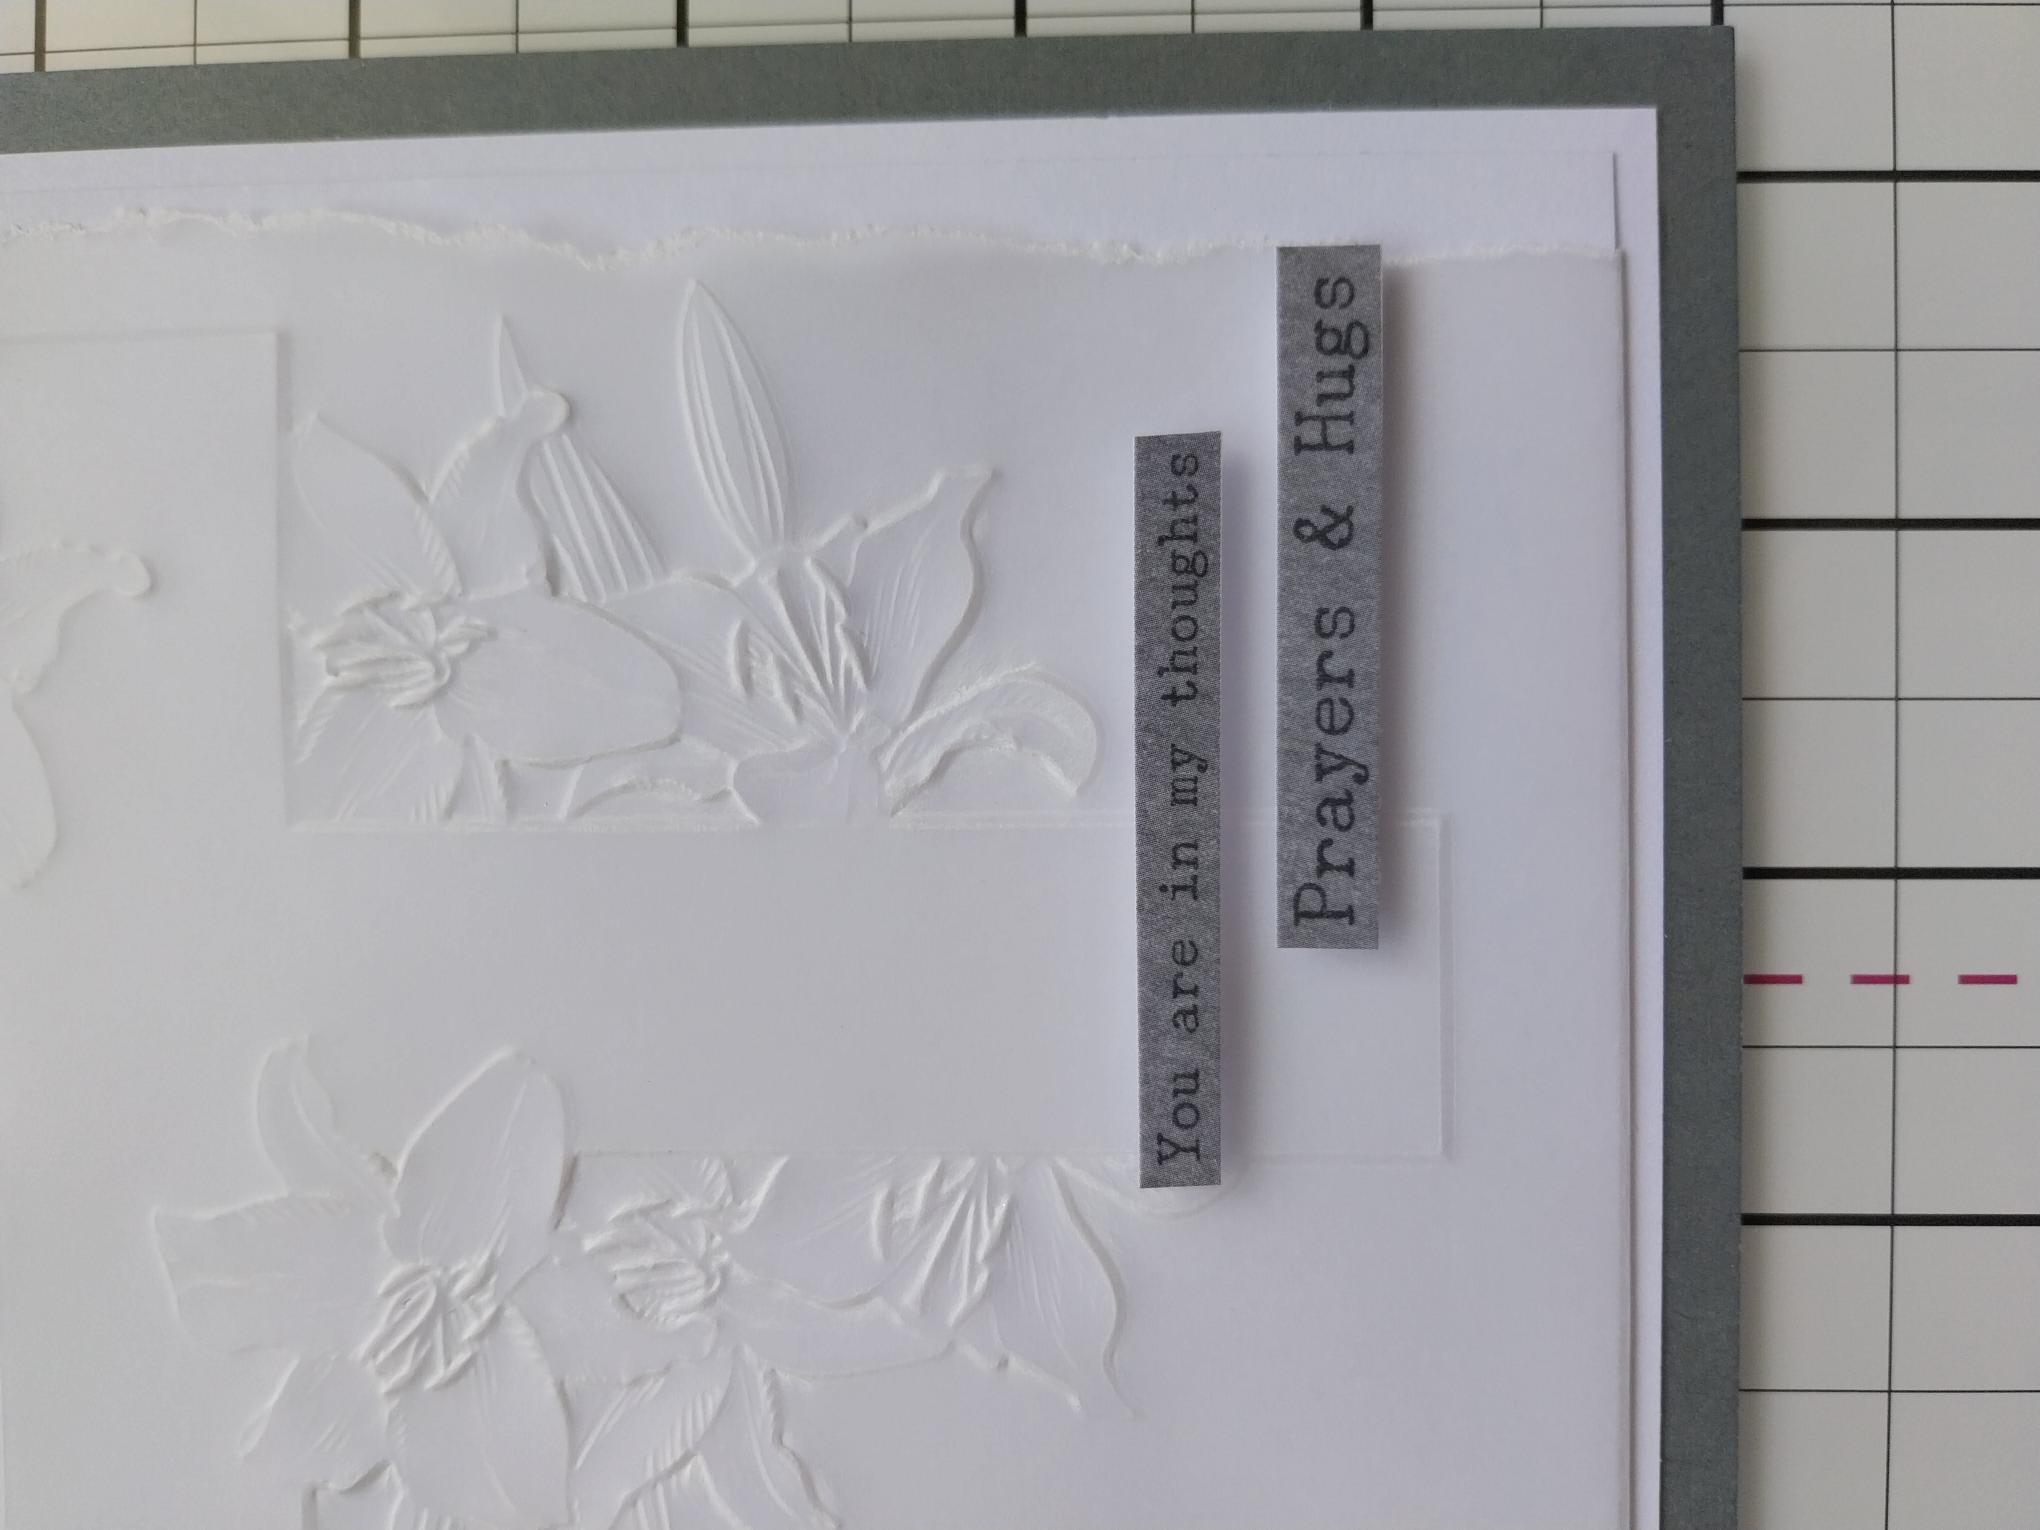
Tear down both sides, around your embossed image, as seen here. |
|
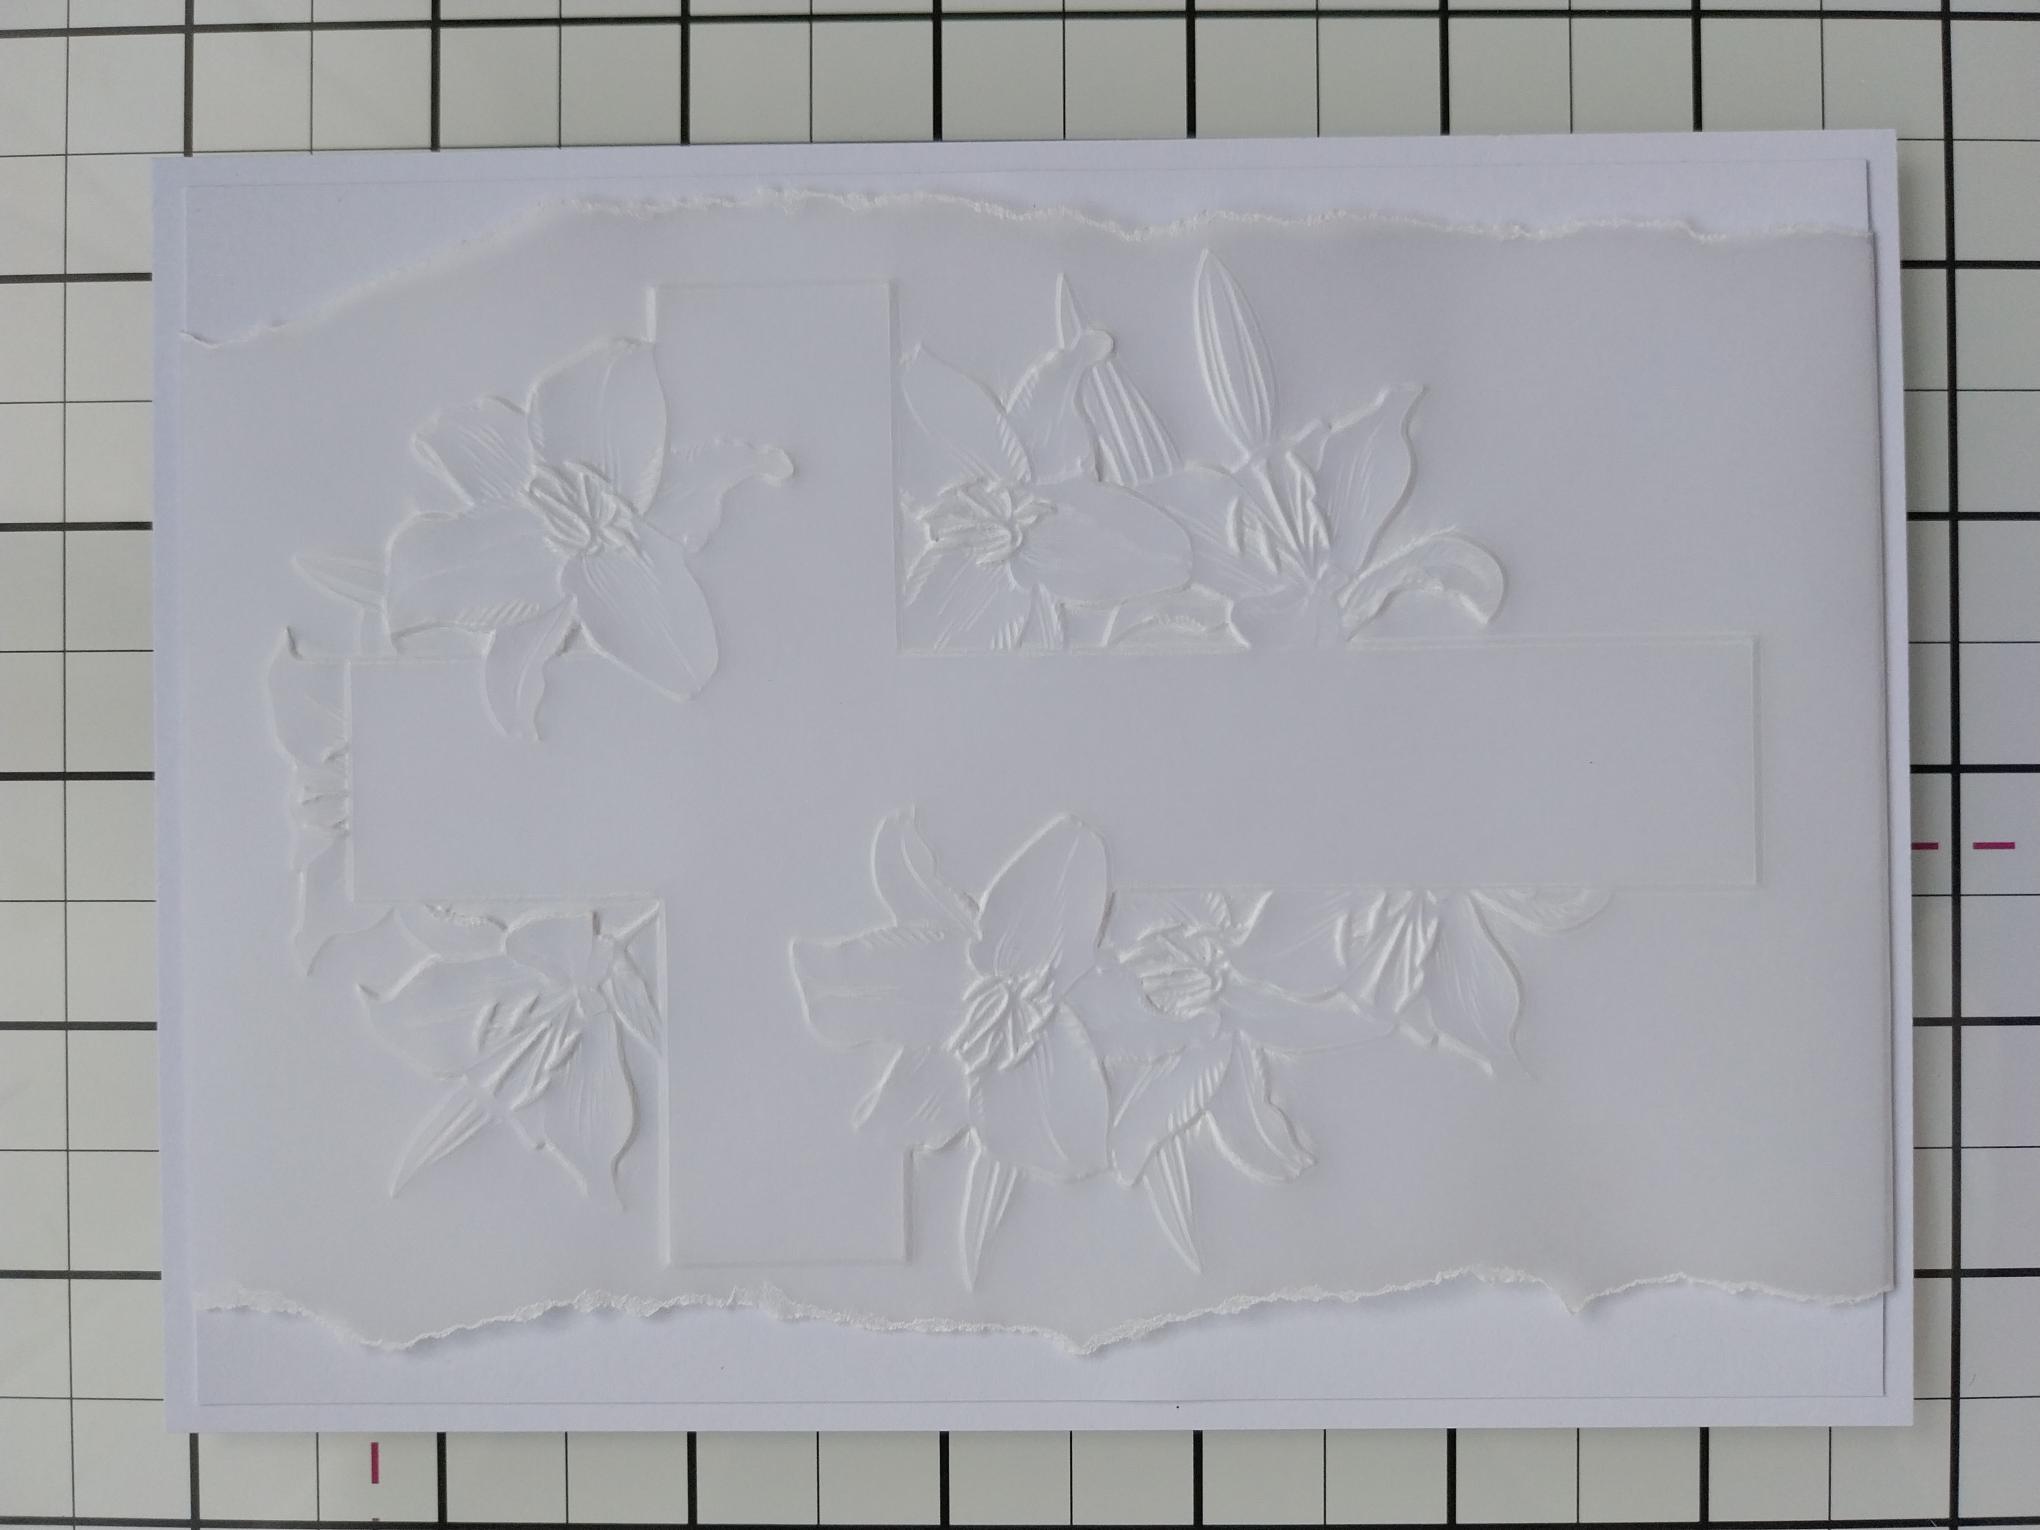
Line up the embossed vellum image on top of the embossed card image. Tuck the ends over the top and bottom of the card and secure on the reverse, with double sided tape. |
|
Adhere this on to the white card cut to 6 3/4 x 5". |
|
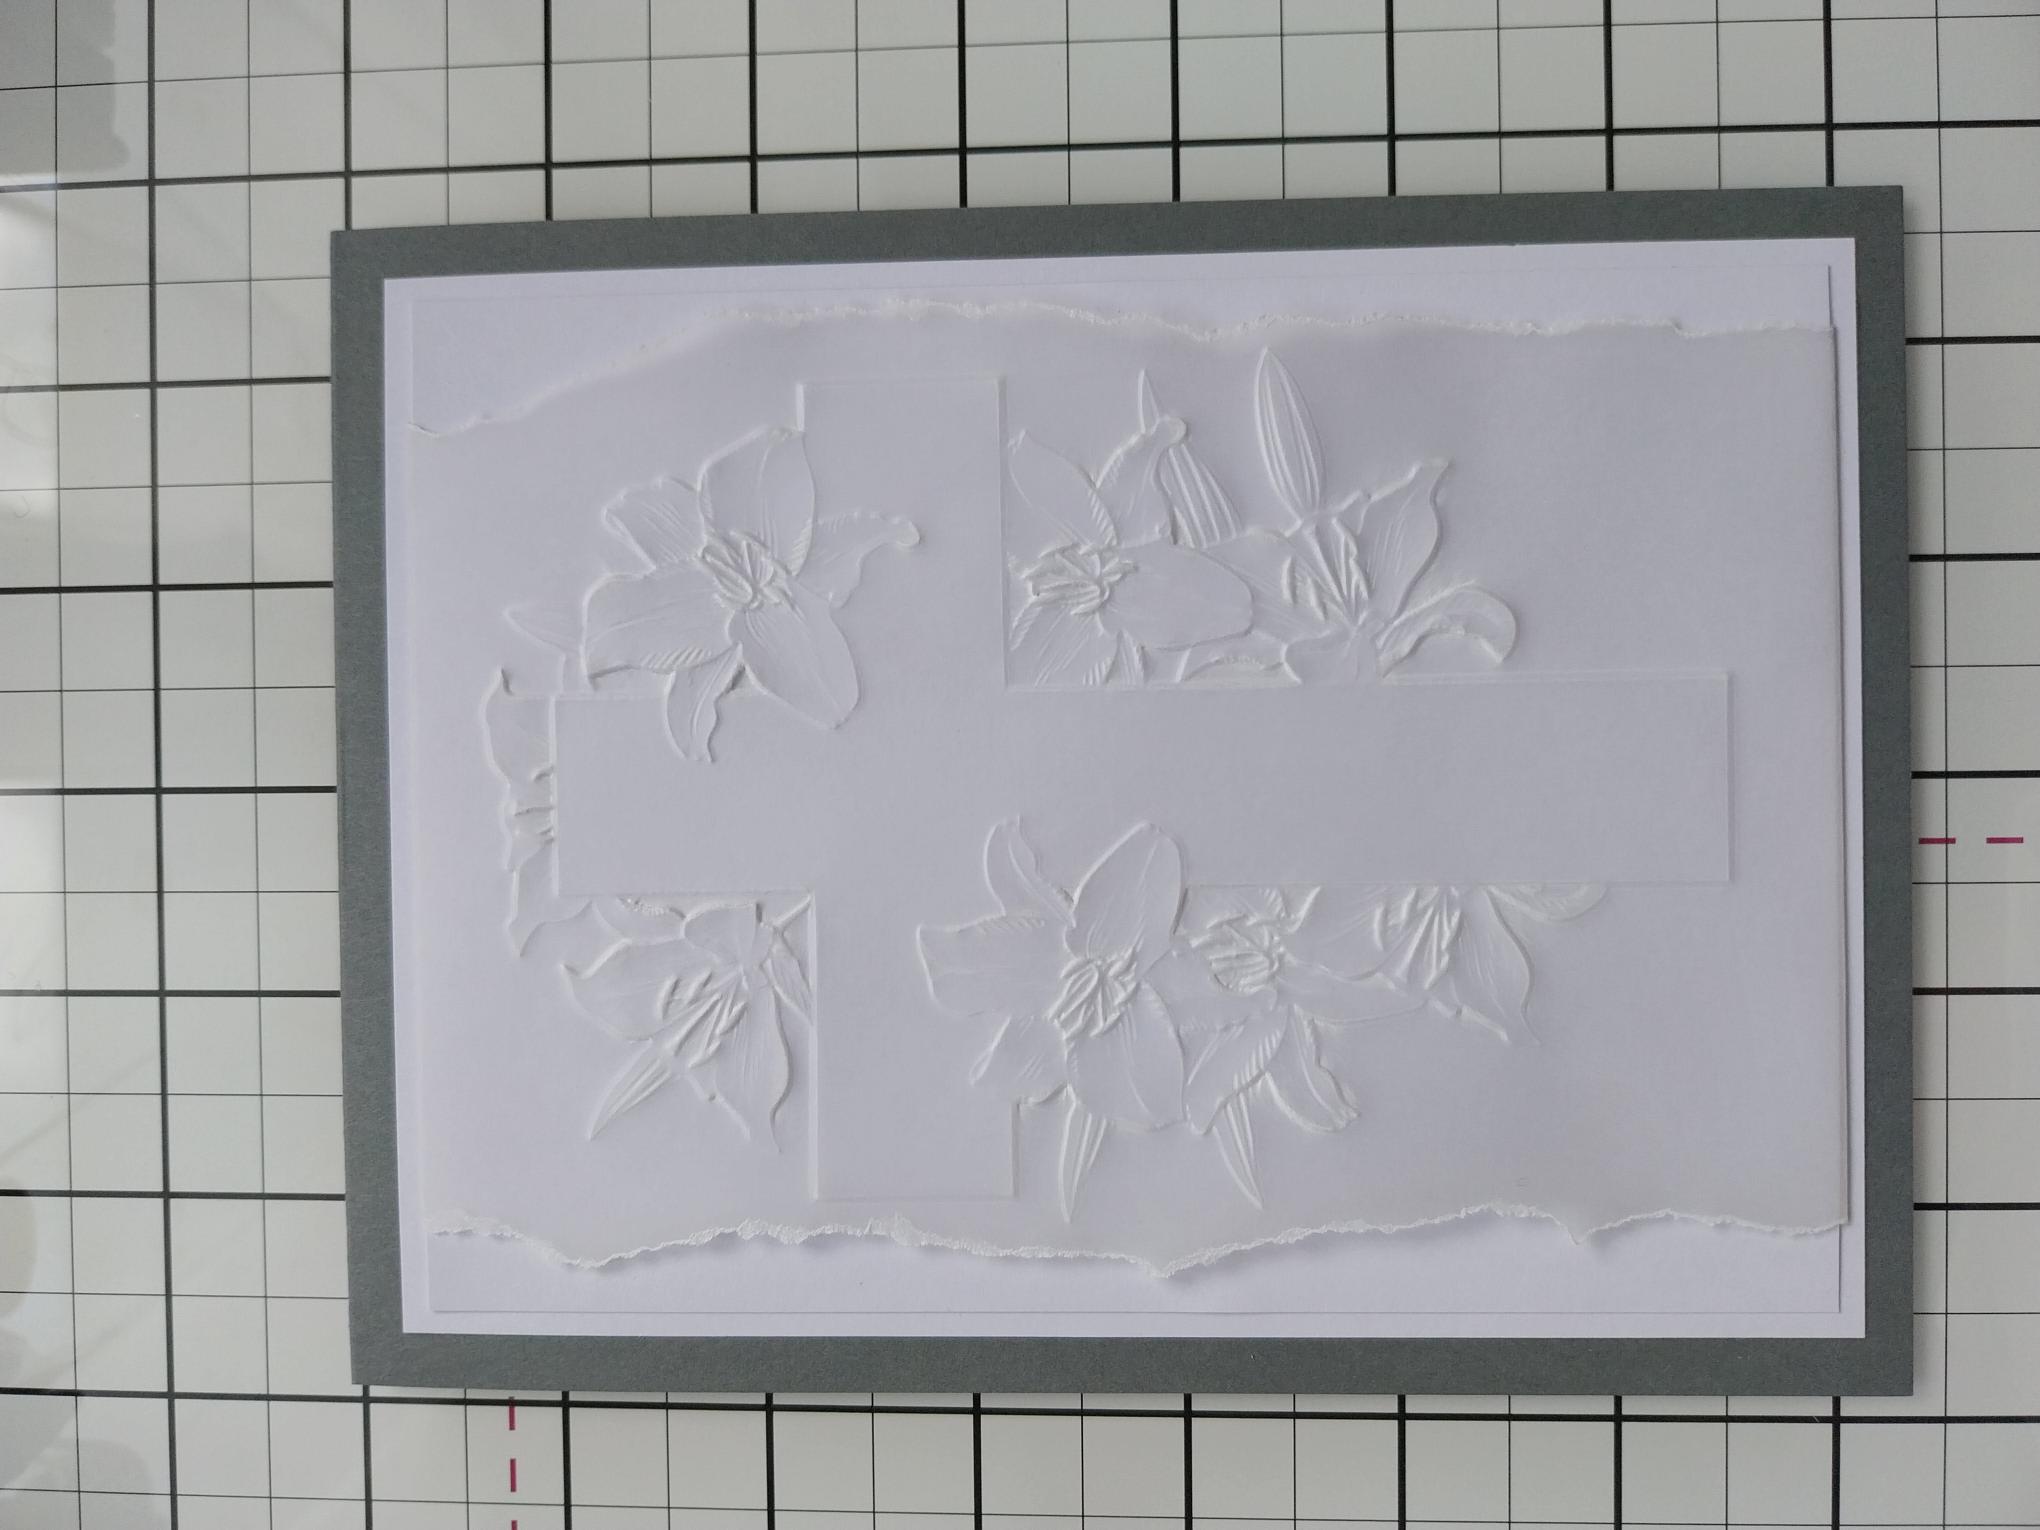
Adhere this on to your grey card blank and set to one side. |
|
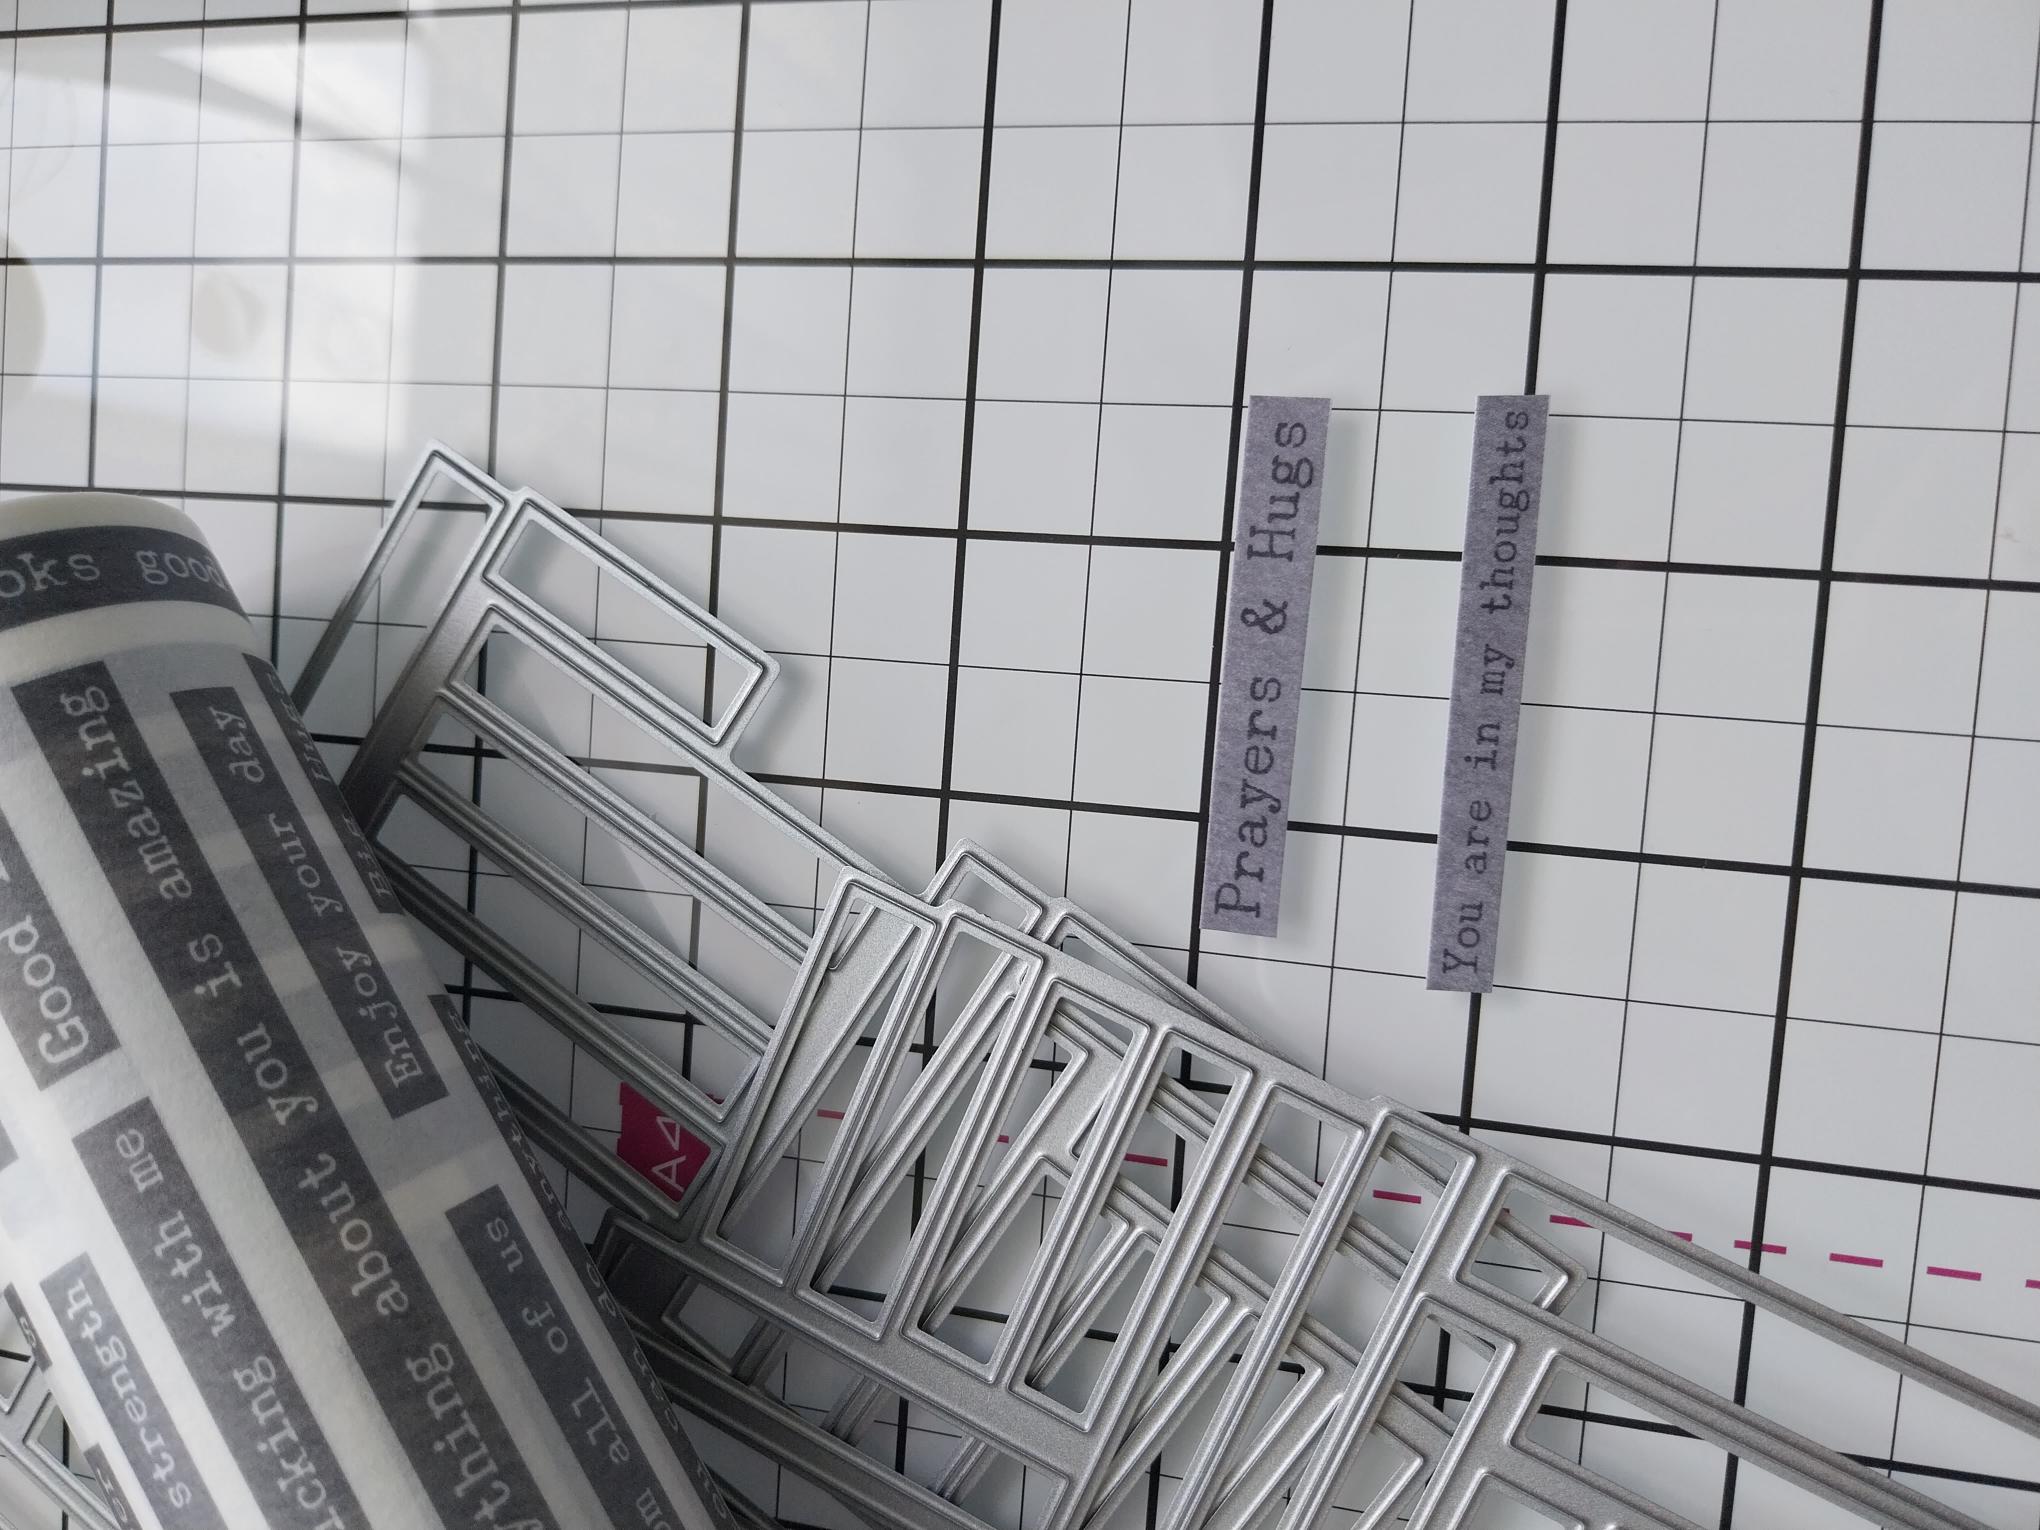
Cut off a "drop" from the Stone Tabs washi tape. Pull back one end of the backing and adhere to one end of the A4 card. Gently peel off and adhere the rest of the washi tape, smoothing out any air bubbles as you go. Place the first coordinating die in place and run through your machine, then repeat with the other die. Find these 2 sentiment tabs and keep the rest in a tub for future projects. |
|
Adhere the sentiments, with foam pads, to the bottom right of your card. |

|
Use your clear overlay sparkle pen to add a touch of shimmer, to the Lily stamens. |