Give your friends $10 off their first order!
Refer a FRIEND


WHAT YOU WILL NEED:
White card blank 6 1/2 x 6 1/2"
White card 5 3/4" square
White card 5 1/2" square
White card
Watercolour Unlimited Love 3D Embossing Folder
Classic Celebration 8 x 8" Vellum Pack
Let's Celebrate Stamp and Die Collection
SBM Hybrid Ink Pad: Midnight
Gossip alcohol pens
Sequins: Periwinkle
Pick up pokey tool
Eureka 101 Watercolour Tablet
SBM Magnetic glass mat
Paper Trimmer
Perfect Together Glue
Double sided adhesive tape/tape runner
Die Cutting machine
[click image to enlarge] 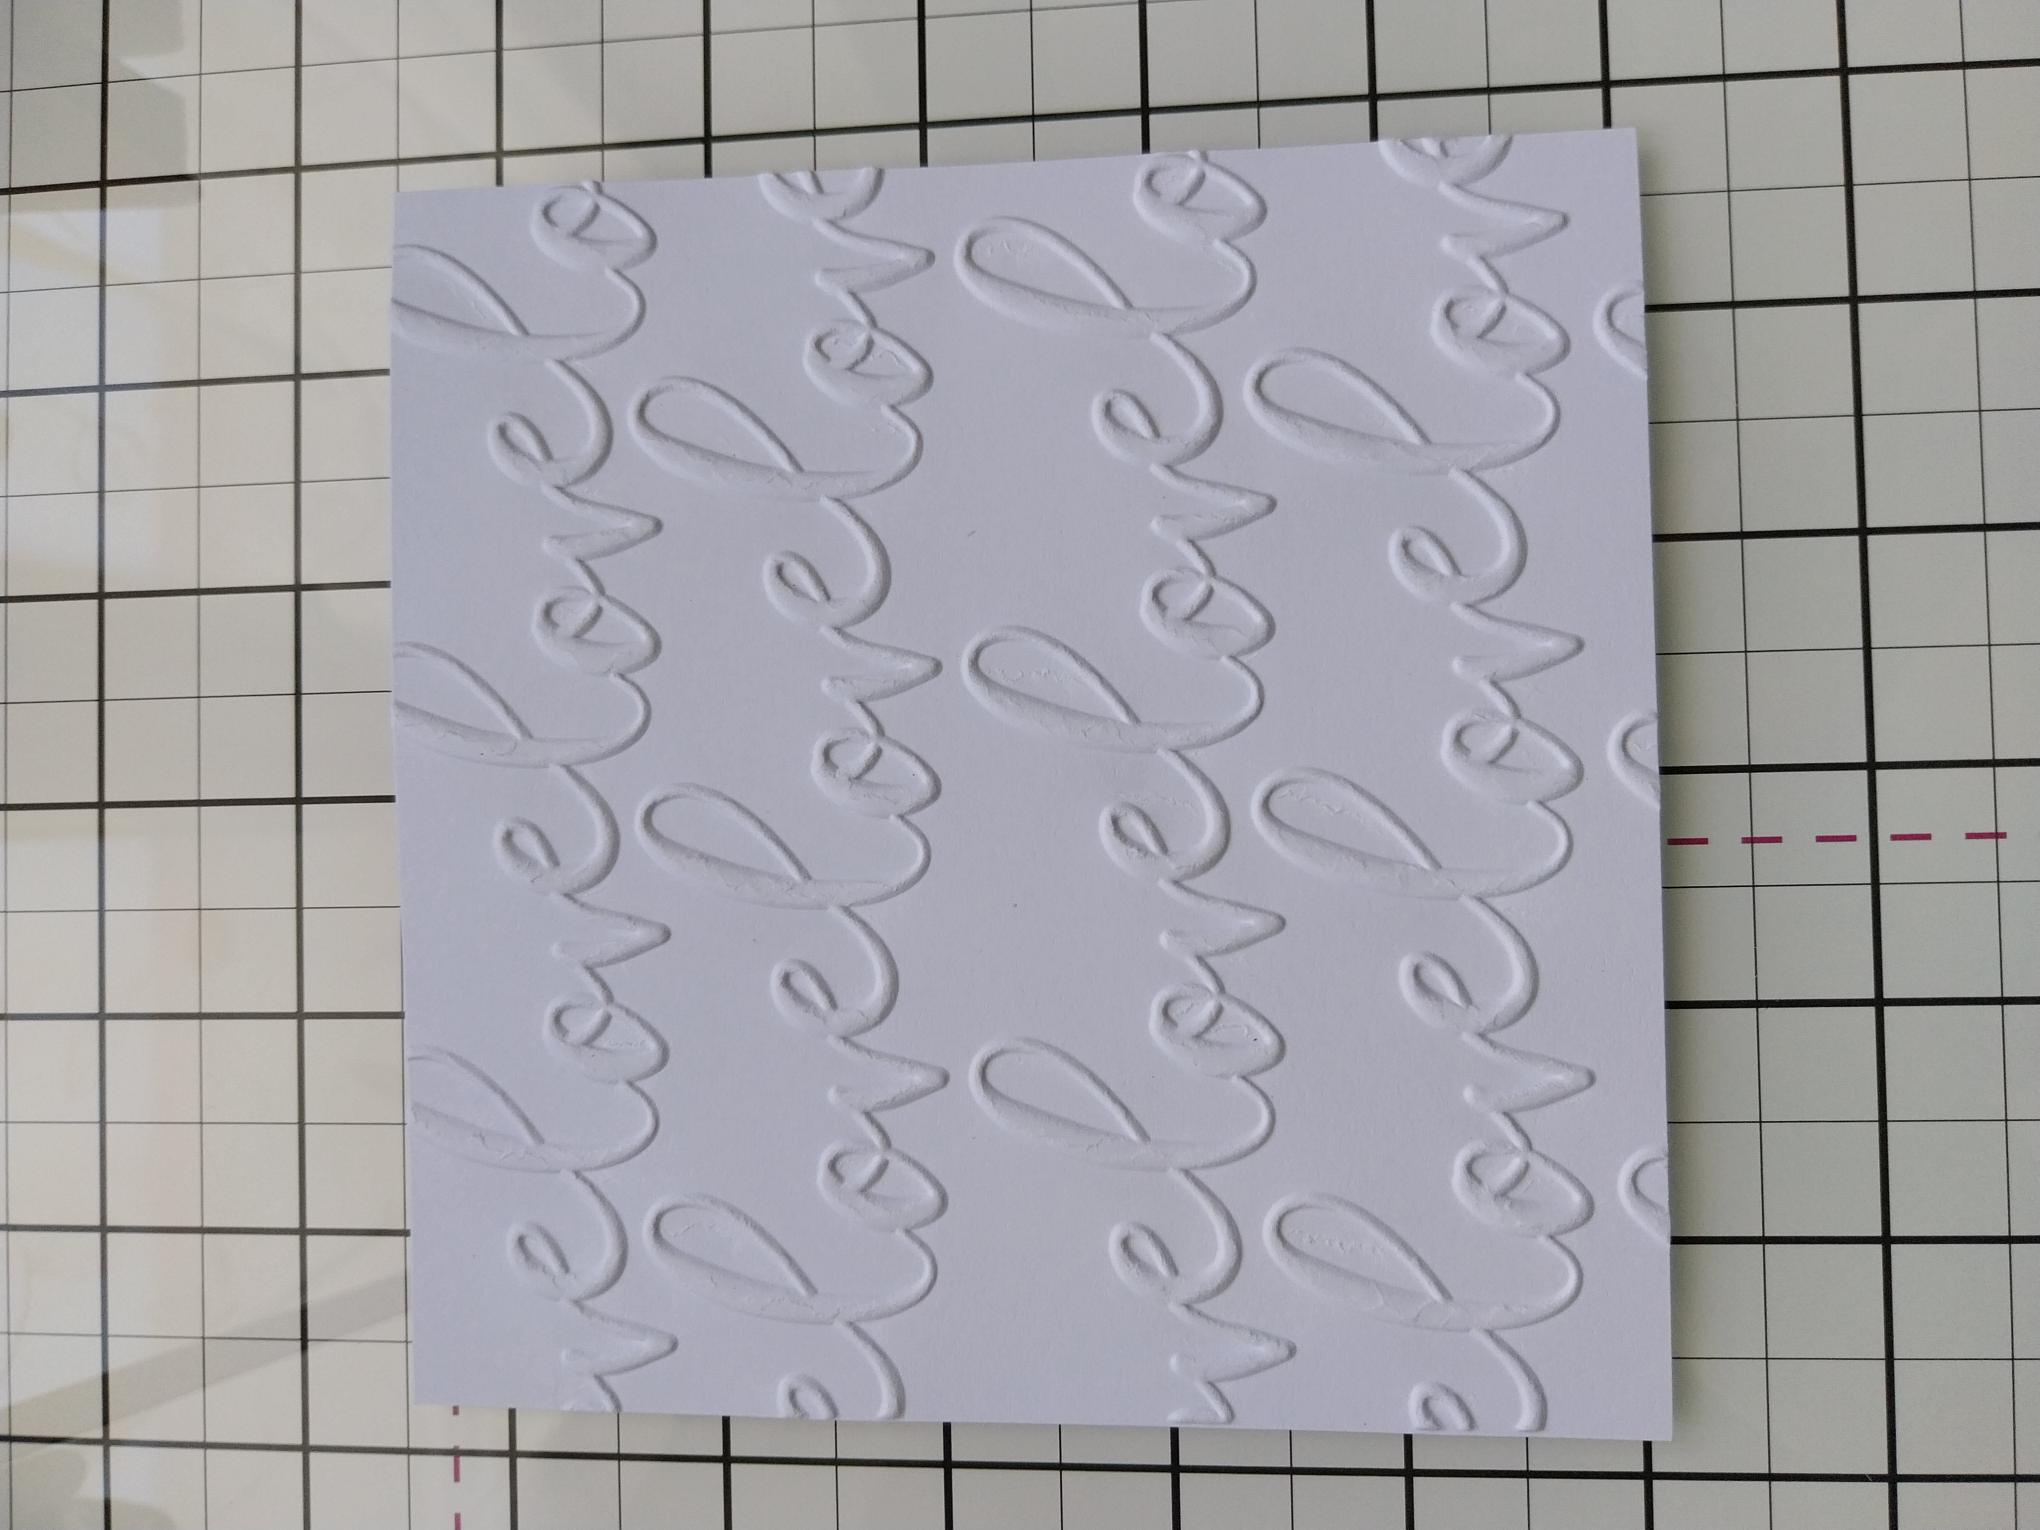
|
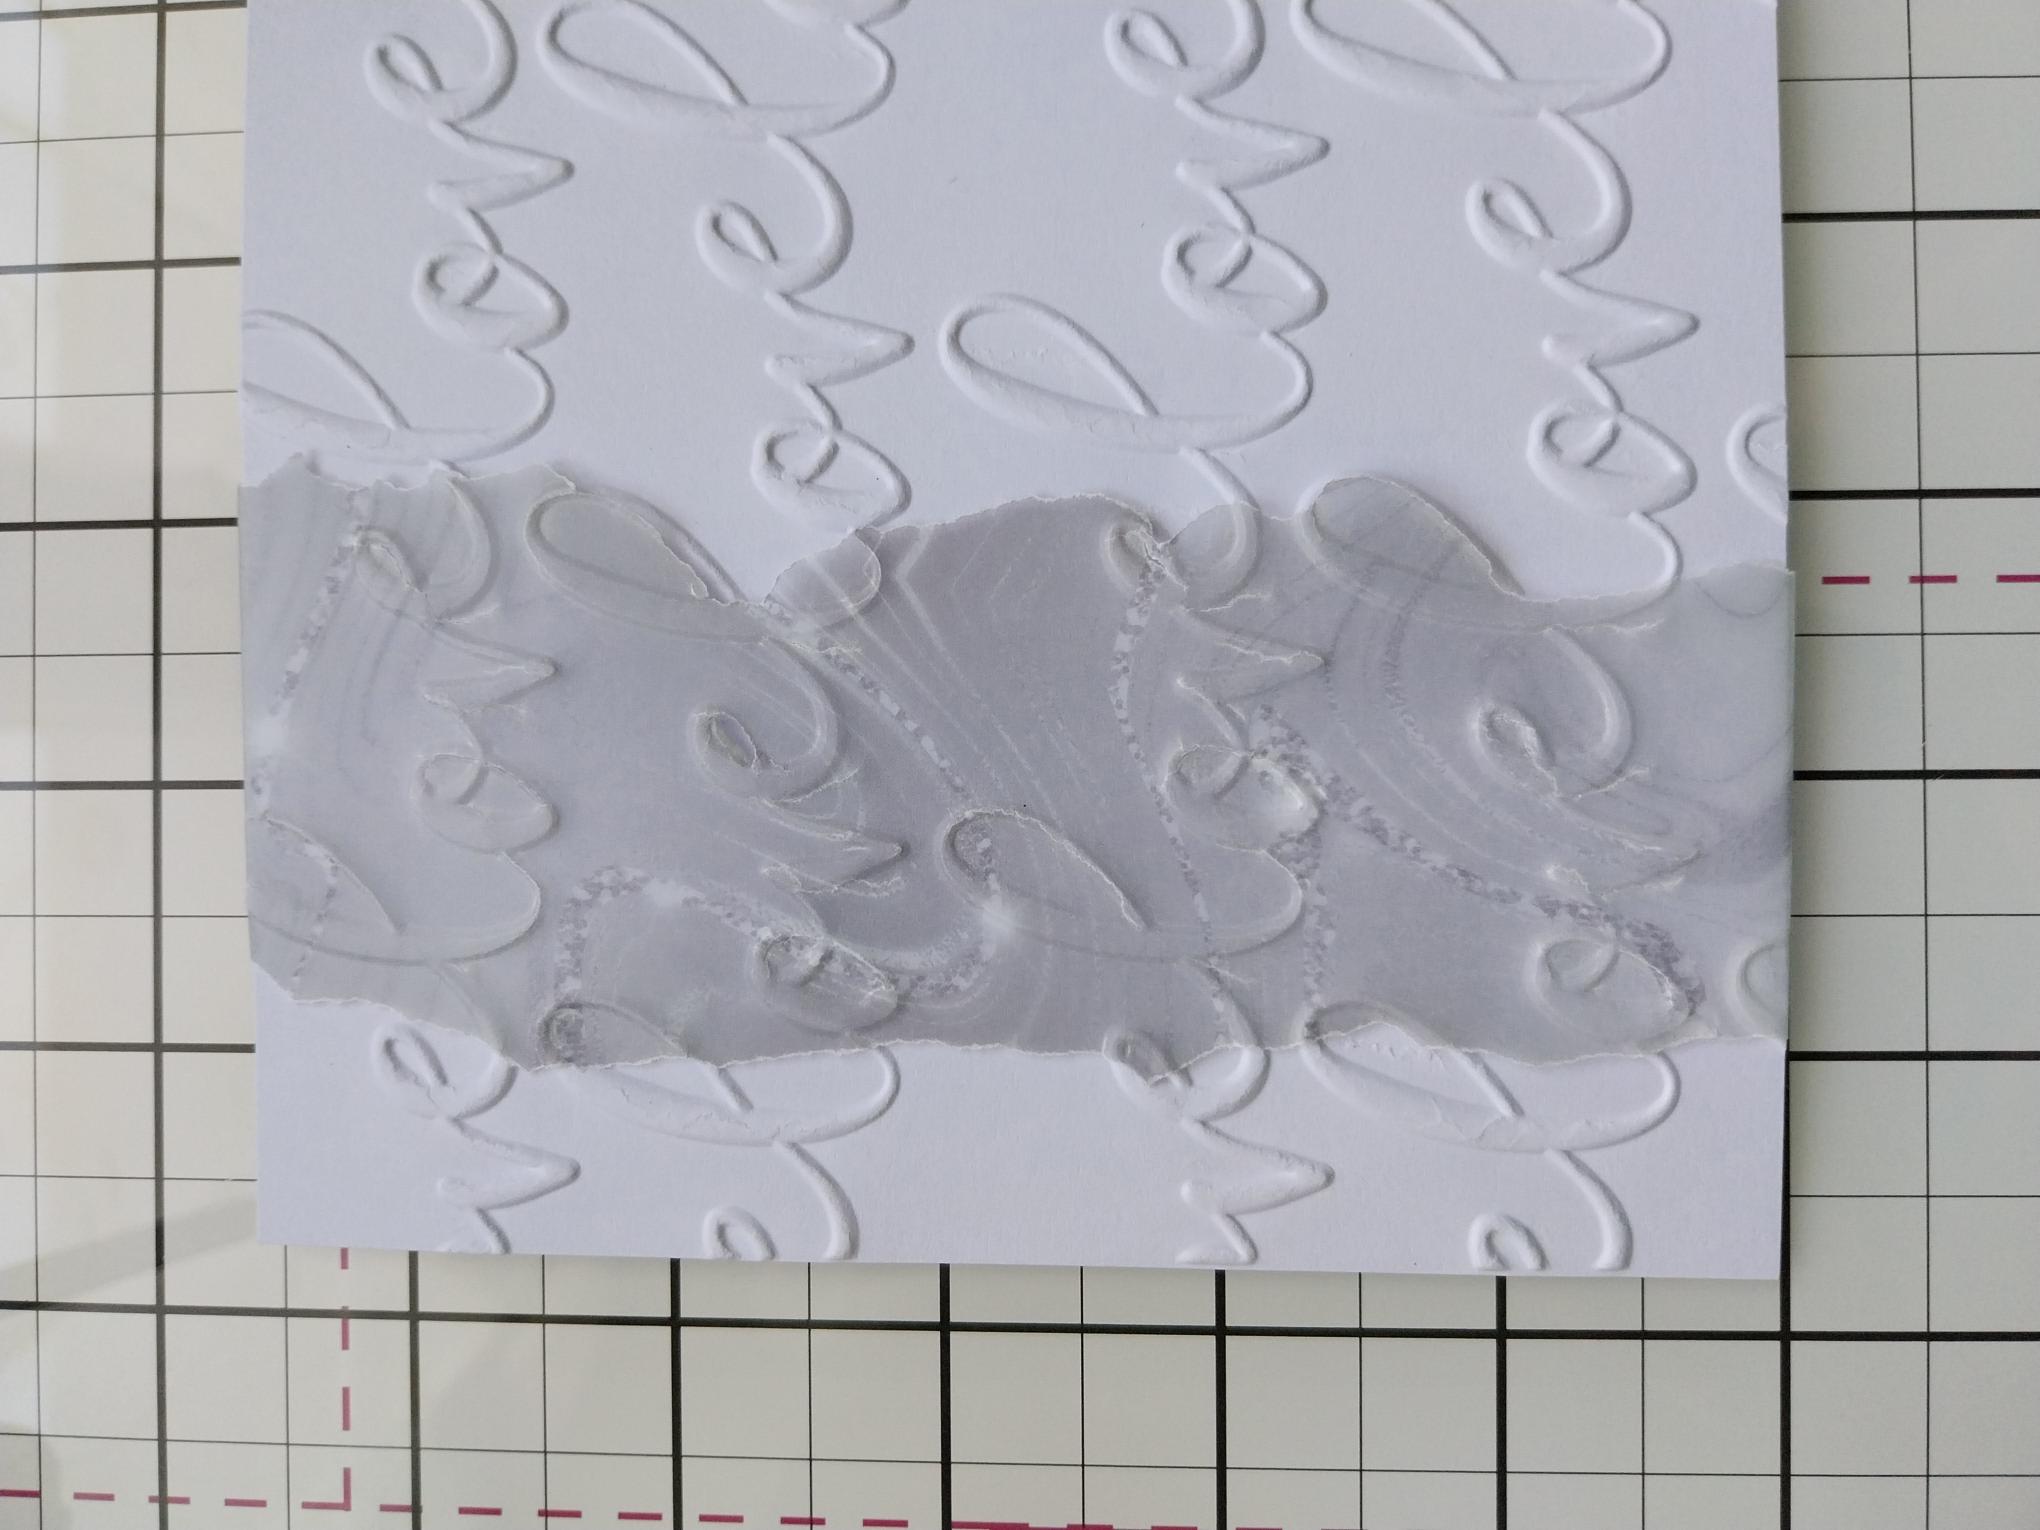
Place the 5 1/2" white, square cardstock inside your embossing folder and run it through your machine. |
|
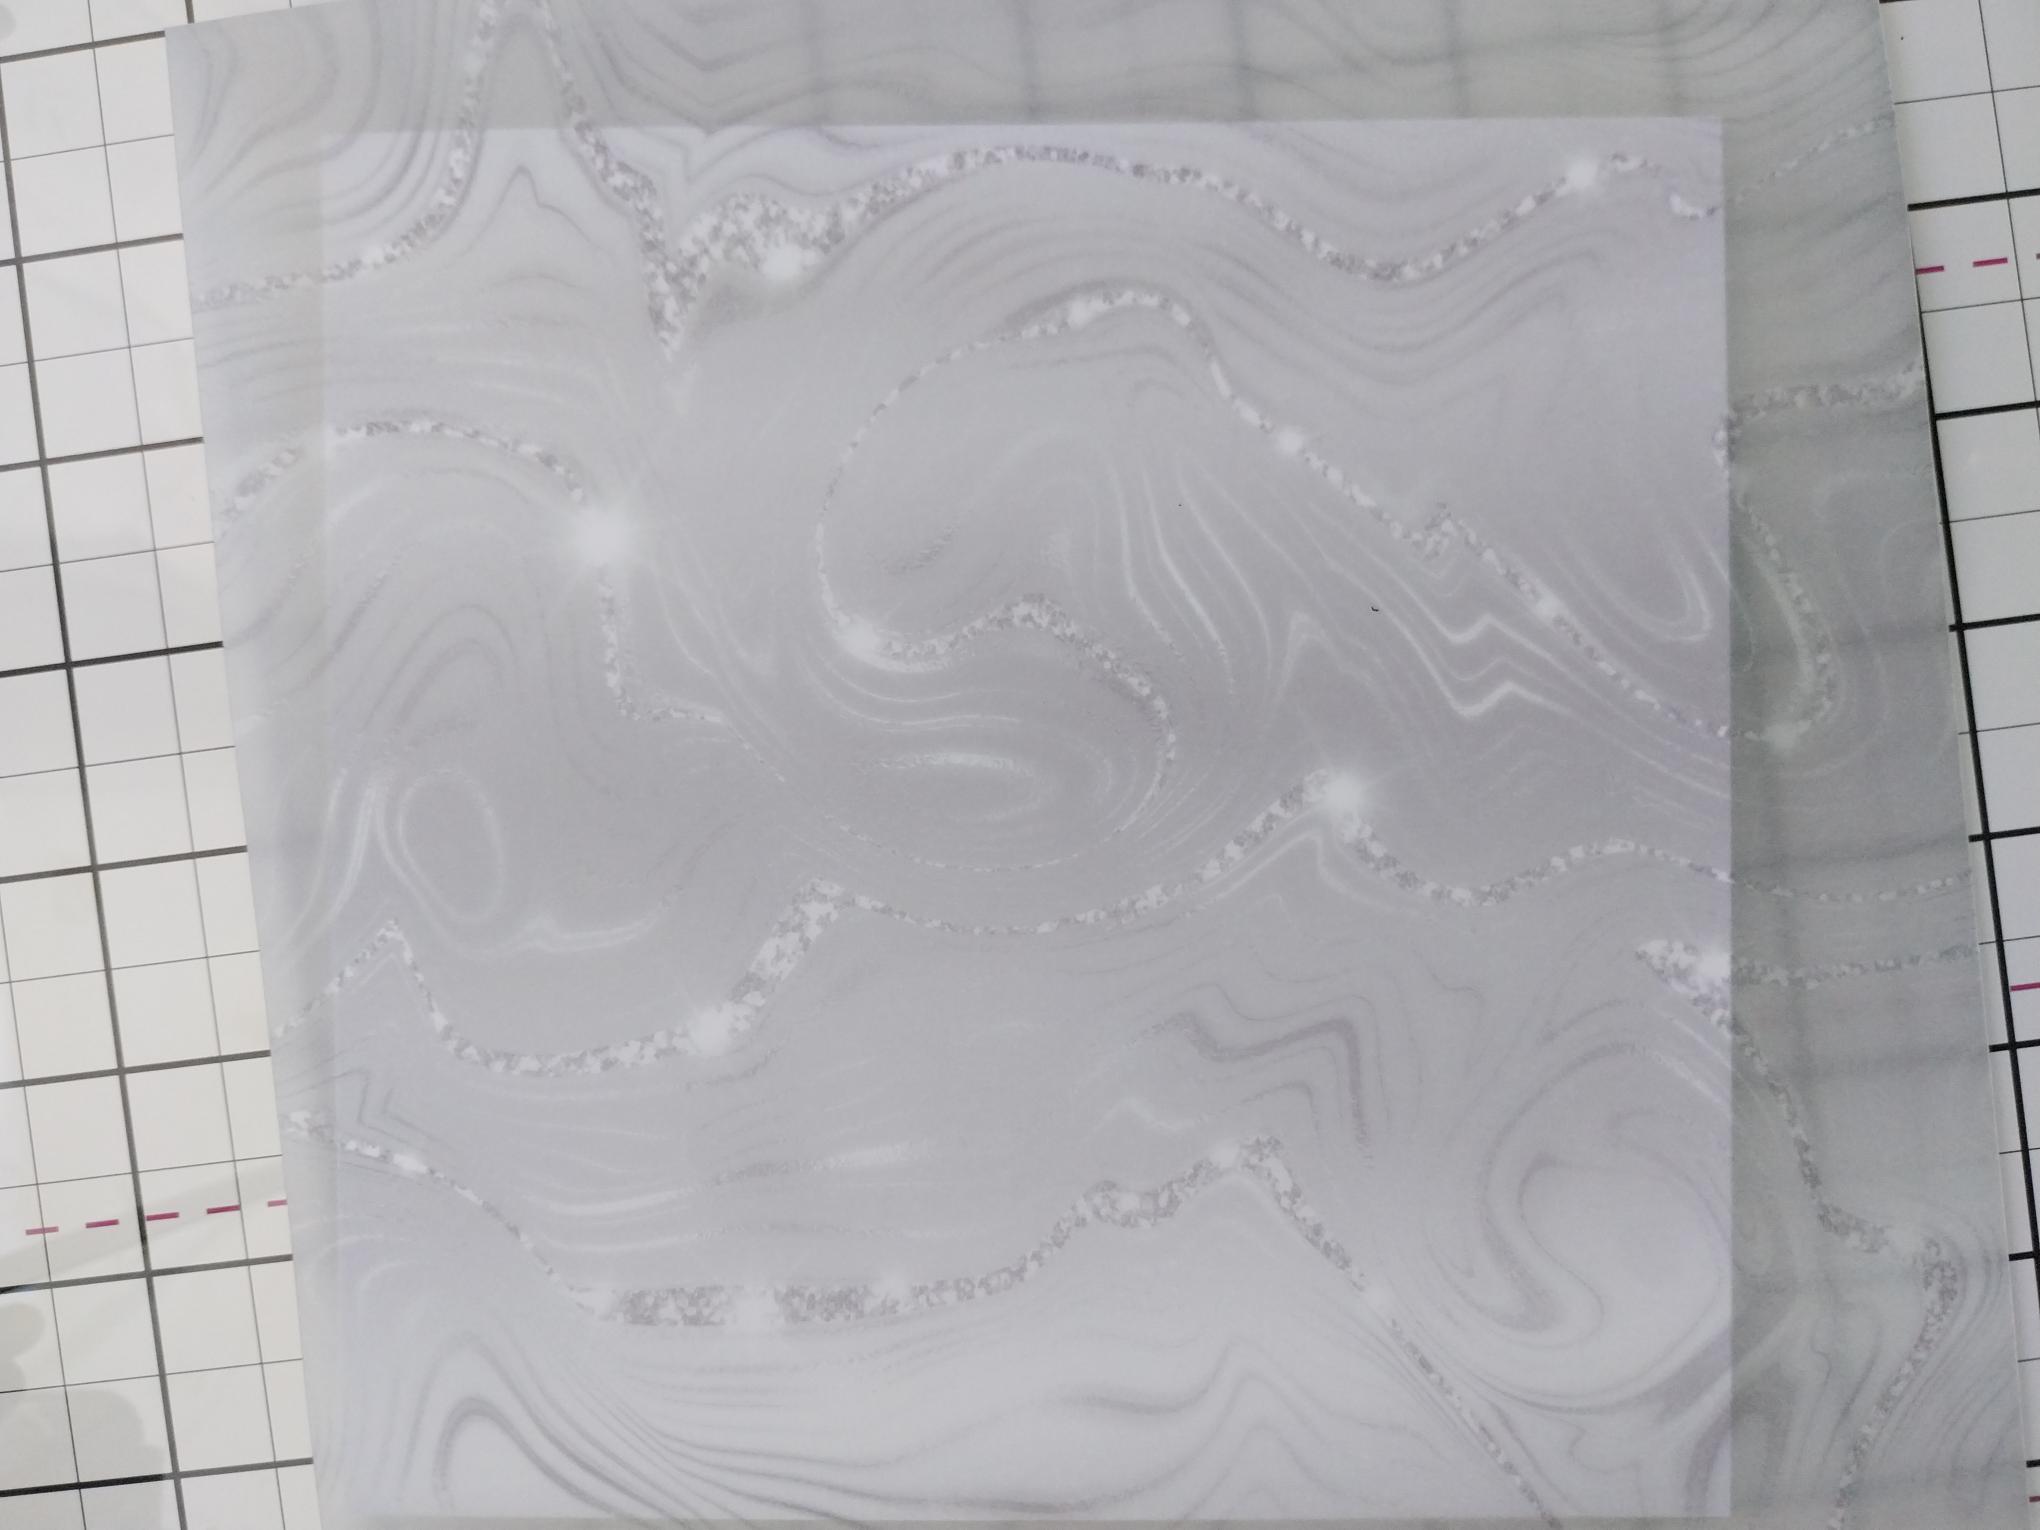
Remove this gorgeous vellum from the Classic Celebration Vellum pack. |
|
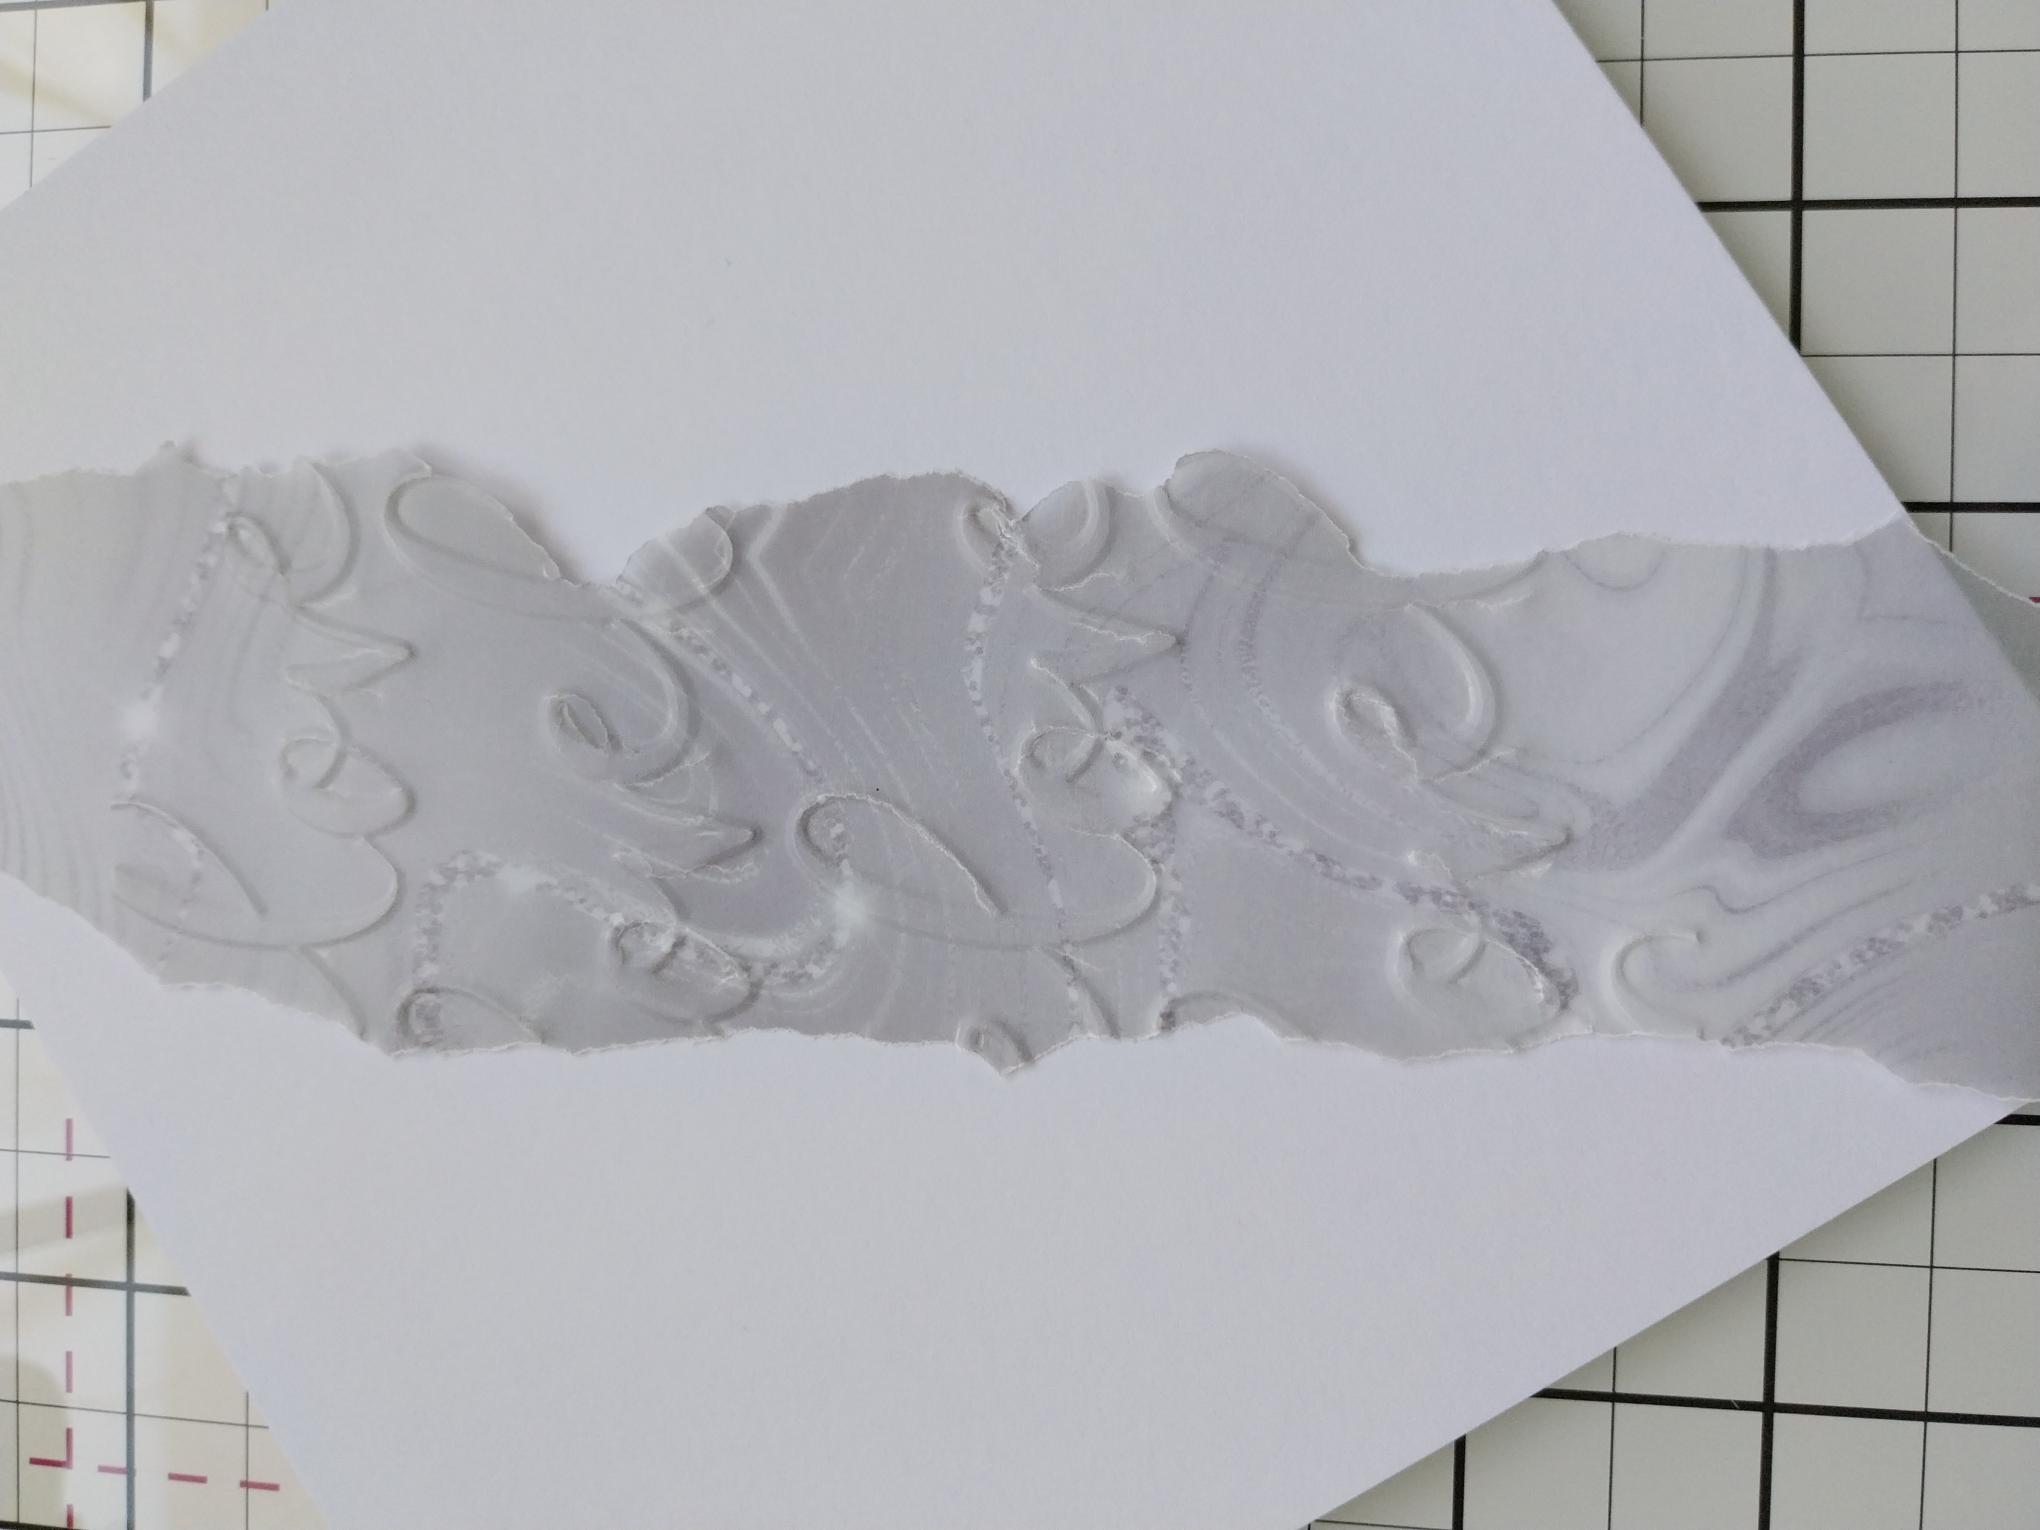
Tear a panel of vellum, as wide as you wish and fold about a cm over, at the top. Place inside the embossing folder, slightly to the left and run it through your embossing folder. Tip: Look at the photo in the next step, so you can see what you're aiming for and where you want to place your panel, within the folder. |
|
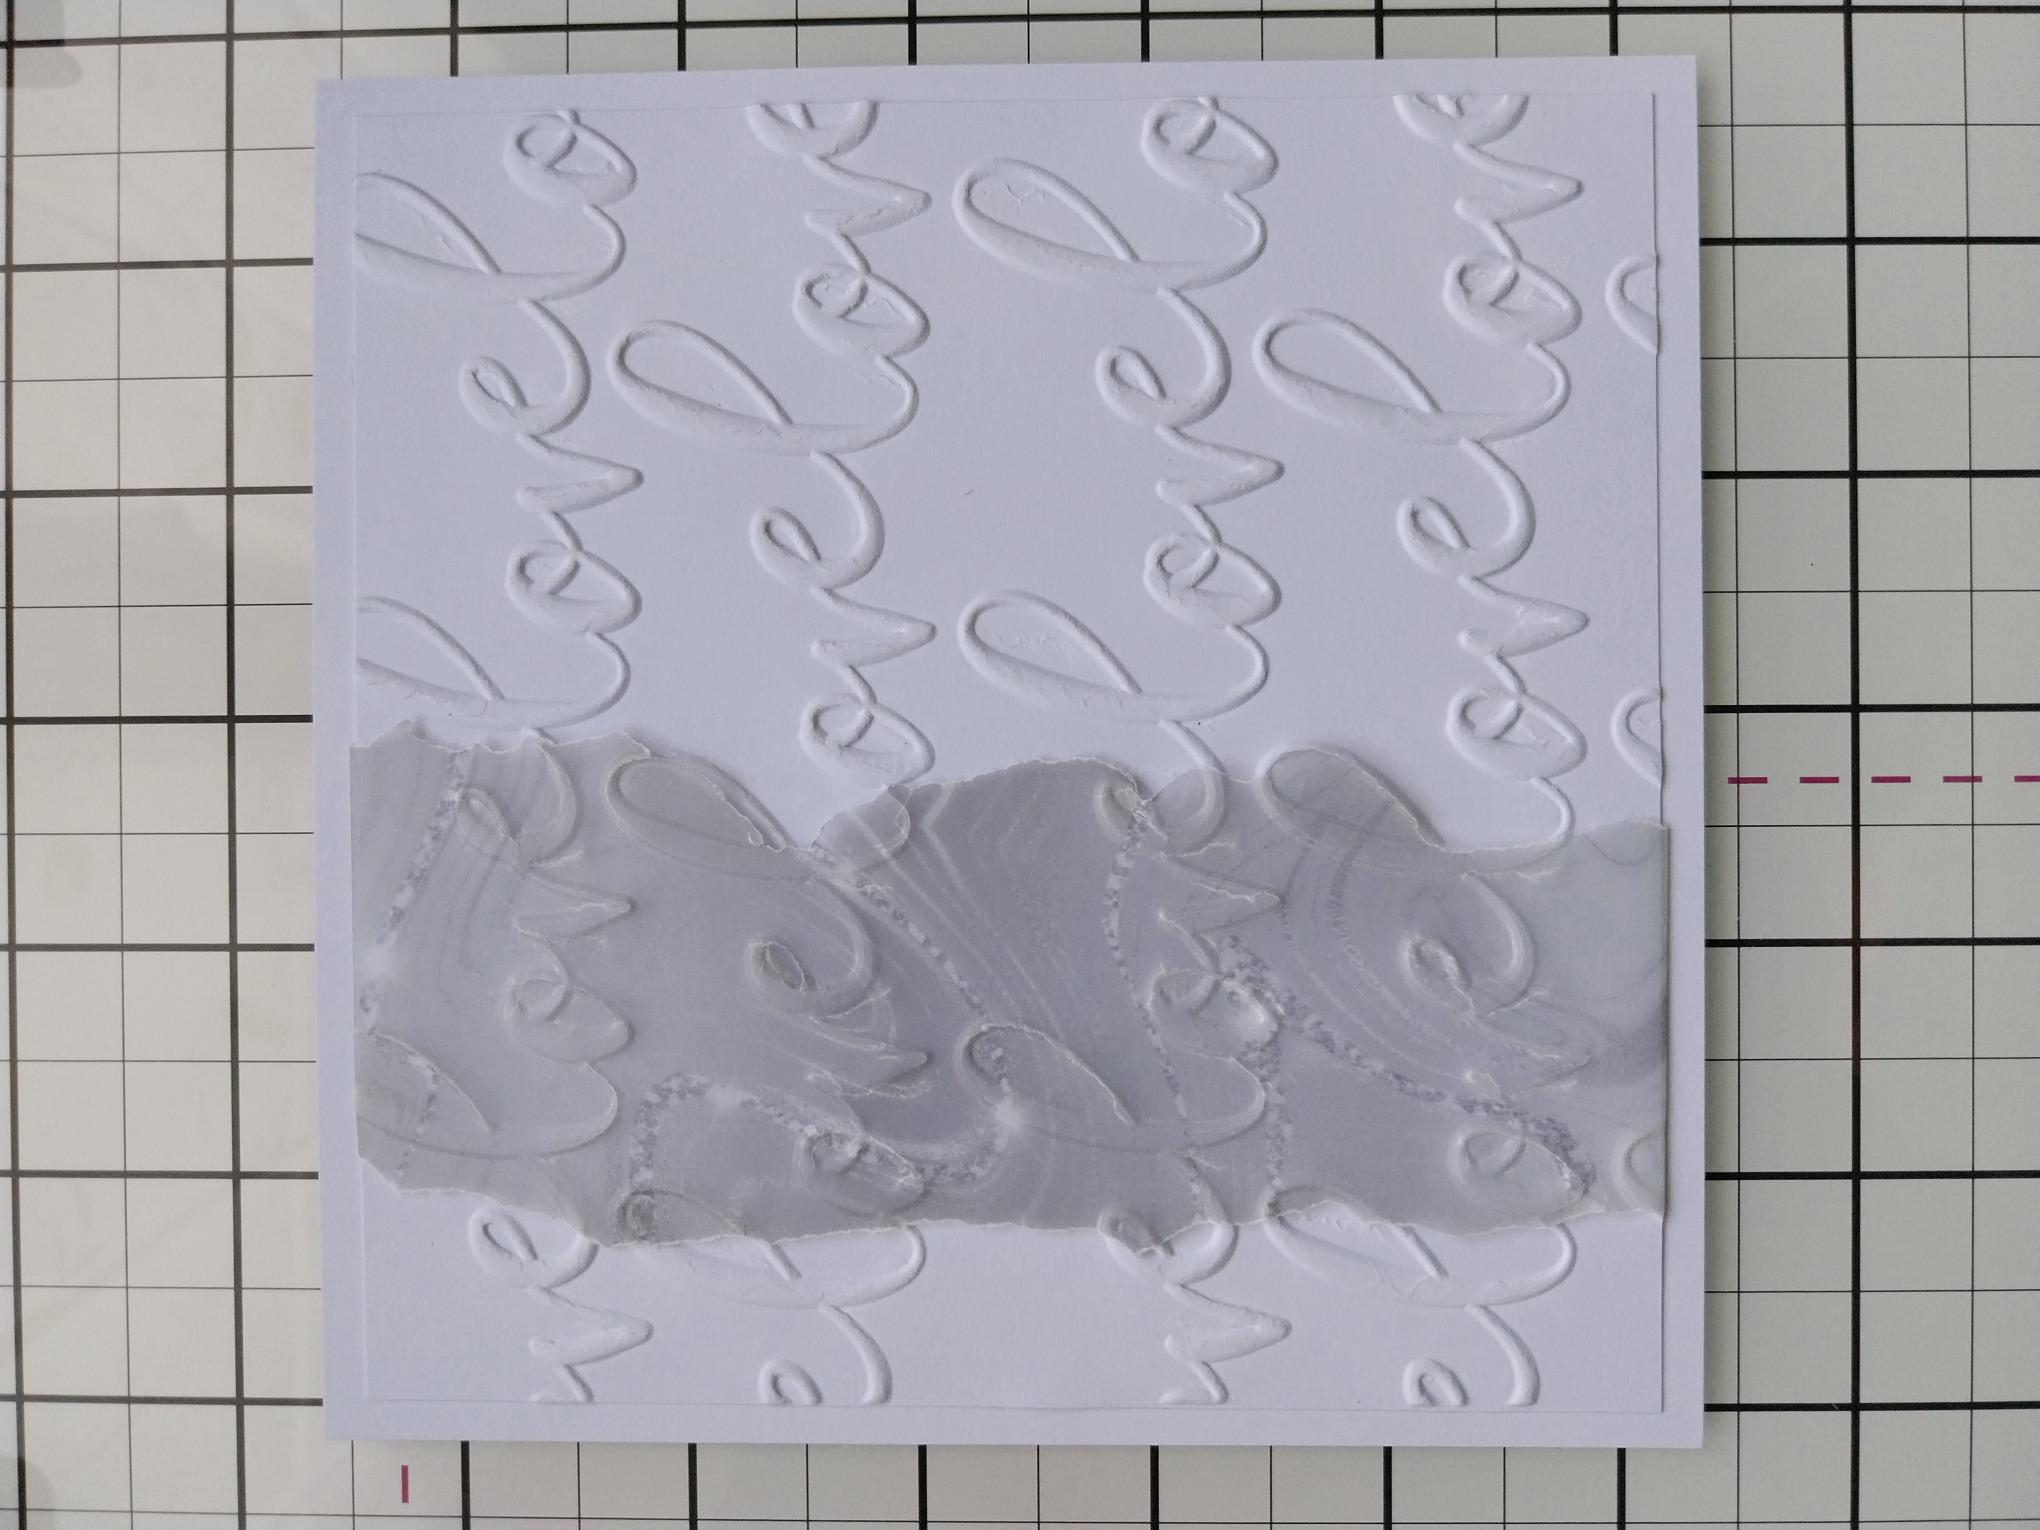
Line up your embossed vellum with the embossed card. Tuck the top and bottom ends over the card and adhere on the reverse with double sided tape or a tape runner. |
|
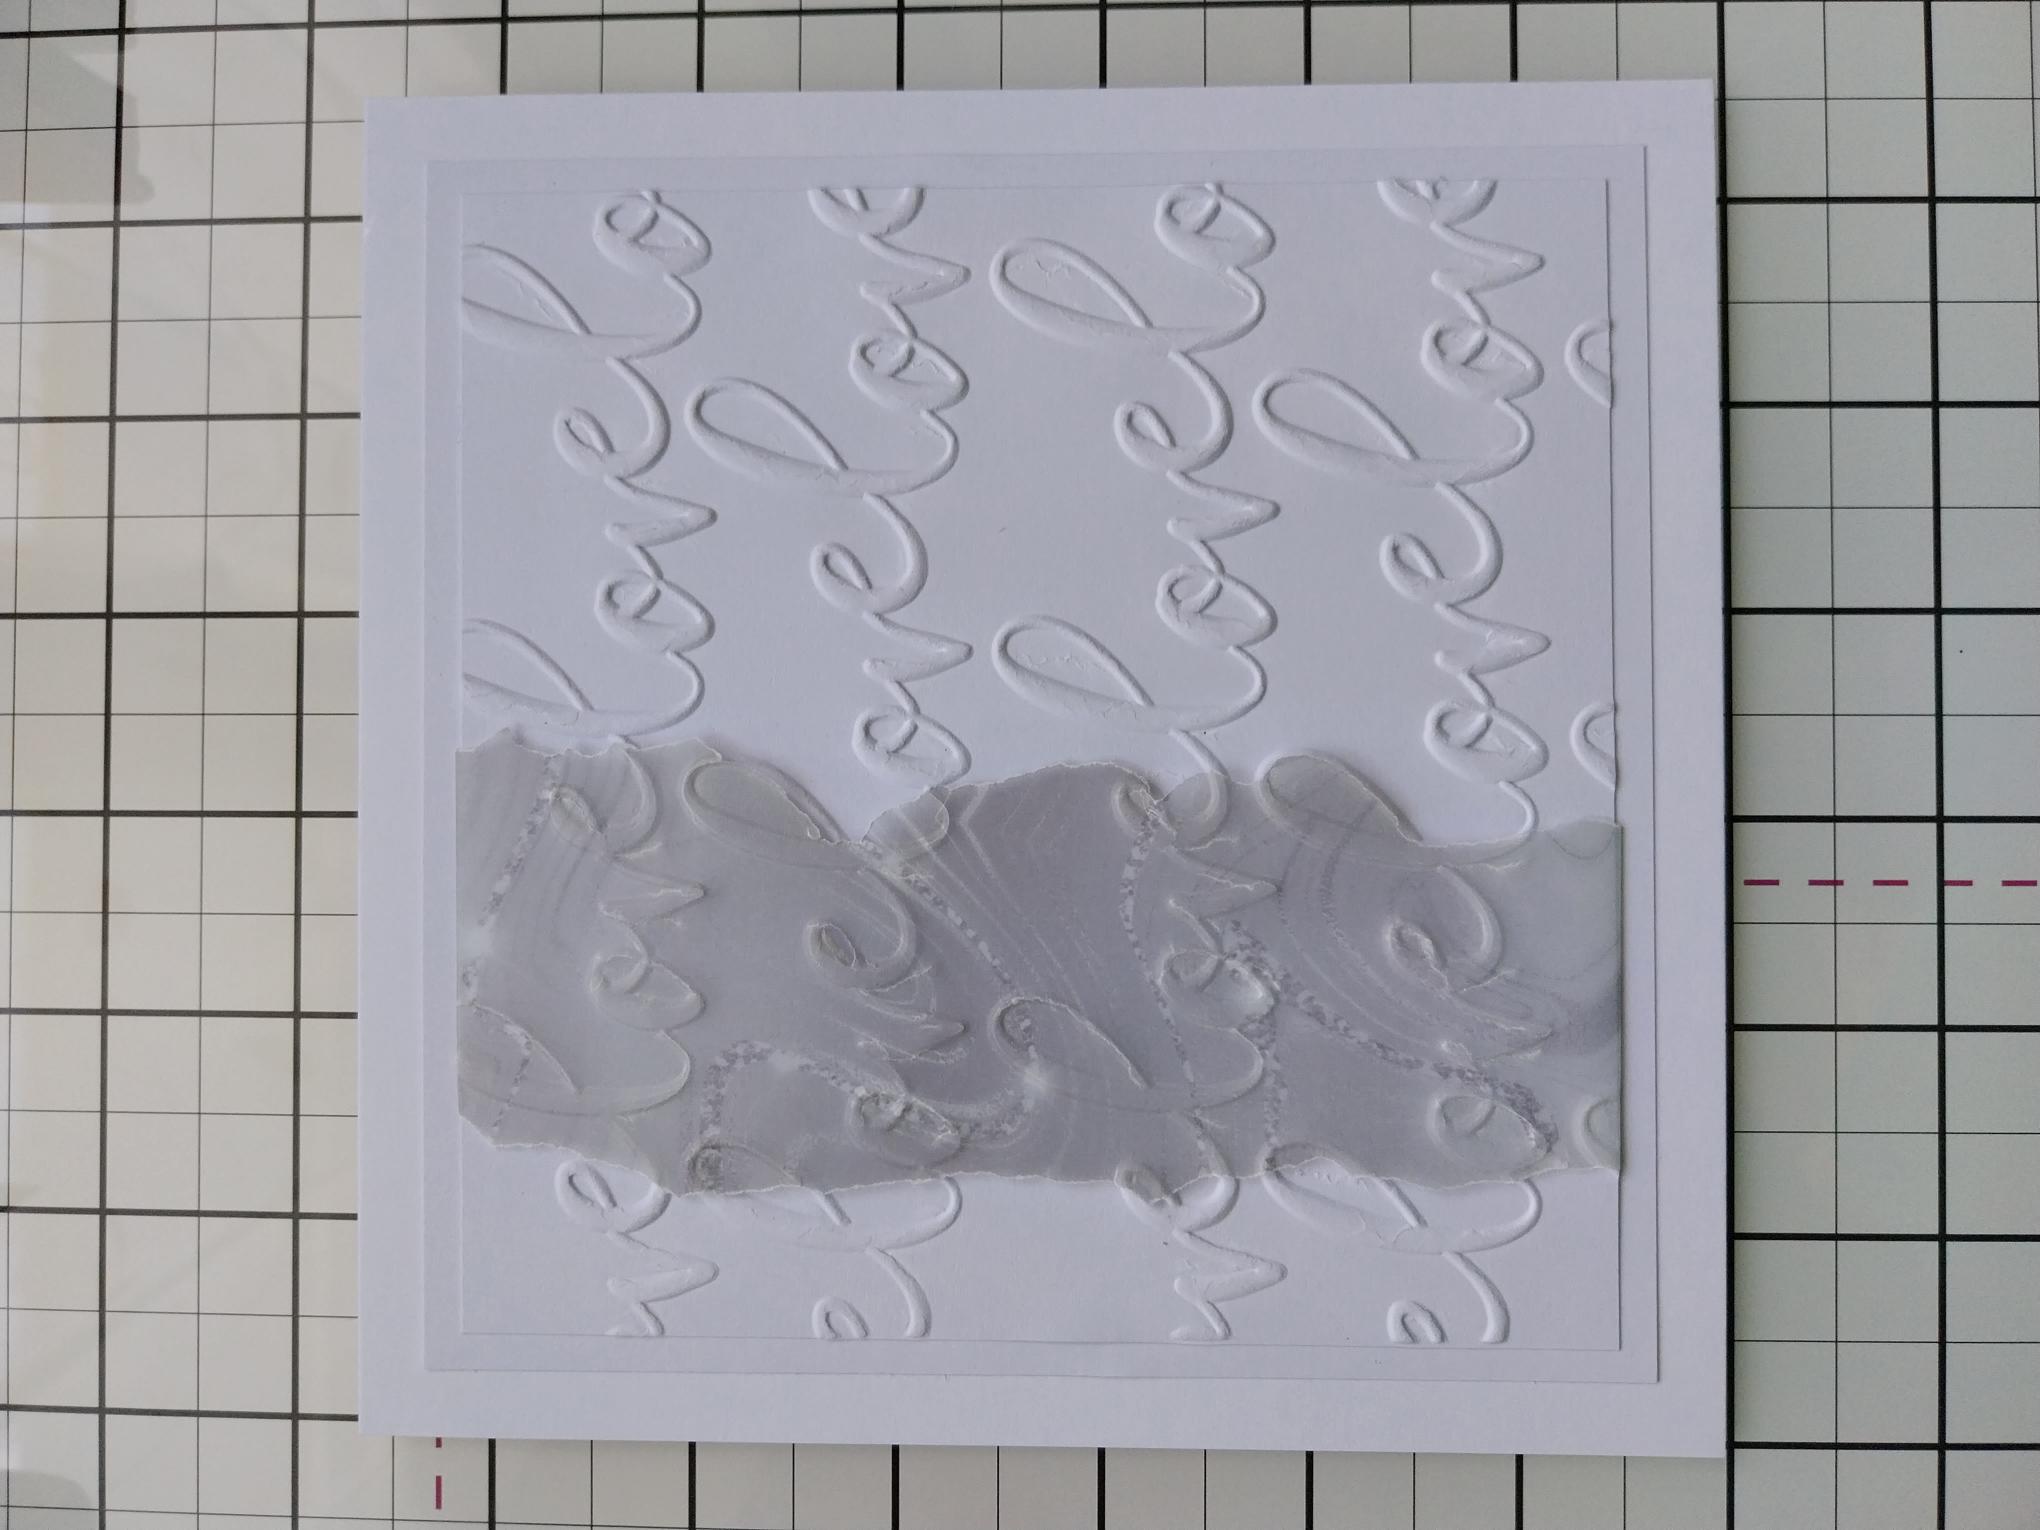
Adhere this on to the white card cut to 5 3/4" square. |
|
Adhere this on to your white card blank. |
|
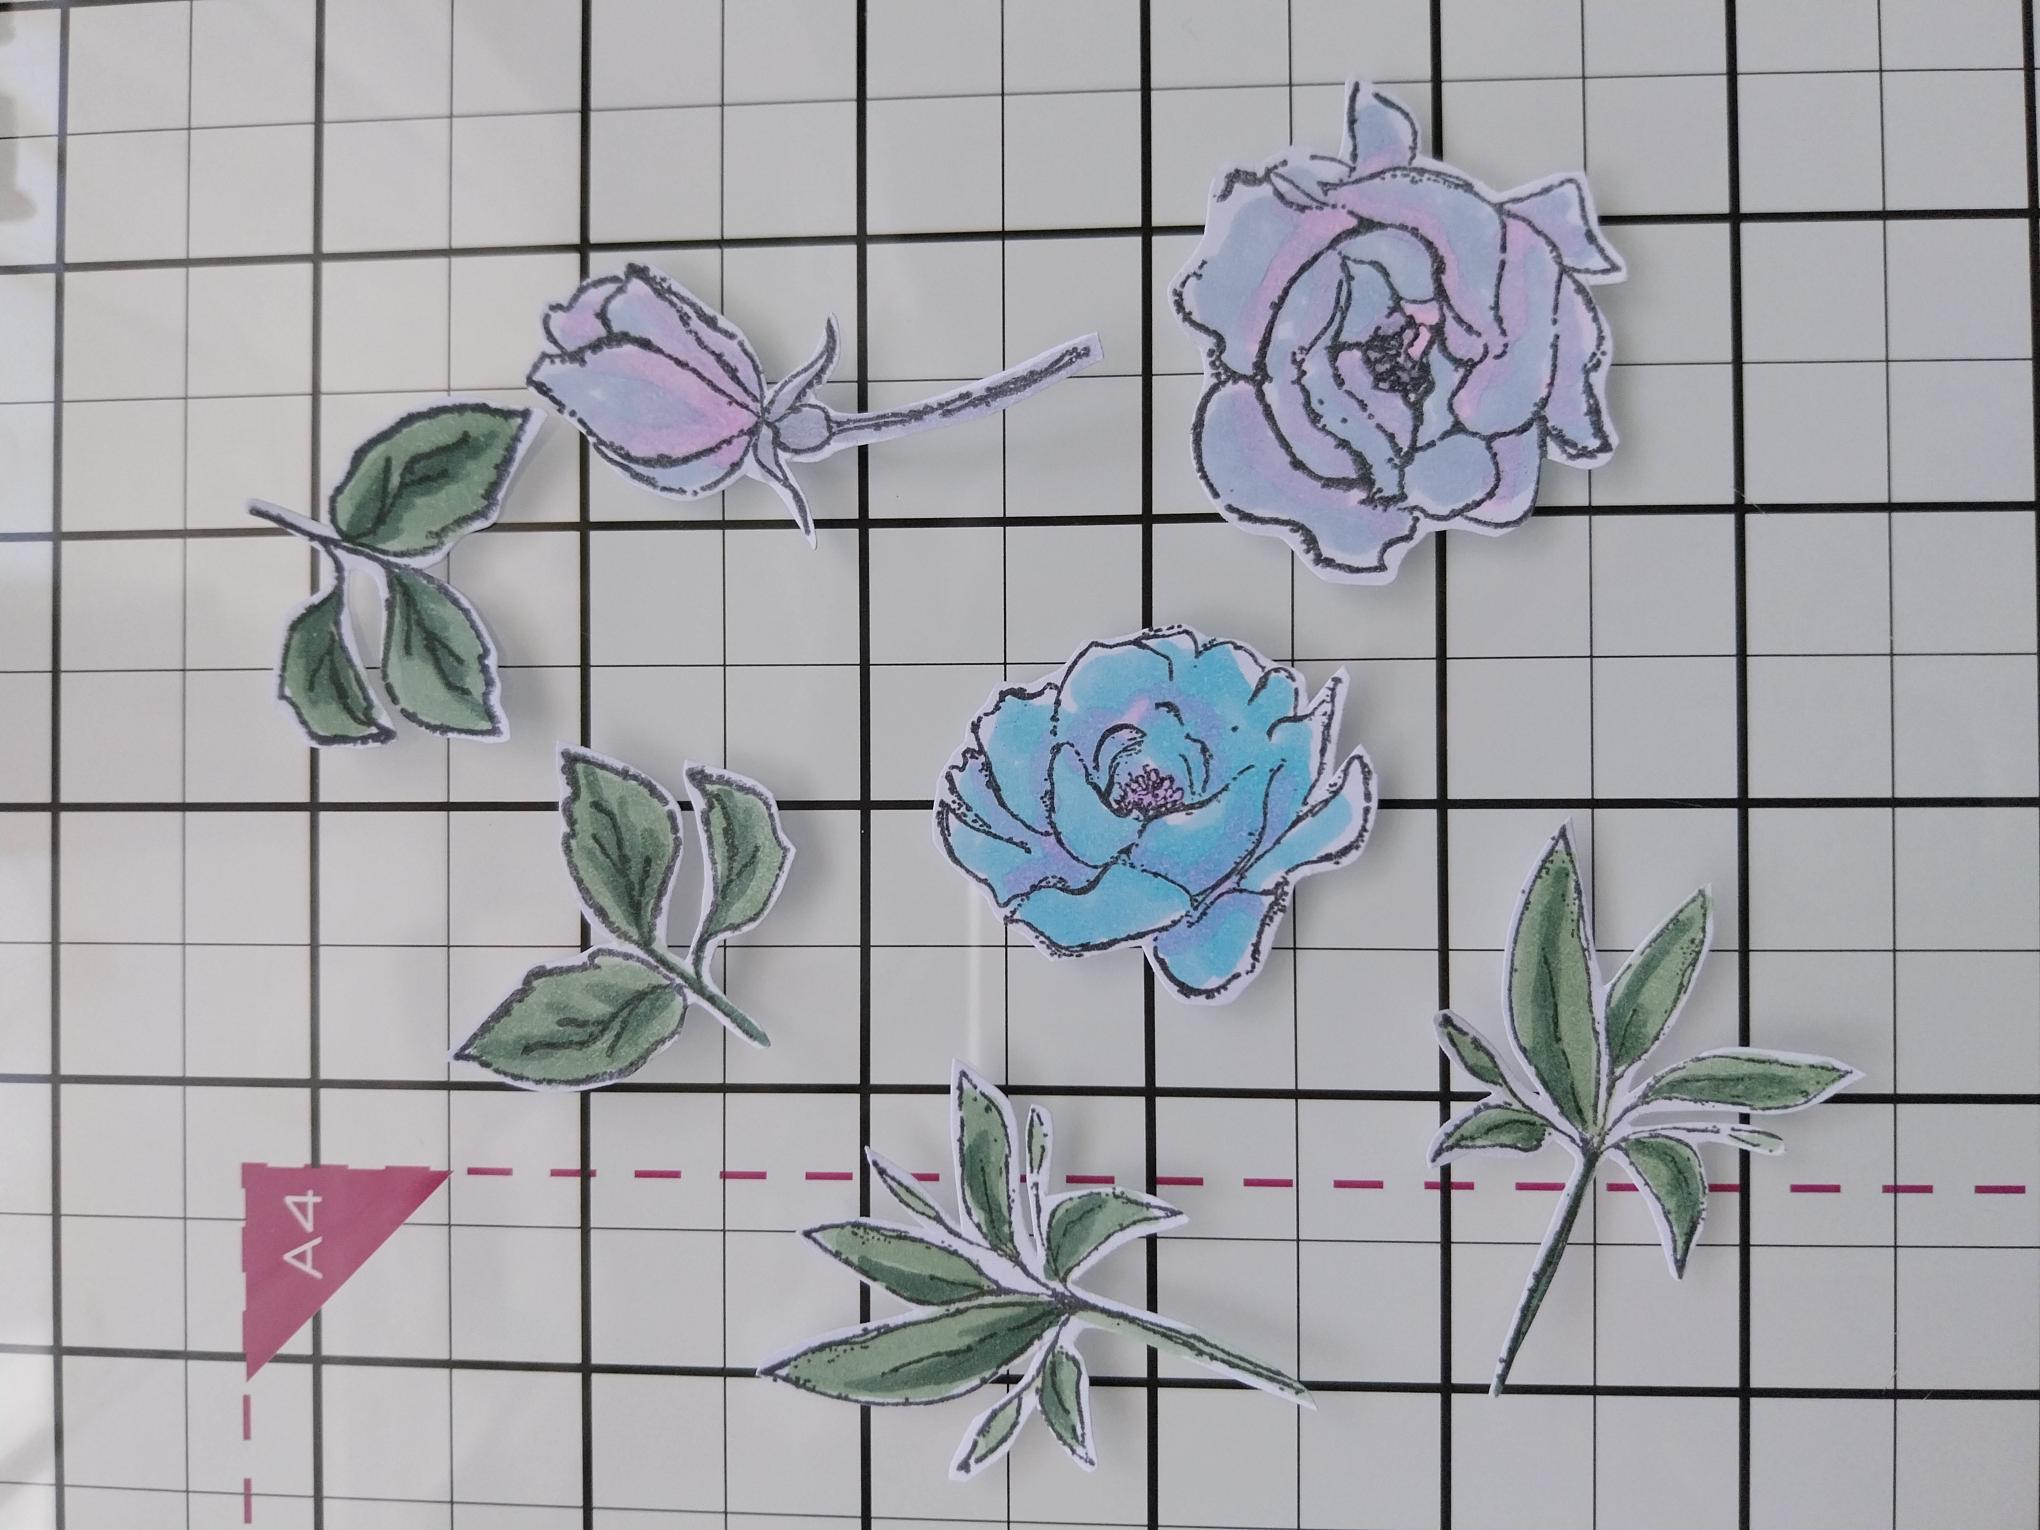
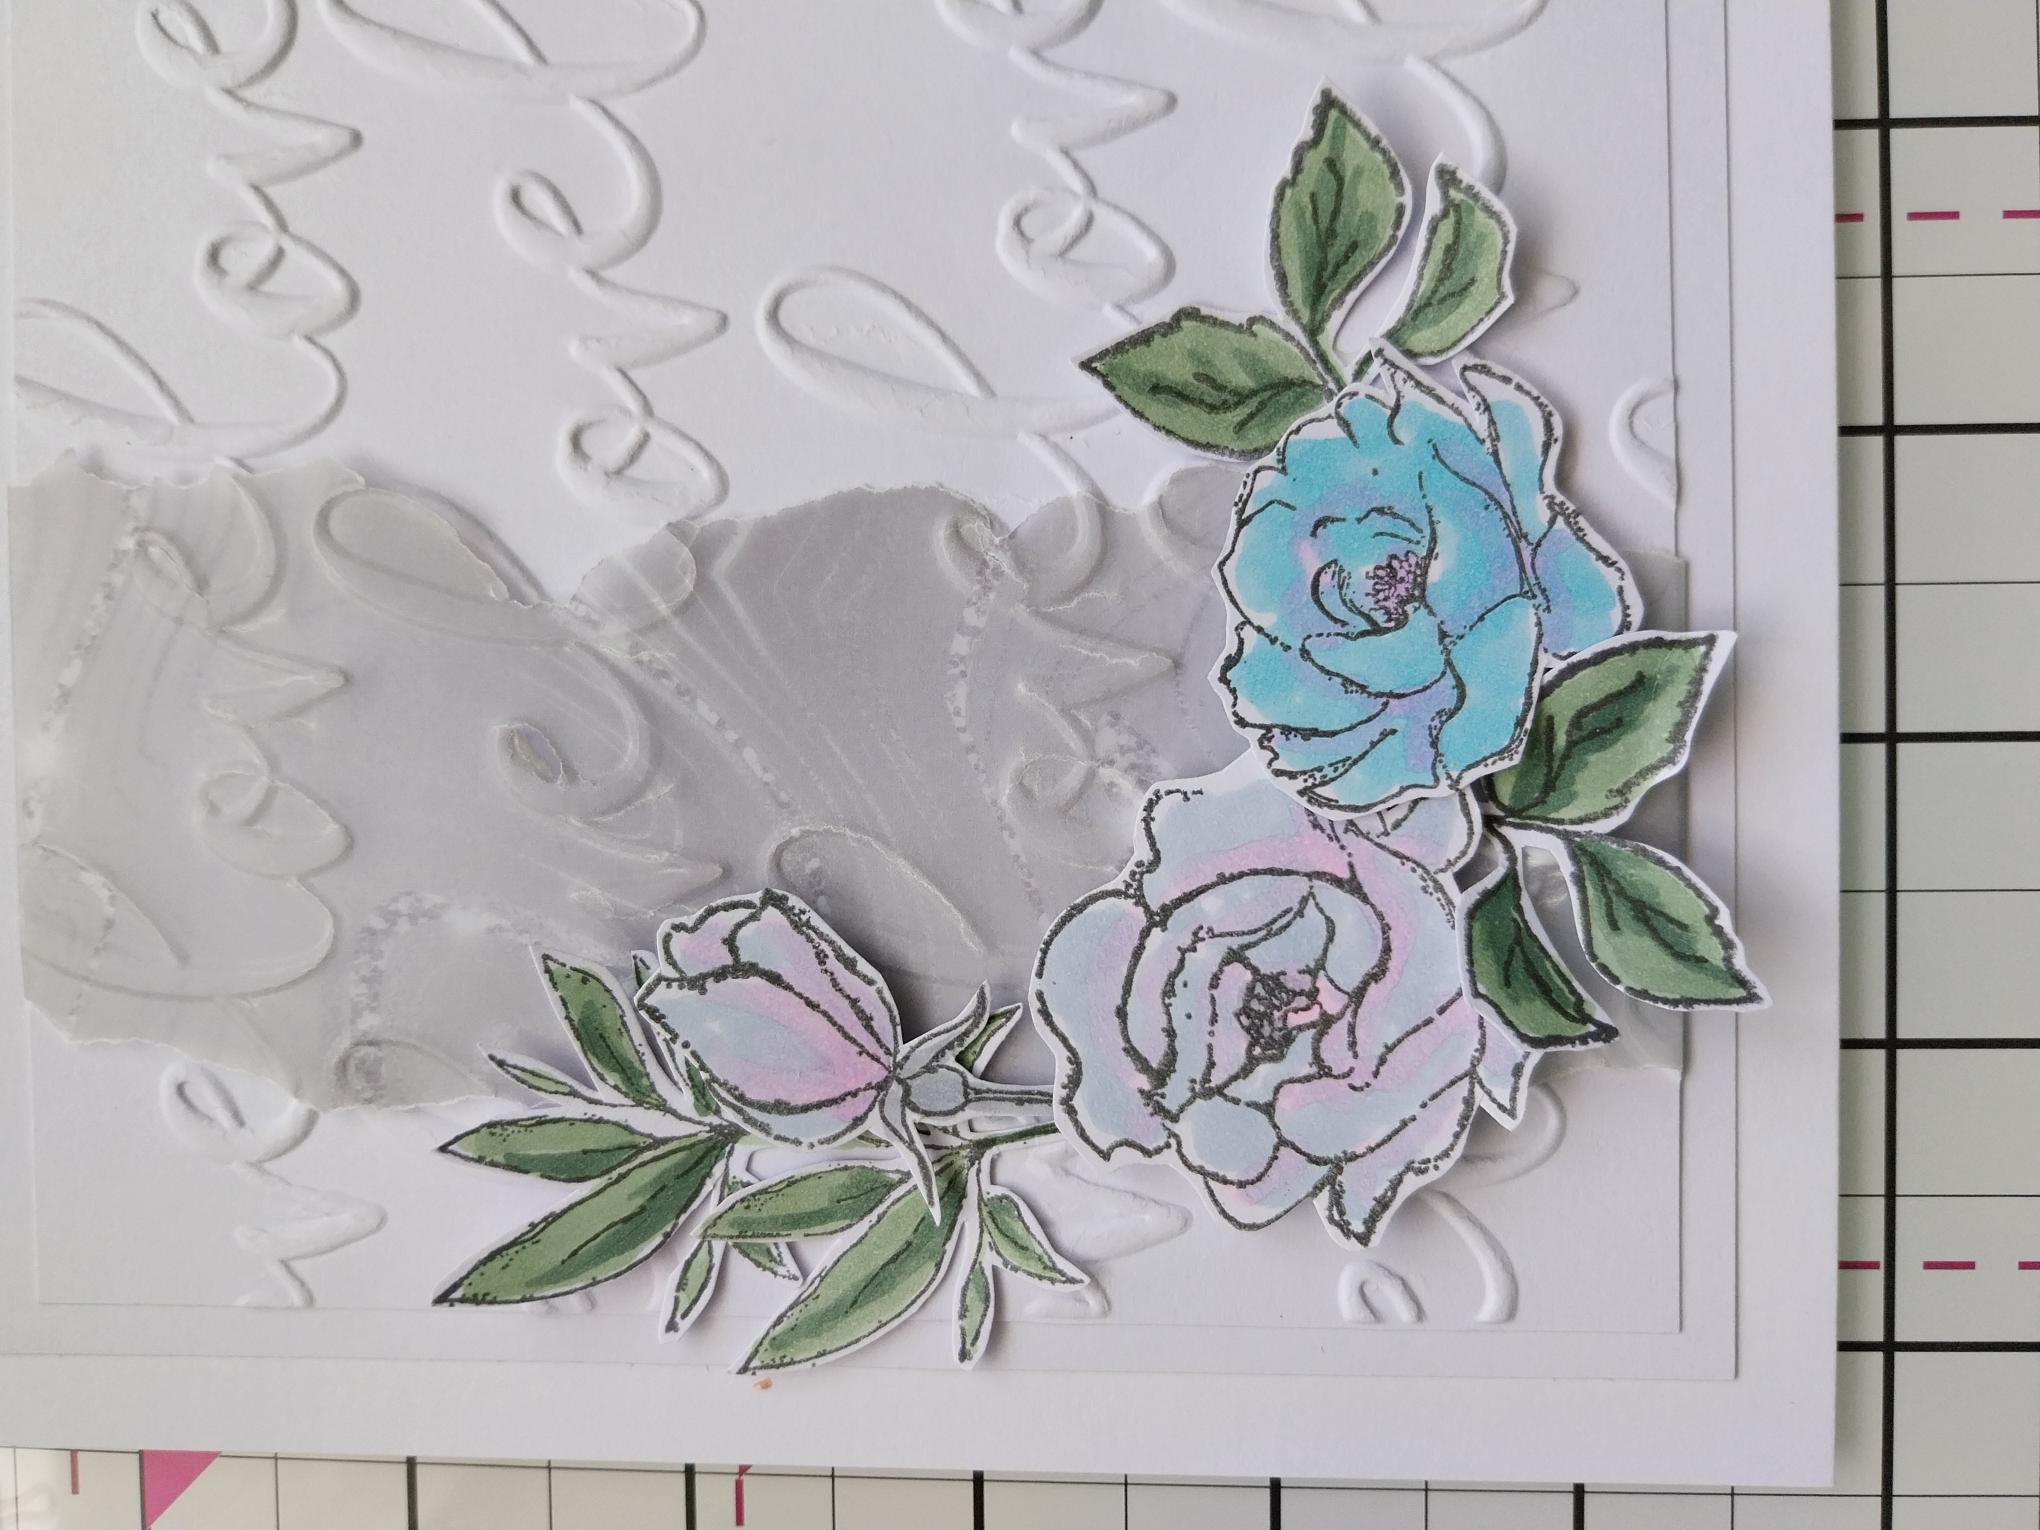
Stamp a selection of florals and foliage from Let's Celebrate, with the Midnight hybrid ink, on to a piece of white card. Use the coordinating dies to cut them out, before colouring in with your Gossip alcohol pens. Pop a sheet of copy paper or scrap card underneath, to prevent the ink bleeding through the card and damaging your work surface. |
|
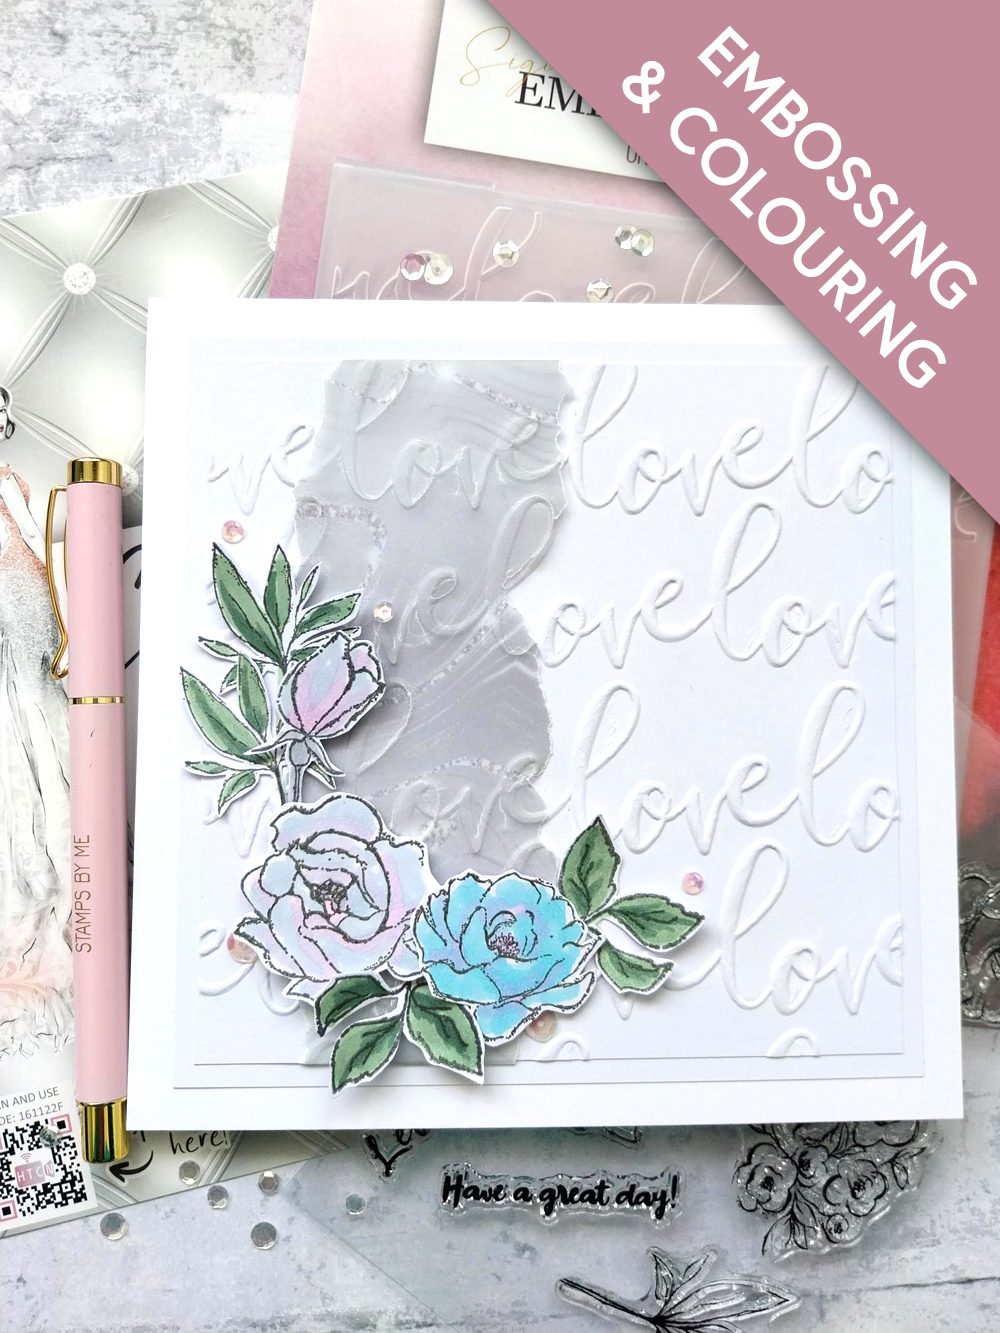
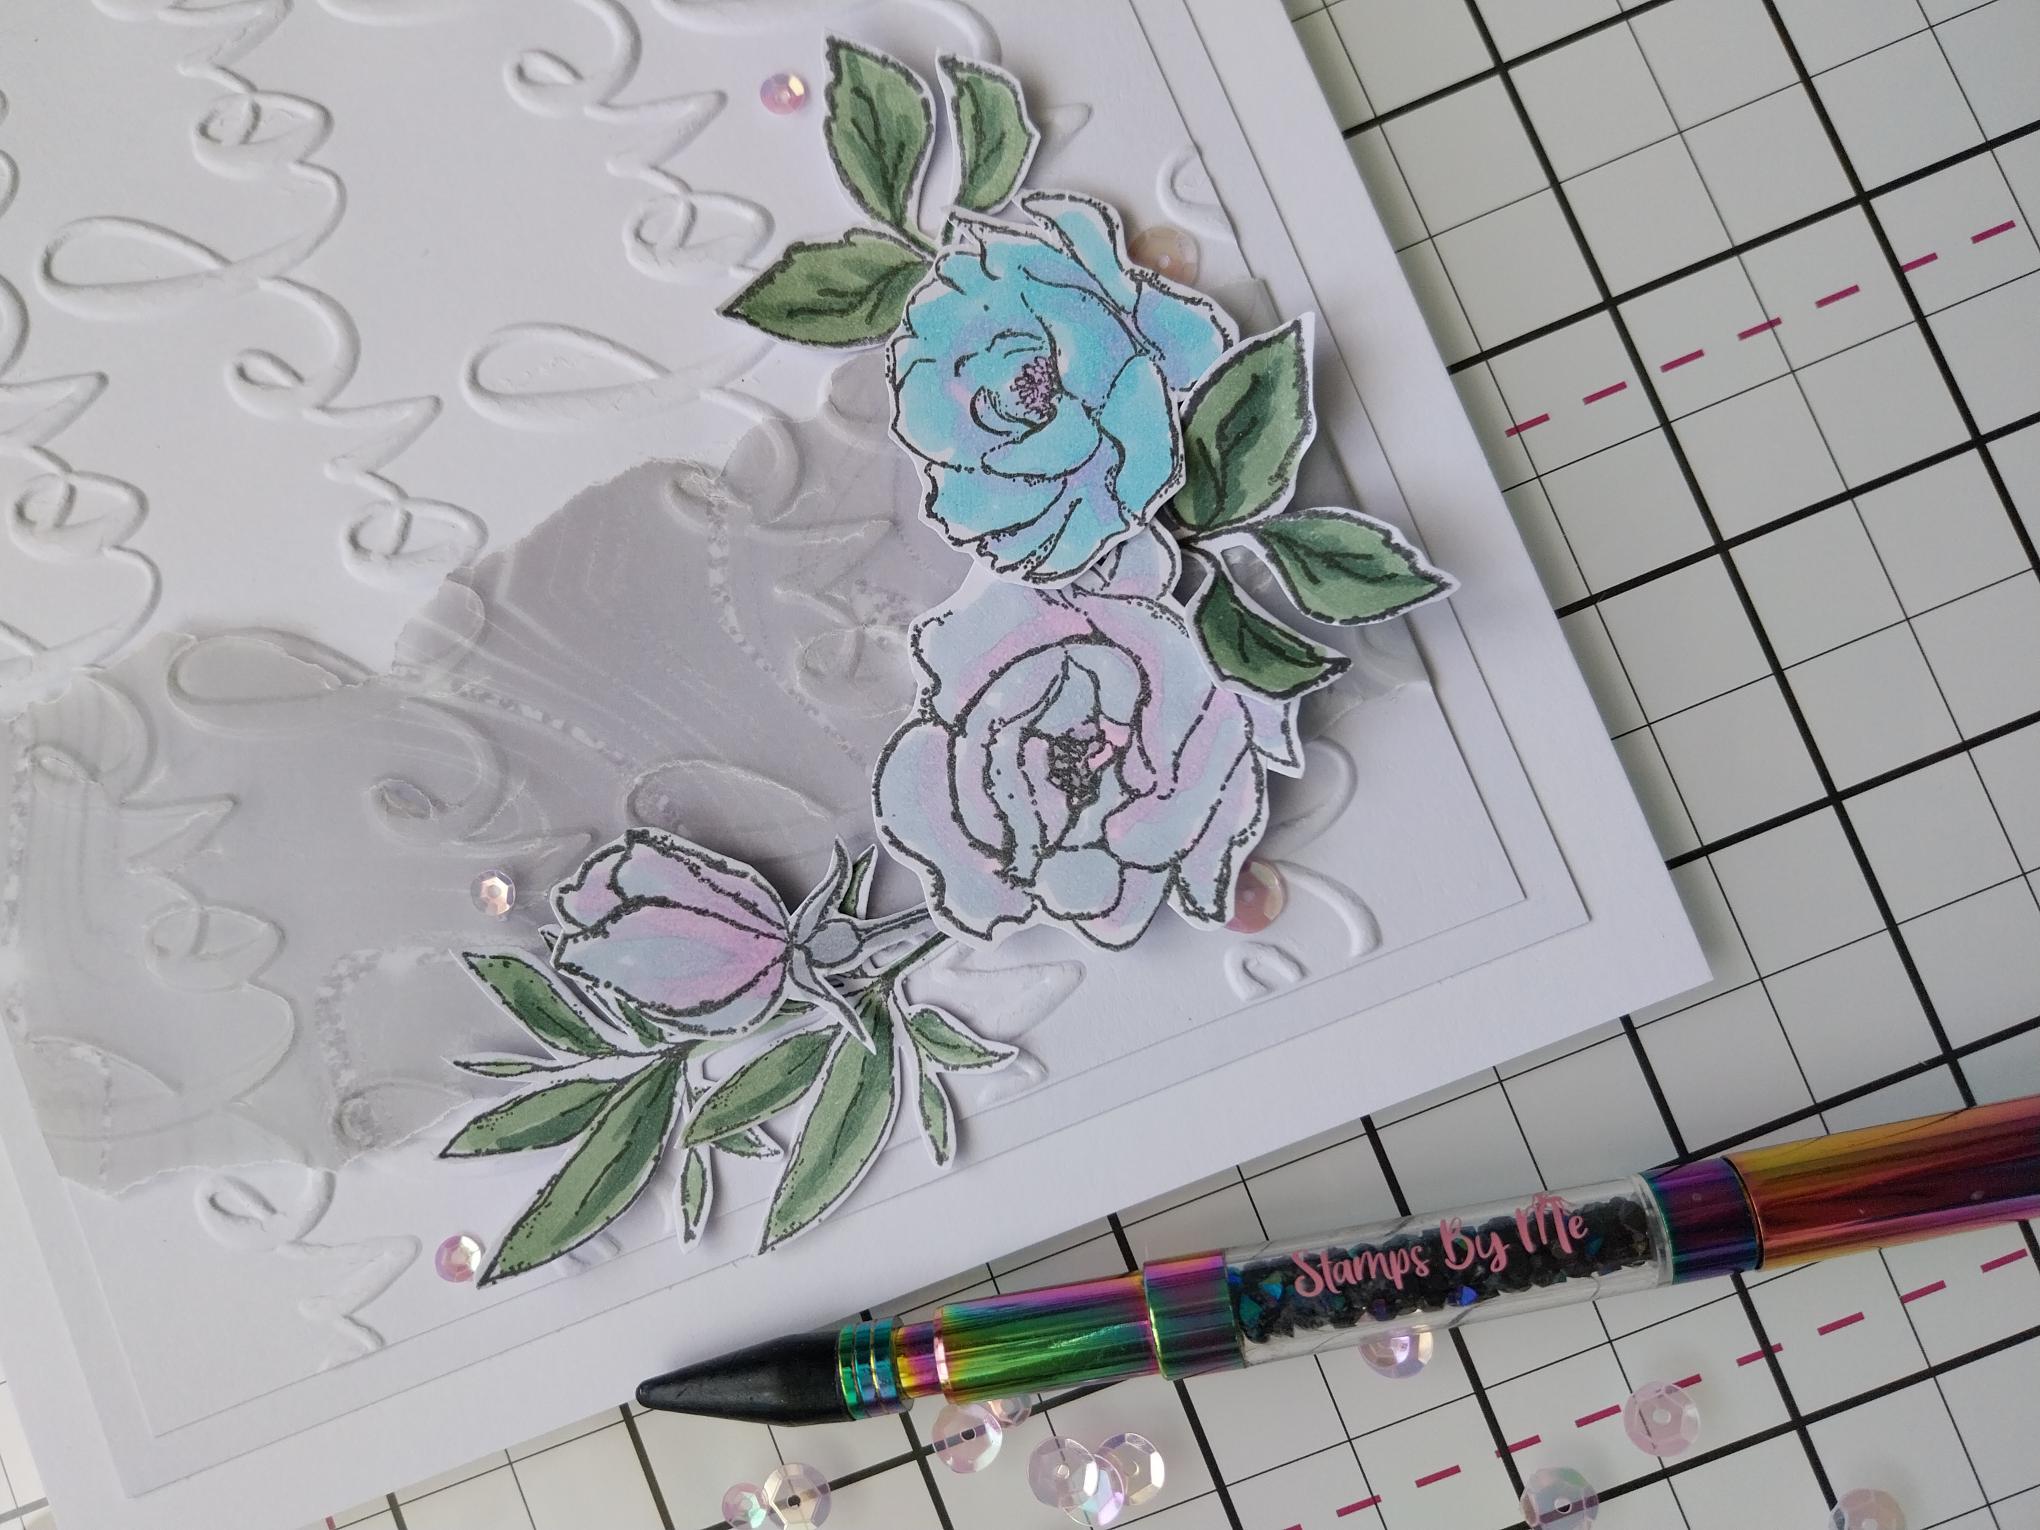
Use a combination of wet glue and foam pads to adhere your 3D elements around the bottom left corner of your card. |
|
To finish, add sequins on, around and tucked just under your 3D elements. |