Give your friends $10 off their first order!
Refer a FRIEND


WHAT YOU WILL NEED:
White card blank 7 x 7"
Black card 6" square
White card 5 1/2" square
Kraft card 5 3/4" square (TWO)
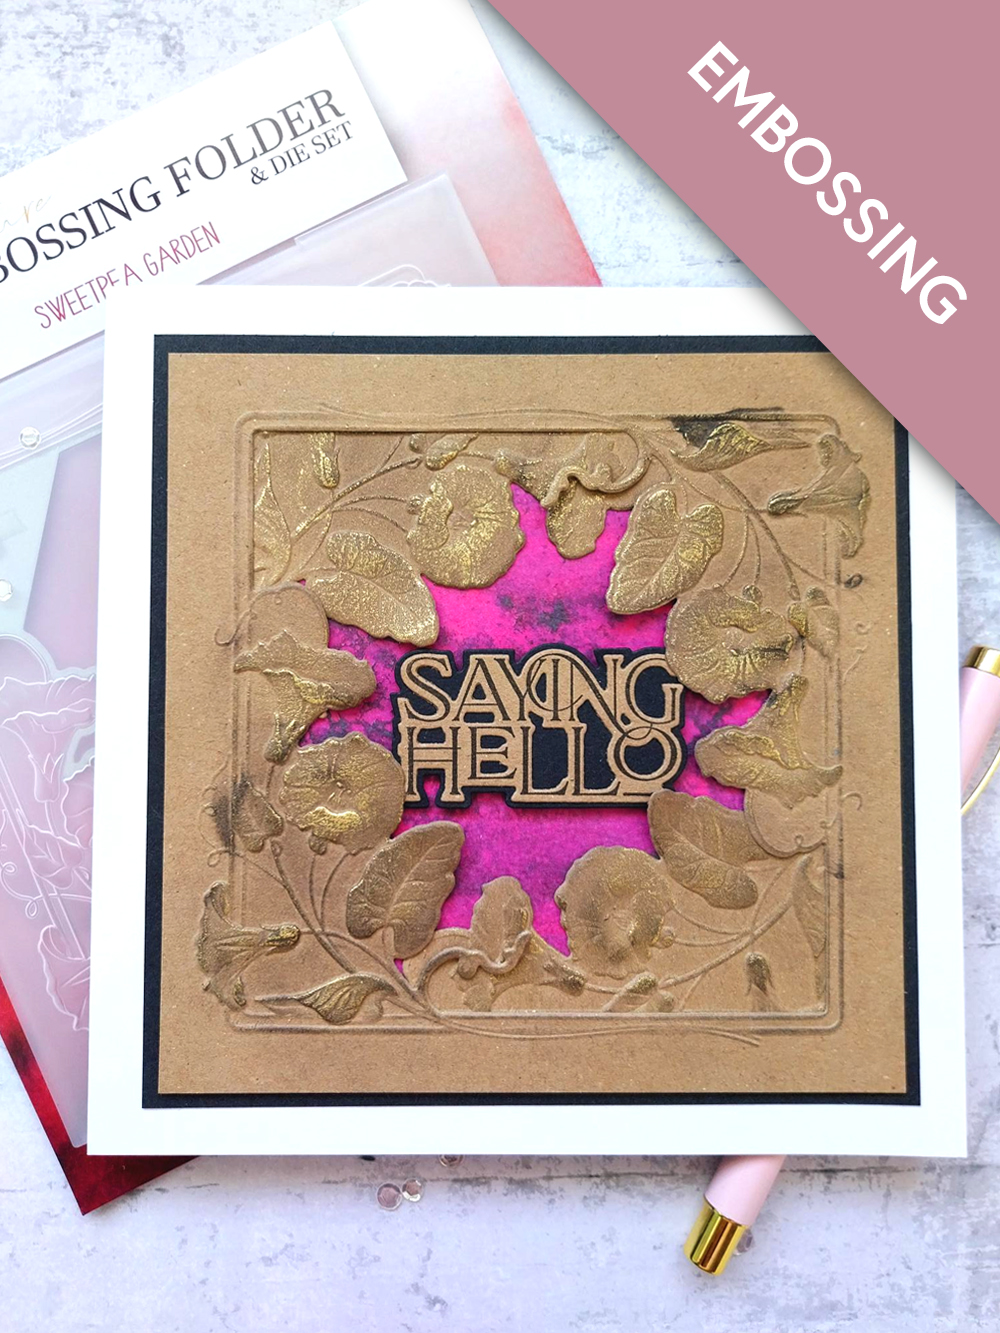
Sweetpea Garden Embossing Folder and Die
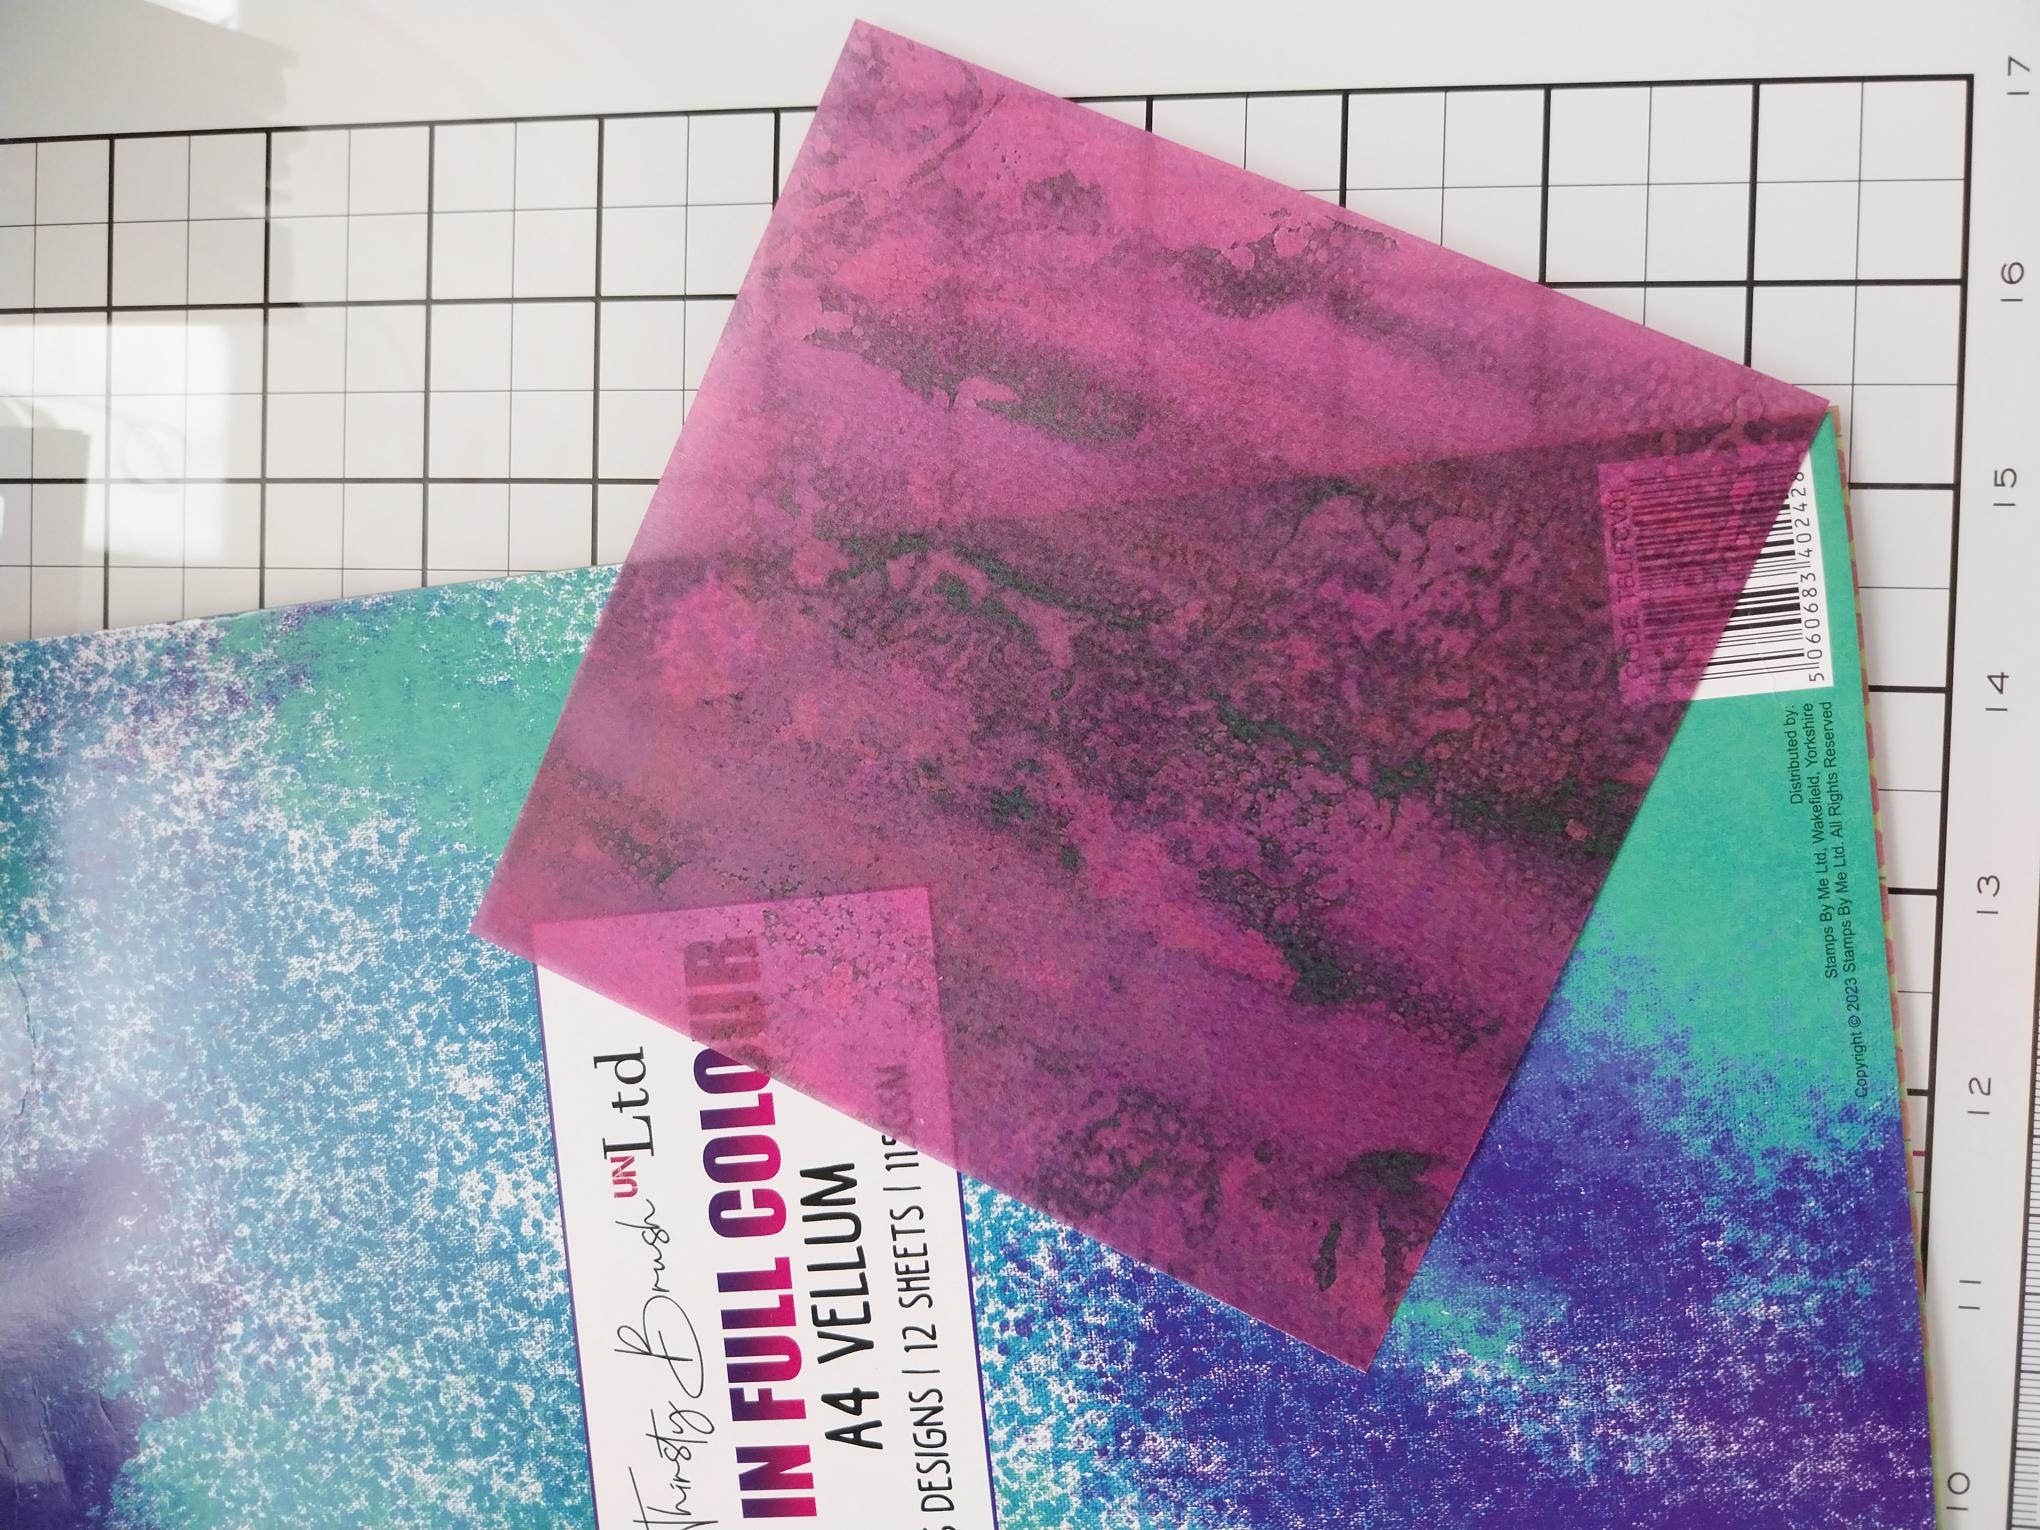
Thirsty Brush UnLtd Life In Full Colour A4 Vellum
Saying Hello Stamp and Die Collection
SBM Hybrid Ink Pad: Midnight
Izink Dye Ink Pad: Reglisse
Pebeo Gilding wax: Gold
Eureka 101 Watercolour Tablet
SBM Magnetic glass mat
Paper Trimmer
Perfect Together Glue
Die Cutting machine
[click image to enlarge] 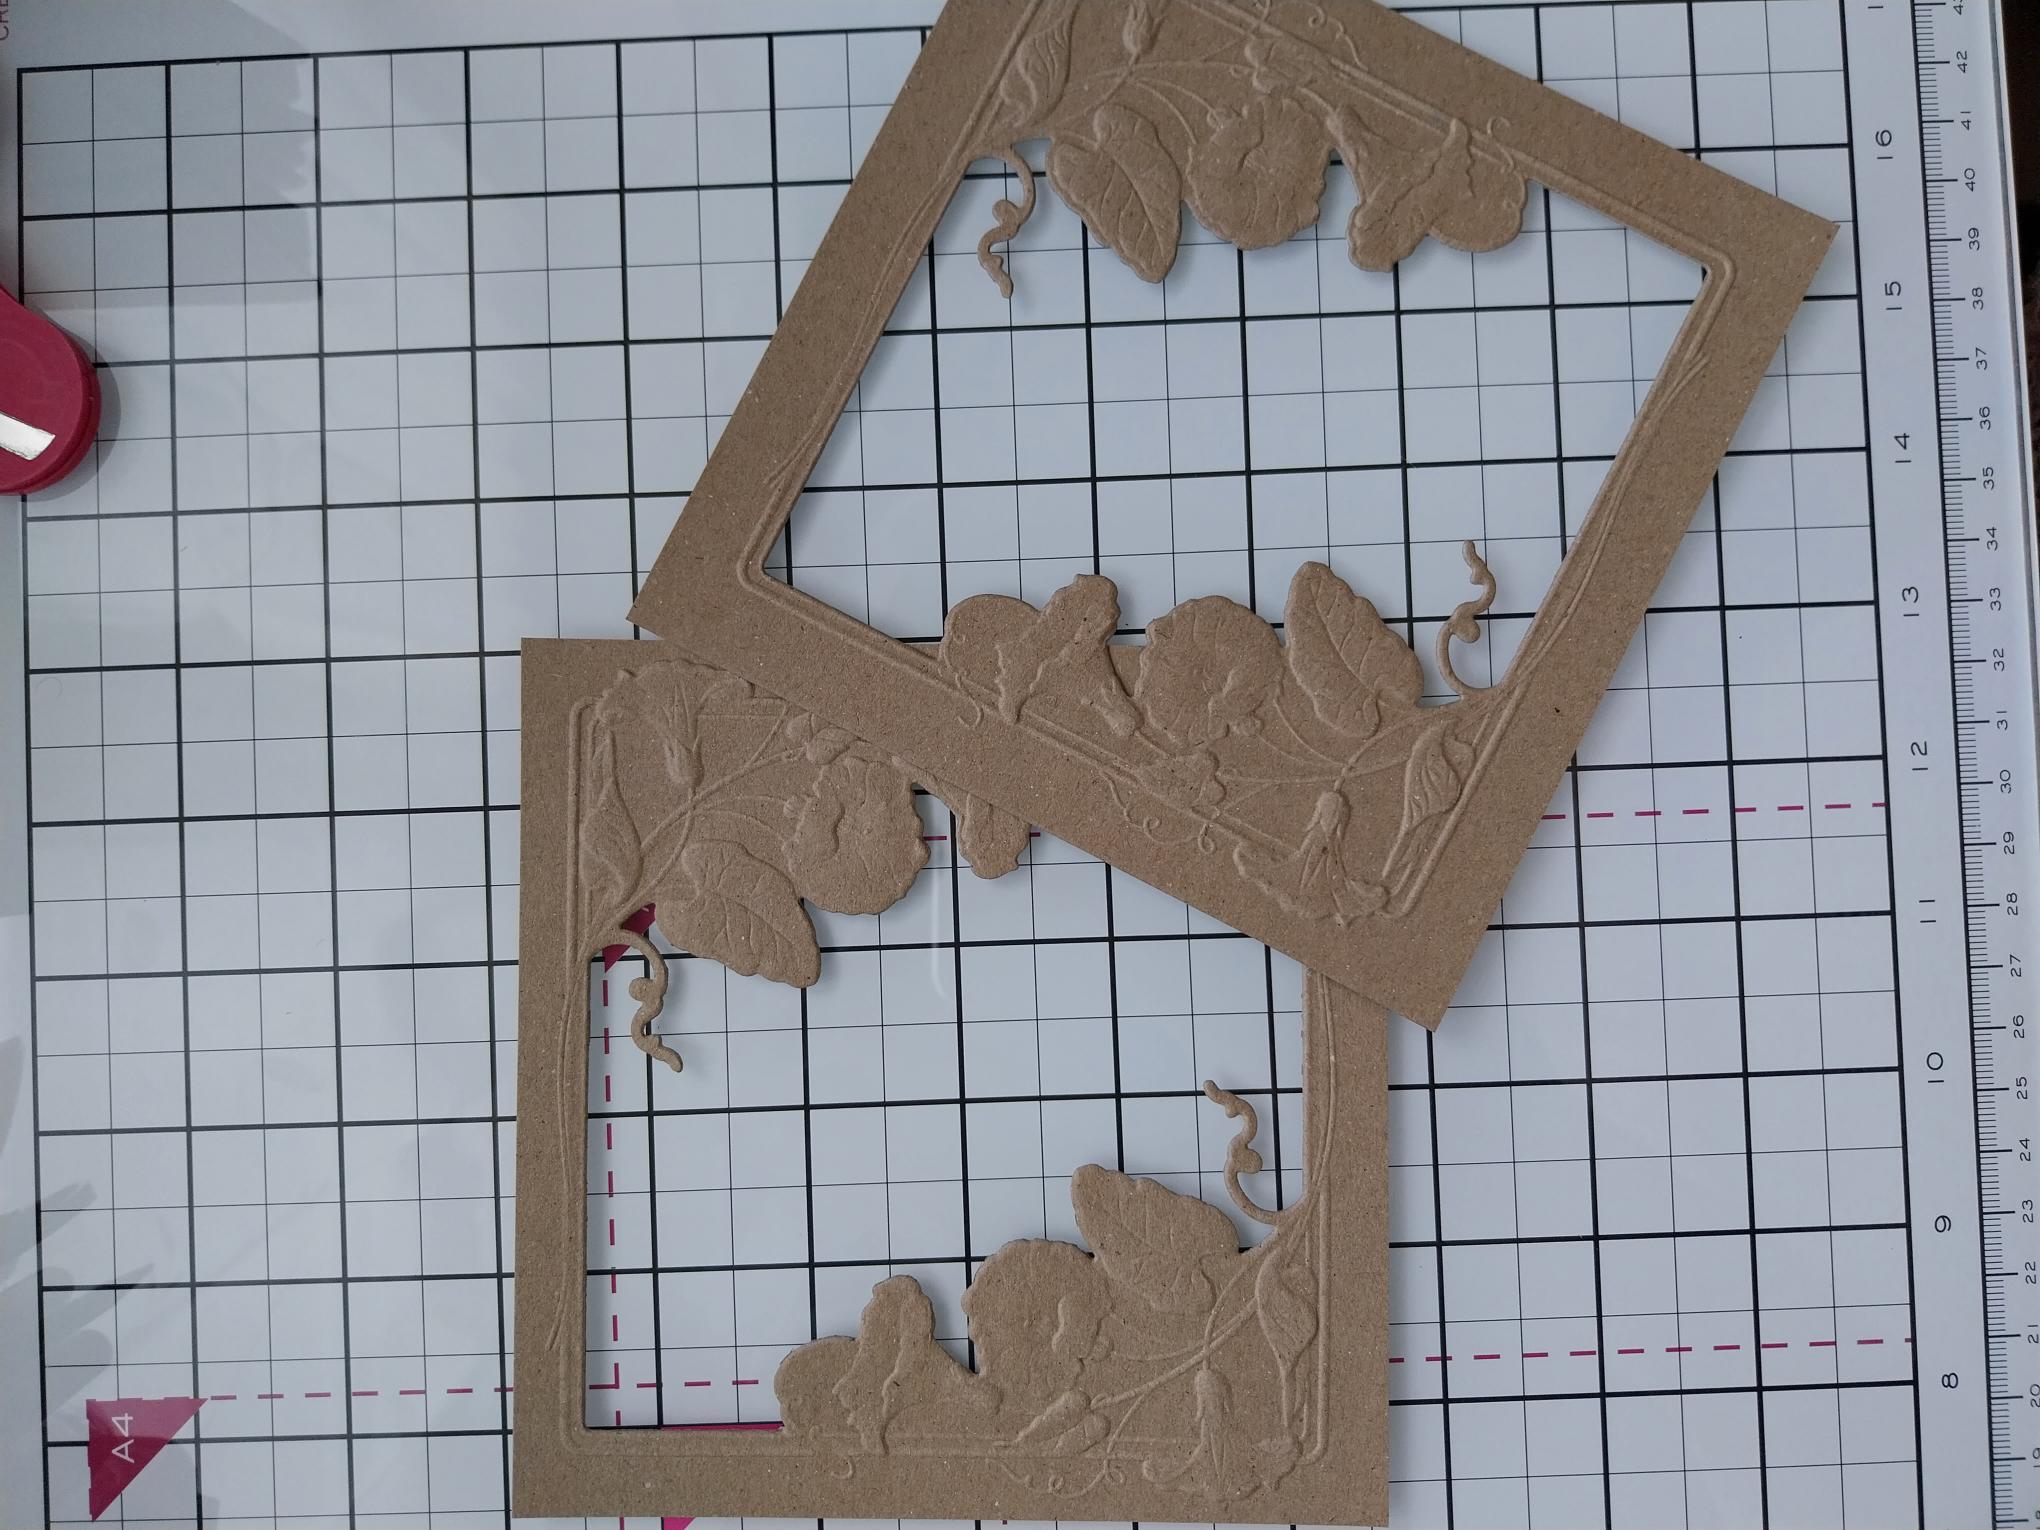
|
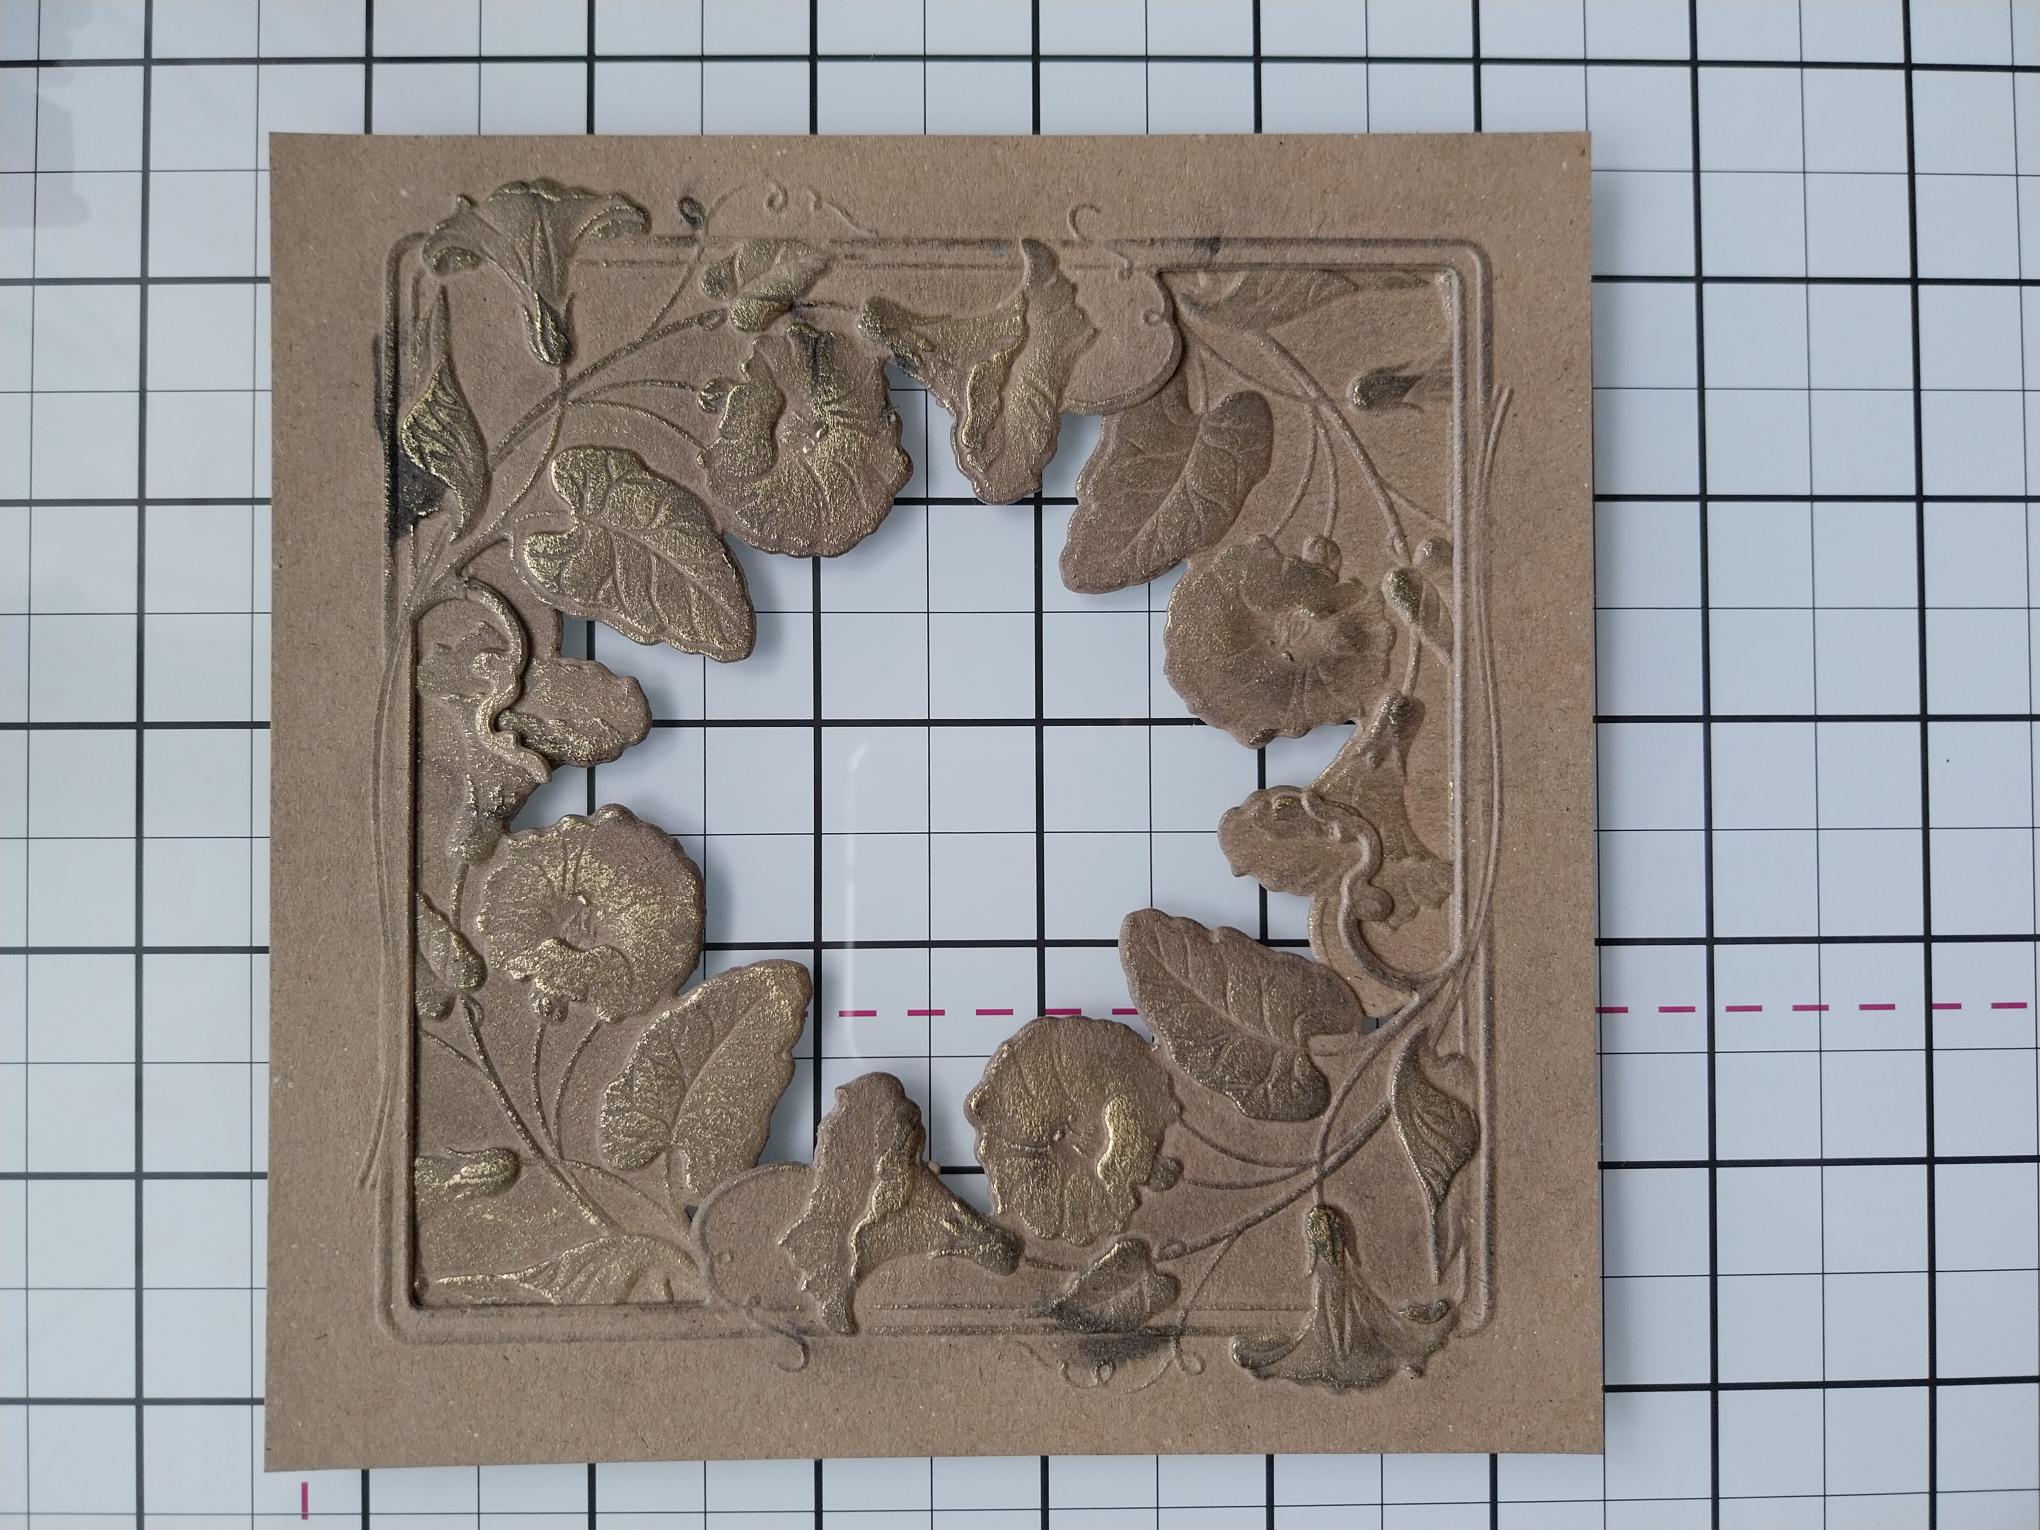
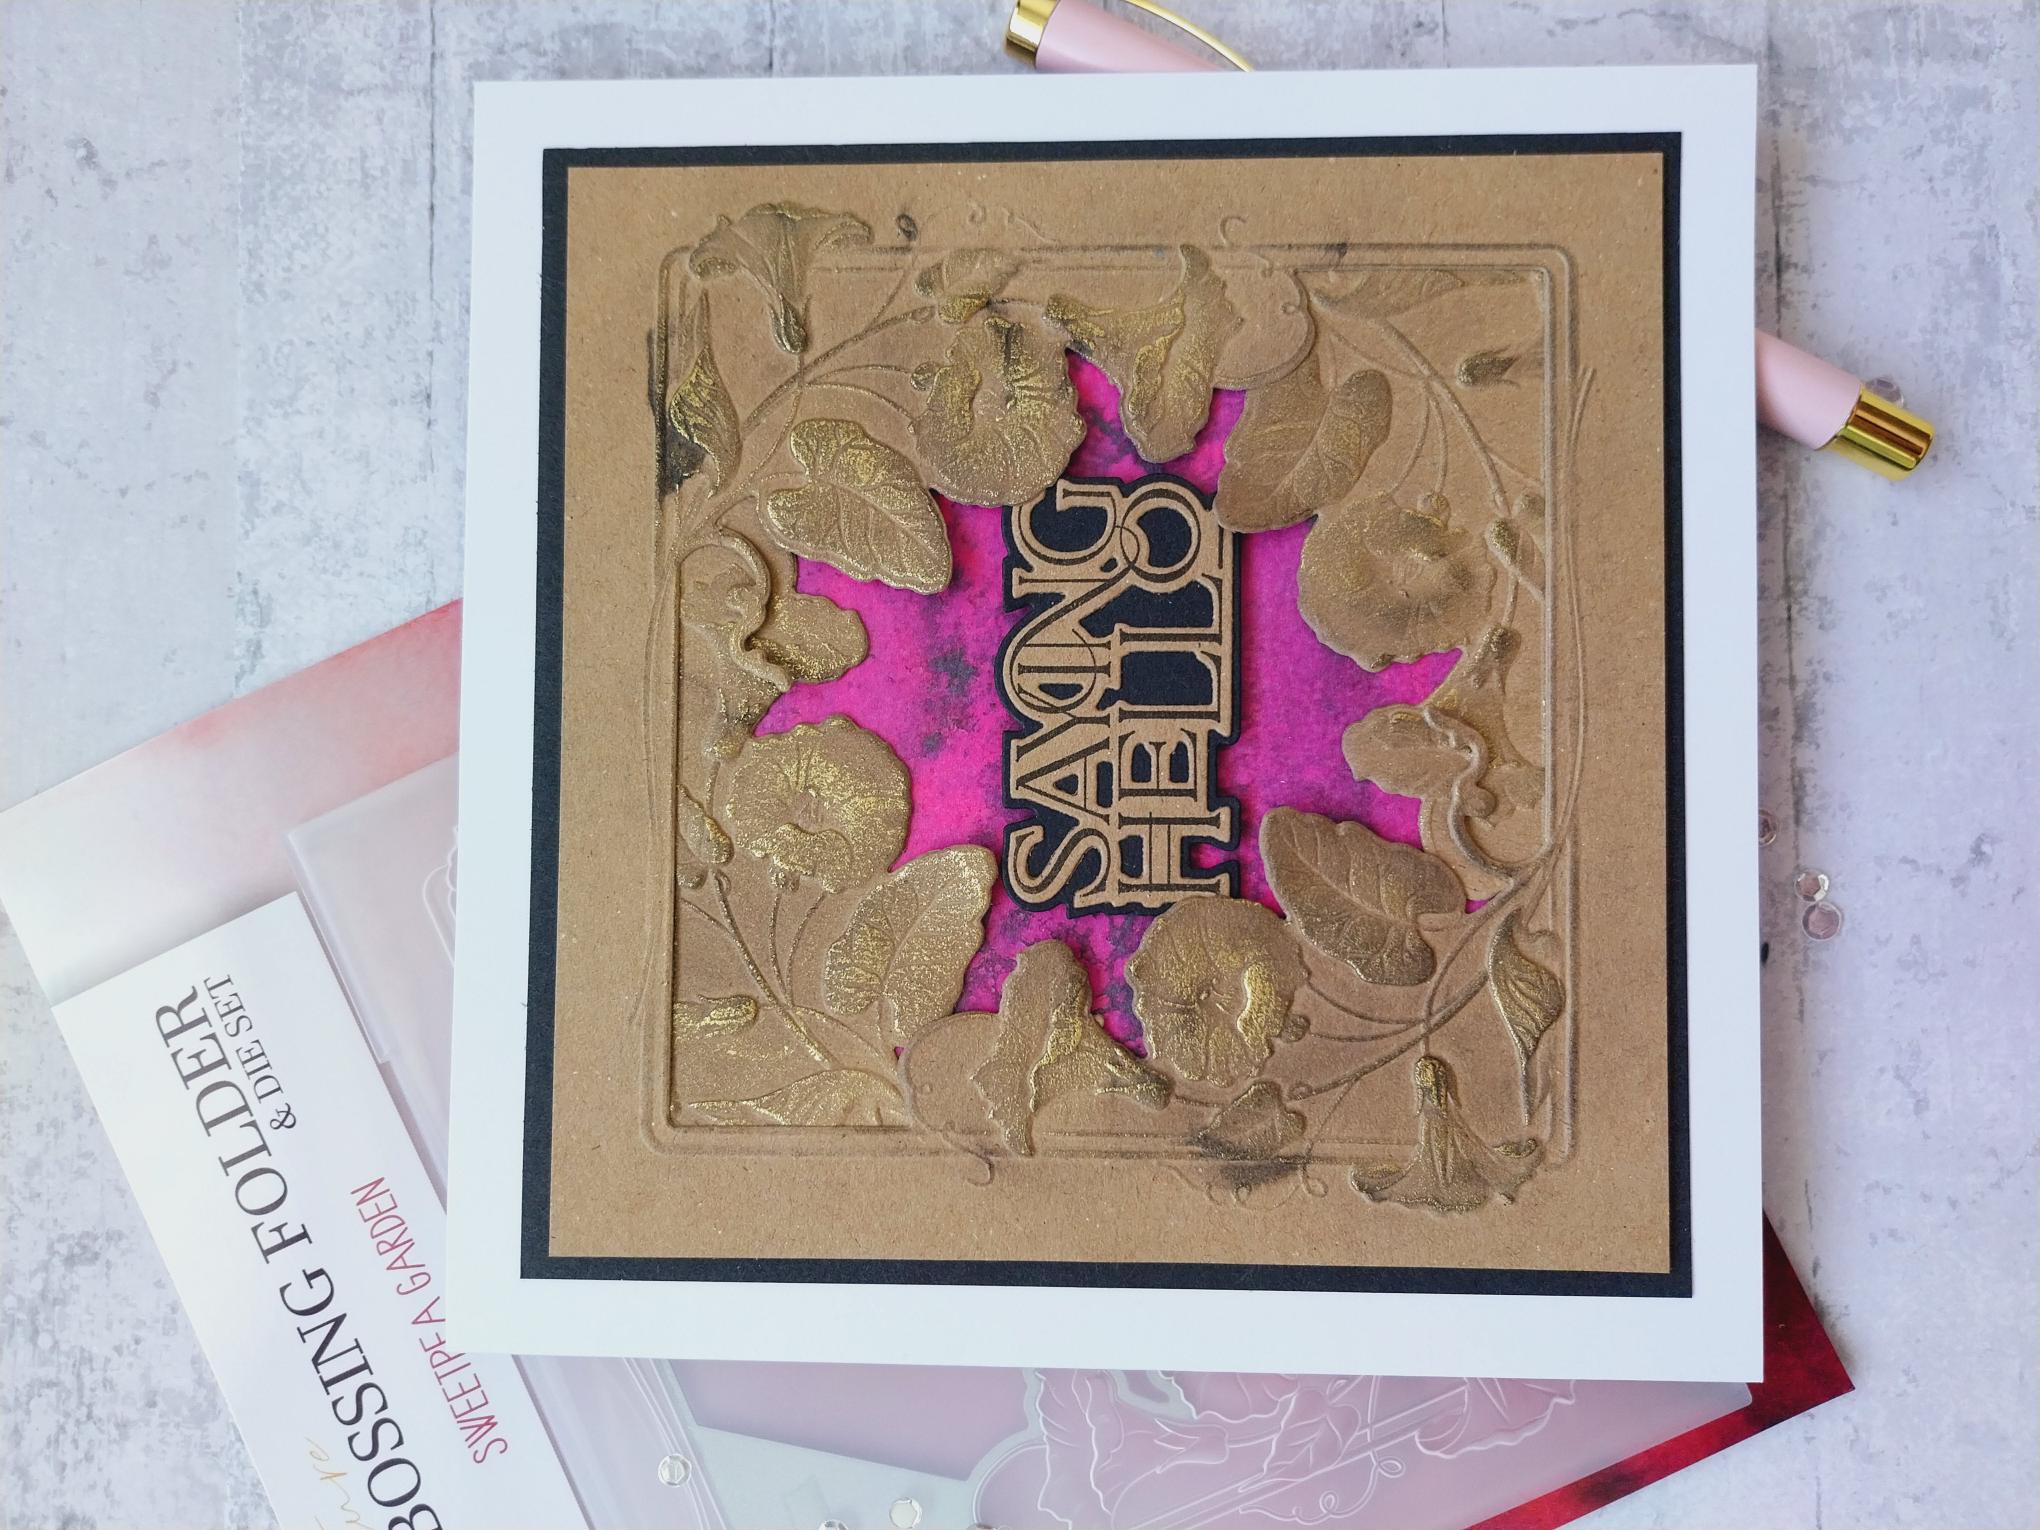
Use the Sweetpea Garden to emboss and die cut from the TWO kraft card squares. |
|
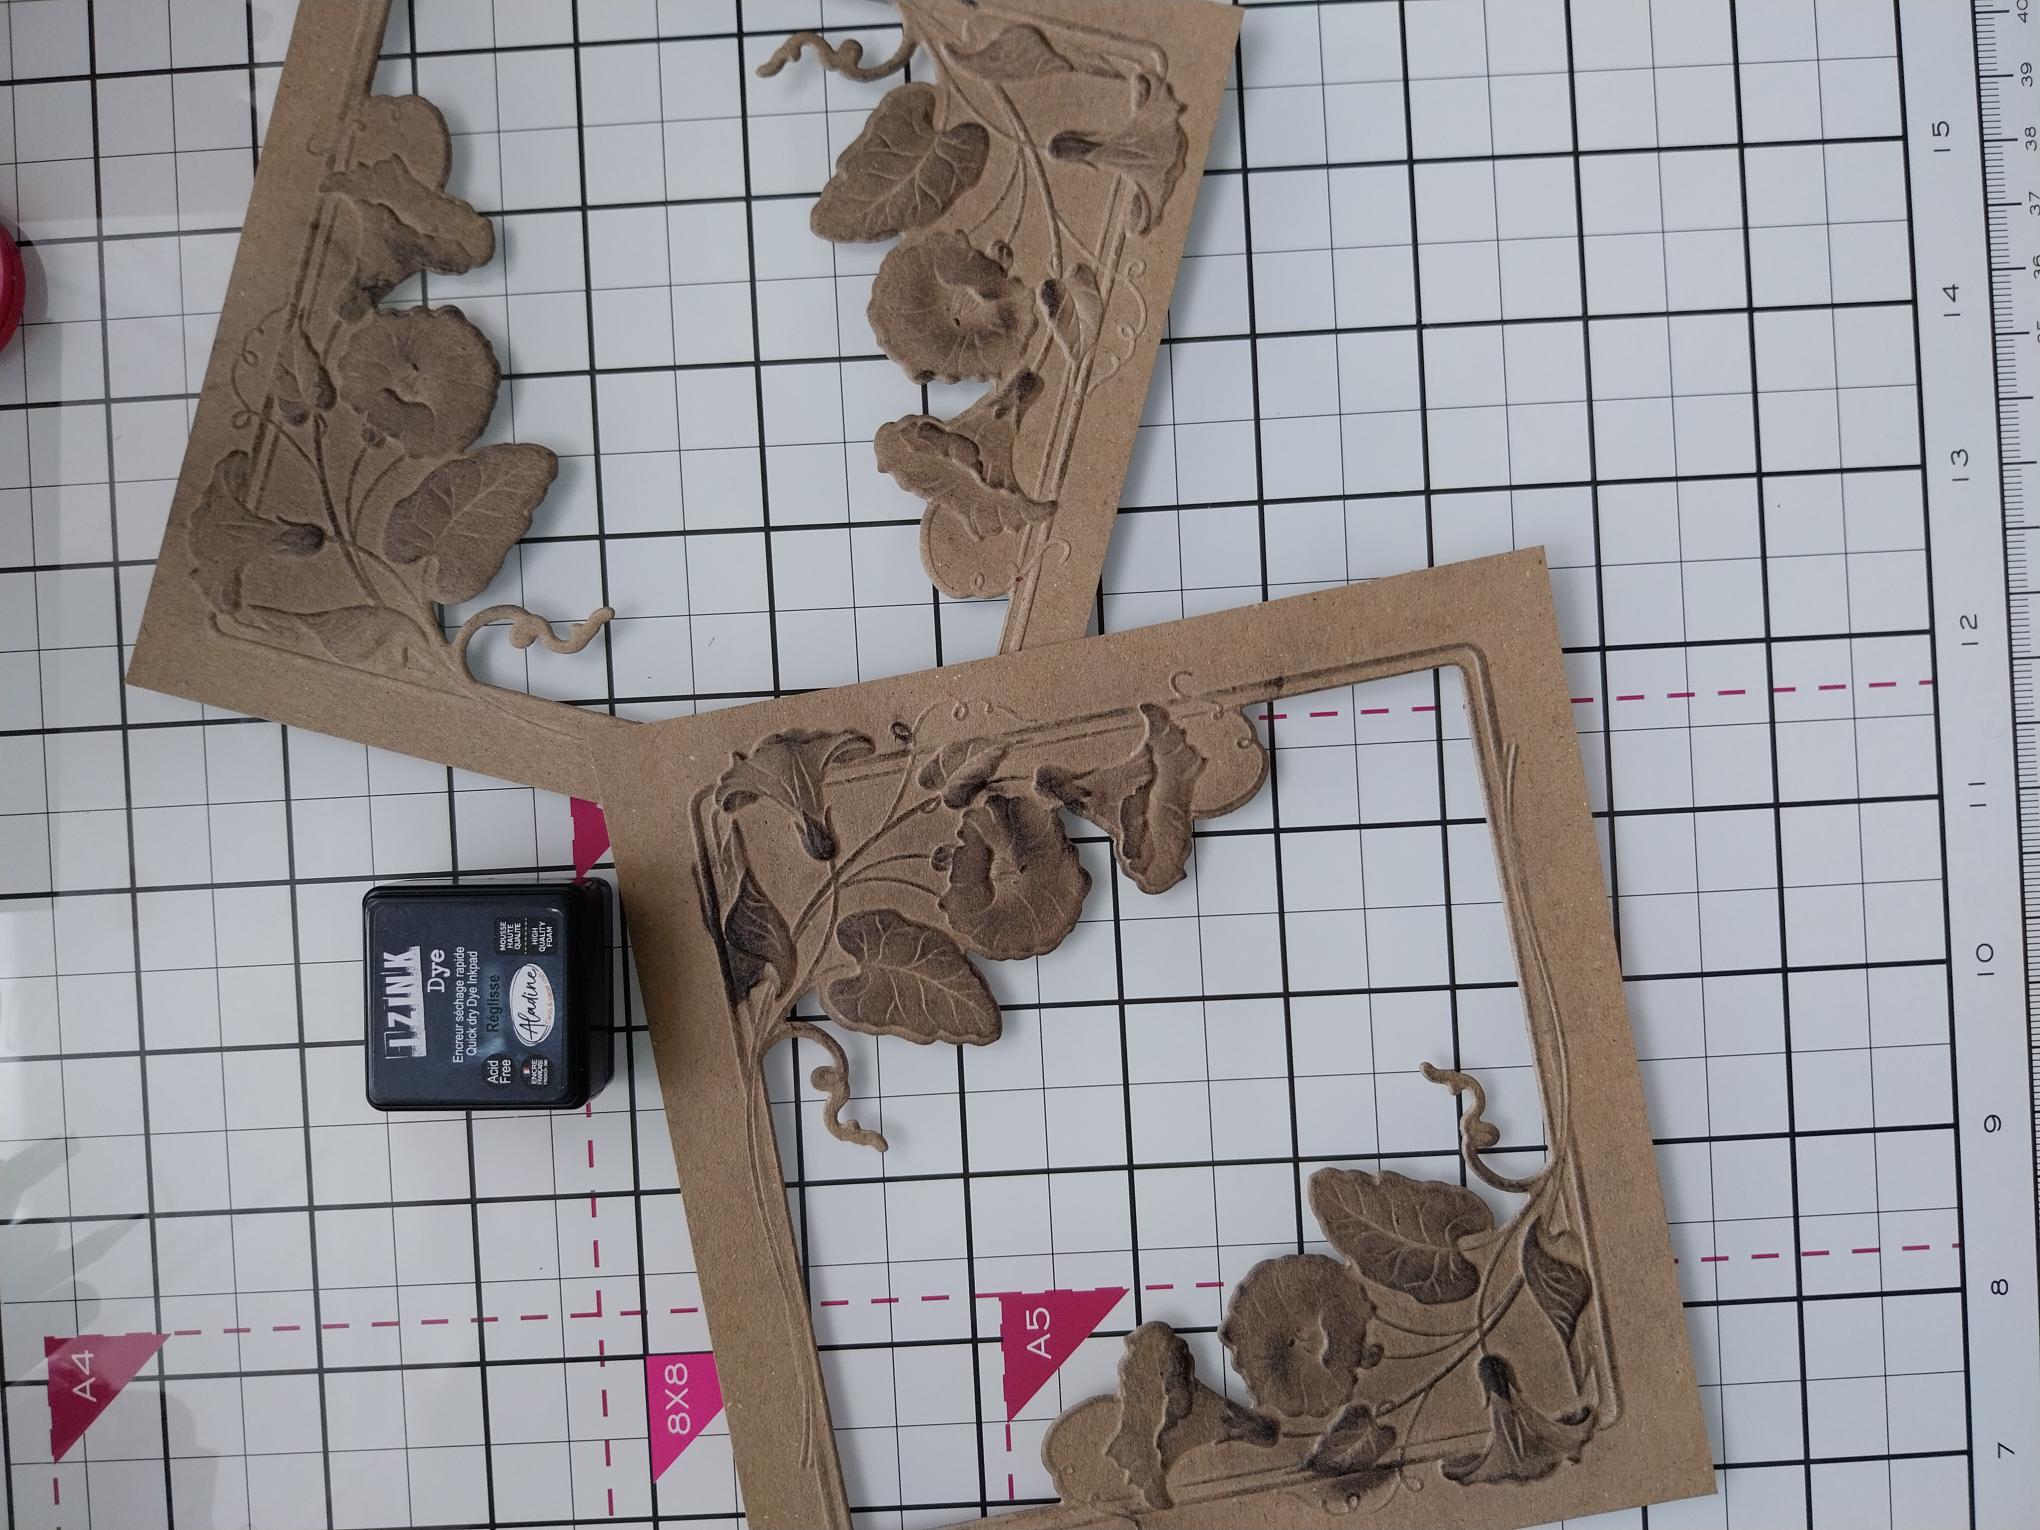
Gently wipe your Izink Reglisse ink pad over the raised, embossed areas on both the frames. |
|
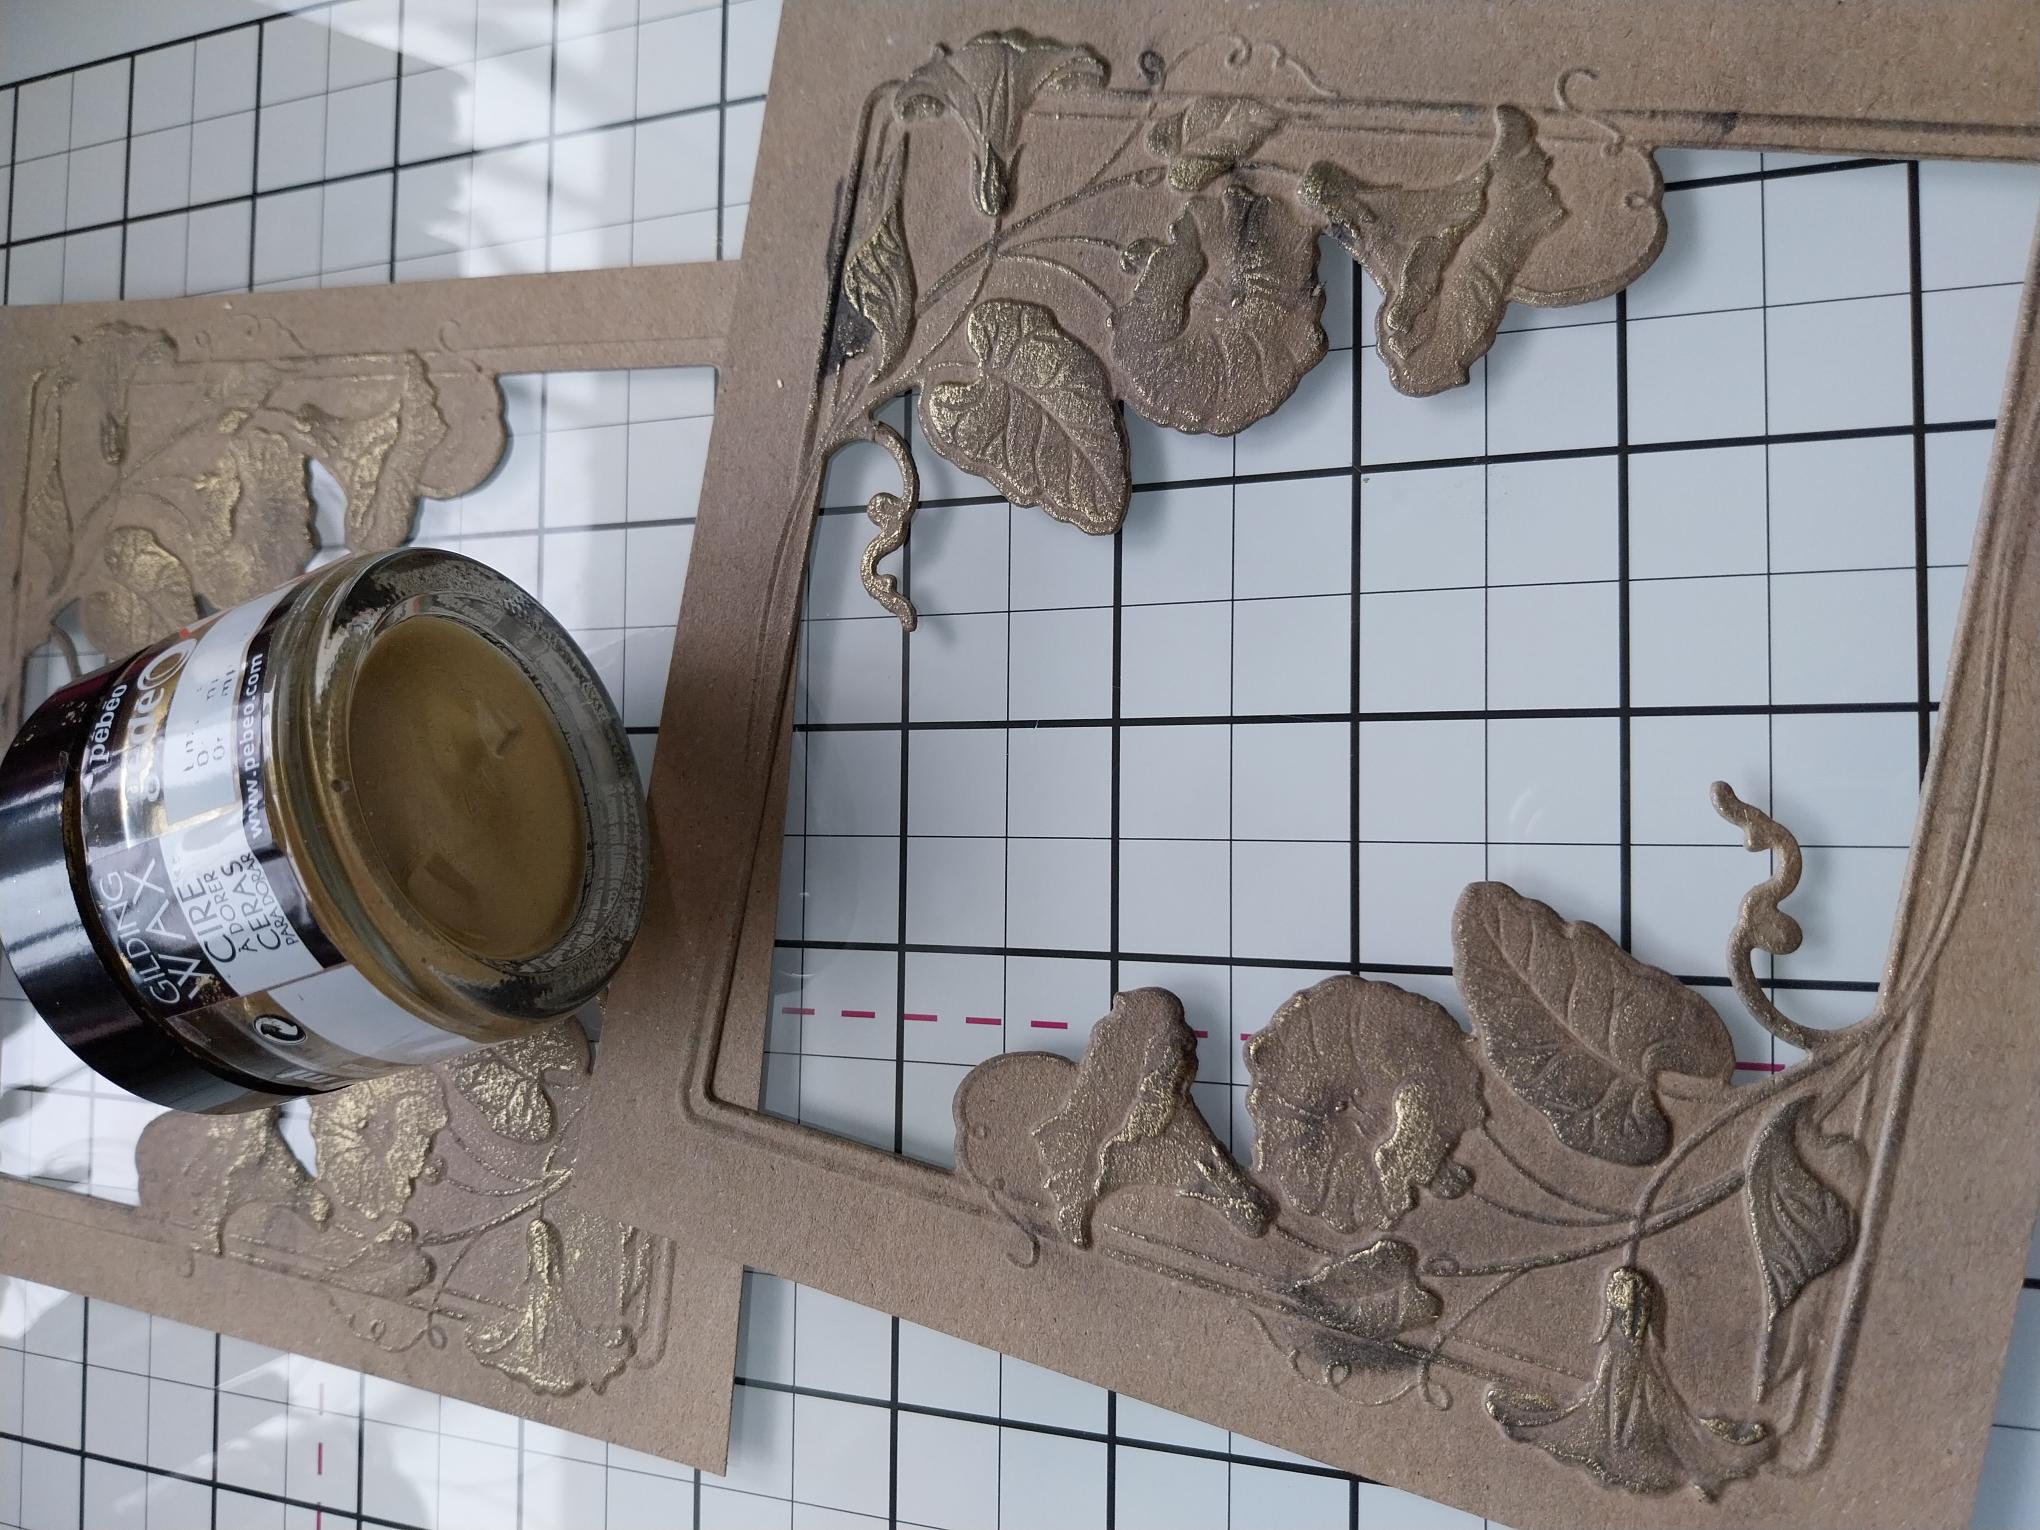
Once the ink is dry, apply the Gold gilding wax over random areas of your embossed frames. Buff with a soft cloth to enhance the shine. |
|
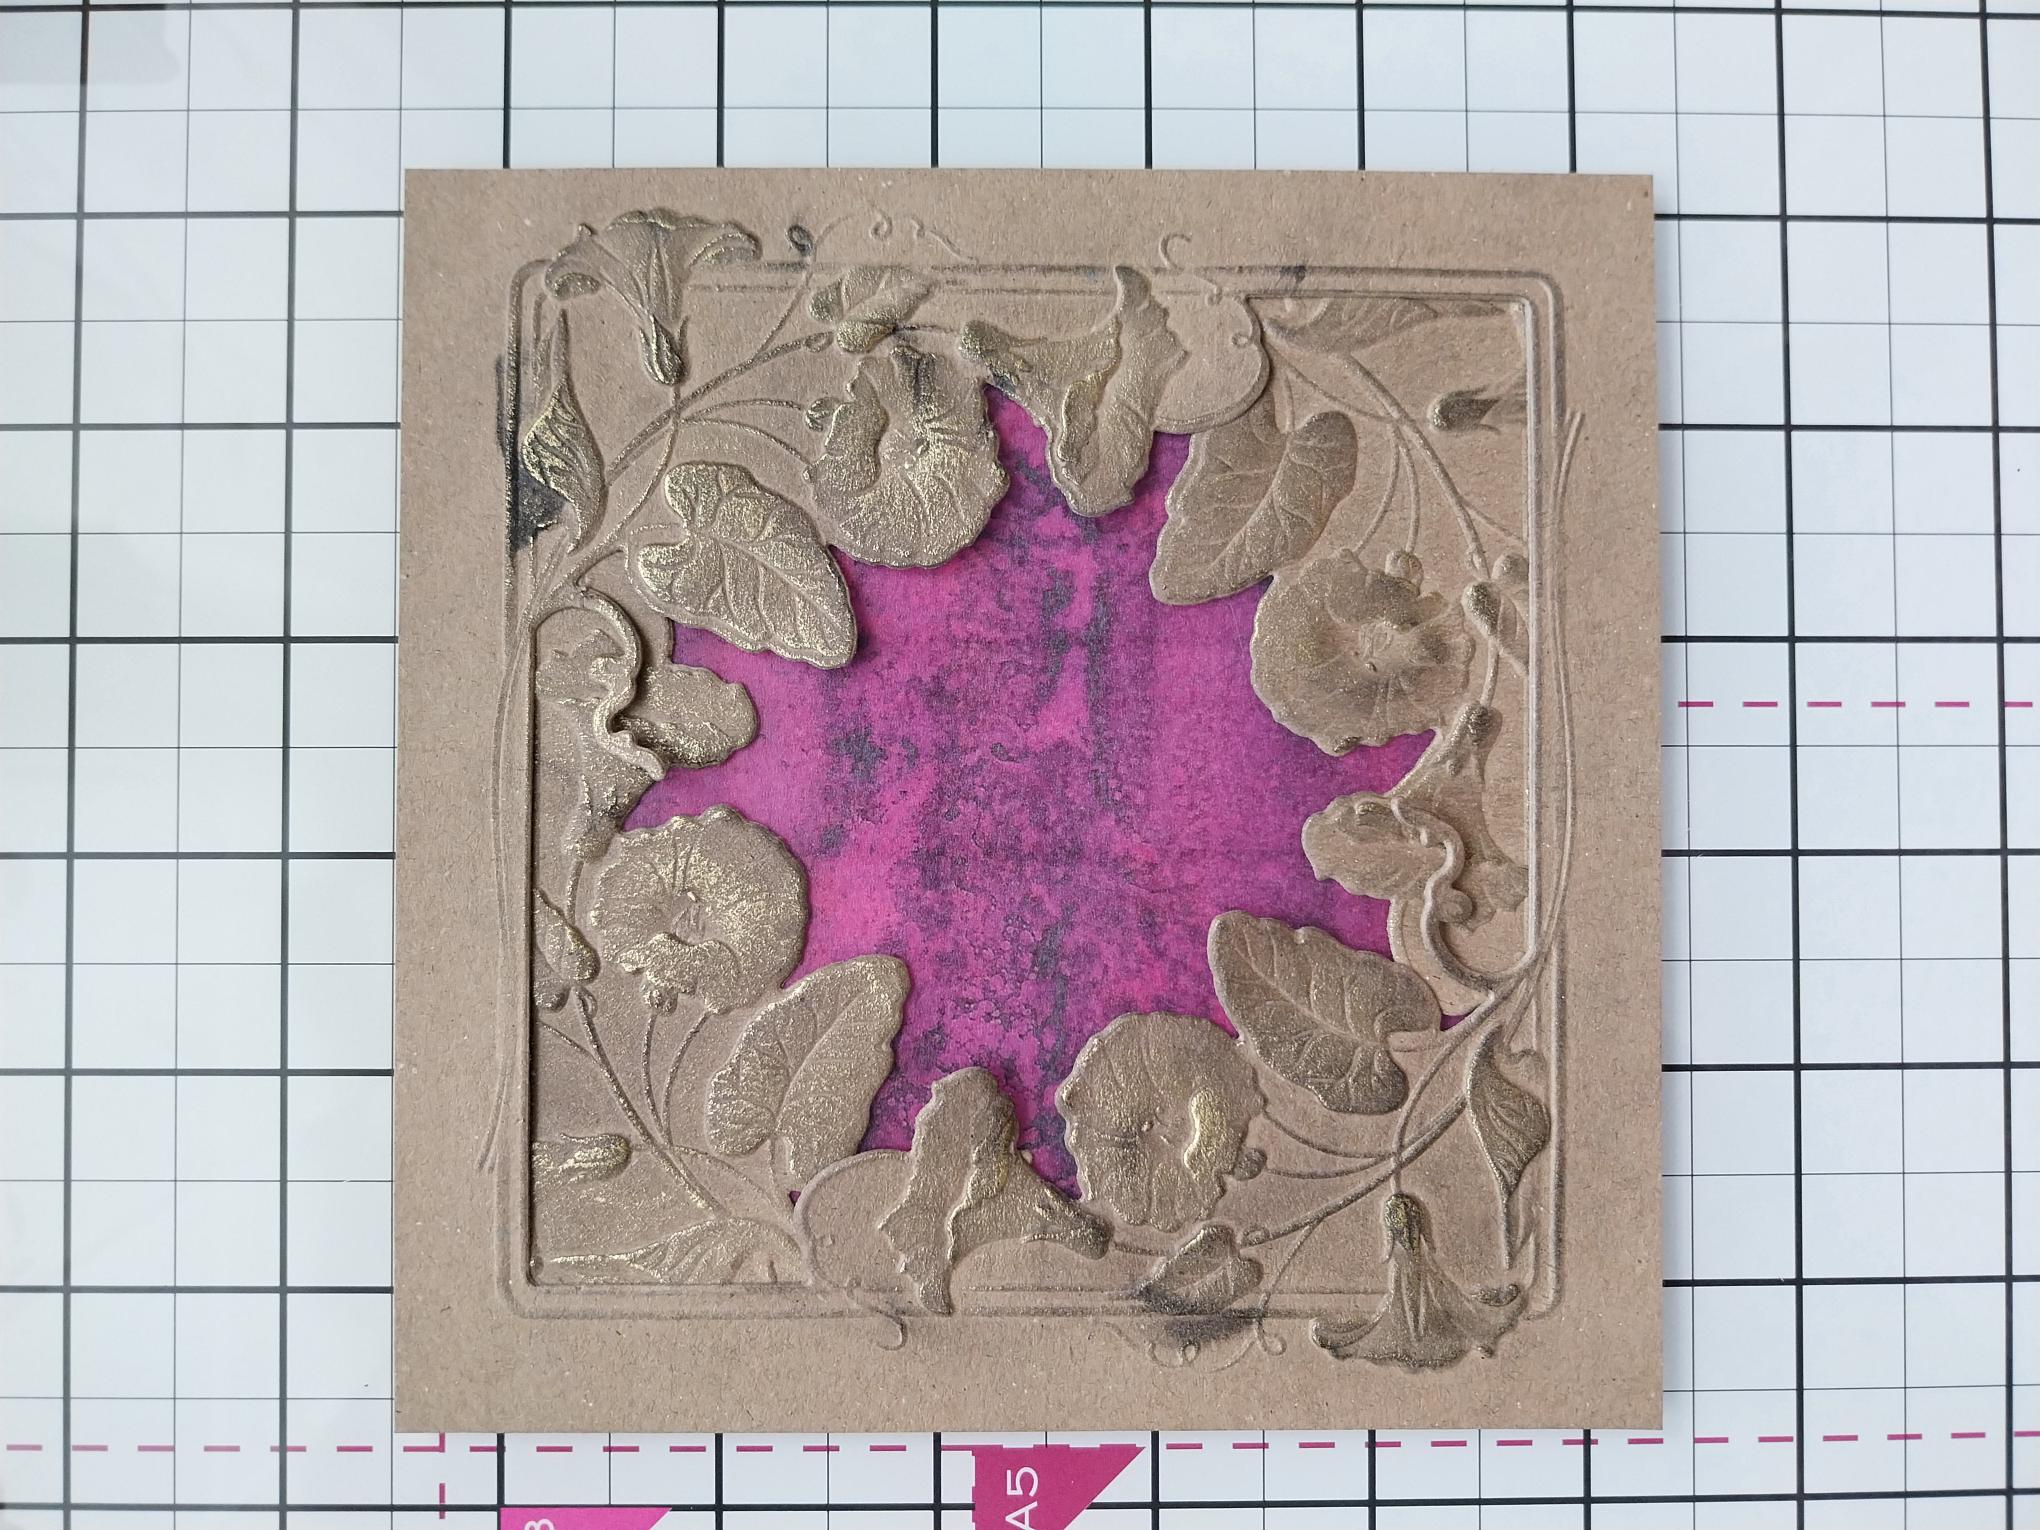
Rotate one of the frames before adhering them together, thus creating a circular Sweetpea frame. |
|
Remove this sheet from the vellum pack and trim to 5 1/2" square. |
|
Adhere the vellum panel behind the embossed frames. |

|
Adhere the 5 1/2" square white card behind the vellum panel, as this will help to "lift" the vibrancy of the pink!! |
|
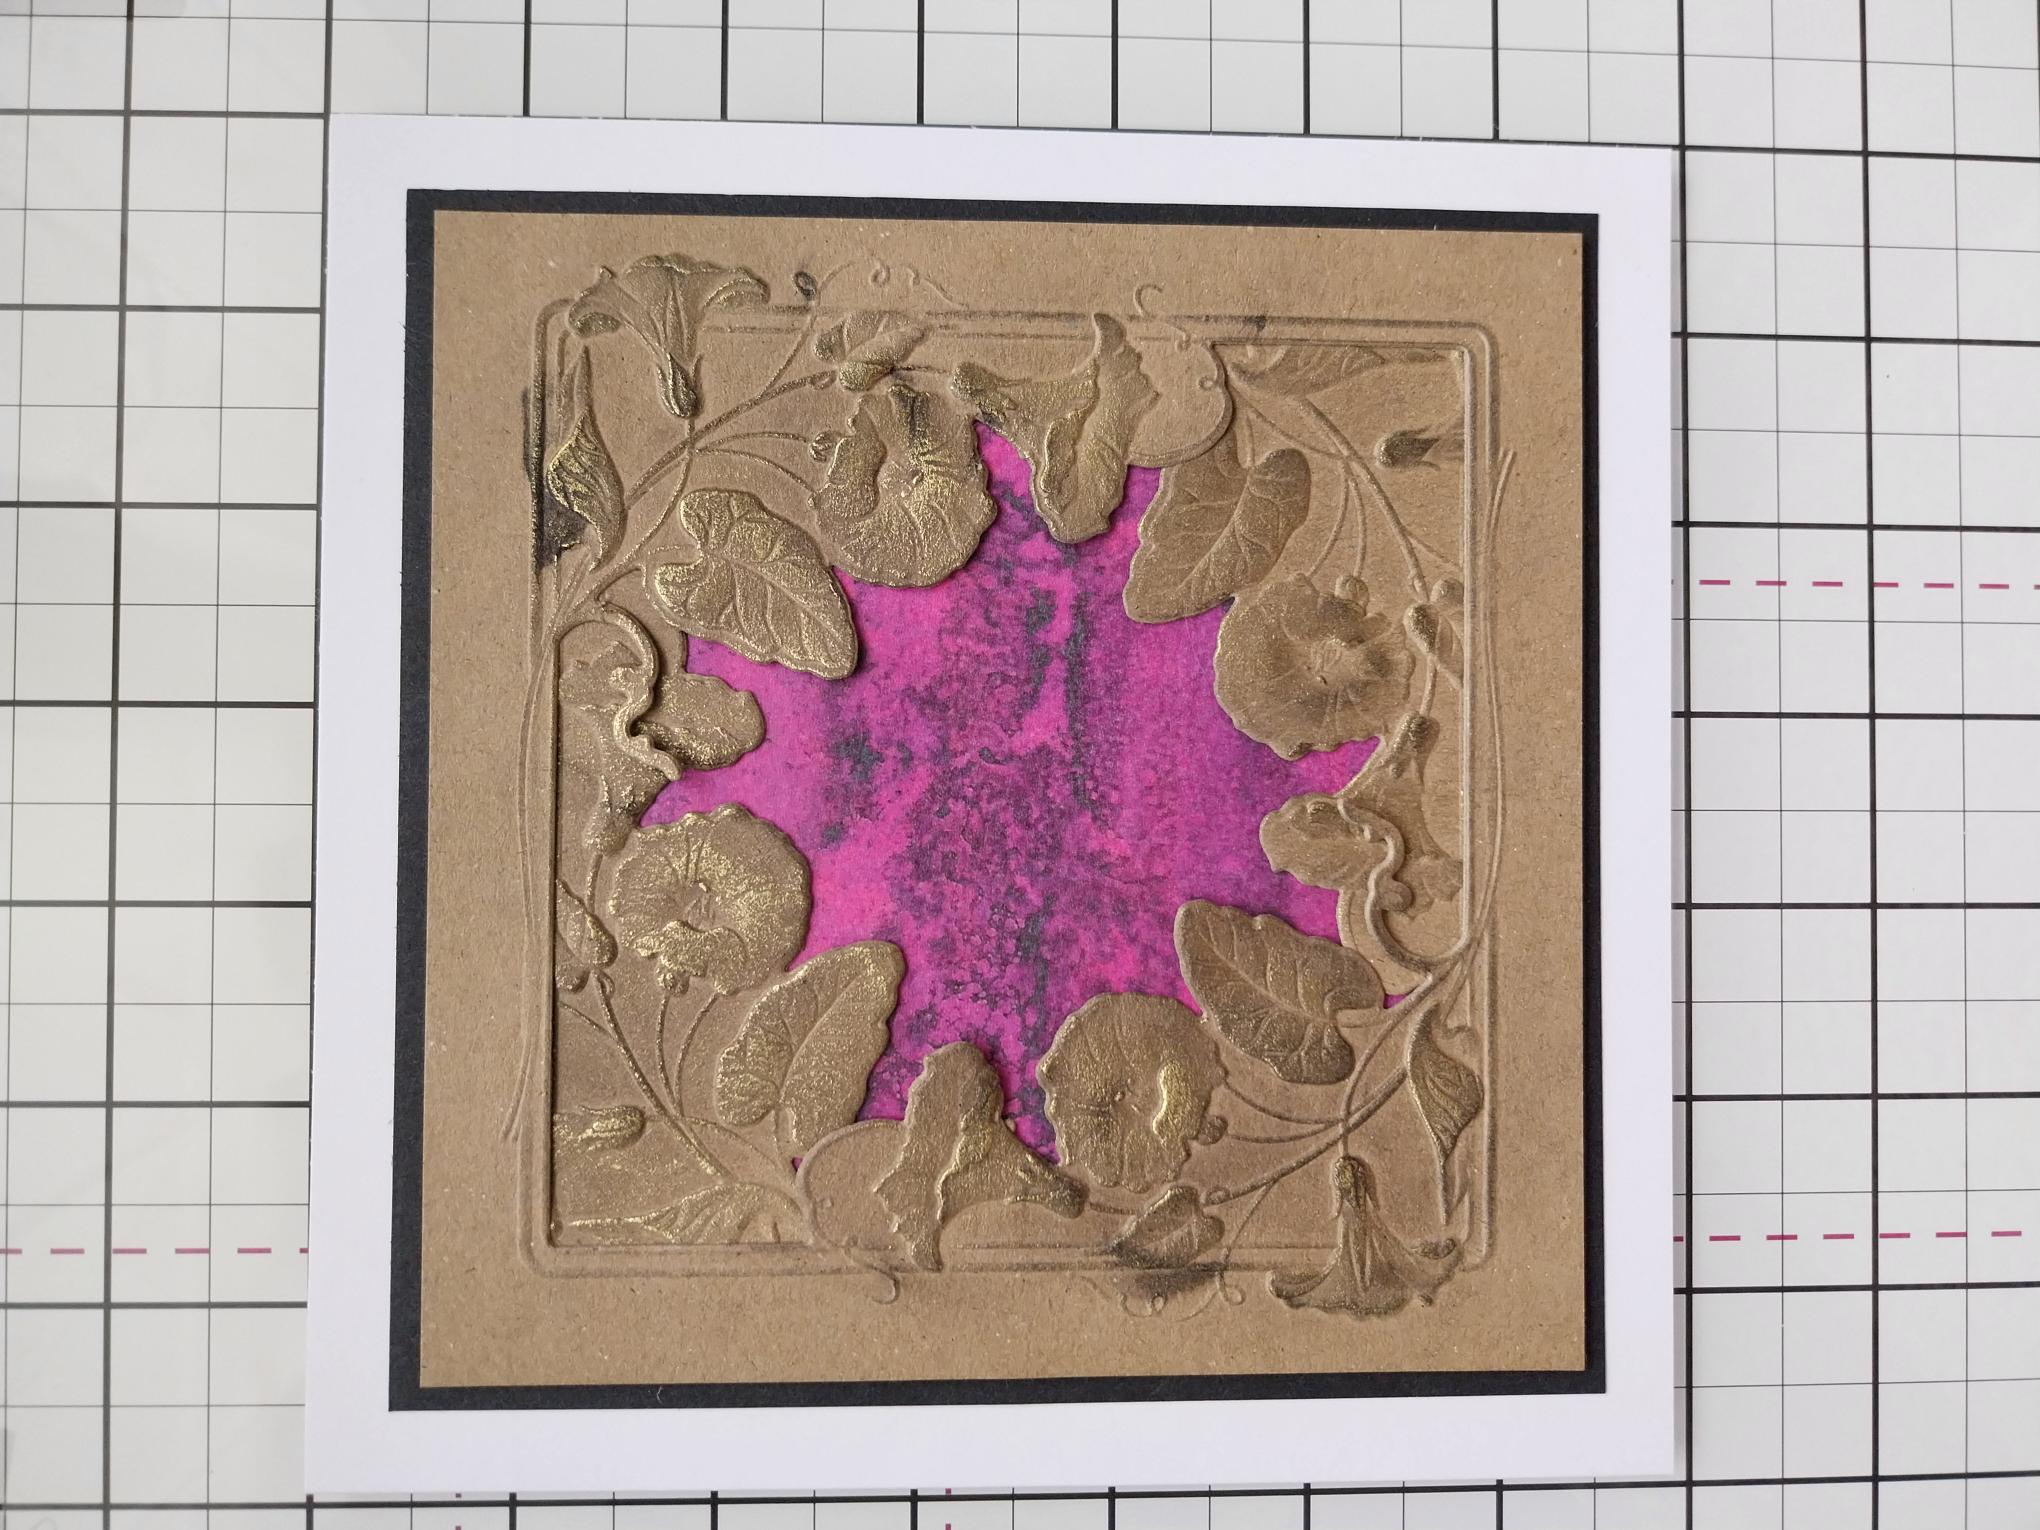
Adhere this on to the black card, cut to 6" square and then on to the front of your 7" square white card blank and pop to one side. |
|
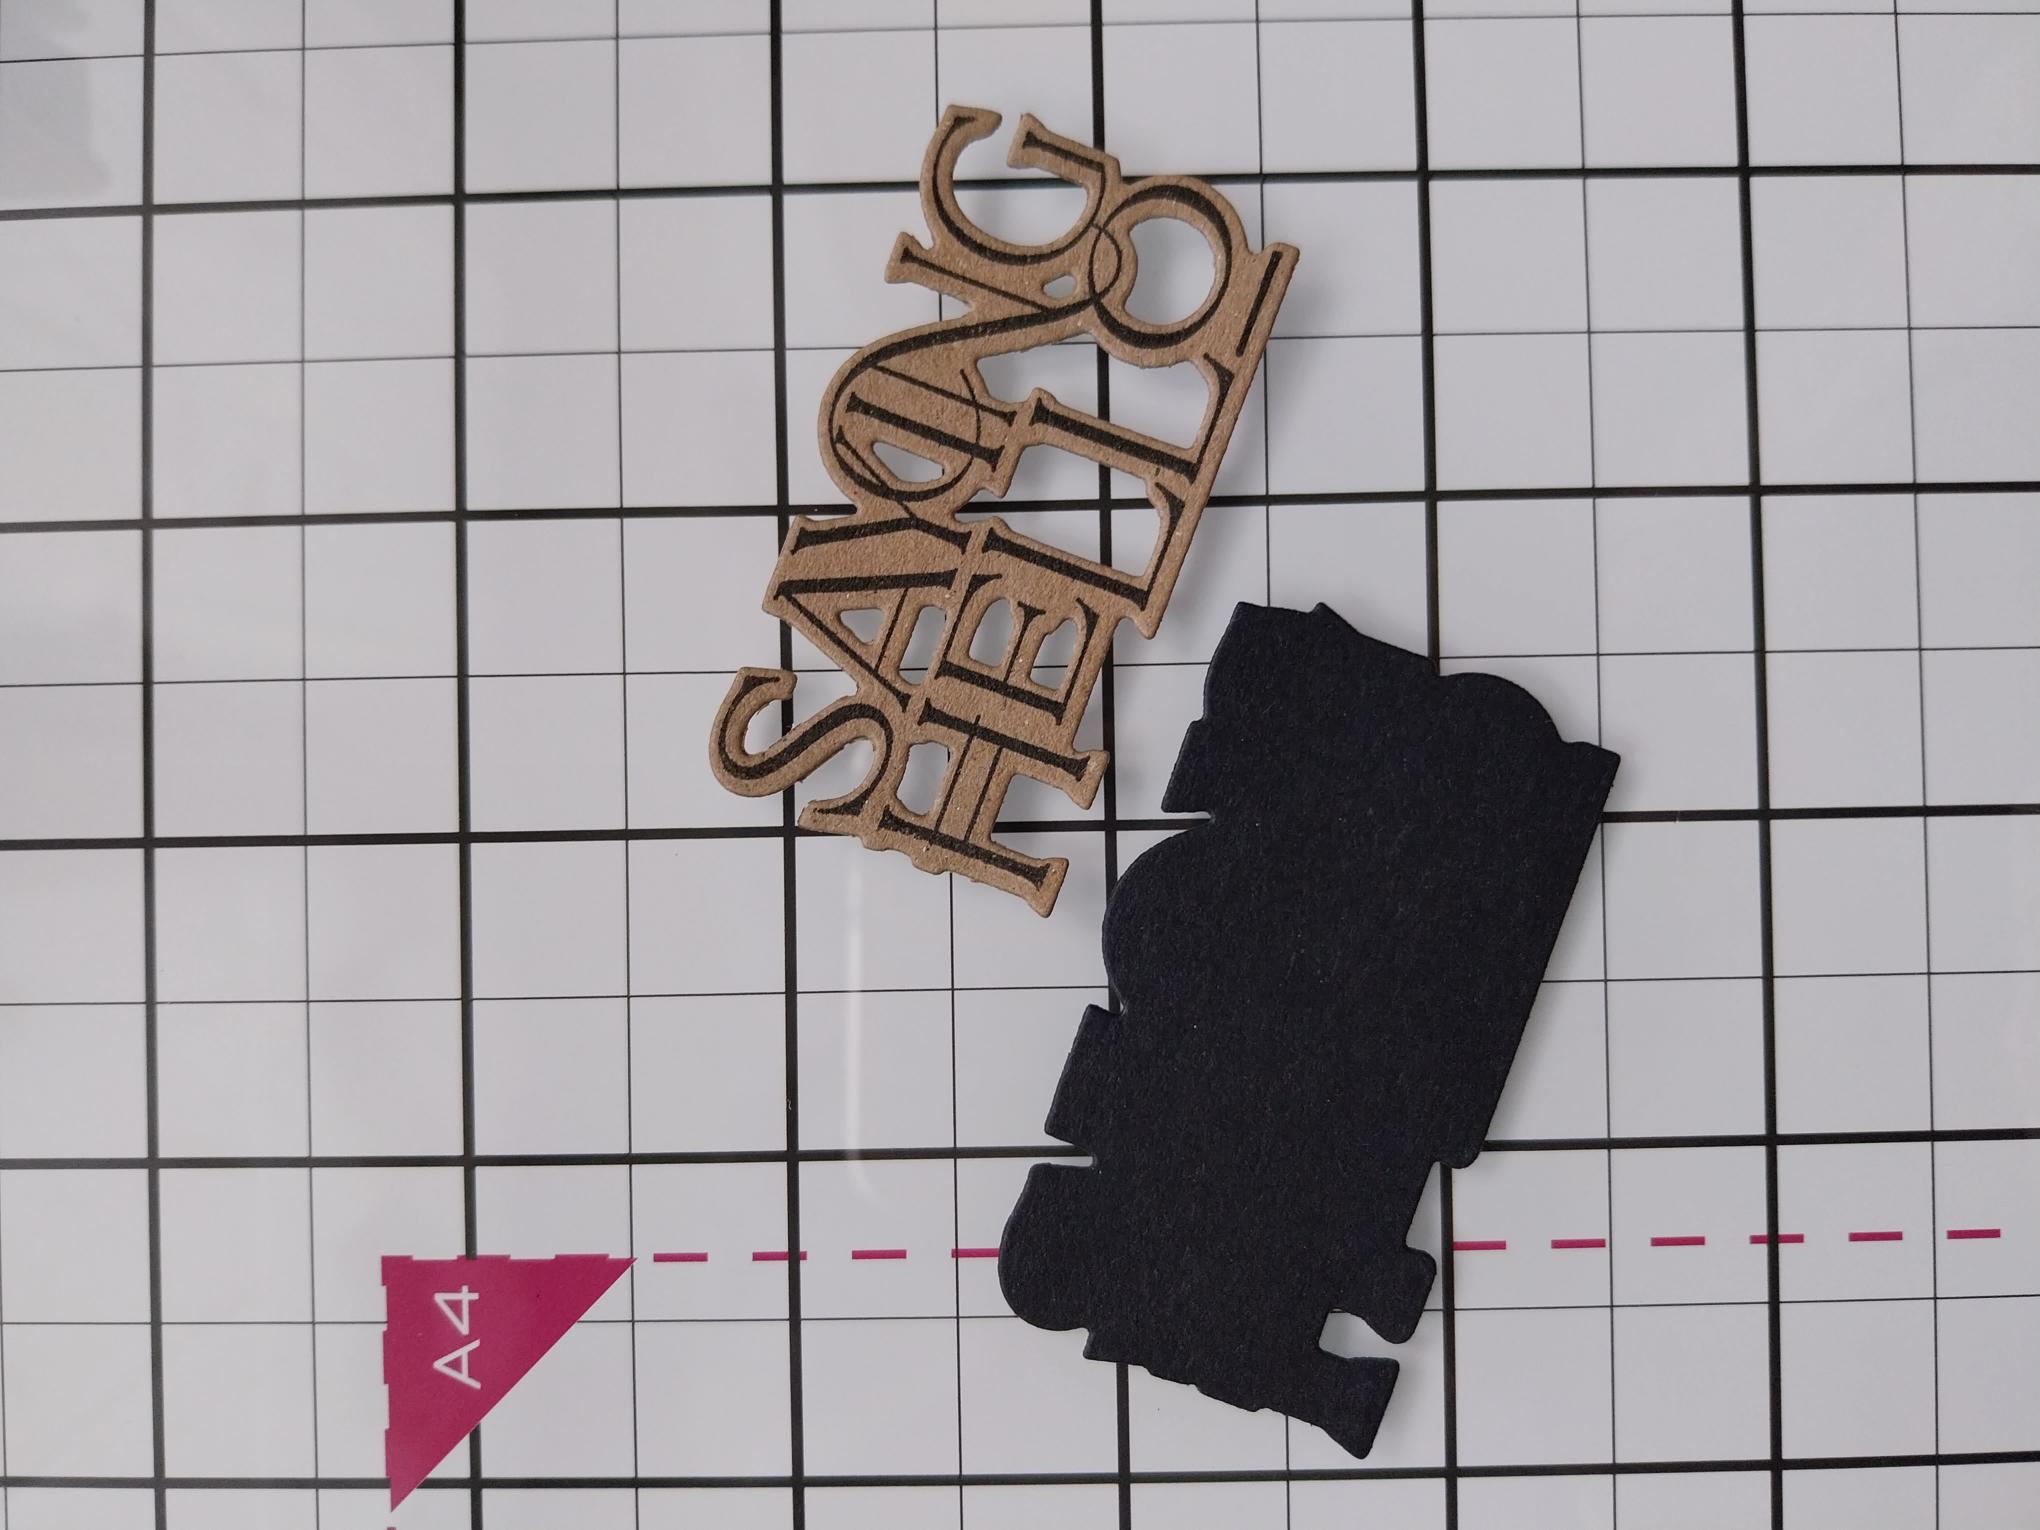
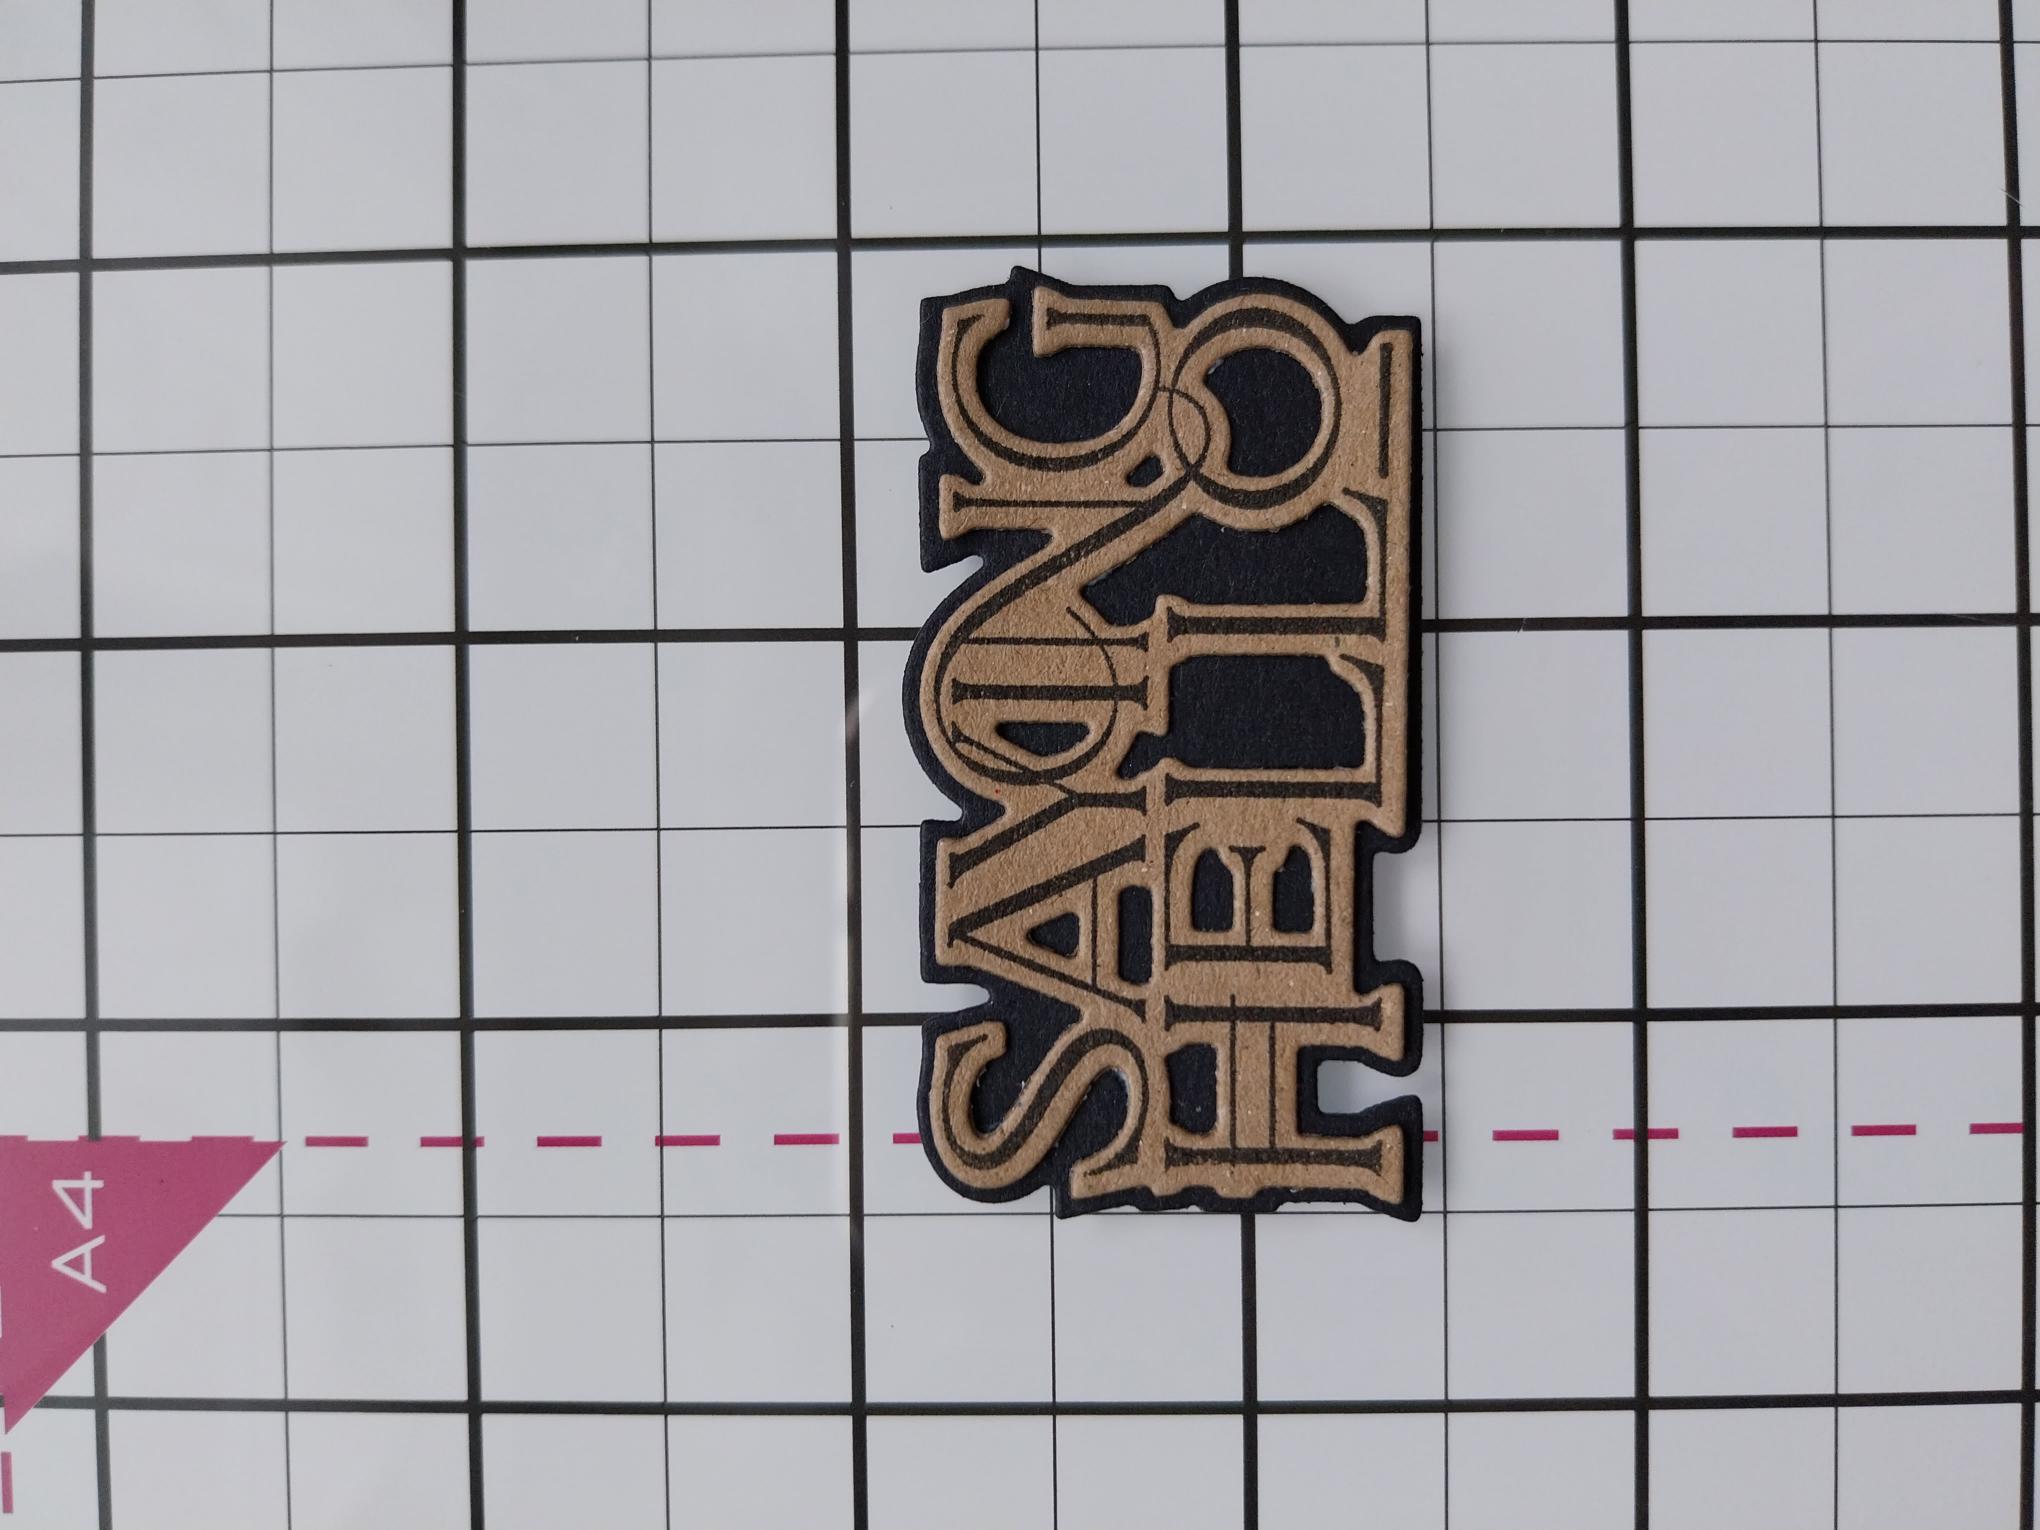
Stamp "Saying Hello", in Midnight, on to a piece of kraft card. Place the coordinating die over your sentiment. Place the layering die on to a piece of black card and run both through your die cutting machine. |
|
Adhere the detailed die cut on top of the layering die cut. |
|
Adhere in the centre of your embossed frame, to finish. |