Give your friends $10 off their first order!
Refer a FRIEND


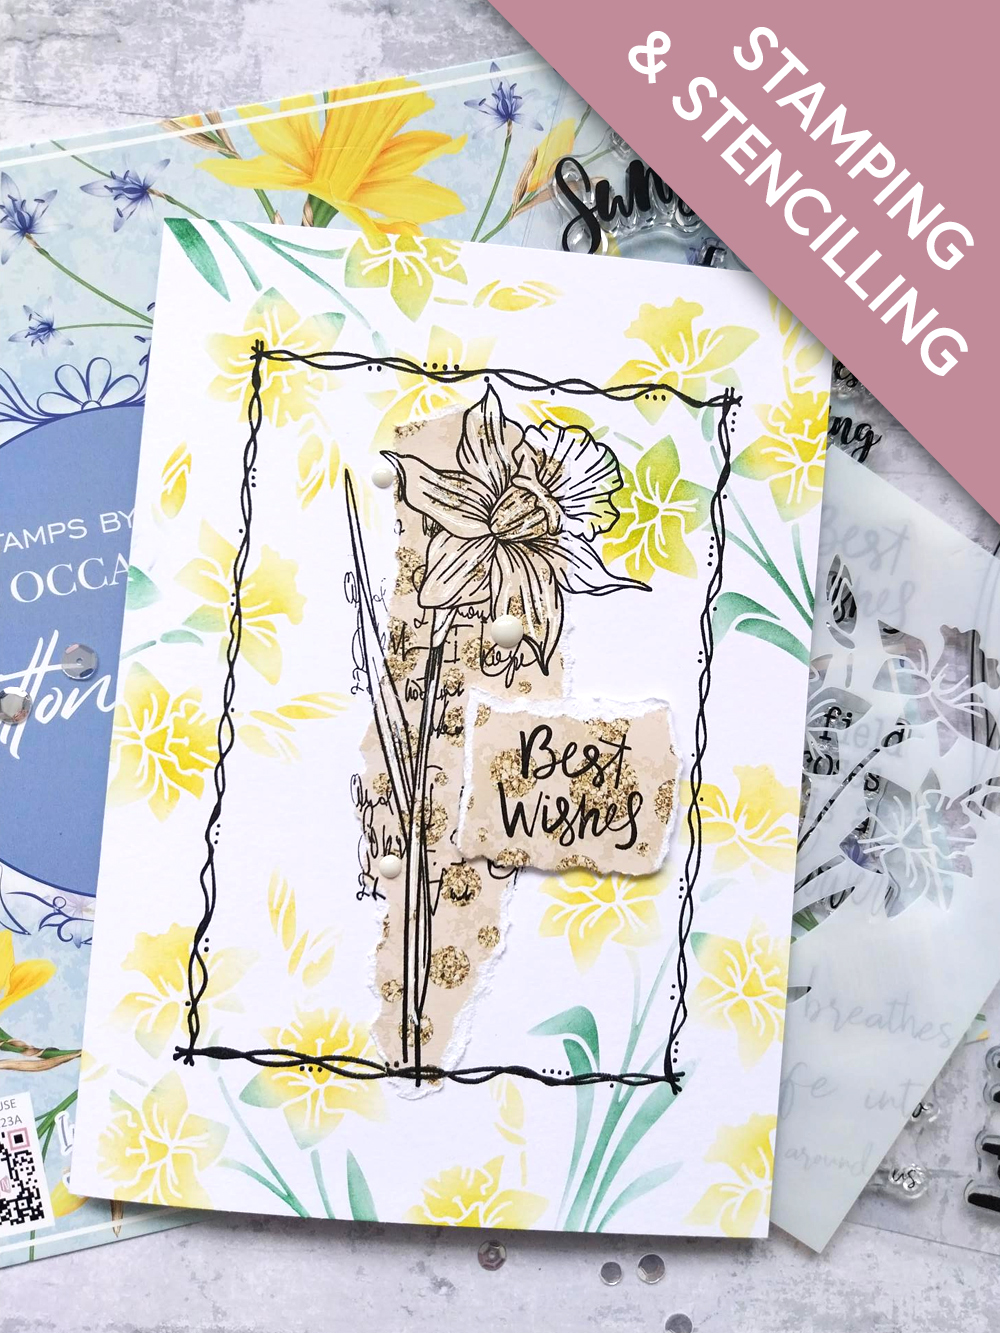
WHAT YOU WILL NEED:
White card blank 7 x 5"
Hazy Days Stencil
Sketched Florals Stamp Collection
Dot Frame Stamp Collection
Cotton Breeze 8 x 8" Paper Pad
SBM Premium Dye Ink Pad: Sherbet, Hedgerow
SBM Hybrid Ink Pad: Midnight
Blending Tool
Funky Fossil Designs Enamel Dots: Cream
Pick up gem and pokey tool
Imala white gel pen
Eureka 101 Watercolour Tablet
SBM Magnetic glass mat
Paper Trimmer
Perfect Together Glue
Foam pads
[click image to enlarge] 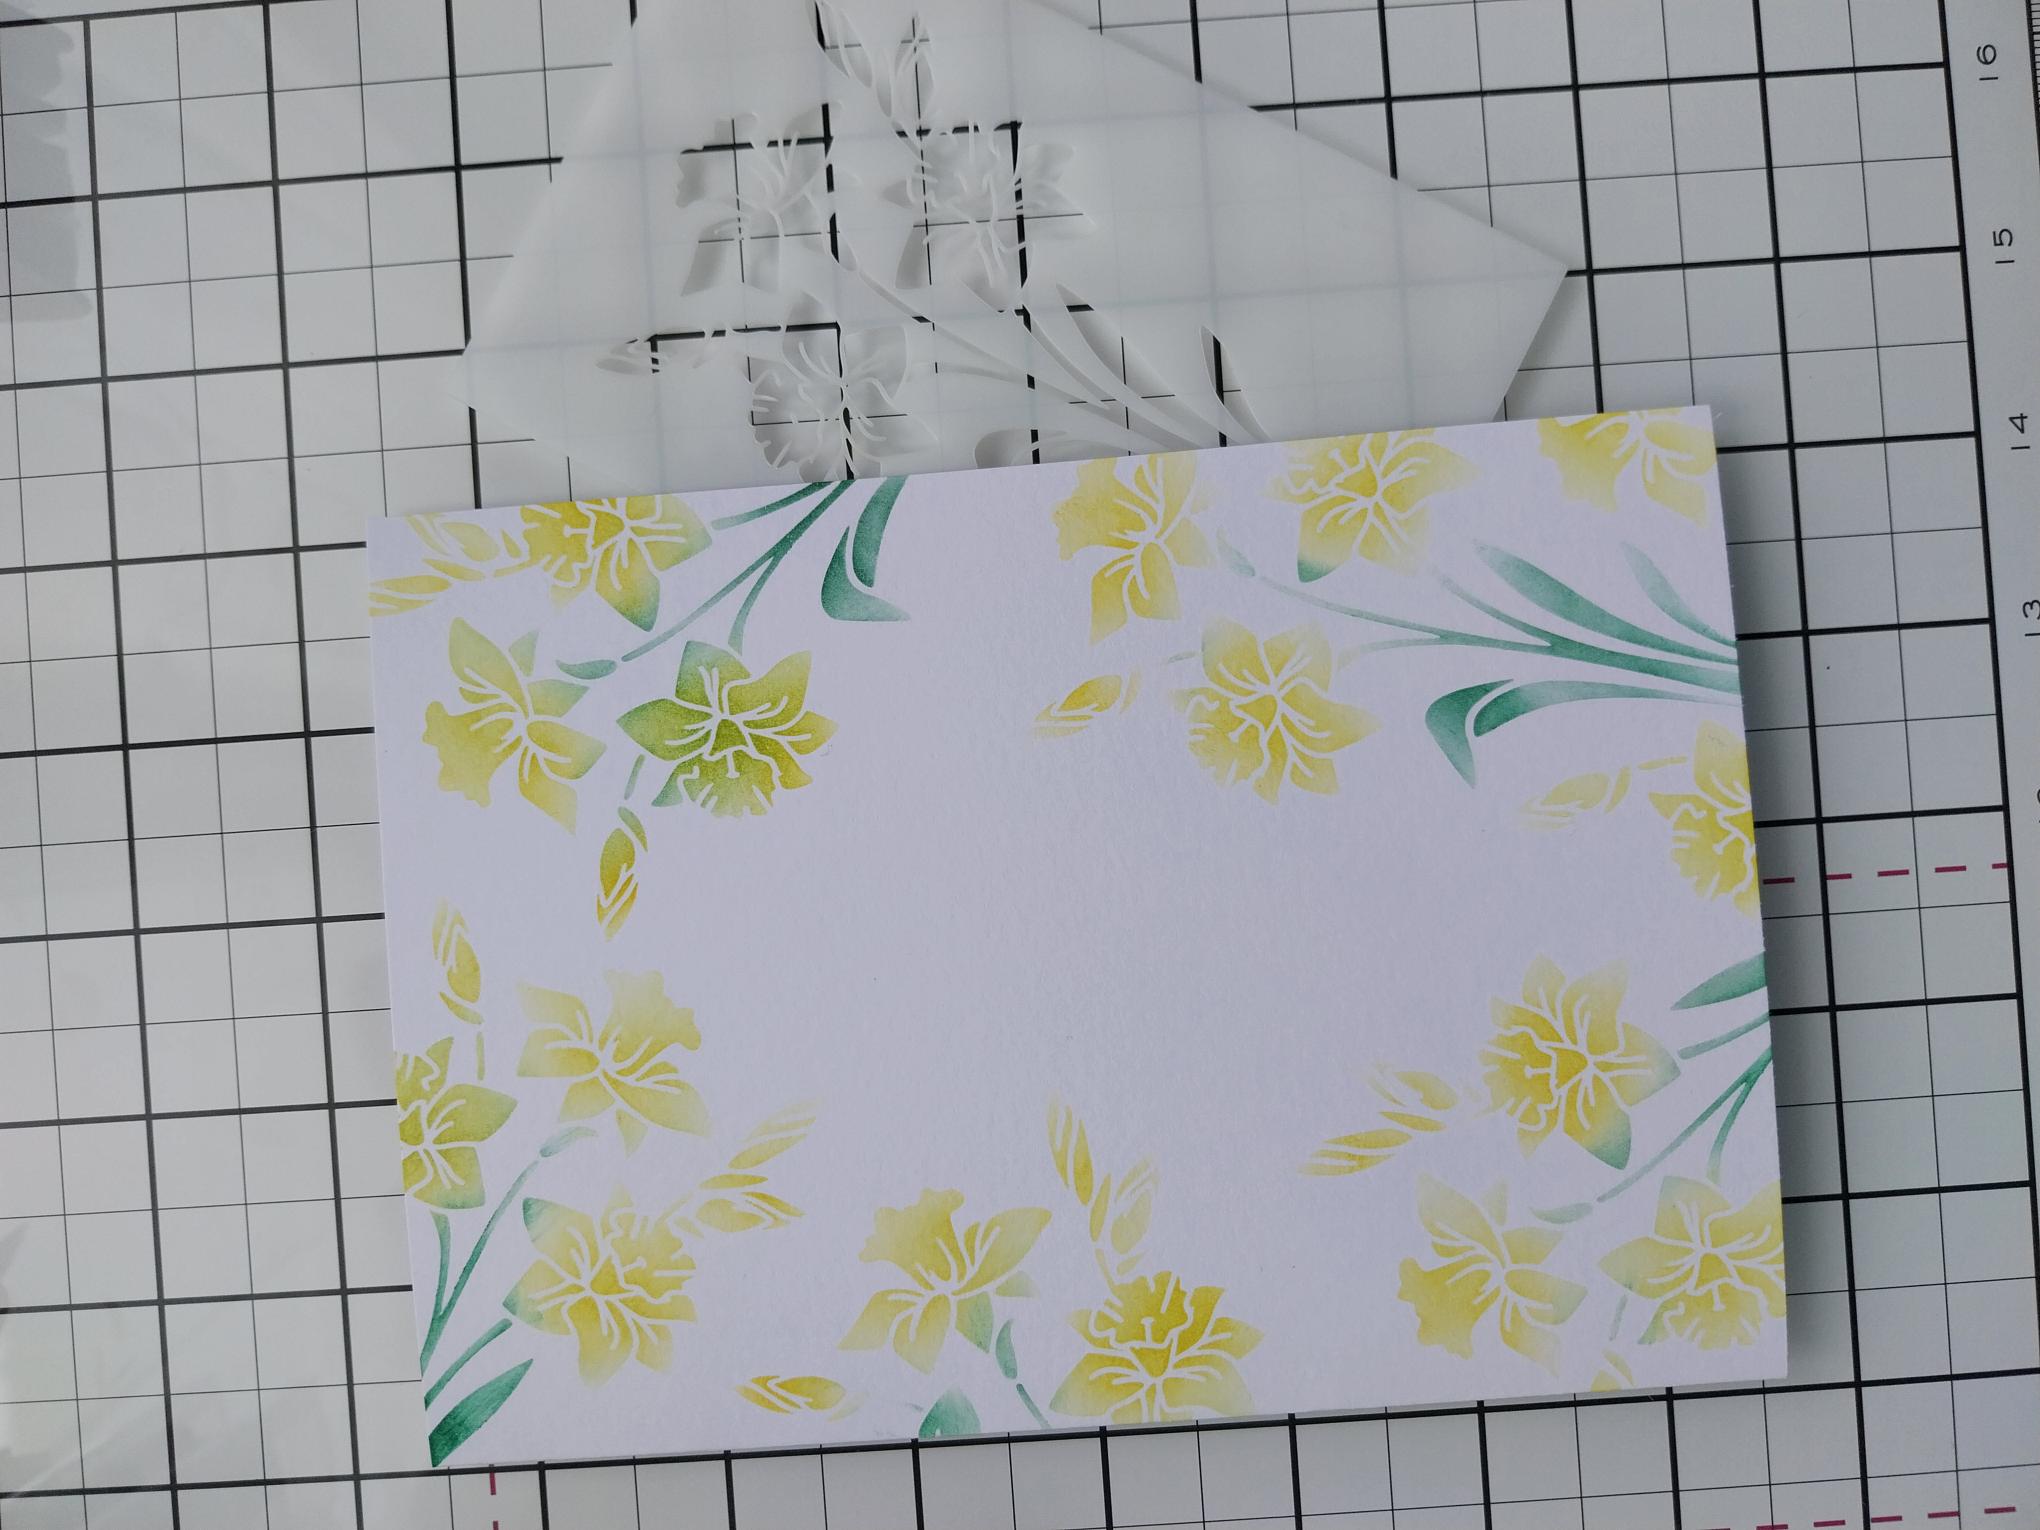
|
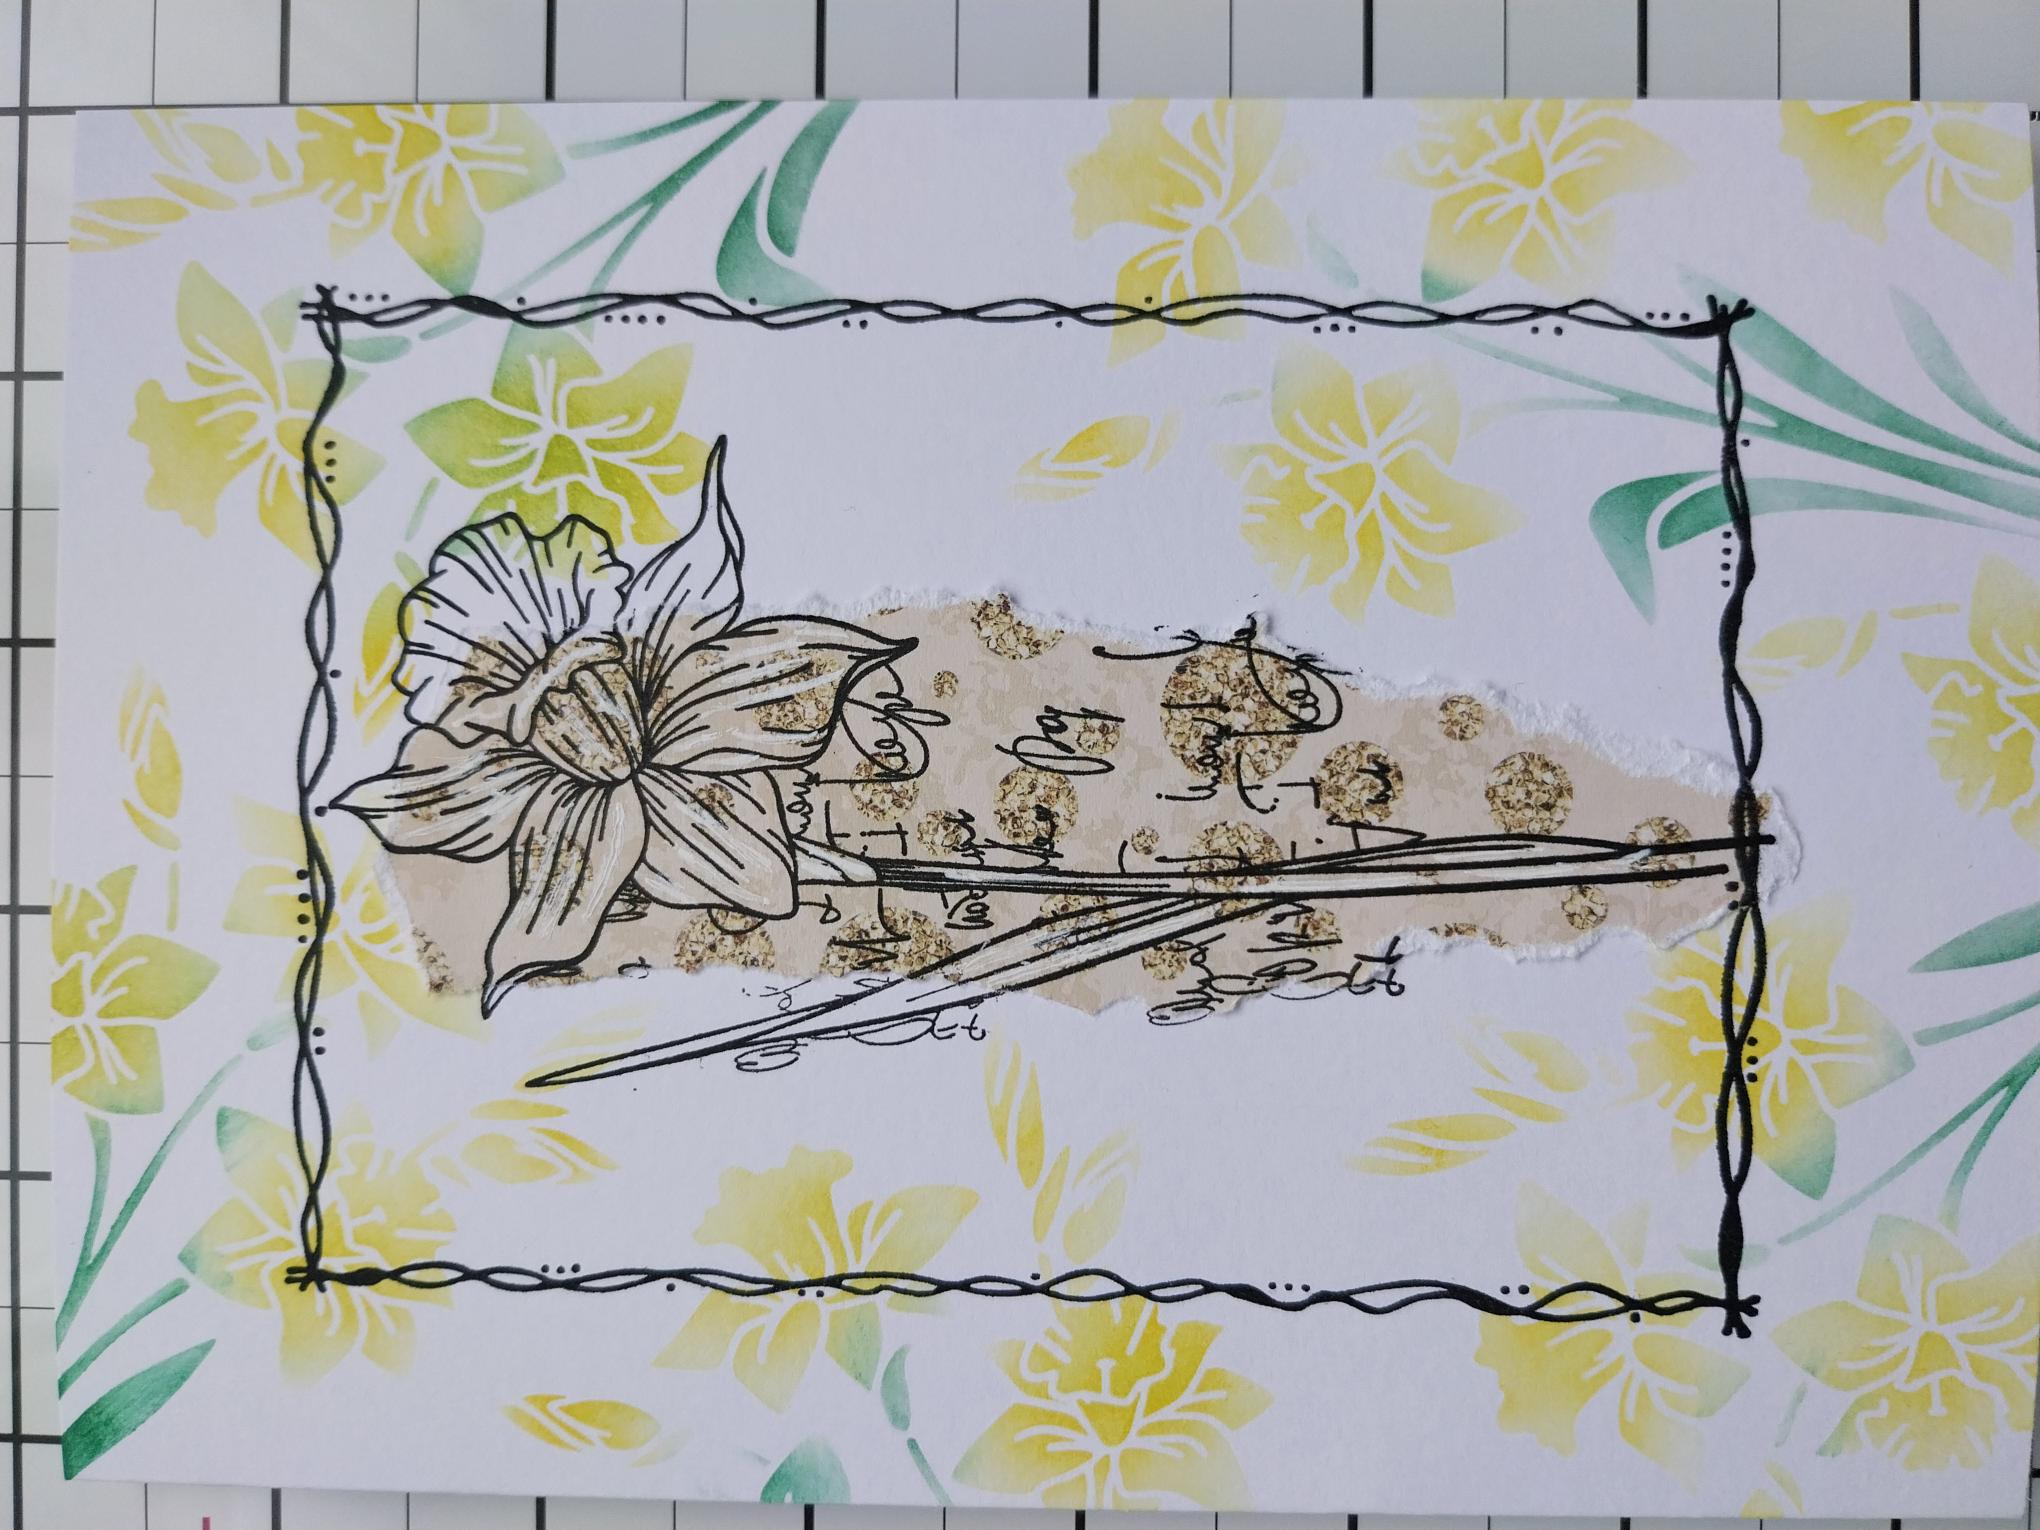
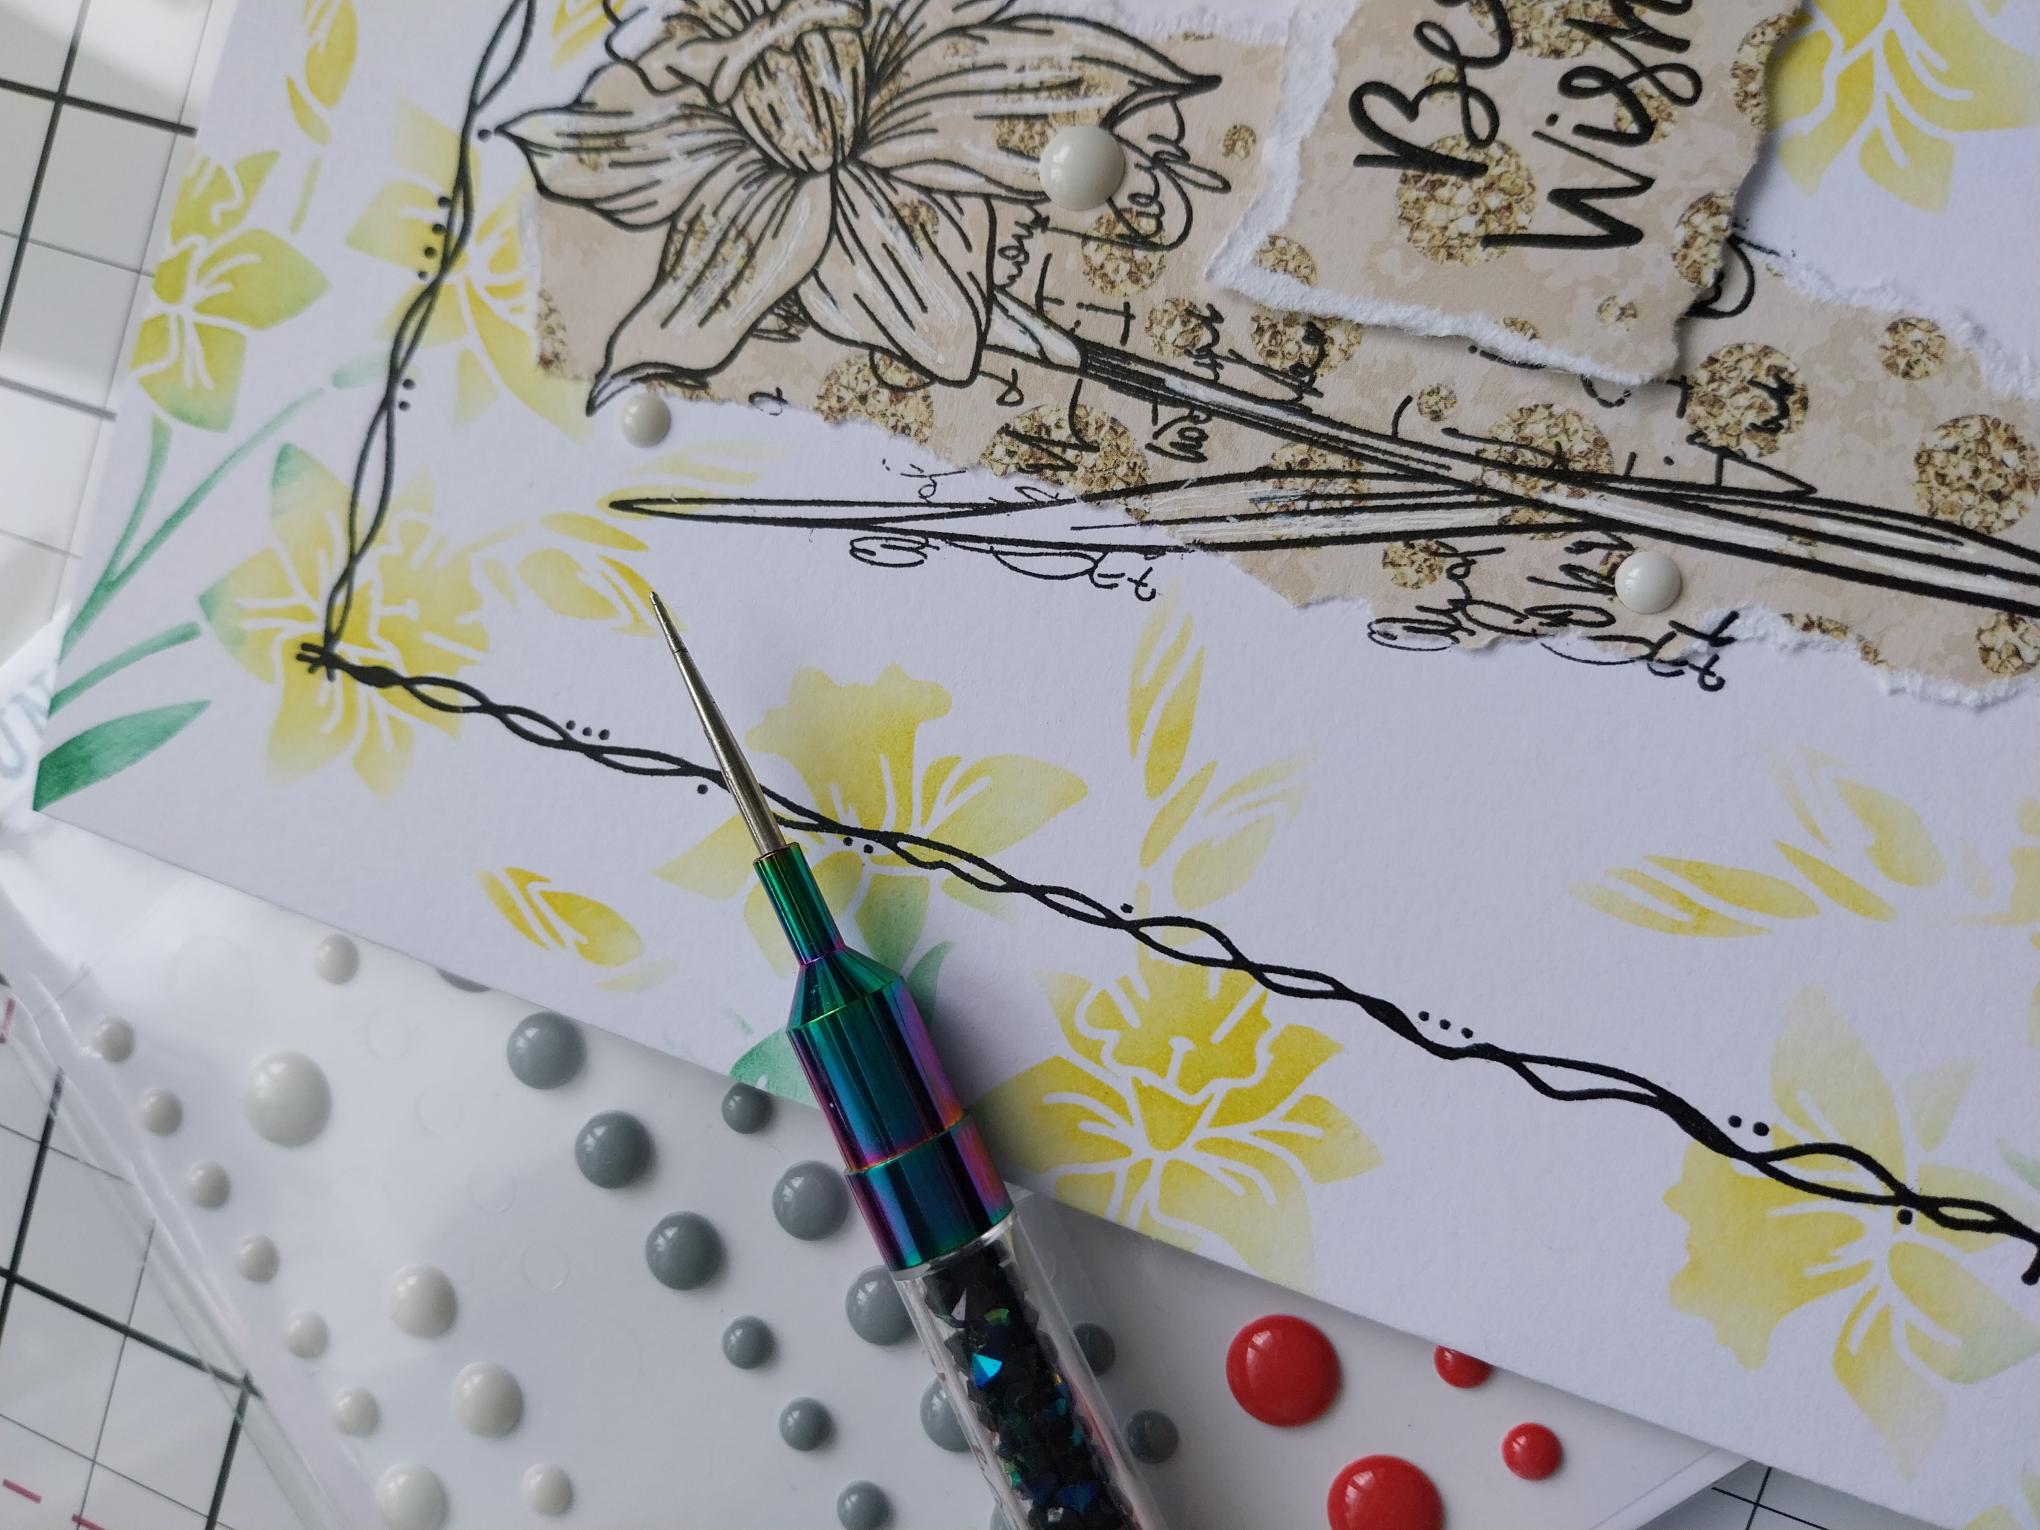
Blend the Sherbet and Hedgerow lightly through your Hazy Days stencil, directly around the edges of your 7 x 5" white card blank. Ensure you take the stencilled images off the edges and in do them in different orientations. |
|
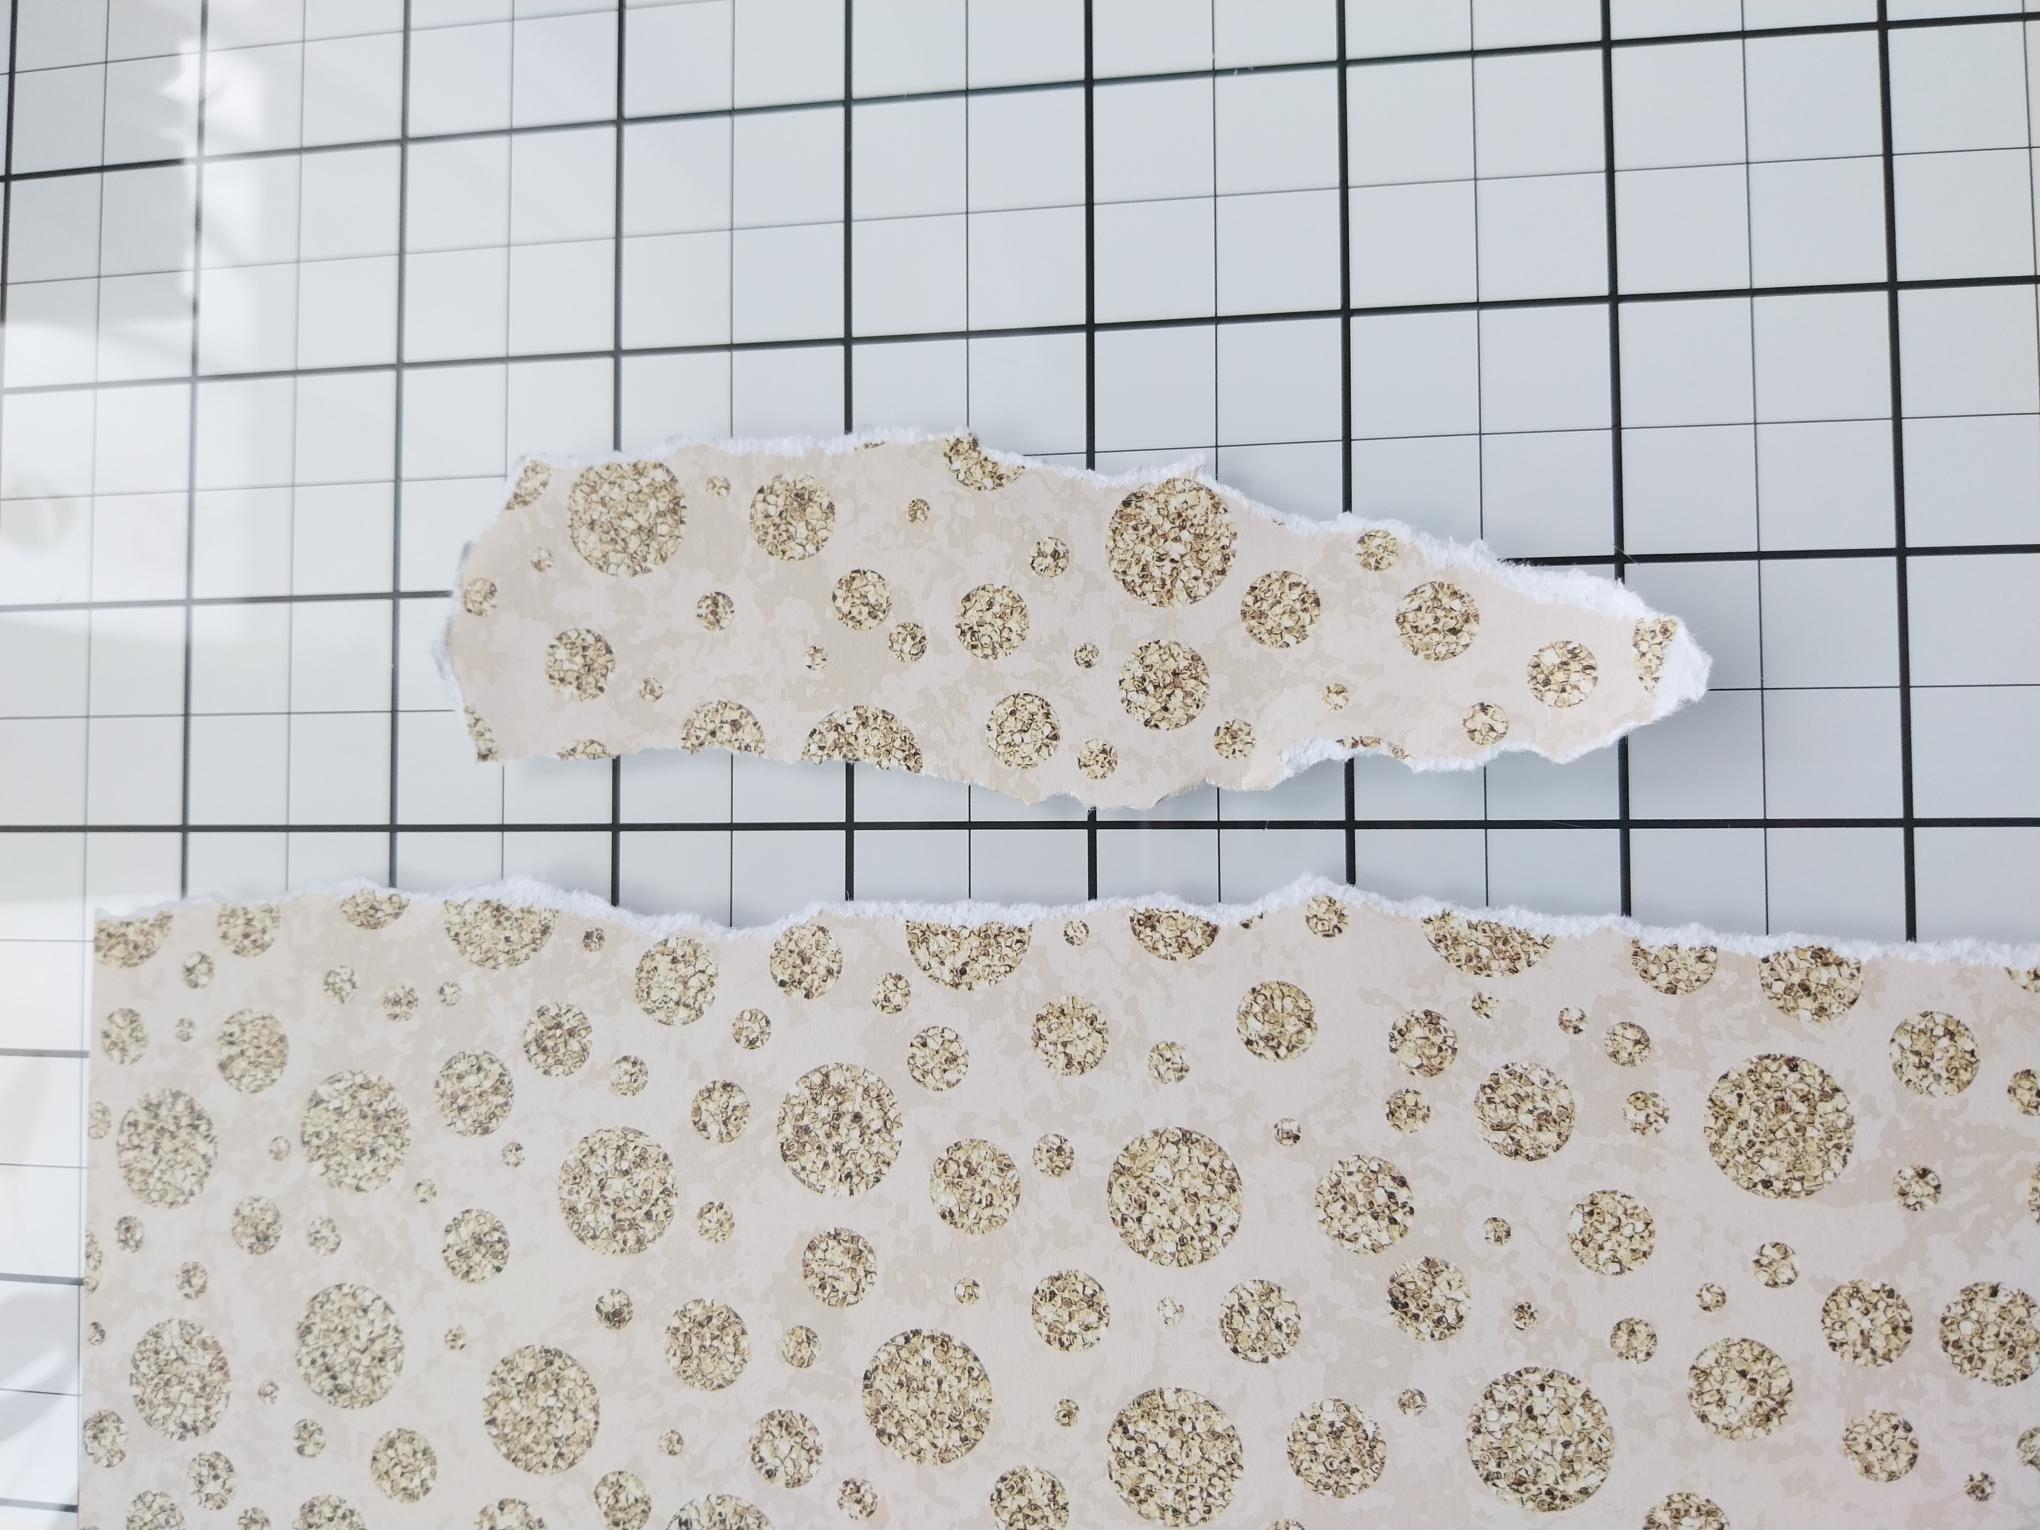
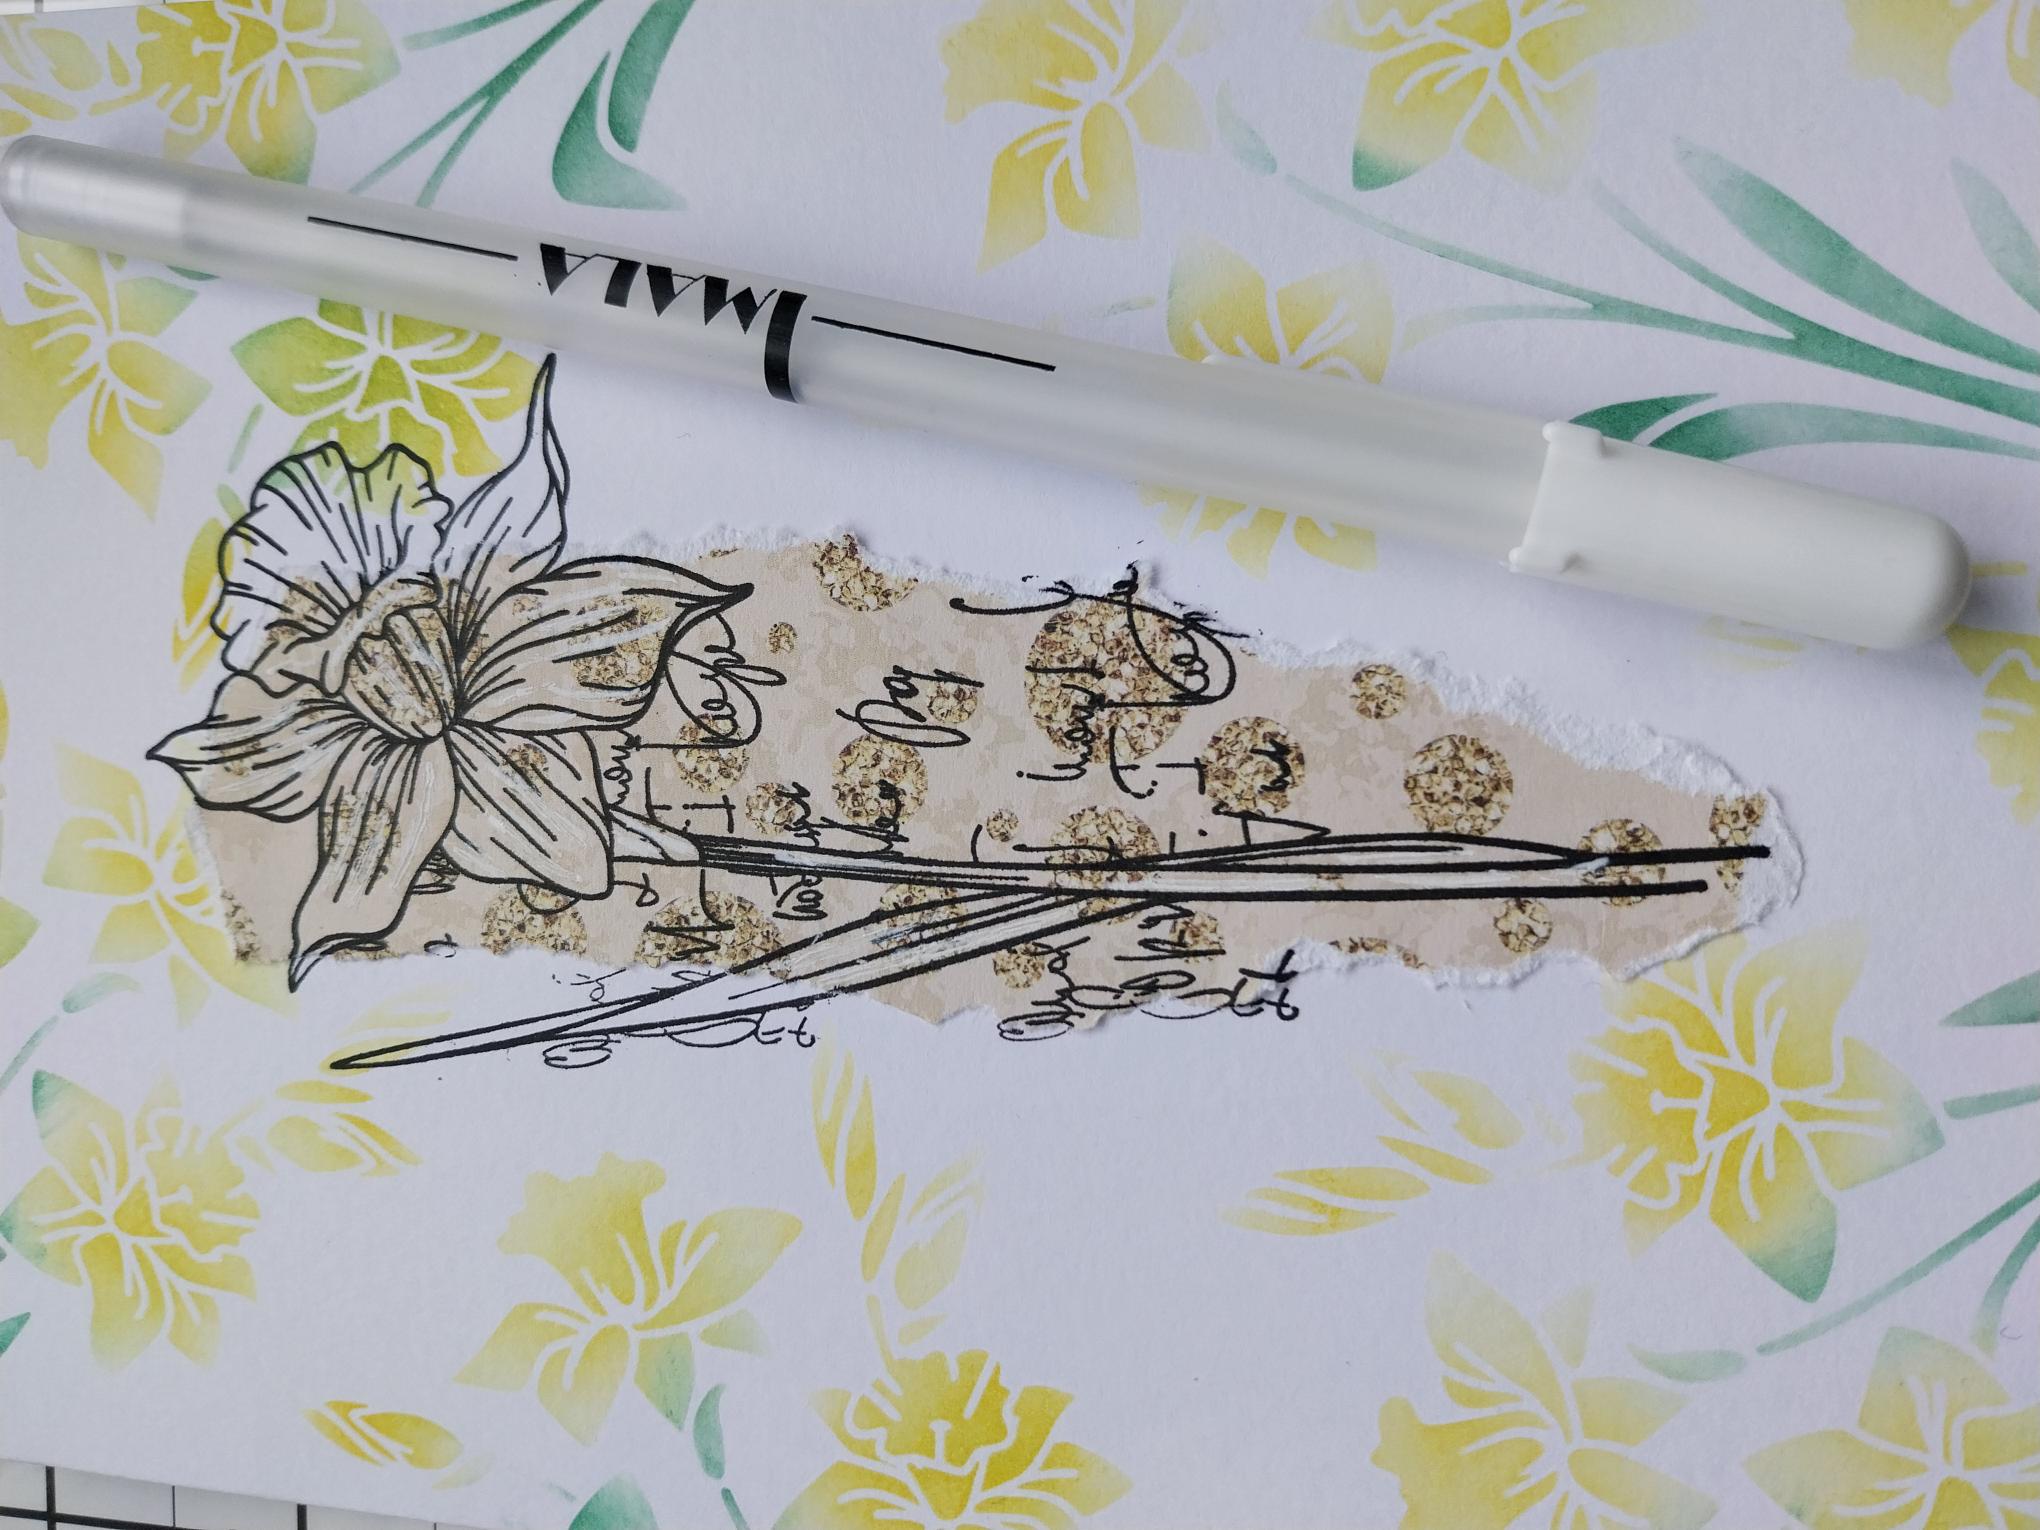
Remove this decorative sheet from the Cotton Breeze paper collection. Tear off a strip, similar in length and width to the Daffodil stamps in the Sketched Florals Collection. Set the remaining paper to one side for now. You can use scraps from your paper "bit" box, if you don't want to tear in to a new sheet!! LOL |

|
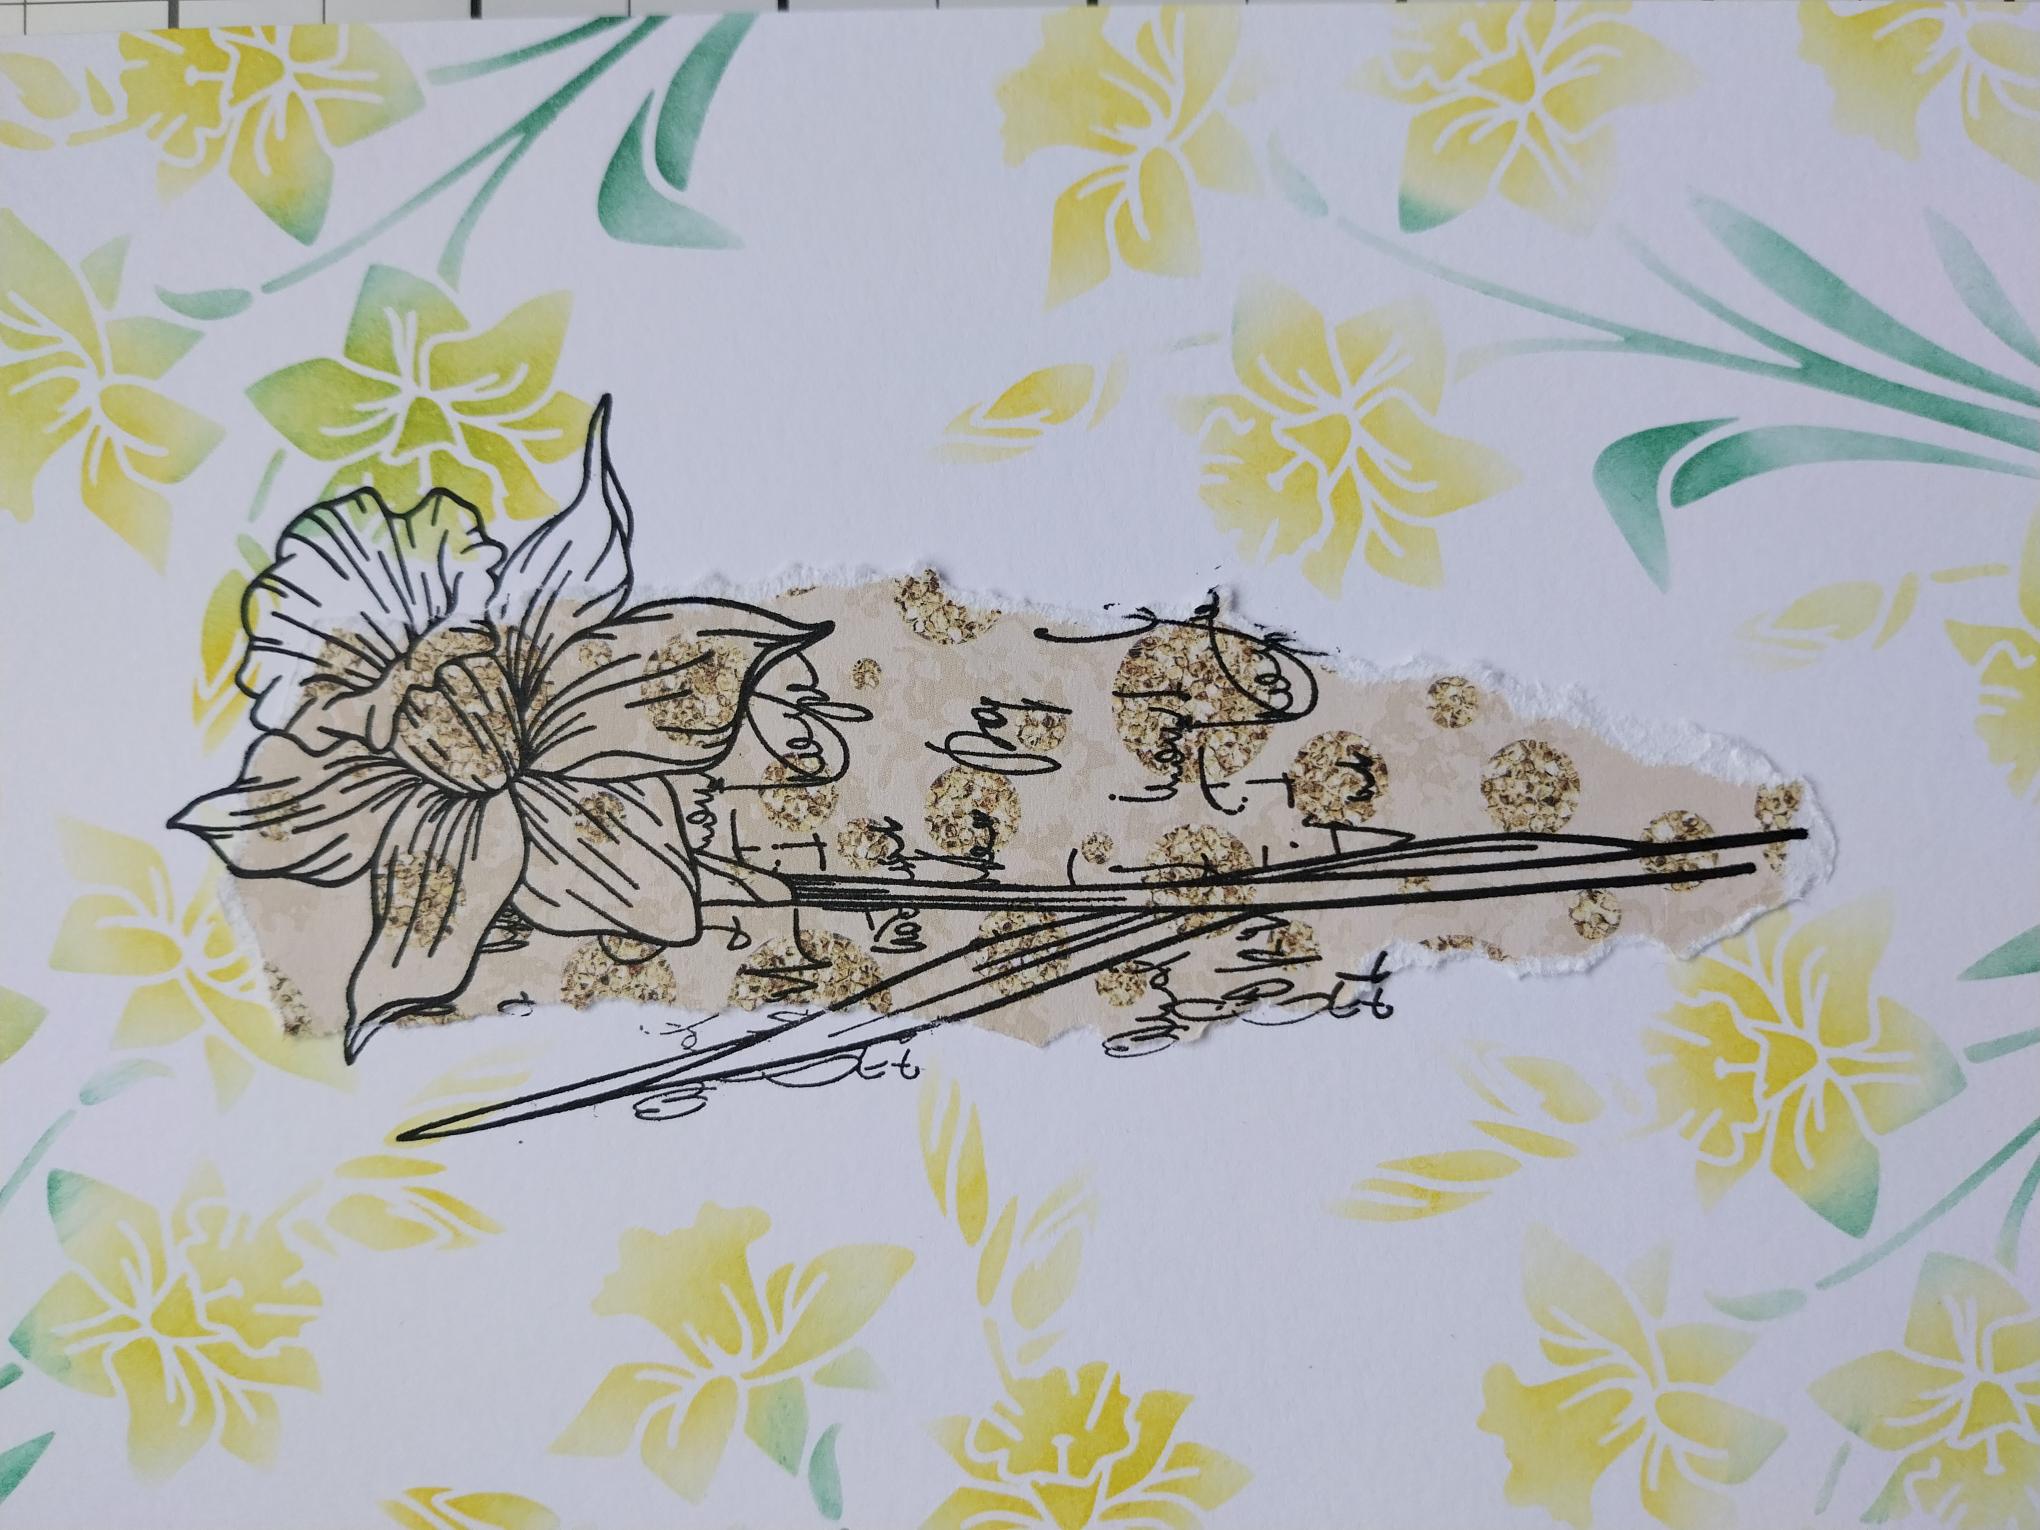
Scrunch the edges slightly, before adhering the paper strip down the centre of your stencilled card. If easier, you can scrunch the edges after stamping, once the ink is dry! |
|
Use Midnight to ink up one of the Daffodil stamps, before stamping on top of the paper panel. |
|
Once the ink is completely dry, use your Imala white gel pen to add a few highlights to your stamped image. |
|
Stamp the Dot frame (2nd size down), around your artwork, with Midnight. |
|
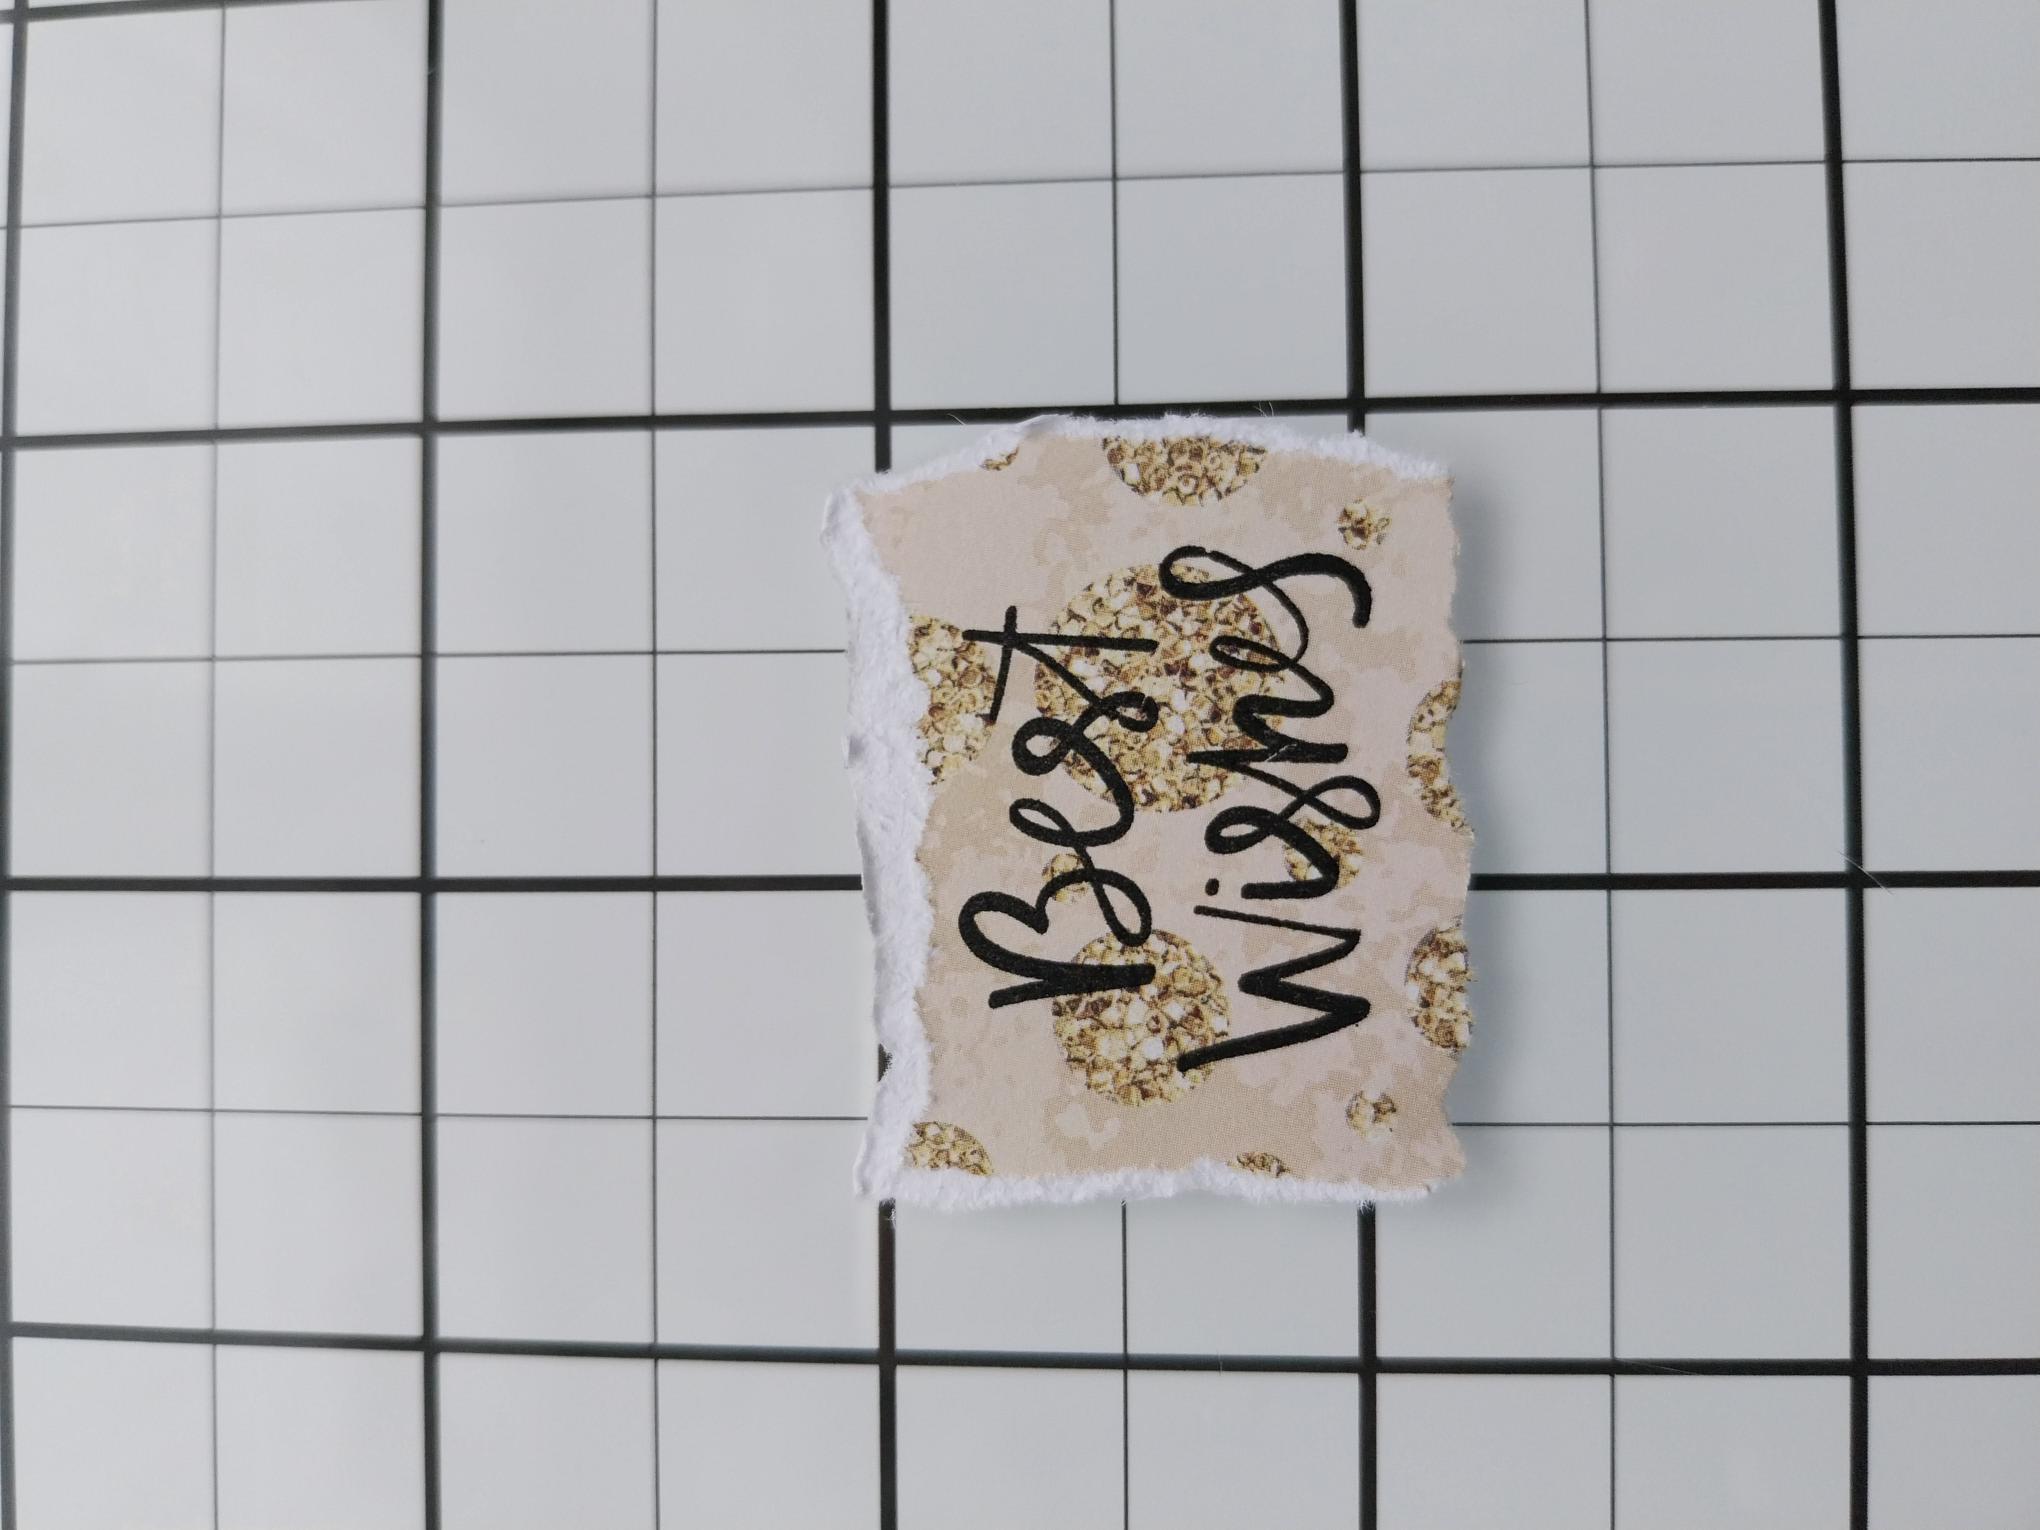
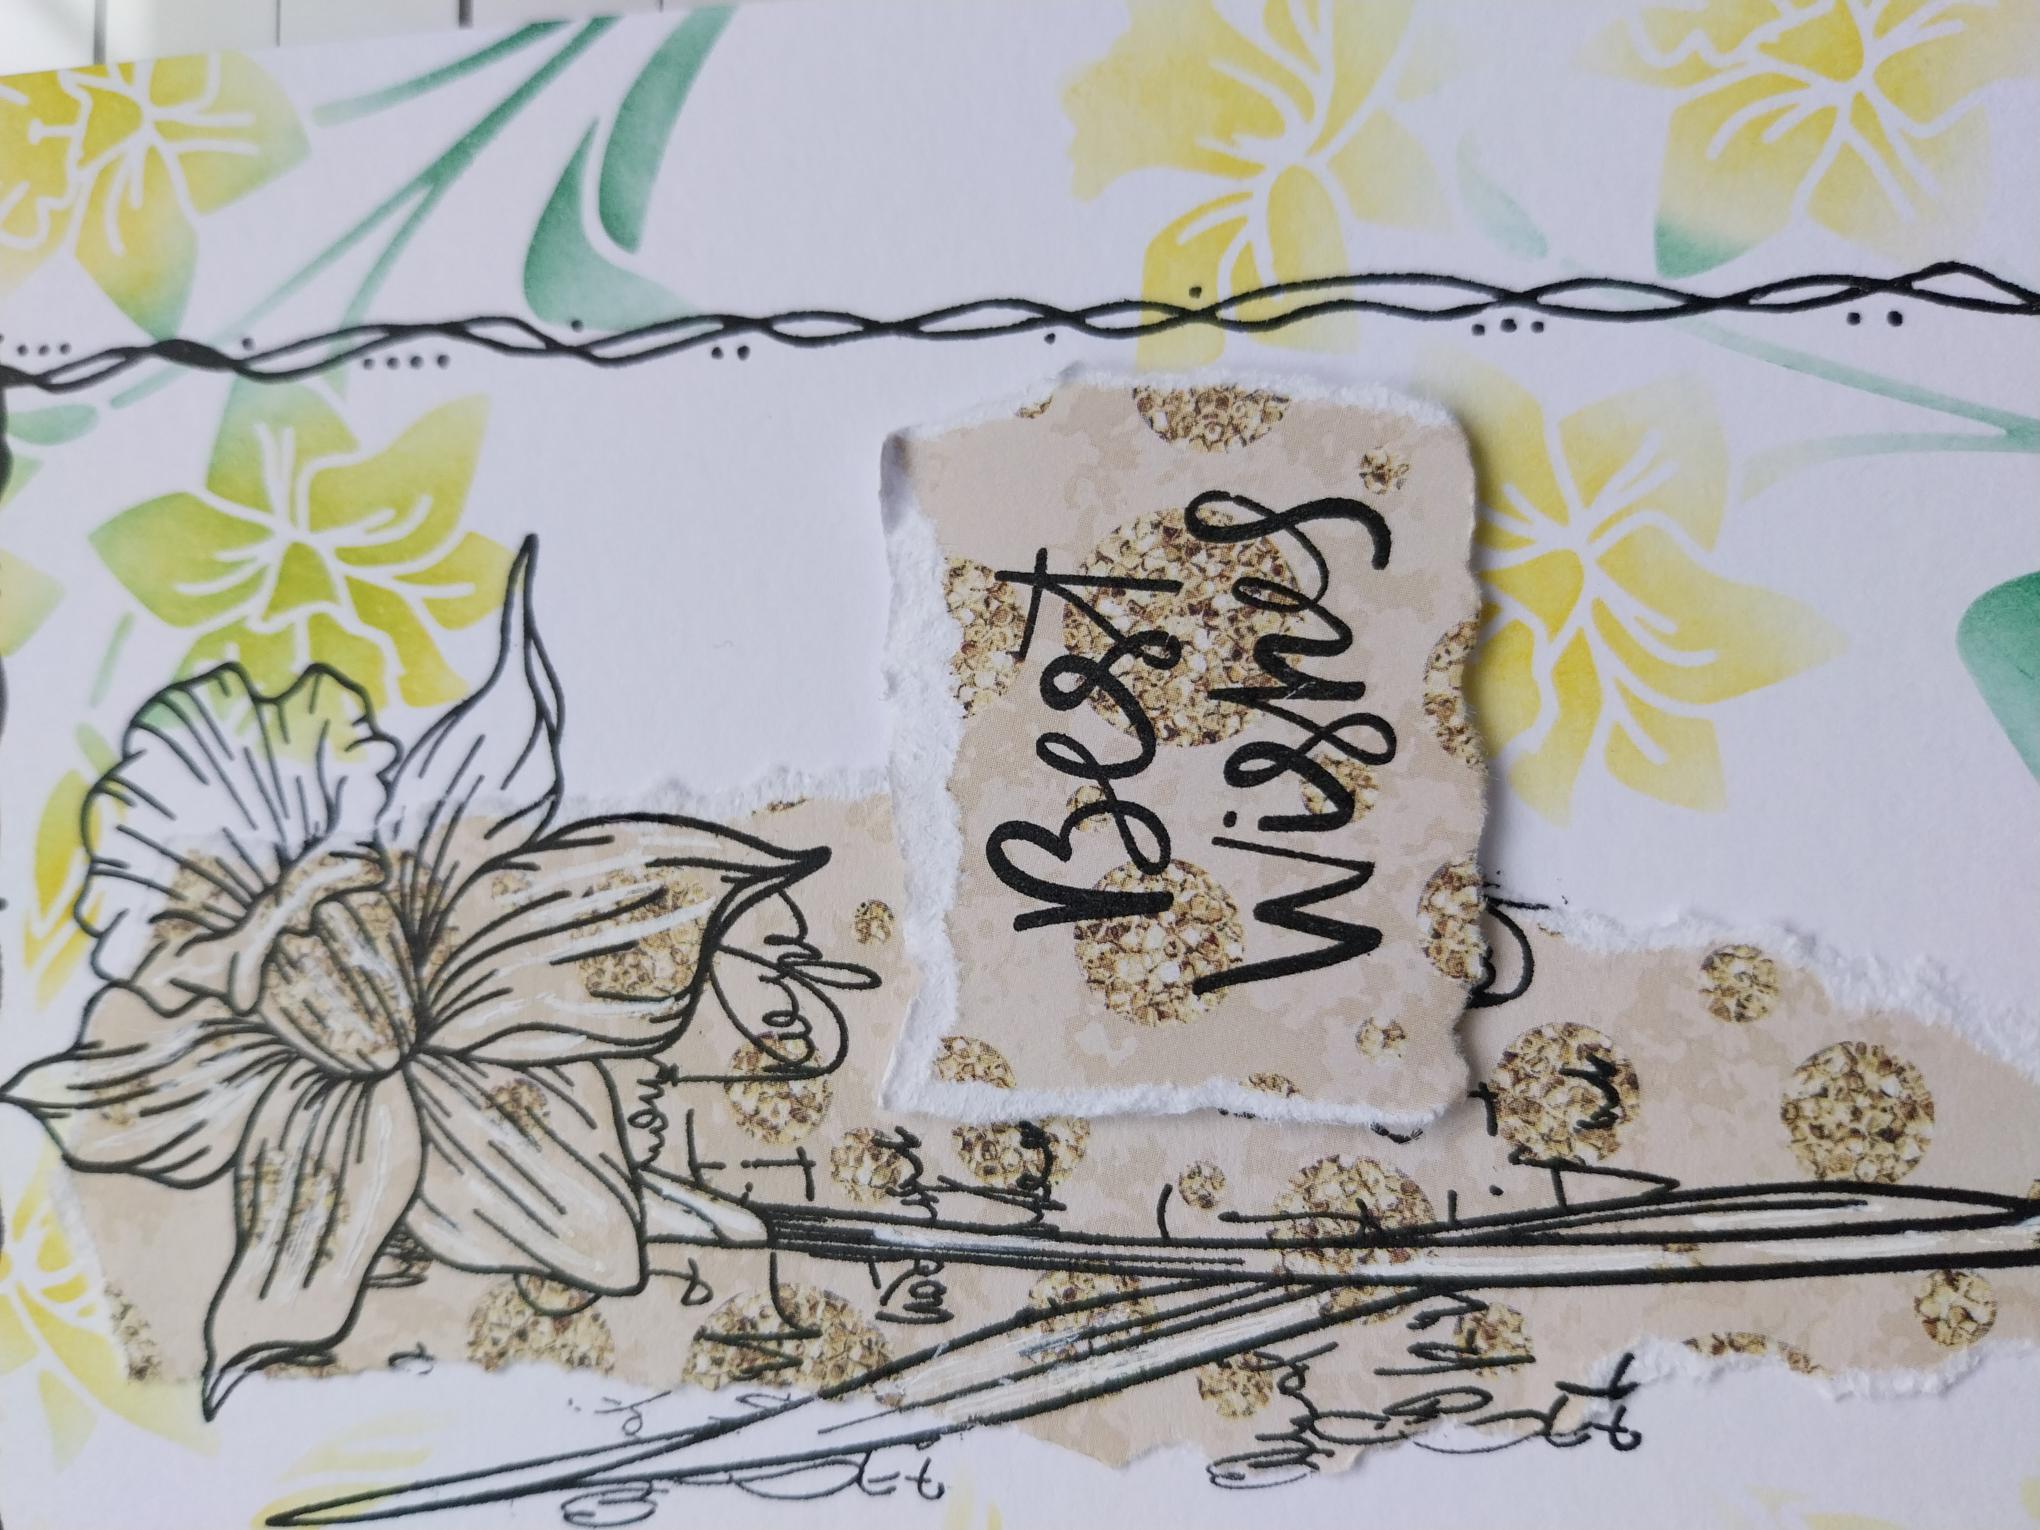
Stamp the "Best Wishes" with the Midnight, on to a piece of the same pattern paper as your torn panel. Tear around the sentiment, once the ink is dry! |
|
Adhere with foam pads to the right of your artwork but within the stamped frame. |
|
Finally, add a few cream enamel dots on and around your artwork. |