Give your friends $10 off their first order!
Refer a FRIEND


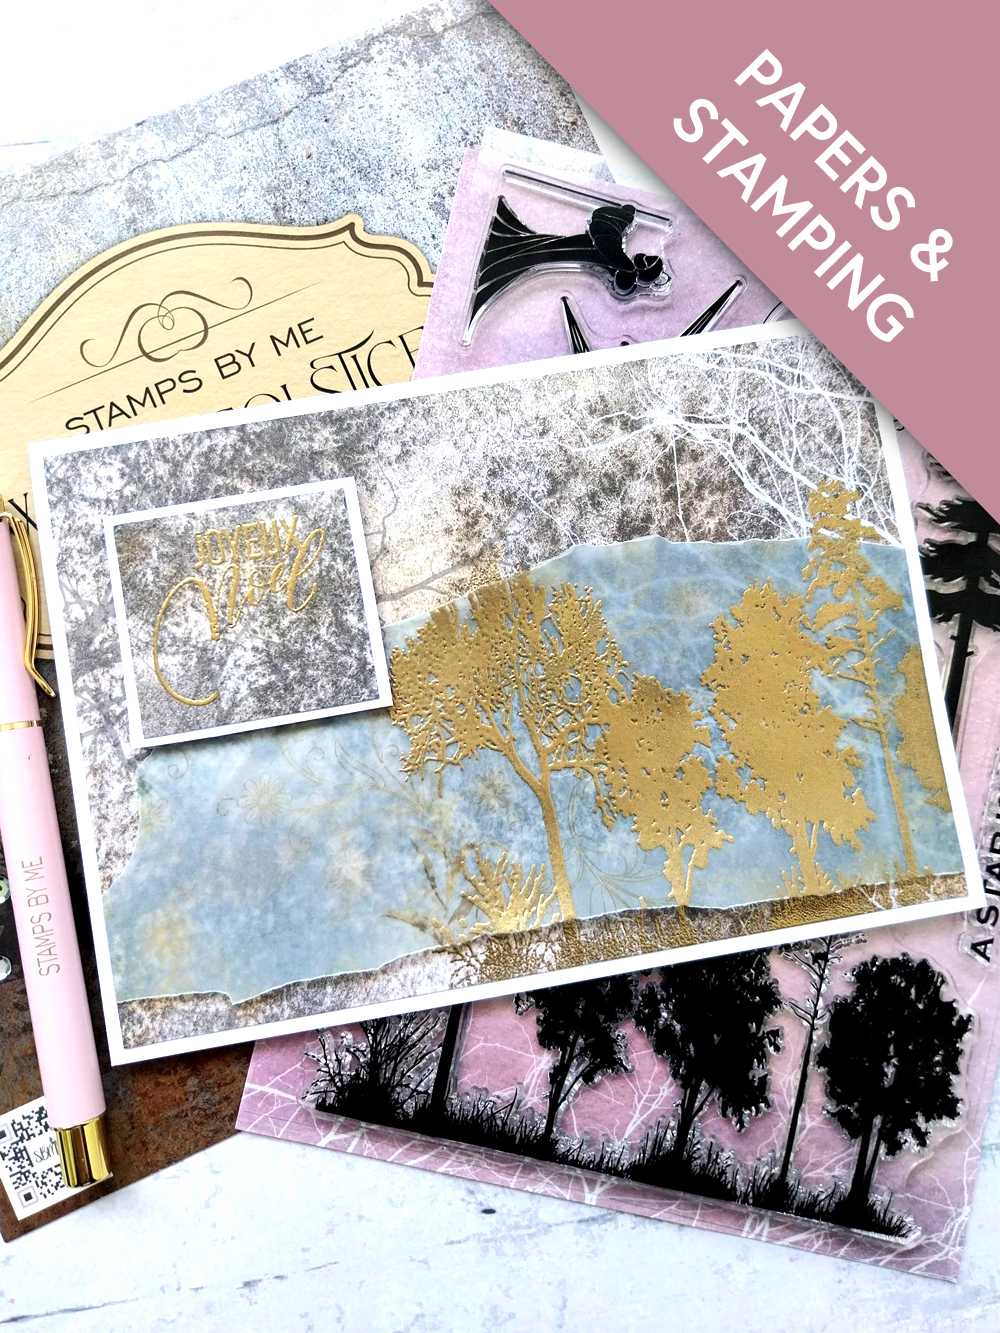
WHAT YOU WILL NEED:
White landscape card blank 7 x 5"
White card
Winter Solstice 8 x 8" Paper Pad
Winter Solstice A5 Stamp Collection
A Winter Story A4 Vellum Pack or vellum from your crafty stash
WOW Embossing Ink Pad
WOW heat tool
WOW Gold embossing powder
Anti-static bag
Eureka 101 Watercolour Tablet
SBM Magnetic glass mat
Paper Trimmer
Perfect Together Glue
Double sided adhexive tape/tape runner
[click image to enlarge] 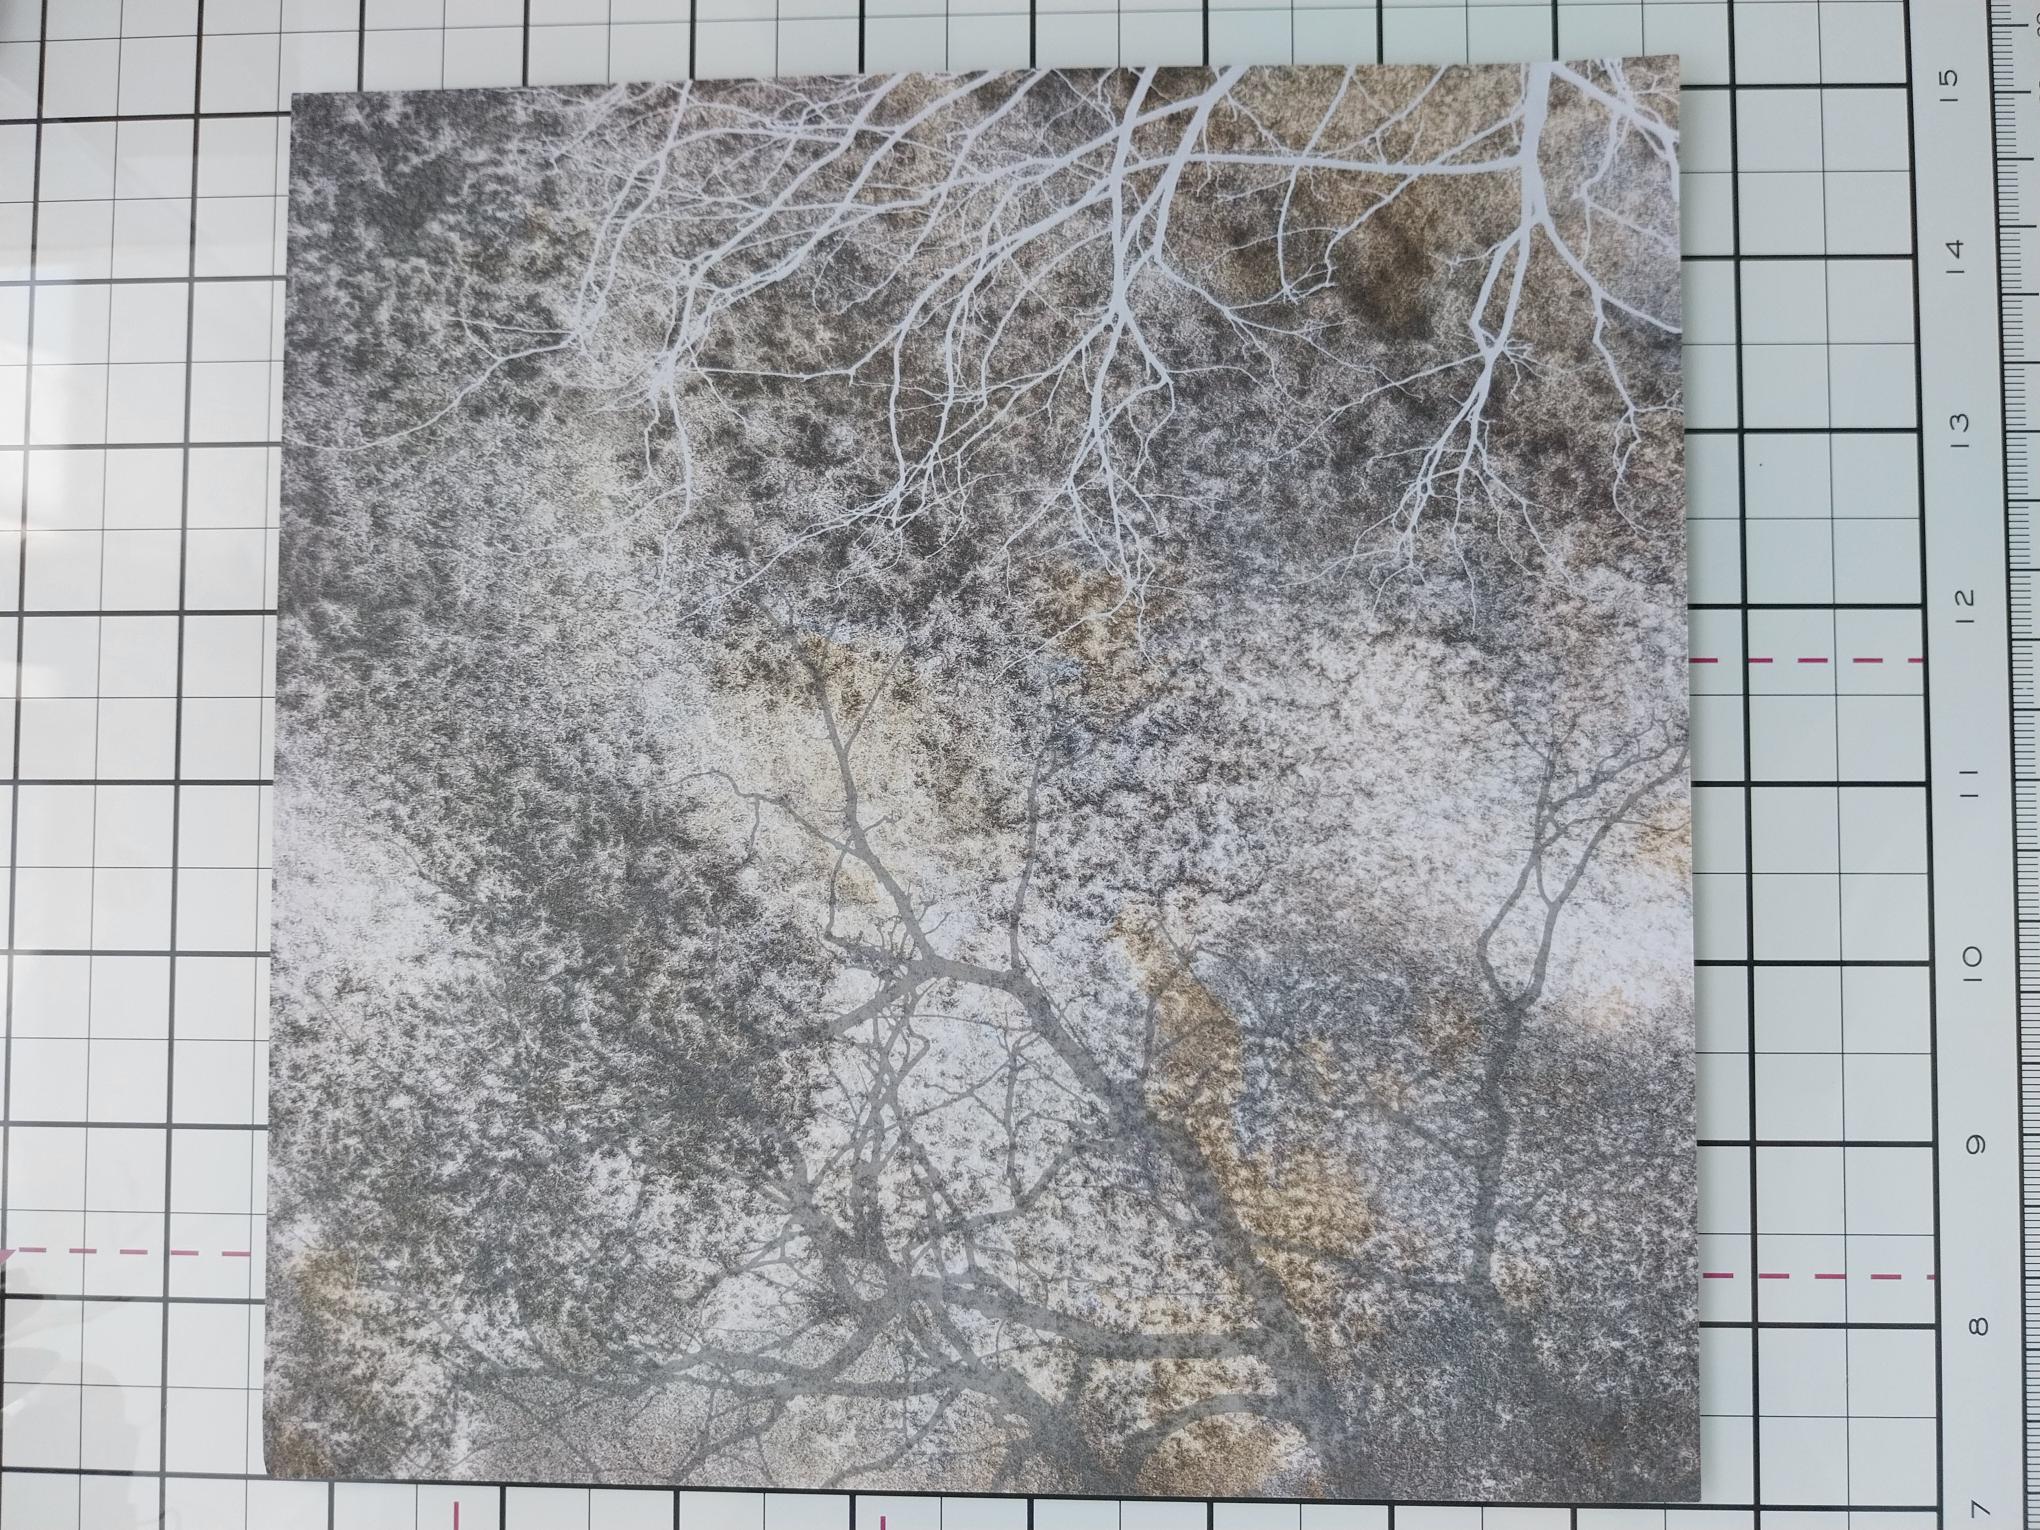
|
Remove this decorative paper from the Winter Solstice paper pack and trim to 6 3/4 x 4 3/4", ensuring the trees are the right way up when placed in landscape view. Set the leftover paper to one side, as you will need this later. |
|
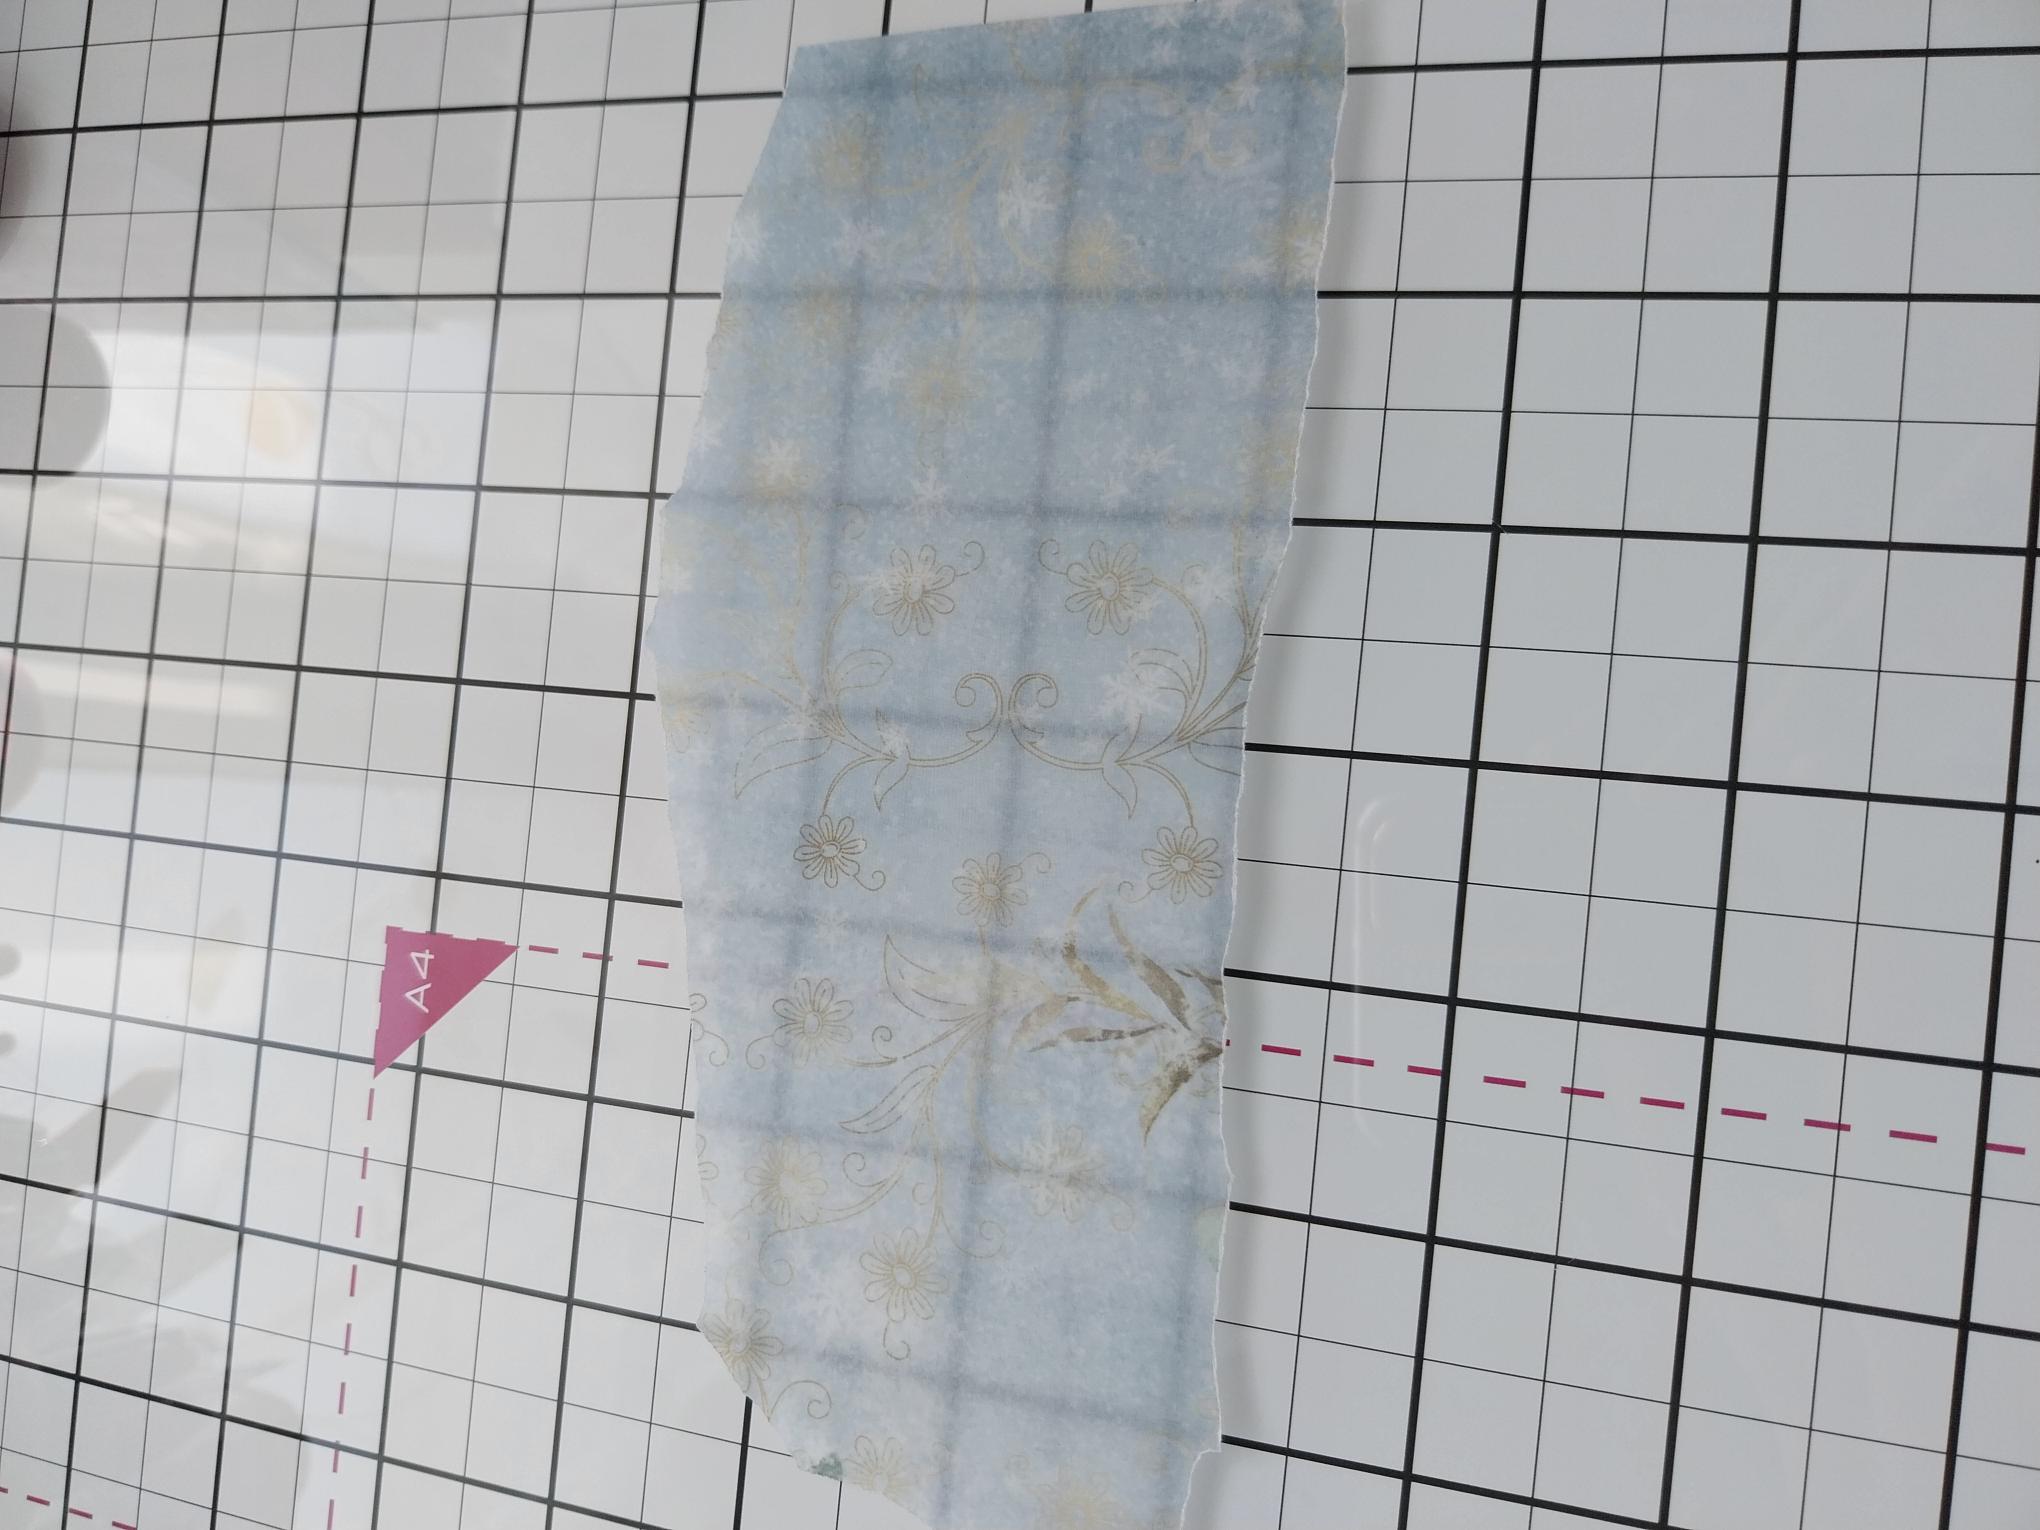
Tear a strip of vellum 7 1/2" in length and using your "forest" stamp as a guide, as wide as you require. |

|
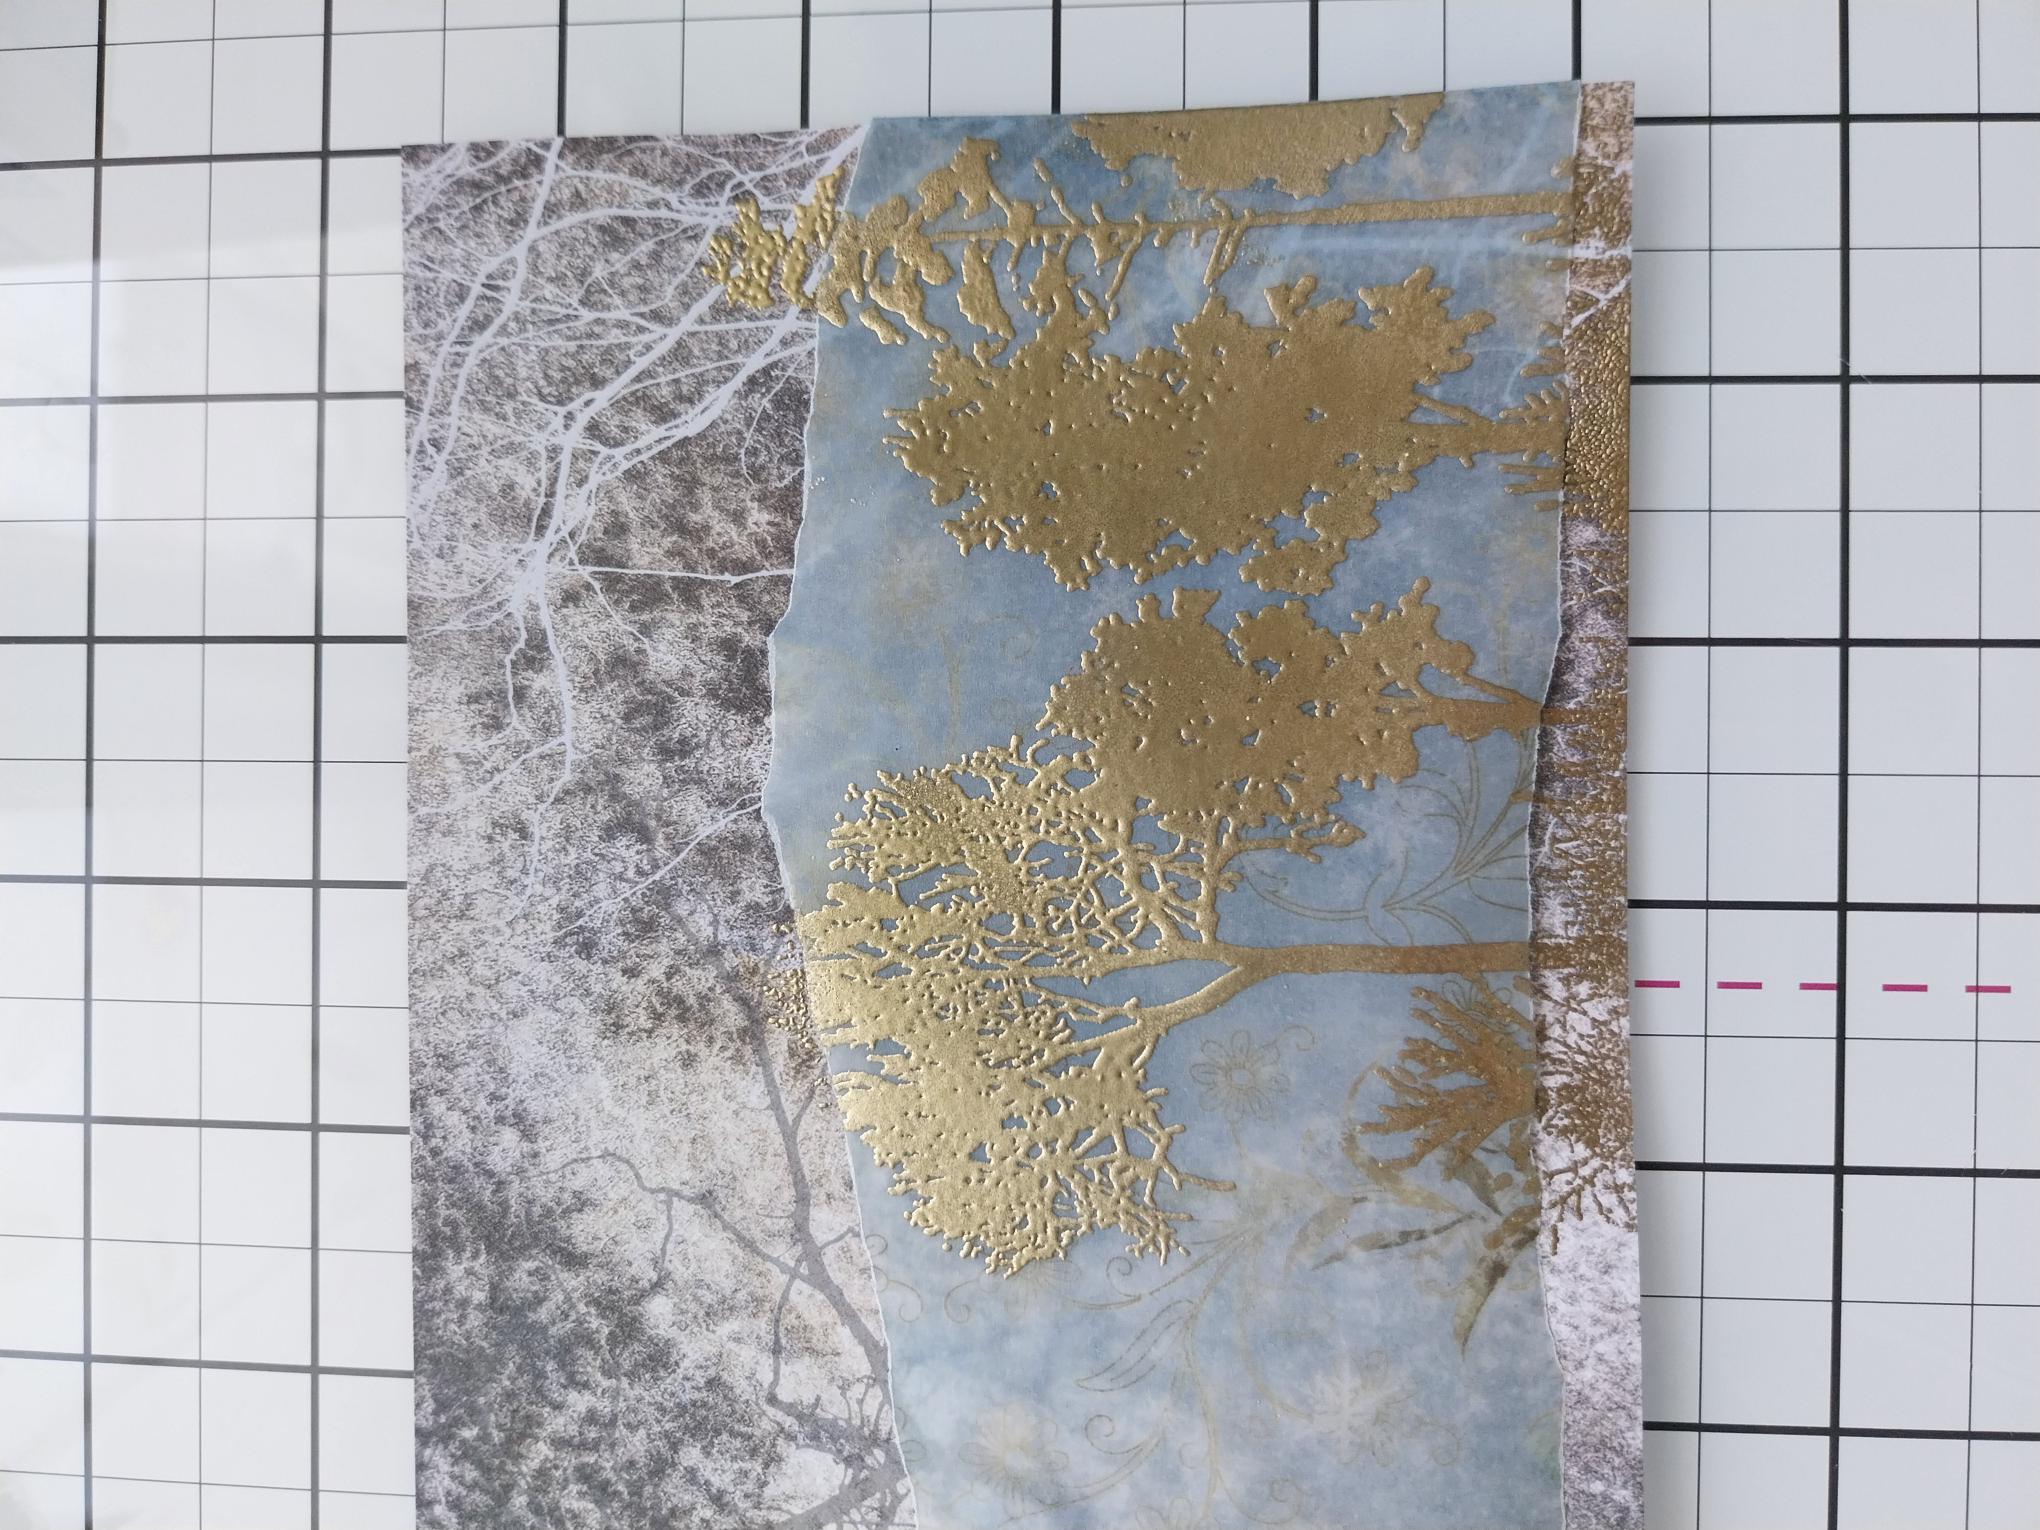
Lay the torn vellum across the lower half of your decorative paper. Tuck the edges over the sides of the paper and secure on the back with double sided tape or a tape runner. |
|
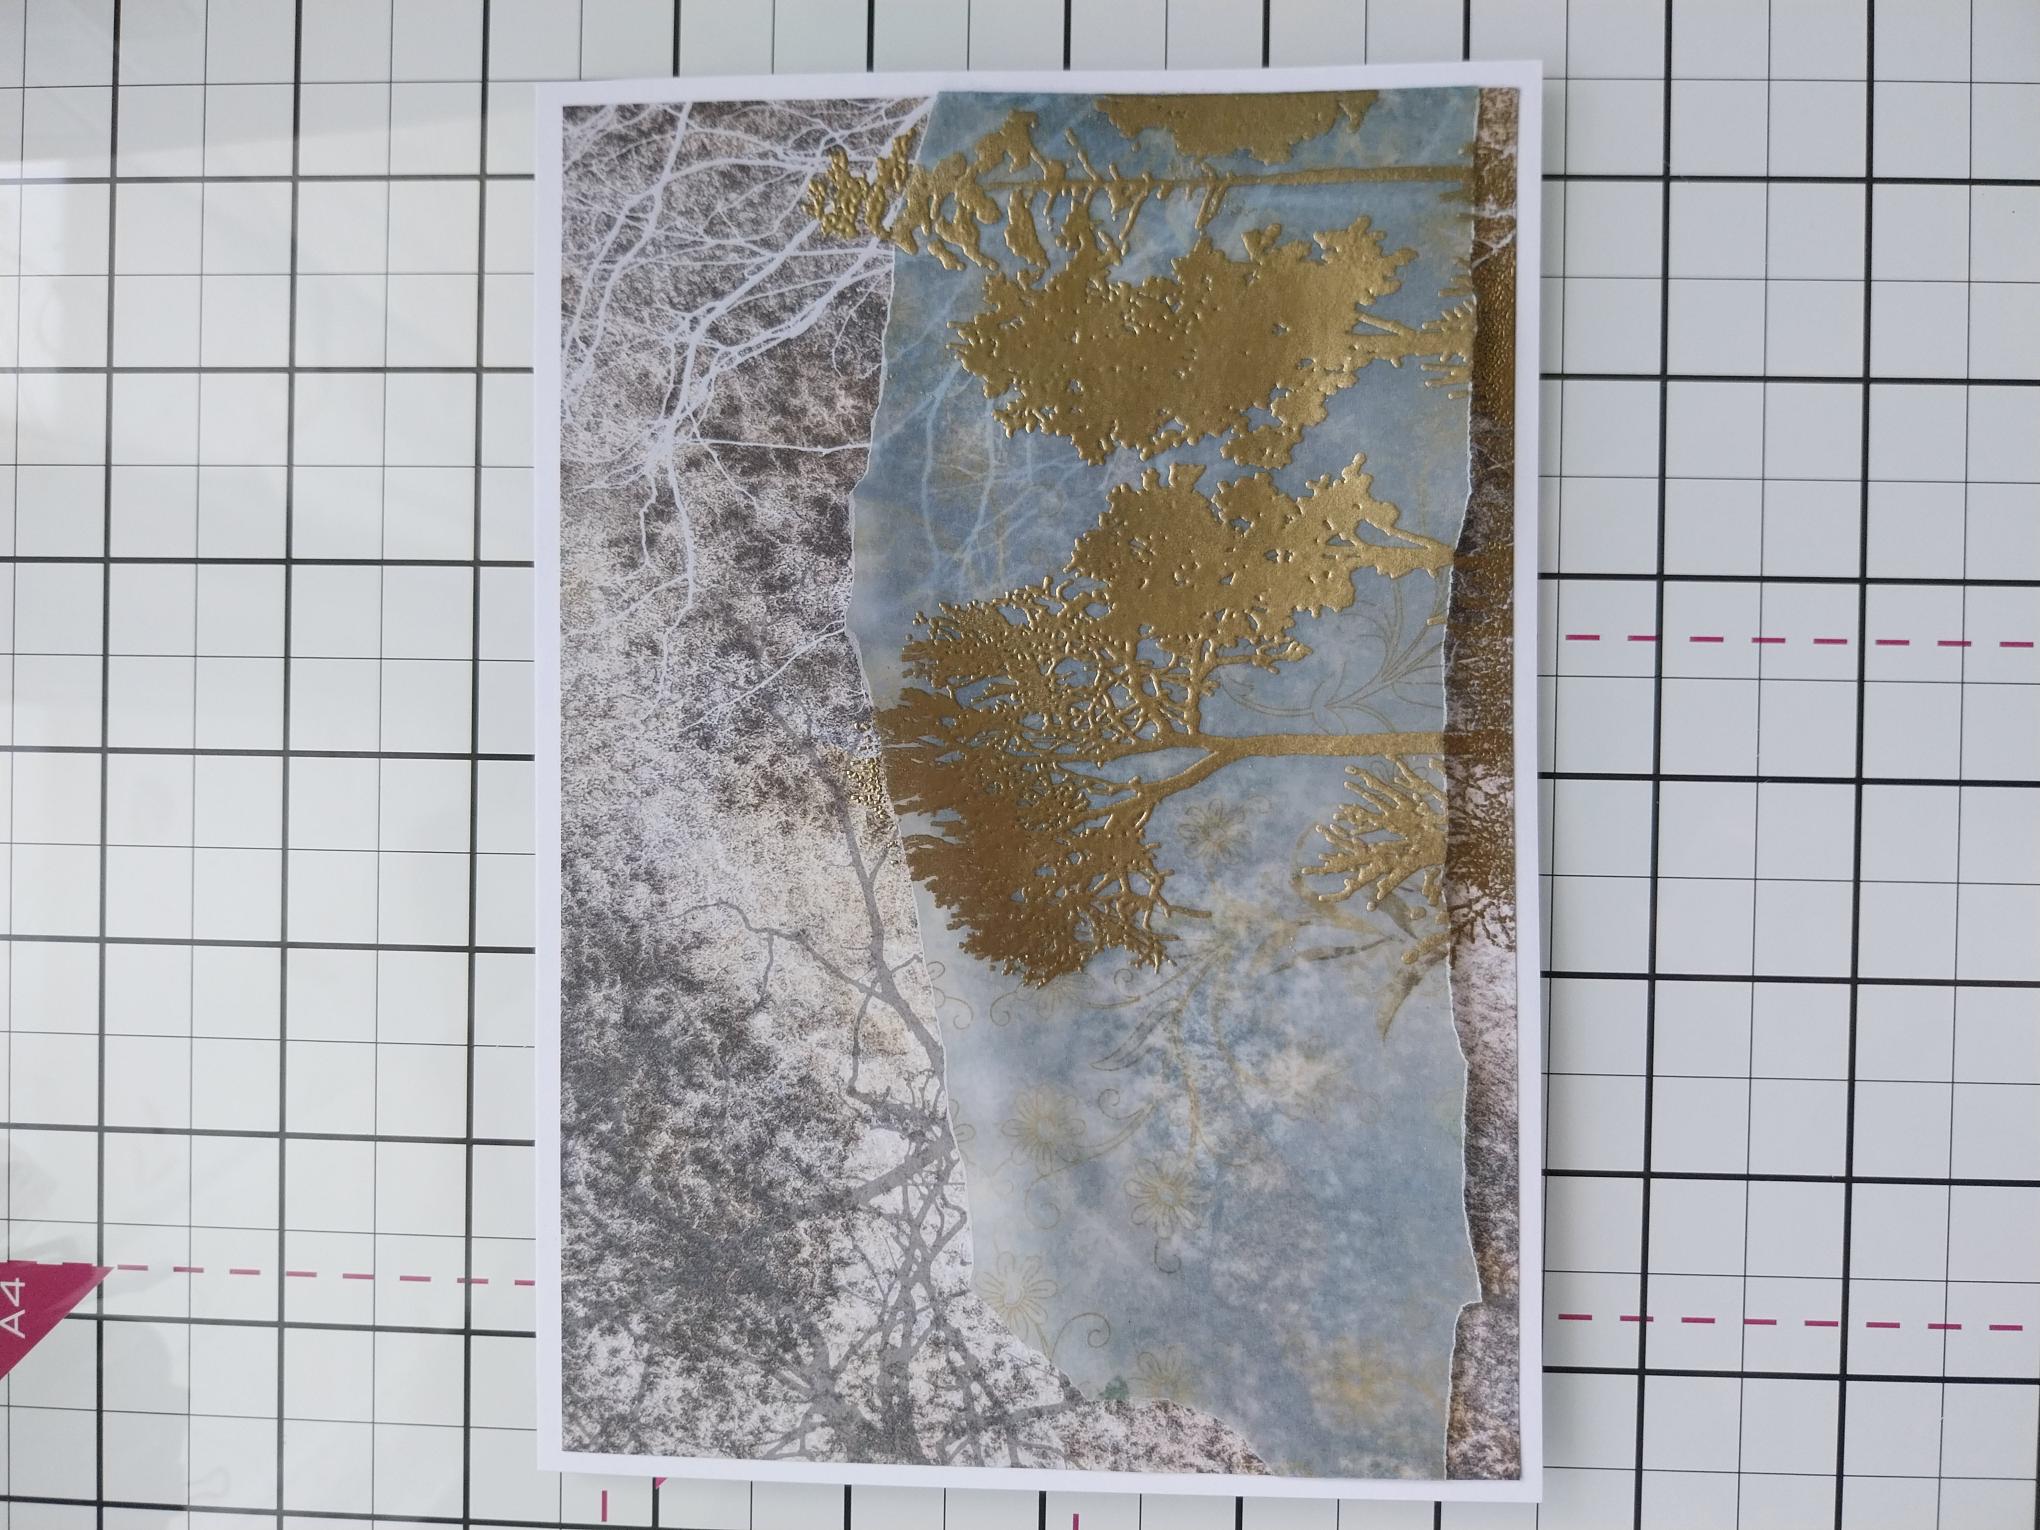
Liberally wipe the paper and vellum with your anti-static bag. Ink up the "trees" stamp with the sticky embossing ink pad and stamp coming up from the bottom right. You will need to apply extra pressure where the paper meets the vellum, to get a clear, detailed image. Apply the Gold embossing powder over your stamped image, before heat setting with your heat tool. Ensure your heat tool is hot before you start and move it as soon as the powder starts to turn, to avoid burning or warping the vellum/paper. |
|
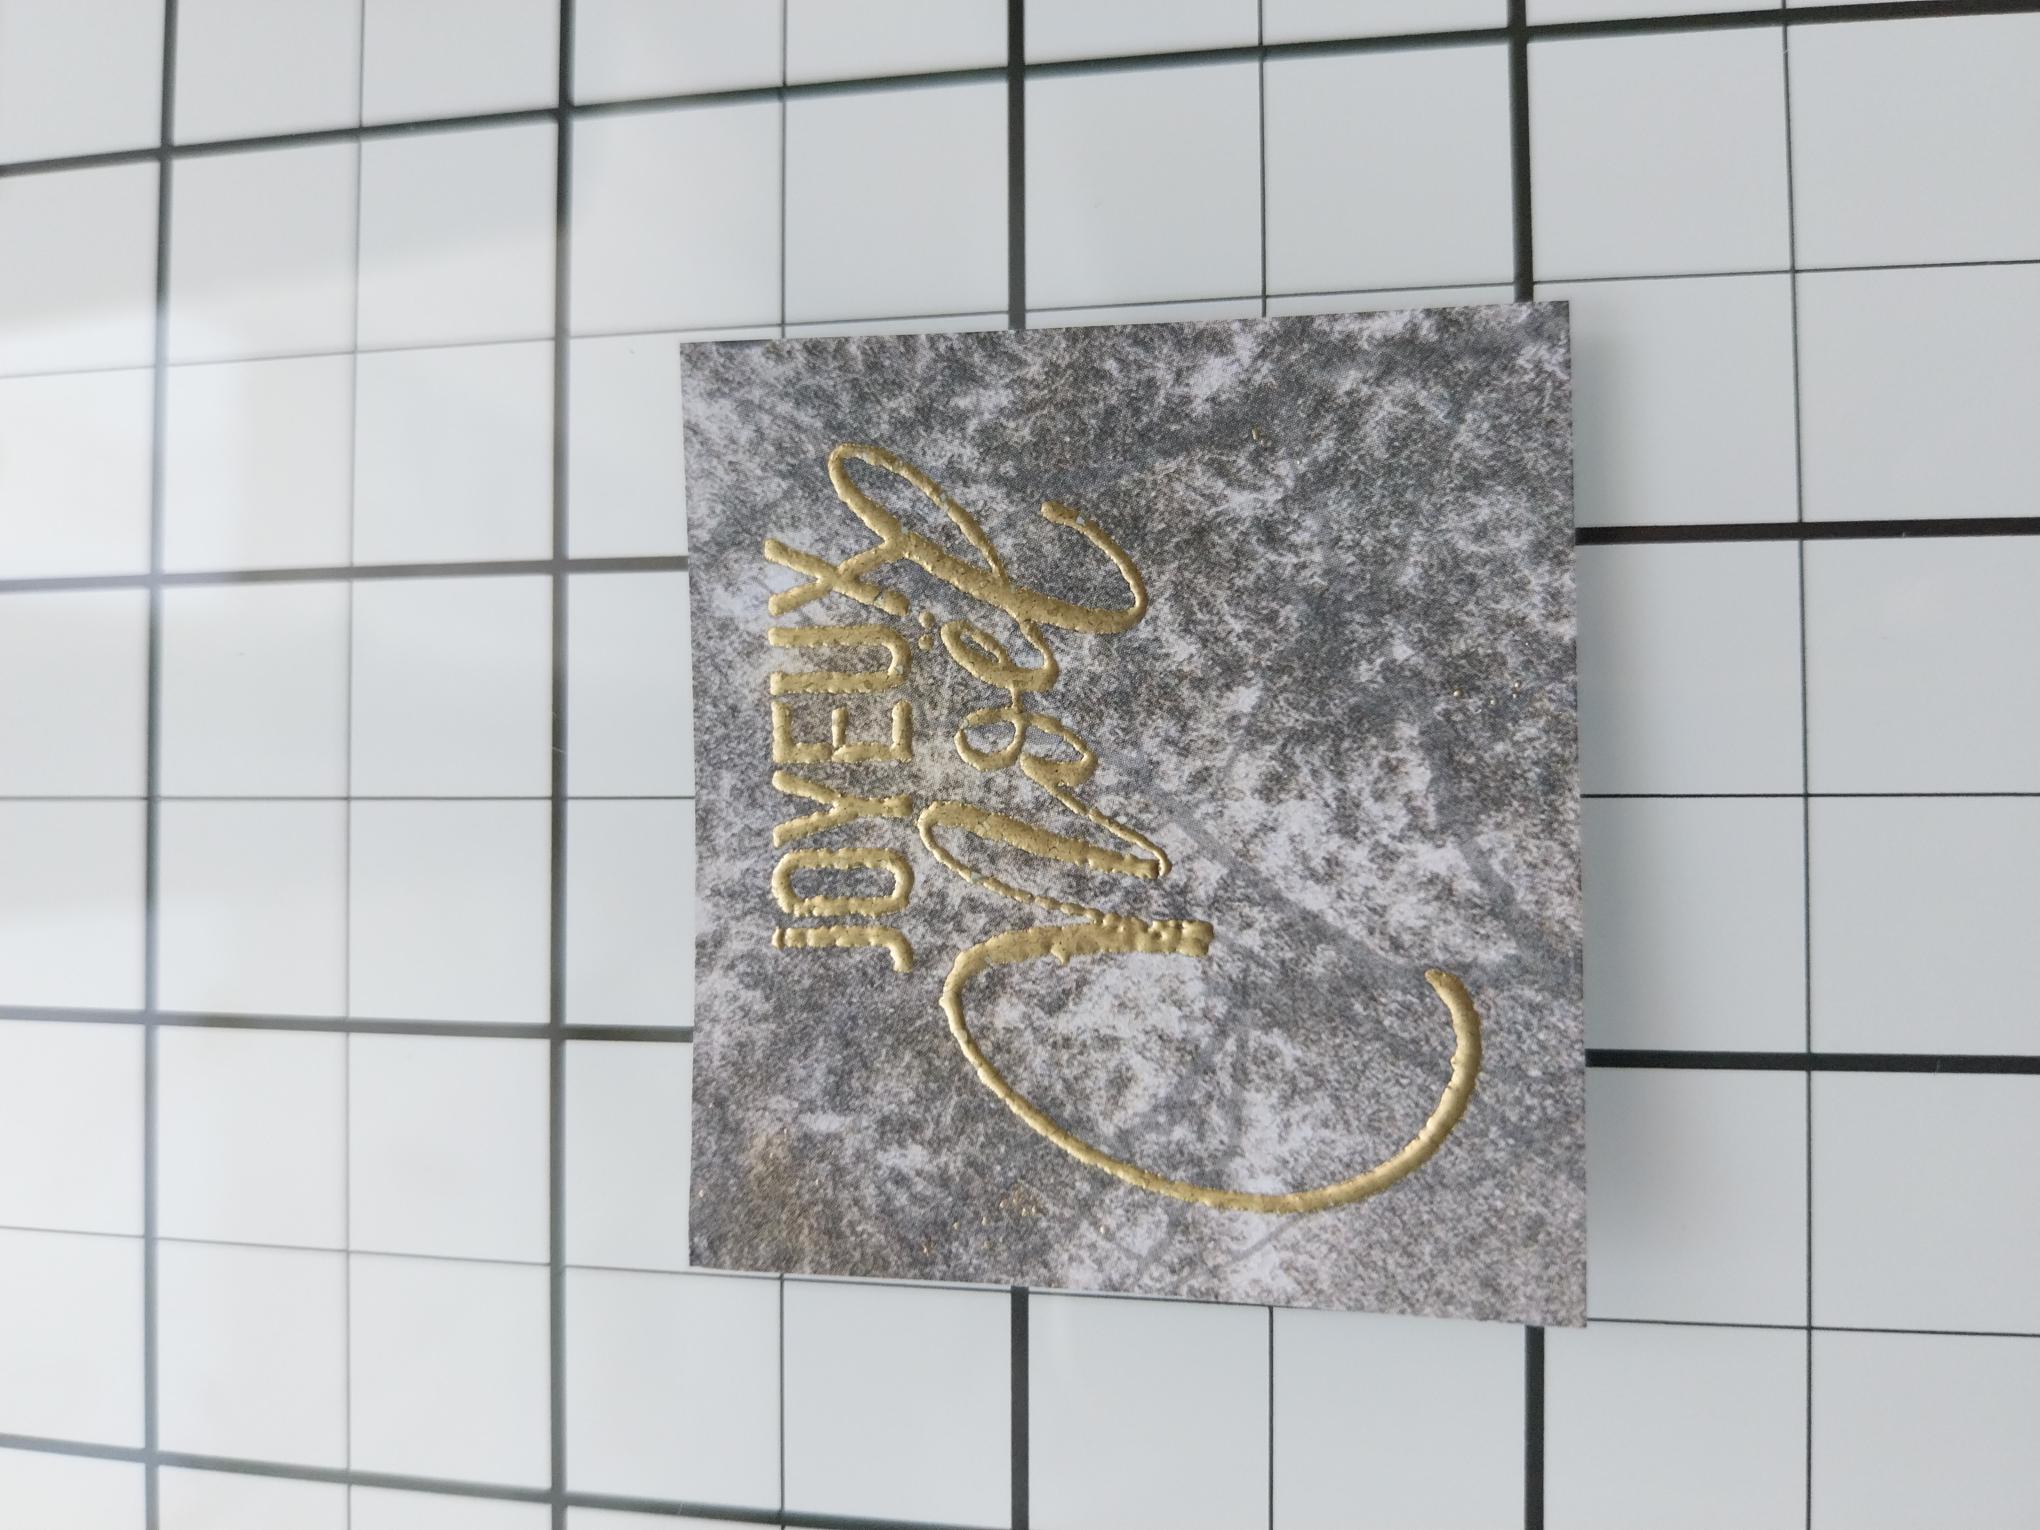
Wipe the leftover decorative paper you set aside earlier, with your anti-static bag. Ink up "Joyeux Noel" with the sticky embossing ink and stamp on to the paper. Cover with the Gold embossing powder and heat set as before. Trim down the embossed sentiment. |
|
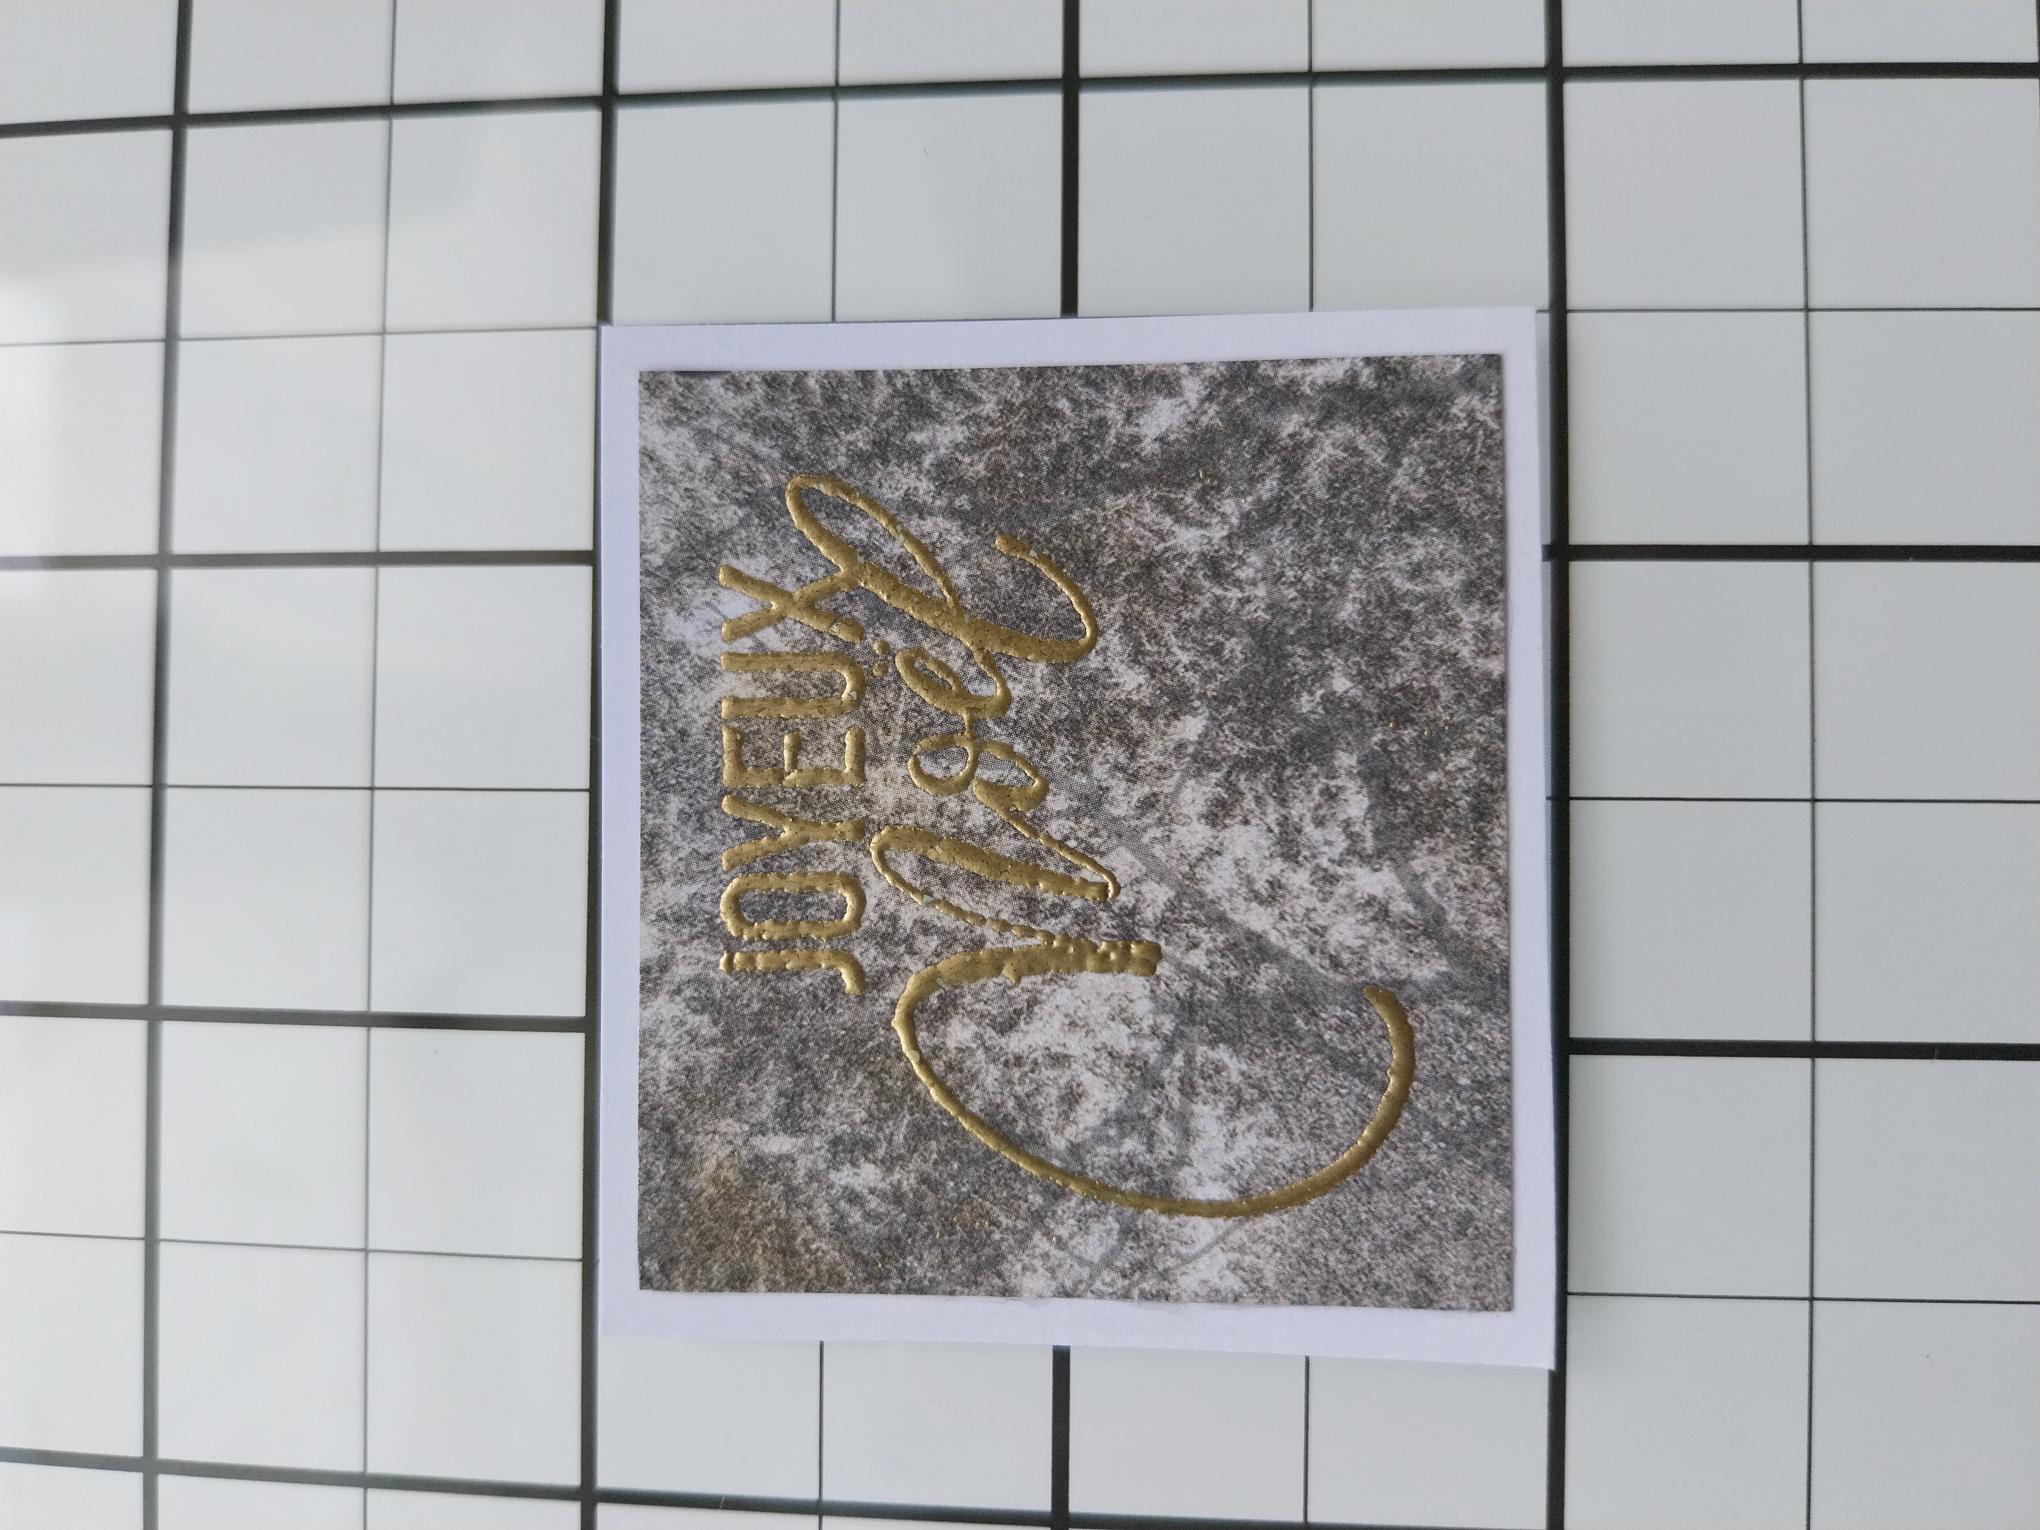
Adhere the embossed sentiment on to a piece of white card and trim to create a "mat". |
|
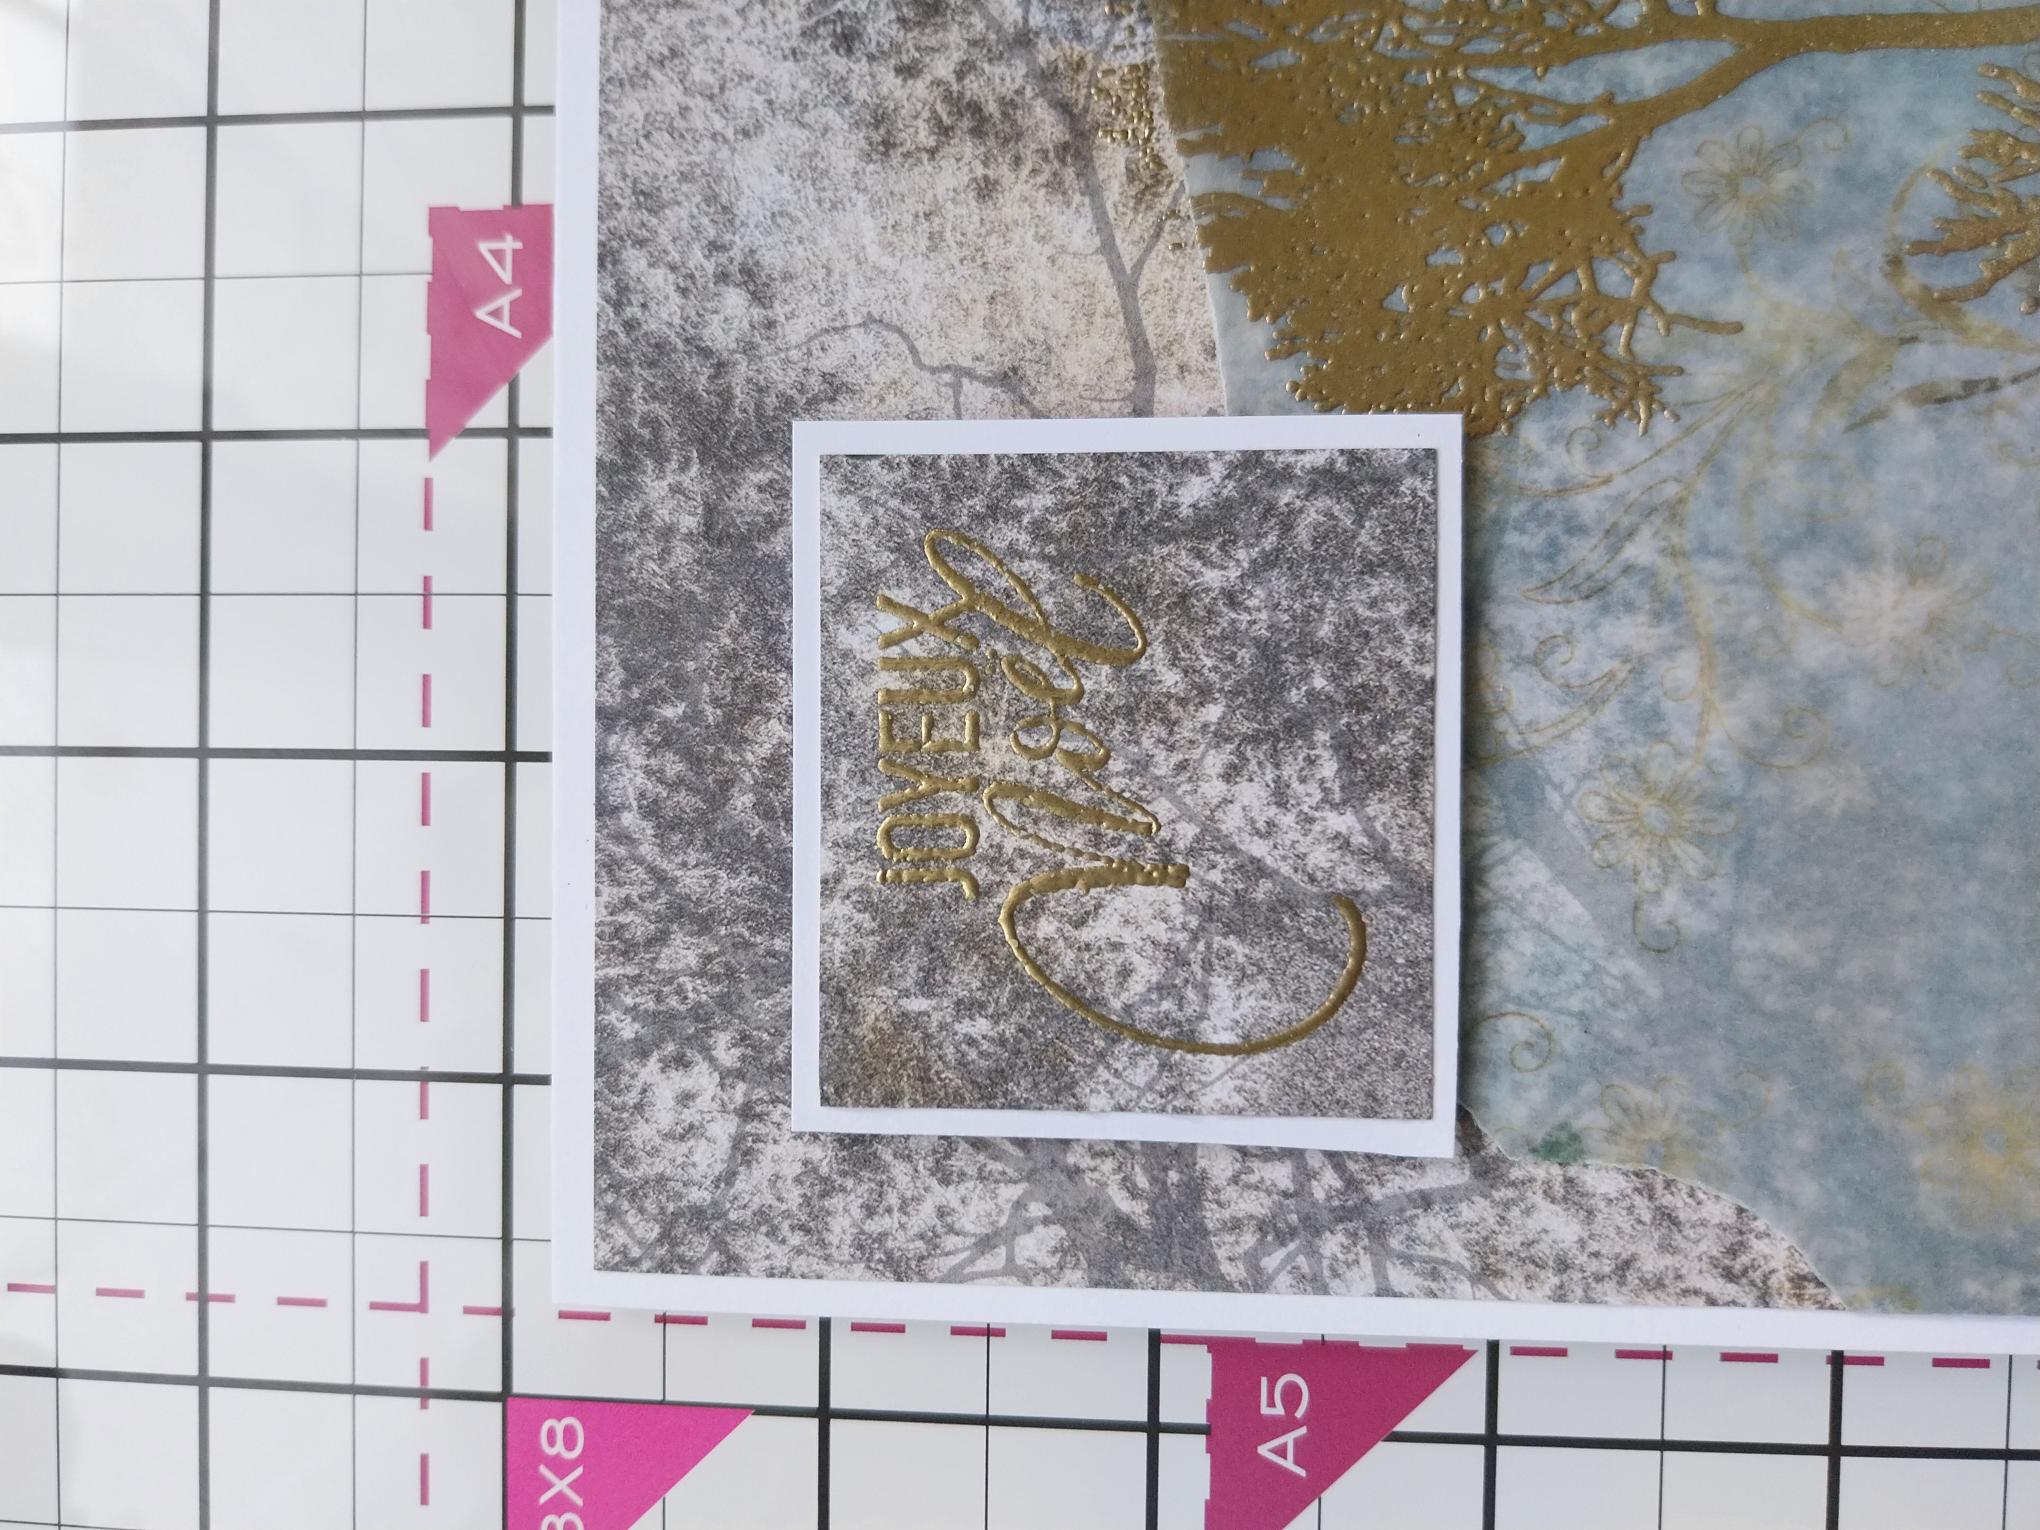
Adhere your embossed artwork on to the front of your white, landscape card blank. |
|
Finally, adhere the sentiment with foam pads, to the top left of your card. |