Give your friends $10 off their first order!
Refer a FRIEND


WHAT YOU WILL NEED:
White card blank 7" square
Black card 4 1/4" square
White card
Oxford Blue Paperchain 8 x 8" Paper Pad
Sketched Florals Stamp Collection
Hazy Days Stencil
SBM Hybrid Ink Pad: Midnight
SBM Premium Dye Ink pad: Sherbet
Ranger Stickles: Diamond
Black pen
Eureka 101 Watercolour Tablet
SBM Magnetic glass mat
Paper Trimmer
Perfect Together Glue
Foam pads
[click image to enlarge] 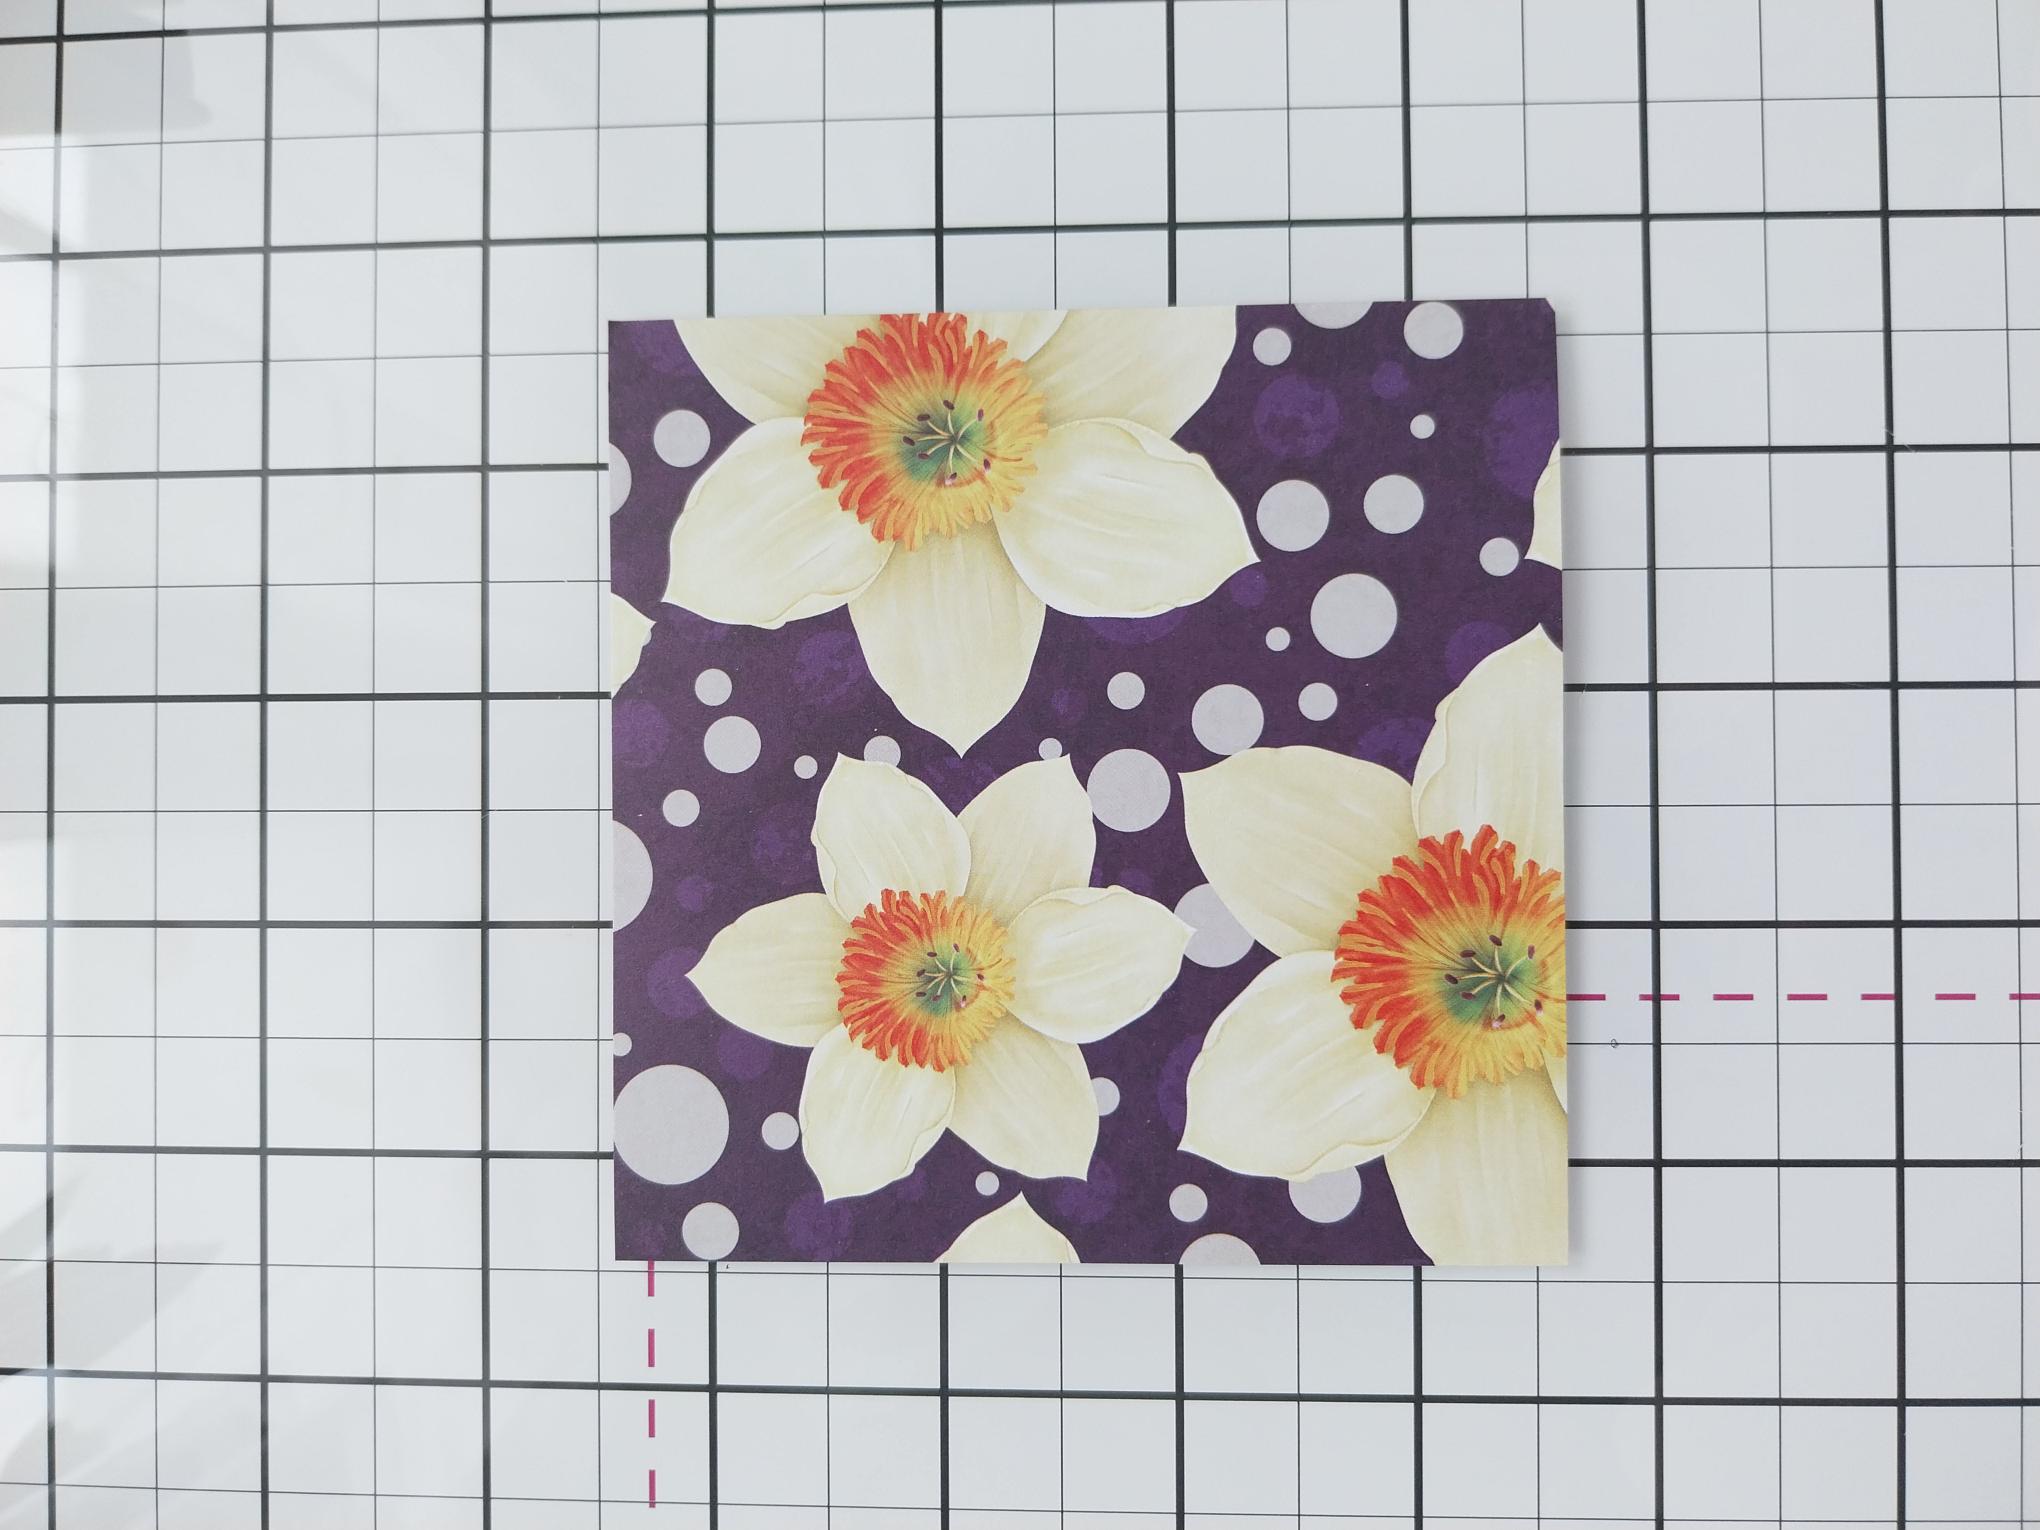
|
Remove this decorative paper from the Oxford Blue paper pad and trim to 4 x 4" |
|
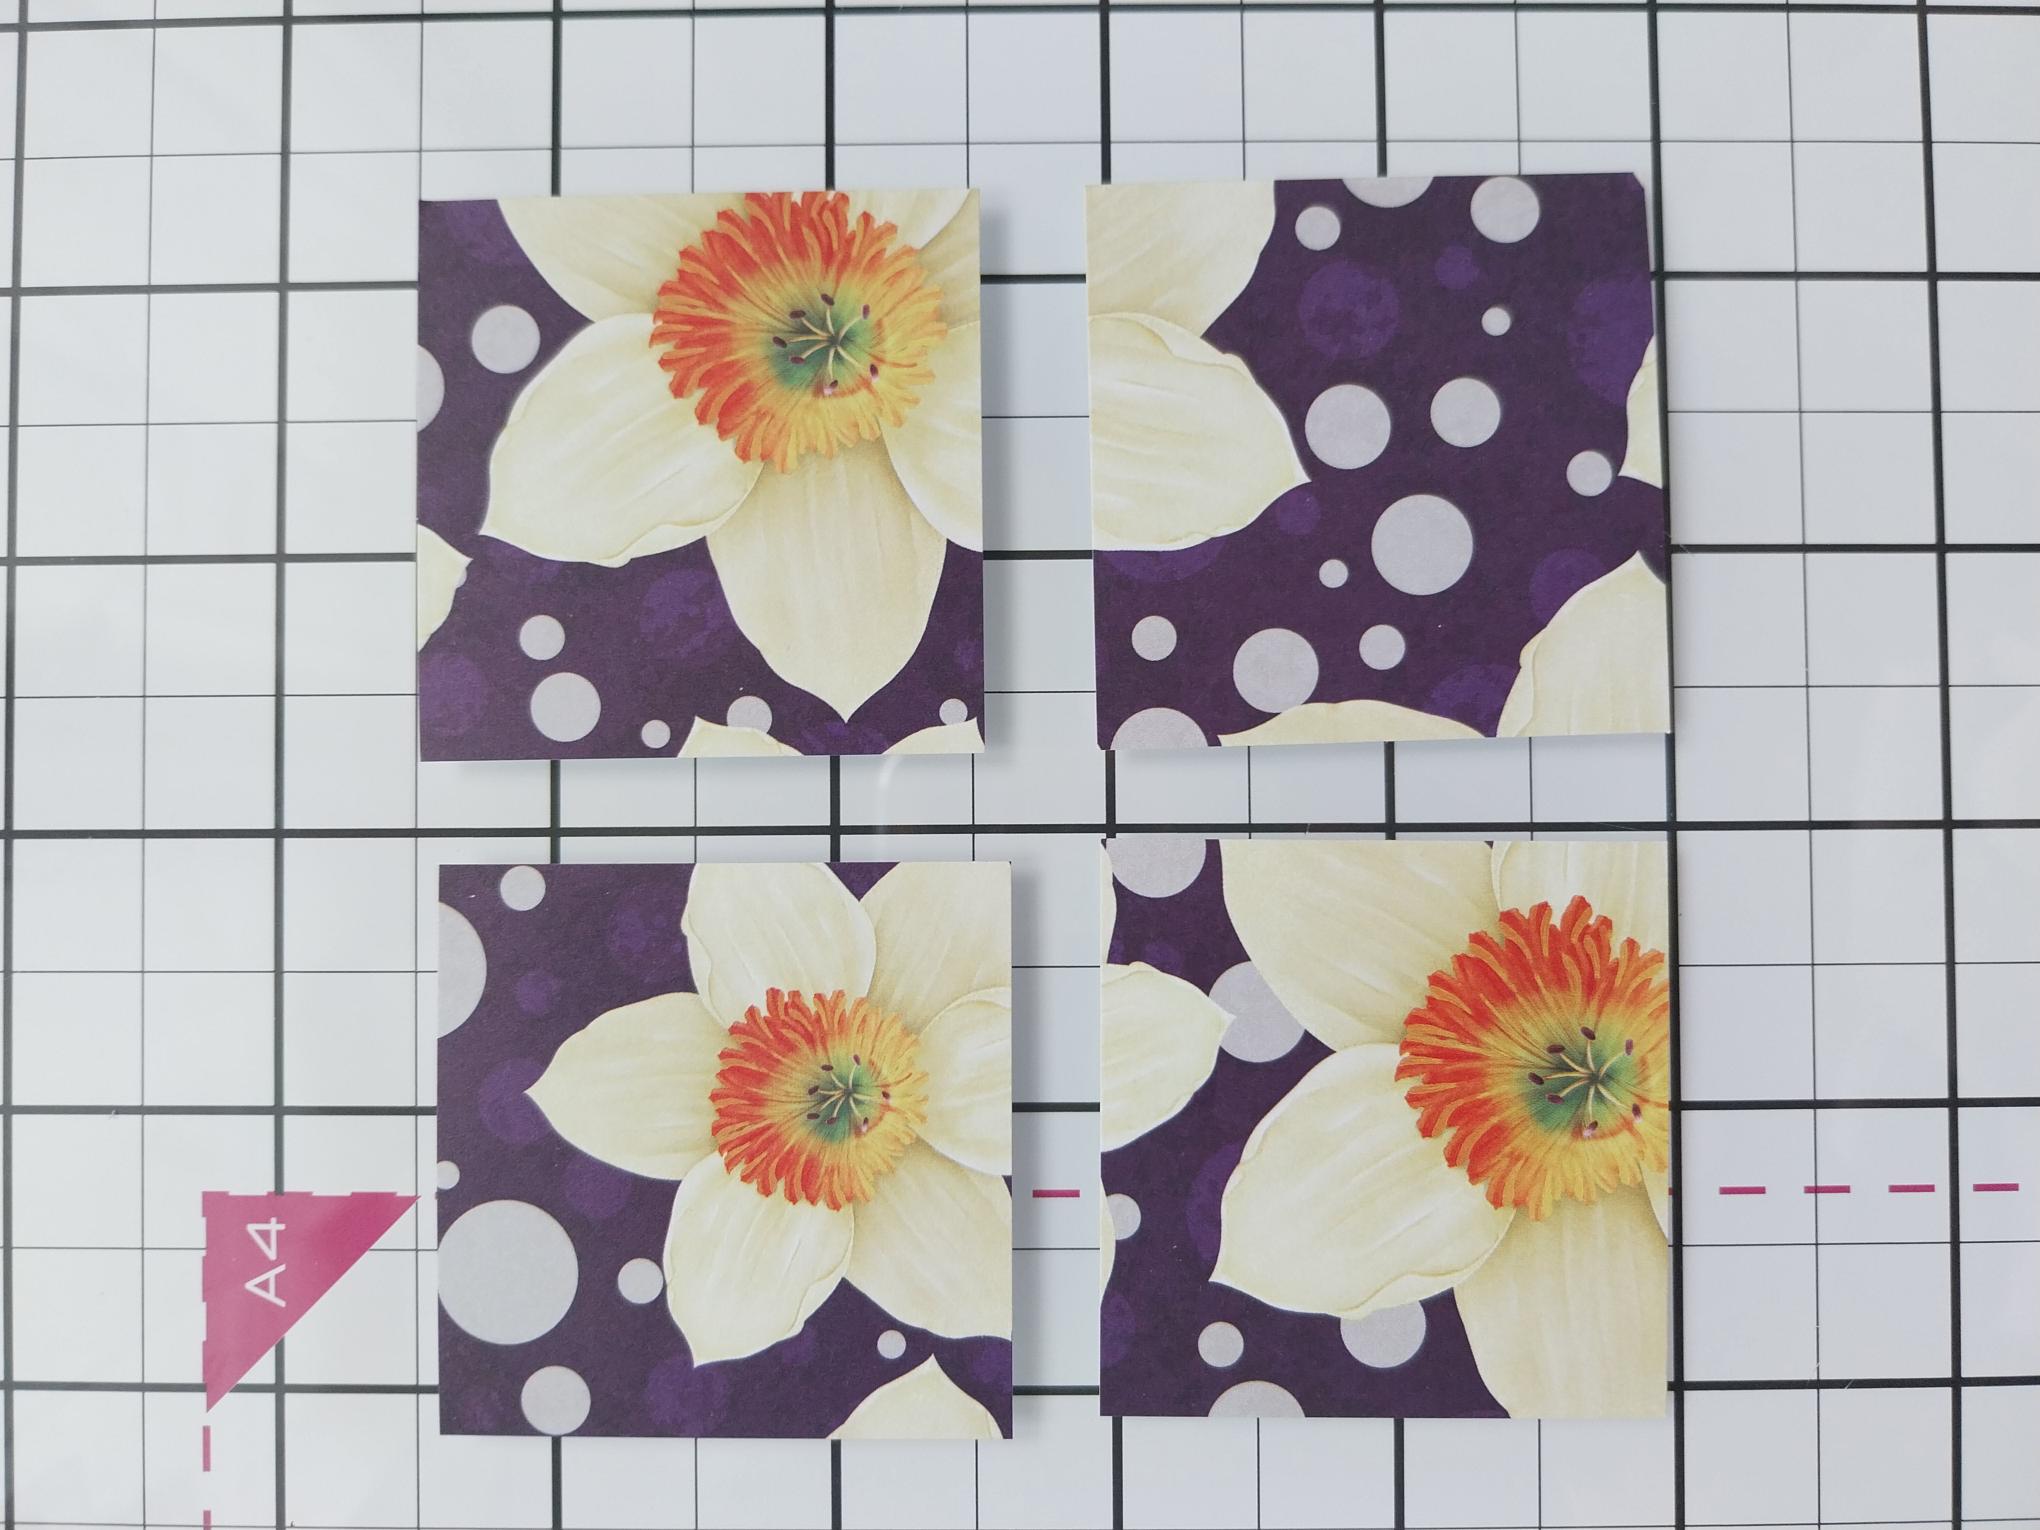
Cut the paper in to FOUR 2" squares, as shown here. |
|
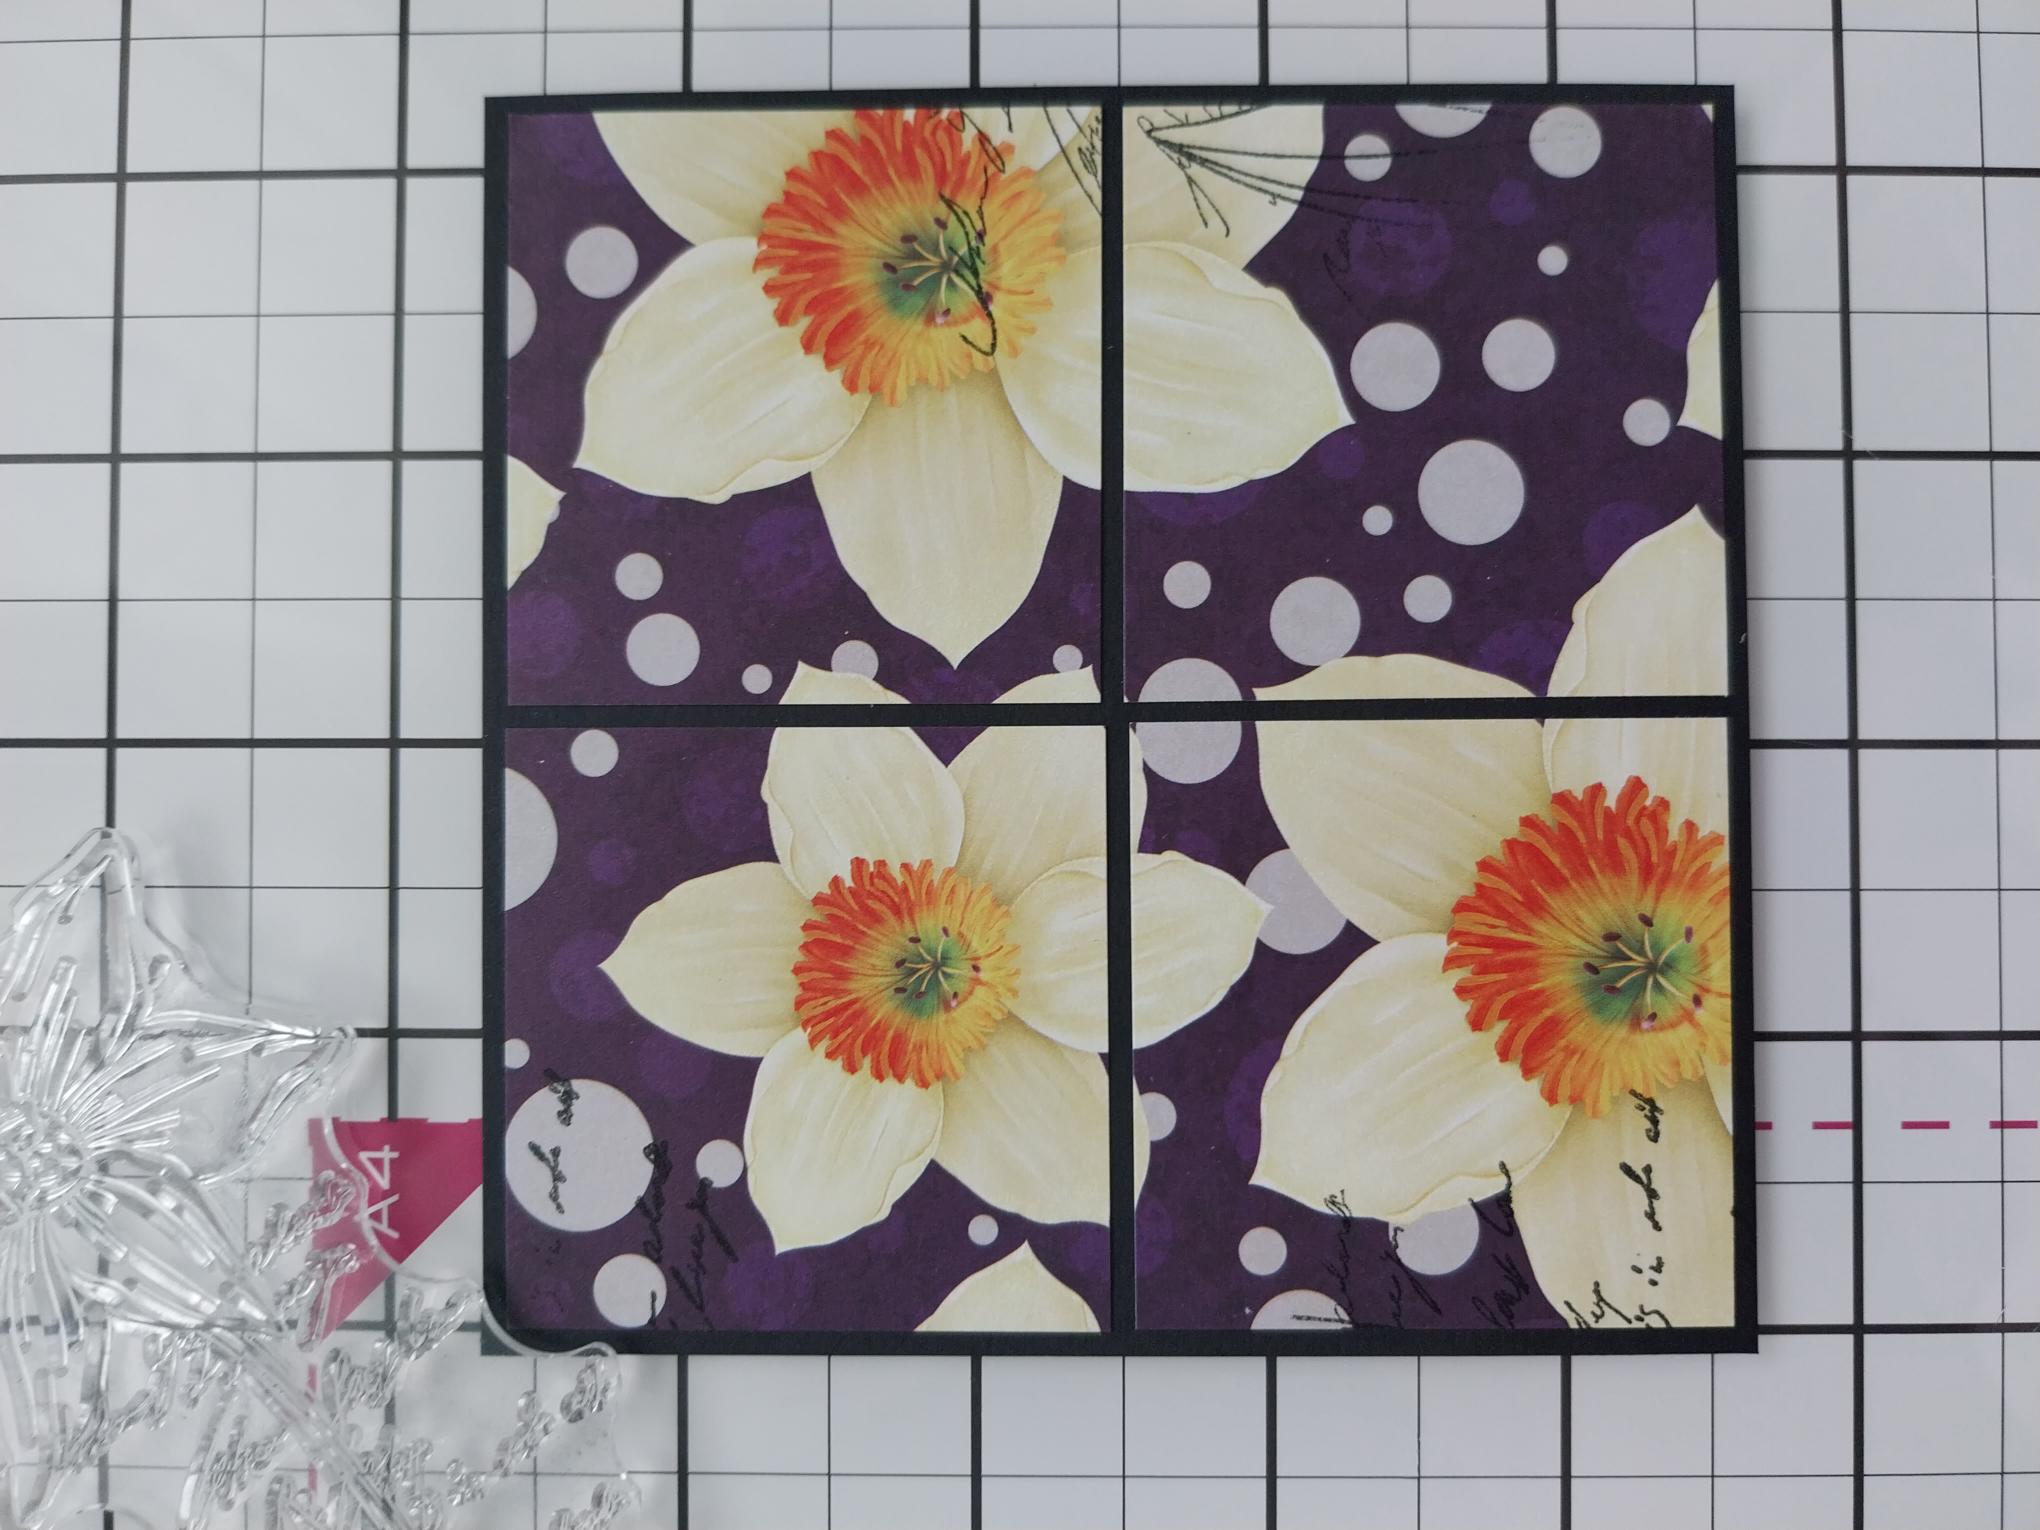
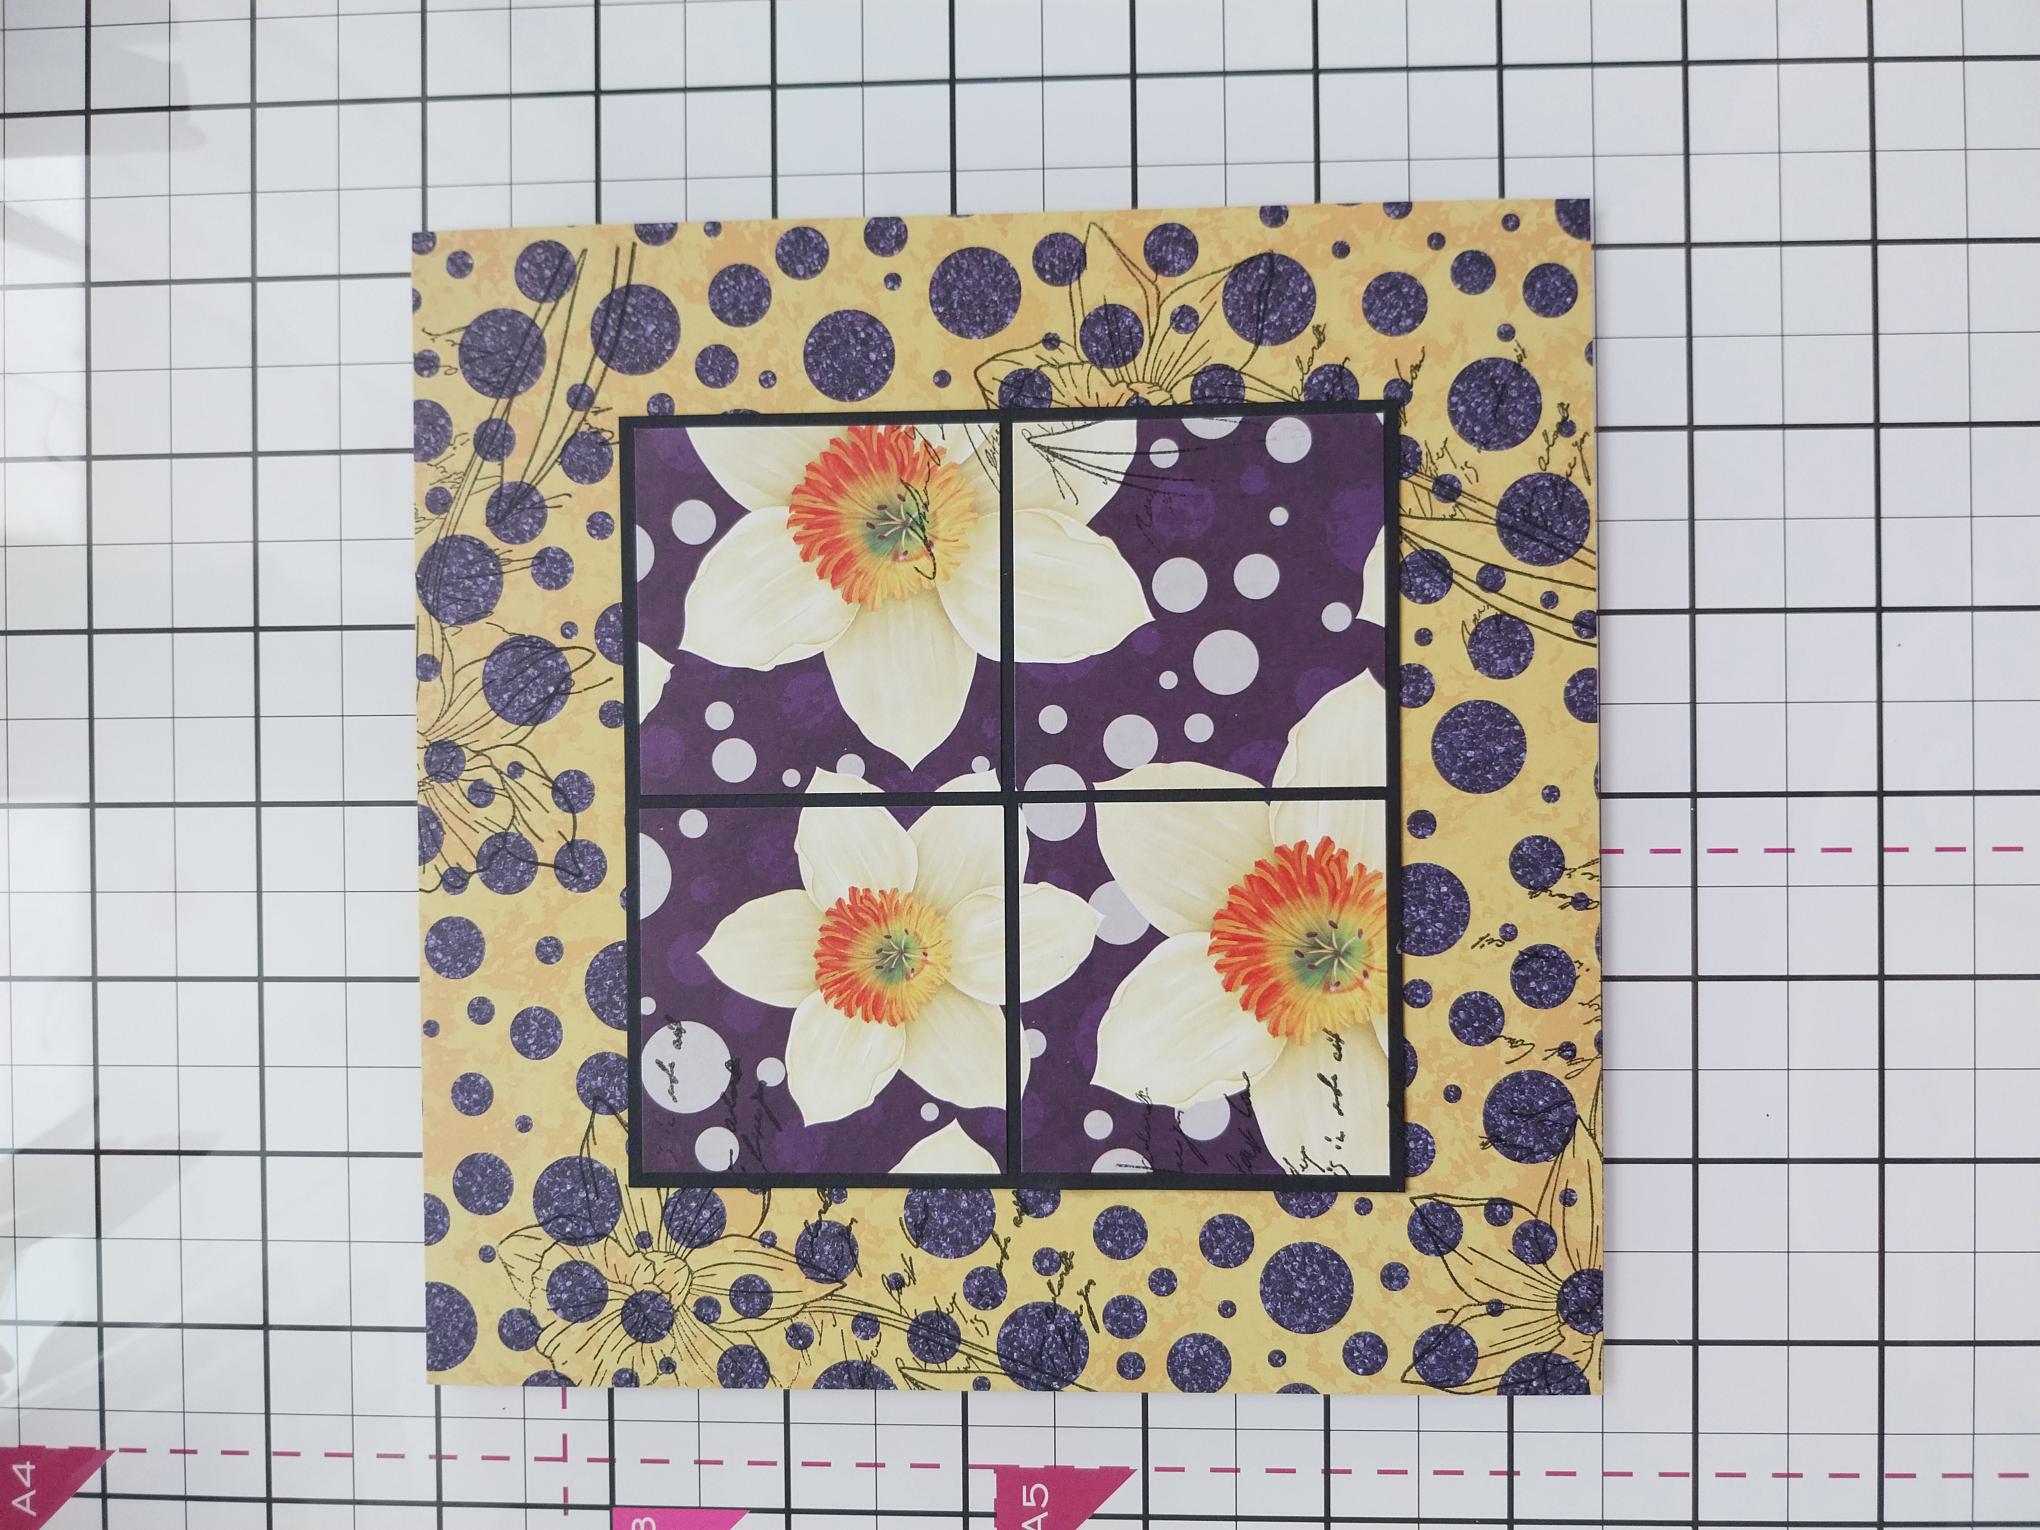
Ink up one of the floral stamps, from the Sketched Florals Collection, with the Midnight and randomly stamp areas of the "script" element, on to the 4 squares. Adhere the 4 squares on to the black card cut to 4 1/4" square, leaving an equal black border around each square and ensuring the pattern lines up correctly. |
|
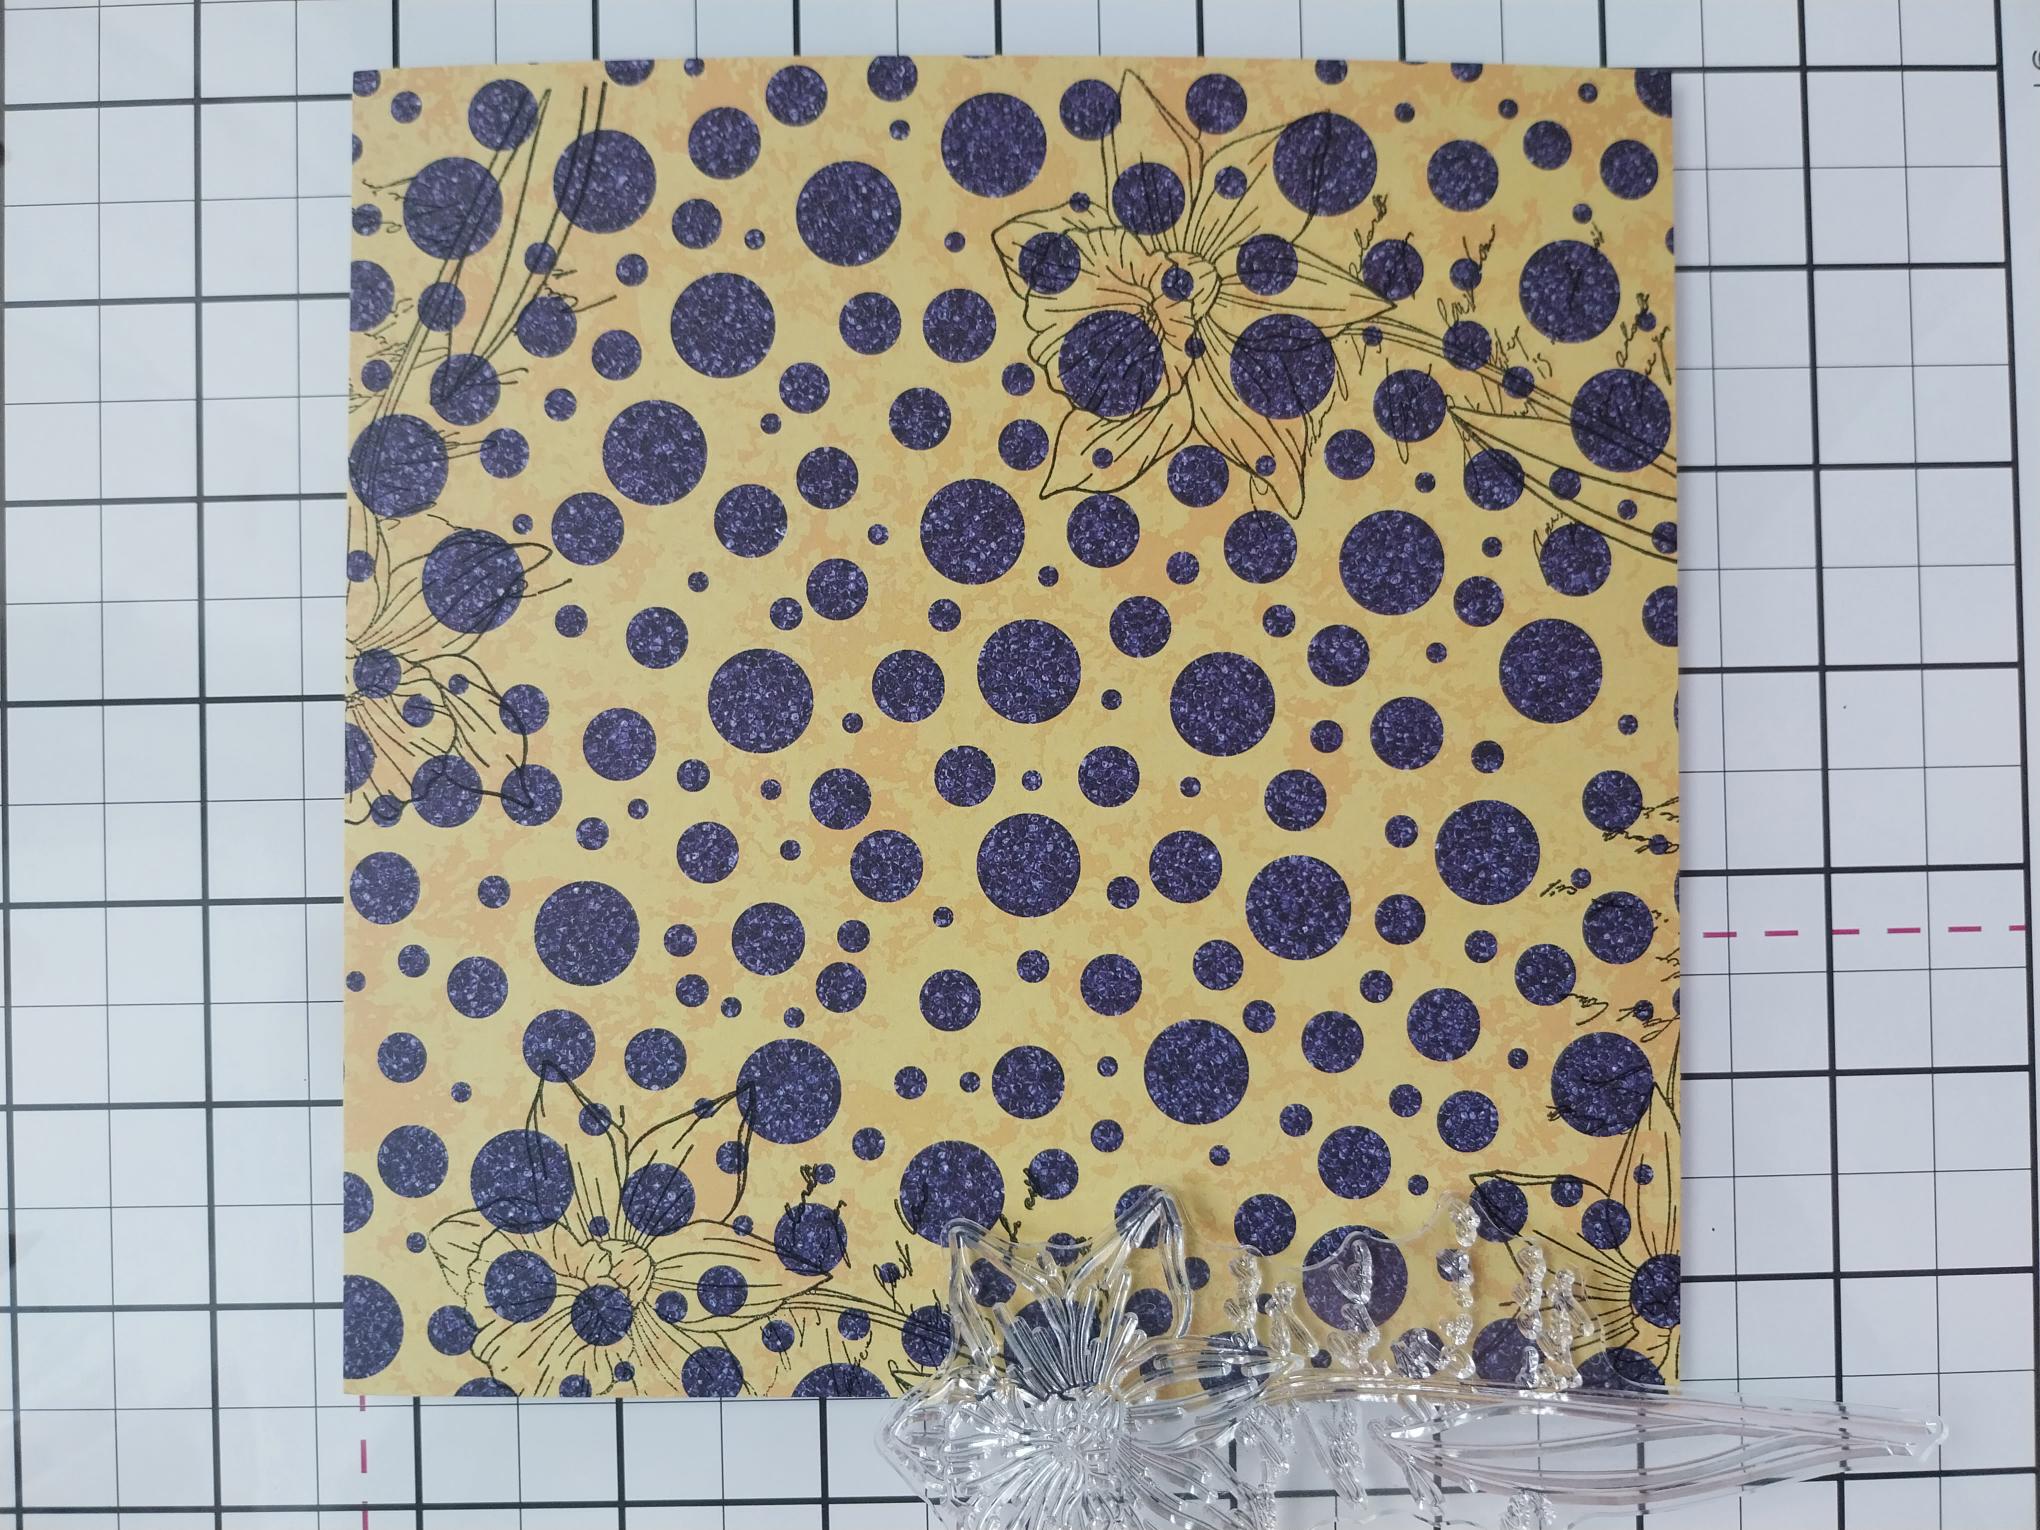
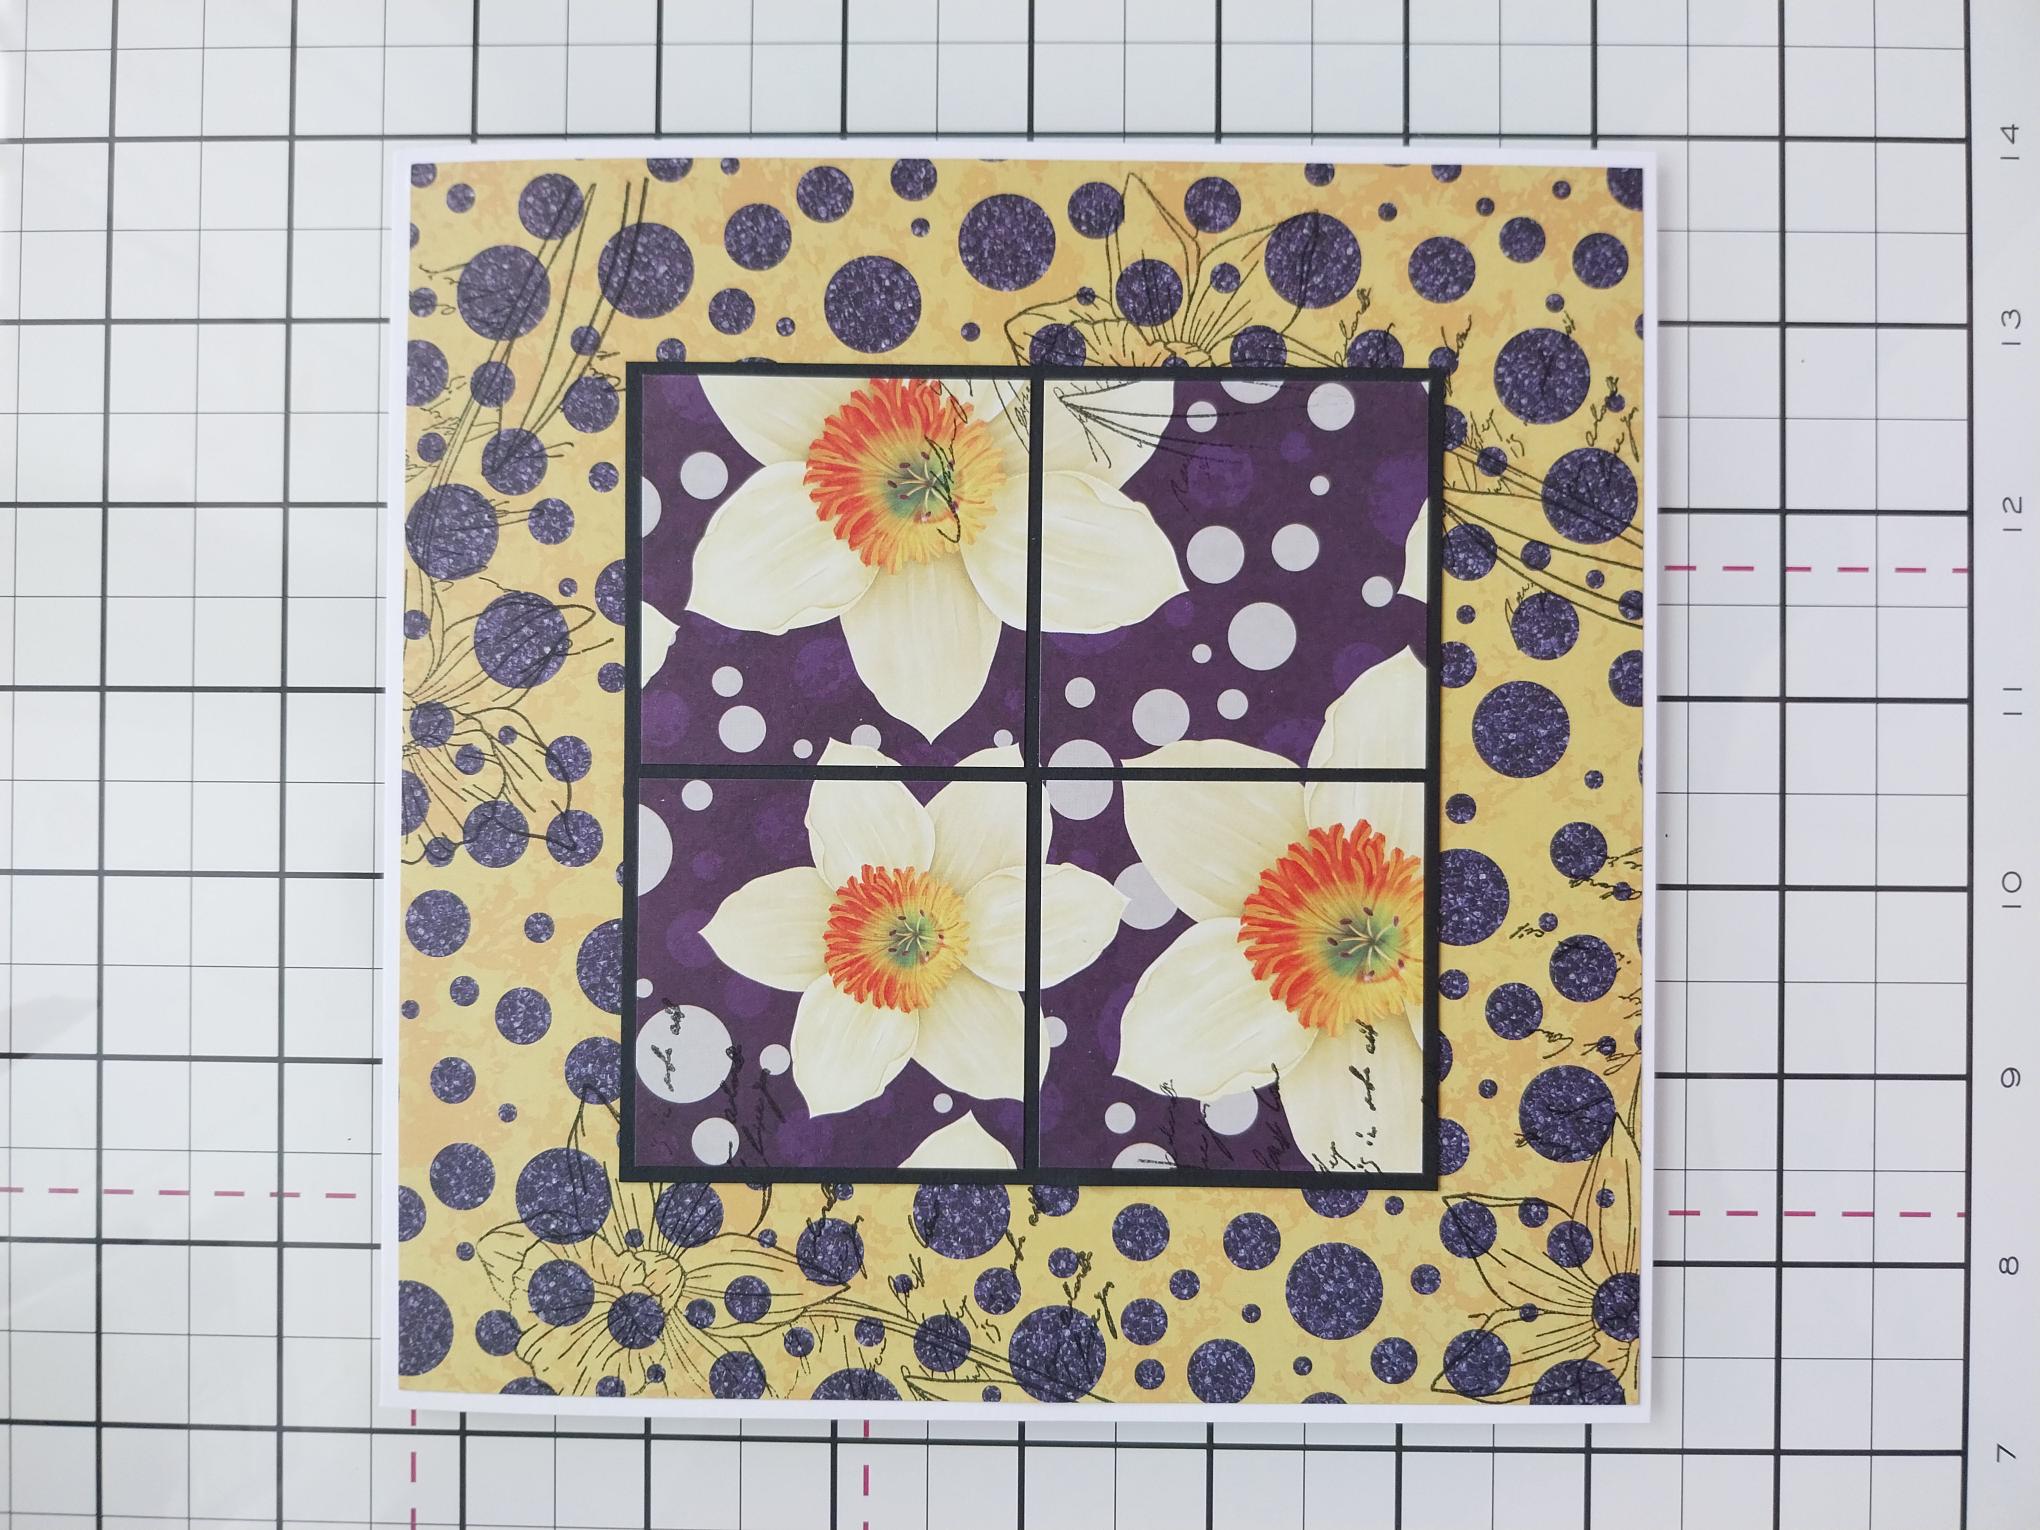
Remove this decorative sheet from the paper pad and trim to 6 3/4" square. Reink the same Daffodil stamp, with Midnight and stamp randomly on to the patterned paper, taking some of the stamped images off the edge of the paper. |
|
Adhere your paper topper in the centre of the stamped paper. |
|
Adhere this on to your 7" square, white card blank and set it to one side. |
|
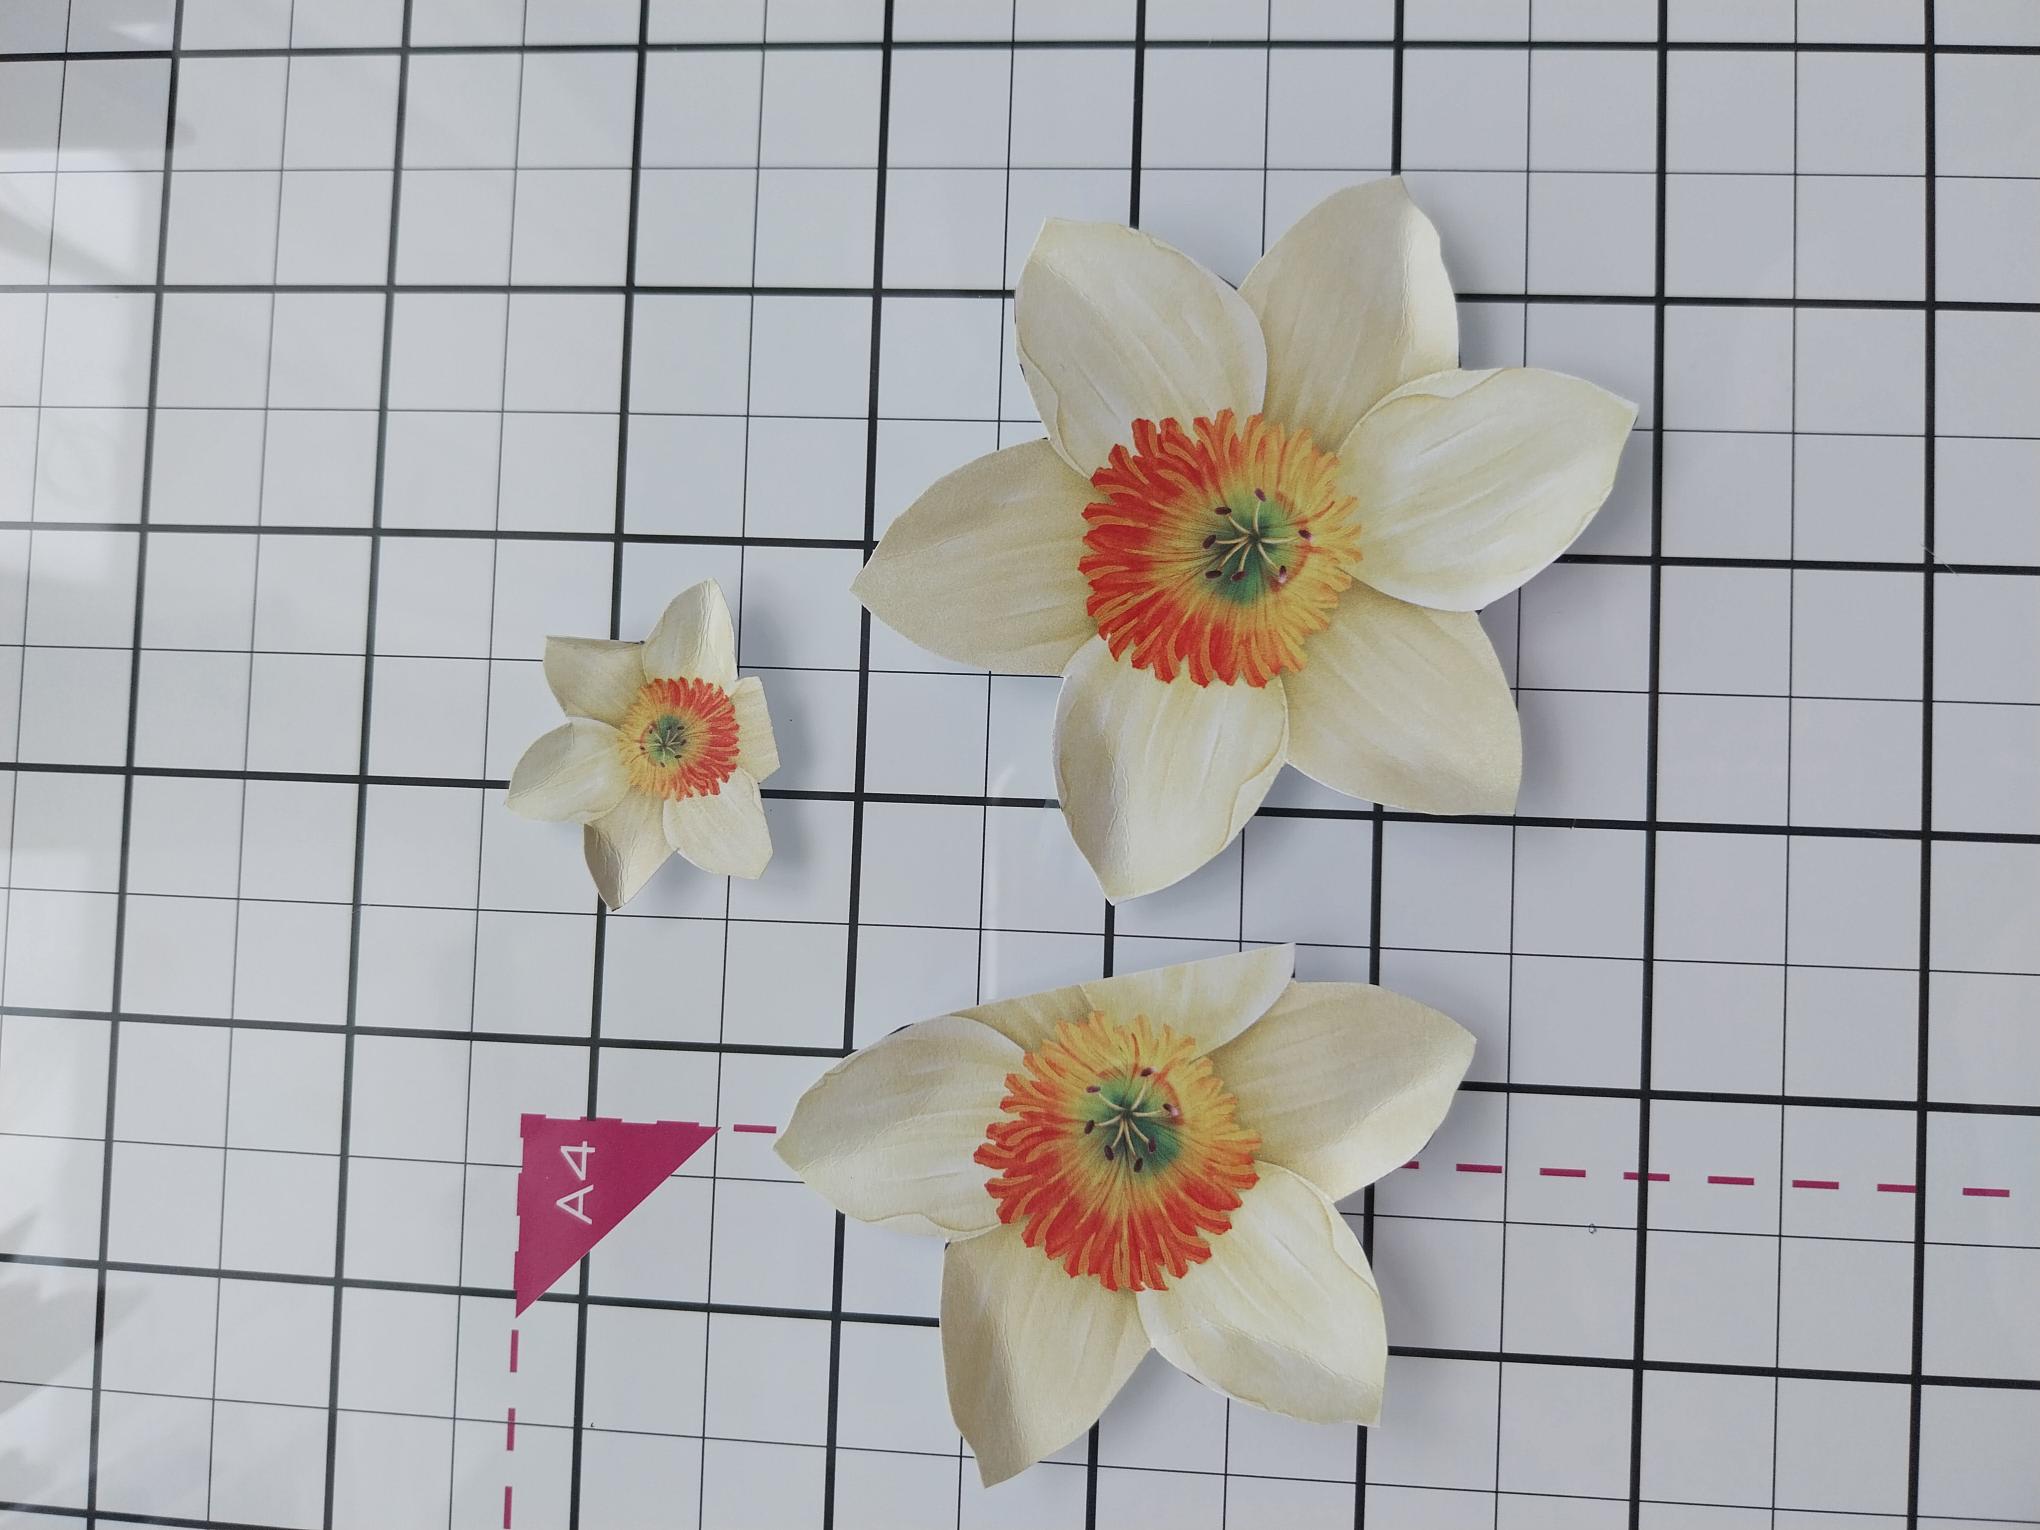
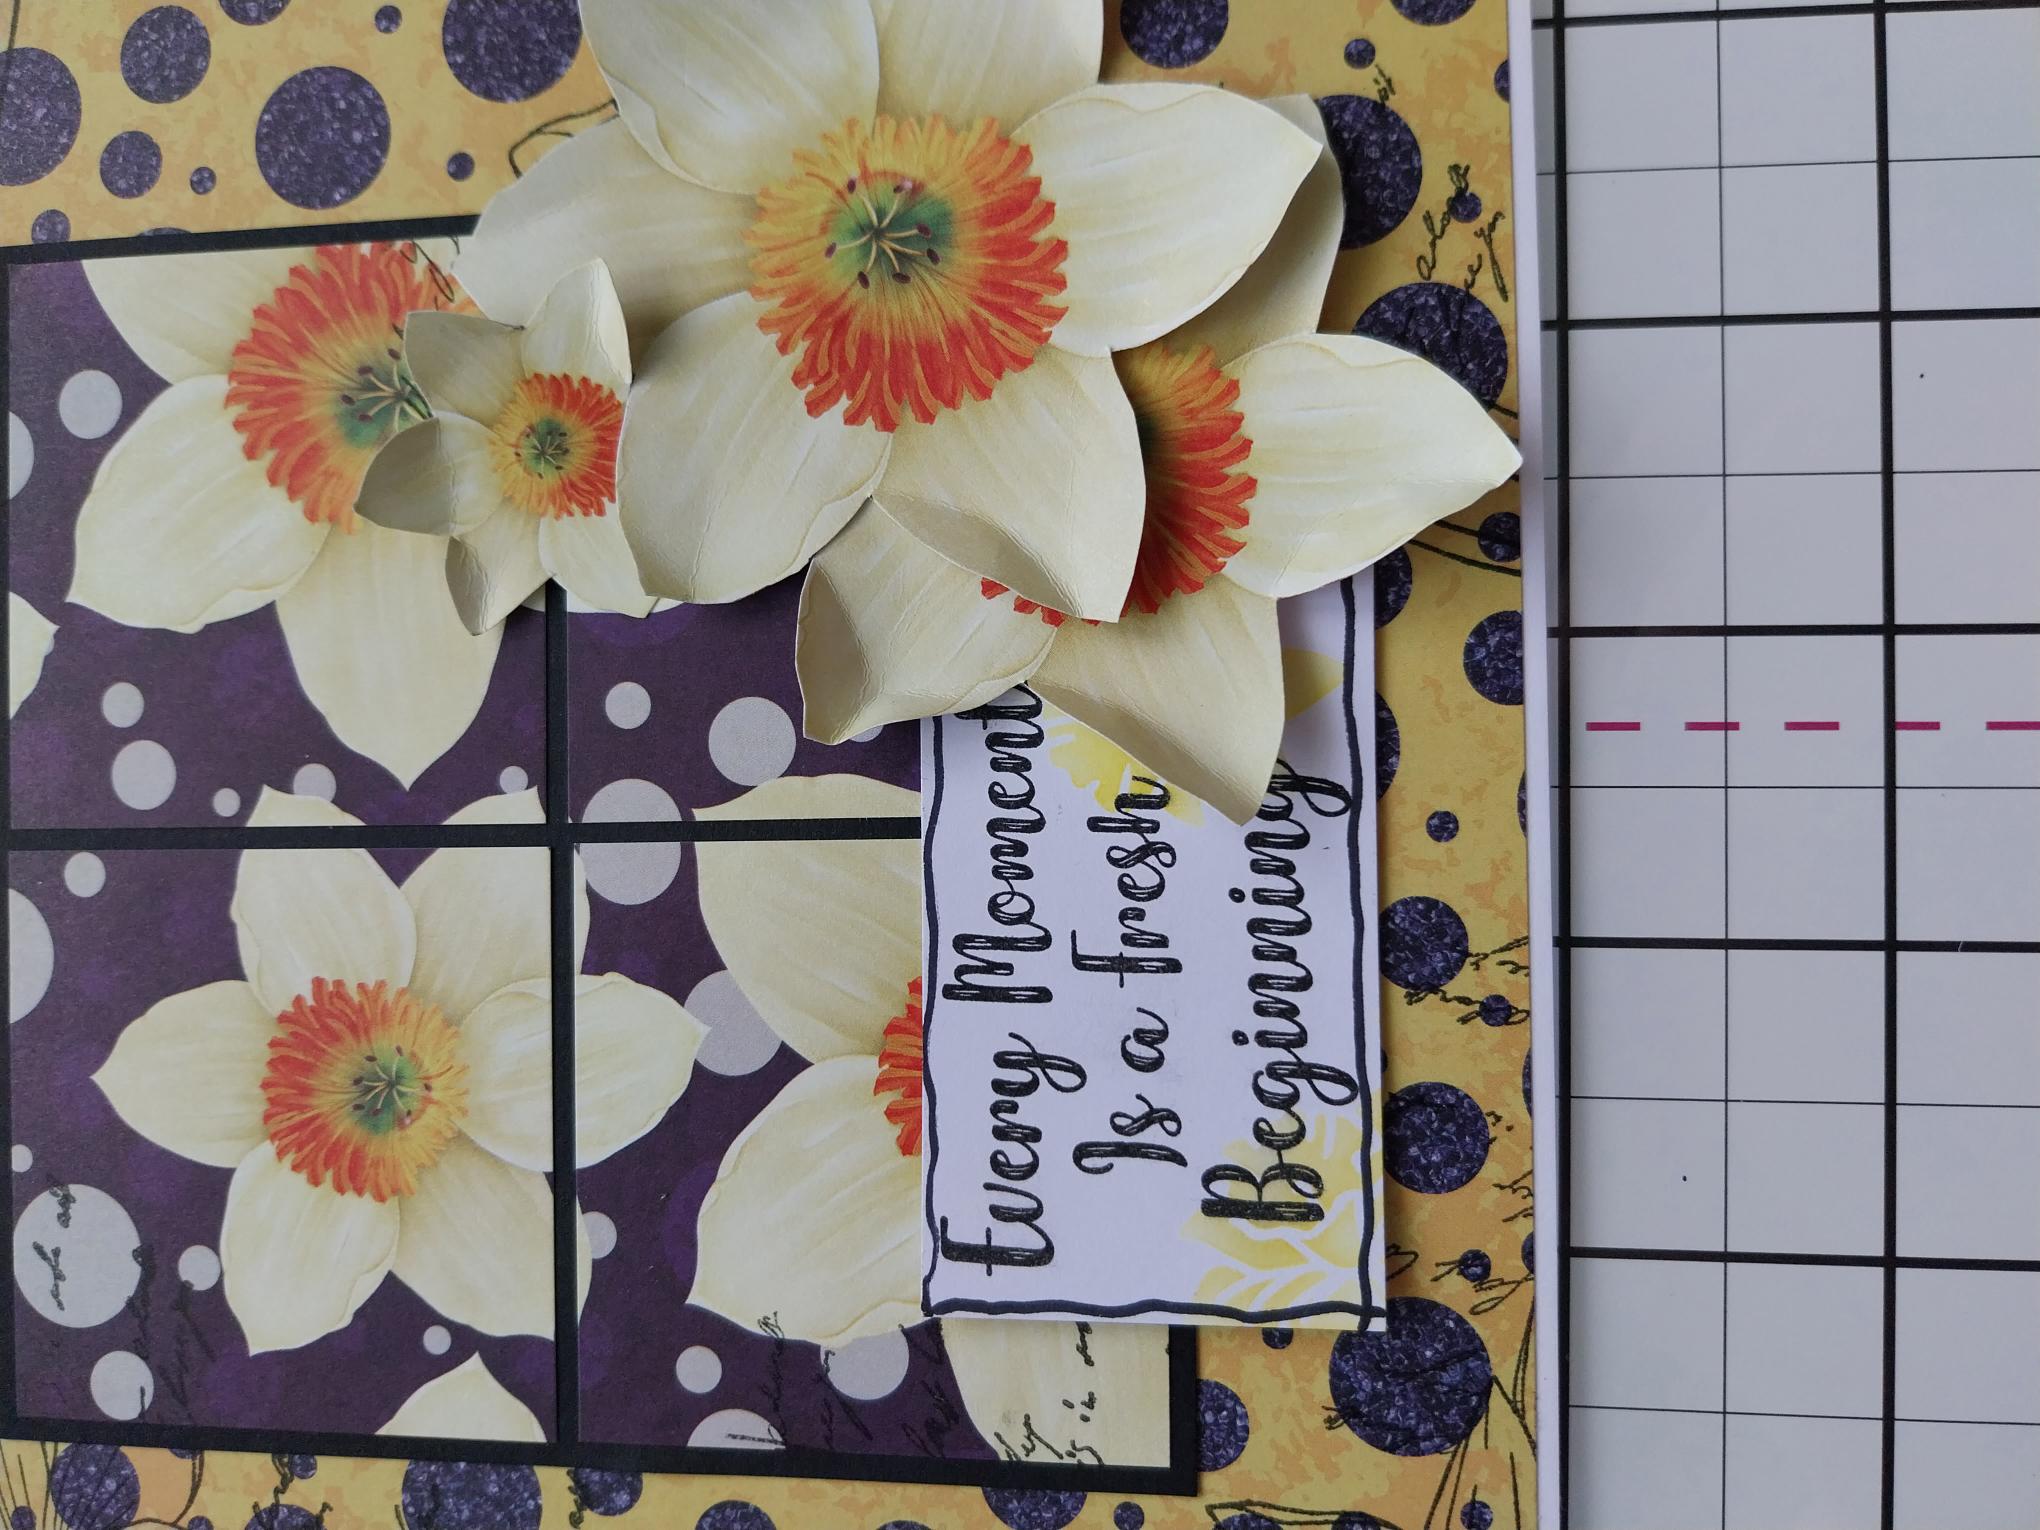
Fussy cut 3 Daffodil's from one of the decorative papers. Use your fingers to shape and mould the flowers. |
|
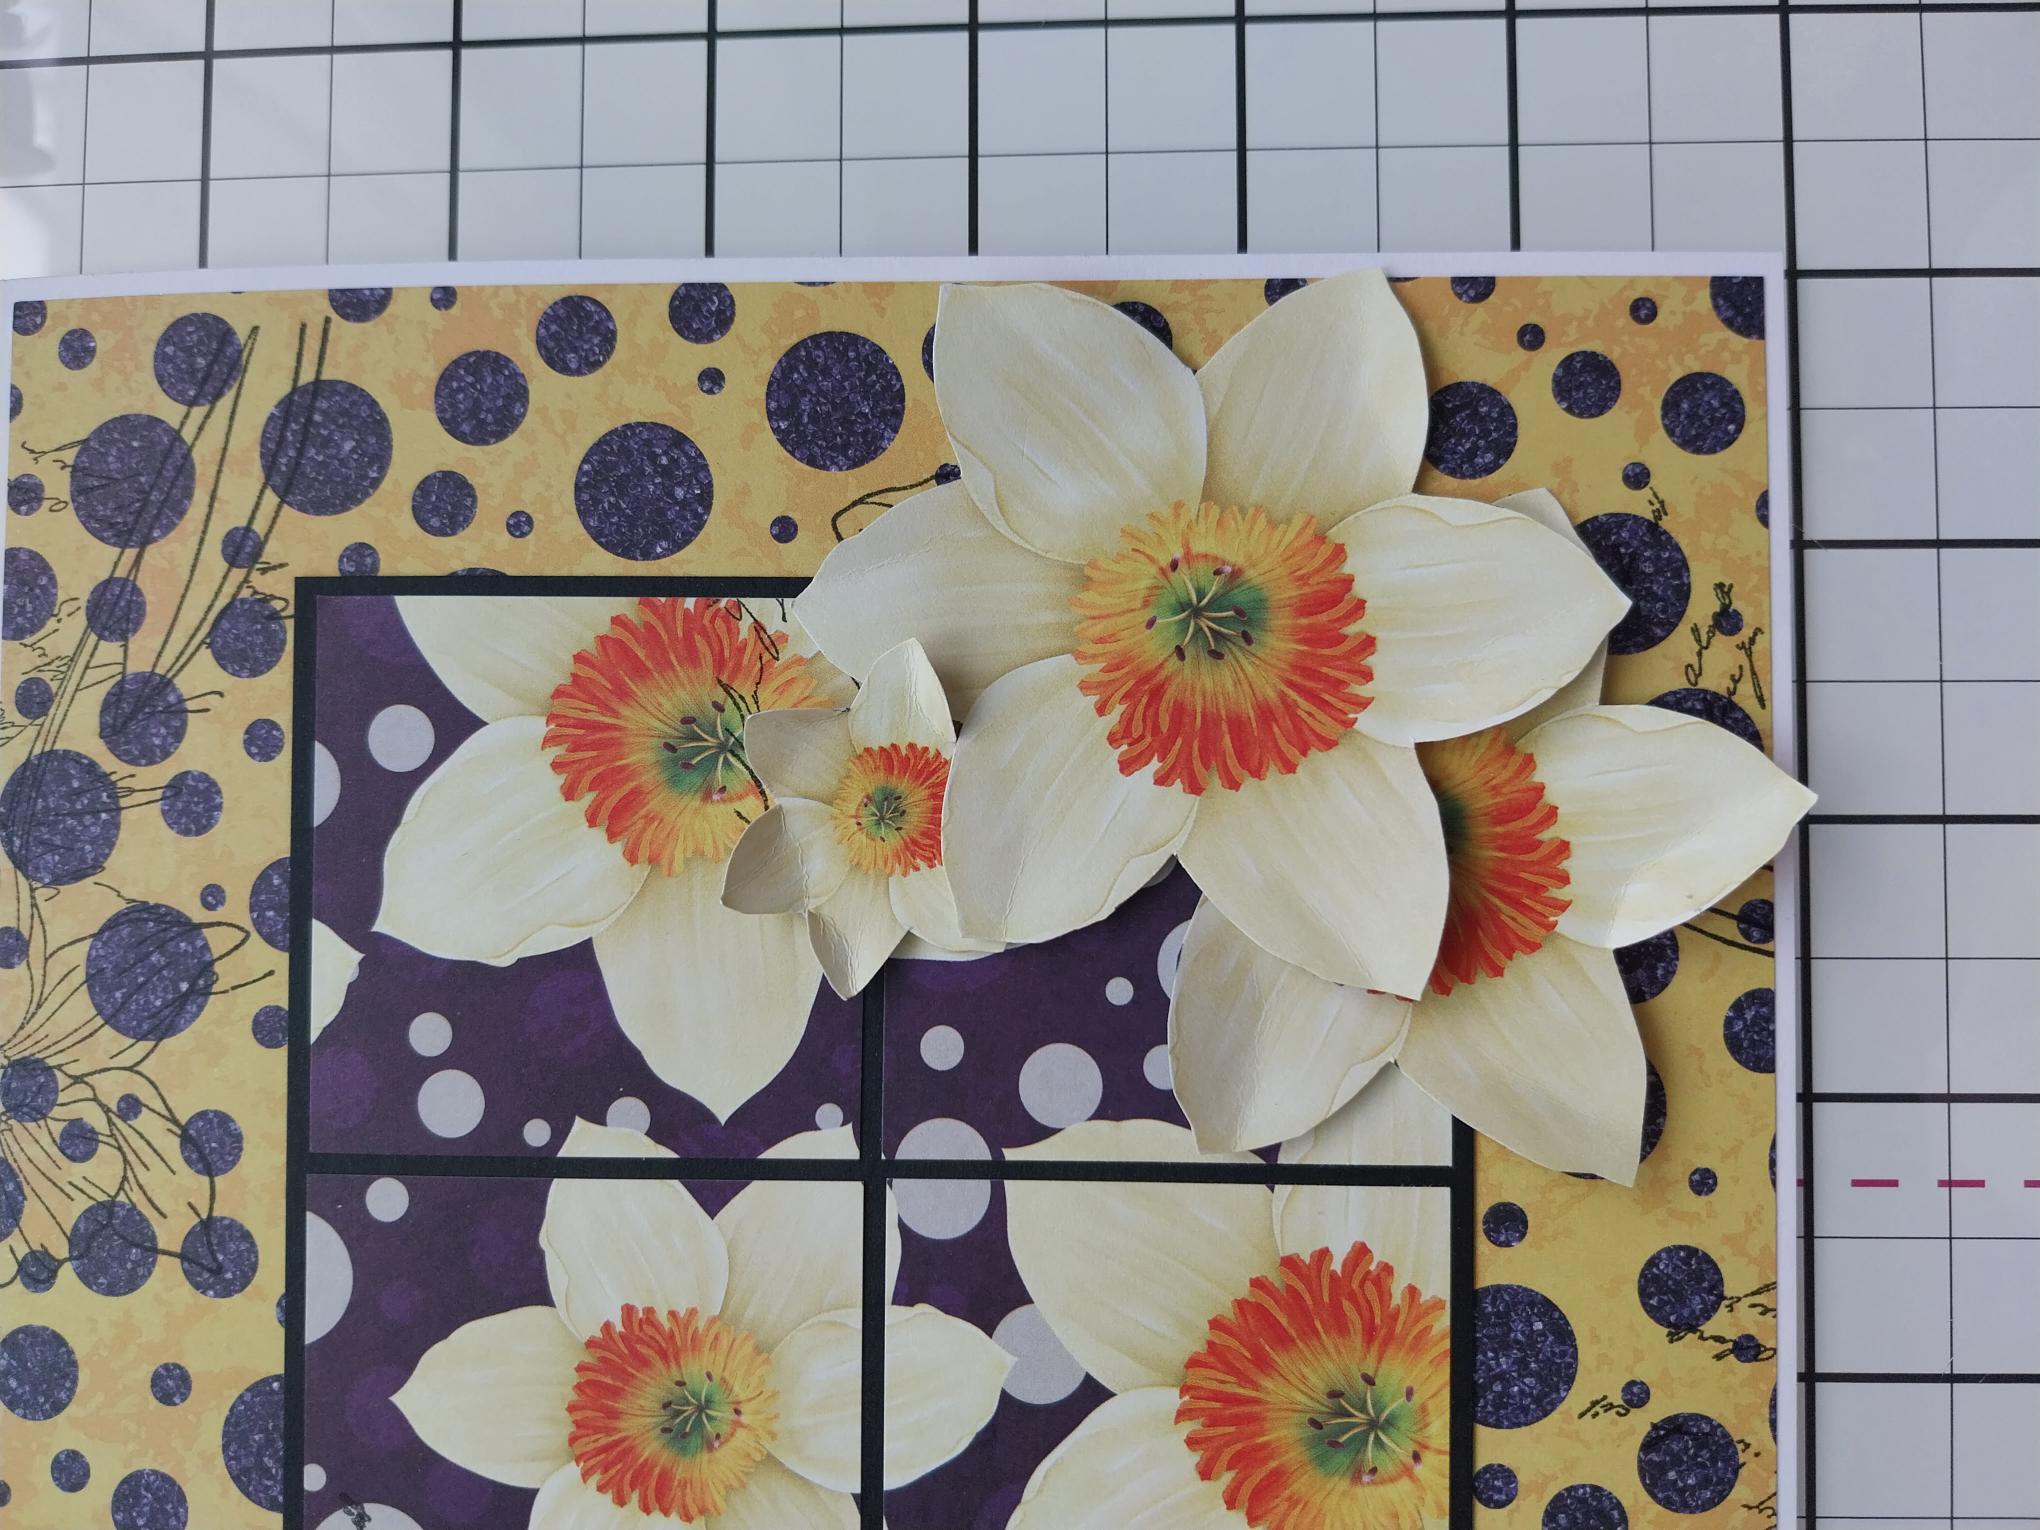
Using wet glue and/or foam pads, adhere to the bottom right of your centre topper. |

|
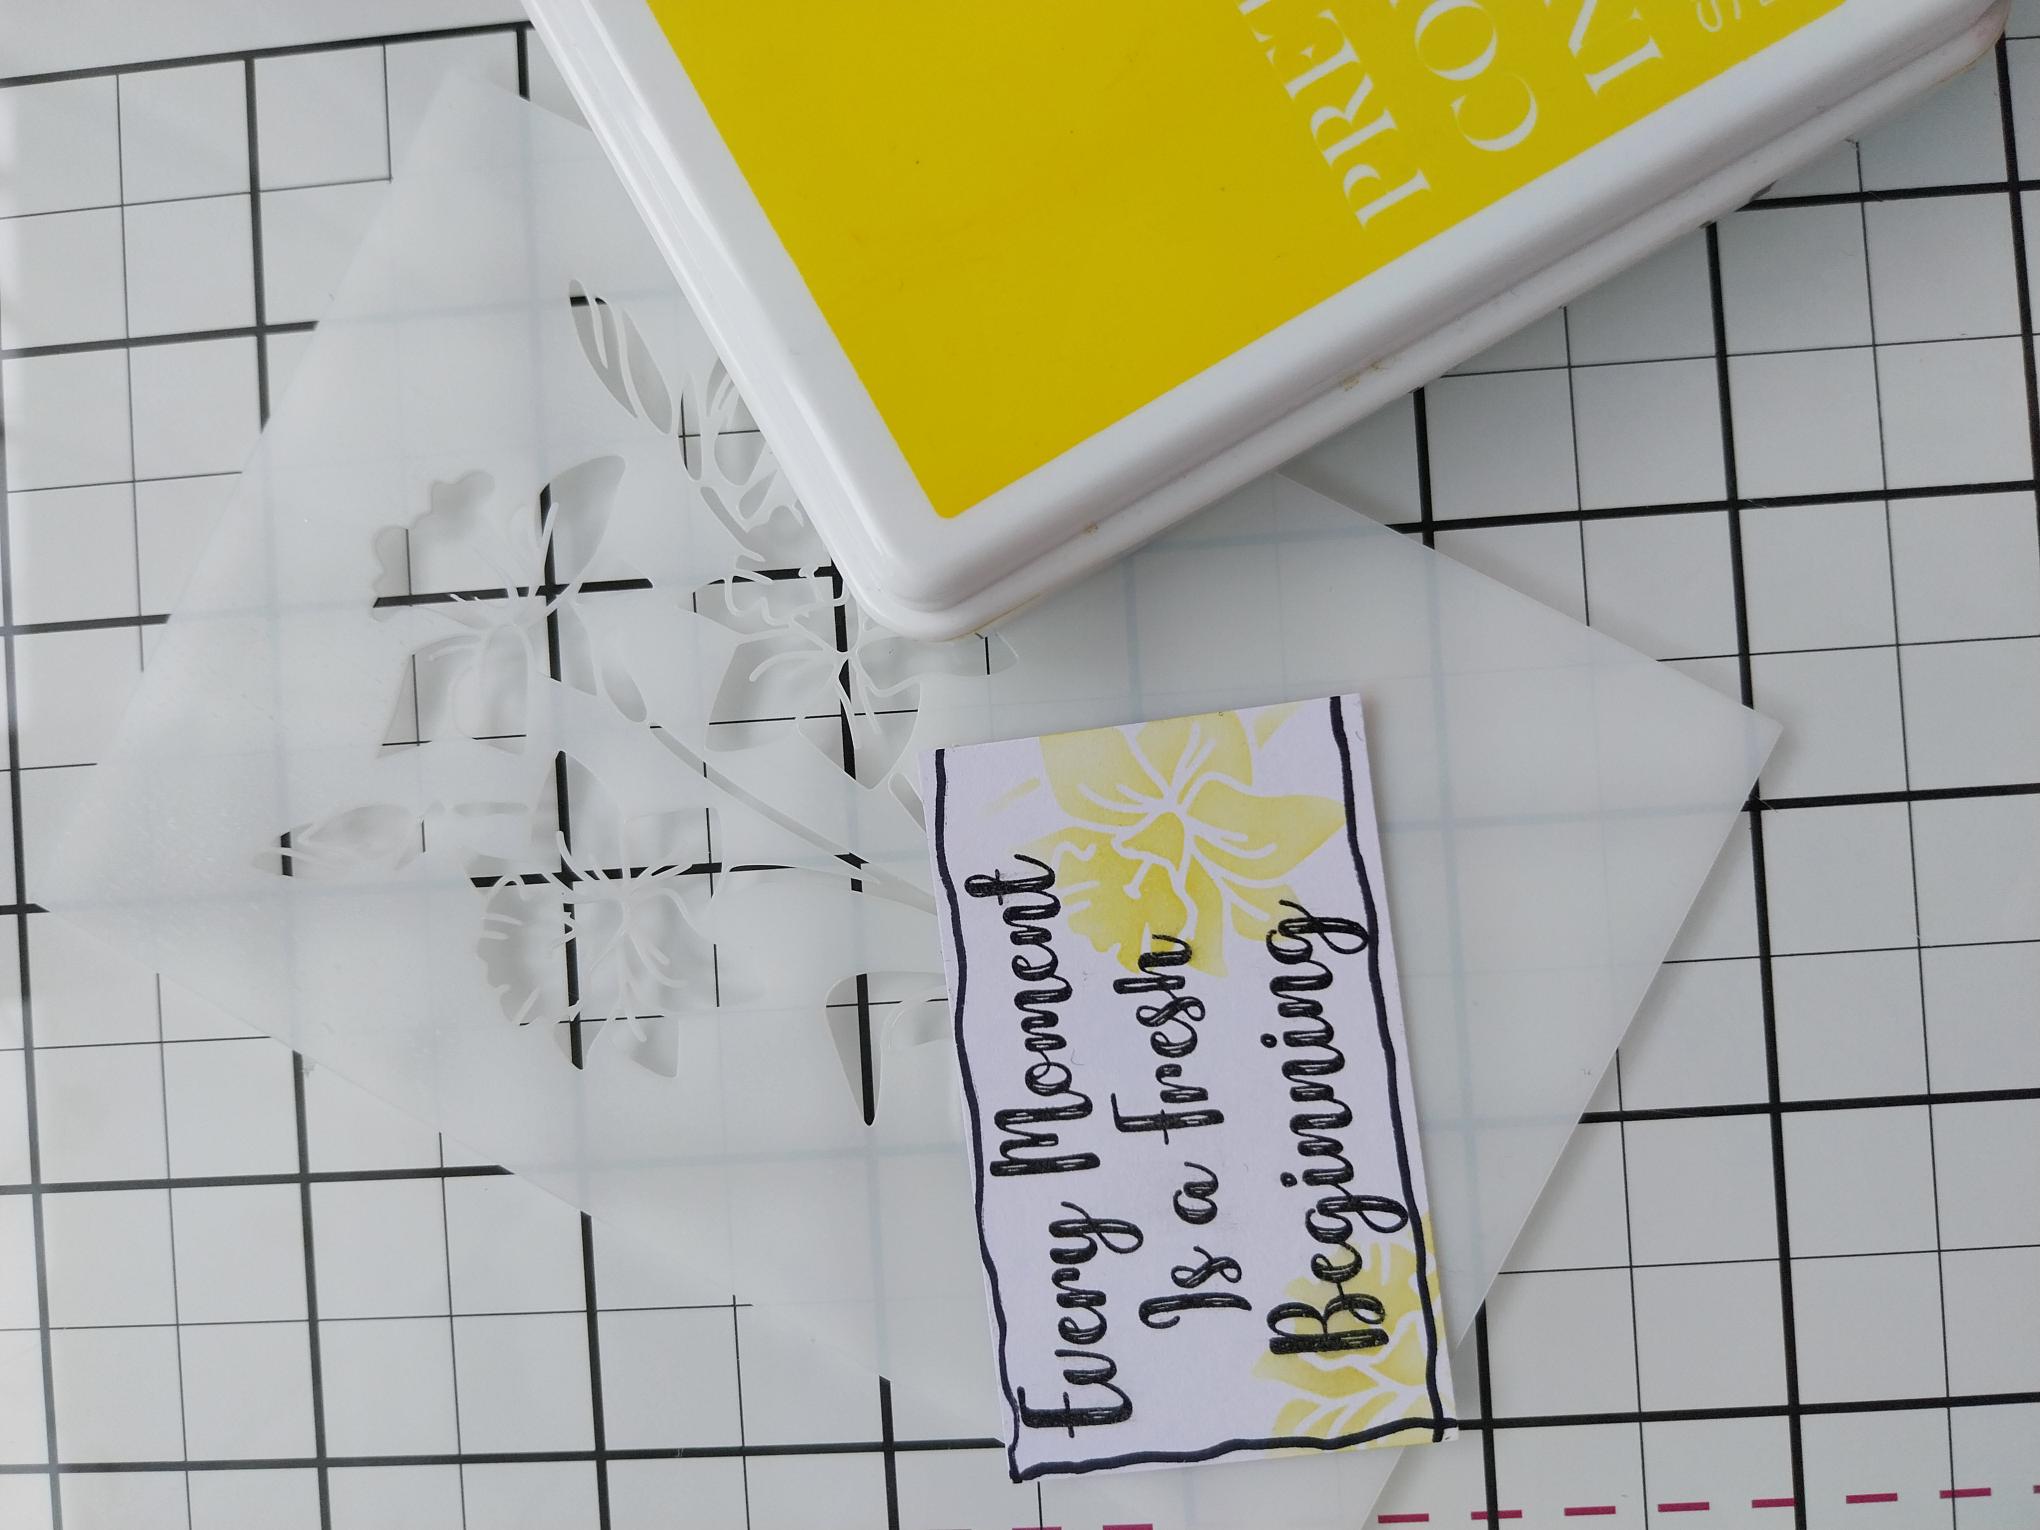
Ink up the sentiment with Midnight and stamp on to a piece of white card. Cut to size, then use a black pen to draw a decorative frame. |
|
Place the Hazy Days stencil on top of your sentiment and using a blending tool, blend through with the Sherbet ink, thus tying it in with the rest of your artwork. |
|
Adhere to the bottom left of your 3D floral design, tucking it just under one of the florals. |
|
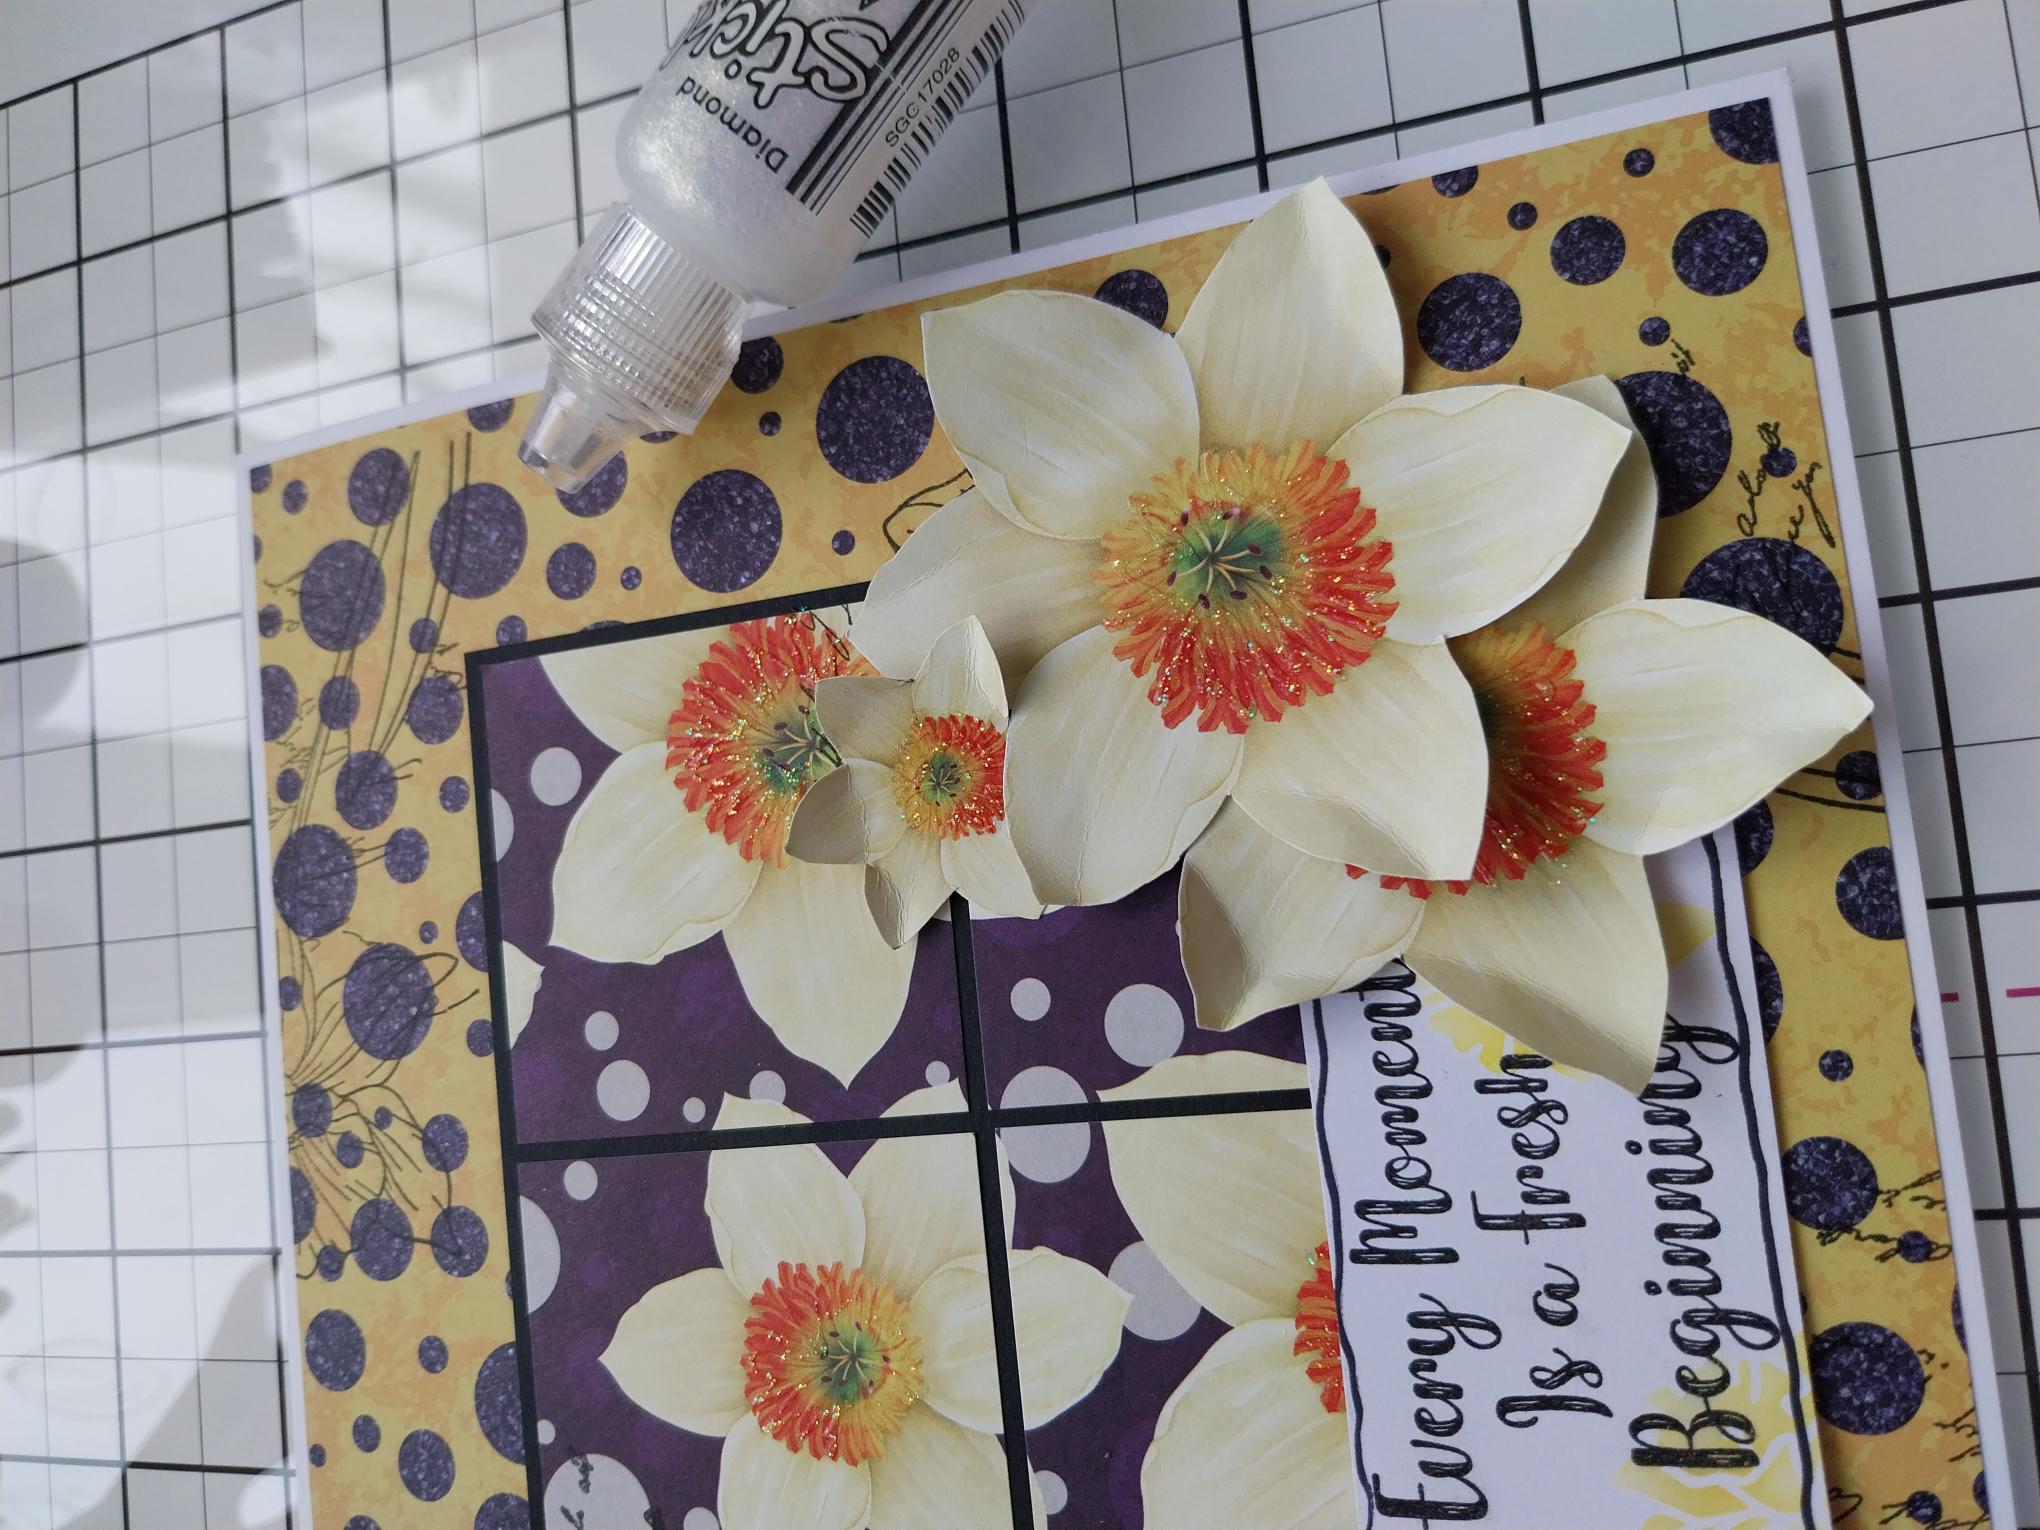
To finish add sparkle and glitter to the centres of your Daffodils. |