Give your friends $10 off their first order!
Refer a FRIEND


WHAT YOU WILL NEED:
White card blank 7 1/4" square
White card 6" square
White card scrap (sentiment)
Quattro D Magnolia Garden Collection
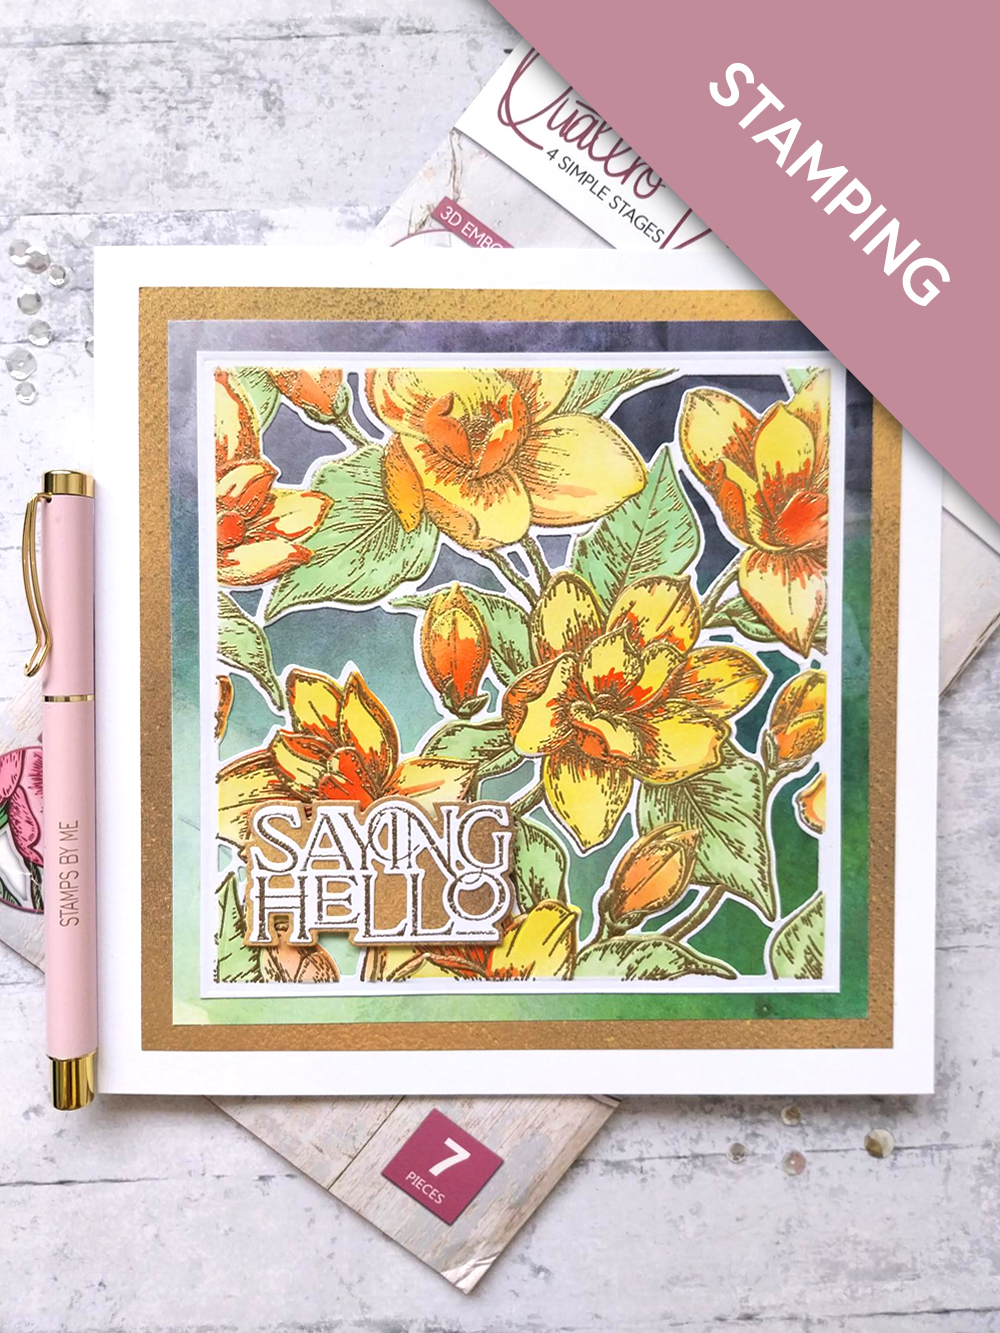
Saying Hello Stamp and Die Collection
Sunshine In My Pocket 8 x 8" Texture Paper Pack
Funky Fossil Designs Watercolour Rainbow 8 x 8" Paper Pack
SBM Premium dye ink pad: Sherbet, Bittersweet, Limeade
Blending tool
WOW embossing ink pad
WOW heat tool
WOW Gold embossing powder
Anti-static bag
Eureka 101 Watercolour Tablet
SBM Magnetic glass mat
Paper Trimmer
Perfect Together Glue
Foam pad
Die Cutting machine
[click image to enlarge] 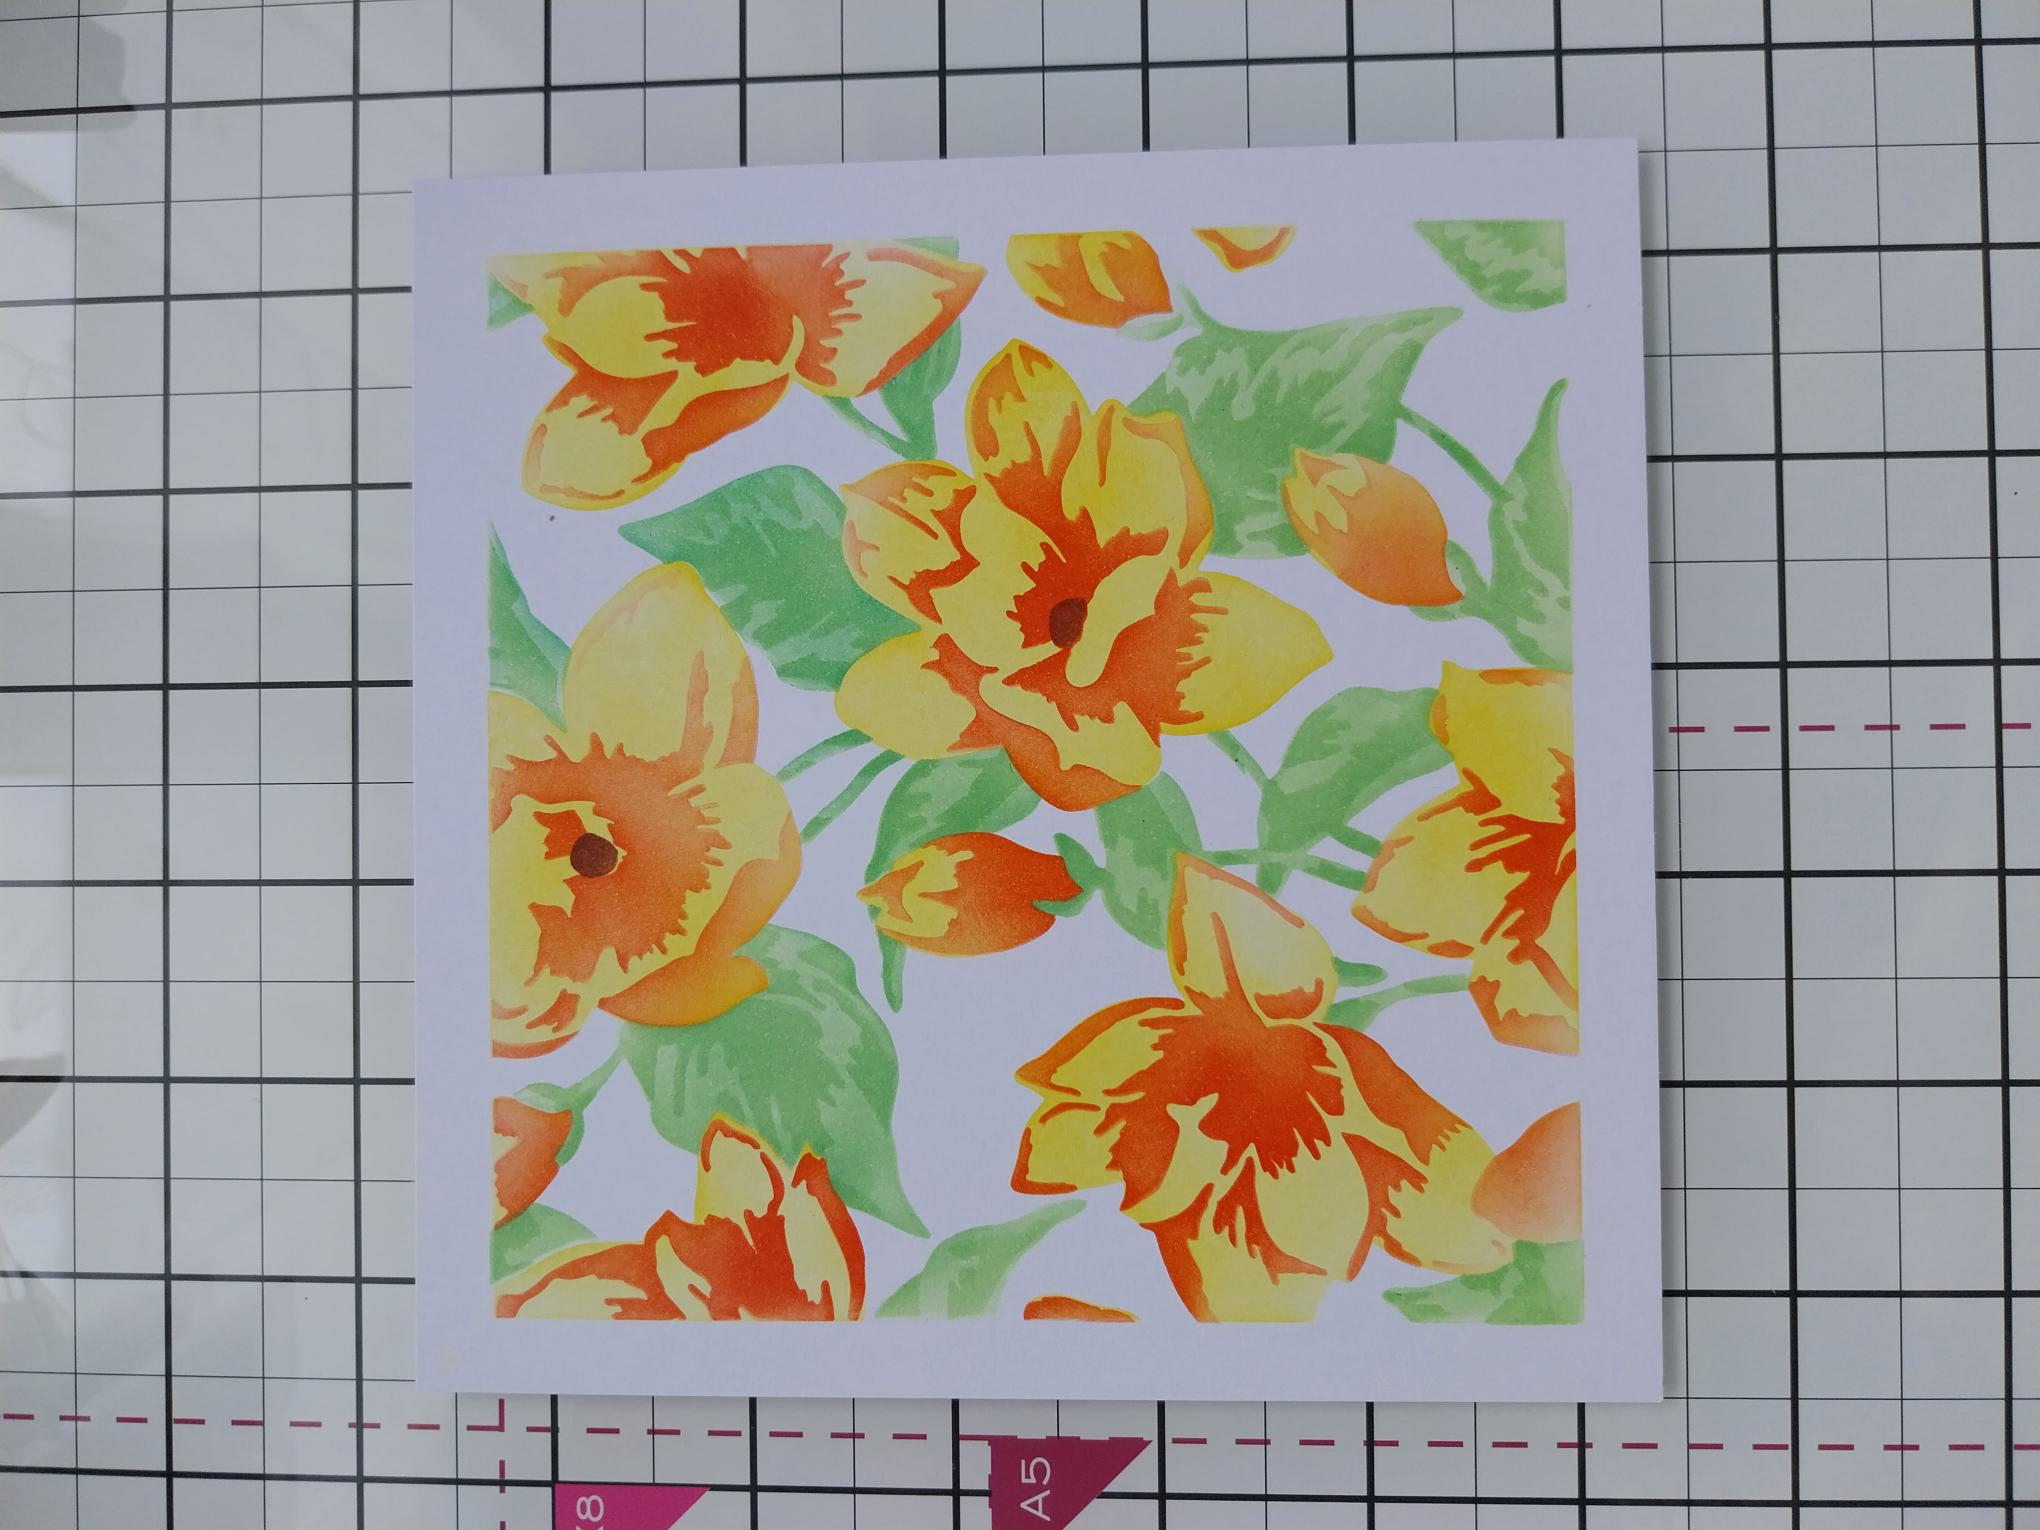
|
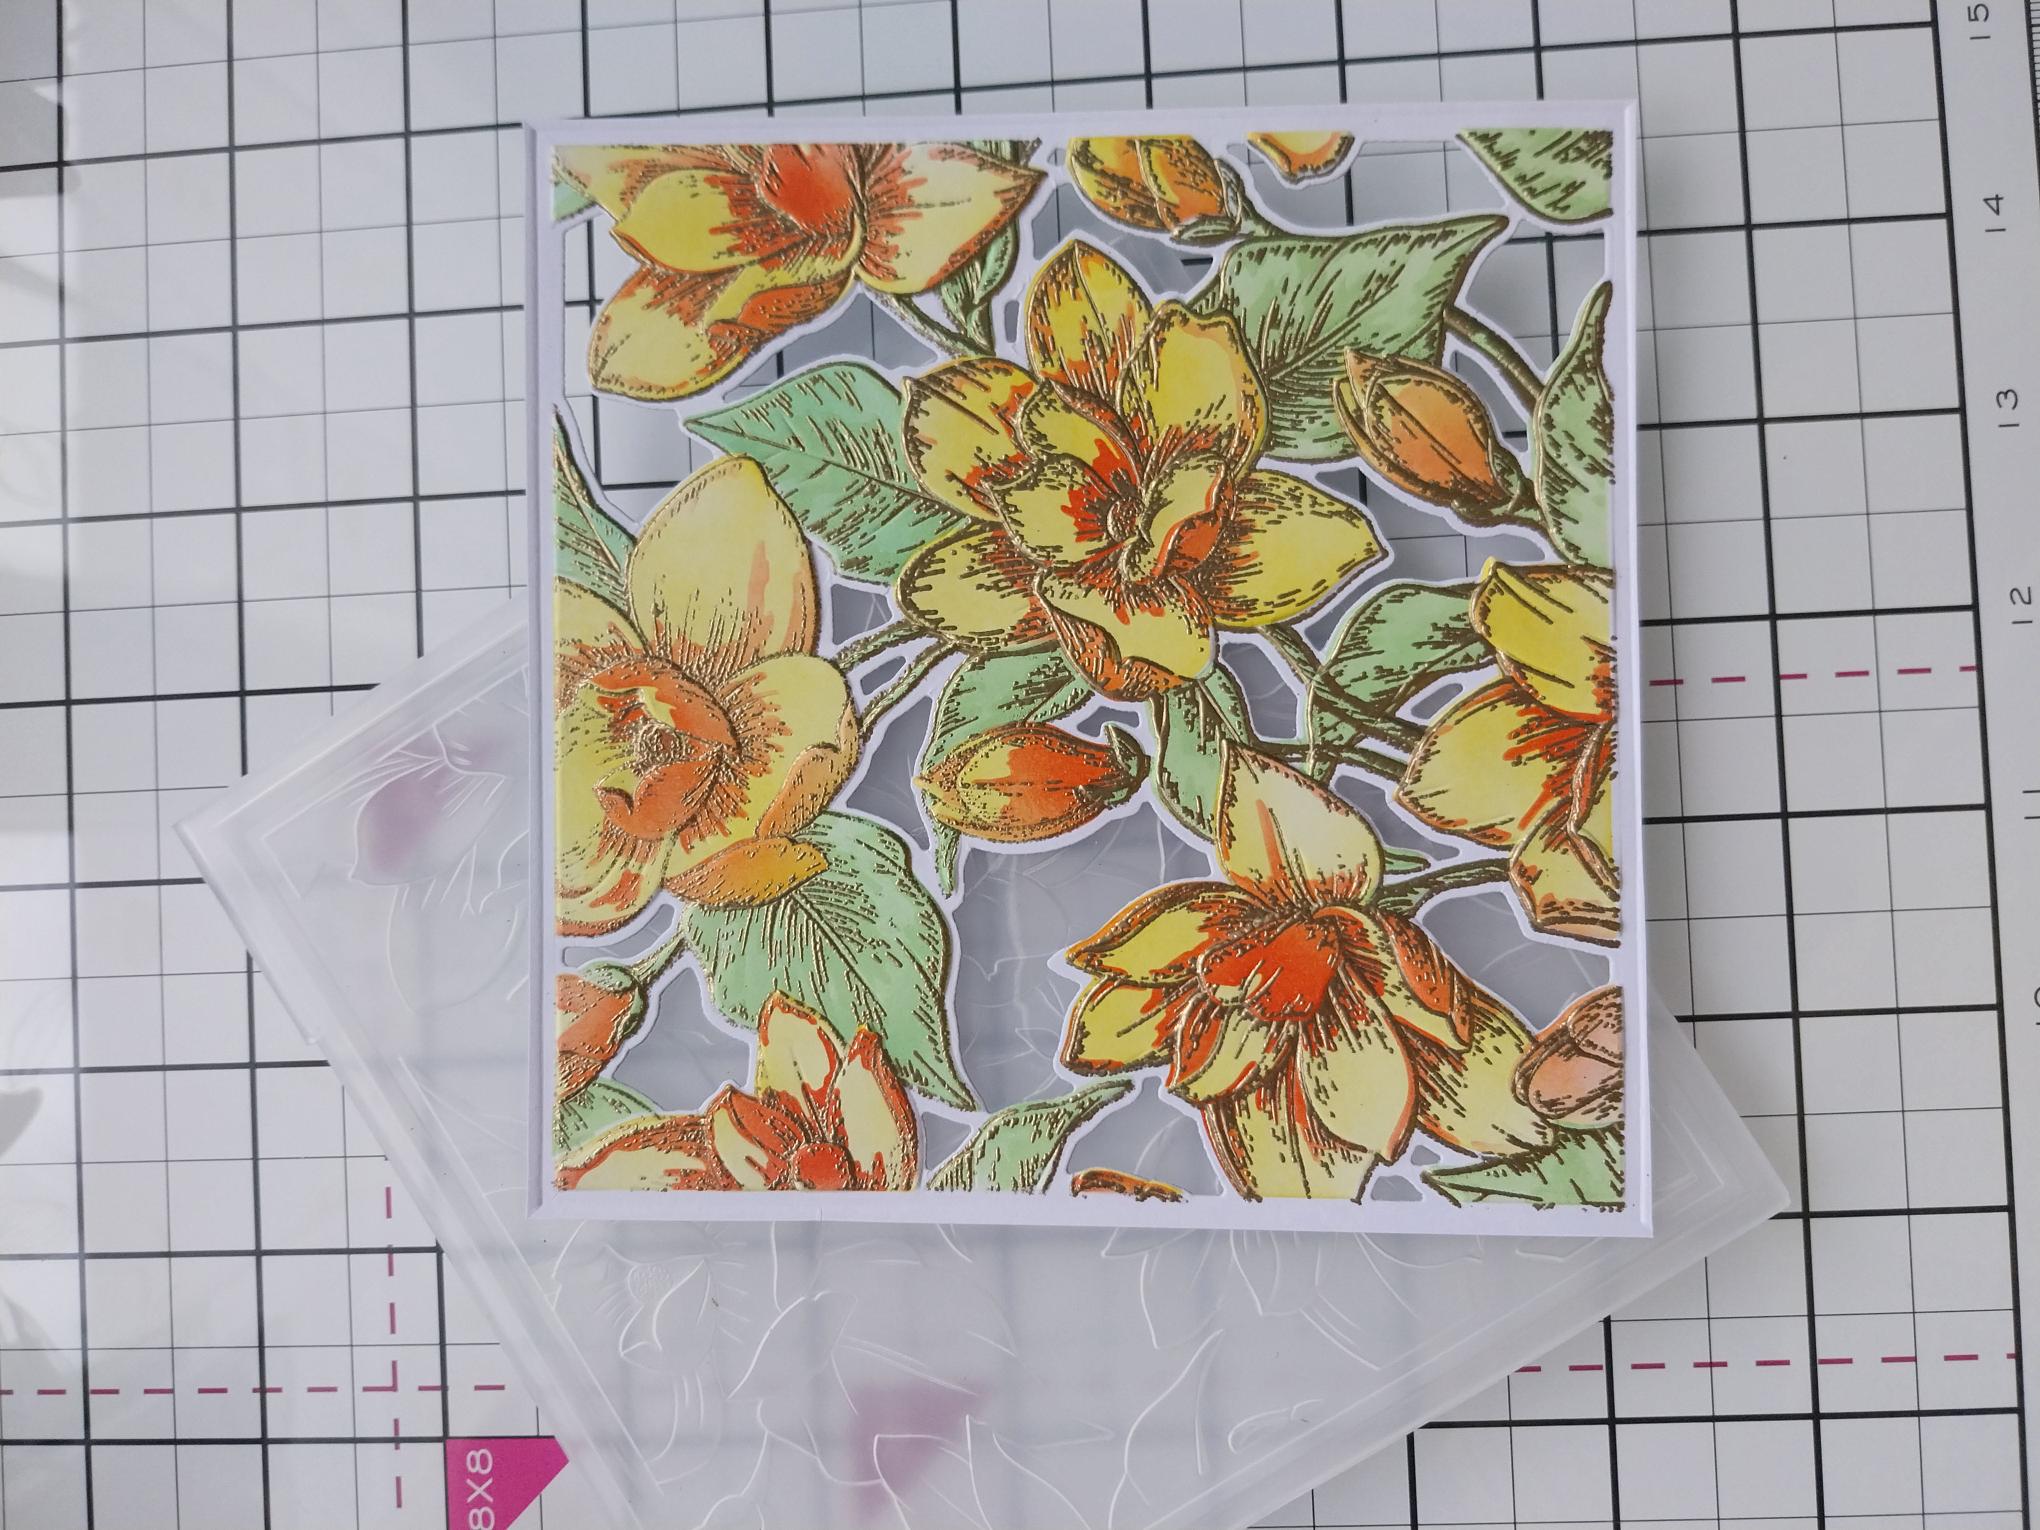
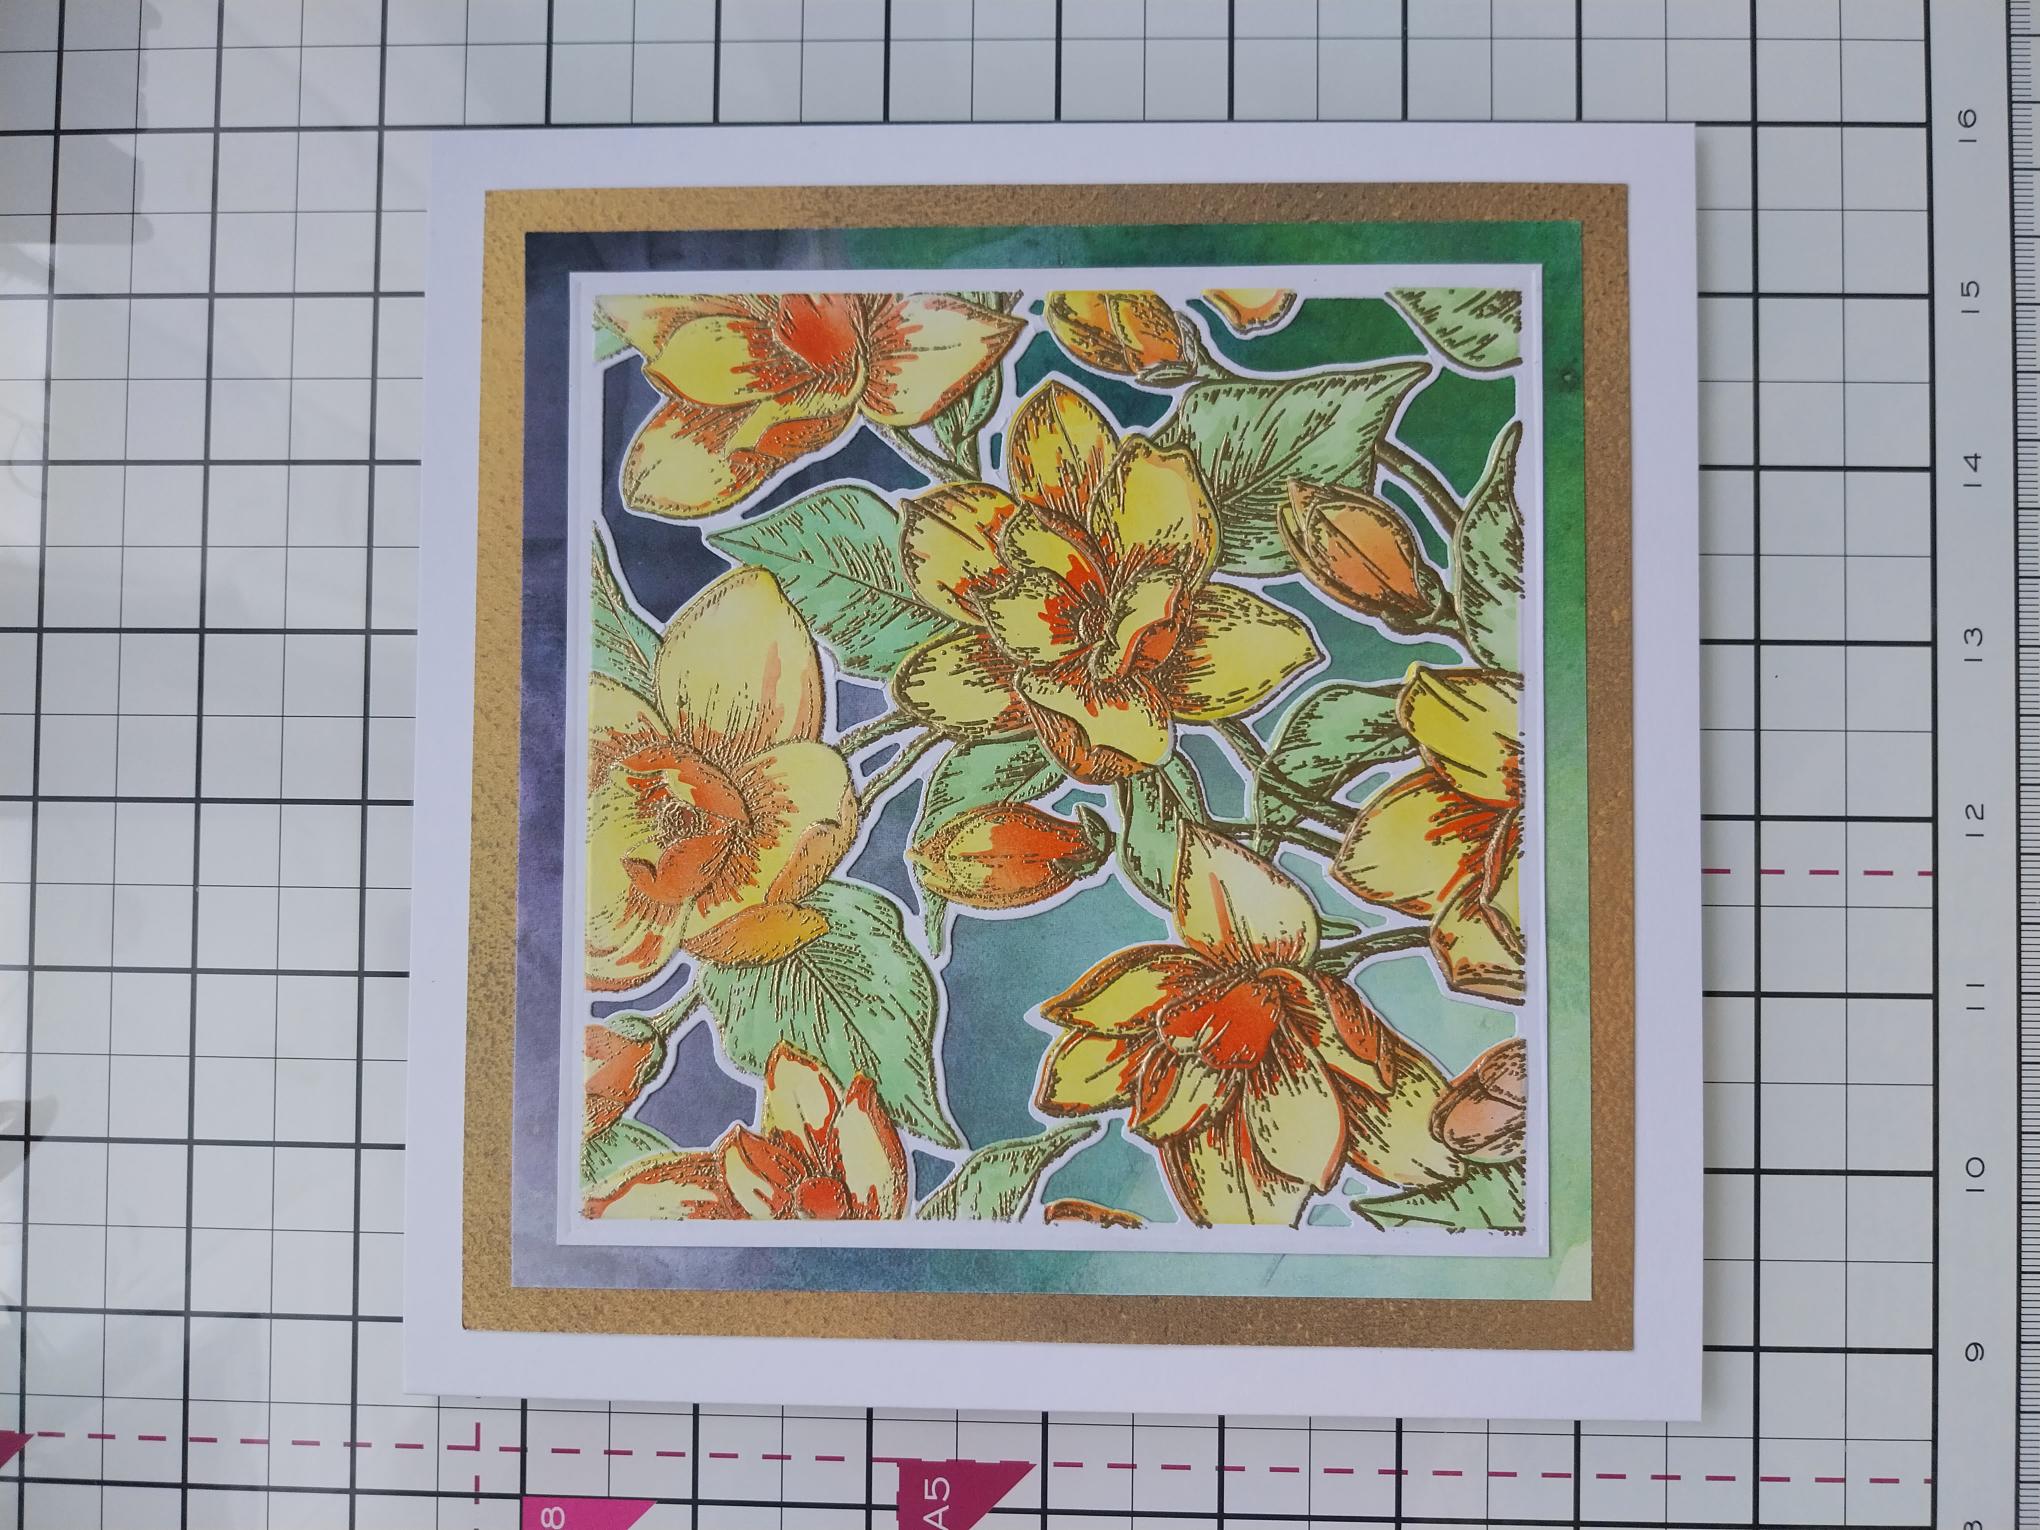
Place stencil 1 from the Magnolia Garden Collection, on top of the 6" square white card and blend the Sherbet through the stencil, with your blending tool. Line up stencil 2 and blend with the Bittersweet. Having lined up stencil 3, lightly blend with the Limeade and finally apply Limeade but with more pressure, through stencil 4. Use your heat tool to thoroughly dry the ink, before proceeding to the next step. |
|
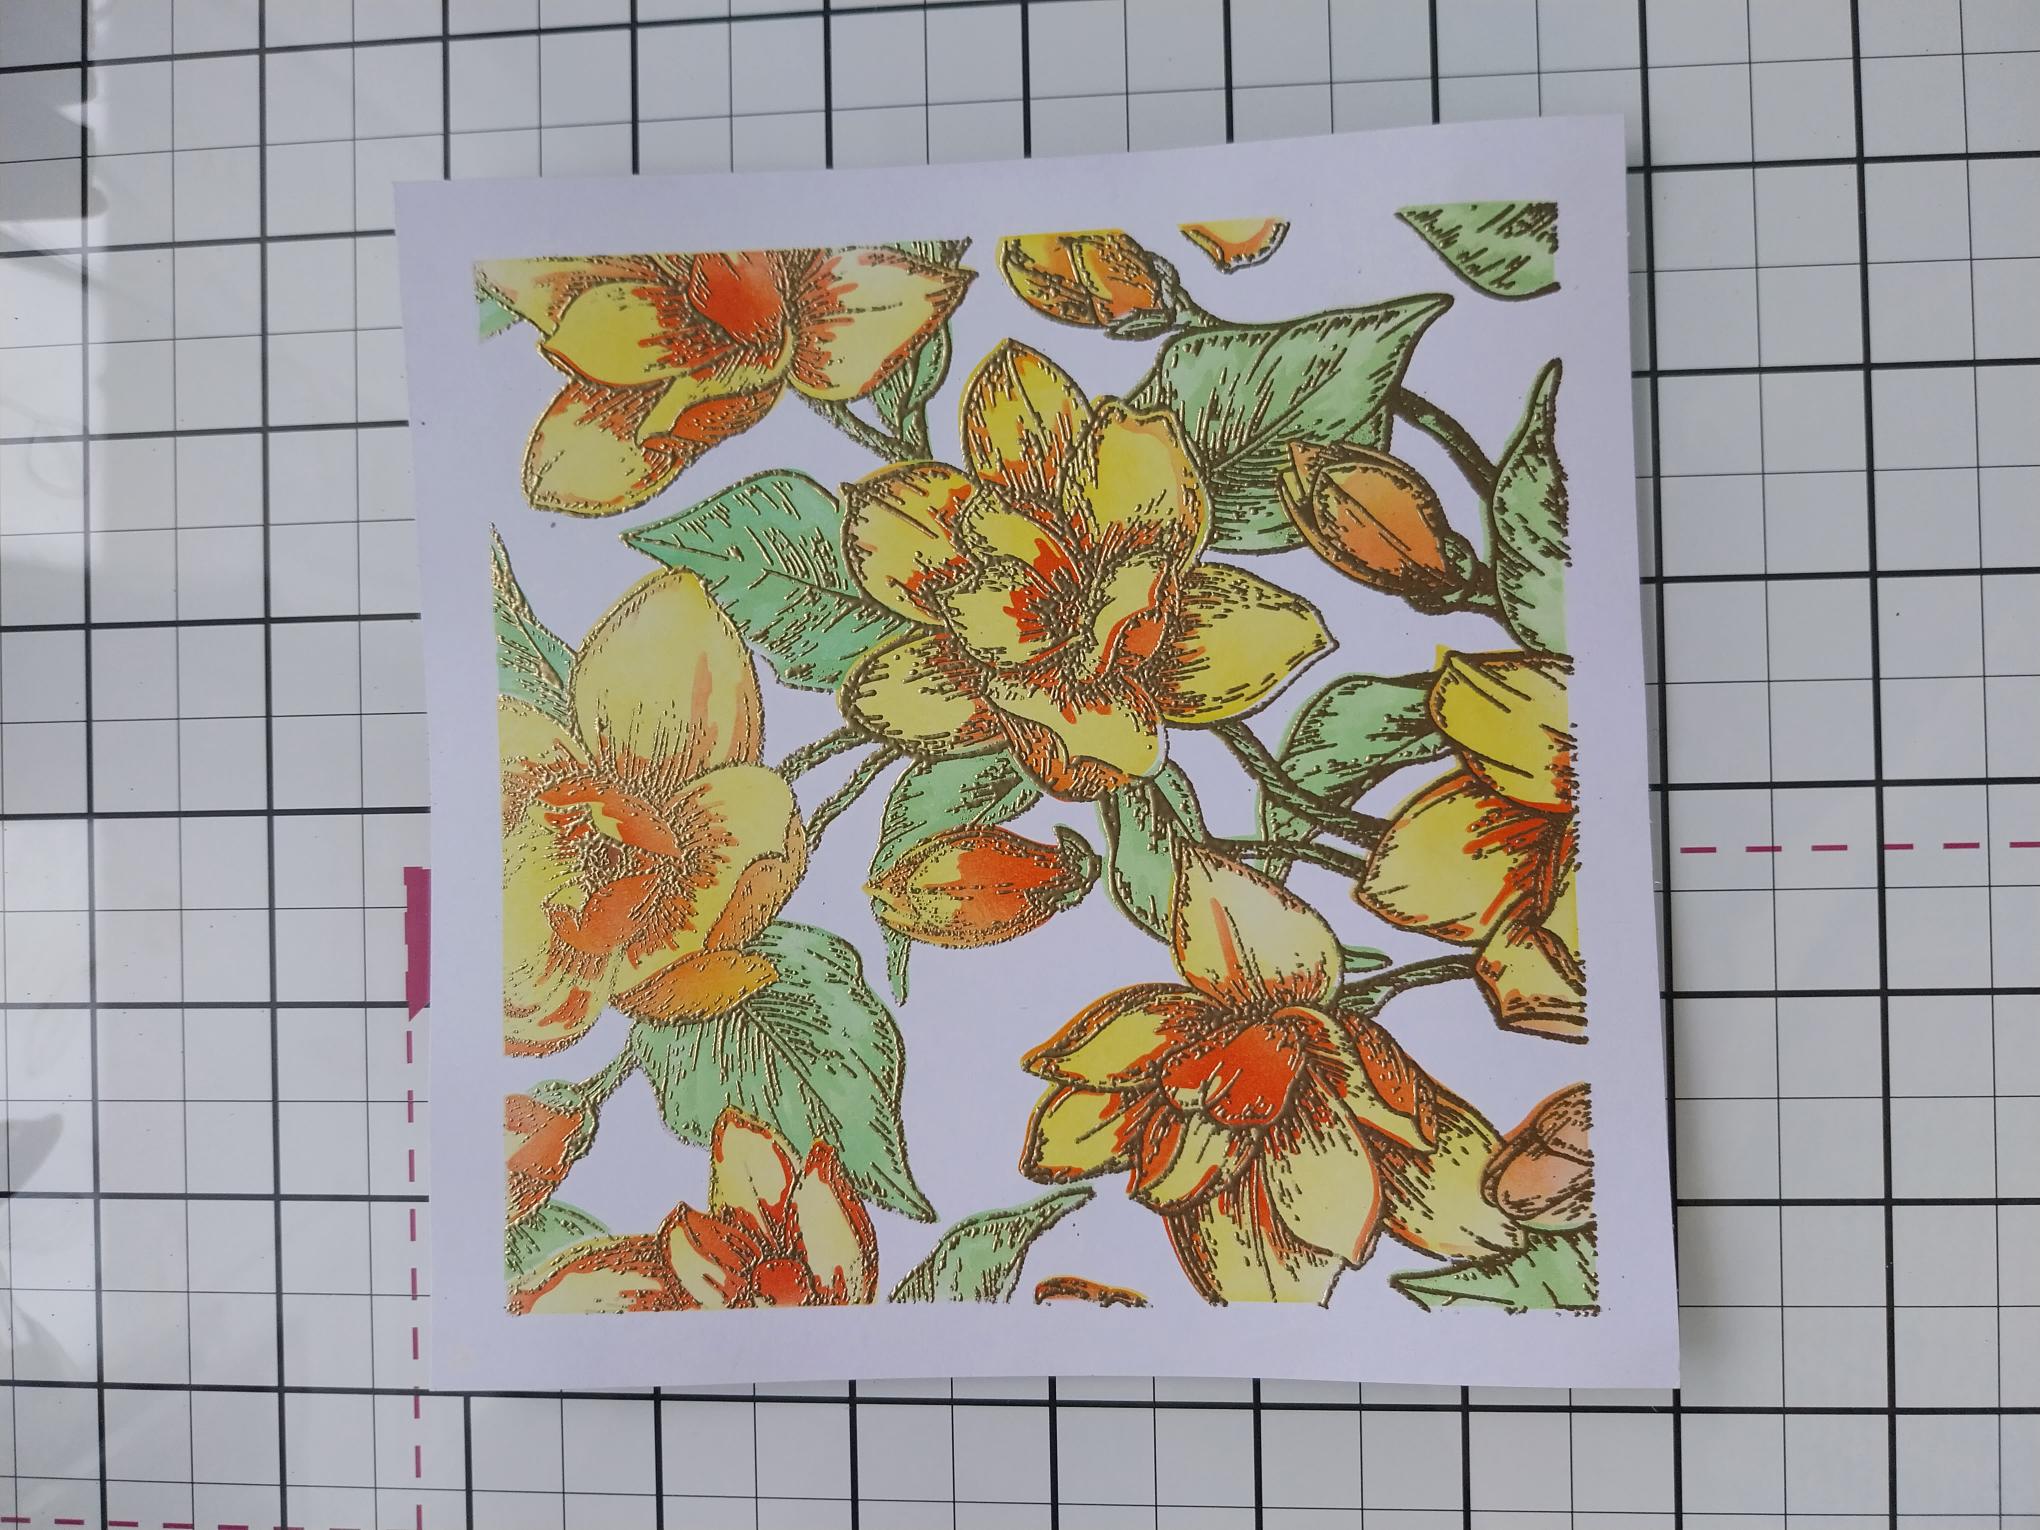
Wipe your anti-static bag over your stencilled frame, before inking up the first stamp, from the Collection, with the WOW sticky embossing ink. Line up and stamp in position, then repeat with the second stamp. Cover your stamped image with the WOW Gold embossing powder, decanting any excess powder back in the tub. Get your heat tool hot before heat setting the powder. Move your heat tool as soon as the powder starts to turn, to avoid warping your card or burning the powder. |
|
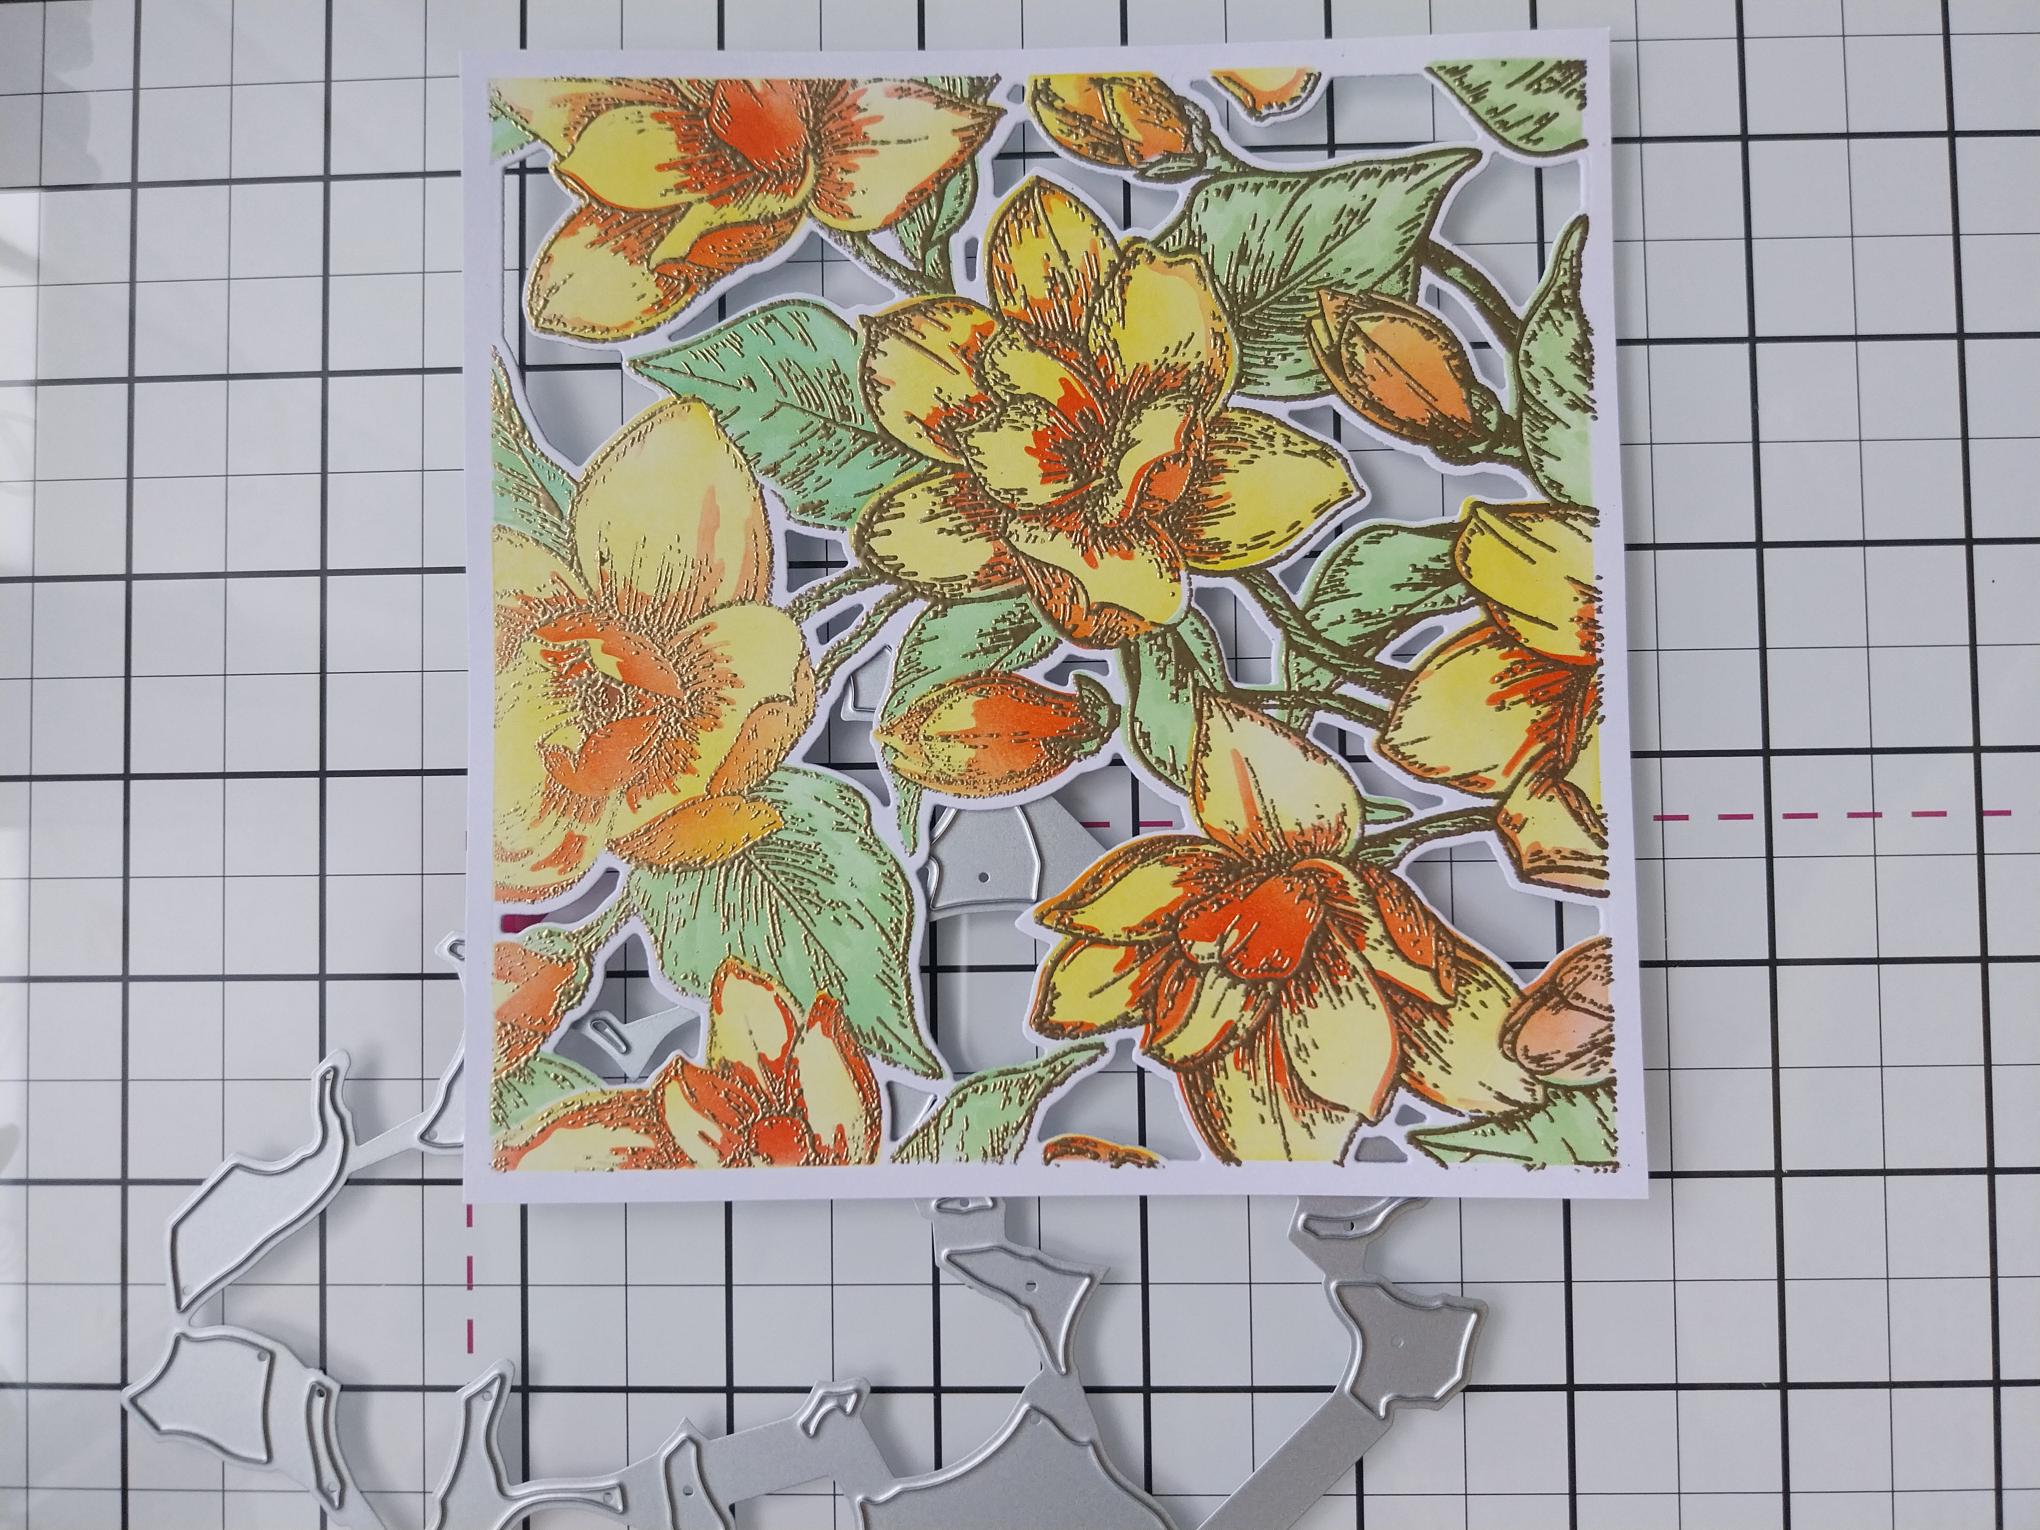
Trim your frame down to 5 1/2" square, before using the coordinating die to cut it out. |
|
Line up your die cut frame, inside the coordinating embossing folder and run it through your machine. |
|
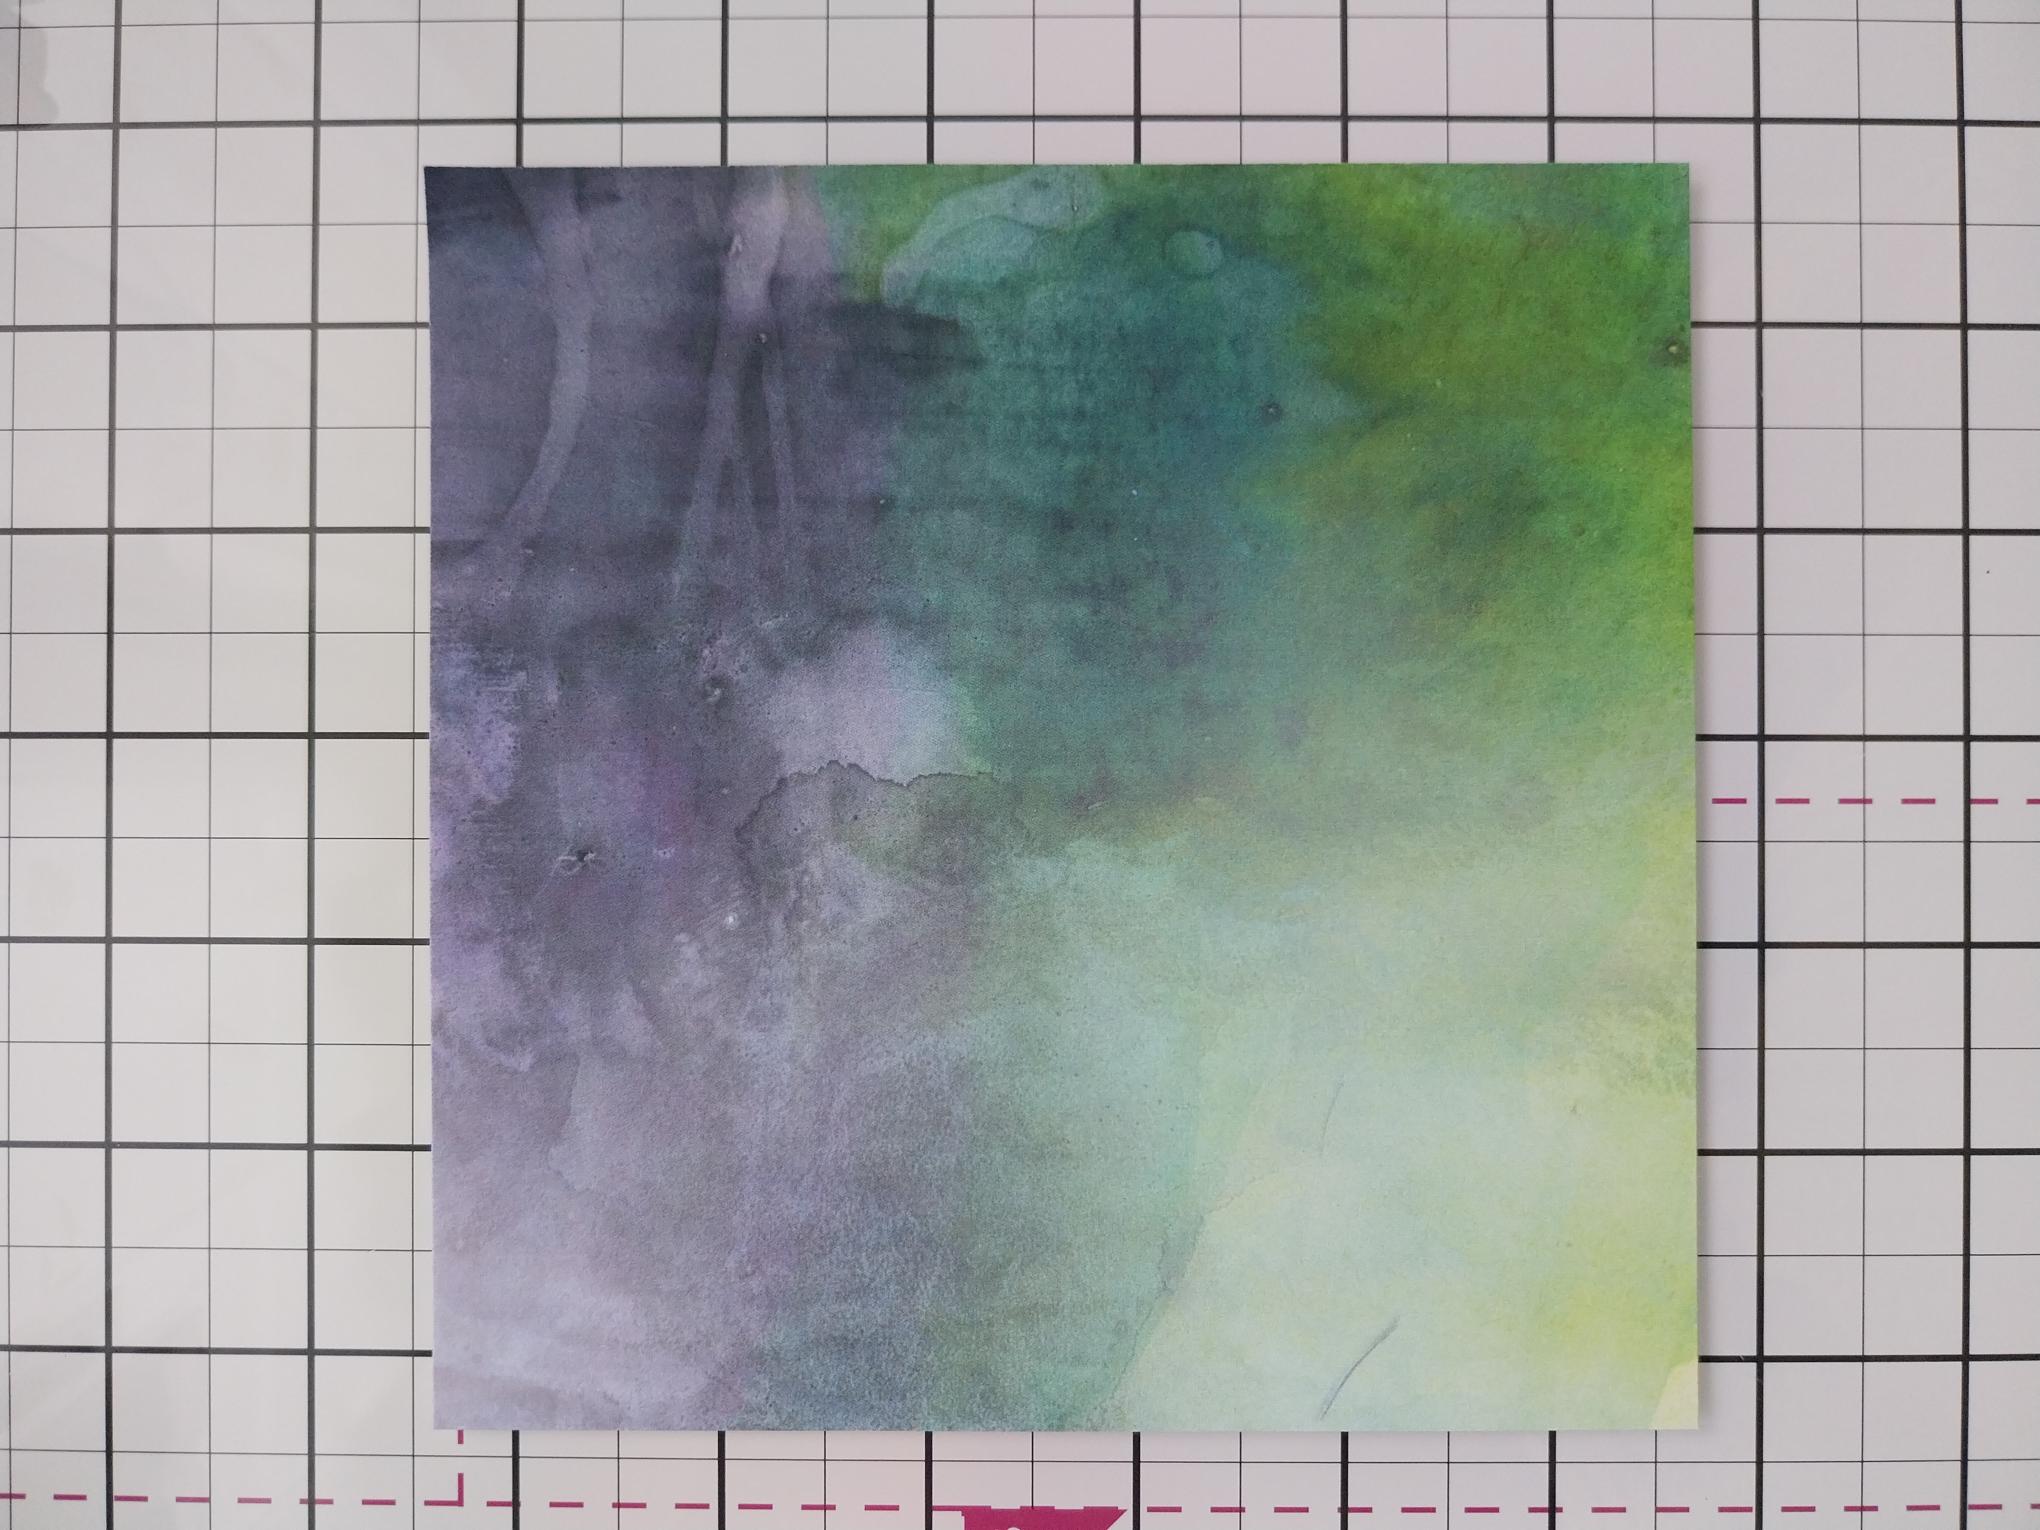
Remove this decorative sheet, from the Watercolour Rainbow paper pack and trim to 6 x 6". |
|
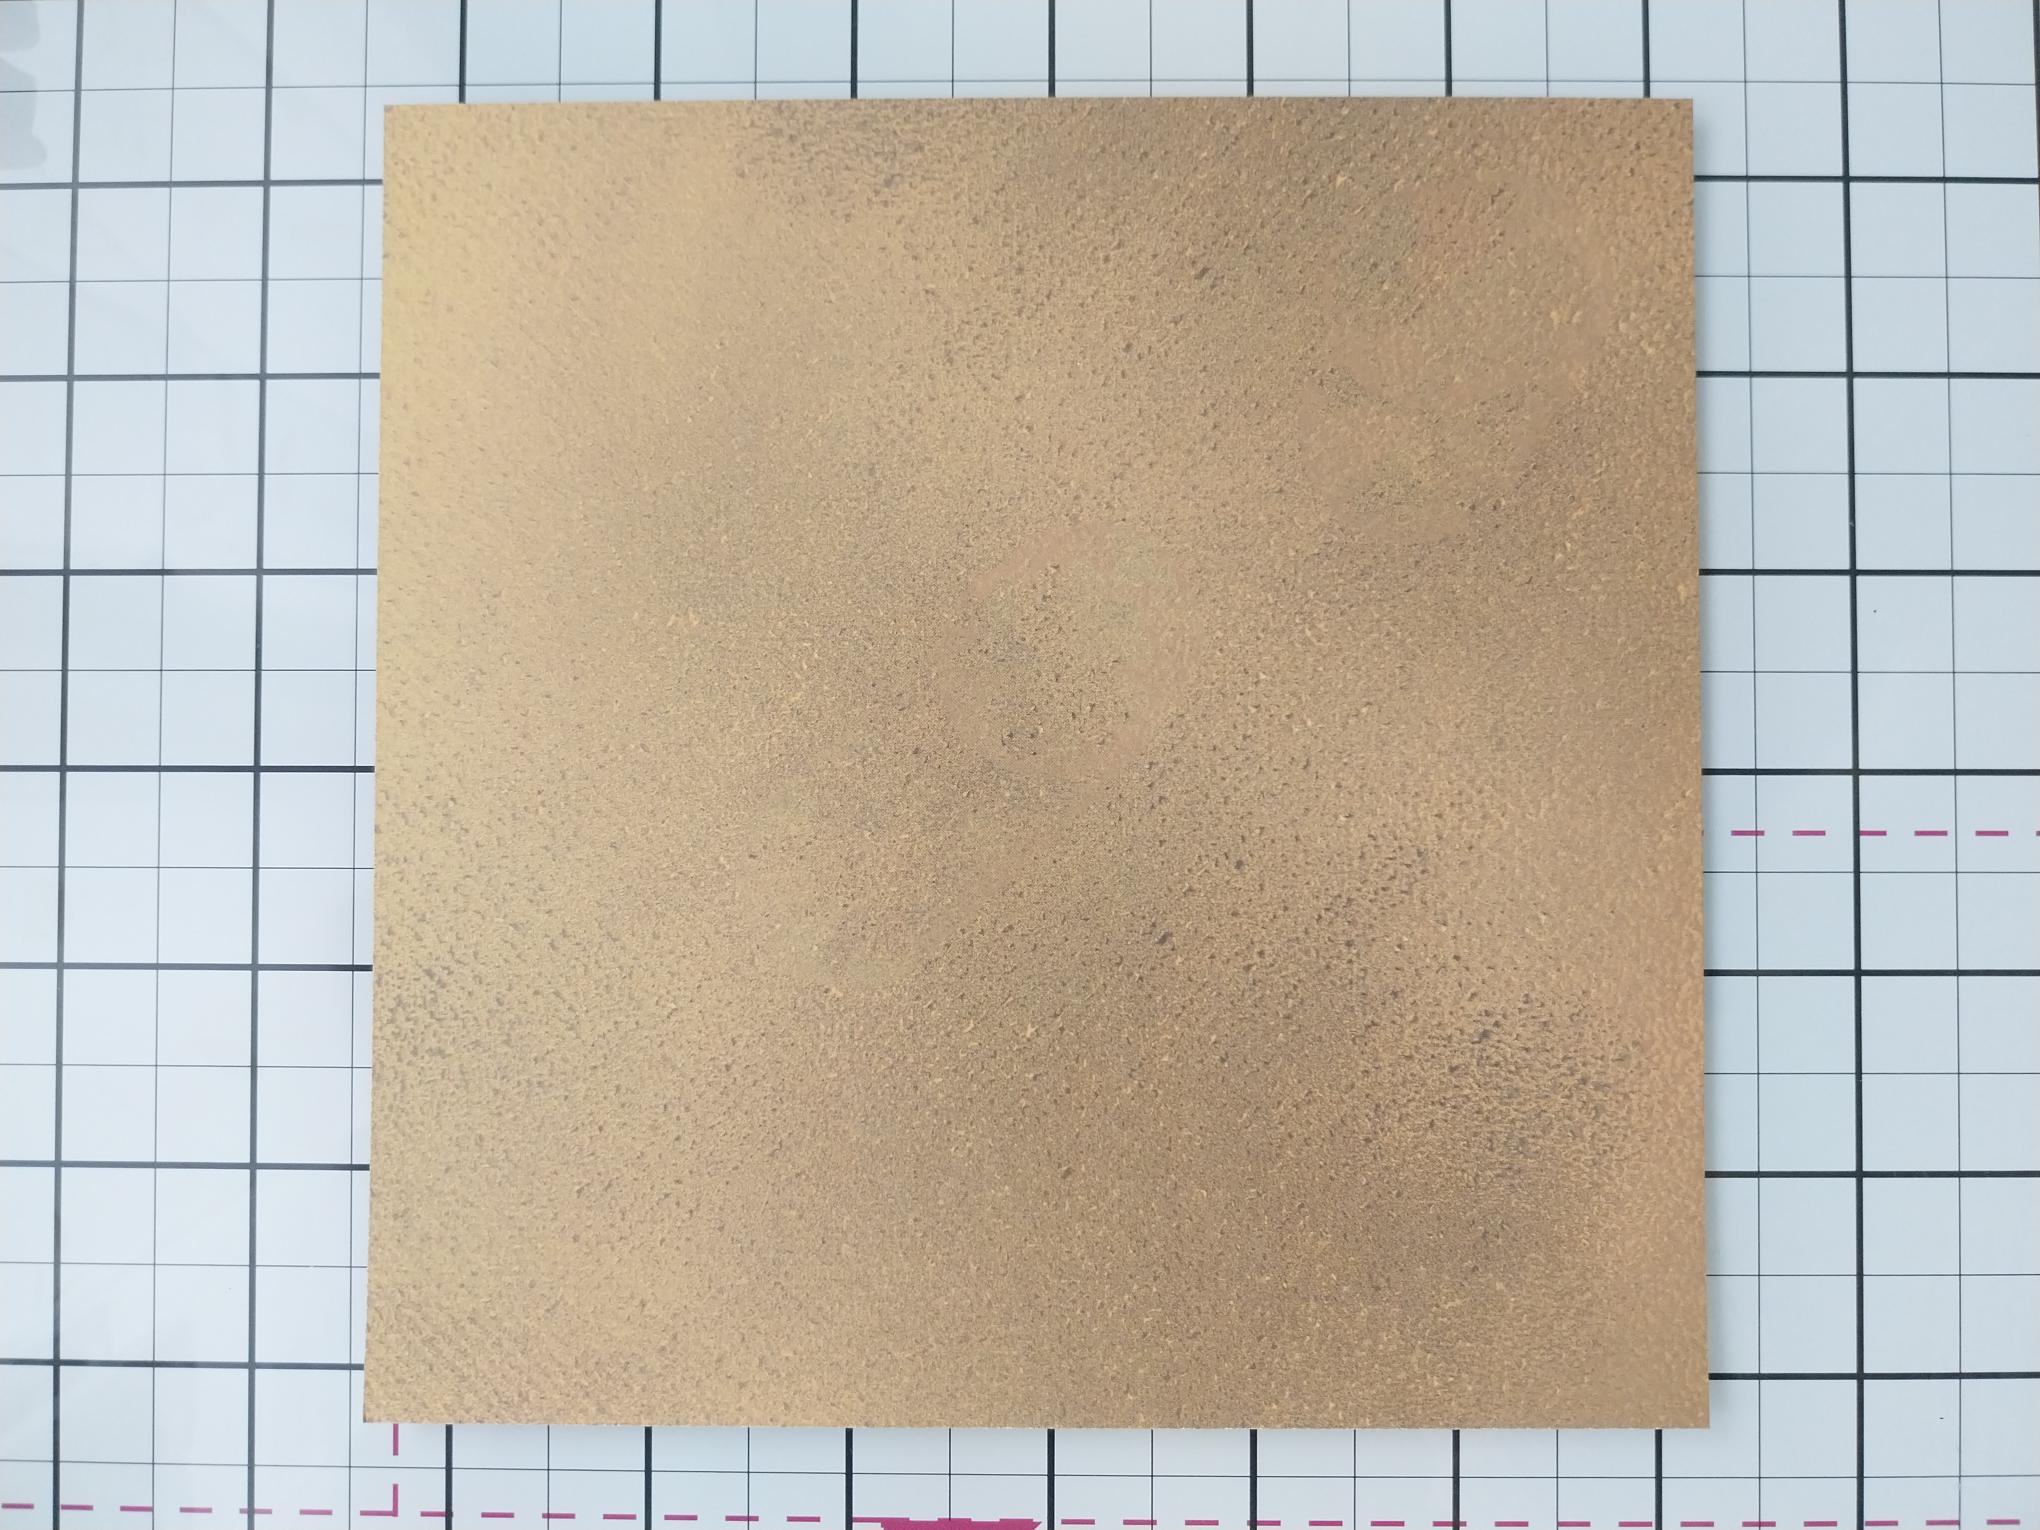
Remove this decorative paper, from the Sunshine In My Pocket Texture paper pack and trim to 6 1/2 " square. Set the remaining paper to one side. |
|
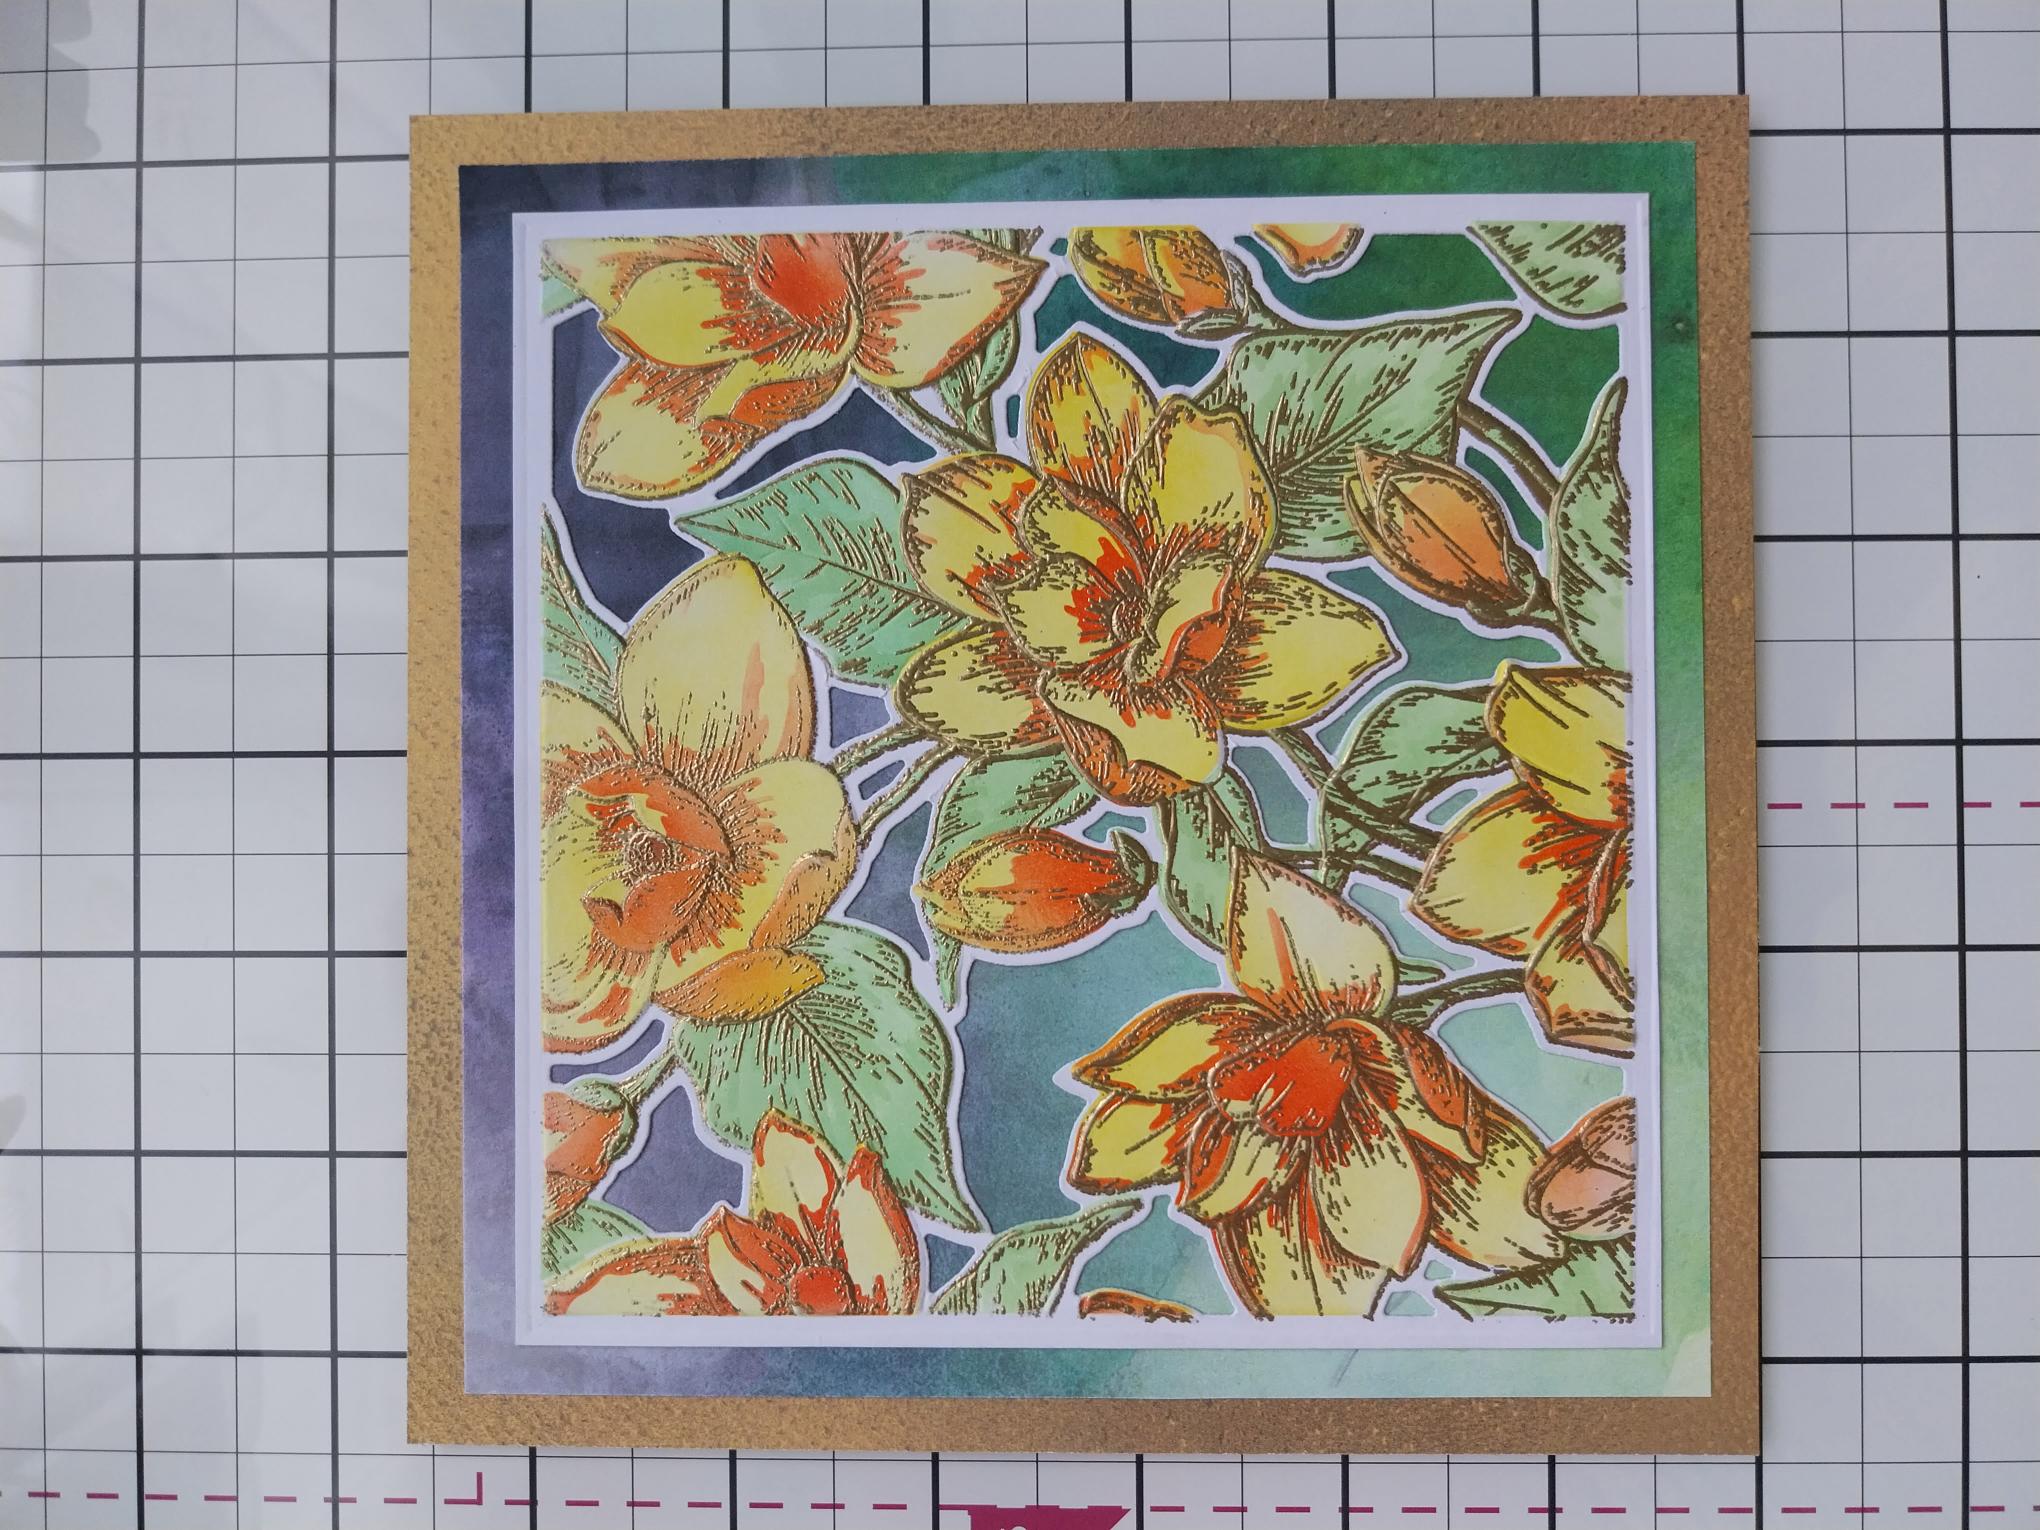
Adhere your die cut frame on top of the watercolour rainbow paper and then on to the texure paper. |
|
Adhere this to the front of your white card blank and set to one side. |
|
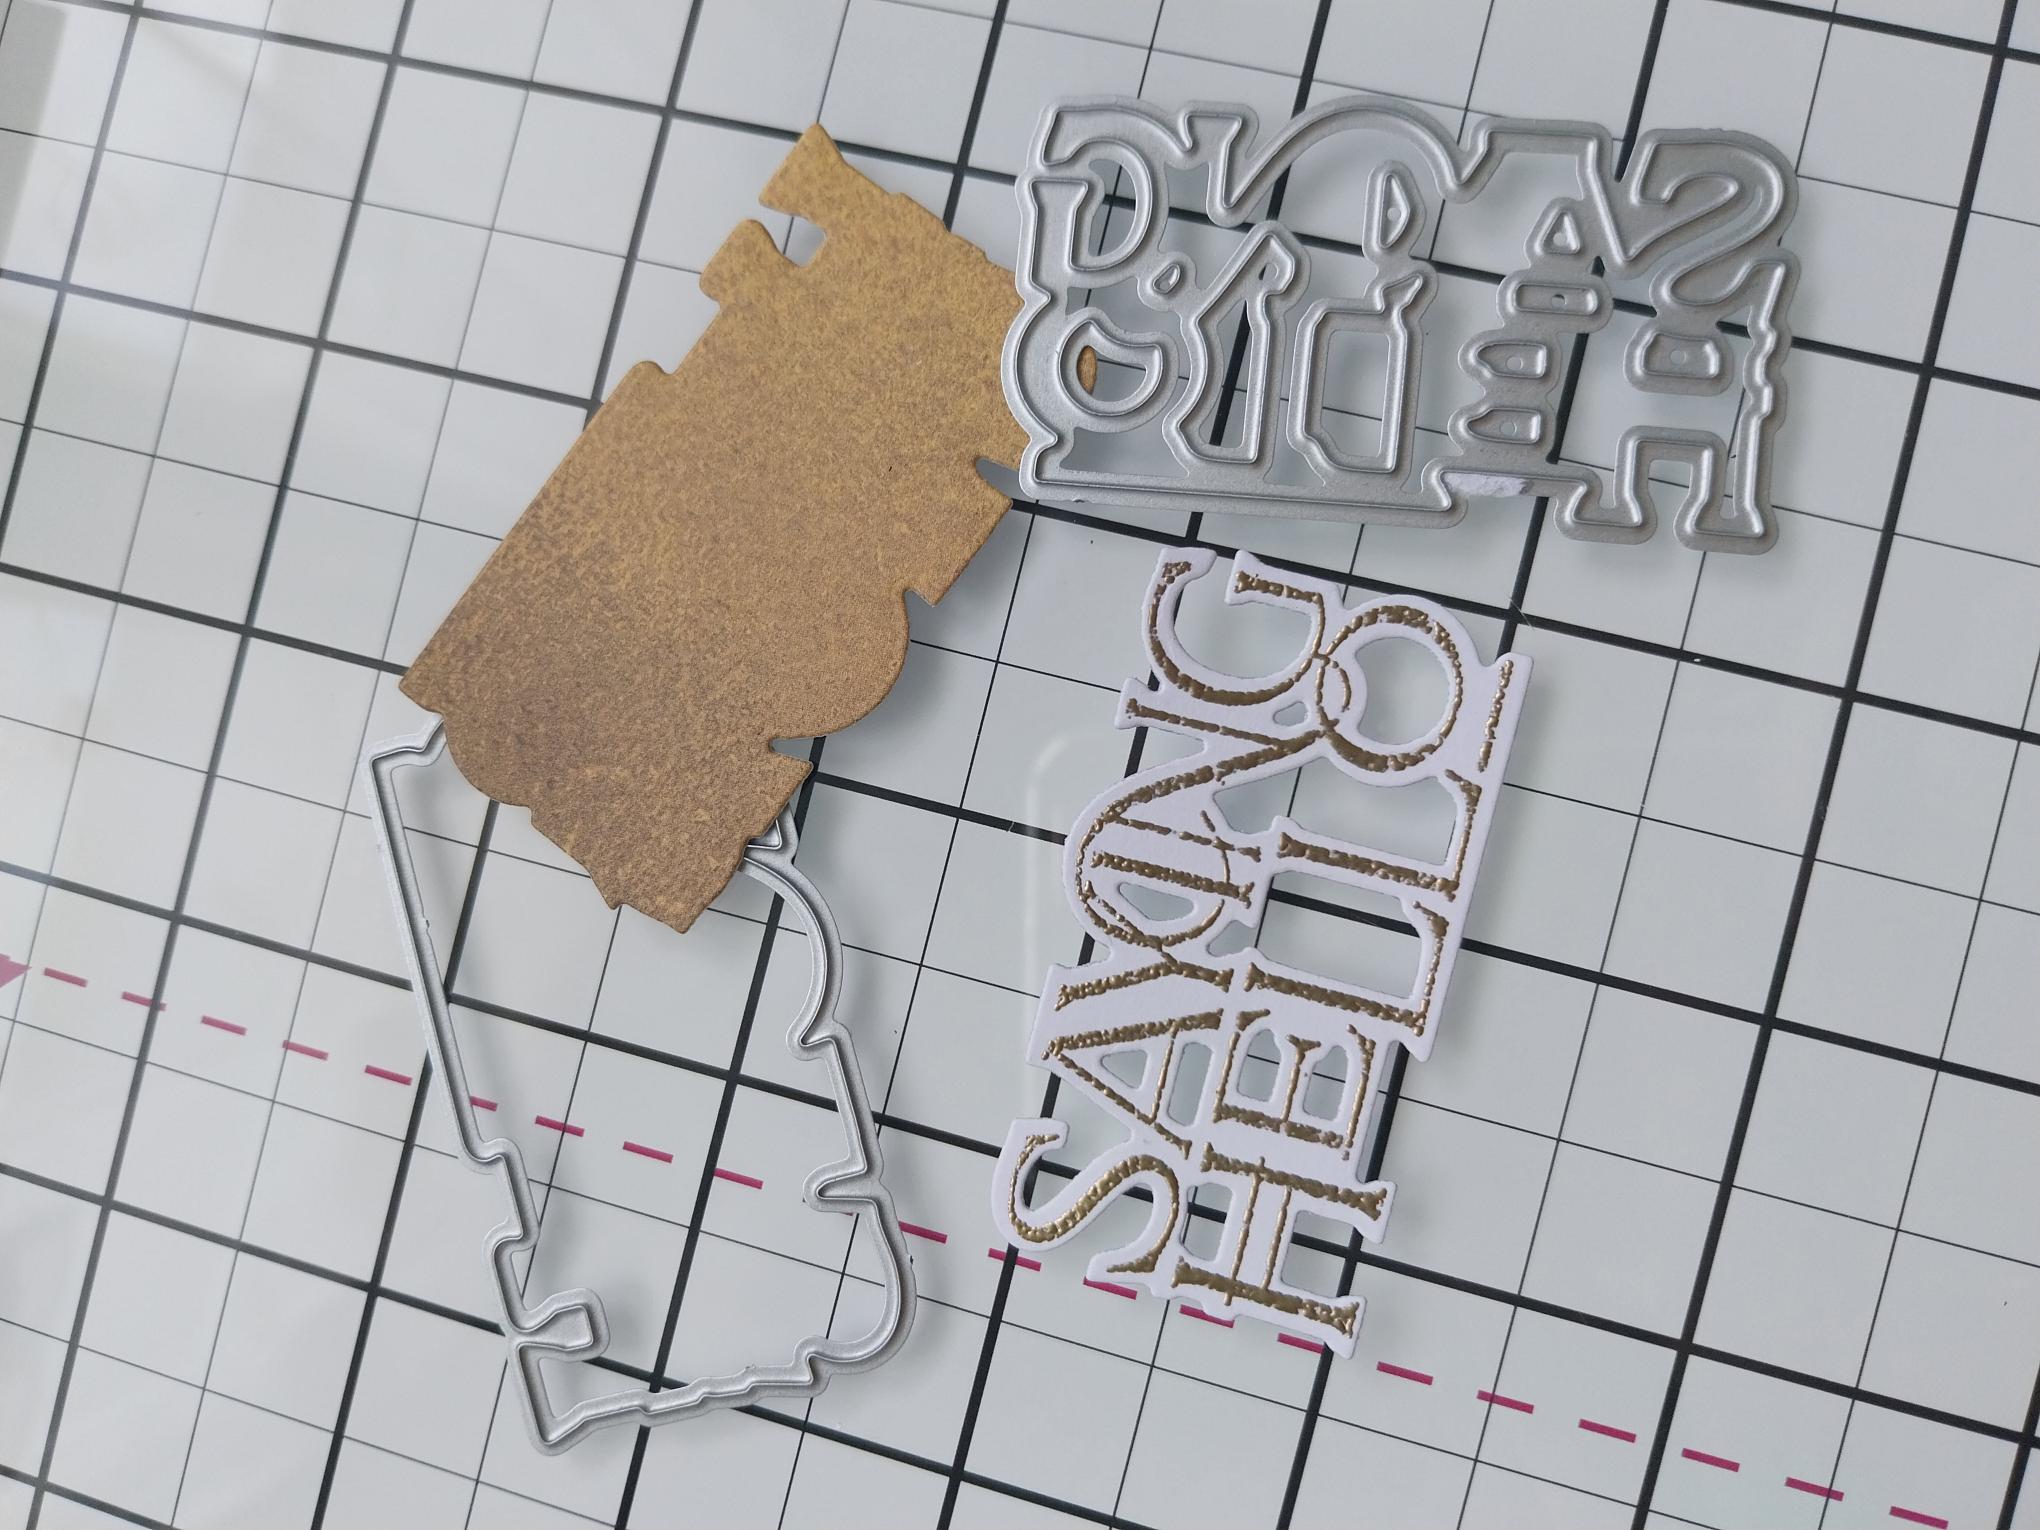
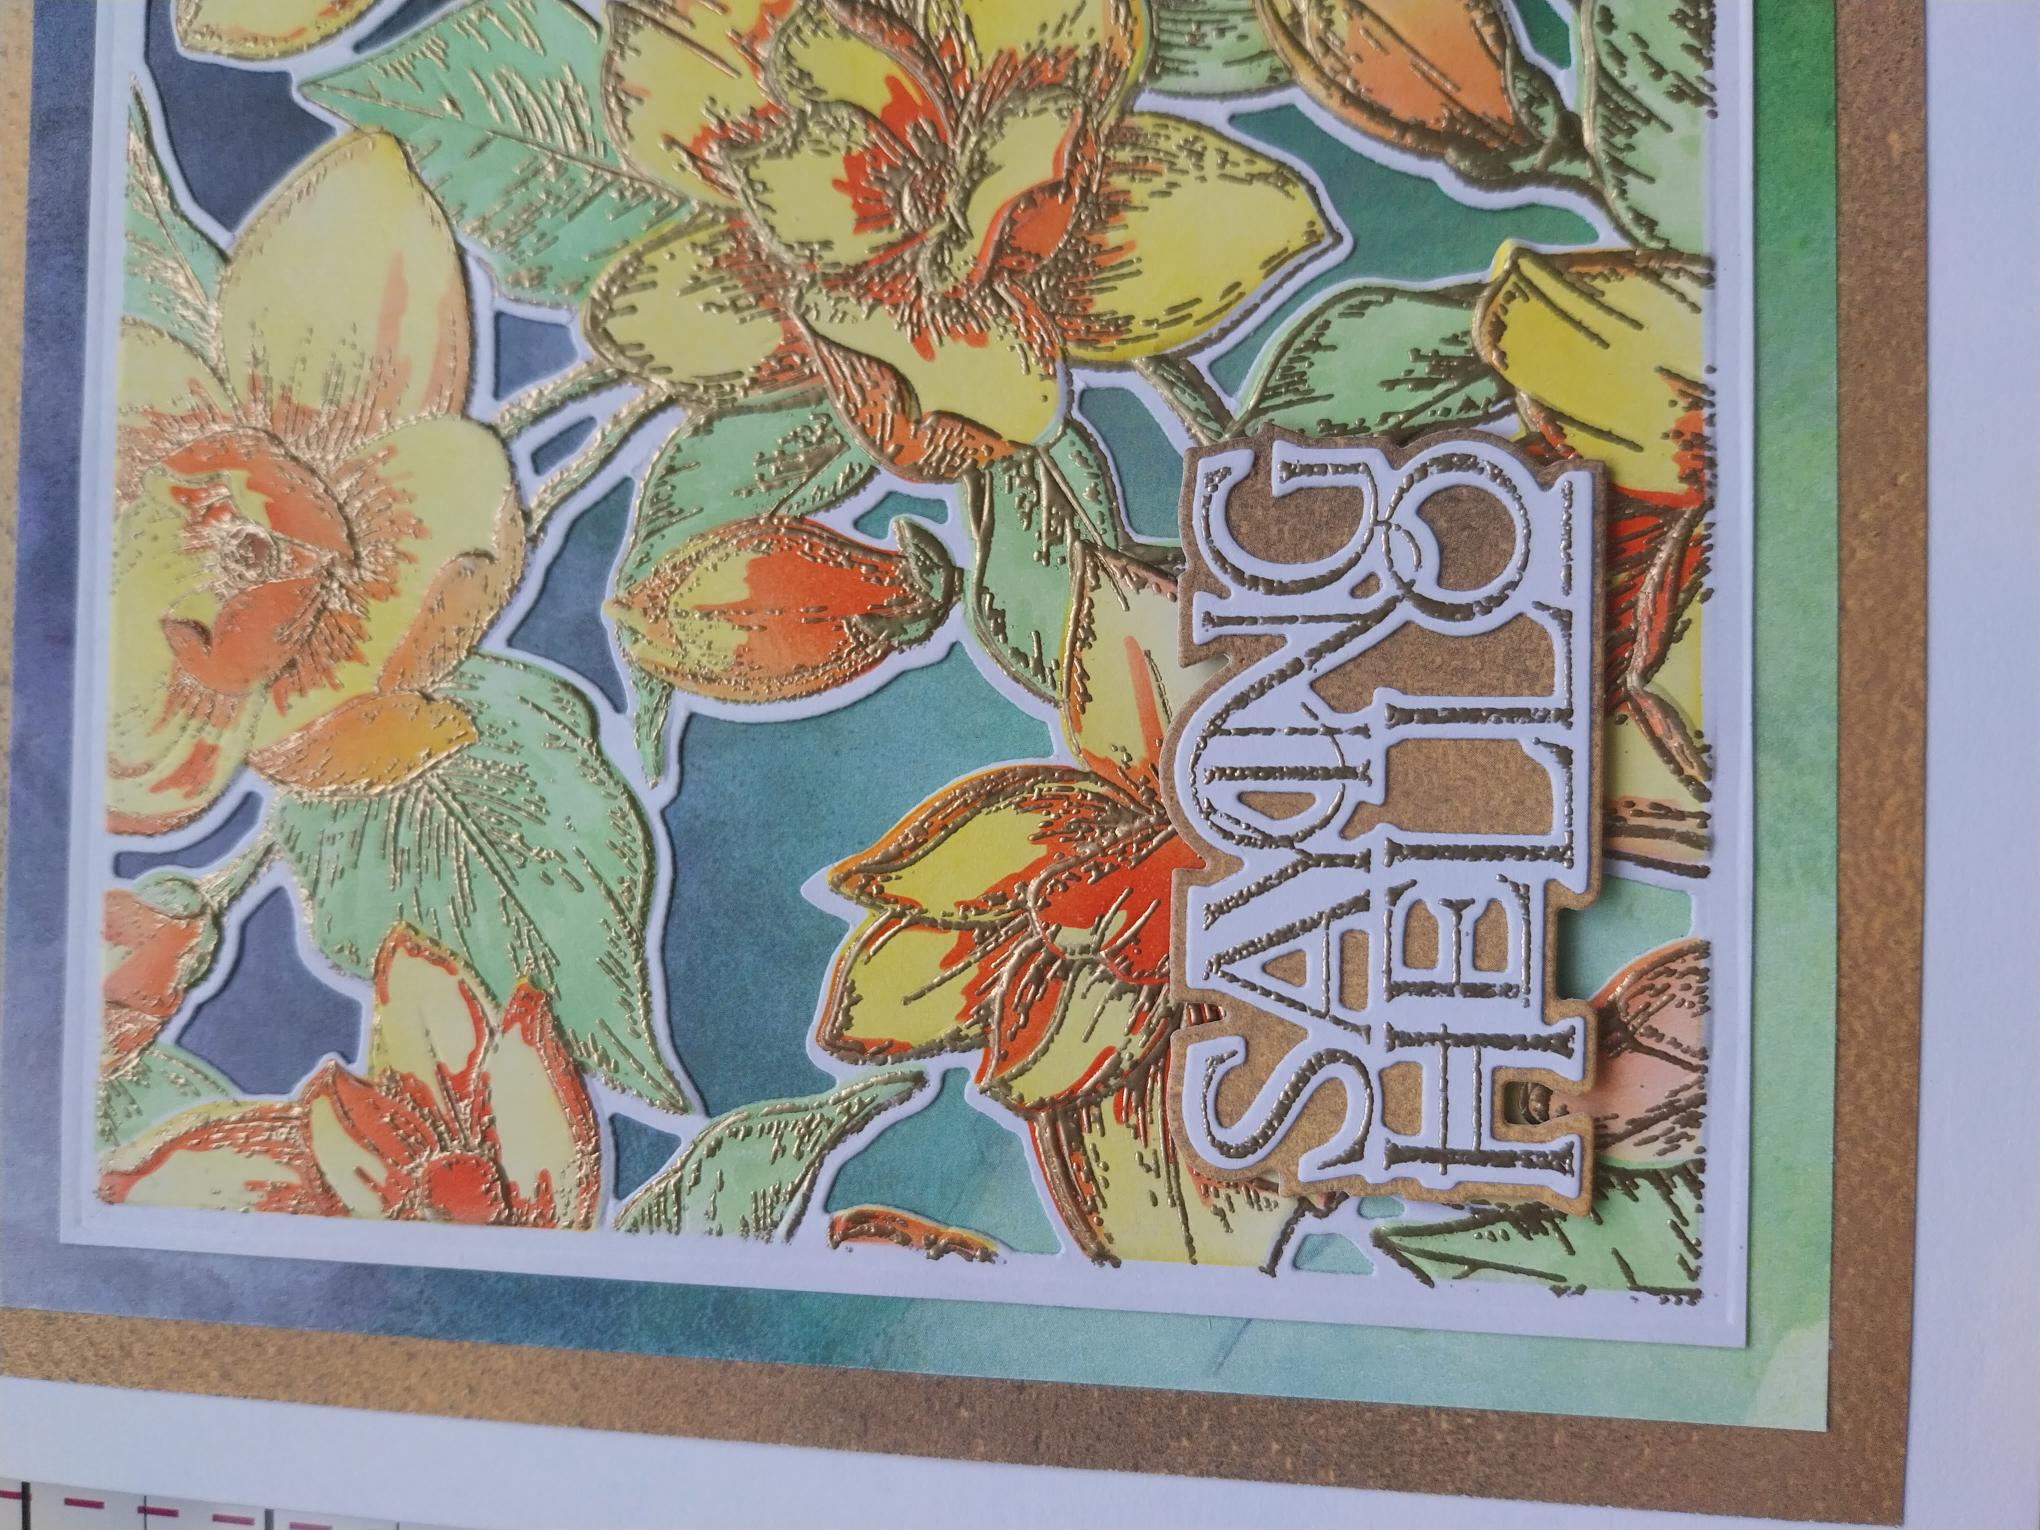
Cut a piece of white card, big enough to stamp the Saying Hello sentiment on to. Wipe it over with your anti-static bag before inking up the stamp with the WOW sticky embossing ink. Apply the gold embossing powder and heat set as before. Place the coordinating die over your embossed sentiment and place on your die cutting plates. Place the layering sentiment die on the piece of the textured paper, set aside earlier and run both through your die cutting machine. |
|
Adhere the die cut sentiment on to the die cut mat, then adhere with foam pads to the bottom left of your card. |