Give your friends $10 off their first order!
Refer a FRIEND


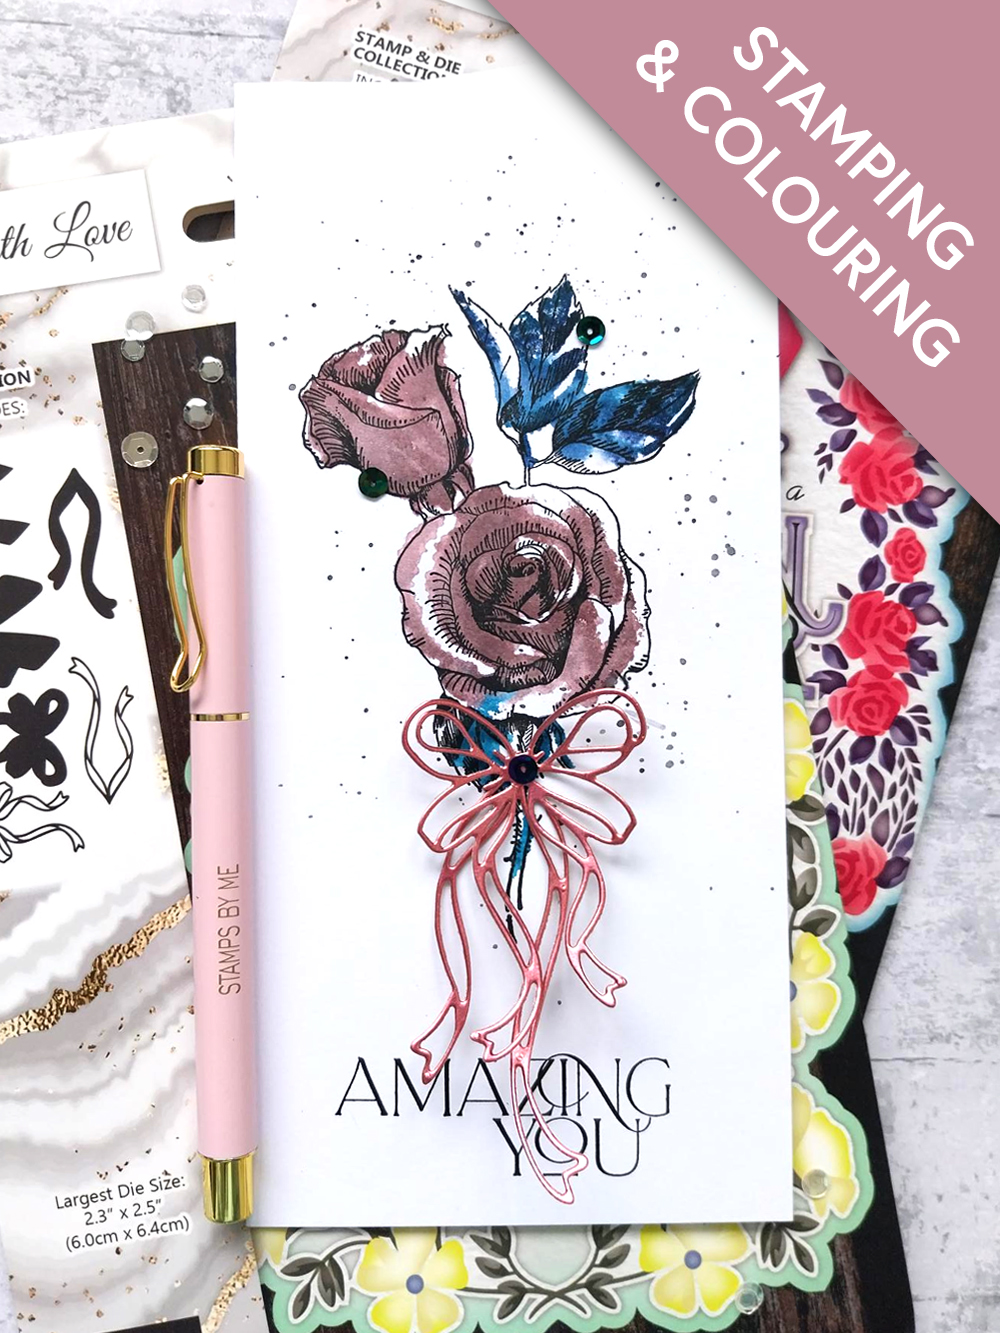
WHAT YOU WILL NEED:
White DL card blank 8 1/4 x 4"
SBM Premium A4 Cardstock Blush Collection: Blush mirri card 8 x 3 3/4"
Tied With Love Die Collection
Saying Hello Stamp and Die Collection
Live Your Story Lamination Stamp Collection
SBM Hybrid Ink Pad: Midnight
SBM Premium Ink Pad: Heather, Tiffany
Water spray bottle
Paint brush
Sequins: Mermaid Lagoon
Gem pick up and pokey tool
Eureka 101 Watercolour Tablet
SBM Magnetic glass mat
Perfect Together Glue
Die Cutting machine
[click image to enlarge] 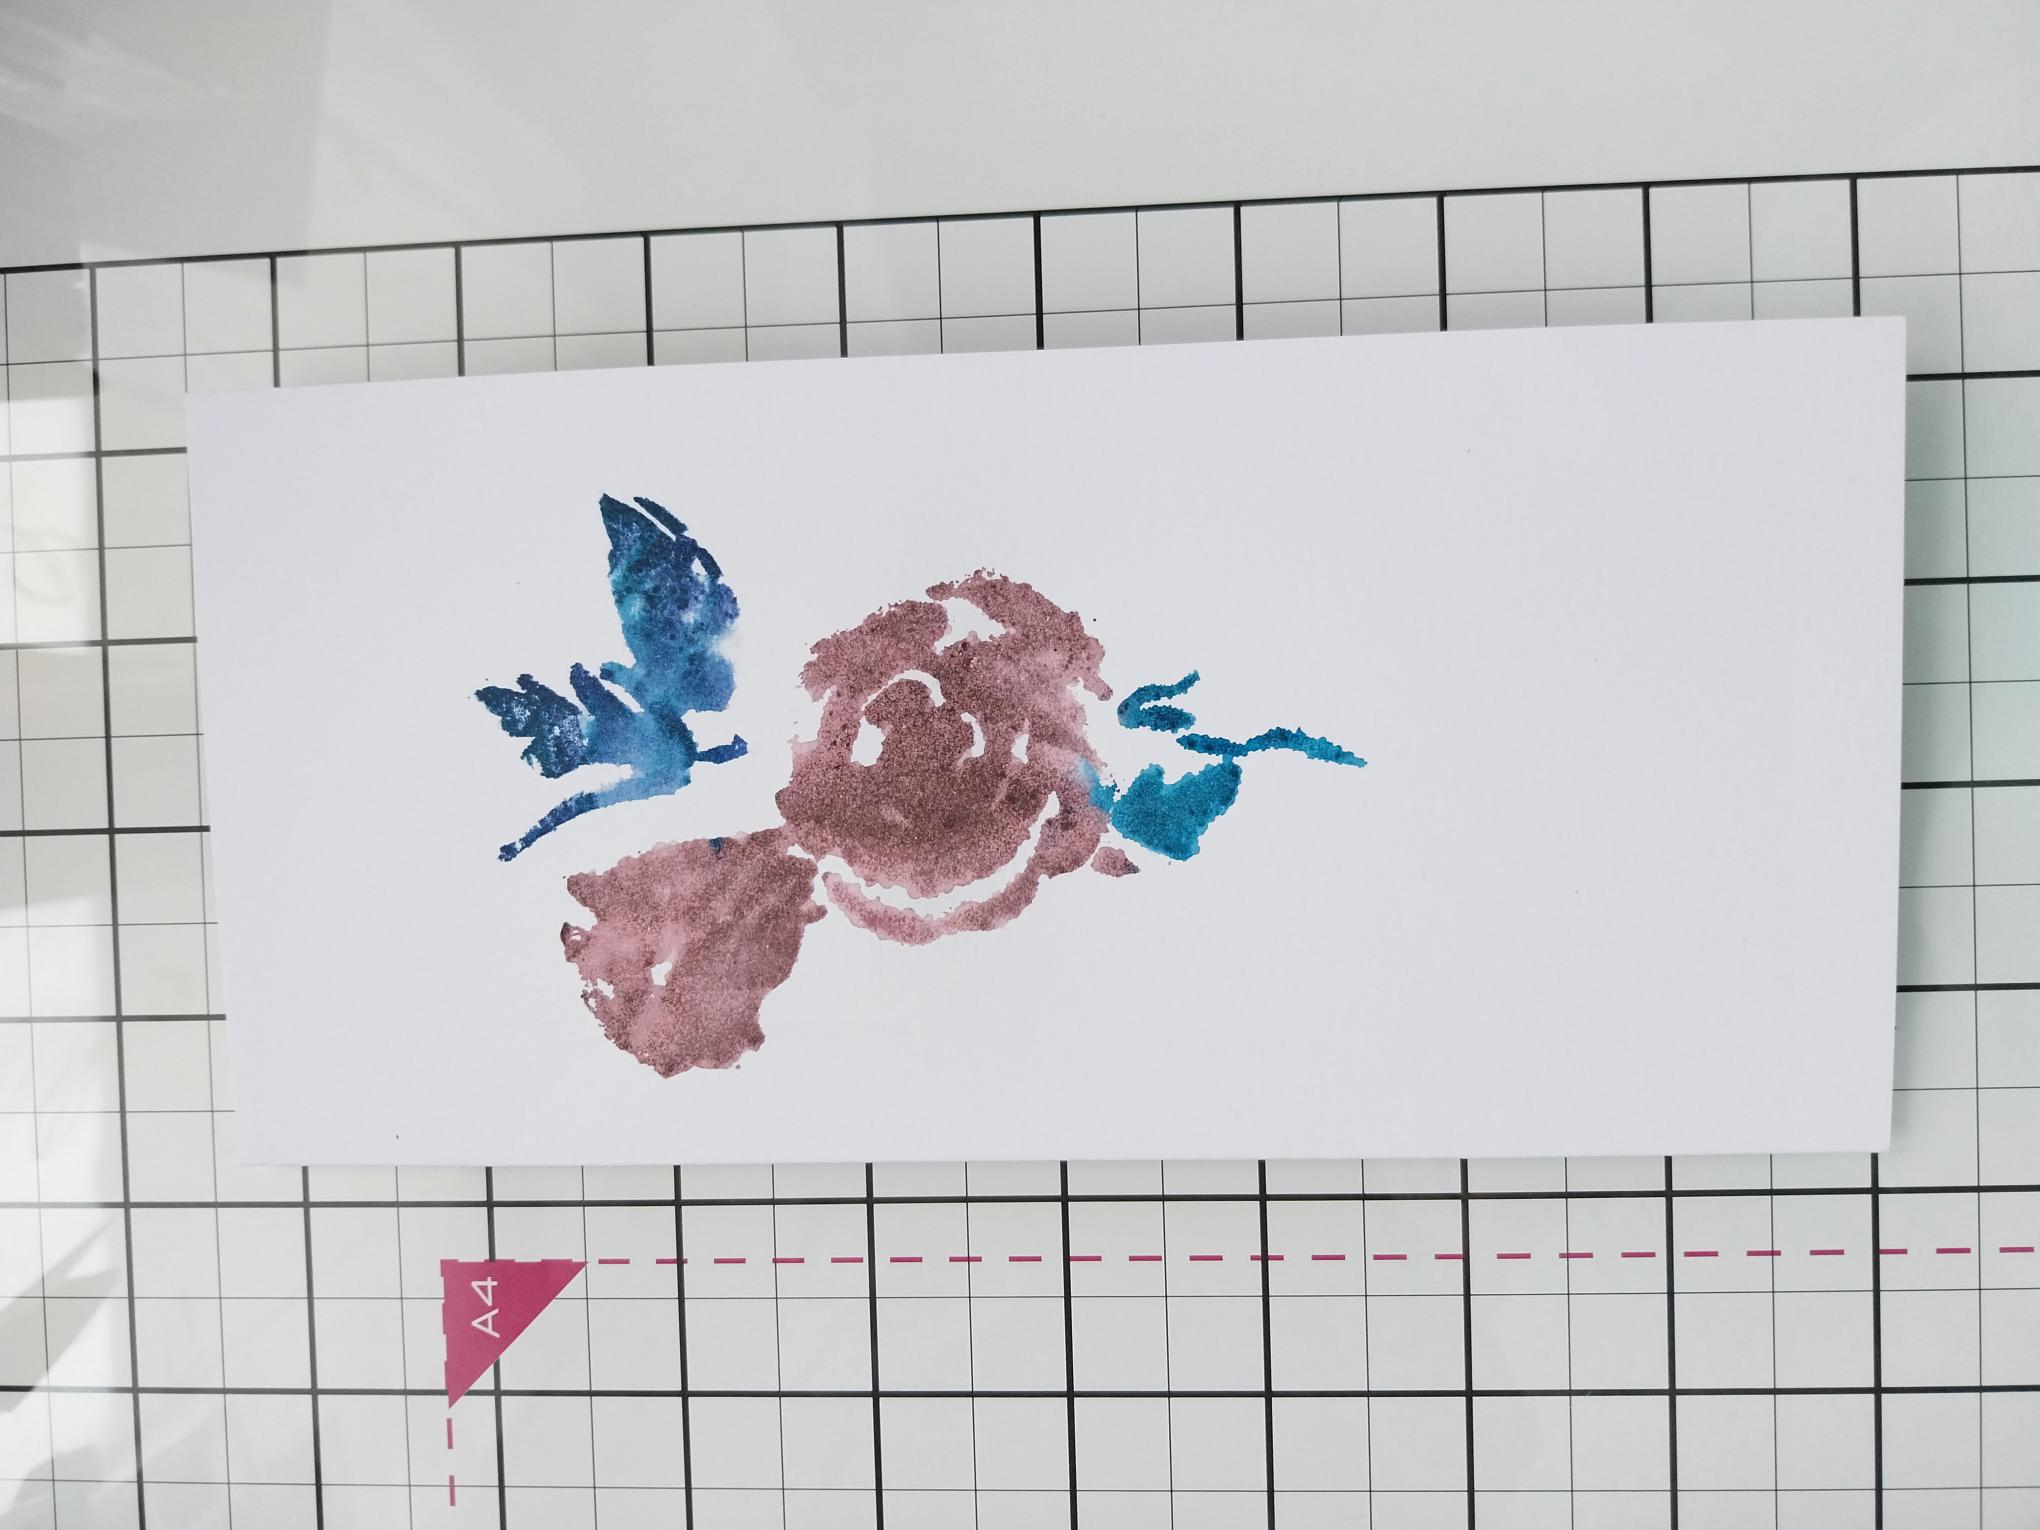
|
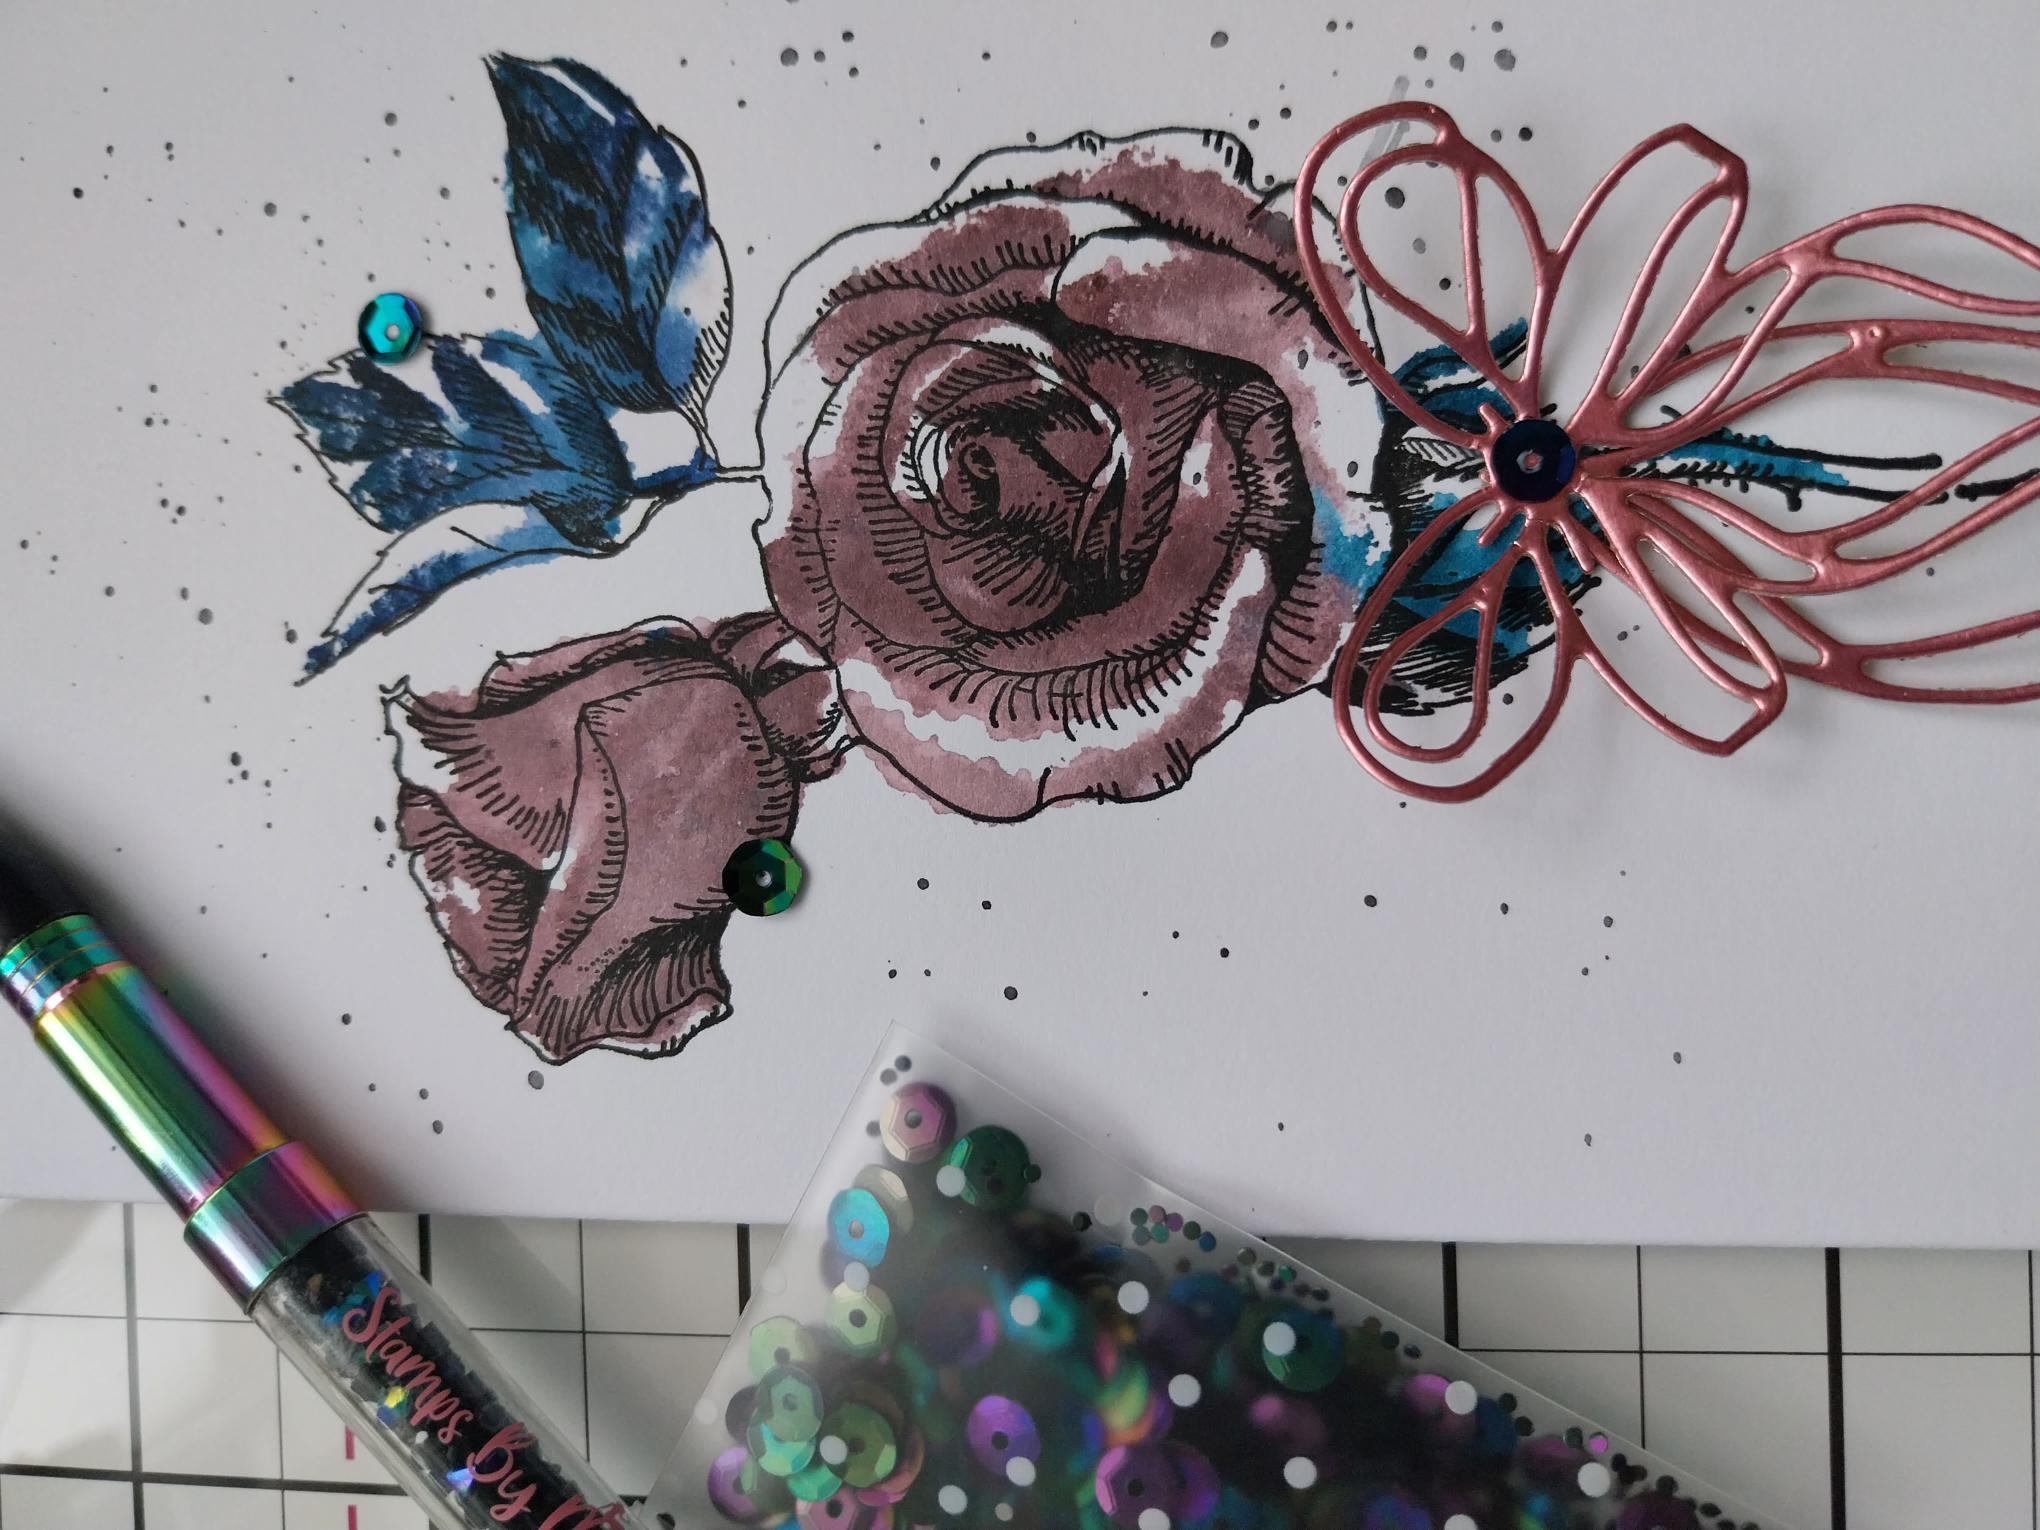
Take the solid stamp from the Live Your Story Lamination Collection and ink the floral elements with Heather and the foliage with Tiffany. Spritz the inked stamp with water and stamp directly on to the front of your white, DL card blank. Allow the ink to dry or give it a quick blast with a heat tool, being careful not to "warp" the front of your card blank! |
|
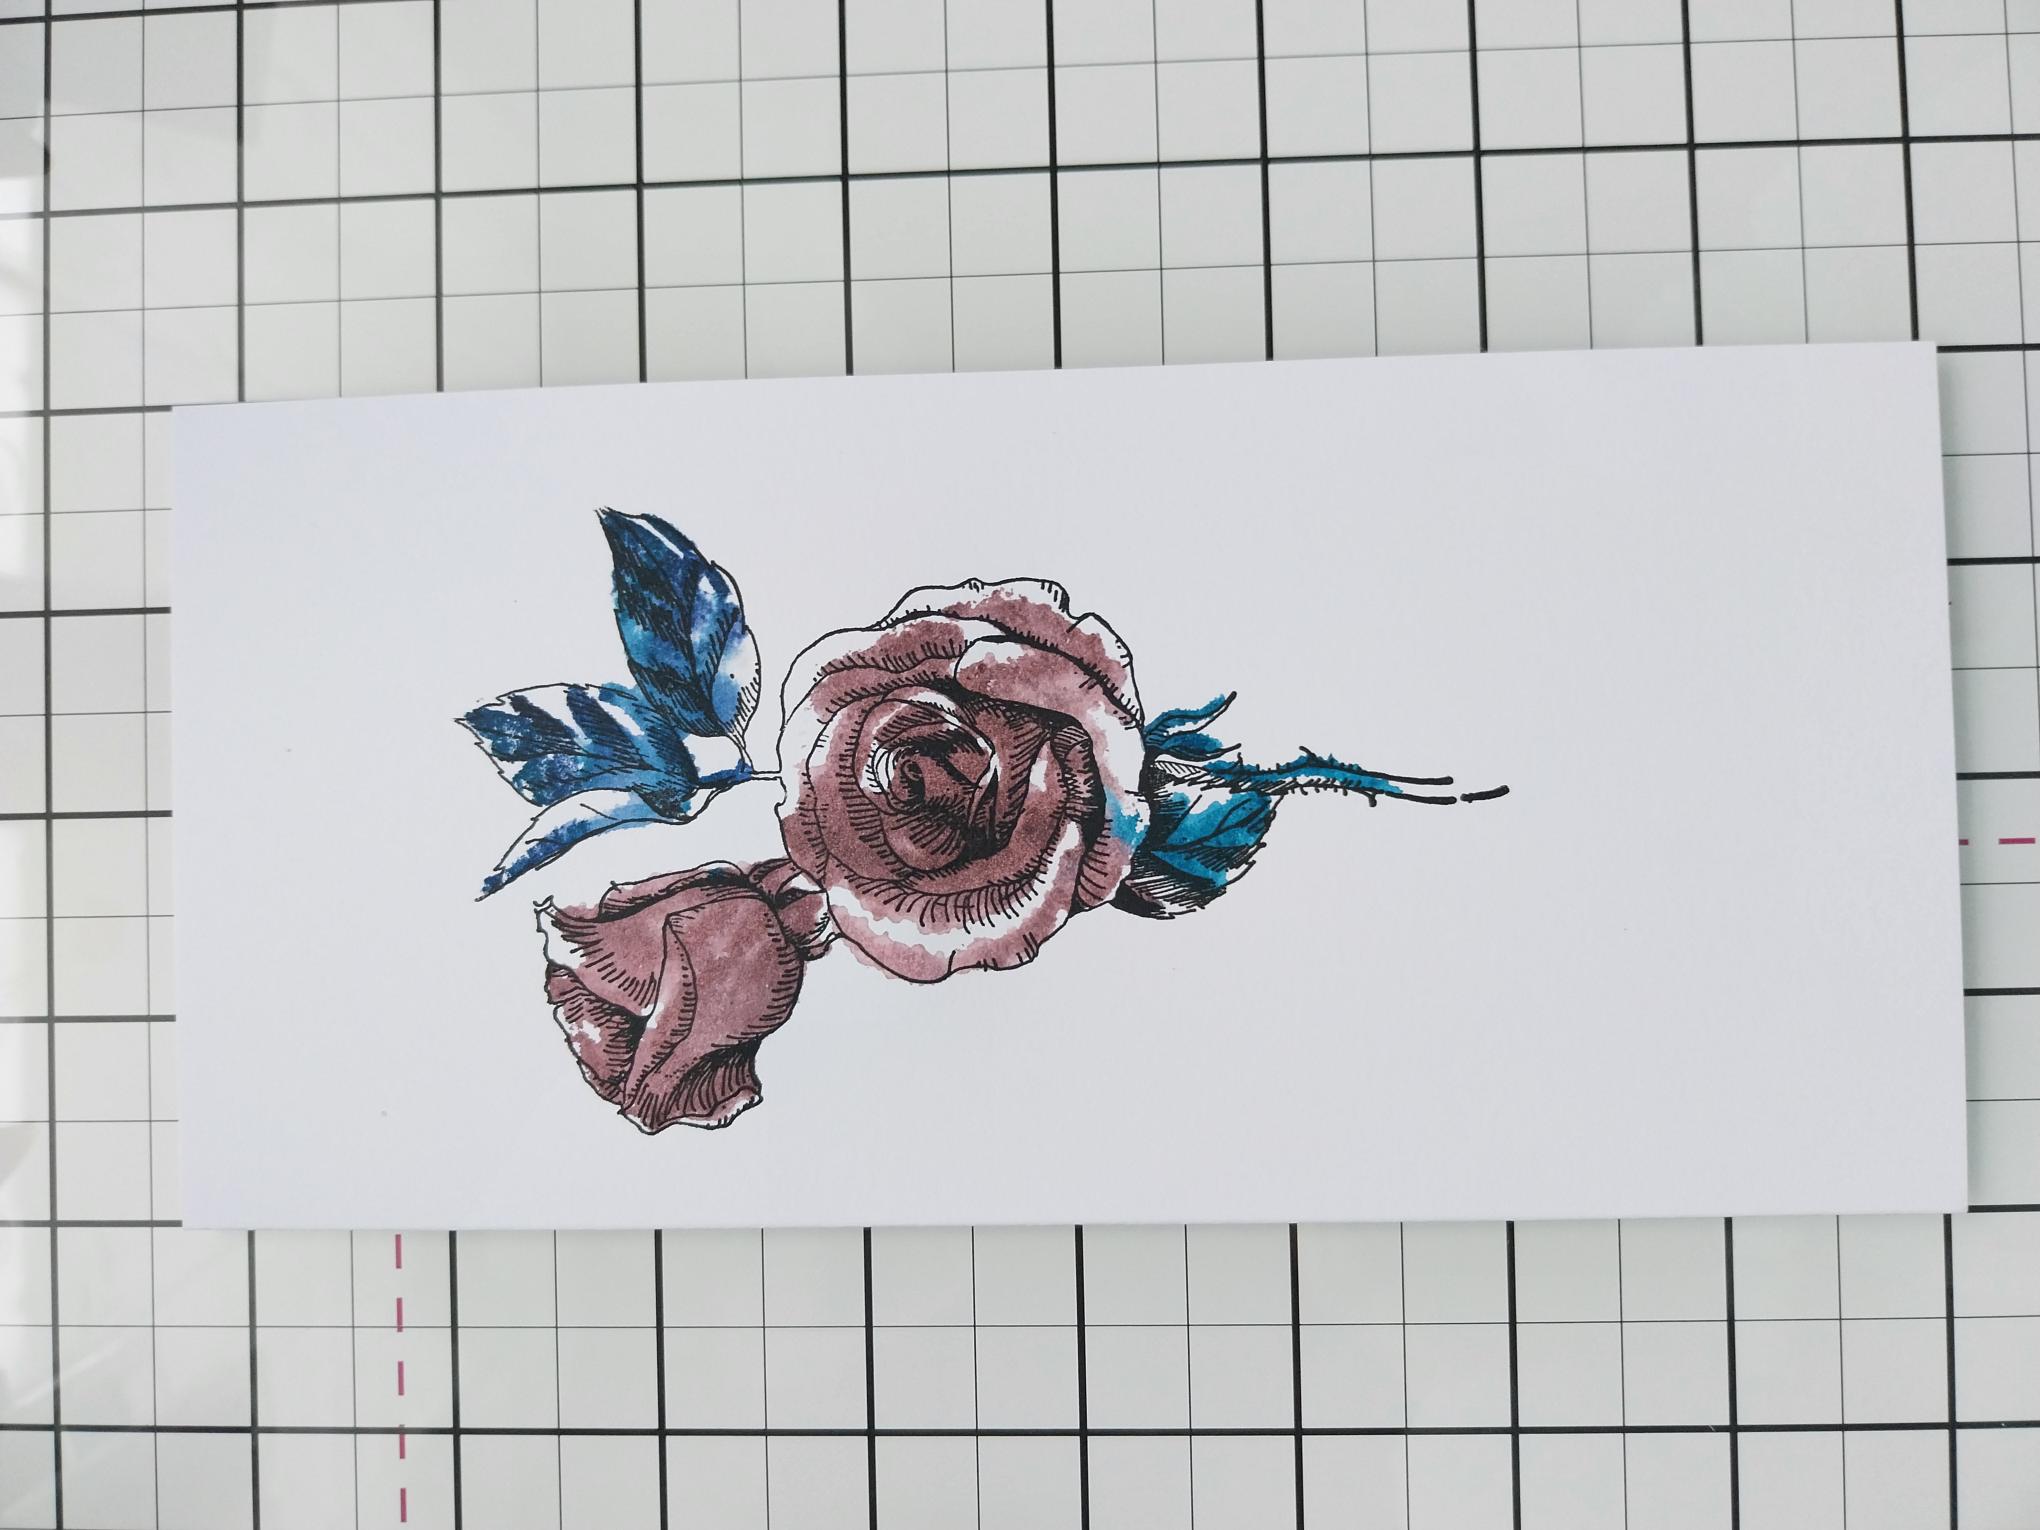
Use the Midnight hybrid to ink up the detailed, coordinating stamp. Line up and stamp over your coloured image. |
|
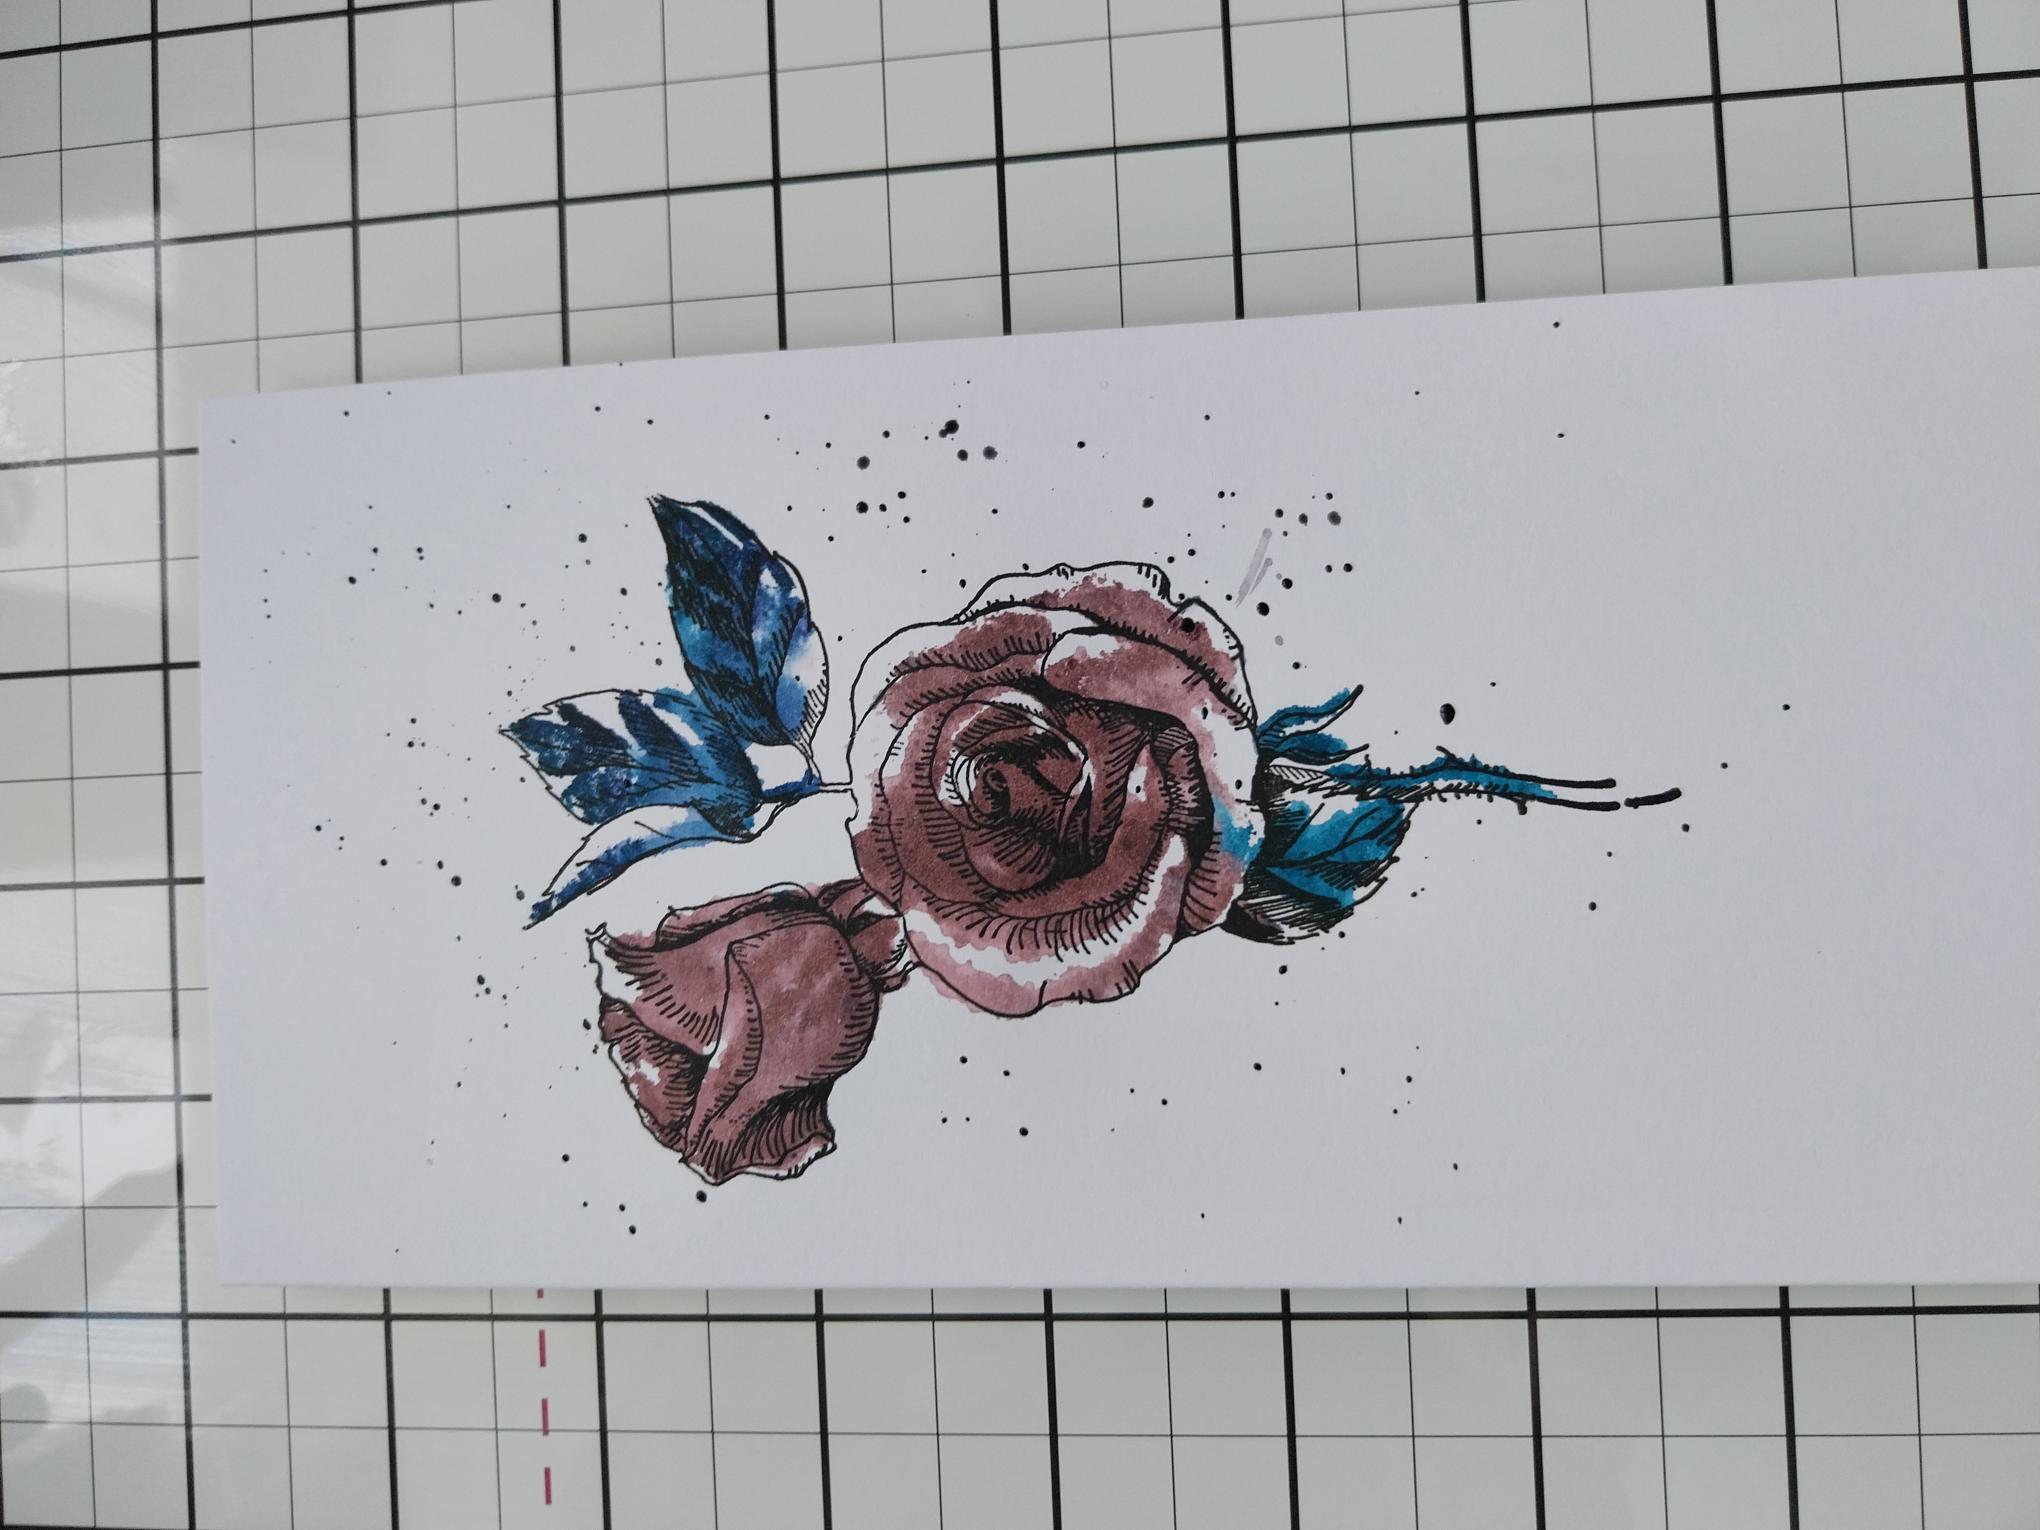
Apply a little of the Heather and Tiffany on to your glass mat. Spritz each with water and one at a time, splatter them over your artwork. |
|
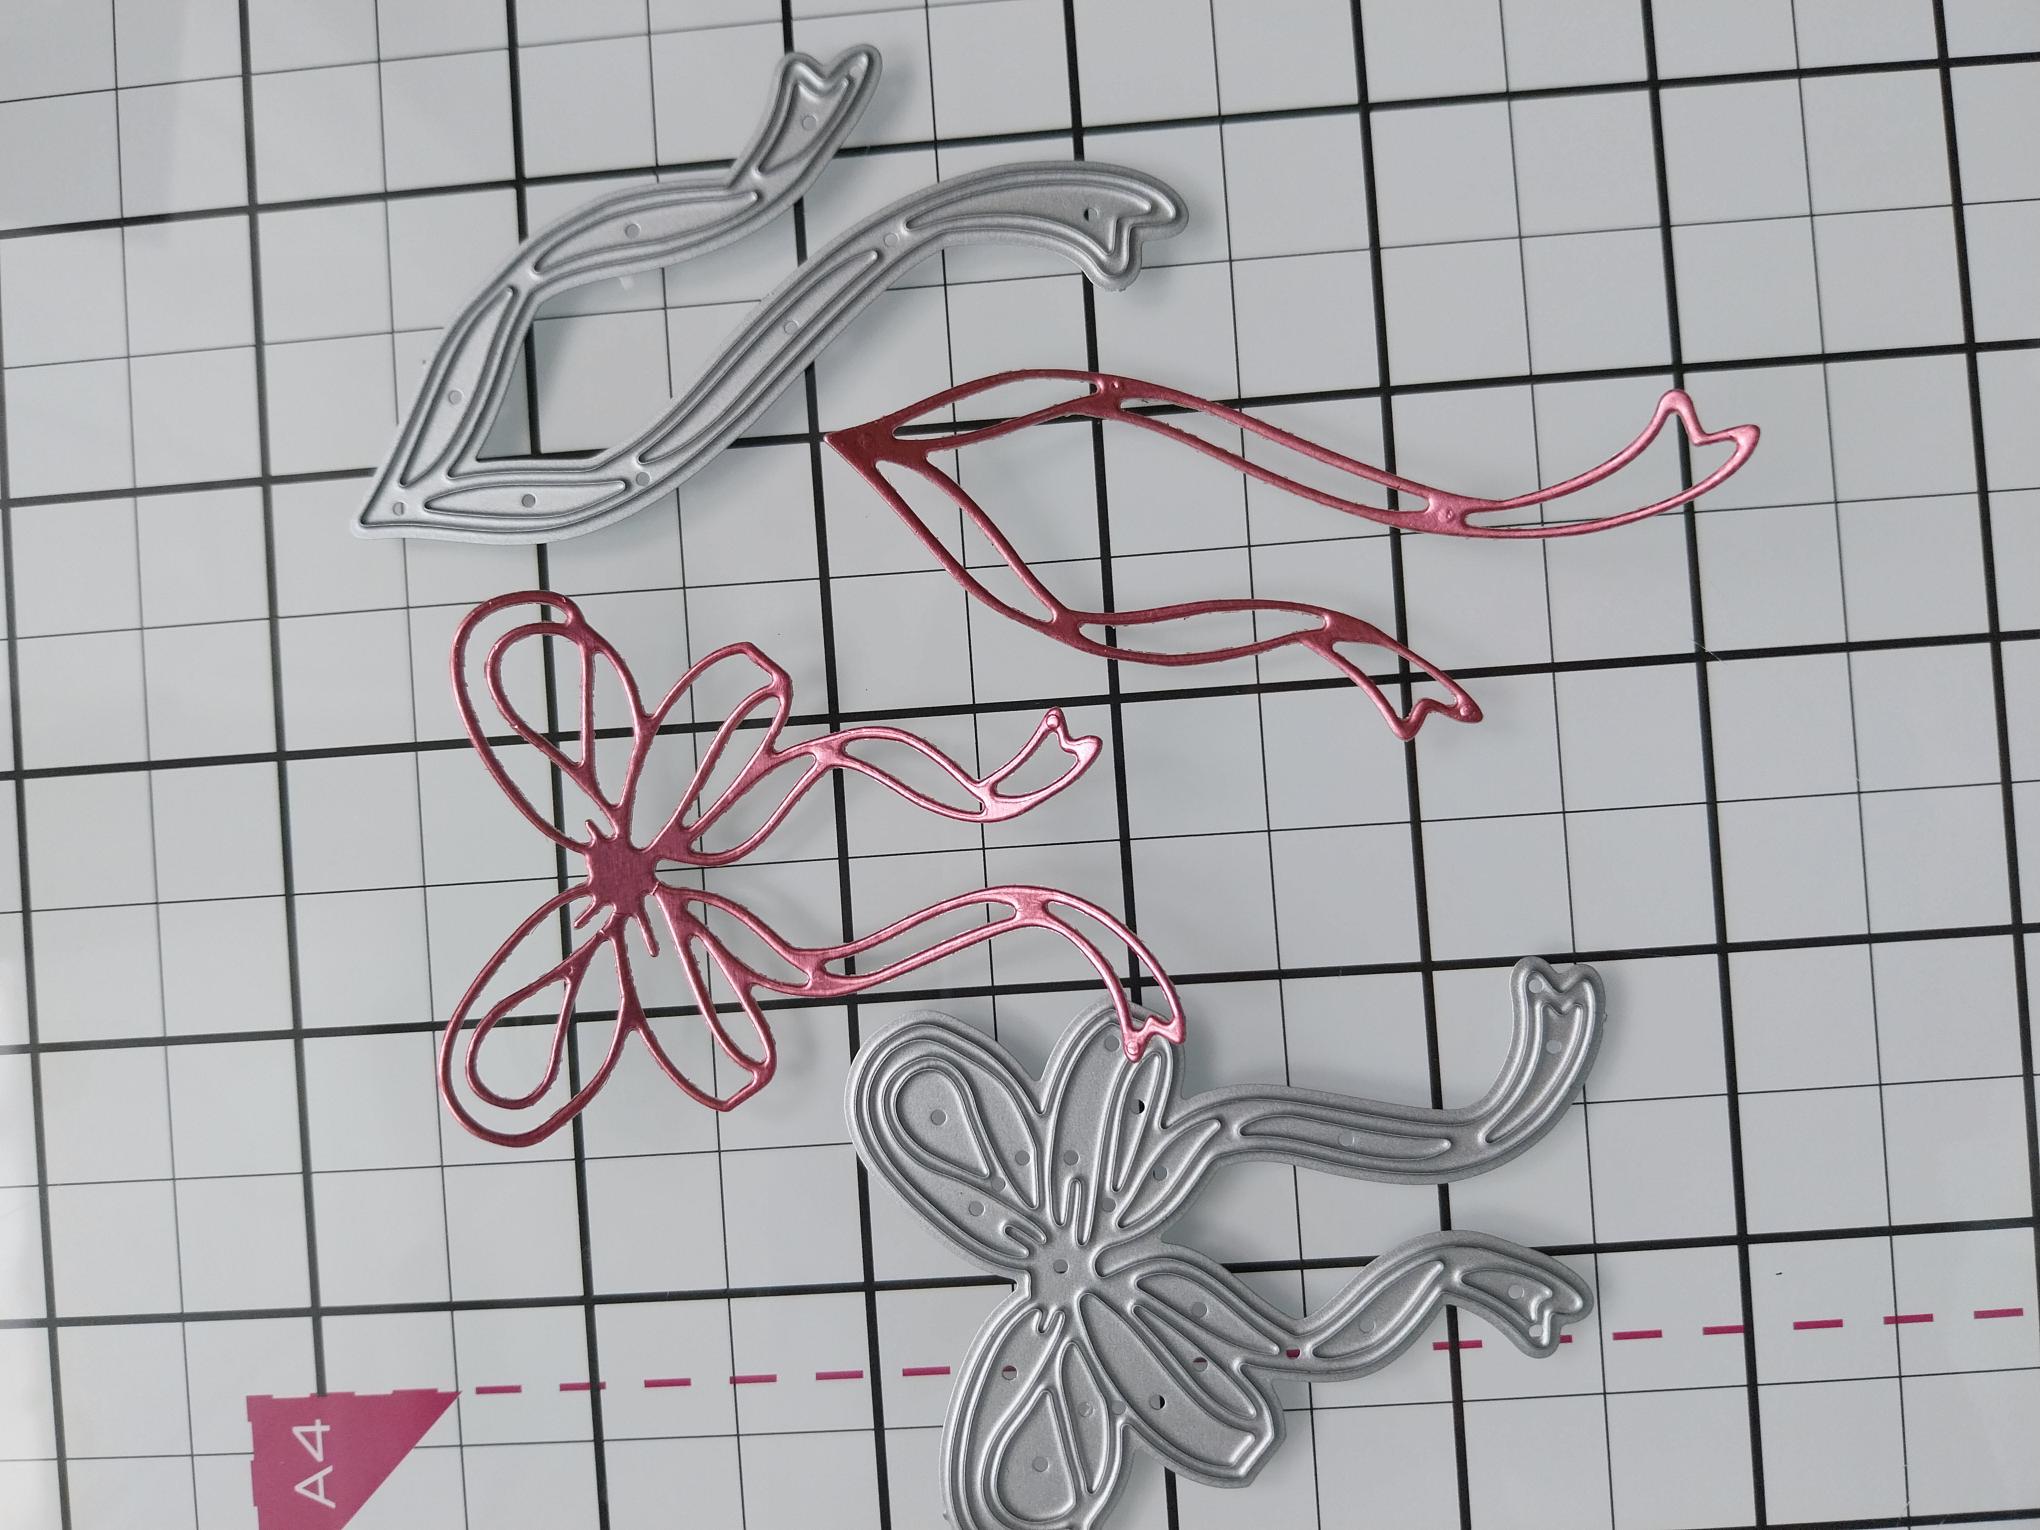
Take these 2 dies, from Tied With Love and cut them out from the Blush mirri card. |
|
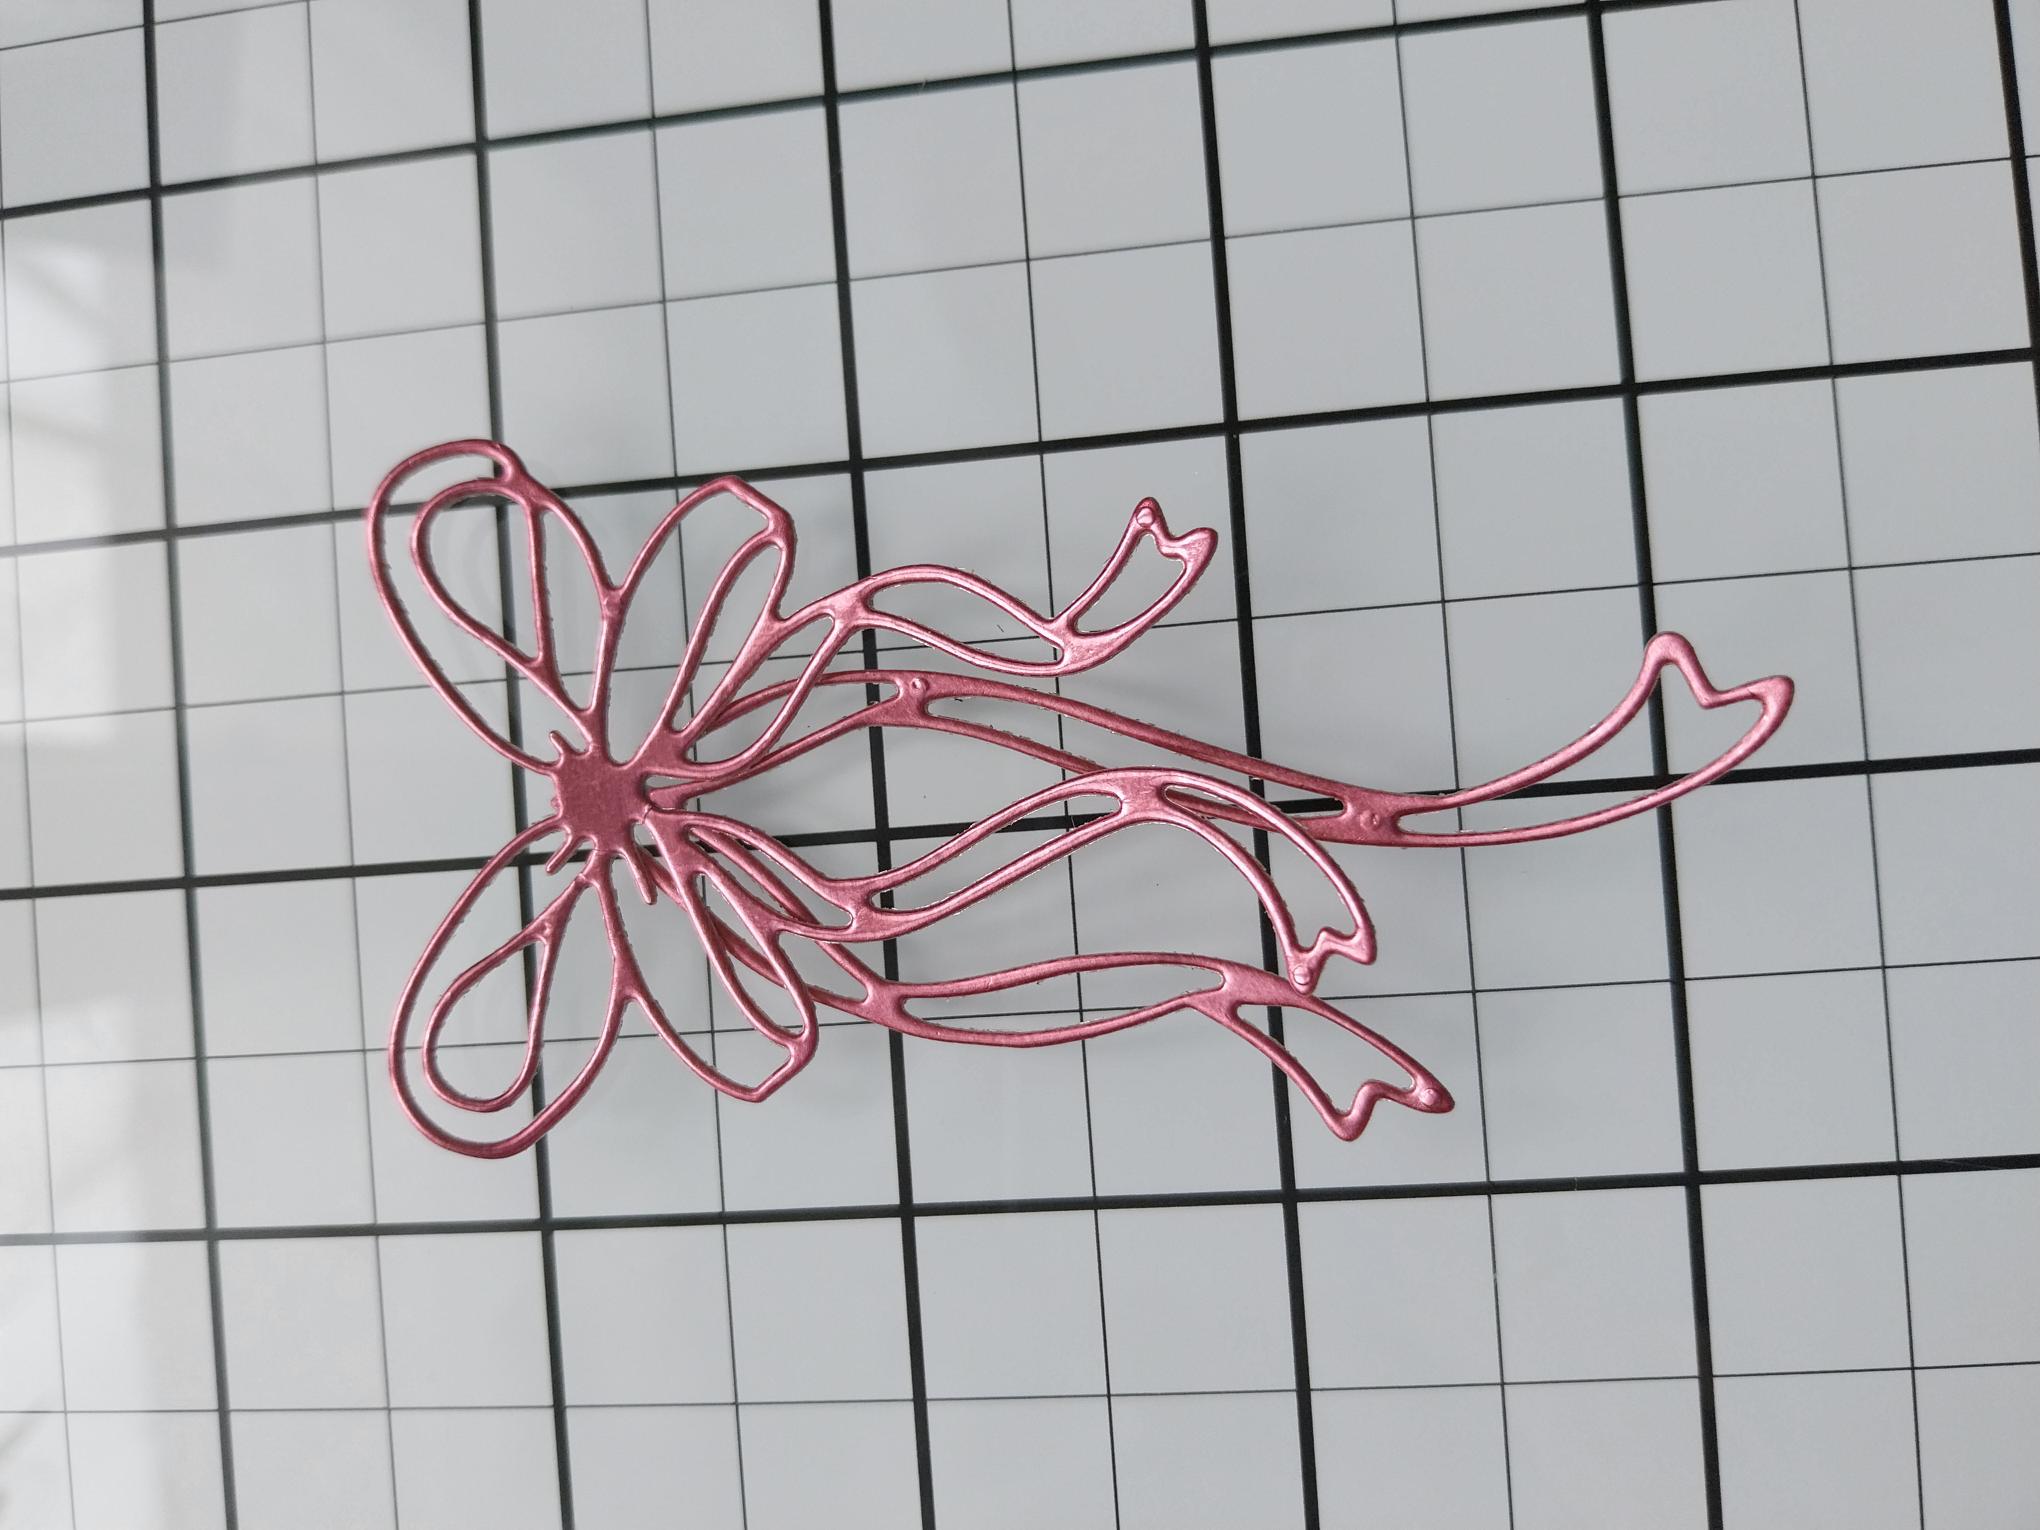
Pop a little glue in the centre, of the back of the bow and adhere the extra bow "legs" in place. |
|
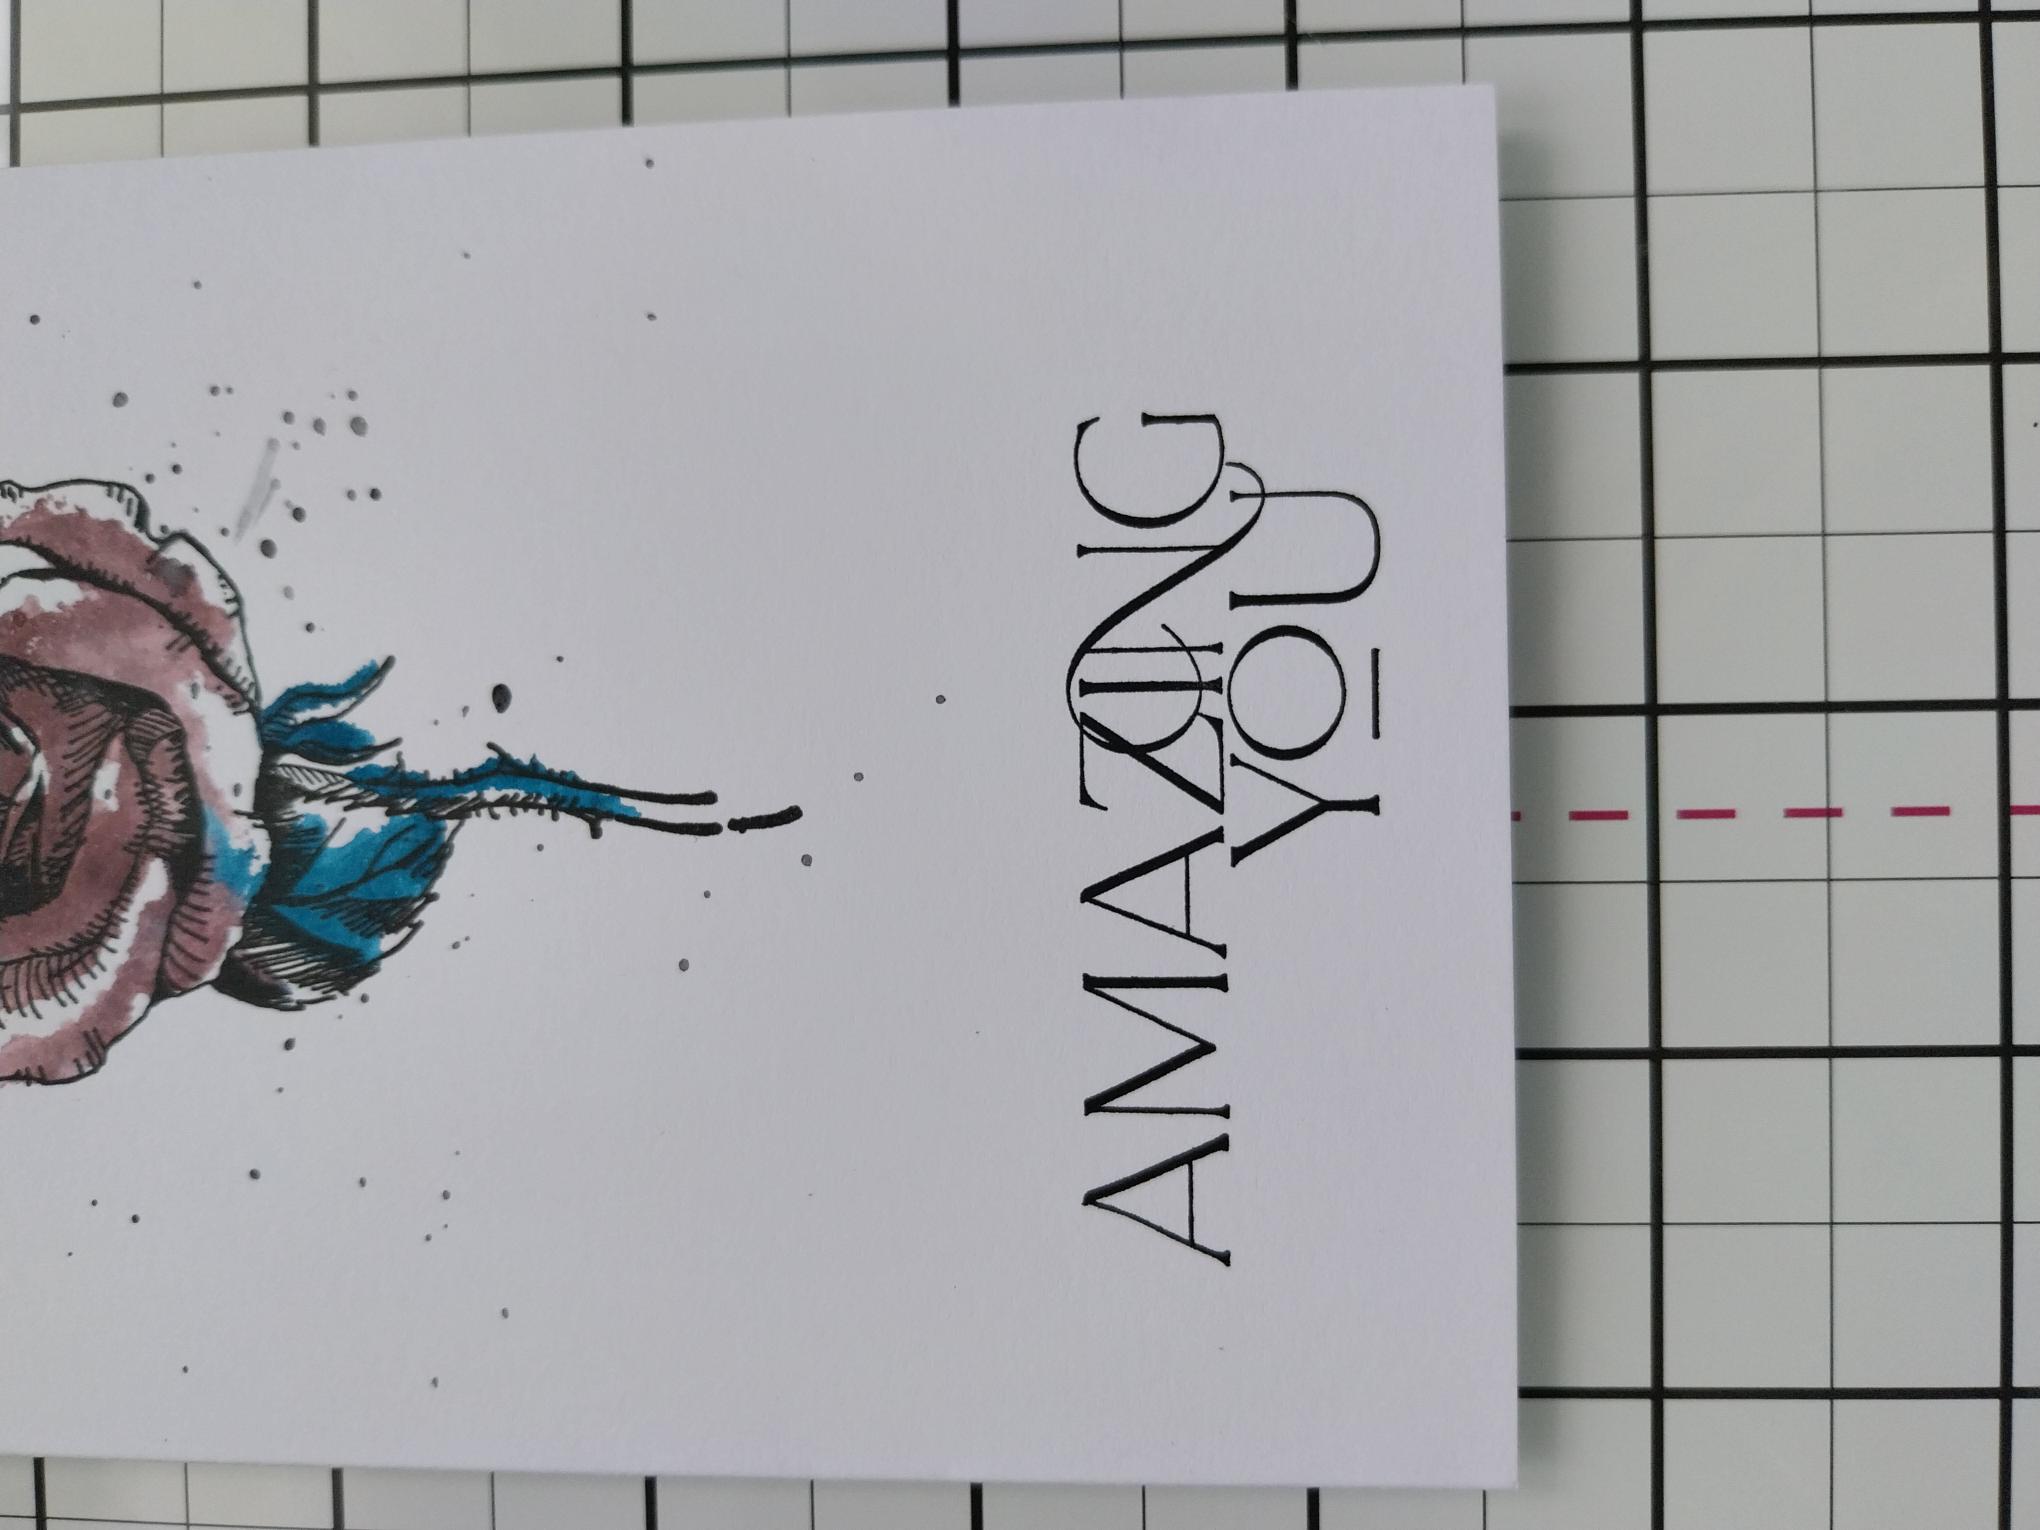
Ink the "Amazing You" sentiment stamp, from the Saying Hello Collection, with Midnight and stamp centrally, at the bottom of your card. |
|
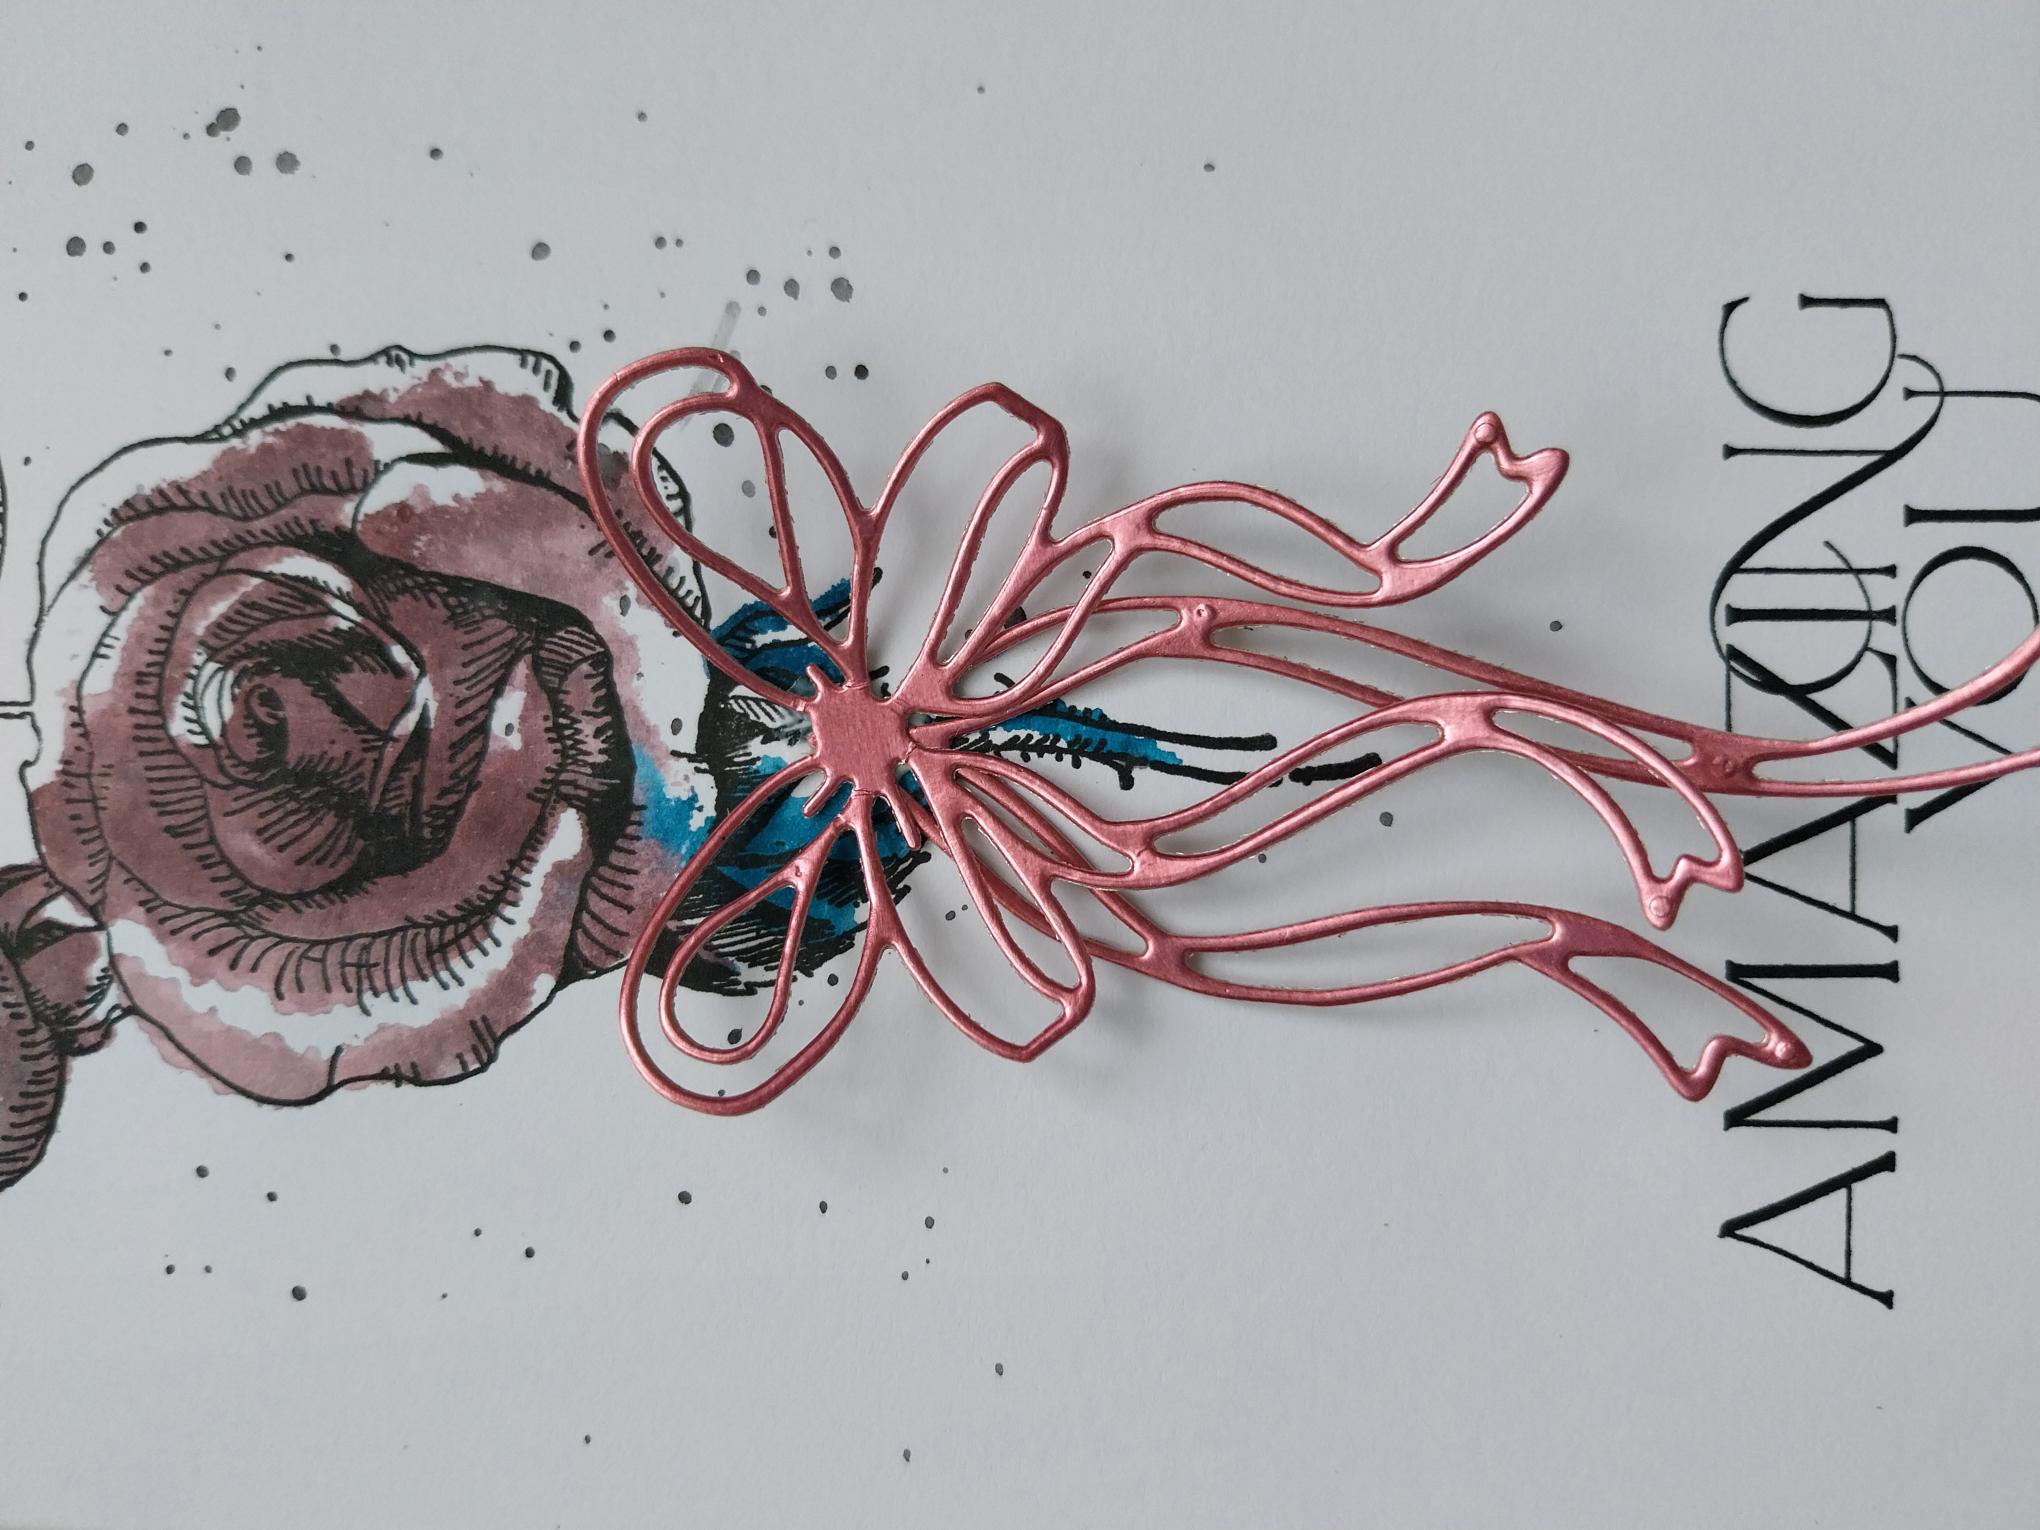
Adhere your die cut bow just under the Rose head, allowing the bow legs to move freely. |
|
To finish, add a few sequins as required. |