Give your friends $10 off their first order!
Refer a FRIEND


WHAT YOU WILL NEED:
Black A4 card (construction weight 250gsm+)
White card
WOW Blooms Stamp and Die Collection
Saying Hello Stamp and Die Collection
Deboss Circle Nesting Dies Collection
Creative Watercolours 6 x 6" Paper Pack
SBM Hybrid Ink Pad: Midnight
SBM Premium Dye Ink Pad: Heather
Distress Ink/Oxide Ink Pad: Vintage Photo, Walnut Stain
Water spray bottle
Sequins: Amethyst
Pick up gem and pokey tool
Score board and tool
Eureka 101 Watercolour Tablet
SBM Magnetic glass mat
Paper Trimmer
Perfect Together Glue
Red liner tape
Foam pads
Die Cutting machine
[click image to enlarge] 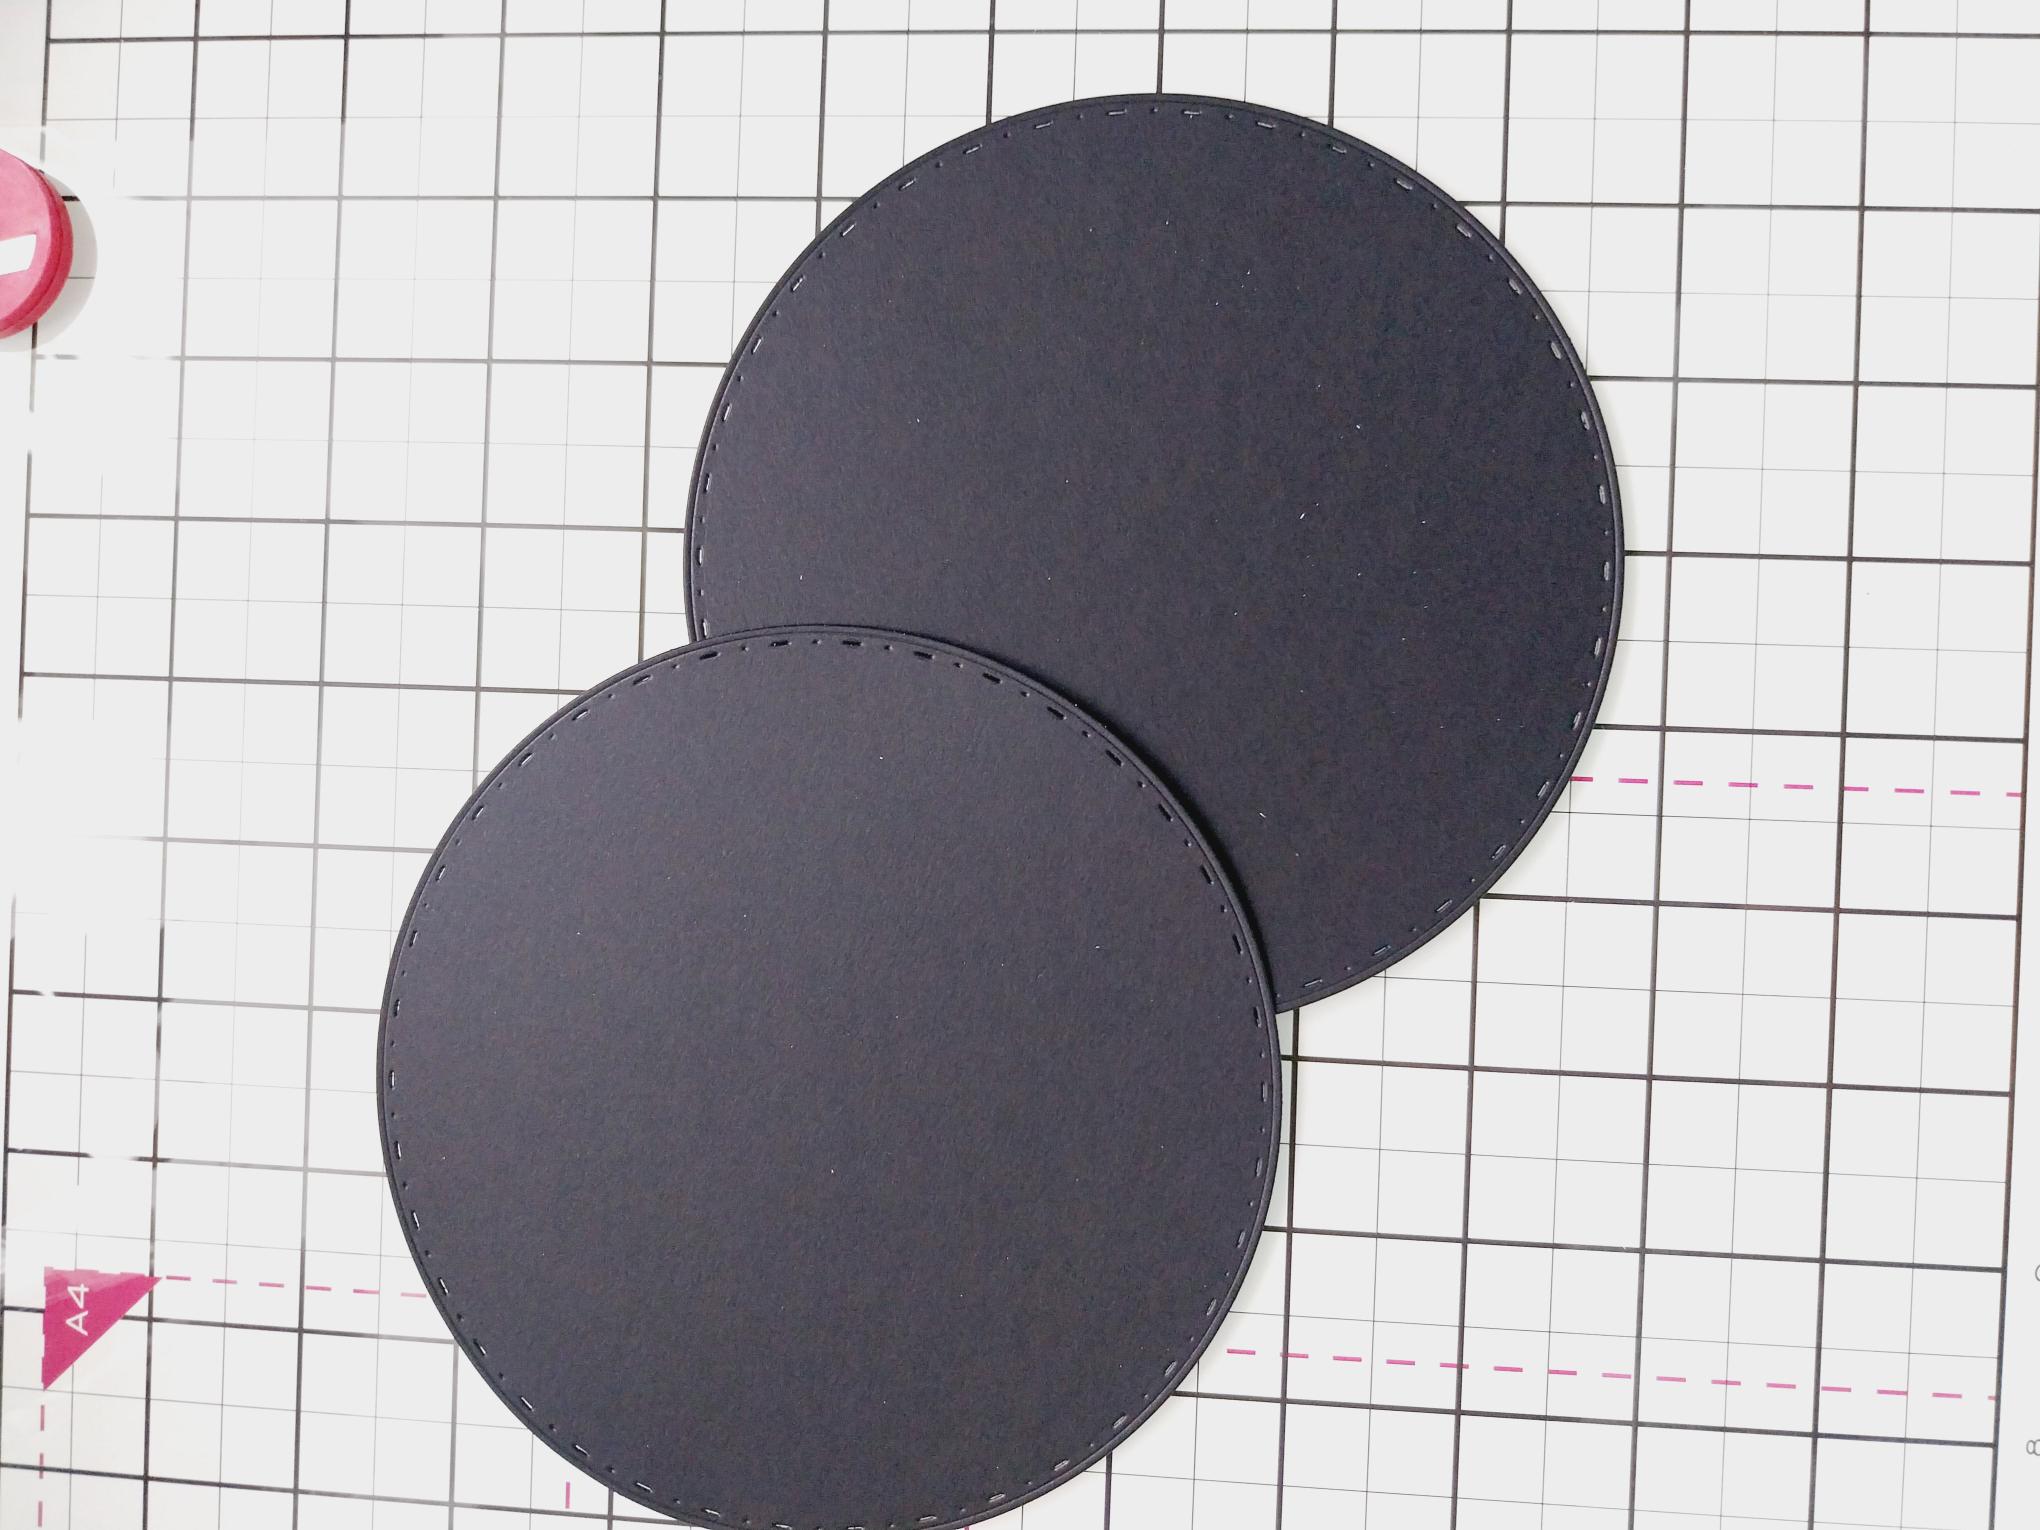
|
Use a 5 1/2" diameter circle die to cut TWO circles from construction weight, black card. |
|
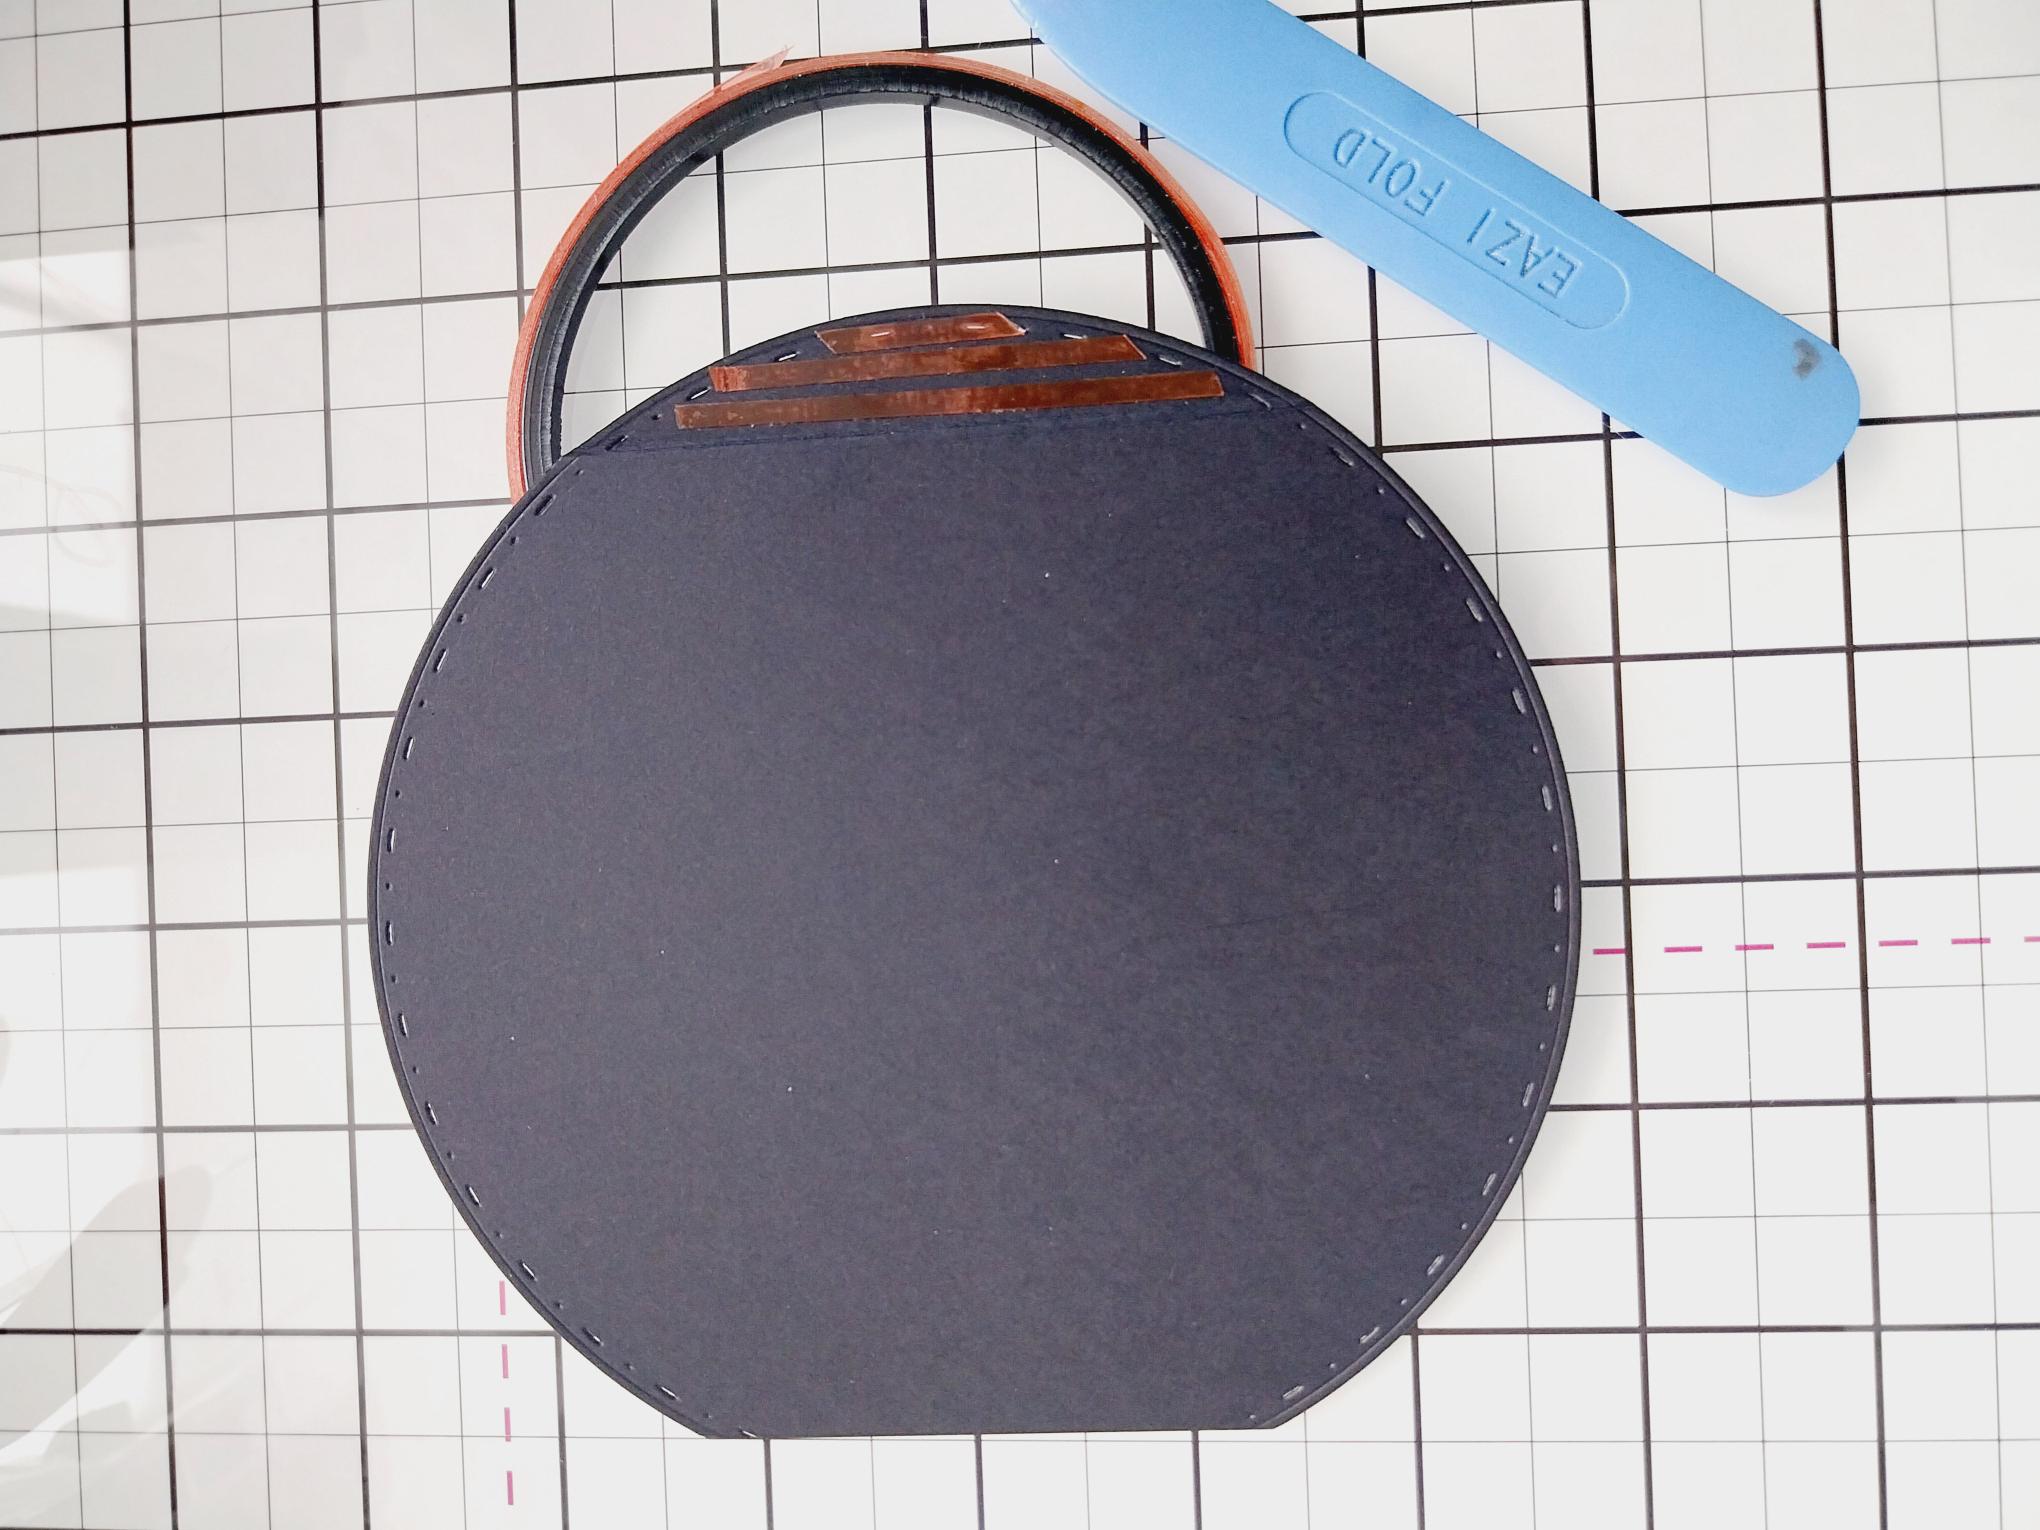
Score across ONE of the die cut circles, approx 1cm down. Put red liner tape ABOVE the score line, then adhere the second circle on top, thus creating your circle card blank. Trim a sliver off the bottom of the back piece of card, enabling your card blank to stand upright. |
|
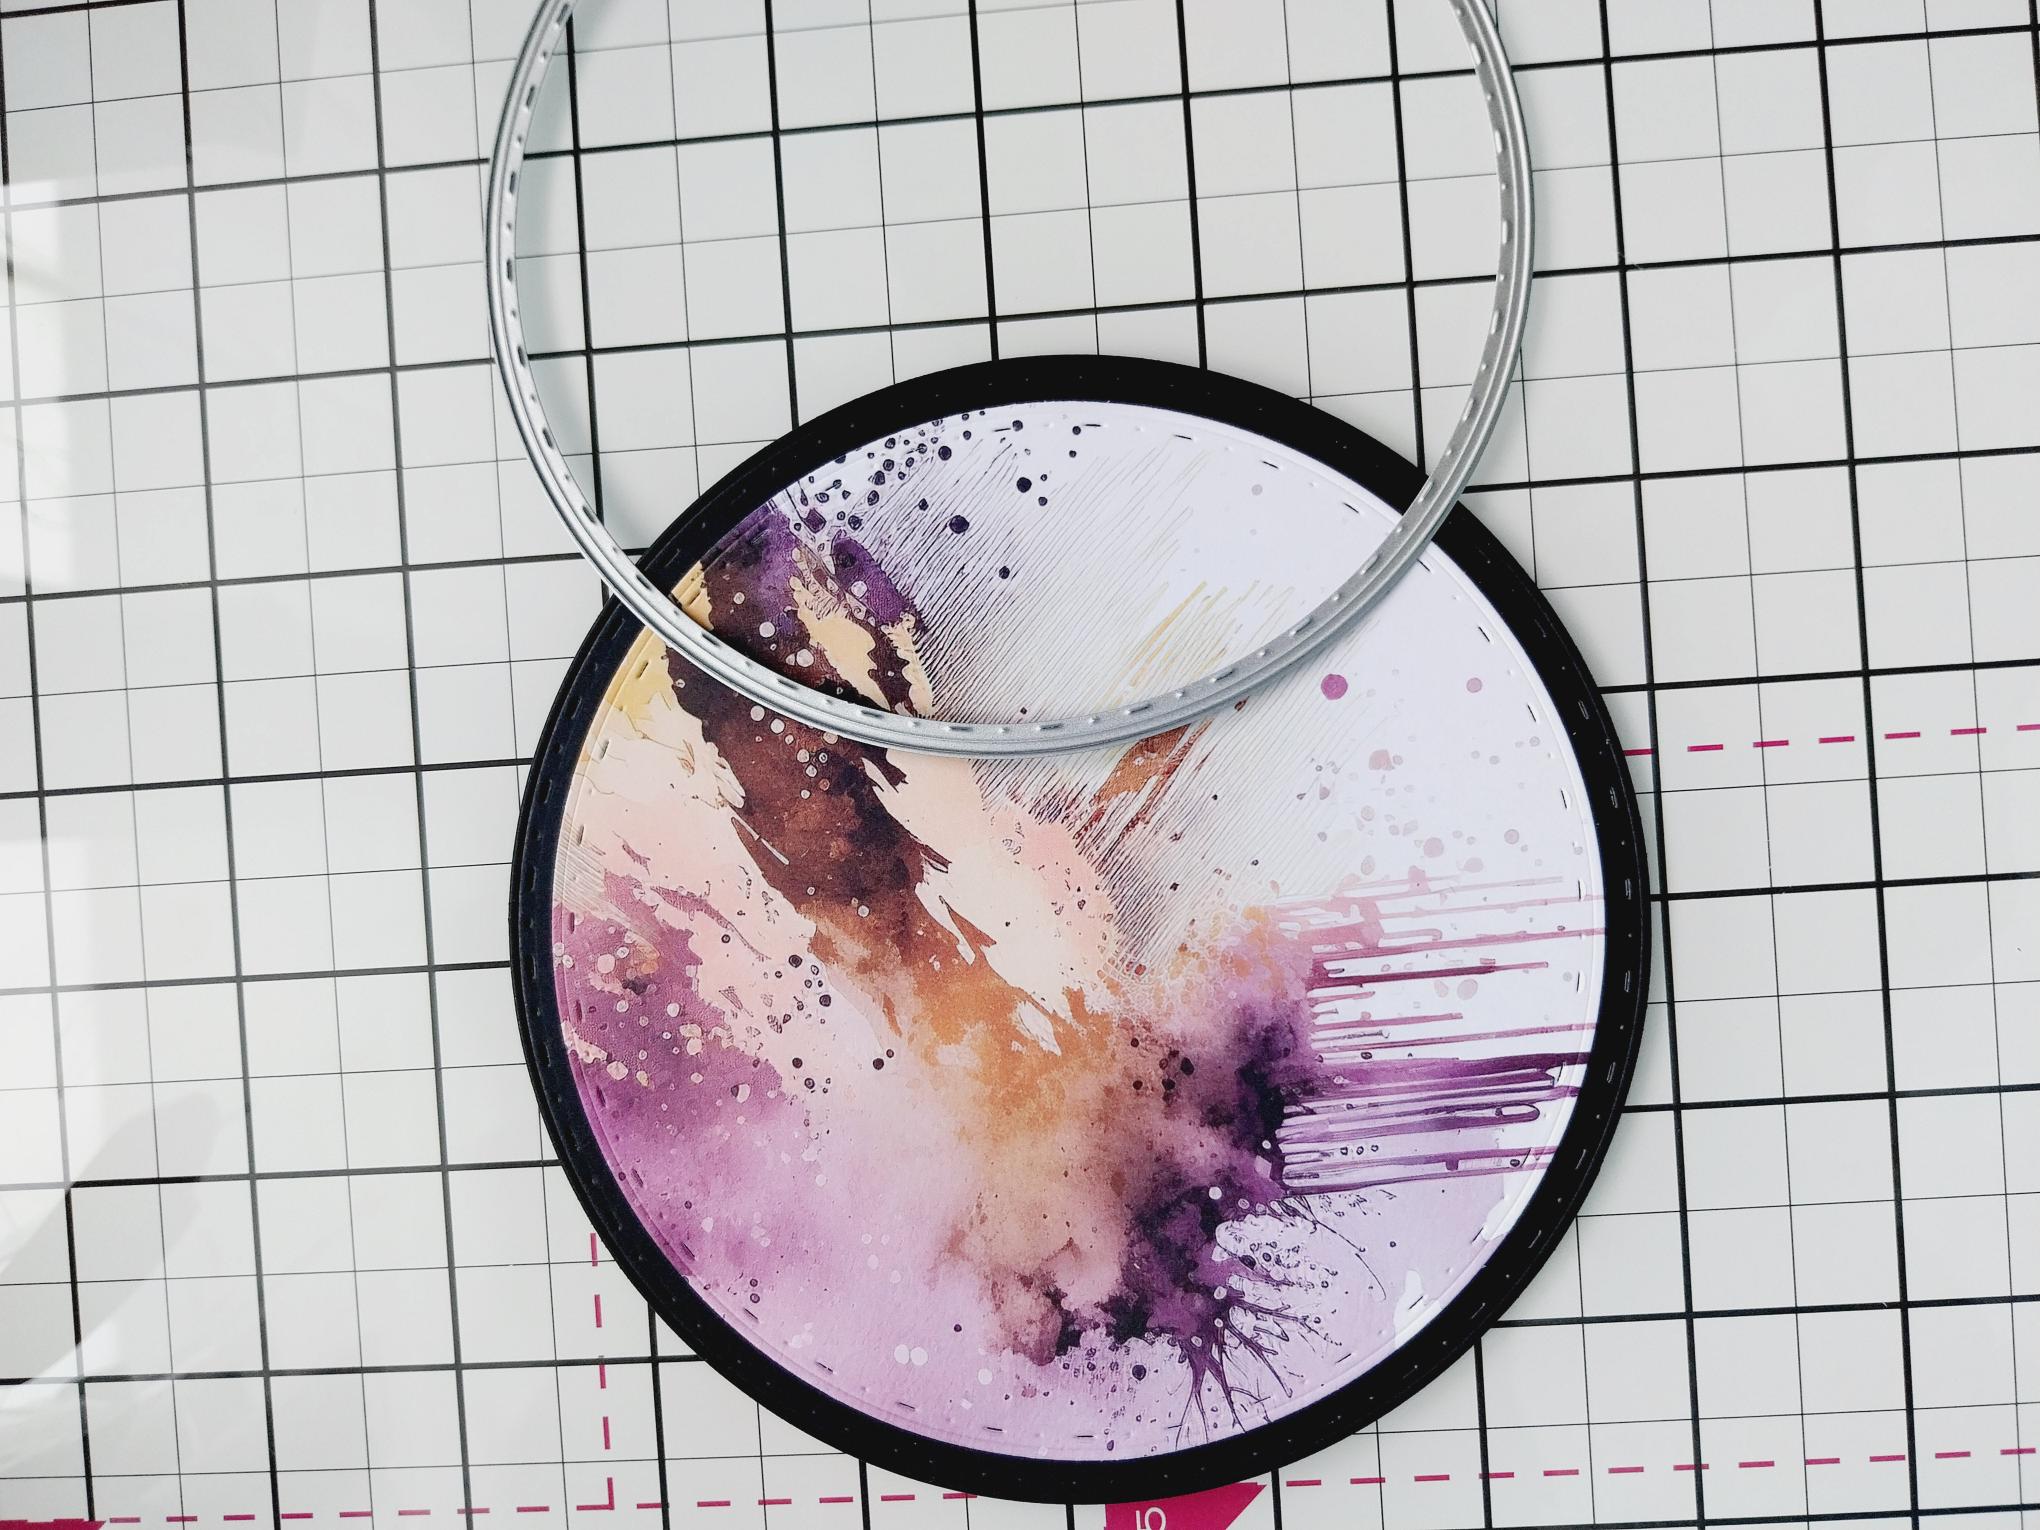
Having removed this decorative paper from the Creative Watercolours Paper Pack, die cut with a circle die measuring approx 5" in diameter. Adhere to the front of your circle card blank, then set to one side. |
|
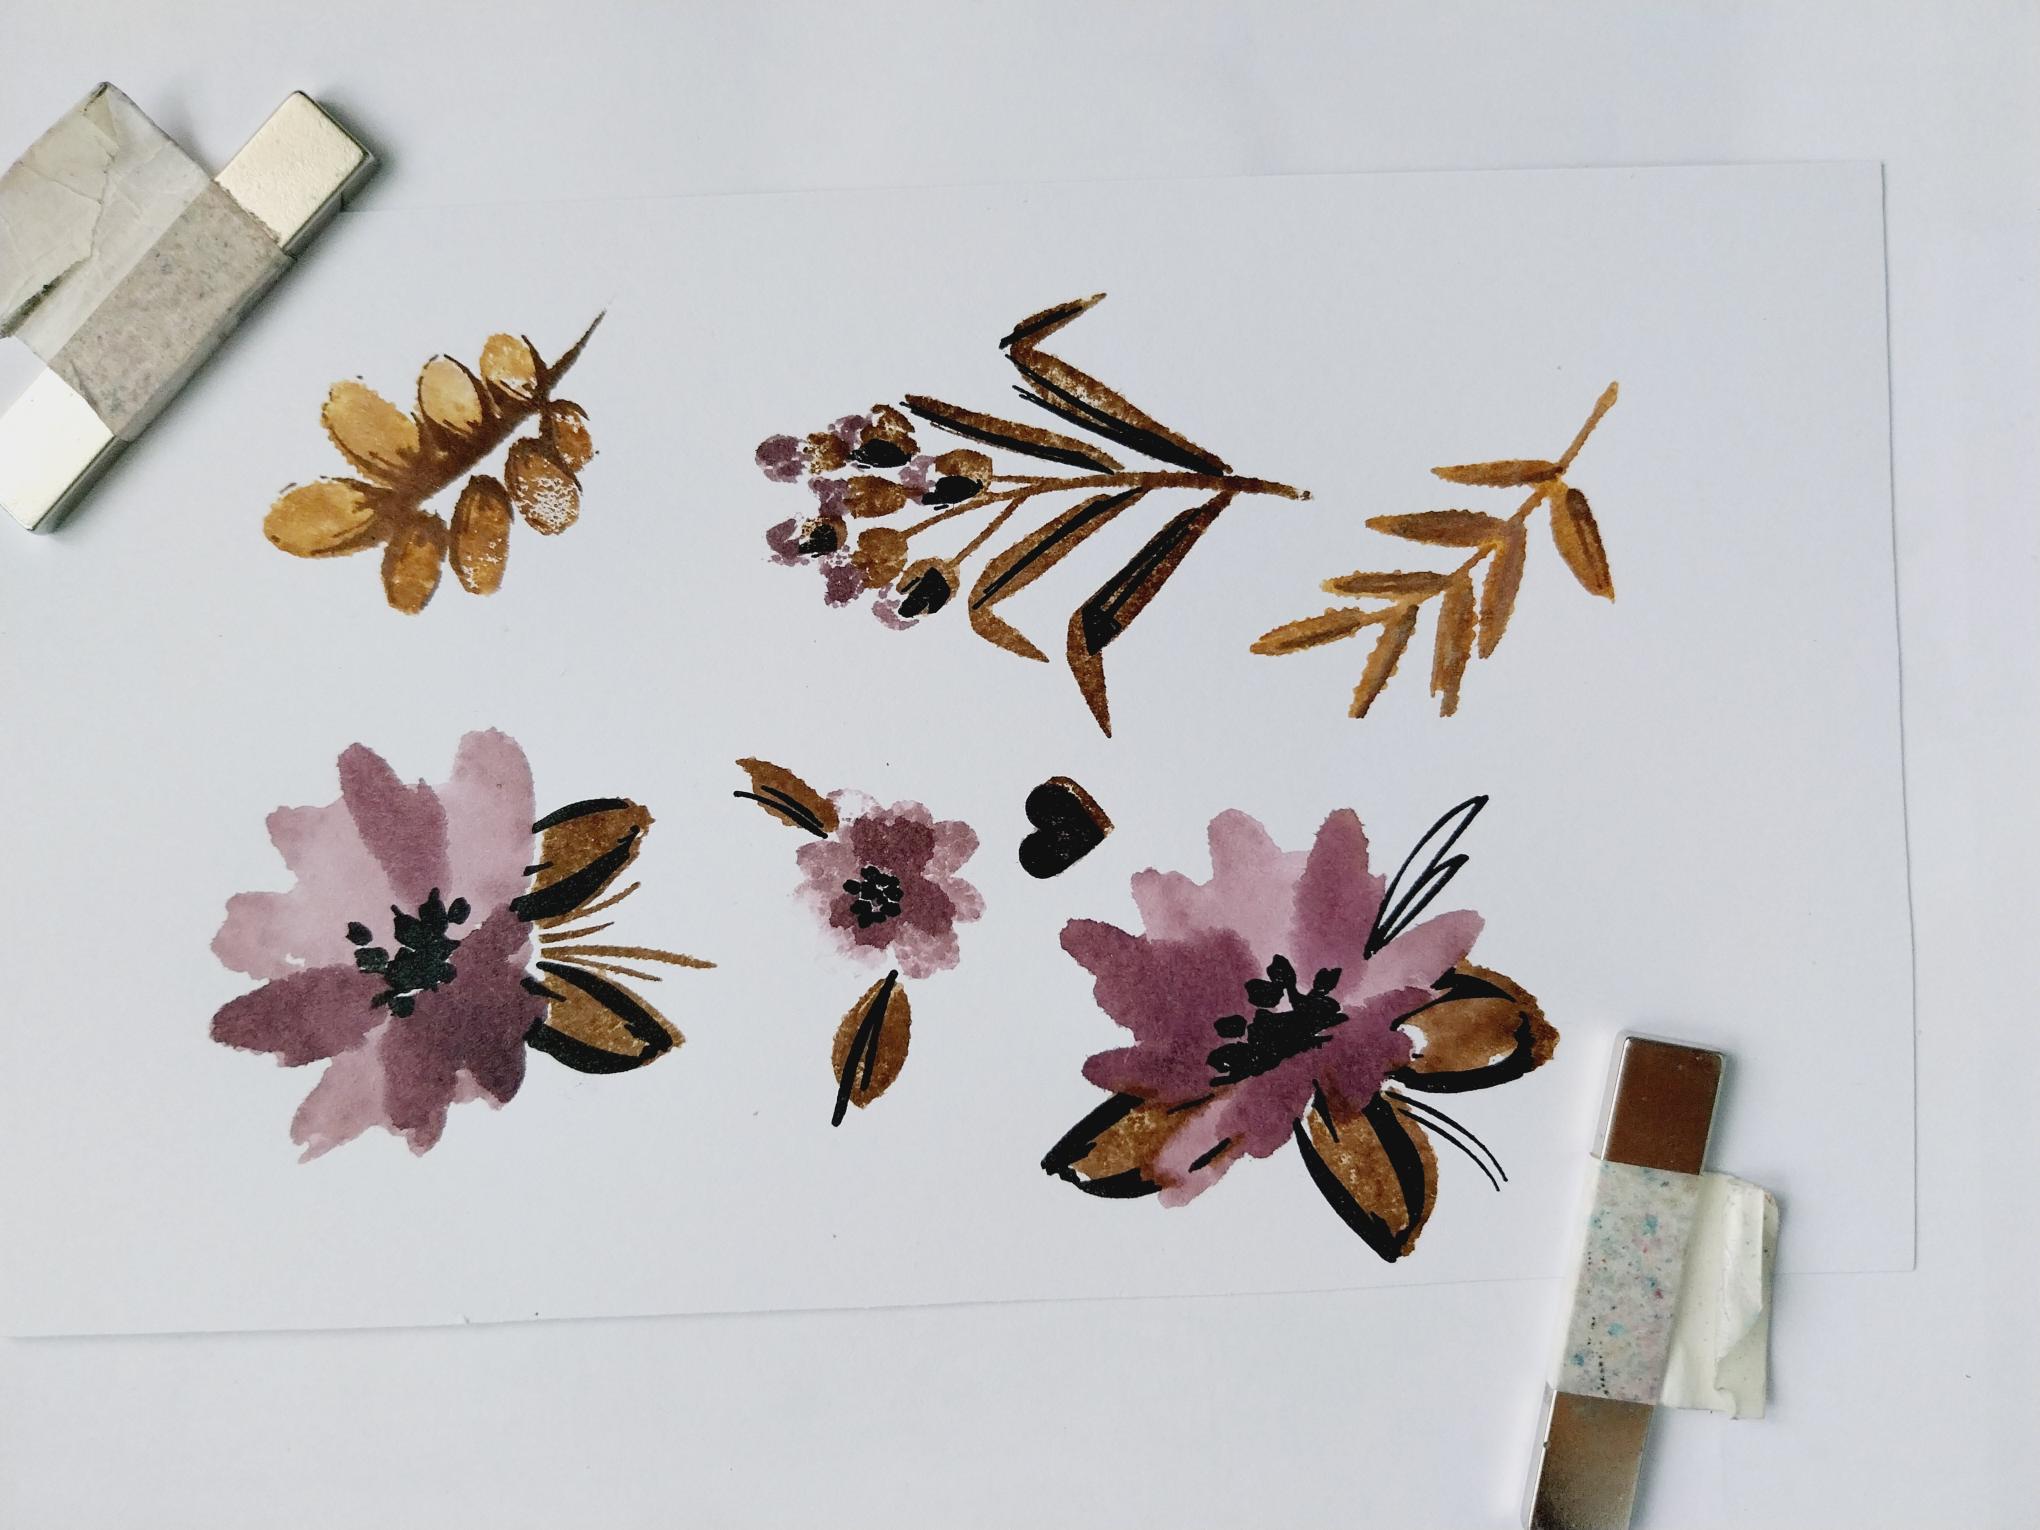
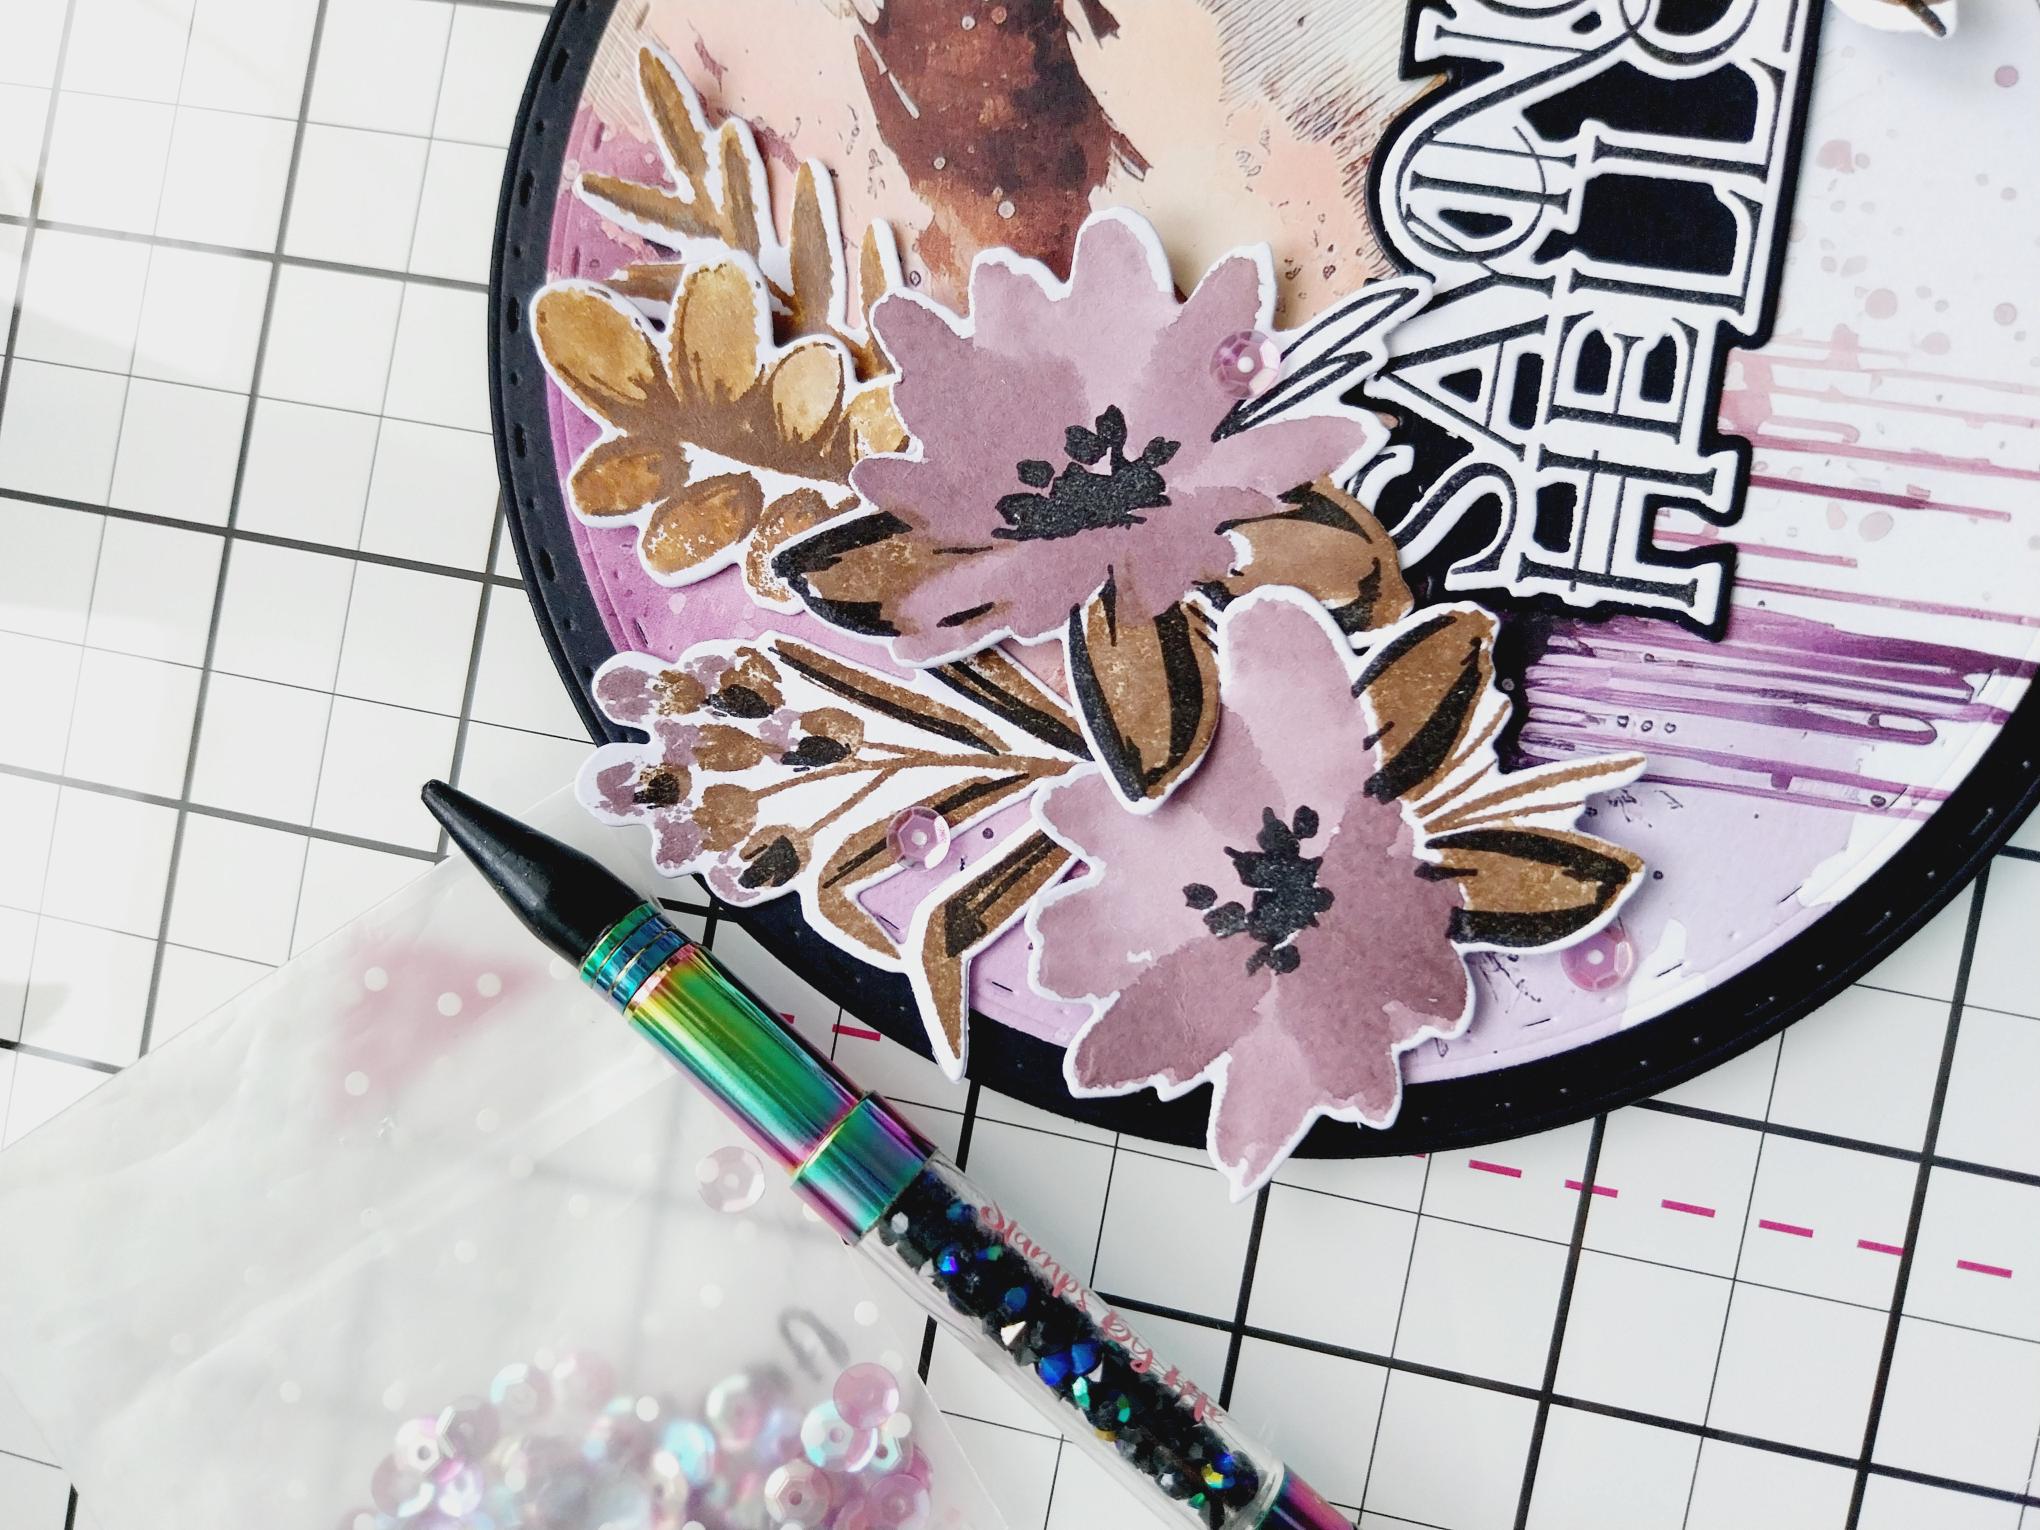
Cut a piece of white card bigger than the die plate, found in the WOW Blooms Collection. Ink up stamp 1 with the Heather (florals) and Vintage Photo (foliage), spritz with water and stamp on to the white card. NB: When using these layering stamps, use the "heart" as a guide to position each stamp and the rest of the design will automatically line up. Ink up stamp 2 with the Heather (florals) and Walnut Stain (foliage), spritz and stamp over your first image. Ink up stamp 3 with Walnut Stain, spritz and stamp, then finally ink up stamp 4 with the Midnight hybrid ink and stamp in position.
|
|
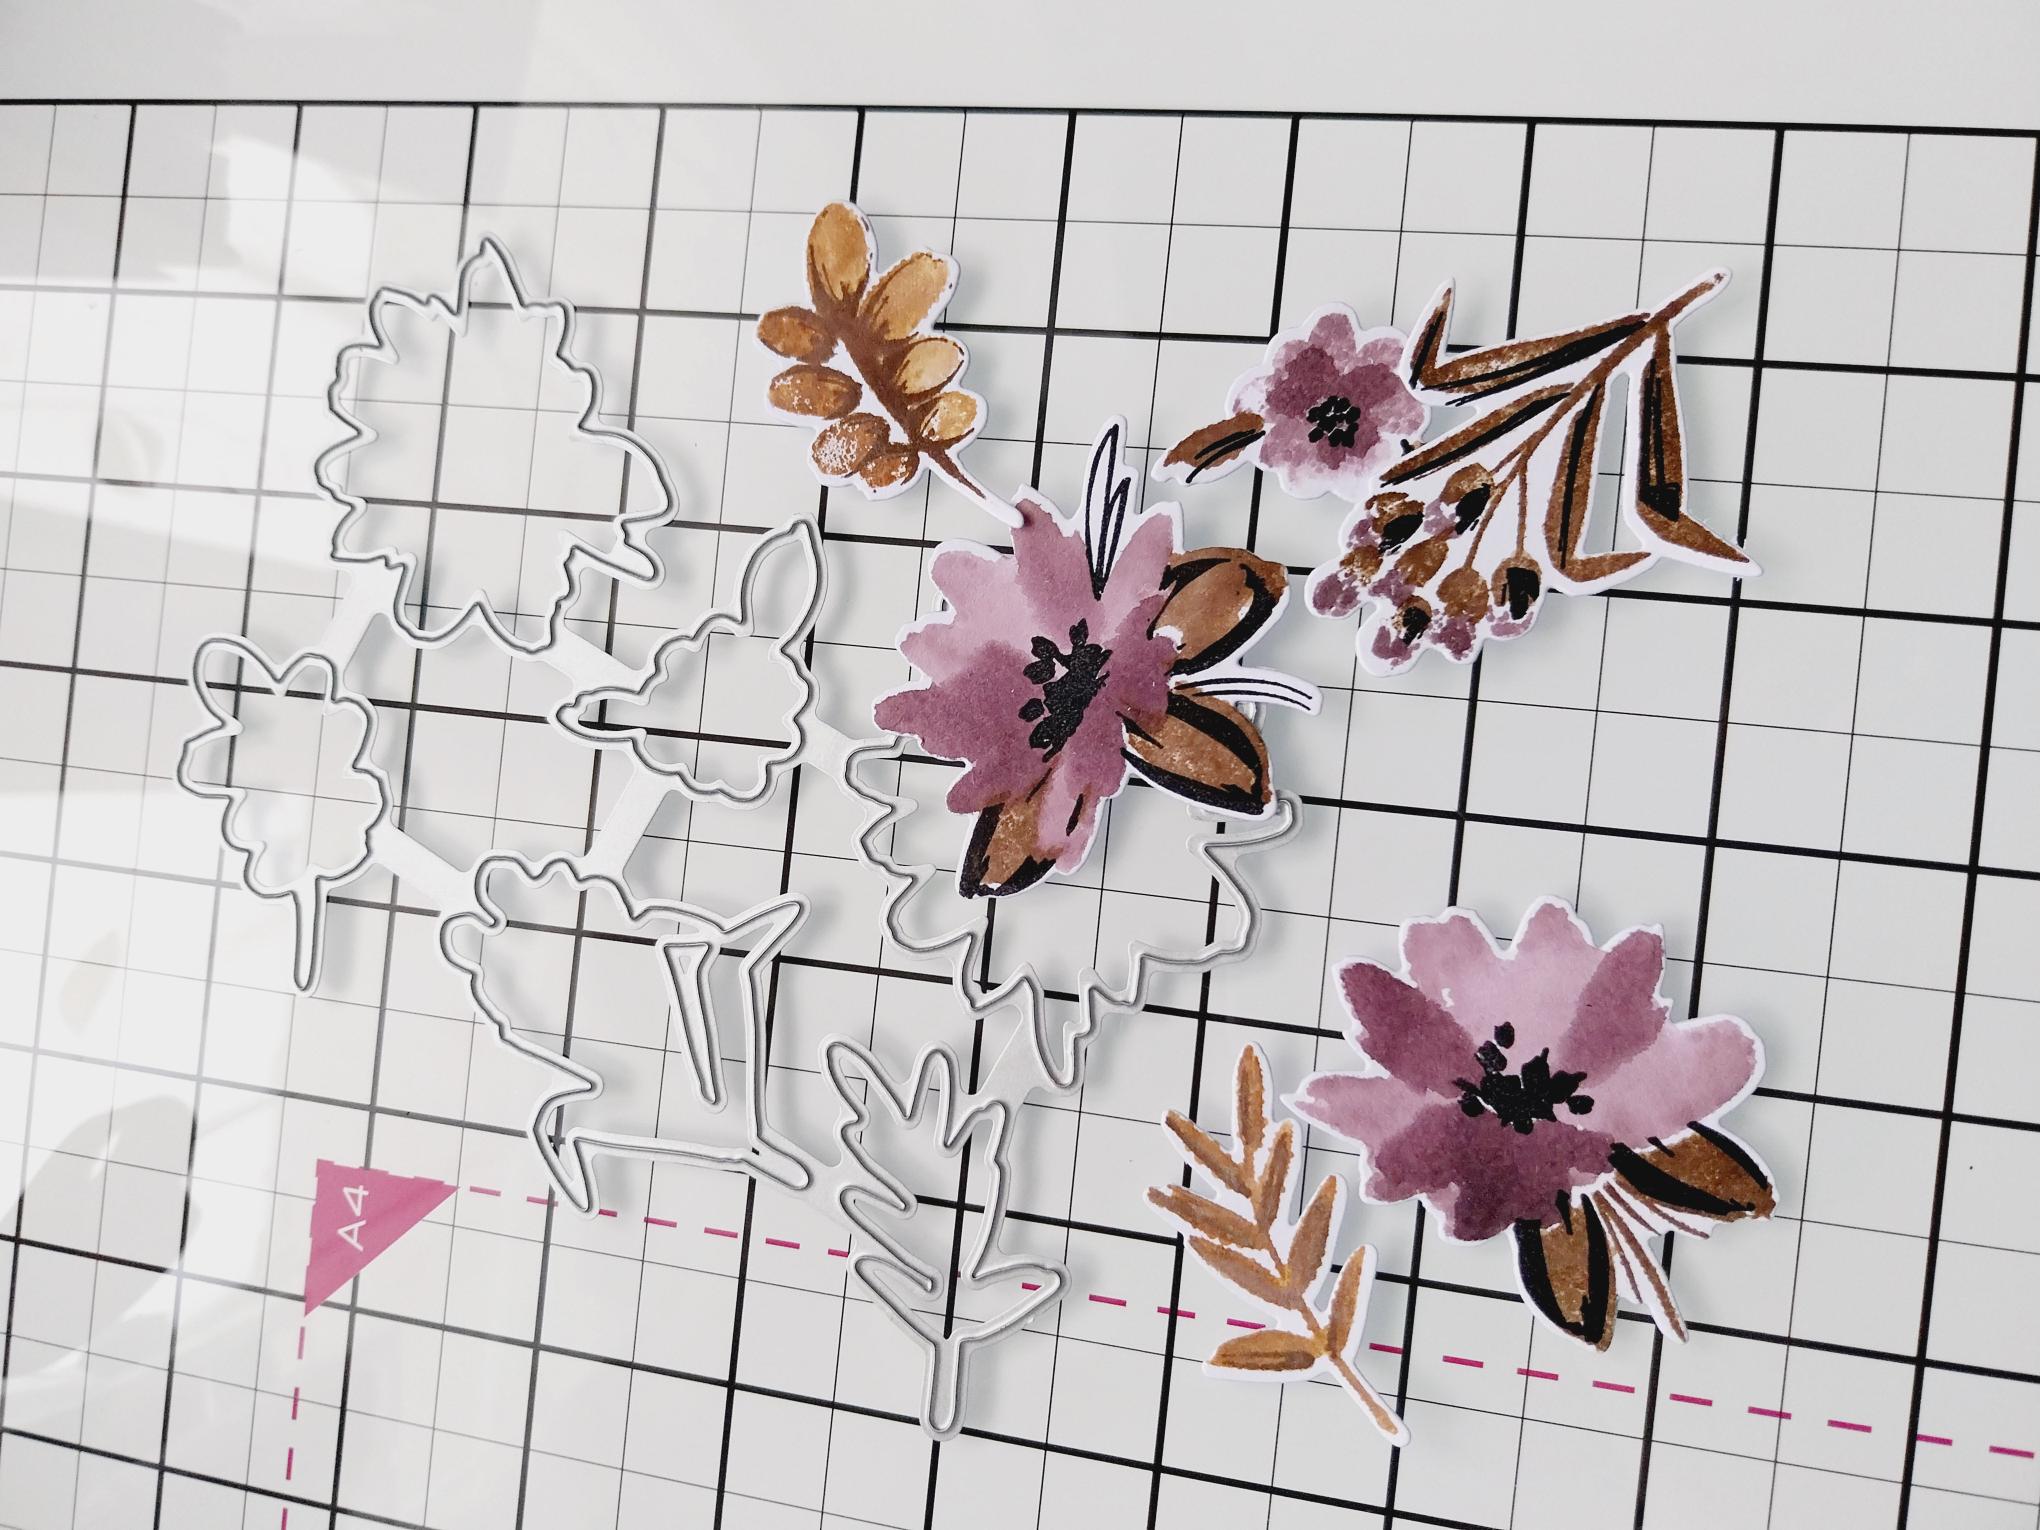
Use the coordinating die plate, to cut them all out, in 1 pass! |

|
Adhere your 3D elements around the top left corner of your prepped card blank, ensuring you set aside ONE small die cut flower, for a later step! |
|
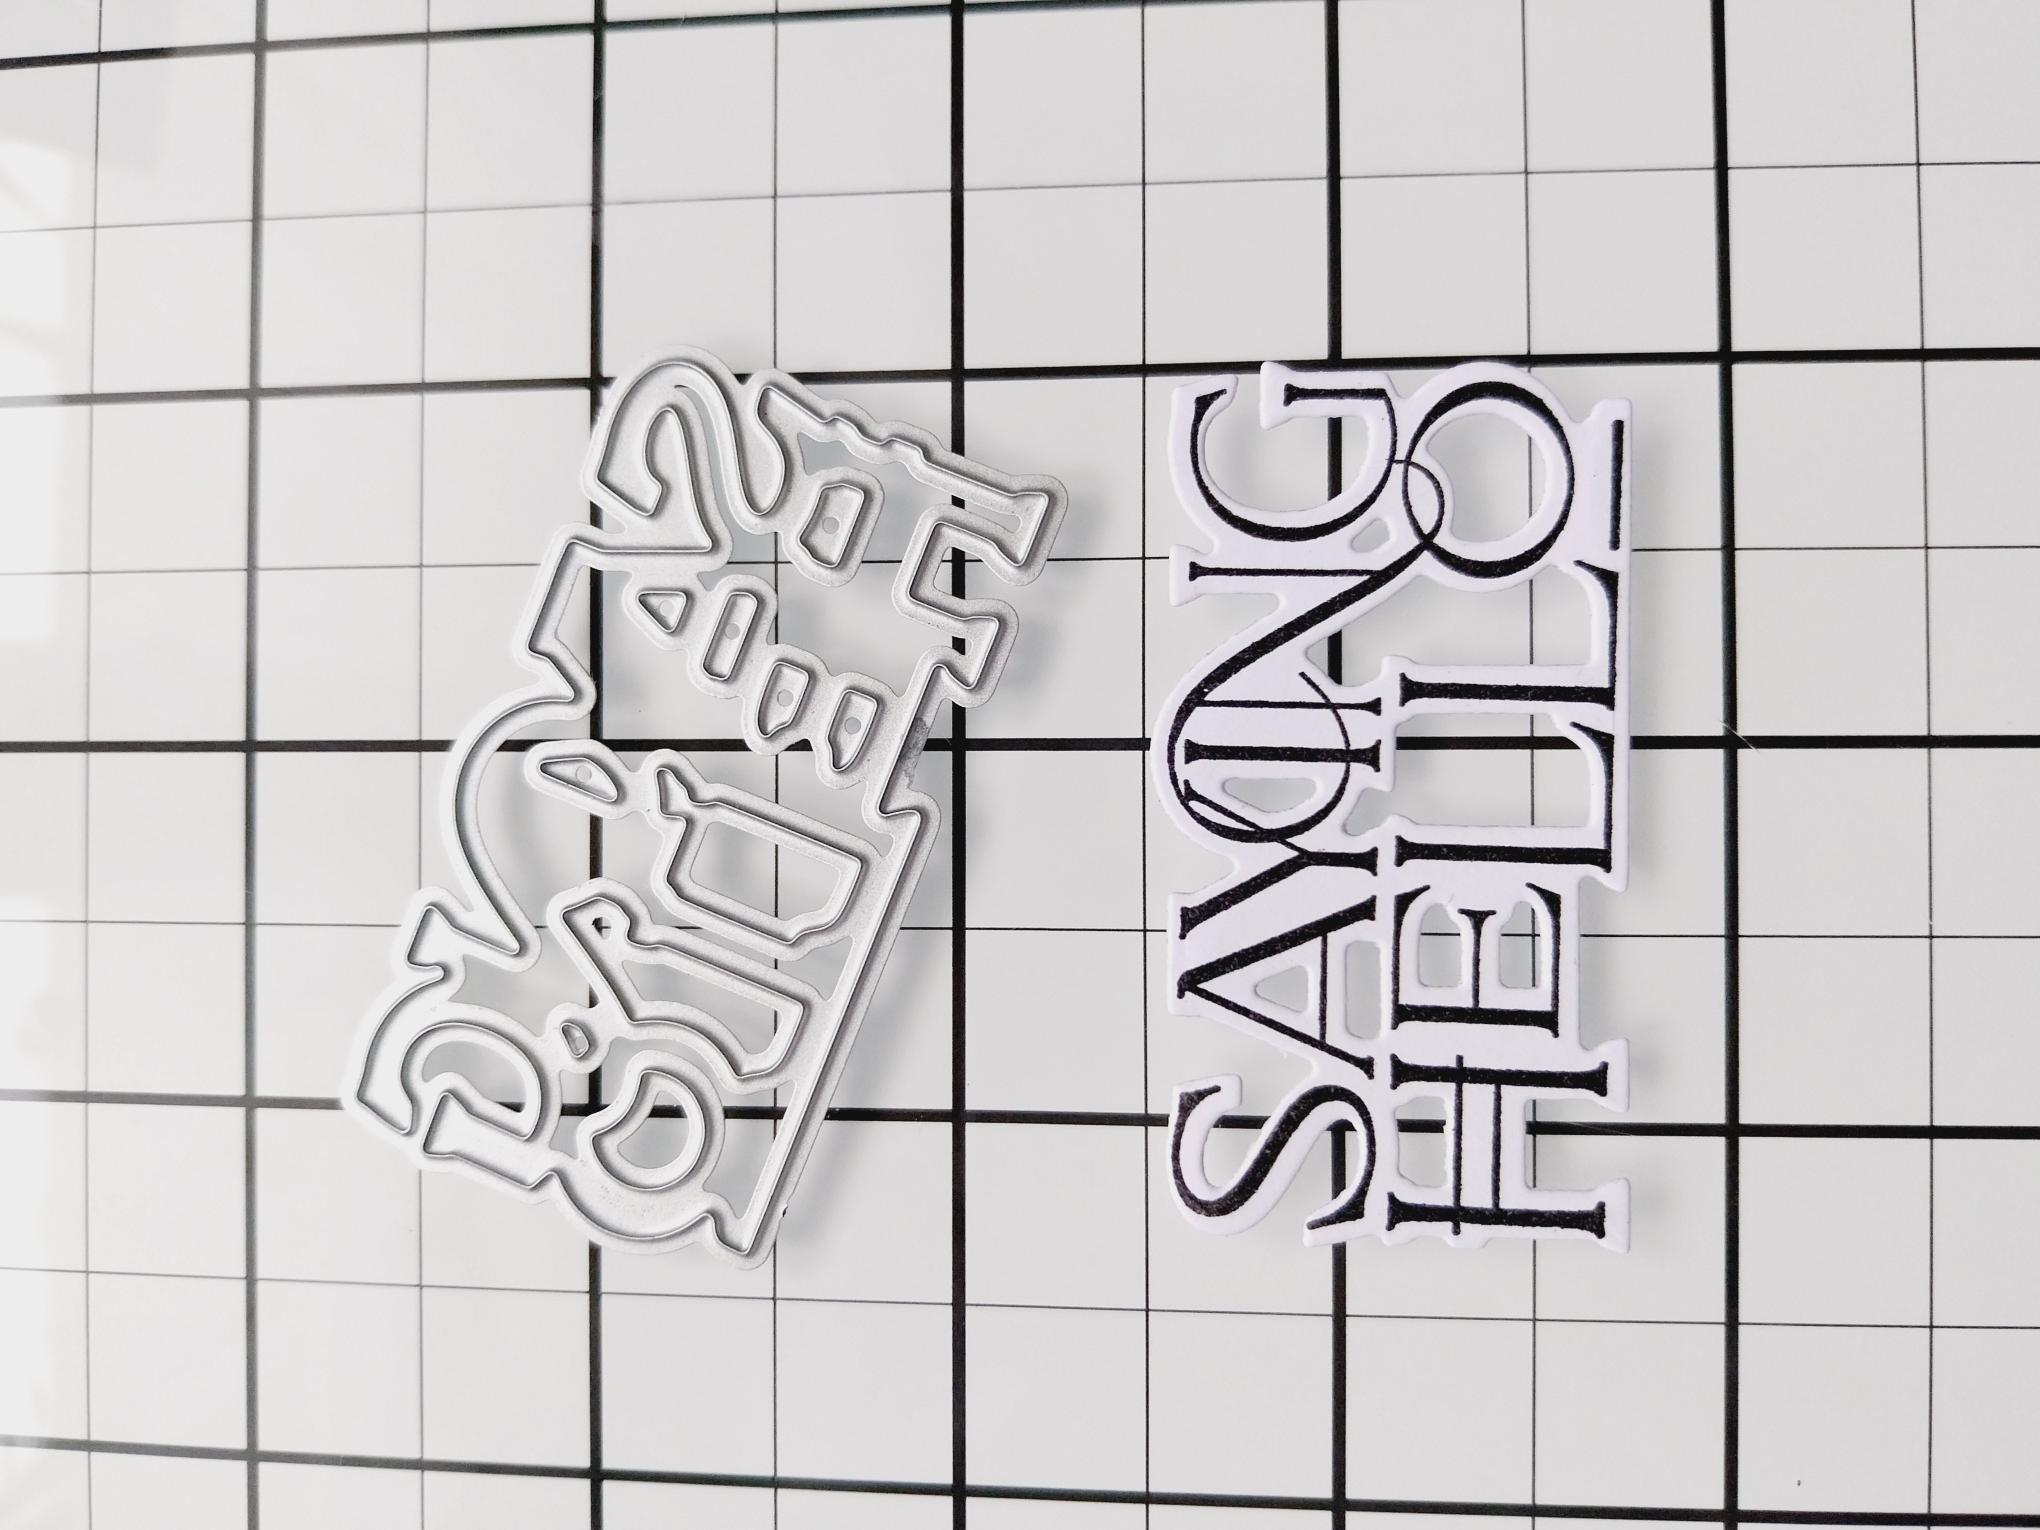
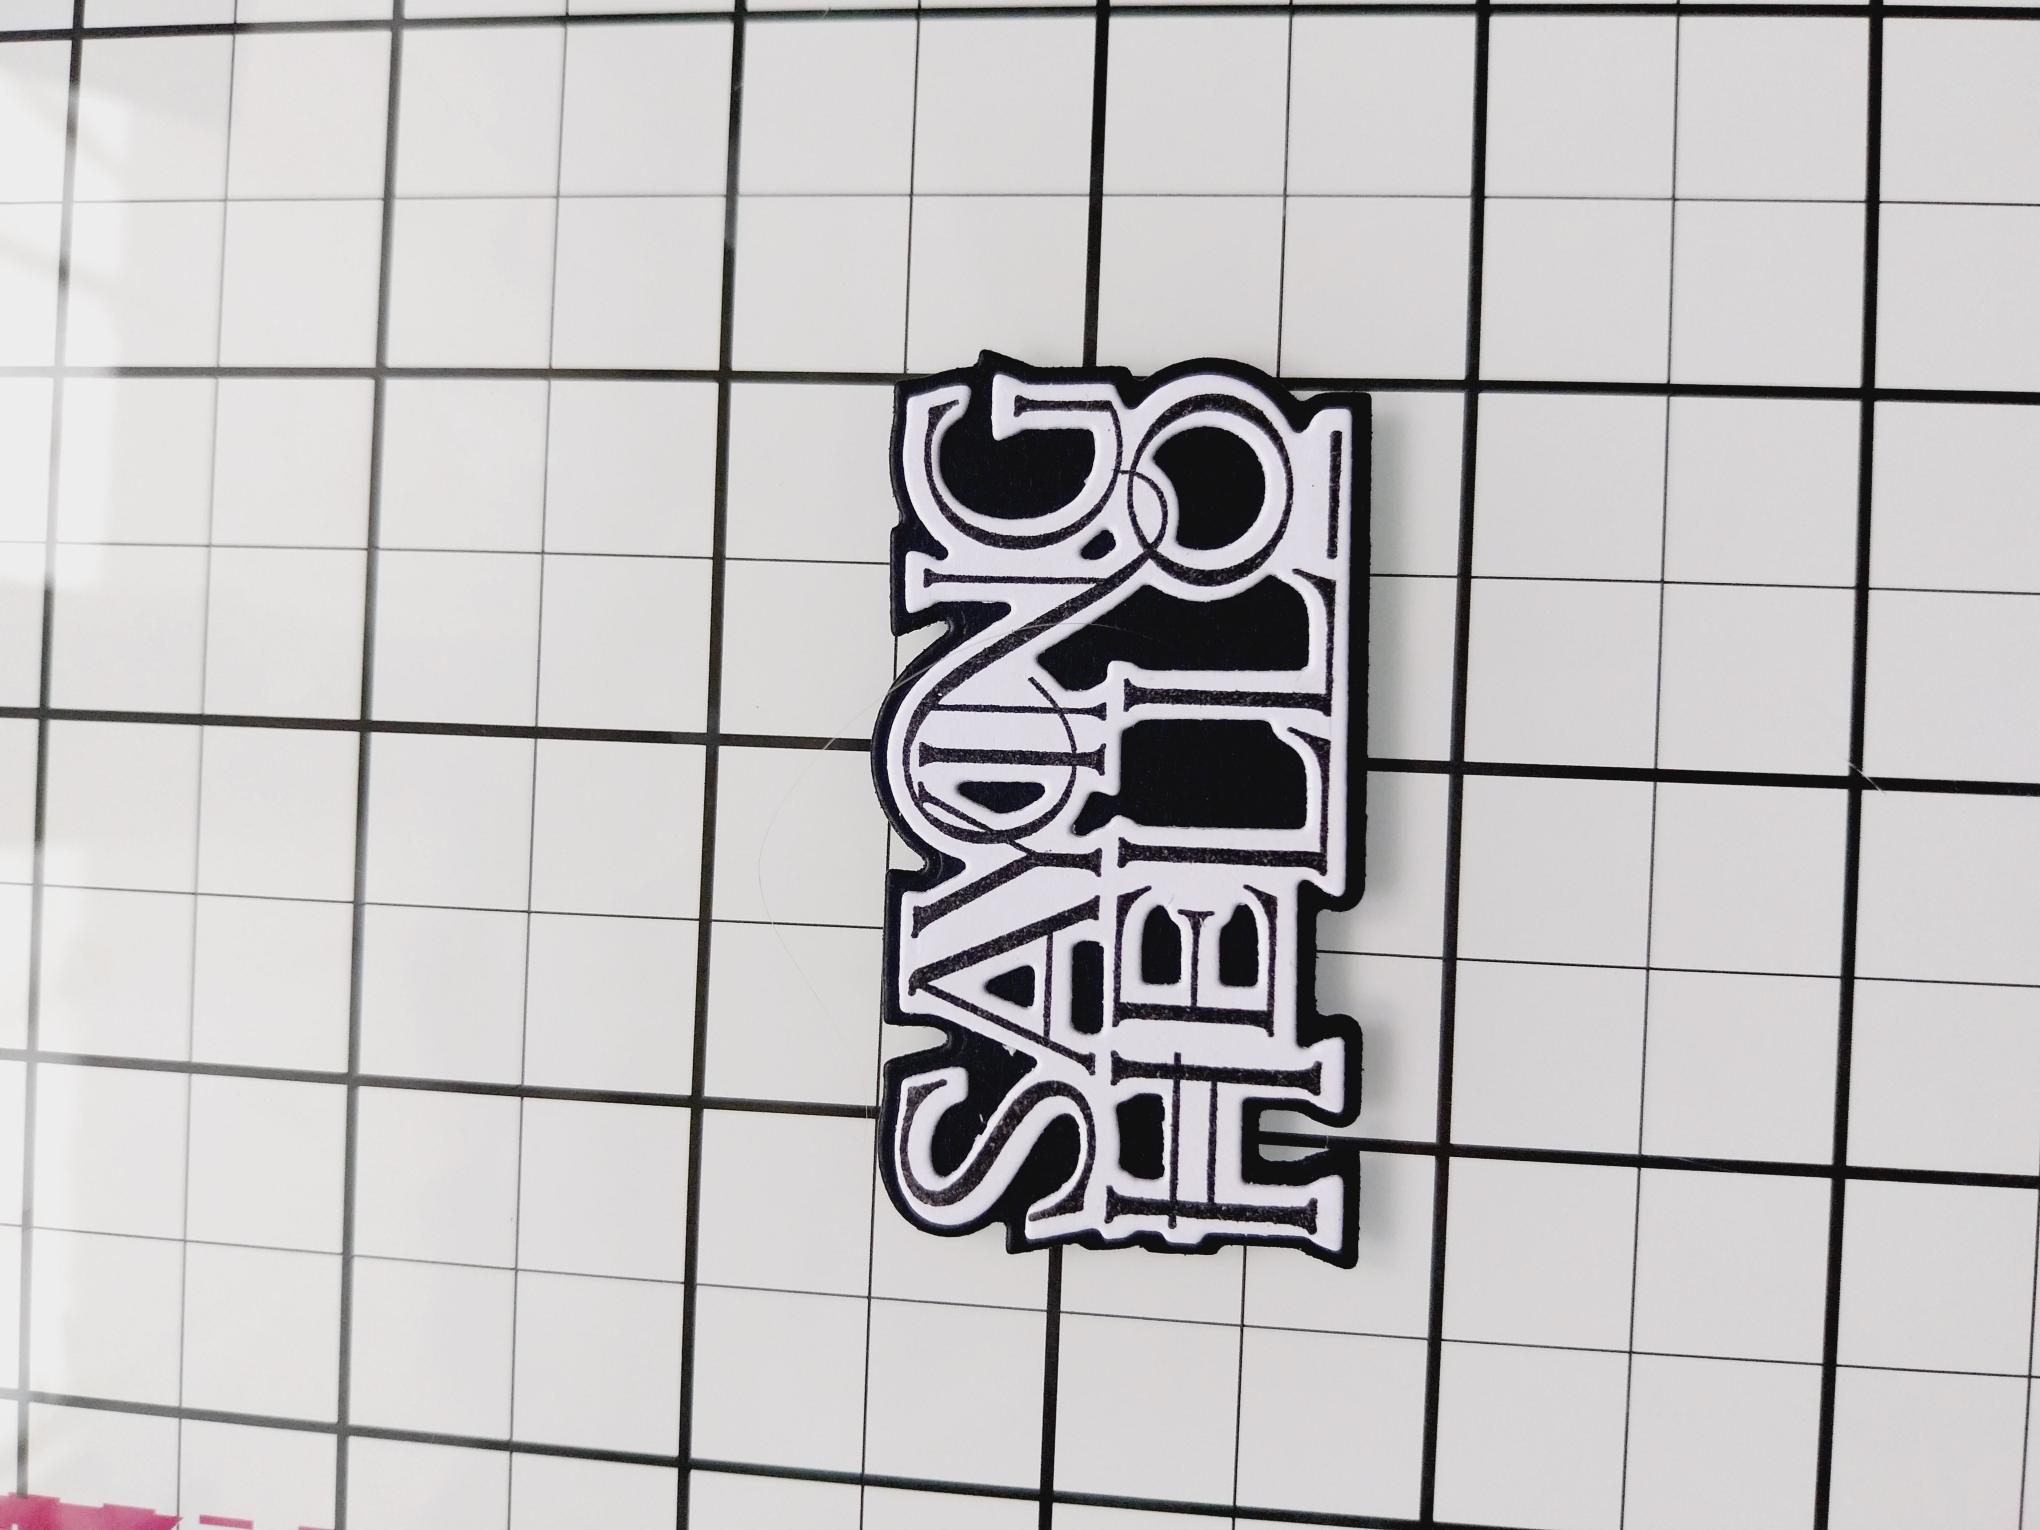
Ink up the "Saying Hello" stamp, from the collection with the same name, in the Midnight ink and stamp on to a piece of white card. Use the coordinating detailed die, to cut out your sentiment. |
|
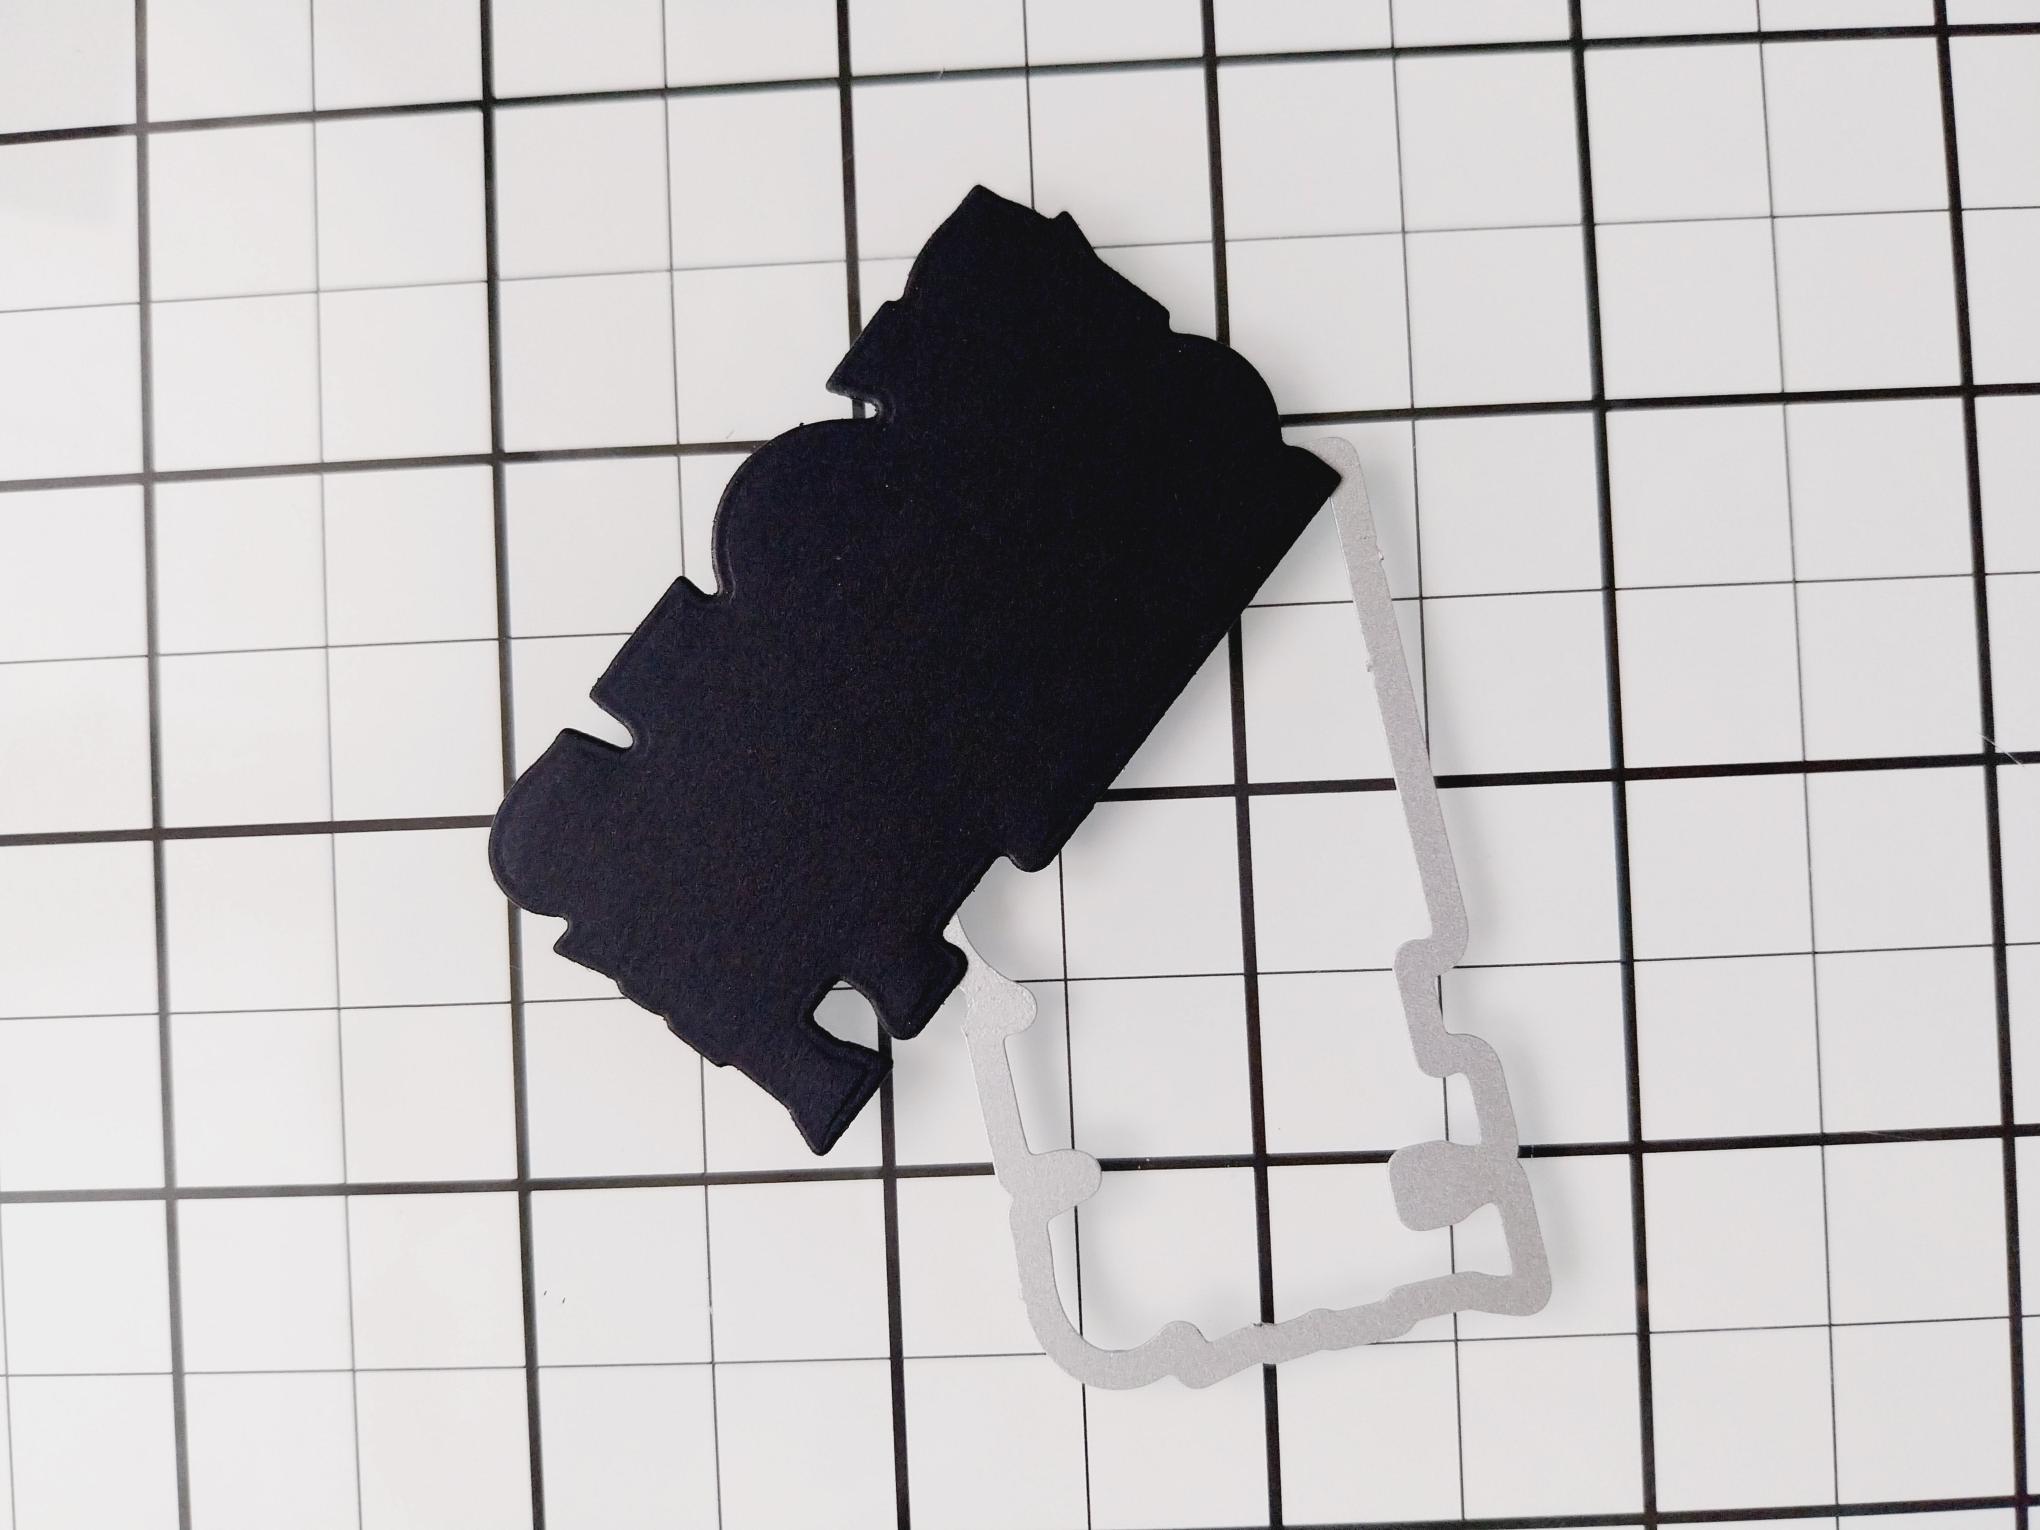
Die cut the sentiment mat, using the corresponding die, from a piece of black card. |
|
Adhere the detailed sentiment on top of the die cut, black mat. |
|
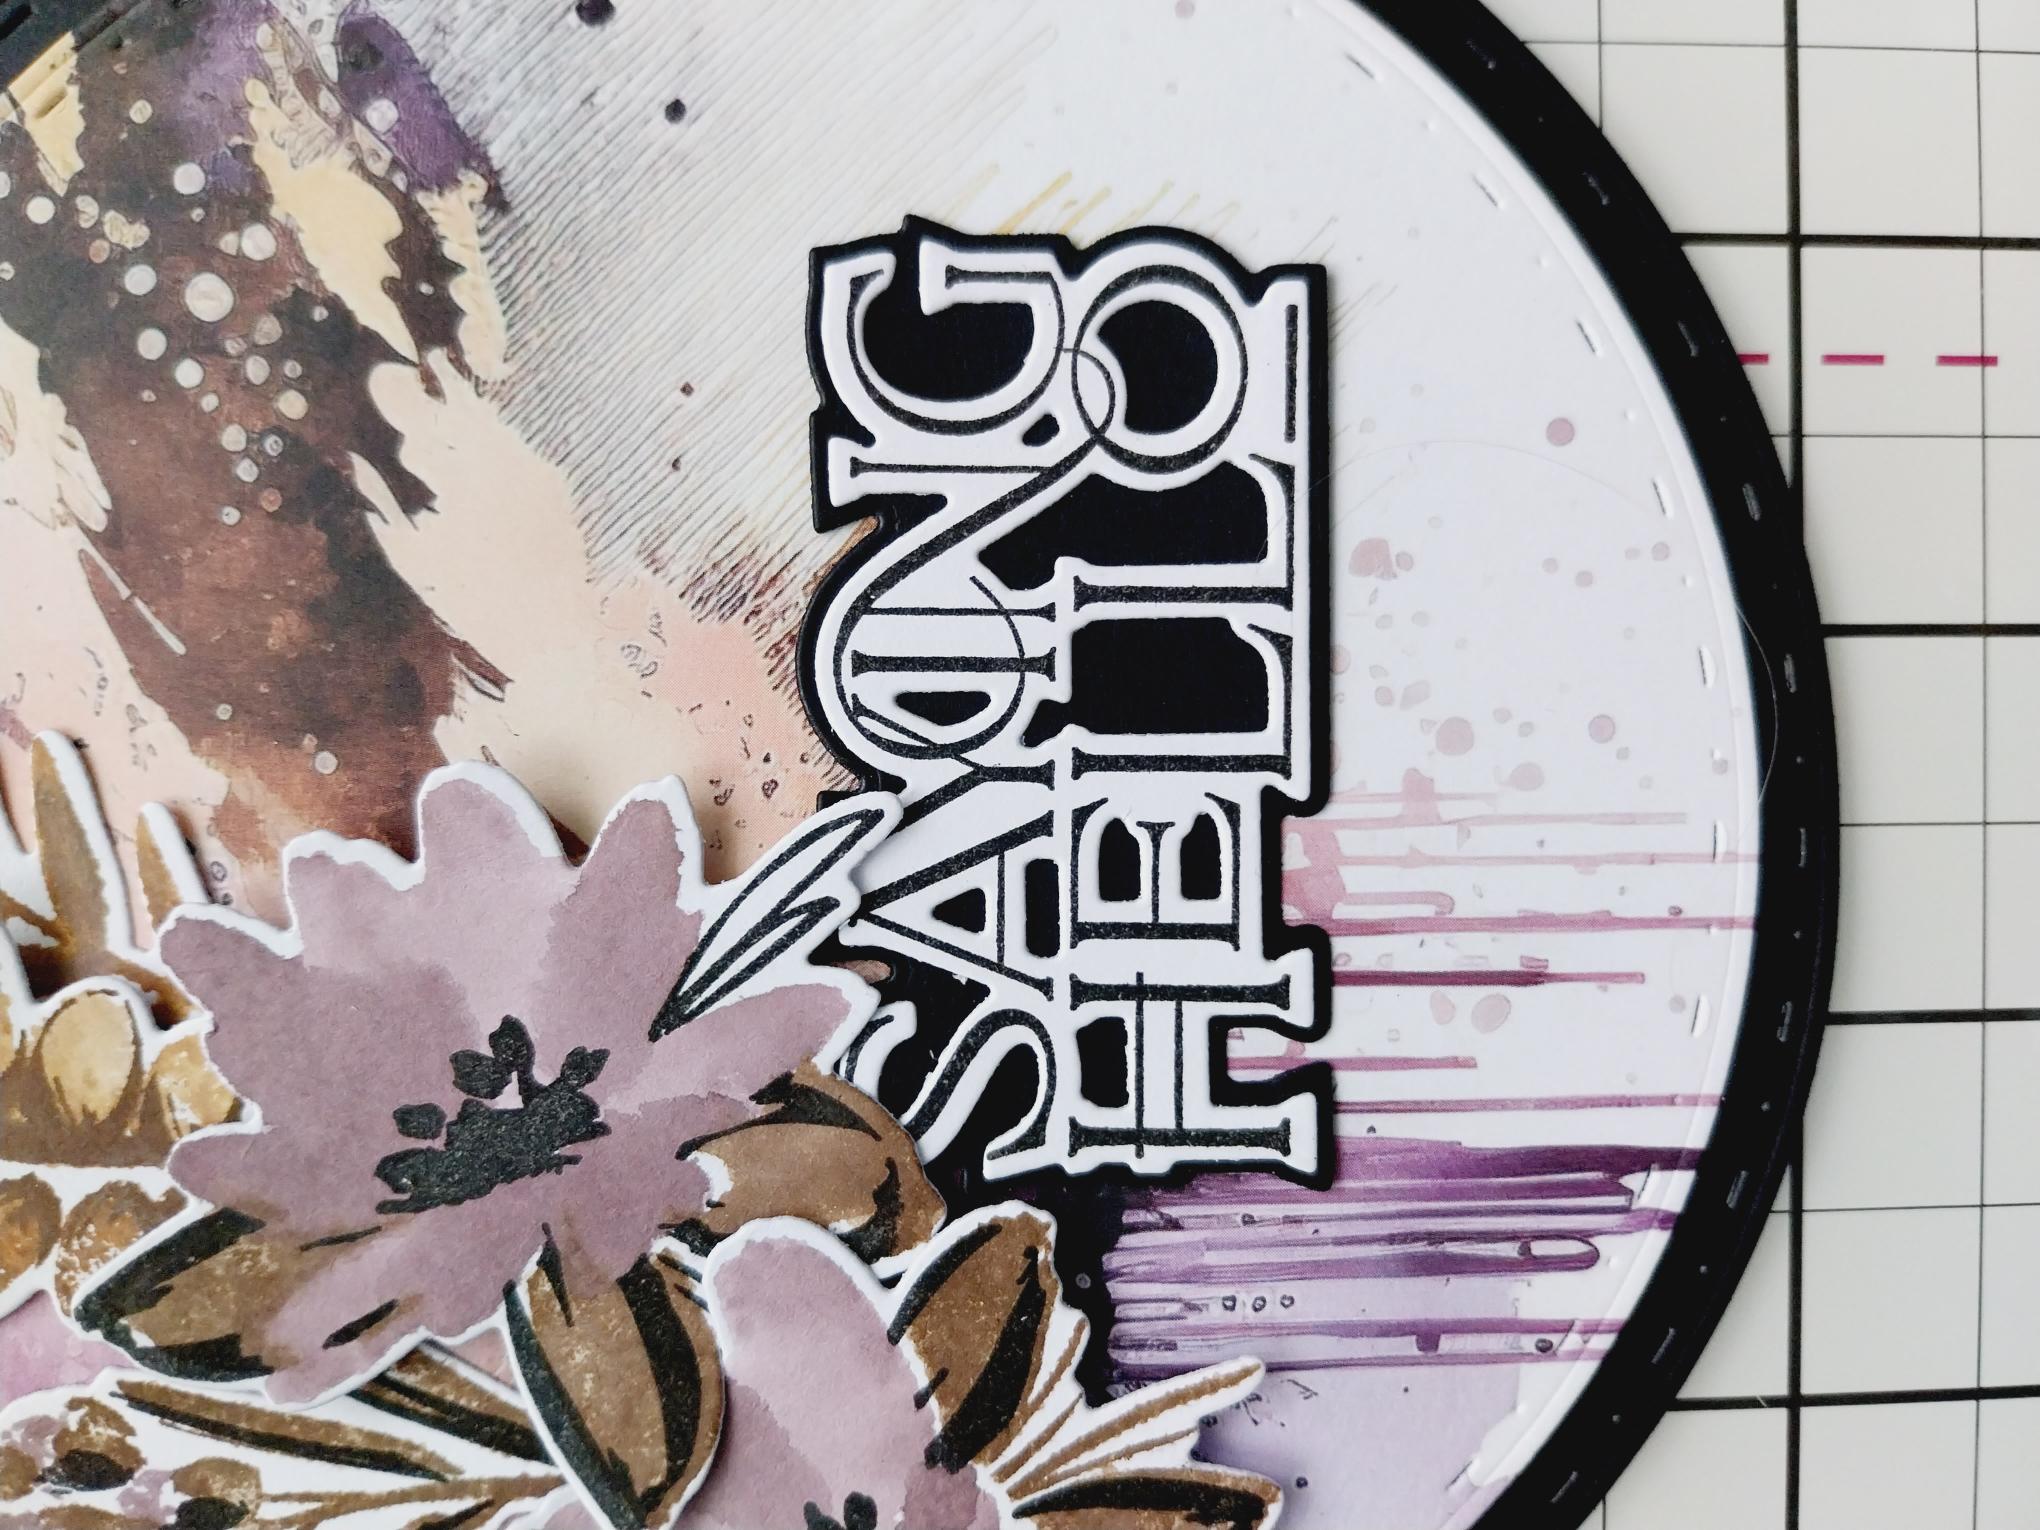
Adhere with foam pads, tucking it just under the bottom of your 3D floral design. |
|
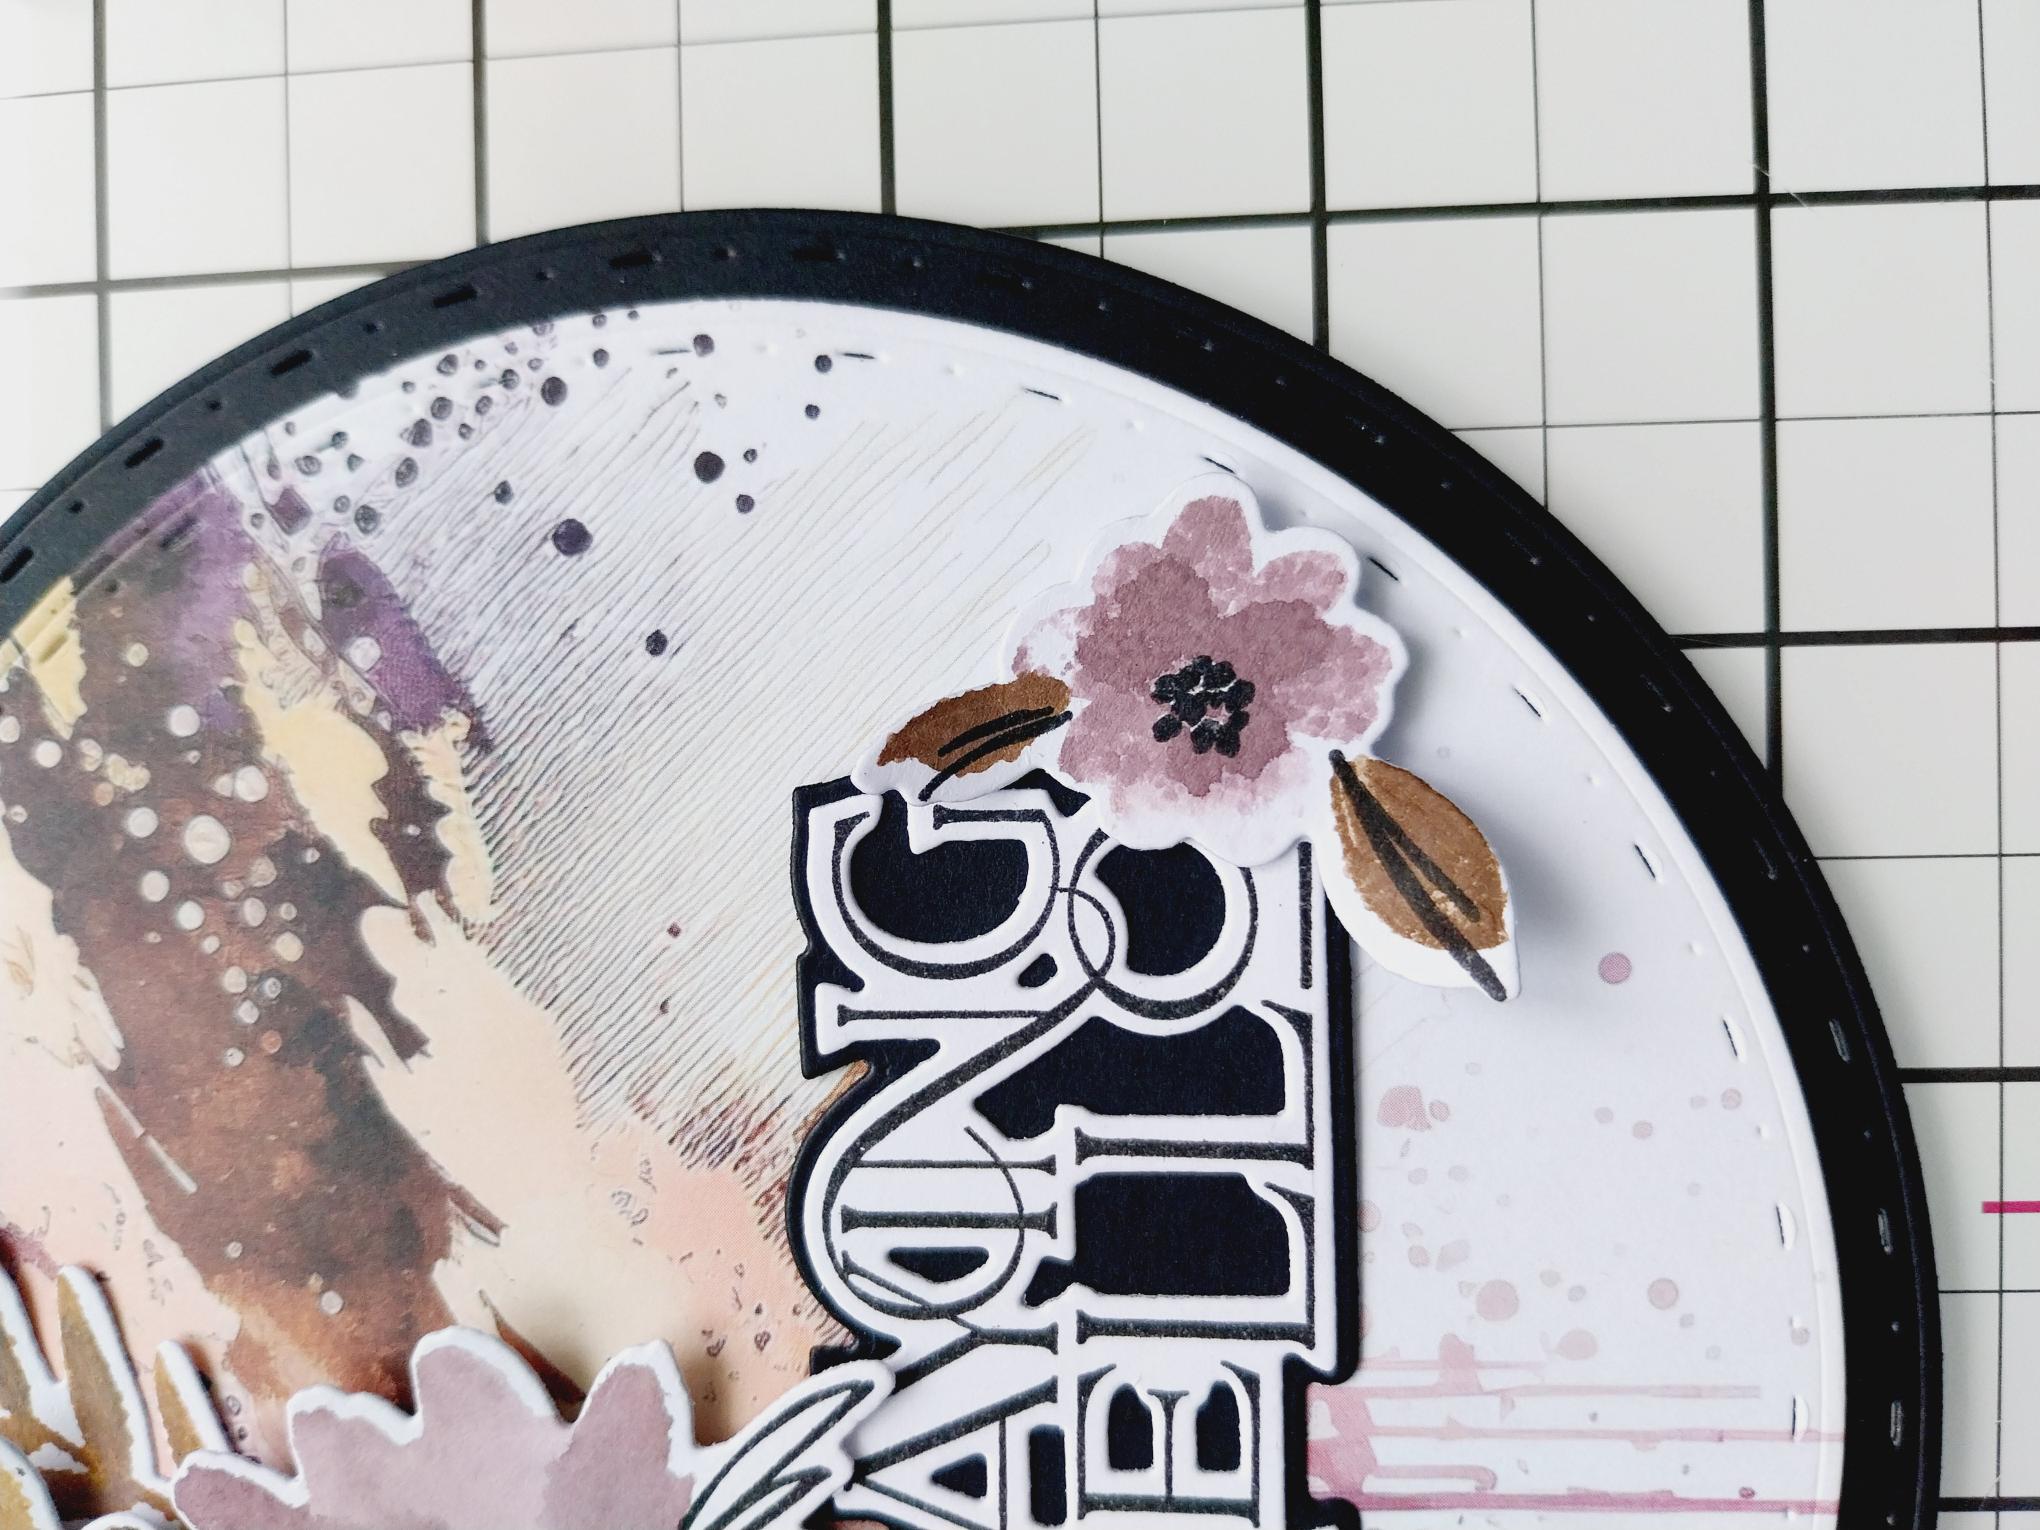
Adhere the stamped floral element you set aside earlier, to the right of your sentiment, with a little foam pad. |
|
To finish your card, add sequins on, around and tucked just under your 3D floaral design. |