Give your friends $10 off their first order!
Refer a FRIEND


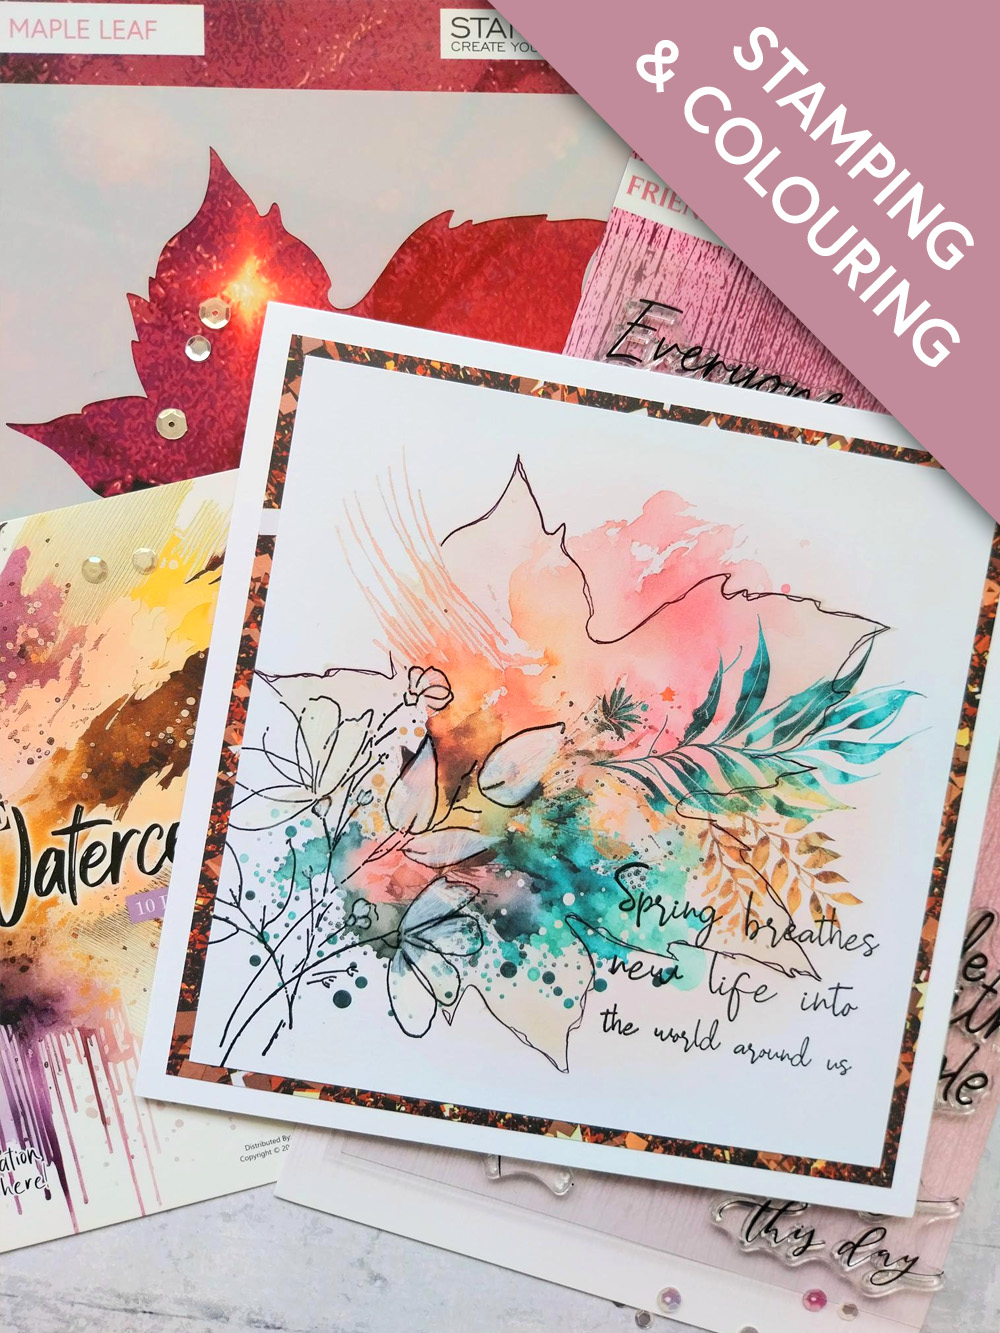
WHAT YOU WILL NEED:
White card blank 7 x 7"
Creative Watercolours 6 x 6" Paper Pack
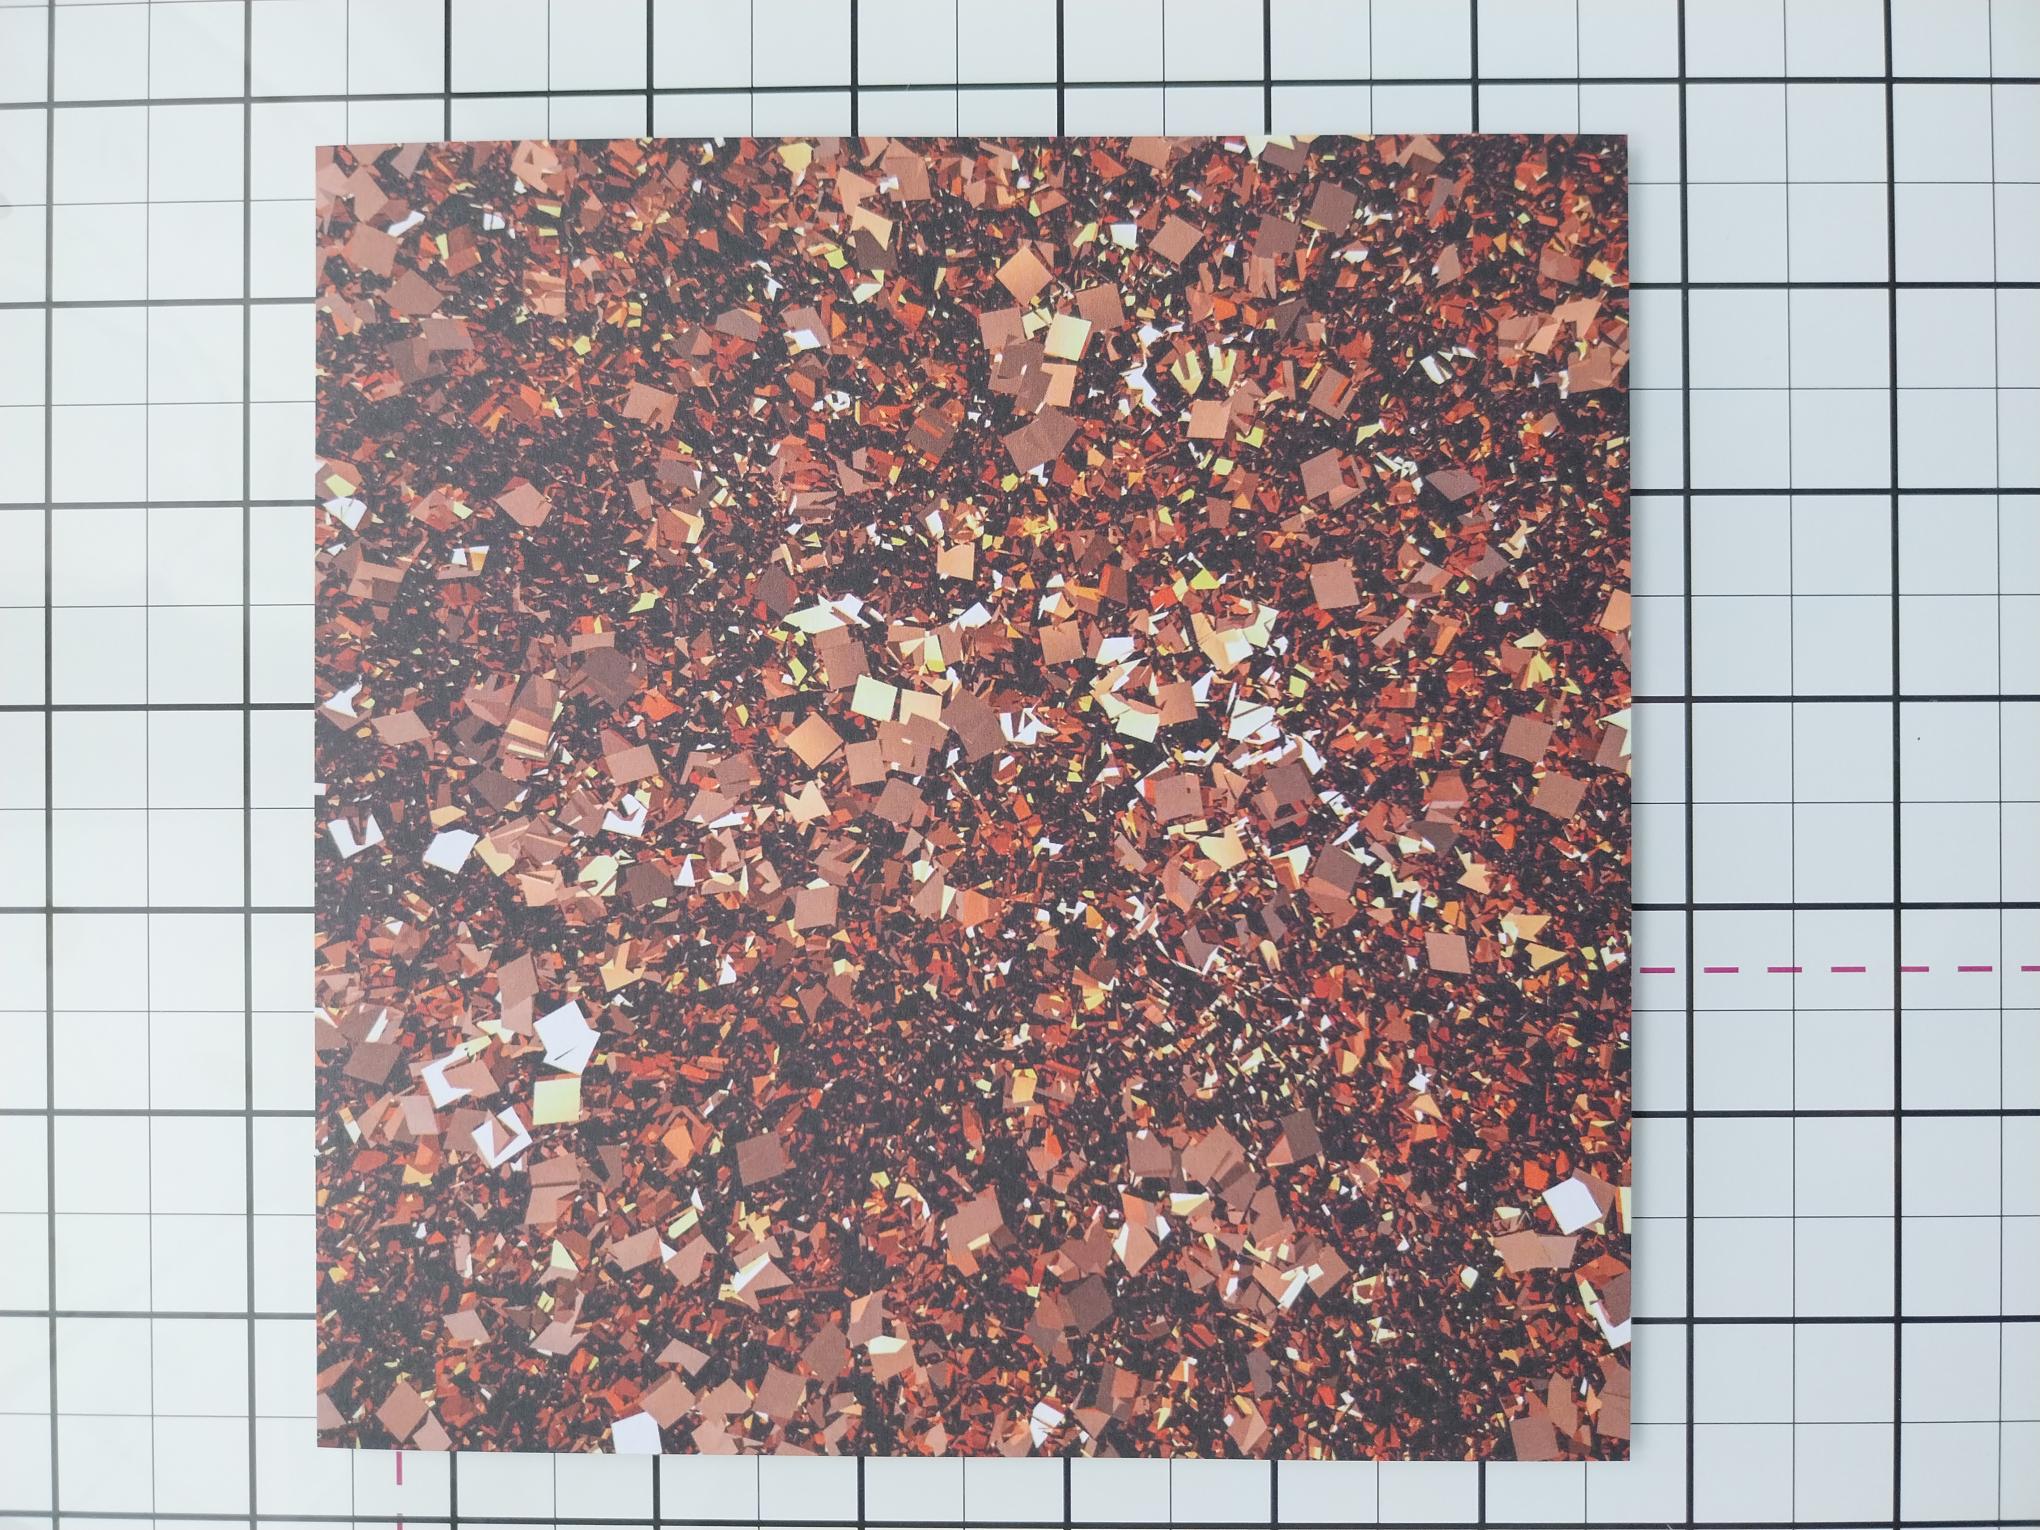
All Surfaces 8 x 8" Paper Pack: Copper
Friend Like You Stamp Collection
Sketched Florals Paperchain Stamp Collection
Maple Leaf Stencil
SBM Hybrid Ink Pad: Midnight
SBM No-line Ink pad
SBM Pigment Ink pad: Cotton
Blending tool
Paint brush
Black pen
Eureka 101 Watercolour Tablet
SBM Magnetic glass mat
Paper Trimmer
Perfect Together Glue
[click image to enlarge] 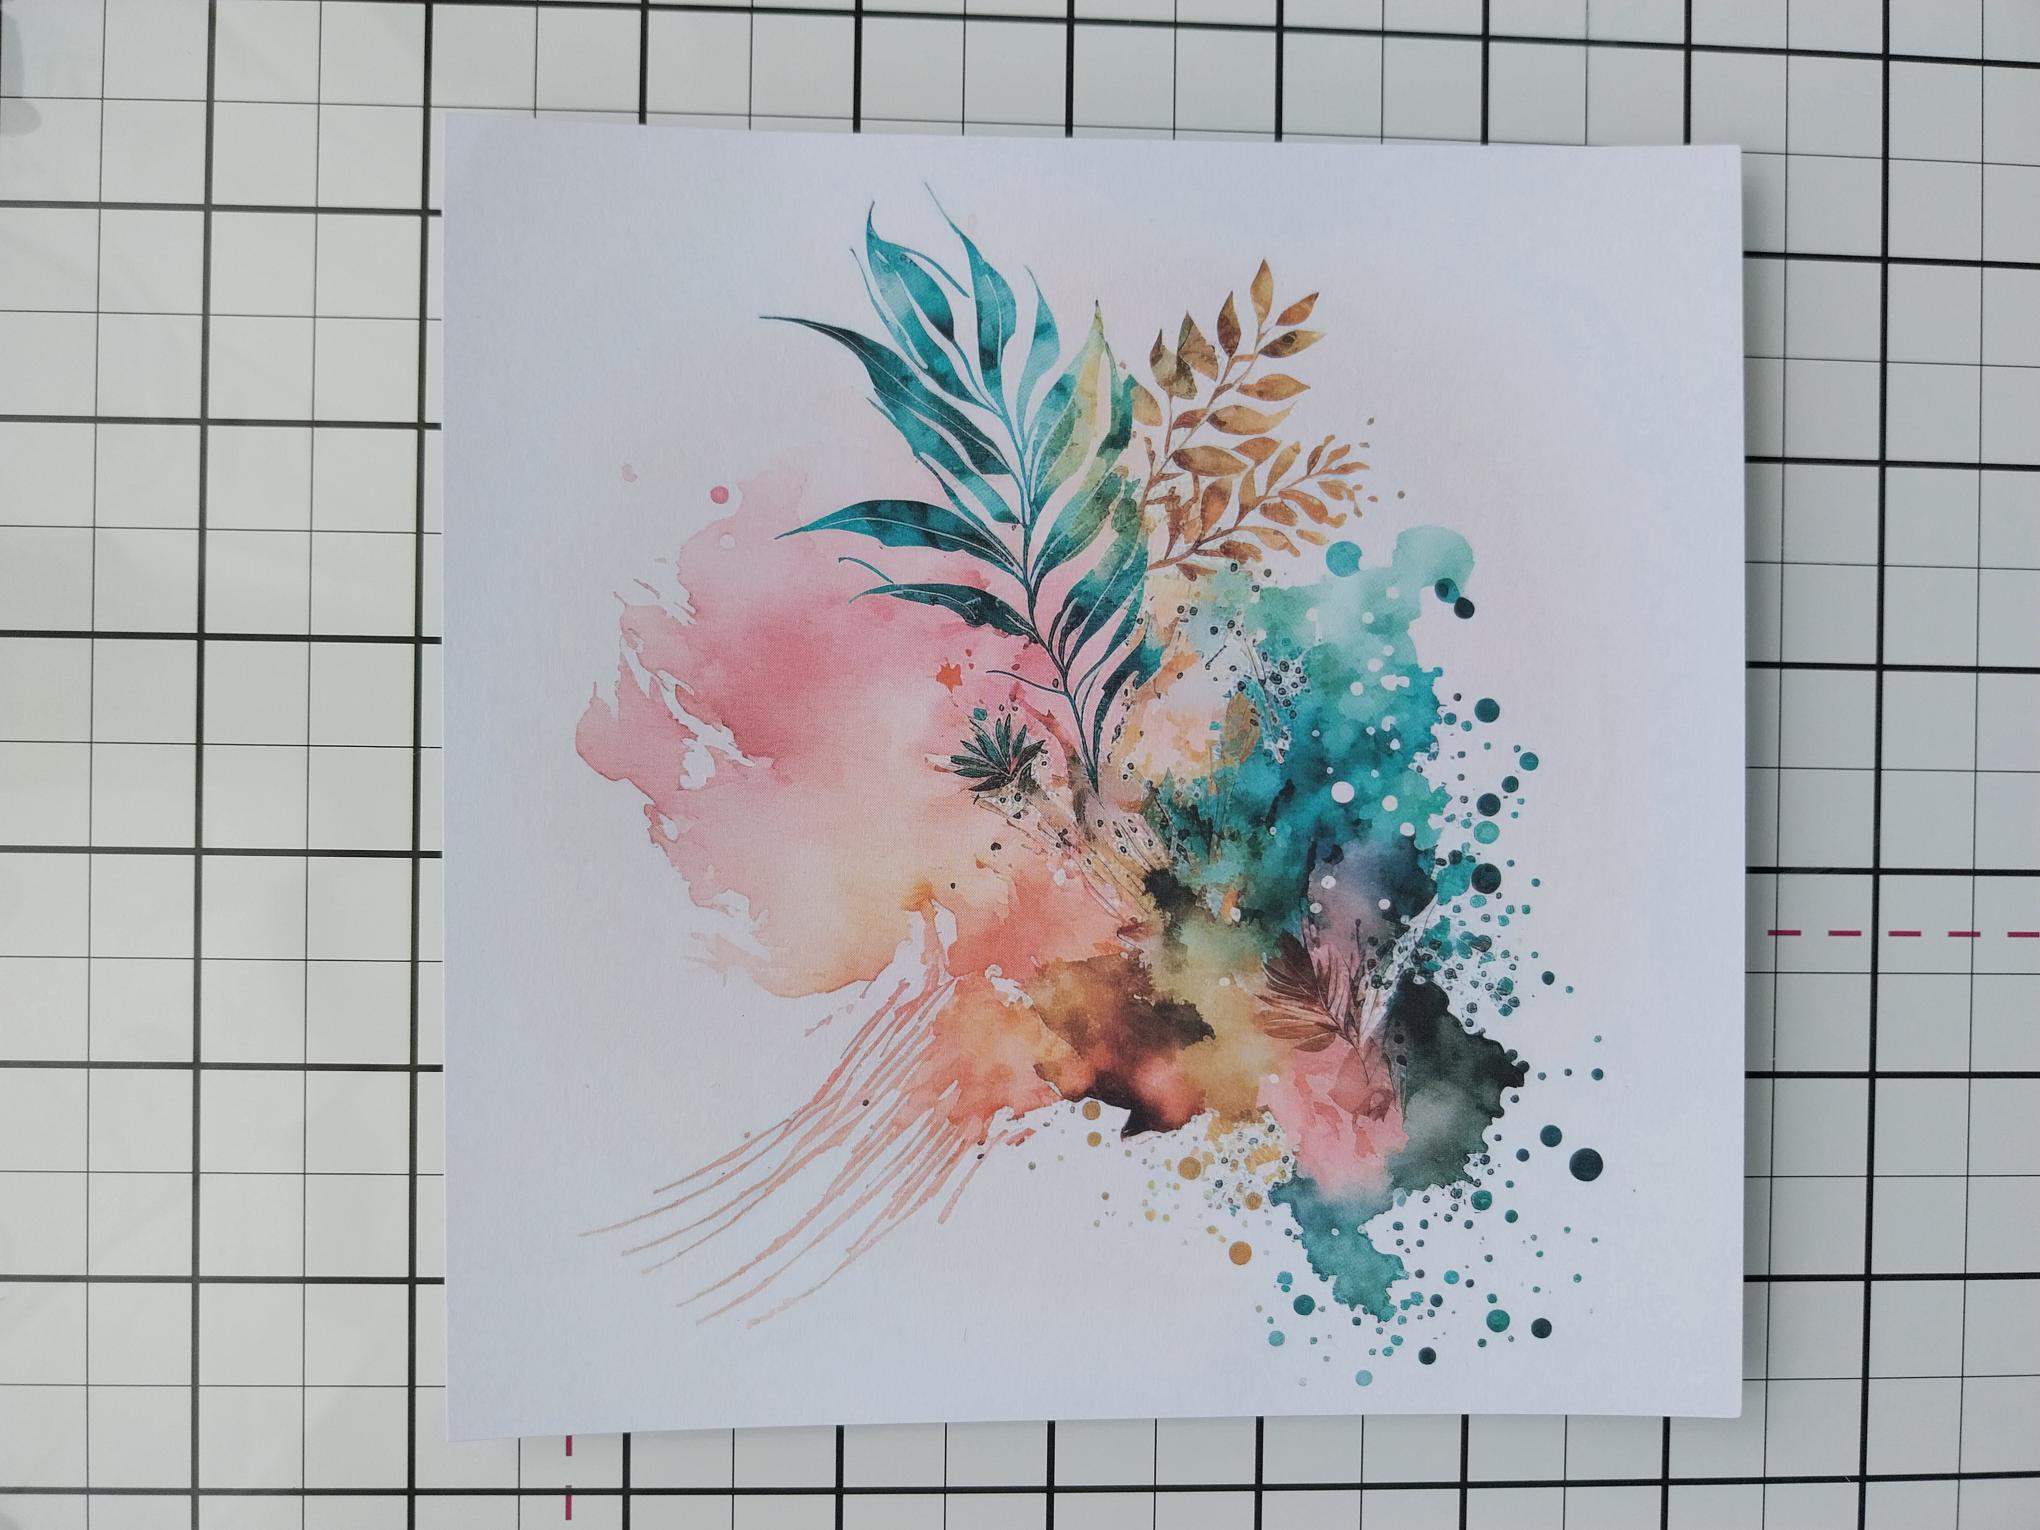
|
Remove this decorative paper from your Creative Watercolours pack. |
|
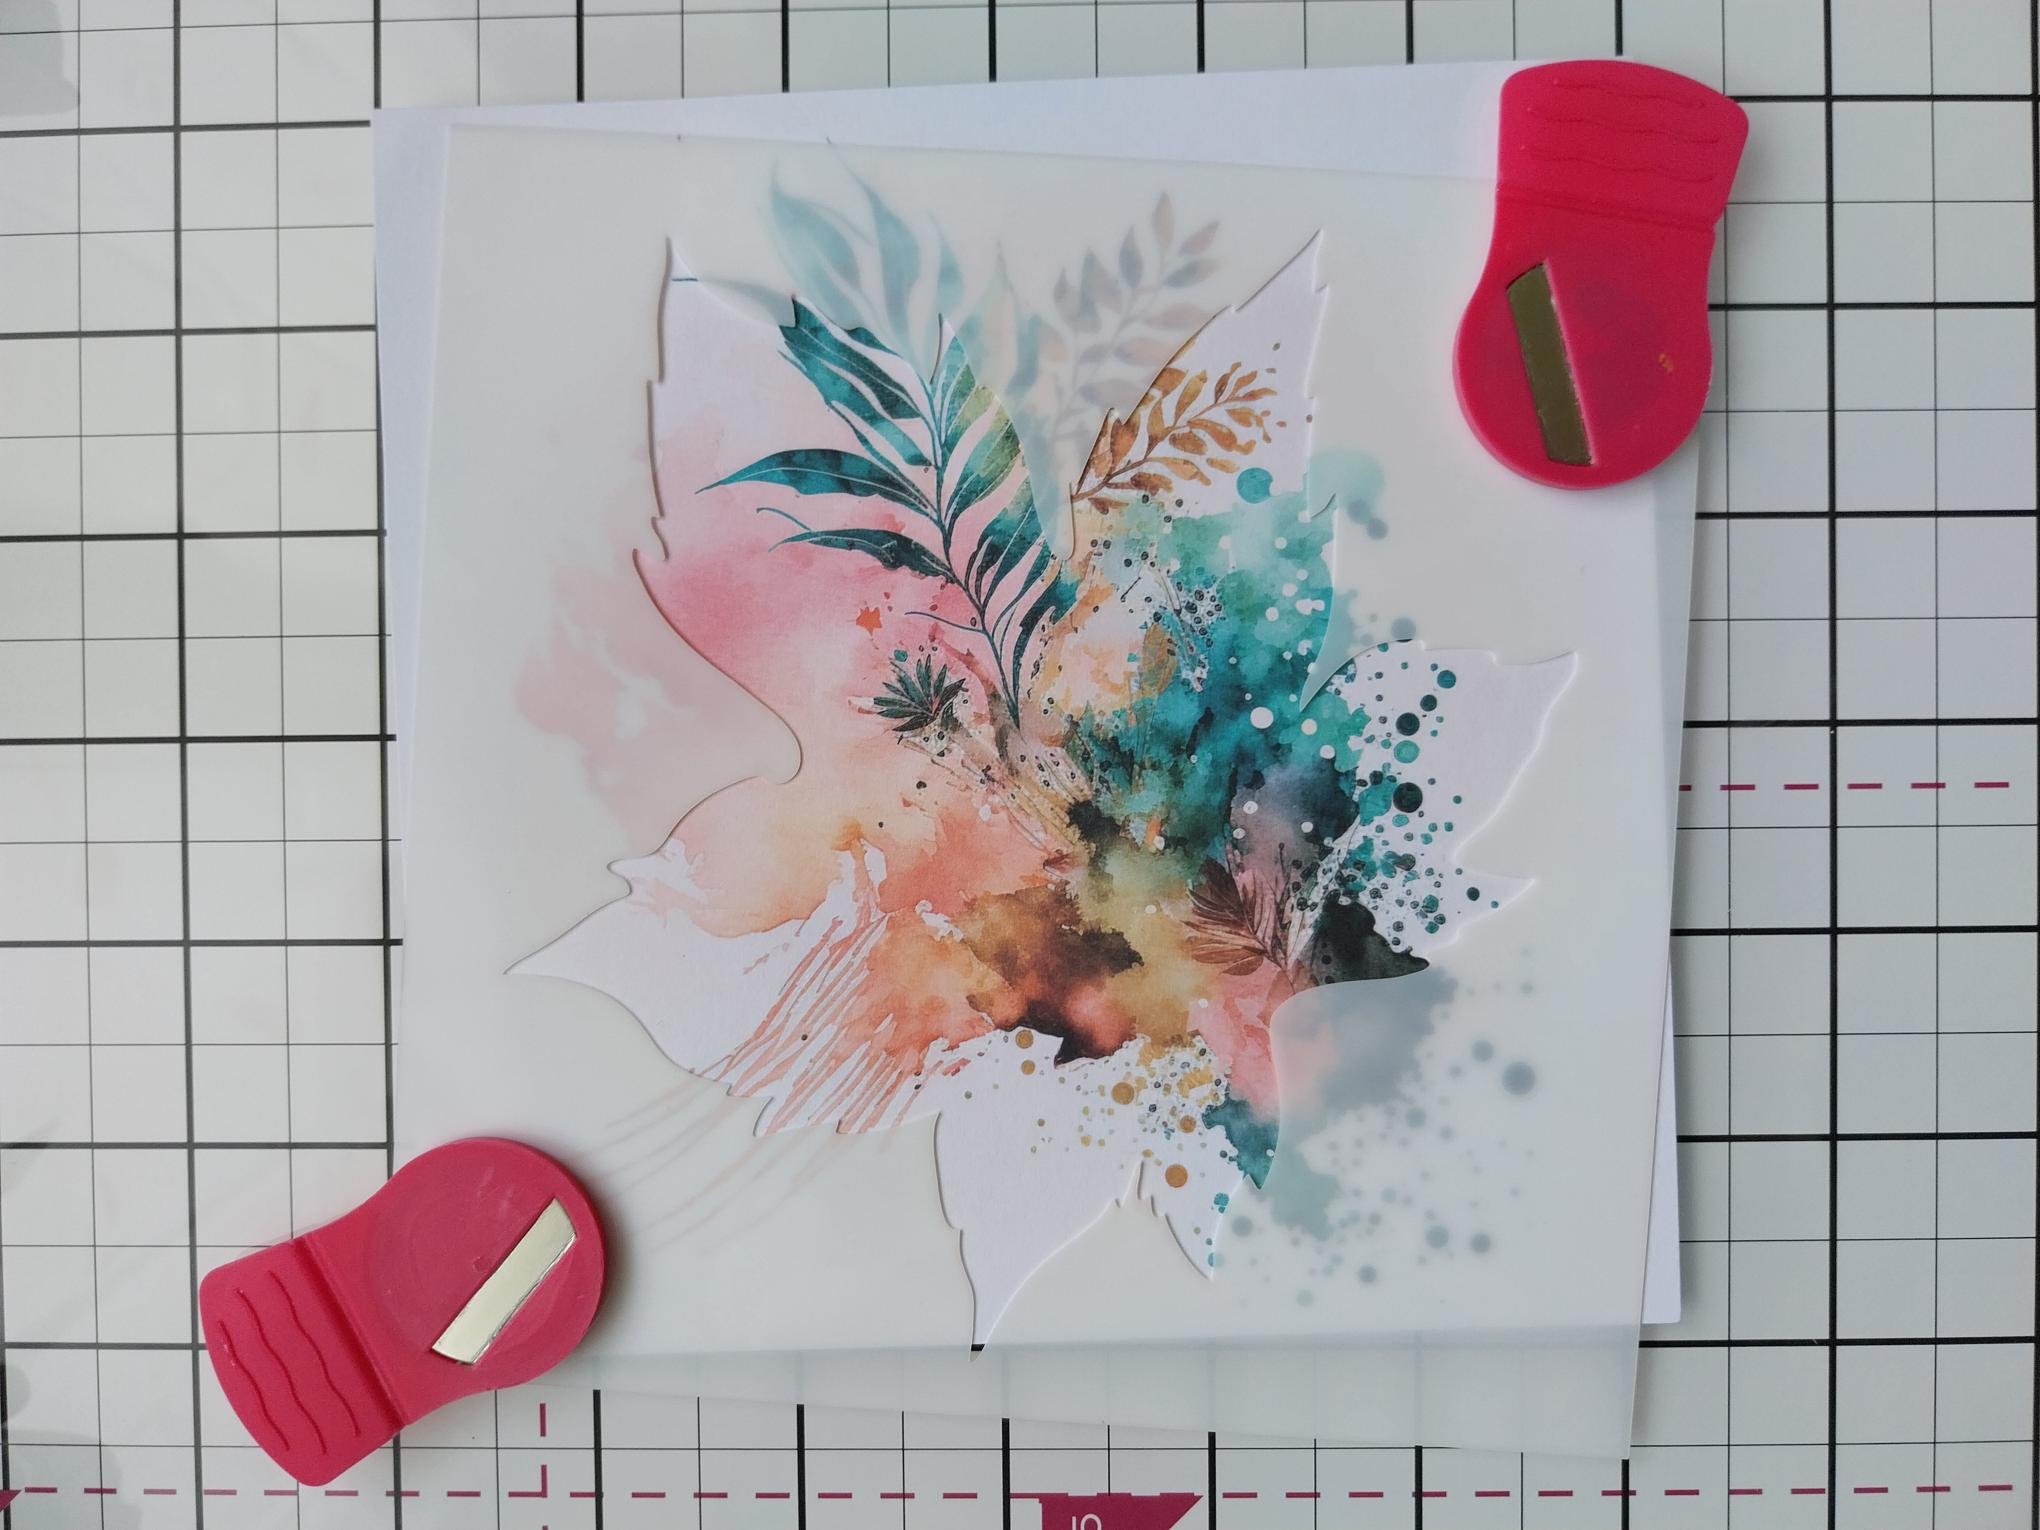
Secure the Maple stencil with your magnets, on top of the decorative paper, so the base of the Maple Leaf is bottom left. |
|
Using a blending tool, apply the No-Line ink within the stencil but focusing the depth of ink around the inner edges. Remove the stencil and blast the ink dry with a heat tool. |
|
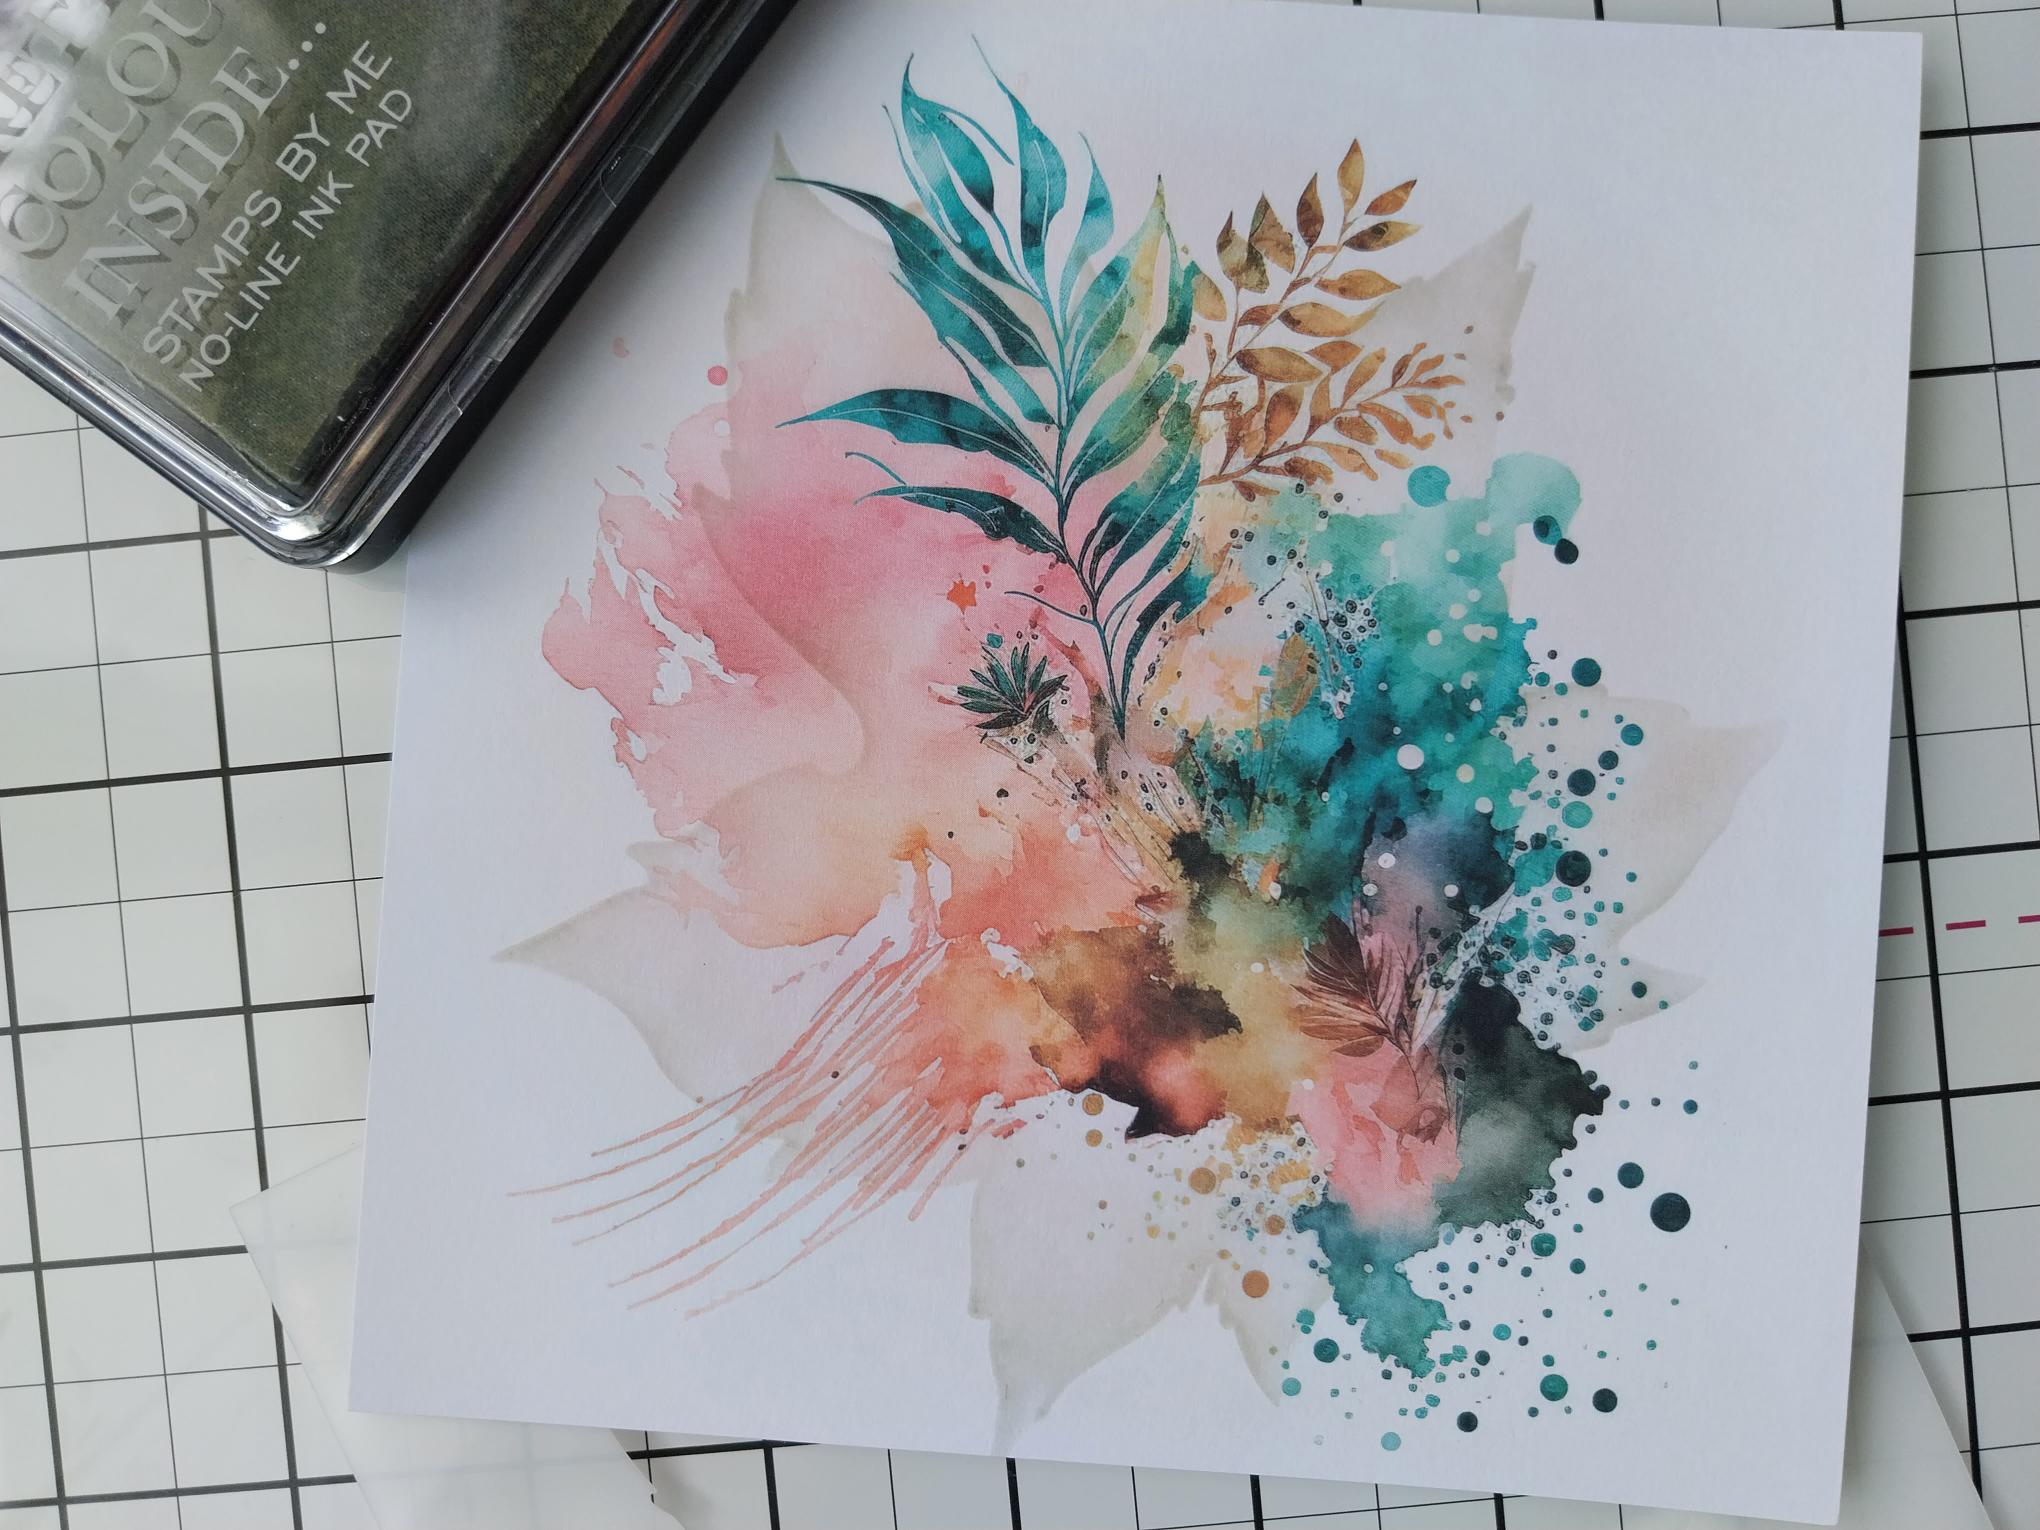
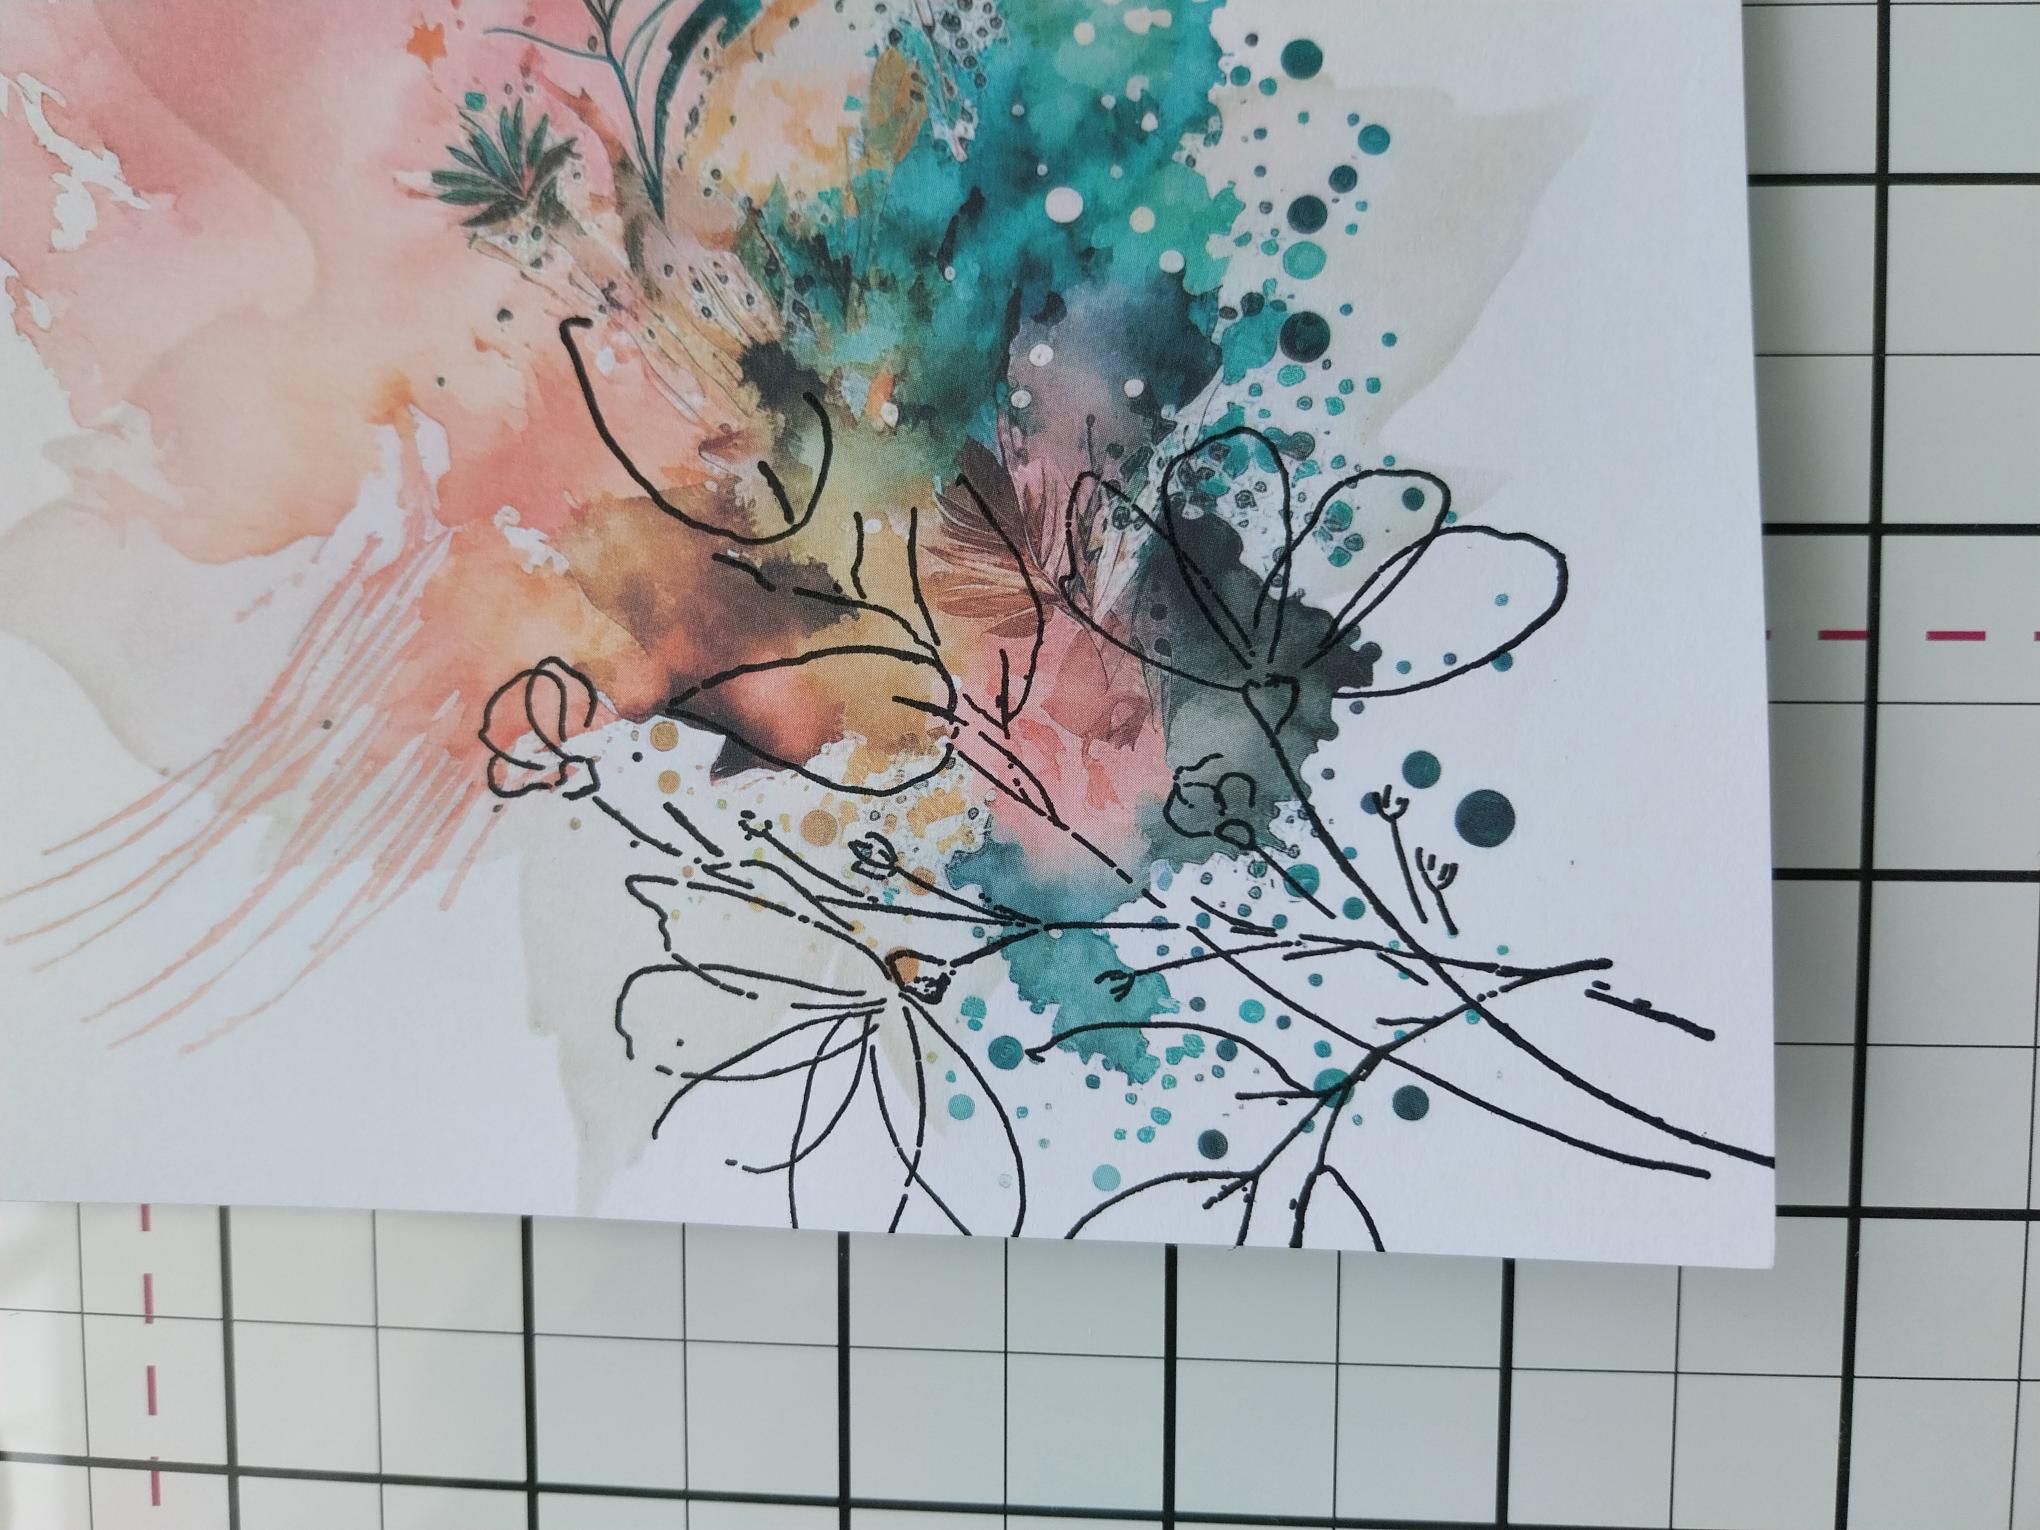
Apply the Midnight hybrid ink to the detailed stamp, from the Friend Like You Lamination Collection and stamp coming up from the bottom left corner. Again, give the ink a blast with your heat tool. |
|
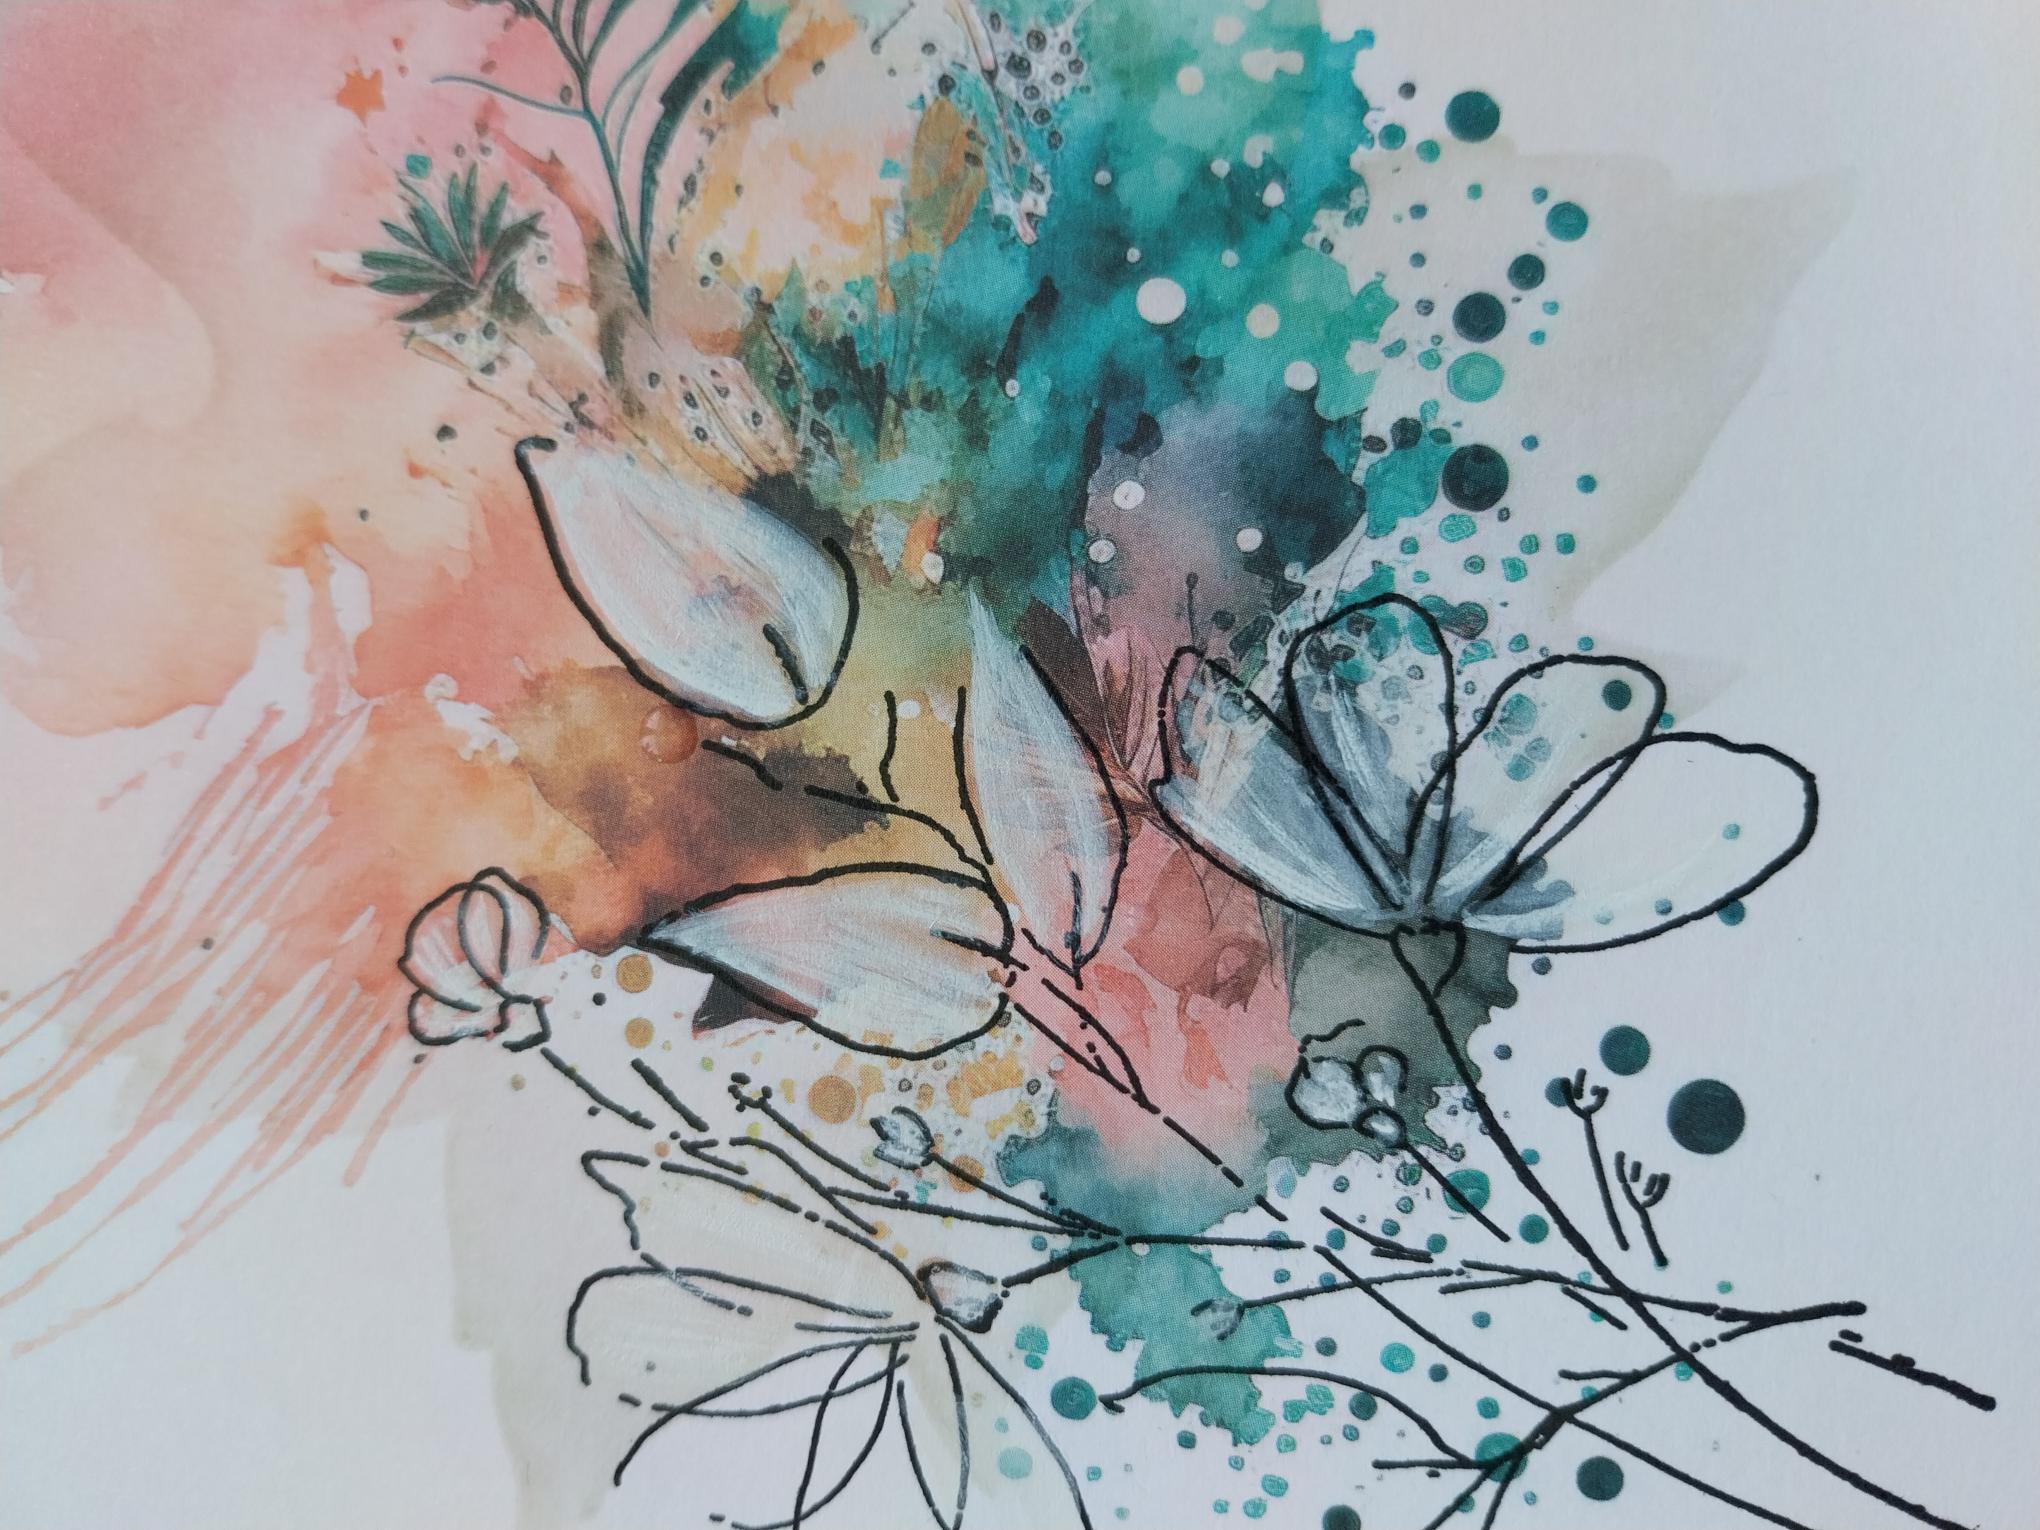
Pop a little of the Cotton pigment ink on to your glass mat and add water. Using a paint brush, colour in areas of the stamp so it pushes back the coloured design, on the decorative paper. You can reapply the Cotton ink as many times as you want, to get the effect you require. |
|
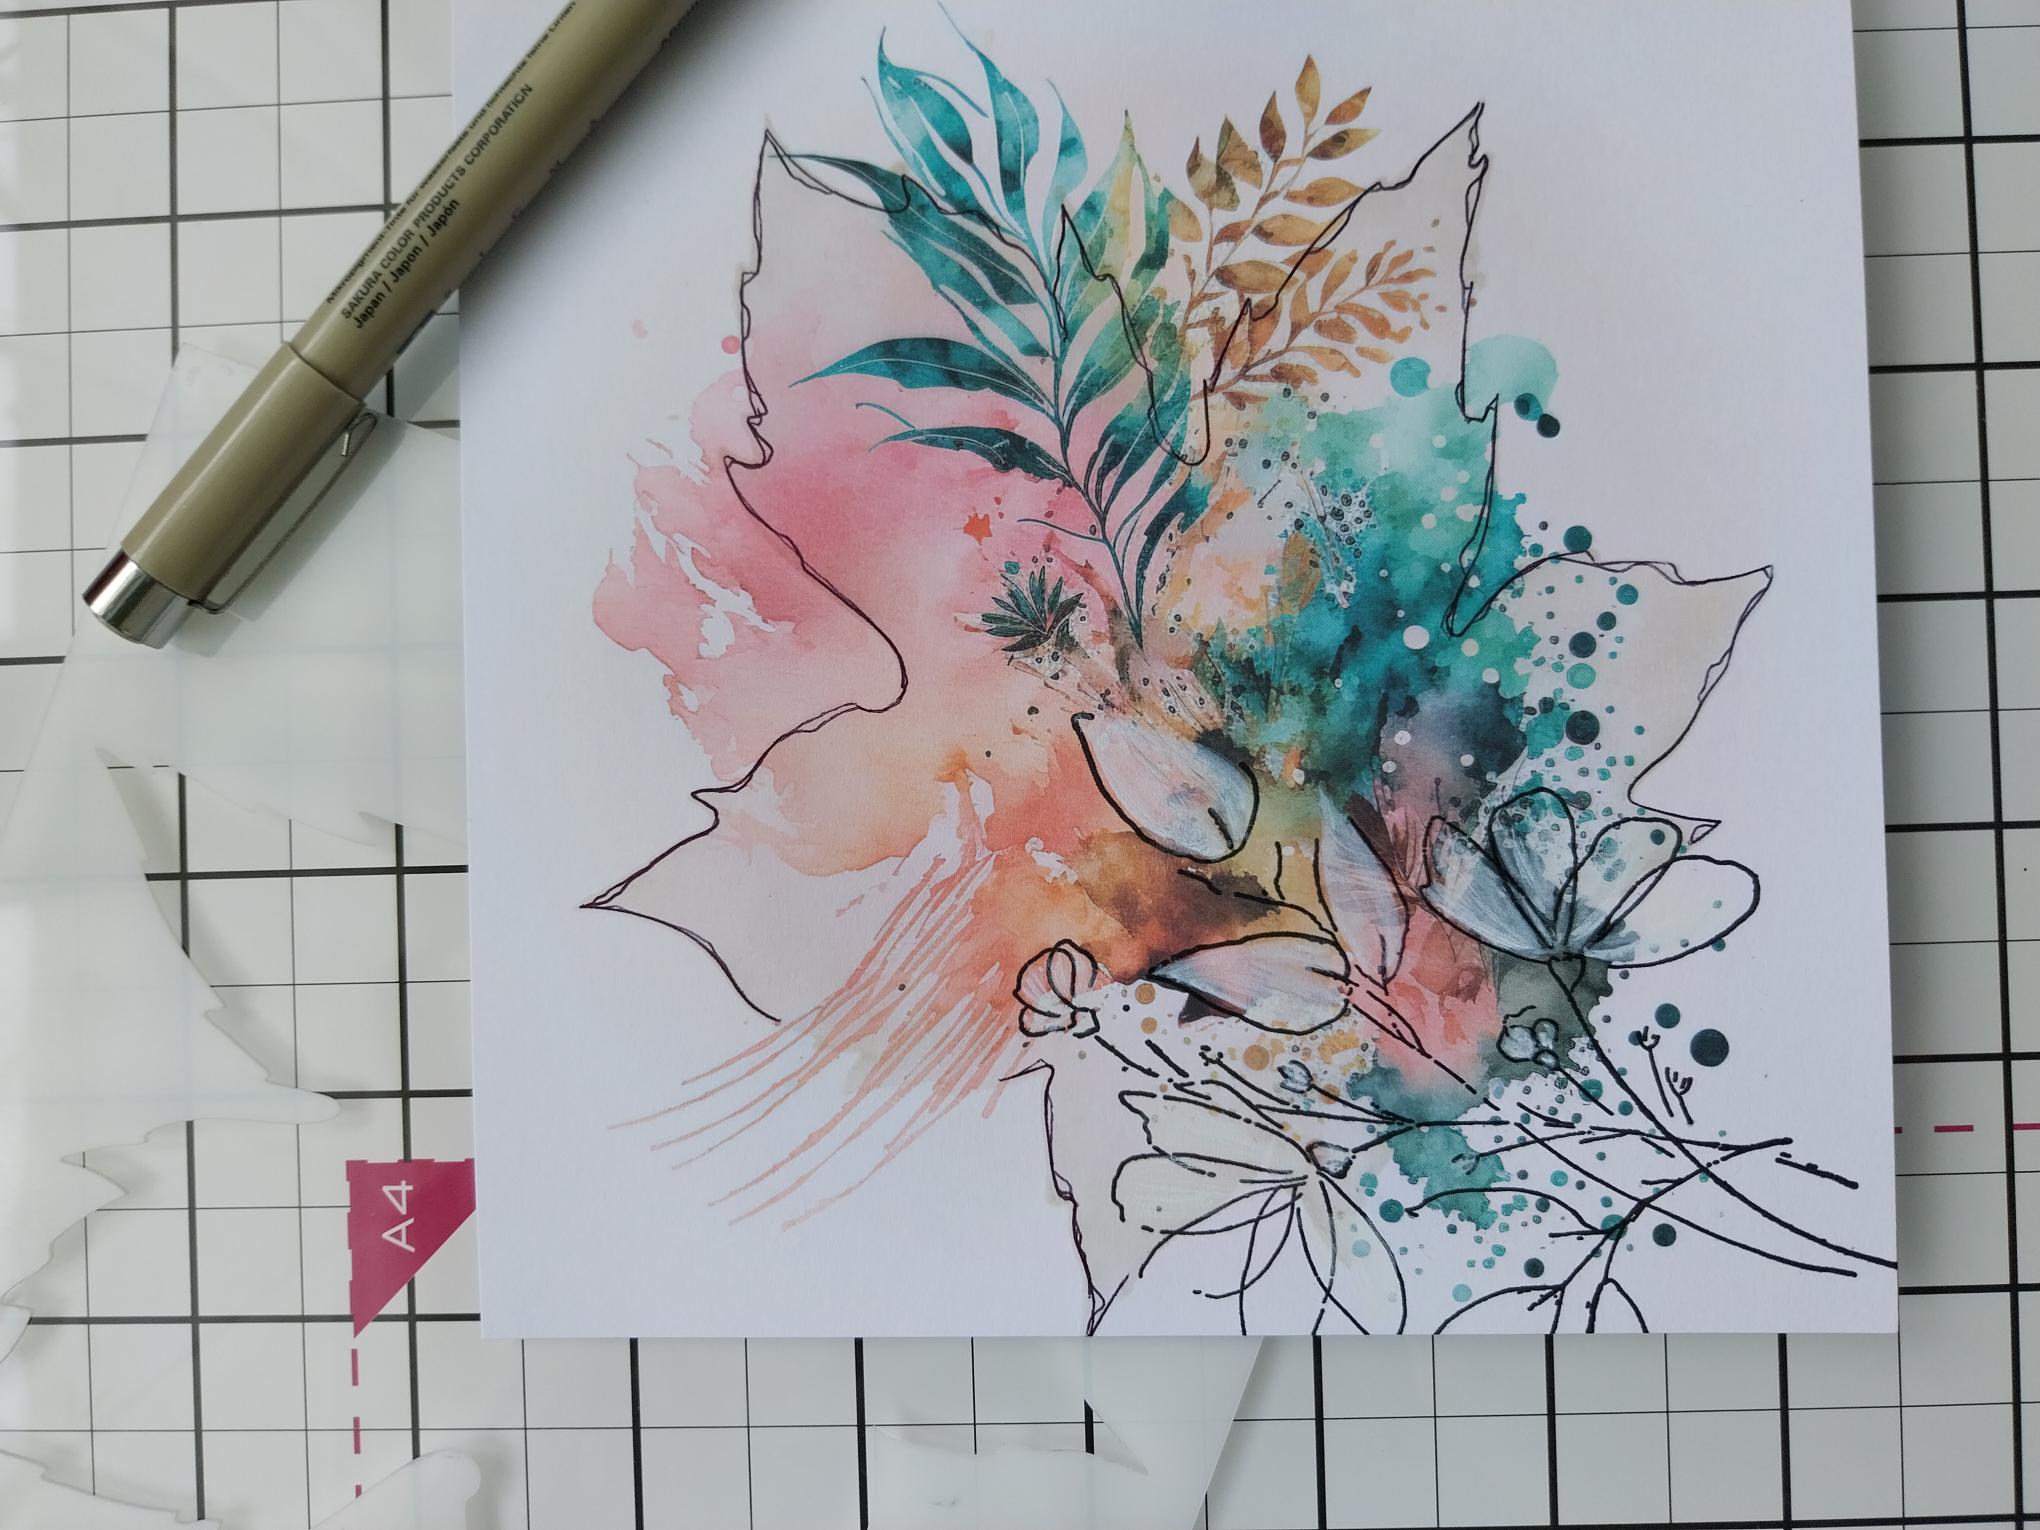
Once the ink is dry, line the Maple Leaf stencil back in position and use a black fine line pen to trace around the shape of the Maple Leaf as required. I did NOT trace over the drips of paint, in the top left corner as I wanted them to give the appearance of flowing out from the design. |
|
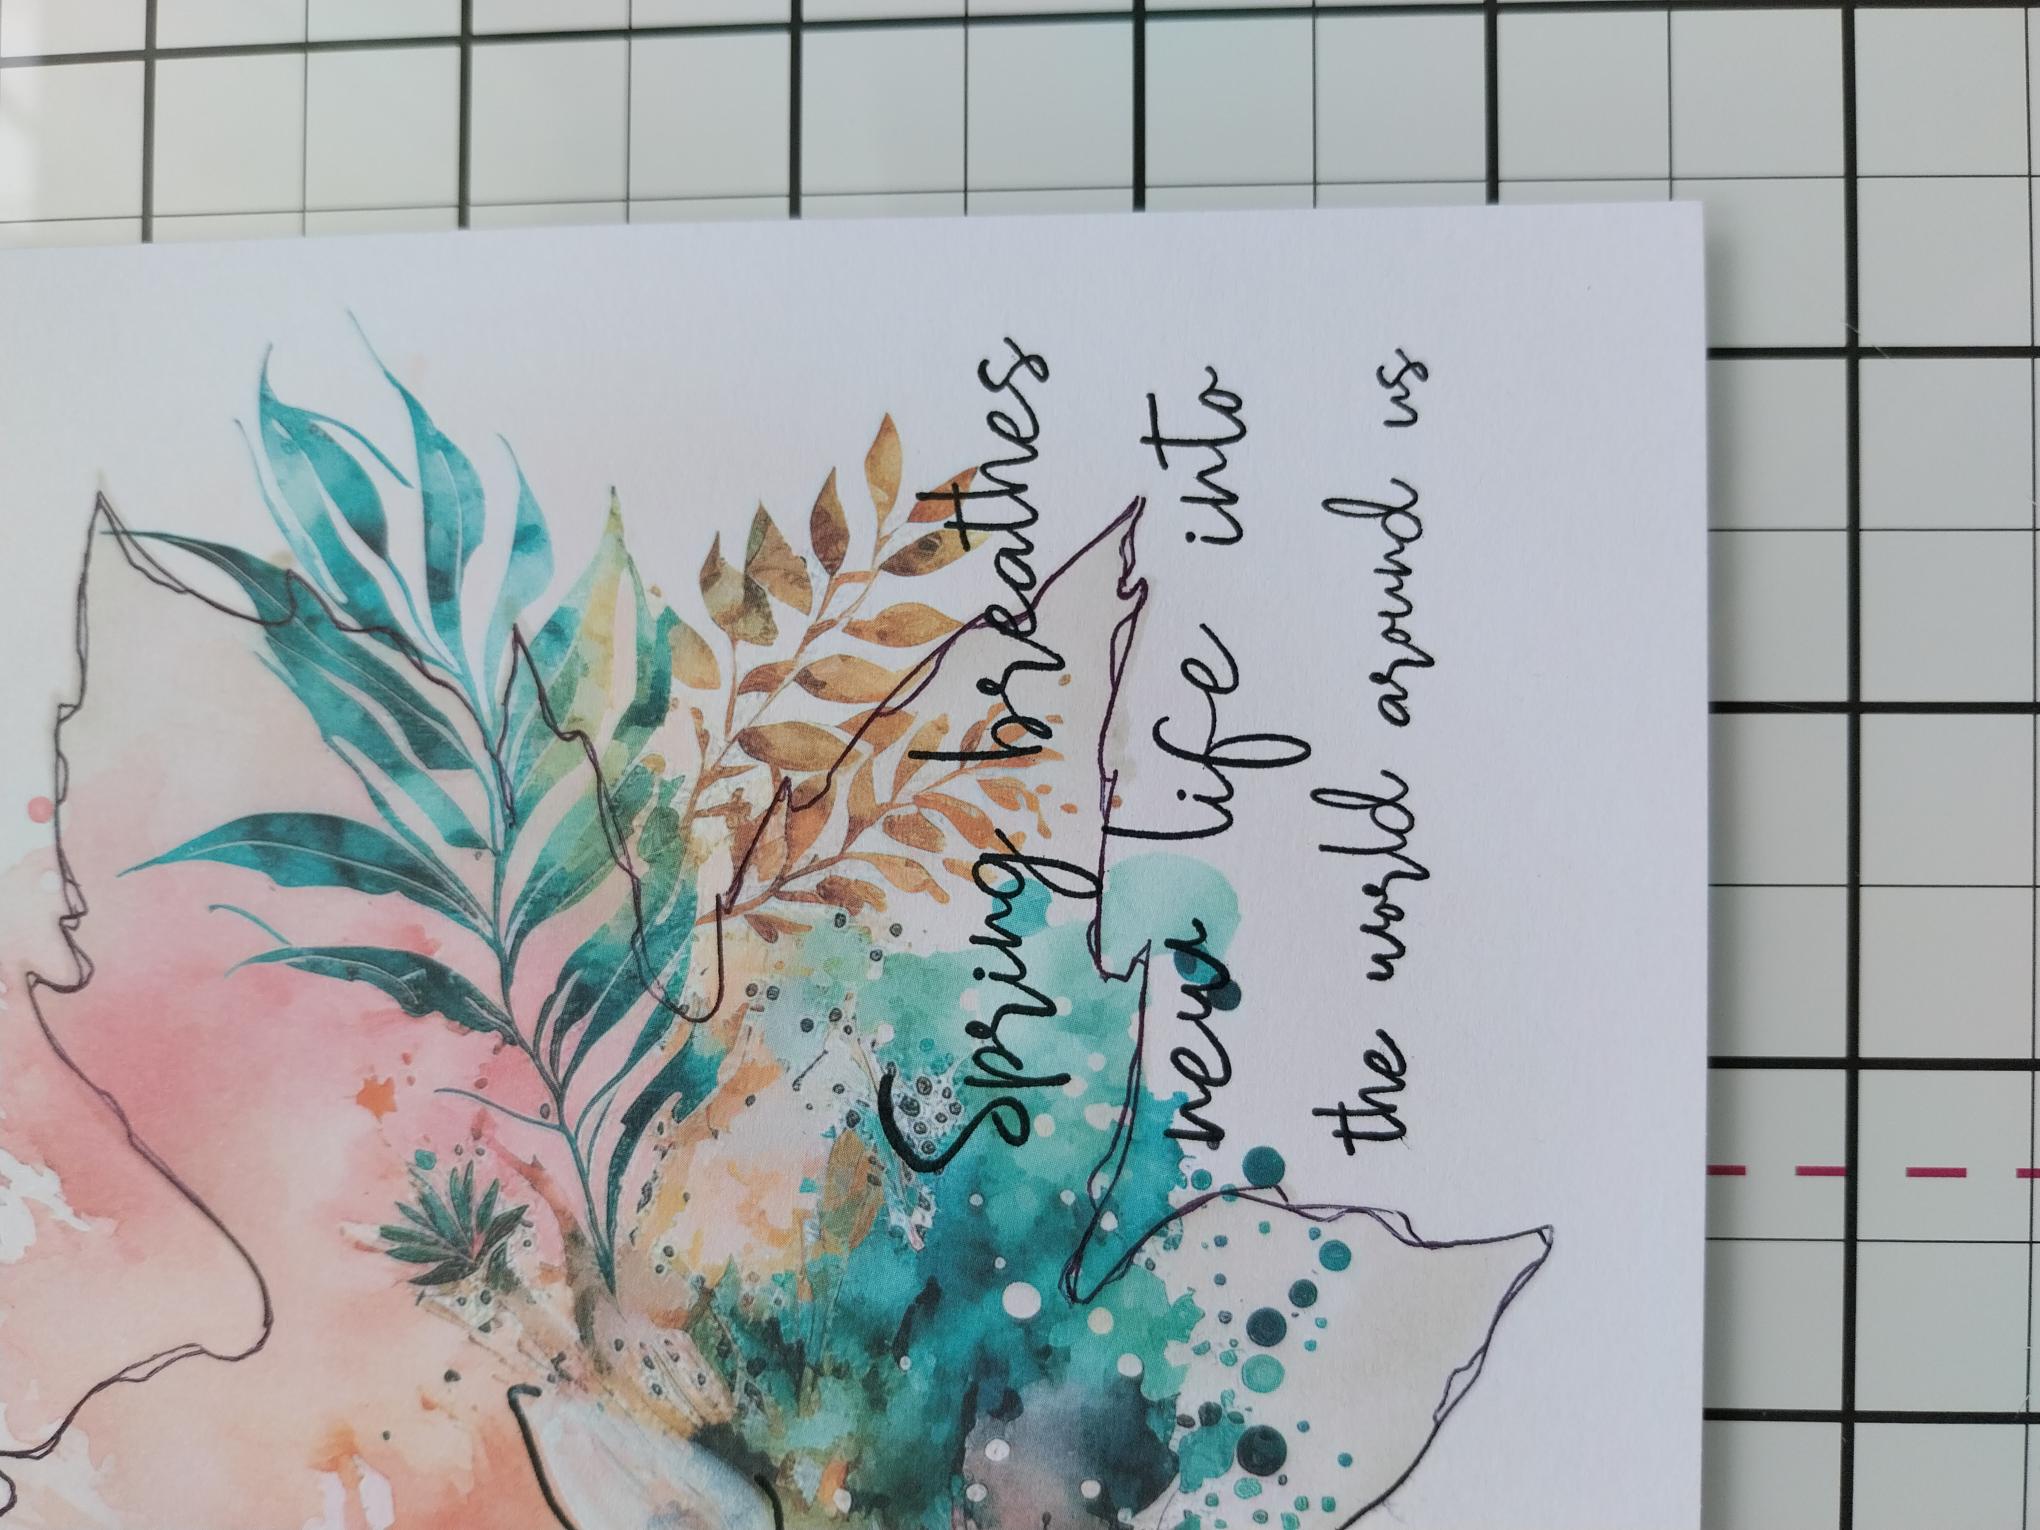
Use the Midnight to ink up the sentiment stamp, before stamping it in the bottom, right corner of your artwork. Set aside to dry. |
|
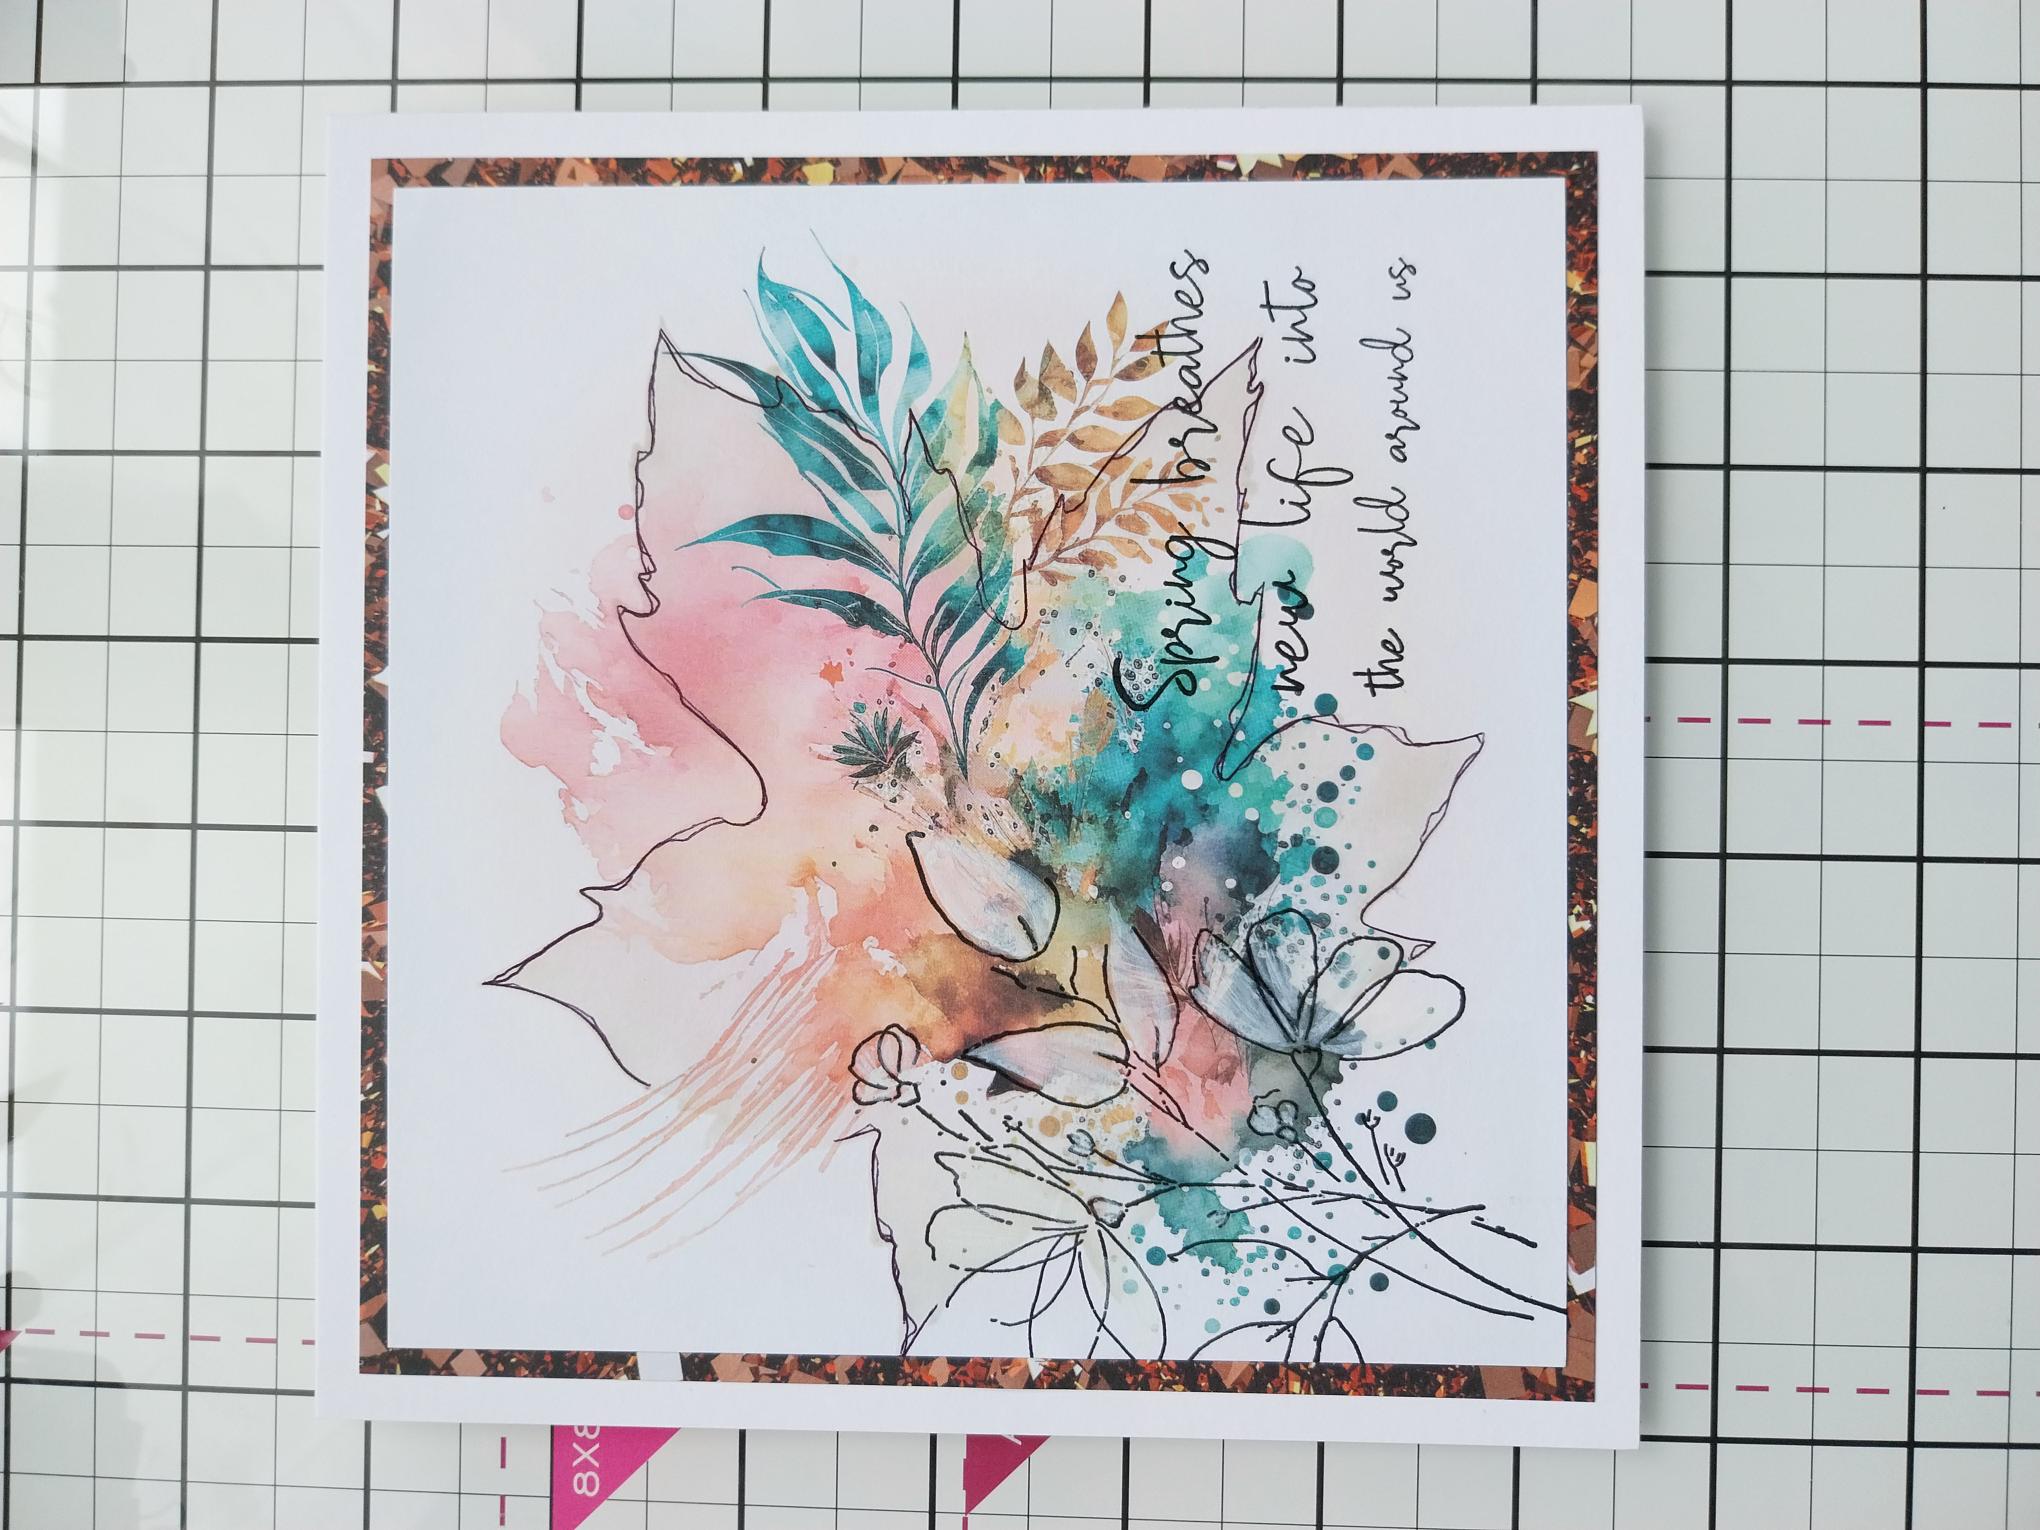
Remove this textured paper from the Copper All Surfaces Paper Pack and trim to 6 1/4" square. |
|
Adhere your artwork on to the textured paper and then on to your white card blank, to finish. |