










QUICK LINKS

info@howtocraftnetwork.com
We just got smarter - shop and watch with the SBM appGET THE APPWatch us live on your smart TVSEE HOWDiscover our dedicated IPTV channel - go to my-telly.comWATCHCollect loyalty points on every orderFIND OUT MORE
Welcome to the How to Craft Network
 
SBM SHOP
FOLLOW US
GIVE YOUR FRIENDS $10 OFF REFER A FRIEND › DISCOVER MY-TELLY.COM › WE JUST GOT SMARTER GET THE APP › AWARD WINNING CHANNEL ON YOUR TV › JOIN THE CLUB FOR SAVINGS ›
 
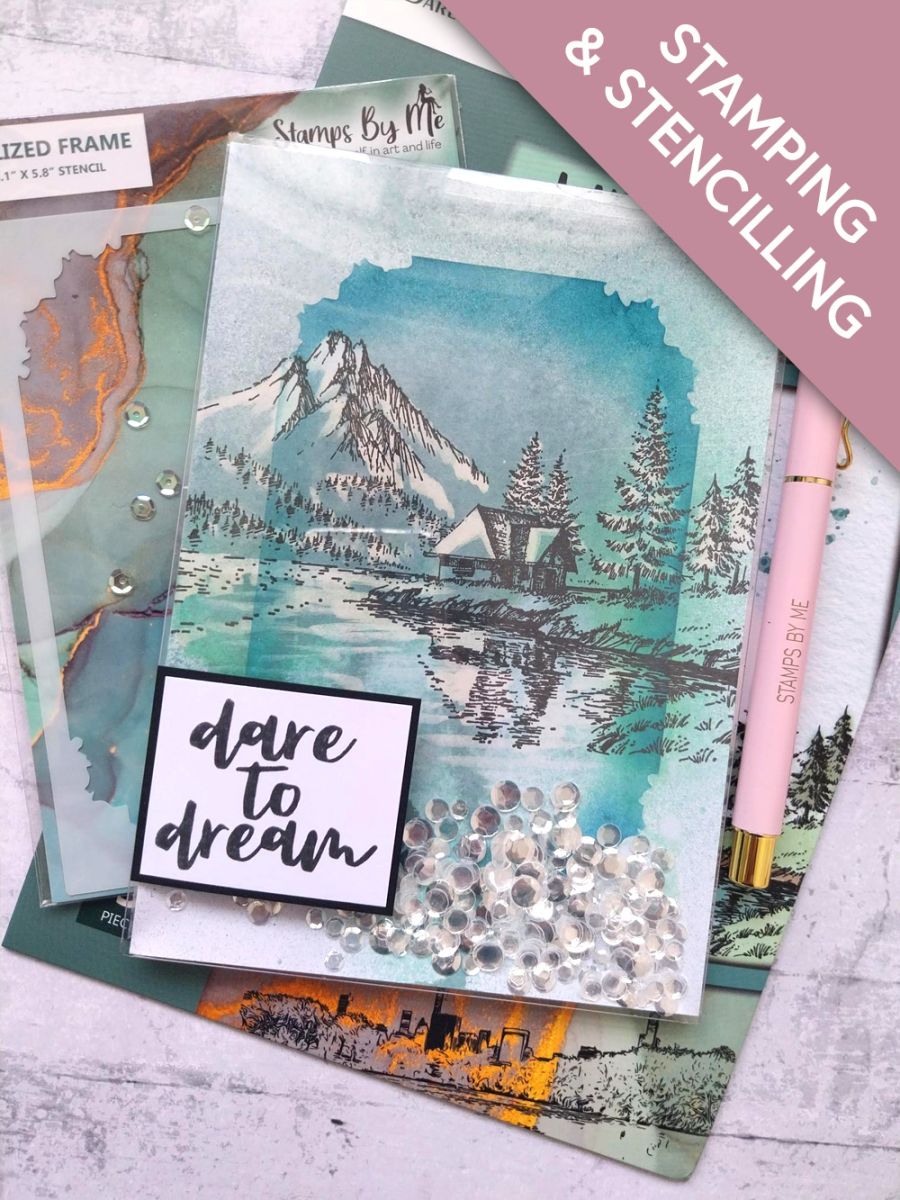
Dream Infinity Shaker
How to guide · 11 steps

Dream Infinity Shaker

26 April 2023✦ Toni DarrochInk TechniquesInteractive CardsStamping TechniquesStencils
11steps
Step 1 of 11

Everything you need

0 of 22 ready
The list
From your craft stash
Tick what you have - this device remembers.

Step by step

tap a picture to see it big · tap DONE as you go - this device remembers
Step 1 of 11

Holding the 7 x 5" white card upright, spray the Izink Morning Mist liberally, across the top of the card then allow it to drip. You can encourage the ink to move by spritzing with a little water.

Repeat using the Vert D'Eau, until you are happy with your background. Give it a blast with your heat tool, then trim just a few mm's off the bottom and down one side (so it will fit easily, in the acetate shaker window).  

Step 2 of 11

Ink up the beautiful Cabin with the Midnight hybrid ink and stamp across your inky background.

Dry the ink with your heat tool, before moving on to the next step.  

Step 3 of 11

Using a paint brush, add water to areas of your artwork that you want to "highlight", wait a few seconds for it to activate the ink, then "lift" the ink with a paper towel or cloth. This is known as the Faux Bleach technique. 

Step 4 of 11

Ensure your artwork is completely dry before securing your Stylized Frame stencil in position, as seen here. 

Step 5 of 11

Using a blending tool, apply Tiffany within the frame aperture, fading the colour out as you blend away from the edges. 

Remove the stencil and dry your artwork thoroughly. 

Step 6 of 11

Peel the protective film off the front of your acetate shaker window, then fold each of the sides over, on the score lines and burnish with your bone folder. 

Step 7 of 11

Wipe over your artwork with an anti-static bag, then place face down, inside your acetate window. Remove the backing tape, sealing up THREE sides of the window, leaving one of the longer sides unsealed. 

NB: The adhesive tape is very strong, so once you seal it down it will not budge!!

Step 8 of 11

Pour your sequins in the open side, then peel off tape to seal closed and voila!! A fabulous infinity shaker topper! 

Step 9 of 11

Adhere this on to the front of your top folding, white card blank. 

Step 10 of 11

Ink up the "Dare To Dream" sentiment stamp with Midnight, stamp on to white card, then trim to size.

Adhere this on to black card and trim to size, to create a mat. 

Step 11 of 11

Adhere to the front, bottom left of your card to finish. When adhering anything to acetate, I persoanlly like to use red liner tape but the choice is yours. 

You made it!

Share your make with the Stamps By Me community - and keep this guide for next time.

⇩ DOWNLOAD THE PDF

More ink techniques guides

all the guides ›

Prefer the previous layout? Open the old page.


