Give your friends $10 off their first order!
Refer a FRIEND


WHAT YOU WILL NEED:
White DL card blank 8 1/4 x 4"
White card 6 x 2 1/2"
White card
Sunshine In My Pocket Textured 8 x 8" Paper Pack
Sunshine In My Pocket 8 x 8" Paper Pack
Faith Stamp And Die Collection
Sunshine Gnomes Stamp And Die Collection
SBM Hybrid Ink Pad: Midnight
Gossip alcohol pens
Circle 2" craft punch
SBM Tag Punch
Twine
Ranger Stickles: Diamond
Eureka 101 Watercolour Tablet
SBM Magnetic glass mat
Paper Trimmer
Perfect Together Glue
Double sided adhesive tape
Die Cutting machine
[click image to enlarge] 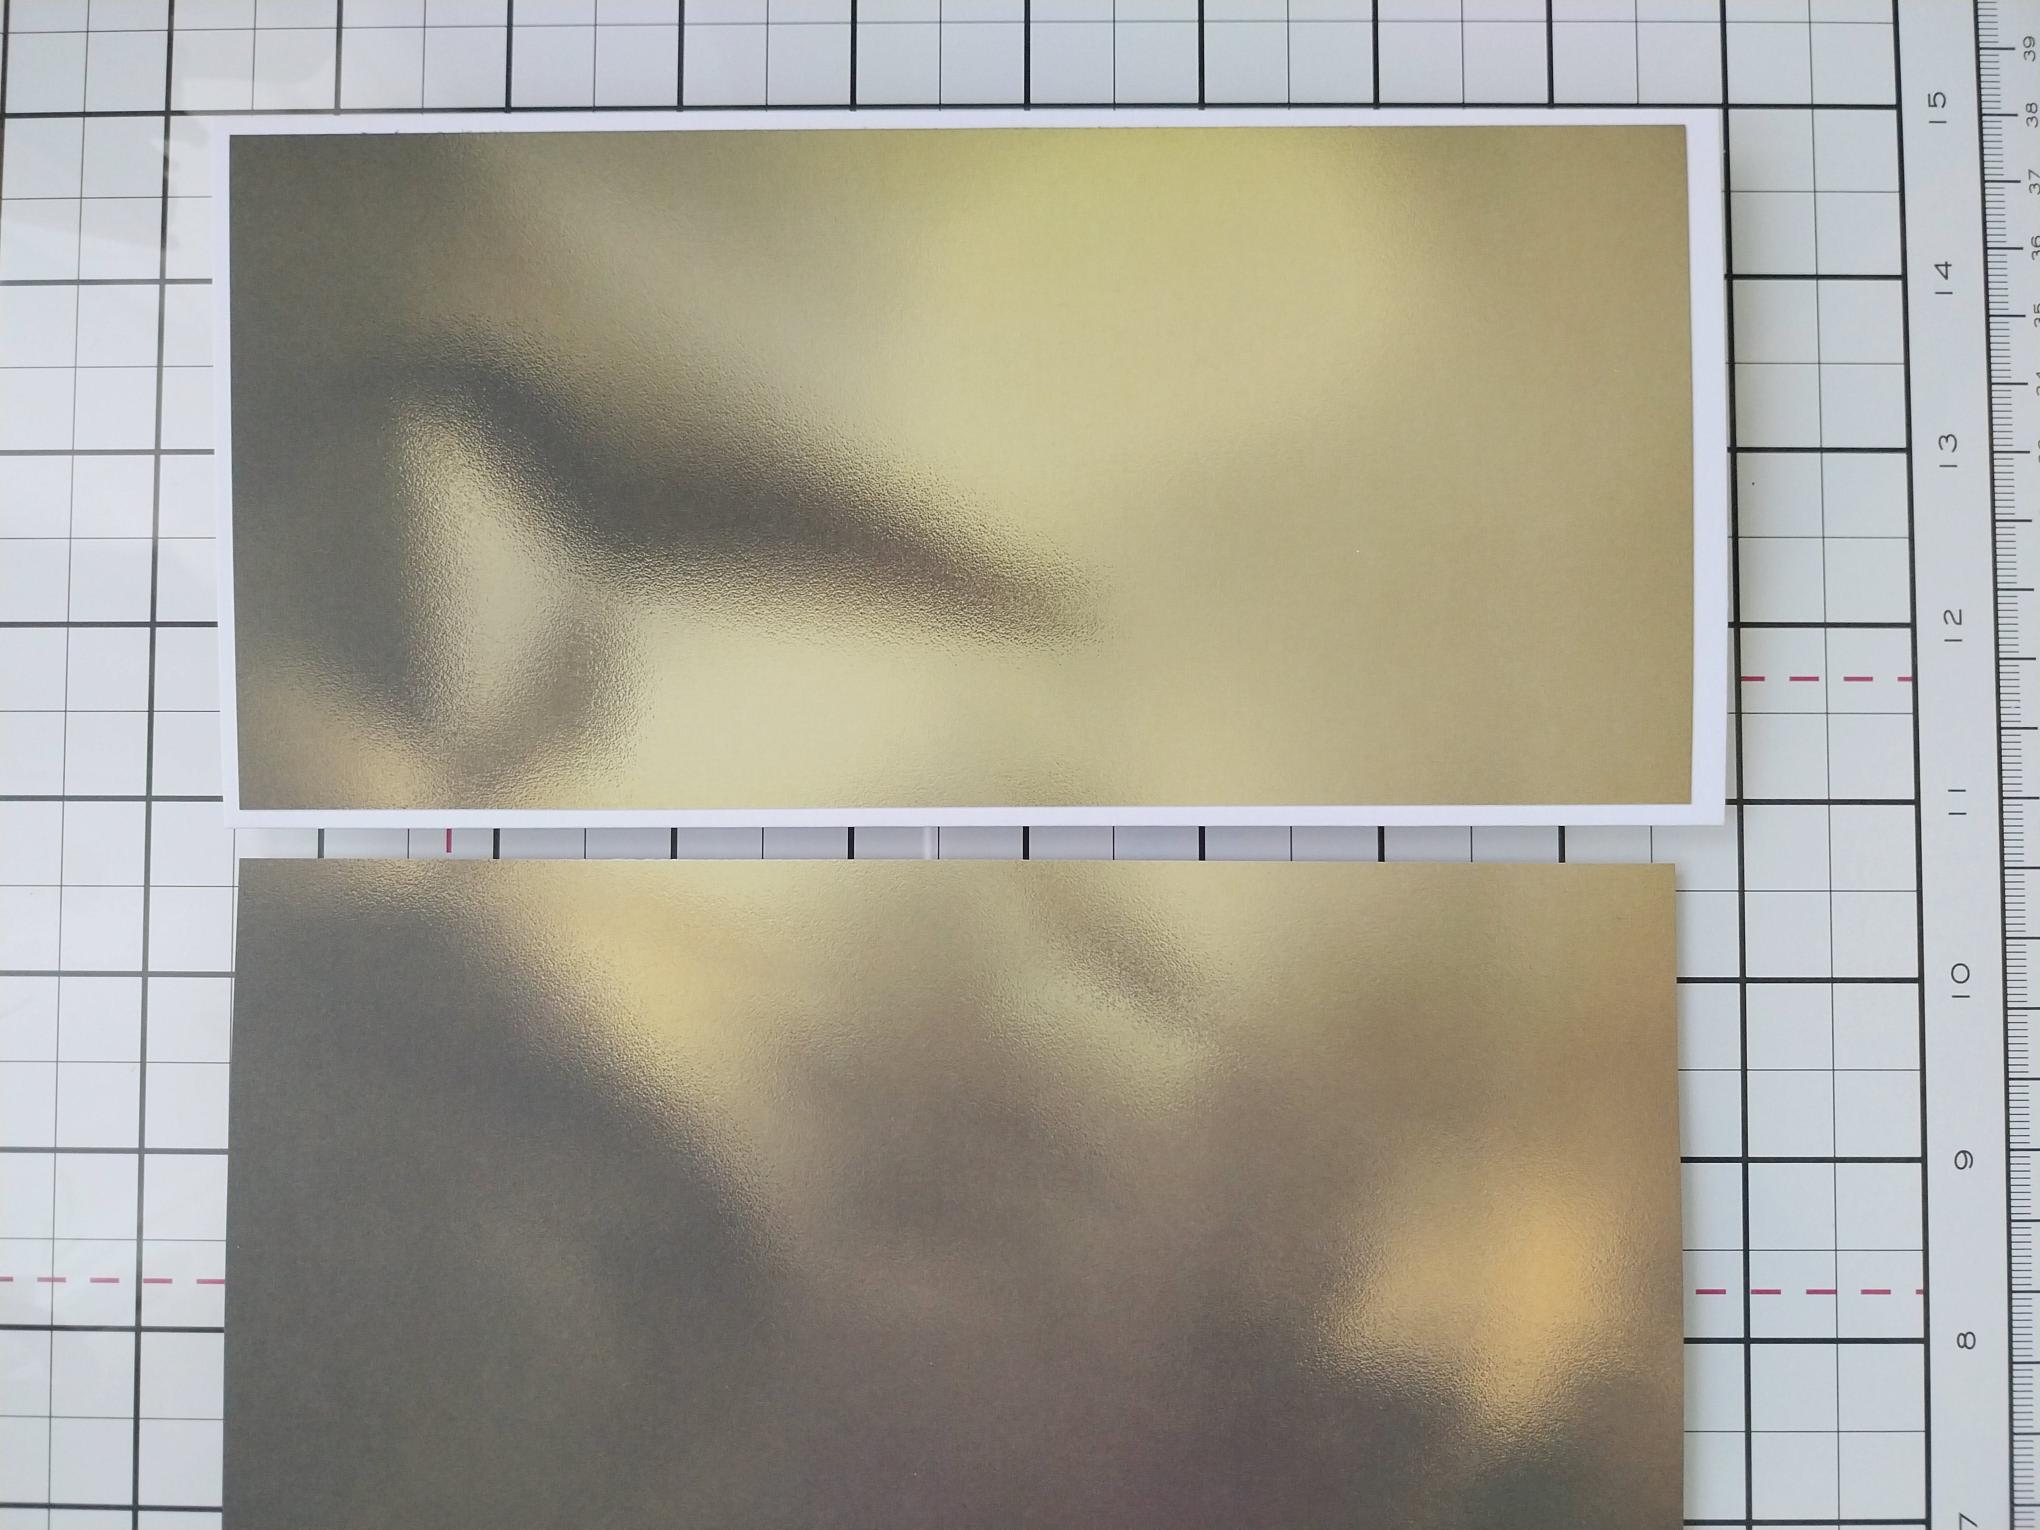
|
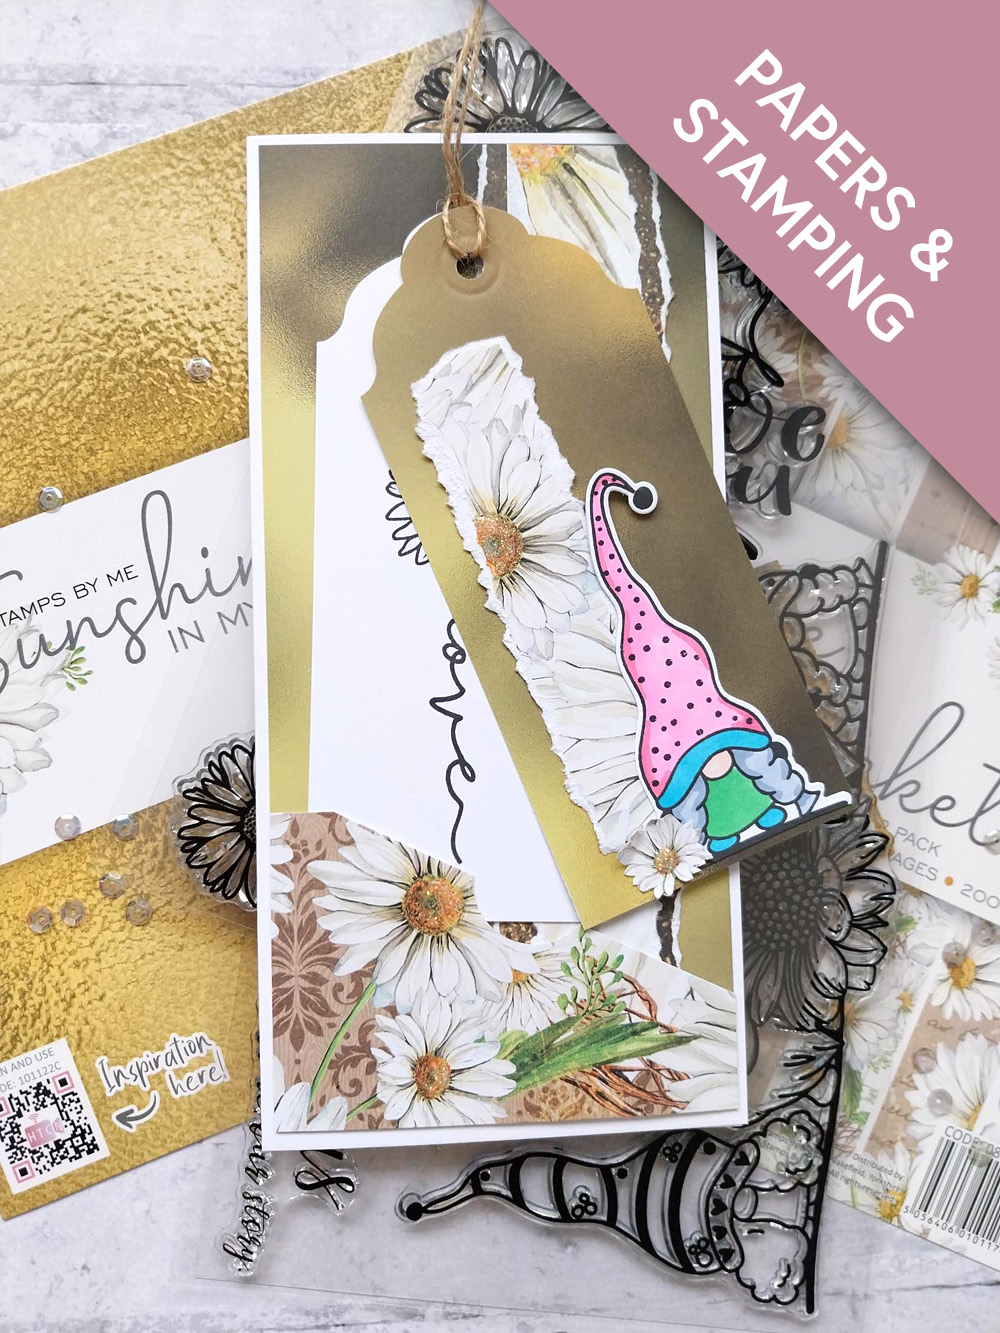
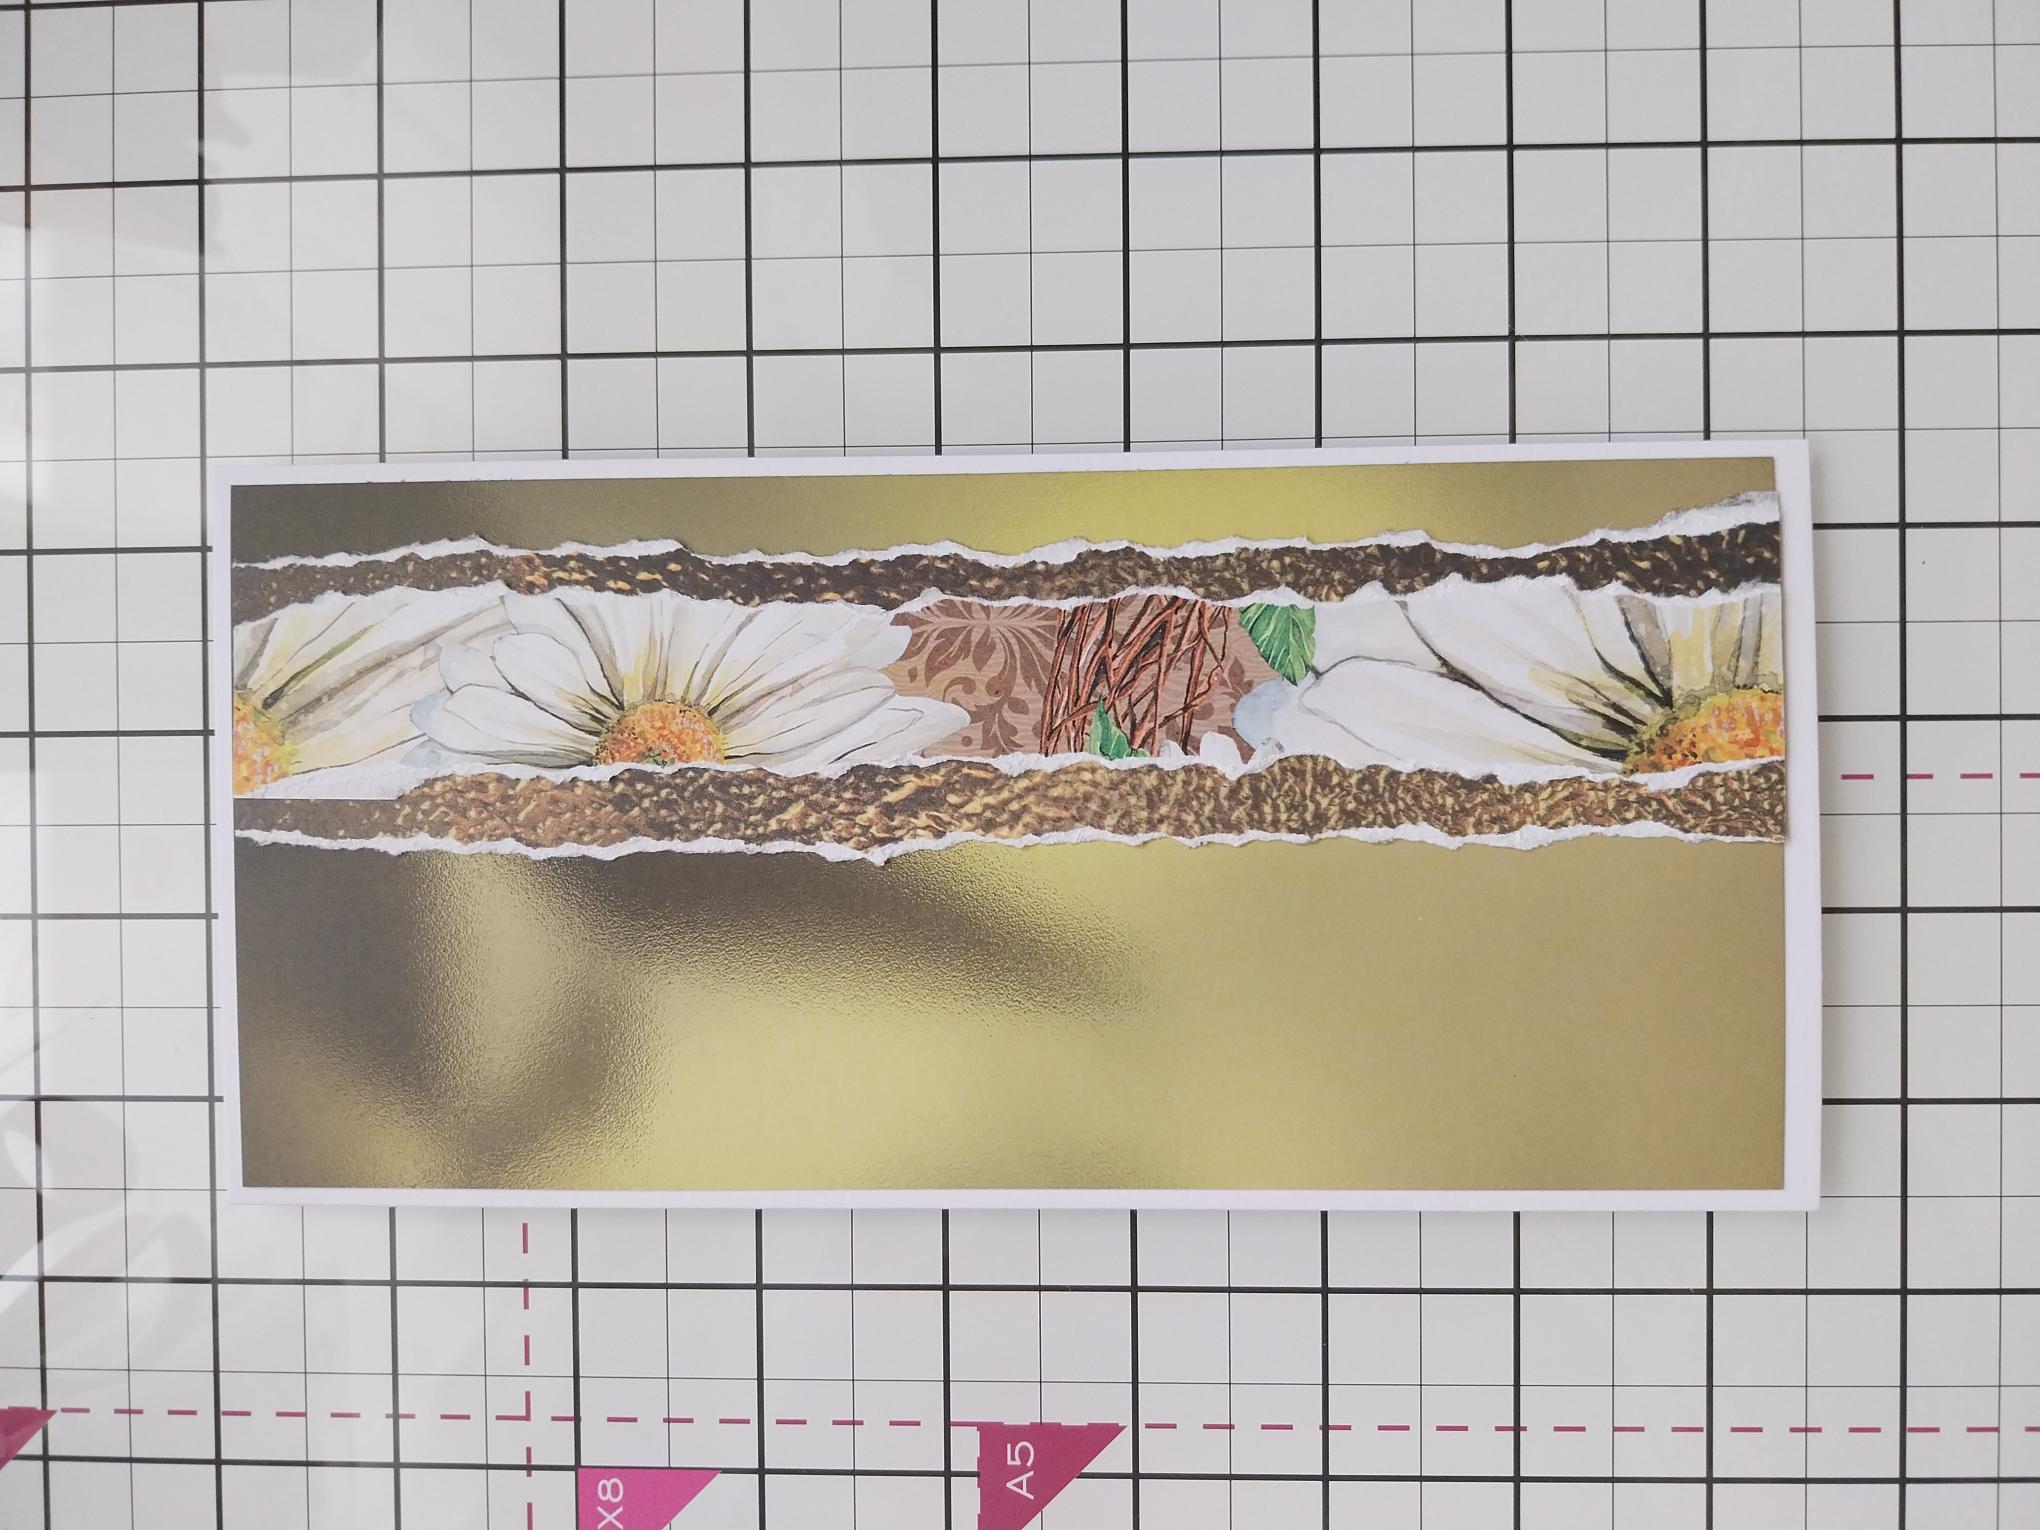
Remove one of the textured sheets, from the Sunshine In My Pocket Textured Paper Pack, trim to 8 x 3 3/4" and adhere to the front of your white, DL card blank. |
|
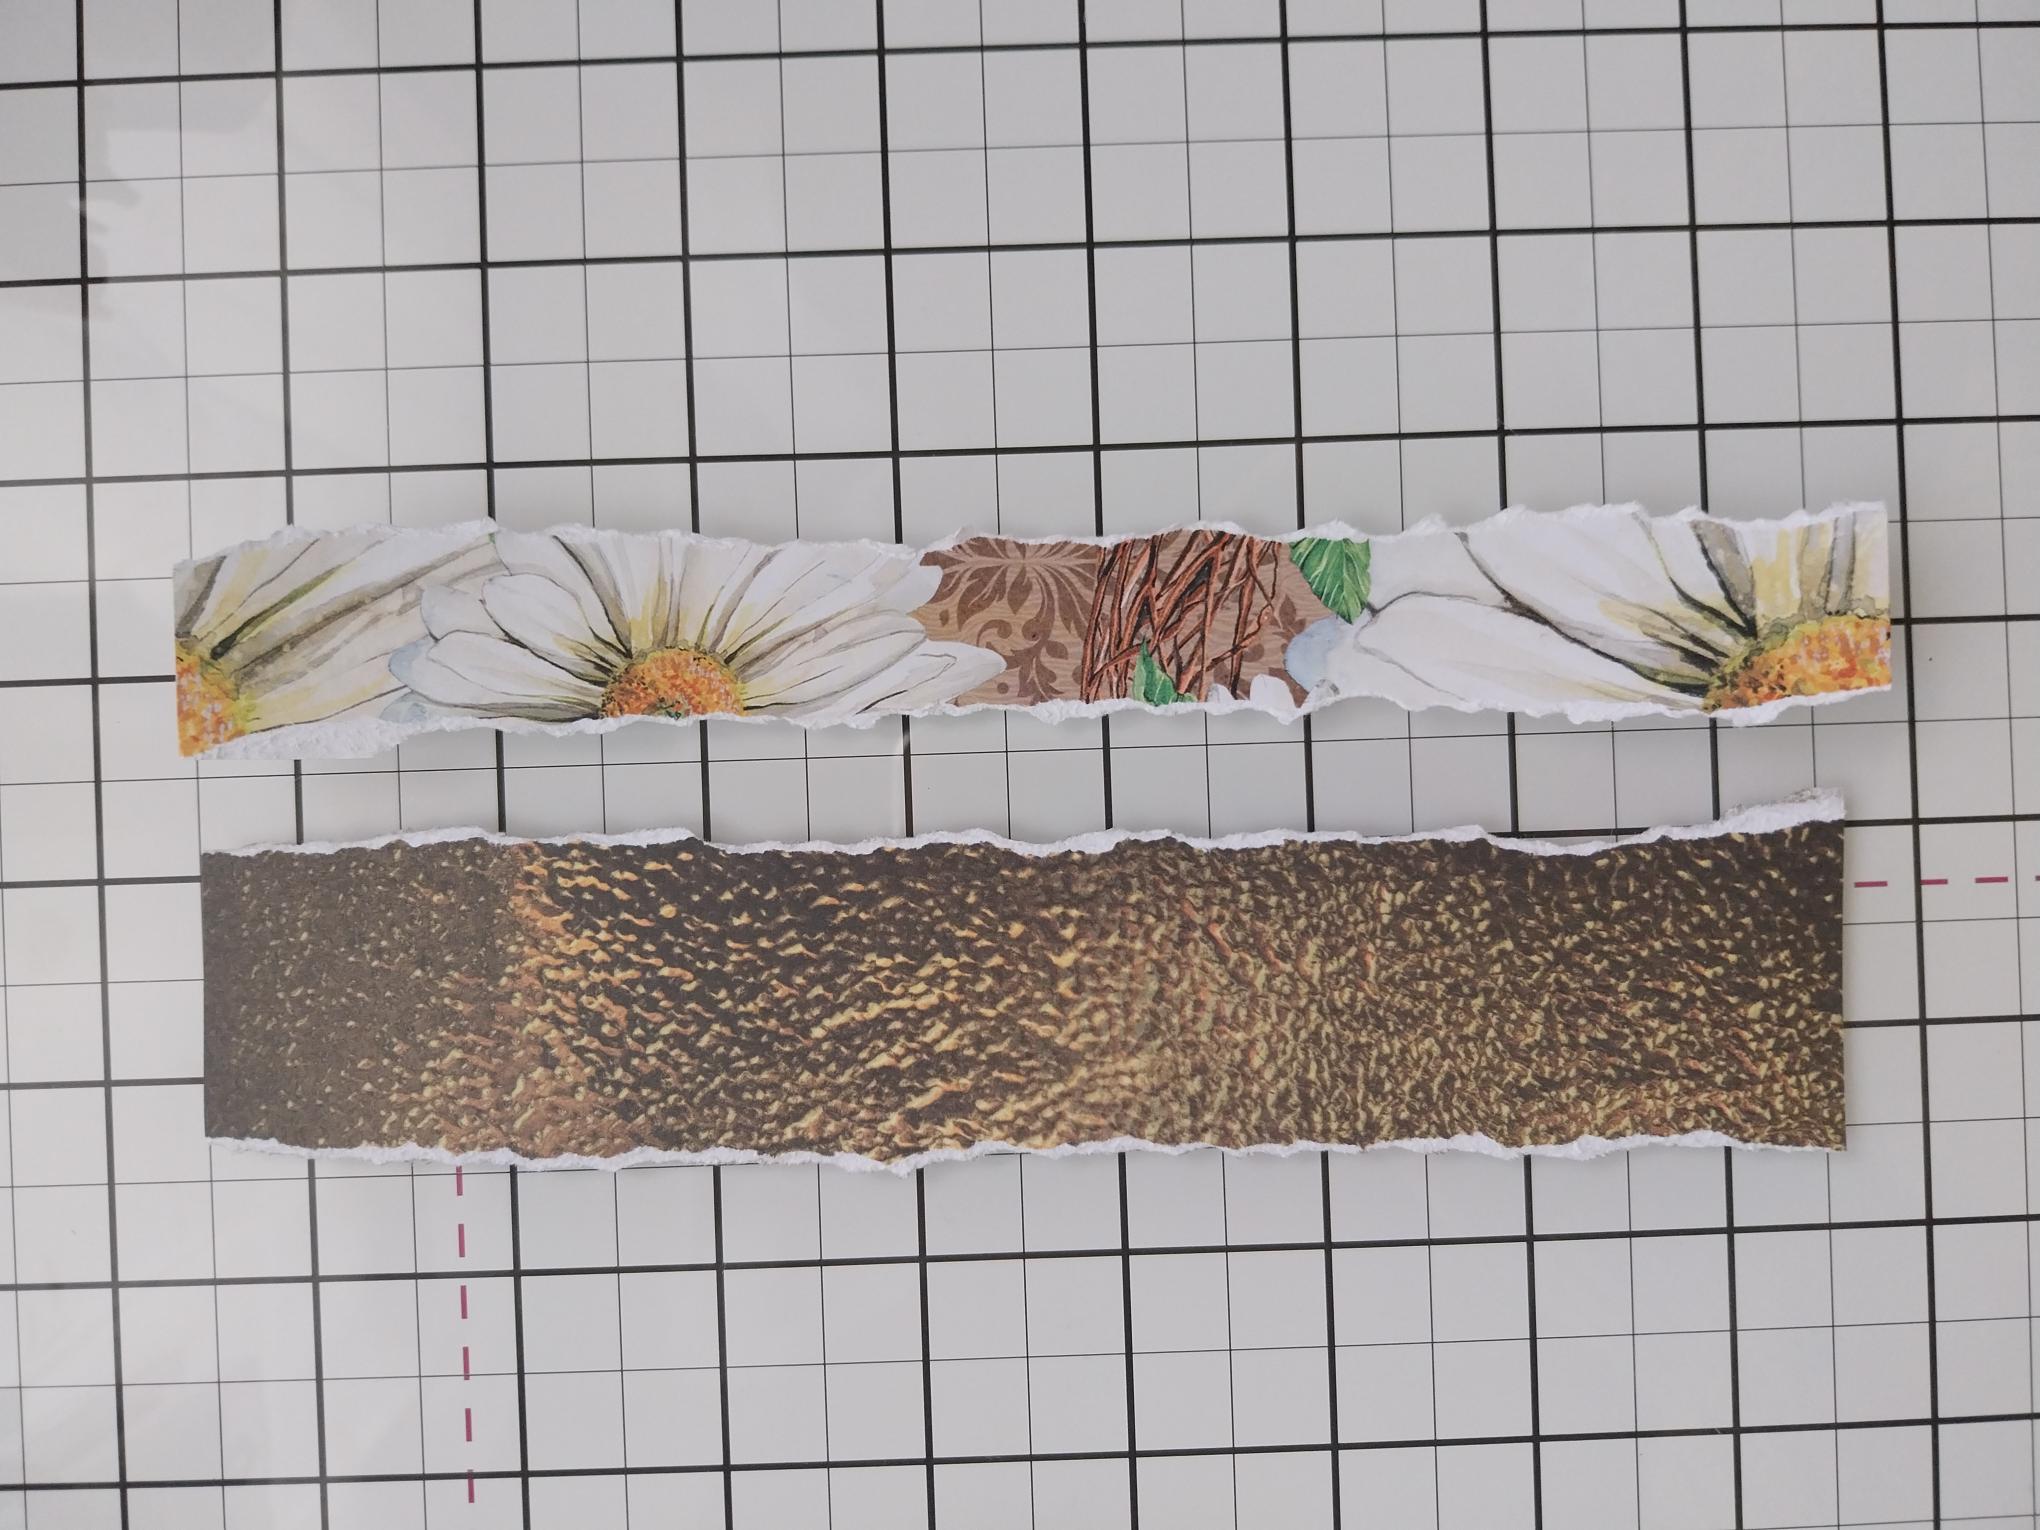
Choose a coordinating textured paper and a patterned paper, from the Sunshine In My Pocket Paper Pack and tear a panel from each, ensuring they will fit on your card. The torn patterned paper should be narrower than the textured one. |
|
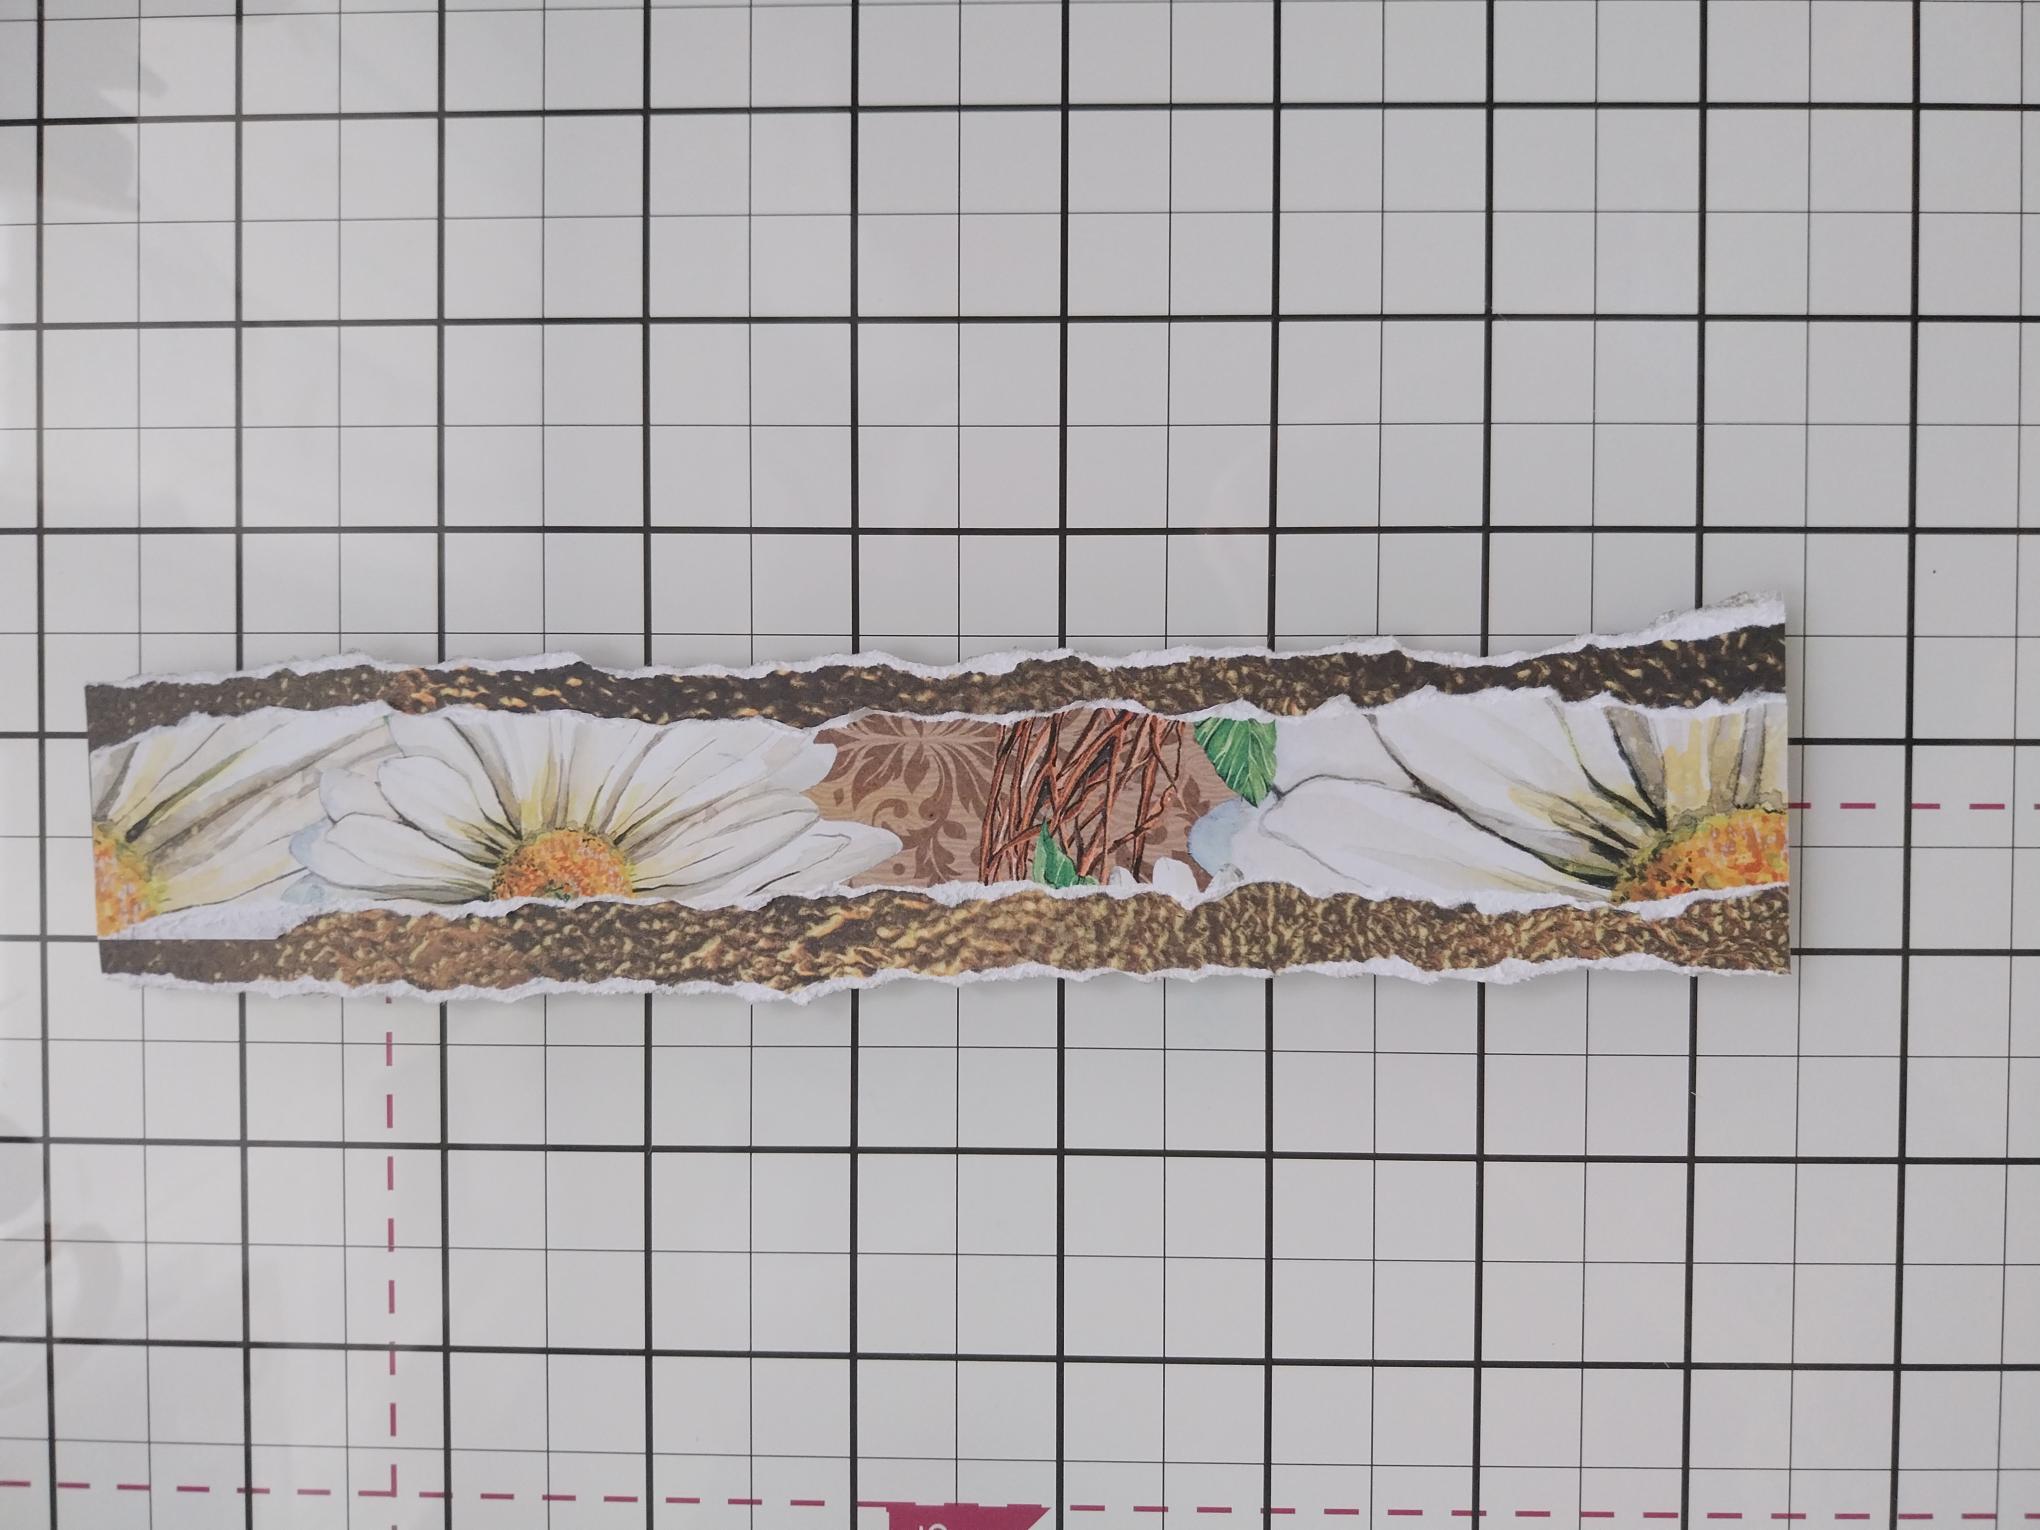
Adhere the patterned panel on top of the textured panel, then lift/scrunch the torn paper edges. |
|
Adhere these down the right half of the card, as seen here. |

|
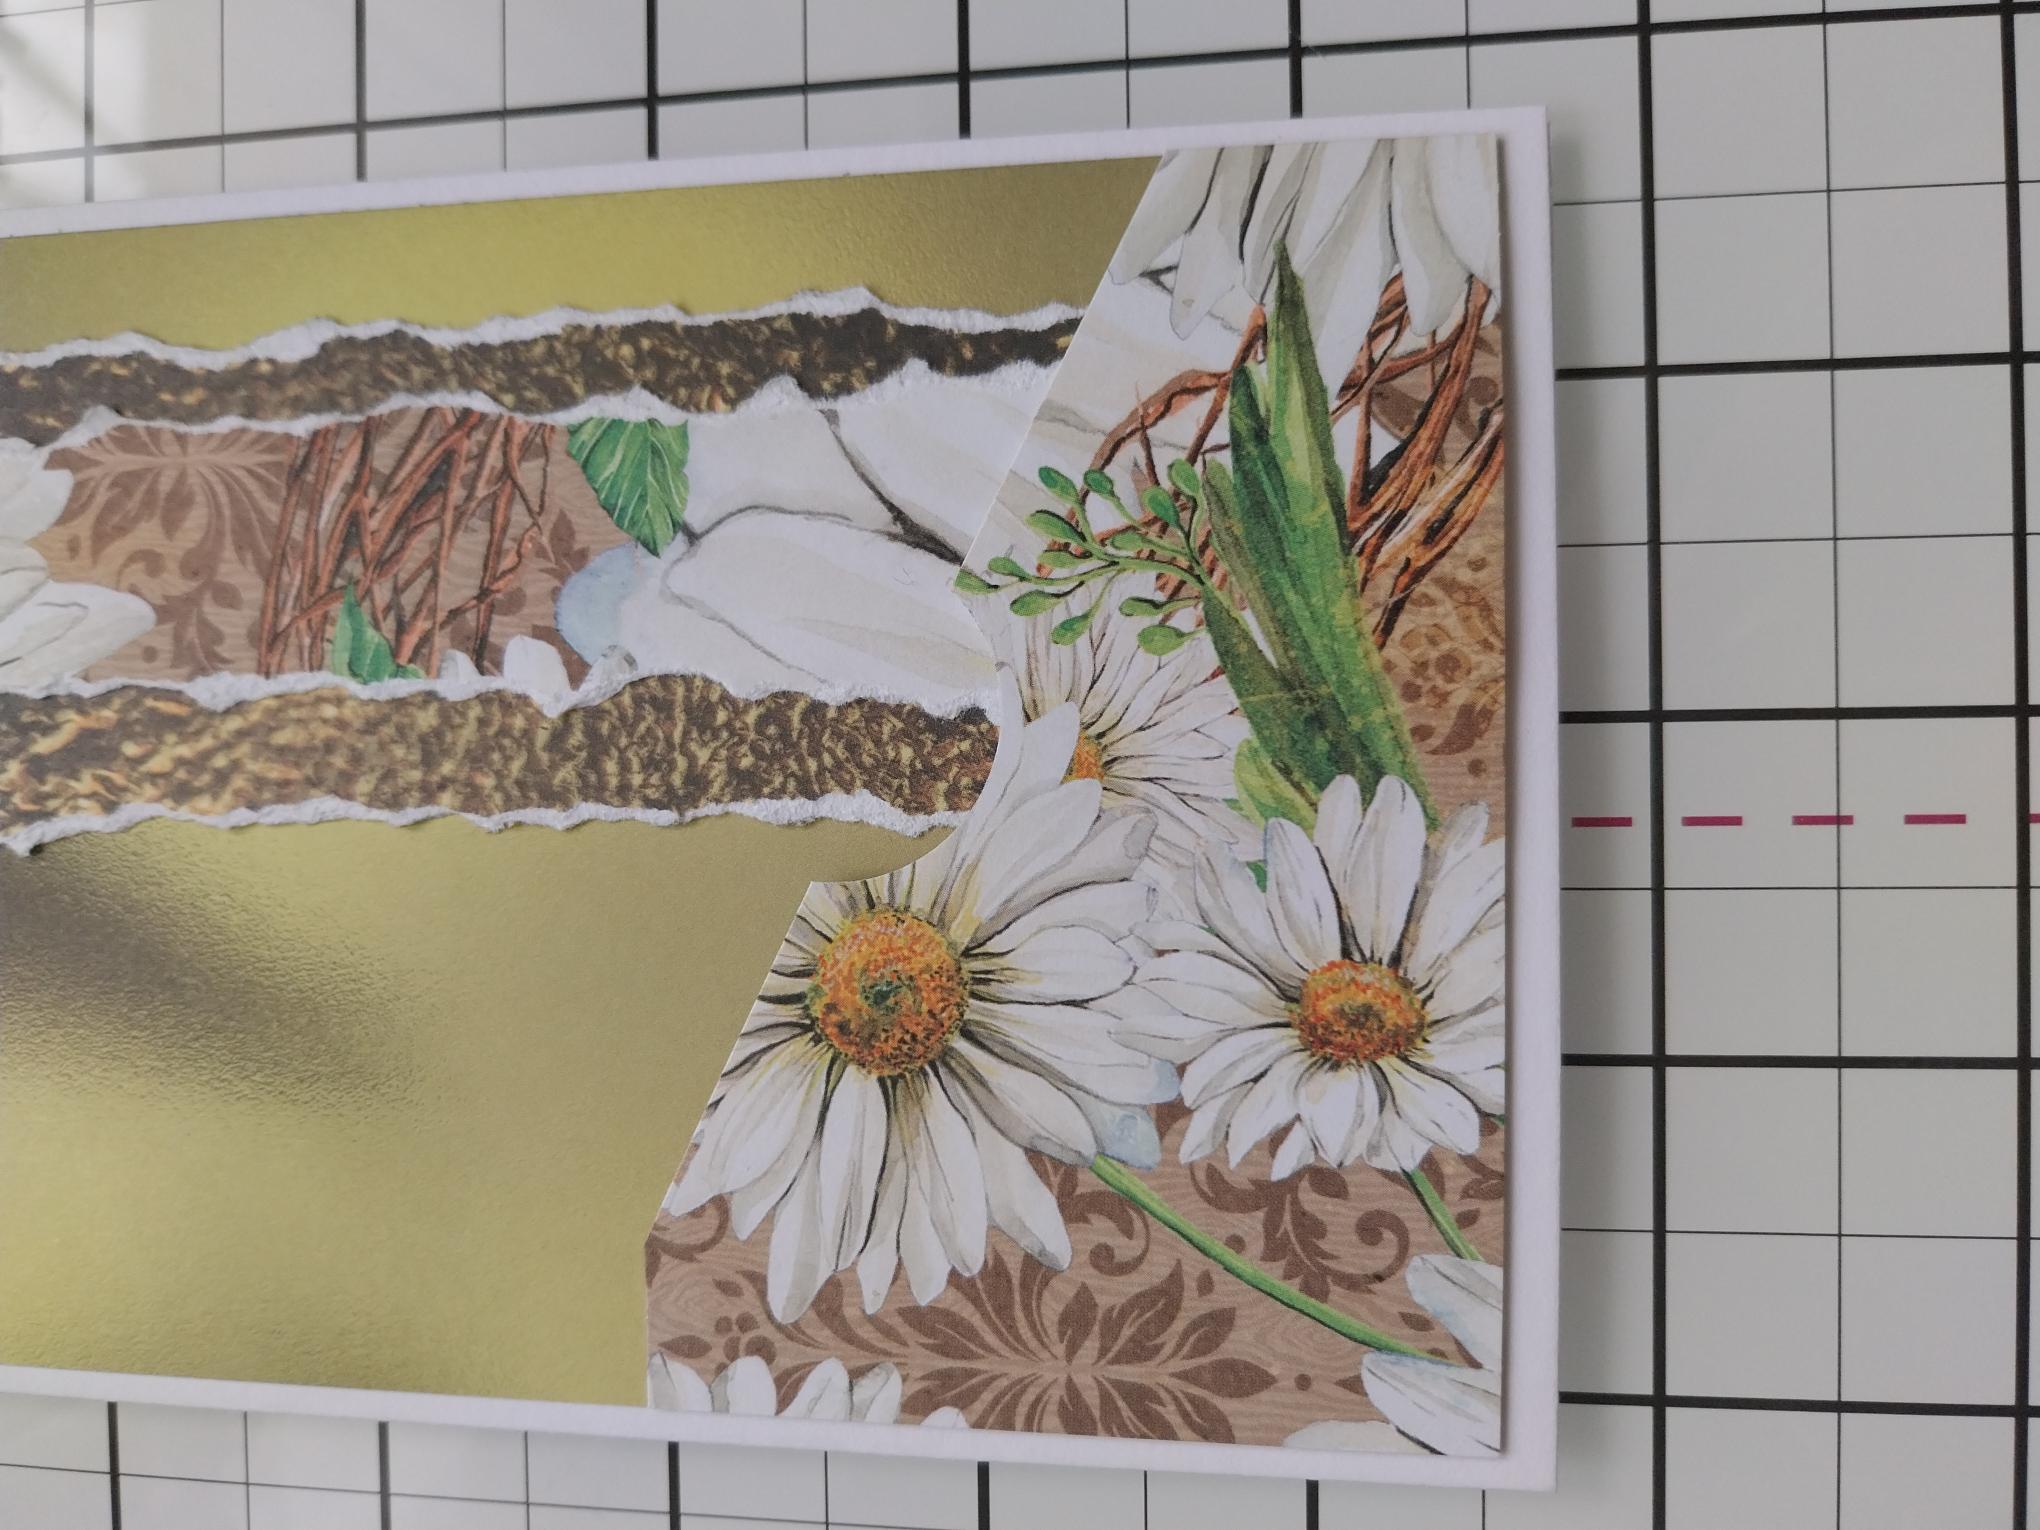
Choose another patterned Daisy paper and cut a diagonal pocket, 3 3/4" wide and as high as you wish the pocket to be. Use your circle punch to create a finger tab in the centre of the diagonal edge. |
|
Apply double sided adhesive tape along the bottom and up the 2 sides of the pocket, leaving the diagonal edge adhesive free. Set your card to one side. |
|
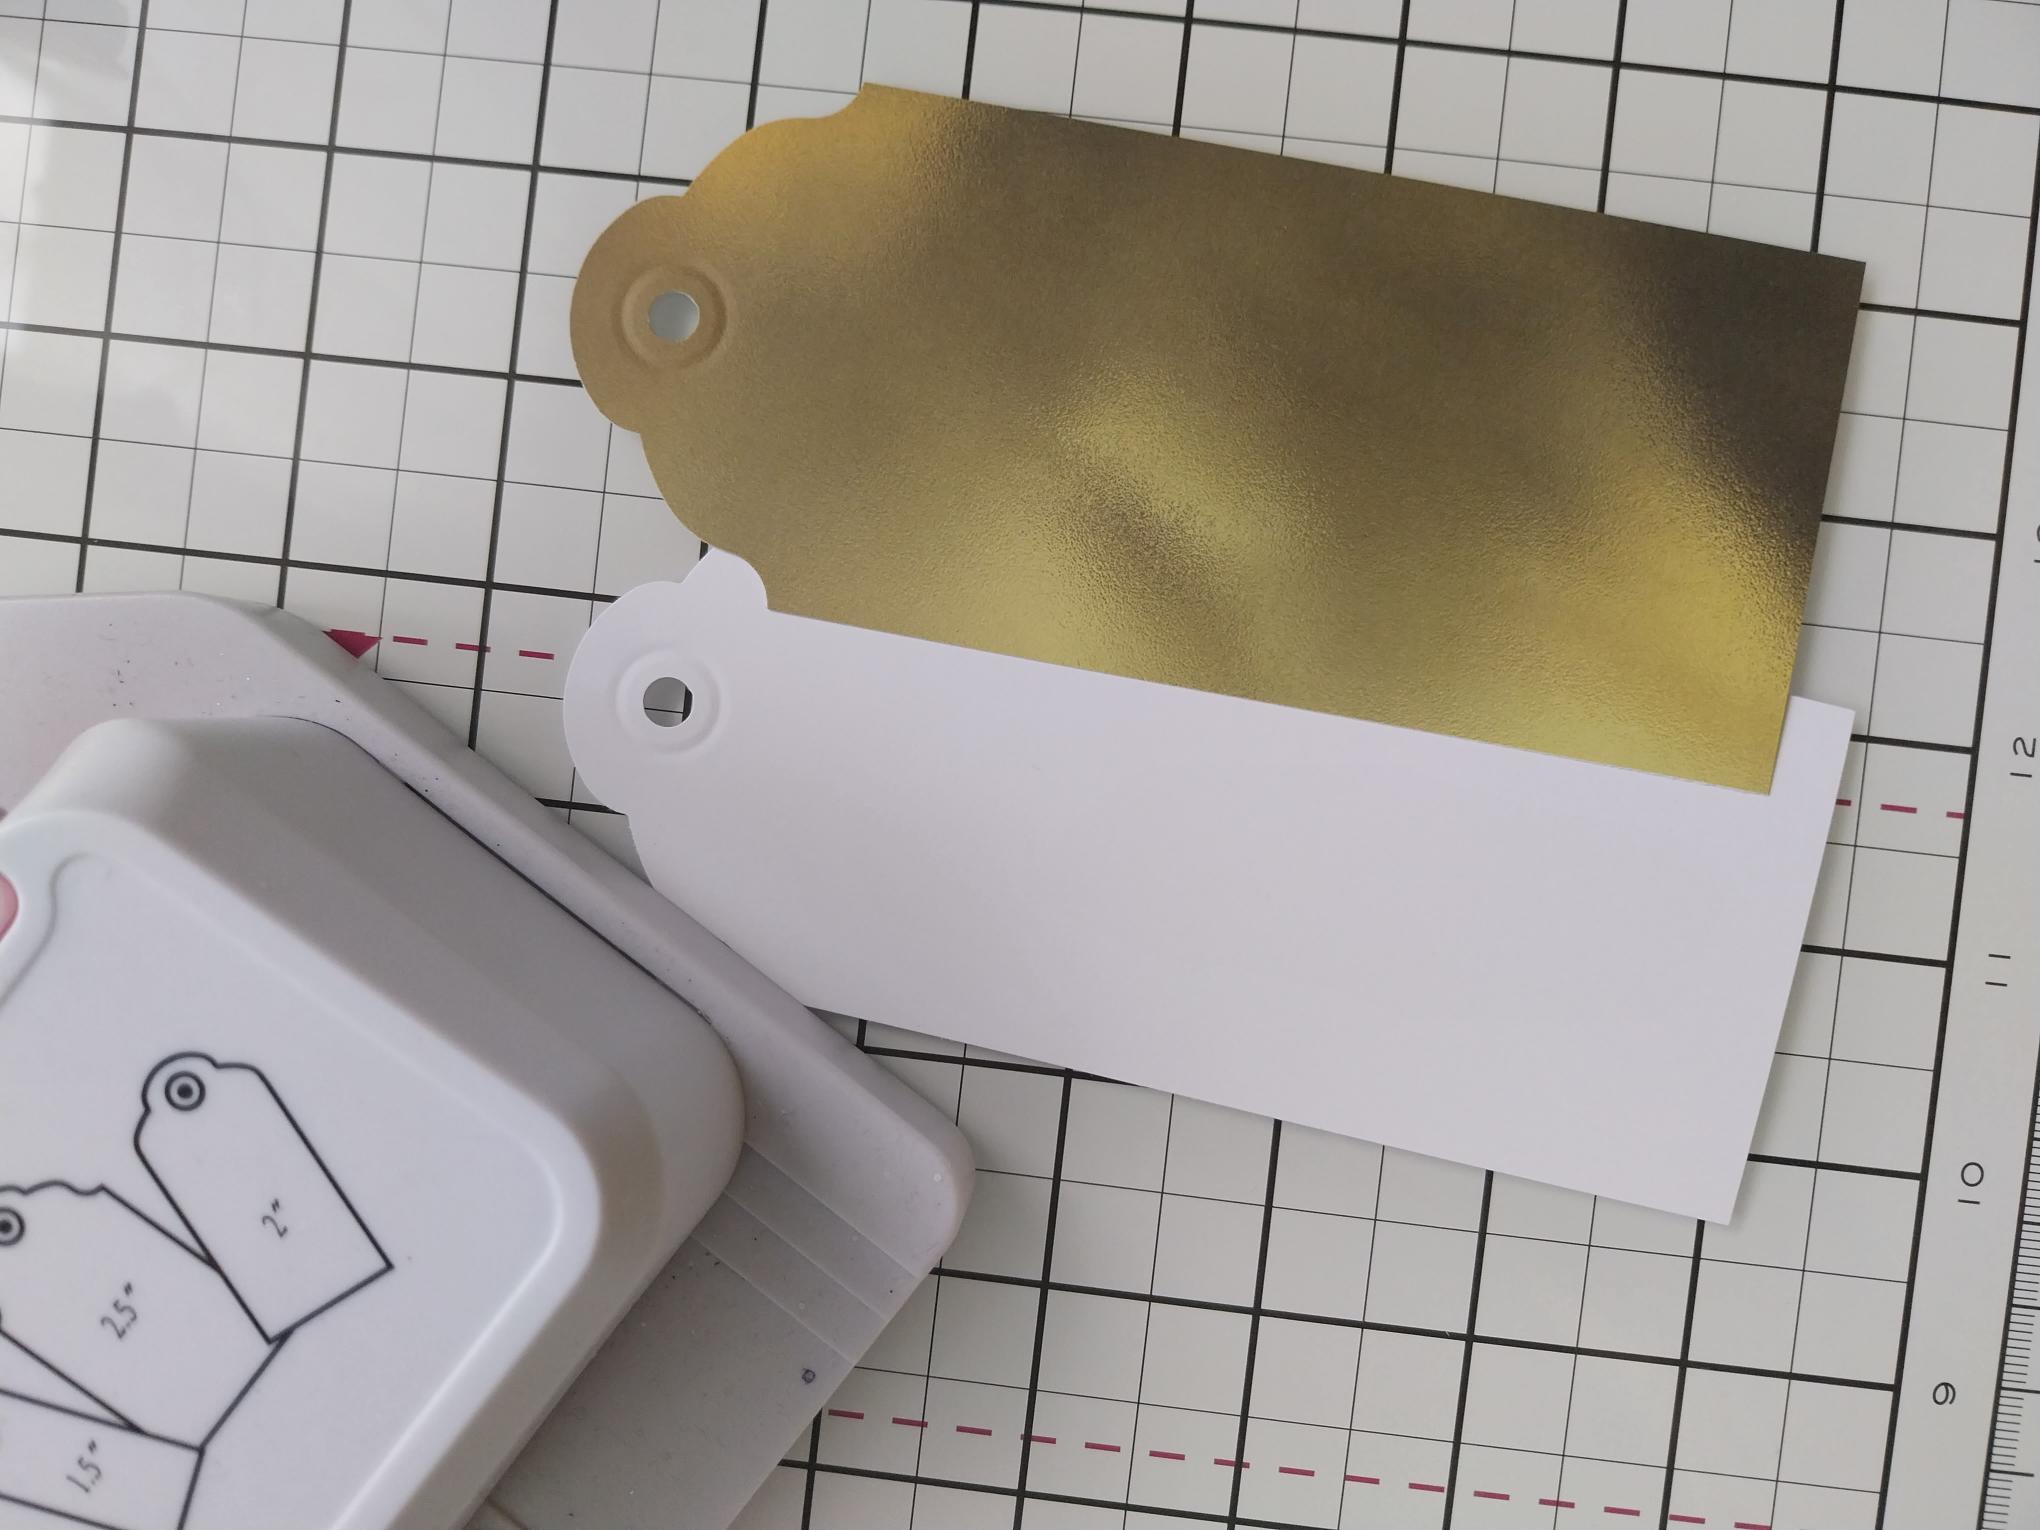
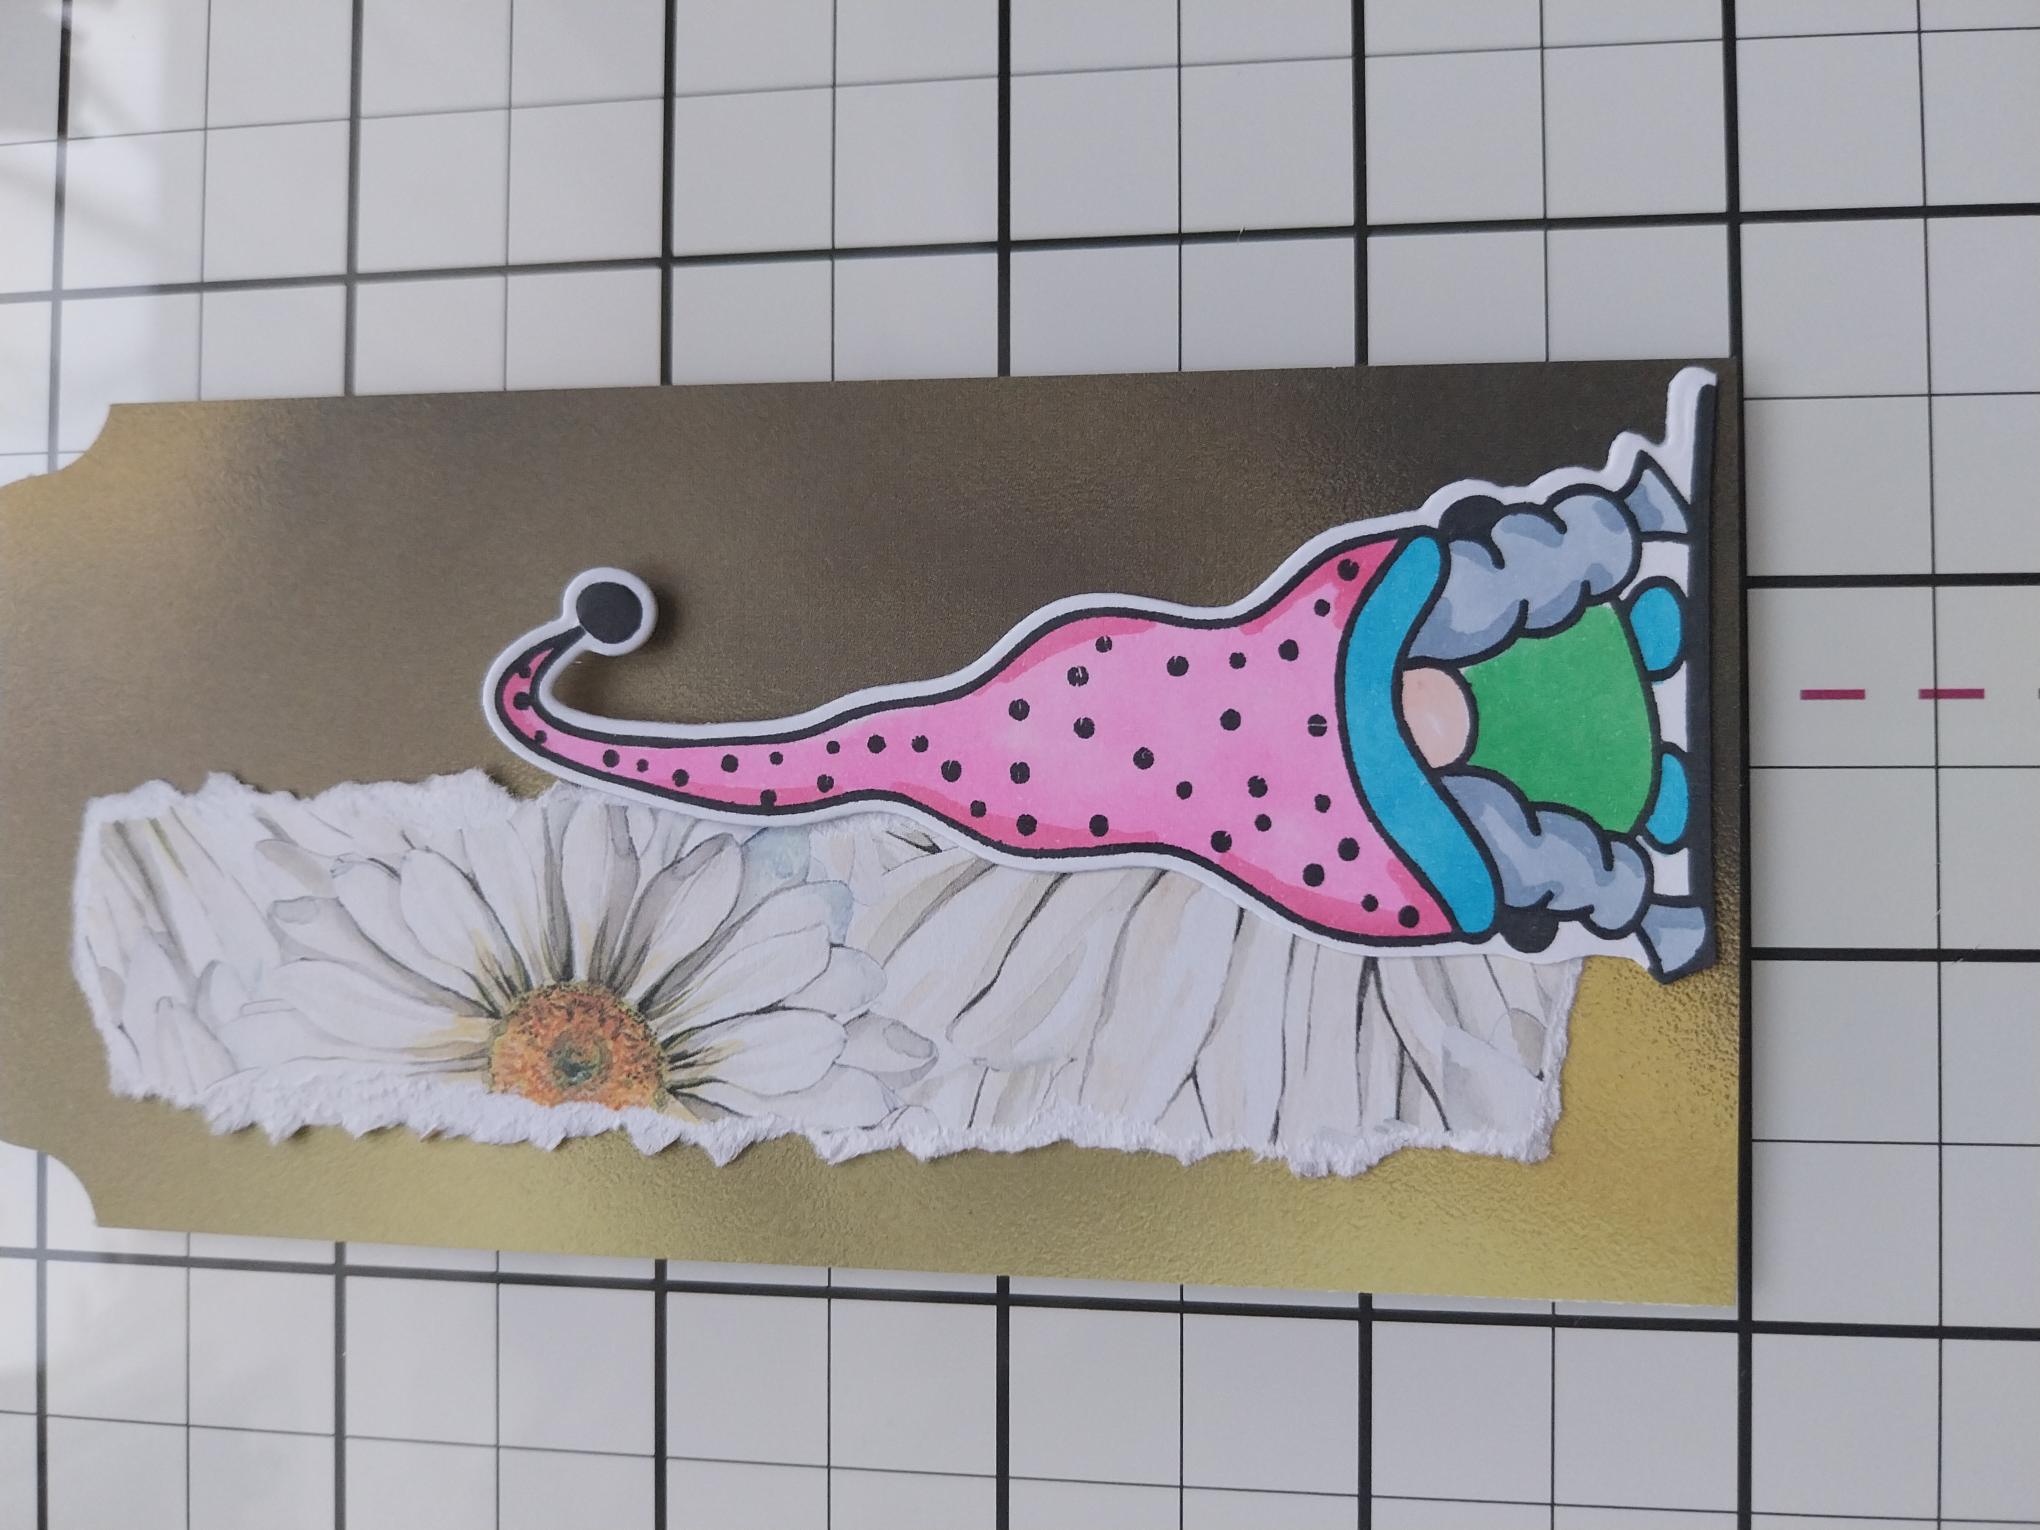
Choose a textured paper and cut to 6 x 2 1/2". Use the tag punch on one end and again, on one end of the white card cut to the same size. |
|
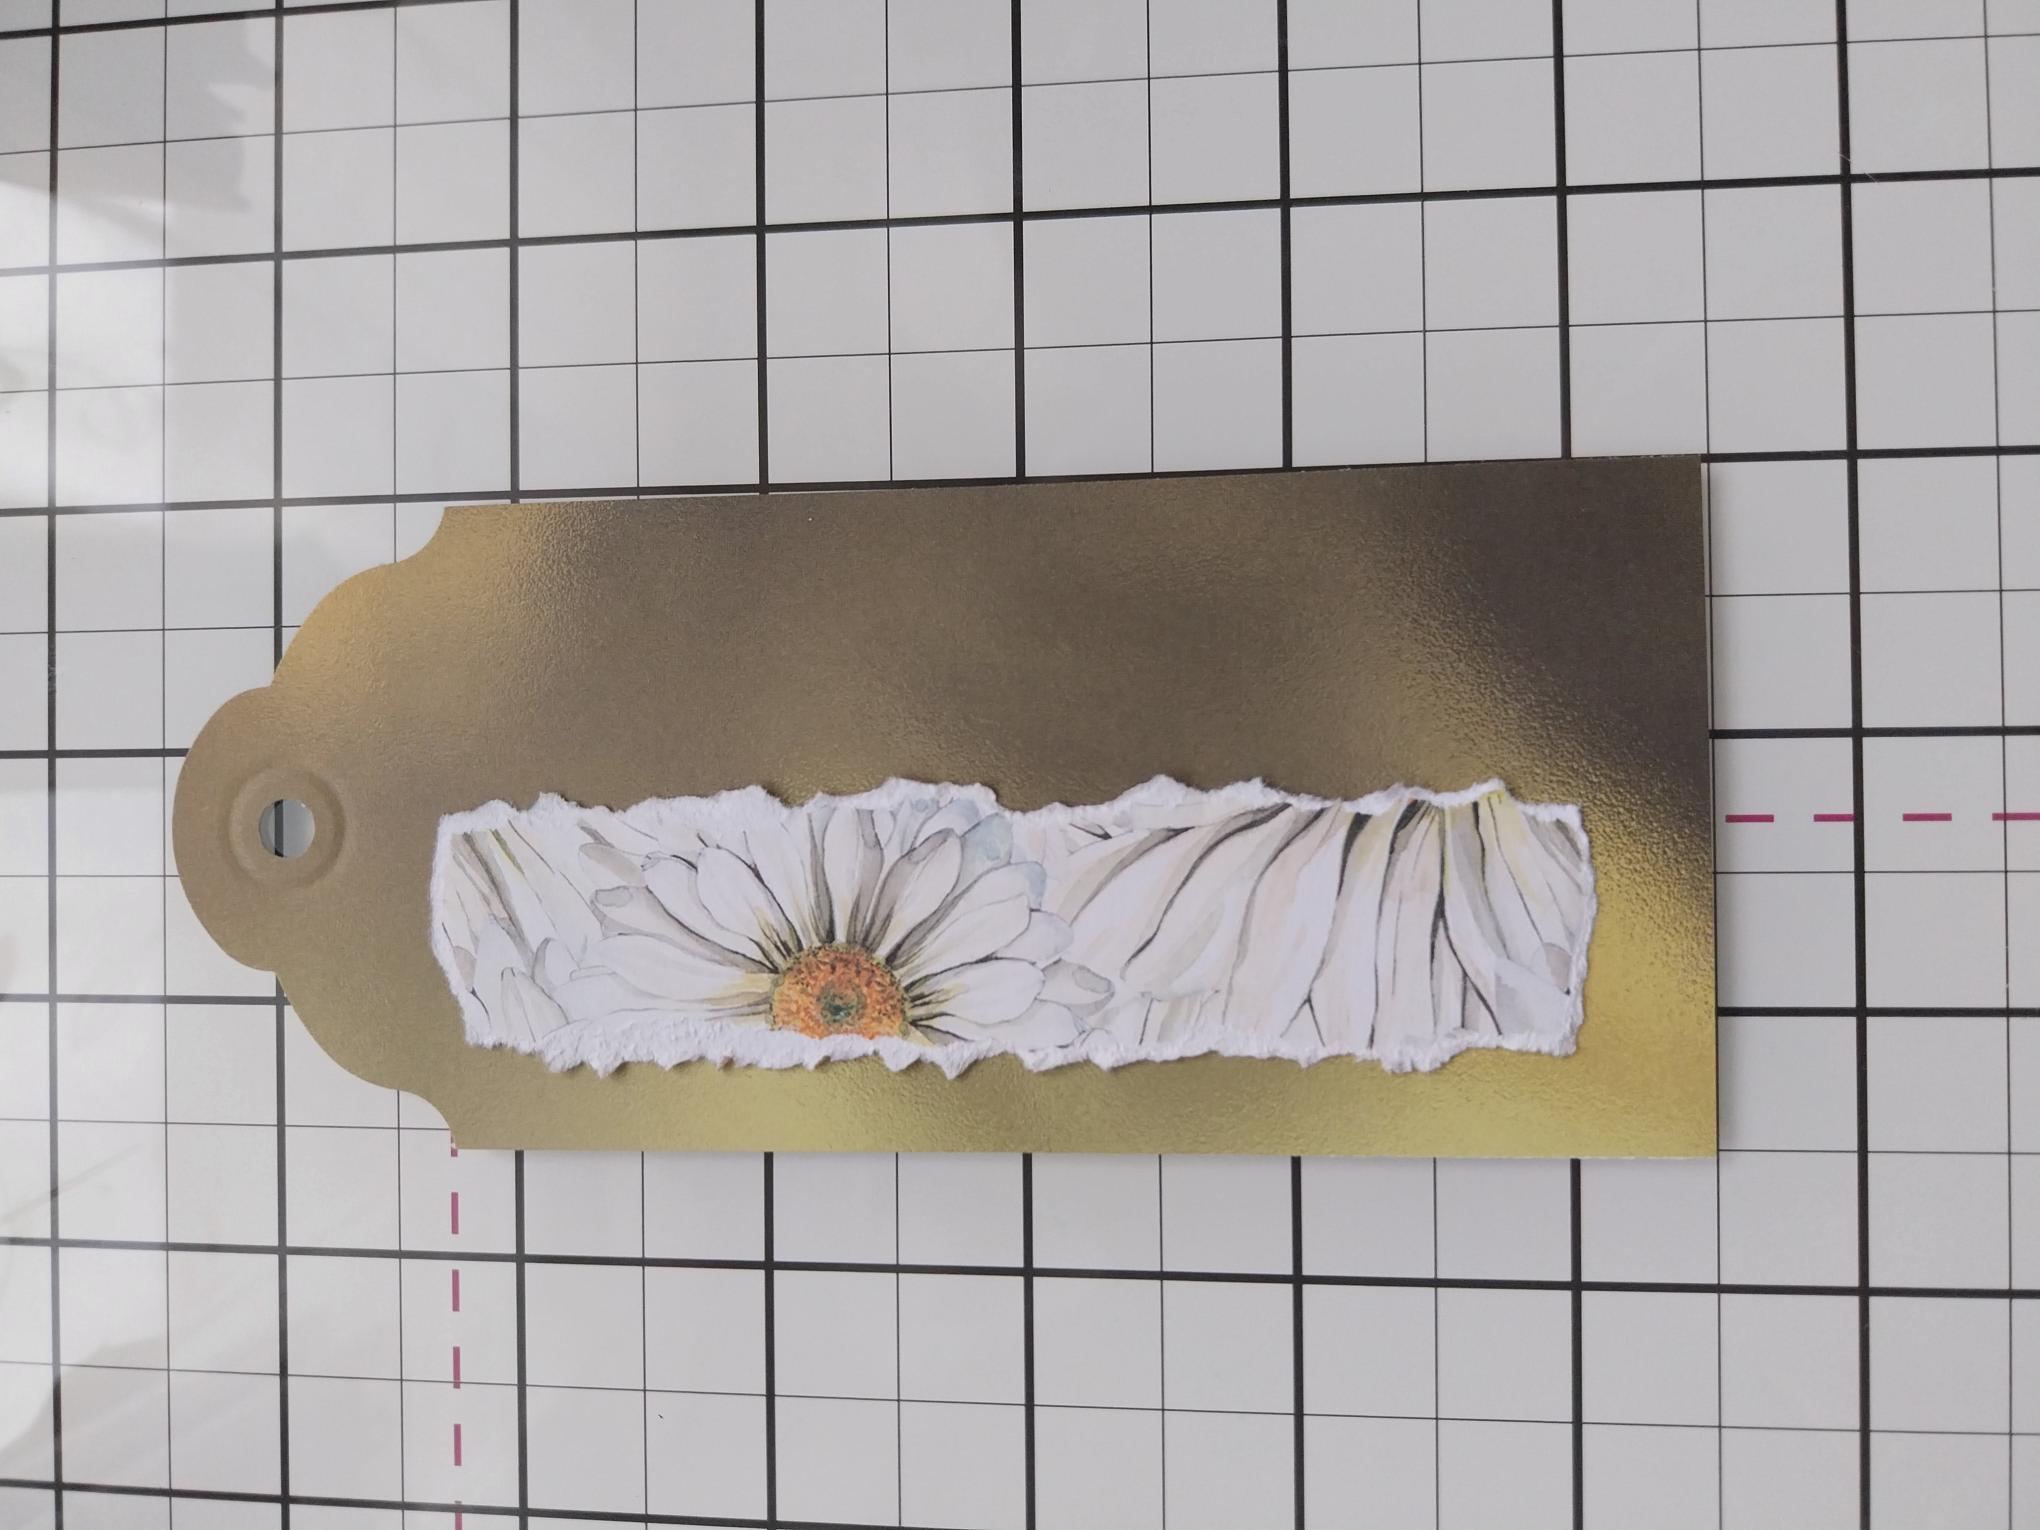
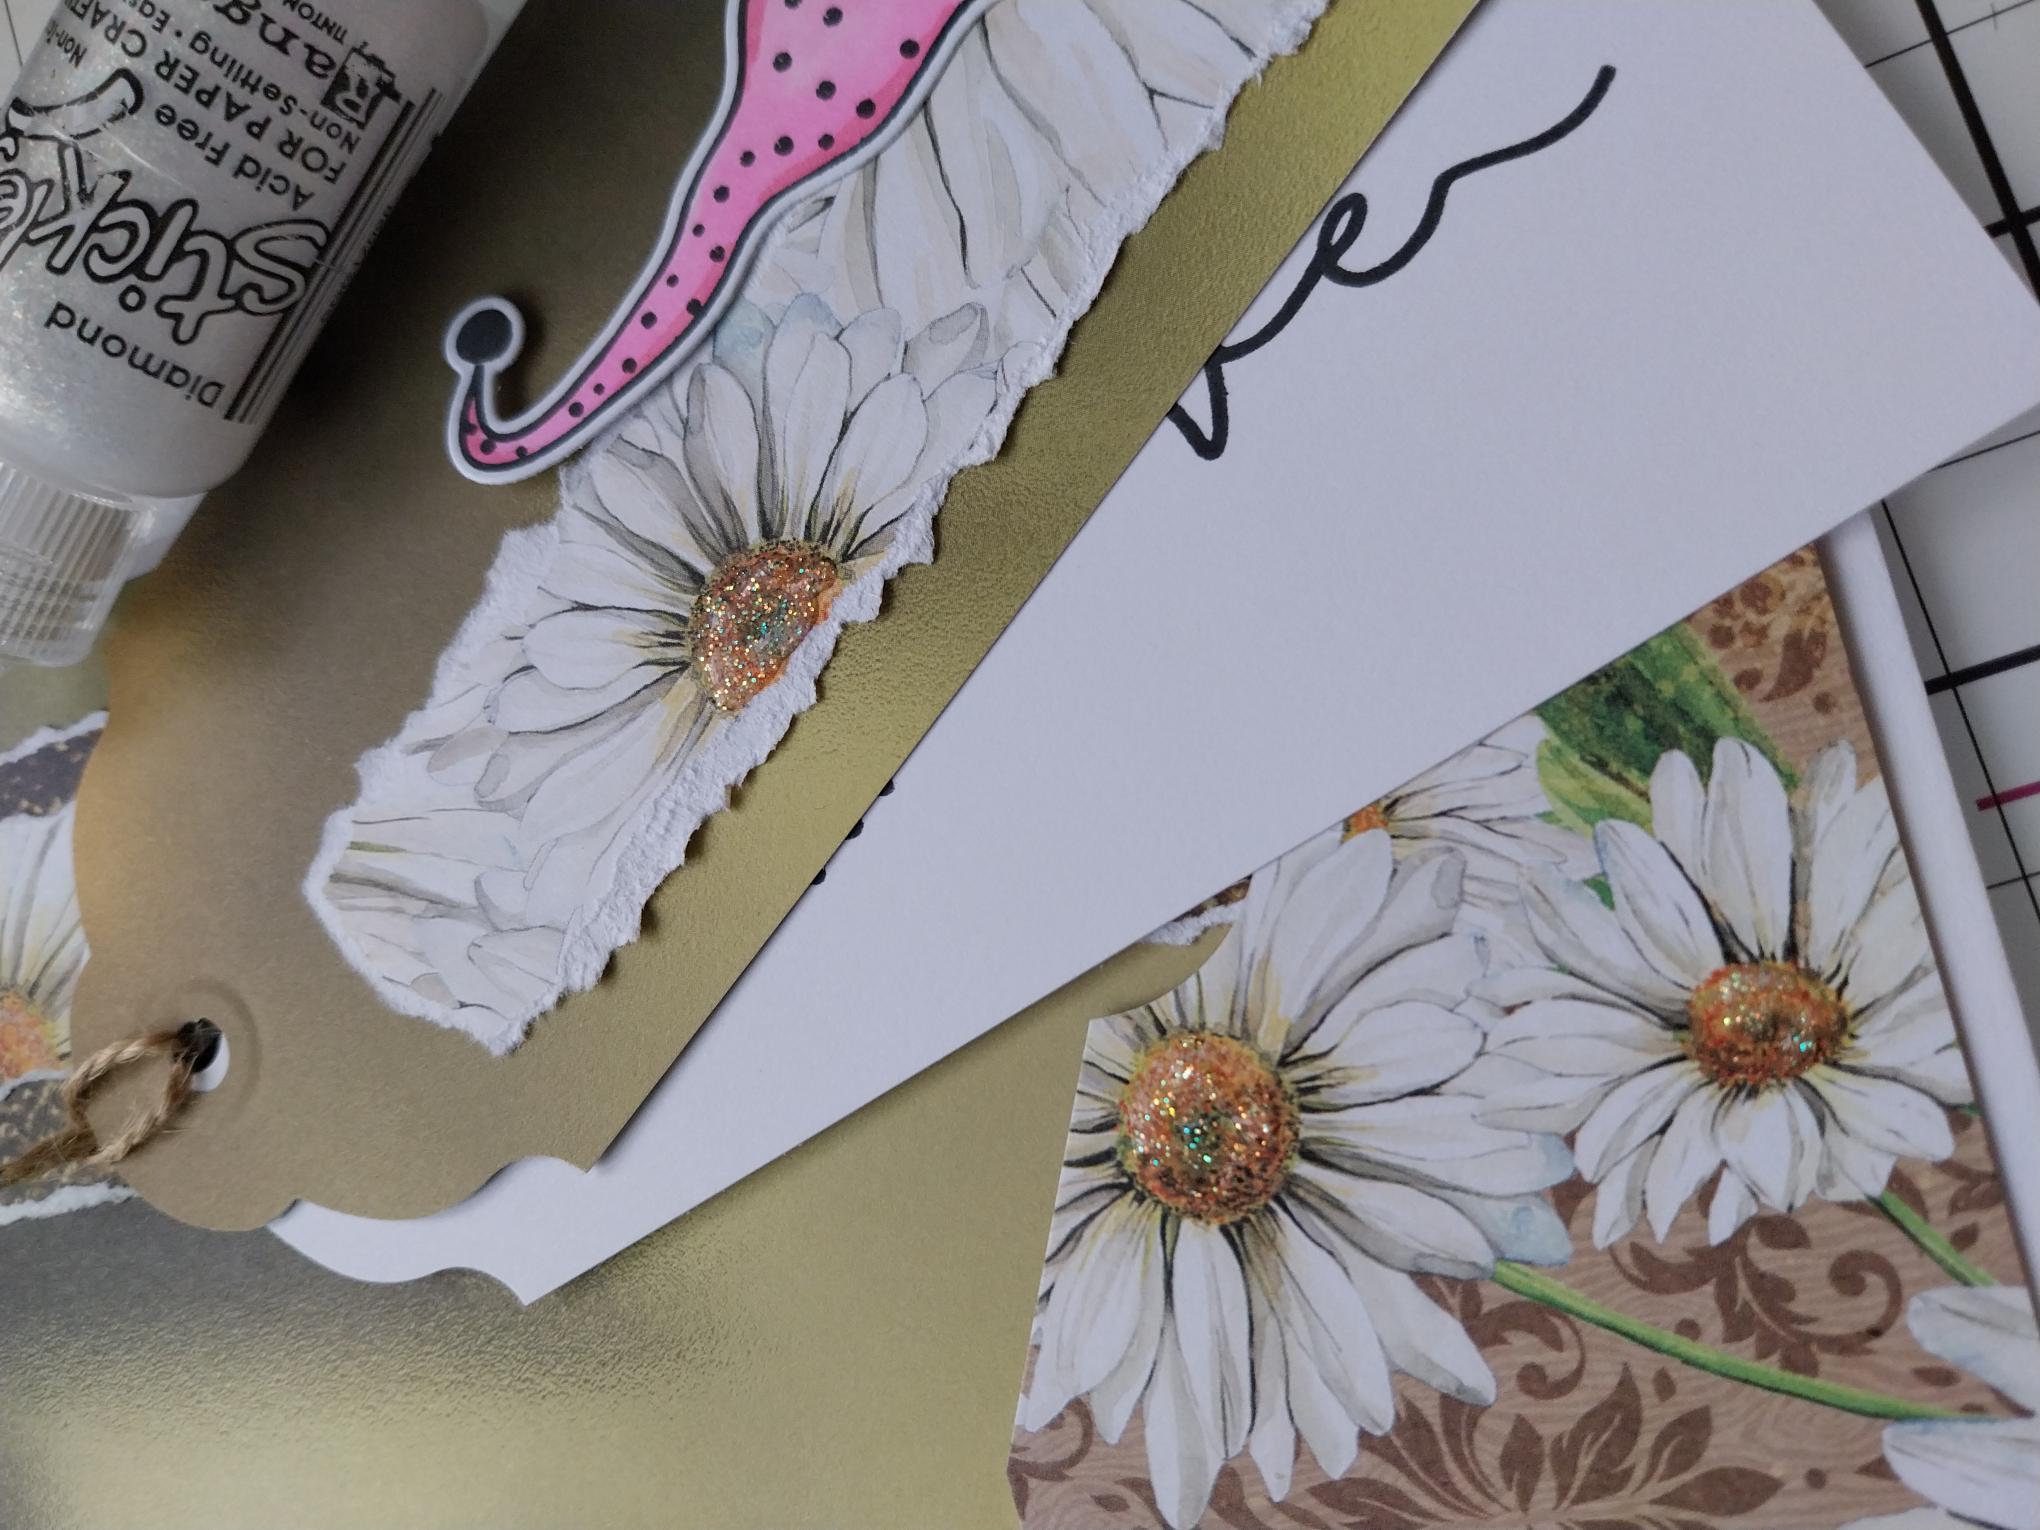
Tear a panel from a Daisy paper and adhere to the left of the textured paper tag. |
|
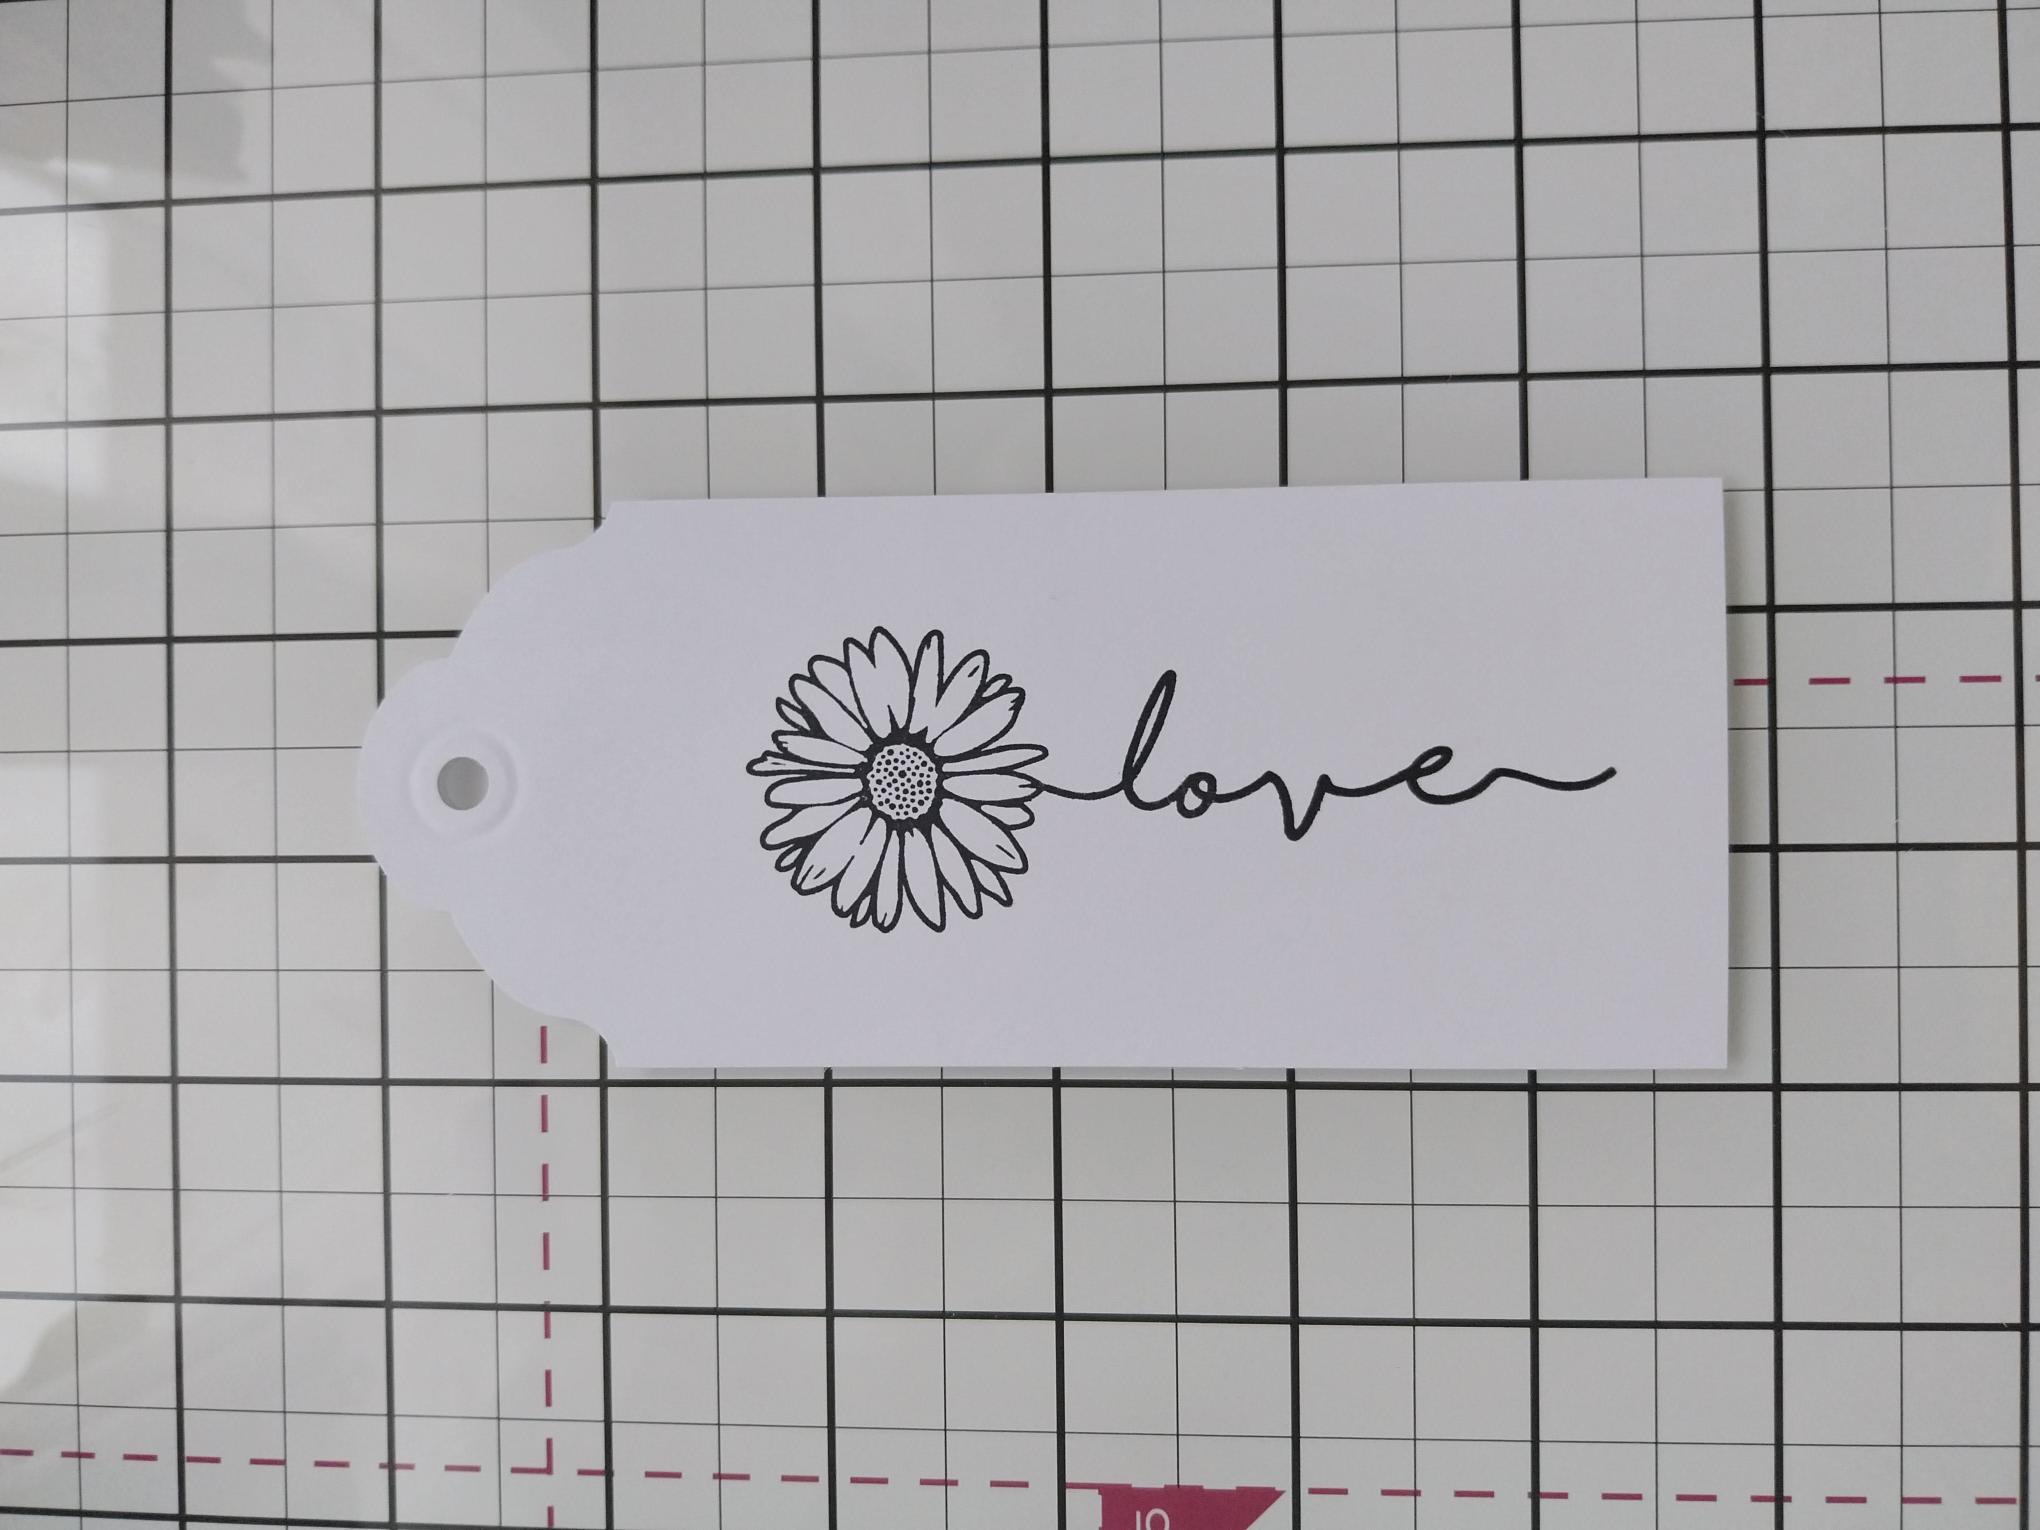
Ink up the "Love" Daisy stamp, from the Faith Stamp And Die Collection, with the Midnight hybrid ink and stamp in the centre of the white tag. Set both tags to one side. |
|
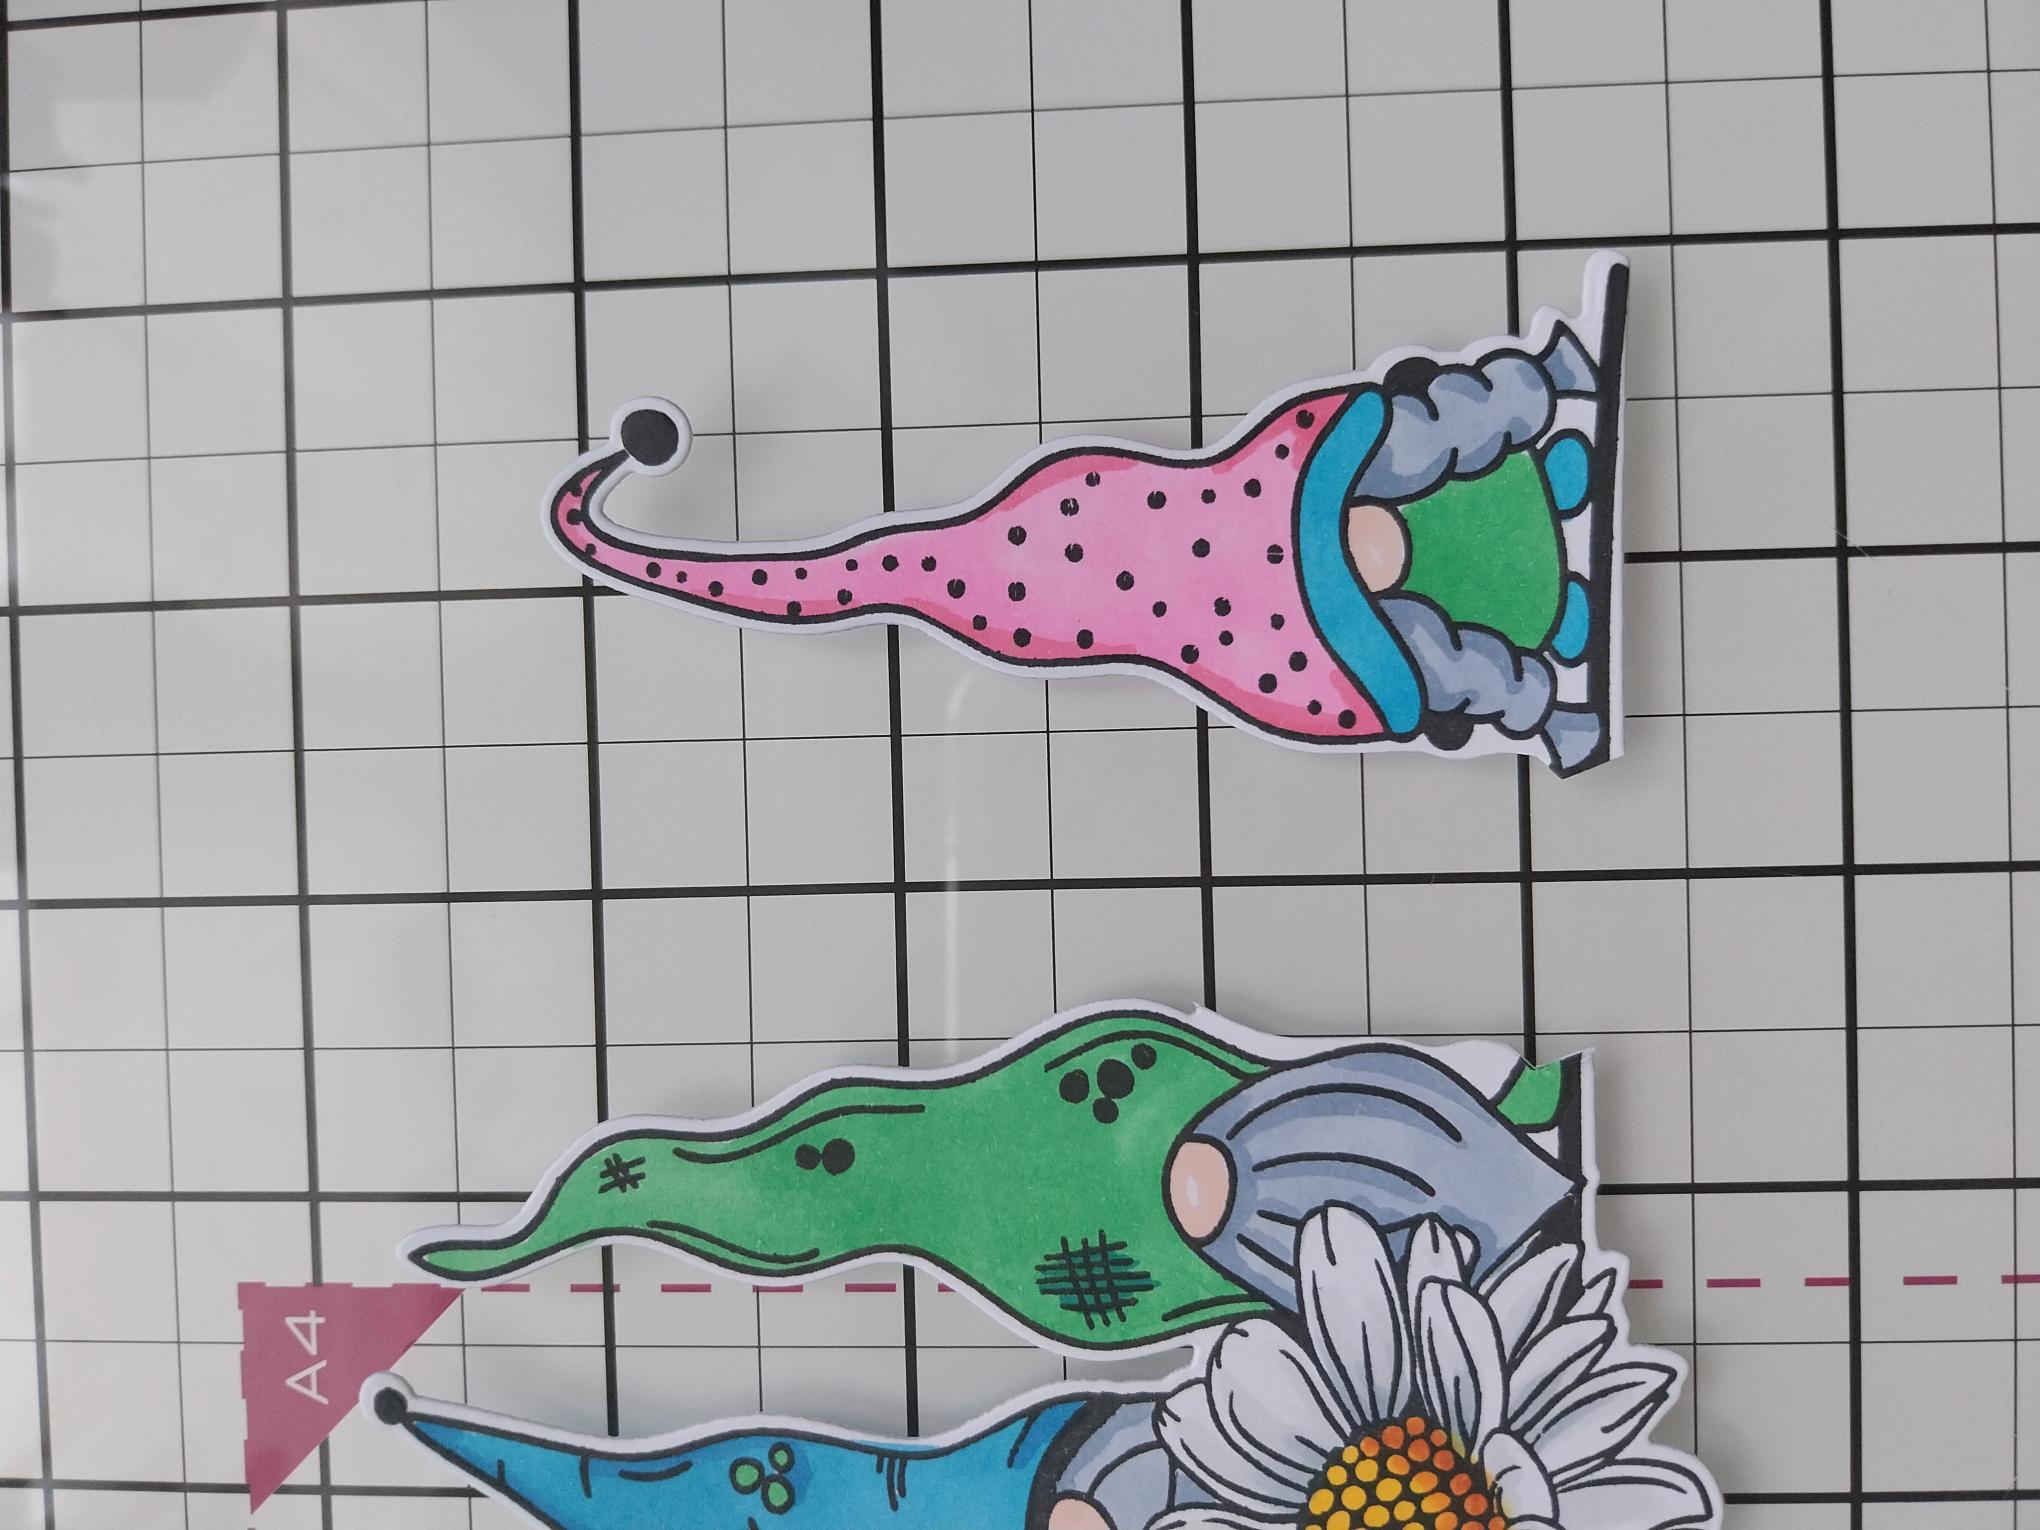
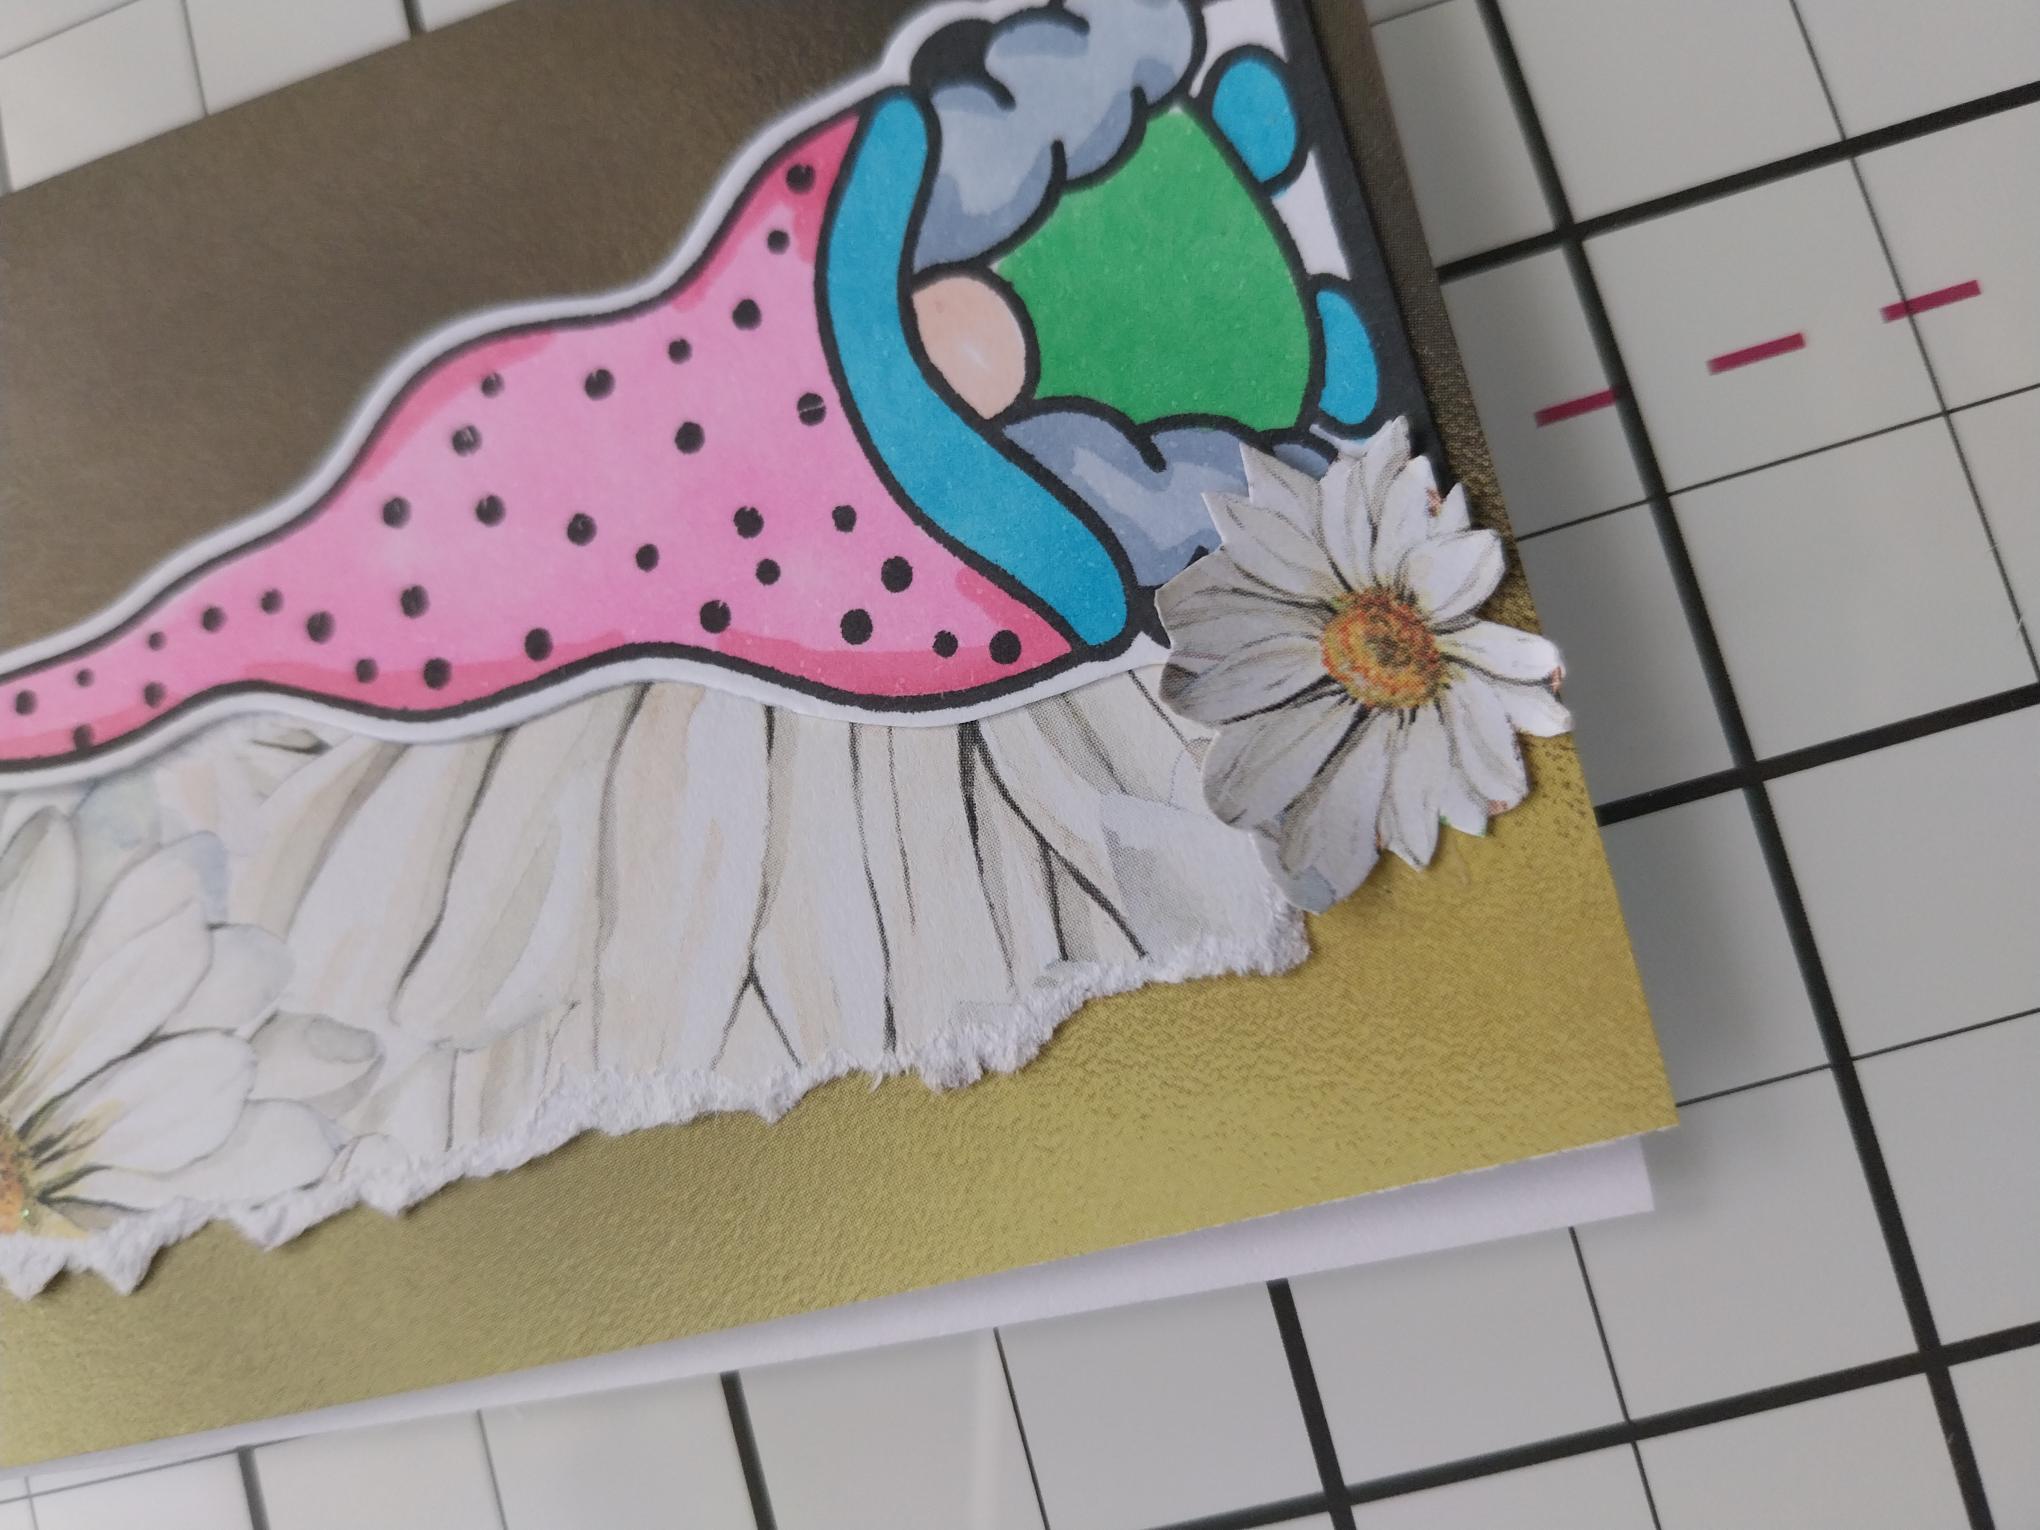
Ink up our cute Gnomes with the Midnight and stamp on to a piece of white card. Use the coordinating die to cut them out. Colour these gorgeous characters with your Gossip alcohol pens. Pop a sheet of copy paper underneath to stop the ink that bleeds through the card, from damaging your work surface. Fussy cut our lovely lady Gnome from the right hand side, keeping the rest of our Gnomes for another card. |
|
Adhere our Gnome on to the textured tag. |
|
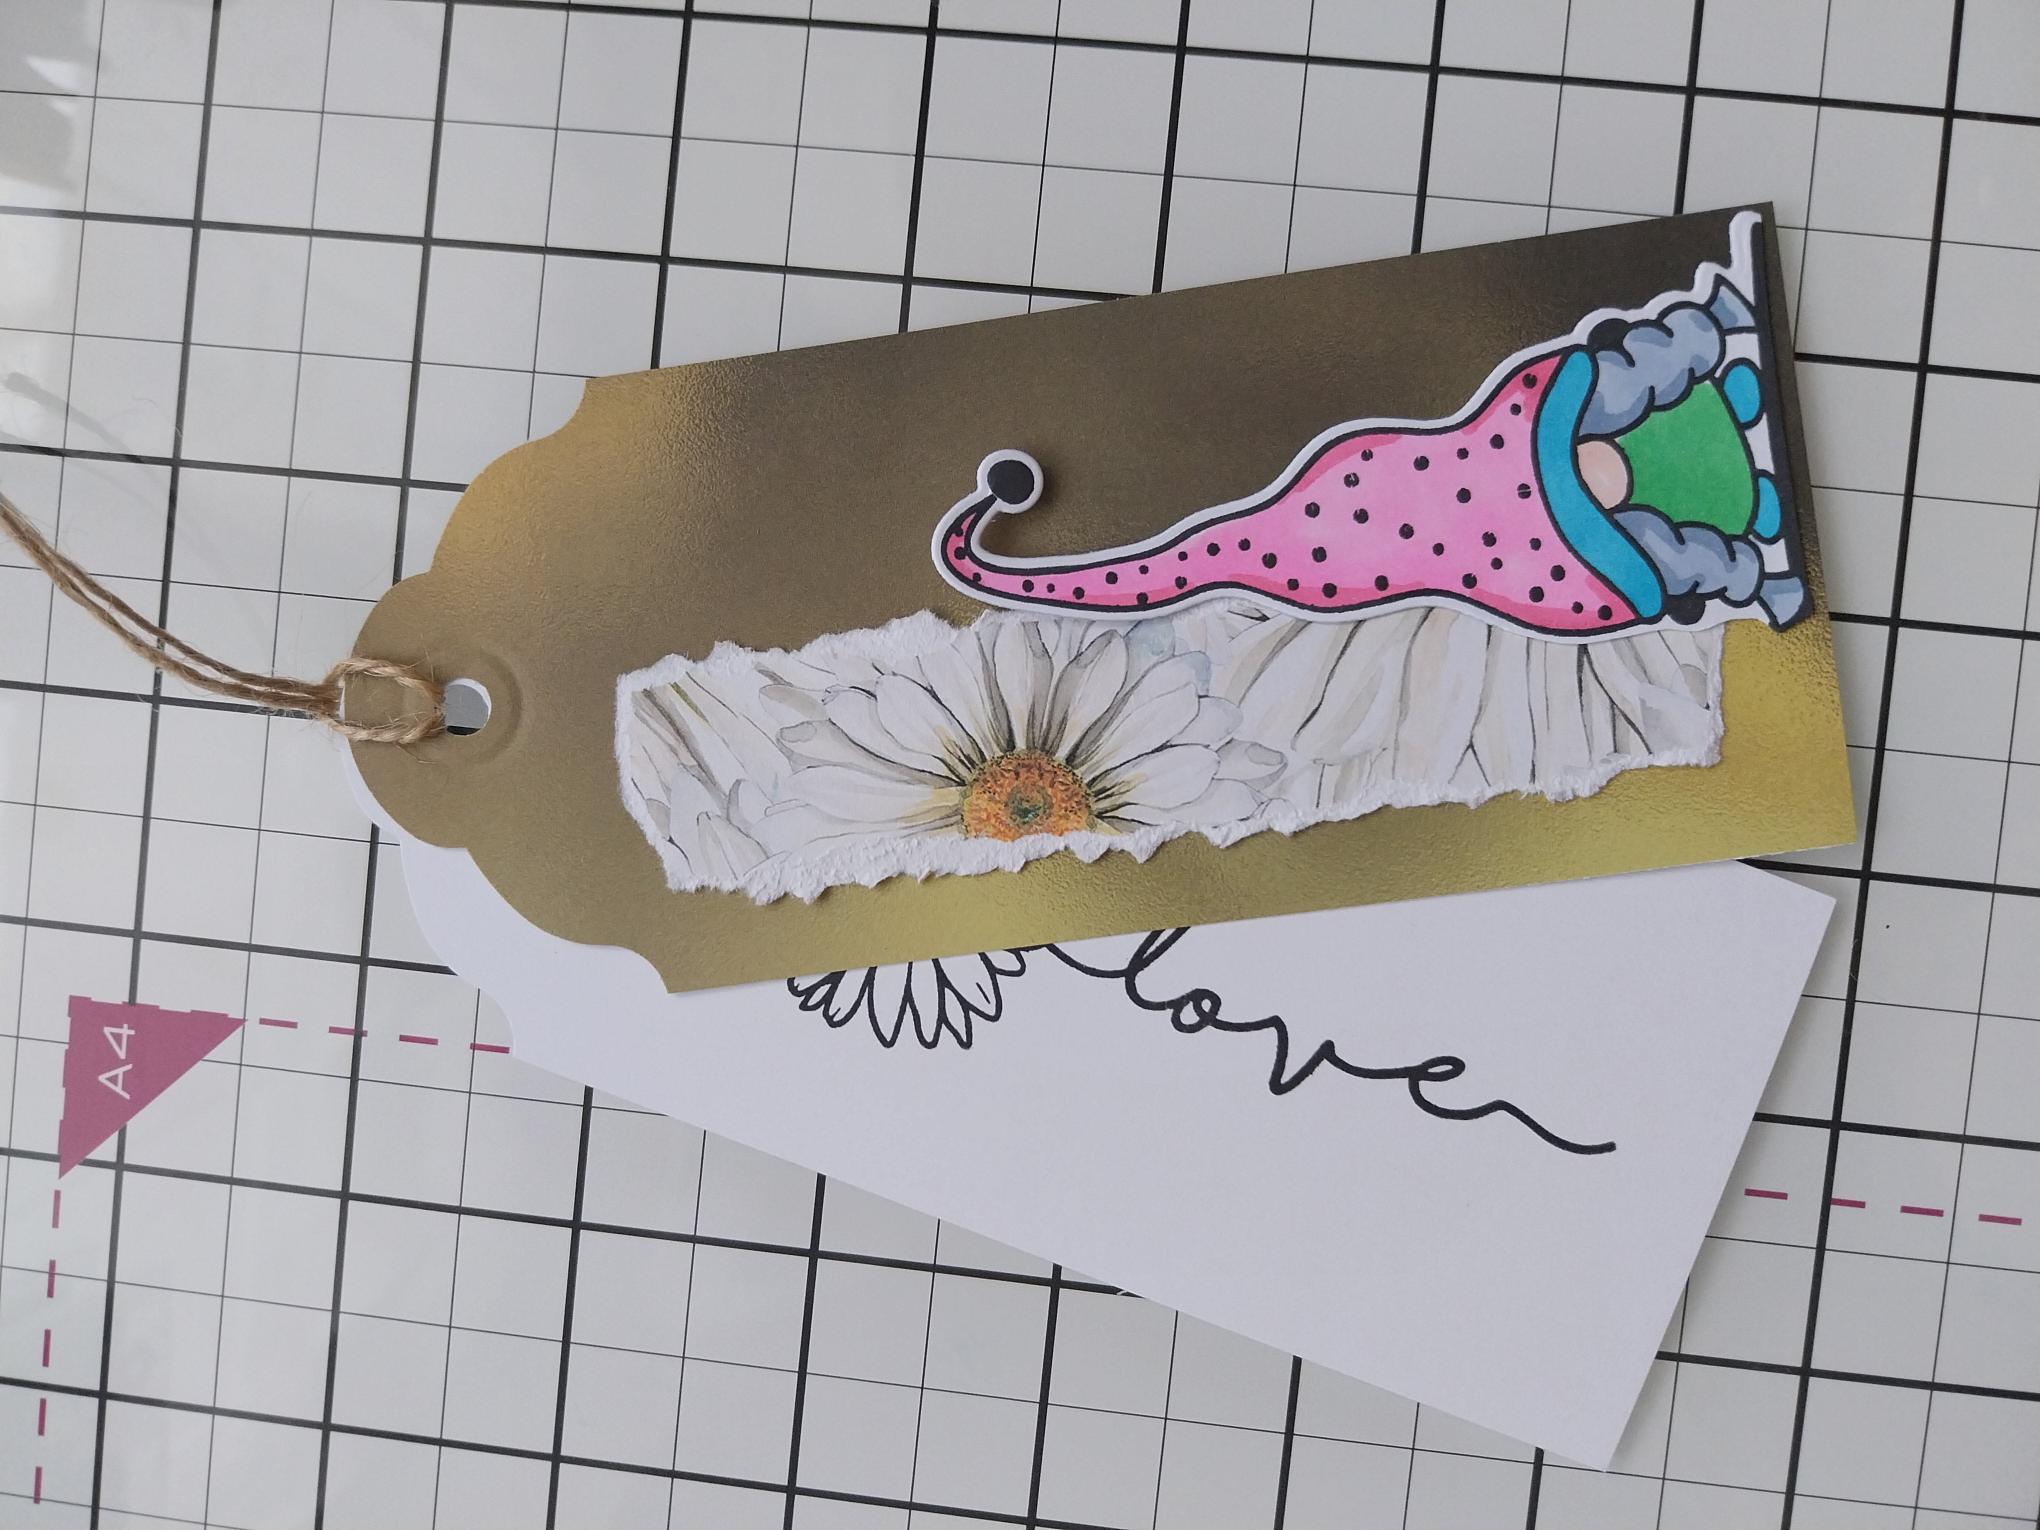
Use a piece of twine to tie our two tags together. |
|
Fussy cut a Daisy from any of the leftover, scrap pieces of patterned papers and adhere to the left of our Gnome. |
|
Finish off by adding Stickles to the centres of the Daisies, on the decorative papers. |