Give your friends $10 off their first order!
Refer a FRIEND


WHAT YOU WILL NEED:
Black card blank 8 1/4 x 5 3/4"
White card
Copy paper
Clear Infinity Acetate Shaker Card Window Collection: 4.25 x 5.5"
Faith Stamp and Die Collection
Sunshine In My Pocket 8 x 8" Paper Pack
Sunshine In My Pocket 8 x 8" Textured Paper Pack
SBM Hybrid Ink Pad: Midnight
Gossip Alcohol Pens
Sequins
Texture Chunky Glitter Collection: Honey
Ranger Stickles: Diamond
Anti-static bag
Score tool
Eureka 101 Watercolour Tablet
SBM Magnetic glass mat
Paper Trimmer
Perfect Together Glue
Double side adhesive tape or red liner tape
Die Cutting machine
[click image to enlarge] 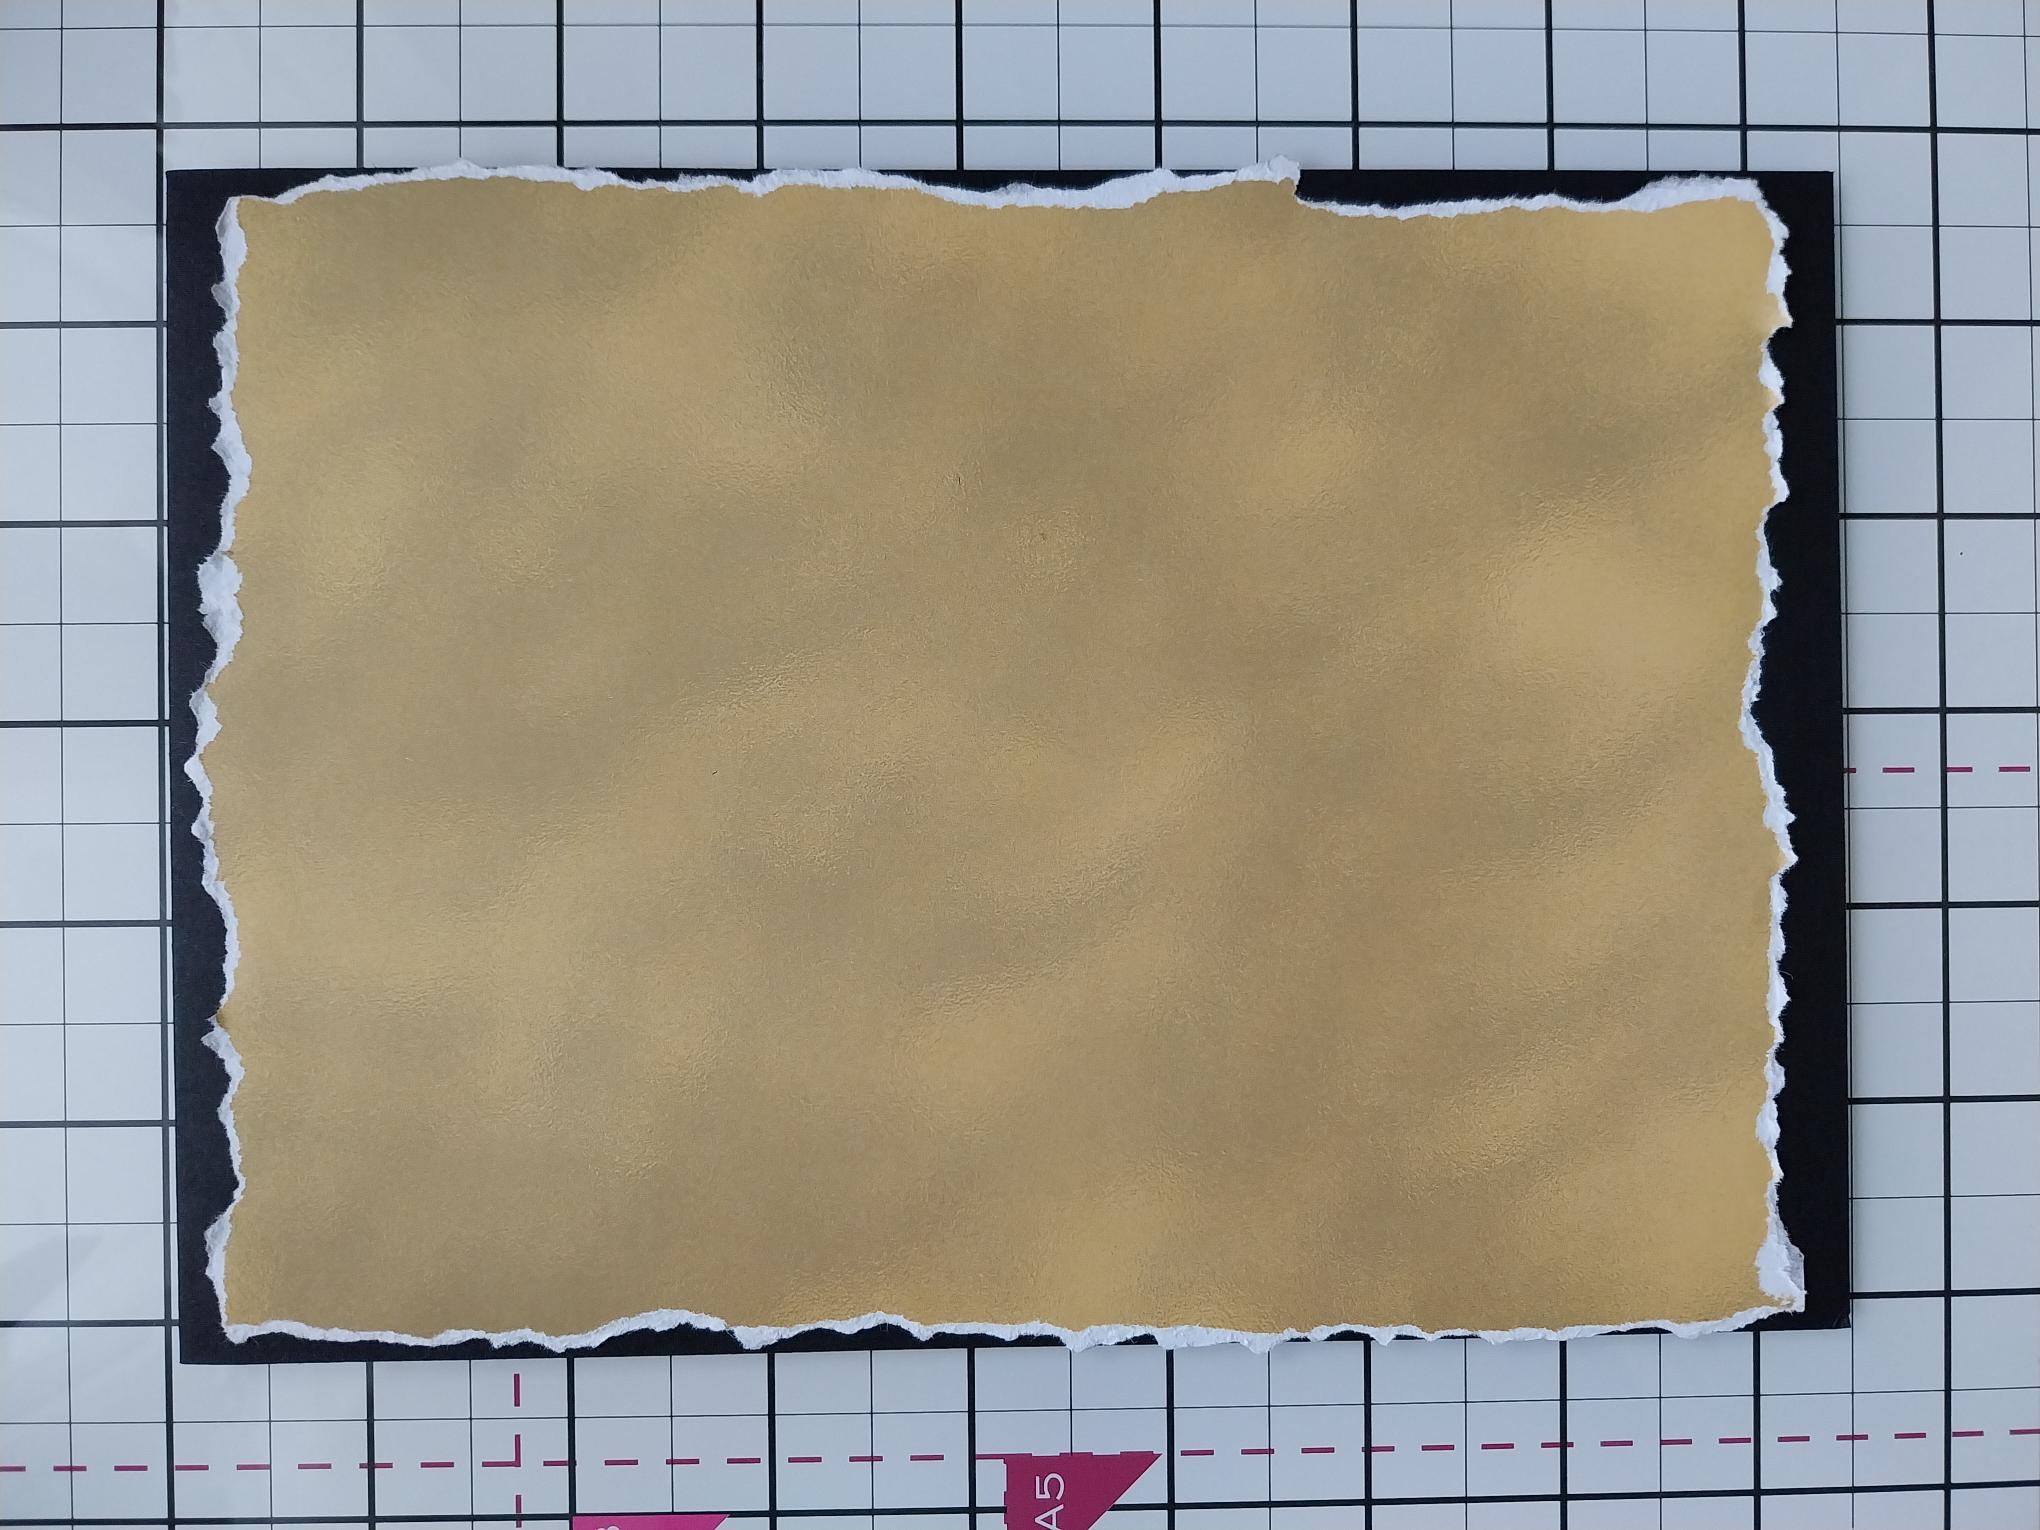
|
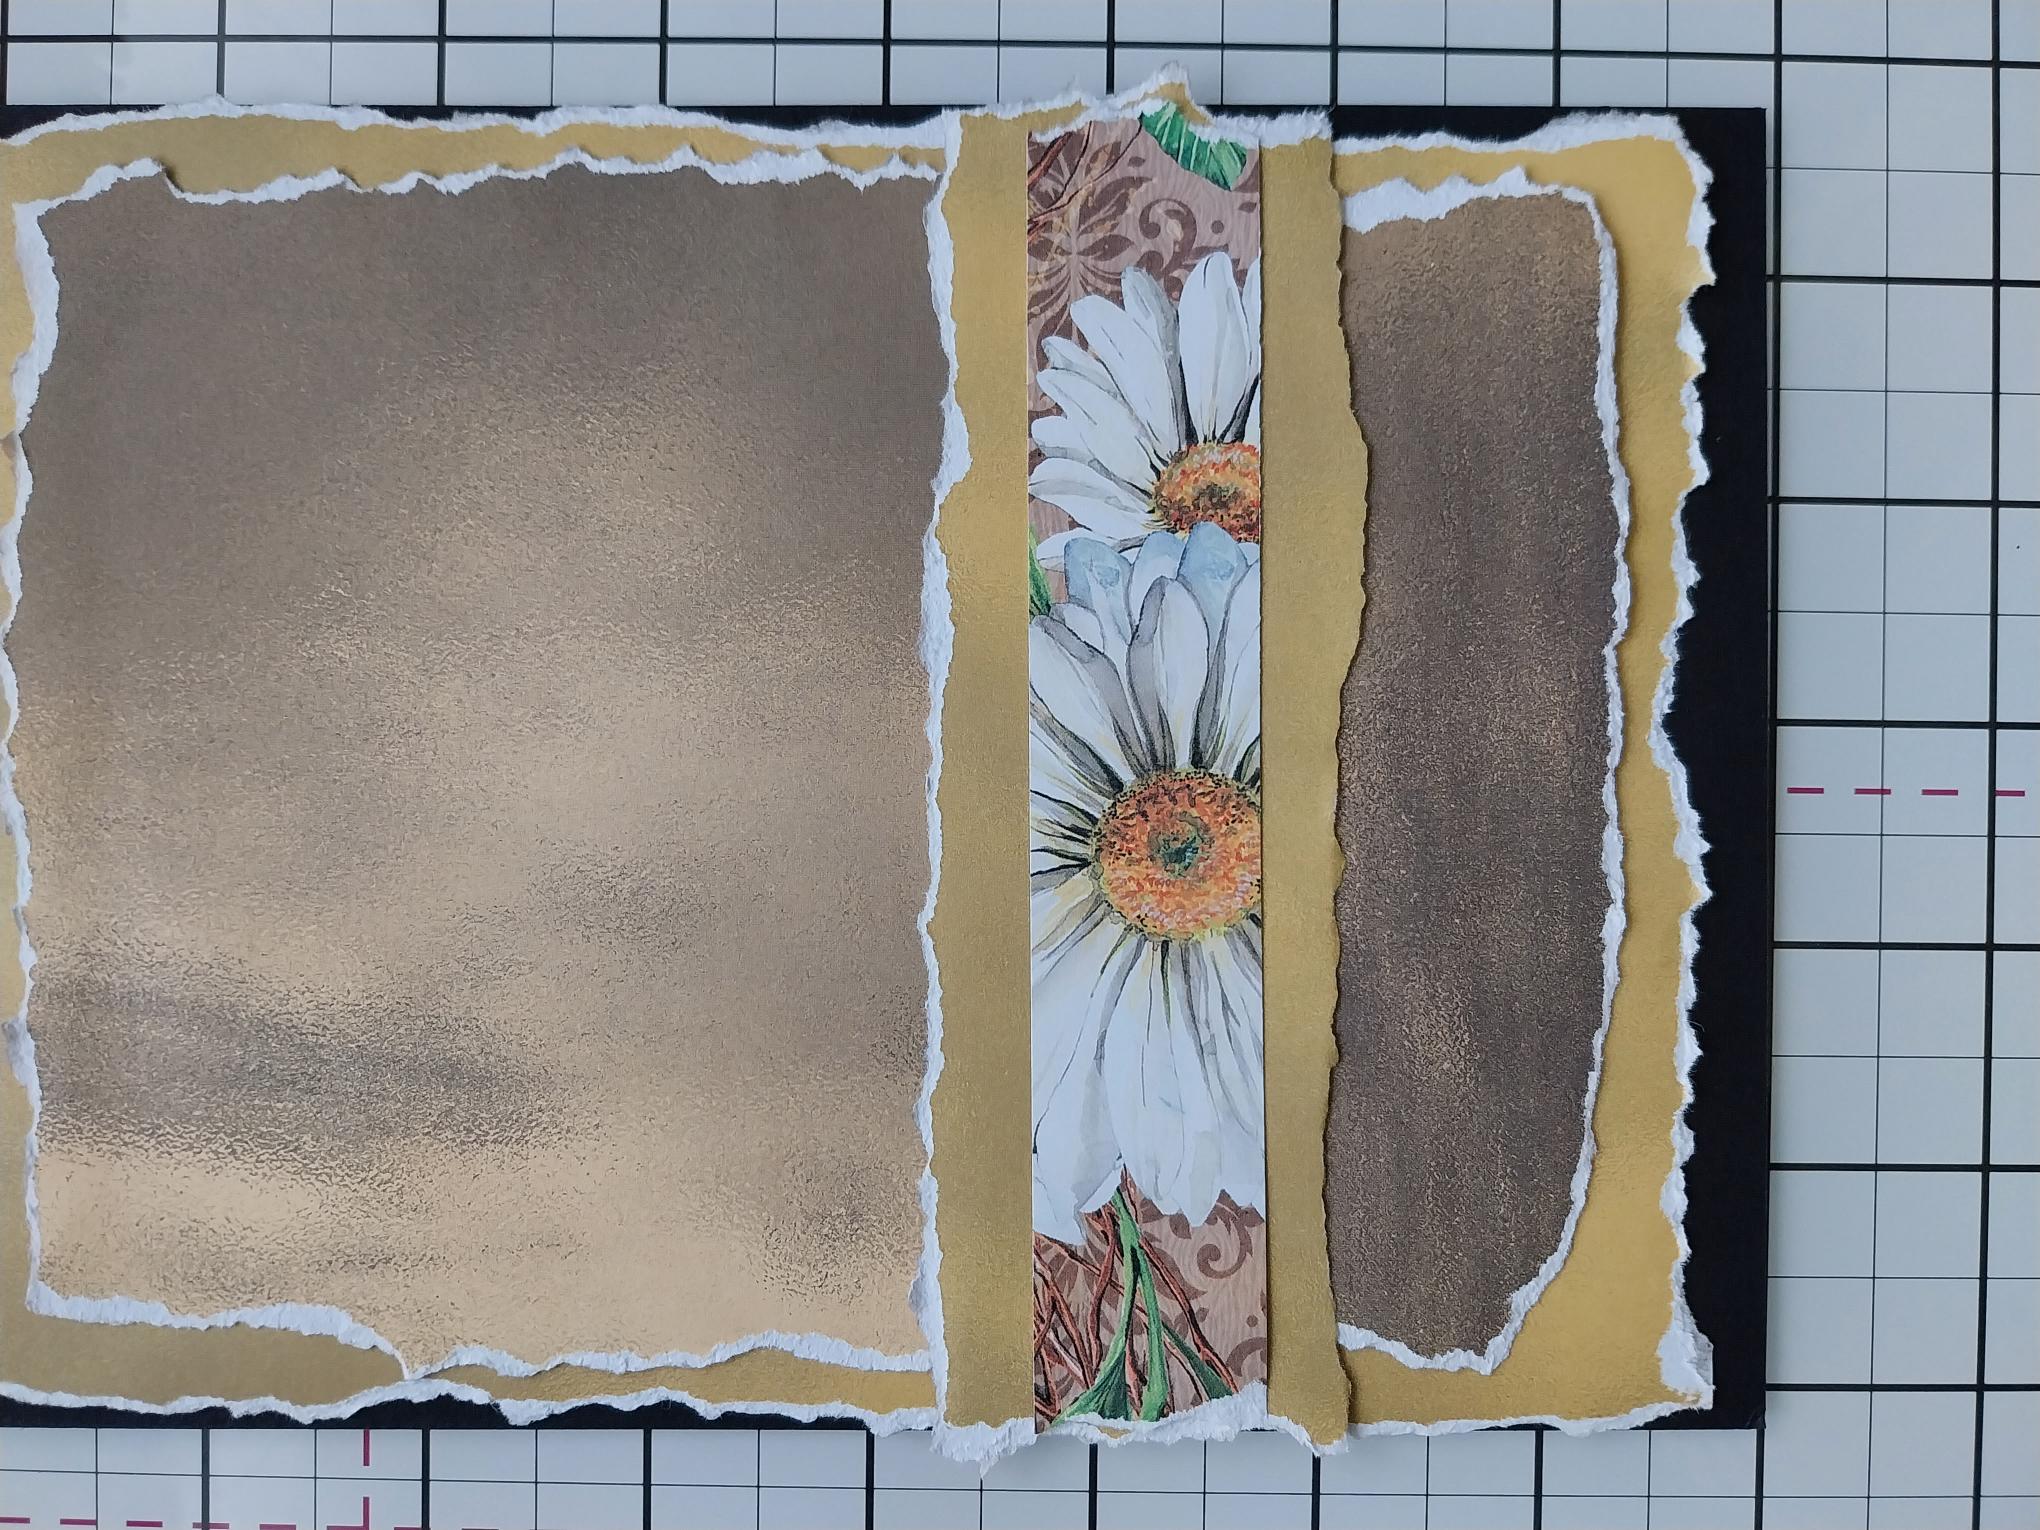
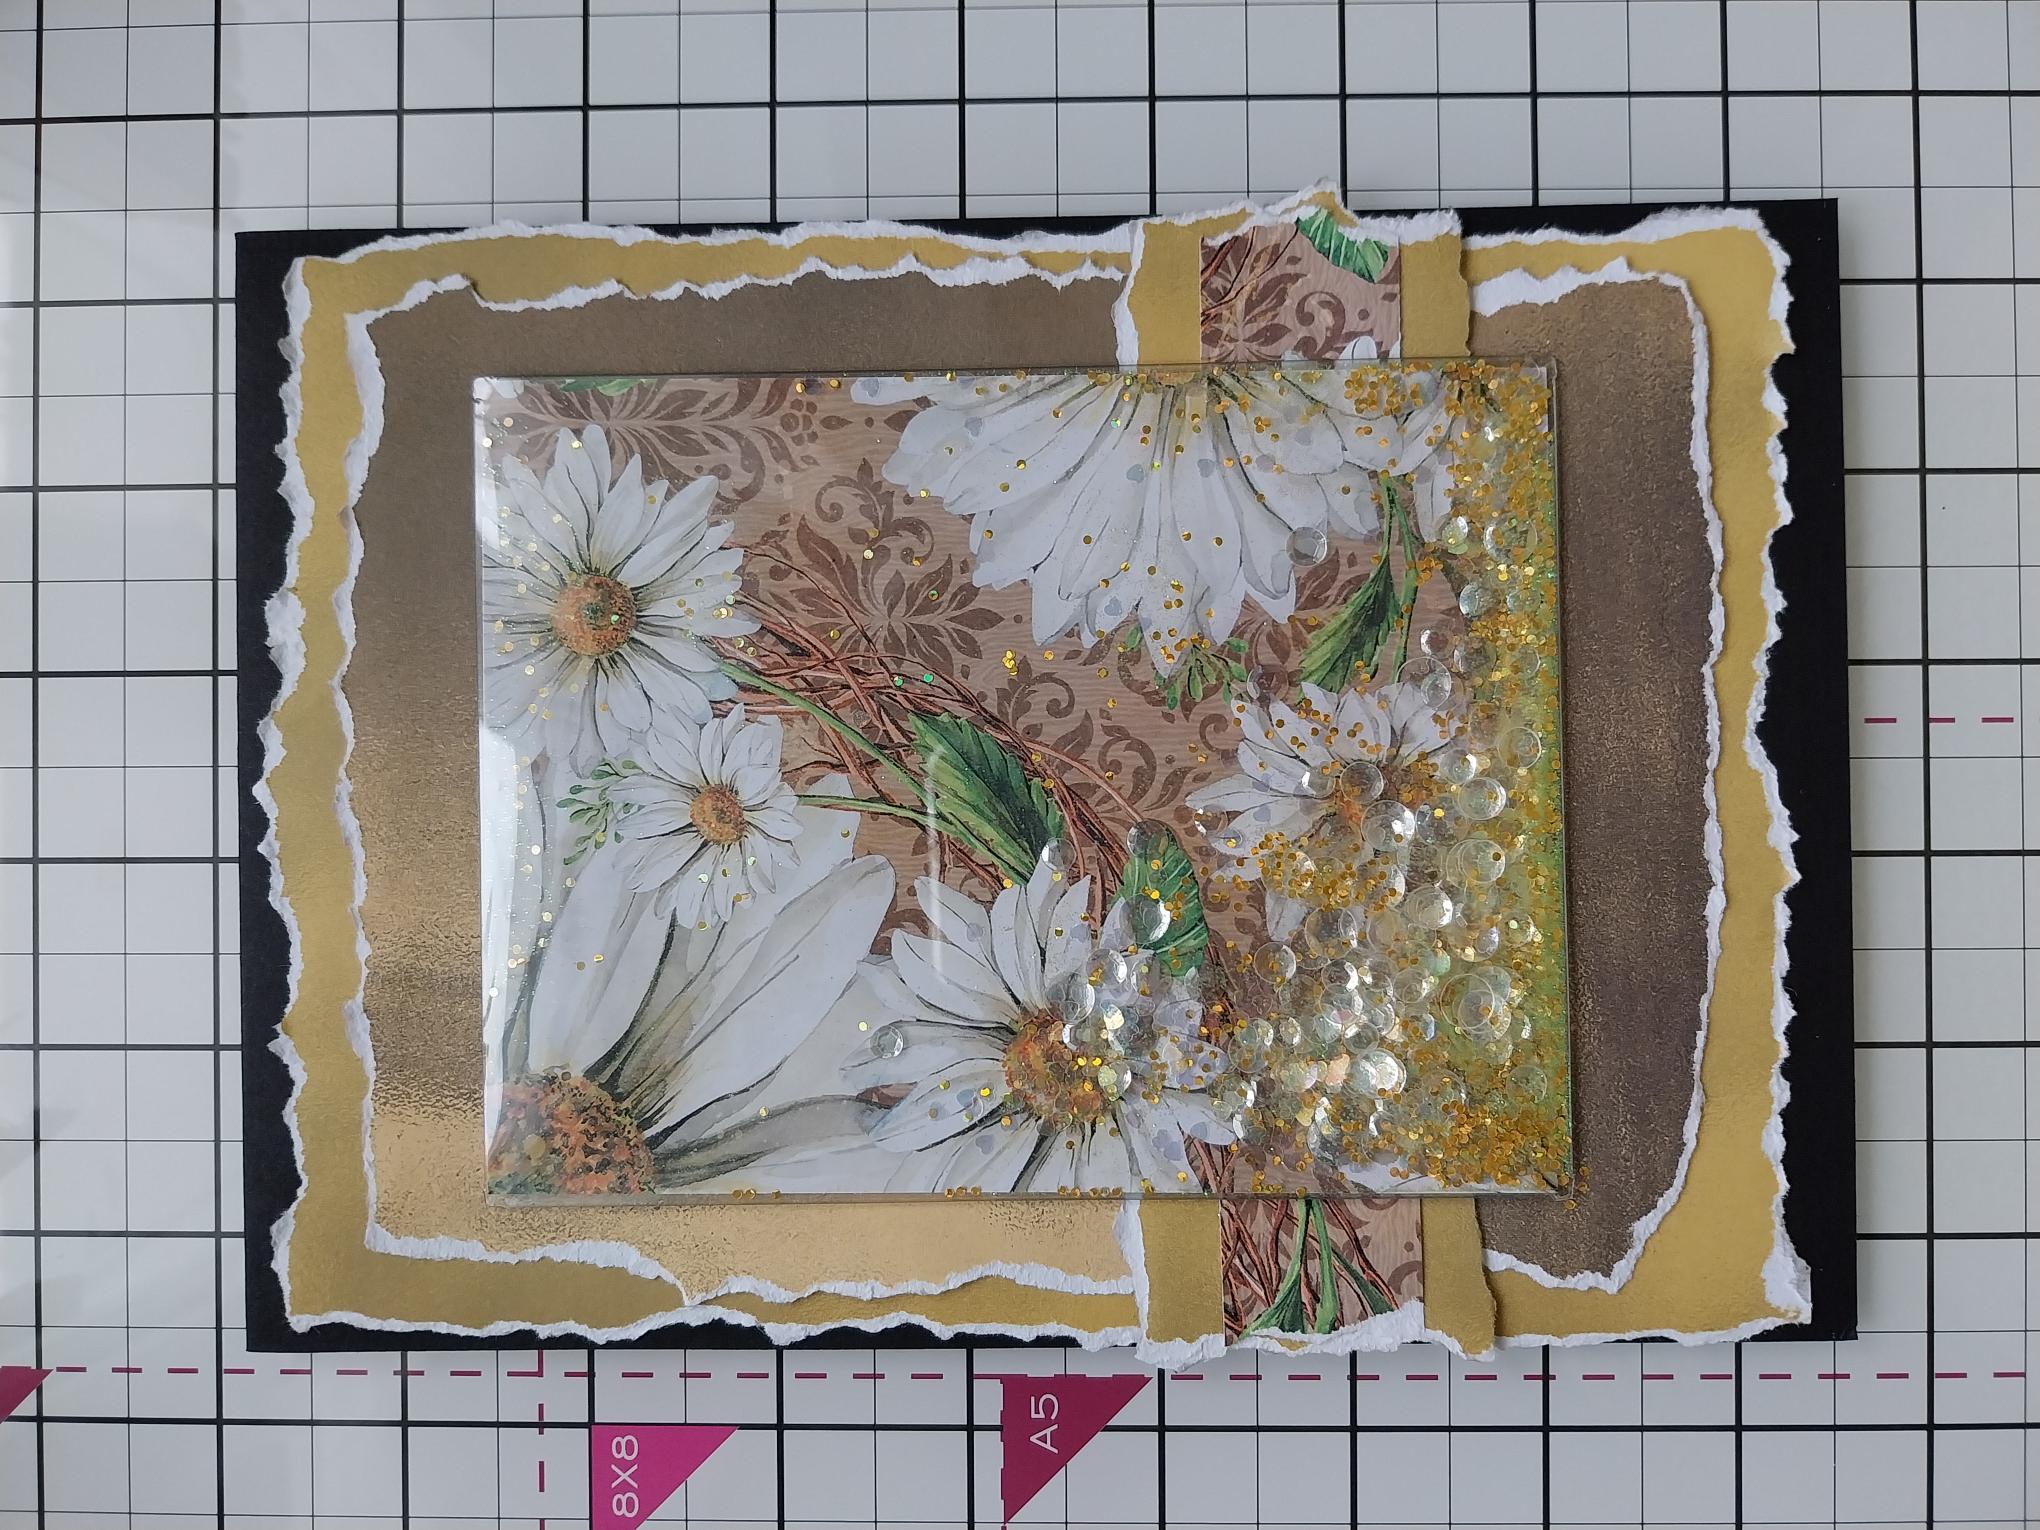
Having chosen a paper, from the Sunshine In My Pocket Textured Paper Pack, tear so it's slightly smaller than your card blank, then adhere straight on to the front. Scrunch and lift some of the torn paper edges. Keep the remaining paper.... |
|
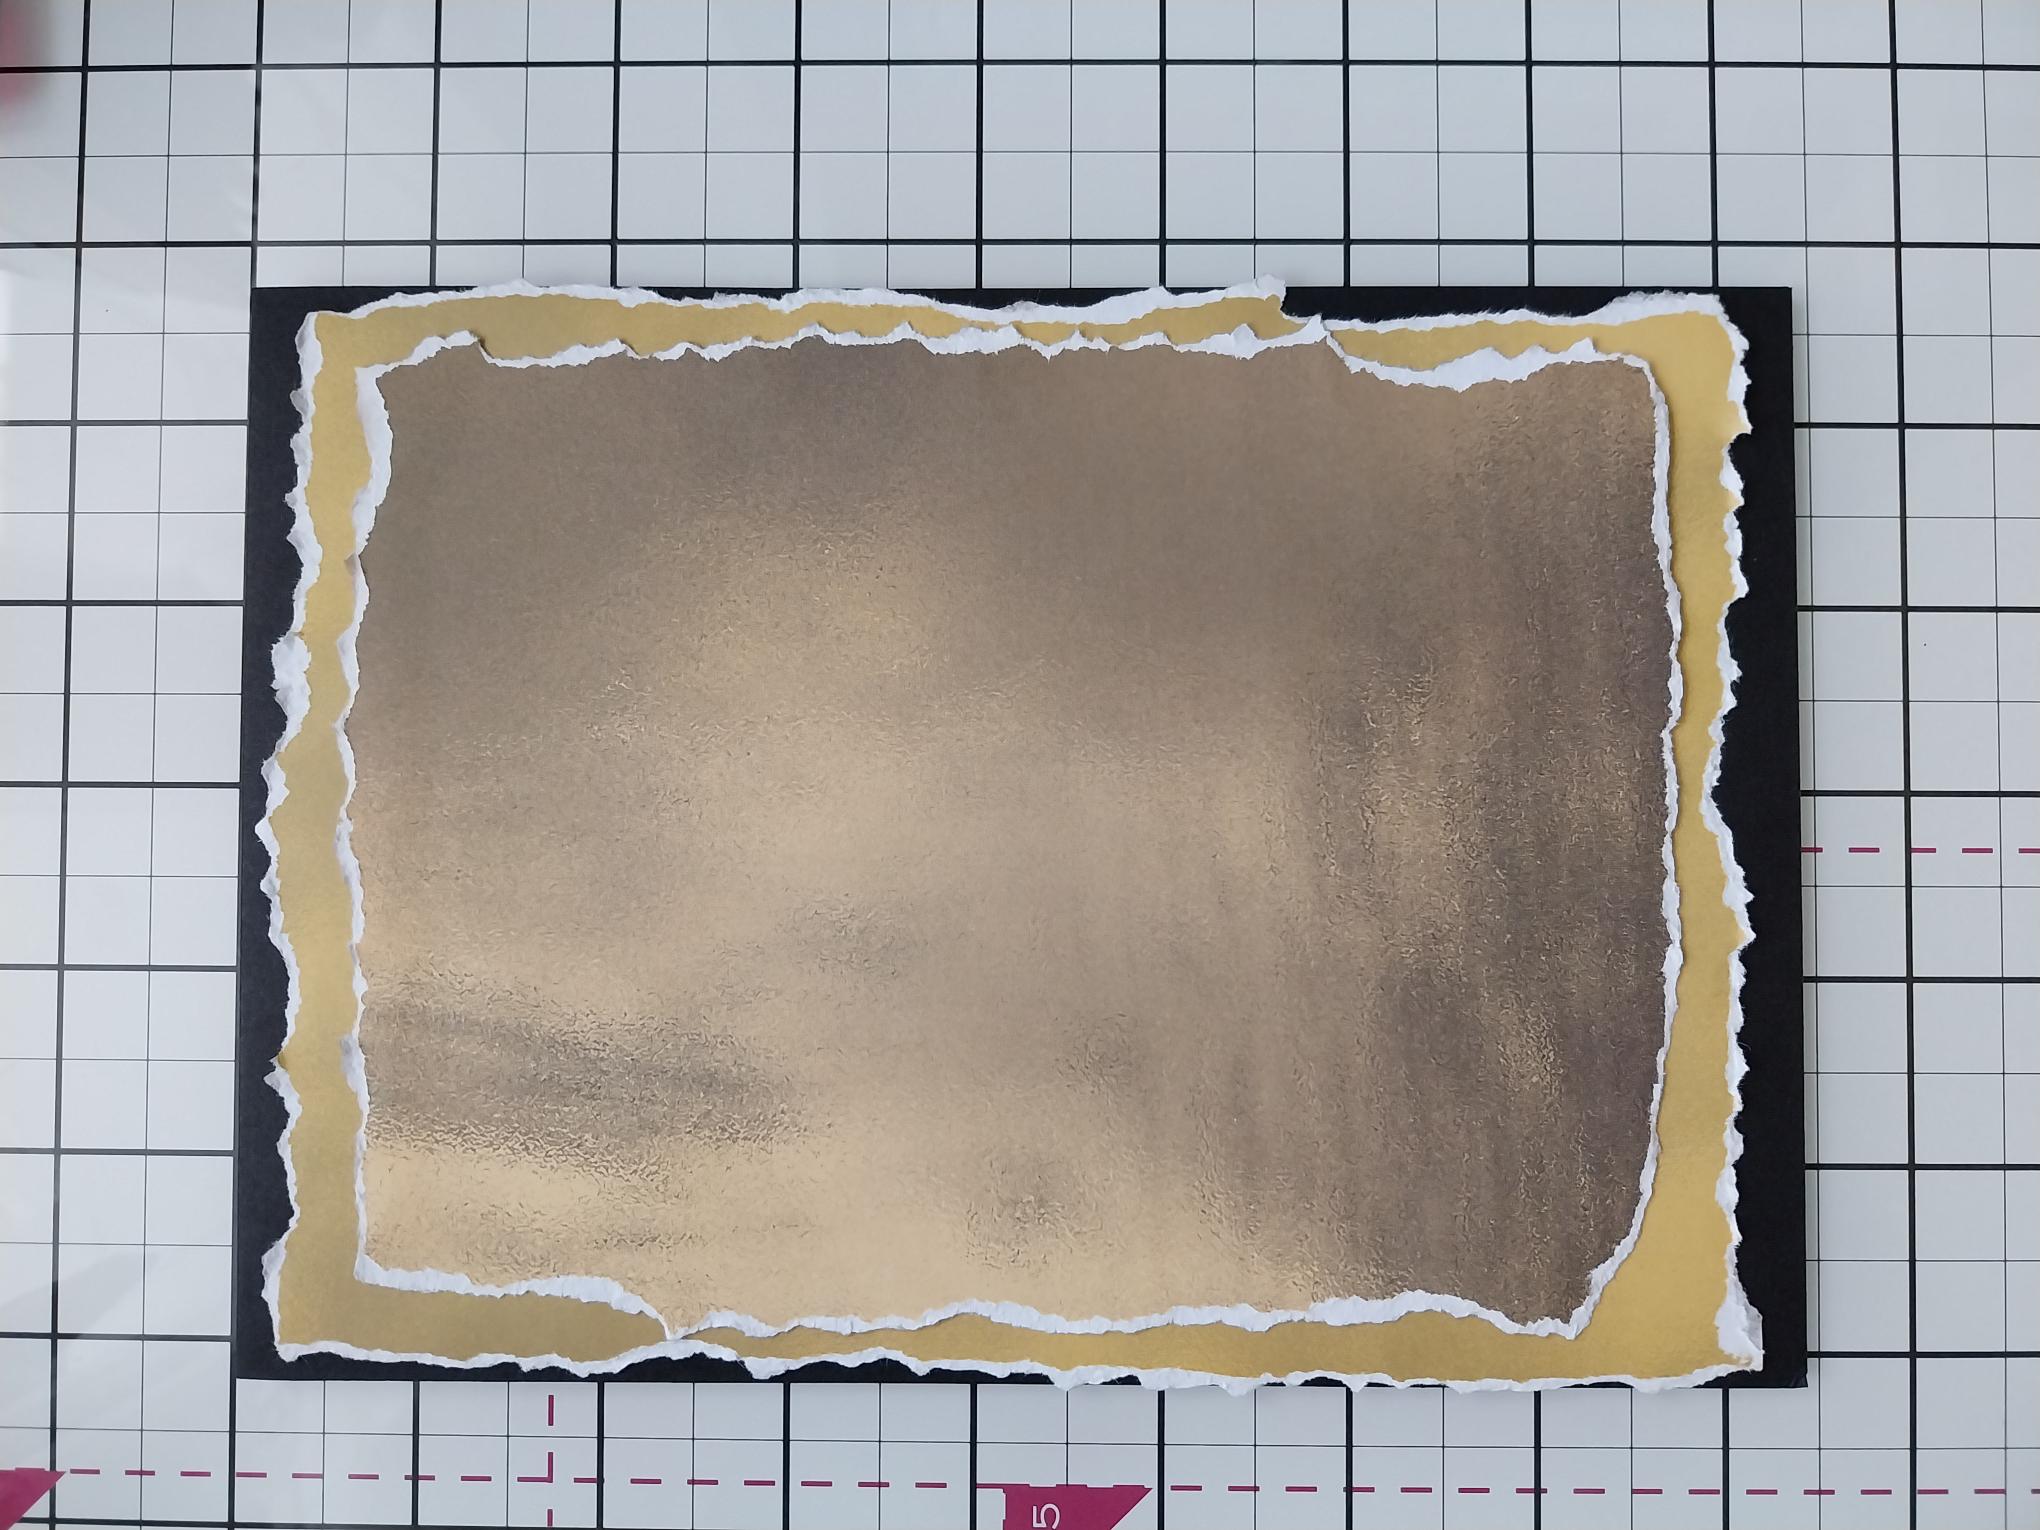
Pick a coordinating textured paper, tear and adhere on top of the first. Scrunch/lift the edges of the torn paper, to create a distressed effect. |
|
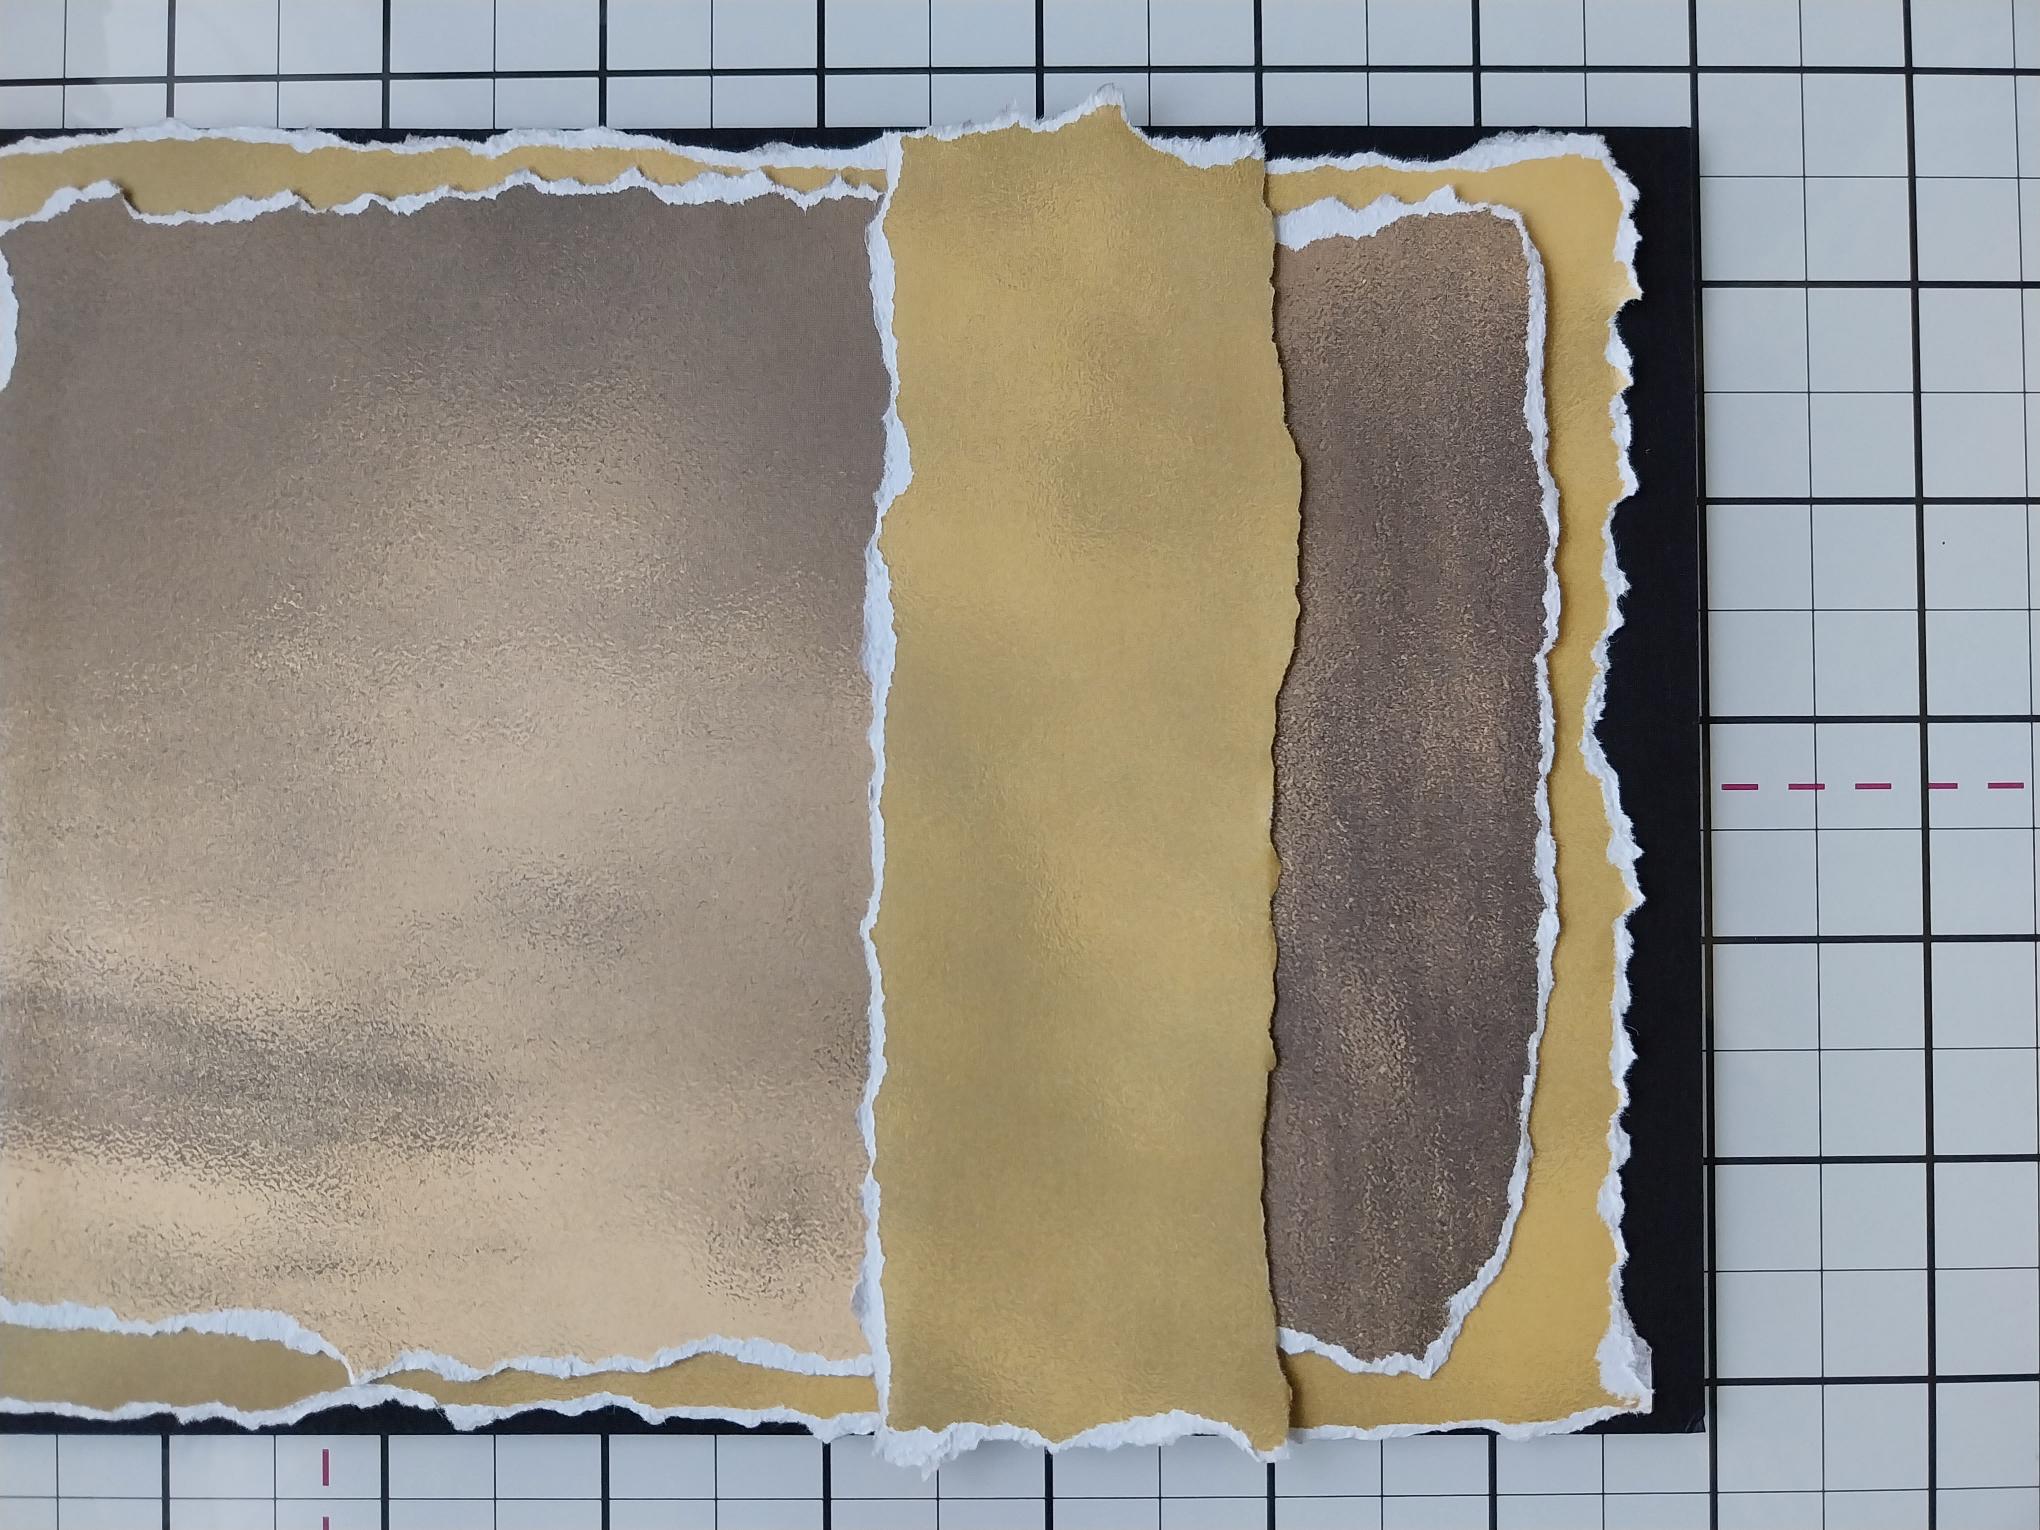
Tear a panel from the paper leftover in step 1 and adhere across the bottom third of your card. |
|
Choose a paper from the patterned Sunshine In My Pocket Paper Pack, trim a panel narrower than the first and adhere on top. Alternatively, you can tear it rather than cut it. Set your card to one side. |
|
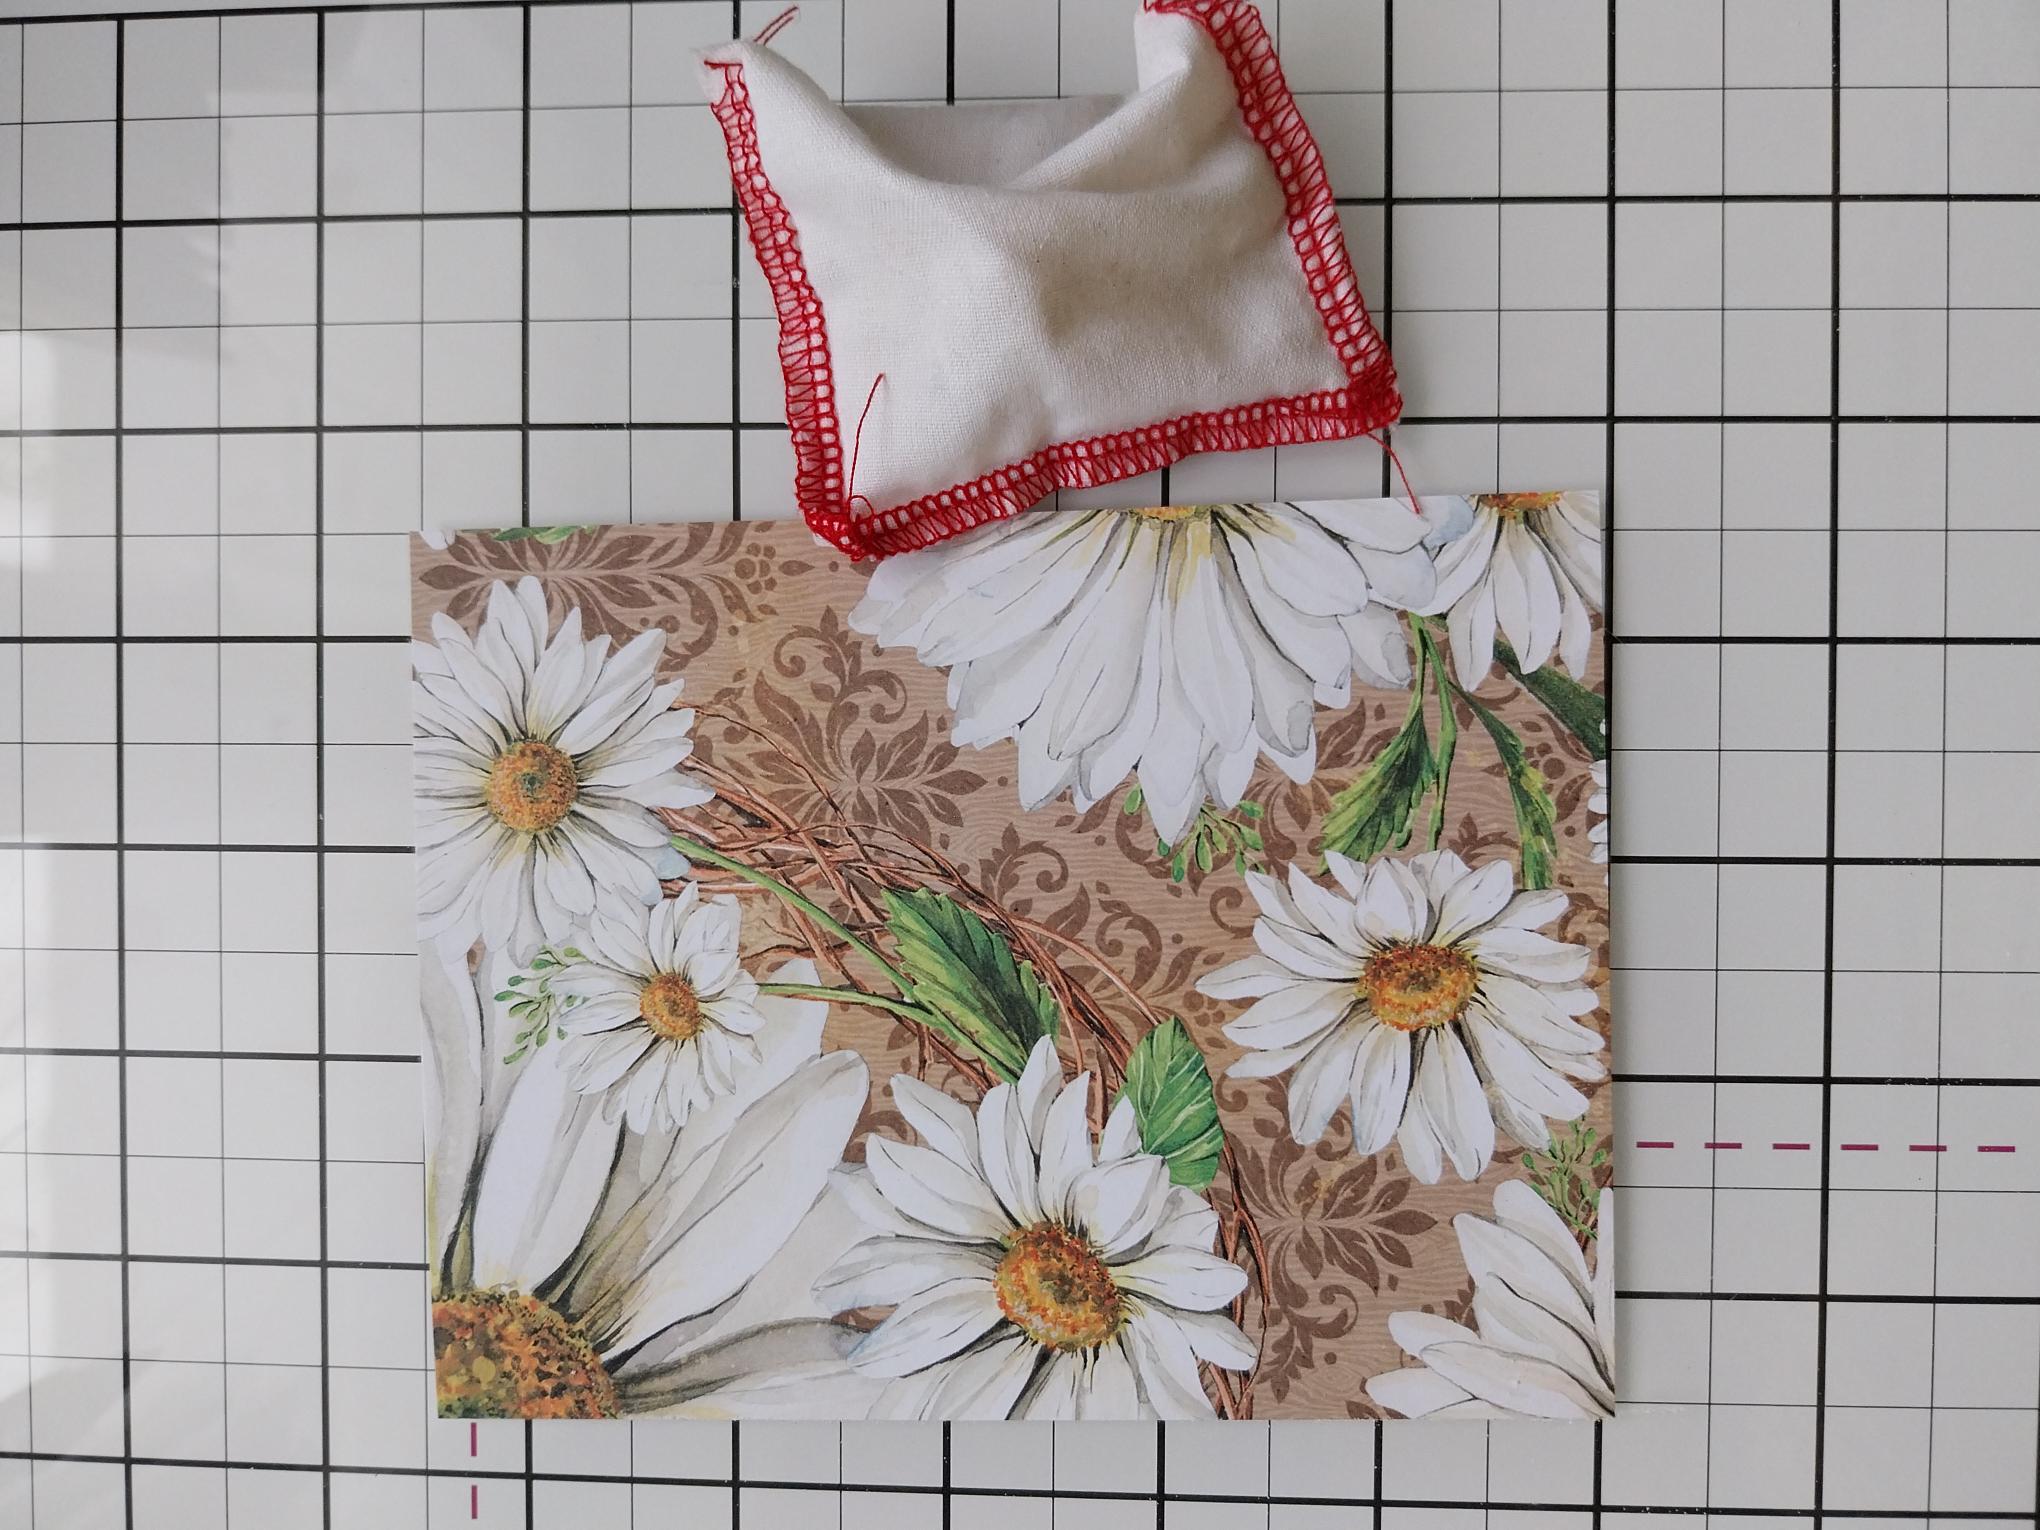
Choose another decorative paper from the same patterned paper pack and trim it to a few mm's smaller than the dimensions of the infinity, acetate shaker window (4.25 x 5.5"). Wipe over the paper with an anti-static bag. This helps to prevent the sequins and/or glitter, from clinging to the acetate. |
|
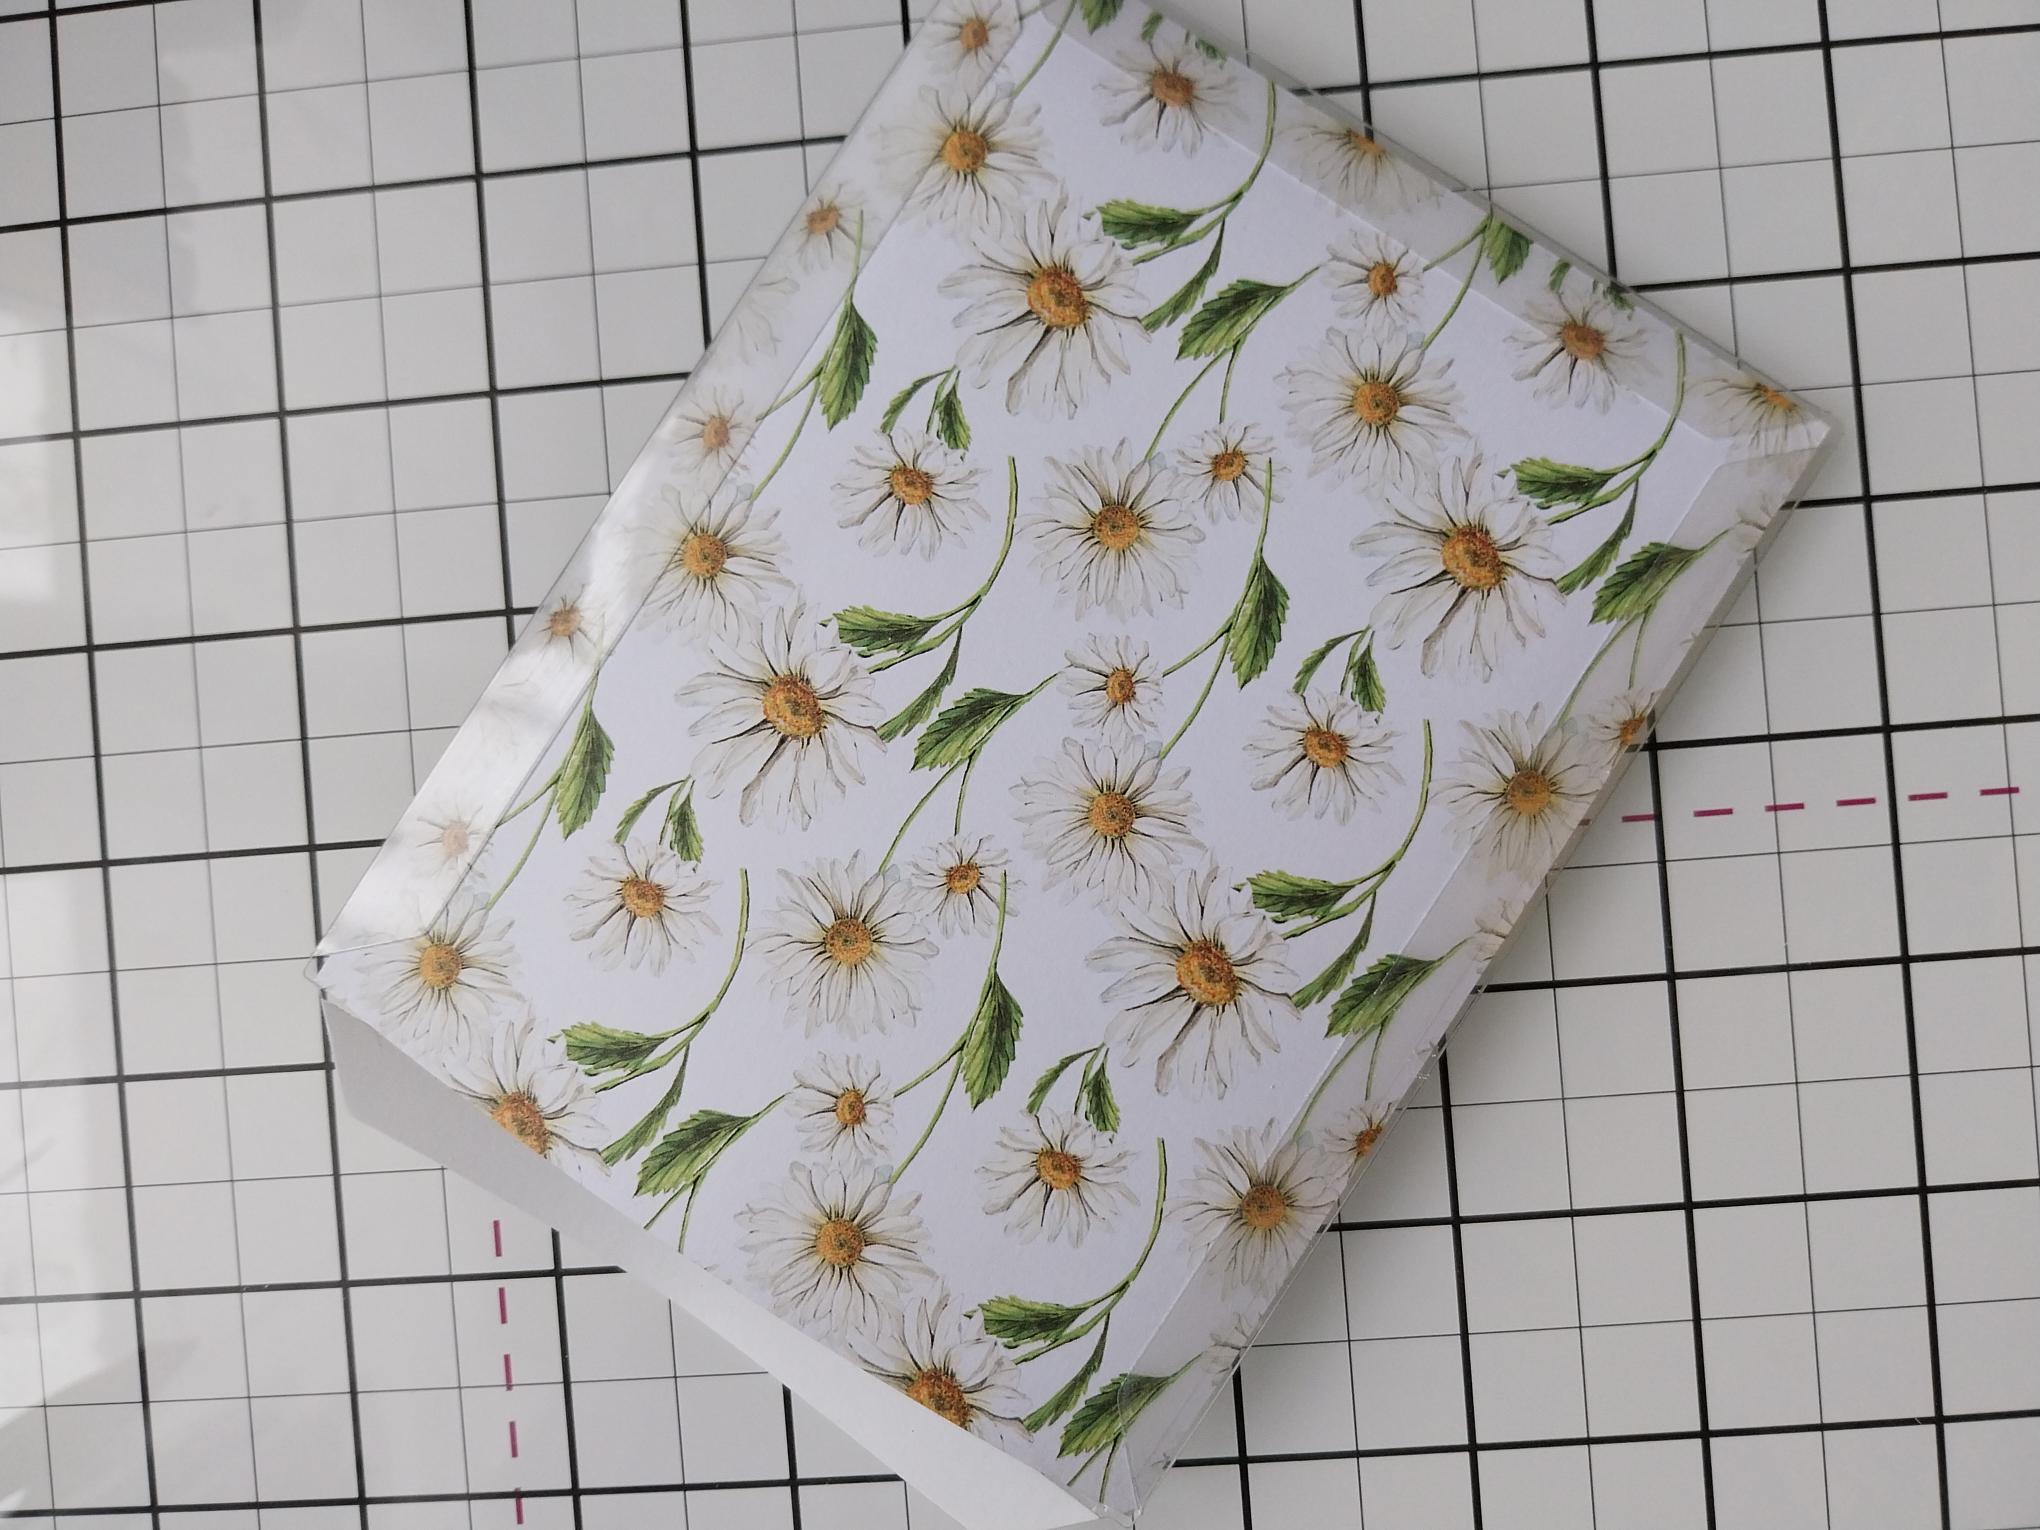
Give all 4 sides of the clear, acetate window a good score, with your score tool and then remove the protective film from the front of the window. Place your decorative paper face down on the acetate window, peel the tape off THREE sides of the window and seal down on to the reverse of the paper. NB: The adhesive is very sticky so be careful when sealing each side....once it's stuck down it's stuck forever!!! |
|
You can now pour your sequins and/or chunky glitter, in the unsealed side of the pocket. Peel off the final piece of adhesive tape and seal. Voila....a beautiful infinity shaker with no leaks!!! |
|
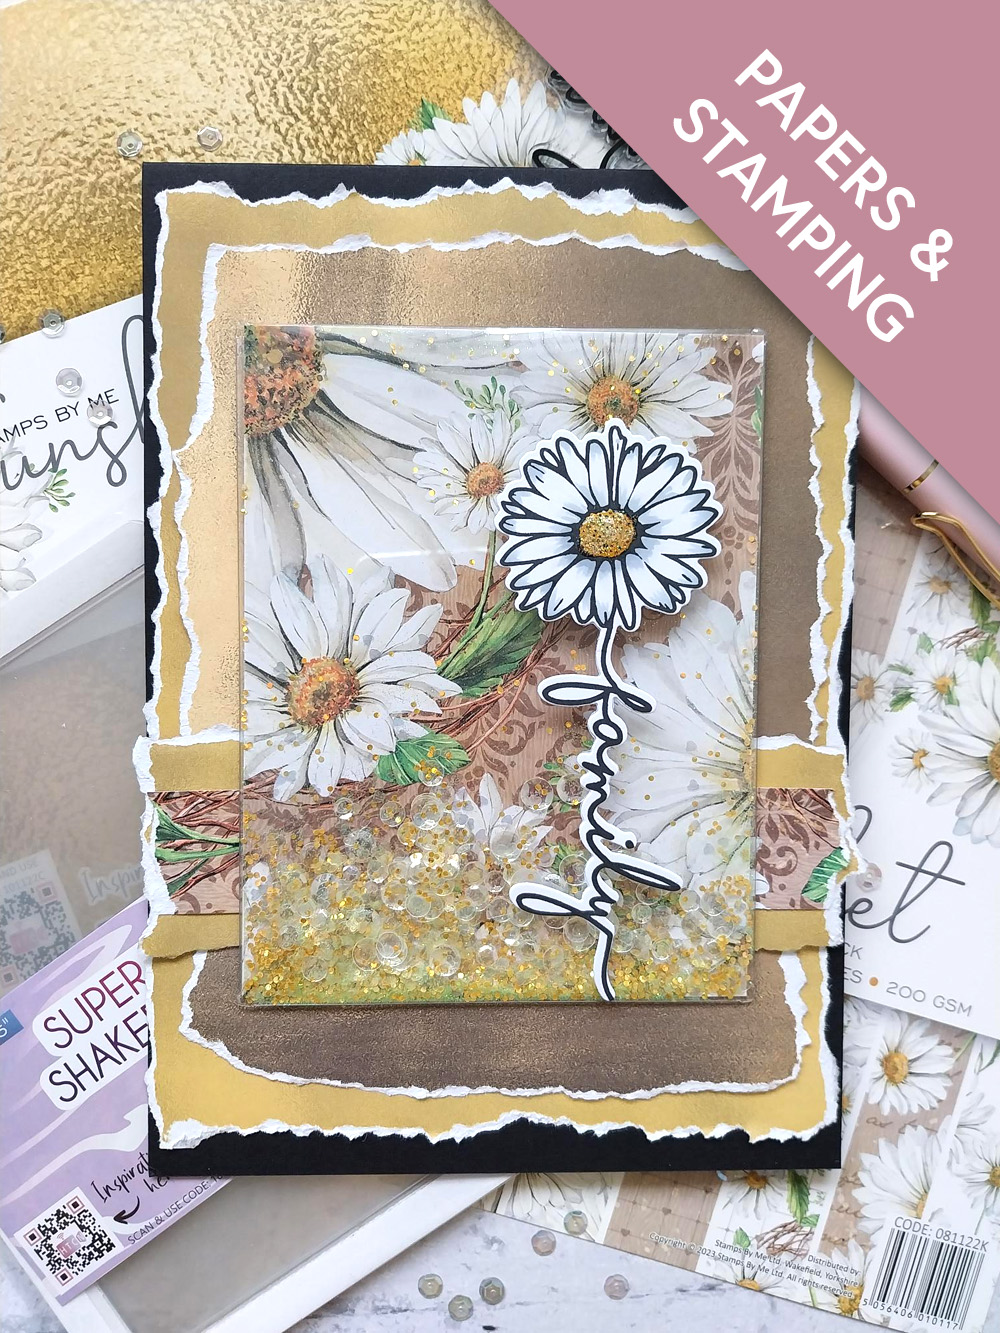
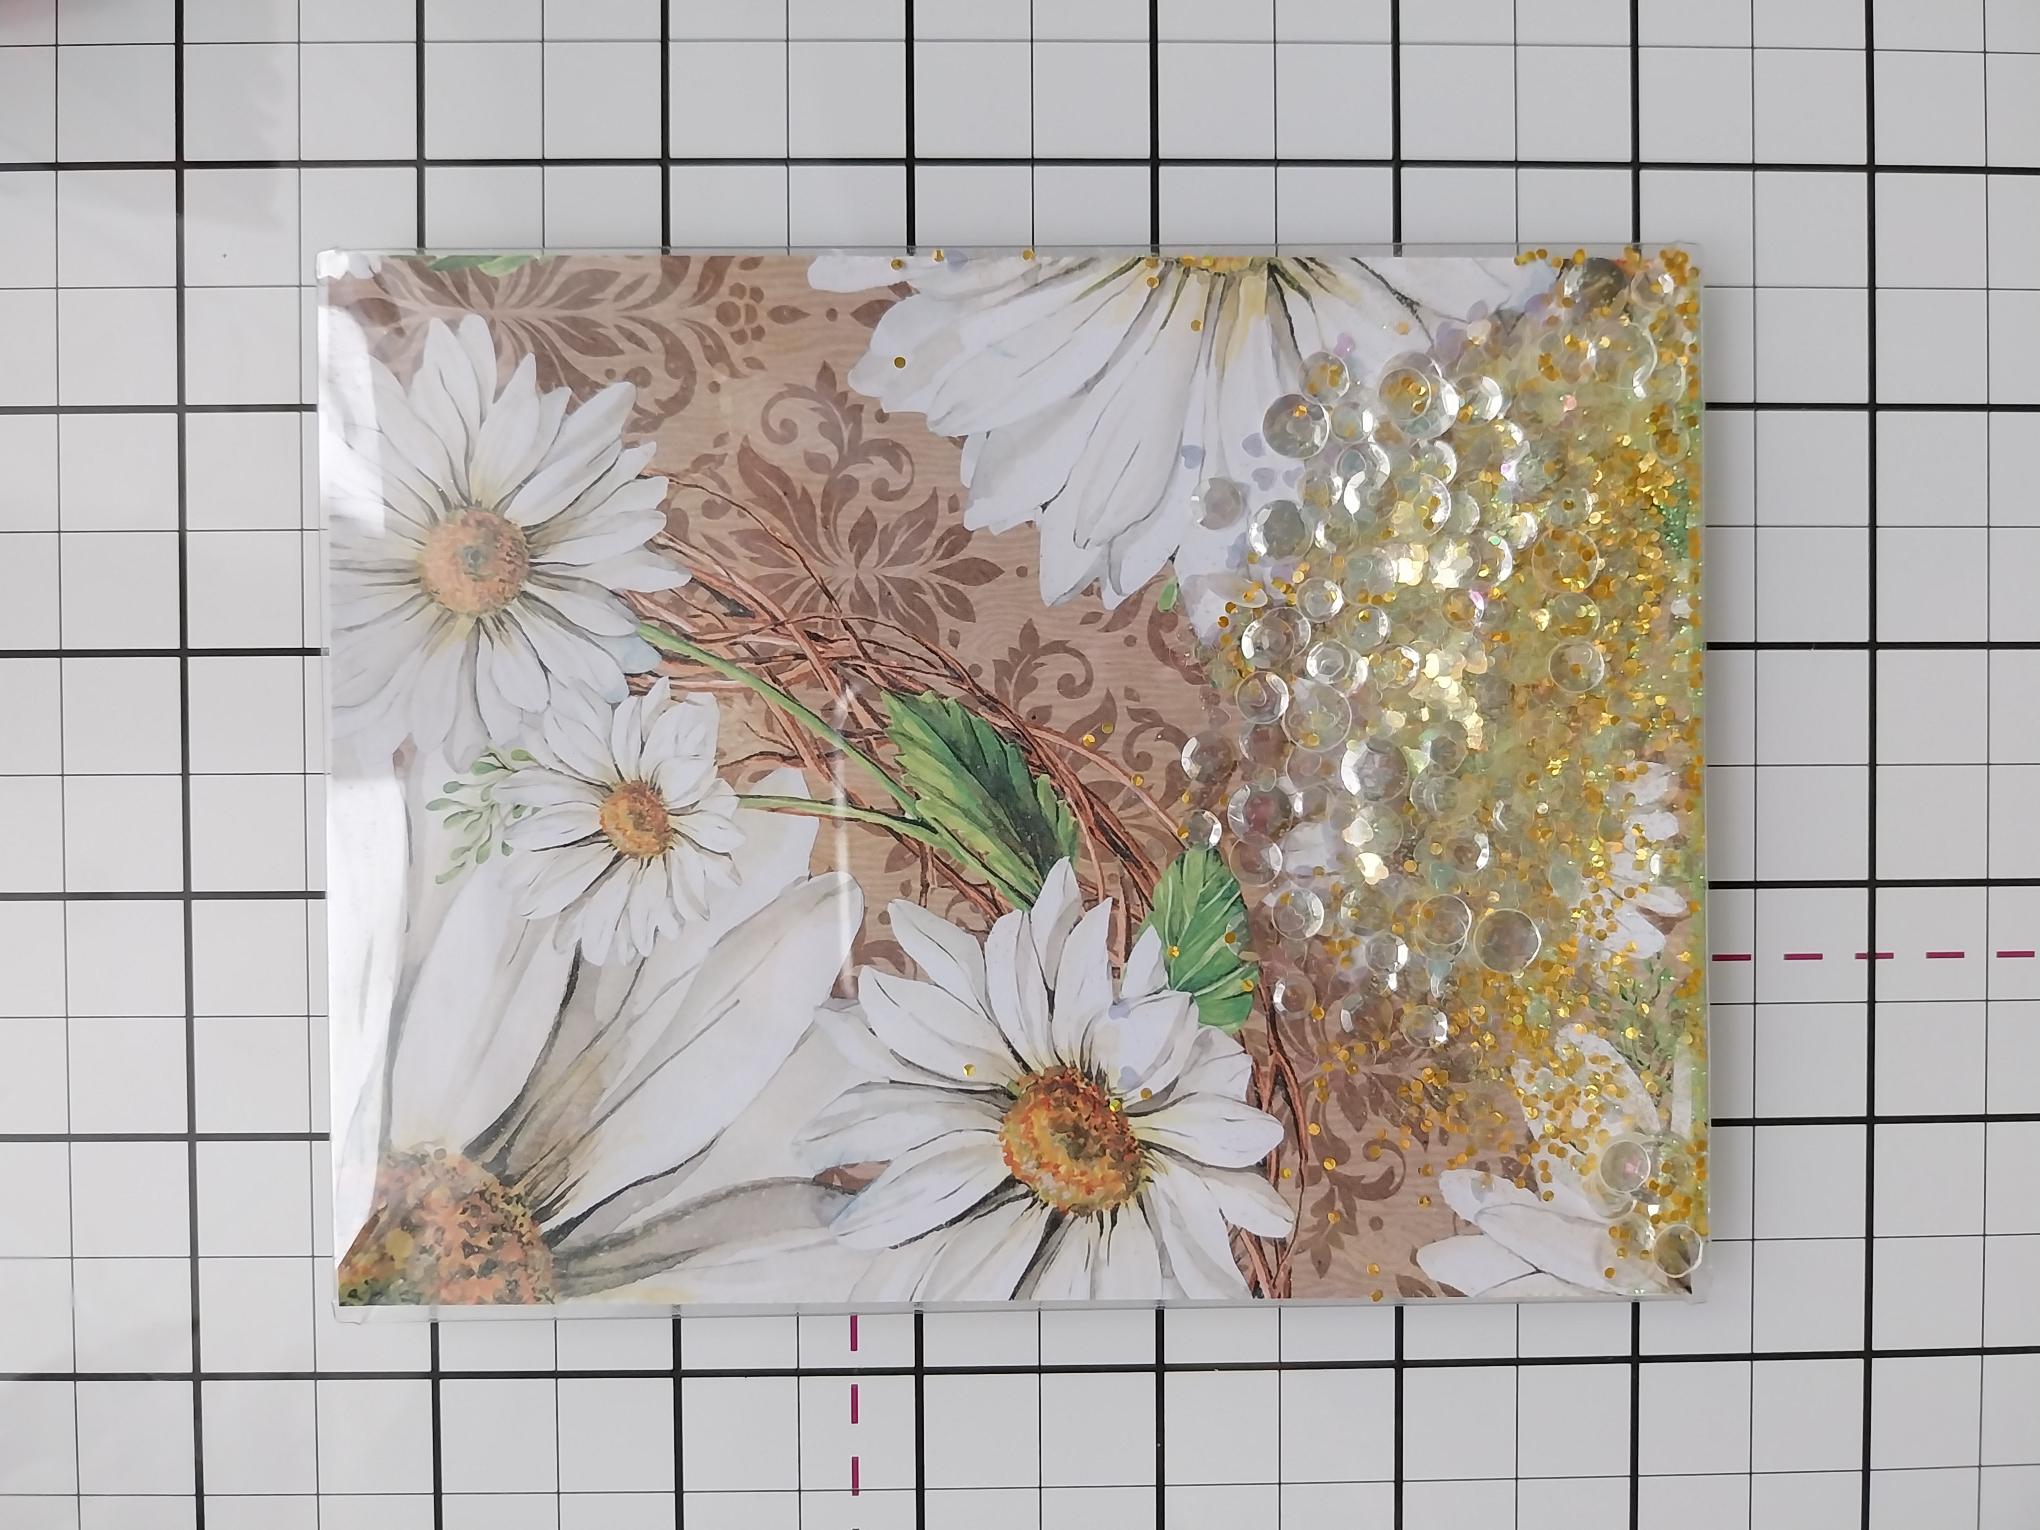
Adhere your infinity shaker to the front of your card. I like to use red liner tape when adhereing acetate to anything, but the choice is yours. Set your card to one side. |
|
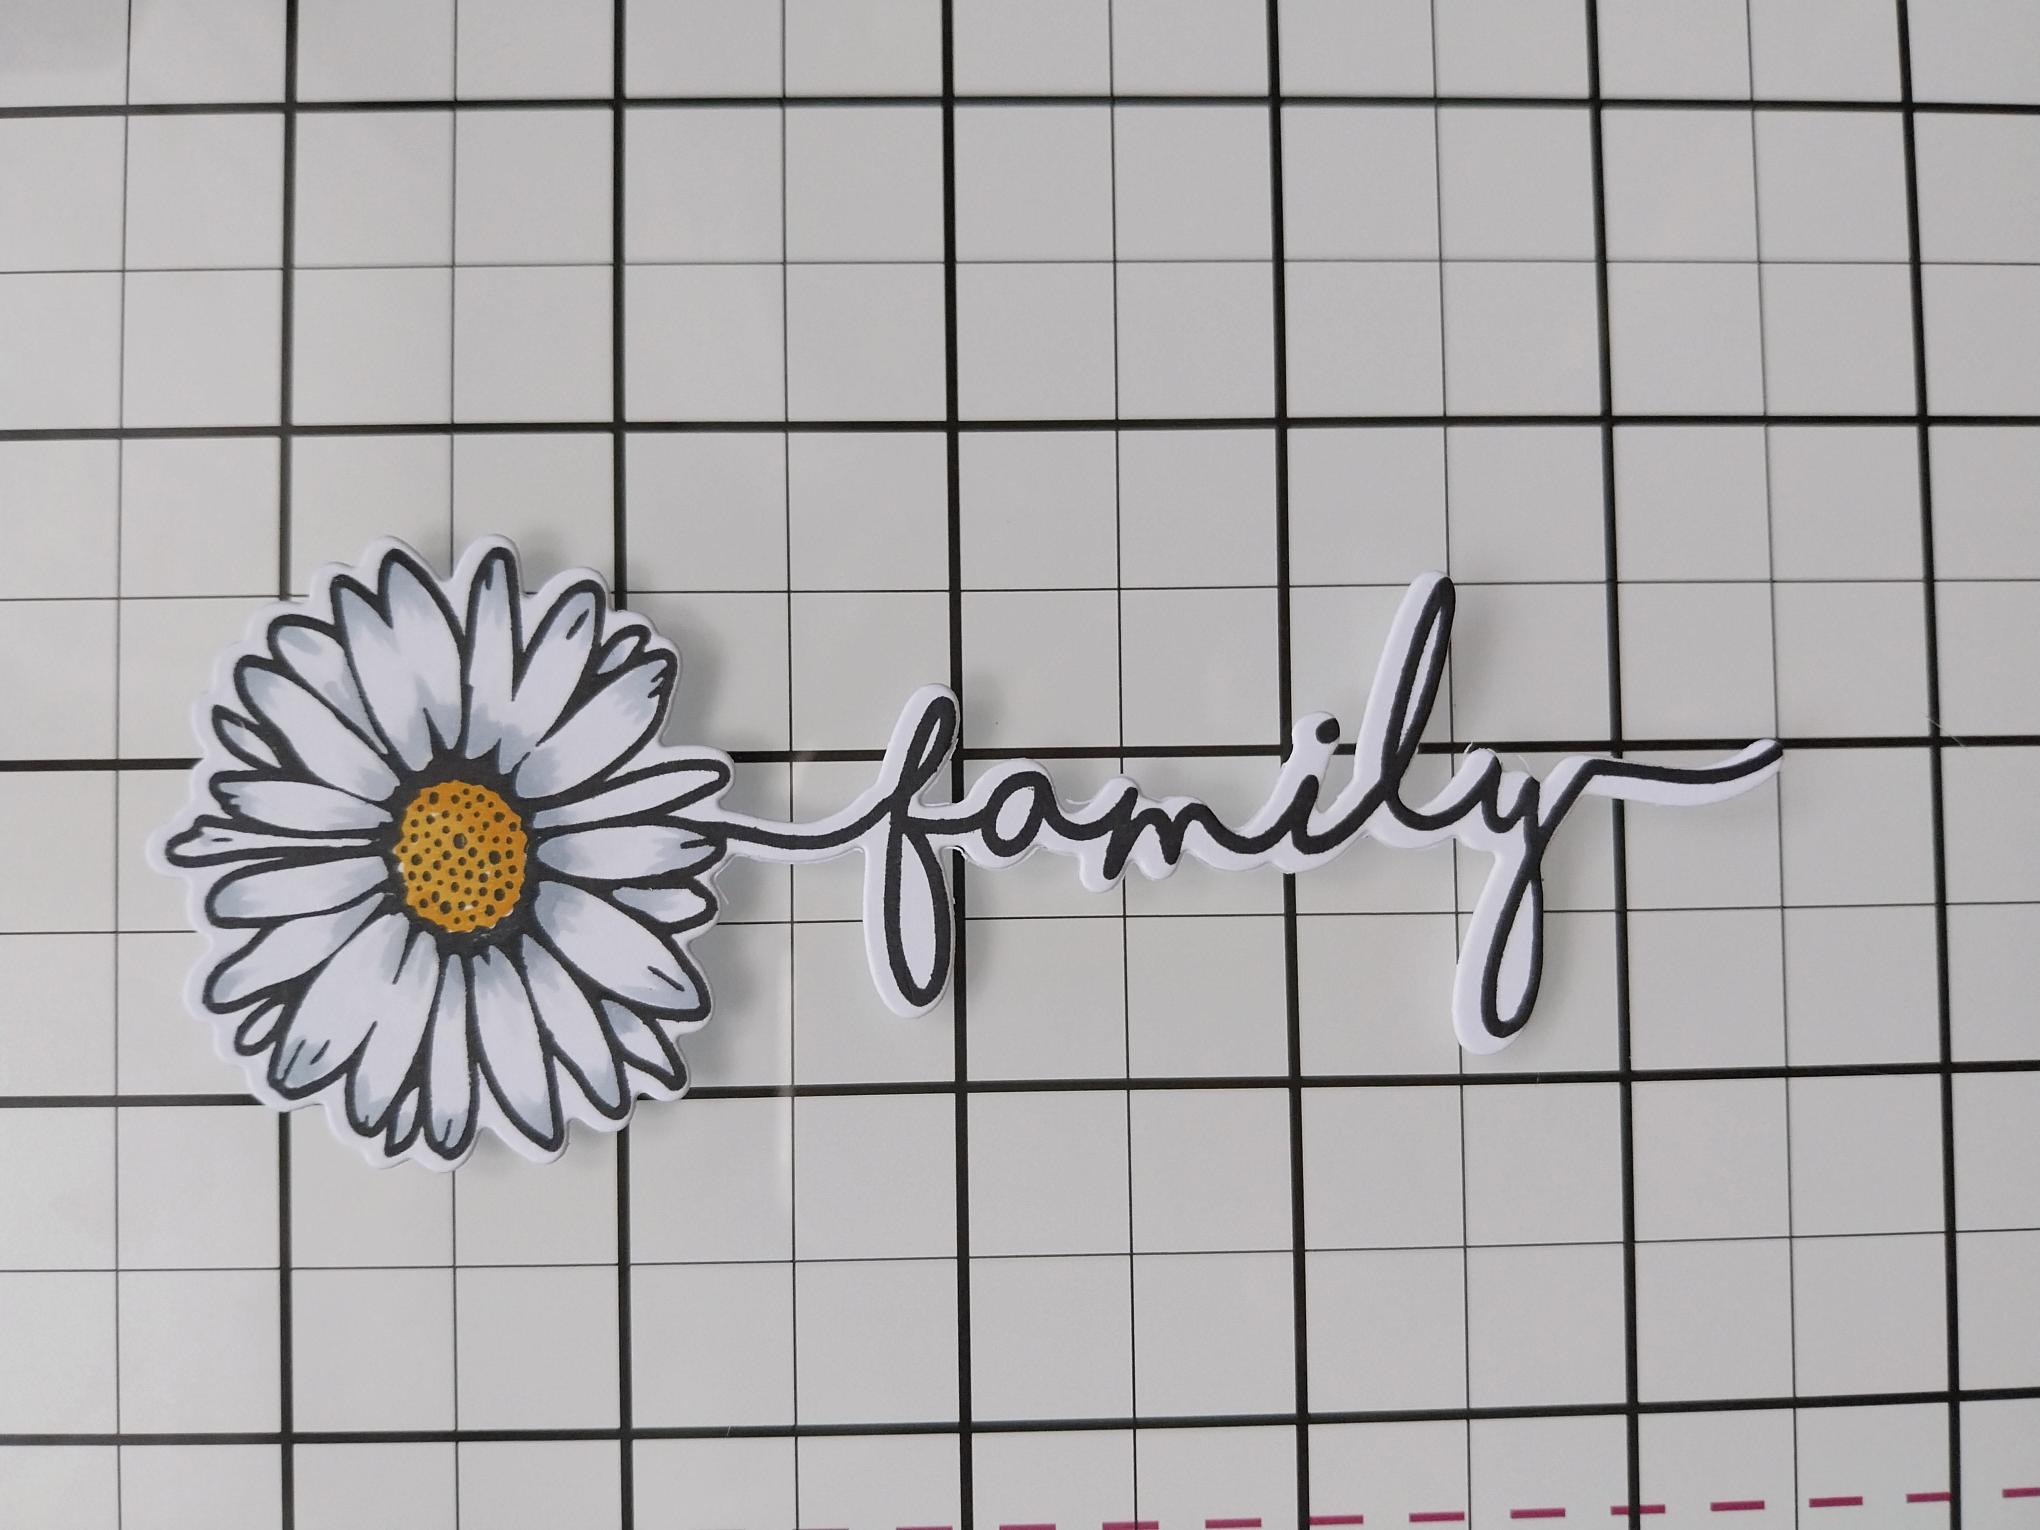
Ink the "Family" Daisy stamp, from the Faith Collection, with the Midnight Hybrid ink pad and stamp on to white card. Use the coordinating die to cut it out. Colour in with your Gossip Alcohol markers, remembering to pop a sheet of copy paper underneath, as alcohol pens bleed through card and may damage your work surface. Tip: I wanted my Daisy to appear white, so I used a pale grey at the base and tip of the petals, to create the illusion of a white flower. You could also use a very pale blue or lilac, to achieve the same effect. |
|
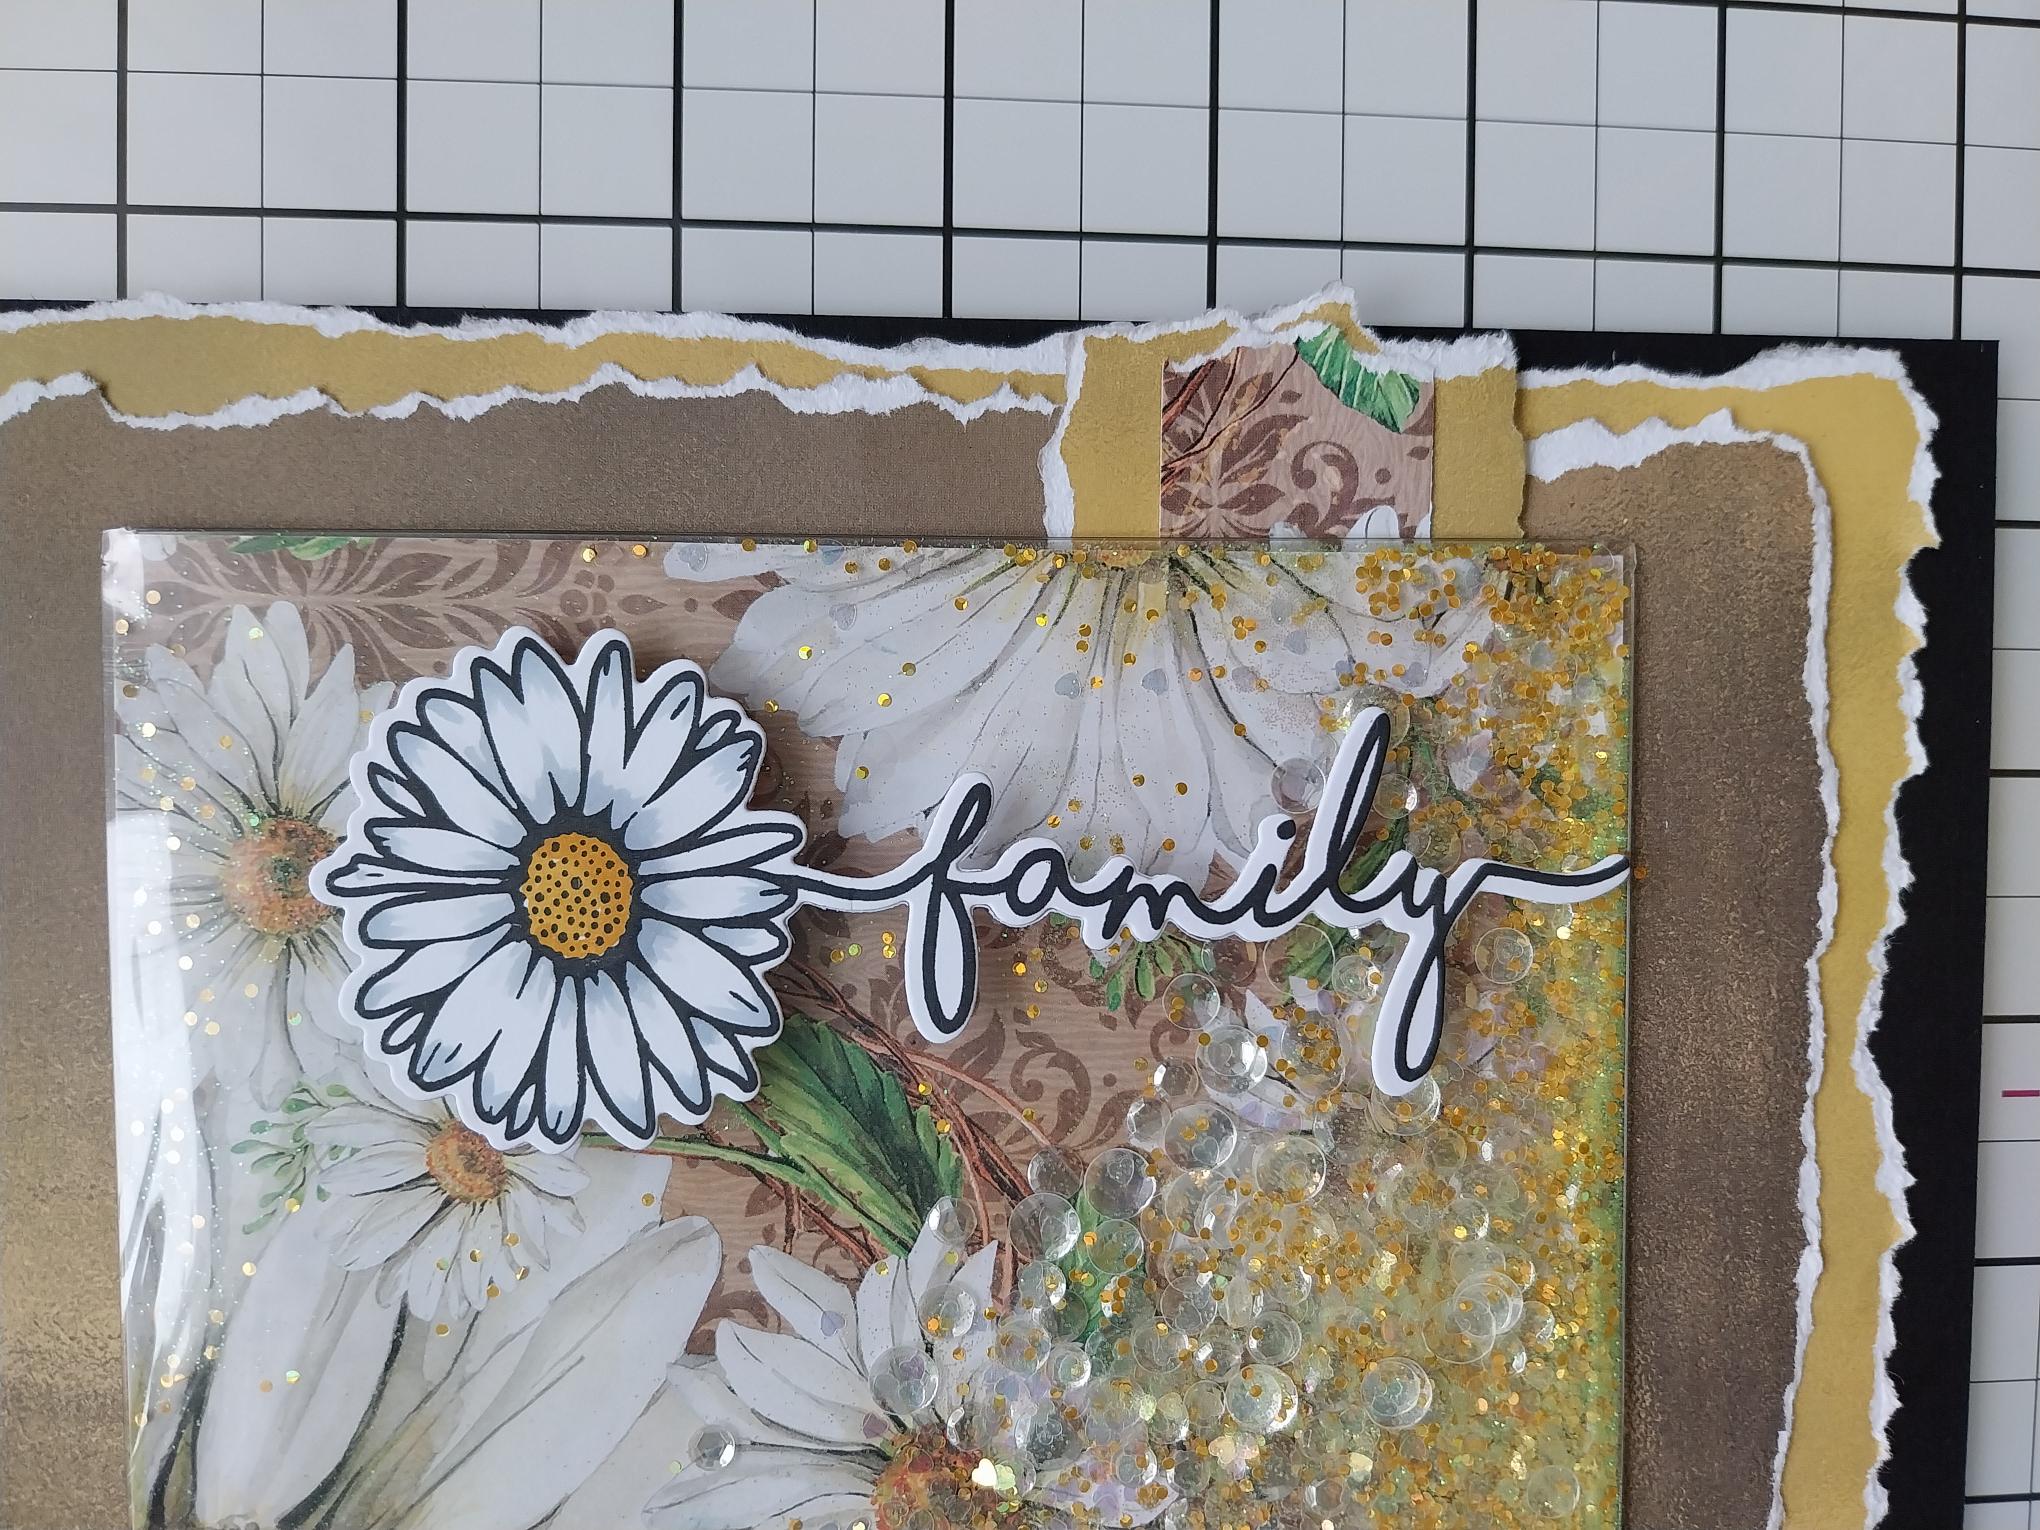
Adhere your 3D Daisy to the front right, of your infinity shaker card. I used wet glue with a little red liner tape on the flower head, to secure it firmly in place. |
|
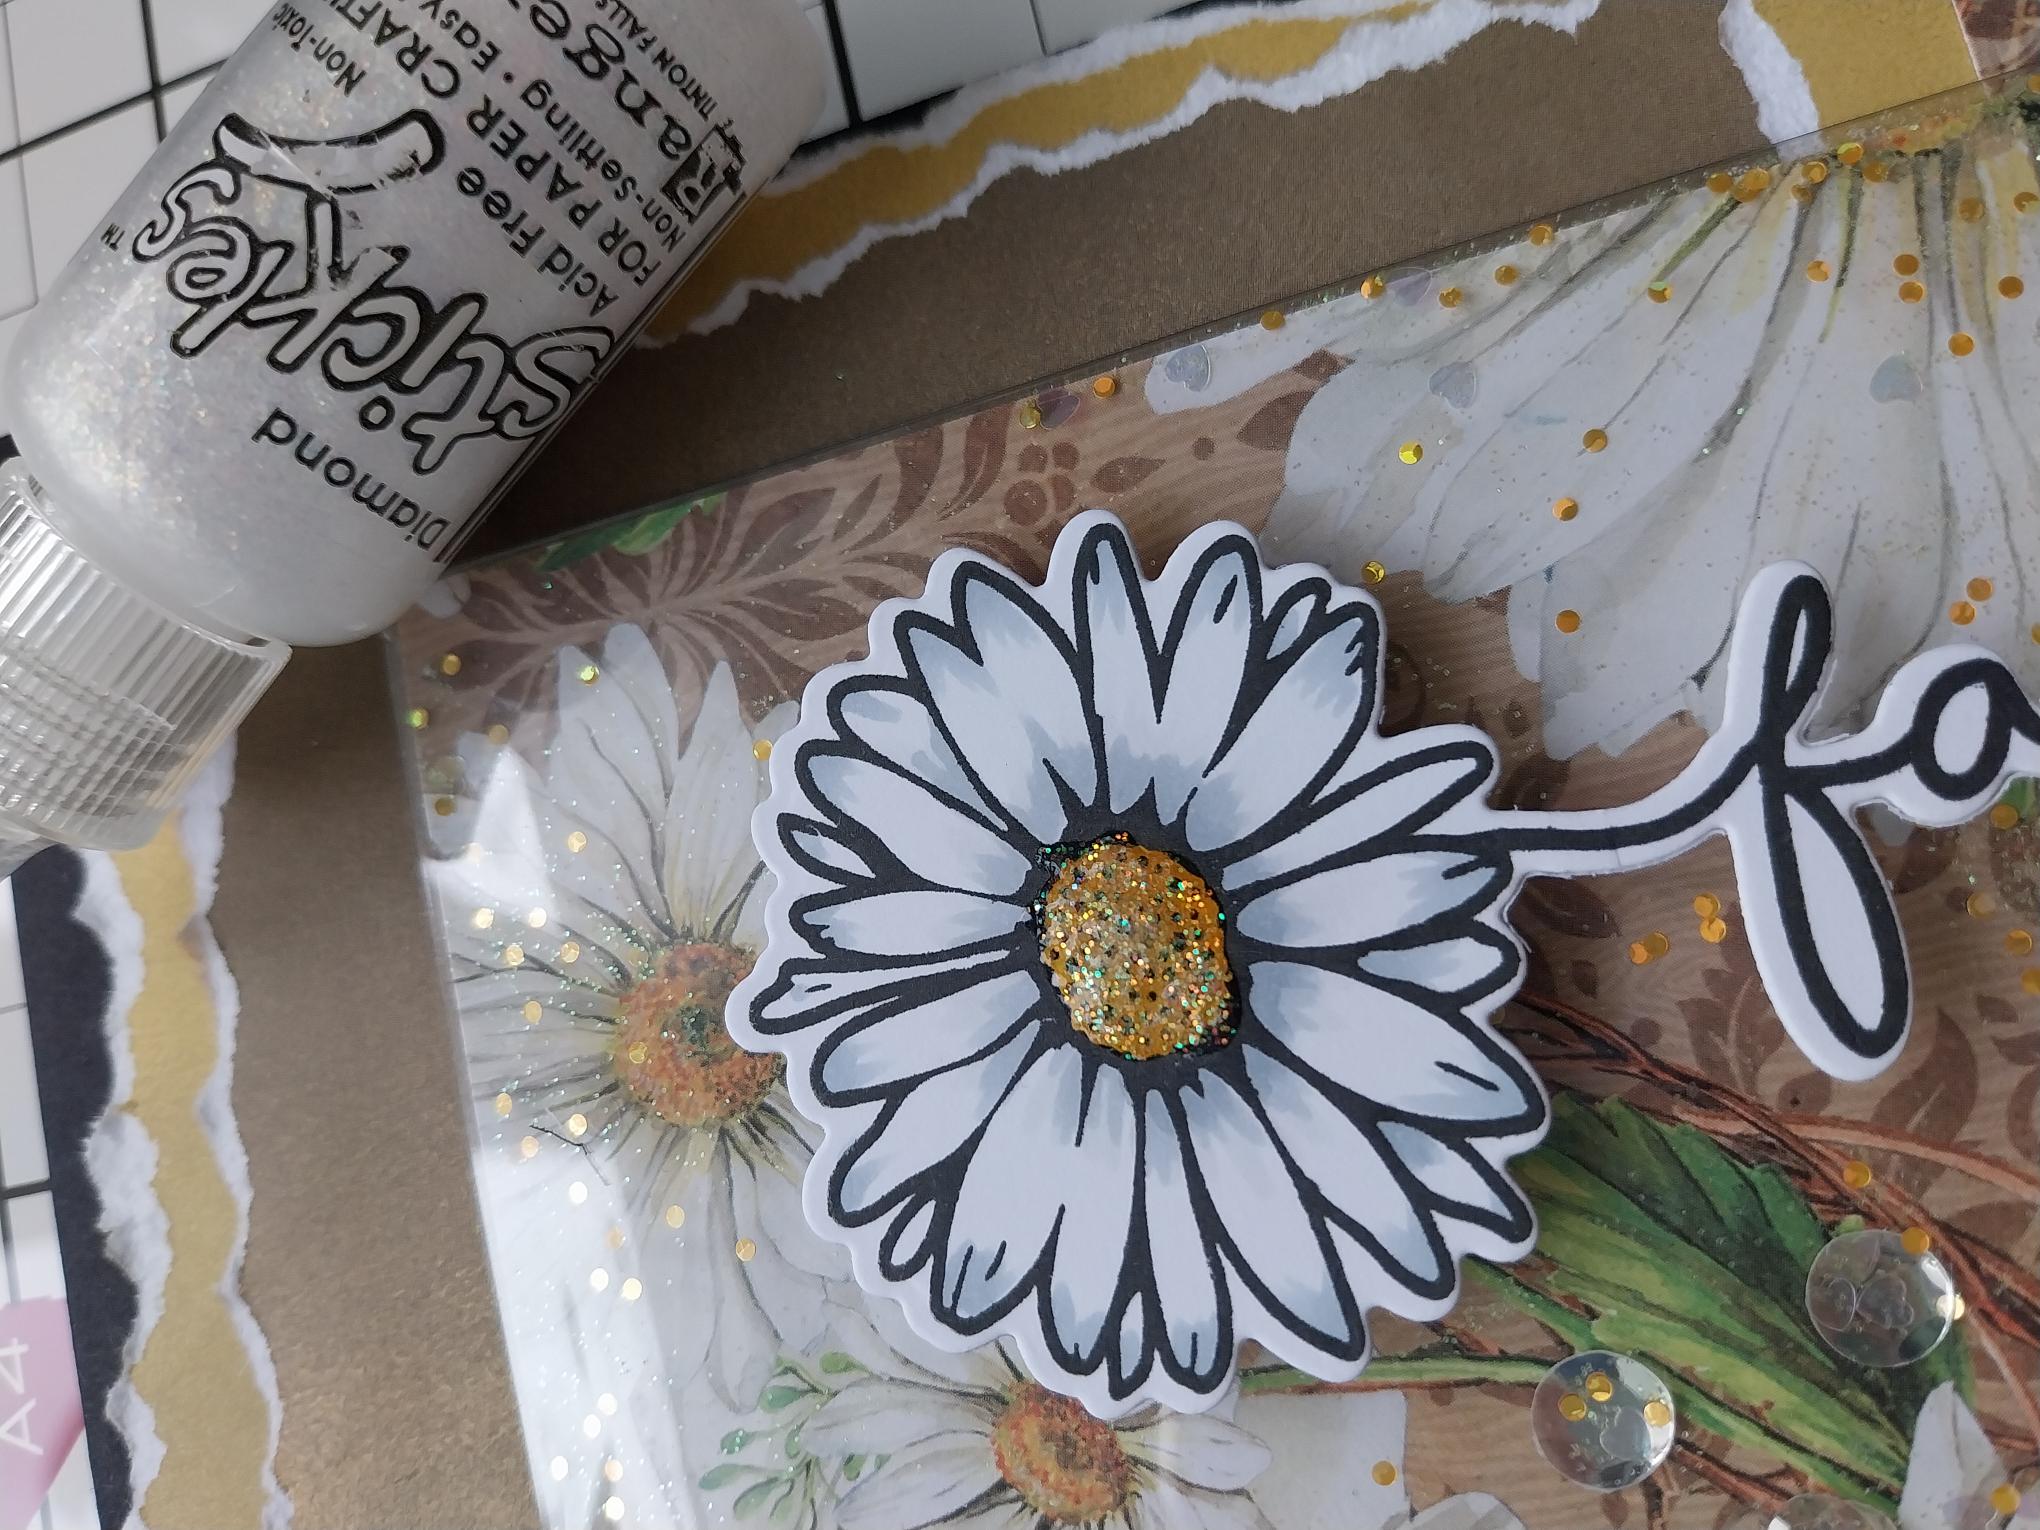
Finish off your card with an extra touch of sparkle, by using Stickles on the centre of your Daisy. |