Give your friends $10 off their first order!
Refer a FRIEND


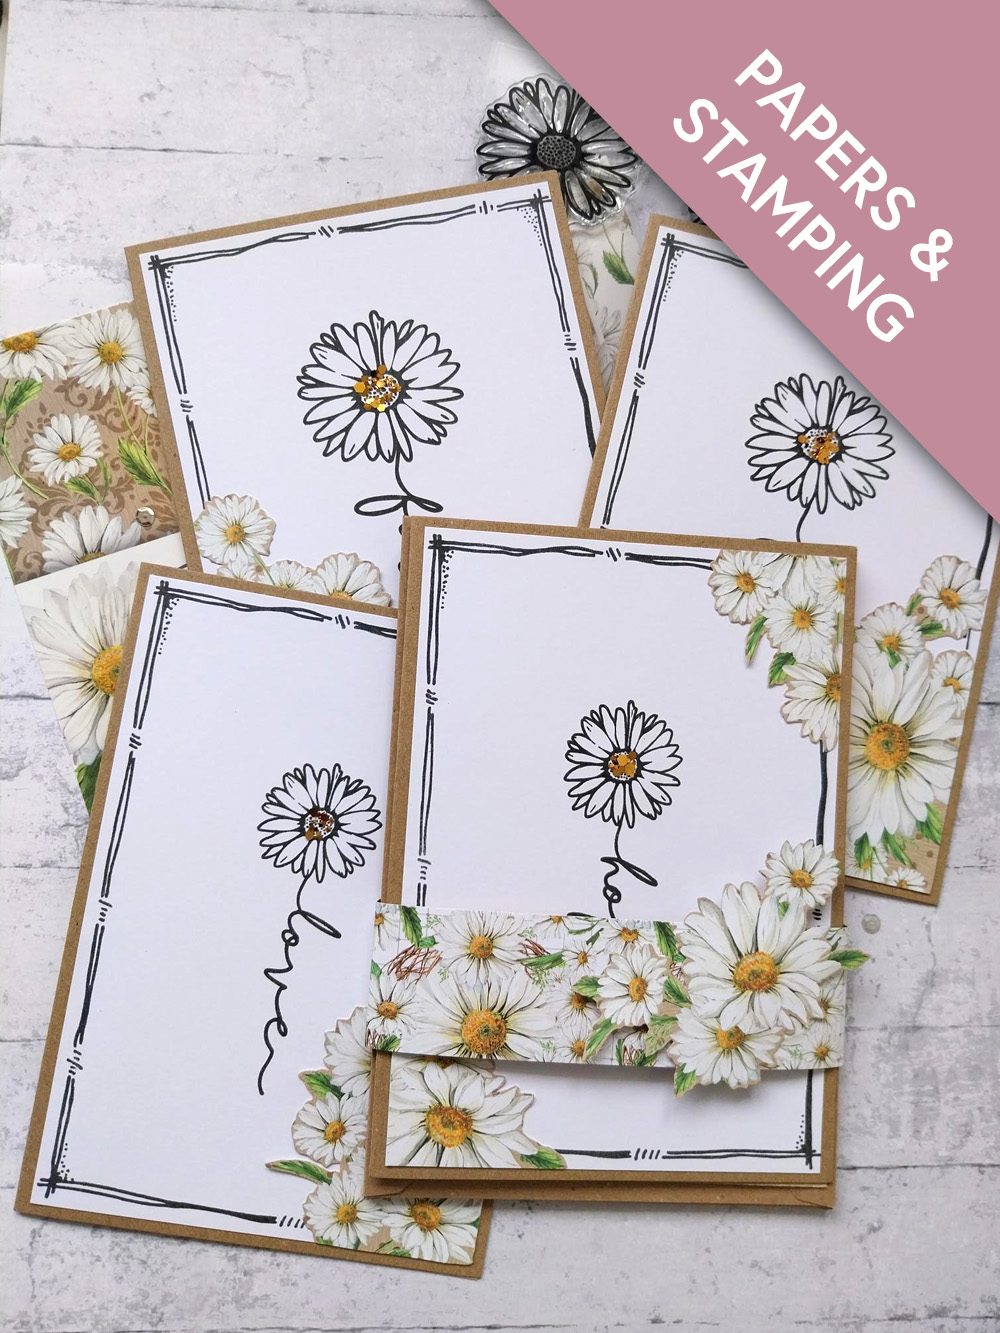
WHAT YOU WILL NEED:
FOUR Kraft card blanks and envelopes 7 x 5"
White card: FOUR cut to 6 3/4 x 4 3/4"
Faith Stamp And Die Collection
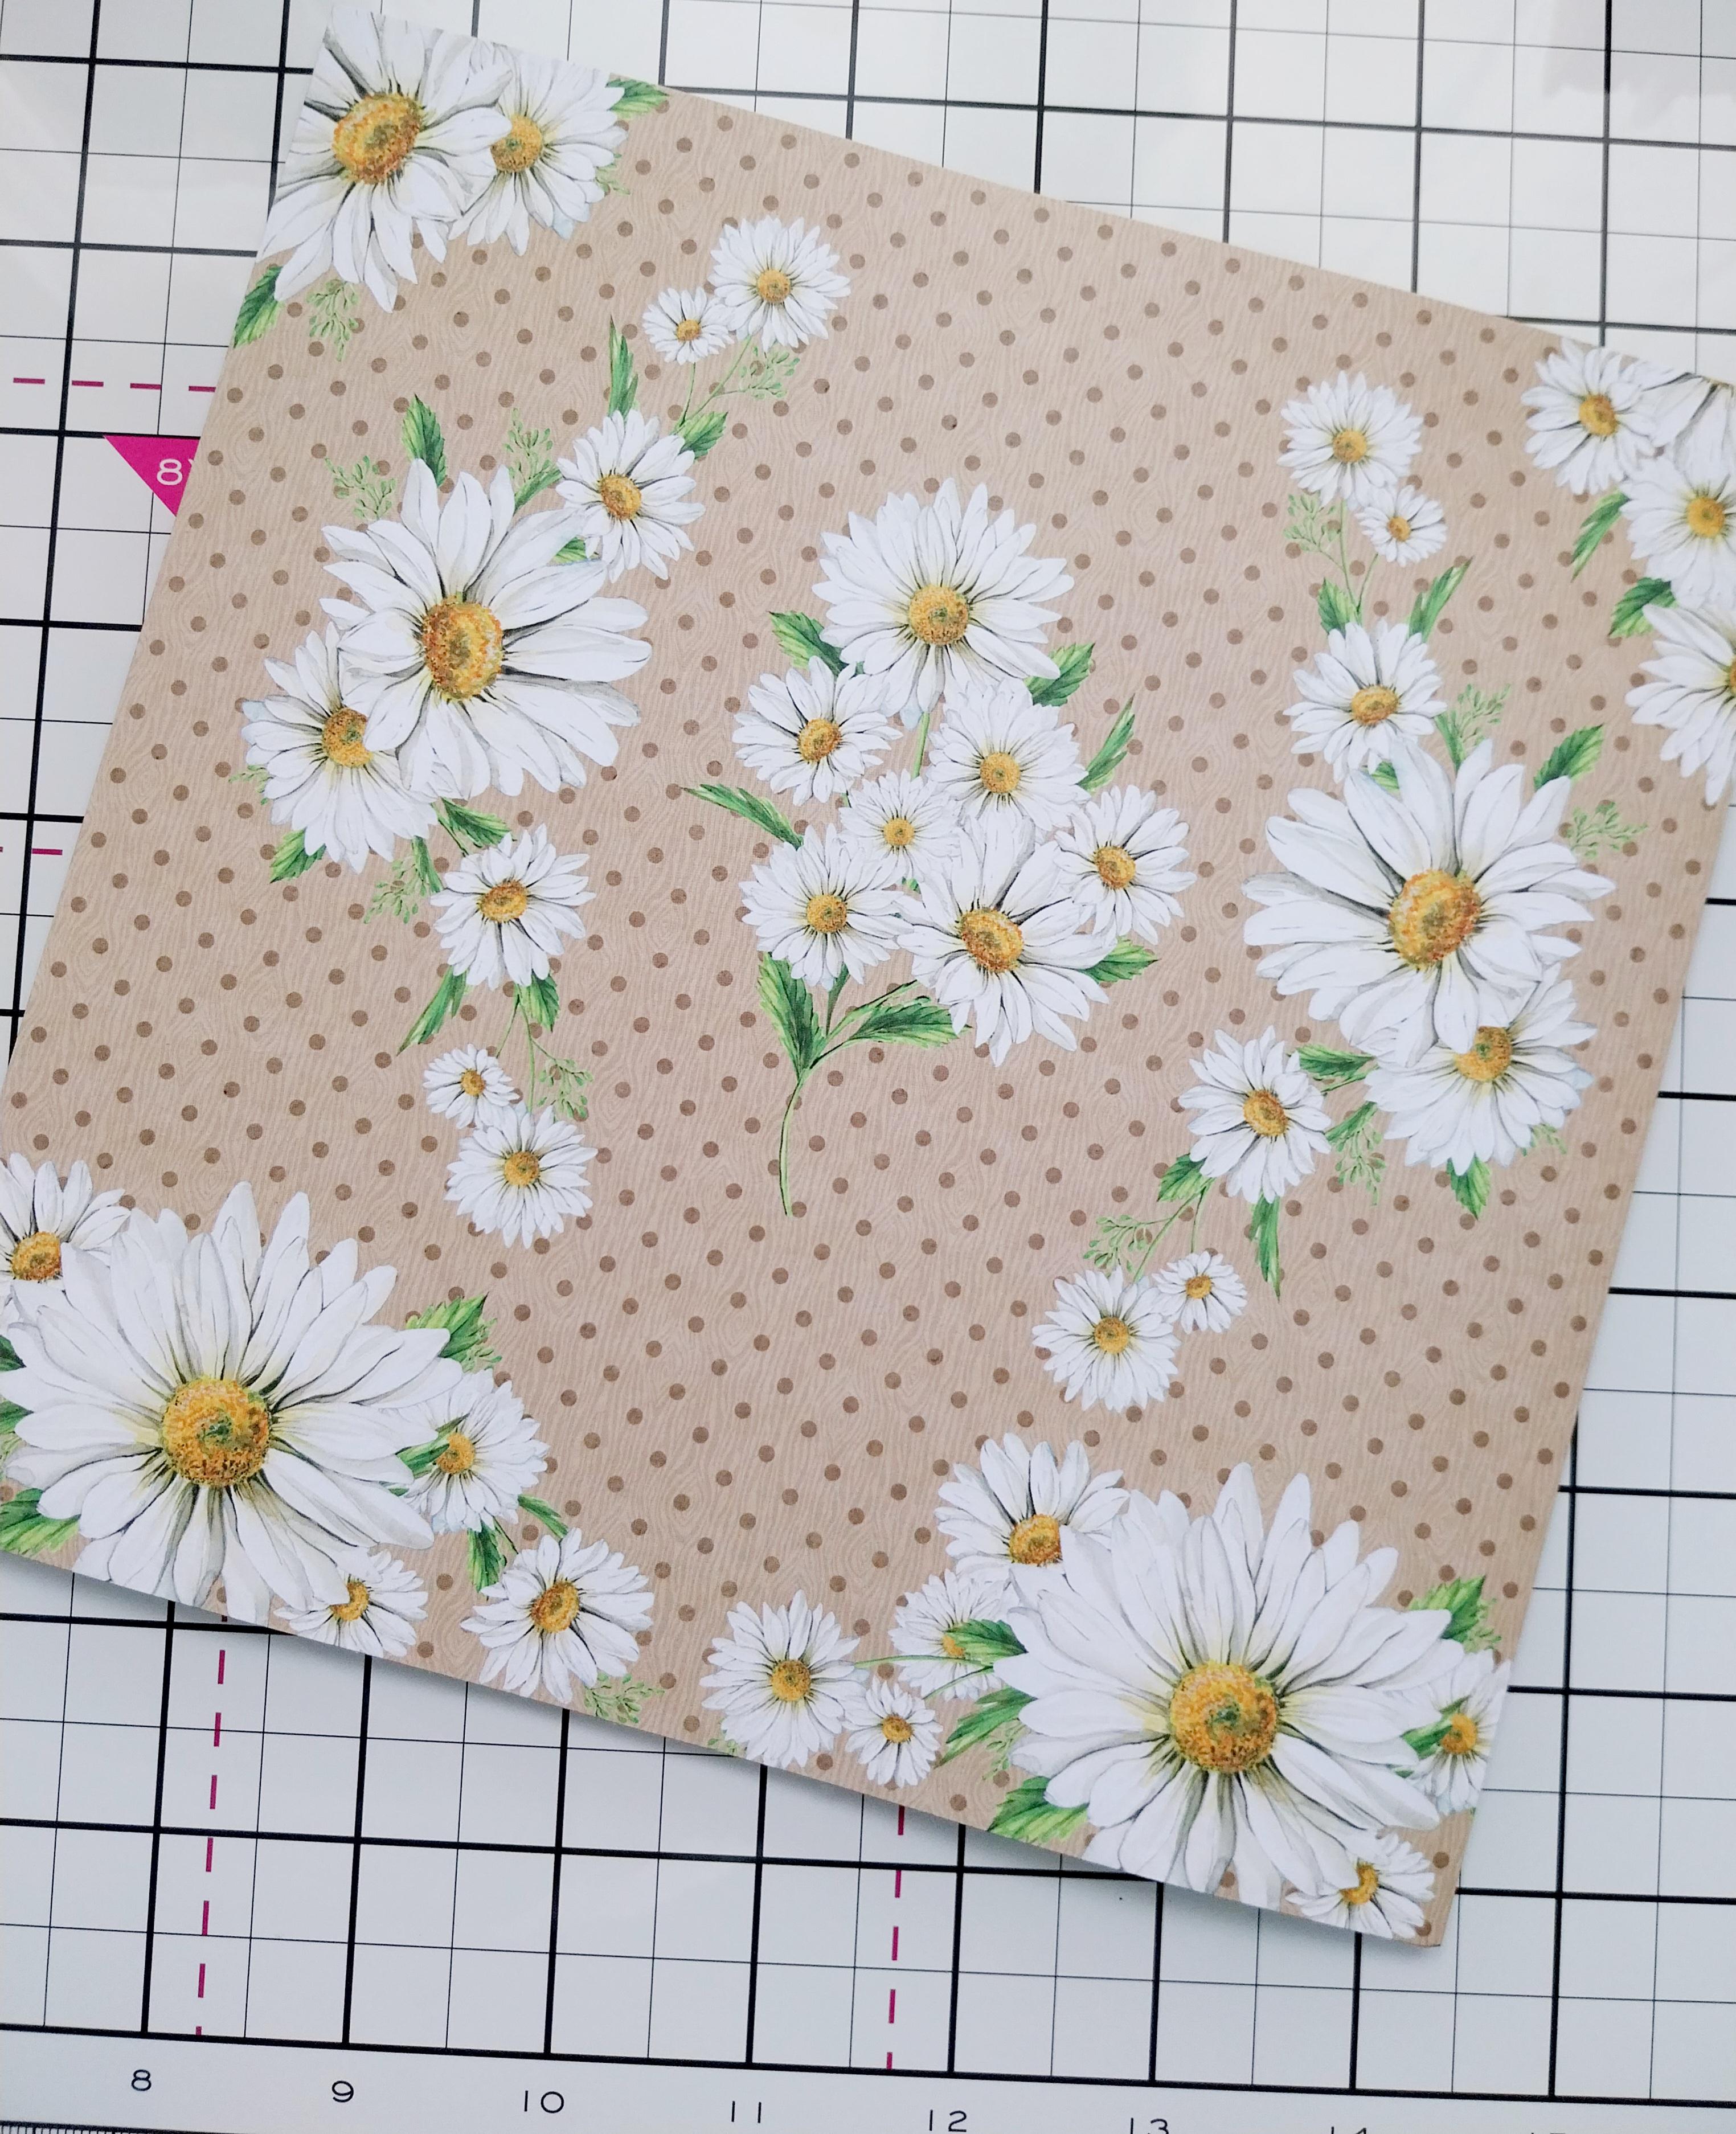
Sunshine In My Pocket 8 x 8" Paper Pad
Dash Frame Stamp Collection
SBM Hybrid Ink Pad: Midnight
SBM Twinkle Glitter Collection: Feras Gold
Eureka 101 Watercolour Tablet
SBM Magnetic glass mat
Paper Trimmer
Perfect Together Glue
Double sided adhesive tape
[click image to enlarge] 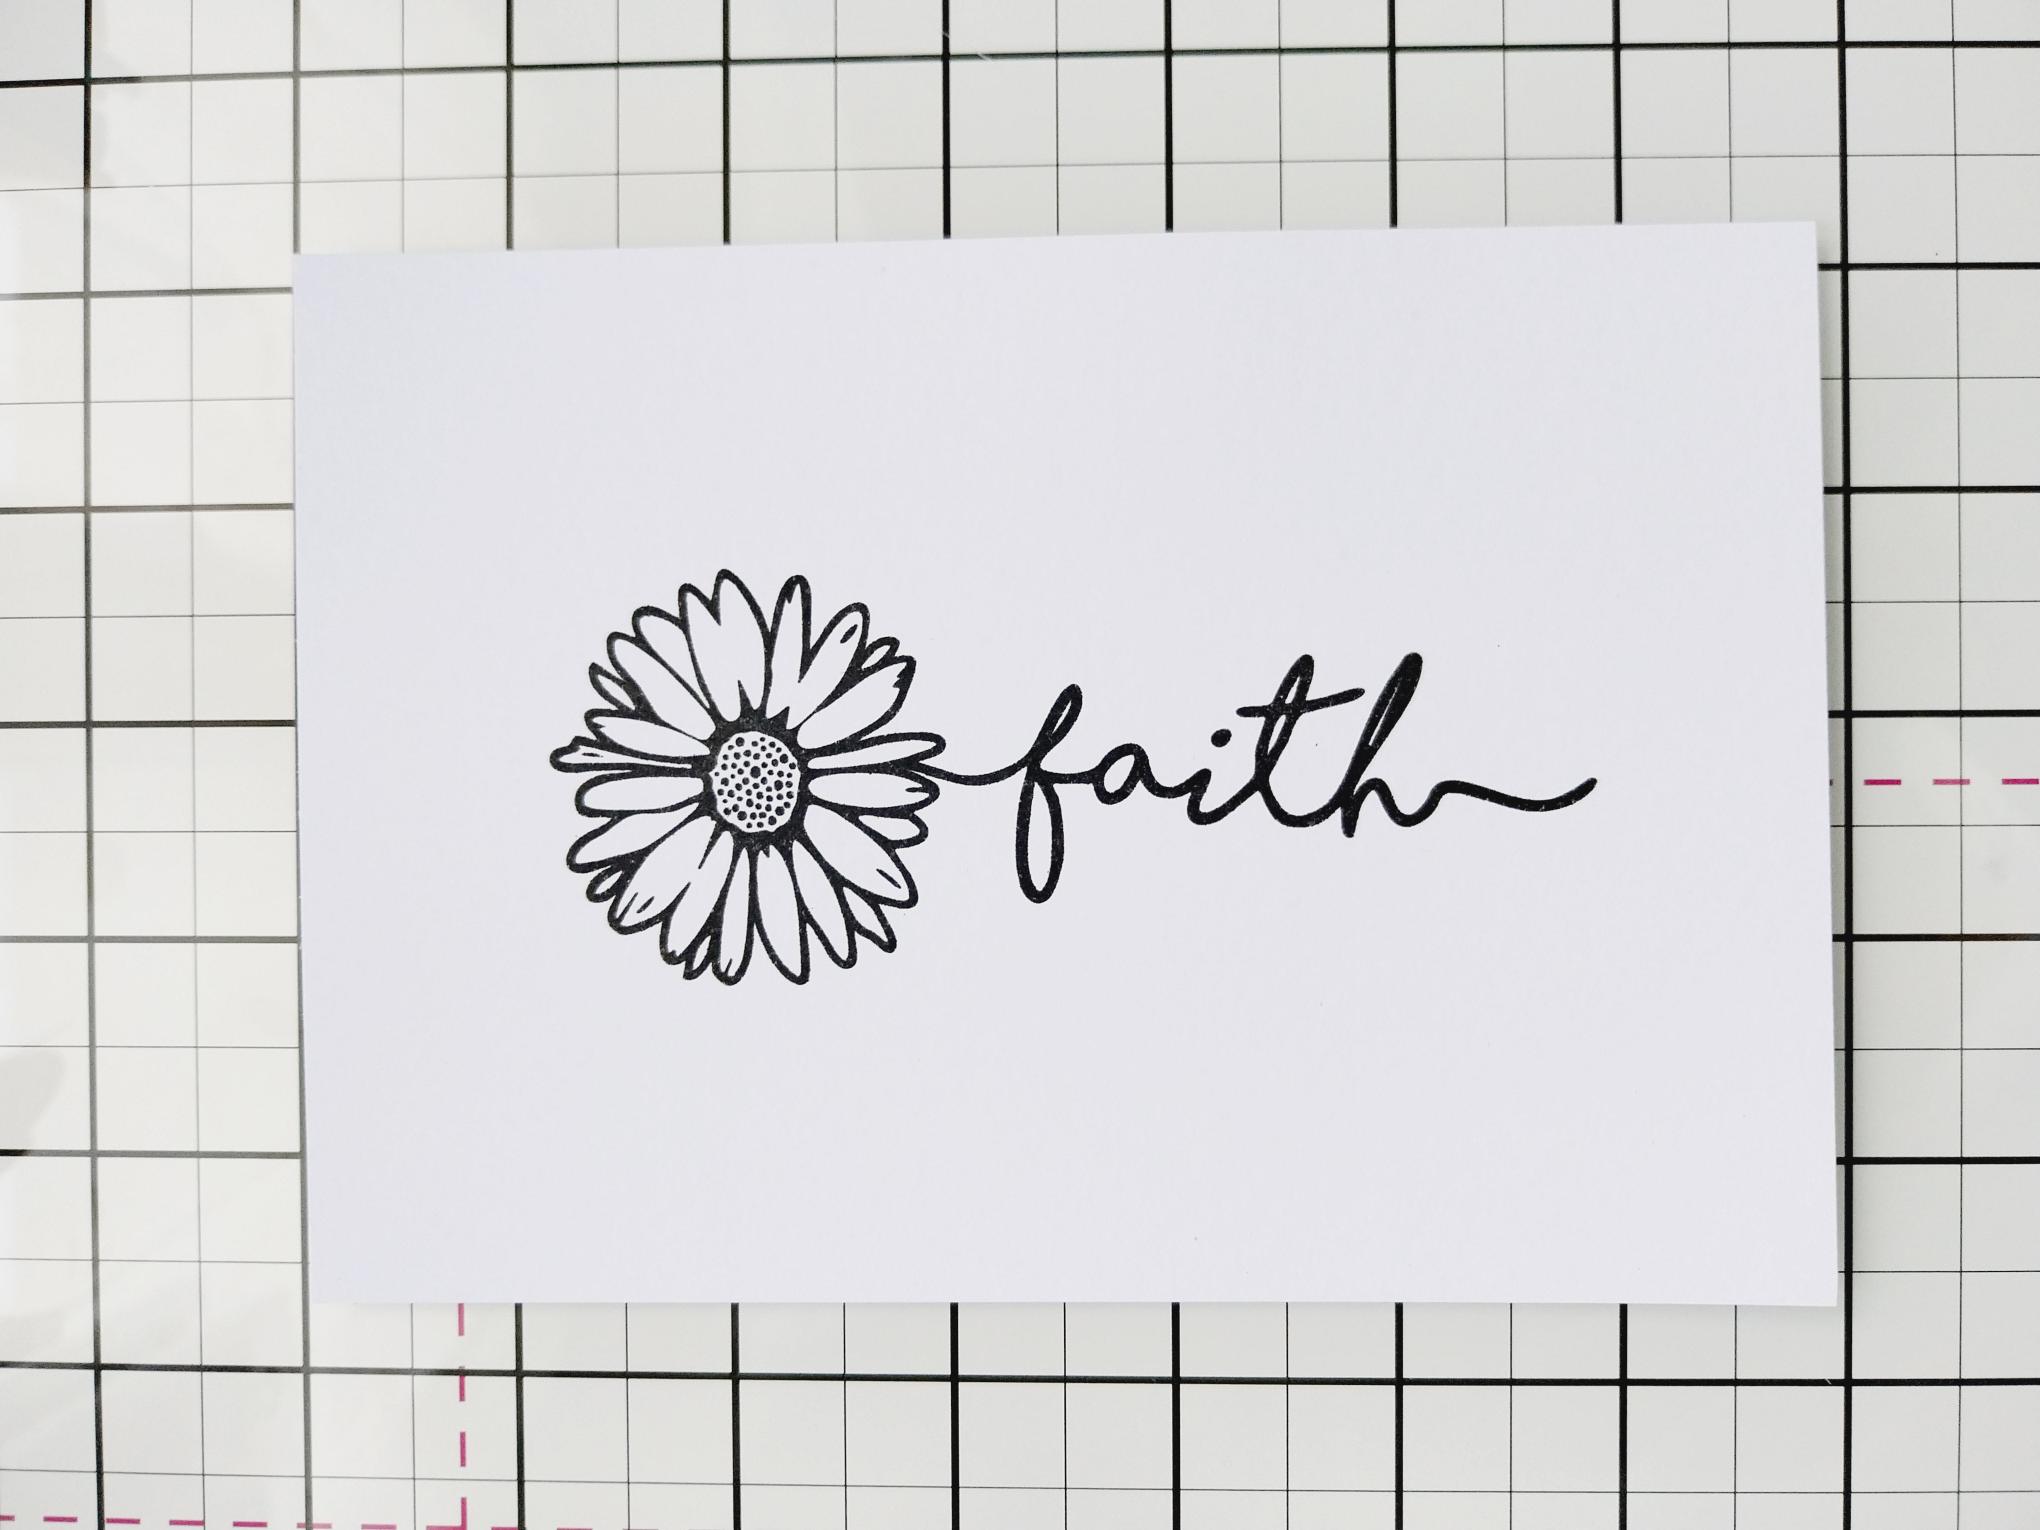
|
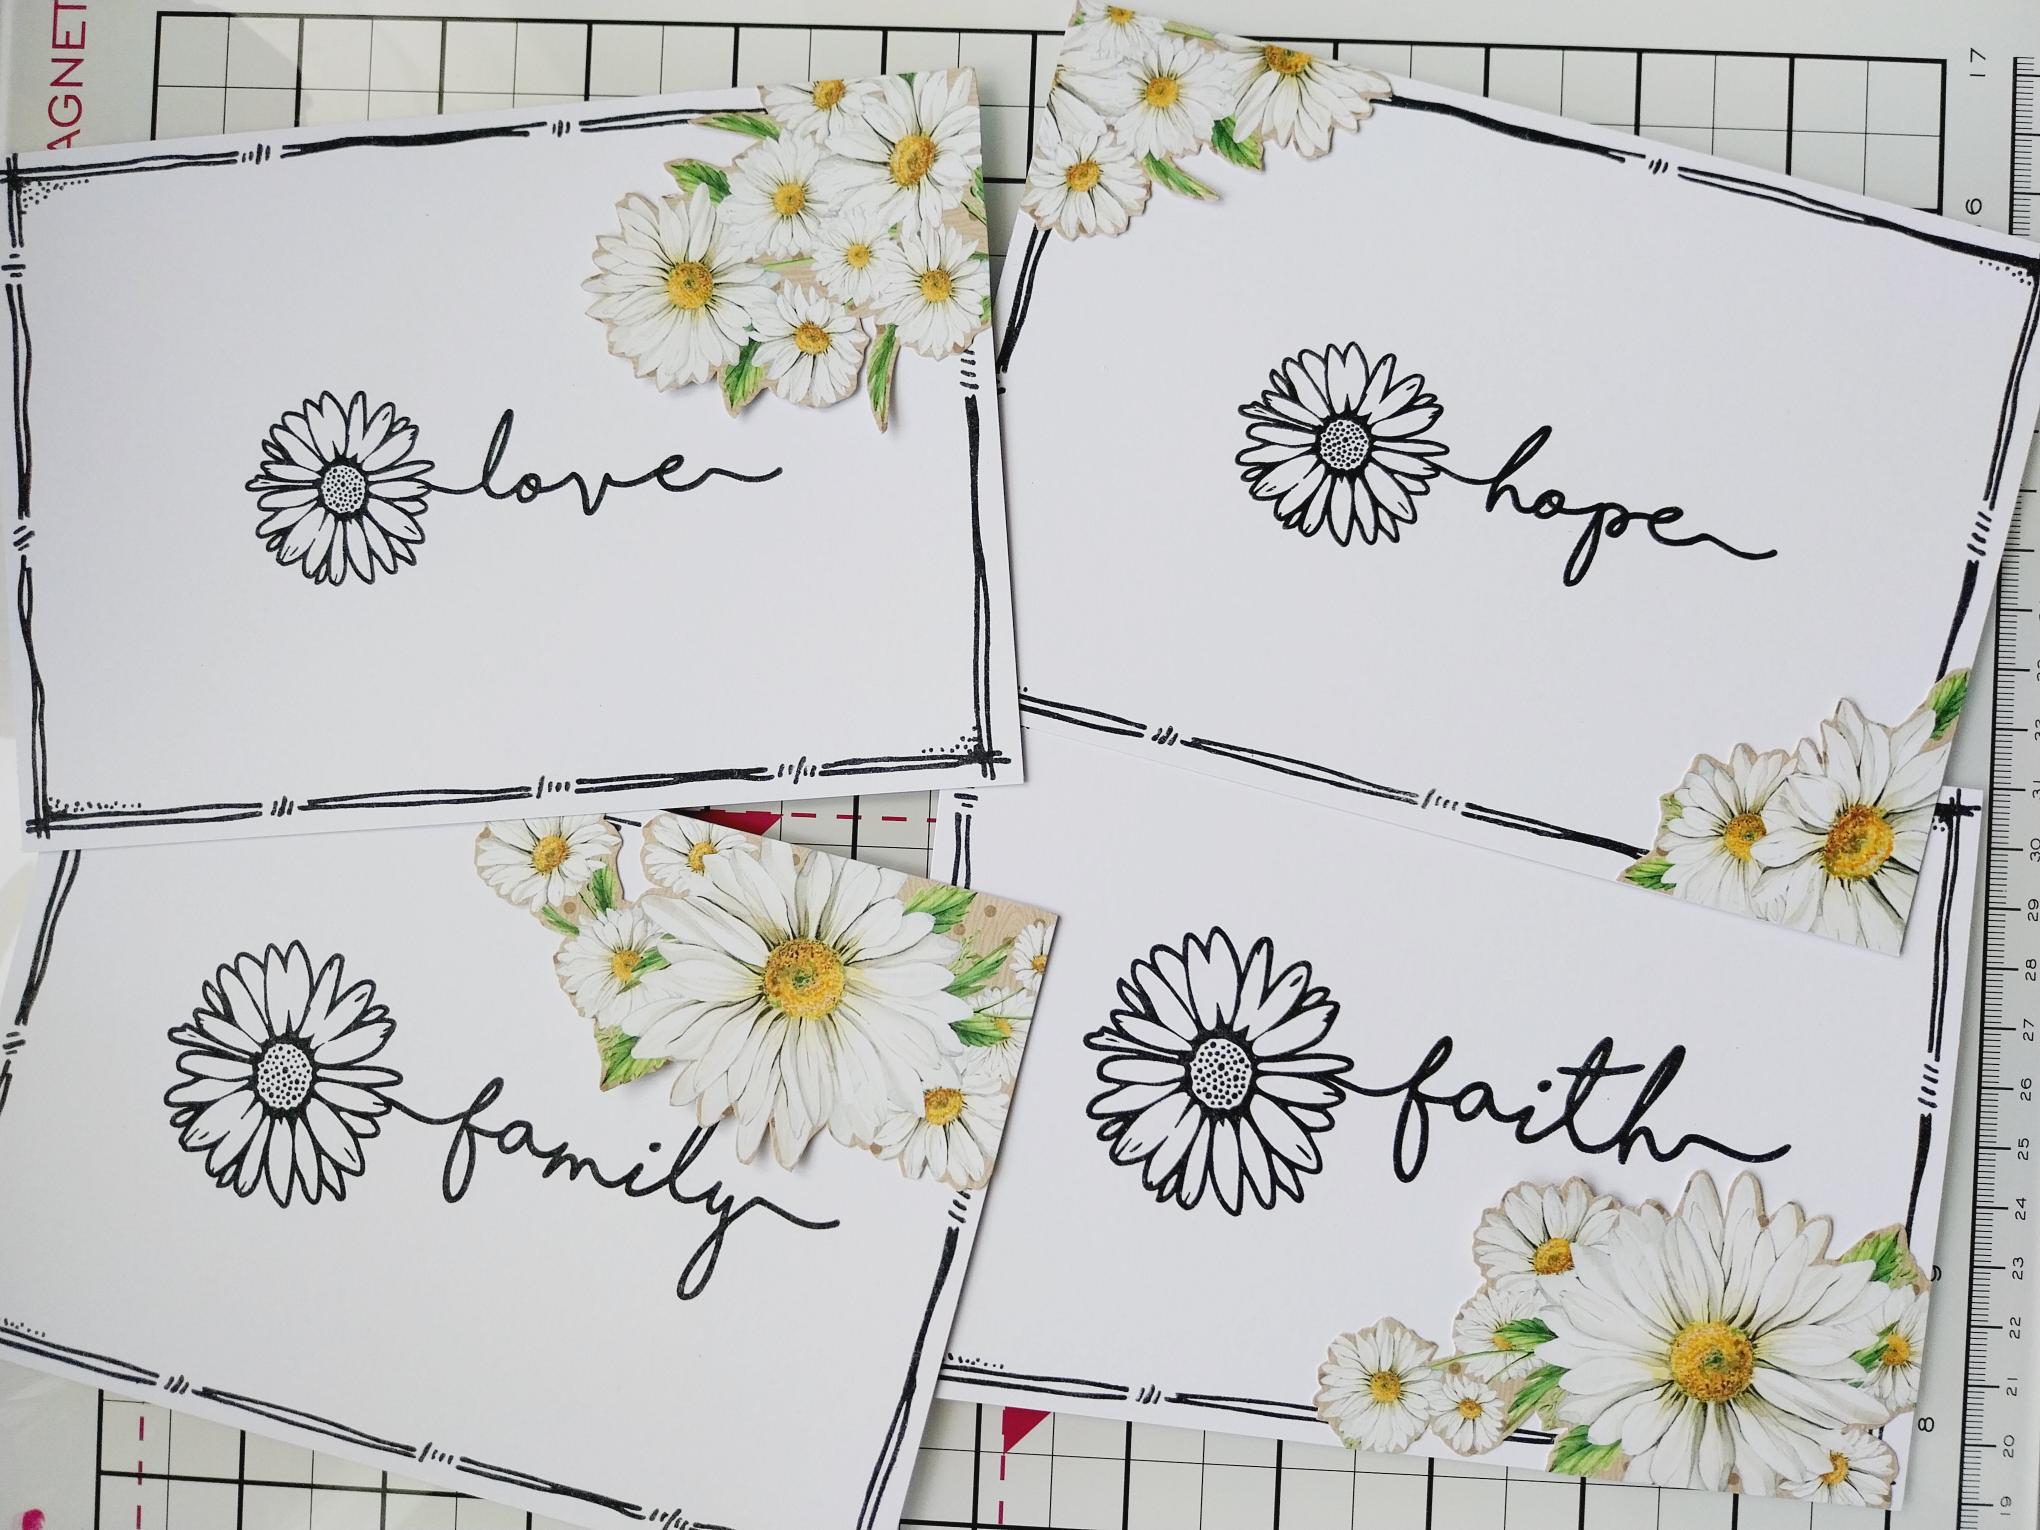
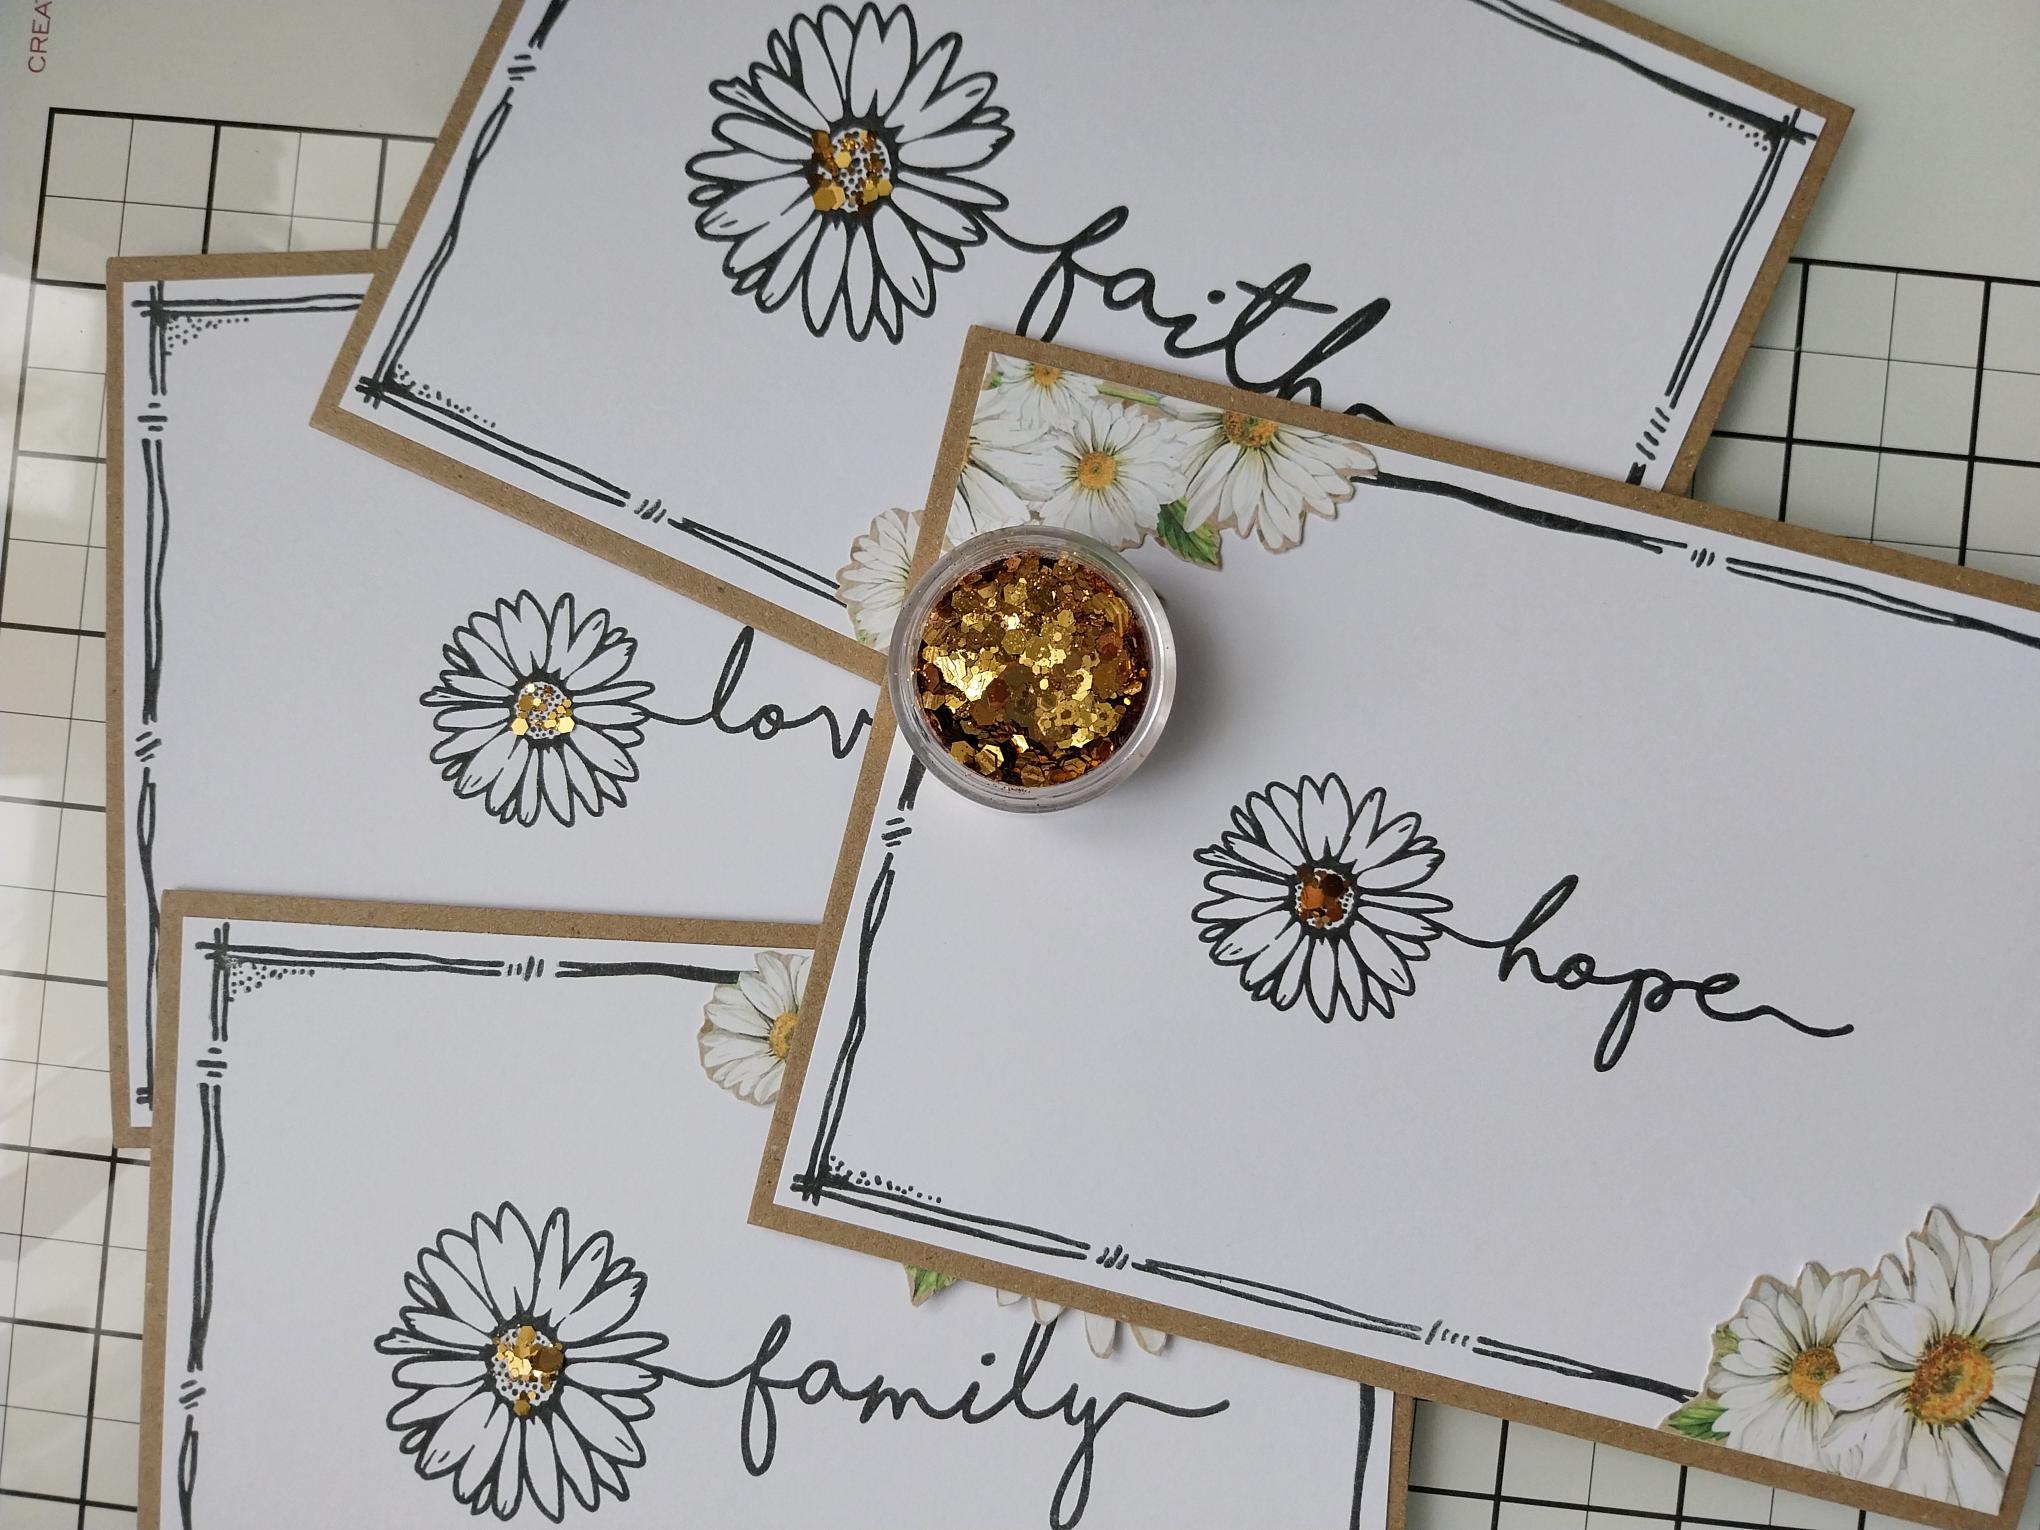
Ink up this beautiful stamp with the Midnight hybrid ink and stamp in the centre of ONE of the pieces of white card. |
|
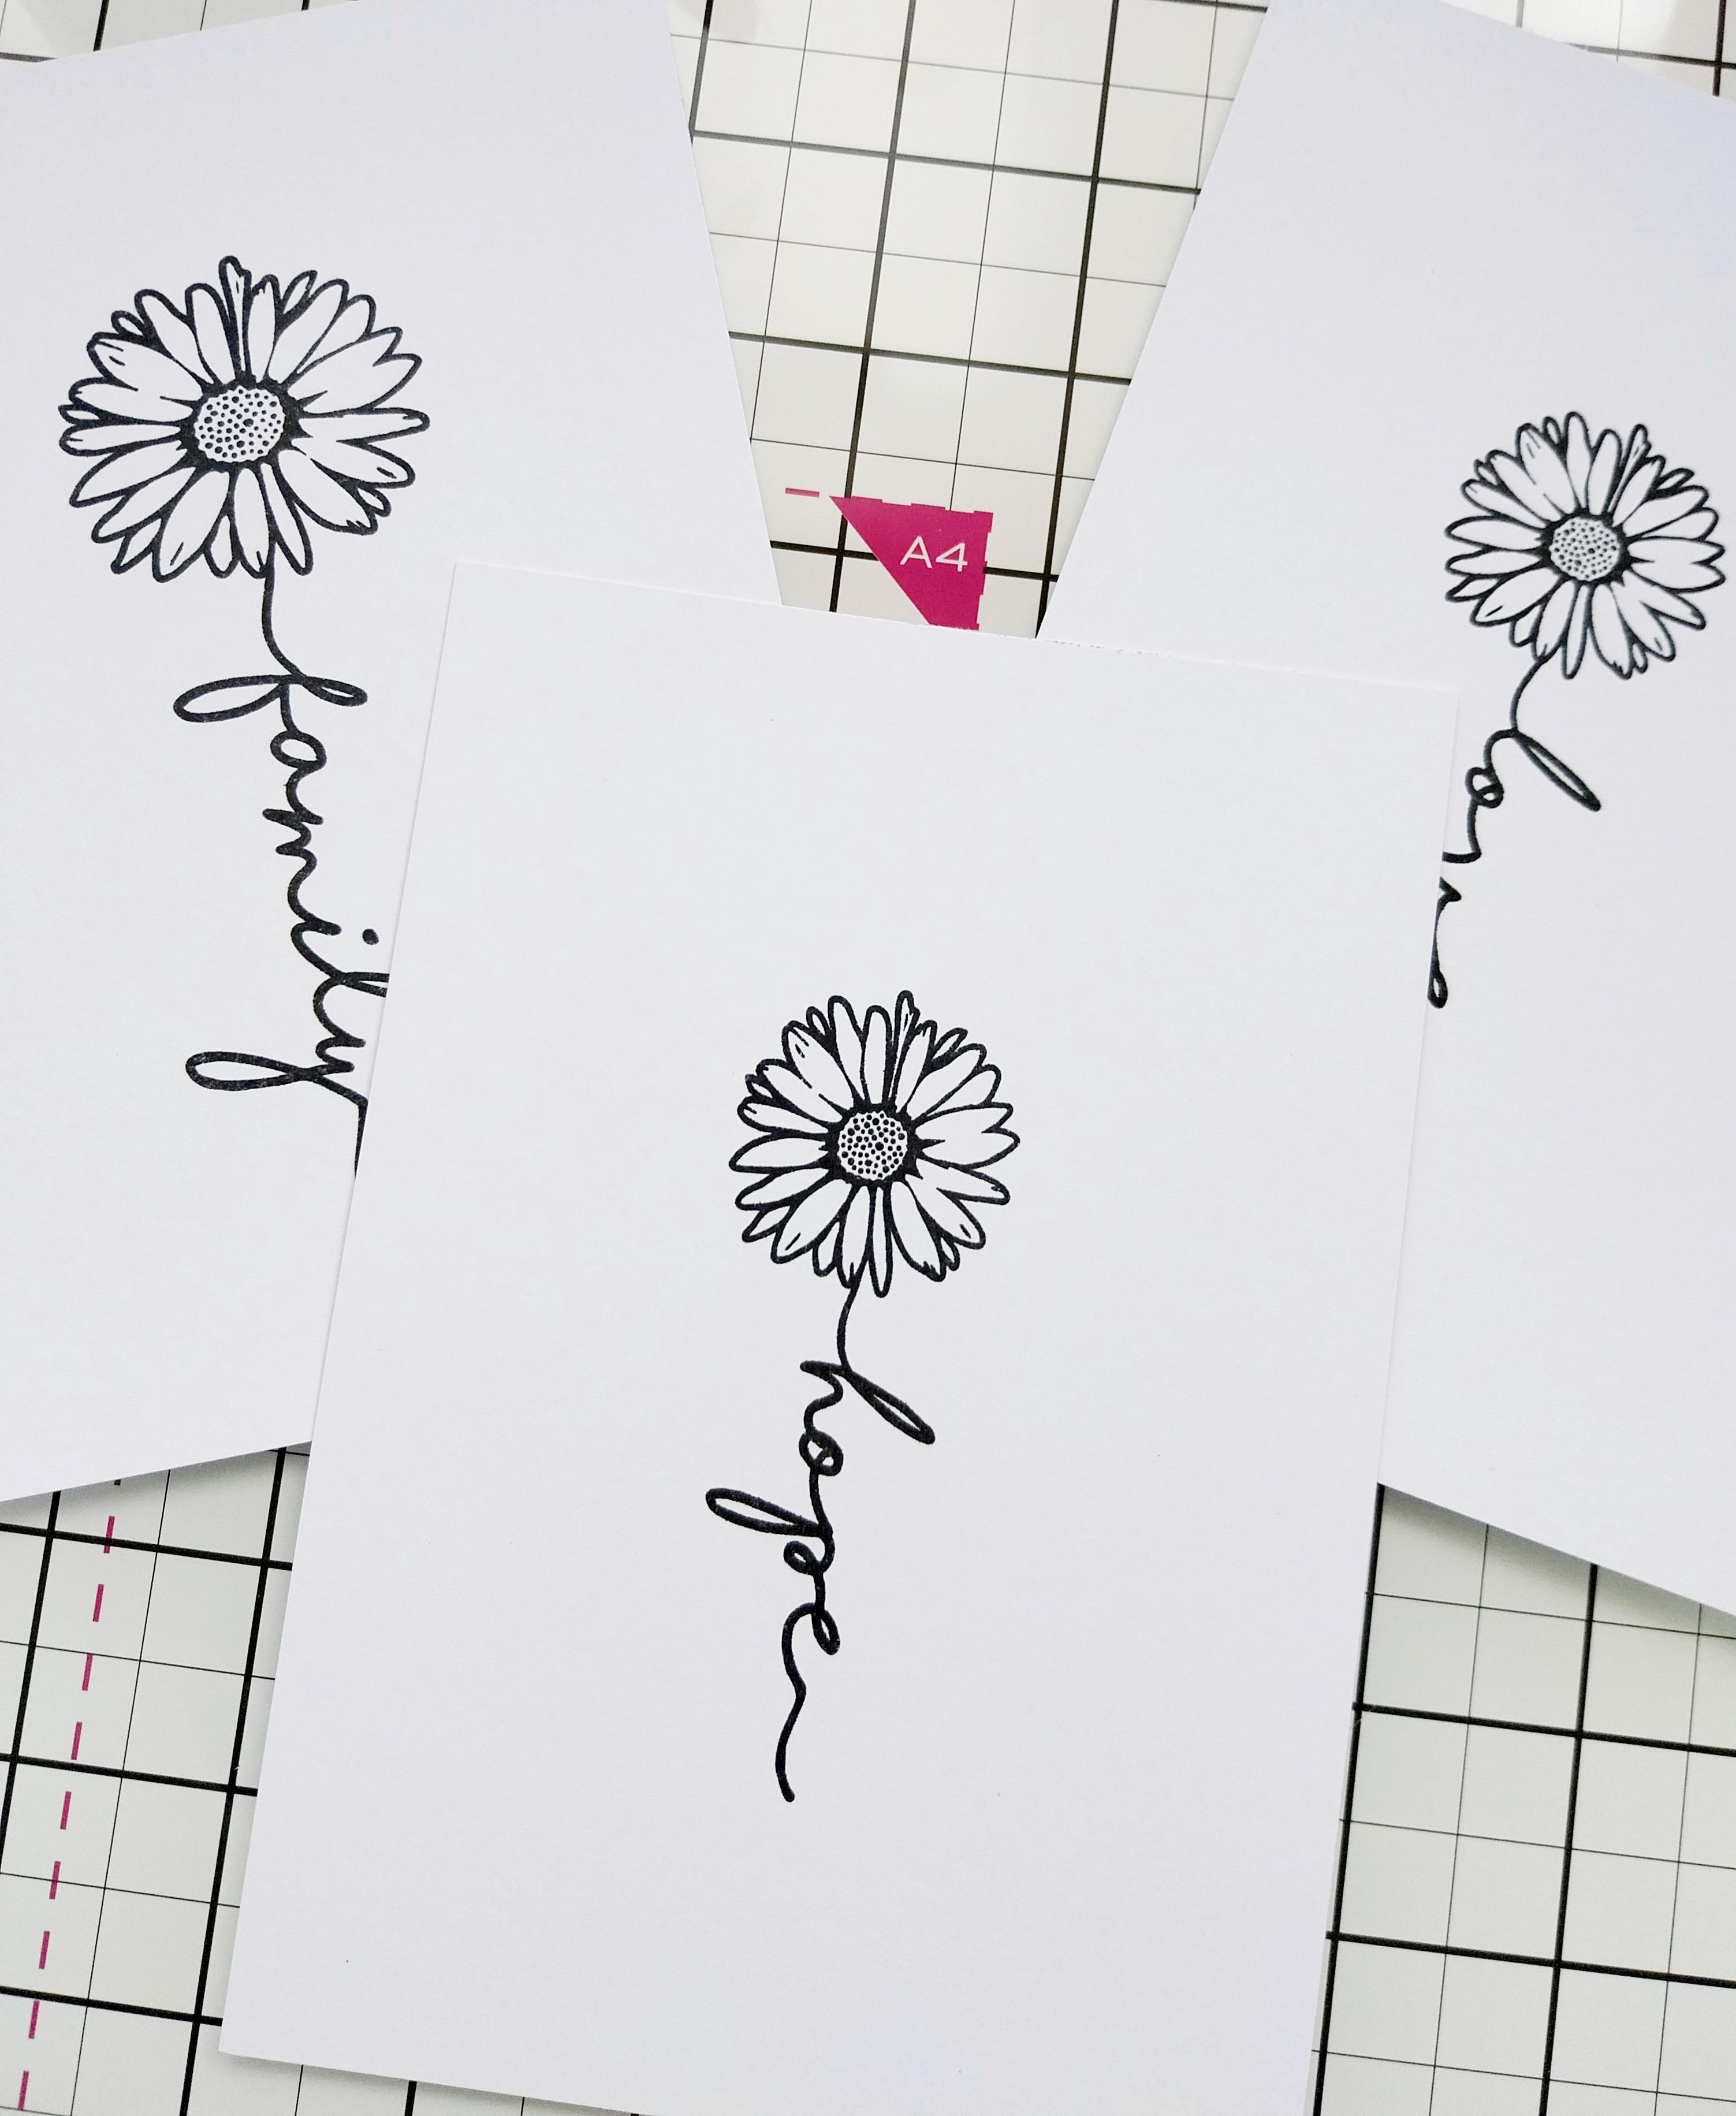
Ink up each of the other three stamps, in the same set and stamp in the centre of the other three pieces of card. |
|
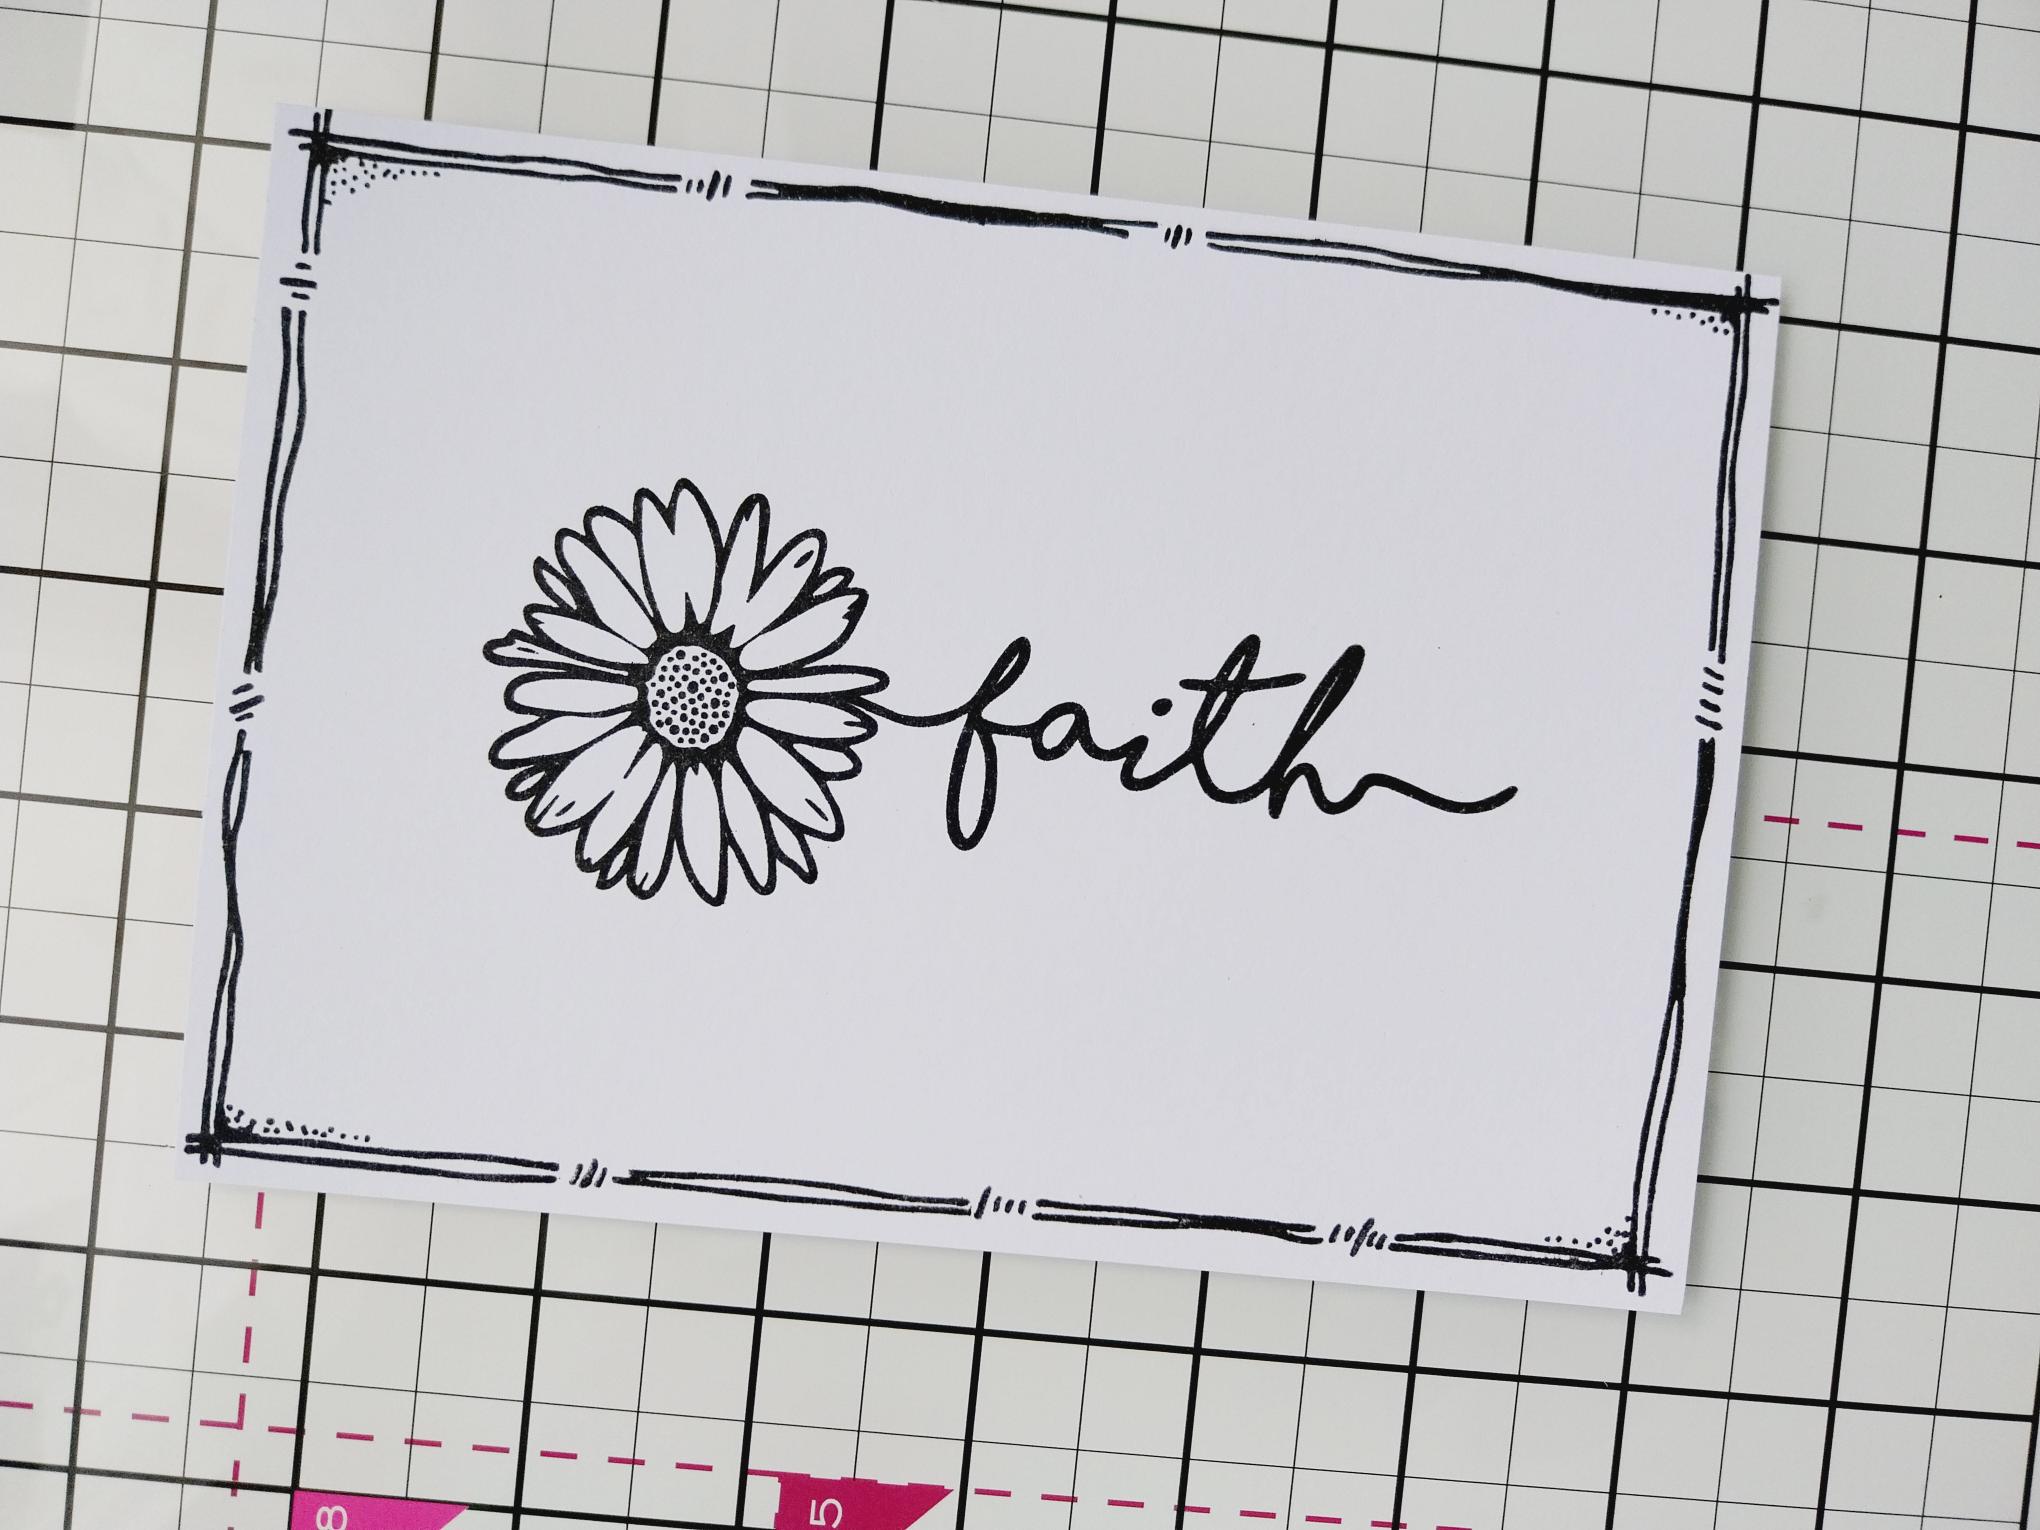
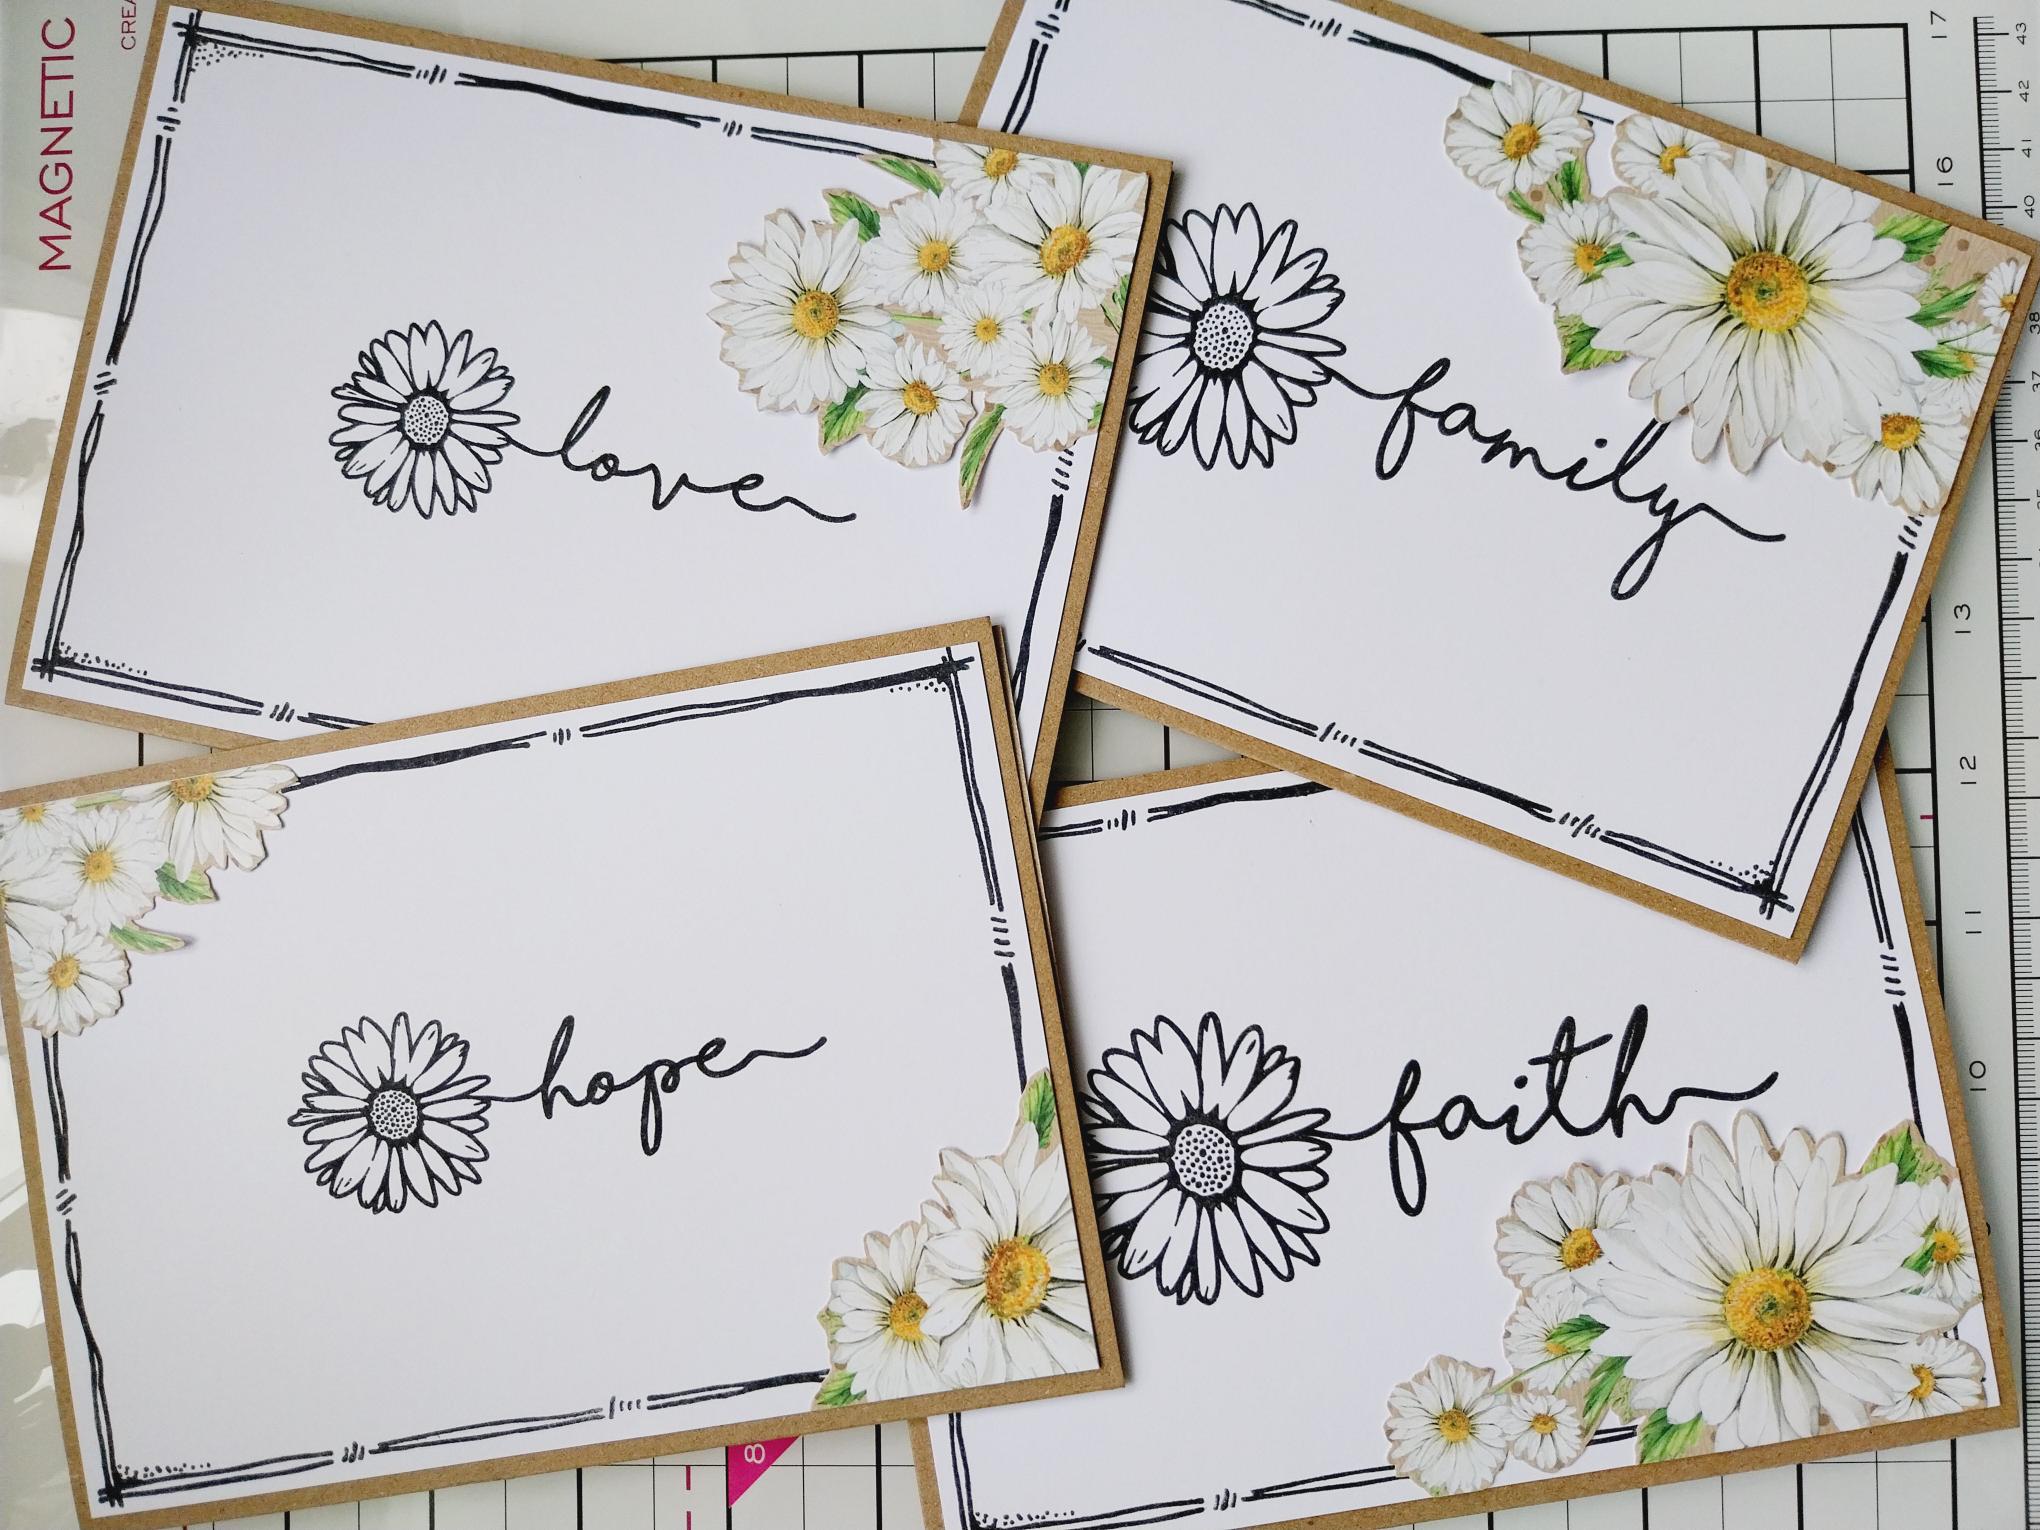
Ink up the Dash Frame (that fits around your card), with the Midnight and stamp around your first card. |

|
Repeat on the other three cards, then set to one side to dry. |
|
Remove this decorative sheet from the Sunshine In My Pocket paper pad. |
|
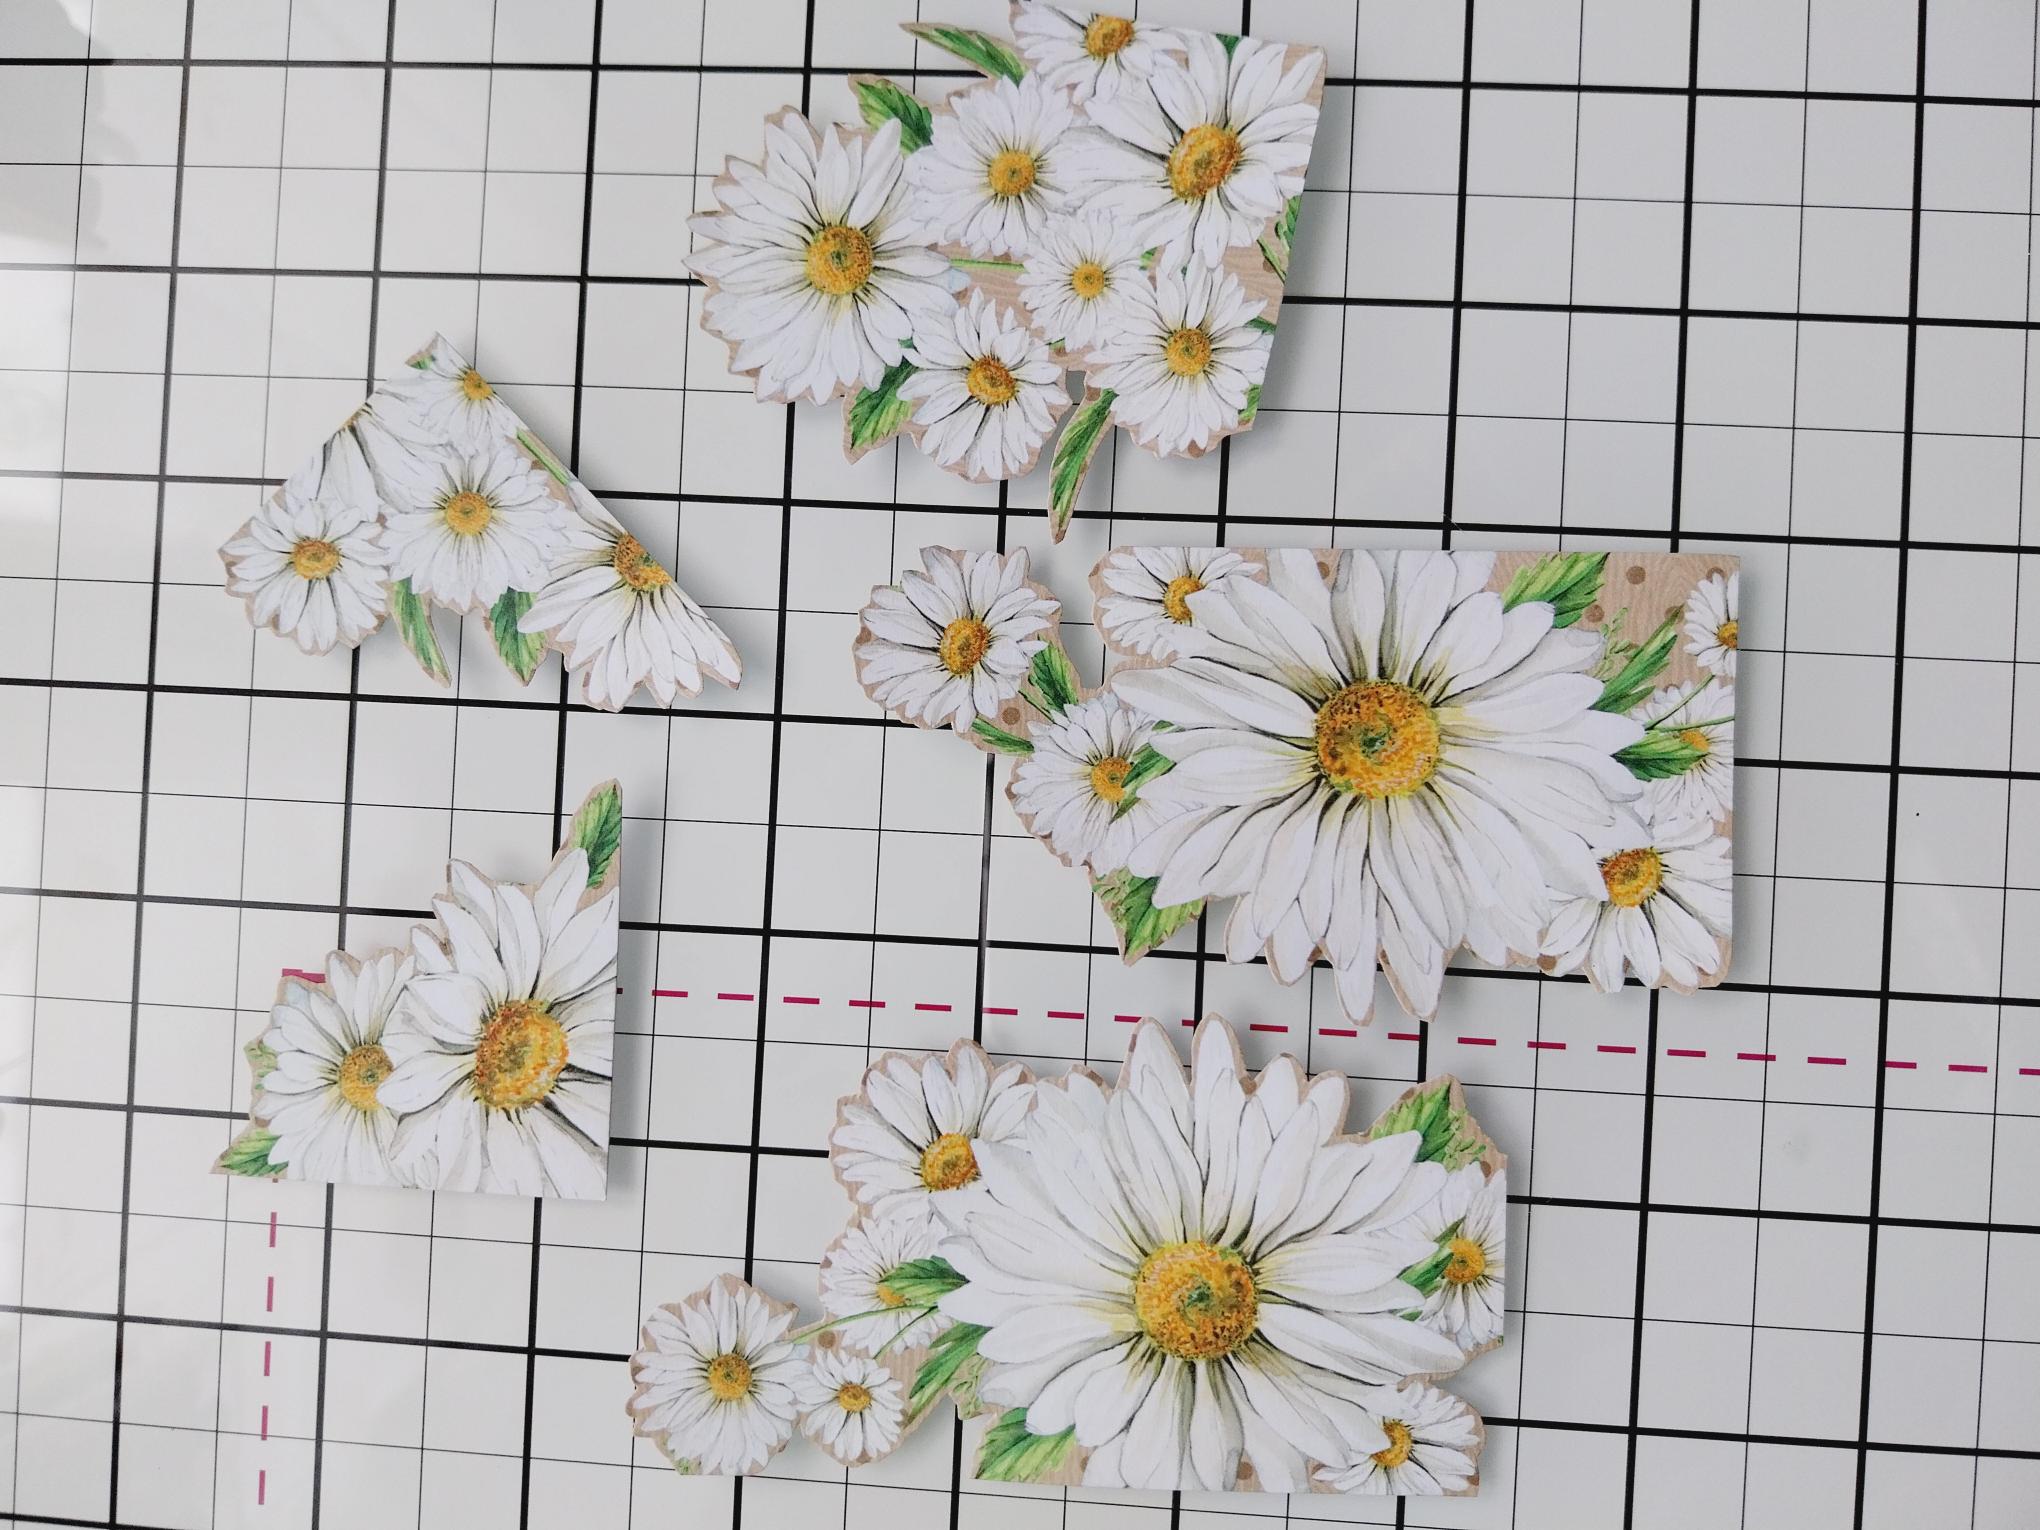
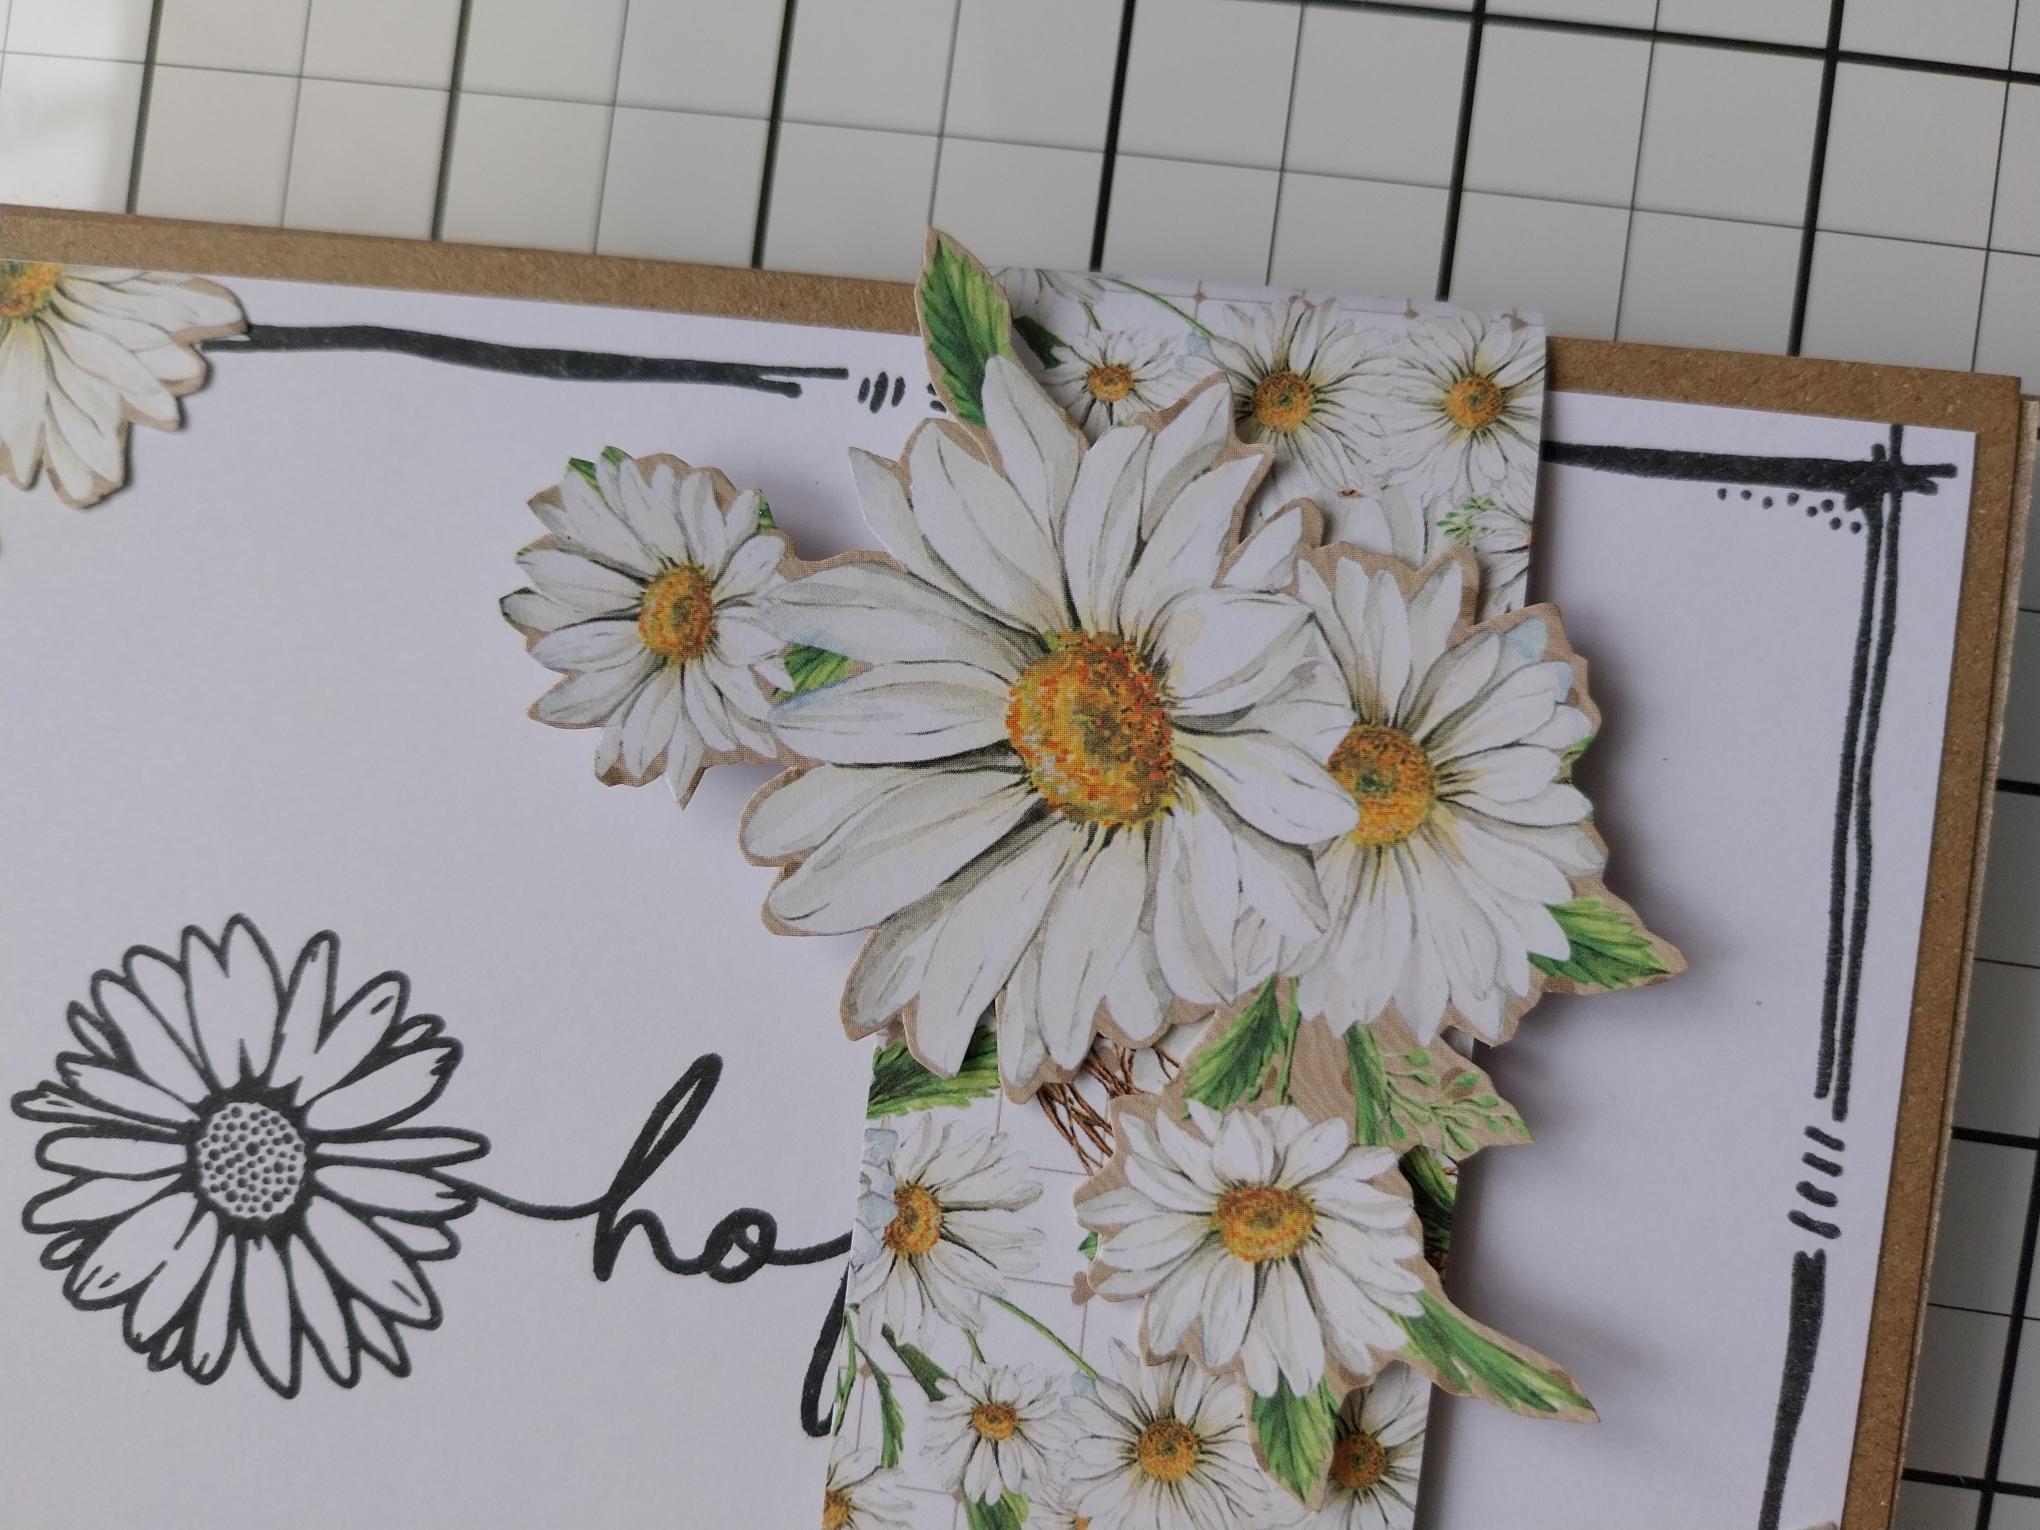
Fussy cut all the individual elements from this sheet, as seen here. Decide which you want to use but leave a couple to one side, for use on your belly band, in a later step. |
|
Mould the leaves and petals with your fingers, before adhering them on to the four stamped cards, where required. |
|
Adhere all four decorated cards on to your four kraft card blanks, then set to one side. |
|
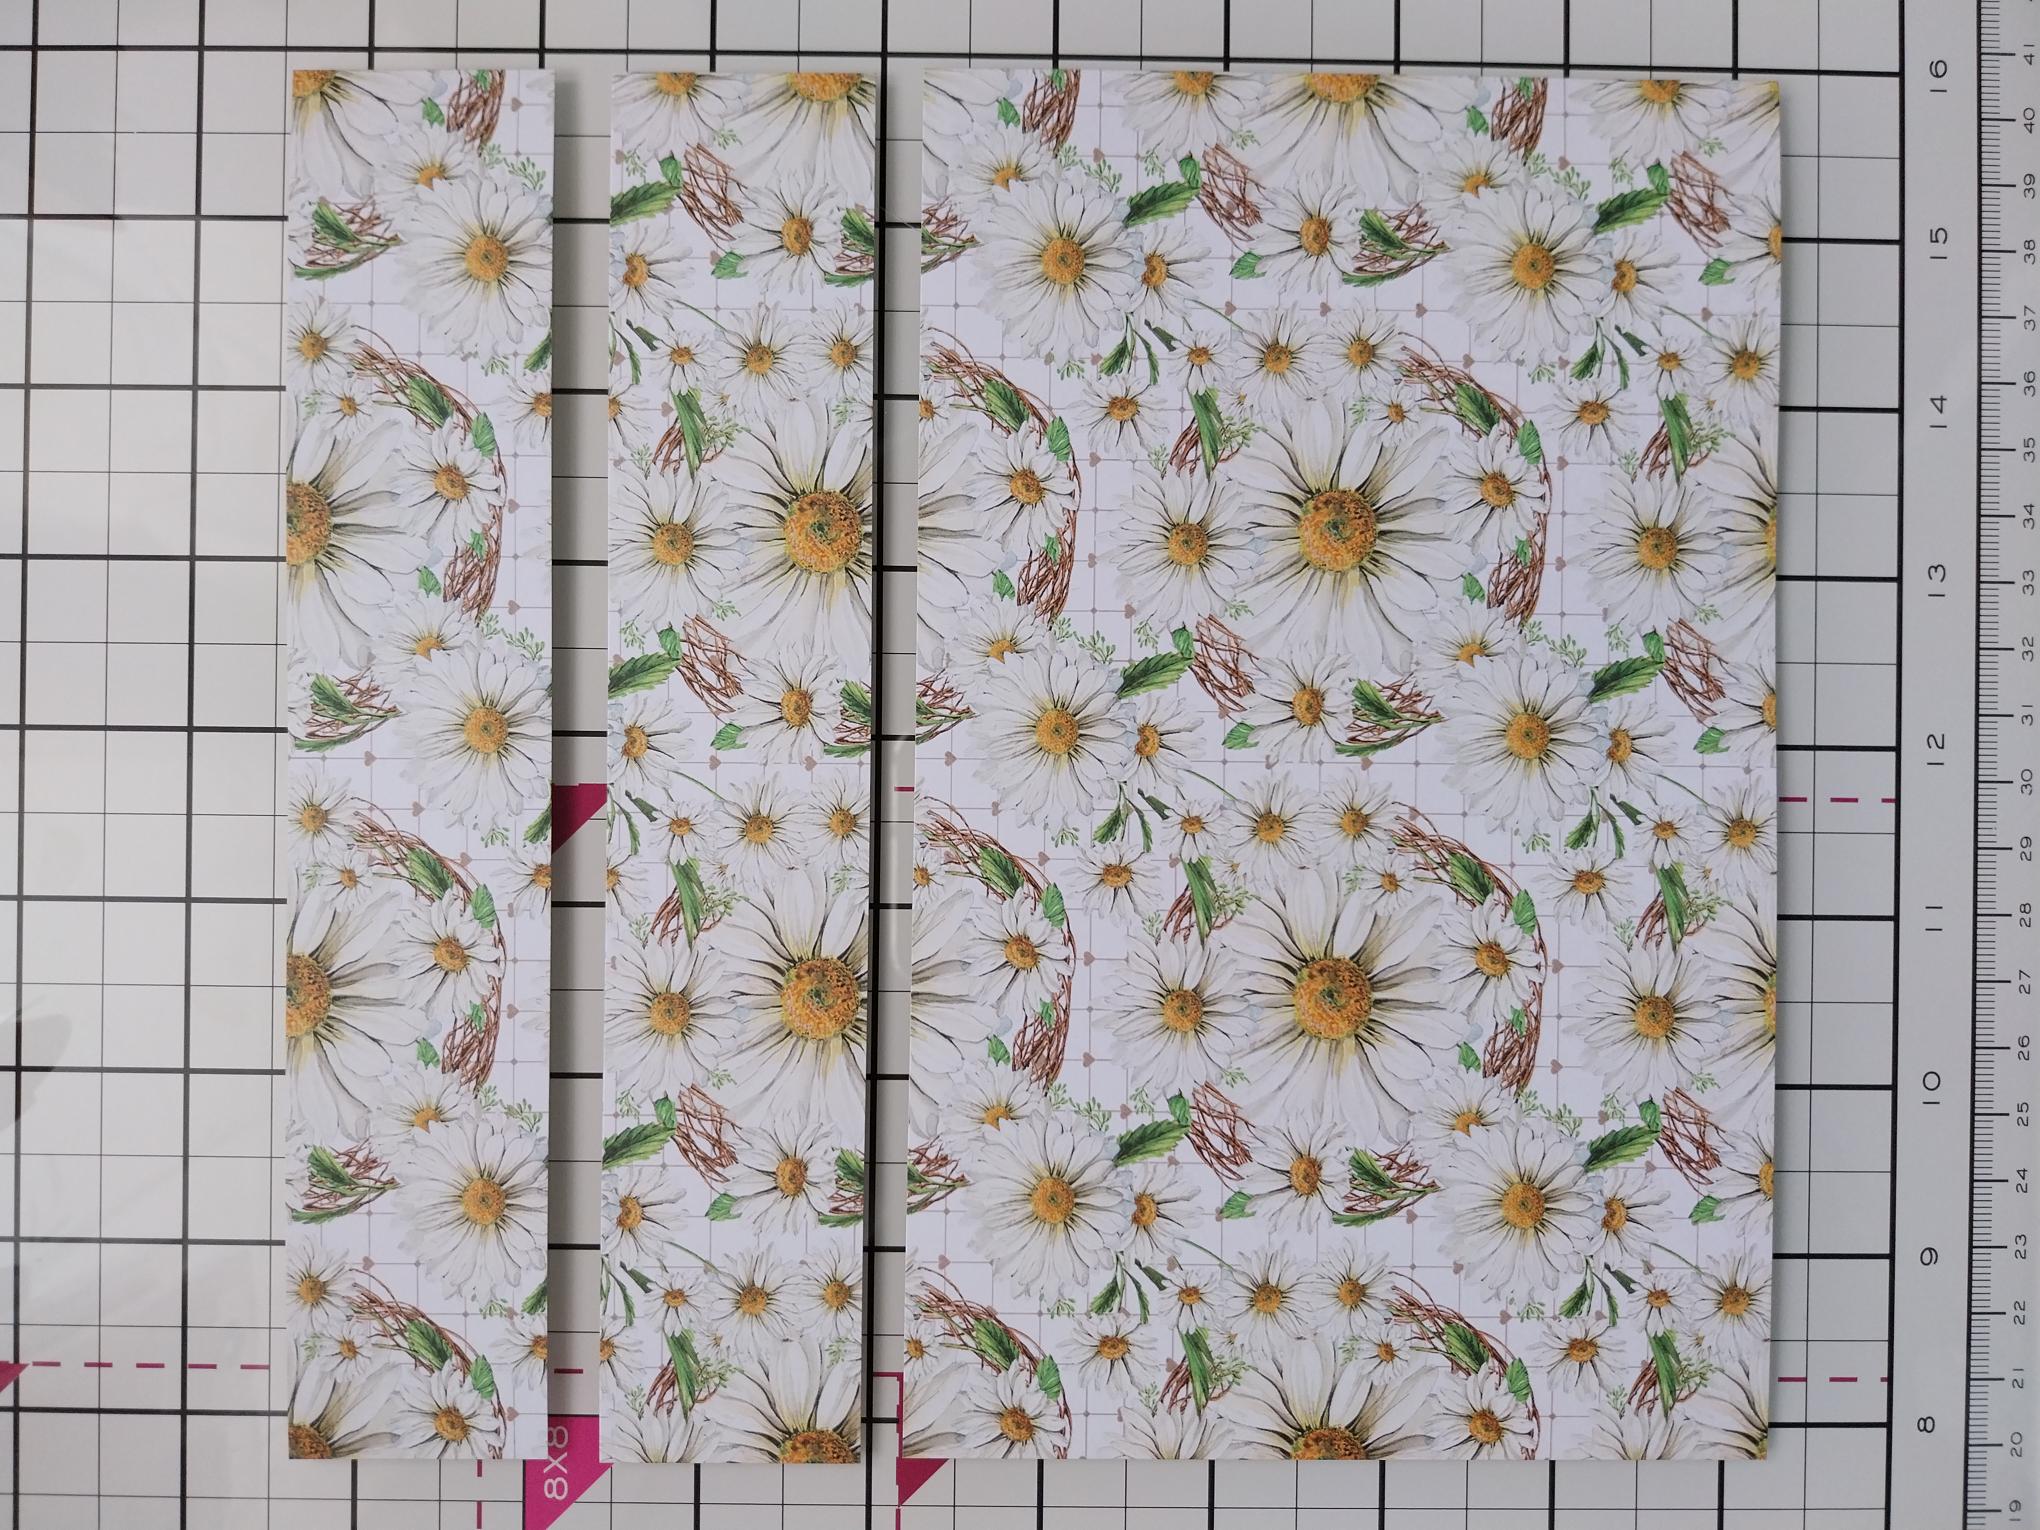
Remove this decorative sheet from the same paper pack and cut TWO strips the SAME width. These will form your belly band, so it's up to you how wide you want it to be. |
|
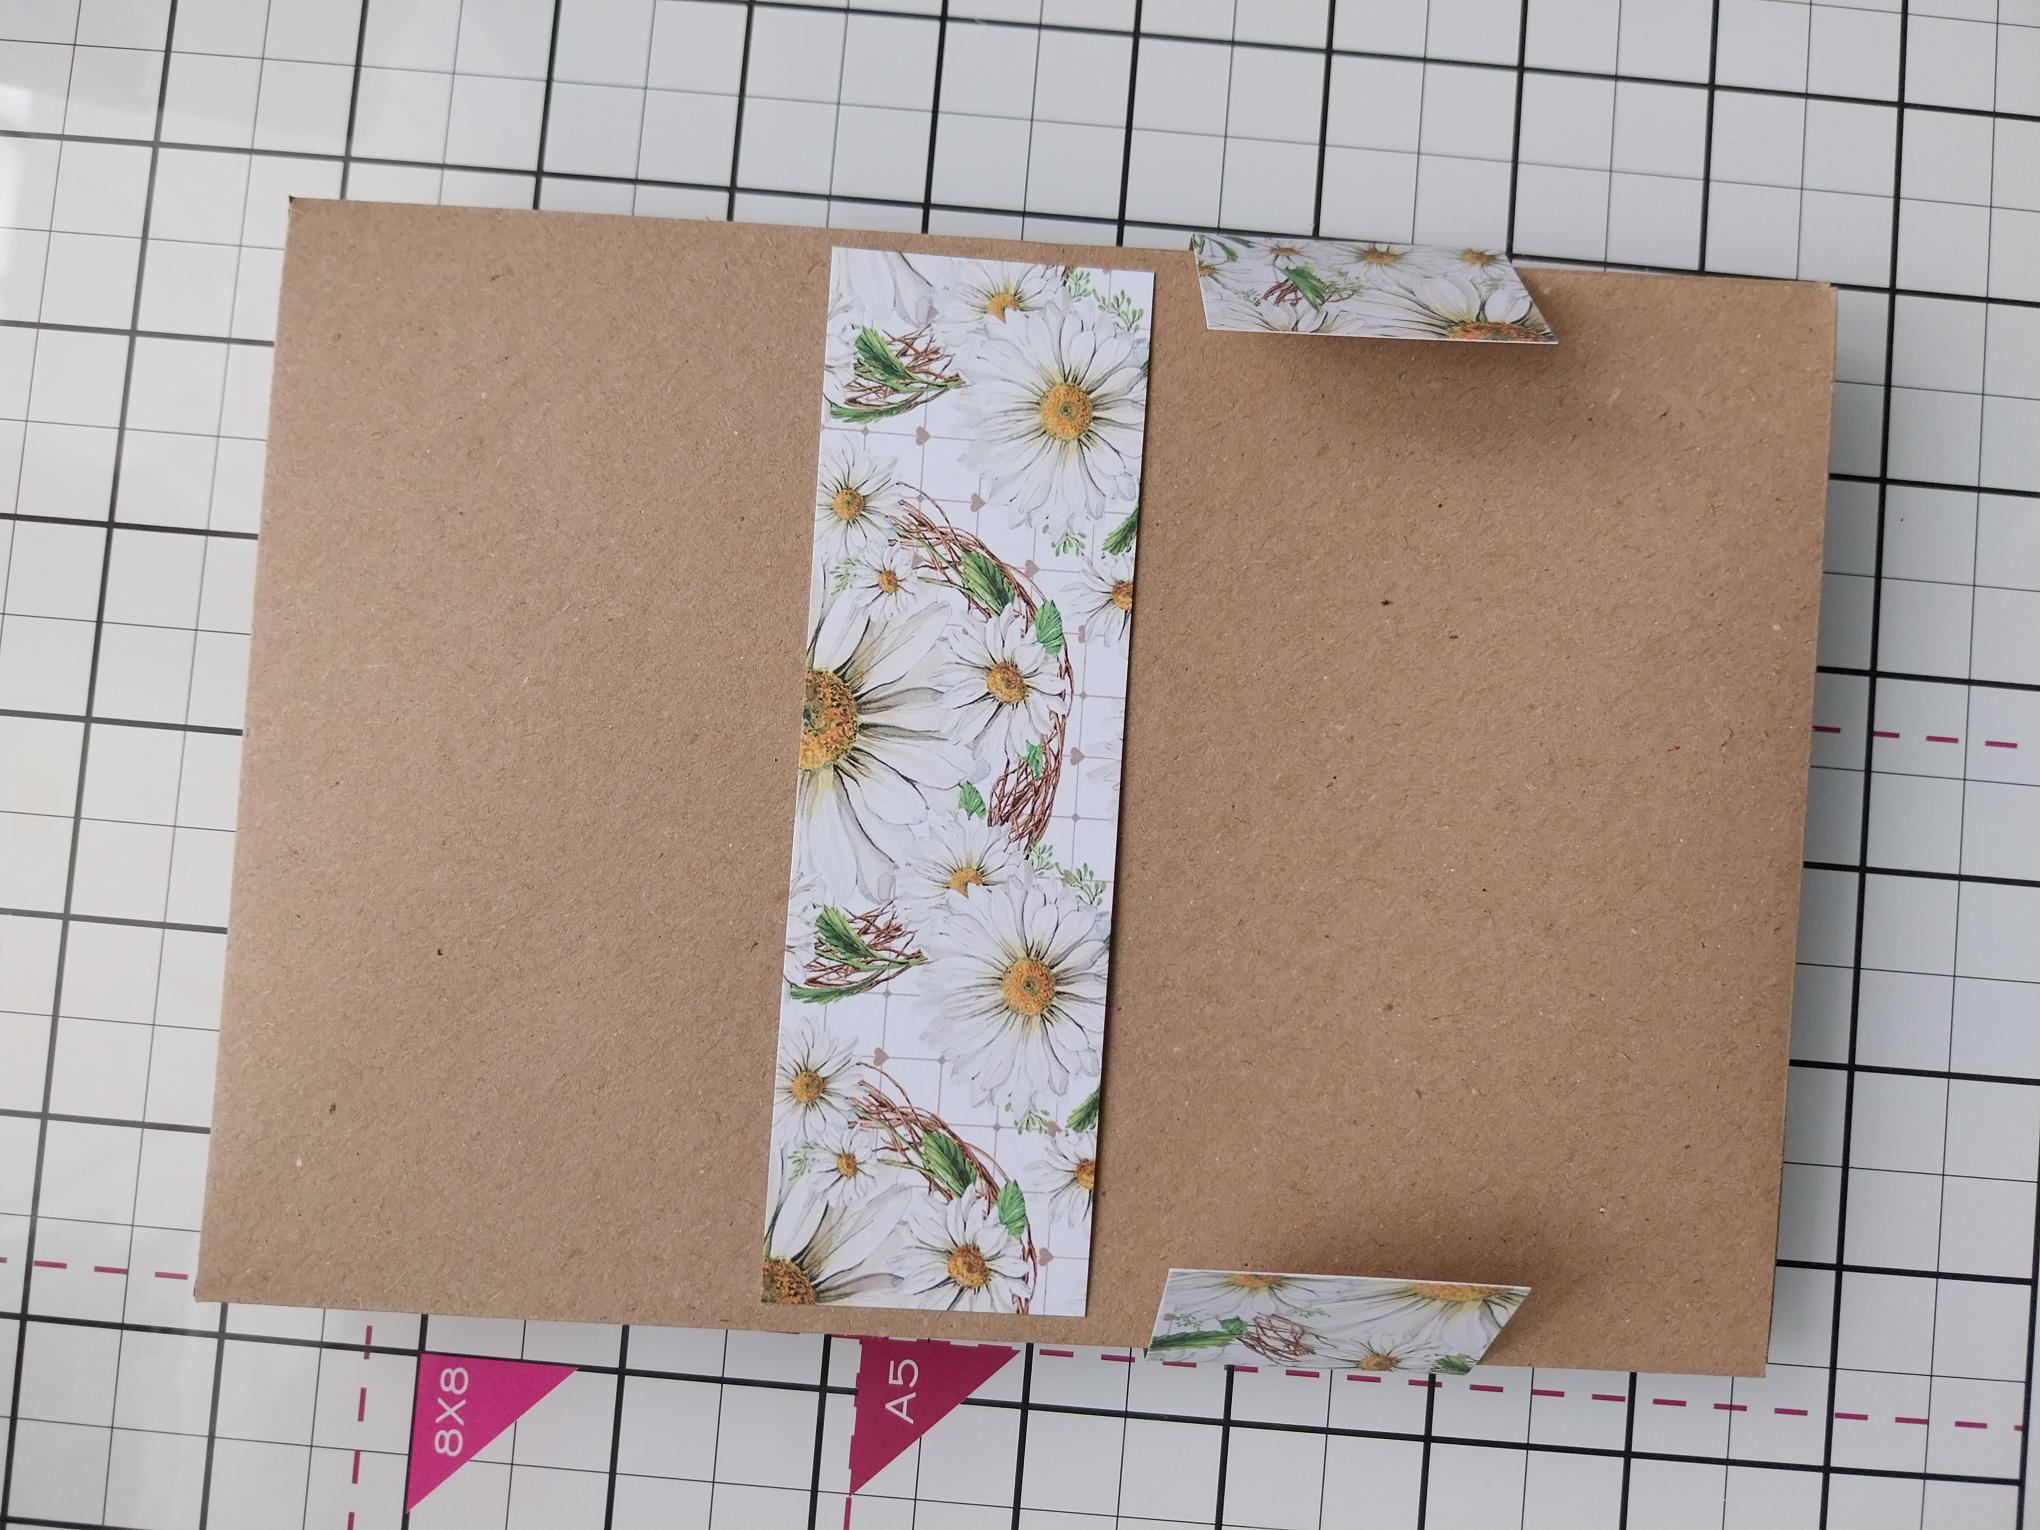
Place all FOUR cards and coordinating enevlopes together, then wrap ONE strip of the decorative paper around them, tucking the overhangs behind. Lay the second strip in place and cut to size, so you can adhere it to the tucked over edges of the first one, thus creating your complete belly band. Tip: When gluing the second strip in place make sure you can move the belly band up and down and remove from your notelets, as and when required. Too tight and you may damage the enclosed cards or envelopes! |
|
Adhere the 3D fussy cut floral elements, that you set aside earlier, on to your belly band. |
|
To complete your notelets gift set, add the Feras Gold Glitter to the centres of the stamped and fussy cut Daisies. |