Give your friends $10 off their first order!
Refer a FRIEND


WHAT YOU WILL NEED:
White card blank 7 x 5"
White card
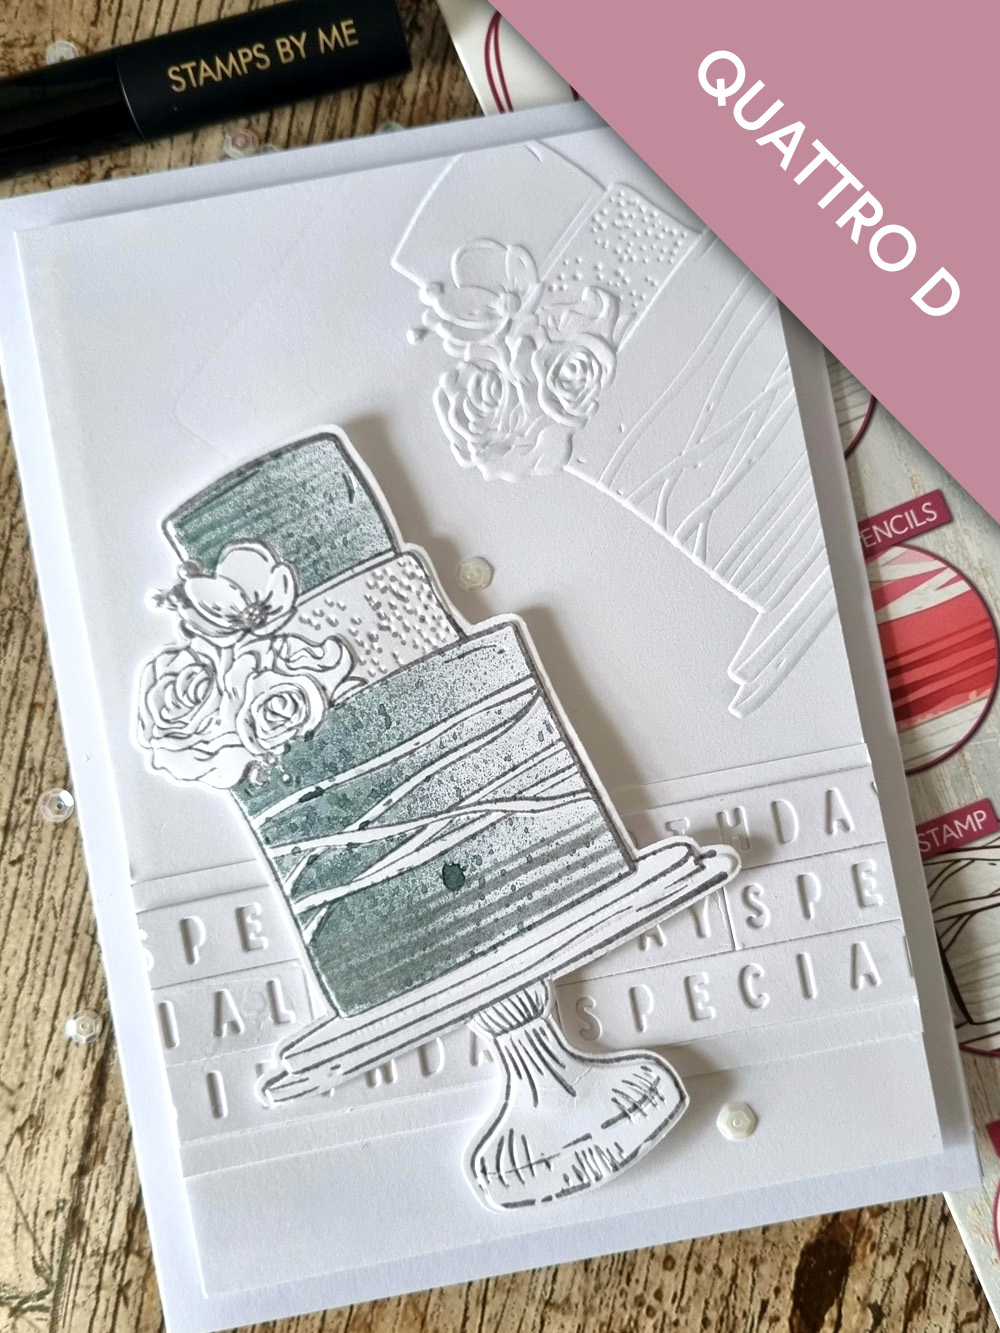
Quattro D Special Birthday Collection
Versafine Ink Pad: Smoky Grey
Izink Embossing Ink pad: Metal Silver
Izink Dye Spray: Morning Mist
SBM Spot Blending Brushes
Distress Oxide Ink pad: Hickory Smoke
Sequins: Whisper
Gem pick up and pokey tool
Eureka 101 Watercolour Tablet
SBM Magnetic glass mat
Paper Trimmer
Perfect Together Glue
Foam pads
Die Cutting machine
[click image to enlarge] 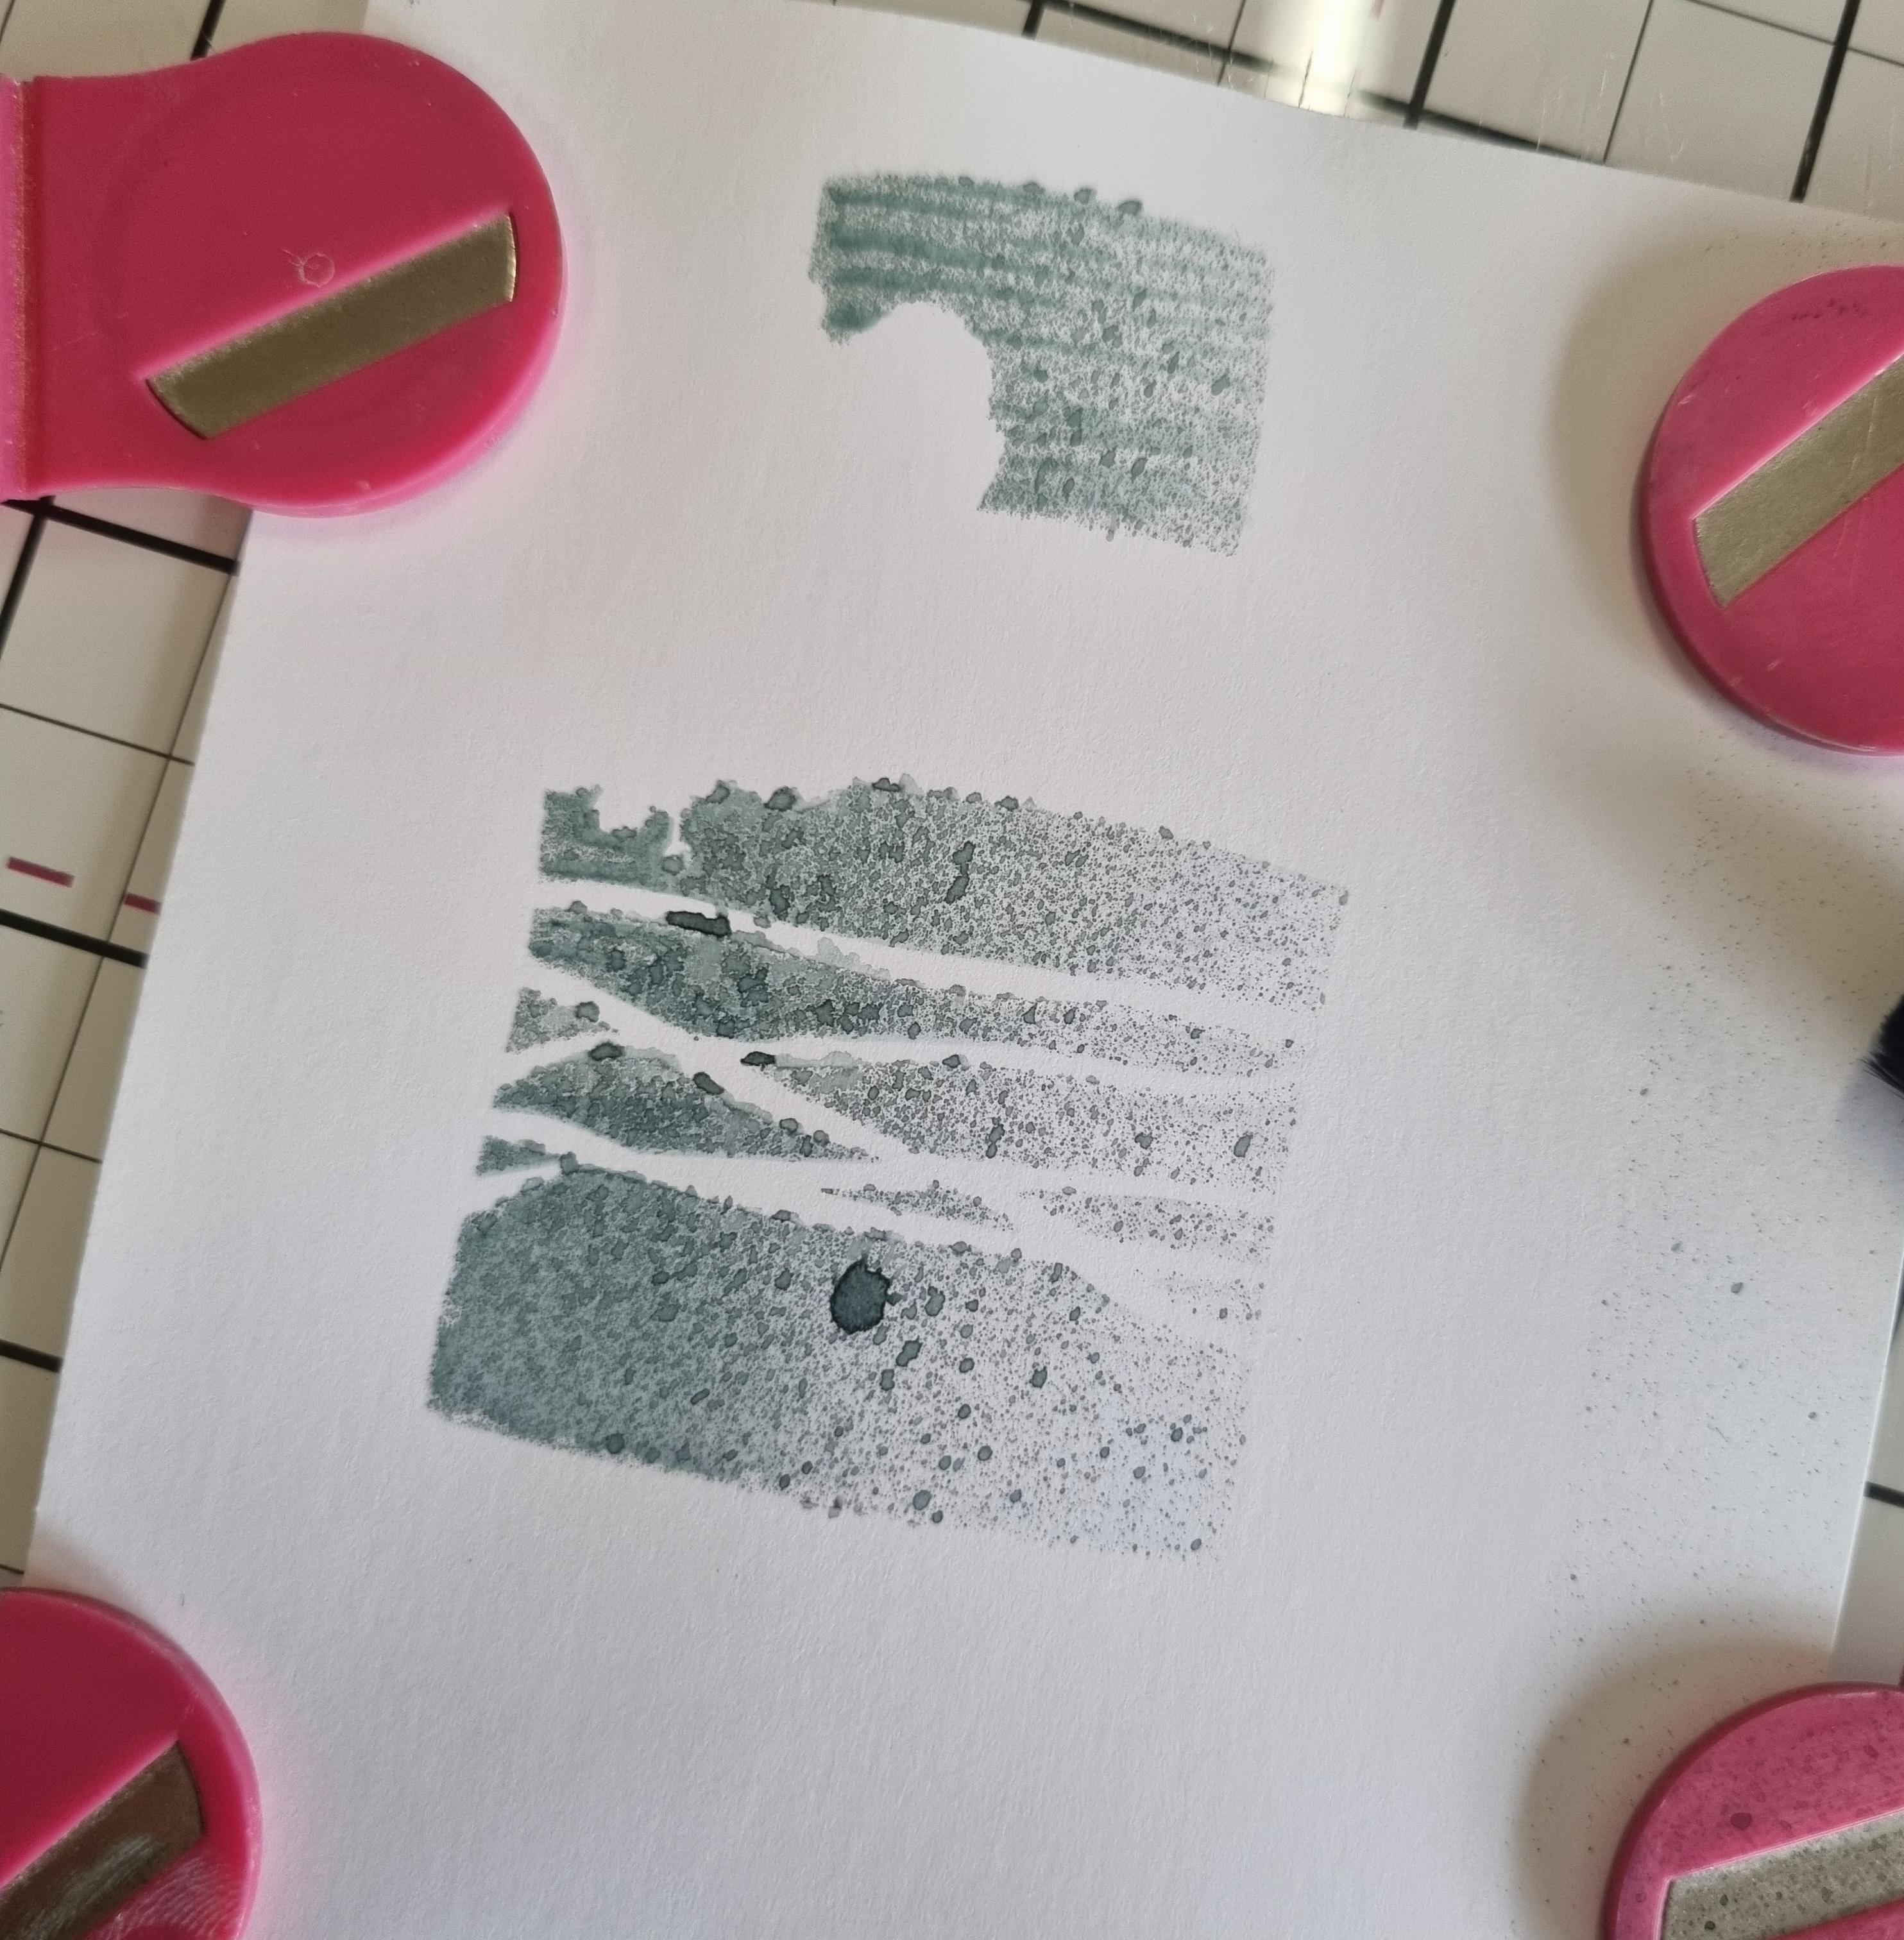
|
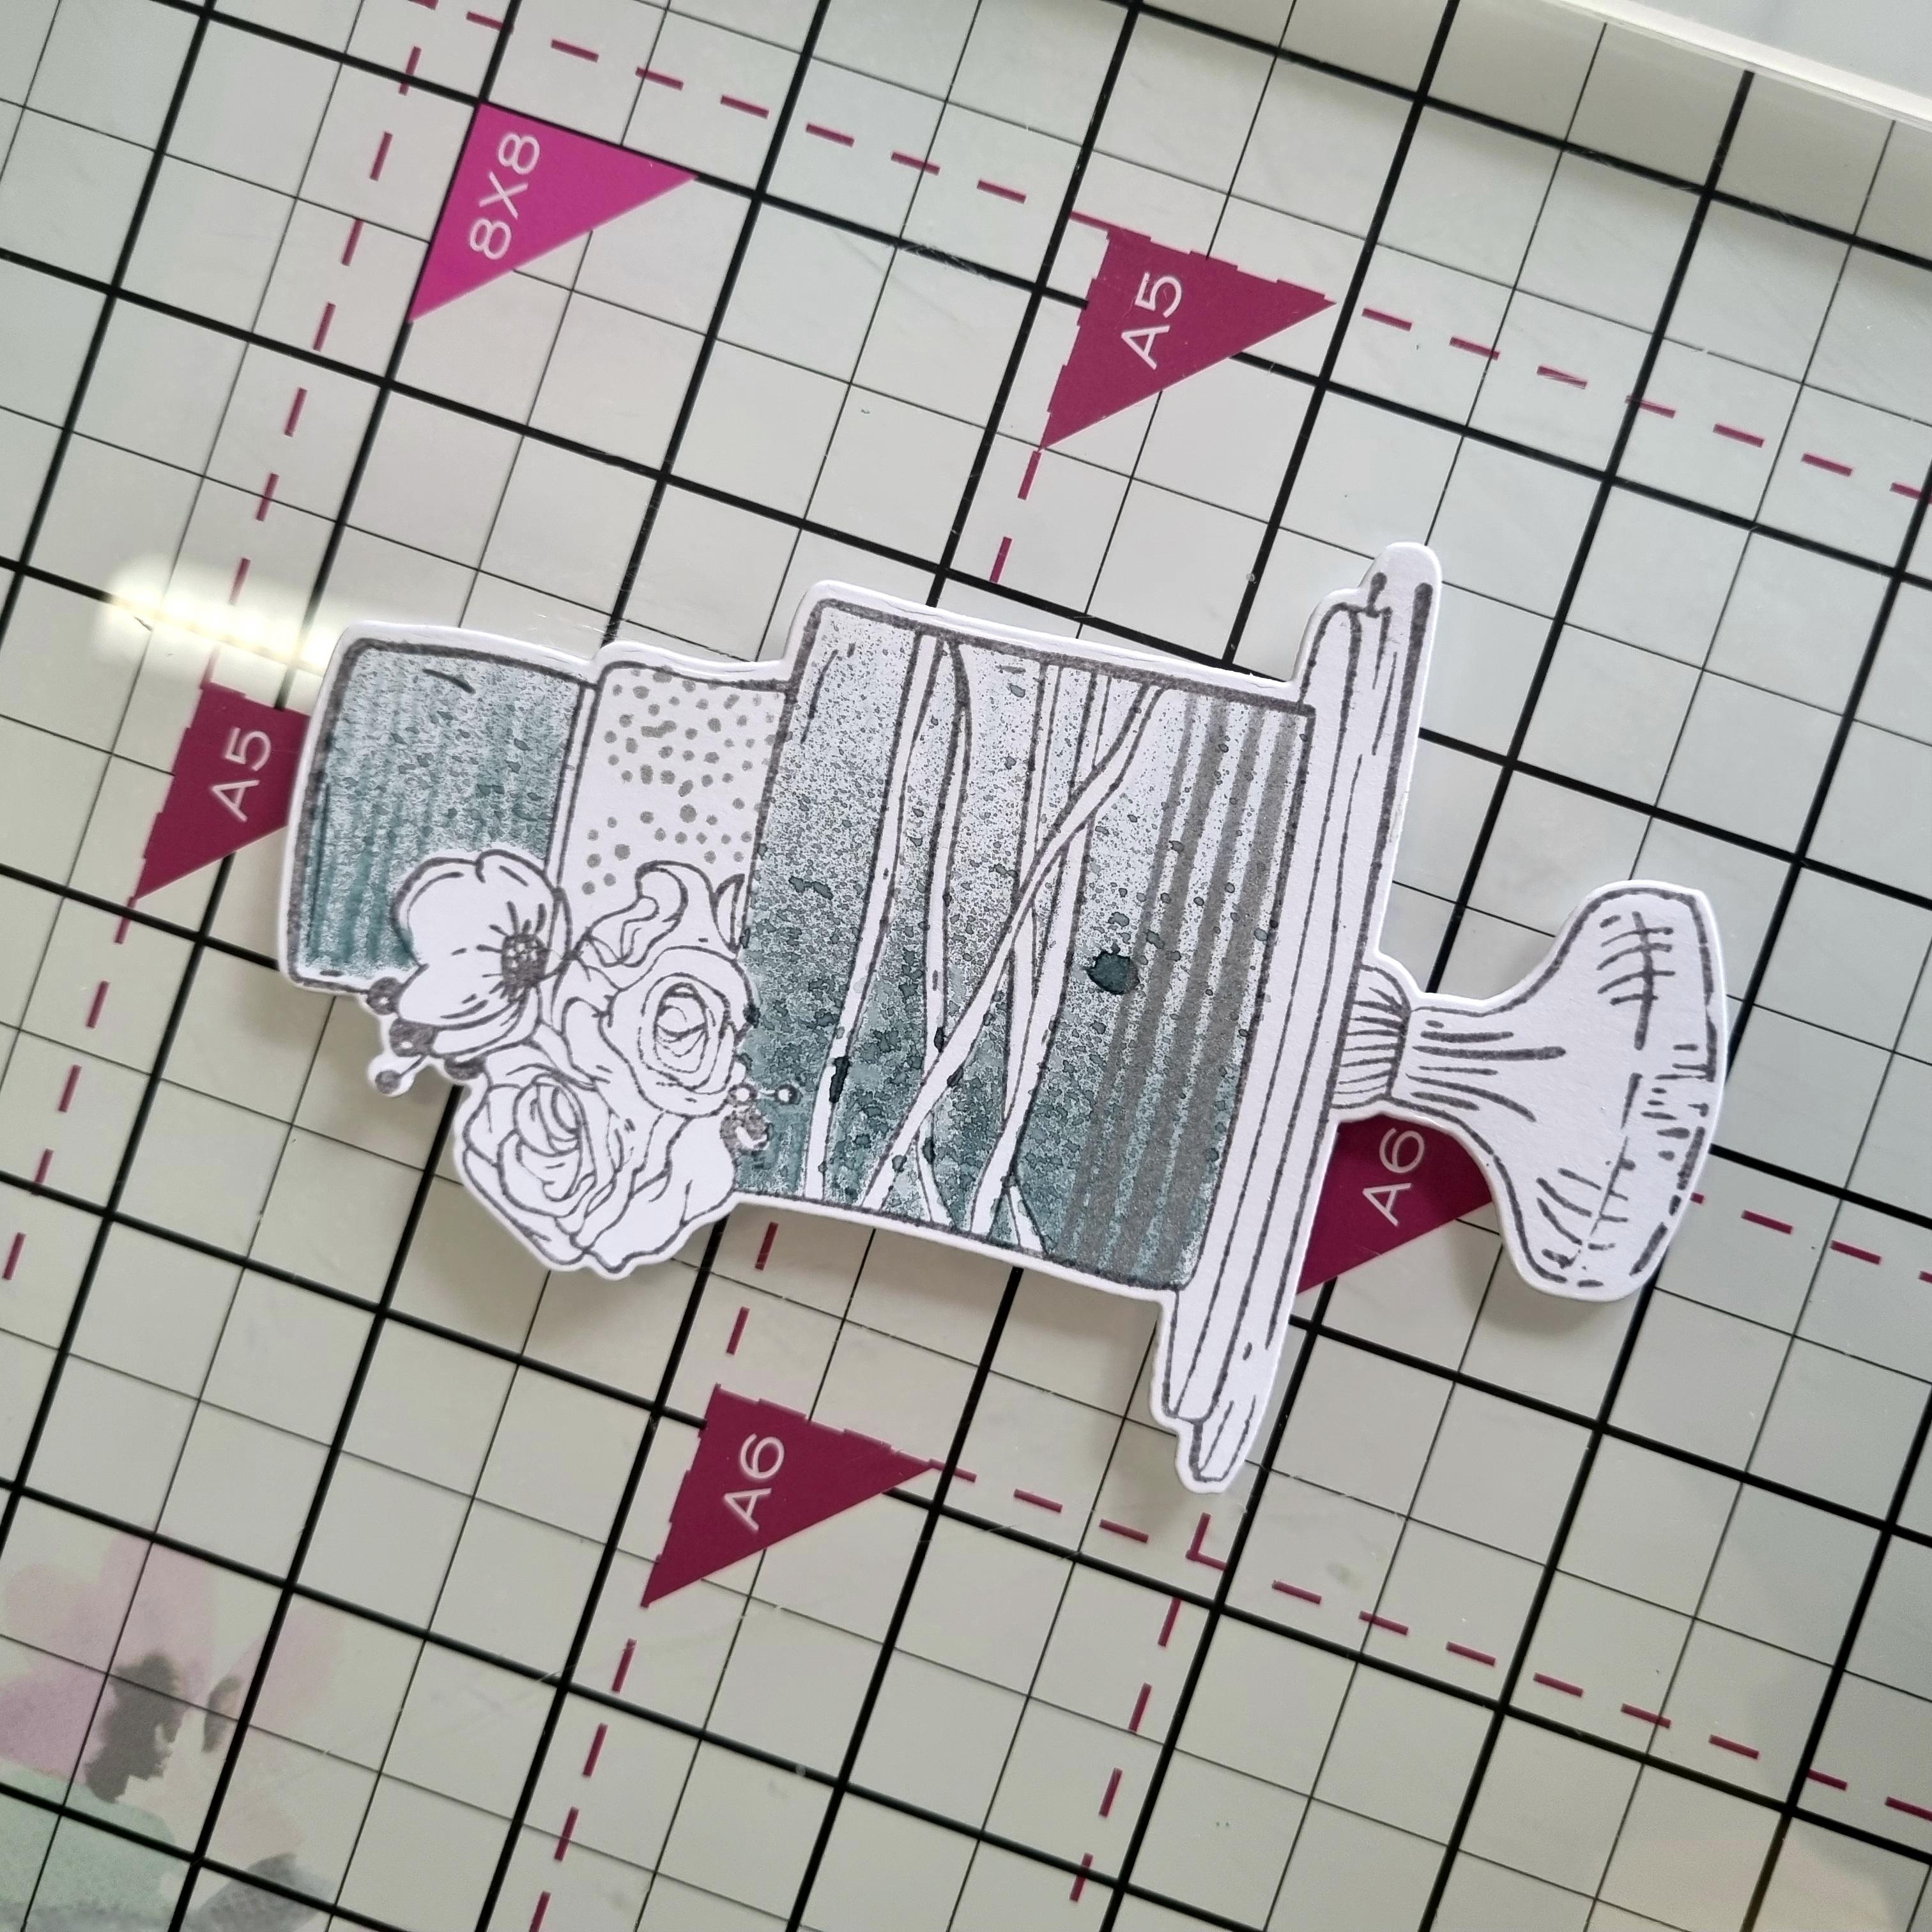
Place stencil 1 from the Quattro D Collection, on a piece of white cardstock cut slightly larger than the stencil. Softly spray the Izink Morning Mist from the left hand side, through the stencil Line up stencil 2 and use your spot blending tool to apply a soft blend of Hickory Smoke Oxide, from left to right, loosing pressure as the brush travels. |
|
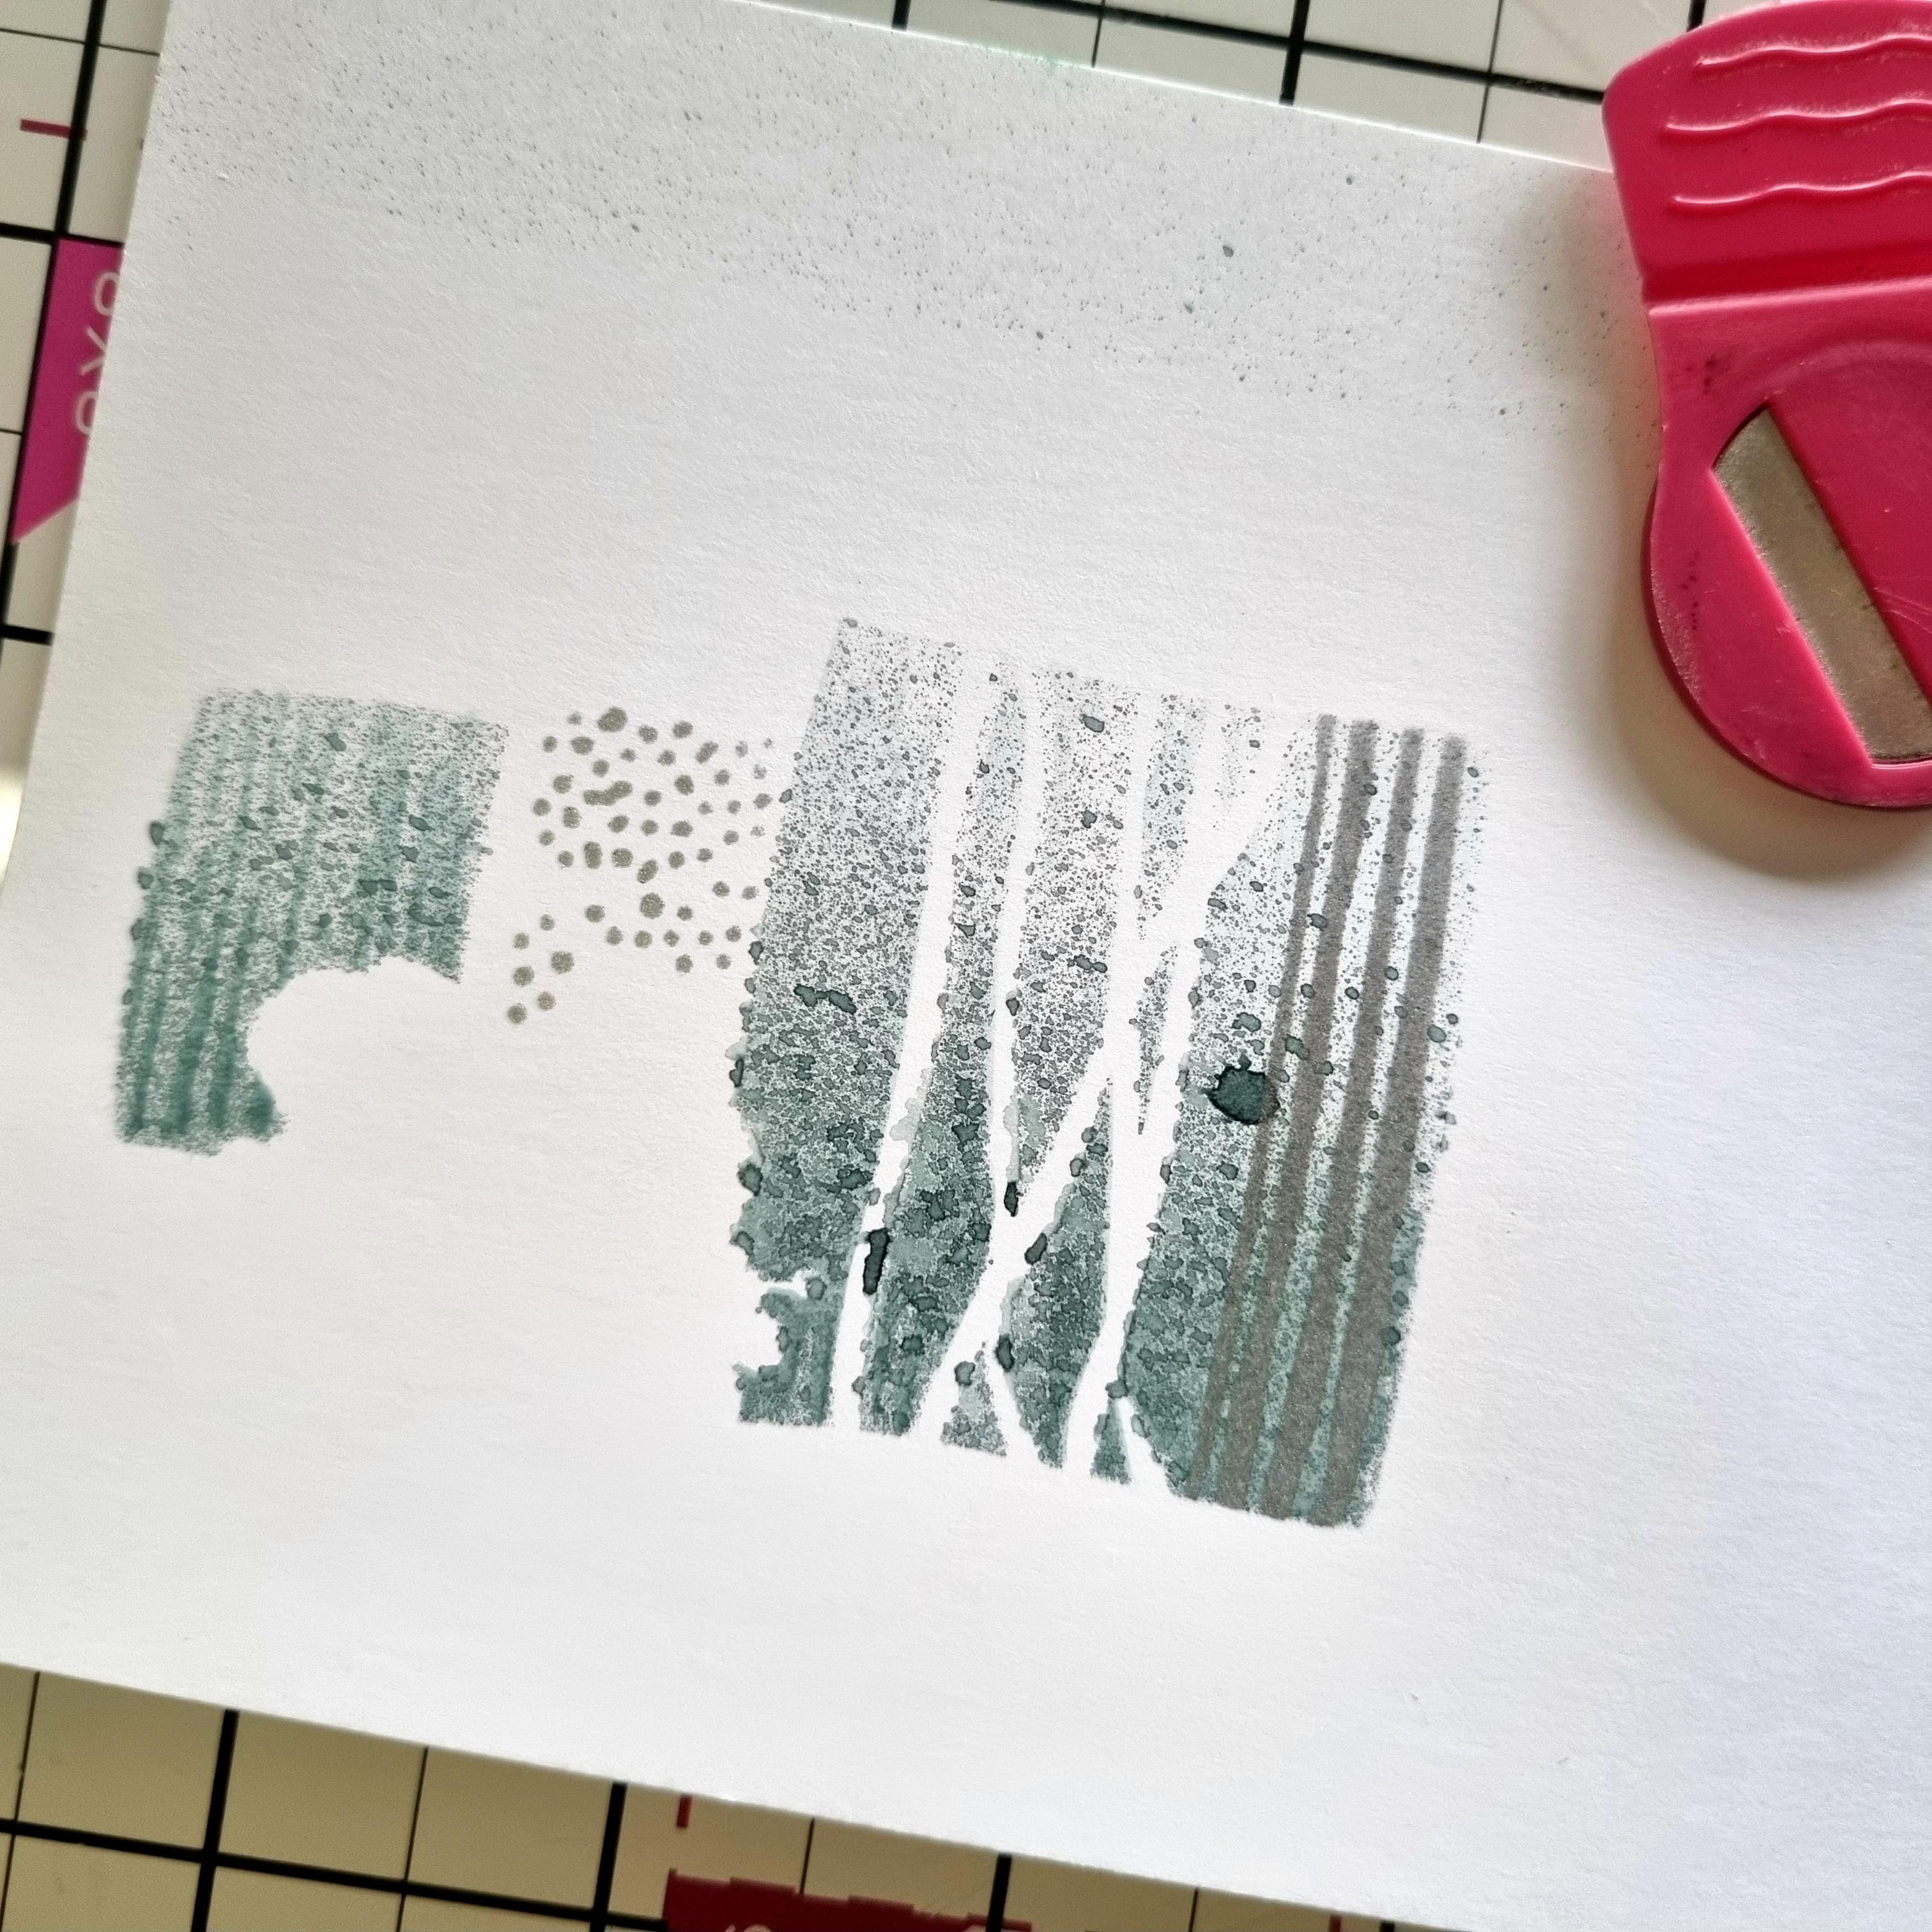
Having lined up stencil 3, blend with the Izink Metal Silver, to achieve your final stencilled detail. |
|
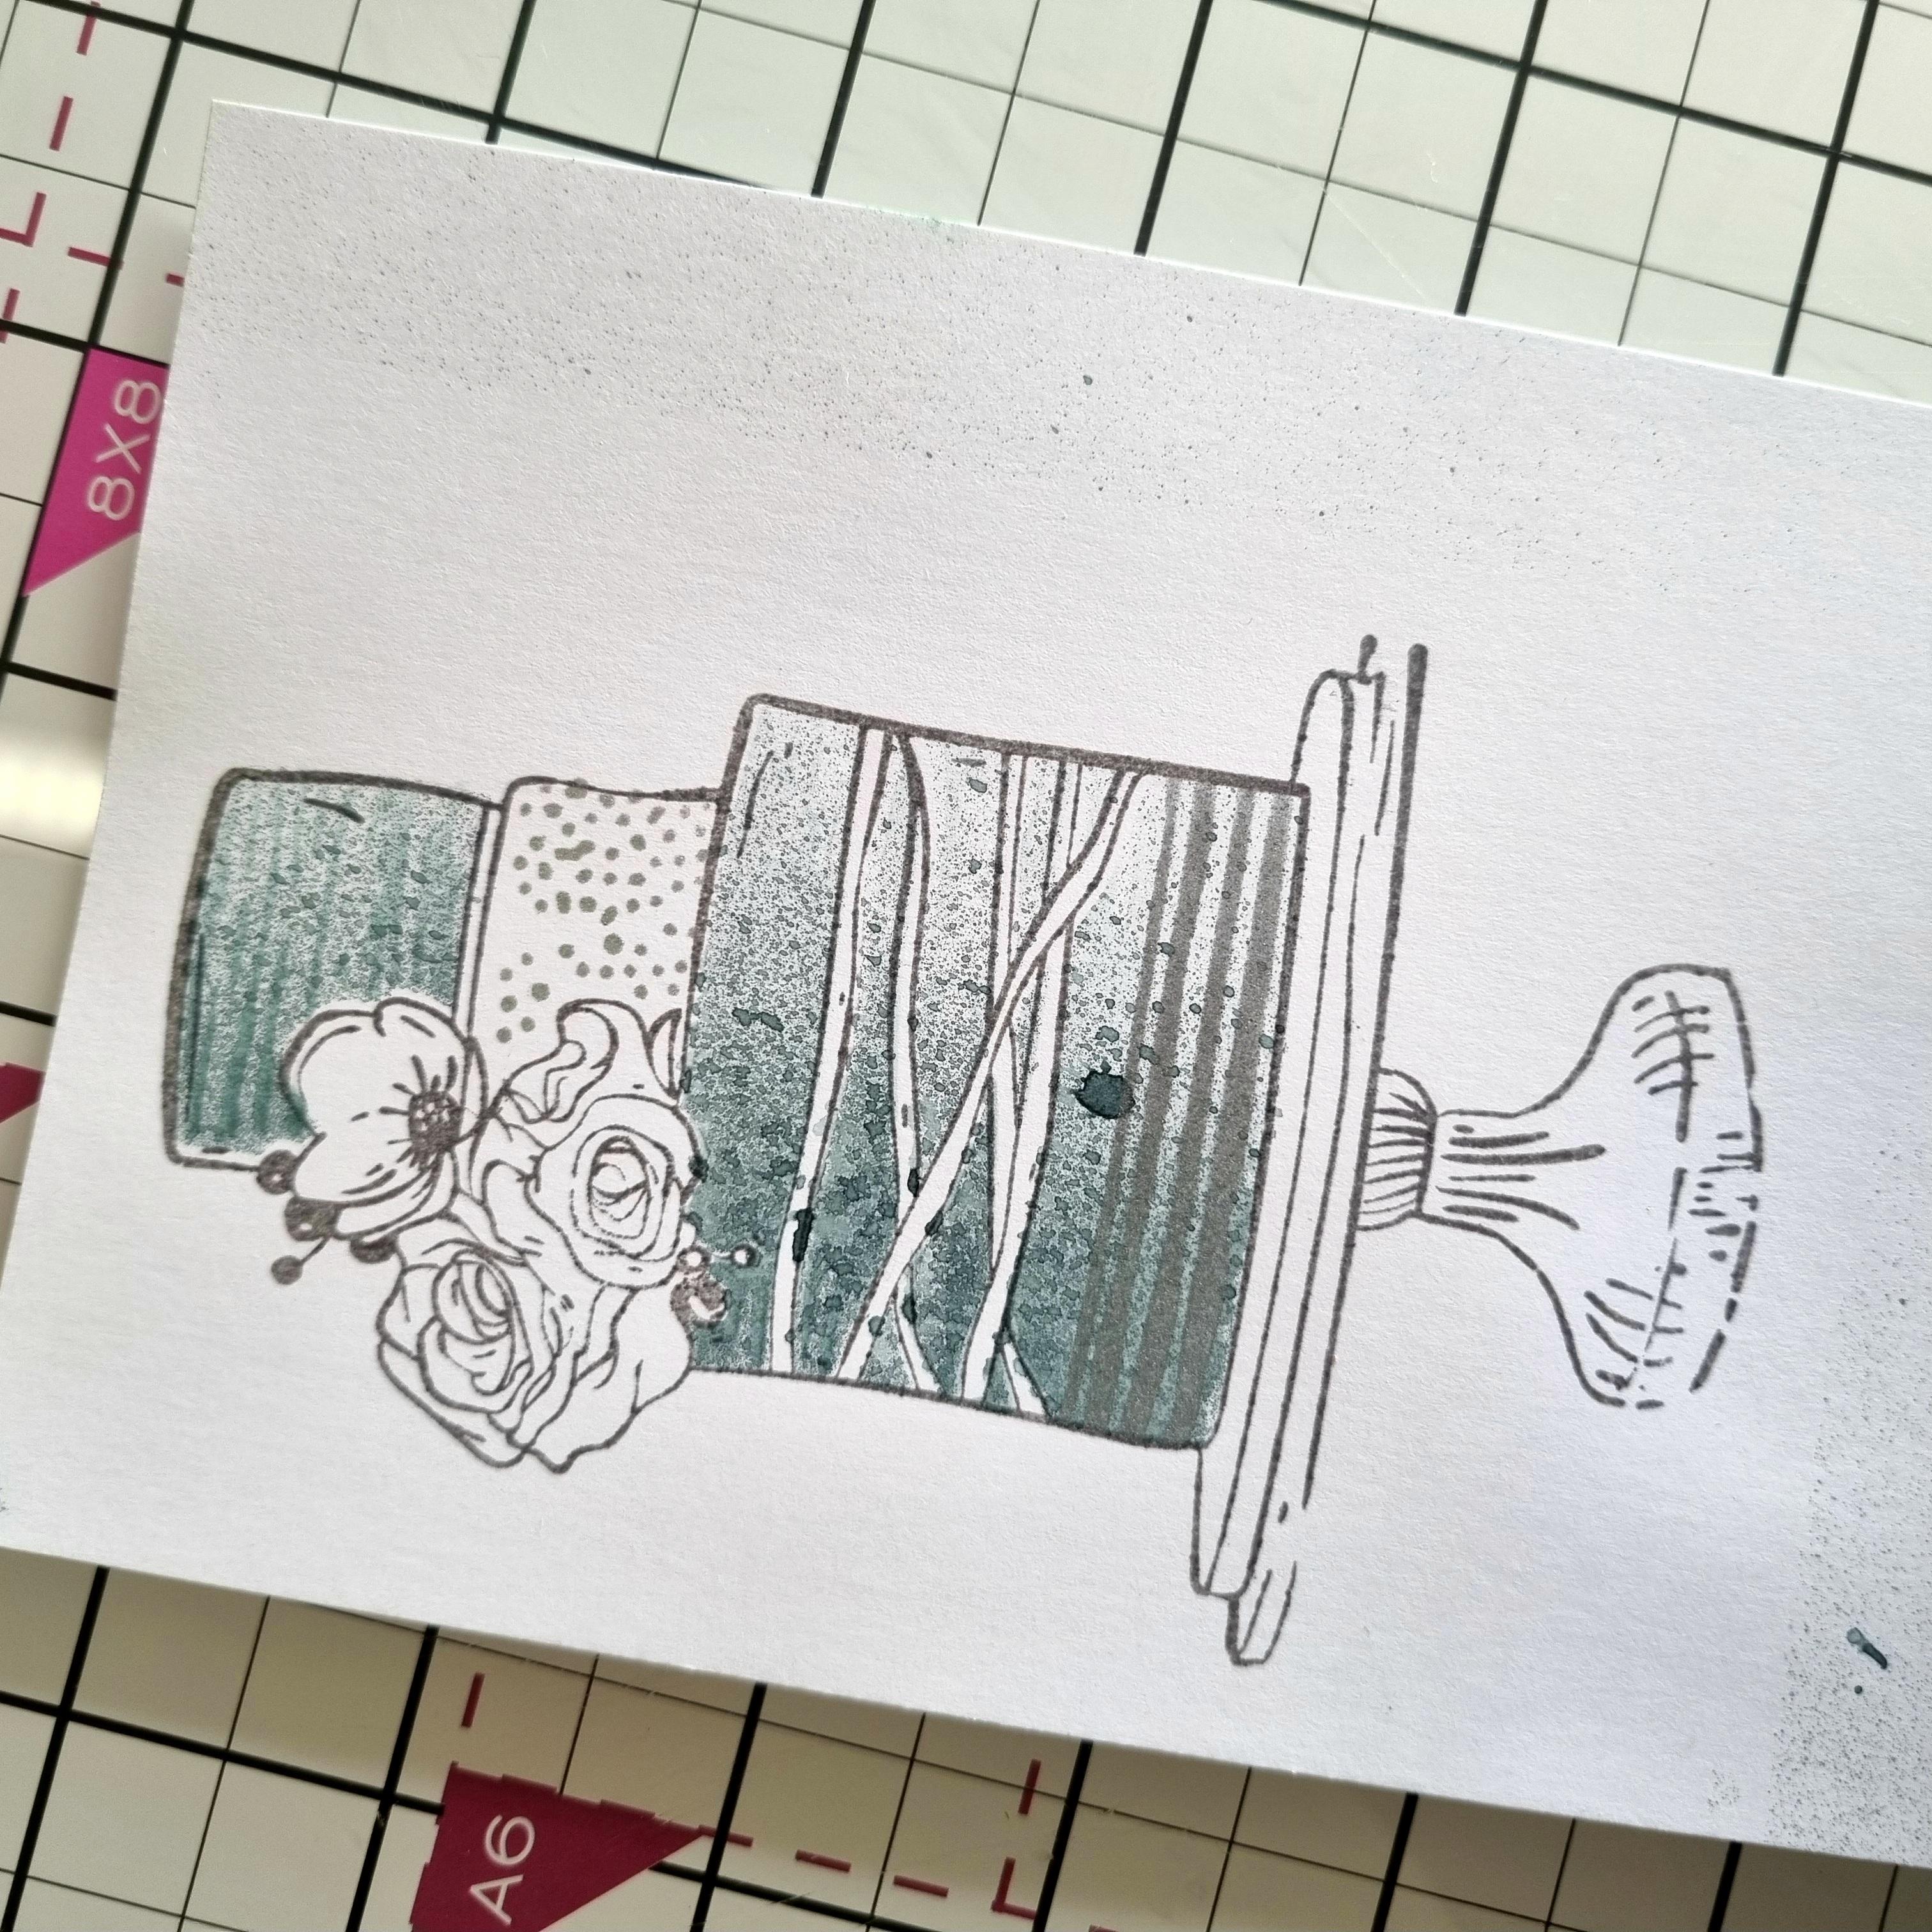
Ink up the coordinating stamp with the Versafine and stamp over your stencilled image. |
|
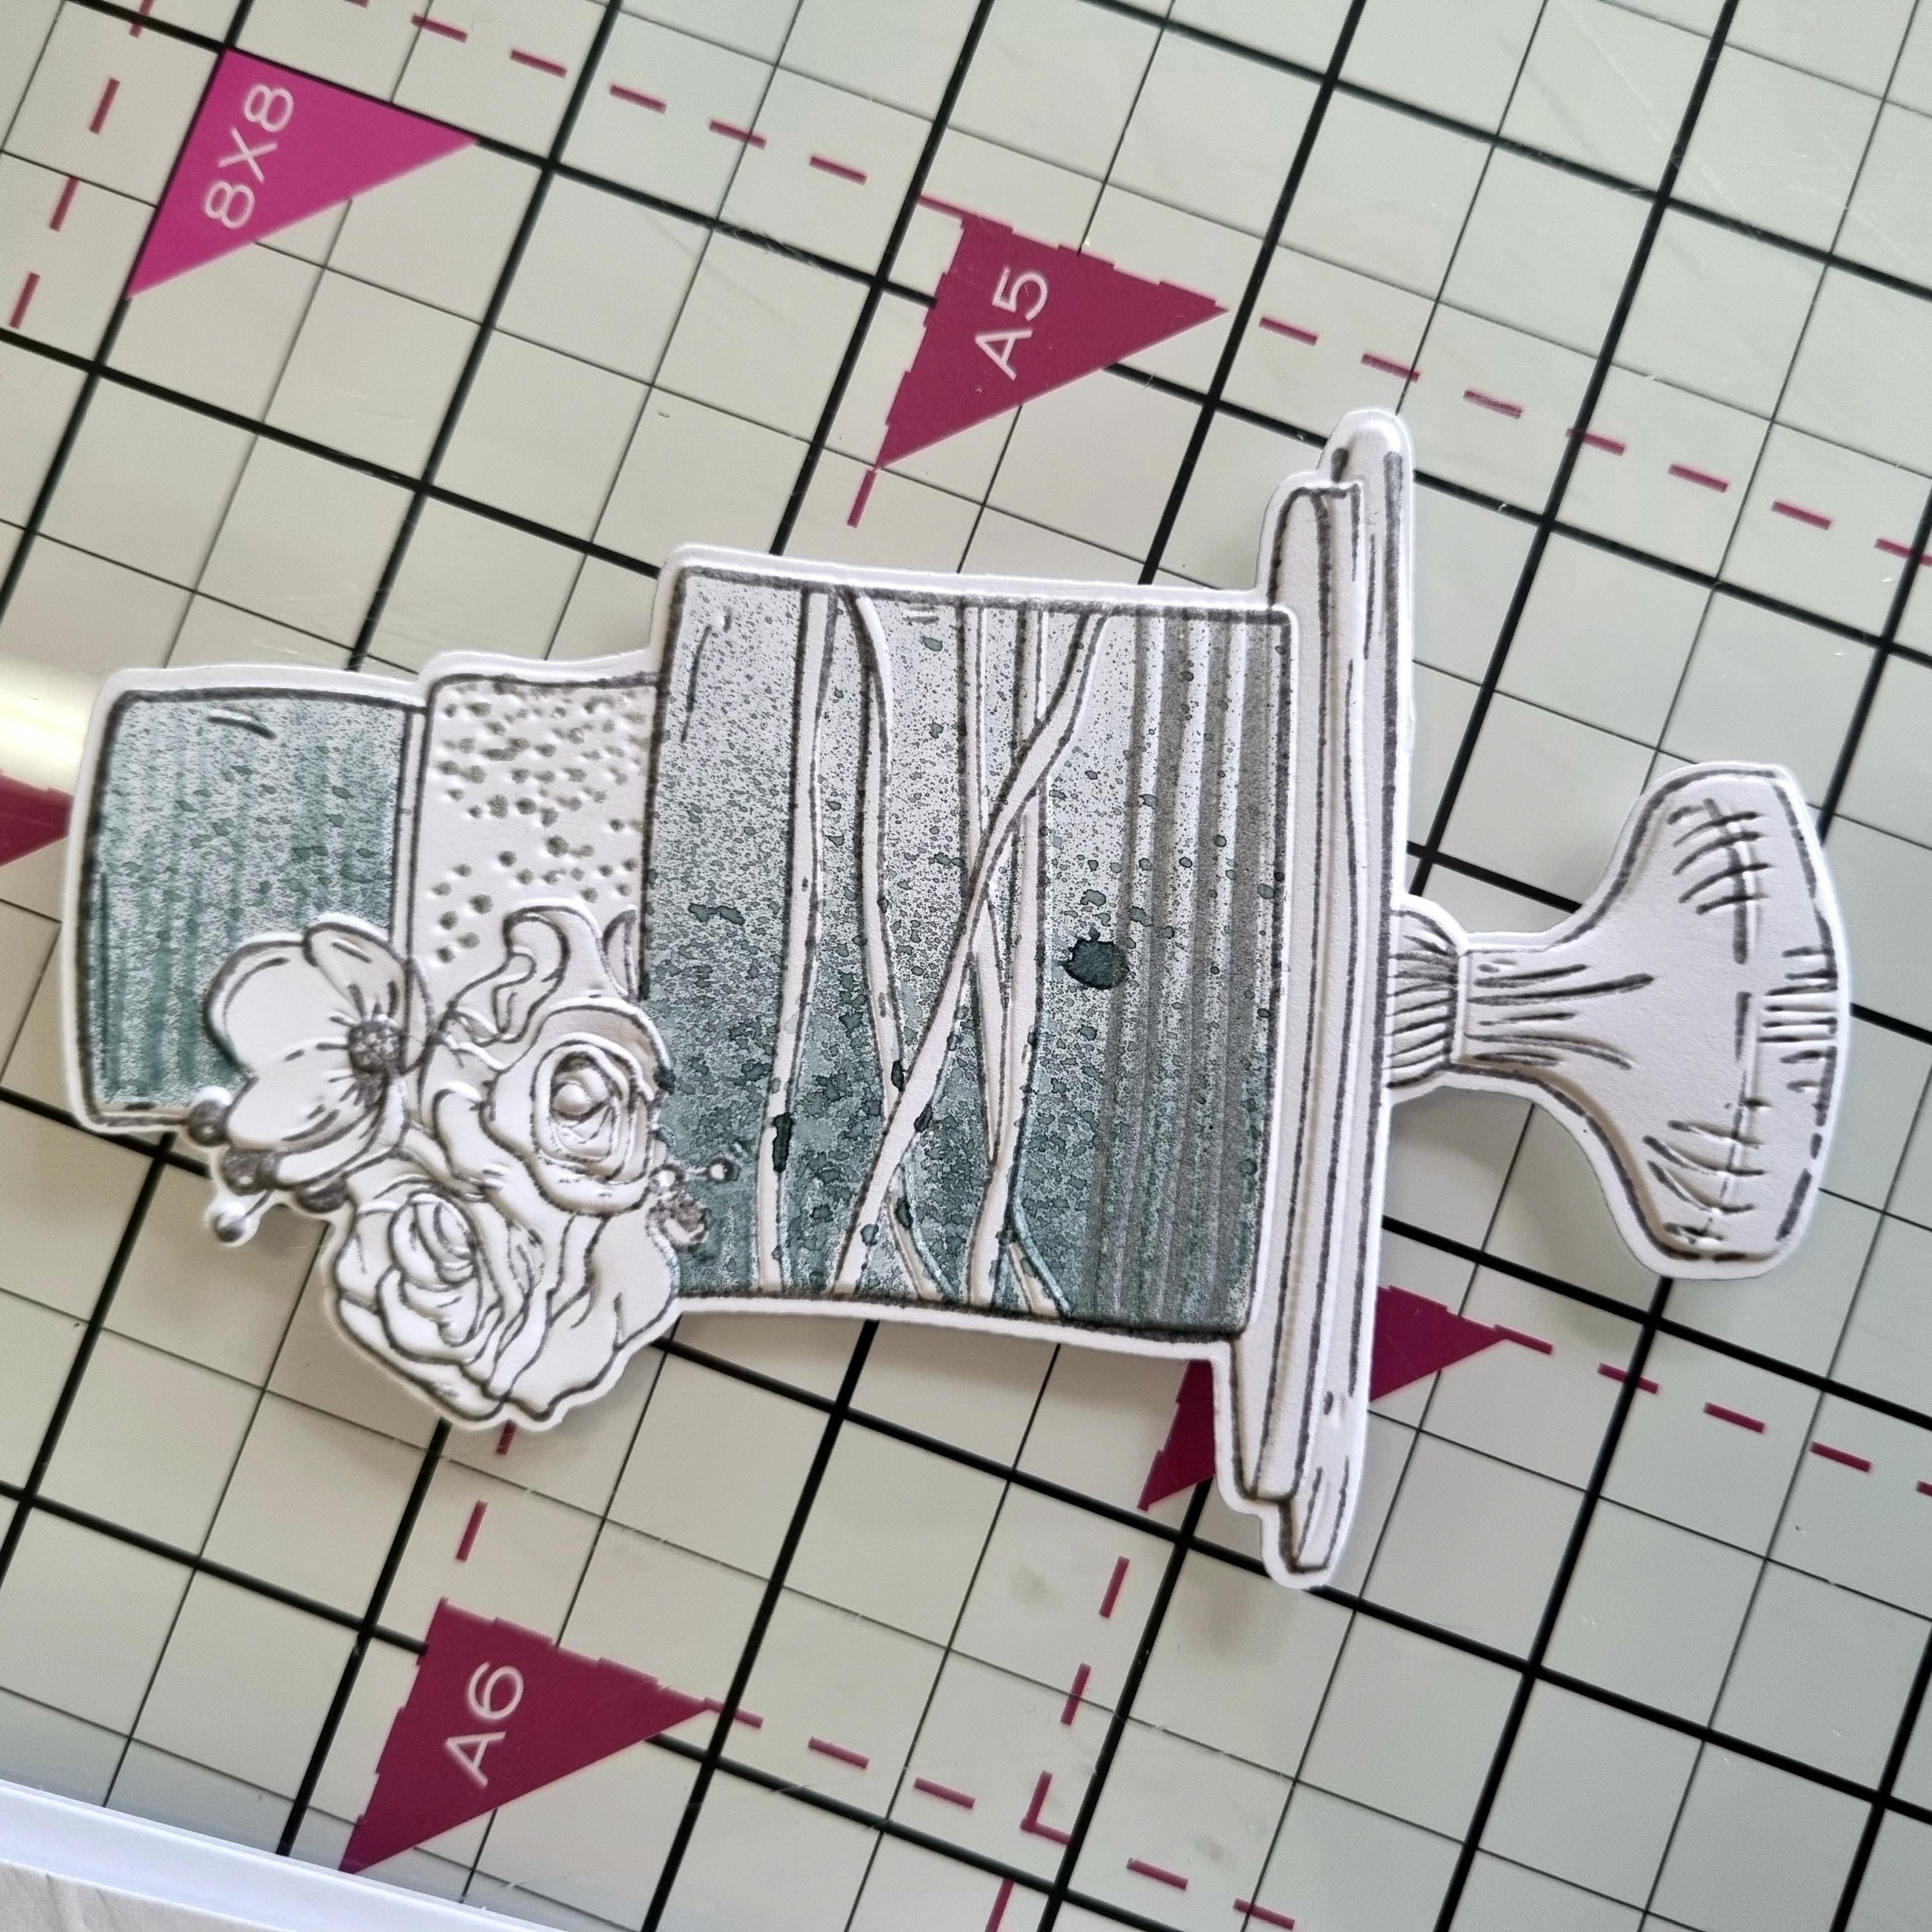
Use the coordinating die to cut out your beautiful artwork. |
|
Line up the die cut, 3D element in the coordinating embossing folder and run it through your embossing machine. Set to one side. |
|
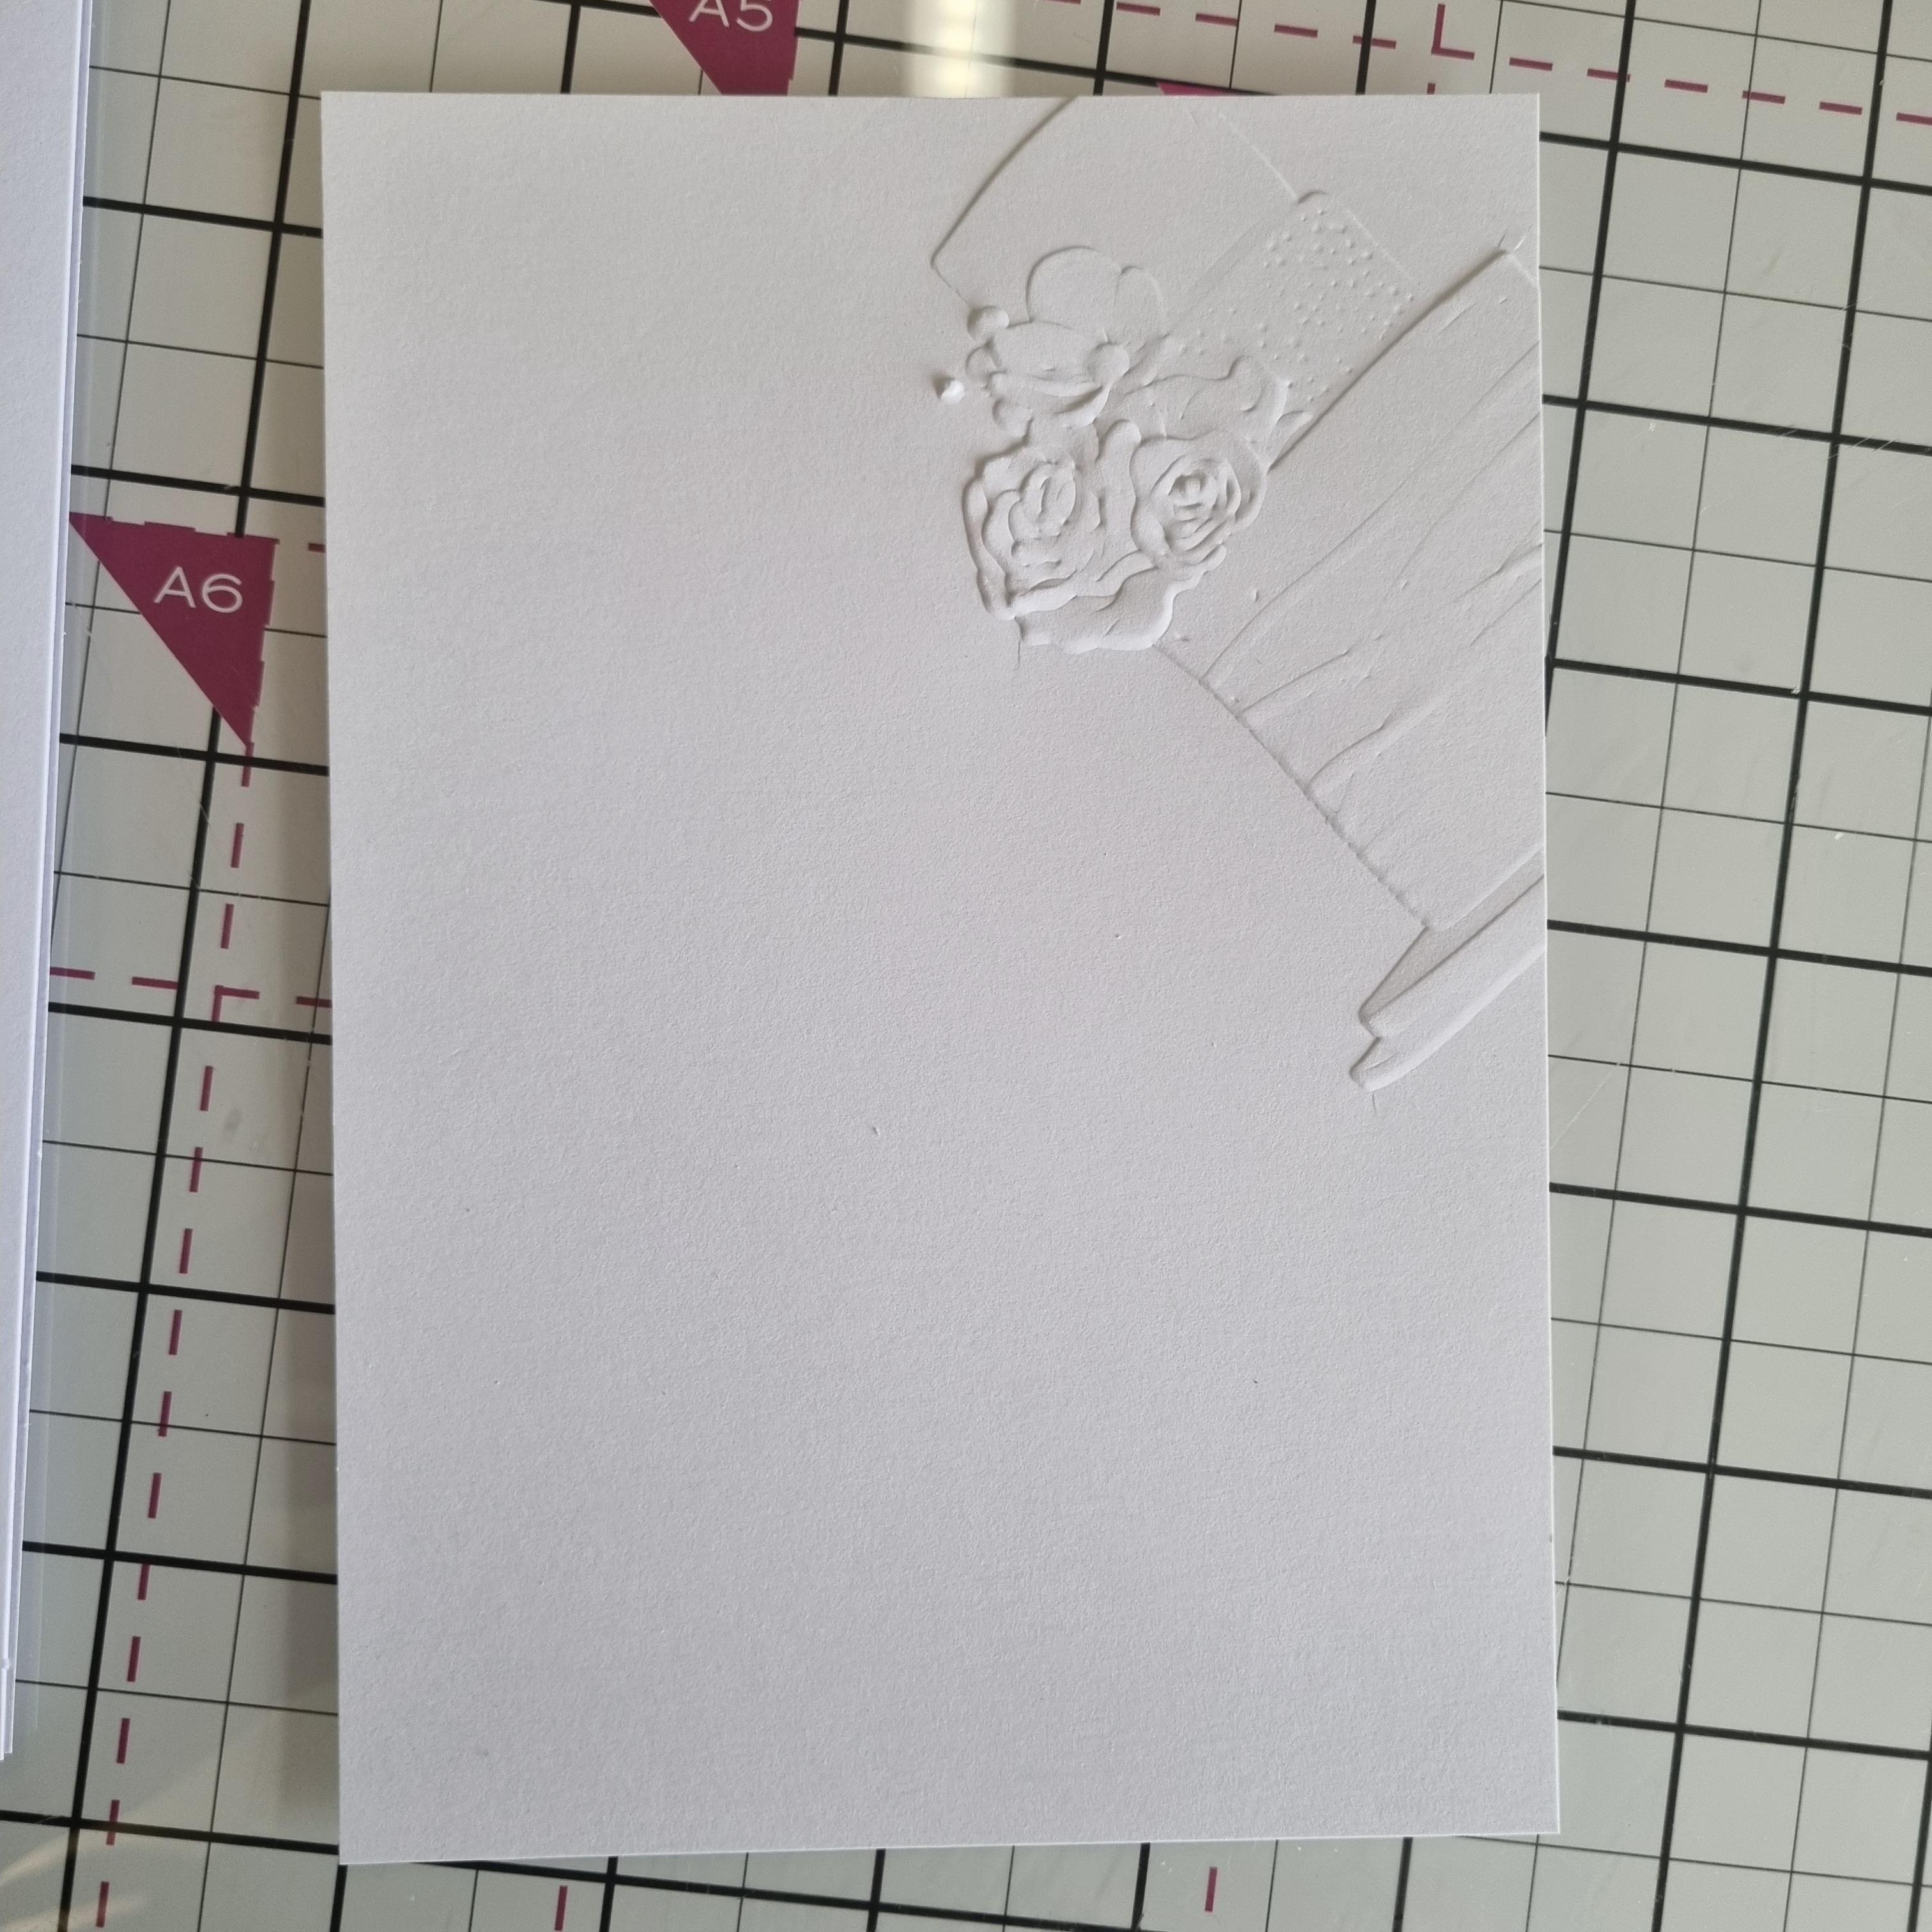
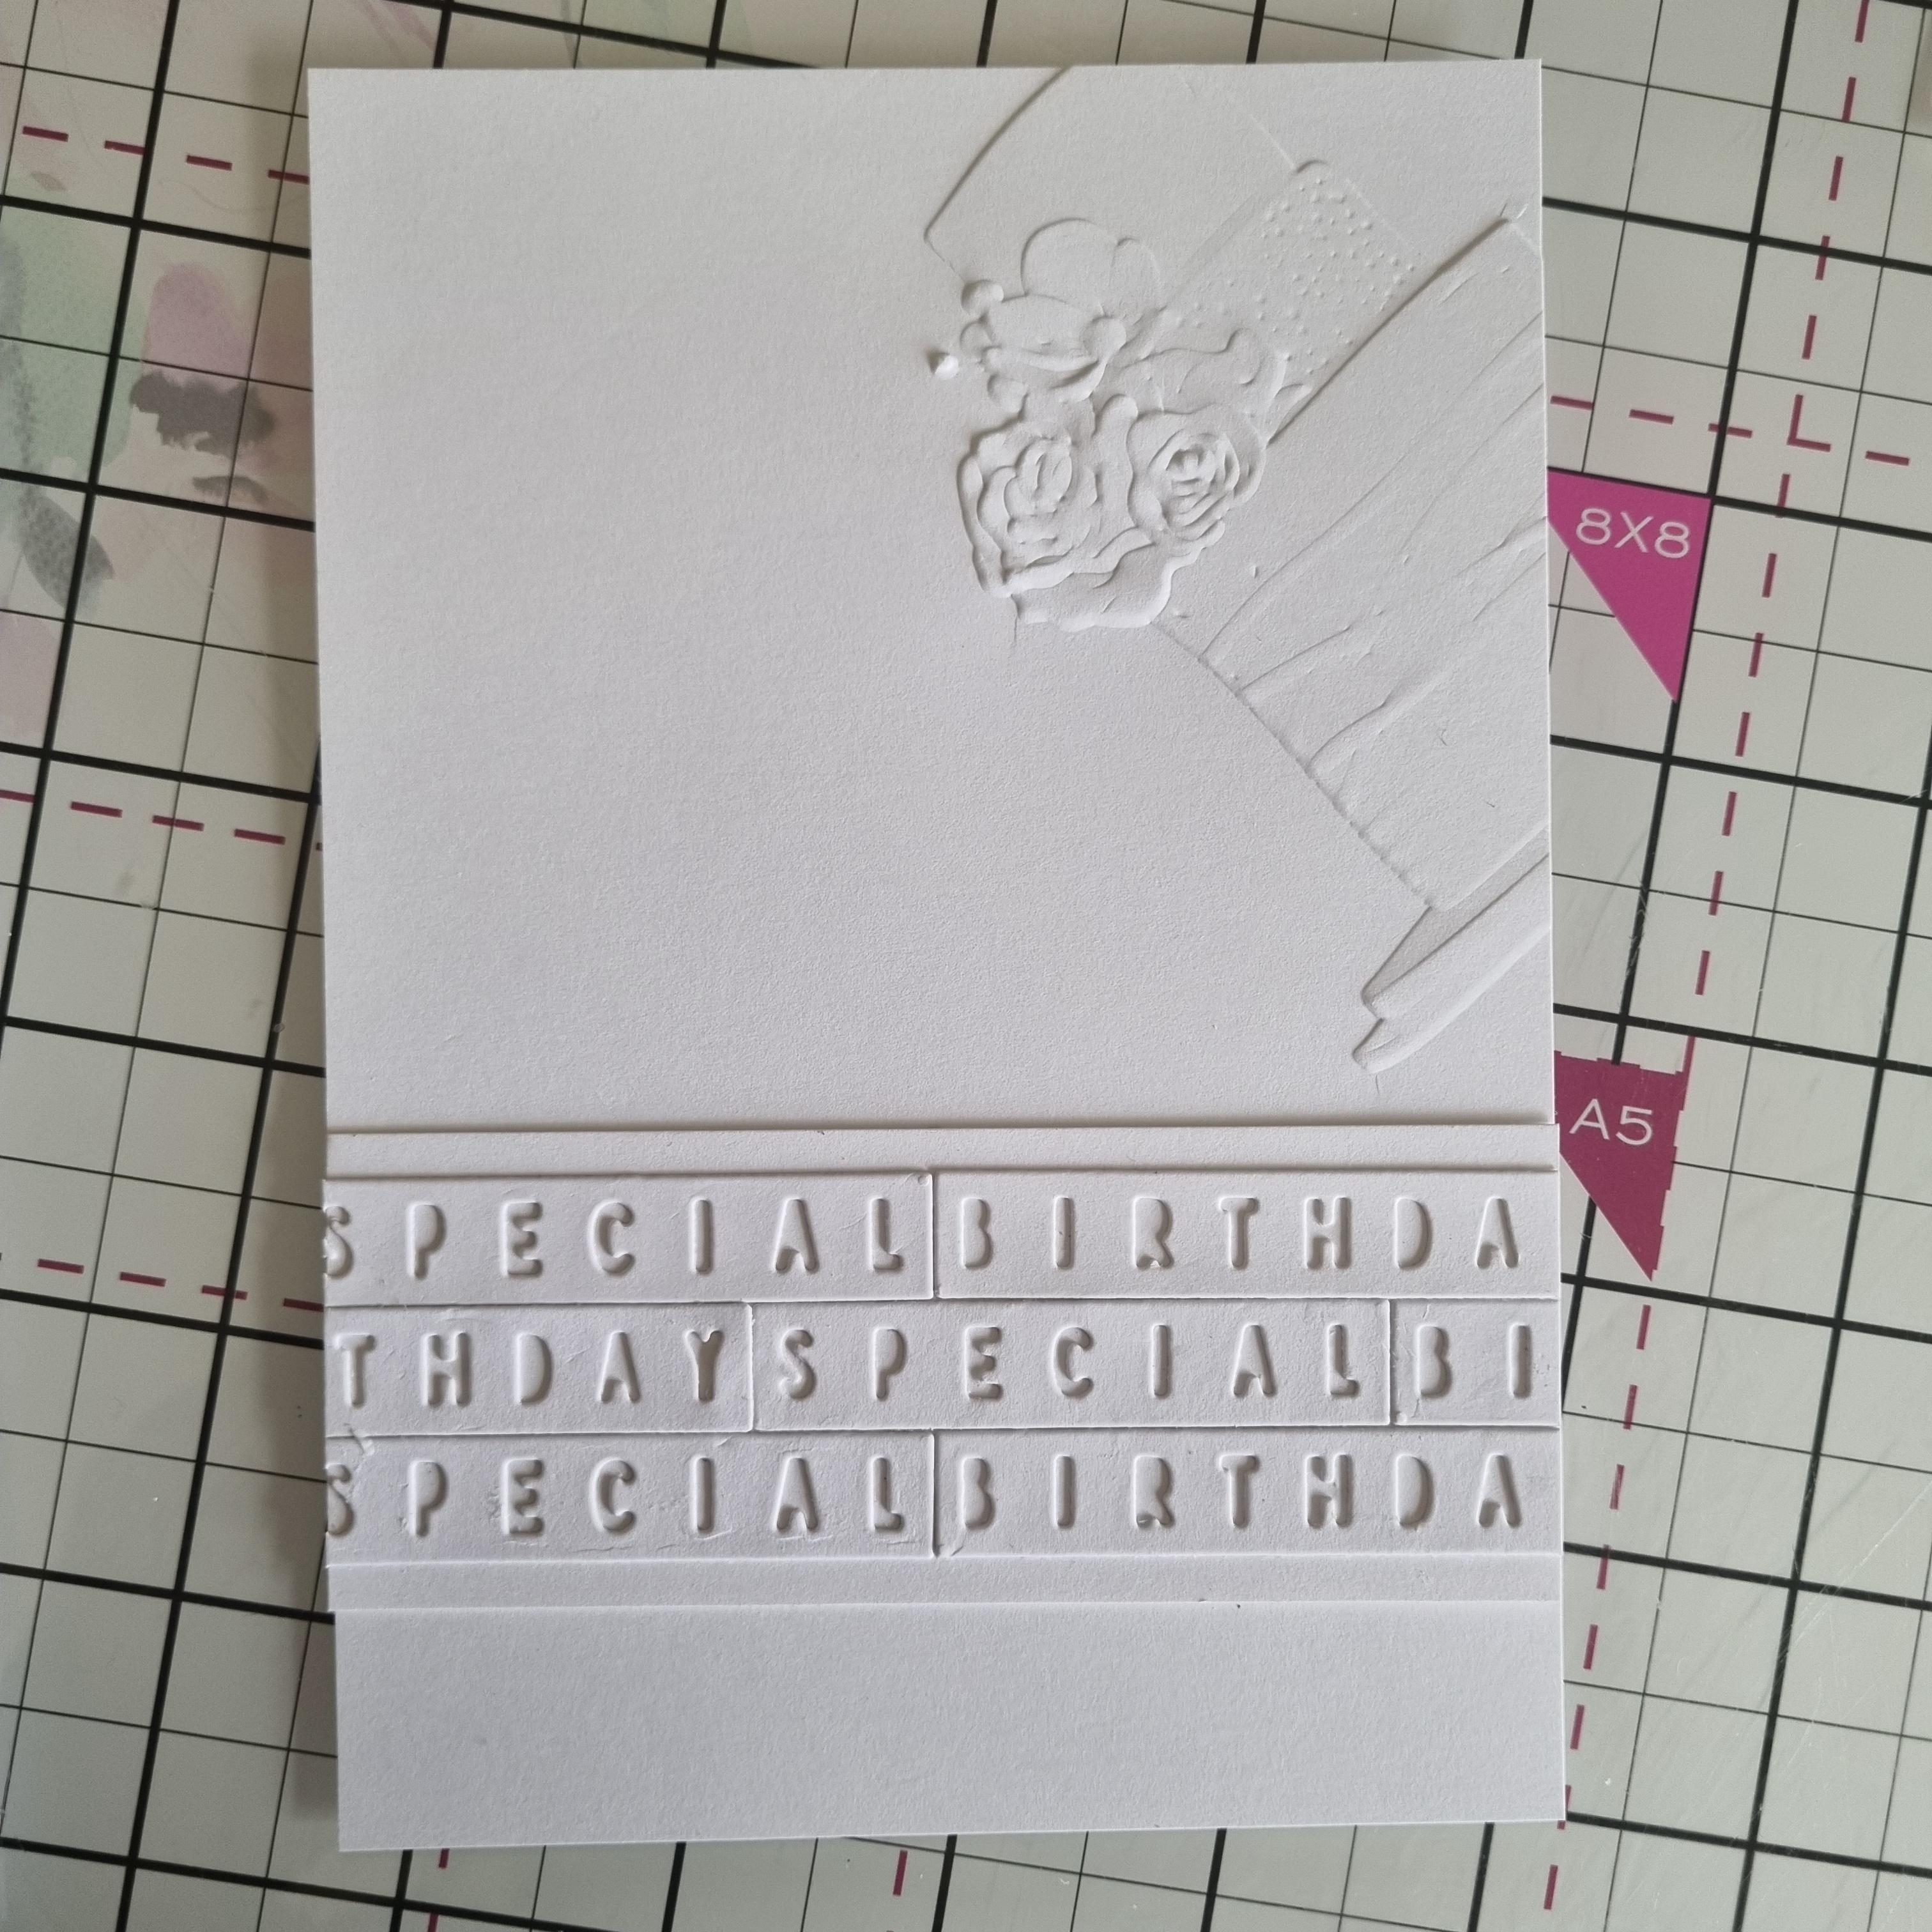
Trim a piece of white card to 4 1/2 x 6 1/2" and place in the same embossing folder, at an angle so only the top right corner is captured. Run it through your machine, then set to one side. |
|
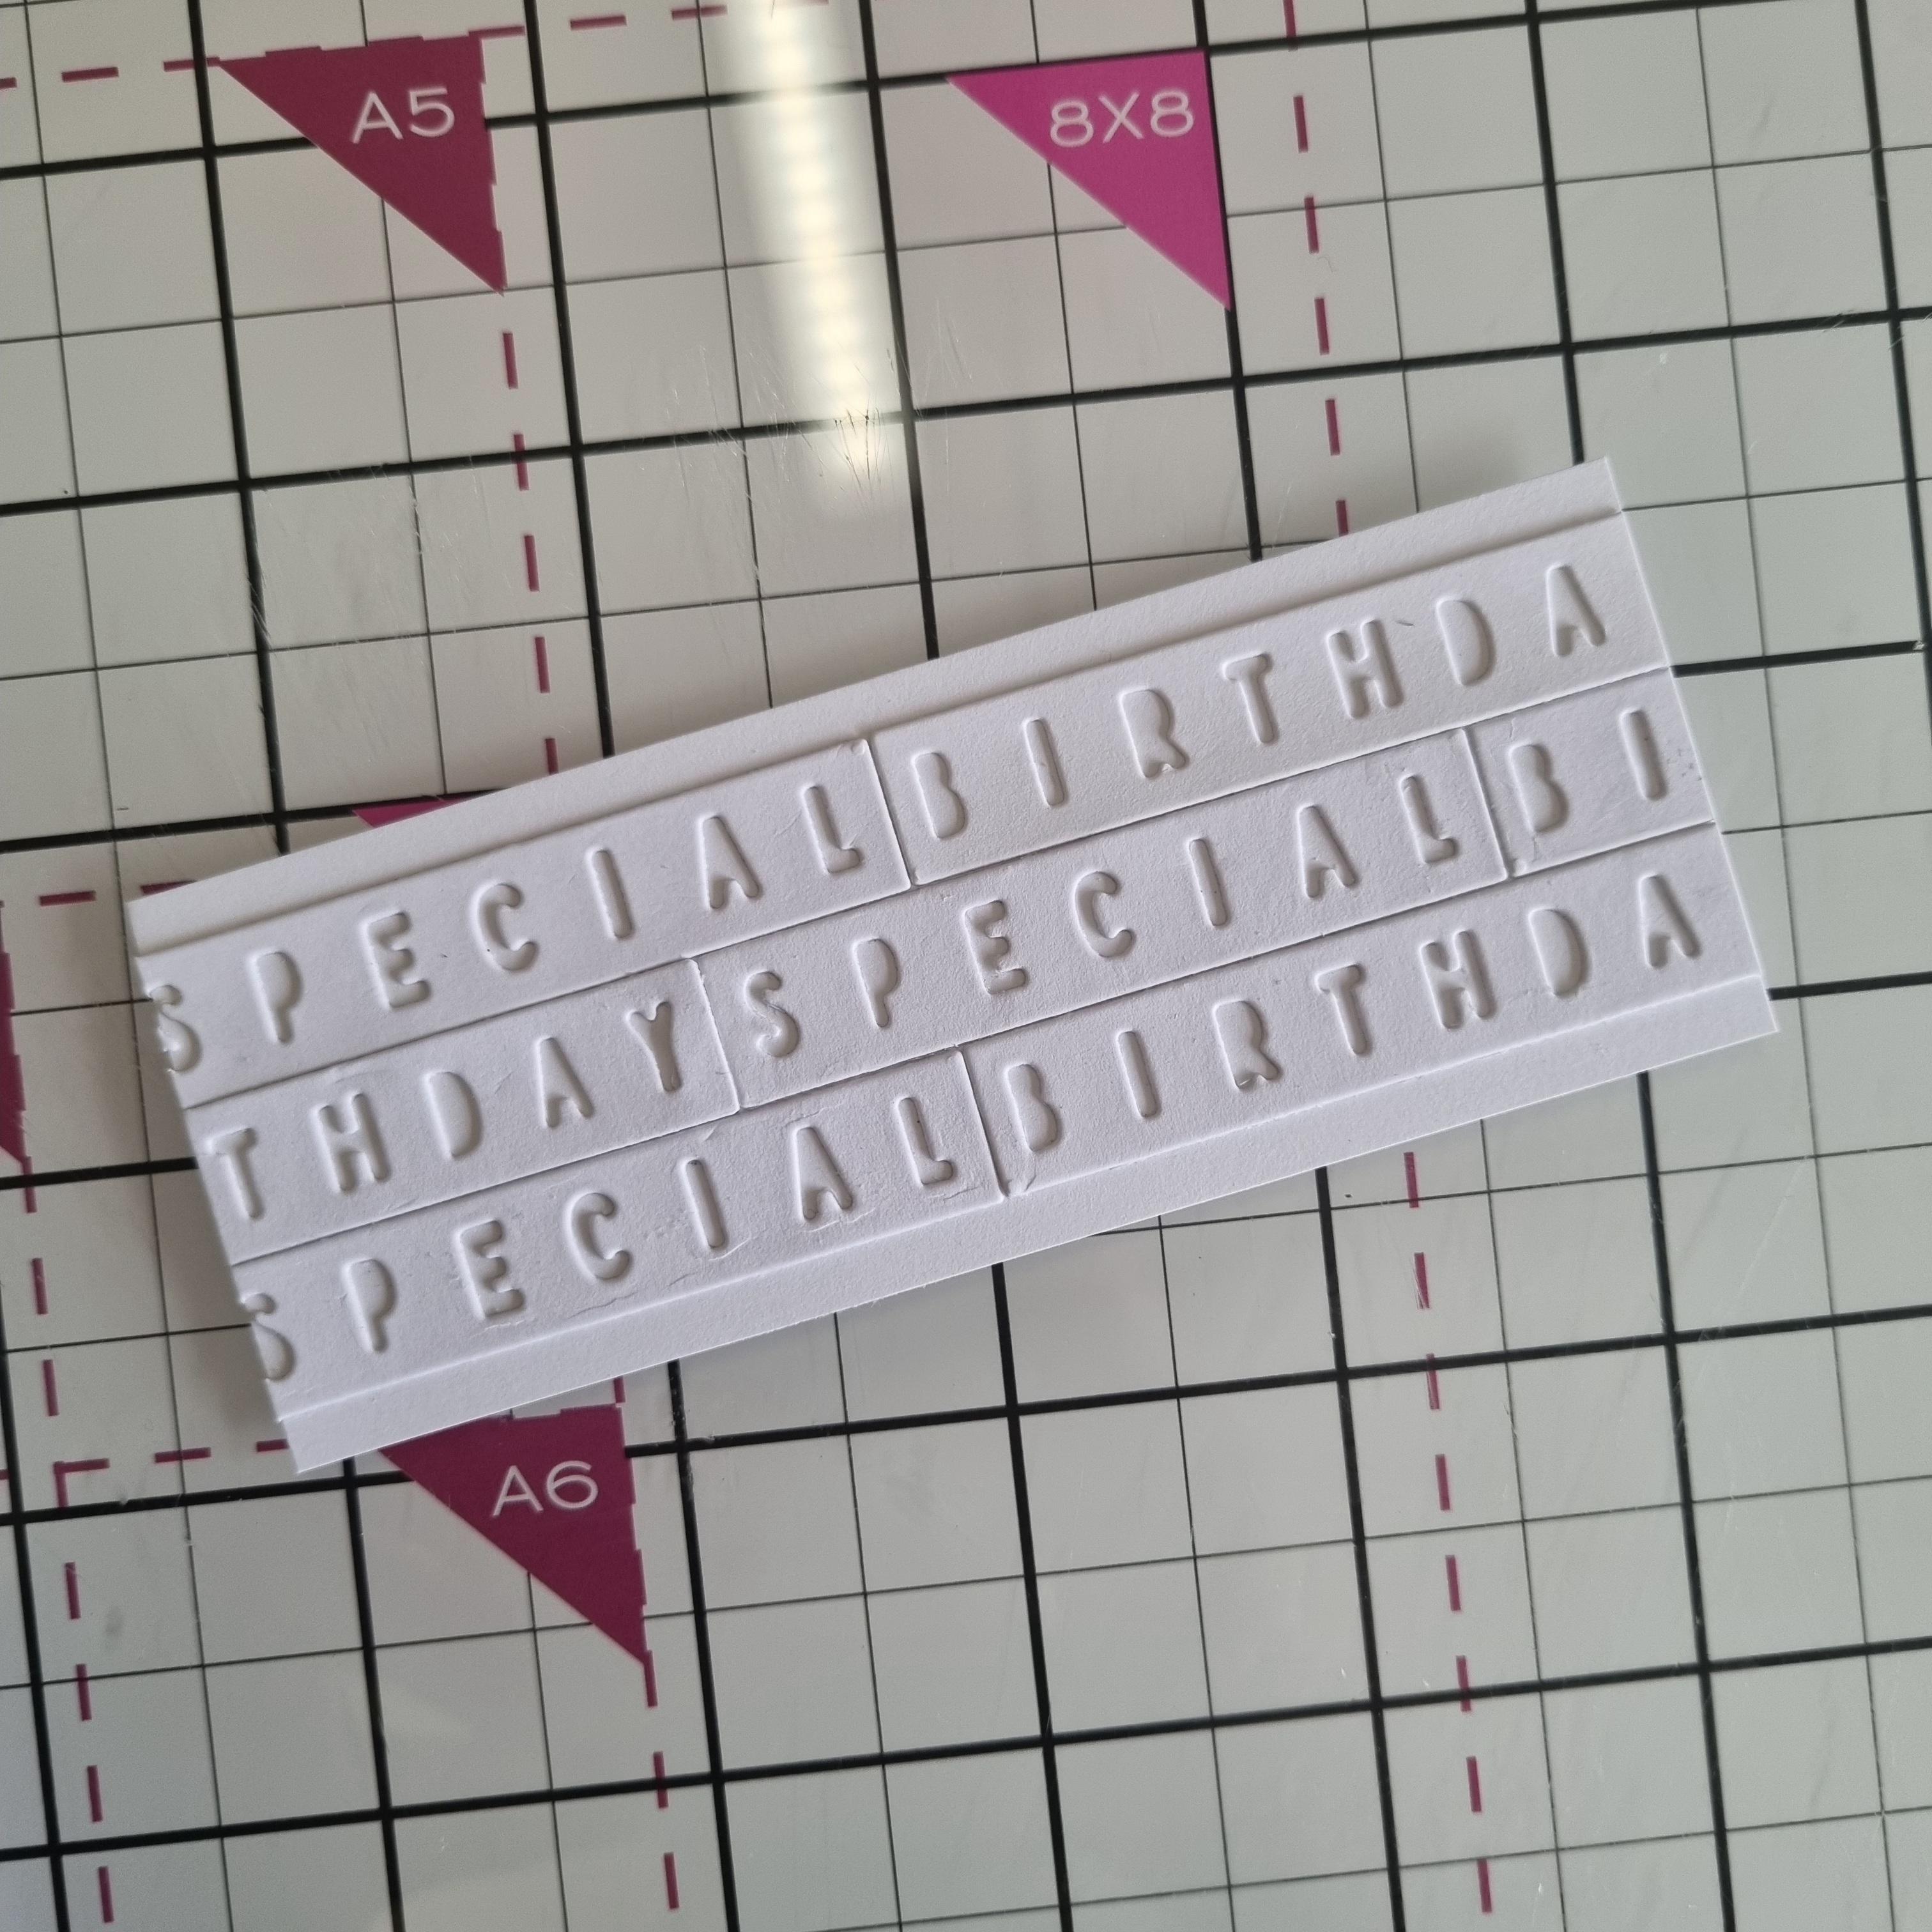
Using white card, die cut 7 or 8 of the "special" and "birthday" sentiments, found in the Quattro D Collection. On a piece of card no shorter than 4 1/2" wide and sufficient to hold 3 rows of your die cut sentiments, start adhereing your sentiments edge to edge, to cover the card and allowing for overhang. Once you have adhered 3 rows, trim off any excess overhang and uncovered cardstock. Mat this on to a piece of white card 4 1/2 x 2". |
|
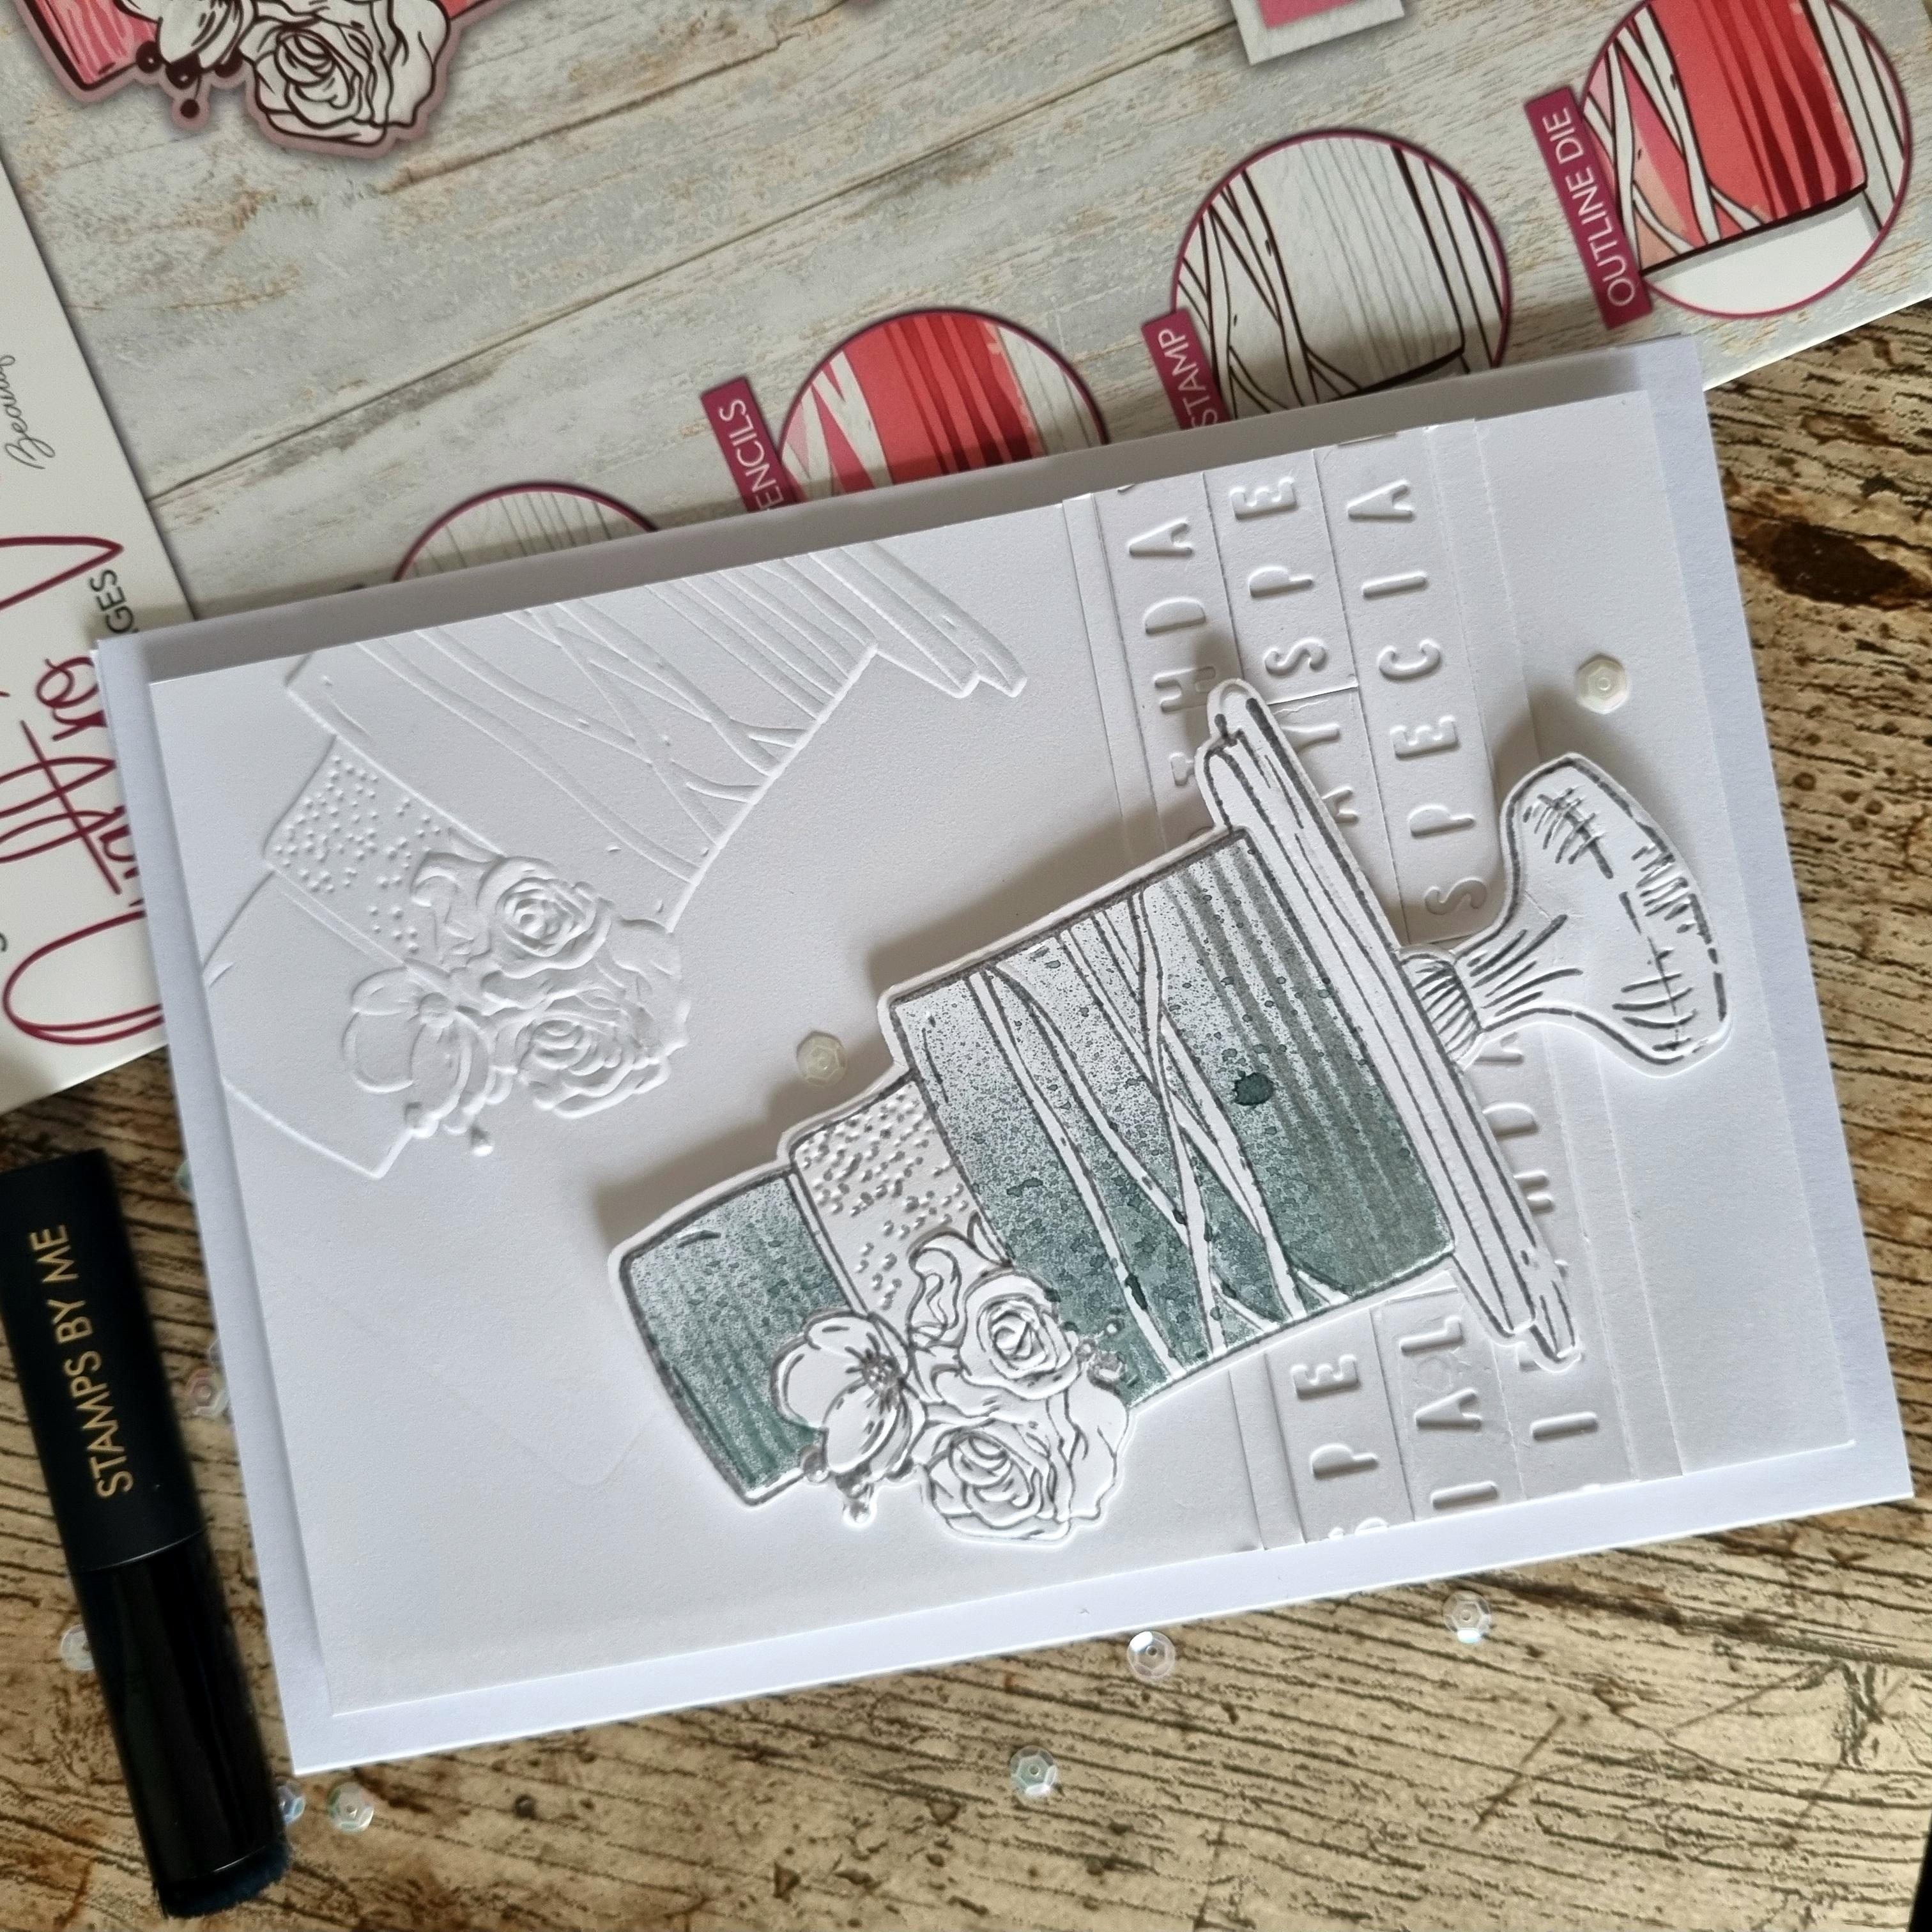
Adhere the sentiment banner across the bottom third of your embossed background, then adhere using foam pads, on to your card blank. |
|
Ahere your 3D cake element using foam pads and finish by adding the beautiful Whisper sequins. |