Give your friends $10 off their first order!
Refer a FRIEND


WHAT YOU WILL NEED:
Kraft card blank 7 x 5"
Brown glitter card 6 1/2 x 4 1/2"
White card 6 1/4 x 4 1/4"
White card 6 x 4 1/2"
Vellum
Quattro D Let's Do This Collection
HD3D Frantic Floral Embossing Folder
Versafine Ink Pad: Smokey Grey
Distress Oxide or Ink Pad: Hickory Smoke, Fossilized Amber, Tattered Rose, Vintage Photo
Water spray bottle
Blending tool
Orange Spiderweb Lace Mesh
Eureka 101 Watercolour Tablet
SBM Magnetic glass mat
Paper Trimmer
Perfect Together Glue
Foam Pads
Double sided adhesive tape
Die Cutting machine
[click image to enlarge] 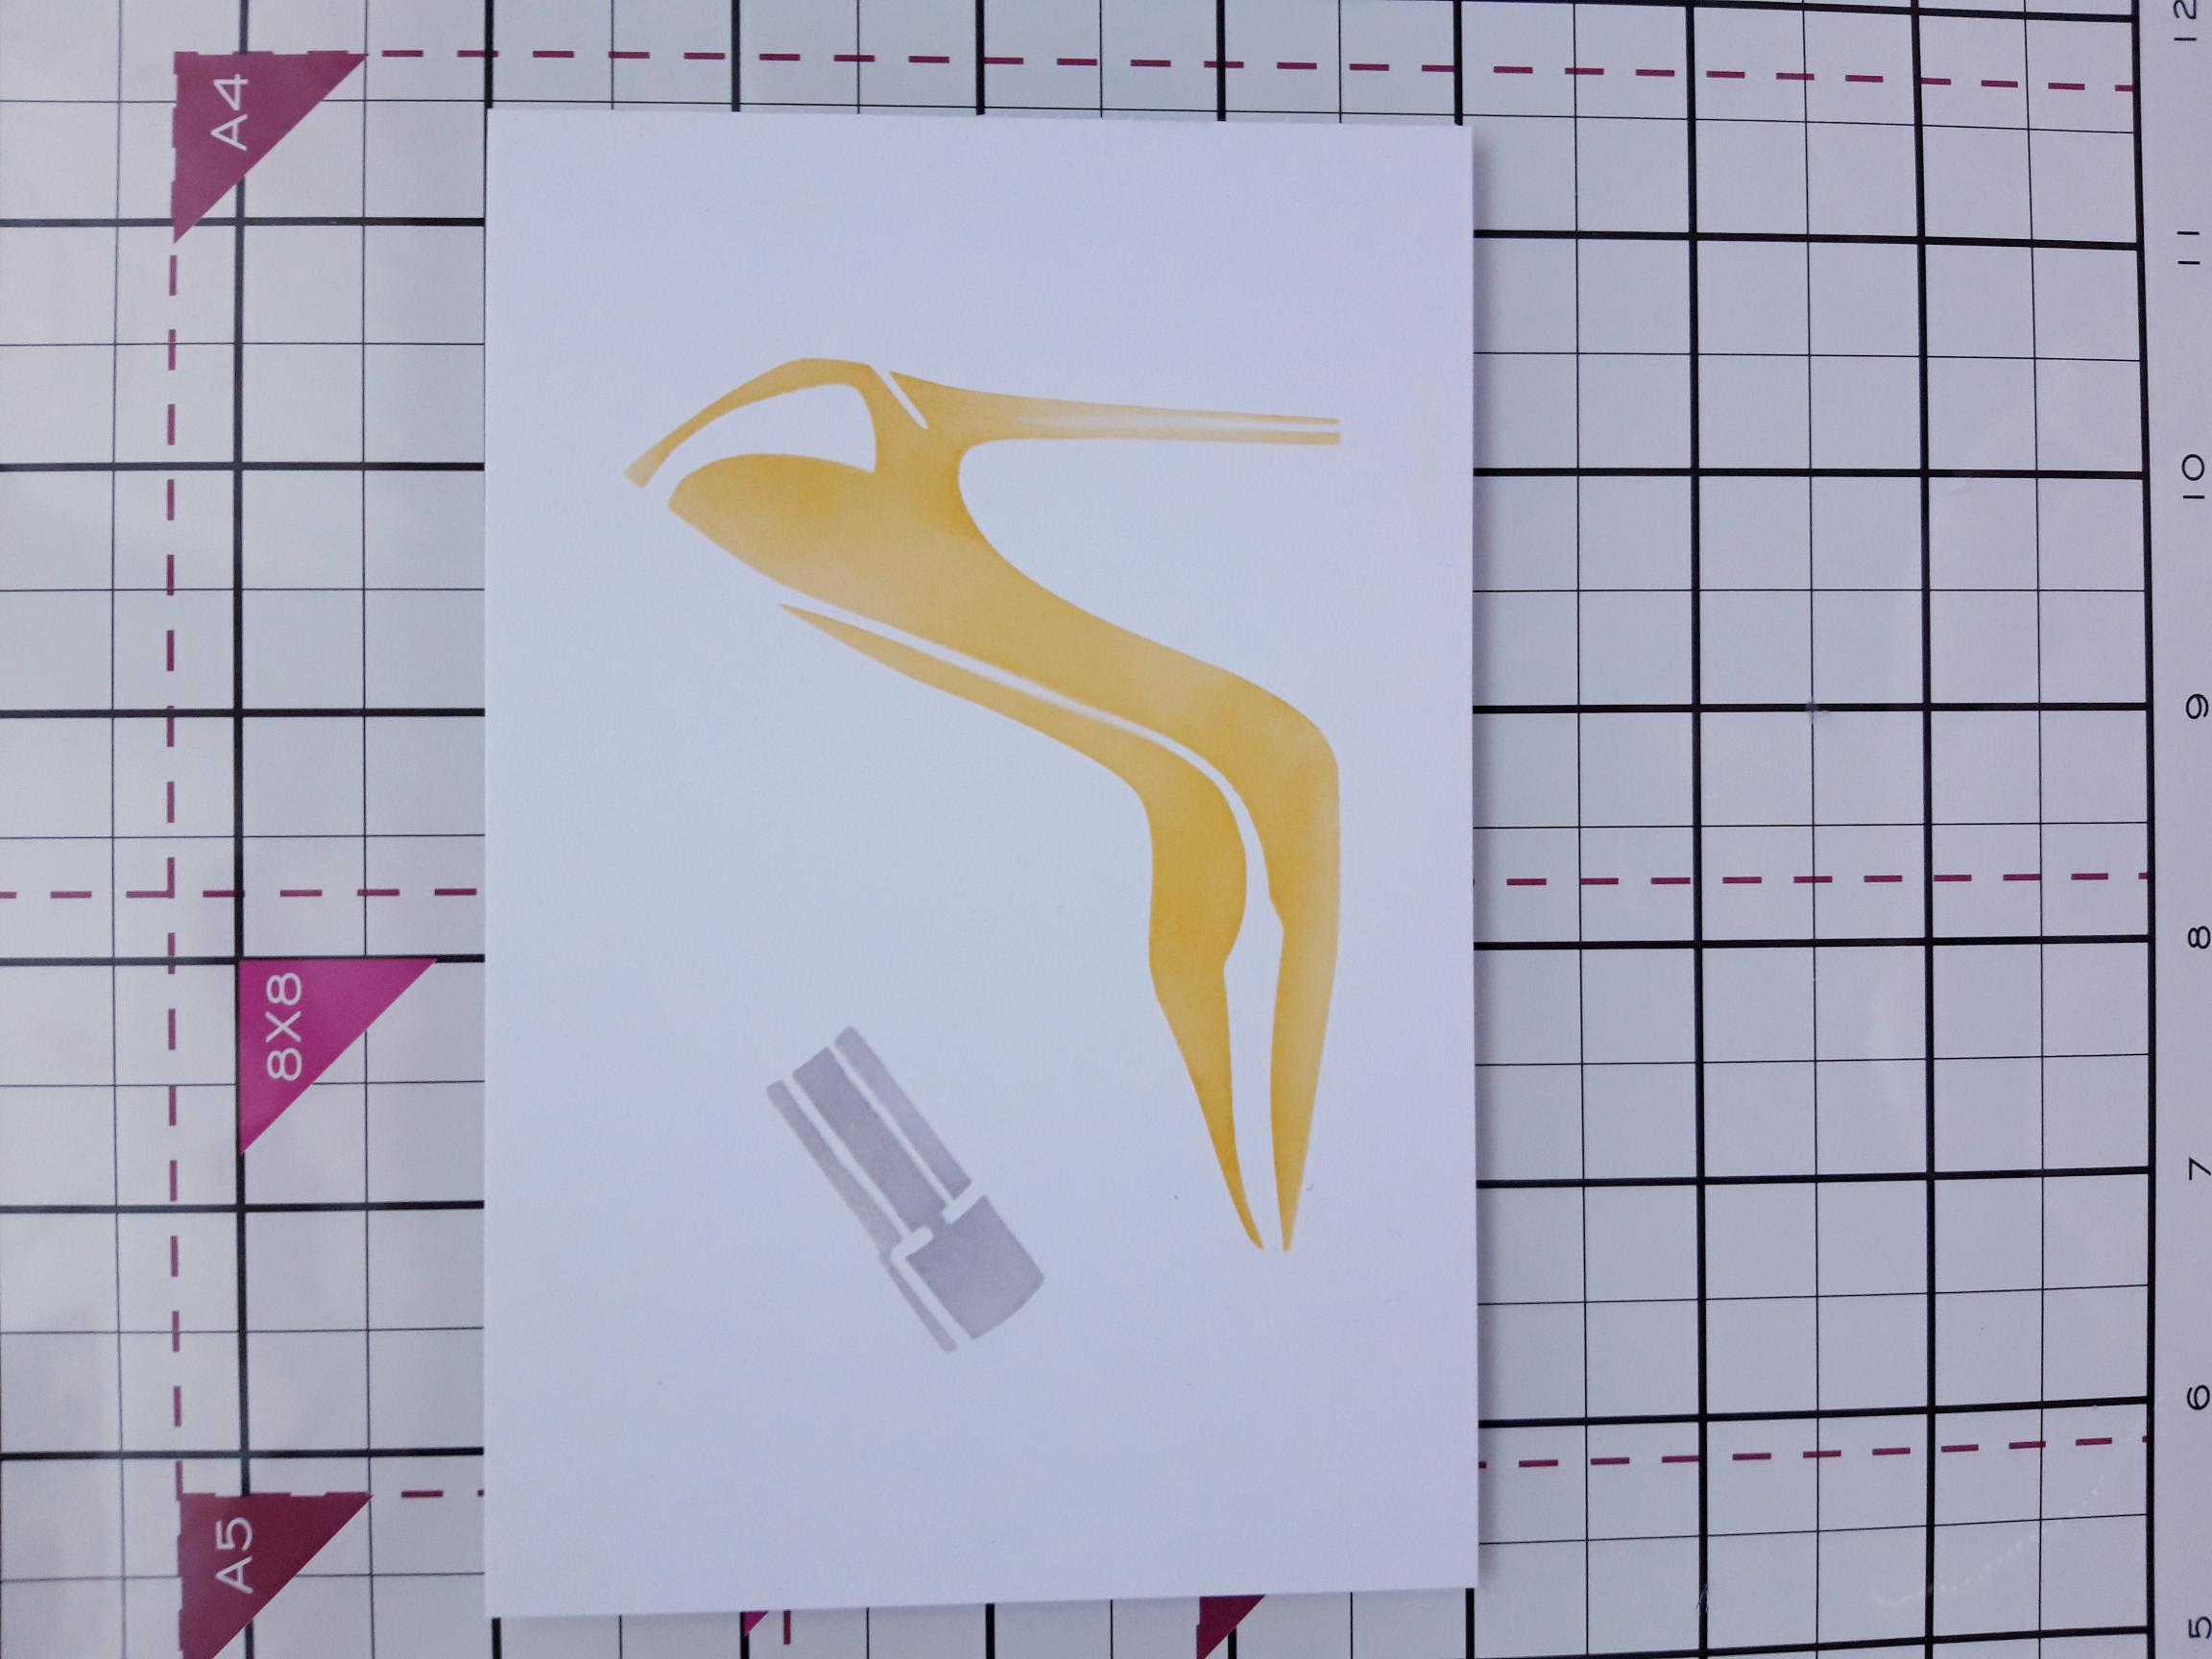
|
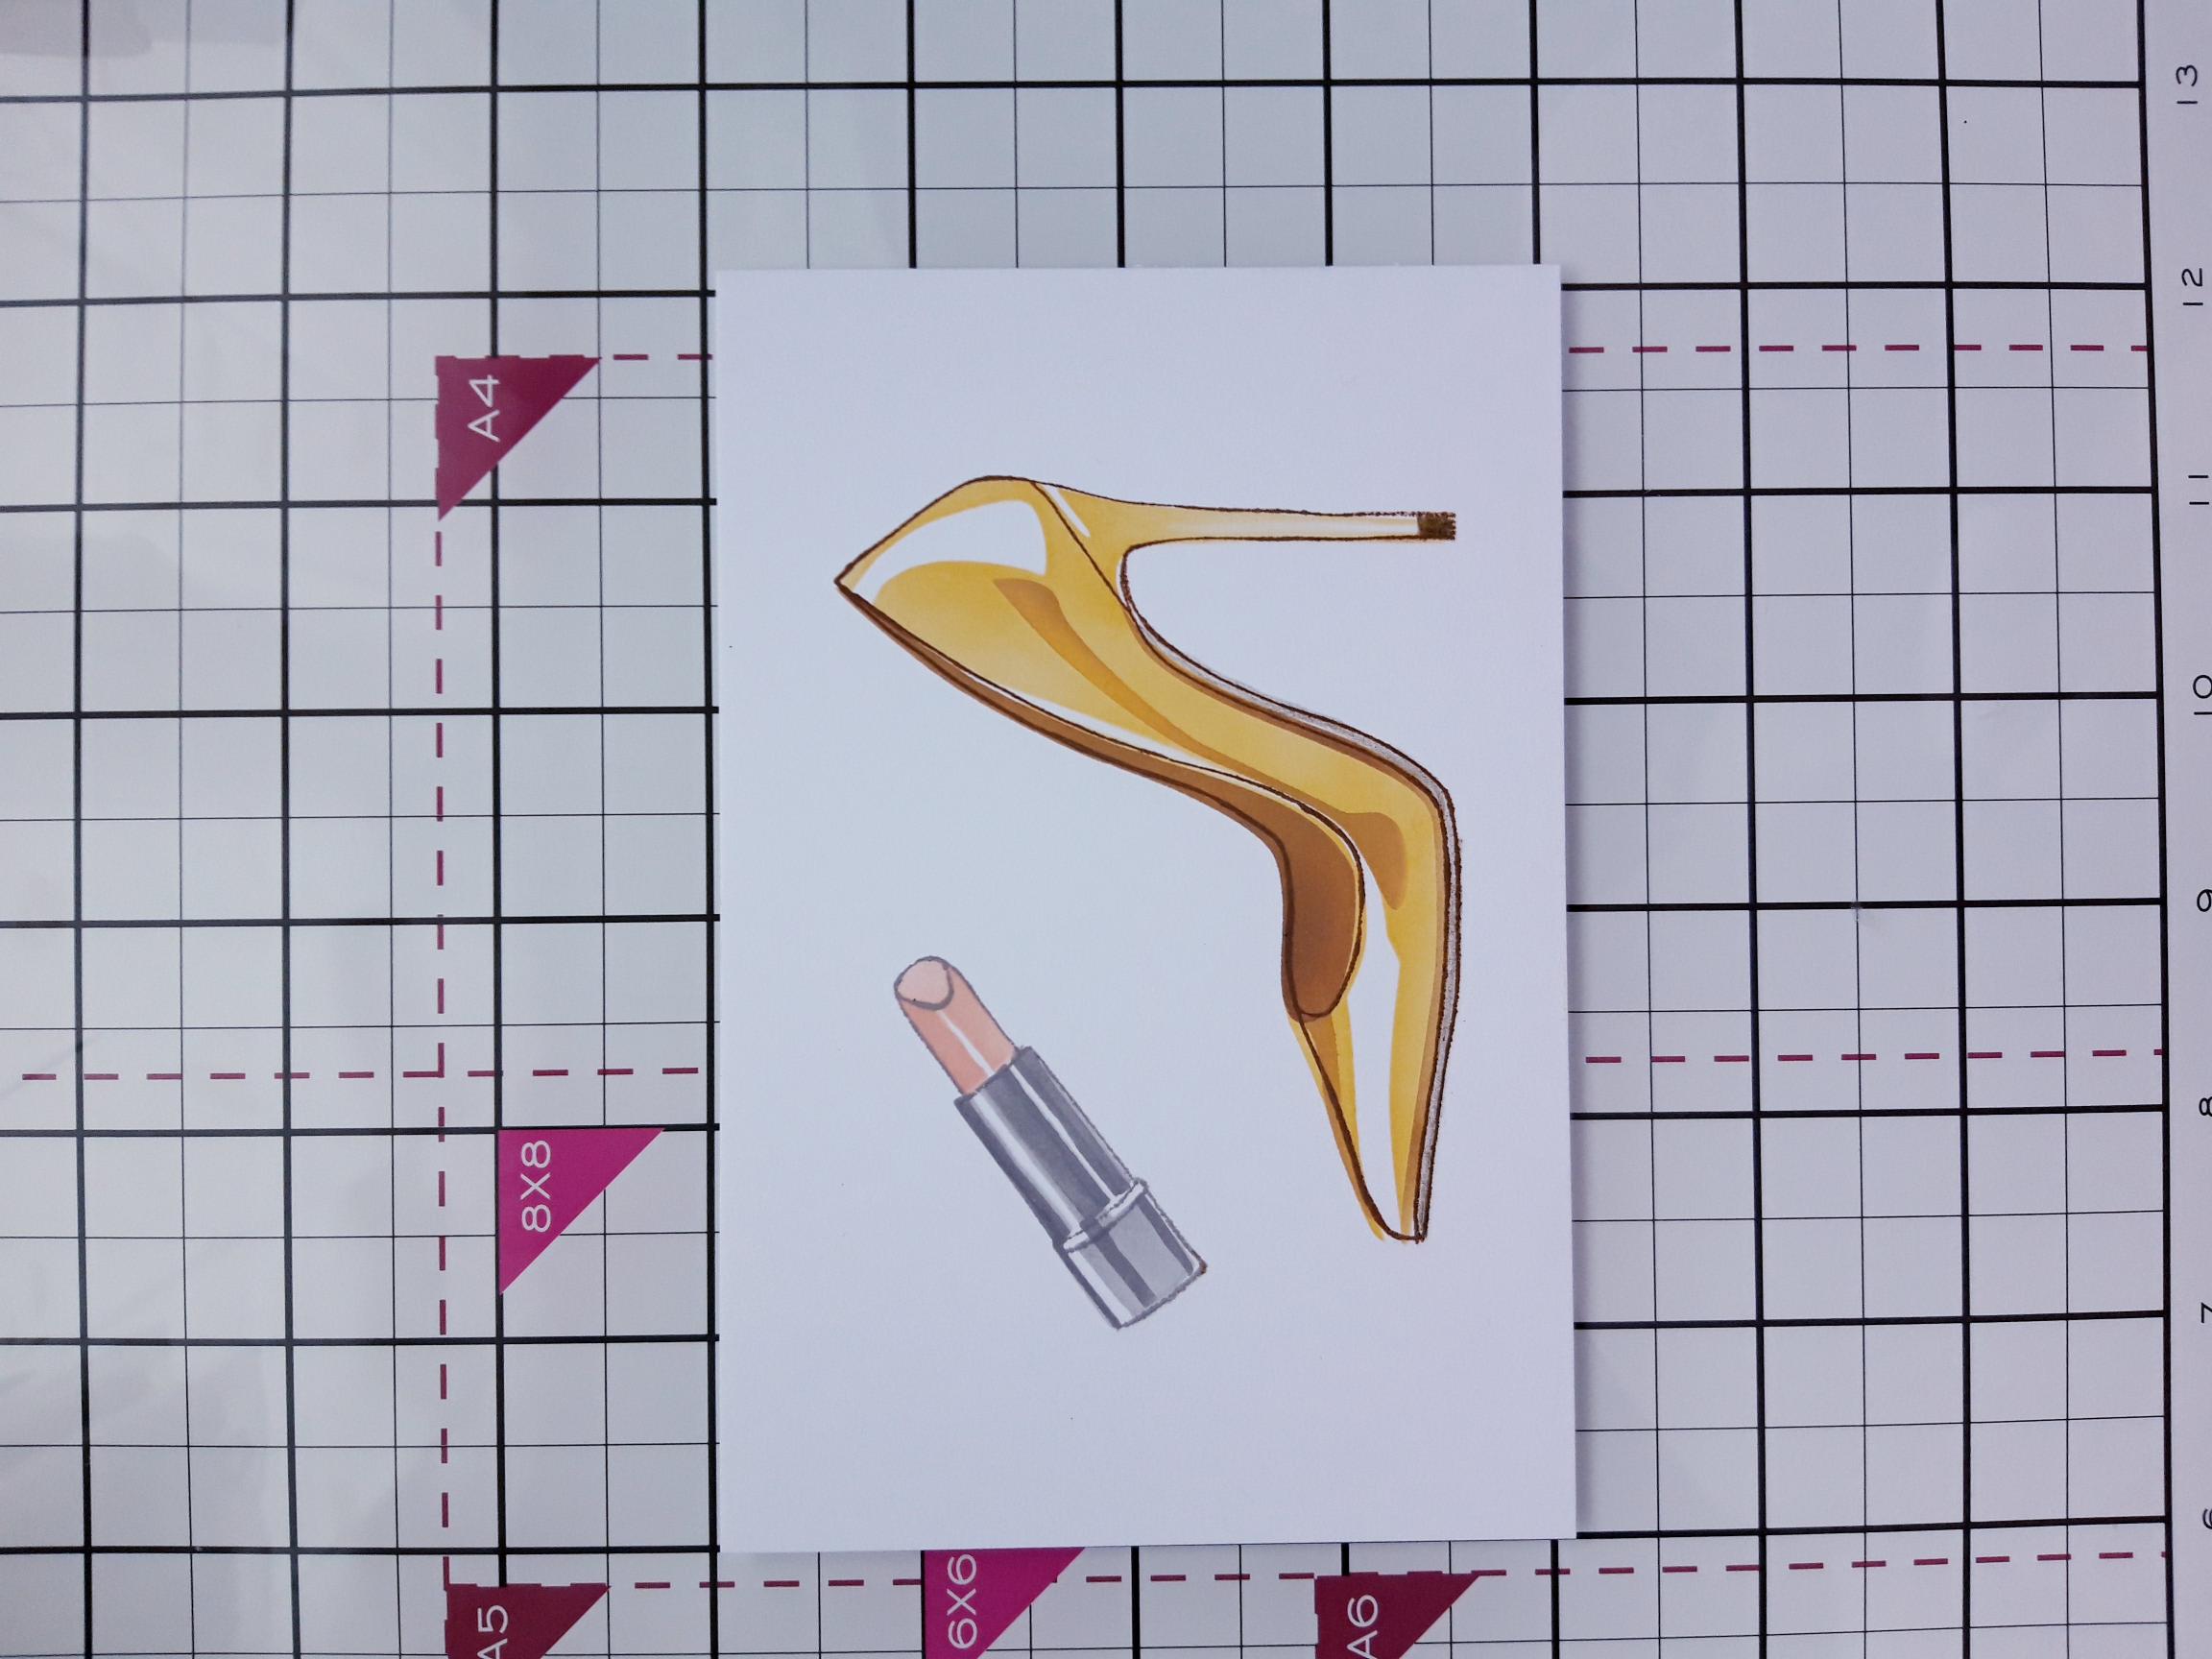
Place stencil 1 on to the 6 x 4 1/2" white card. Using your blending tool, apply the Fossilized Amber through the shoe aperture and Hickory Smoke through the lipstick. |
|
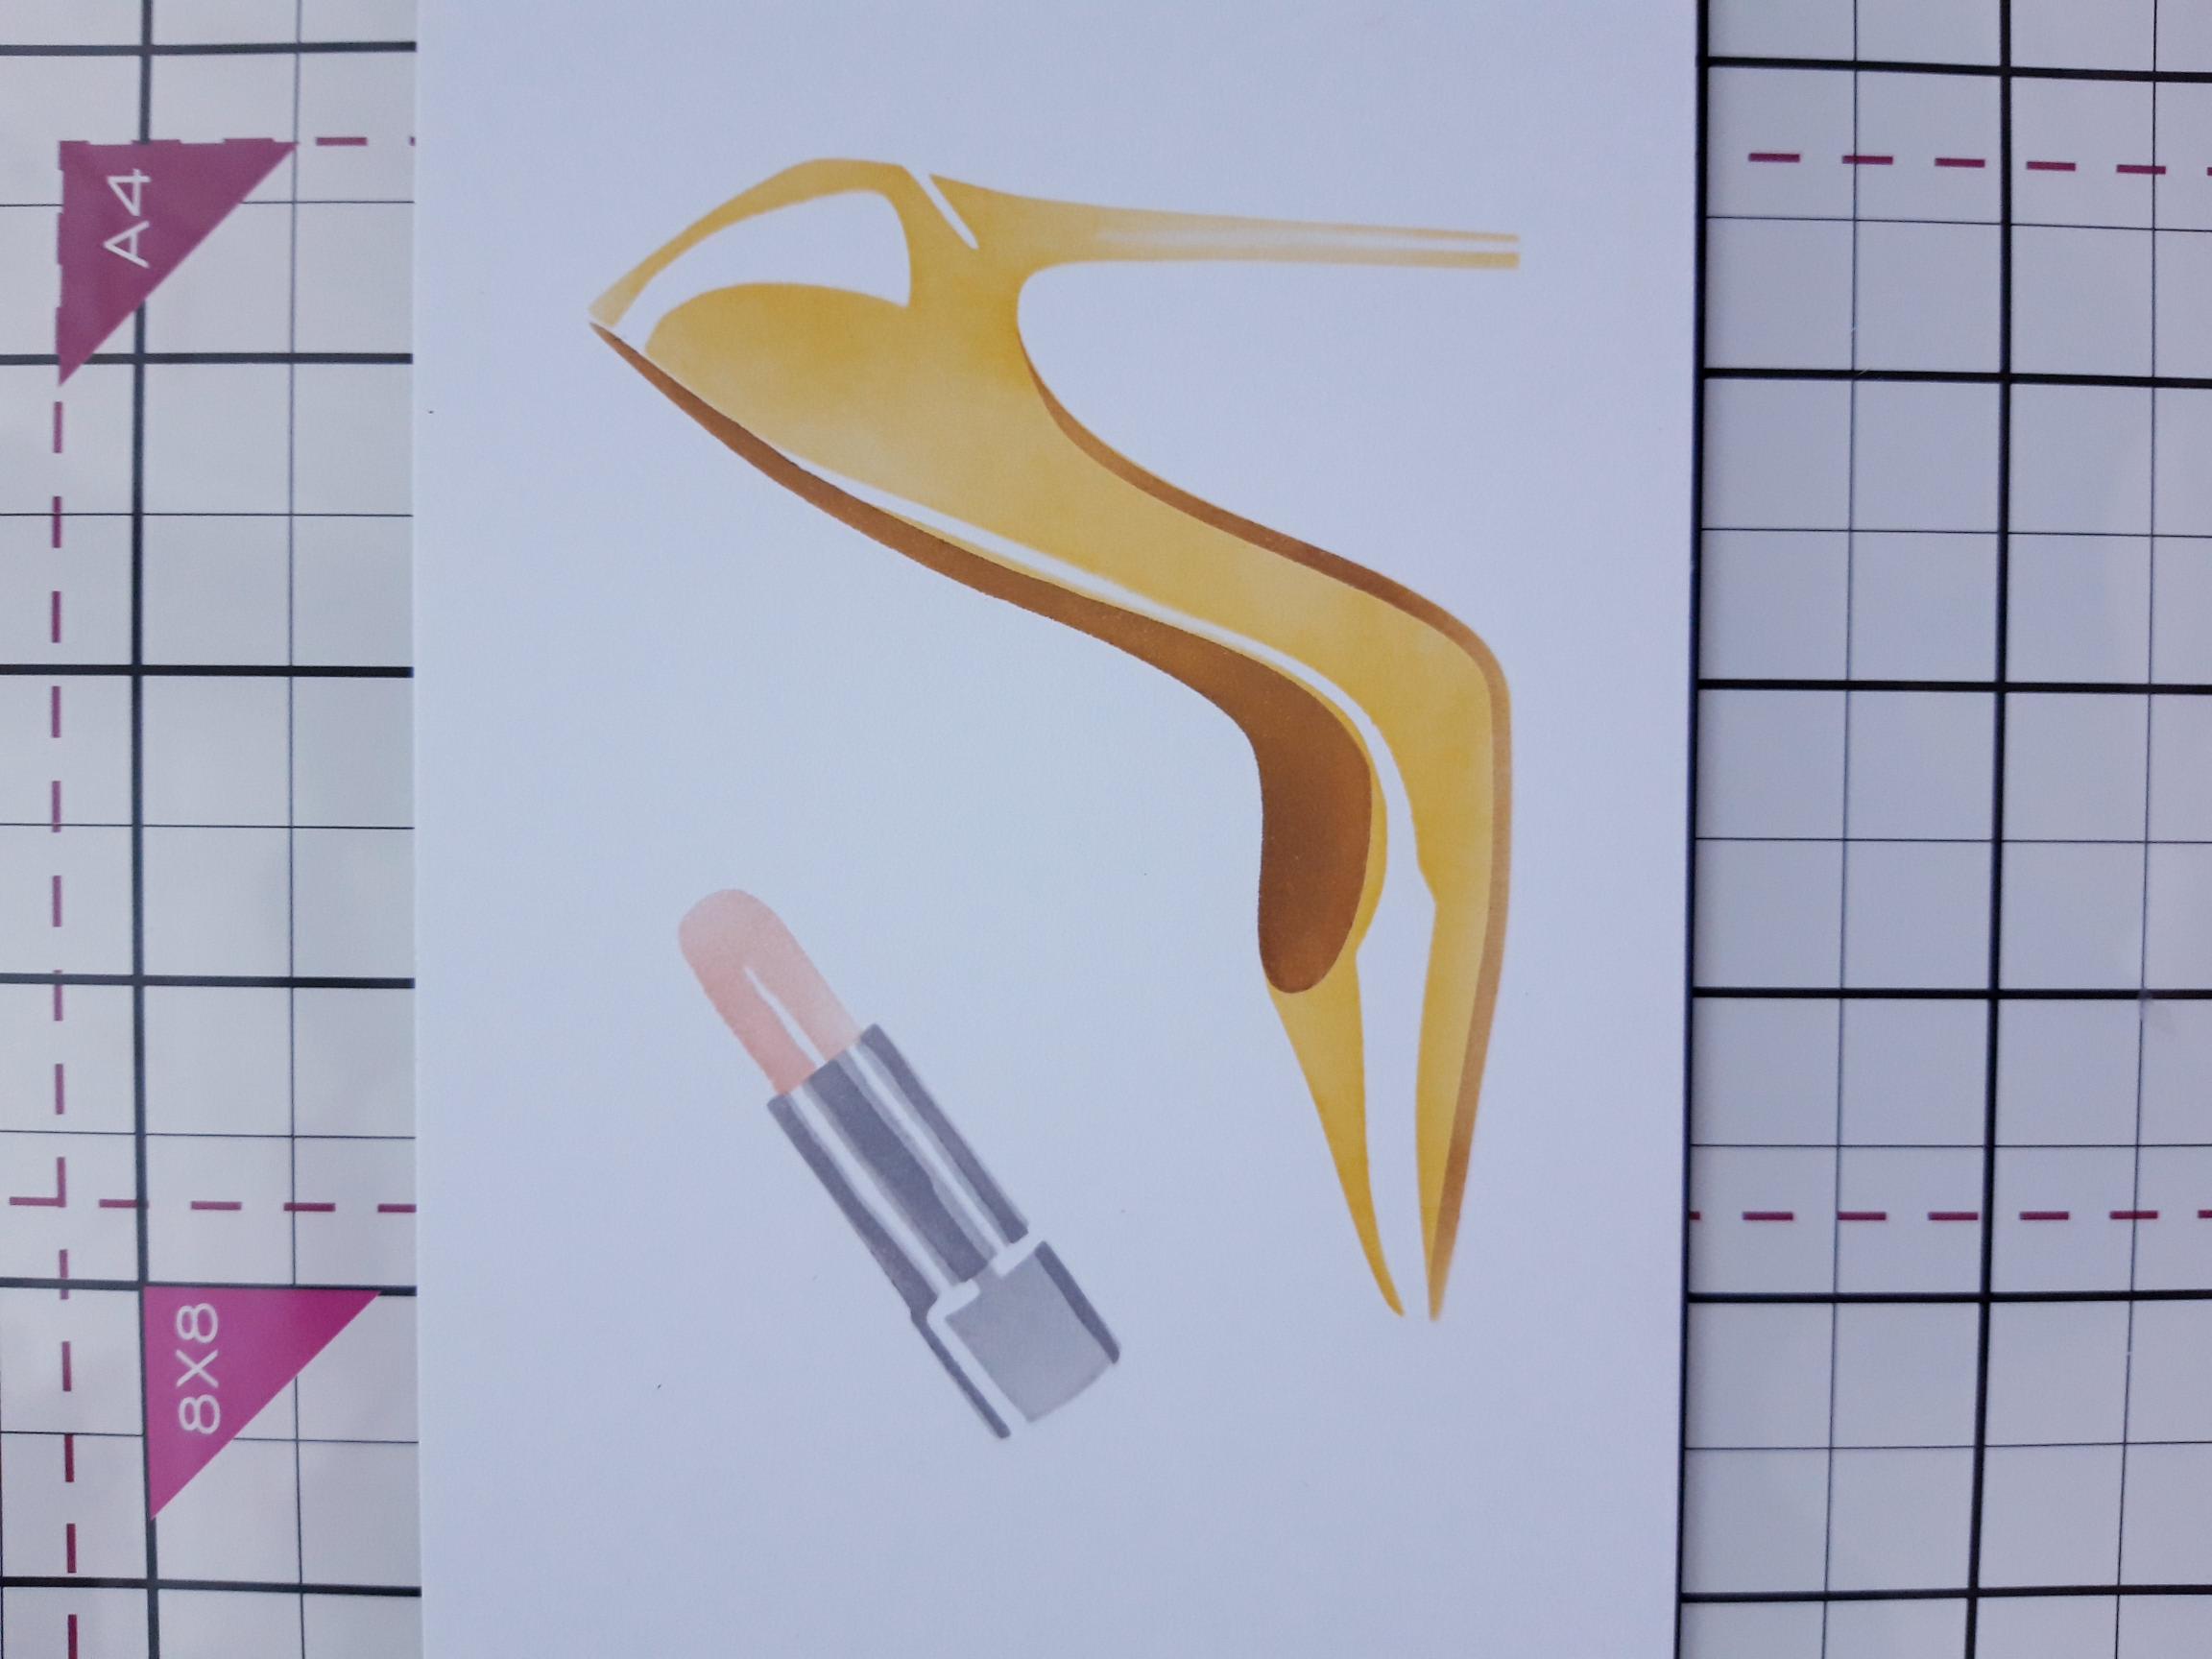
Line up stencil 2 and apply the Fossilized Amber and Vintage Photo through the shoe aperture and Hickory Smoke and Tattered Rose through the lipstick. Tip: When using the same colours, just apply more pressure through the next stencil, to achieve a more intense and different tone of colour. |
|
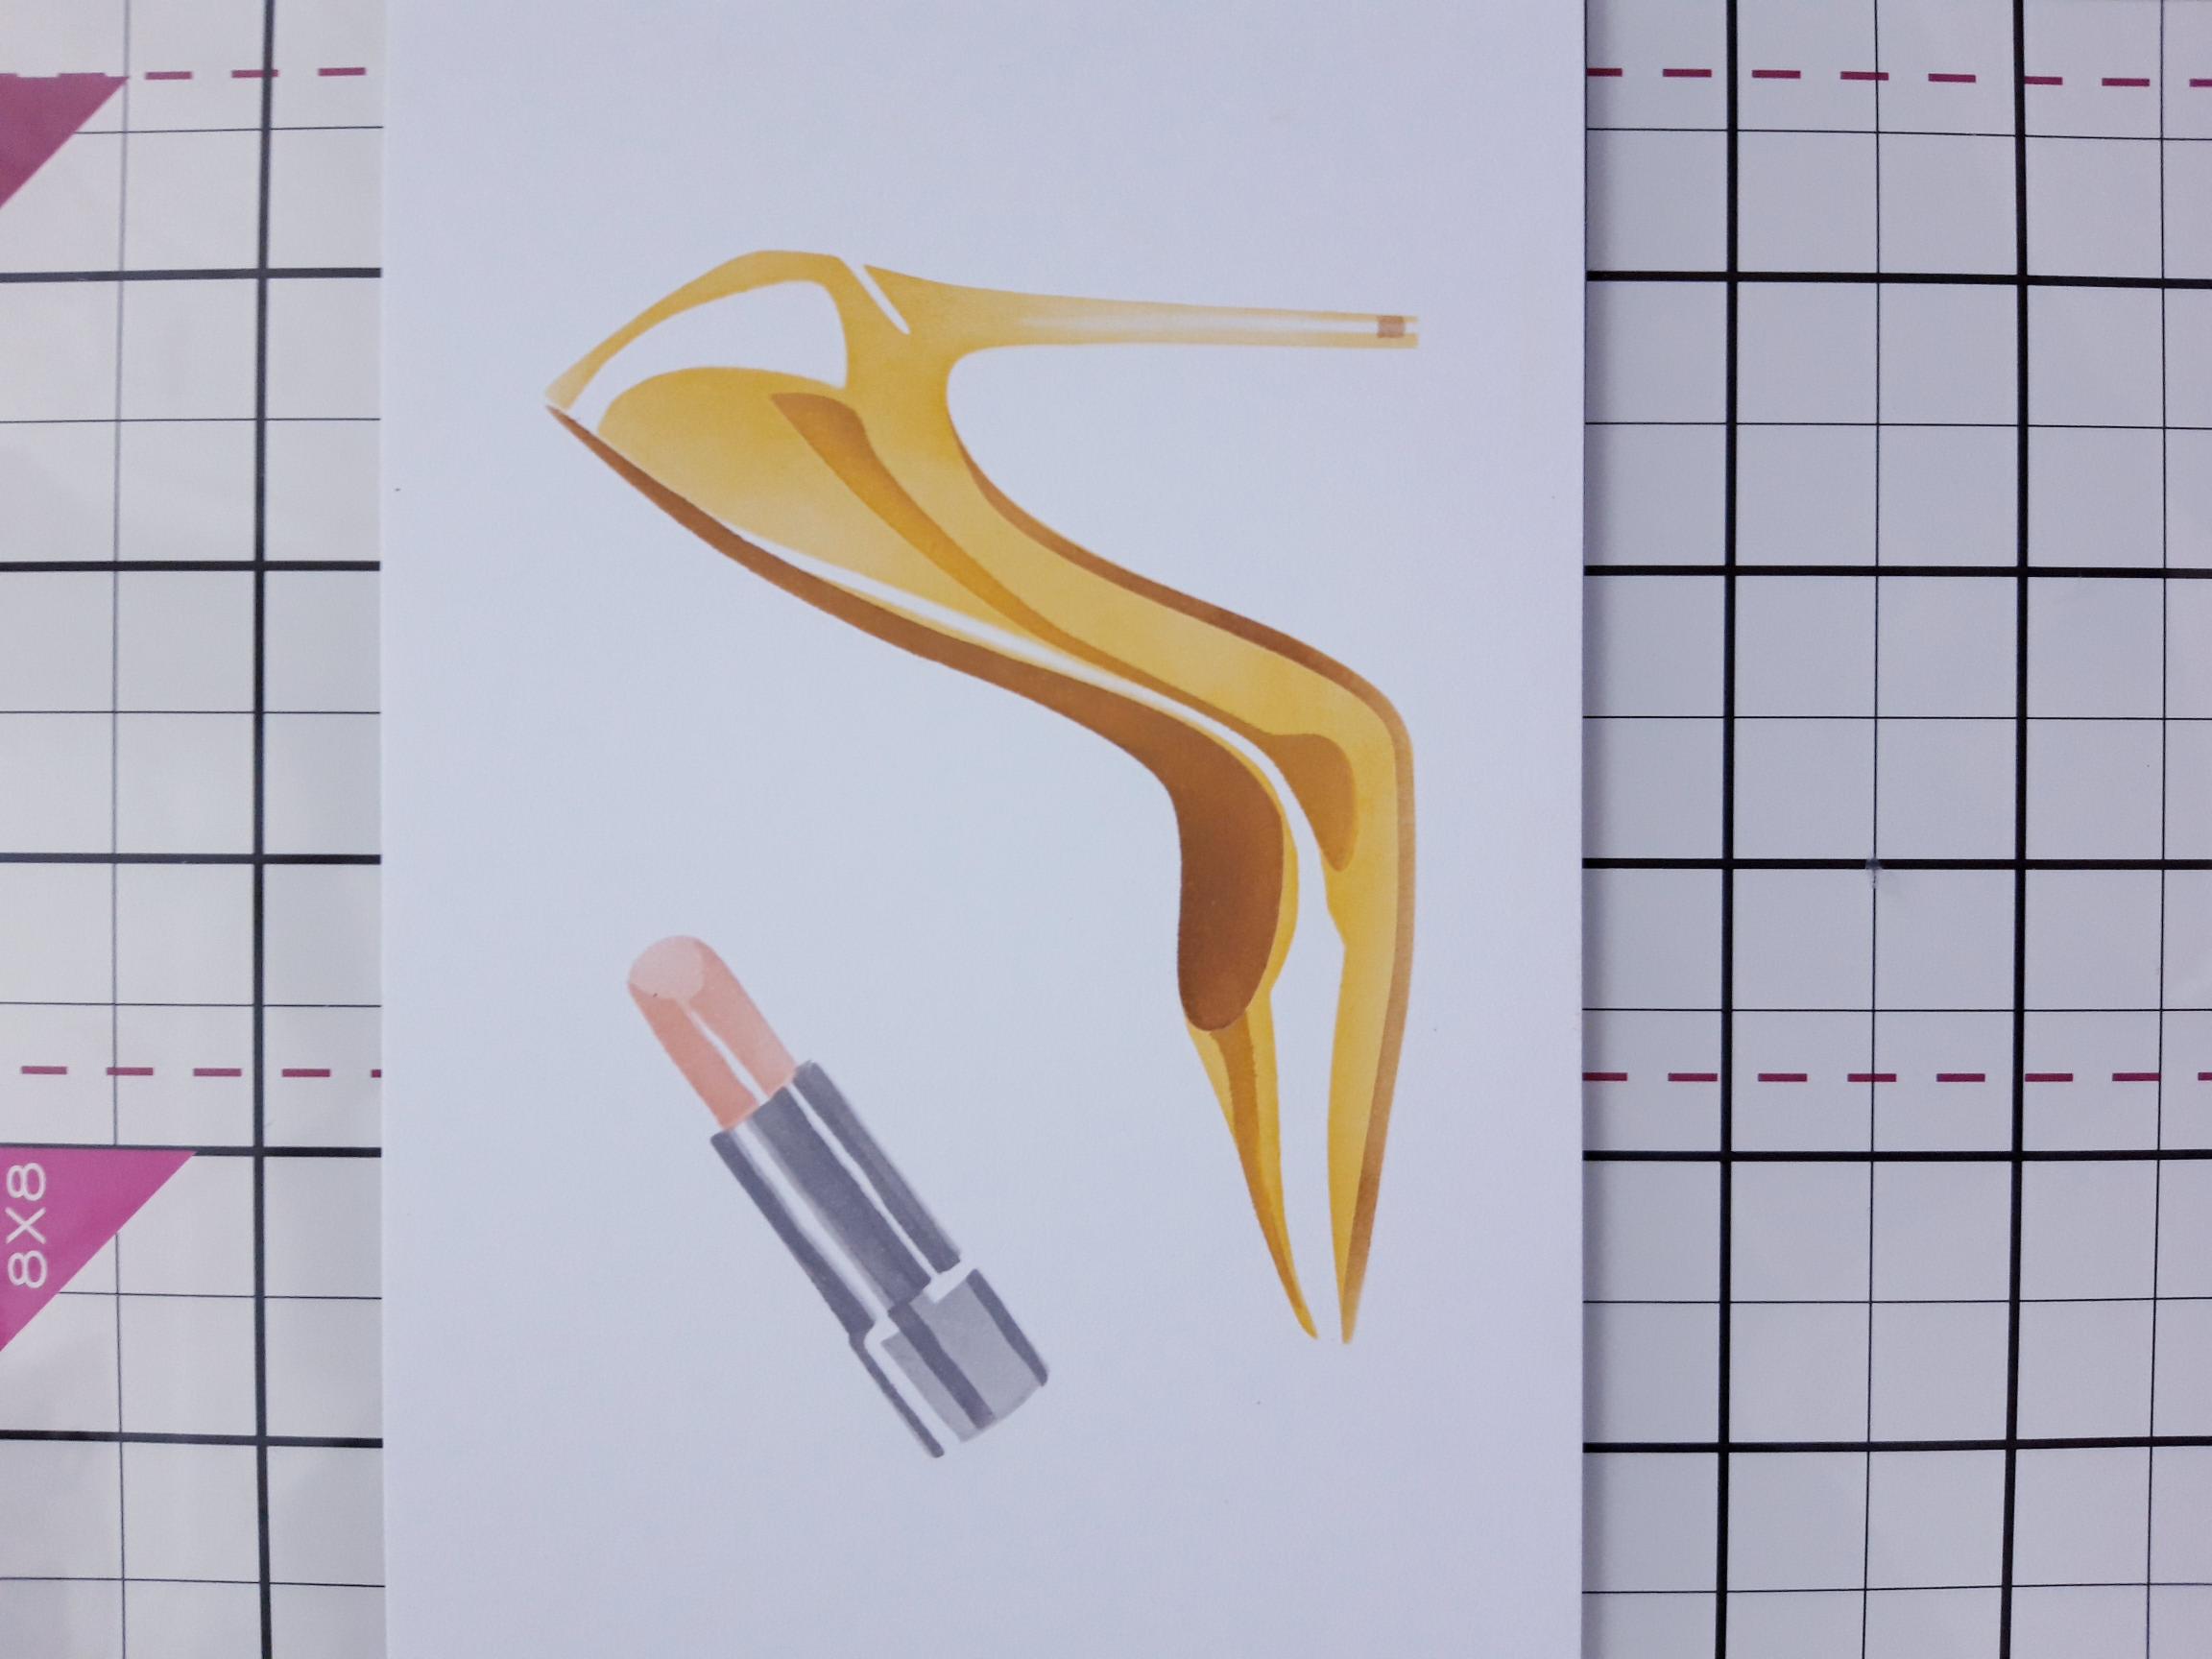
Line up stencil 3 and apply the Vintage Photo through the shoe aperture and more pressure with the Hickory Smoke and Tattered Rose through the lipstick. |
|
Ink up the coordinating stamp with the Smokey Grey Versafine and stamp over your stencilled images. |
|
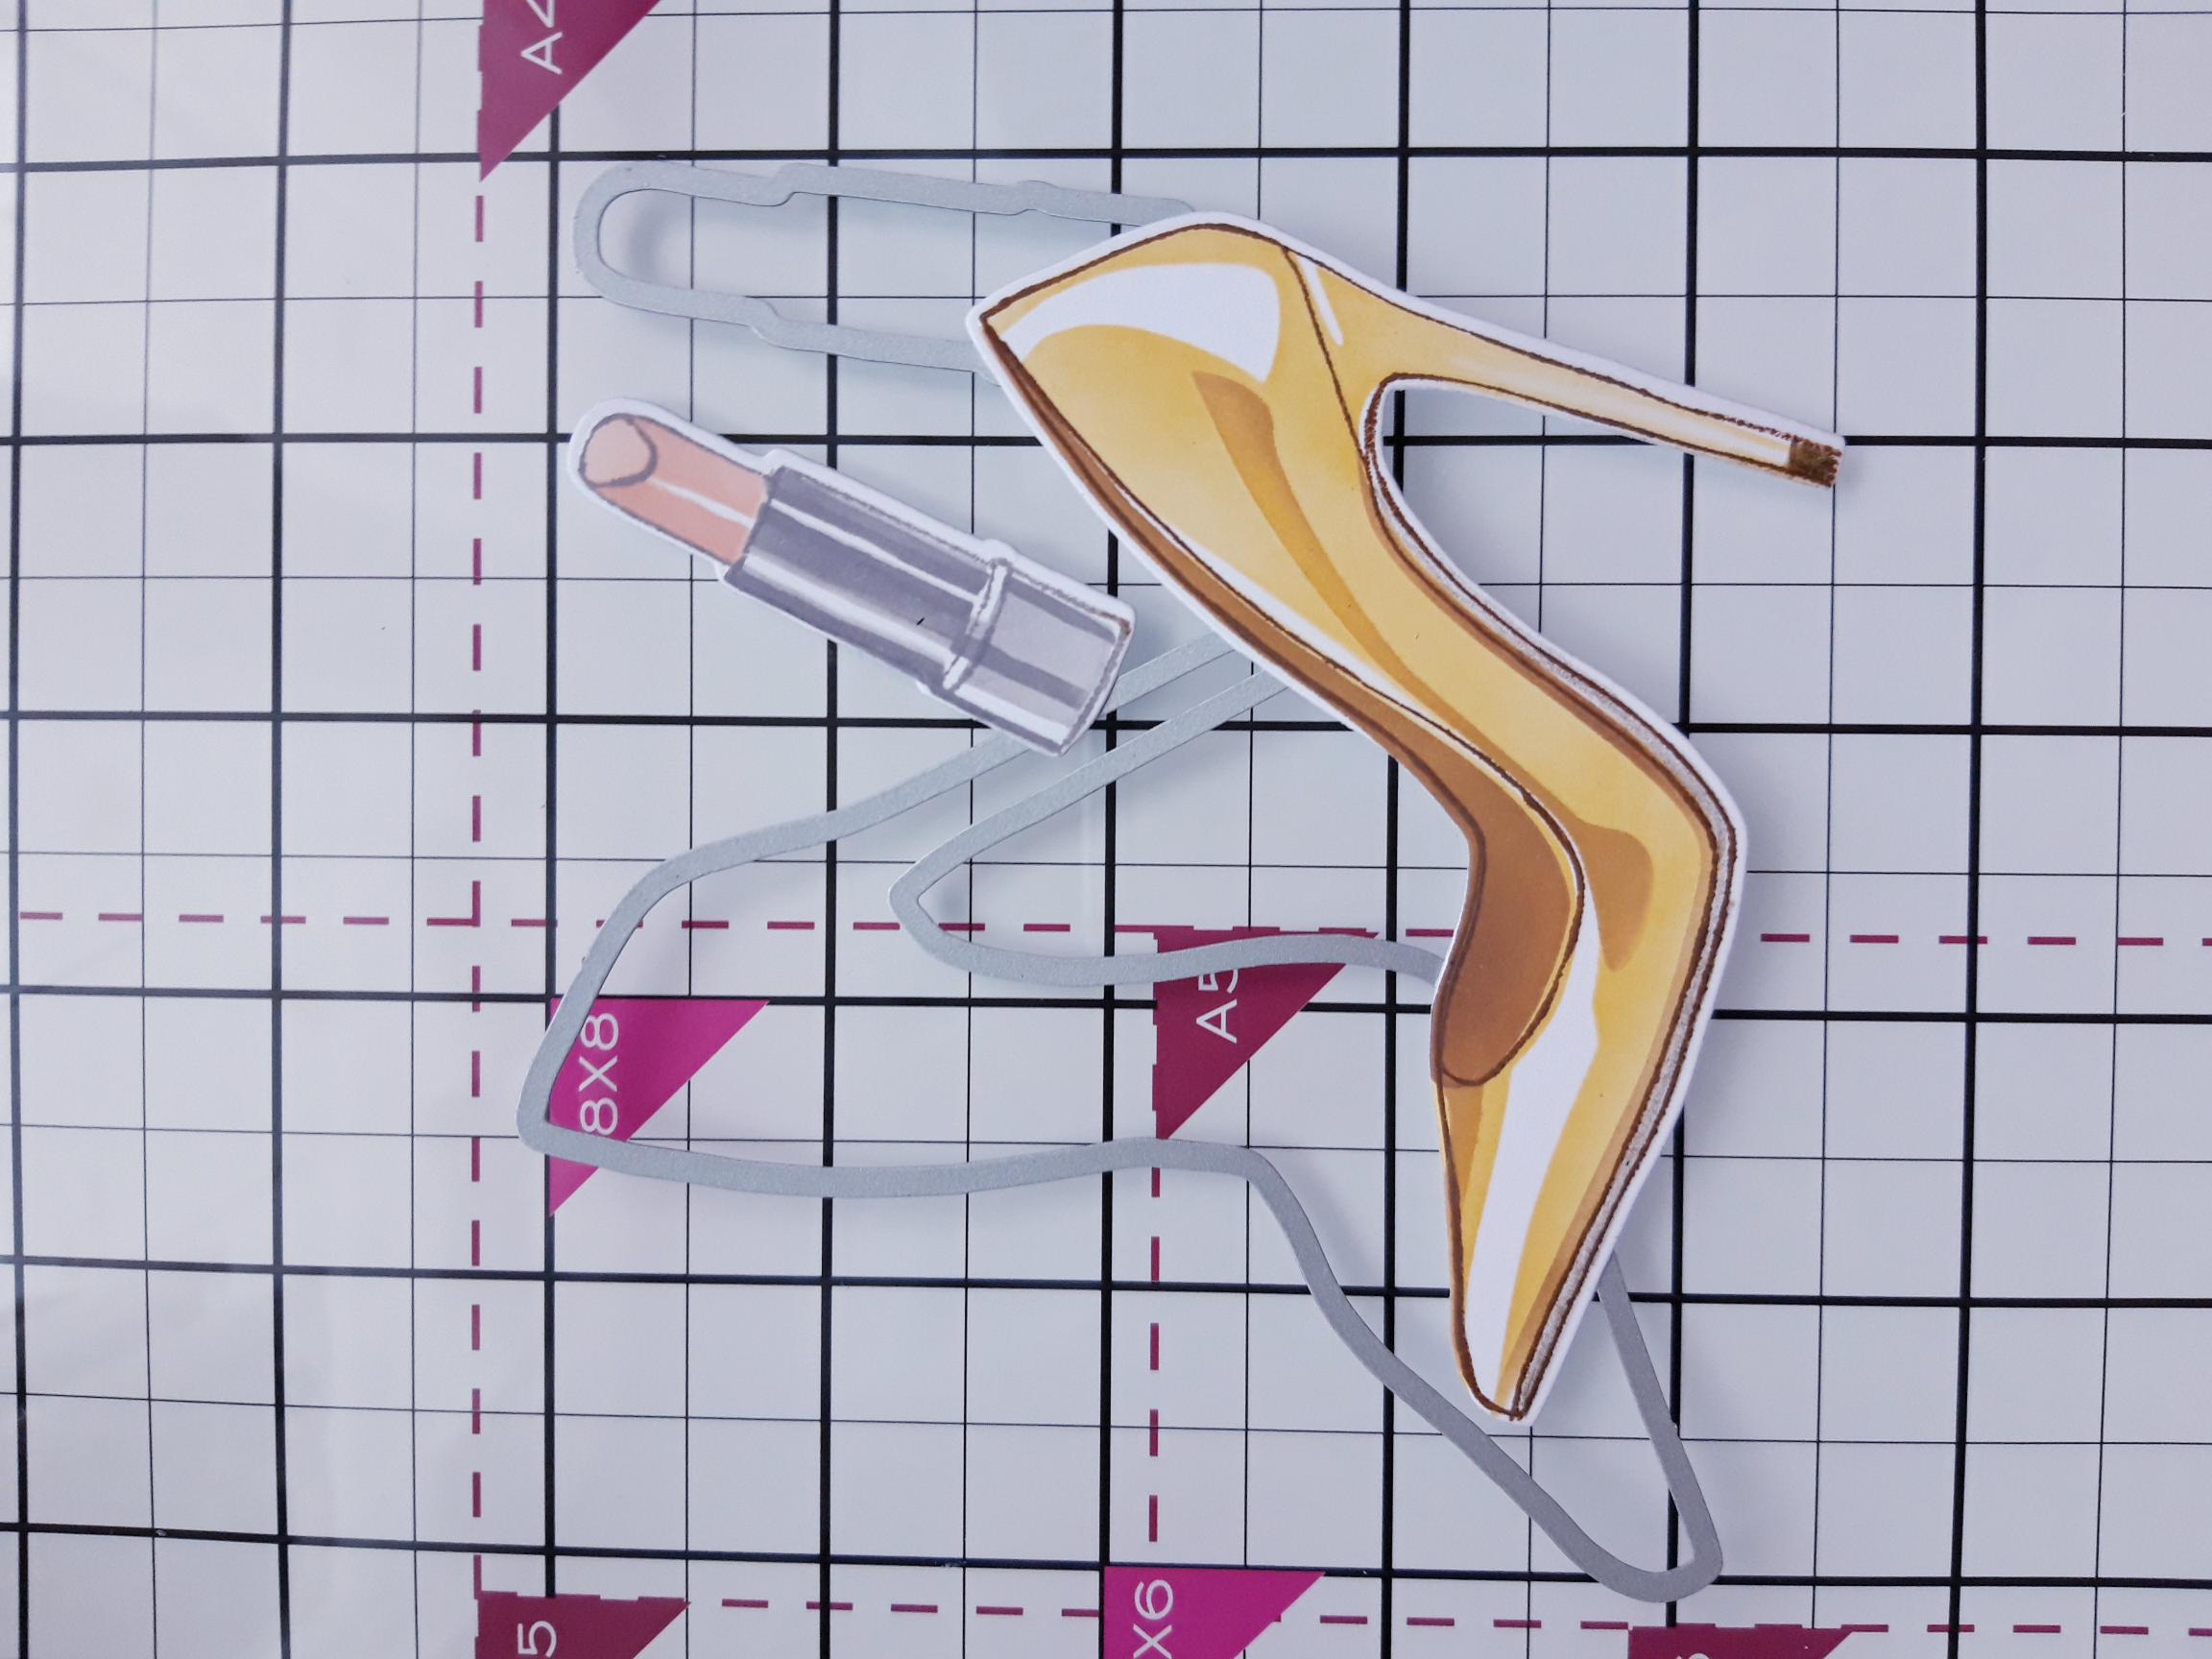
Use the coordinating die to cut out your beautiful elements. |
|
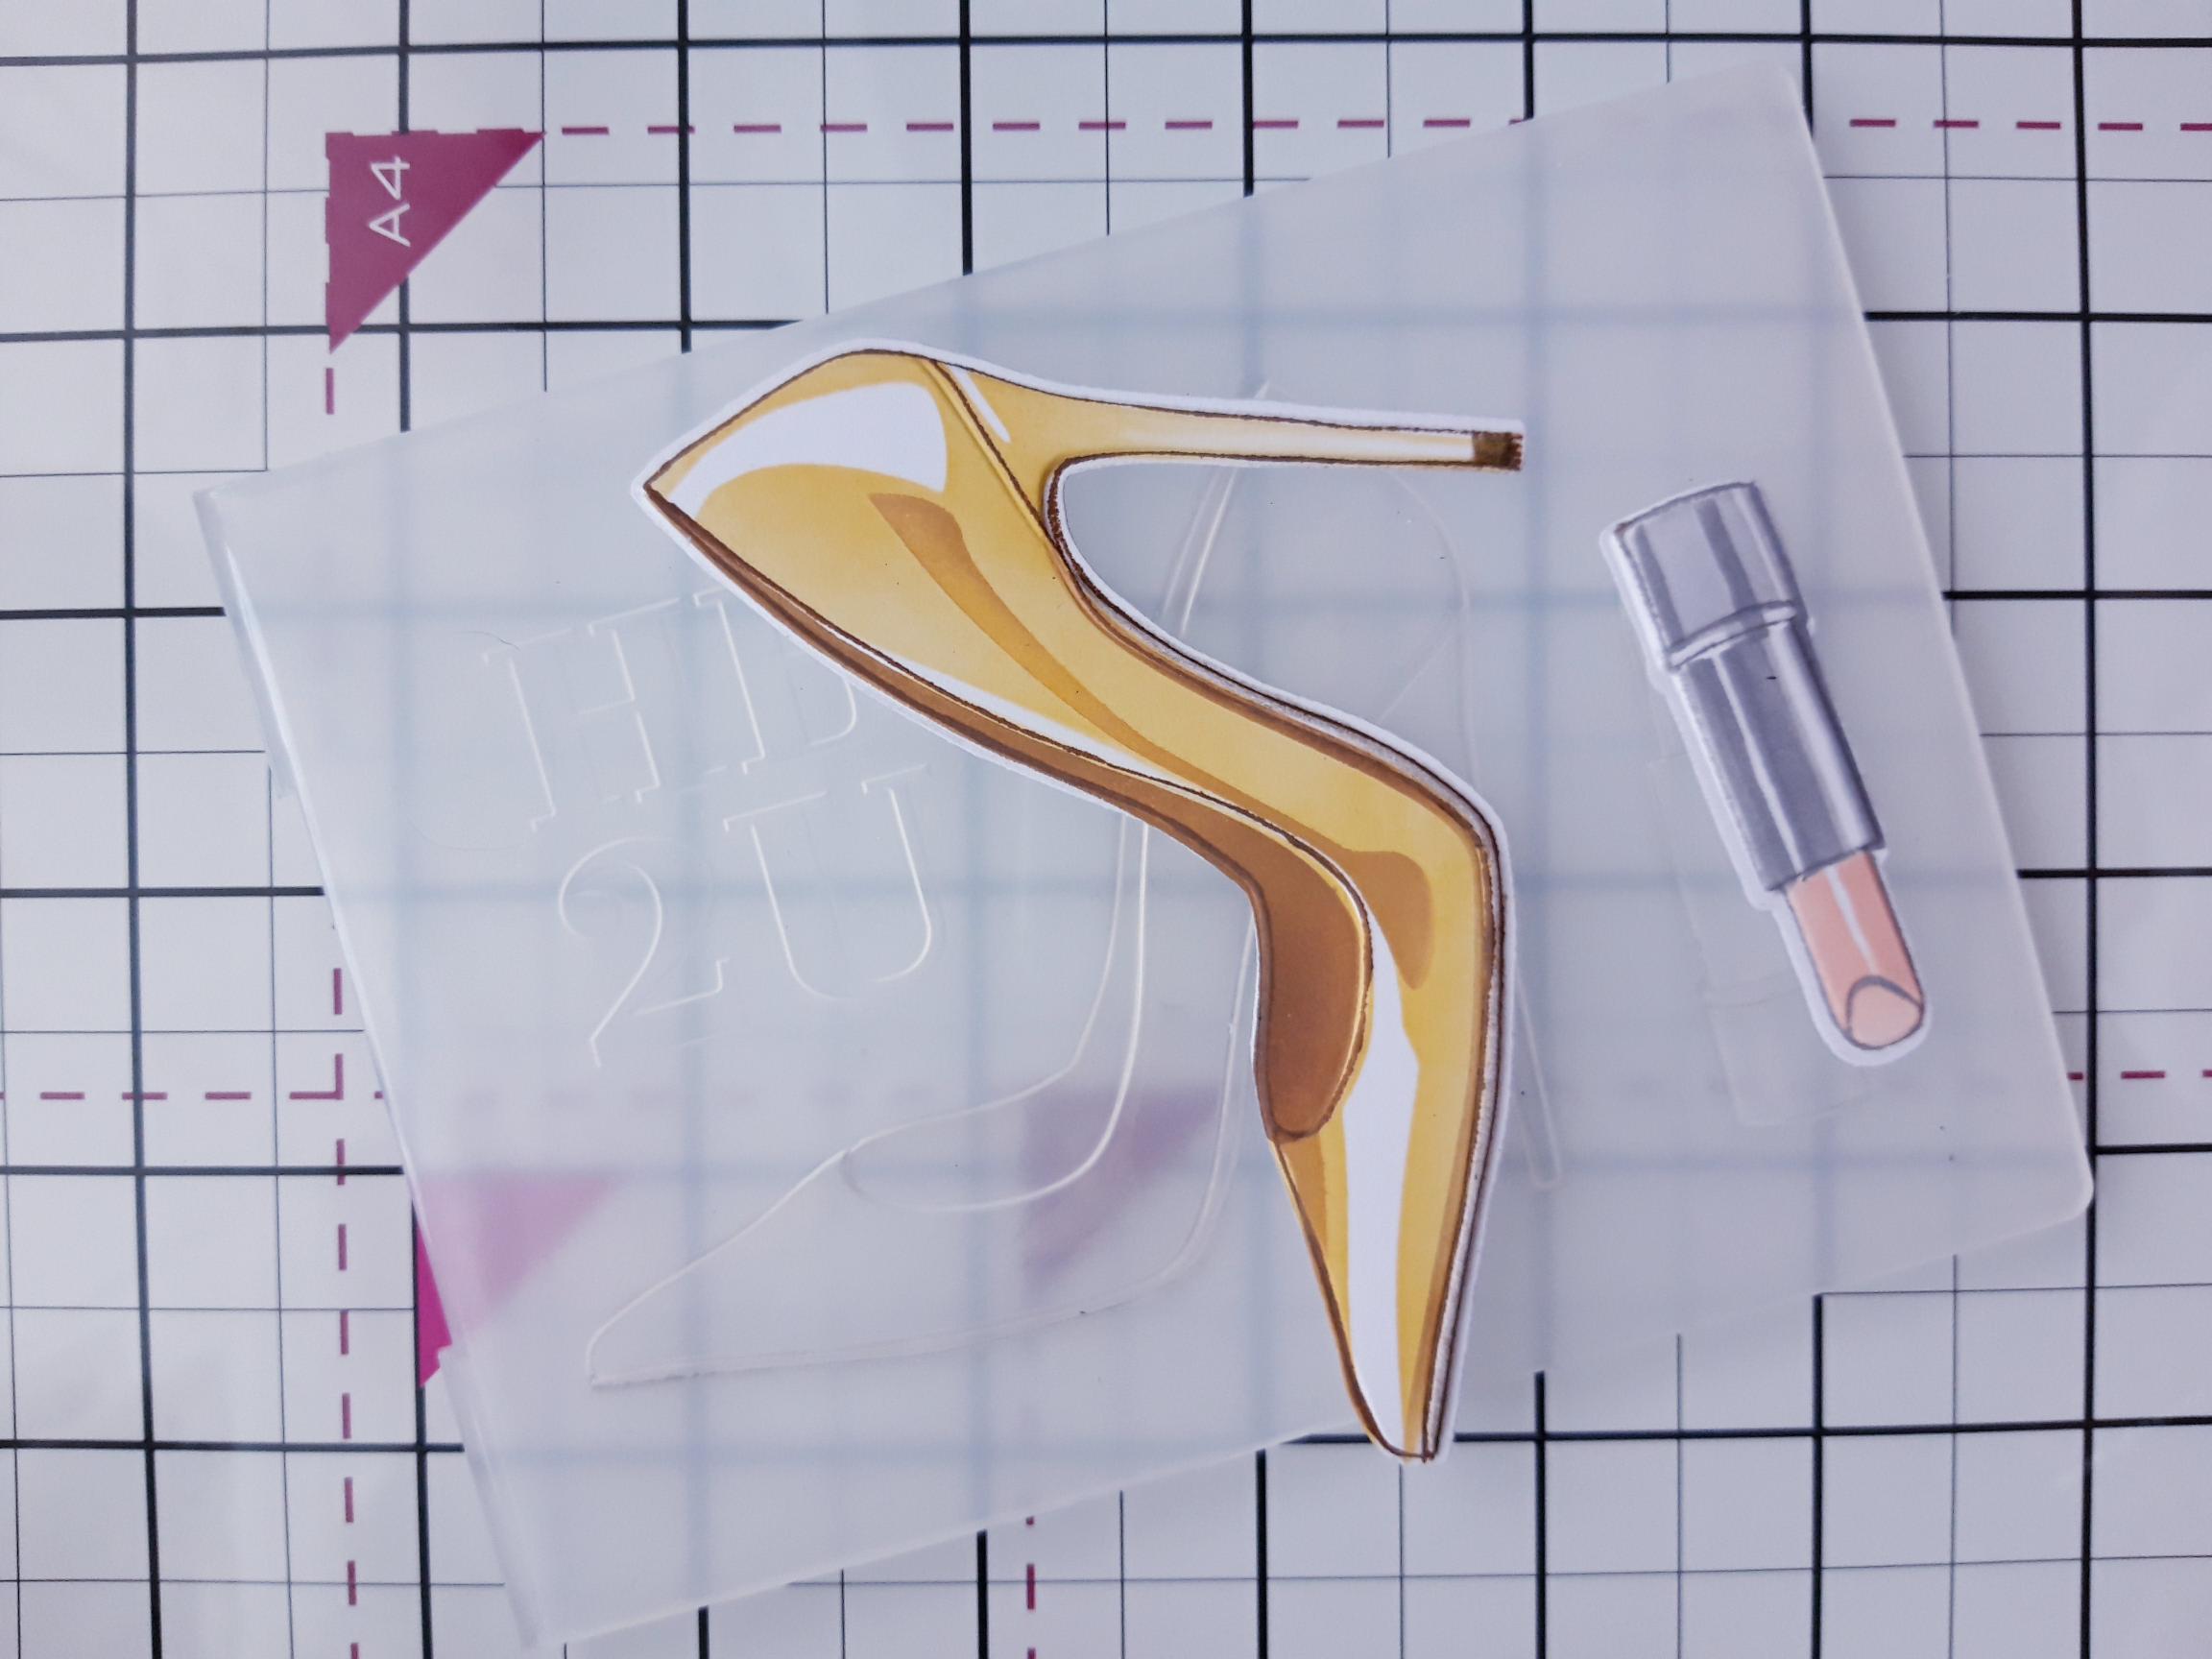
Place the die cut elements in the coordinating embossing folder and run it through your machine. Set your 3D elements to one side. |
|
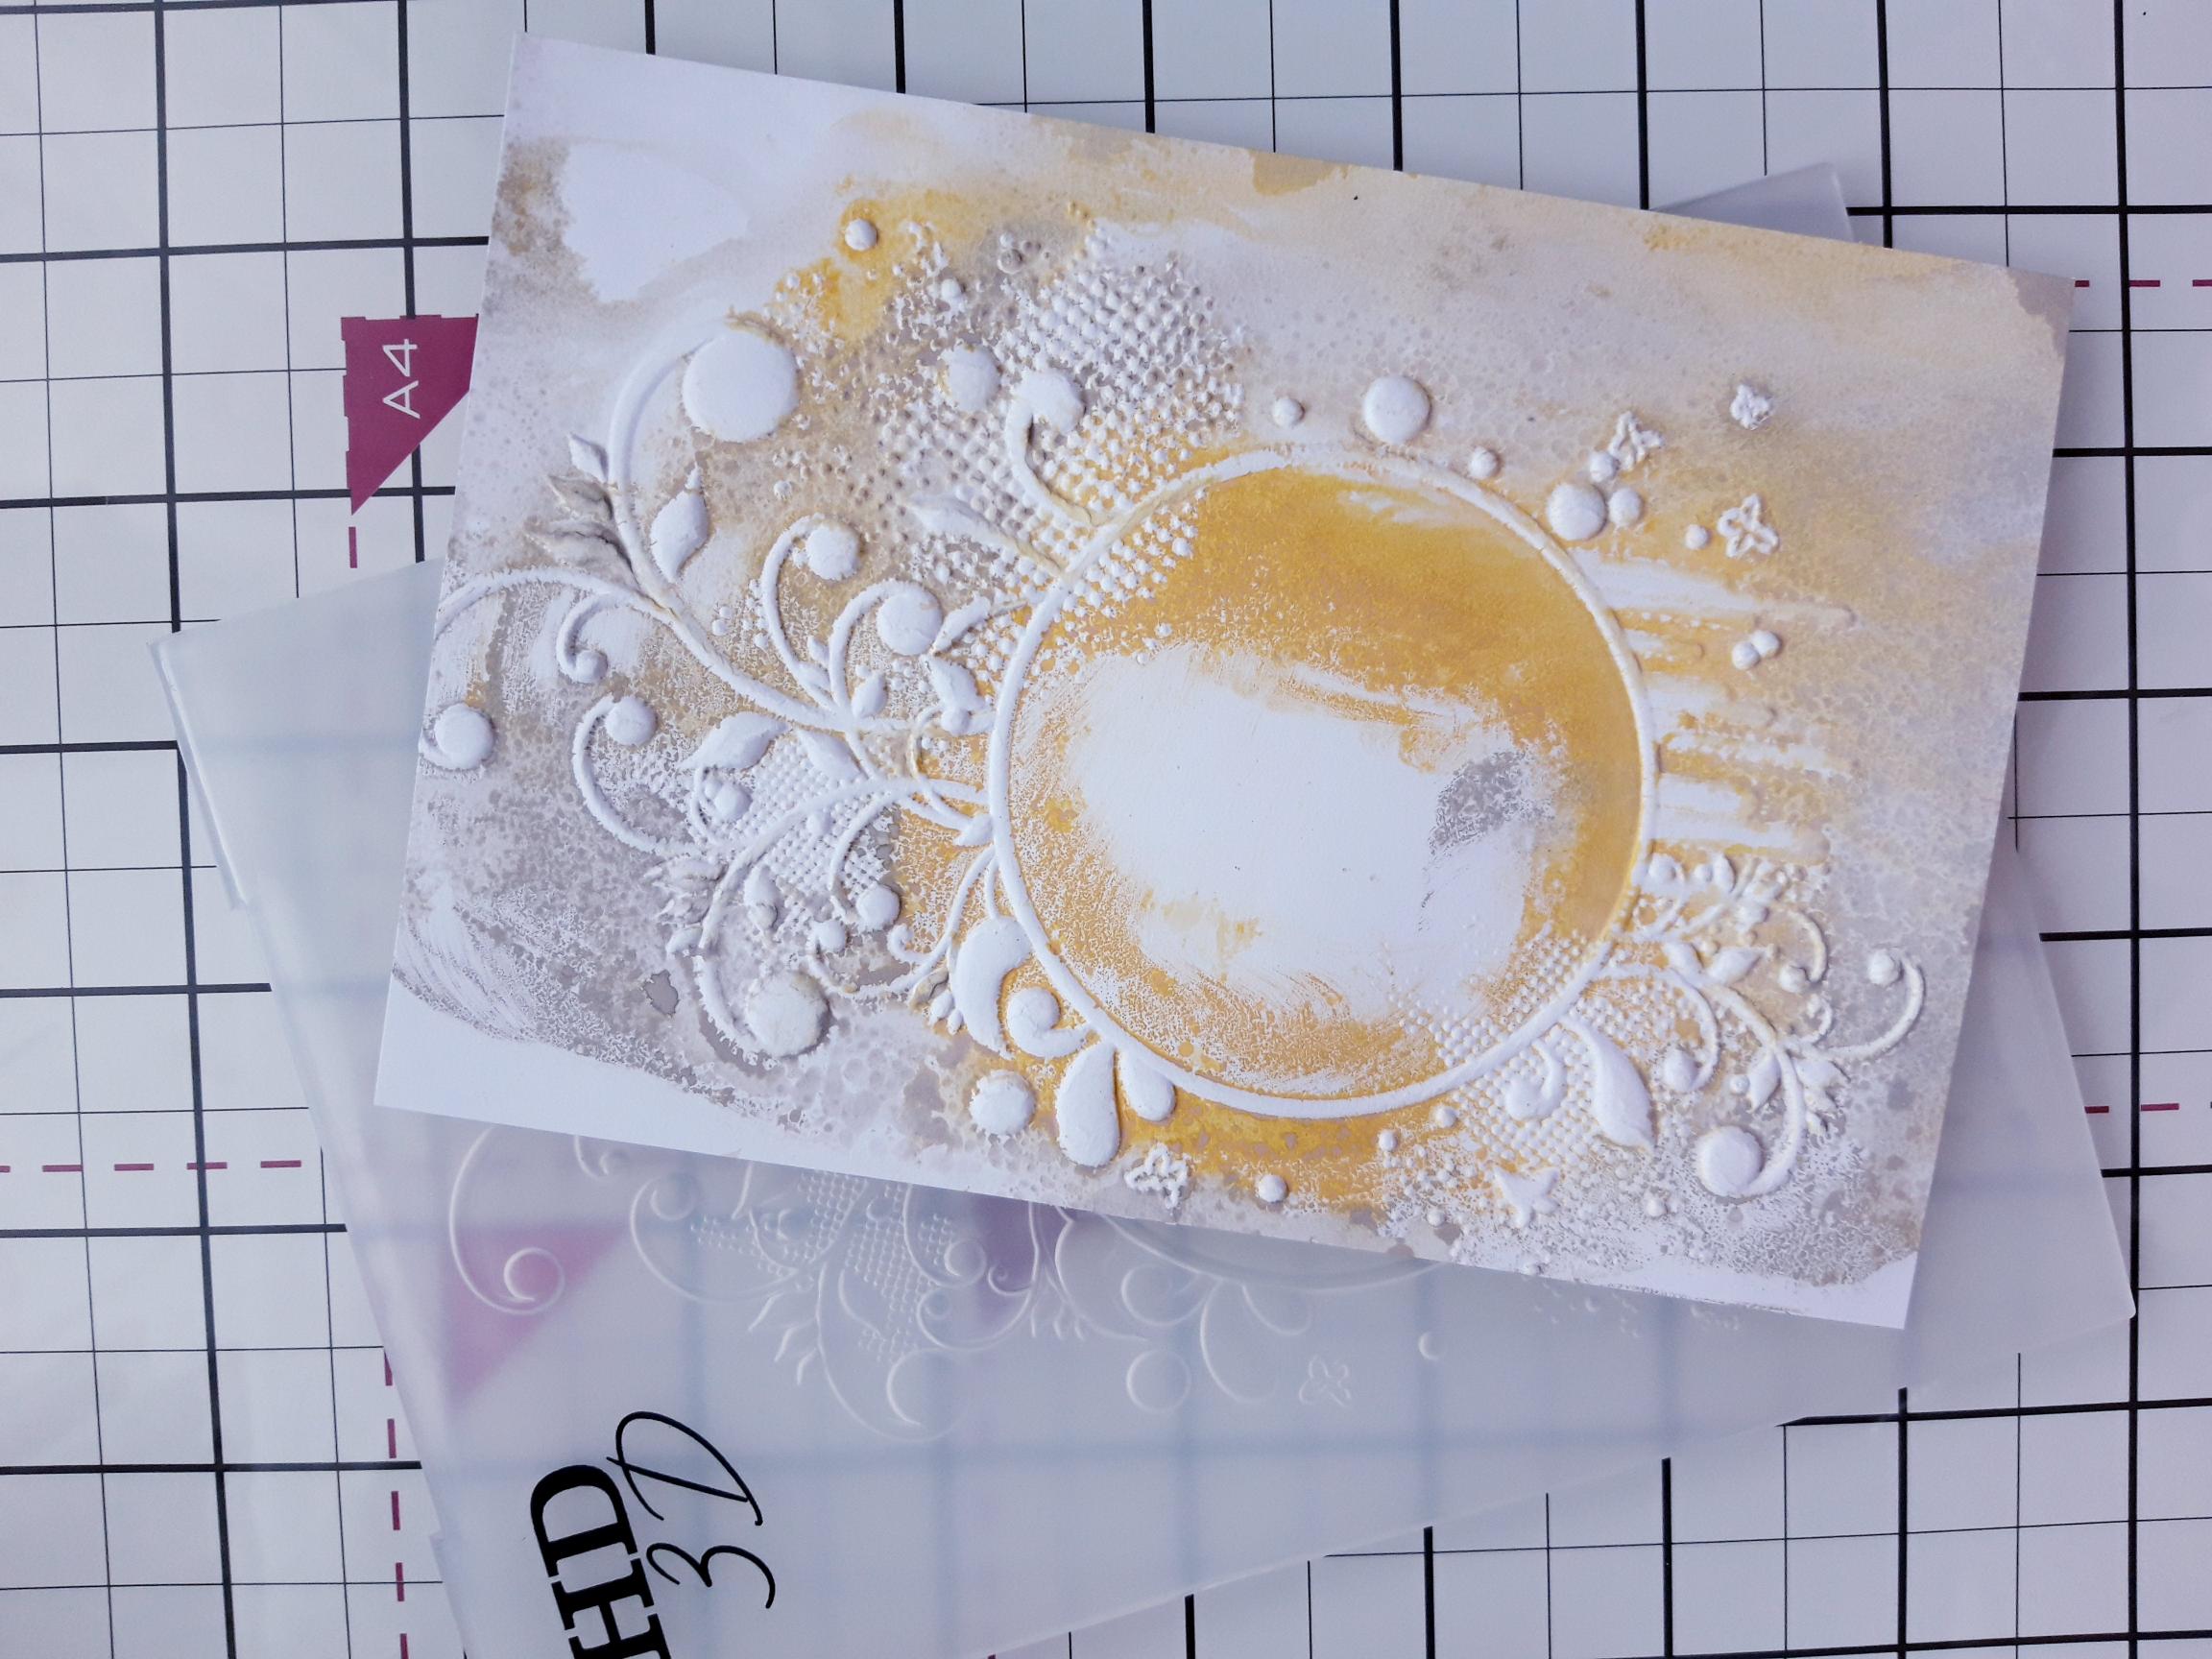
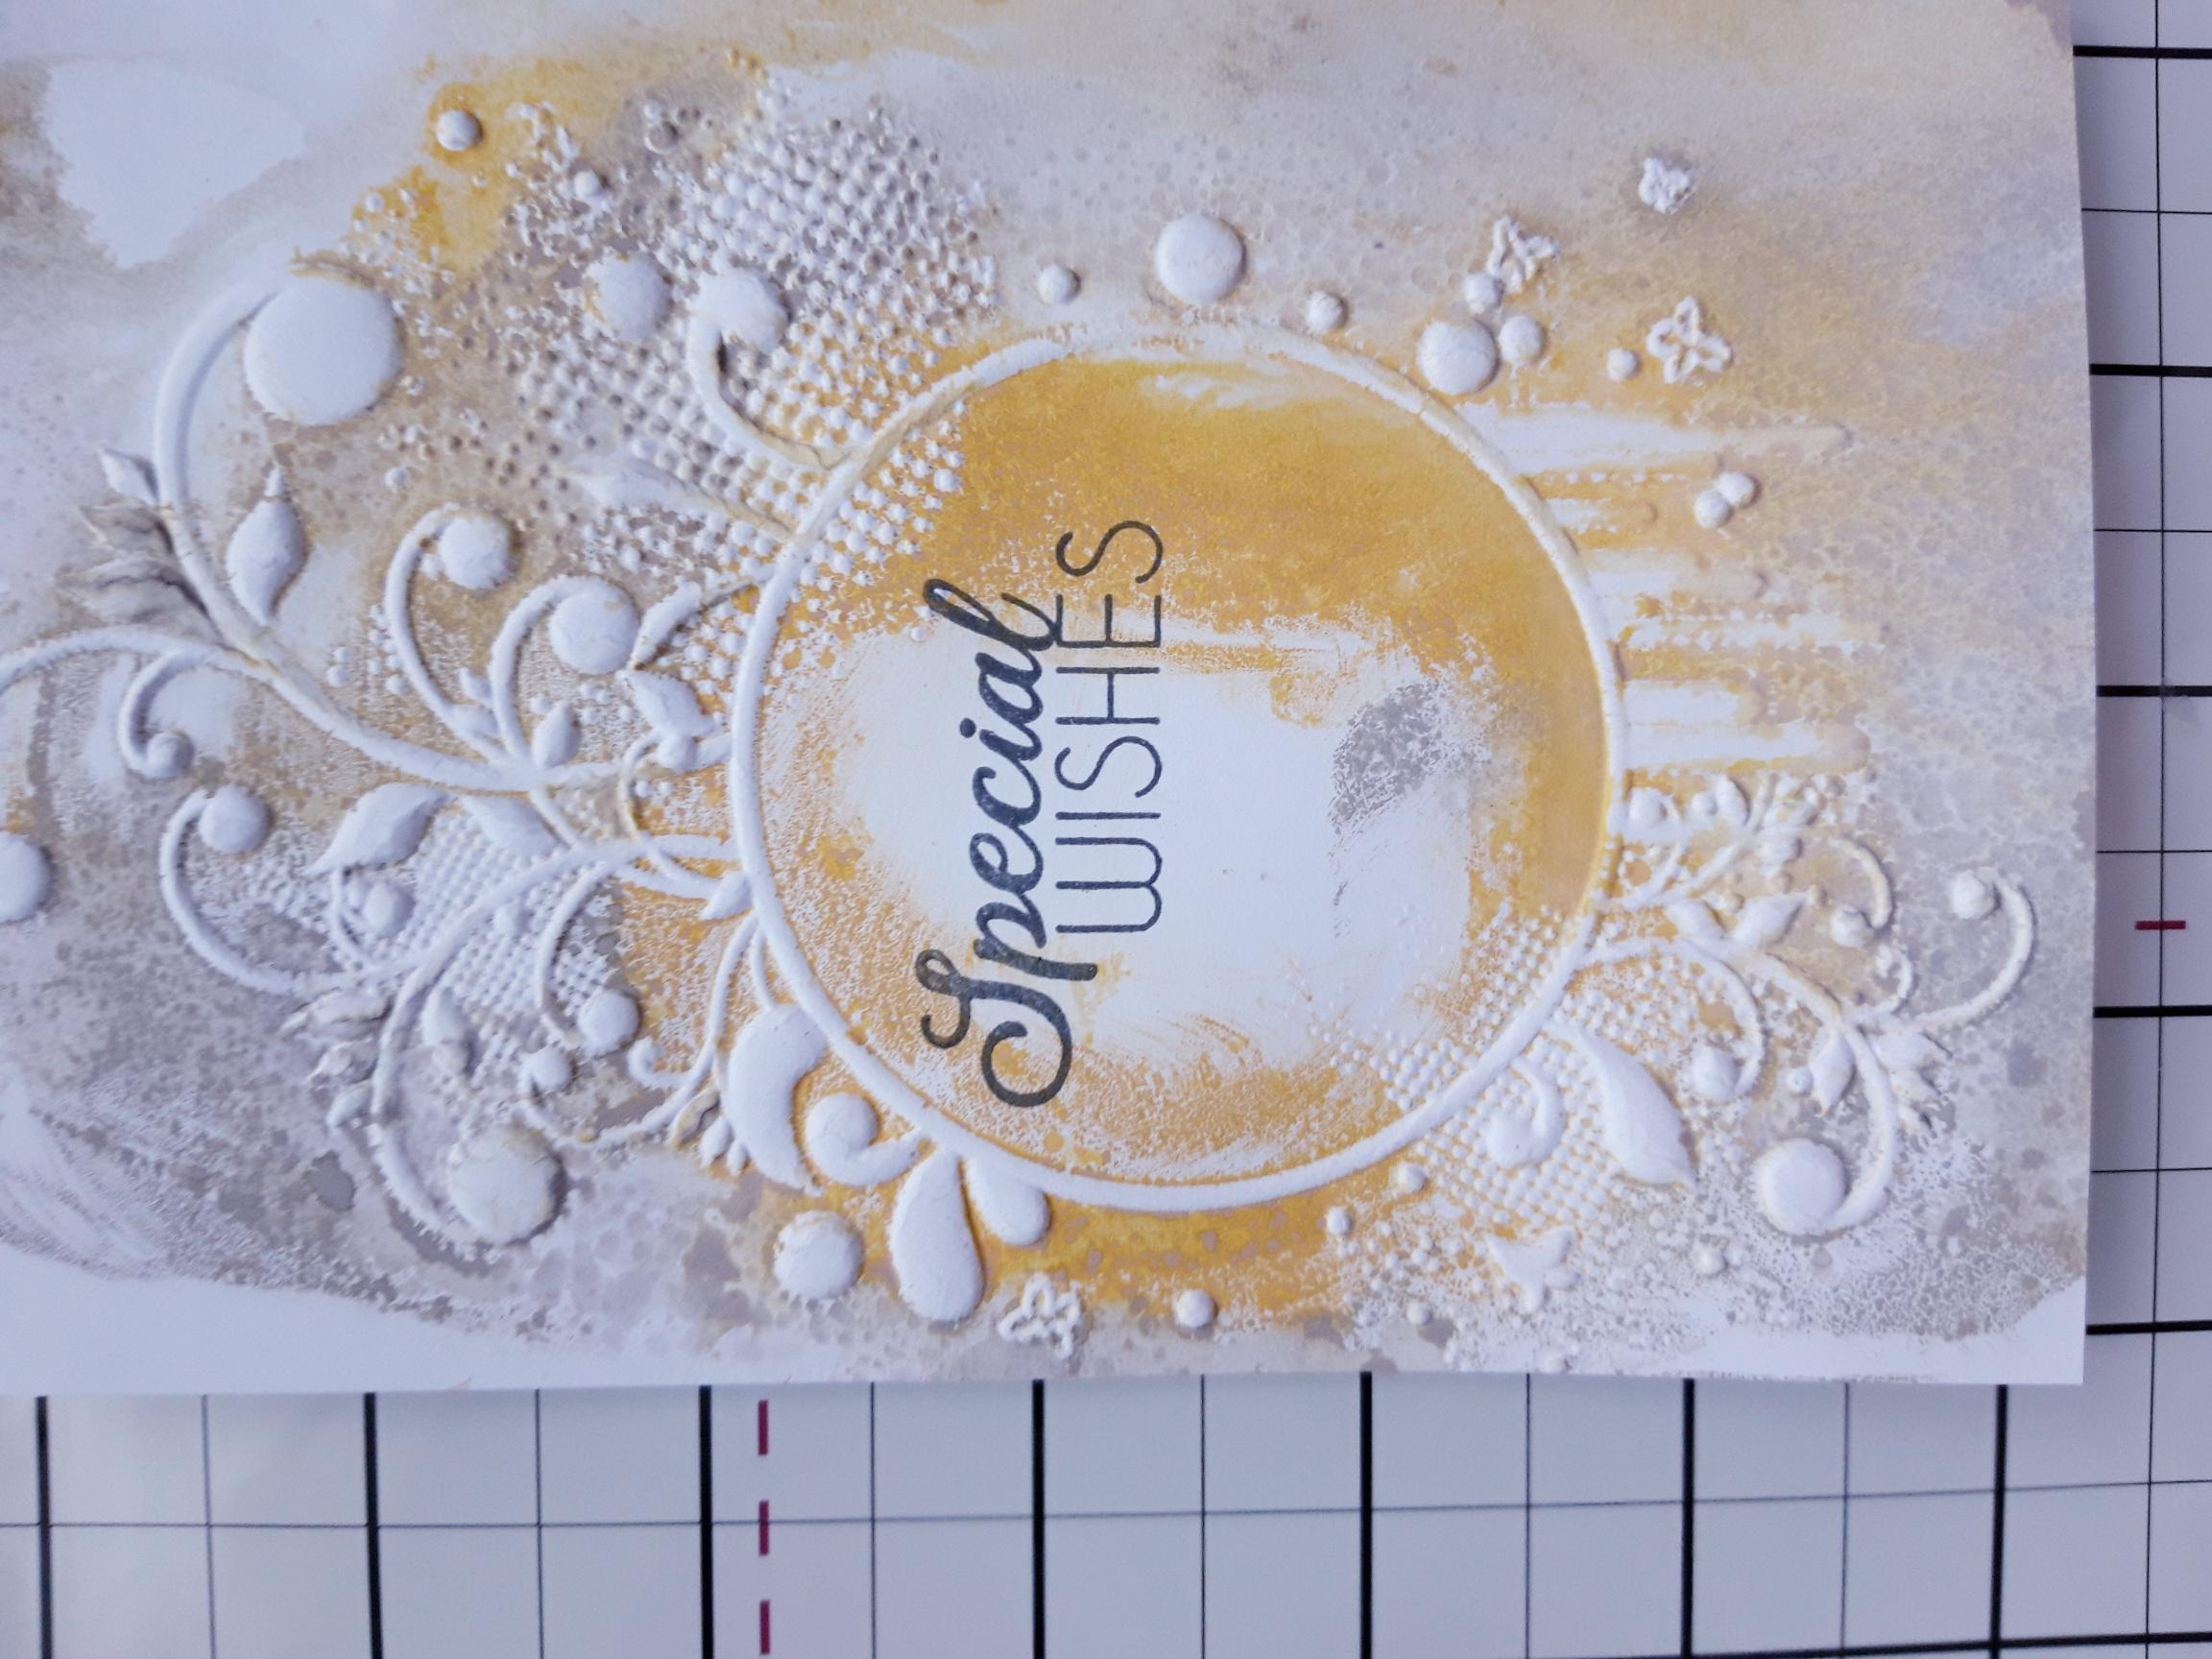
Apply the Fossilized Amber, Hickory Smoke and Vintage Photo ink pads directly to the debossed side of the Franctic Florals embossing folder. Spritz lightly with water then place the 6 1/4 x 4 1/4" white card inside the folder, with the inked side on top and run it through your machine. |
|
Ink up the sentiment from the Quattro D Collection, with the Smokey Grey Versafine and stamp within the embossed frame. |
|
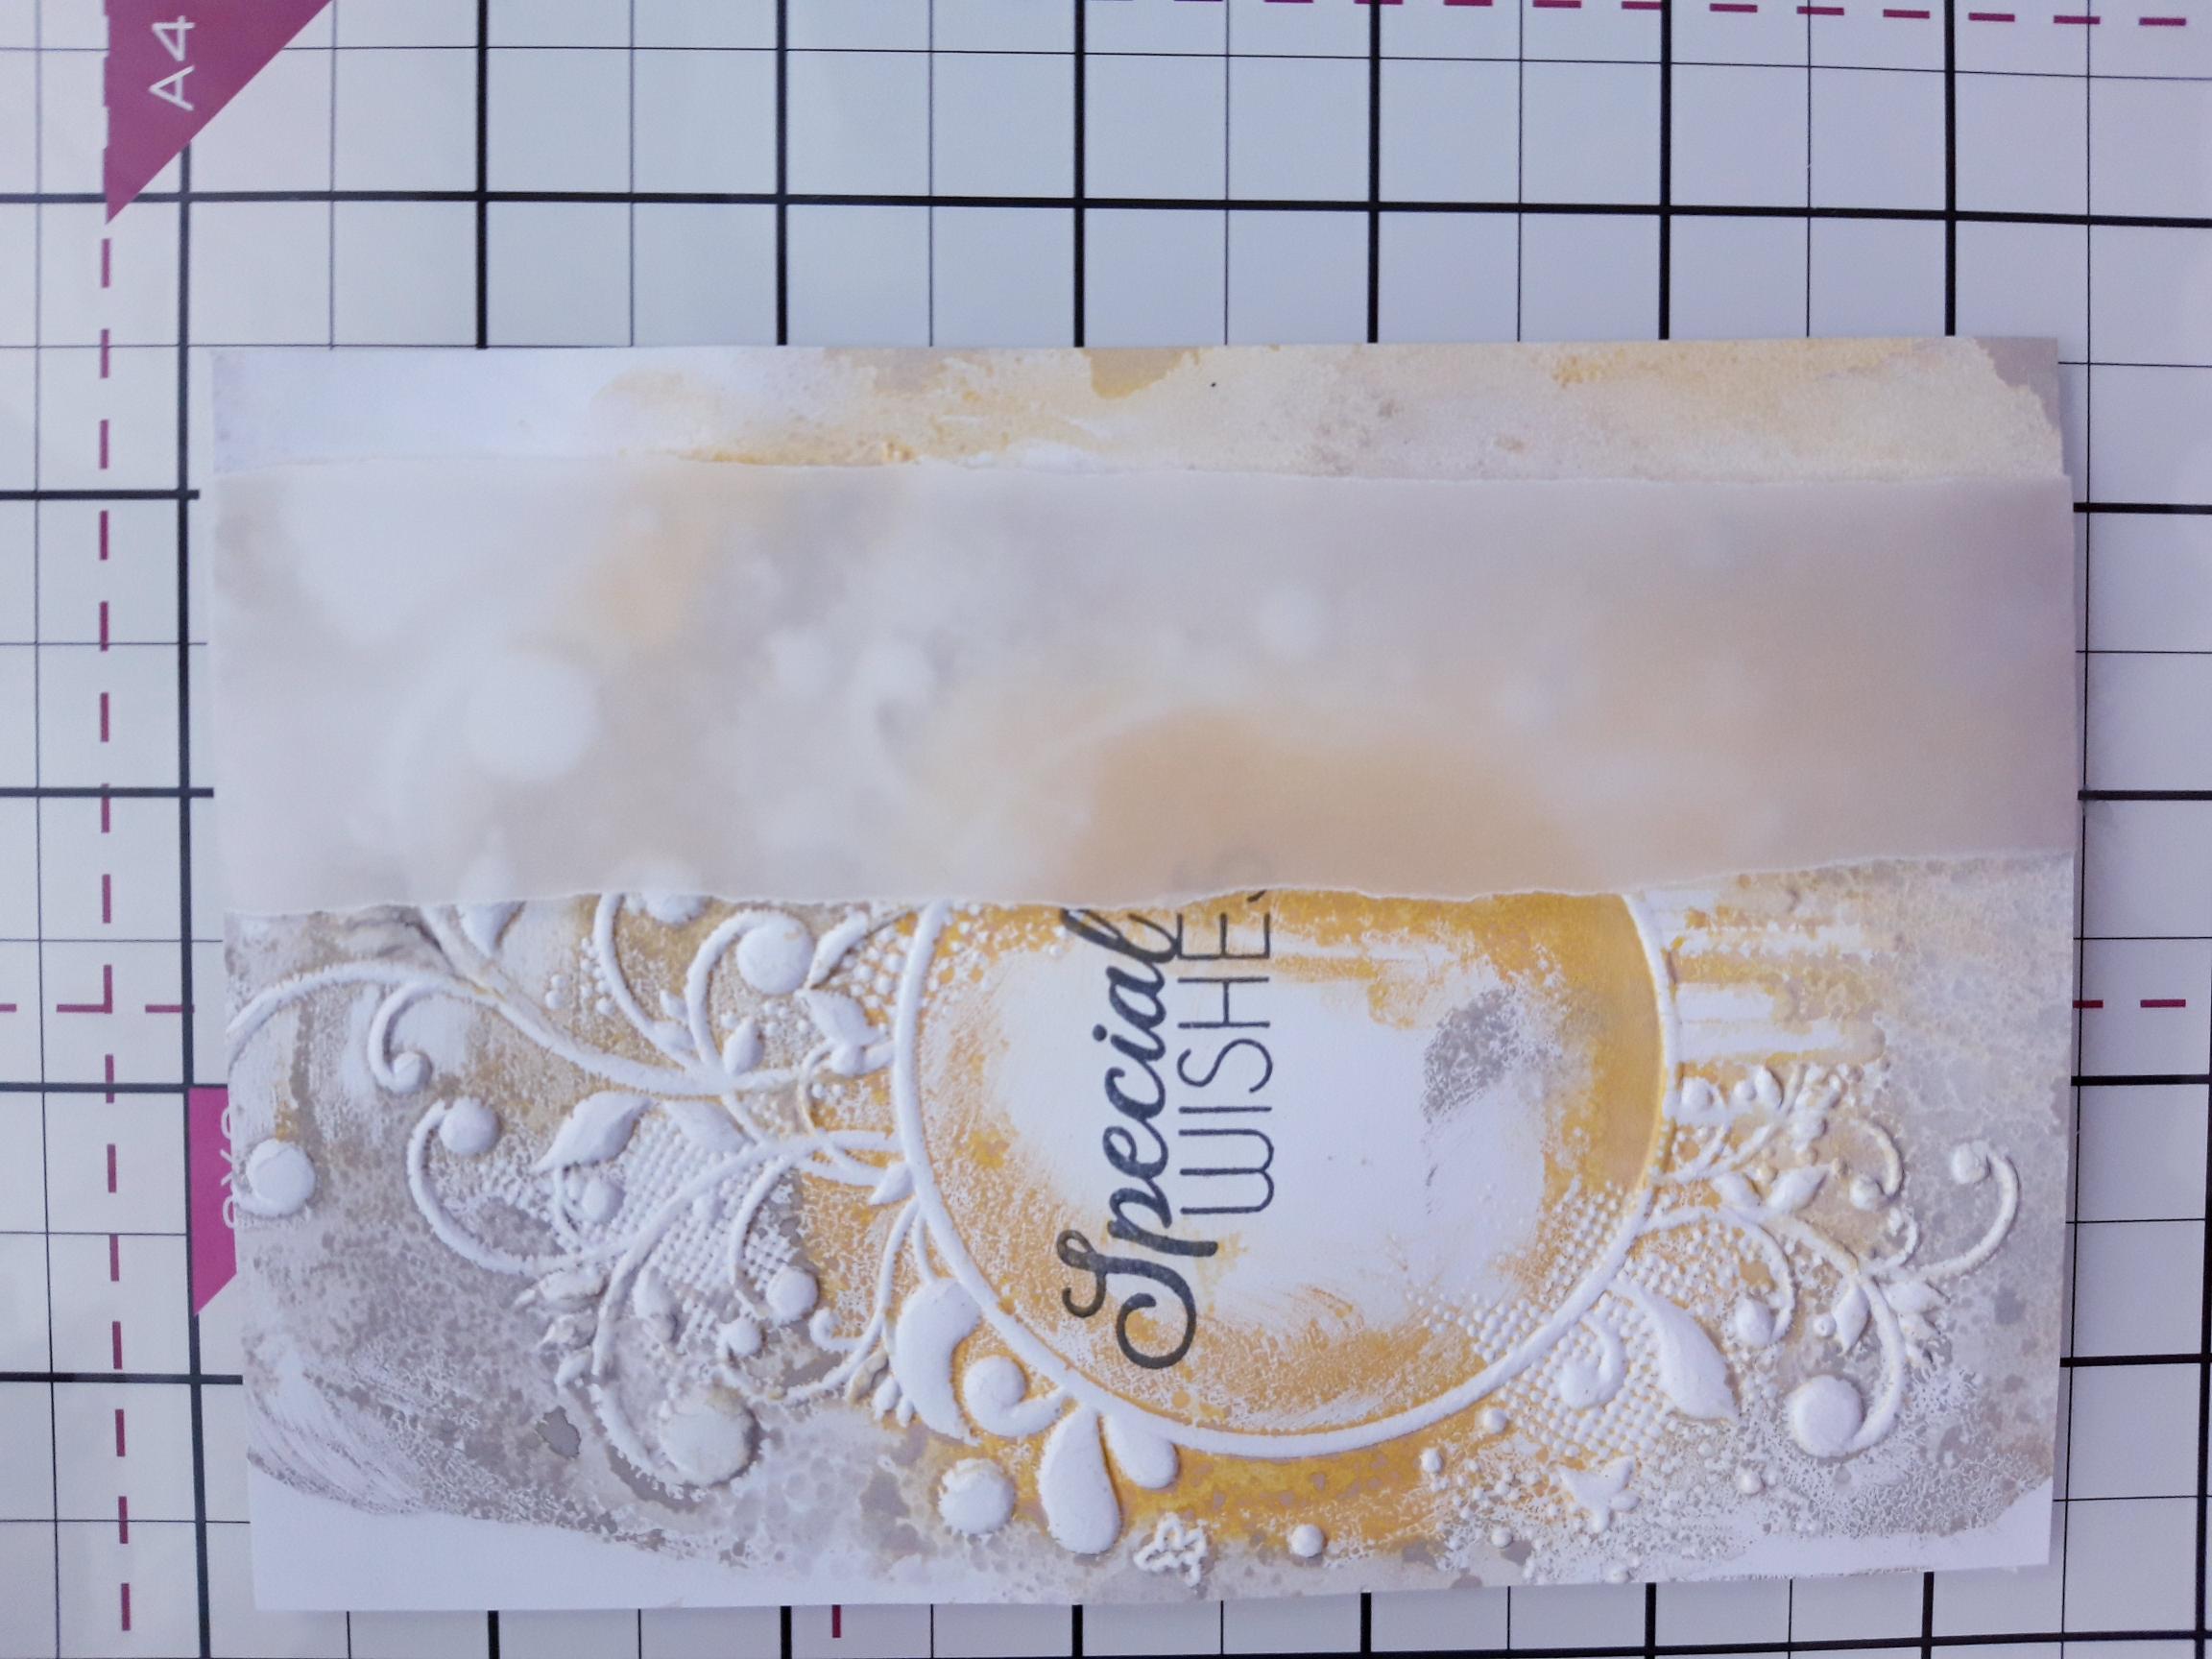
Tear a panel of vellum and place vertically down the right side of the artwork. Tuck the top and bottom of the vellum panel over the edges of the card and secure on the reverse, with double sided tape. |

|
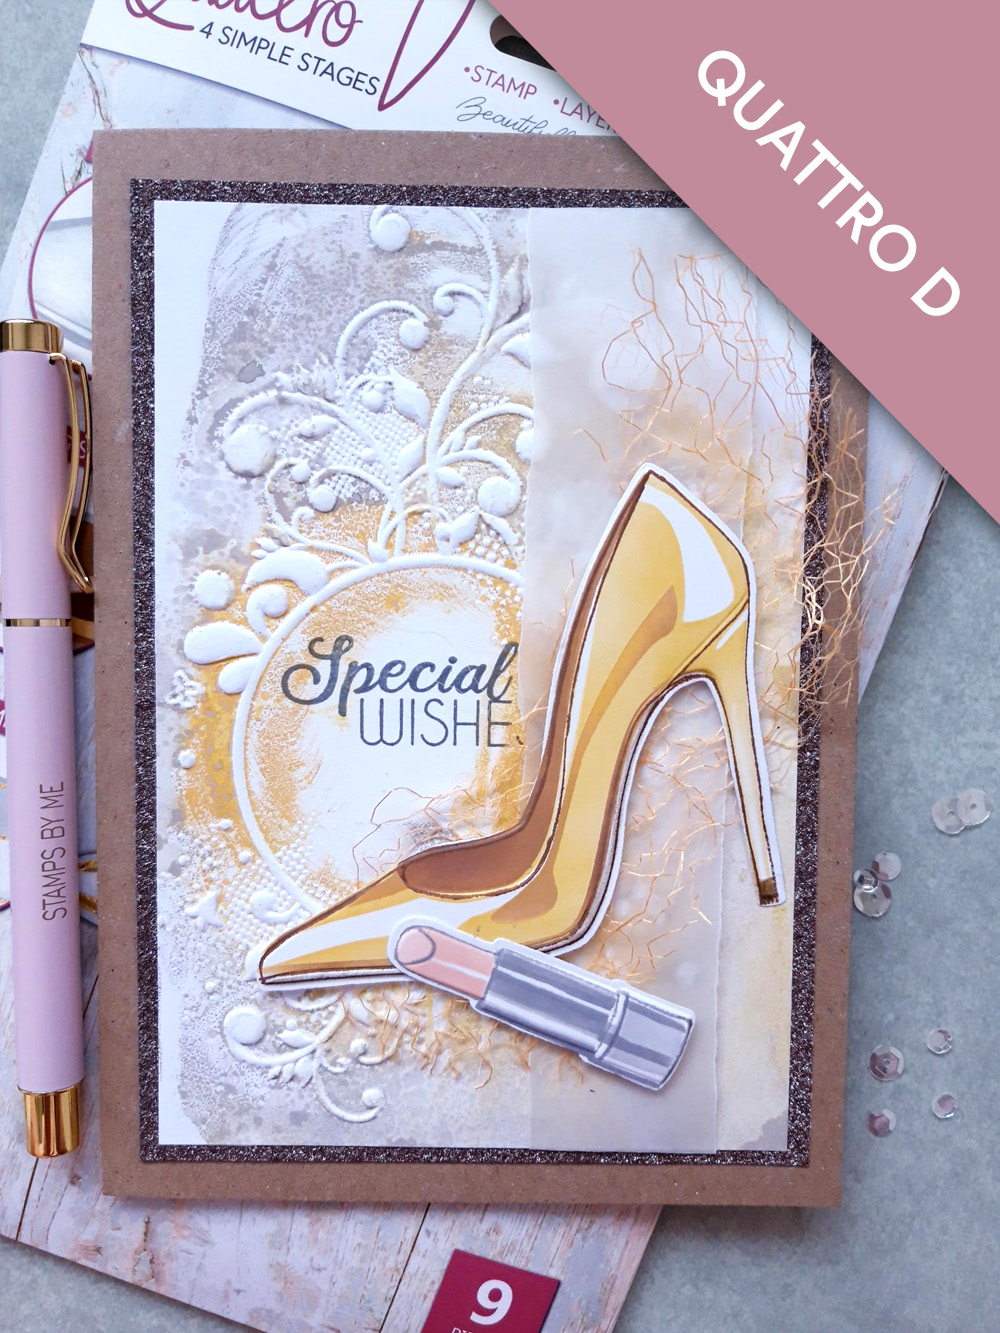
Adhere your artwork on to the brown glitter card and then on to your kraft card blank. |
|
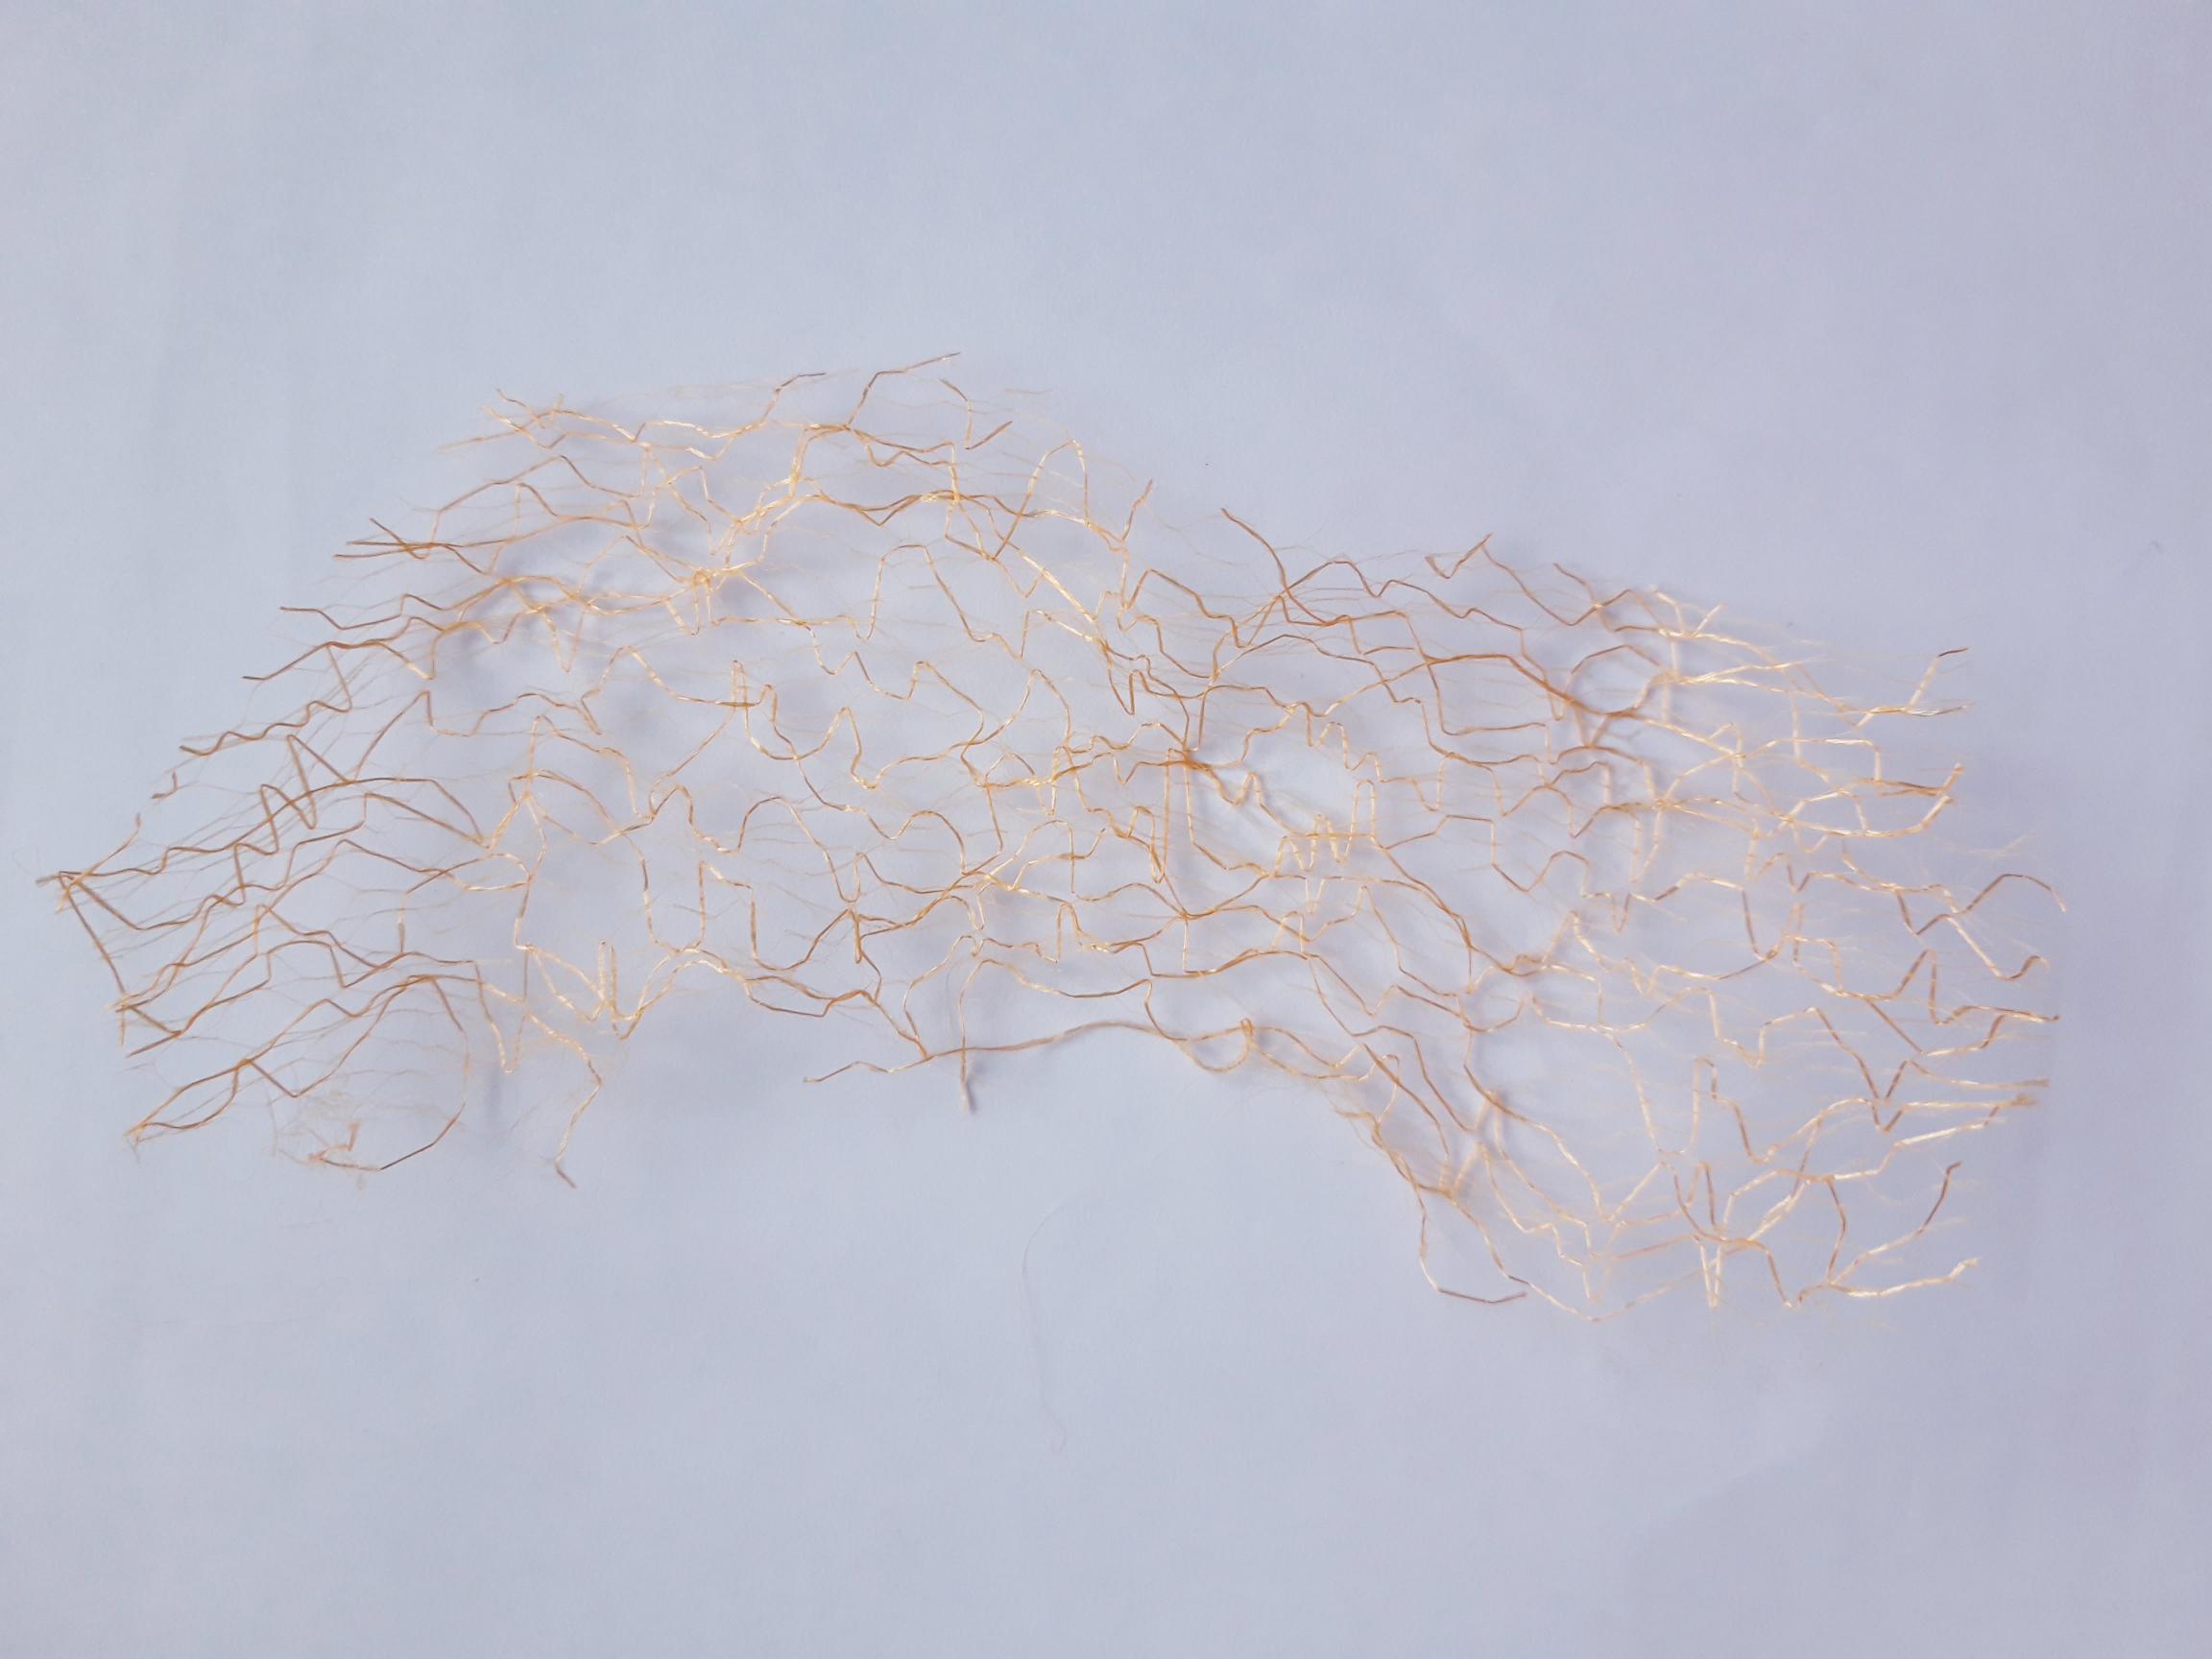
Tear off a strip of orange spiderweb lace mesh. |
|
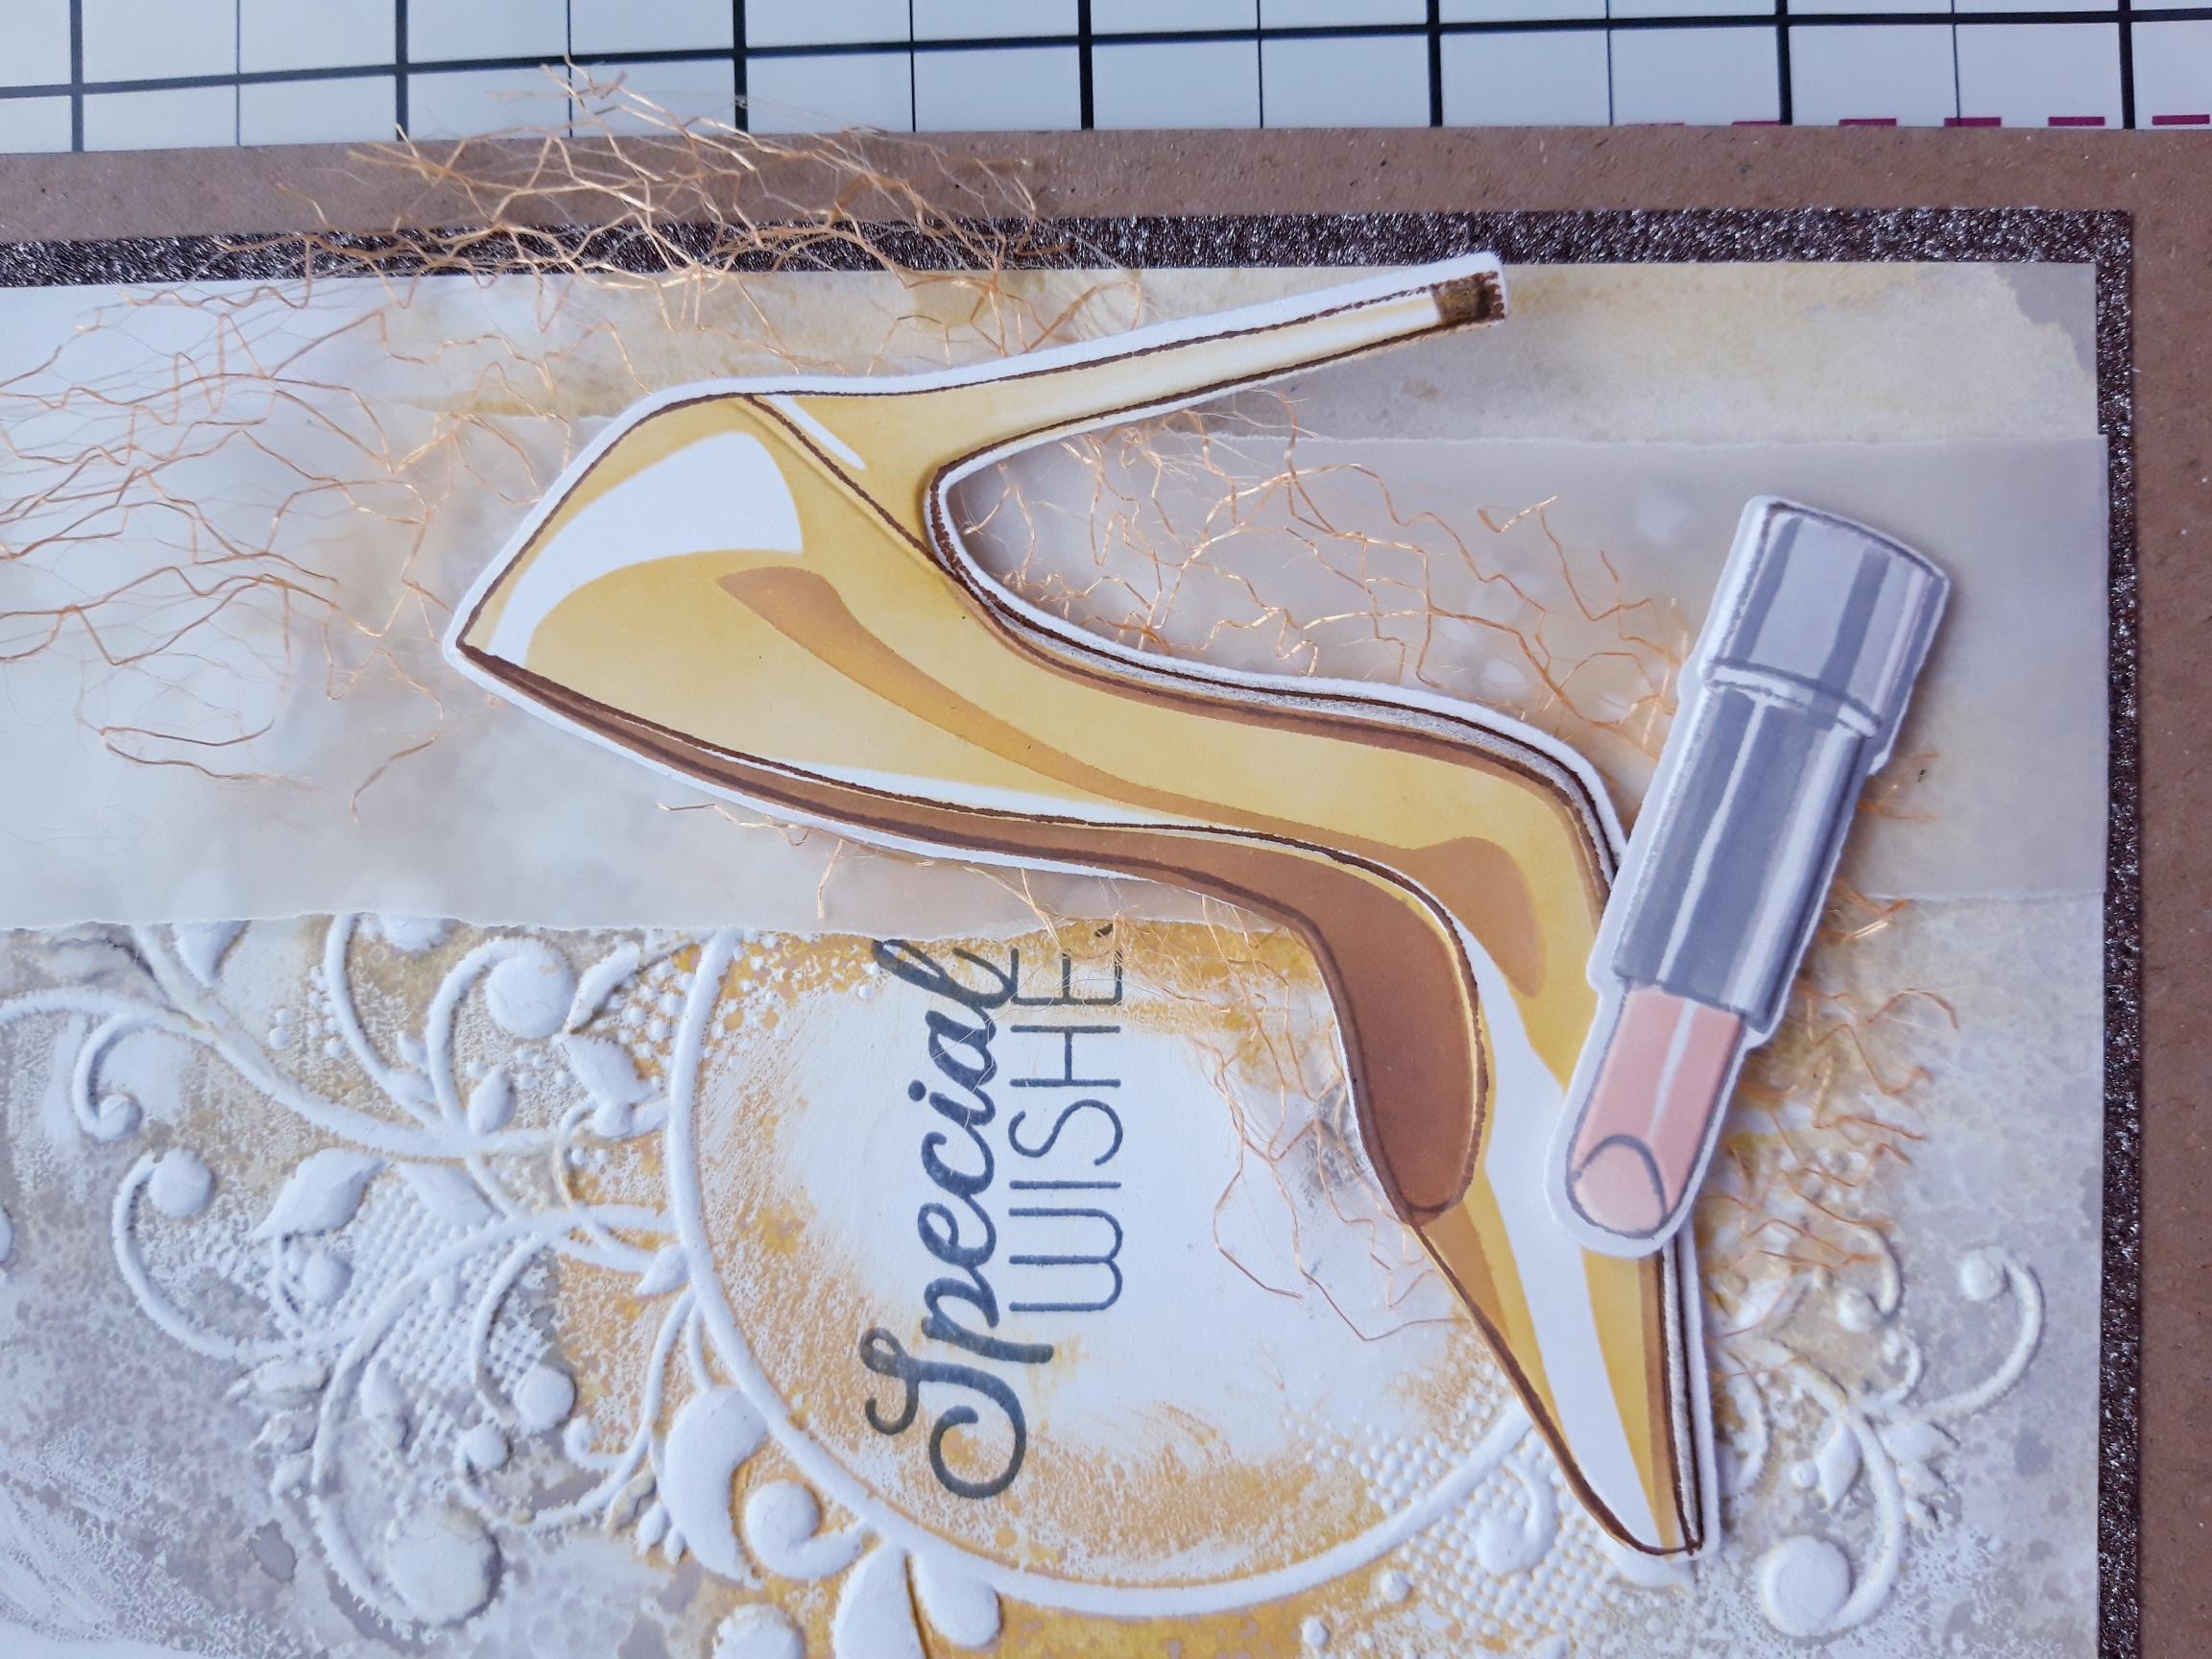
Place the lace mesh on to the torn vellum panel and adhere your 3D shoe and lipstick on top. Use a combination of wet glue and foam pads, to add depth and dimension. |