Give your friends $10 off their first order!
Refer a FRIEND


WHAT YOU WILL NEED:
White DL card blank
Pretty Things Inside Maple and Lime Die Collection
Pretty Things Inside Secret Forest A5 Vellum Paper Pack
Pretty Things Inside Secret Forest 8 x 8" Paper Pack
Pretty Things Inside Love & Hope Stamp Collection
Script or texture stamp
SBM Hybrid Ink Pad: Midnight
Izink Dye Spray: Butterscotch
Pearlywinks Pearl Mist: Golden Shimmer
Paint brush
Eureka 101 Watercolour Tablet
SBM Magnetic glass mat
Paper Trimmer
Perfect Together Glue
Foam pad
Die Cutting machine
[click image to enlarge] 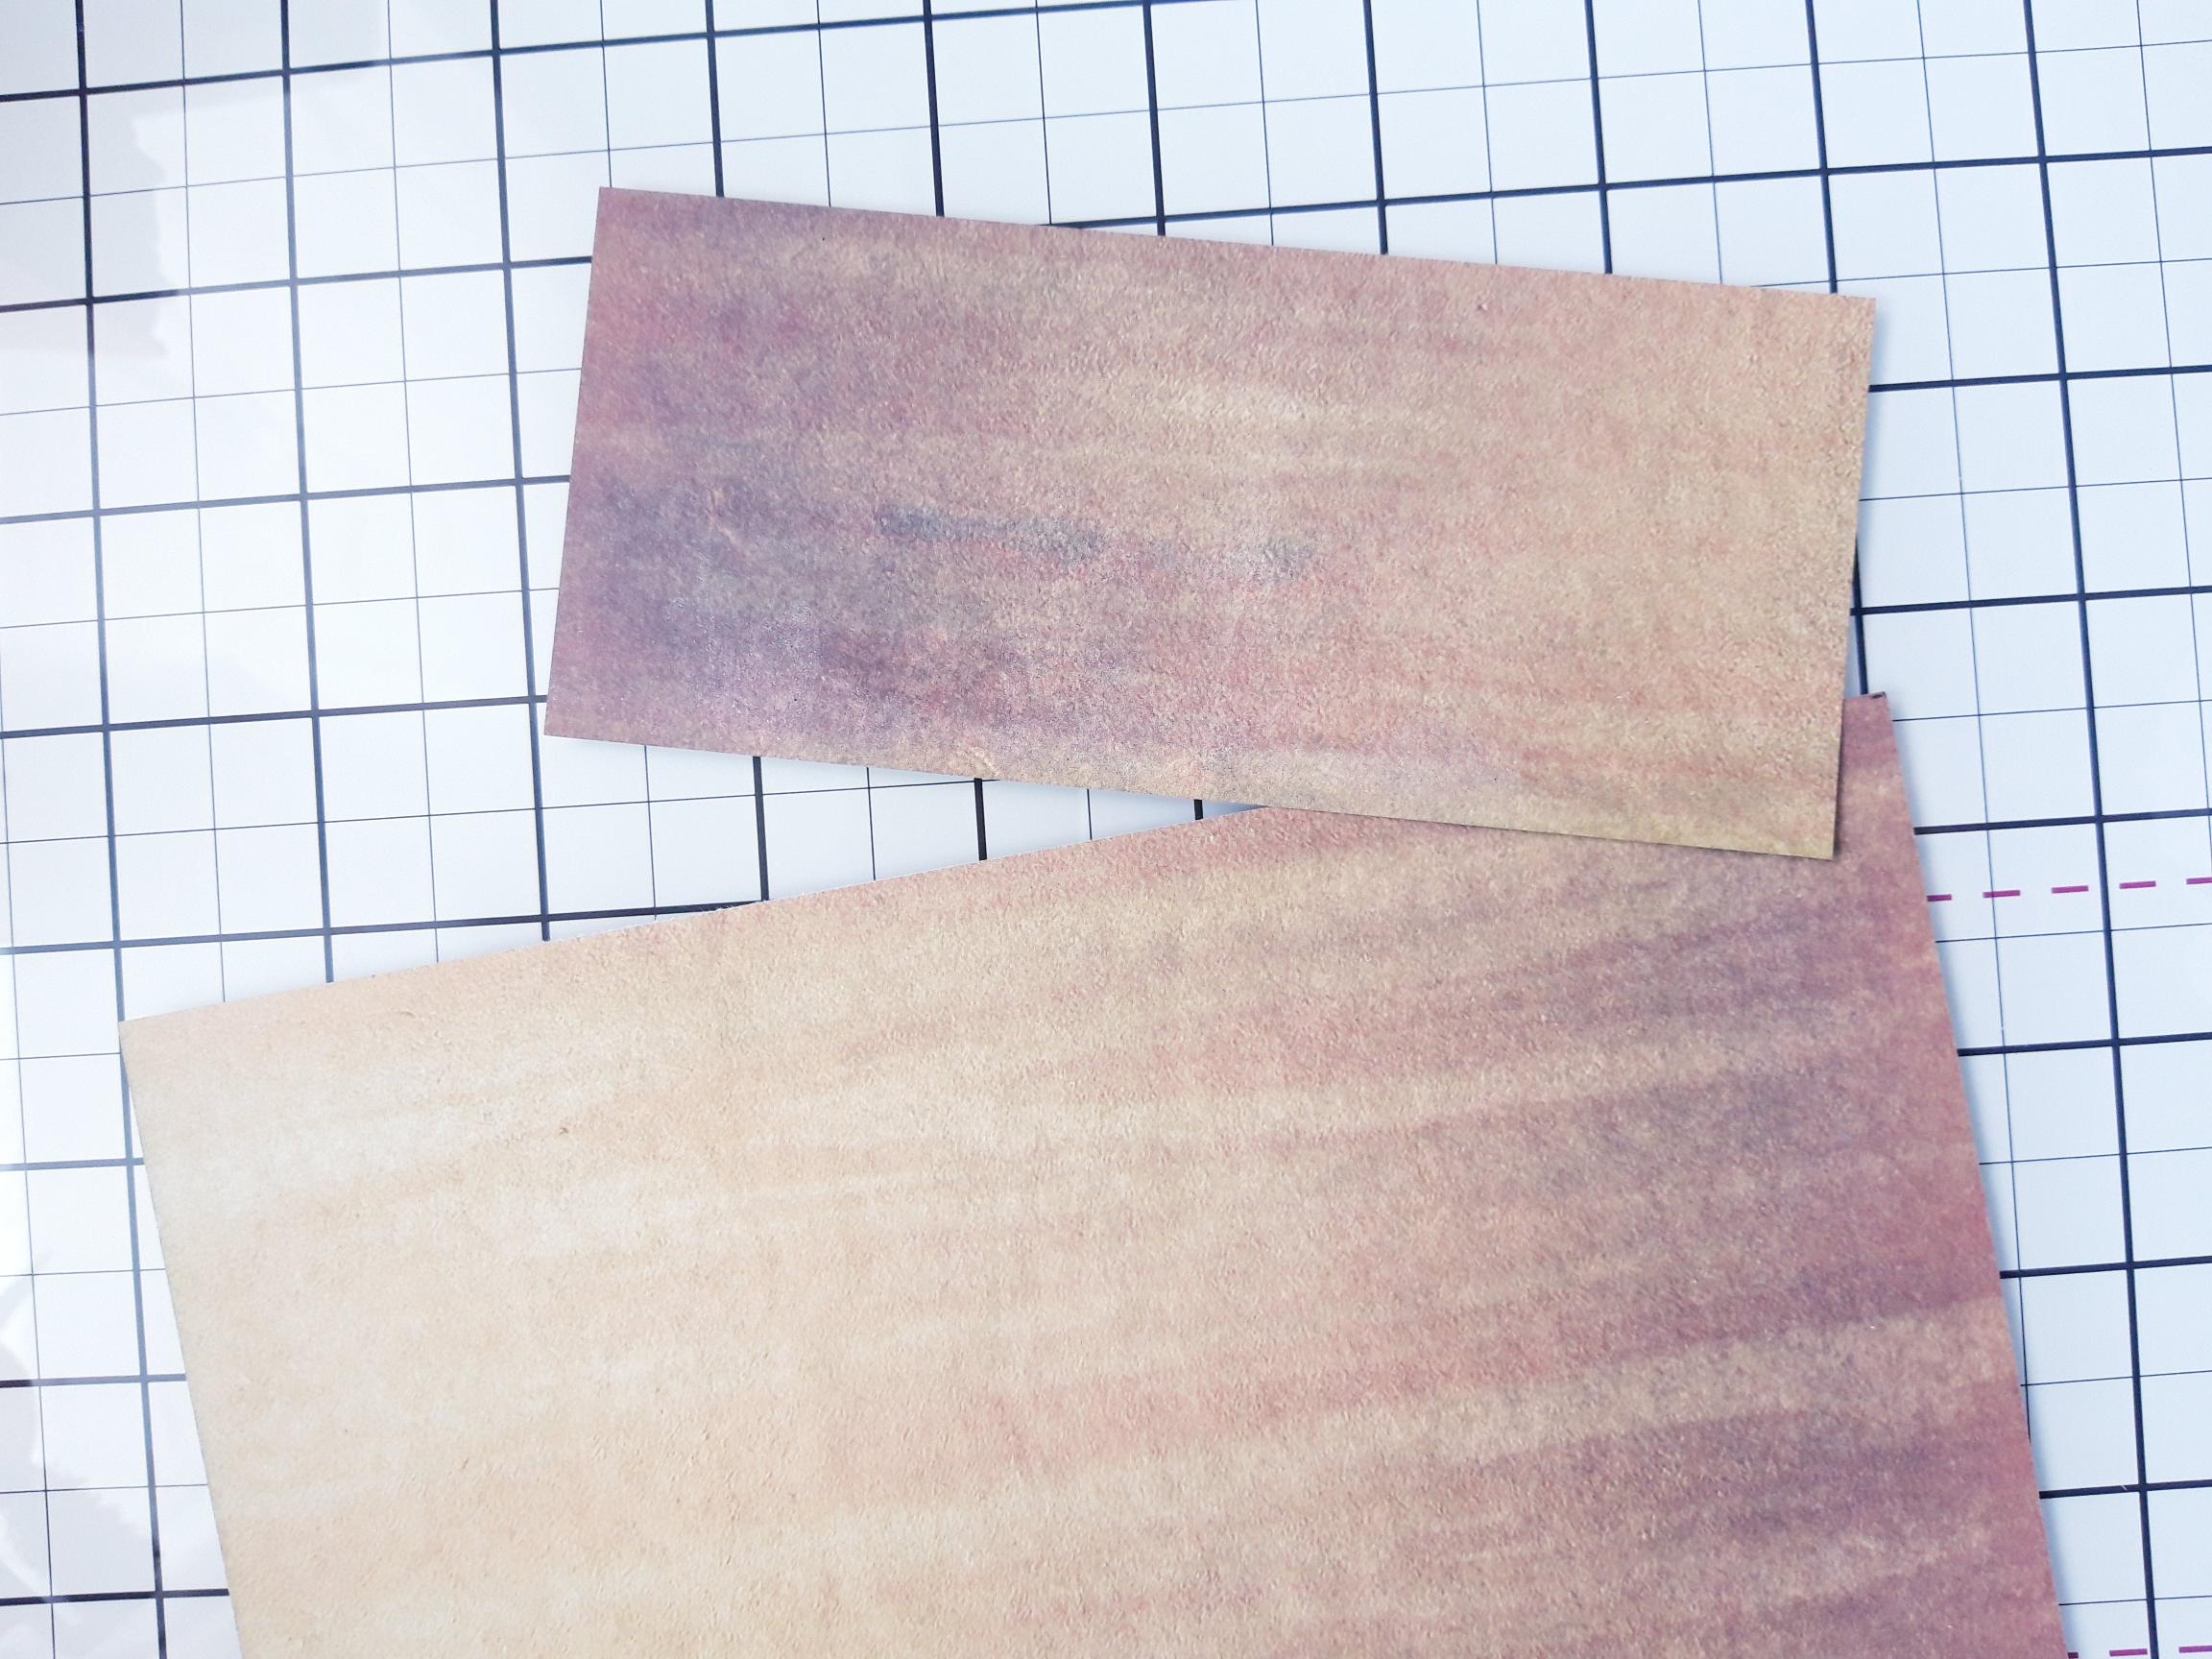
|
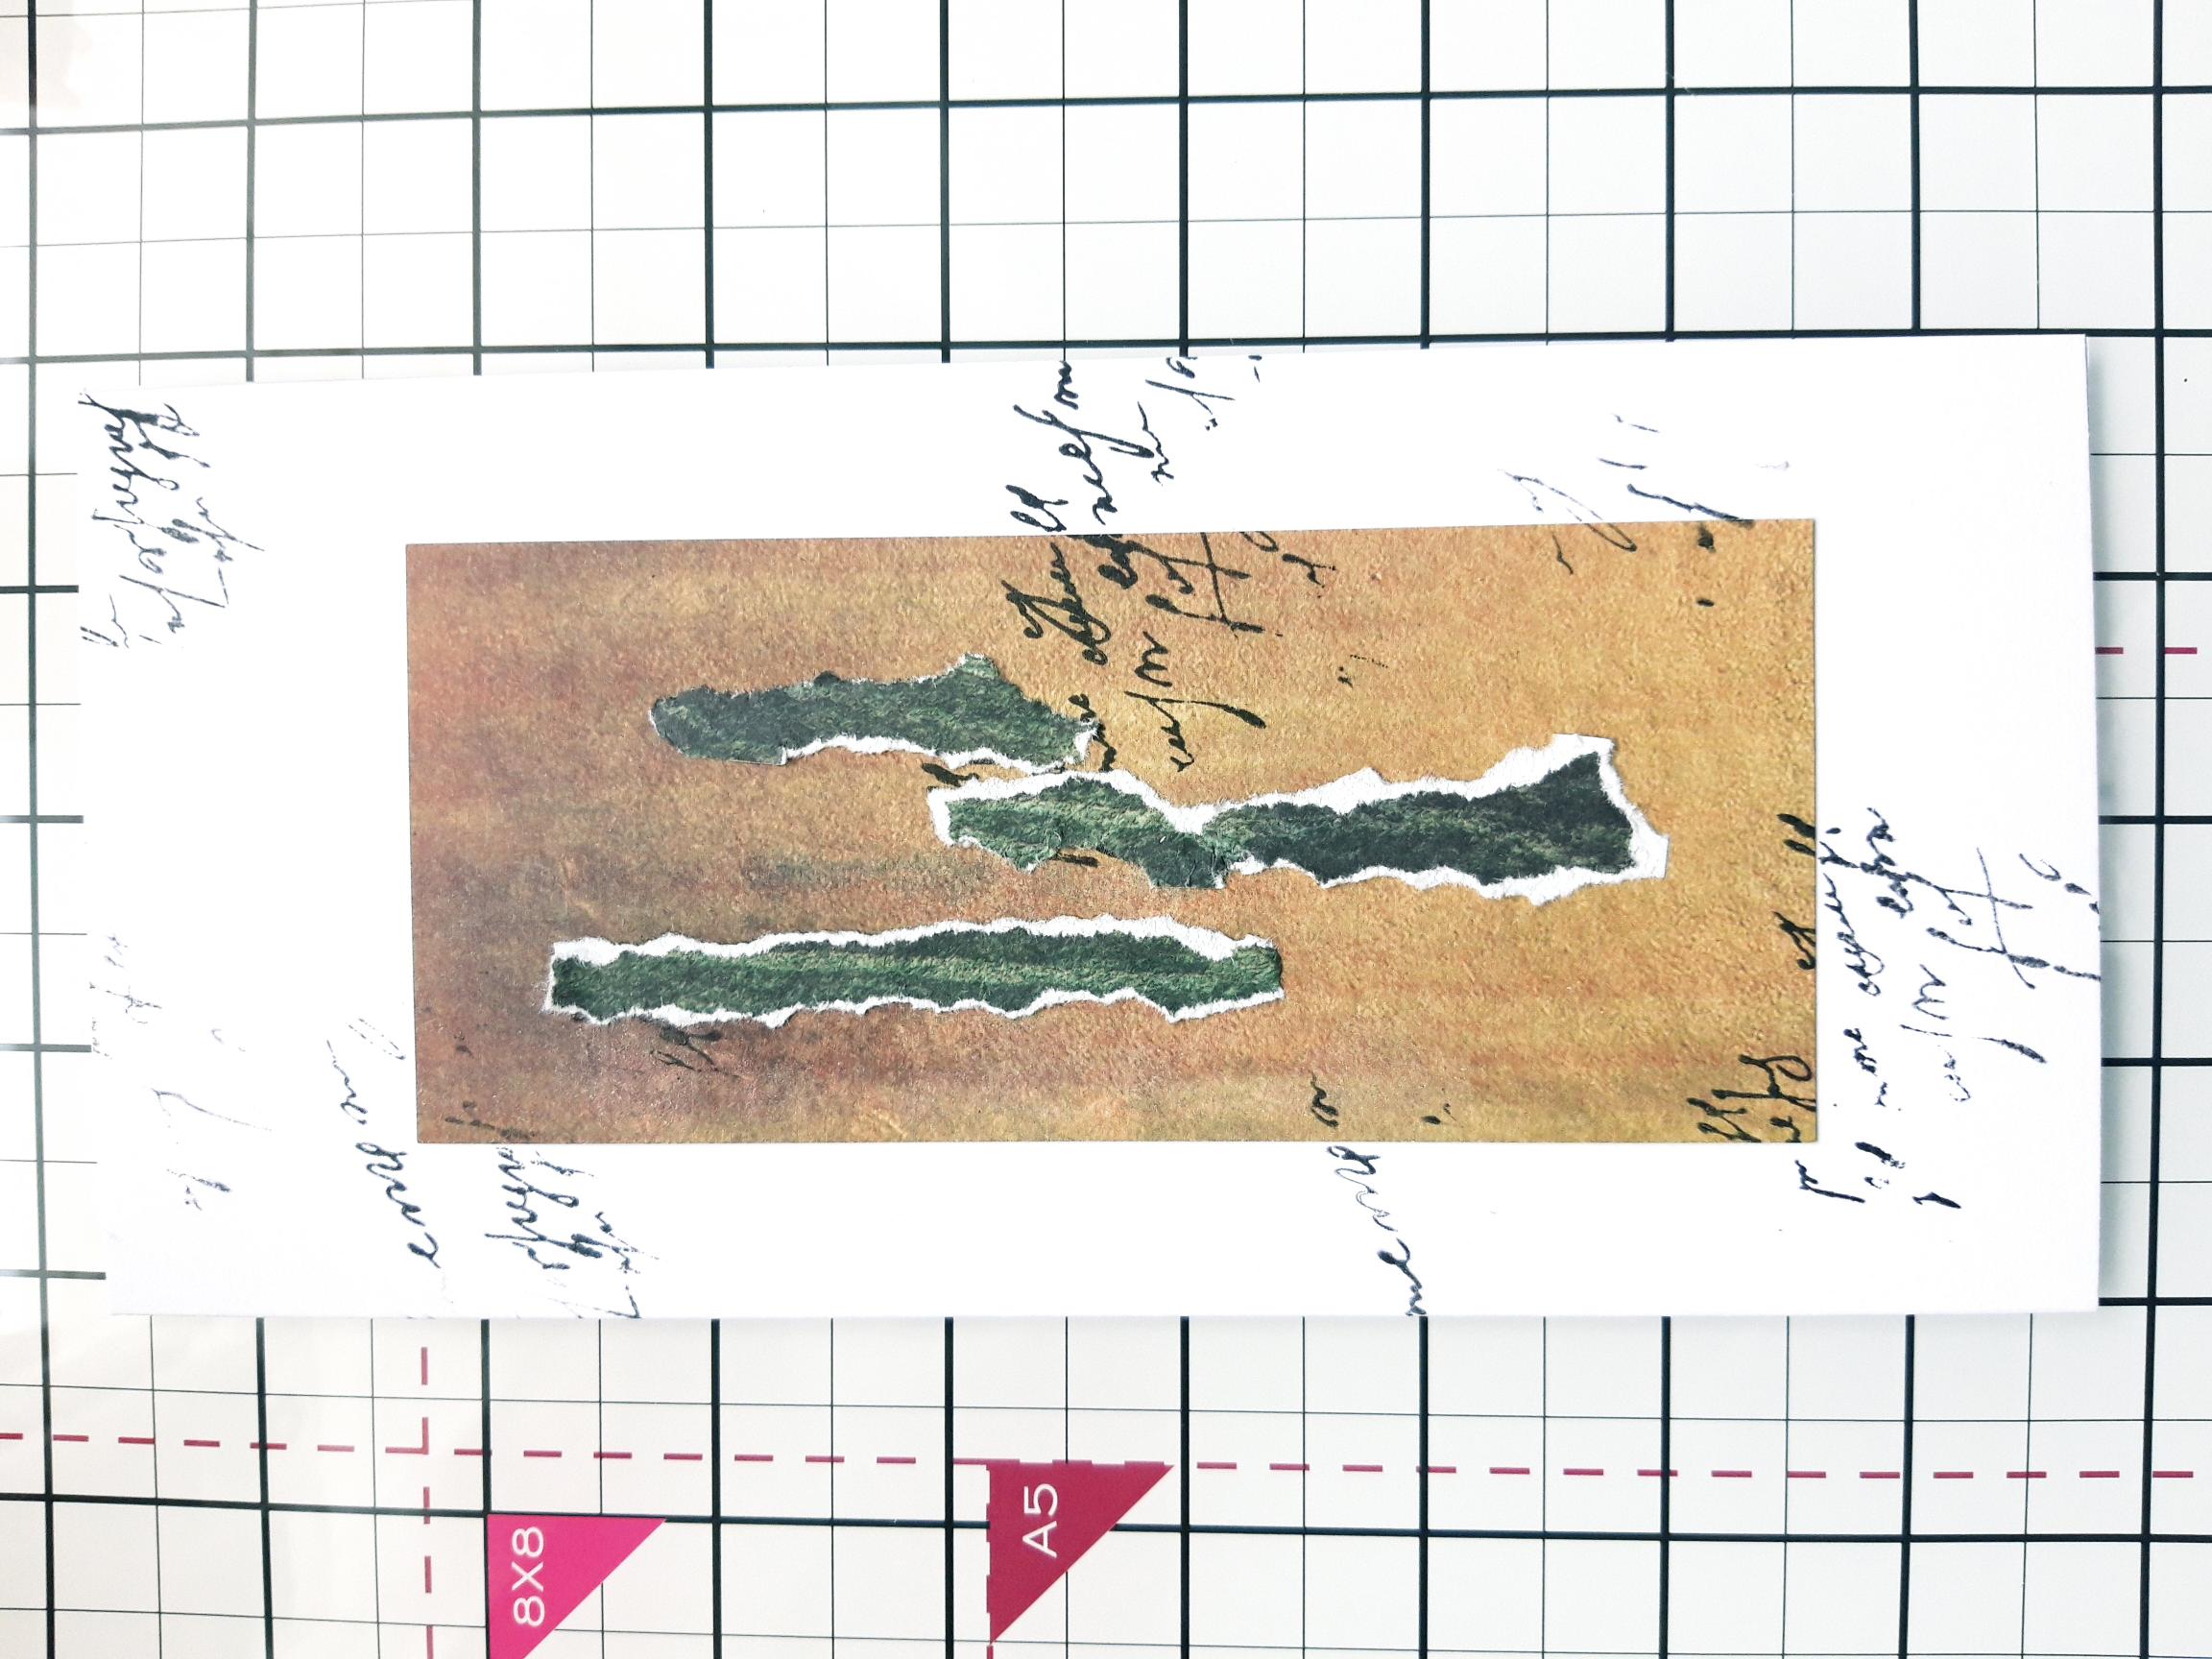
Remove this decorative sheet from the Secret Forest pack and trim to 5 3/4 x 2 1/2". |
|
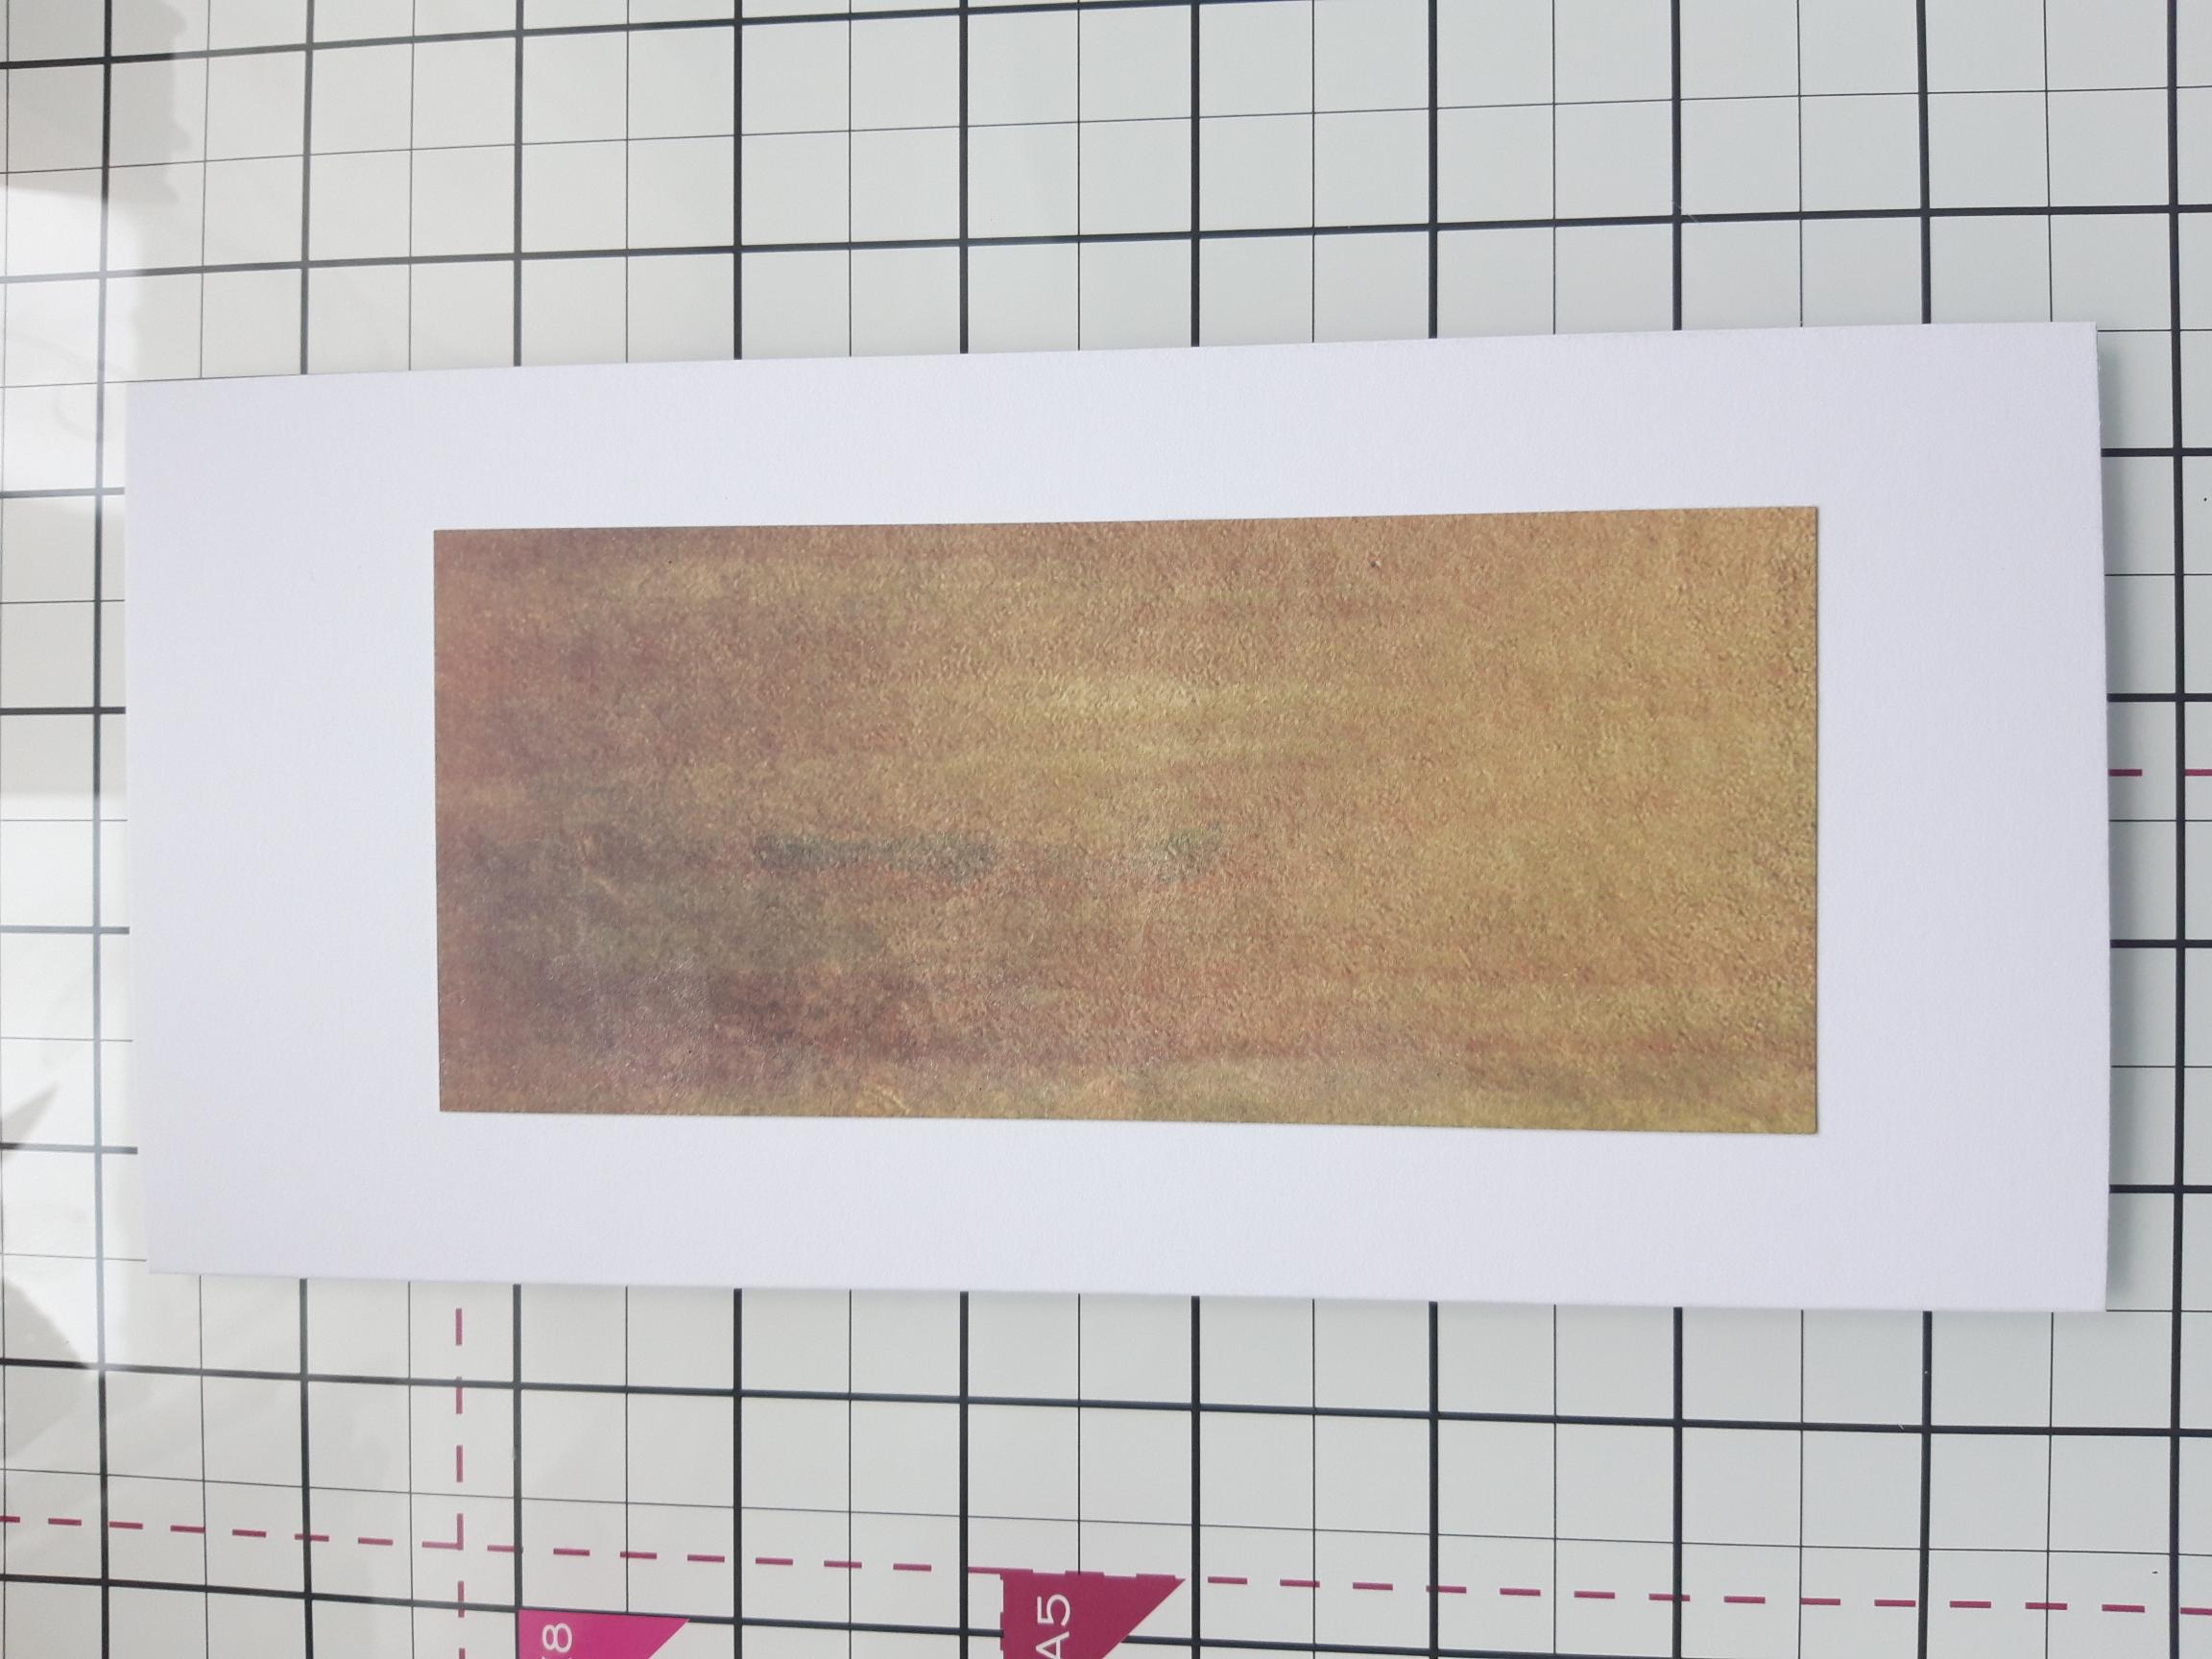
Adhere your decorative paper panel down the centre of your white, DL card blank. |
|
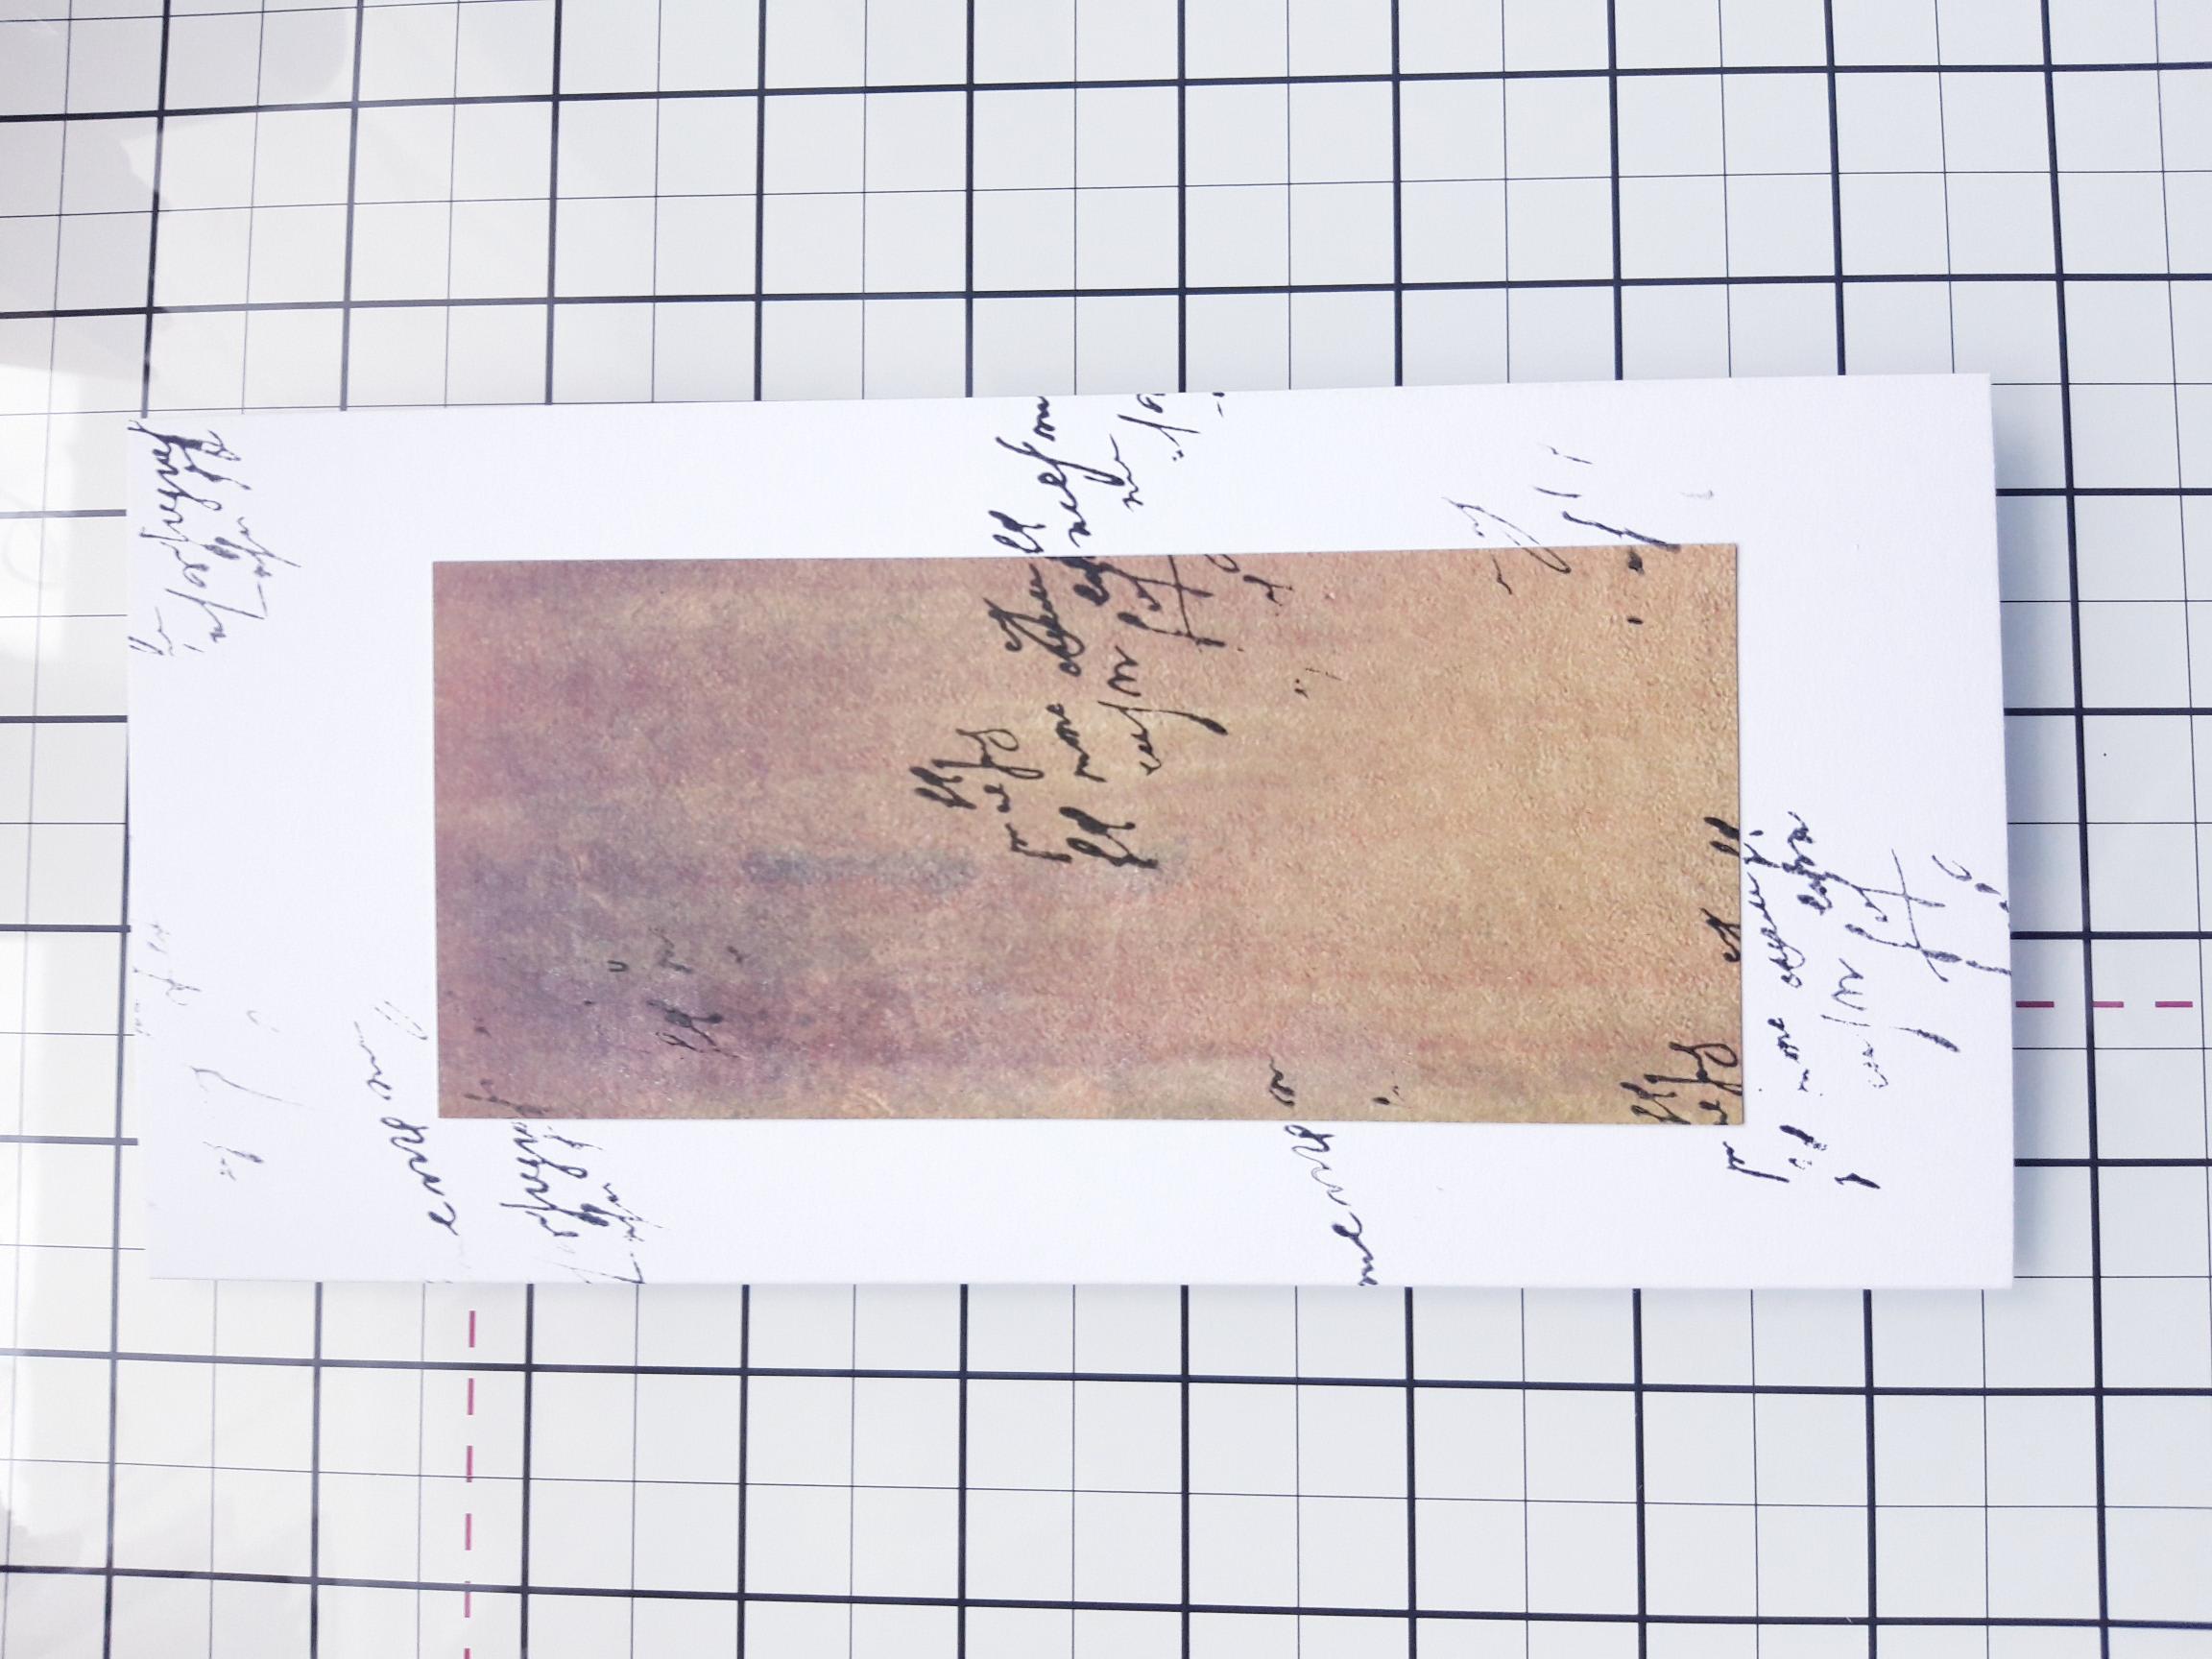
Ink up a script or texture stamp, from your crafty stash, with the hybrid Midnight ink and stamp randomly on your card, ensuring you stamp some off the edges. |

|
Choose a coordinating paper and tear 3 strips, as shown here. |
|
Adhere to the paper panel. |
|
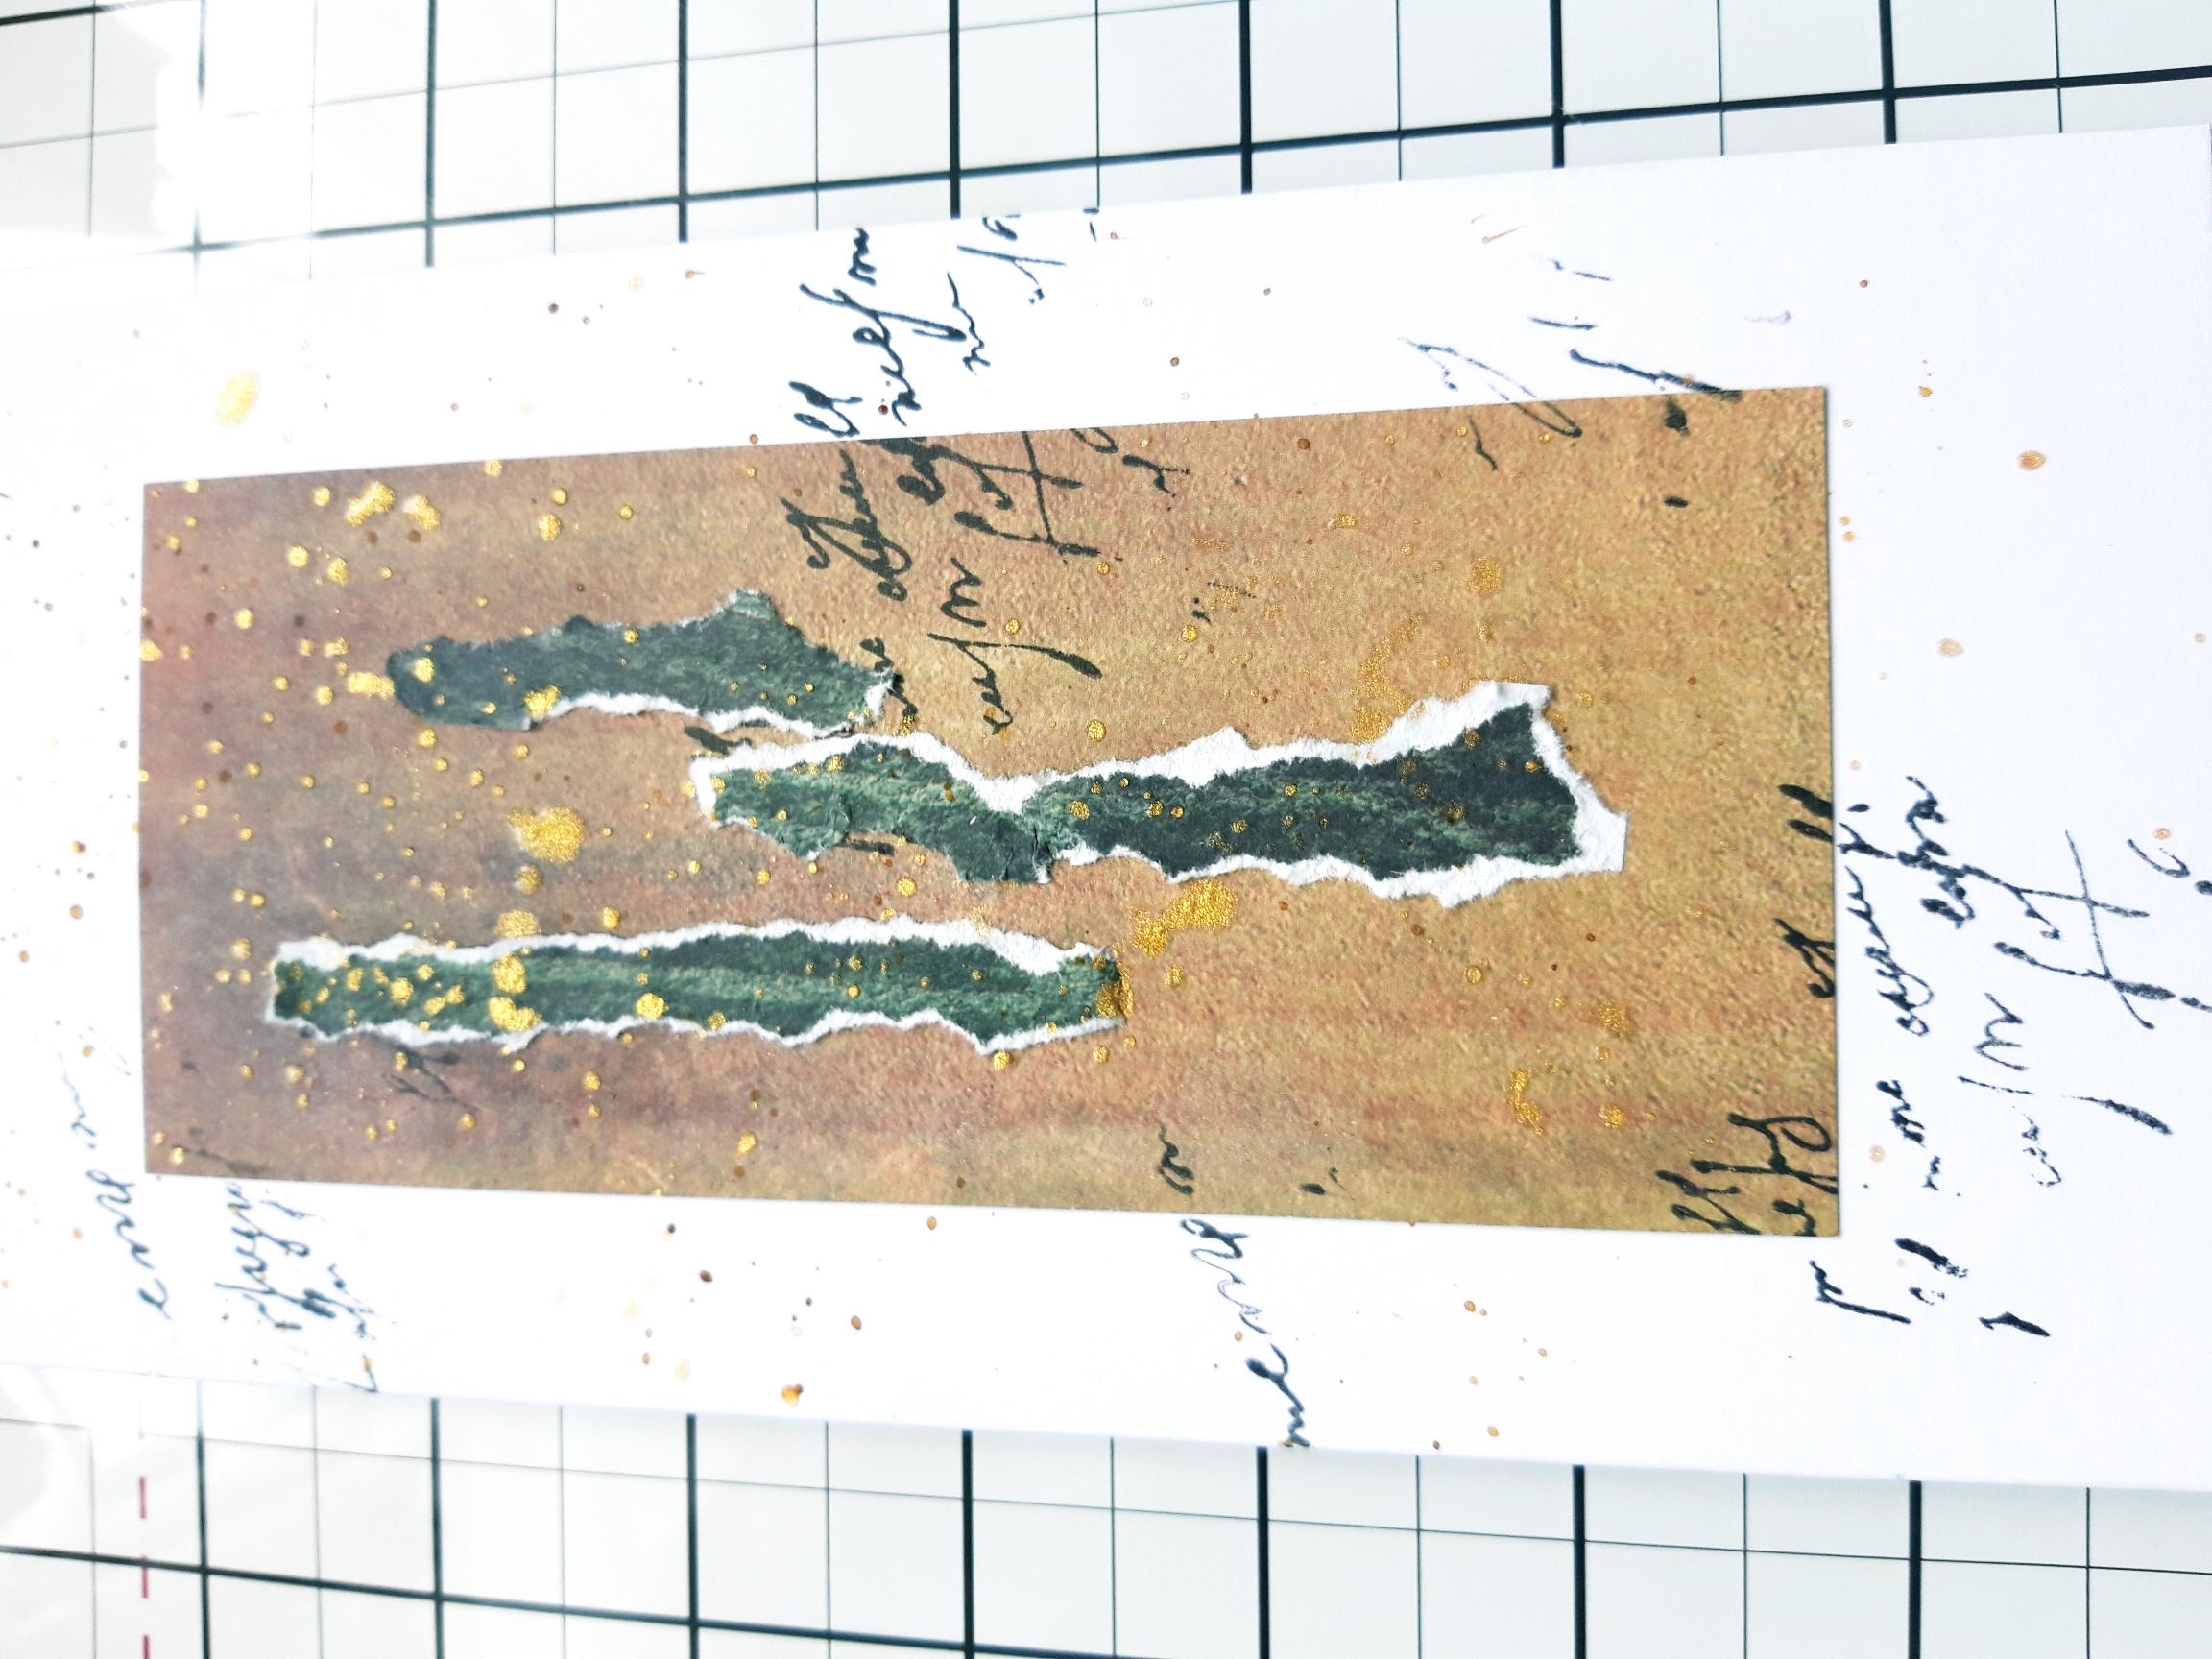
Swirl the Pearlywinks Golden Shimmer Pearl Mist, to activate the mica. Spray a little on your glass mat, then splatter over your artwork with a paint brush. Set to one side to dry. |
|
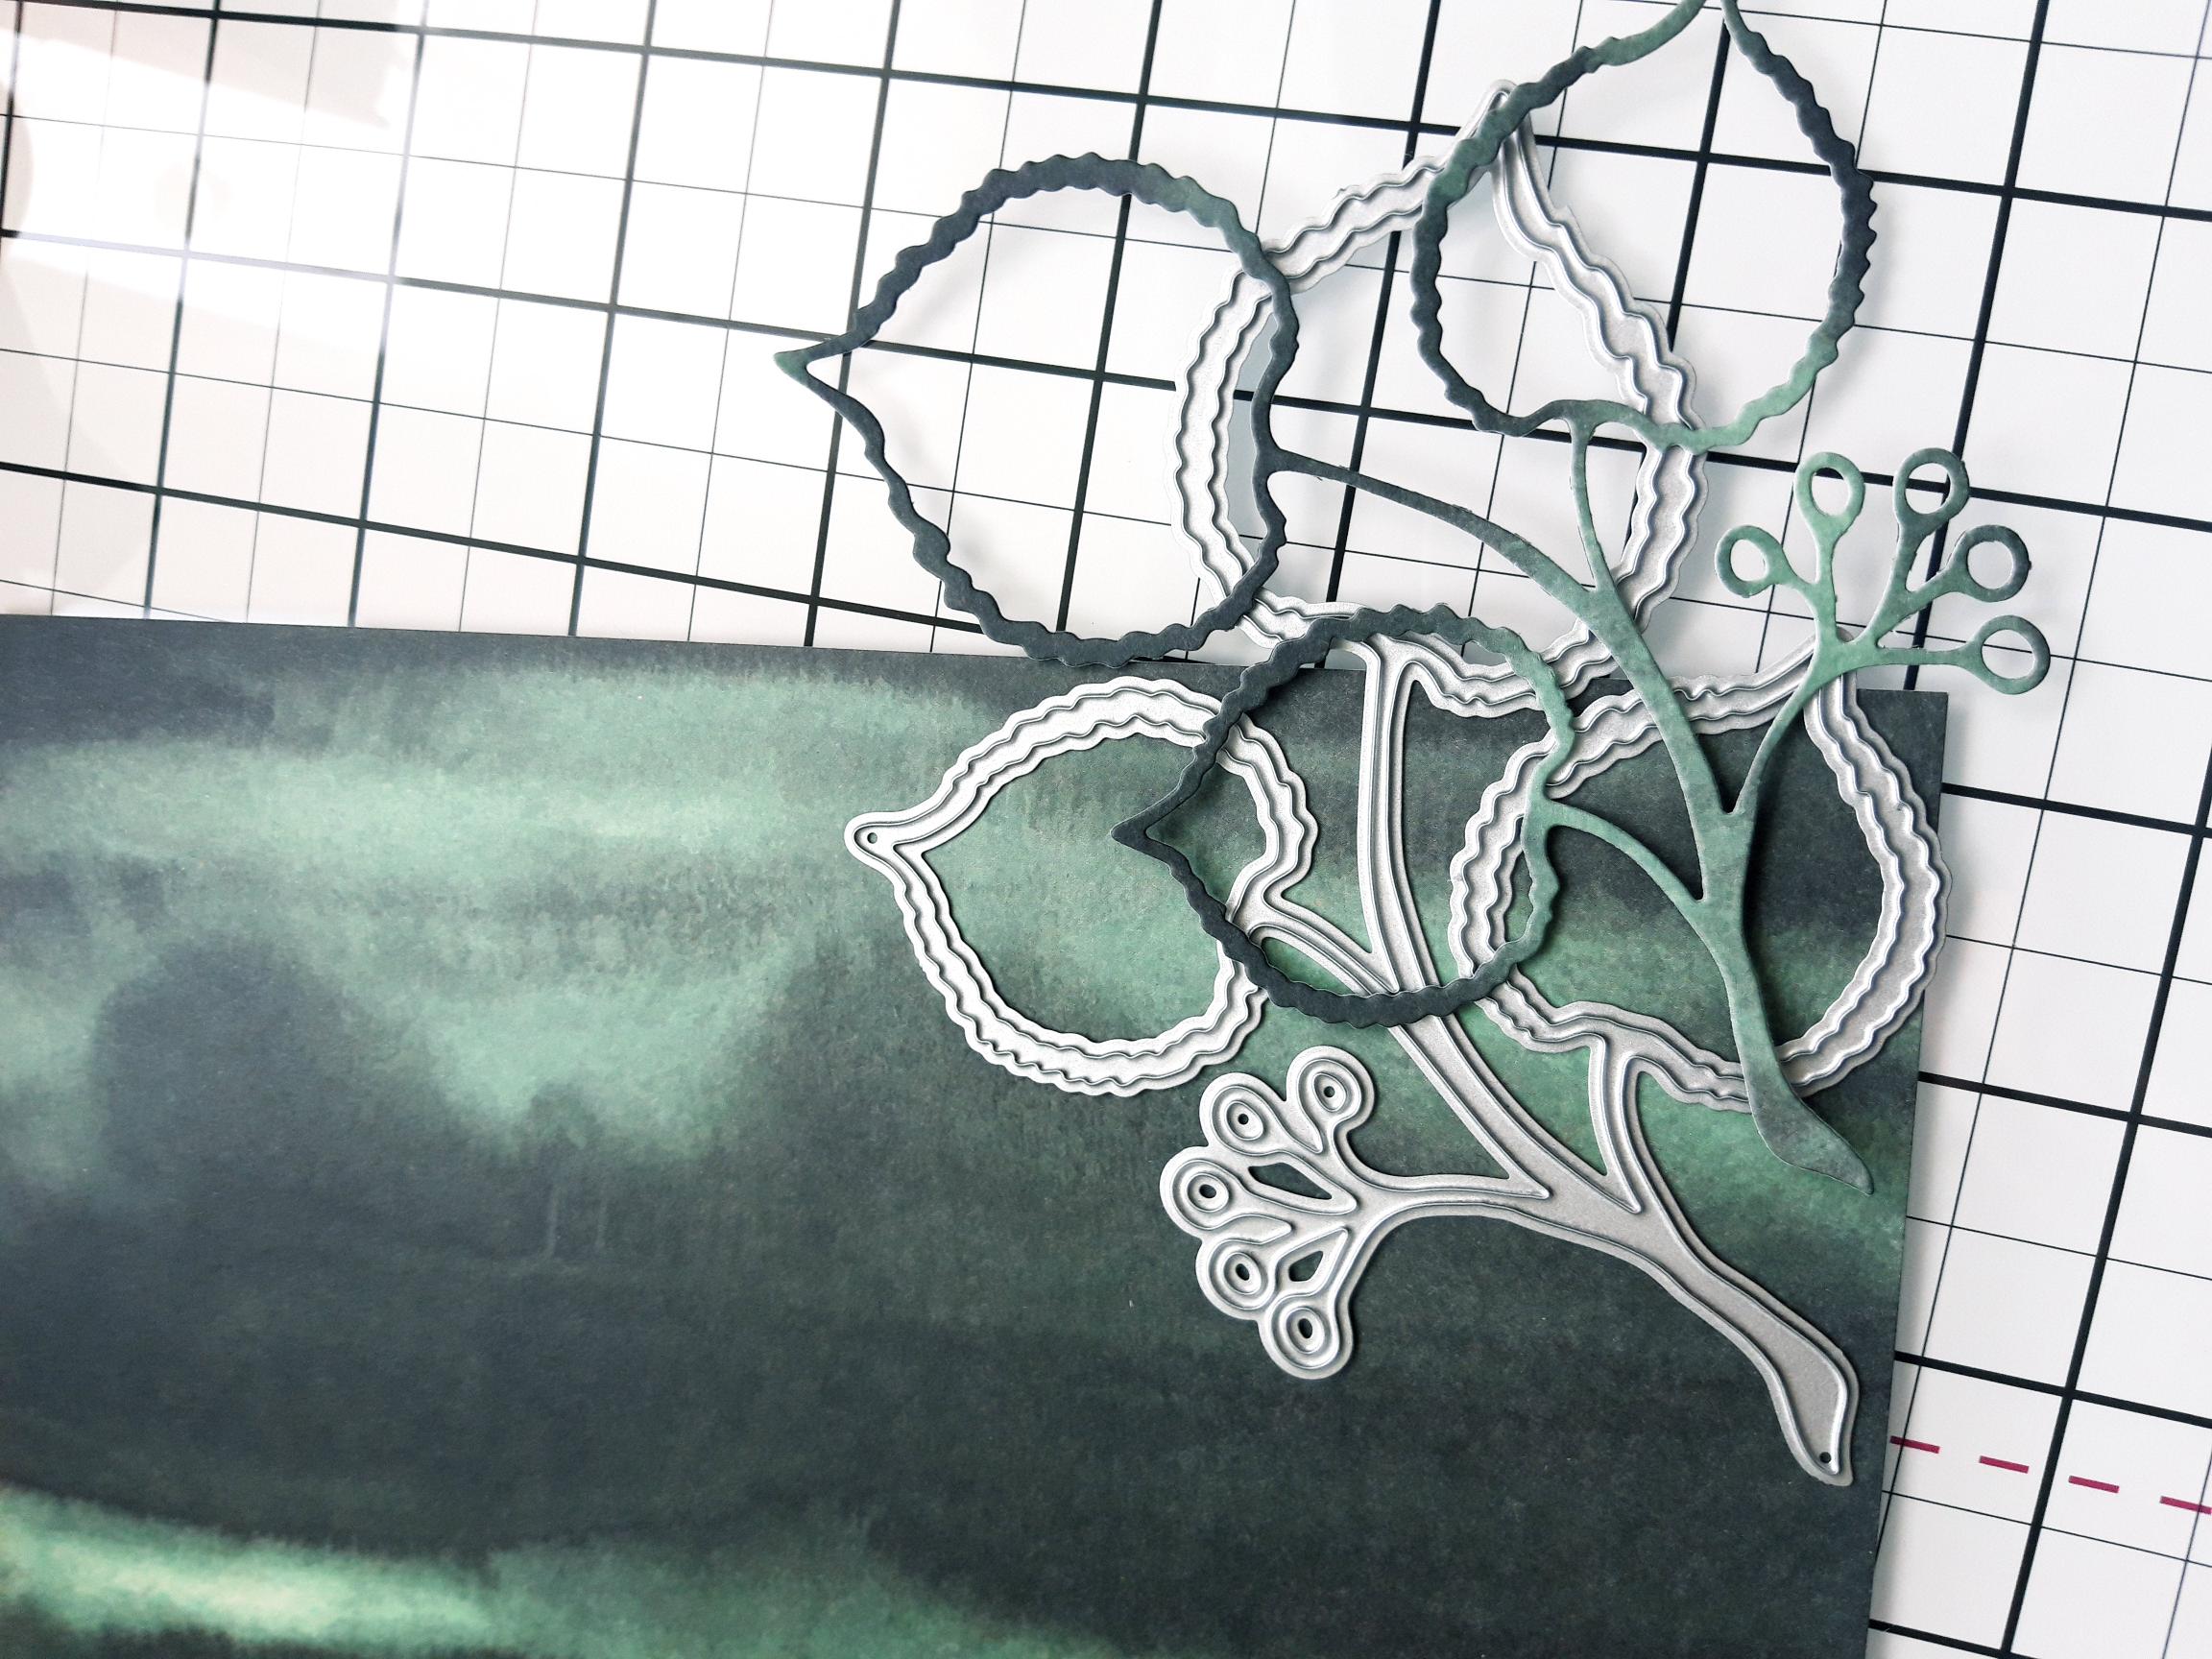
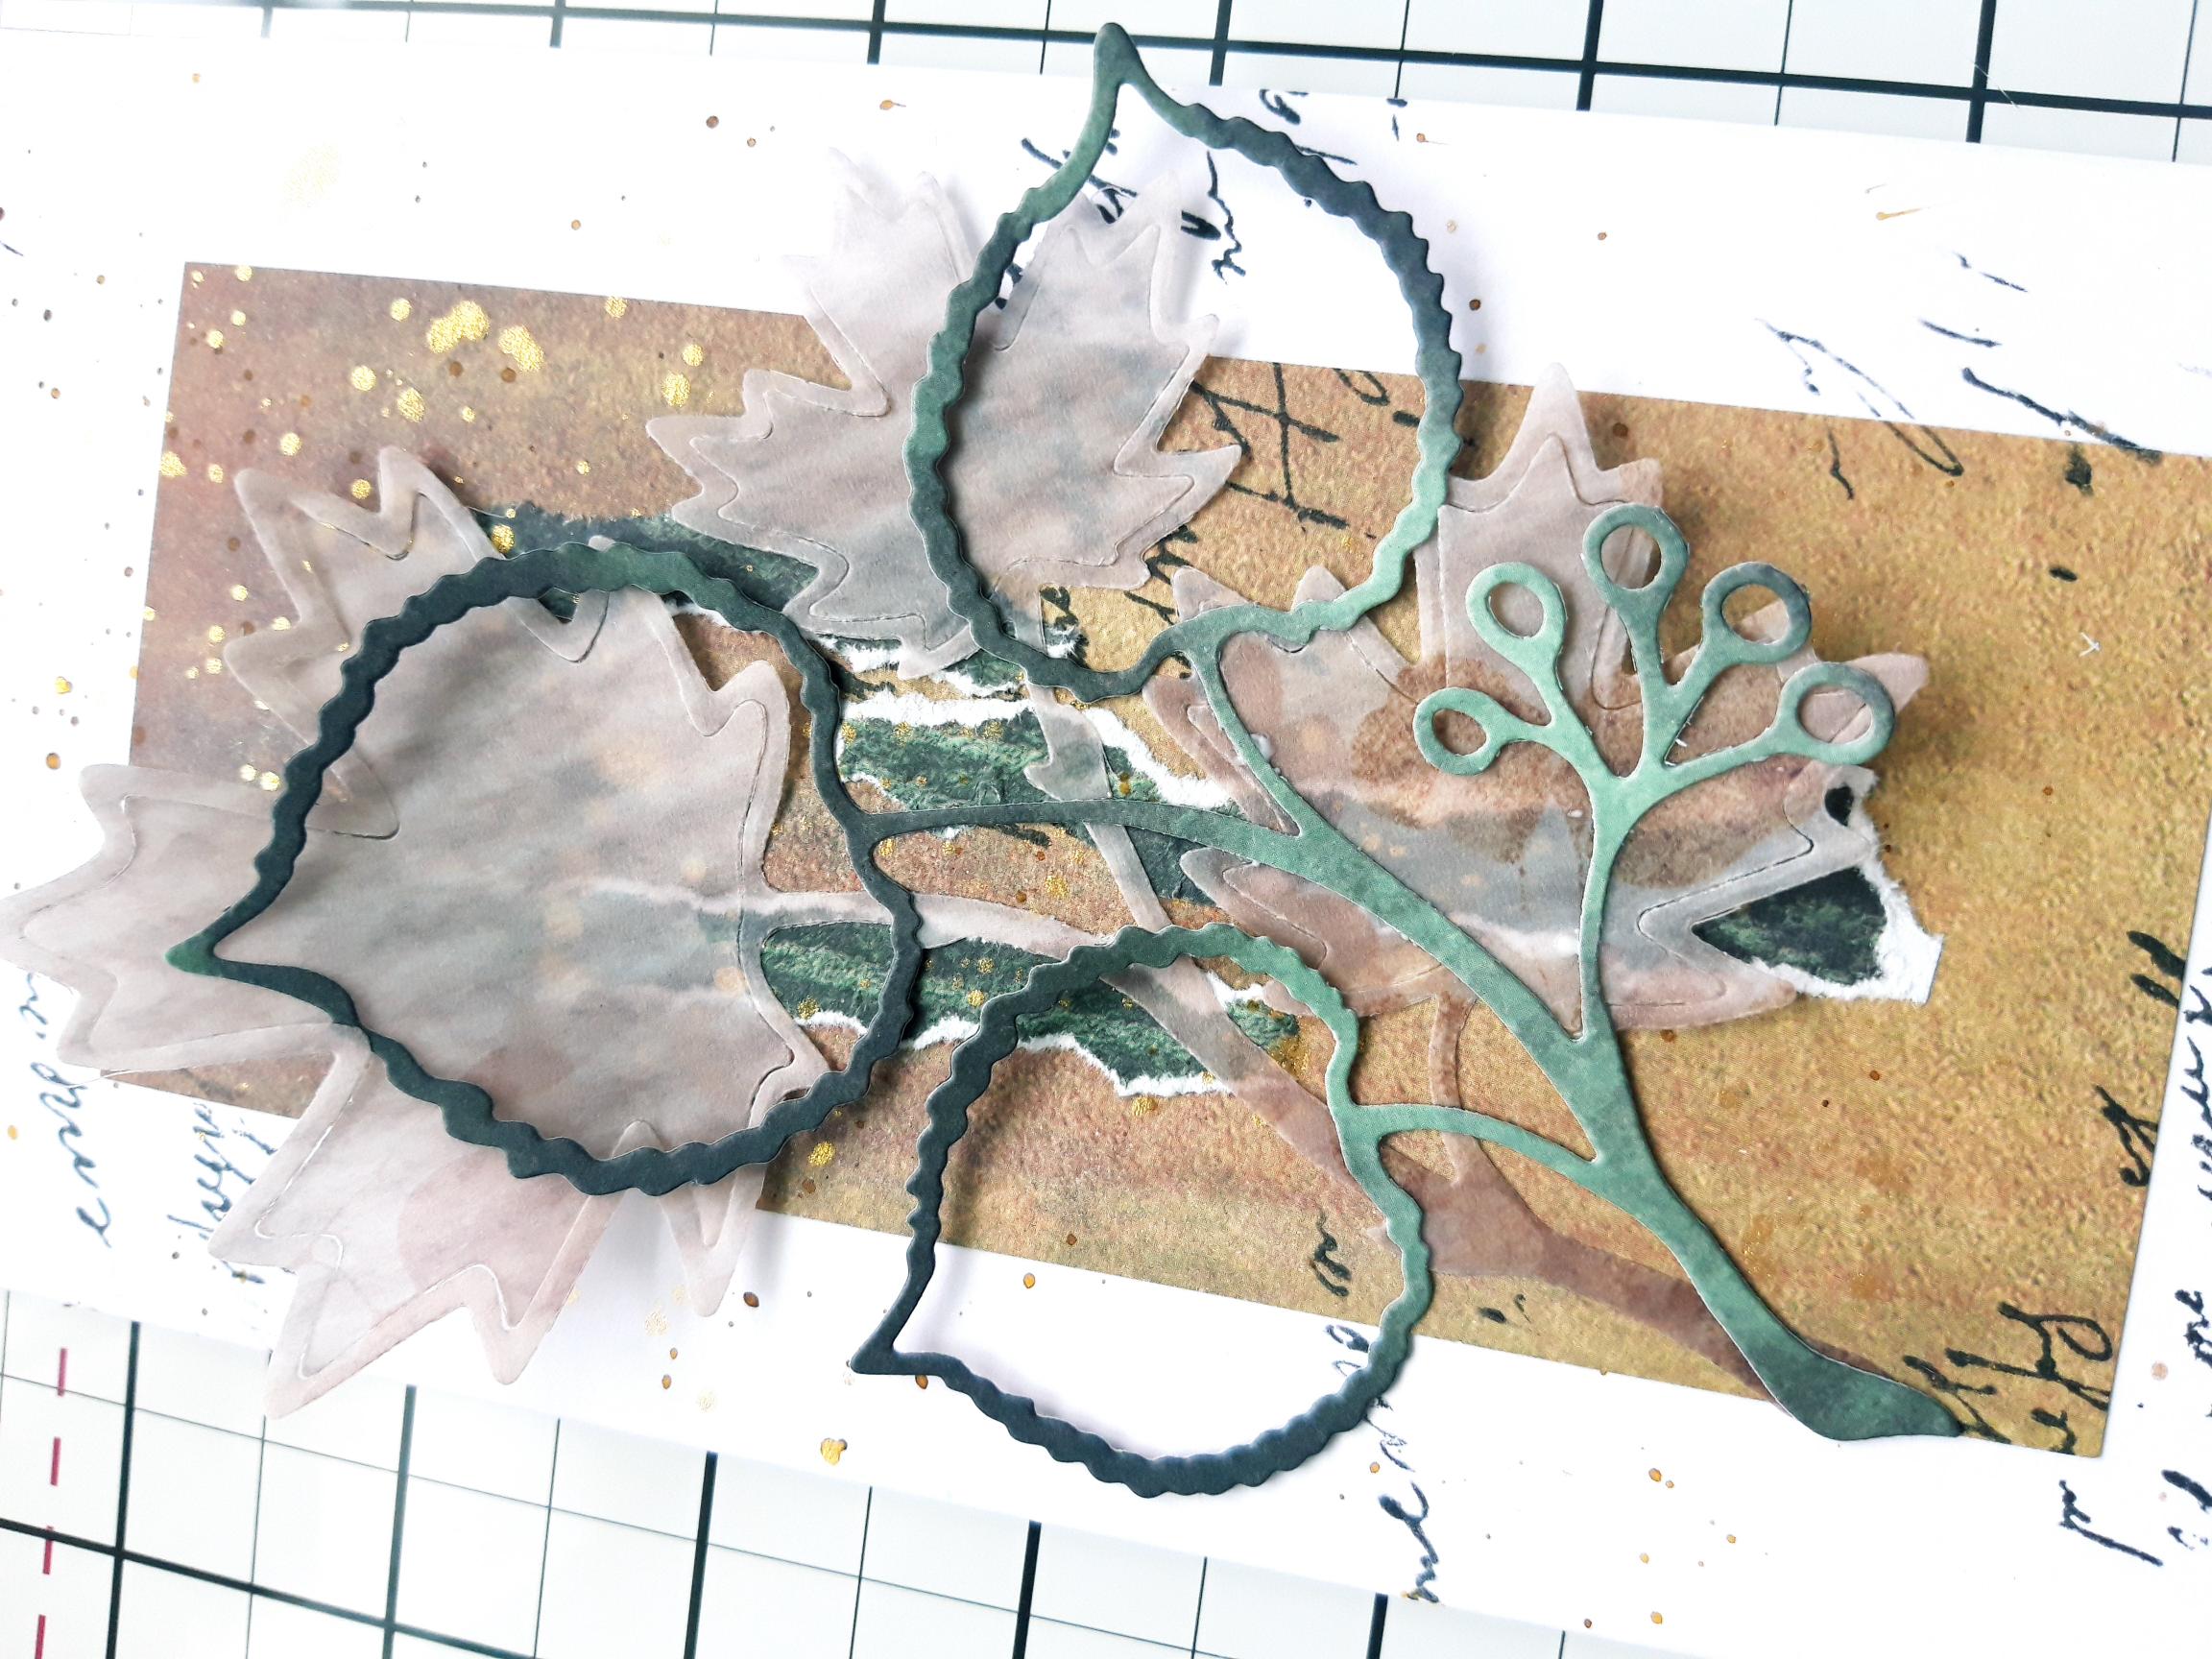
Die cut the Lime from one of the decorative papers. |
|
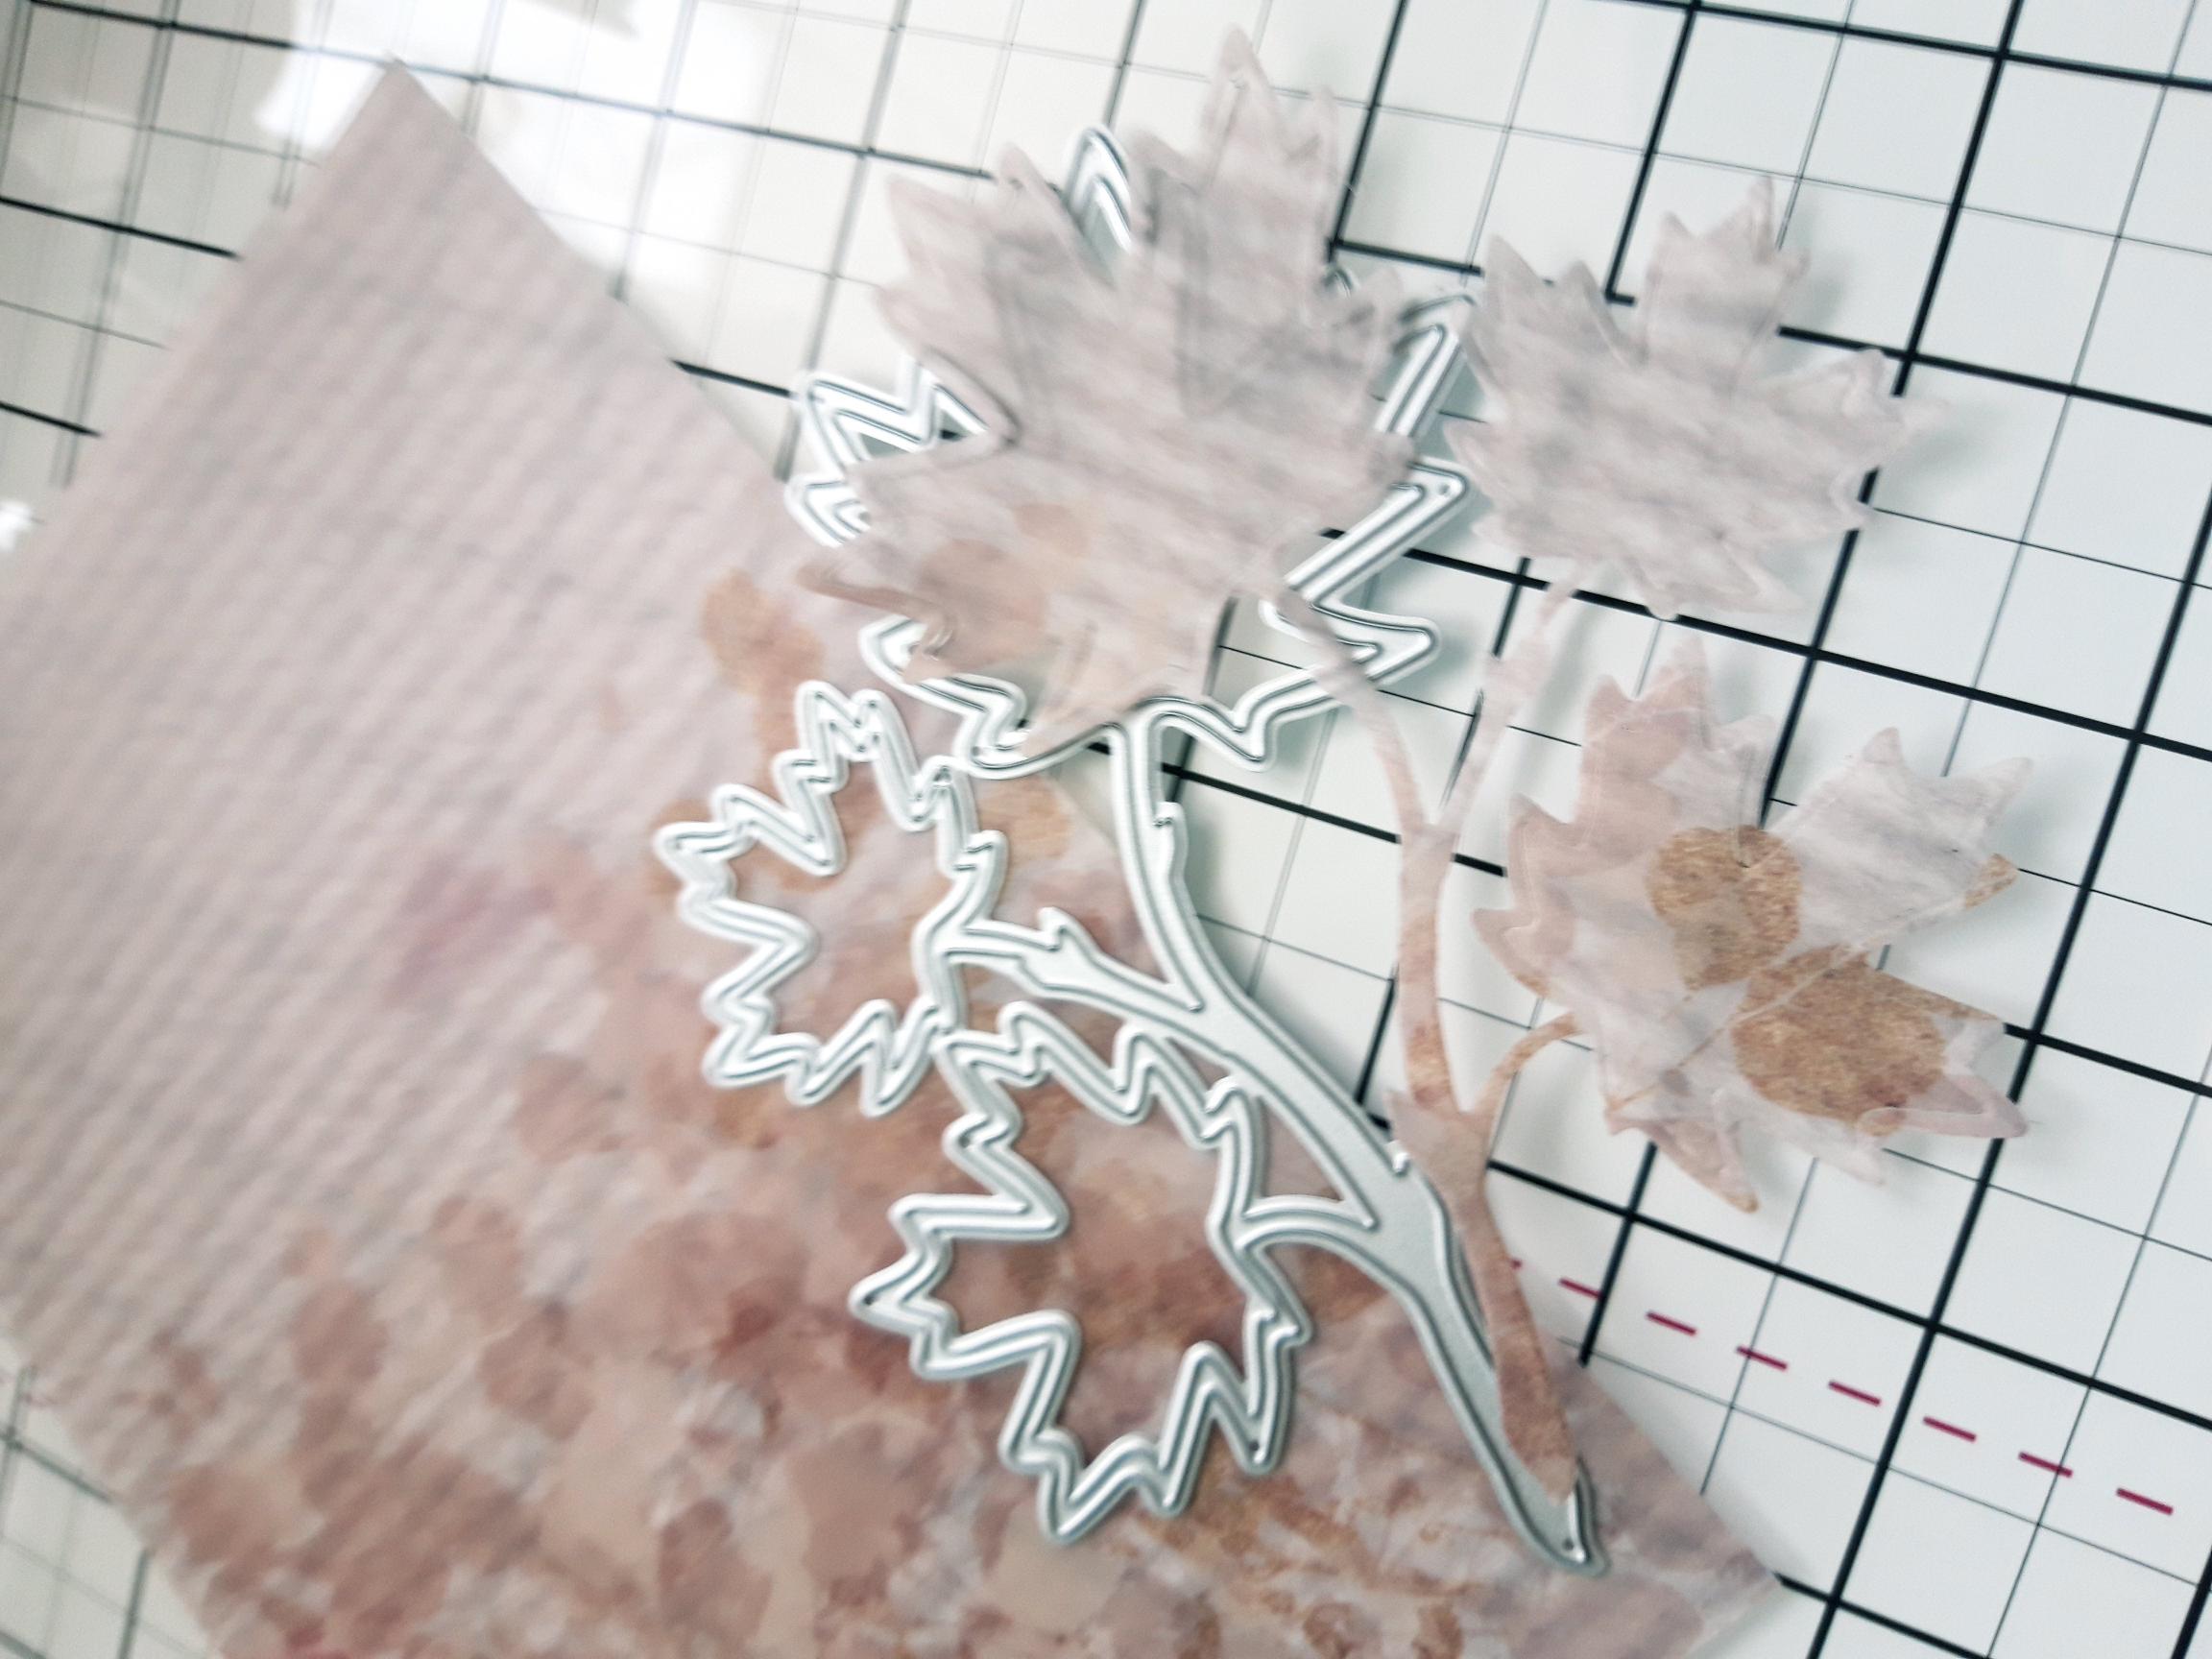
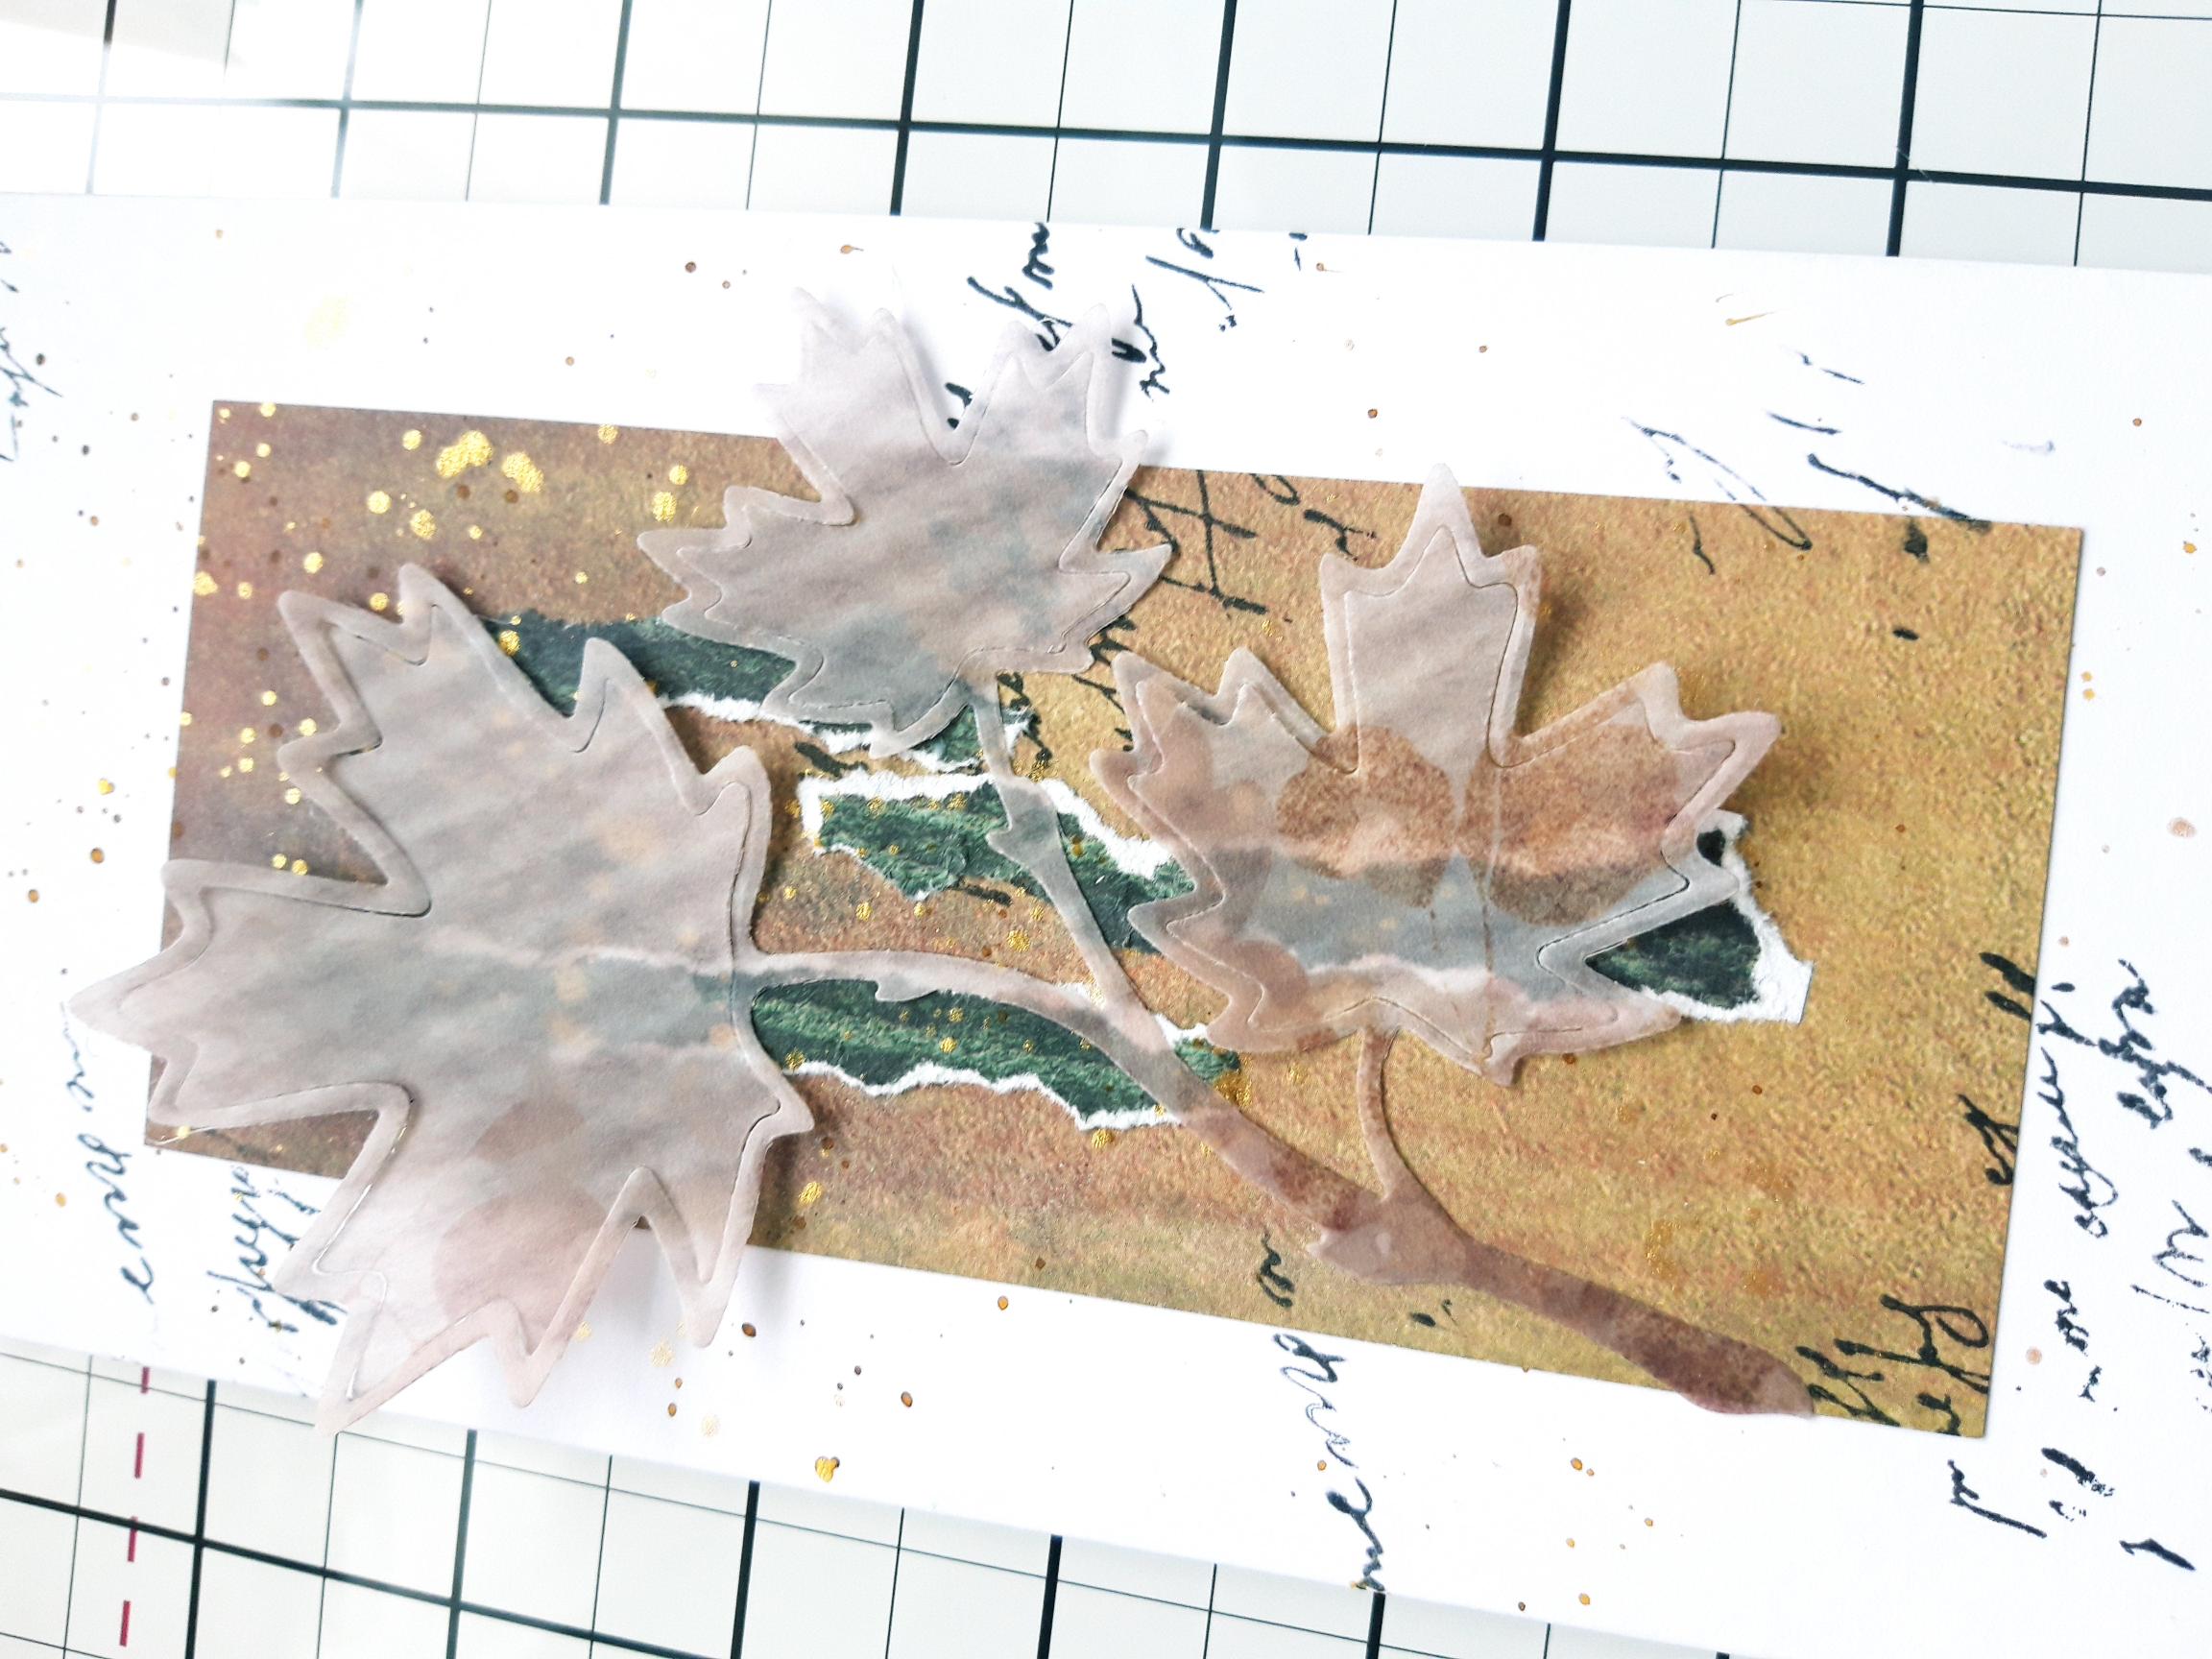
Die cut the Maple from one of the sheets out of the vellum pack. |
|
Adhere the die cut Maple coming up, from the bottom left of your paper panel. |
|
Adhere the die cut Lime, slightly offset from the Maple. Set your card to one side. |
|
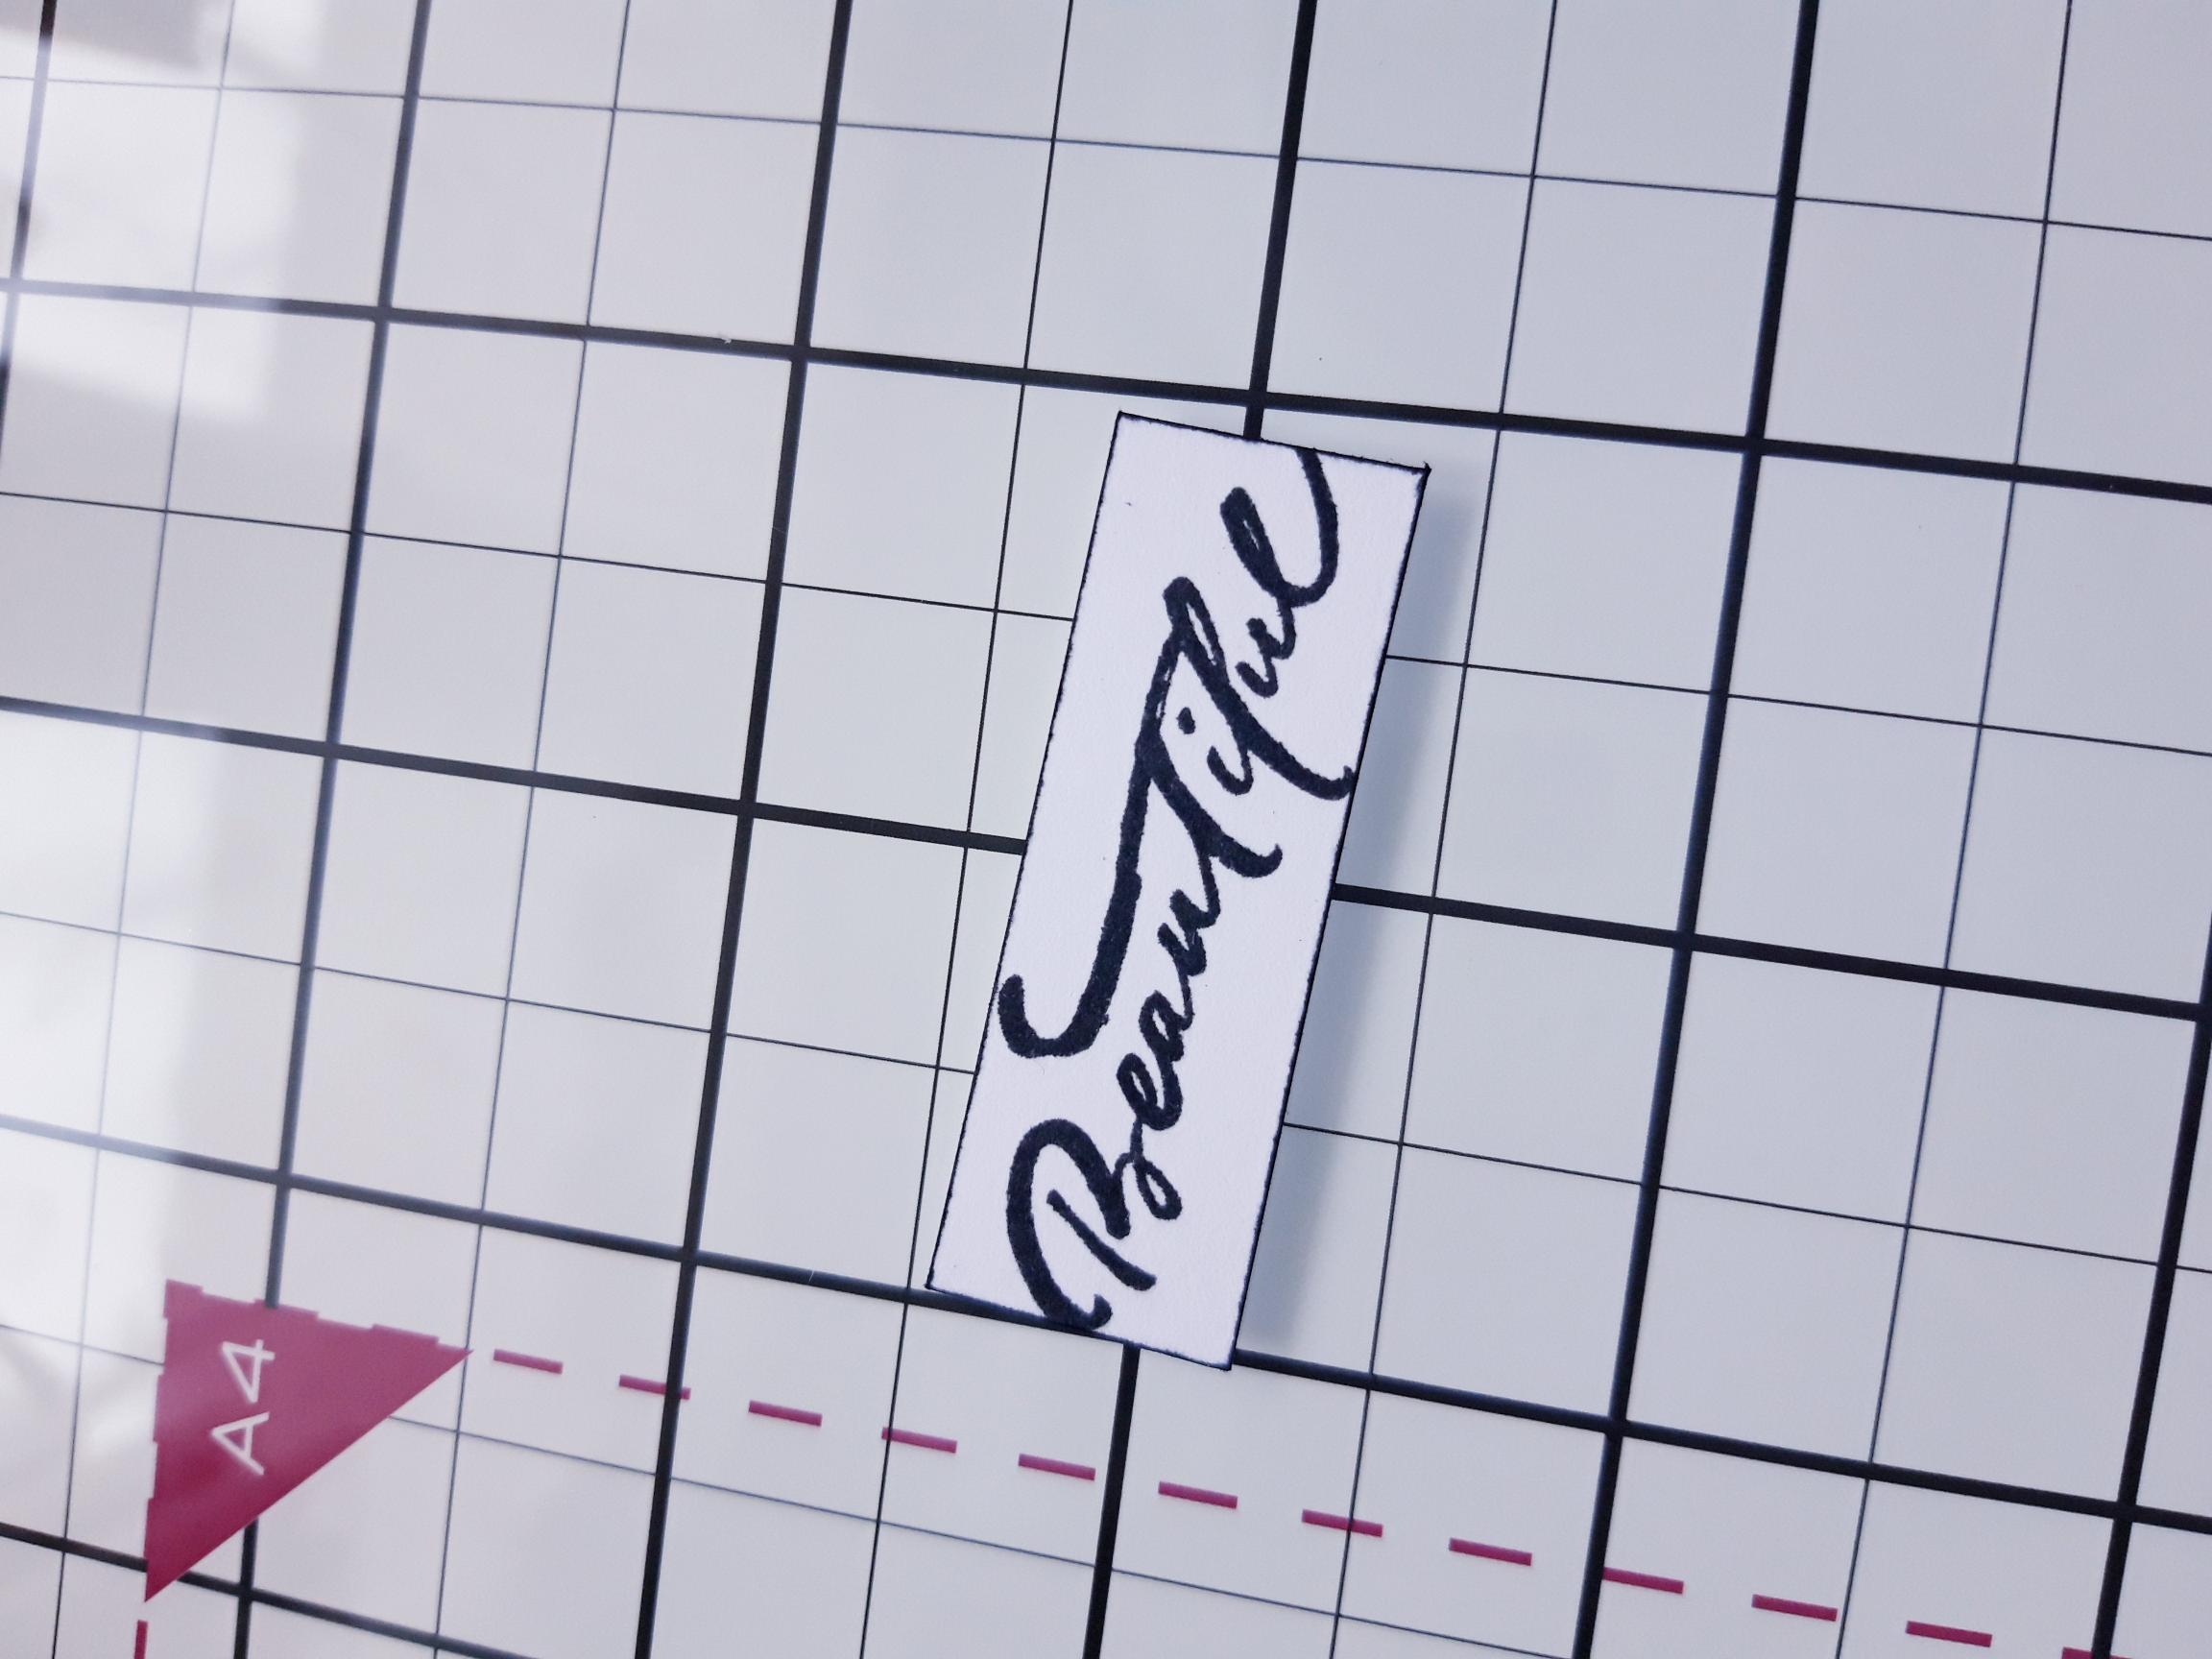
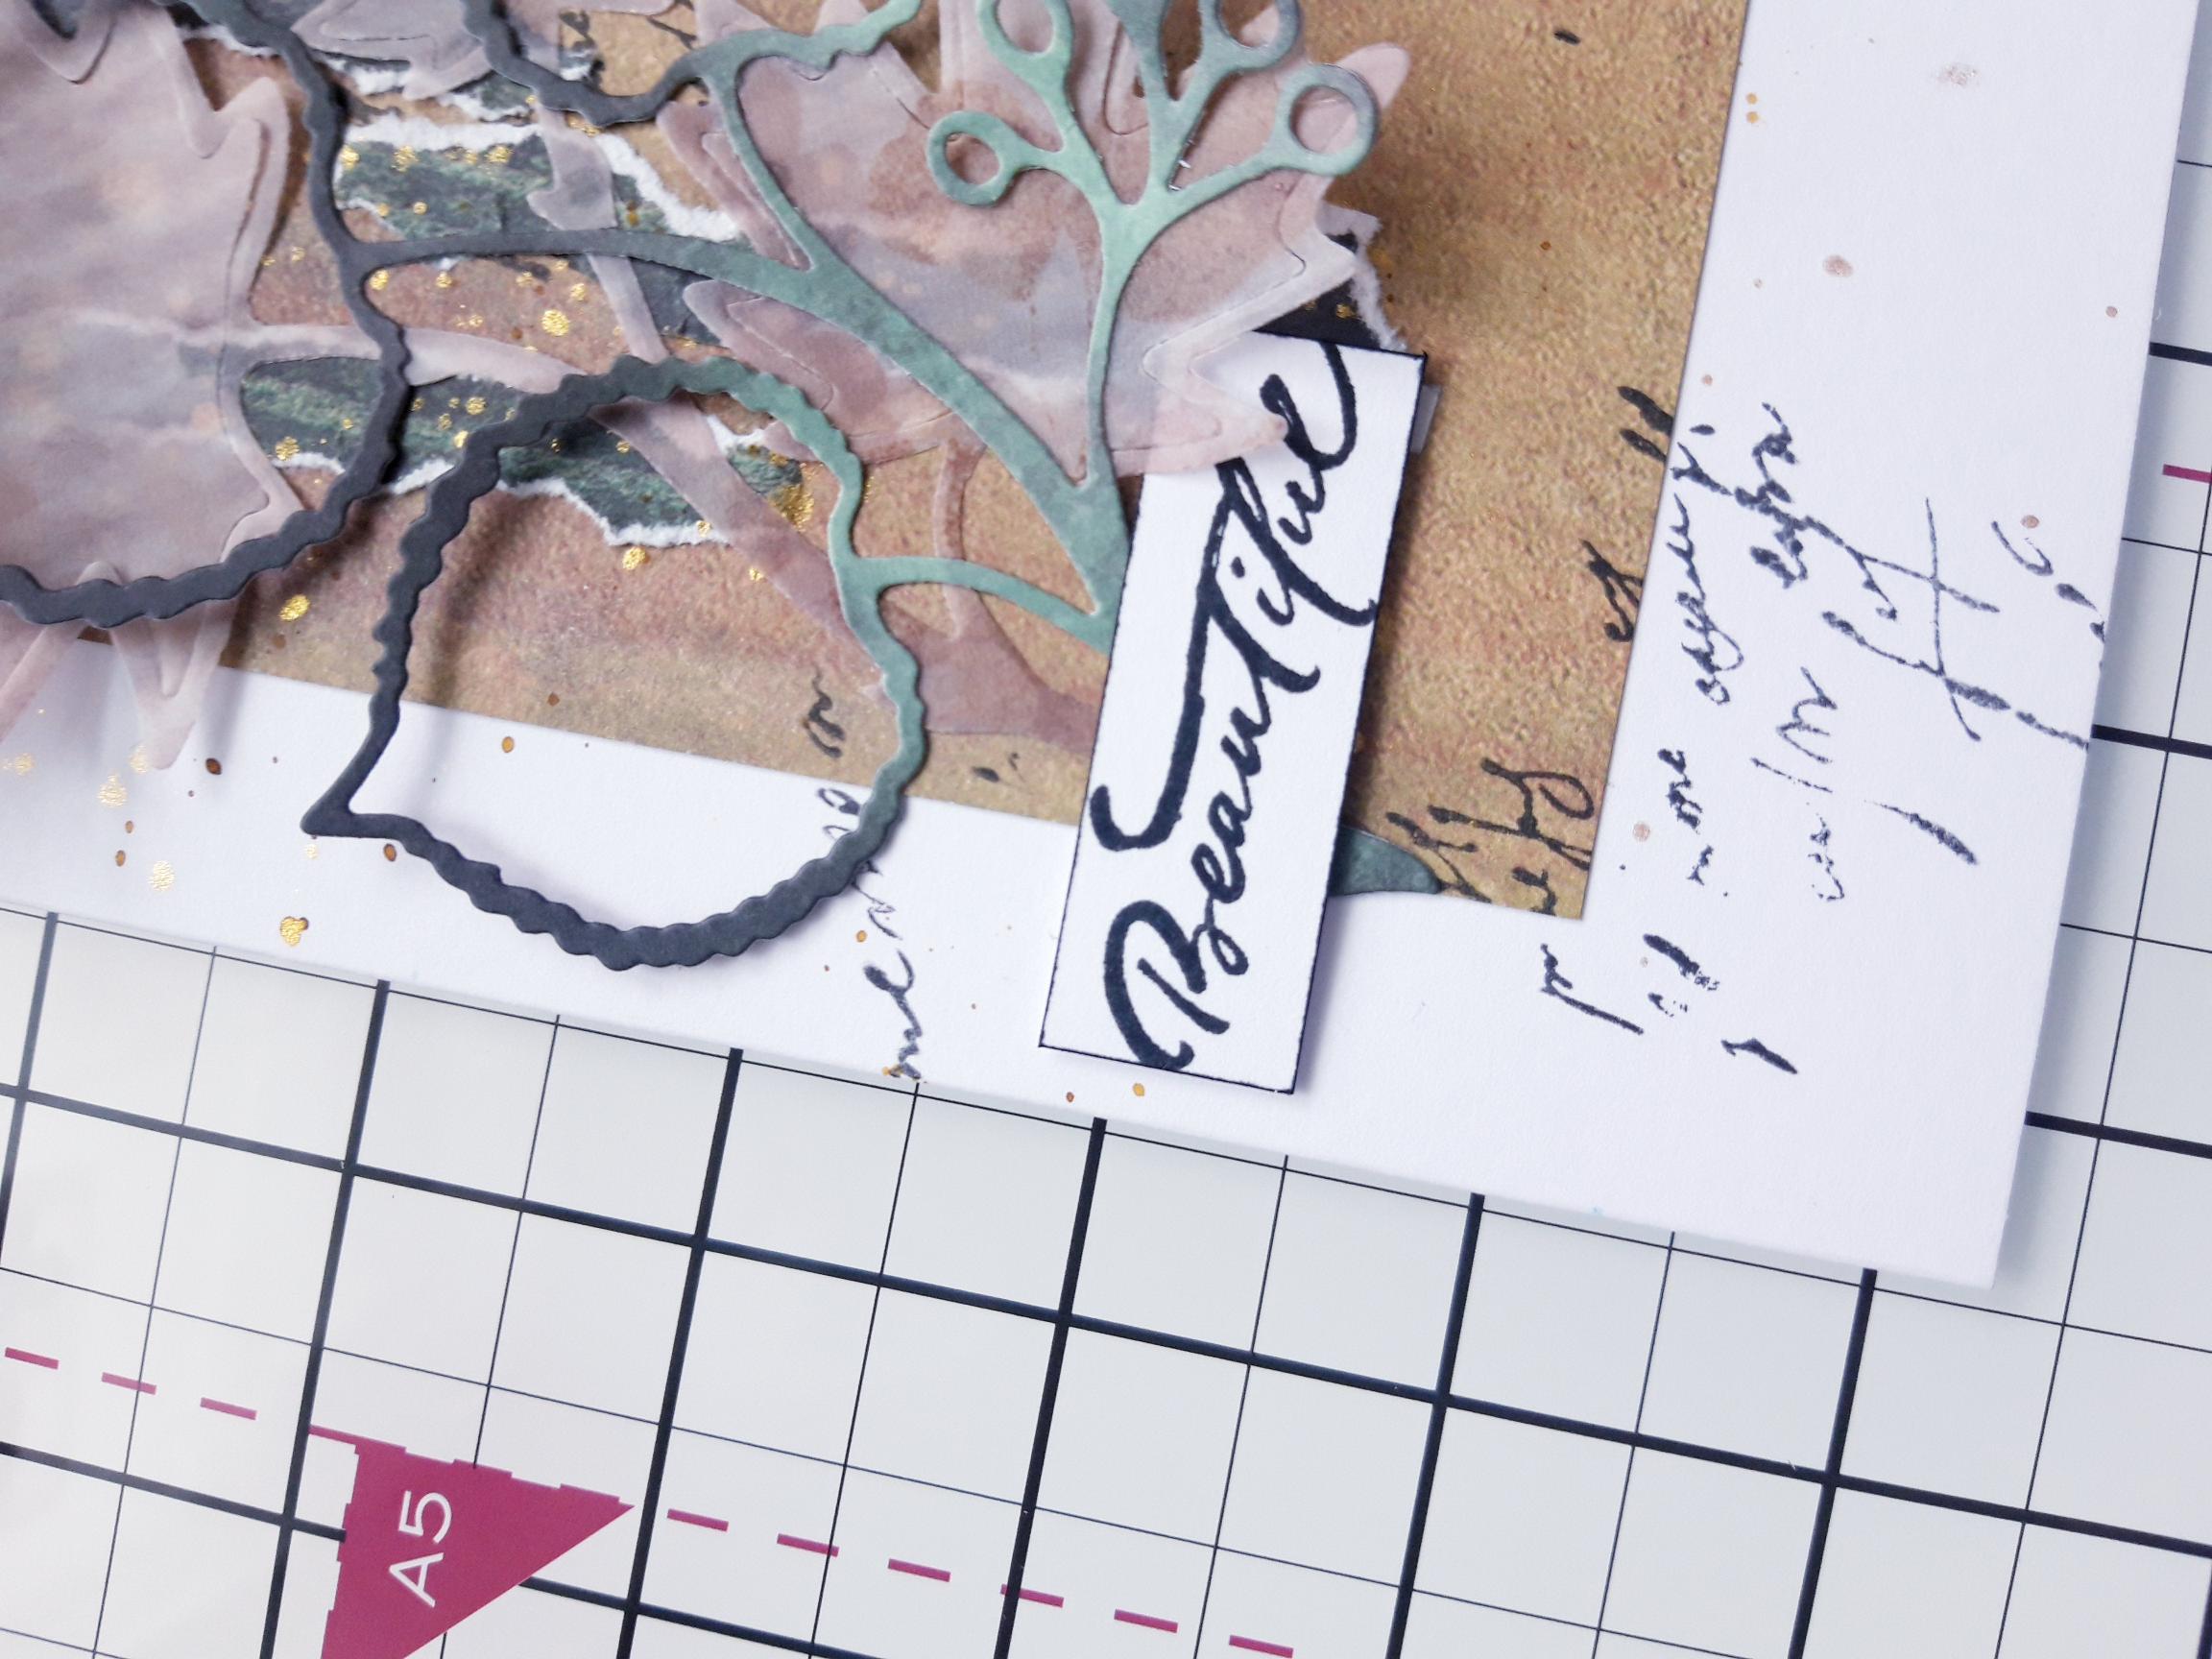
Ink up the Beautiful sentiment stamp, from Love & Hope, with Midnight and stamp on to a piece of white card. Once the ink is dry, trim around it then go around the edges, with your Midnight ink pad. |
|
Adhere with foam pads, bottom left of your 3D layout. |