Give your friends $10 off their first order!
Refer a FRIEND


WHAT YOU WILL NEED:
Kraft card blank 7 x 5" (landscape)
White card 6 3/4 x 4 3/4"
Copy paper
Pretty Things Inside Say It With Love Stamp Set
Pretty Things Inside Love & Hope Stamp Set
SBM Premium Ink Pad: Tiffany, Ocean, Hedgerow, Limeade, Heather
Blending tool
Pearlywinks Pearl Mist: Golden Shimmer
Paint brush
Water spray bottle
Twine
Clear water gems
Eureka 101 Watercolour Tablet
SBM Magnetic glass mat
Paper Trimmer
Foam sheet/foam pads
[click image to enlarge] 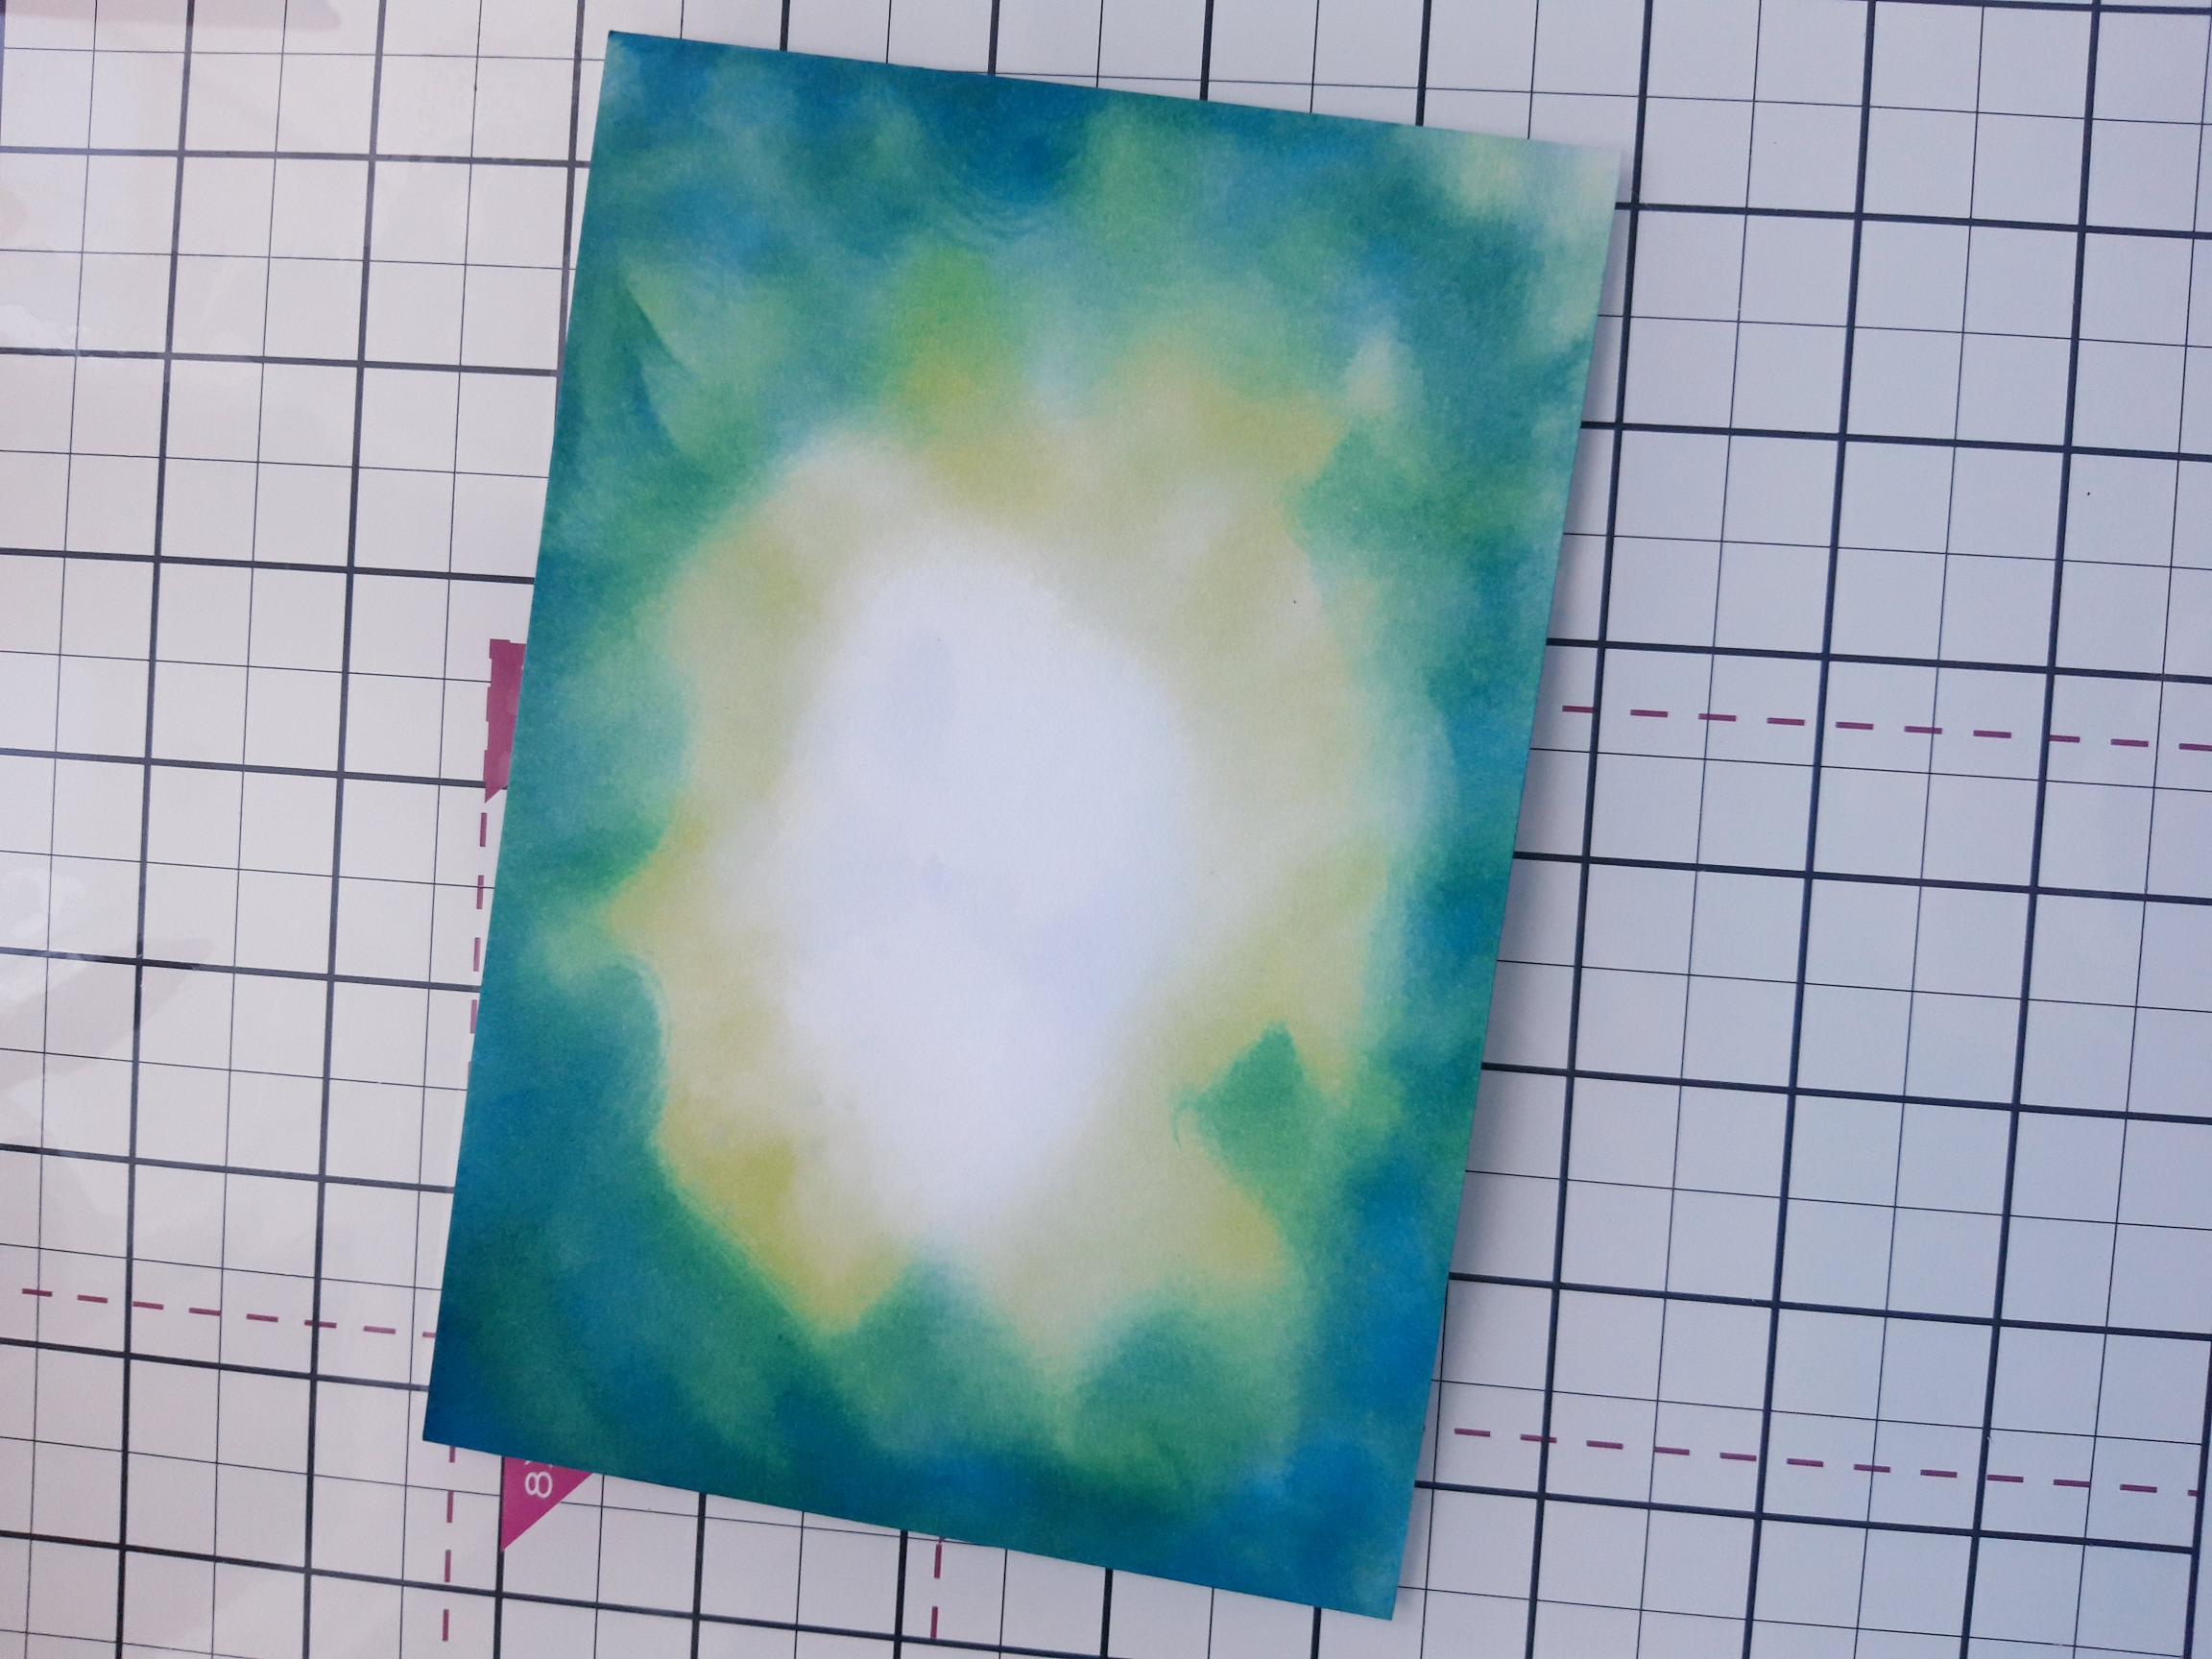
|
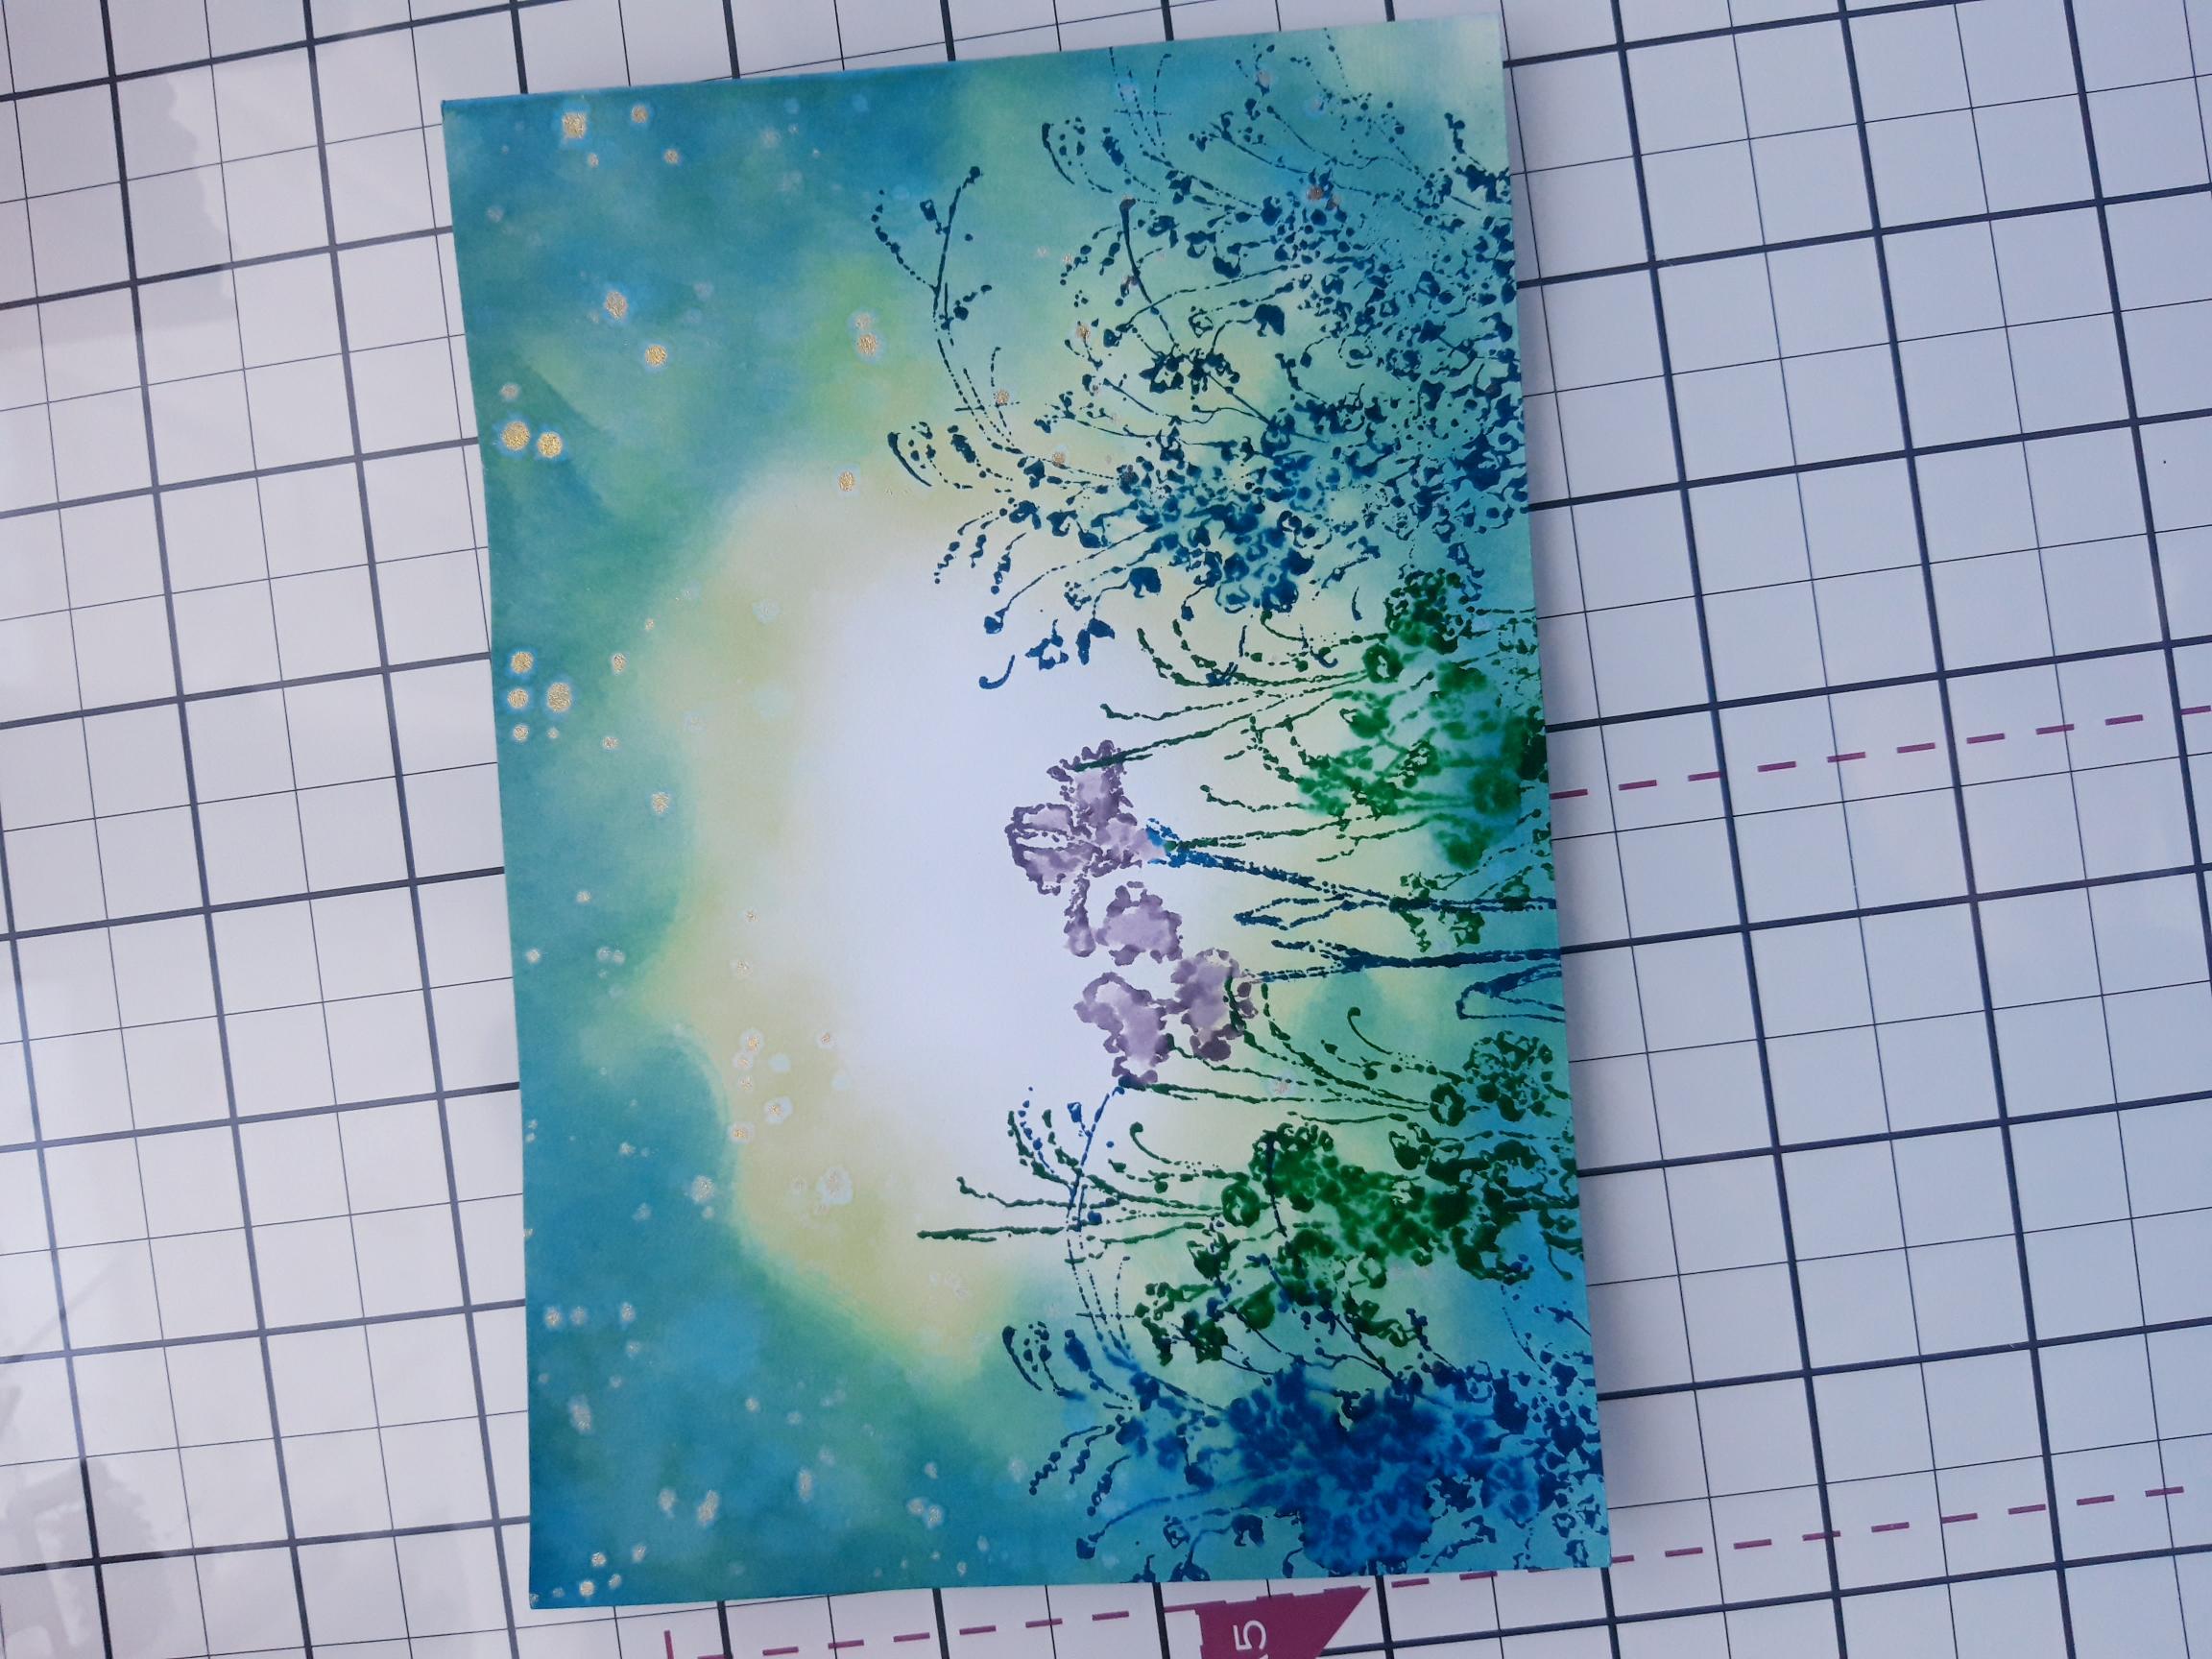
Using a blending brush, blend Limeade around your card, leaving an area in the centre clear. Now blend Hedgerow around the card but not blending quite so far in to the centre. Finally blend Tiffany just around the outer edges of the card. |
|
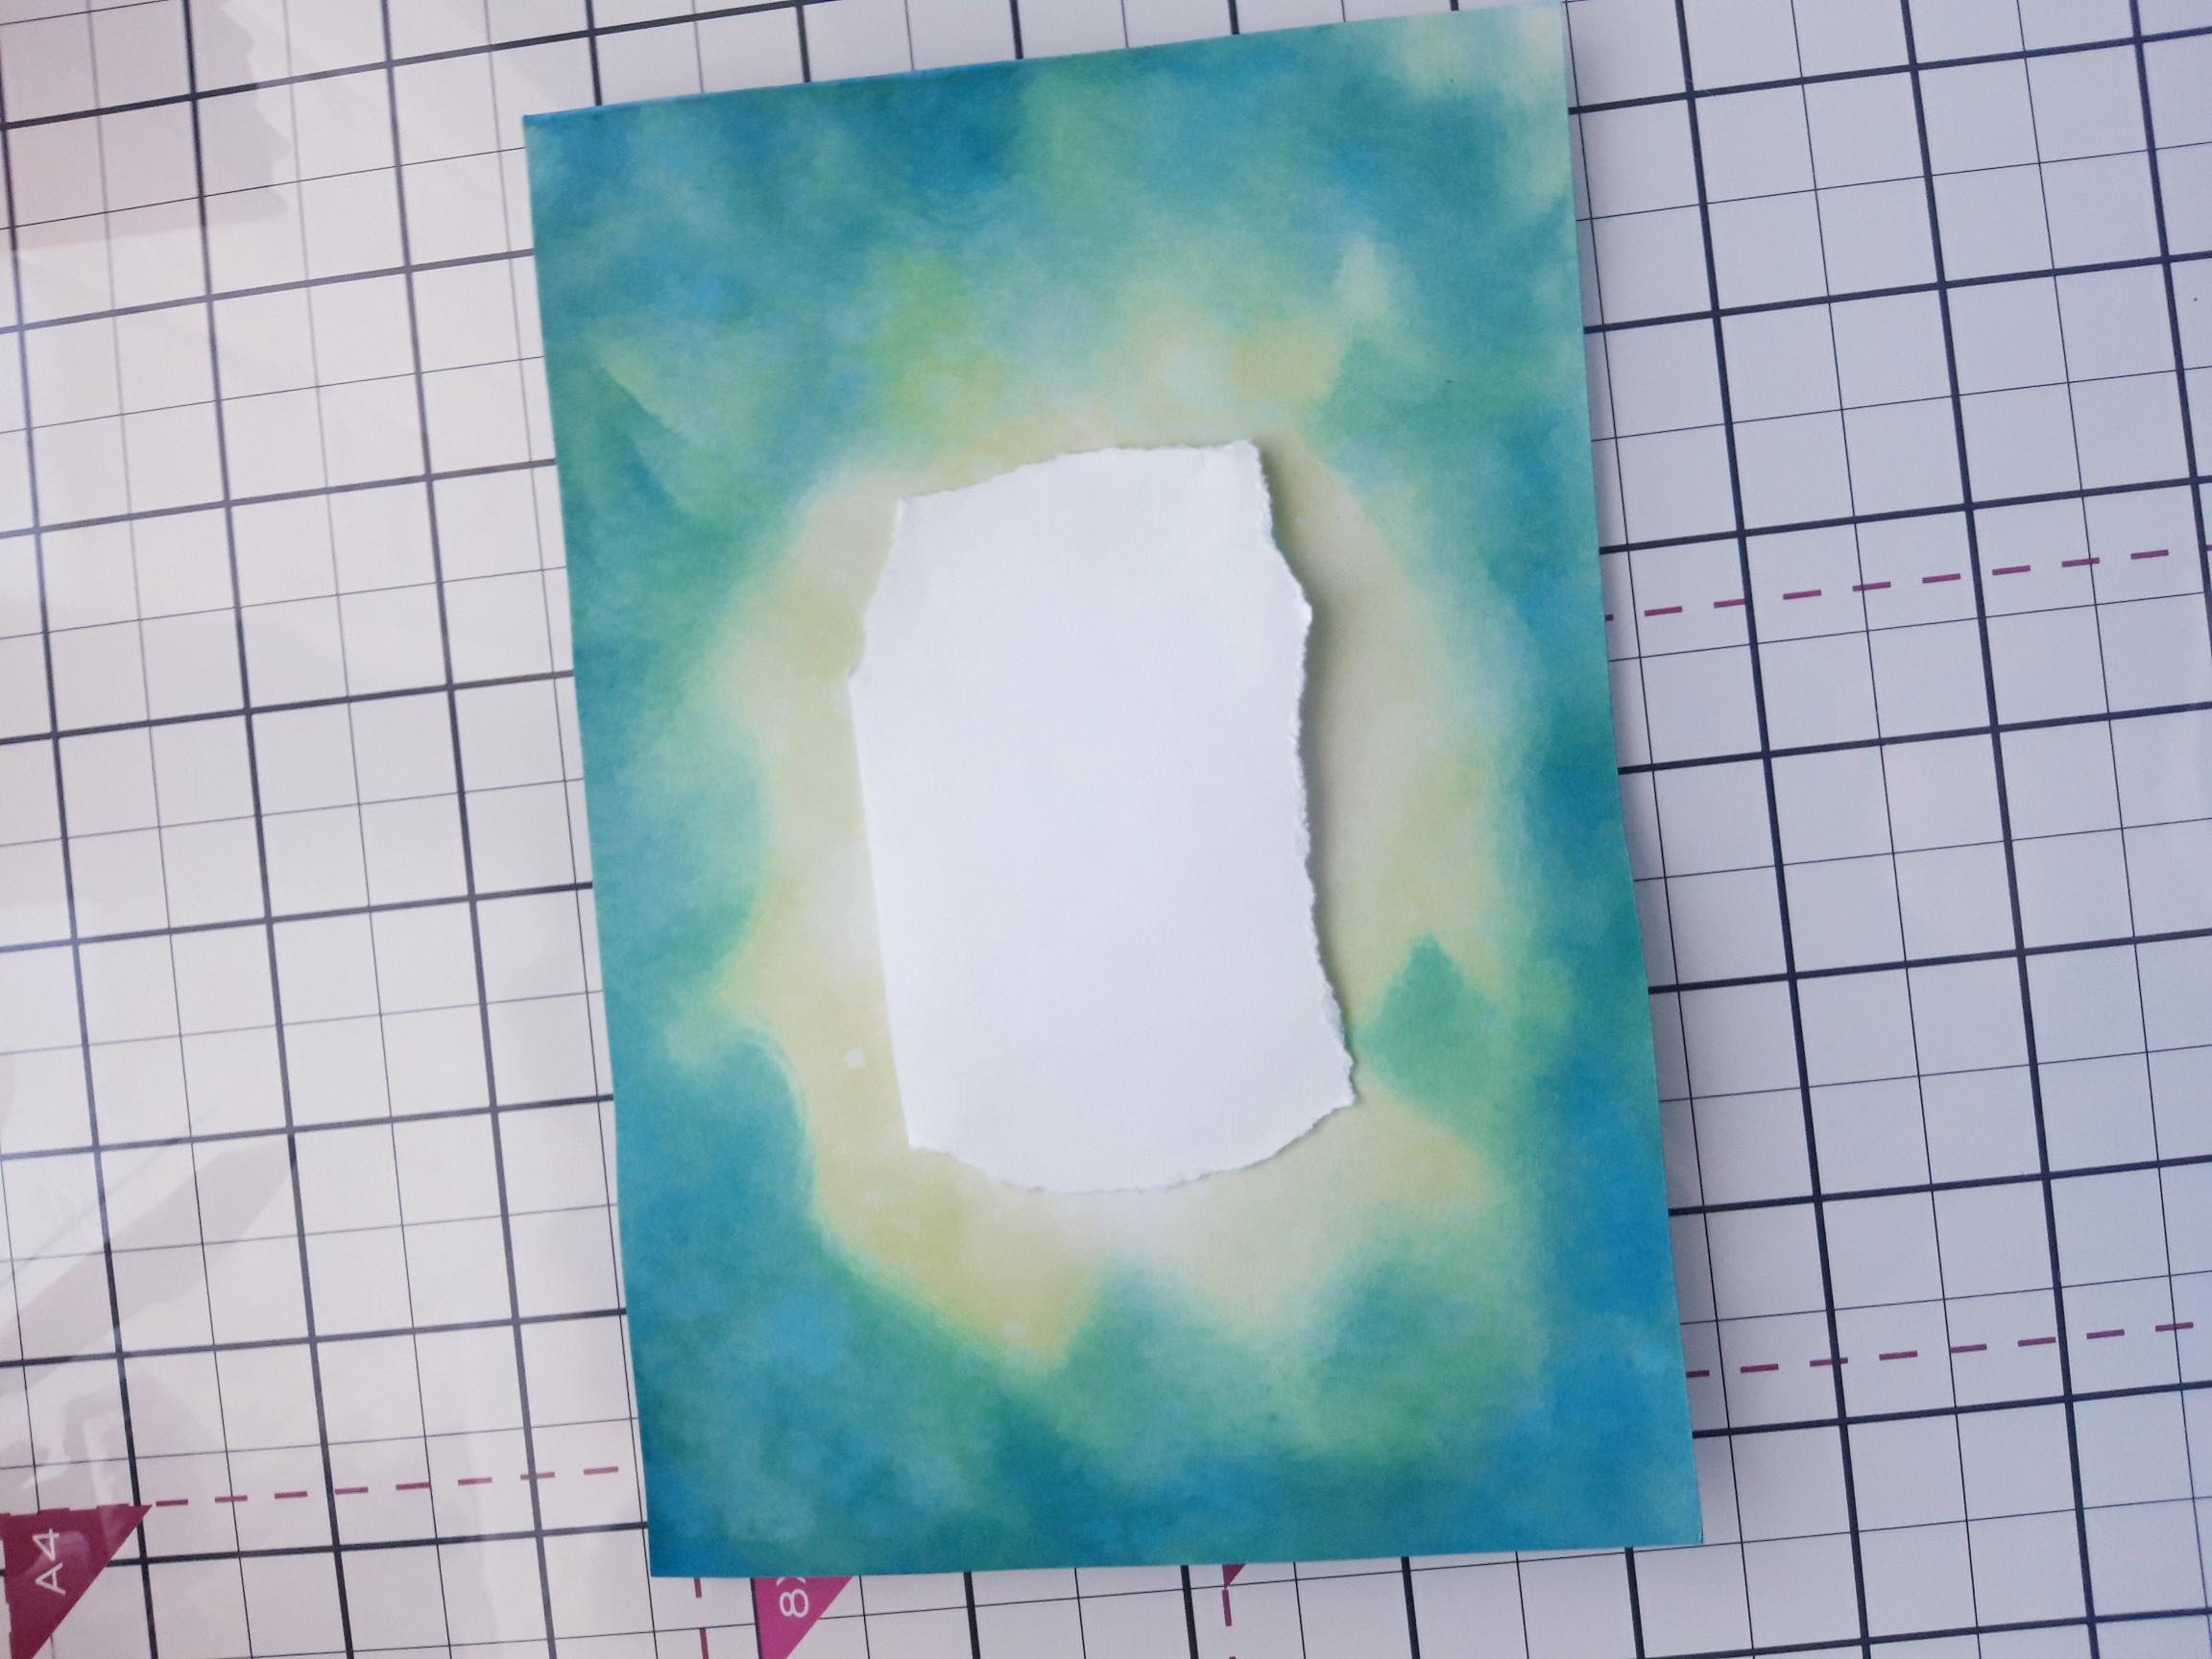
Tear a piece of copy paper to cover the clear area of un-inked card, in the centre of your background. |
|
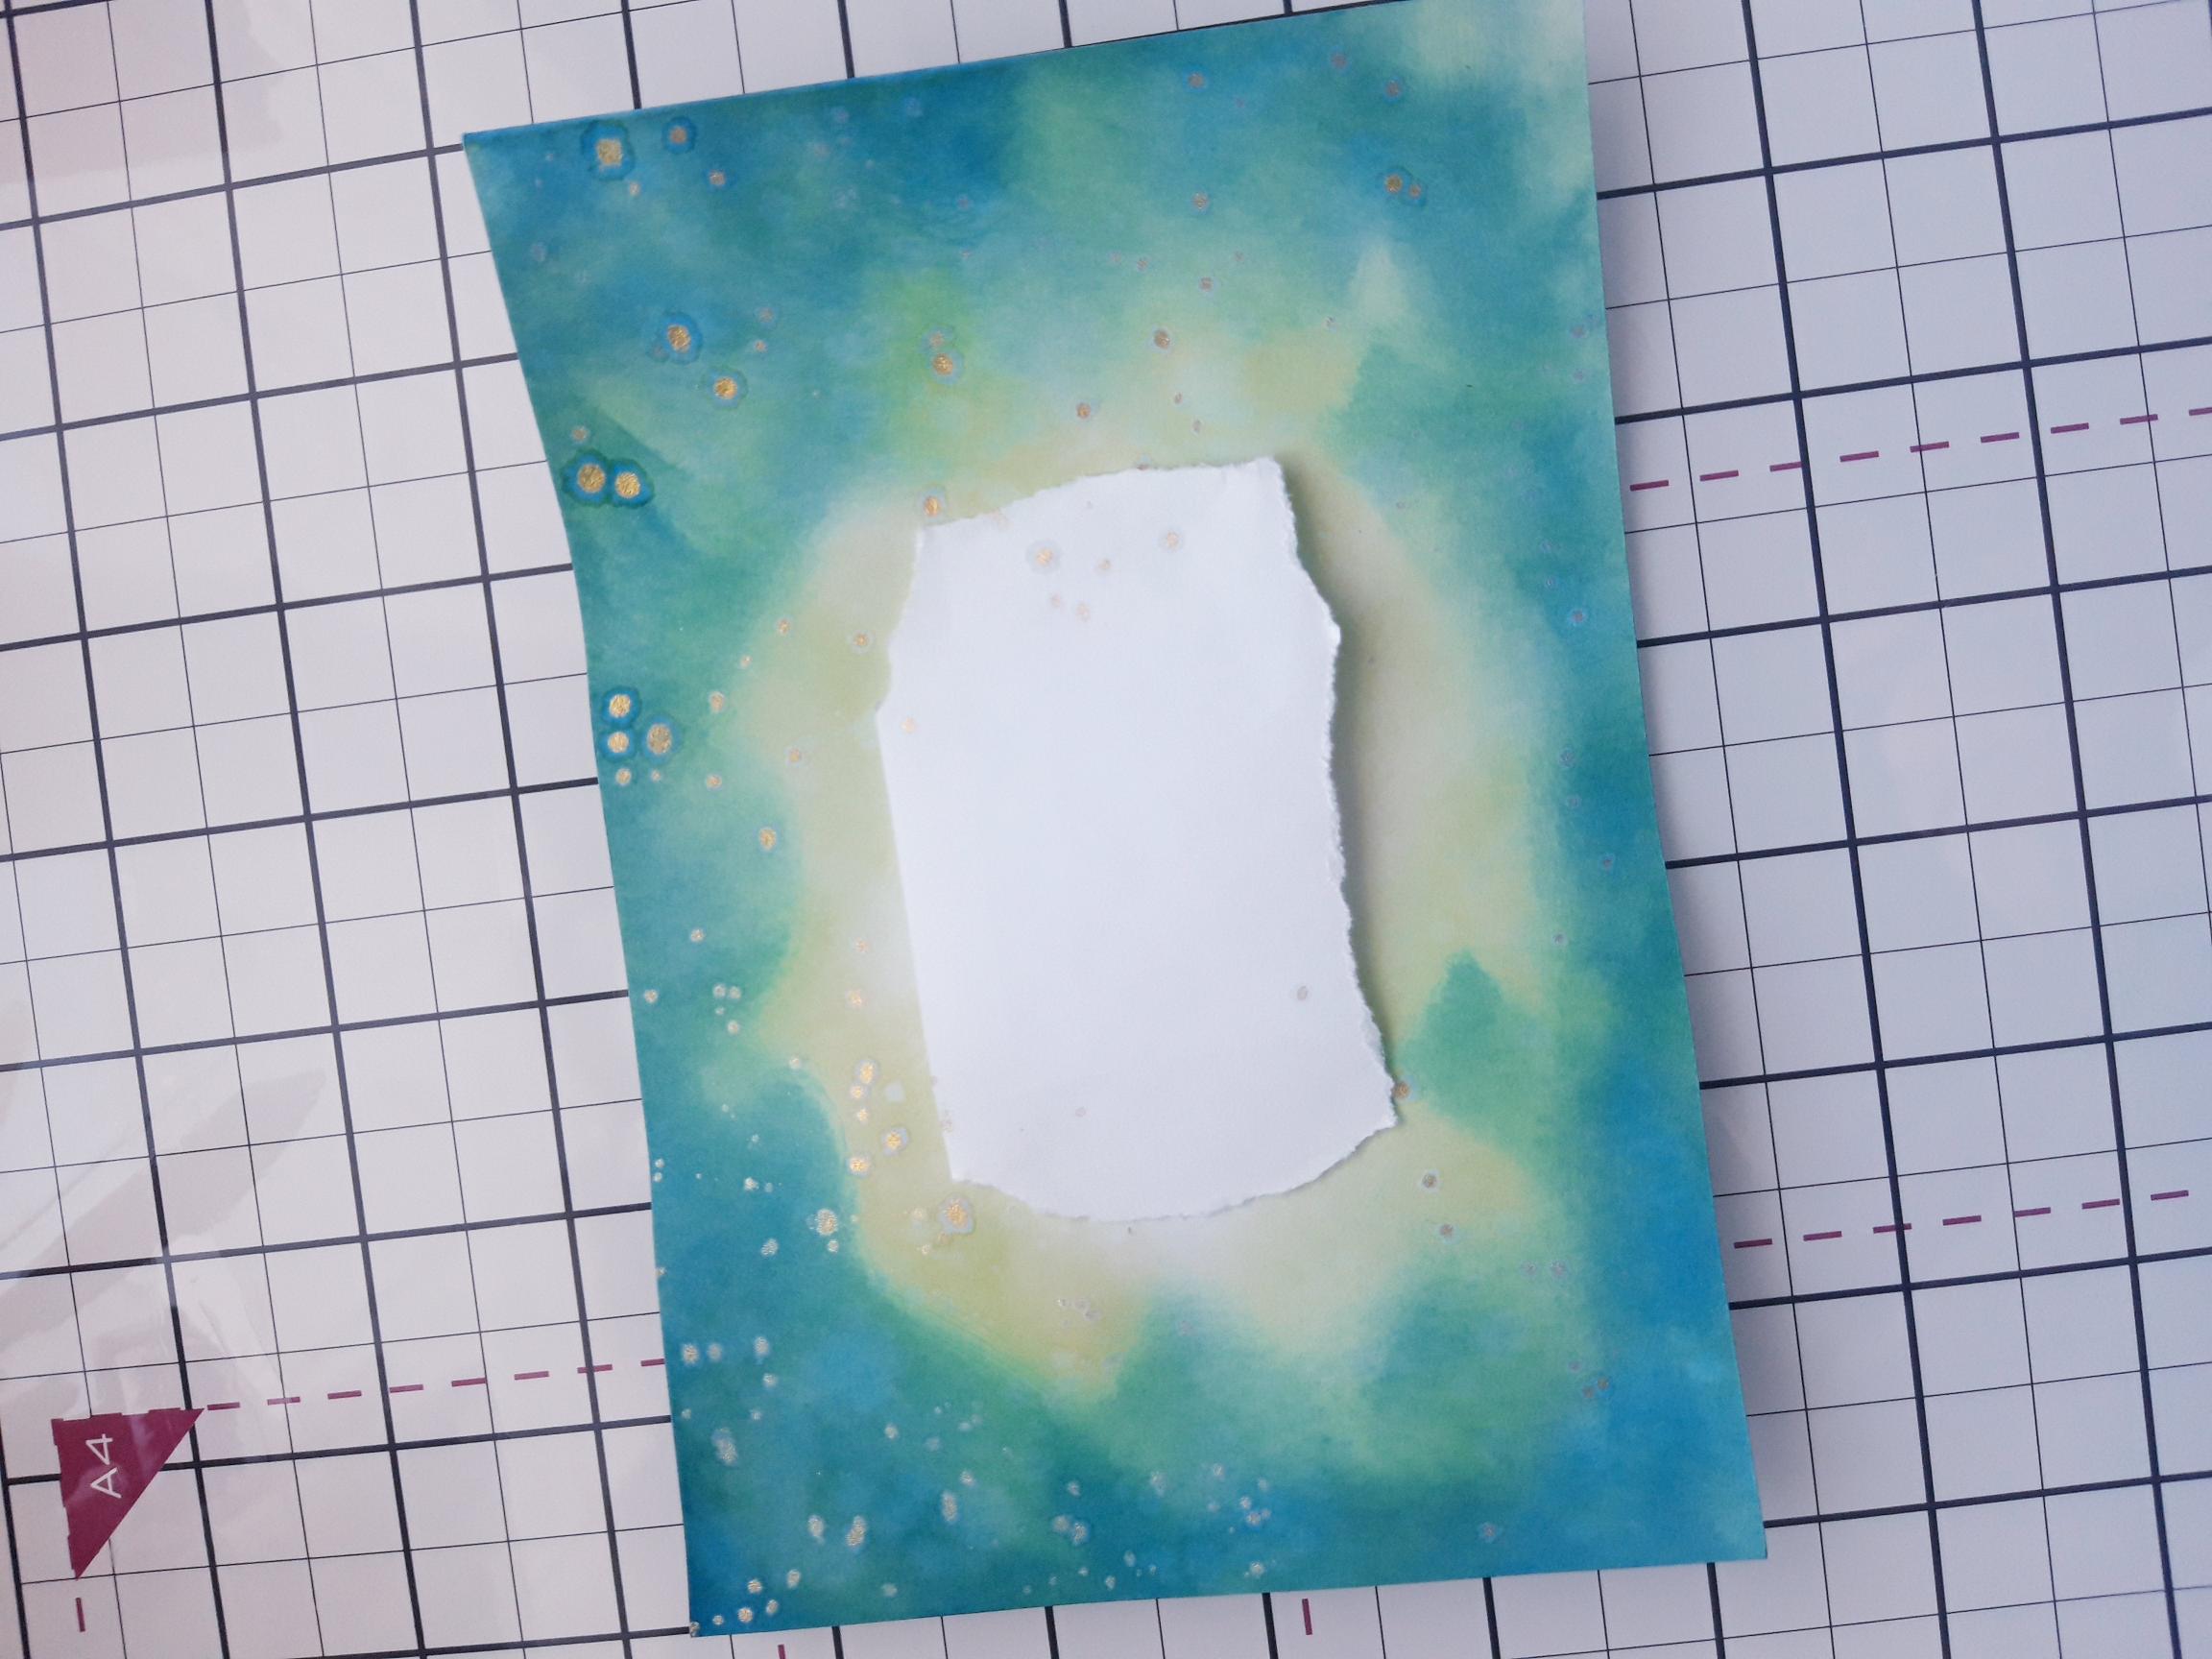
Swirl the Pearlywinks Golden Shimmer Pearl Mist, to activate the Mica. Spray on to your glass mat, then use a paint brush to splatter over your background. Remove the copy paper and blast dry with your heat tool. |
|
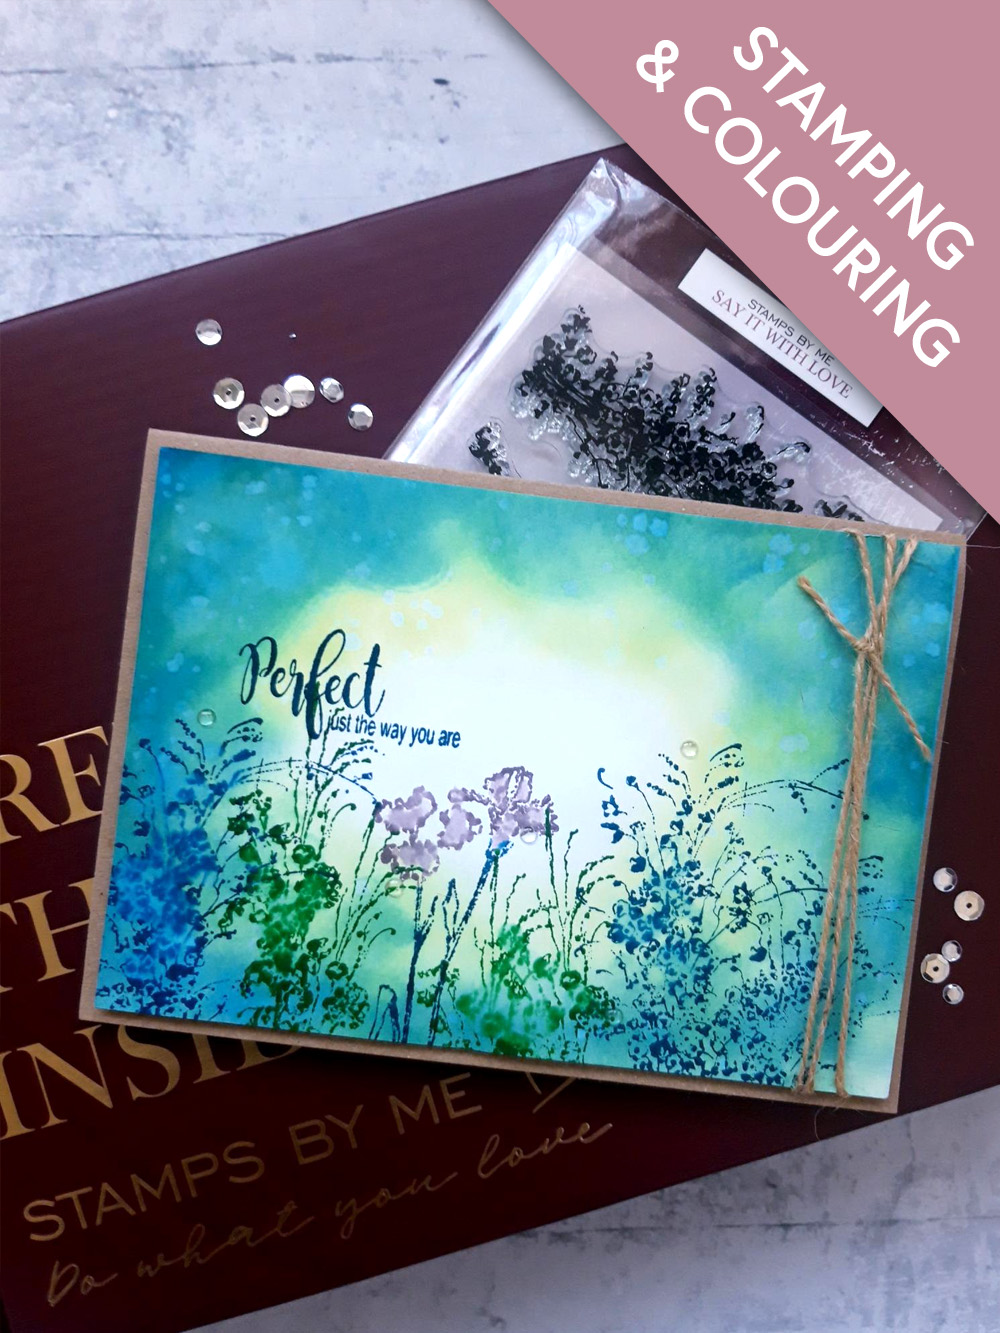
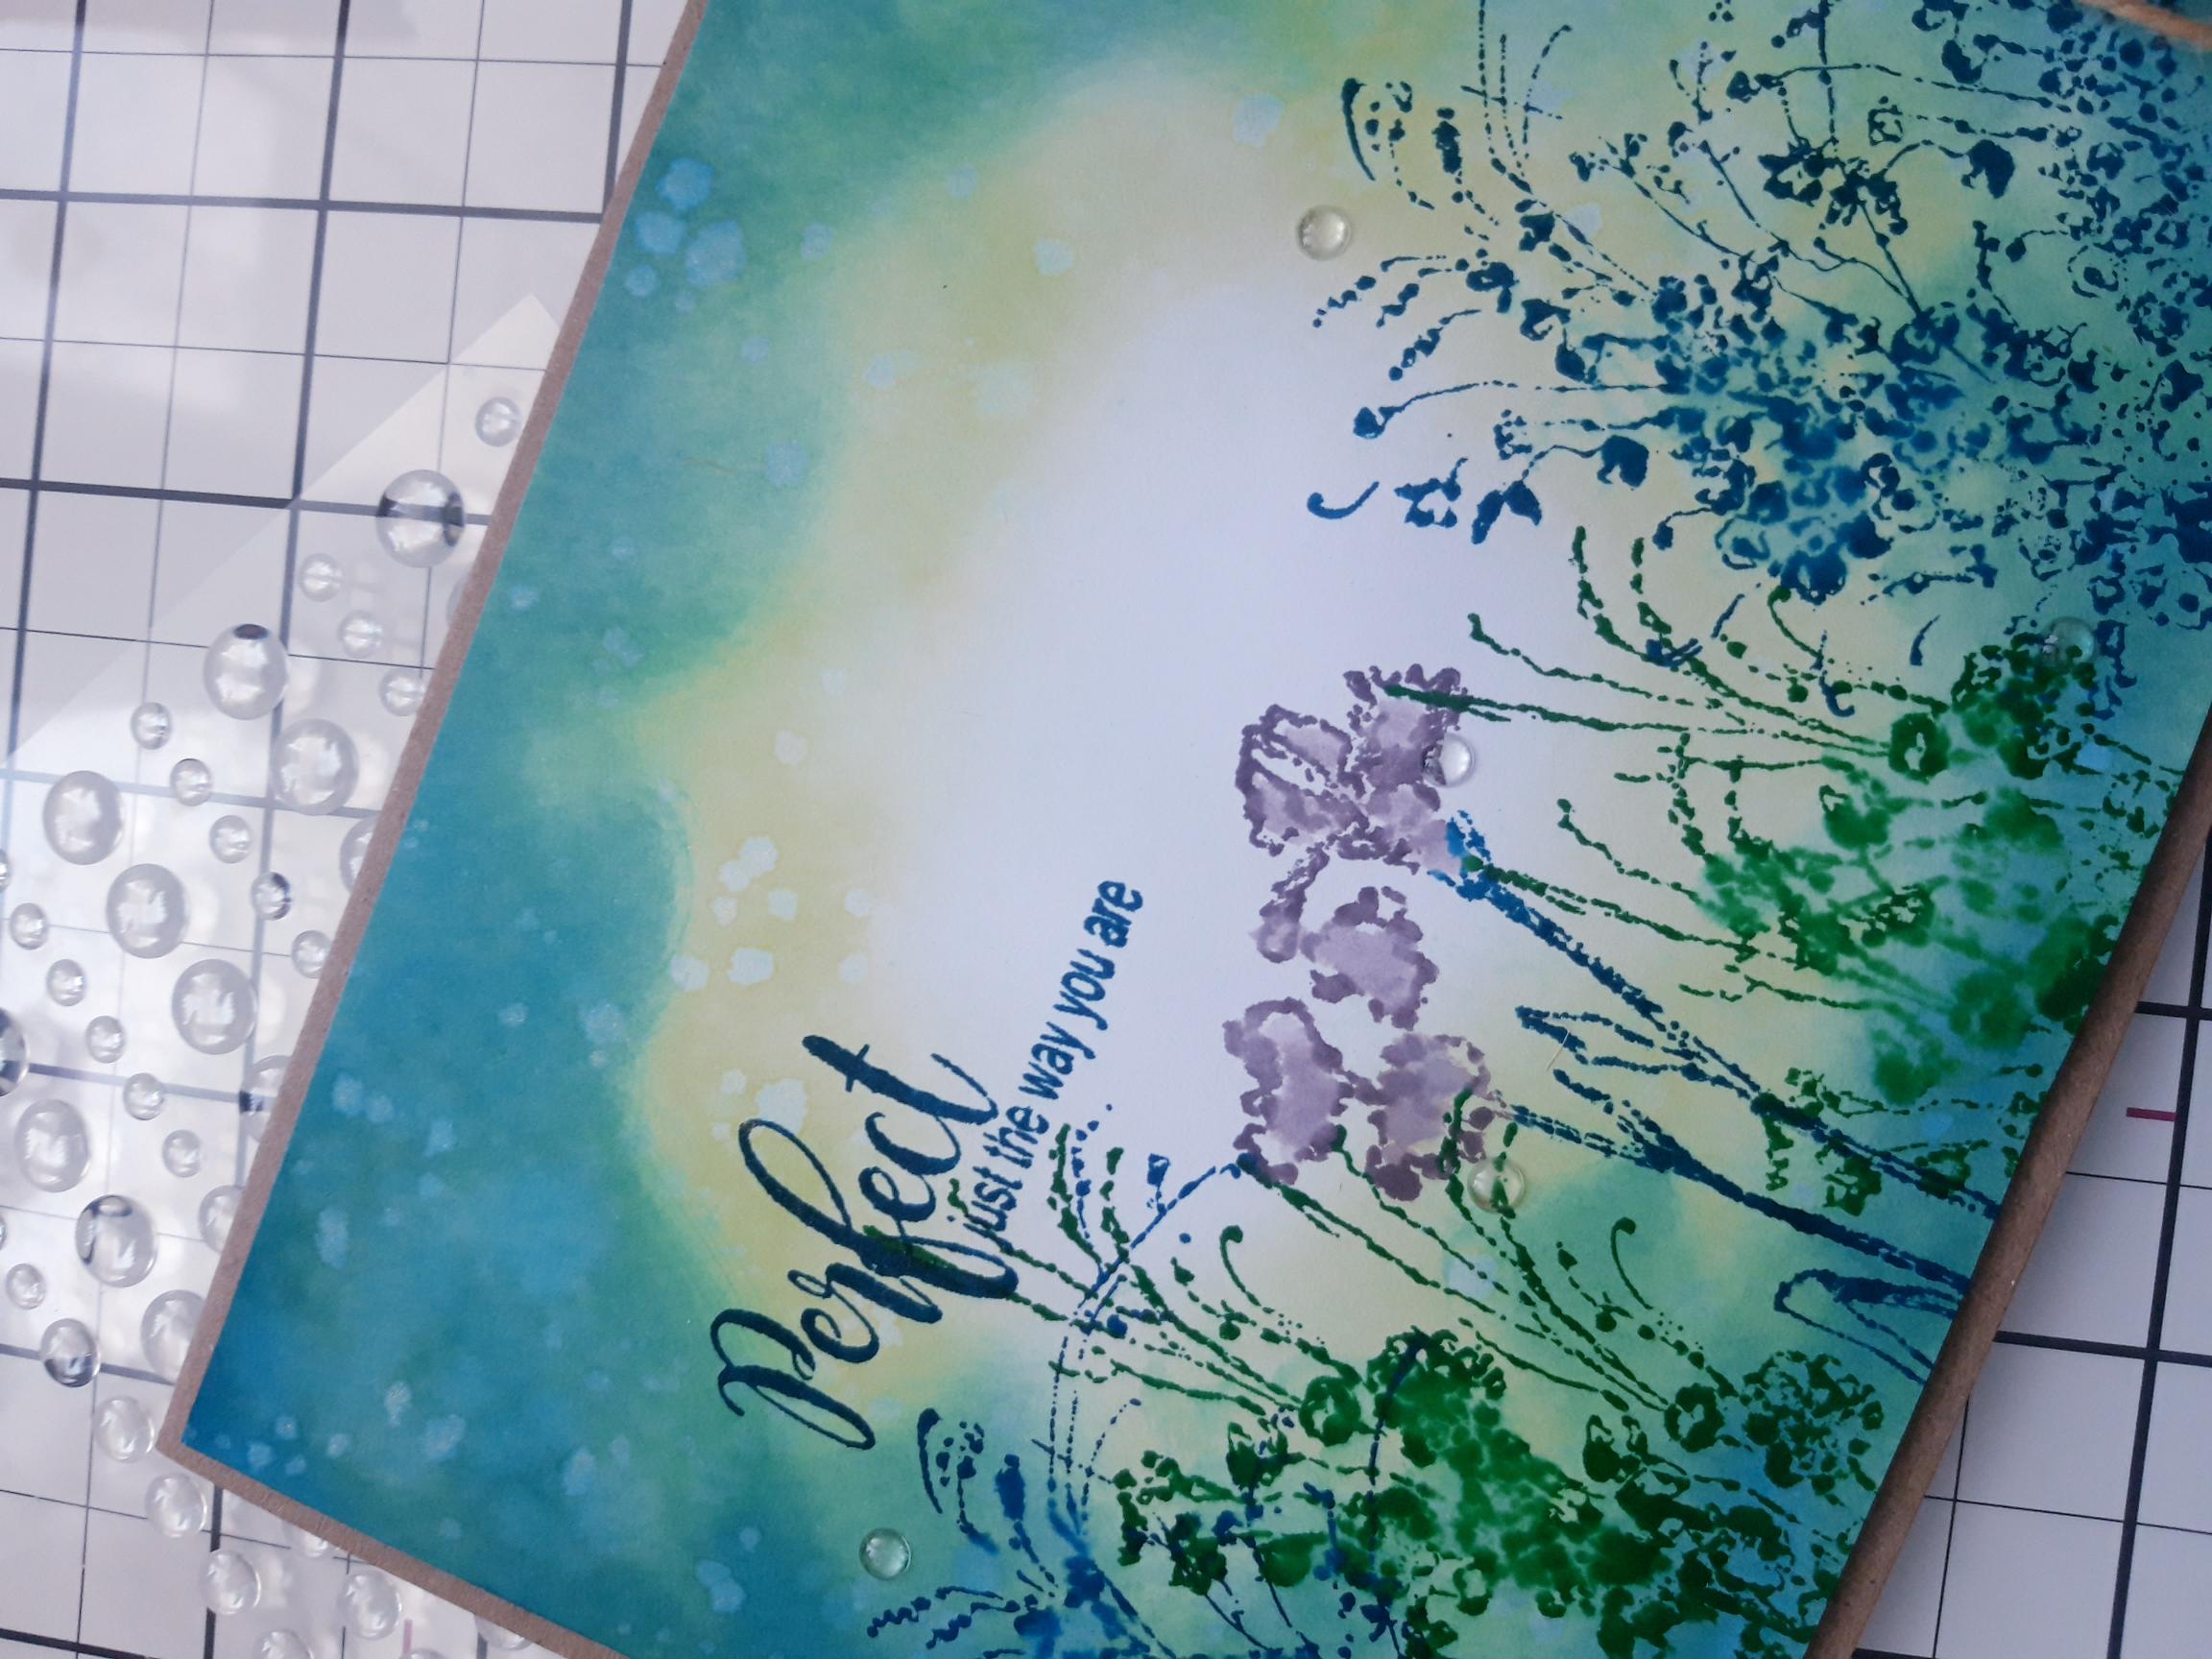
Create your stamped artwork by inking up a selection of the stamps, from the Say It With Love stamp set, with your different coloured Premium inks. Stamp using first and second generation stamping (Don't re-ink in between stamping) and spritz some of the inked stamps with water first, before stamping. Ensure your images are stamped off the bottom edge of the card. Using these different techniques will give you a natural, loose watercolour effect, with dimension and perspective. |
|
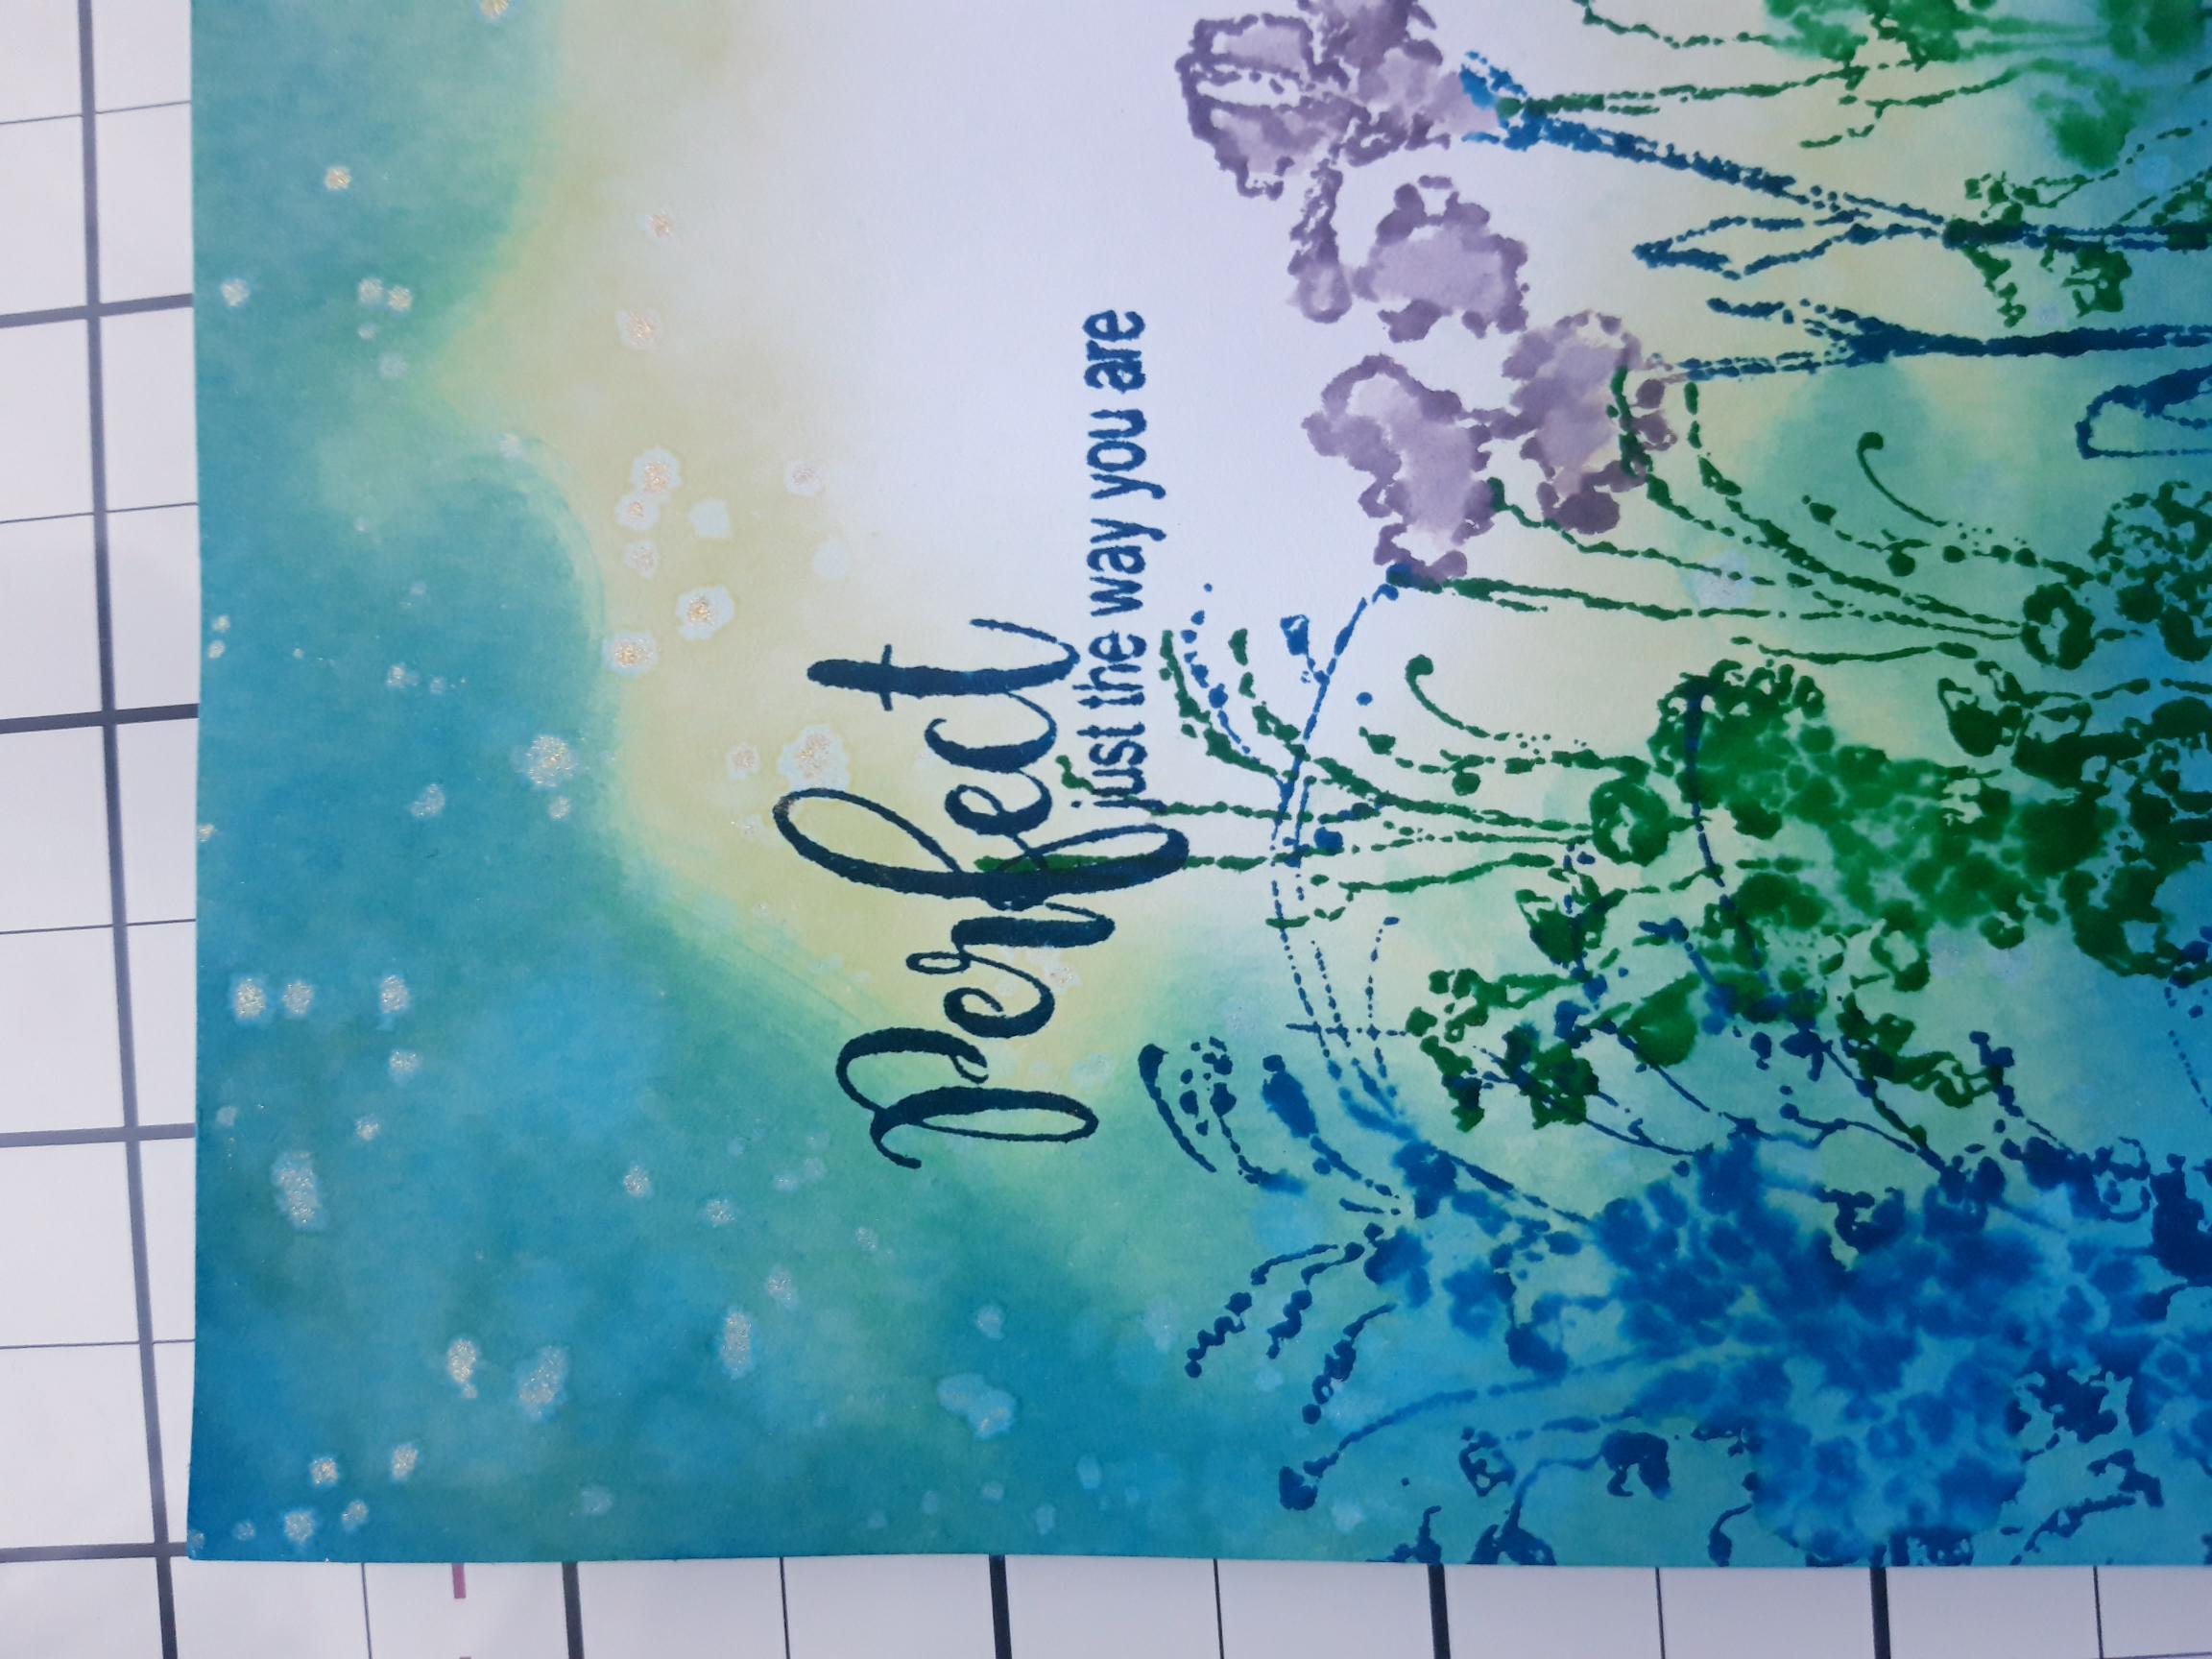
Ink your sentiment stamp from the Love & Hope stamp set, with Tiffany and stamp to the left of your artwork. |
|
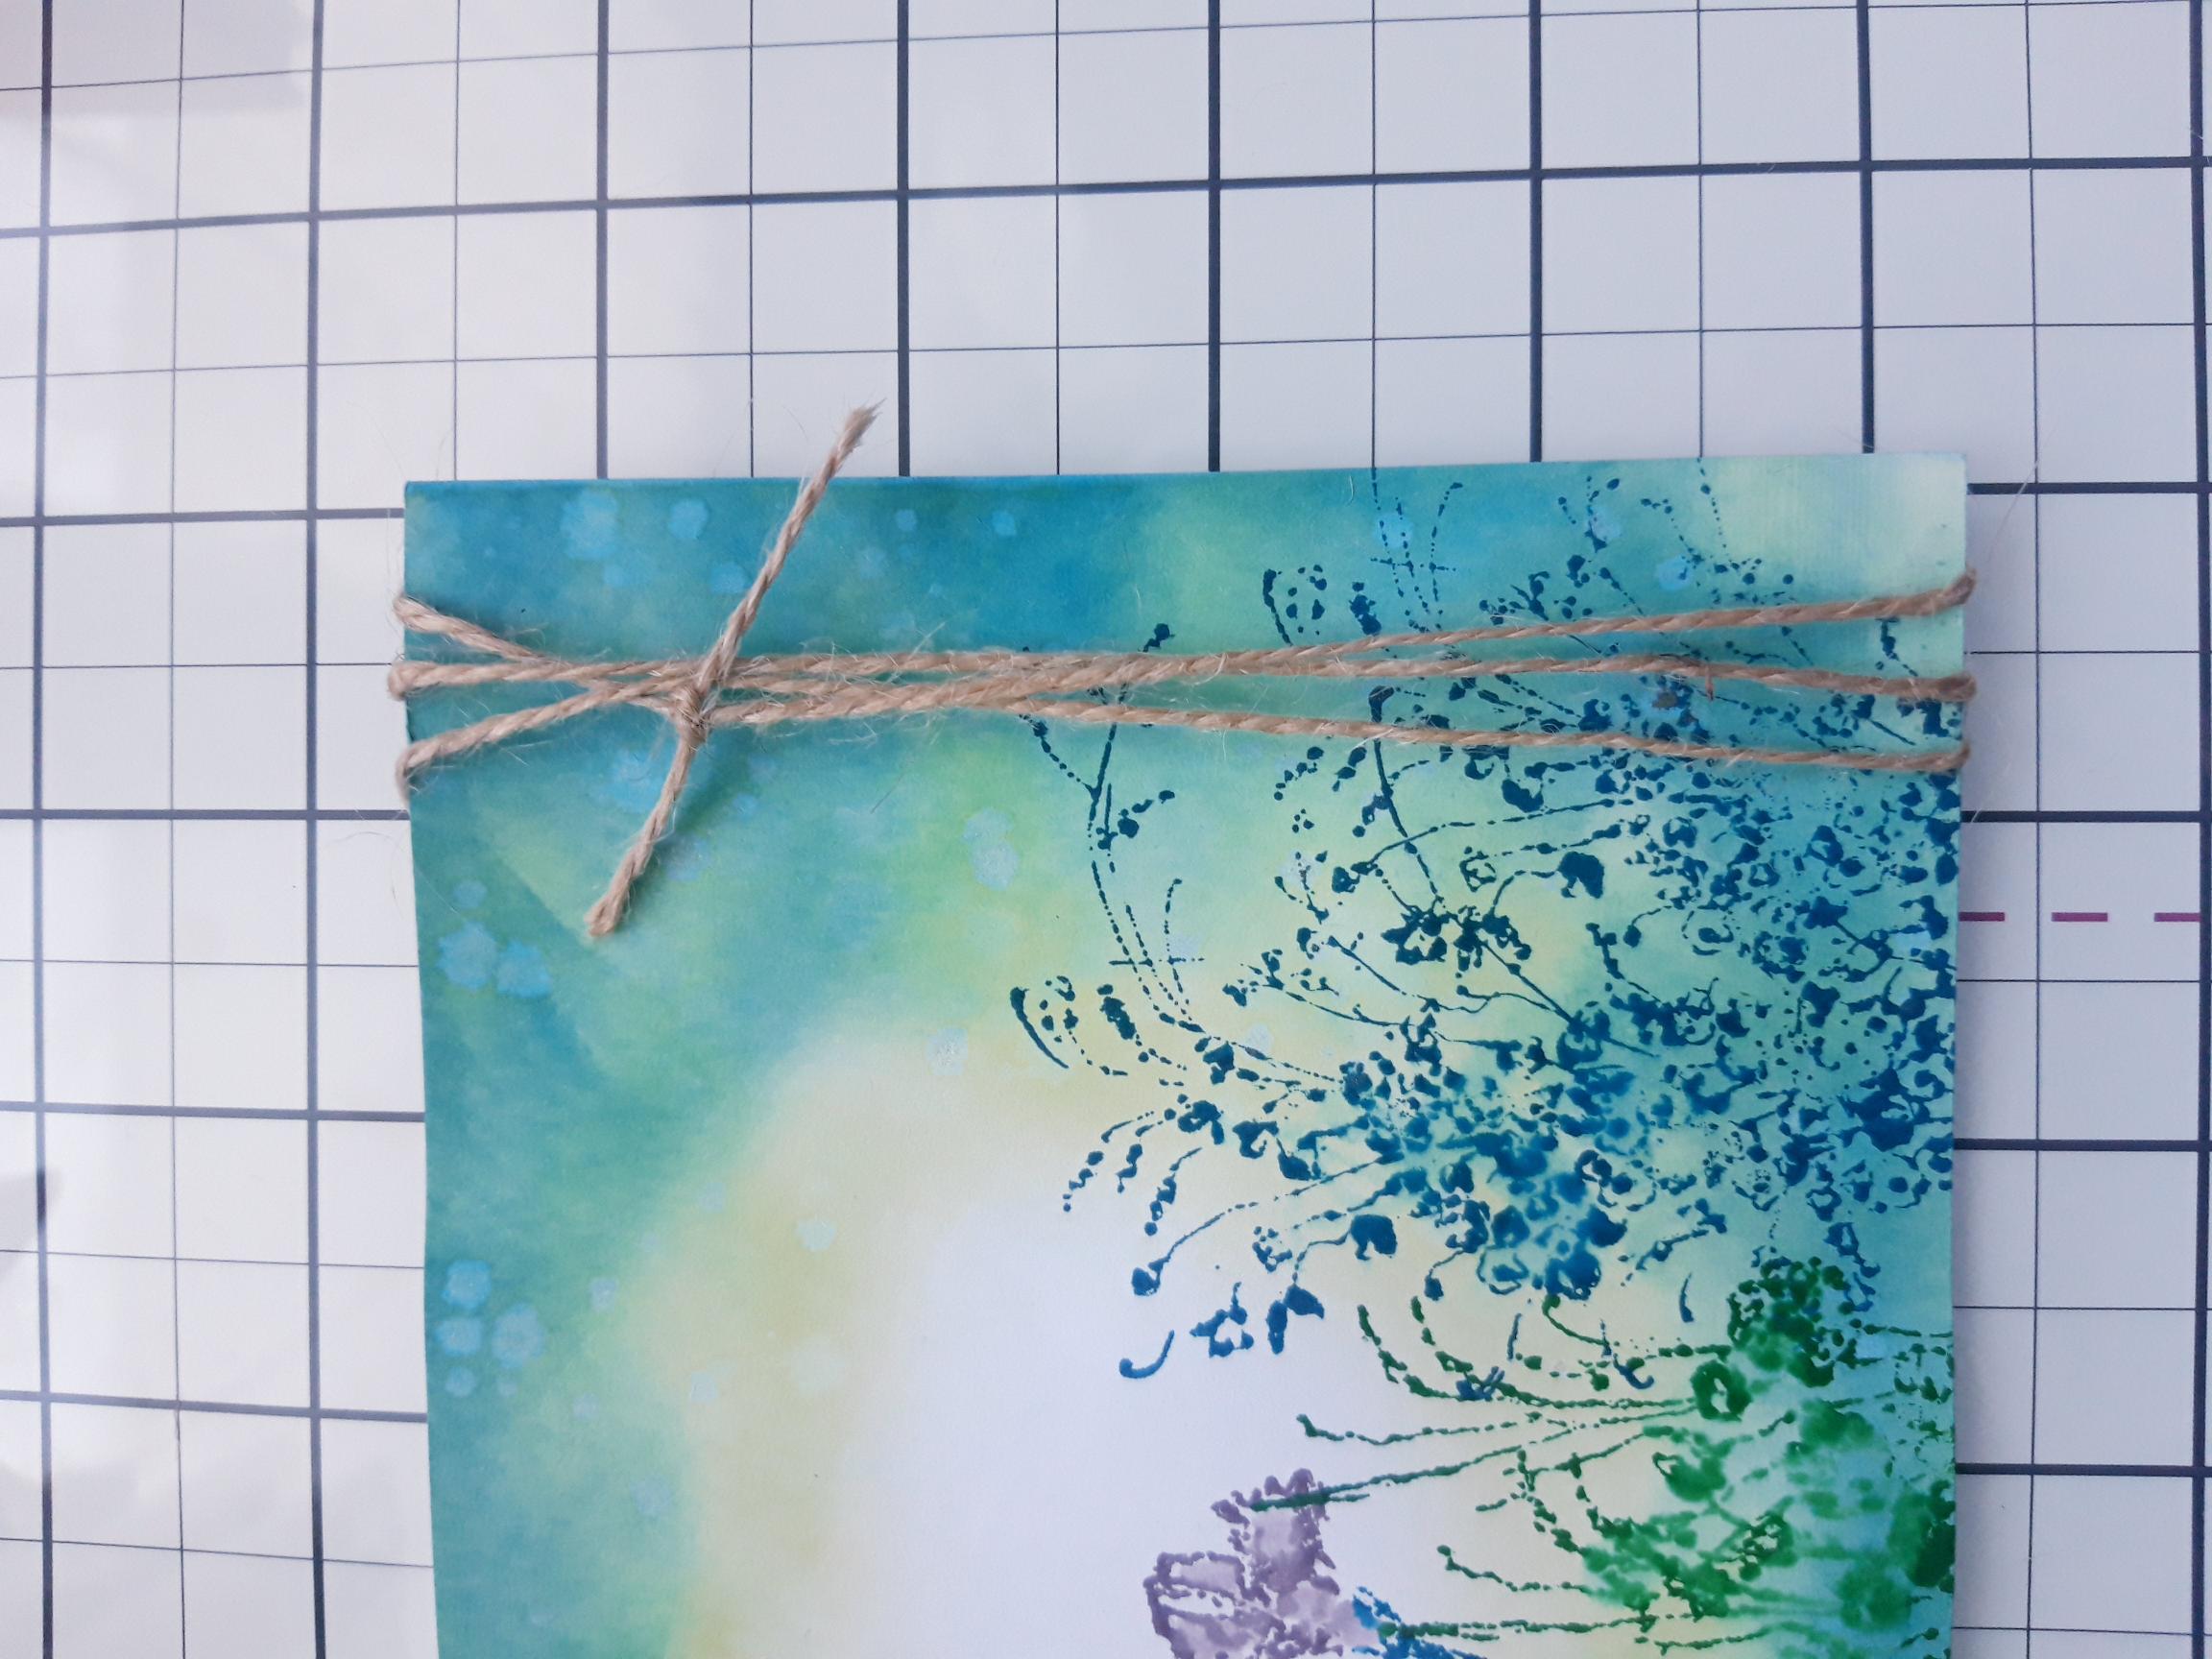
Wind twine vertically around the right hand side of your artwork and secure with a knot or bow. |
|
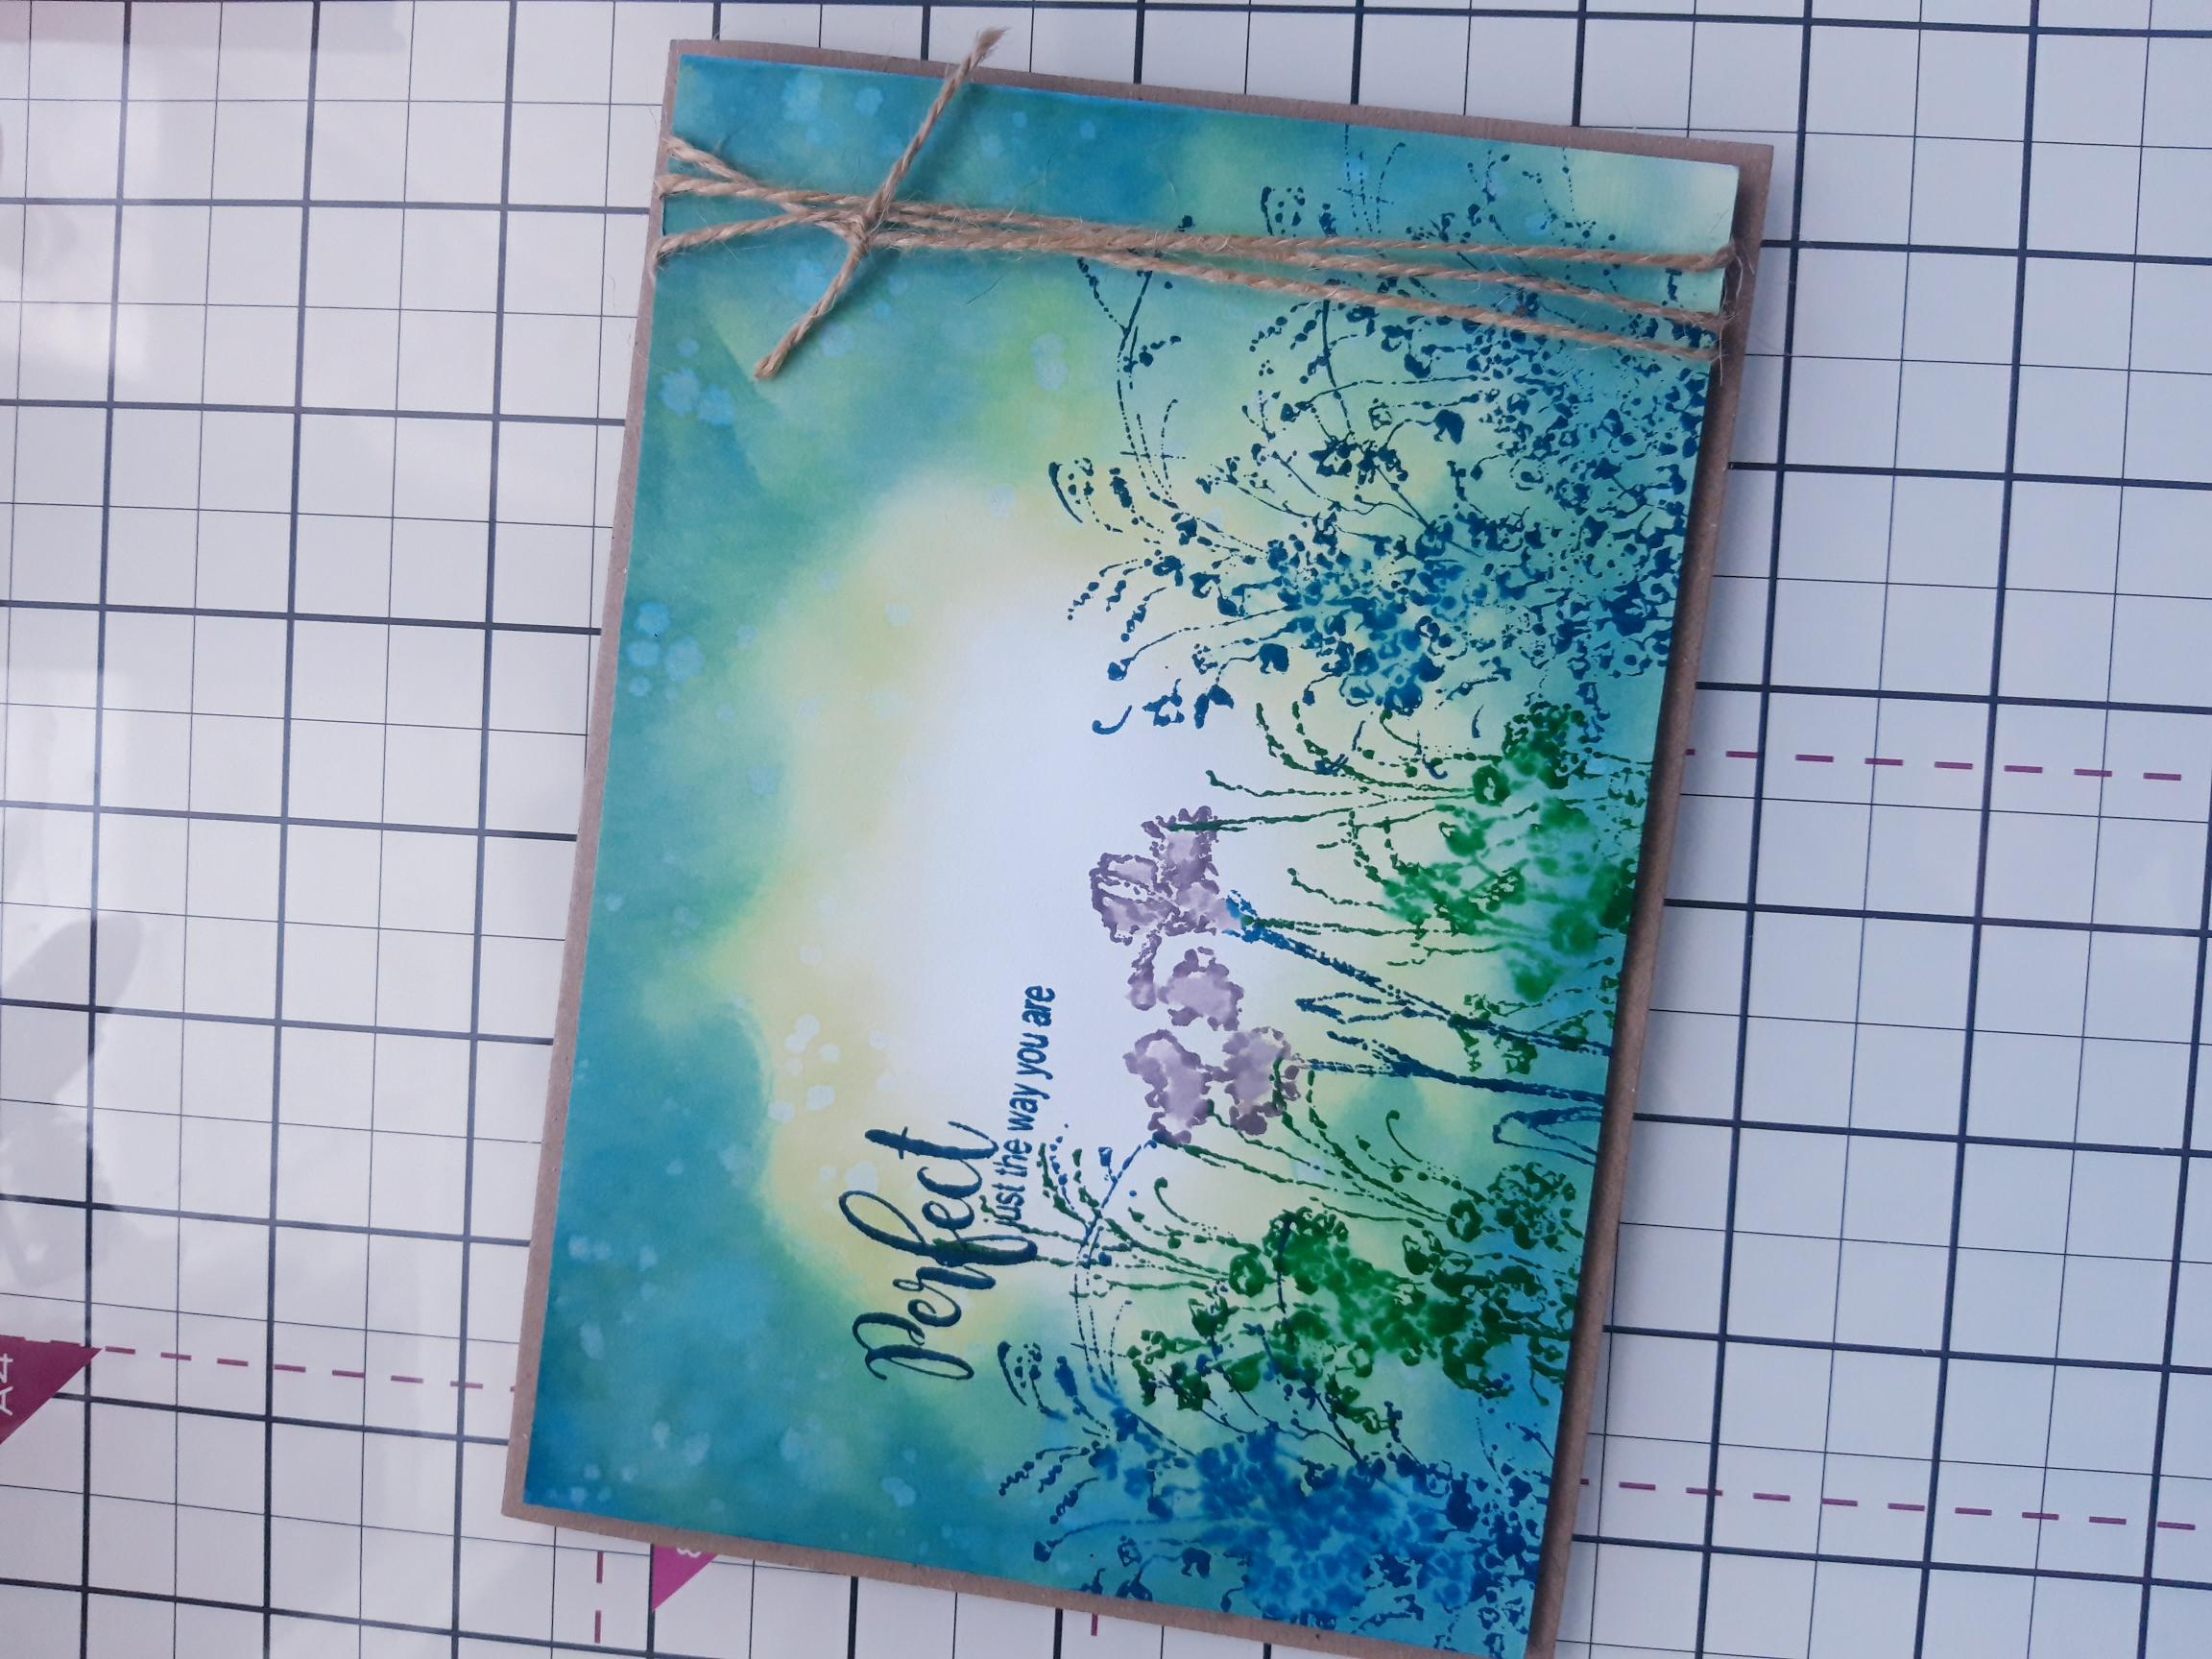
Adhere to the front of your landscape card blank. |
|
Finally, adhere clear water gems to your artwork, as required. |