Give your friends $10 off their first order!
Refer a FRIEND


WHAT YOU WILL NEED:
Kraft card blank 7 x 5"
Black card 6 3/4 x 4 3/4"
White card 6 1/2 x 4 1/2" (TWO)
White card for die cut sentiment (x4)
Bravo A6 Die set
Choose Happy Lamination Stamp Collection
There For You Lamination Stamp Collection
SBM Hybrid Ink Pad: Midnight
SBM Premium Dye Ink pad: Limeade, Hedgerow, Fandango, Tiffany
Water spray bottle
WOW Heat tool
Eureka 101 Watercolour Tablet
SBM Magnetic glass mat
Paper Trimmer
Perfect Together Glue
Die Cutting machine
[click image to enlarge] 
|
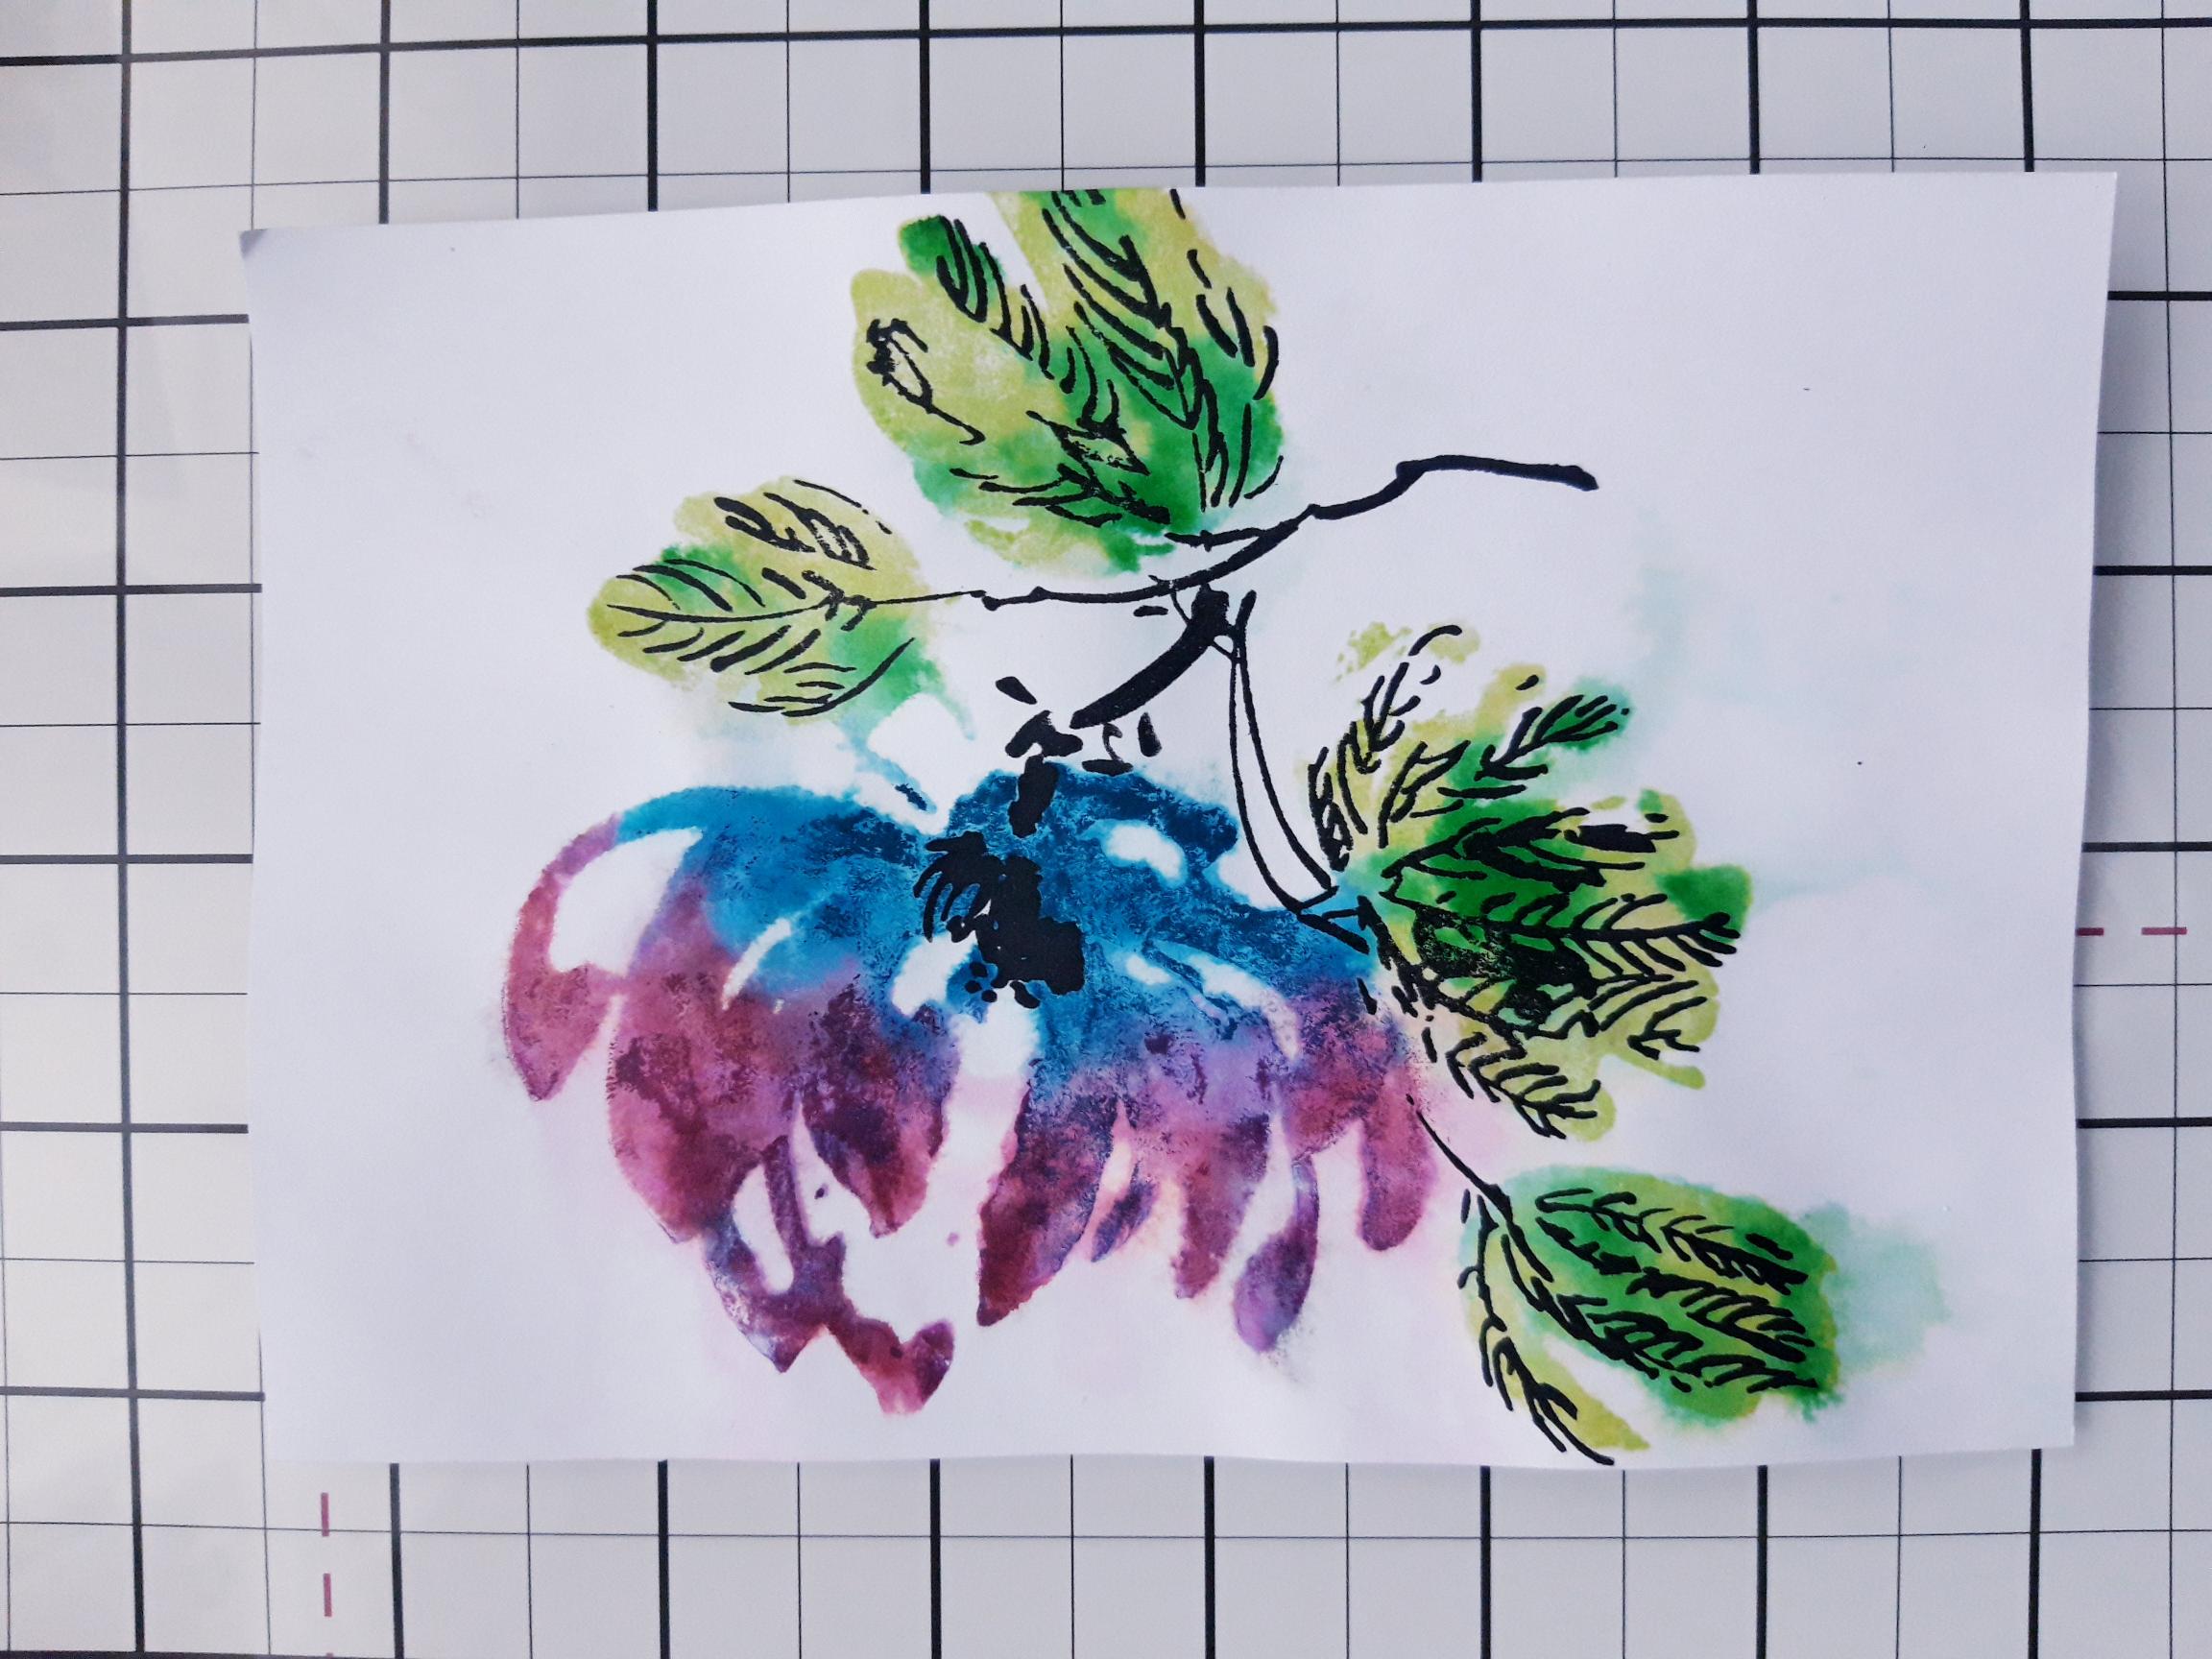
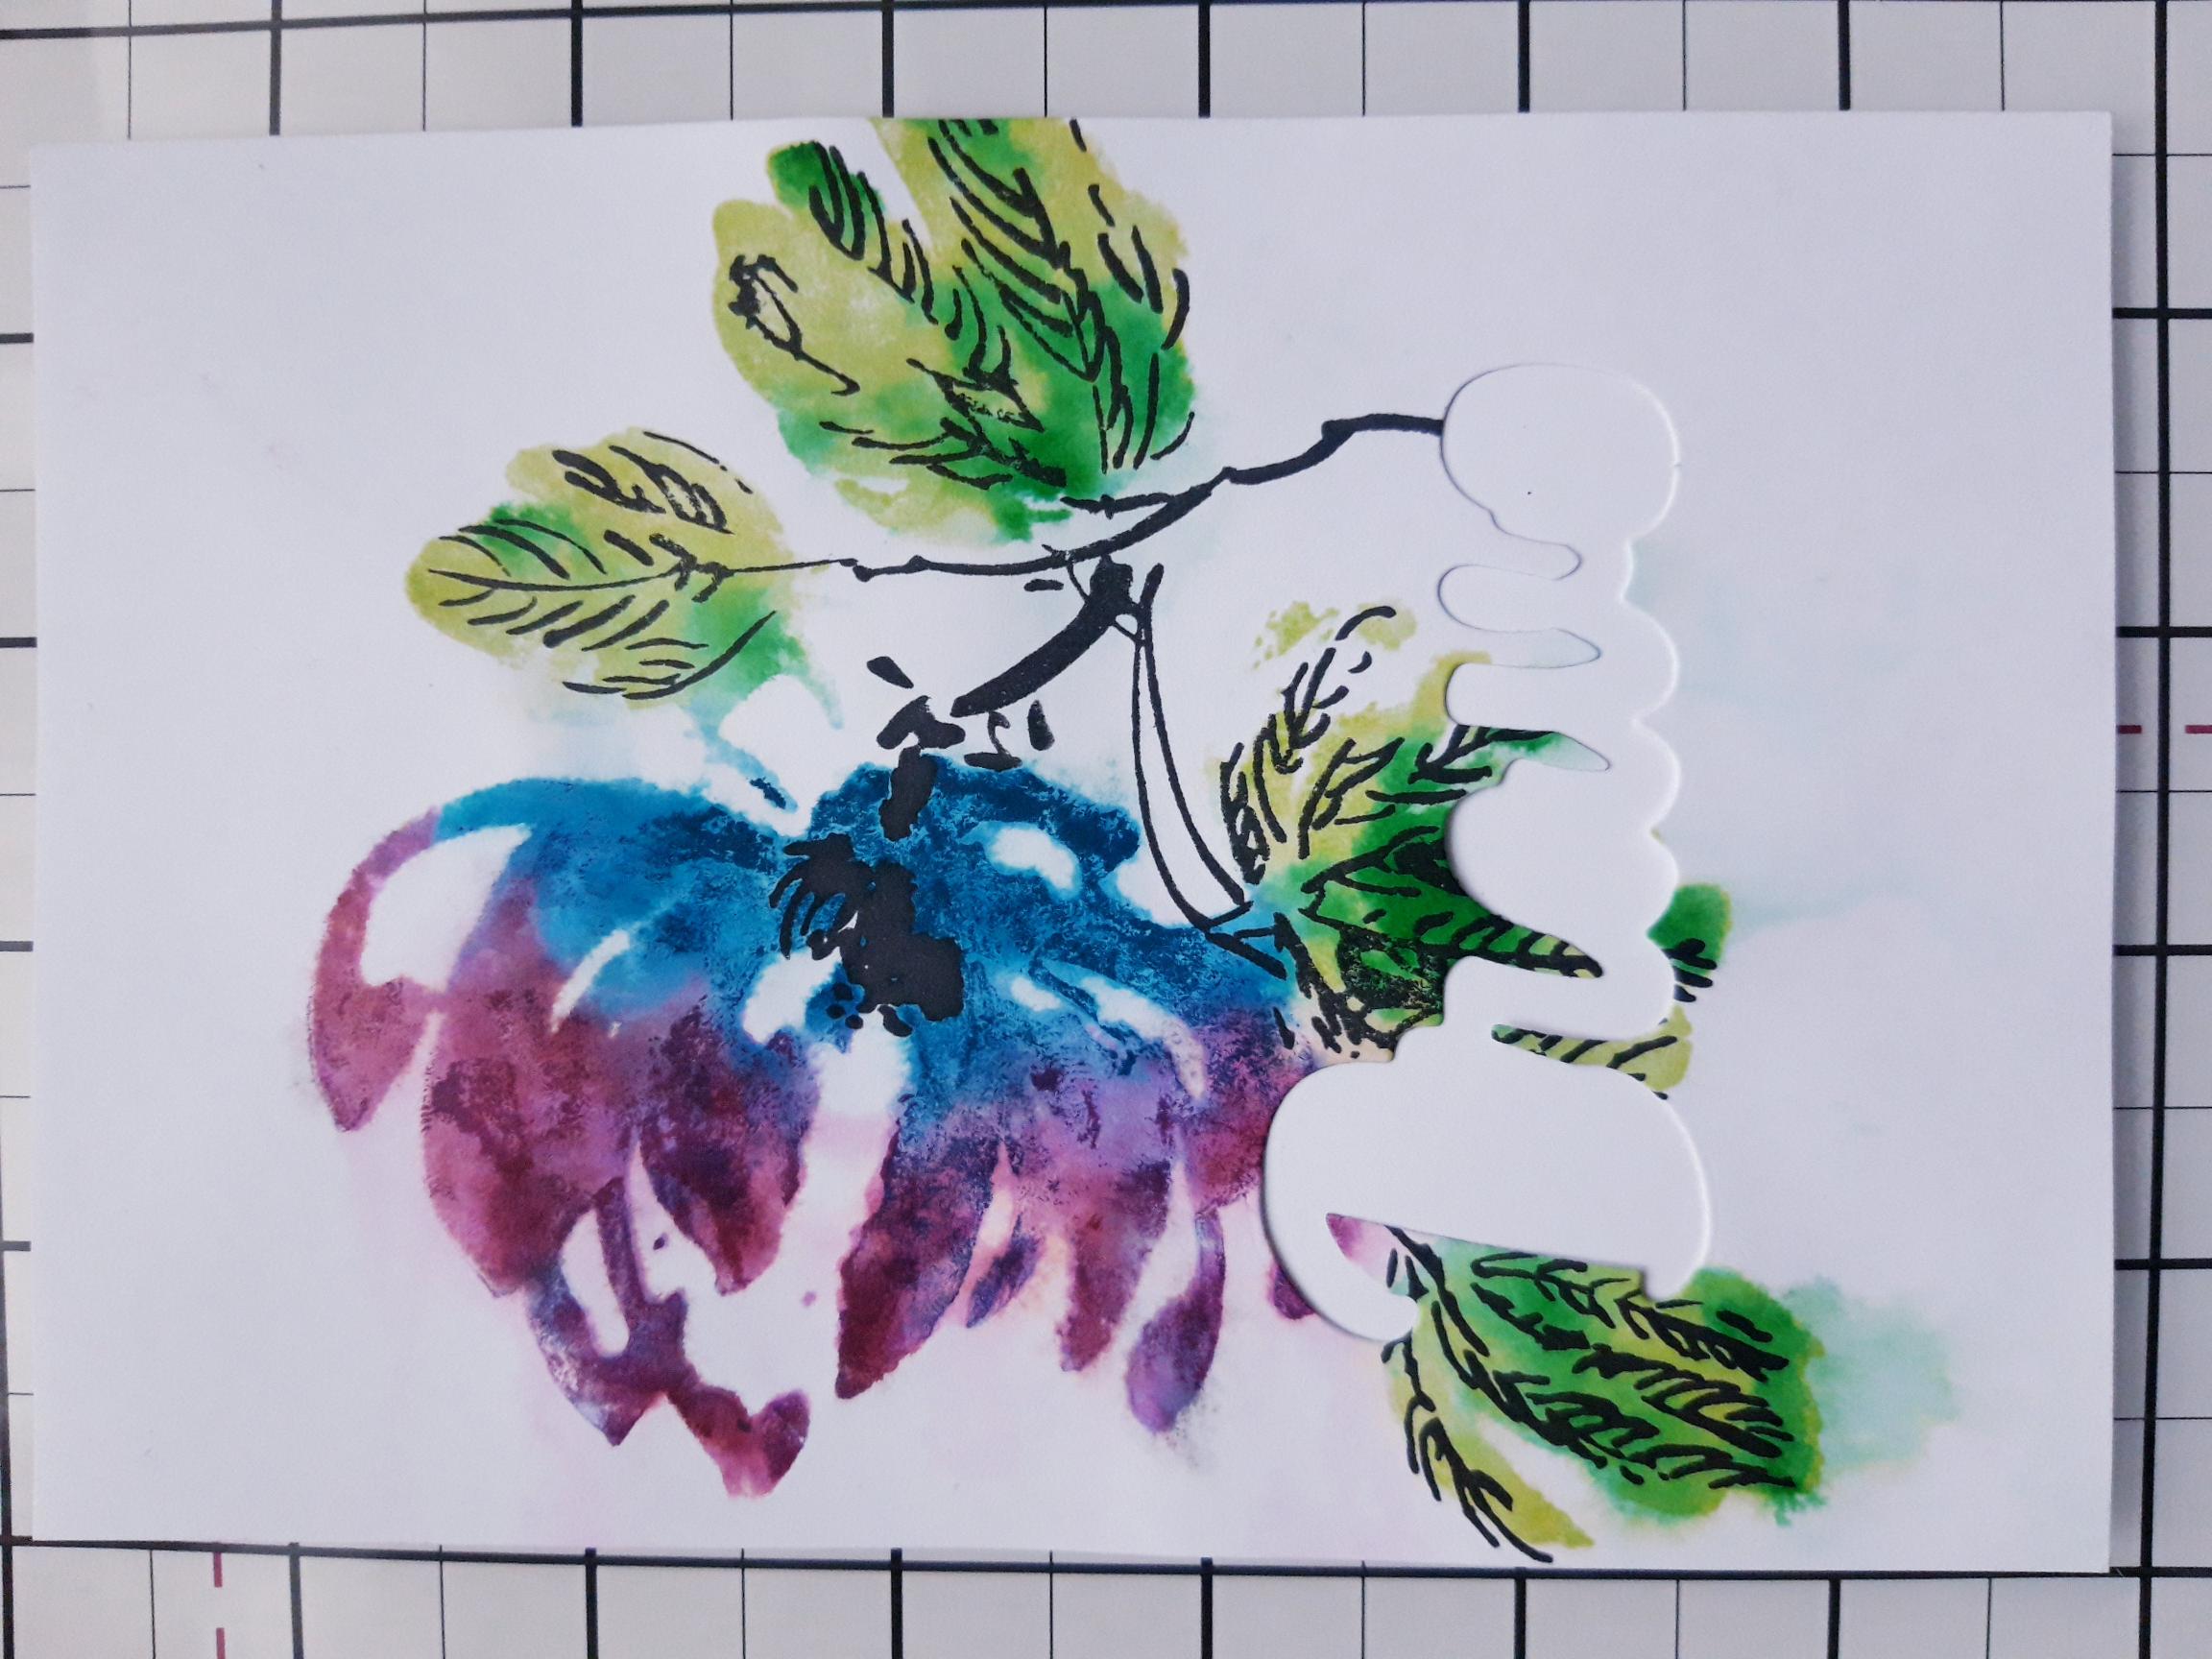
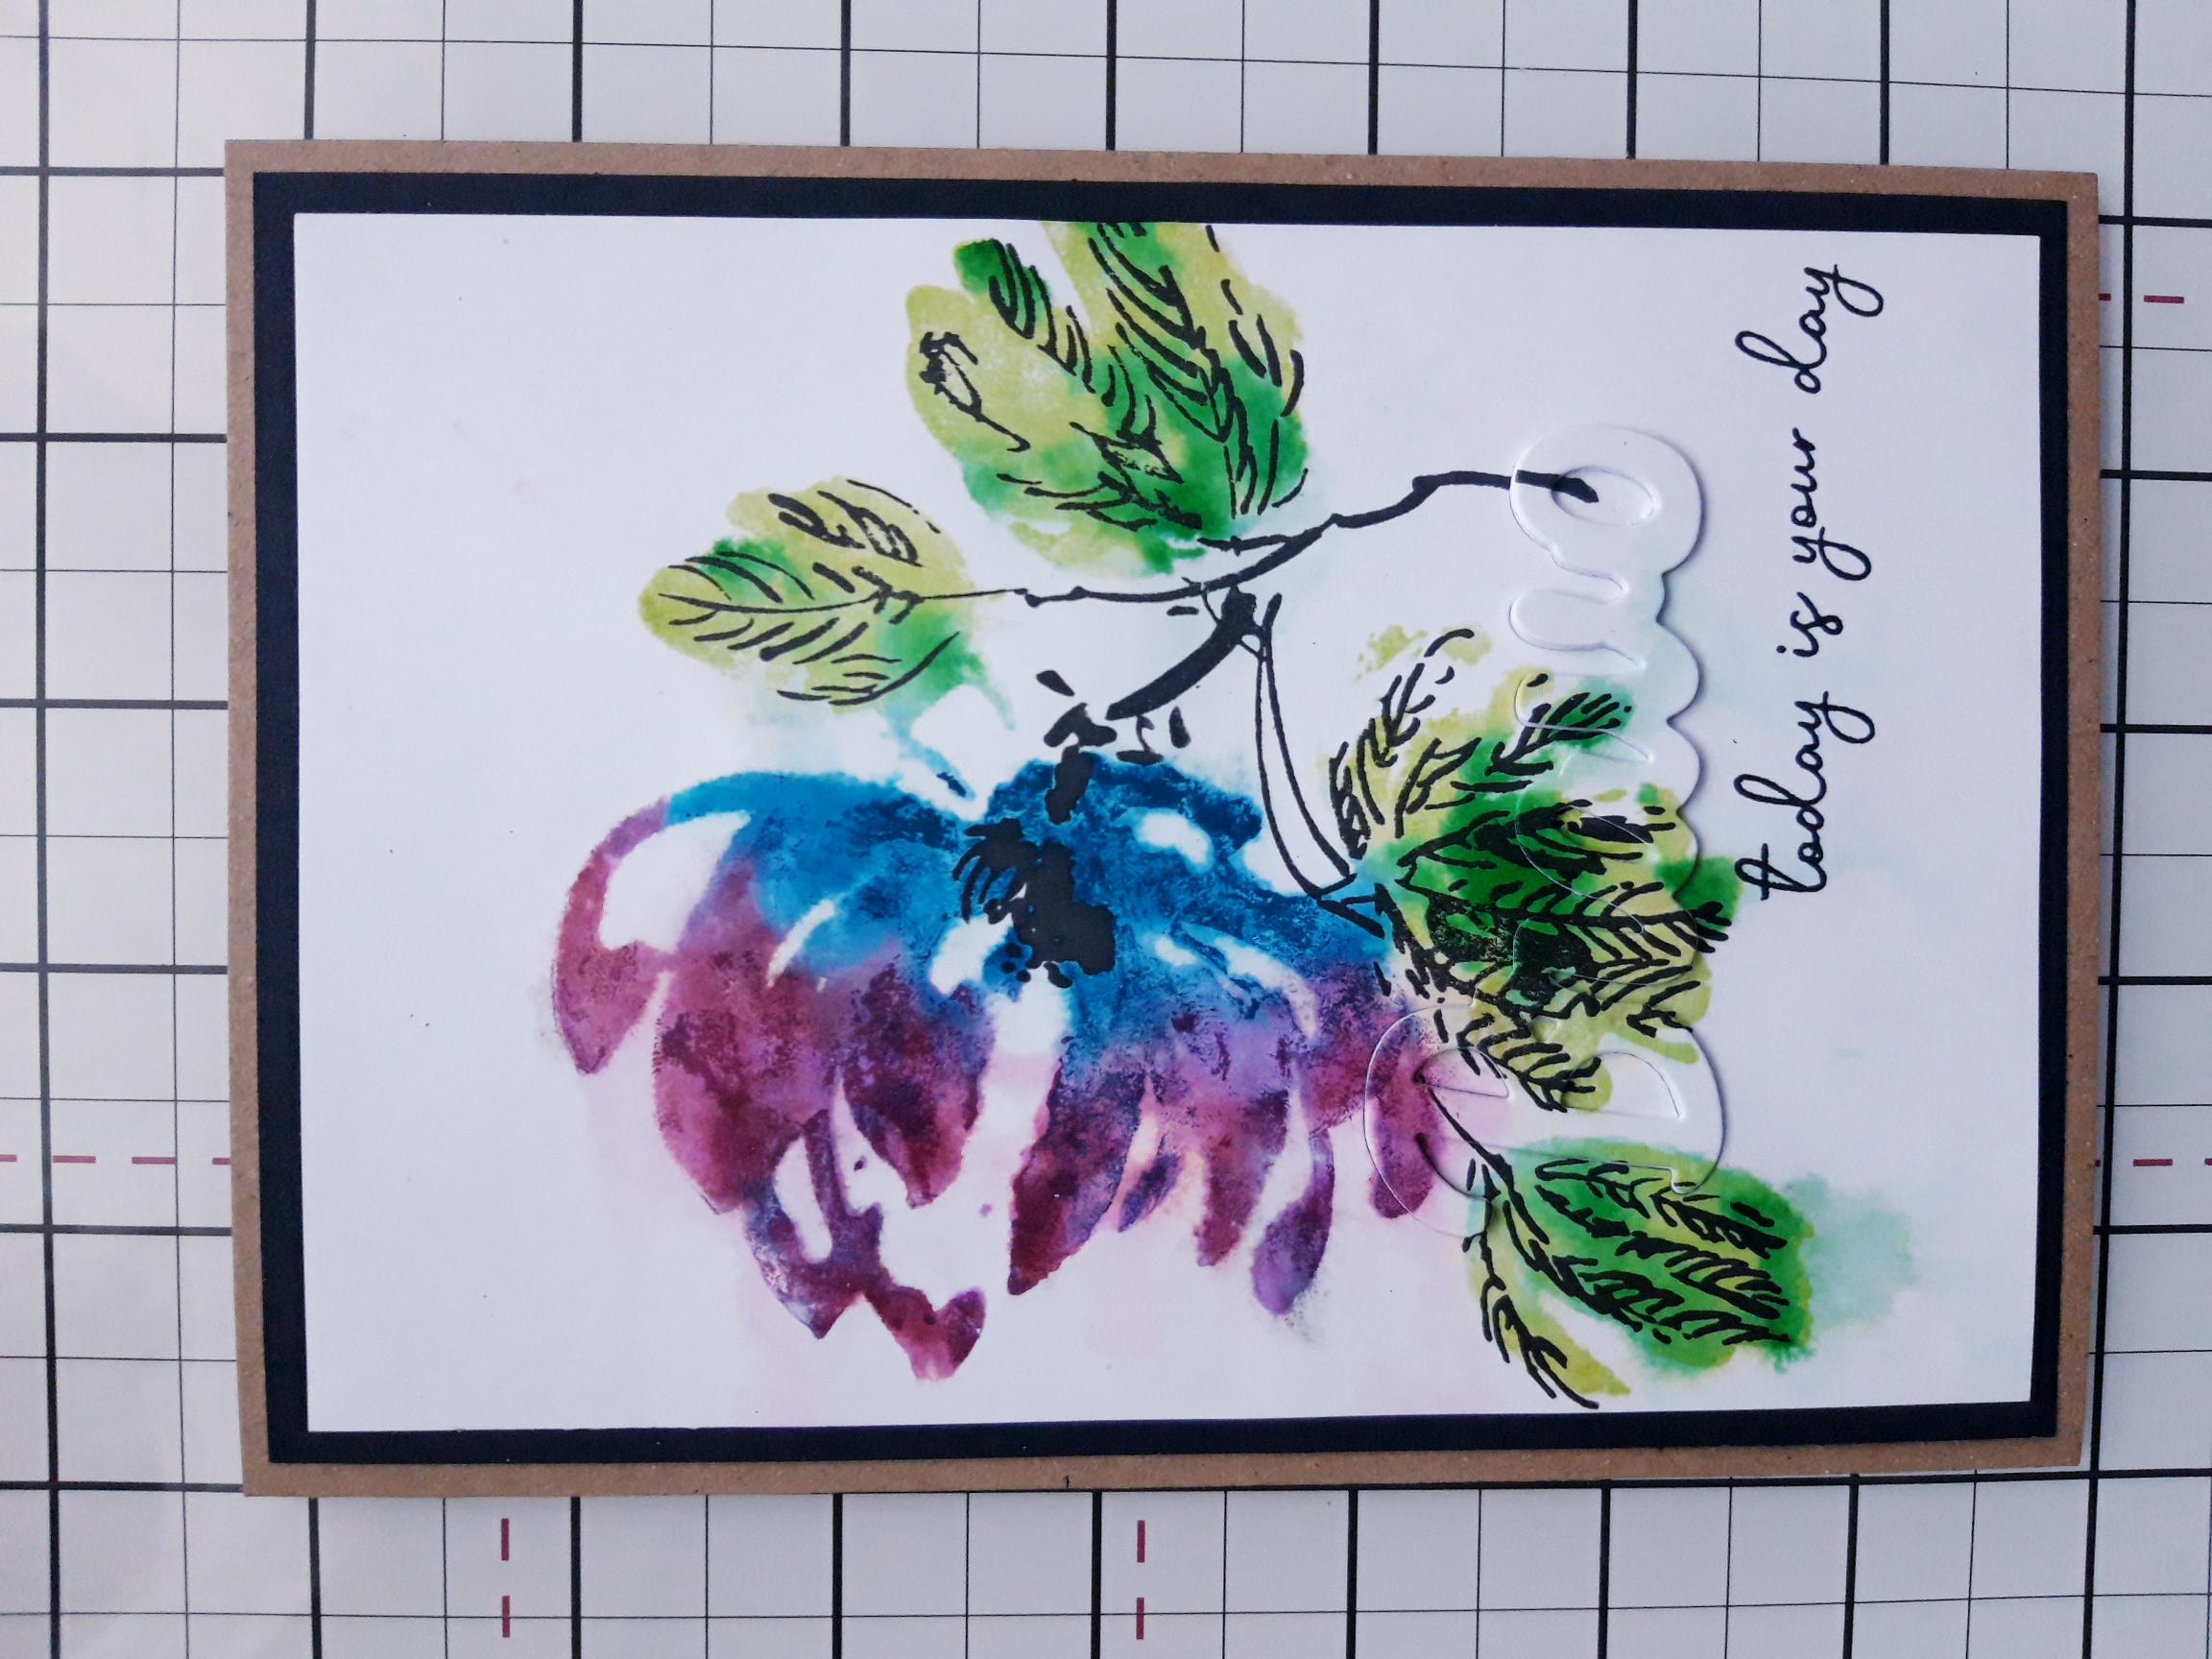
Ink up the solid stamp from the Choose Happy Lamination stamp Collection, with the Premium dye ink pads. Spritz the stamp with water and stamp on to ONE of the pieces of white card (6 1/2 x 4 1/2"). Without moving the stamp and card, spritz the stamped image with water, allowing the ink to bleed. Mop up the excess ink with a paper towel, then re-ink and stamp it again. Give your artwork a blast with your heat tool.
|
|
Use the hybrid Midnight to ink up the coordinating detailed stamp, then line it up and stamp over your solid stamped image. If you are unsure how to line it up, the images on the packaging will help you. Blast with your heat tool, to ensure the ink is completely dry. |
|
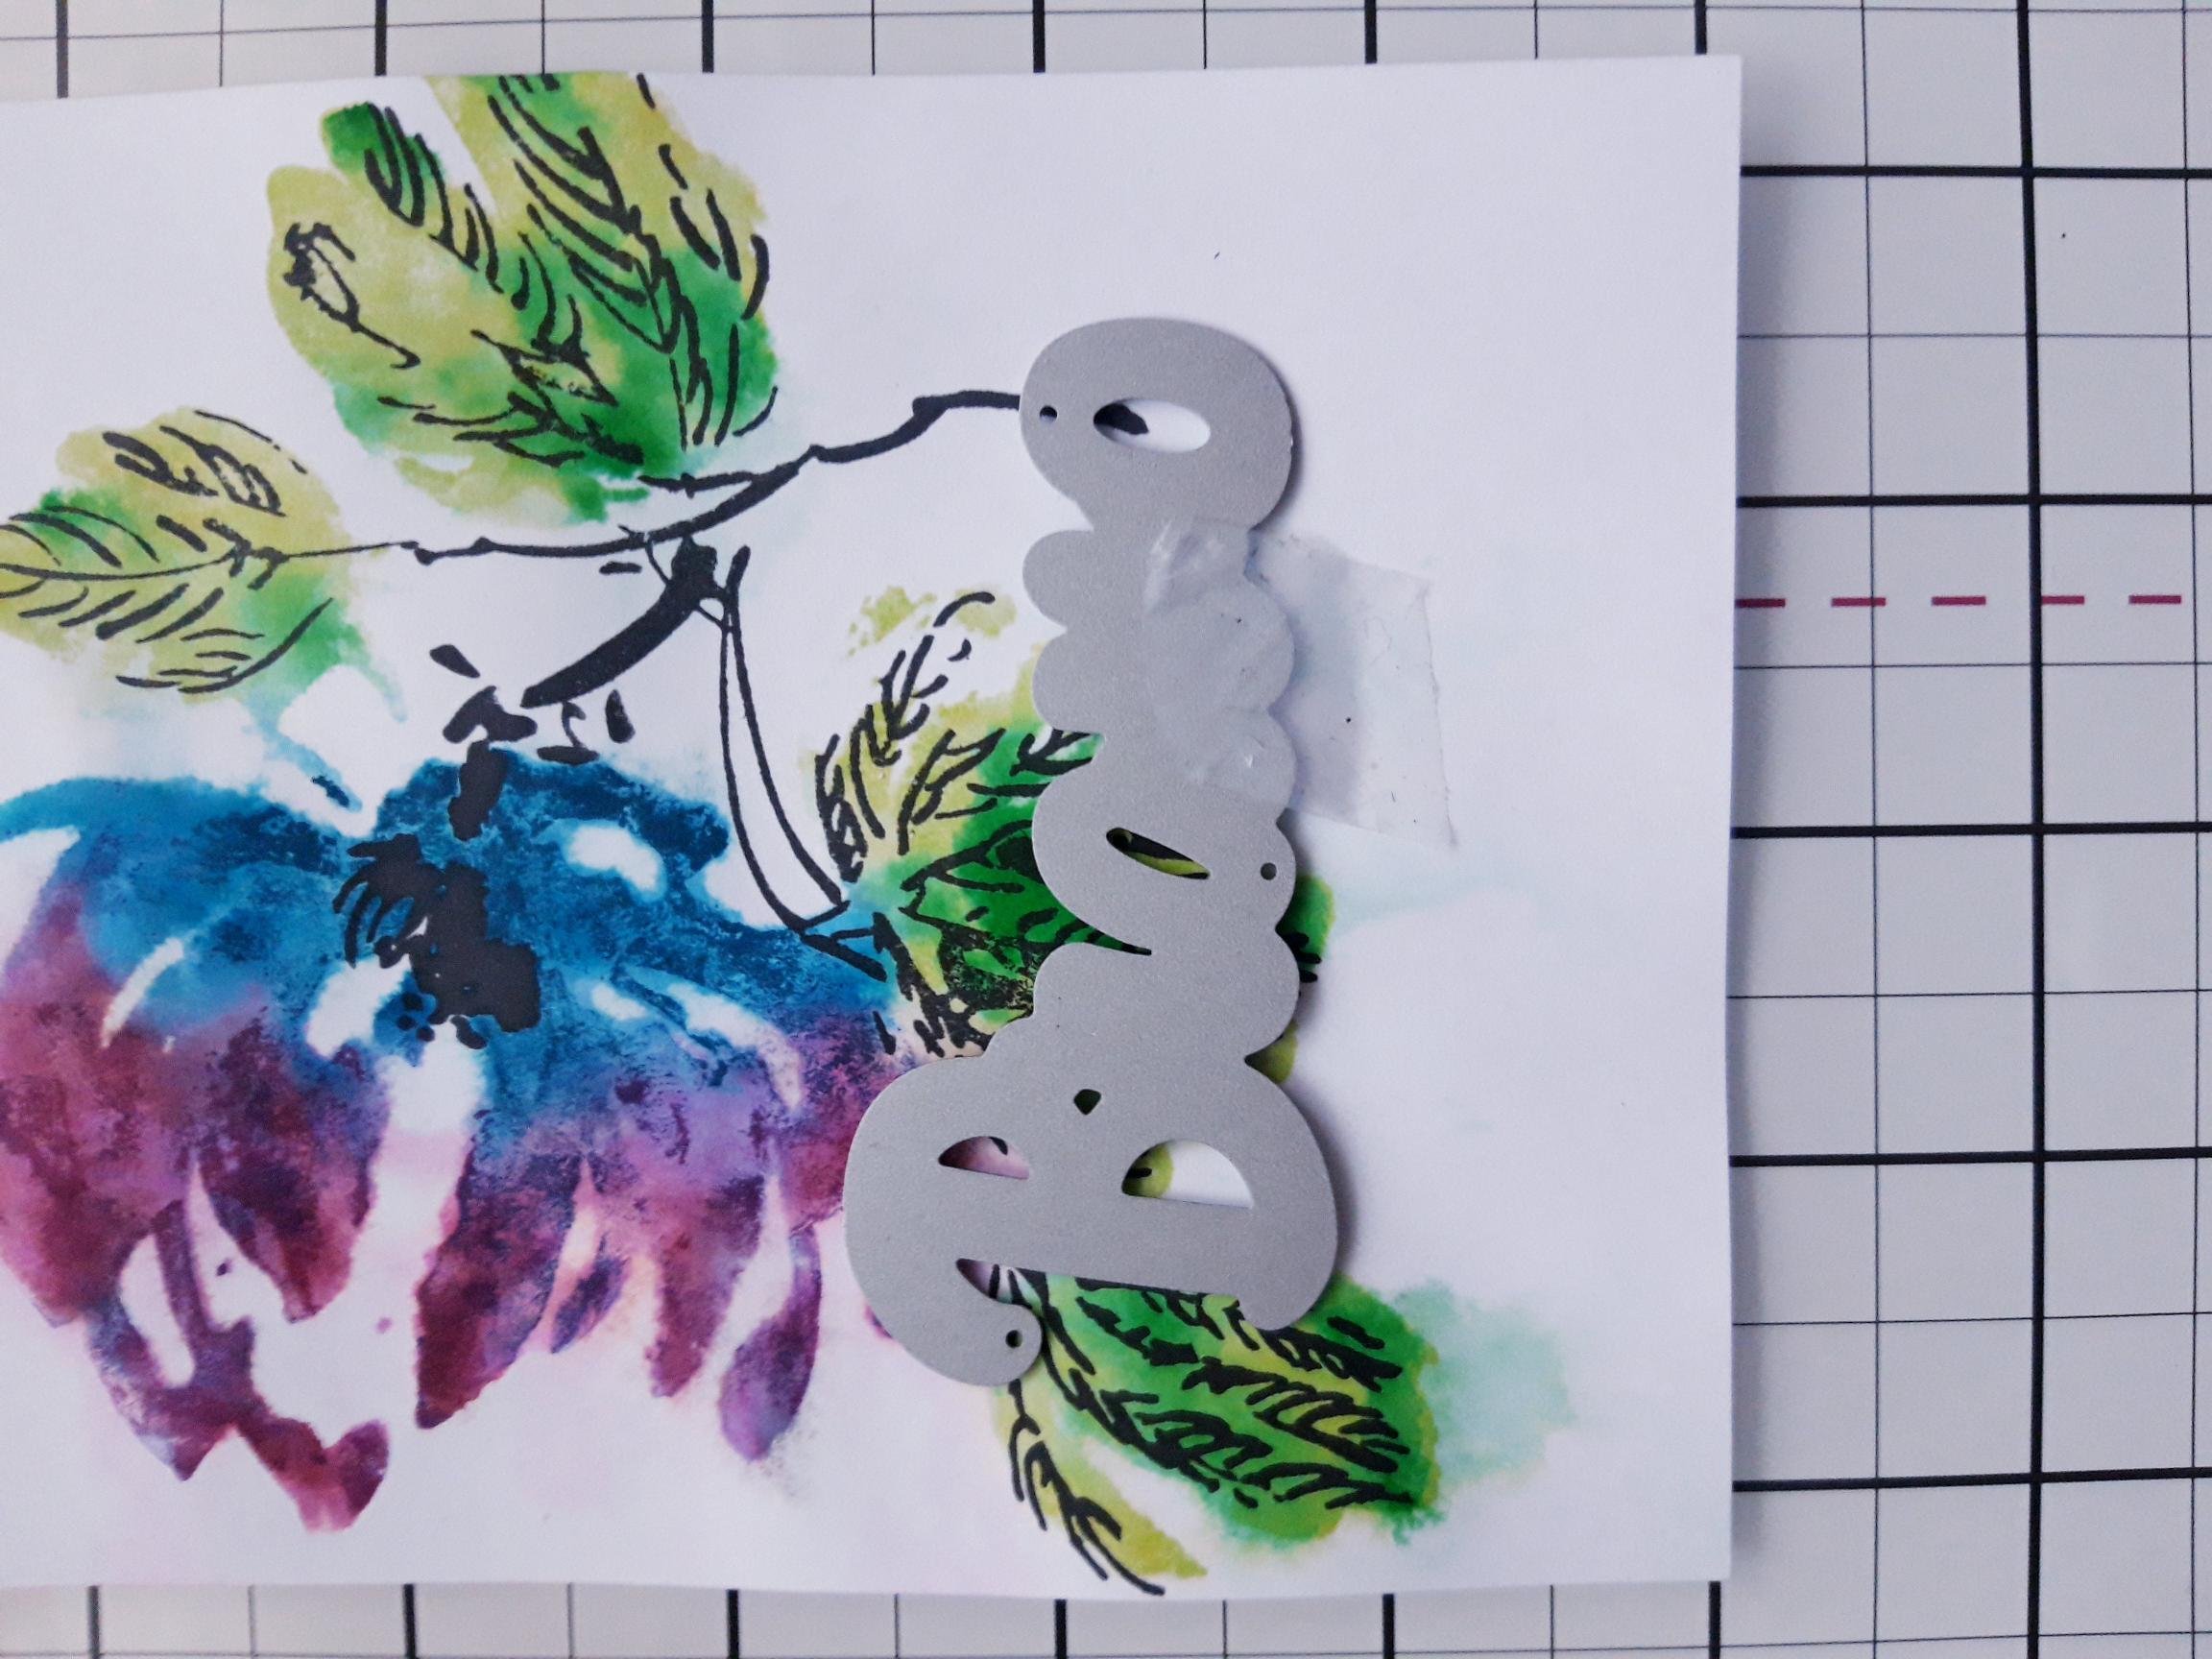
Place the Bravo die on to your artwork, as seen here. |
|
Run it through your die cutting machine, but make sure you keep ALL the little inner pieces that fall out of your die cut sentiment.....even the tiny ones!!! Put them to one side..but don't lose them!! |
|
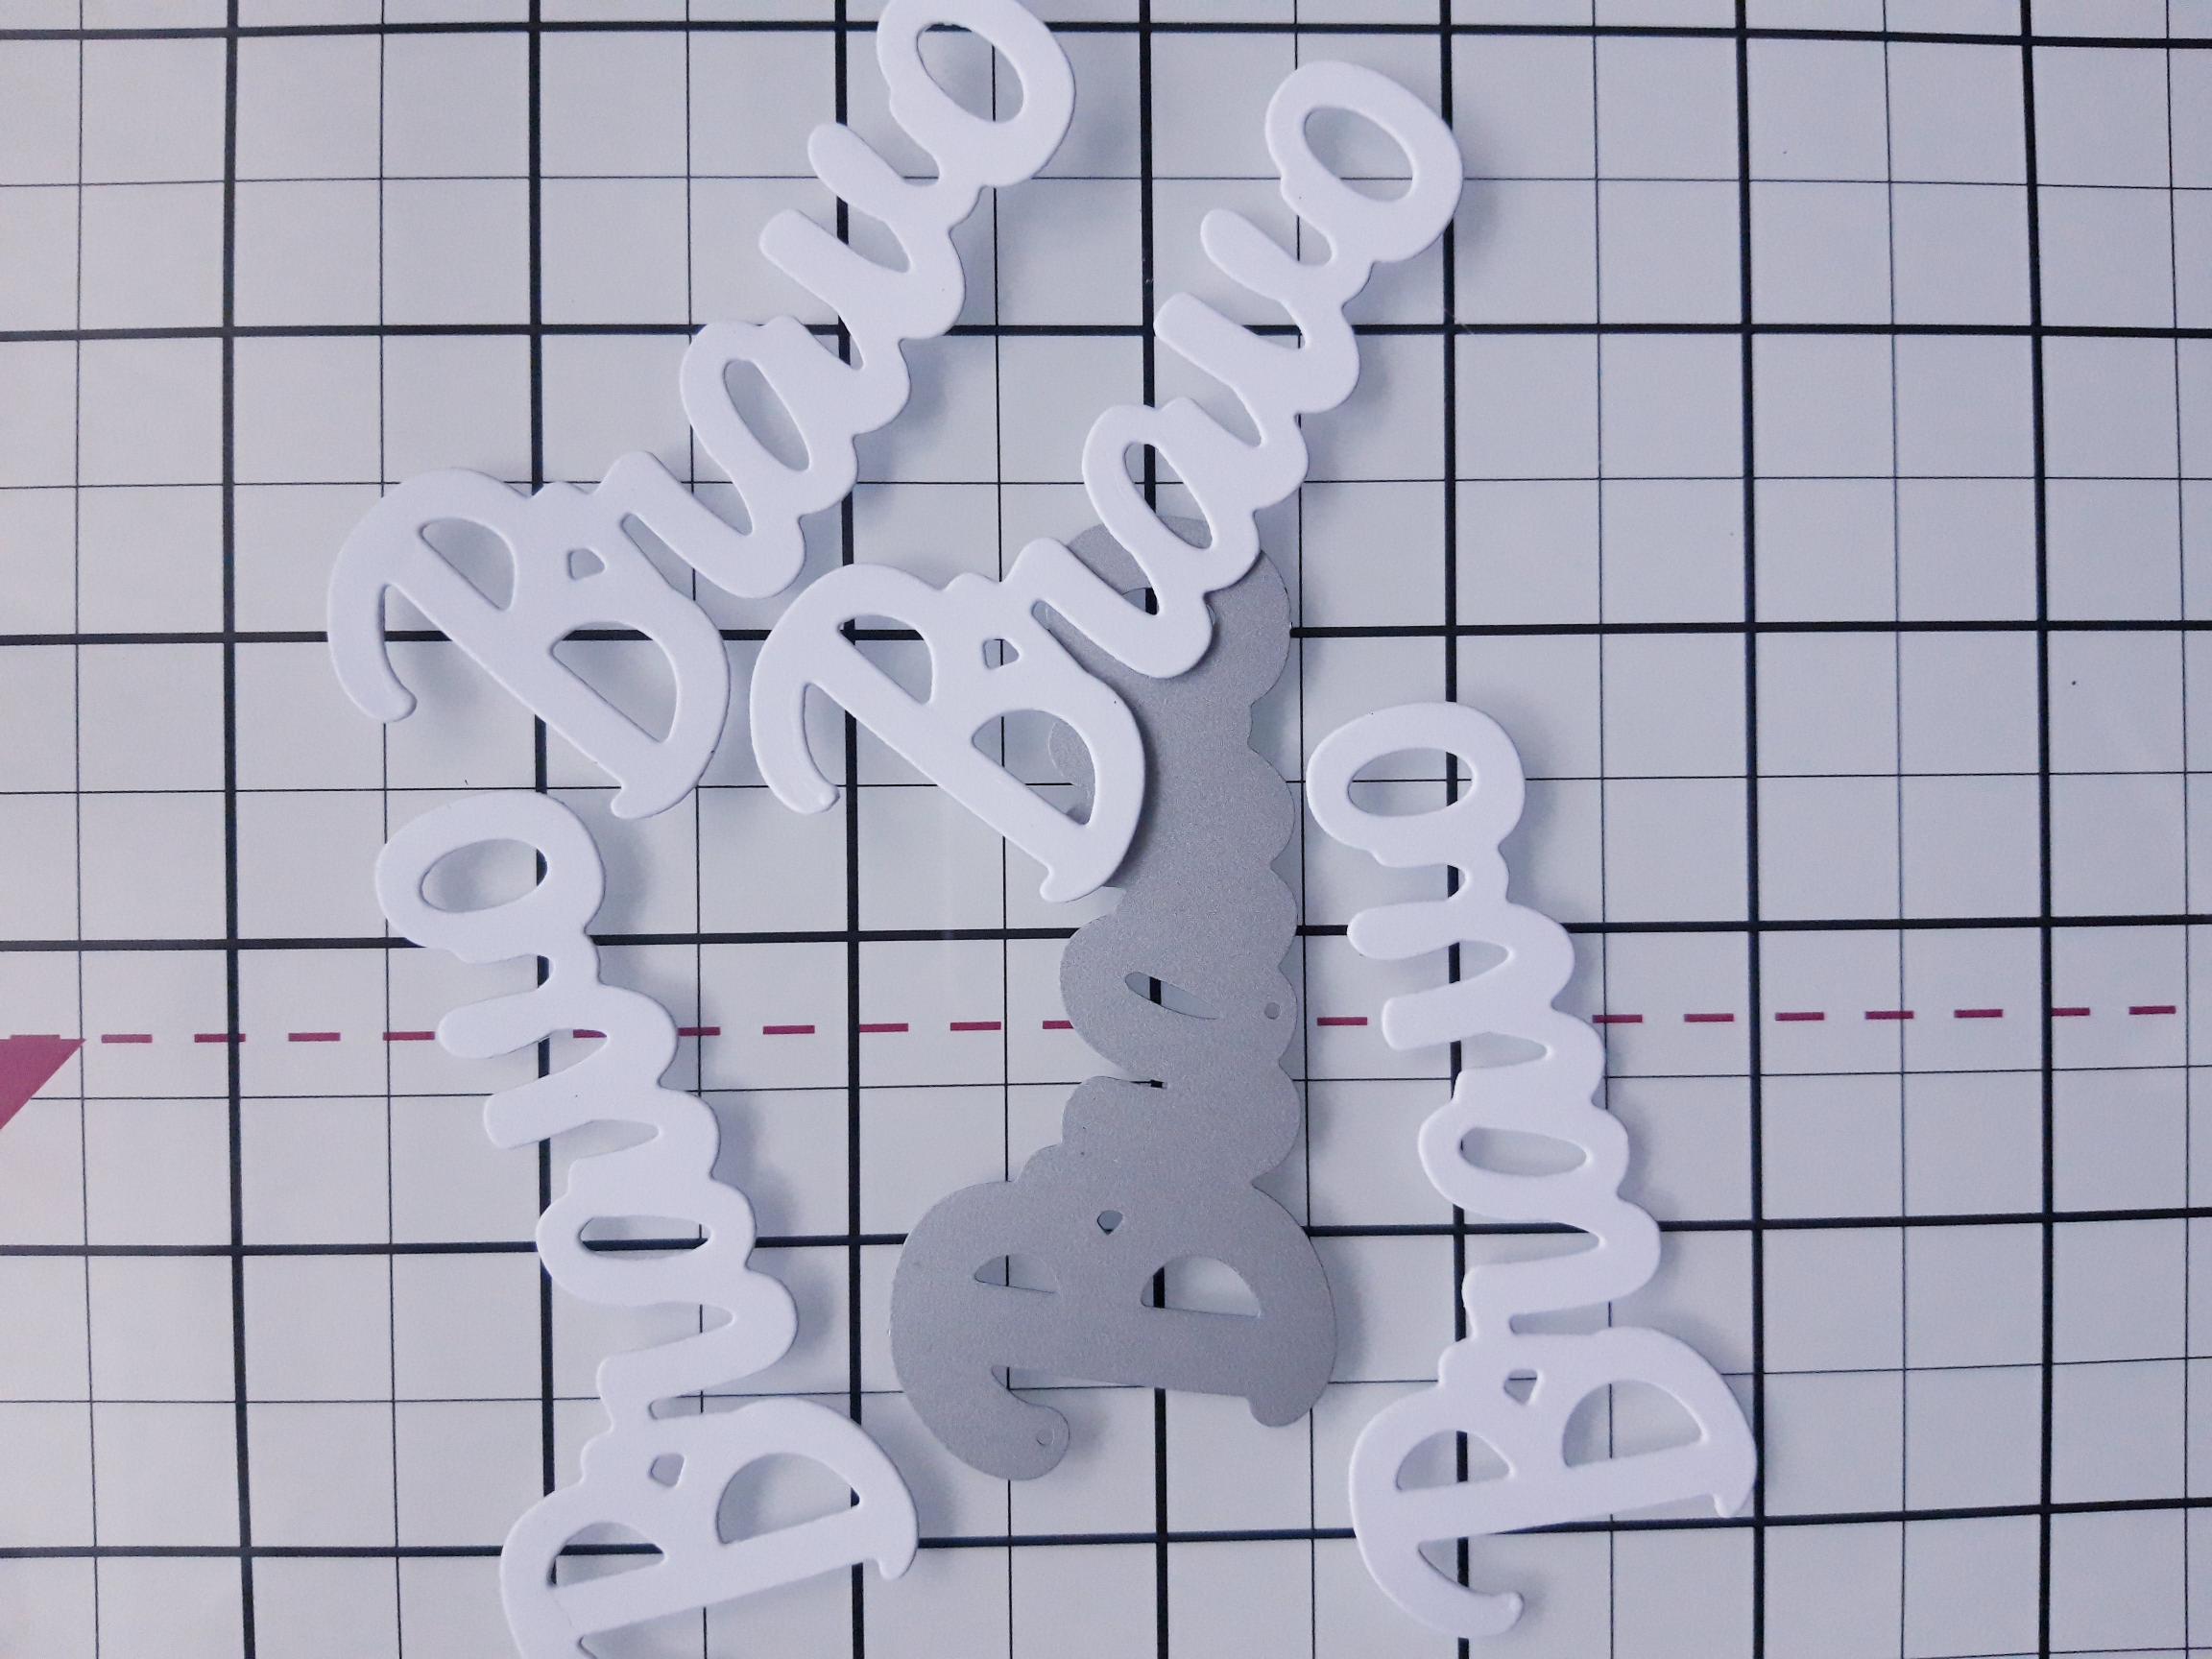
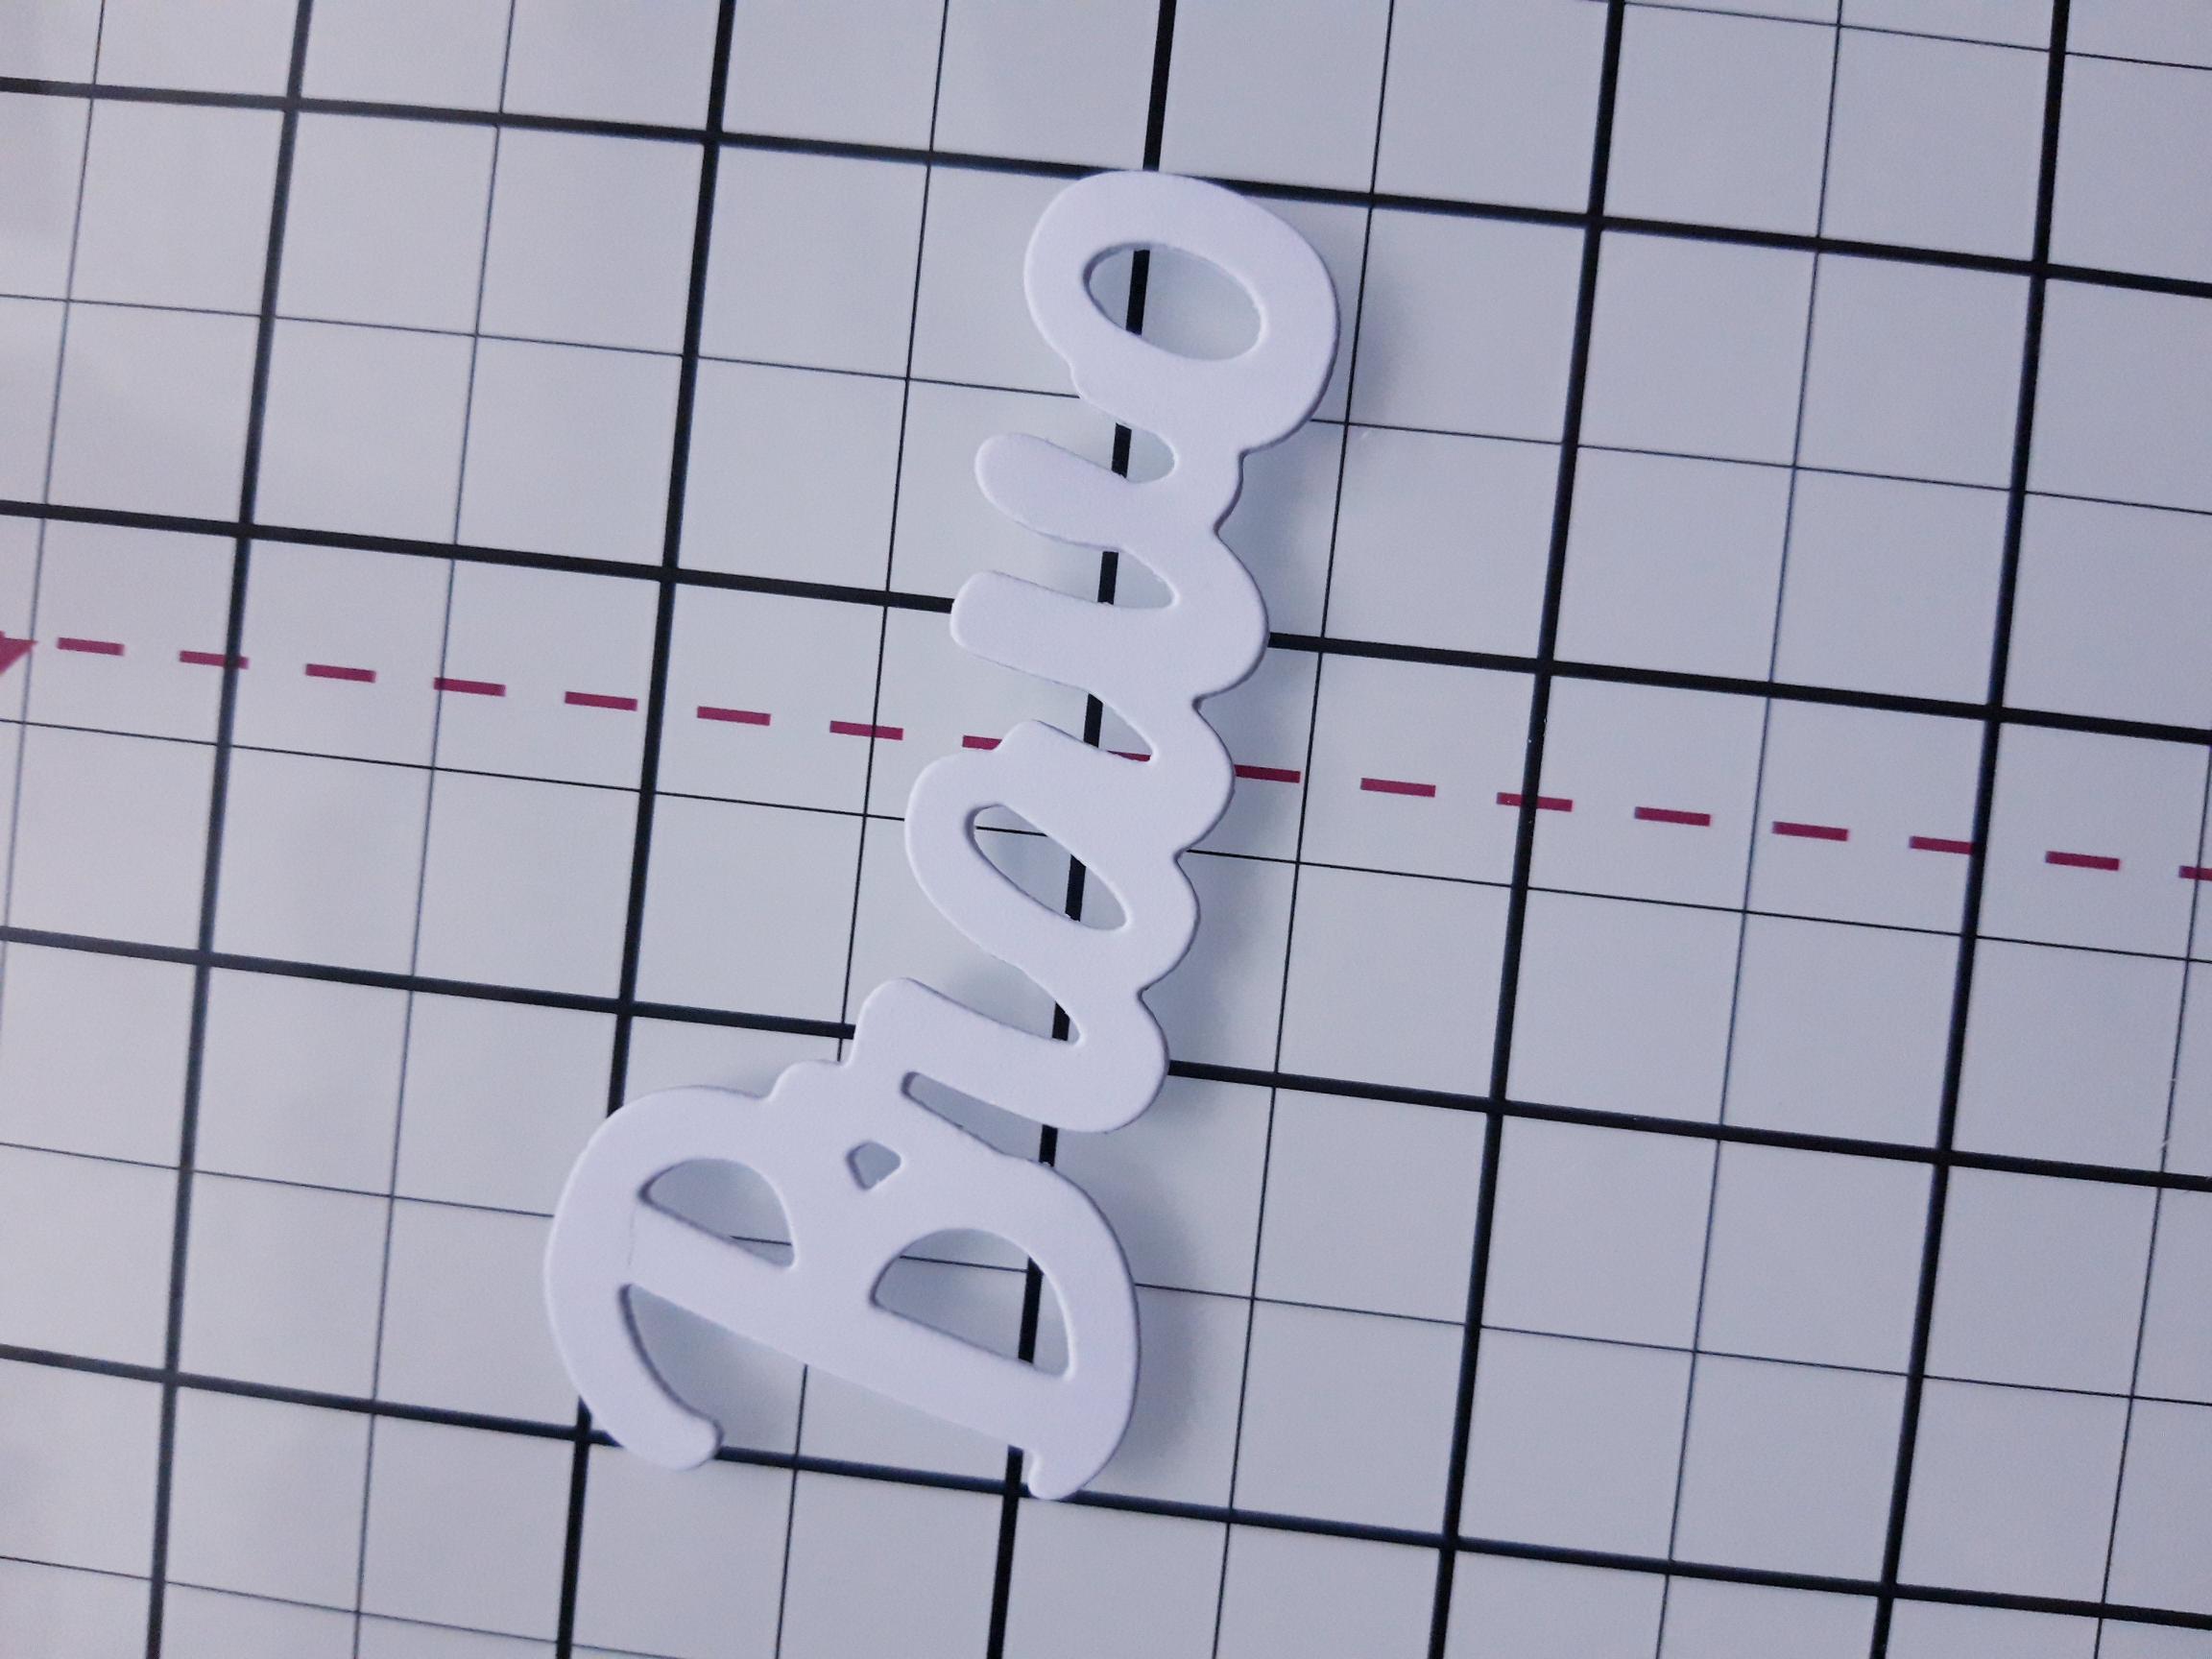
Die cut FOUR more Bravo die cut elements, from white card. |
|
Adhere one on top of the other, to create a substantial 3D element. |
|
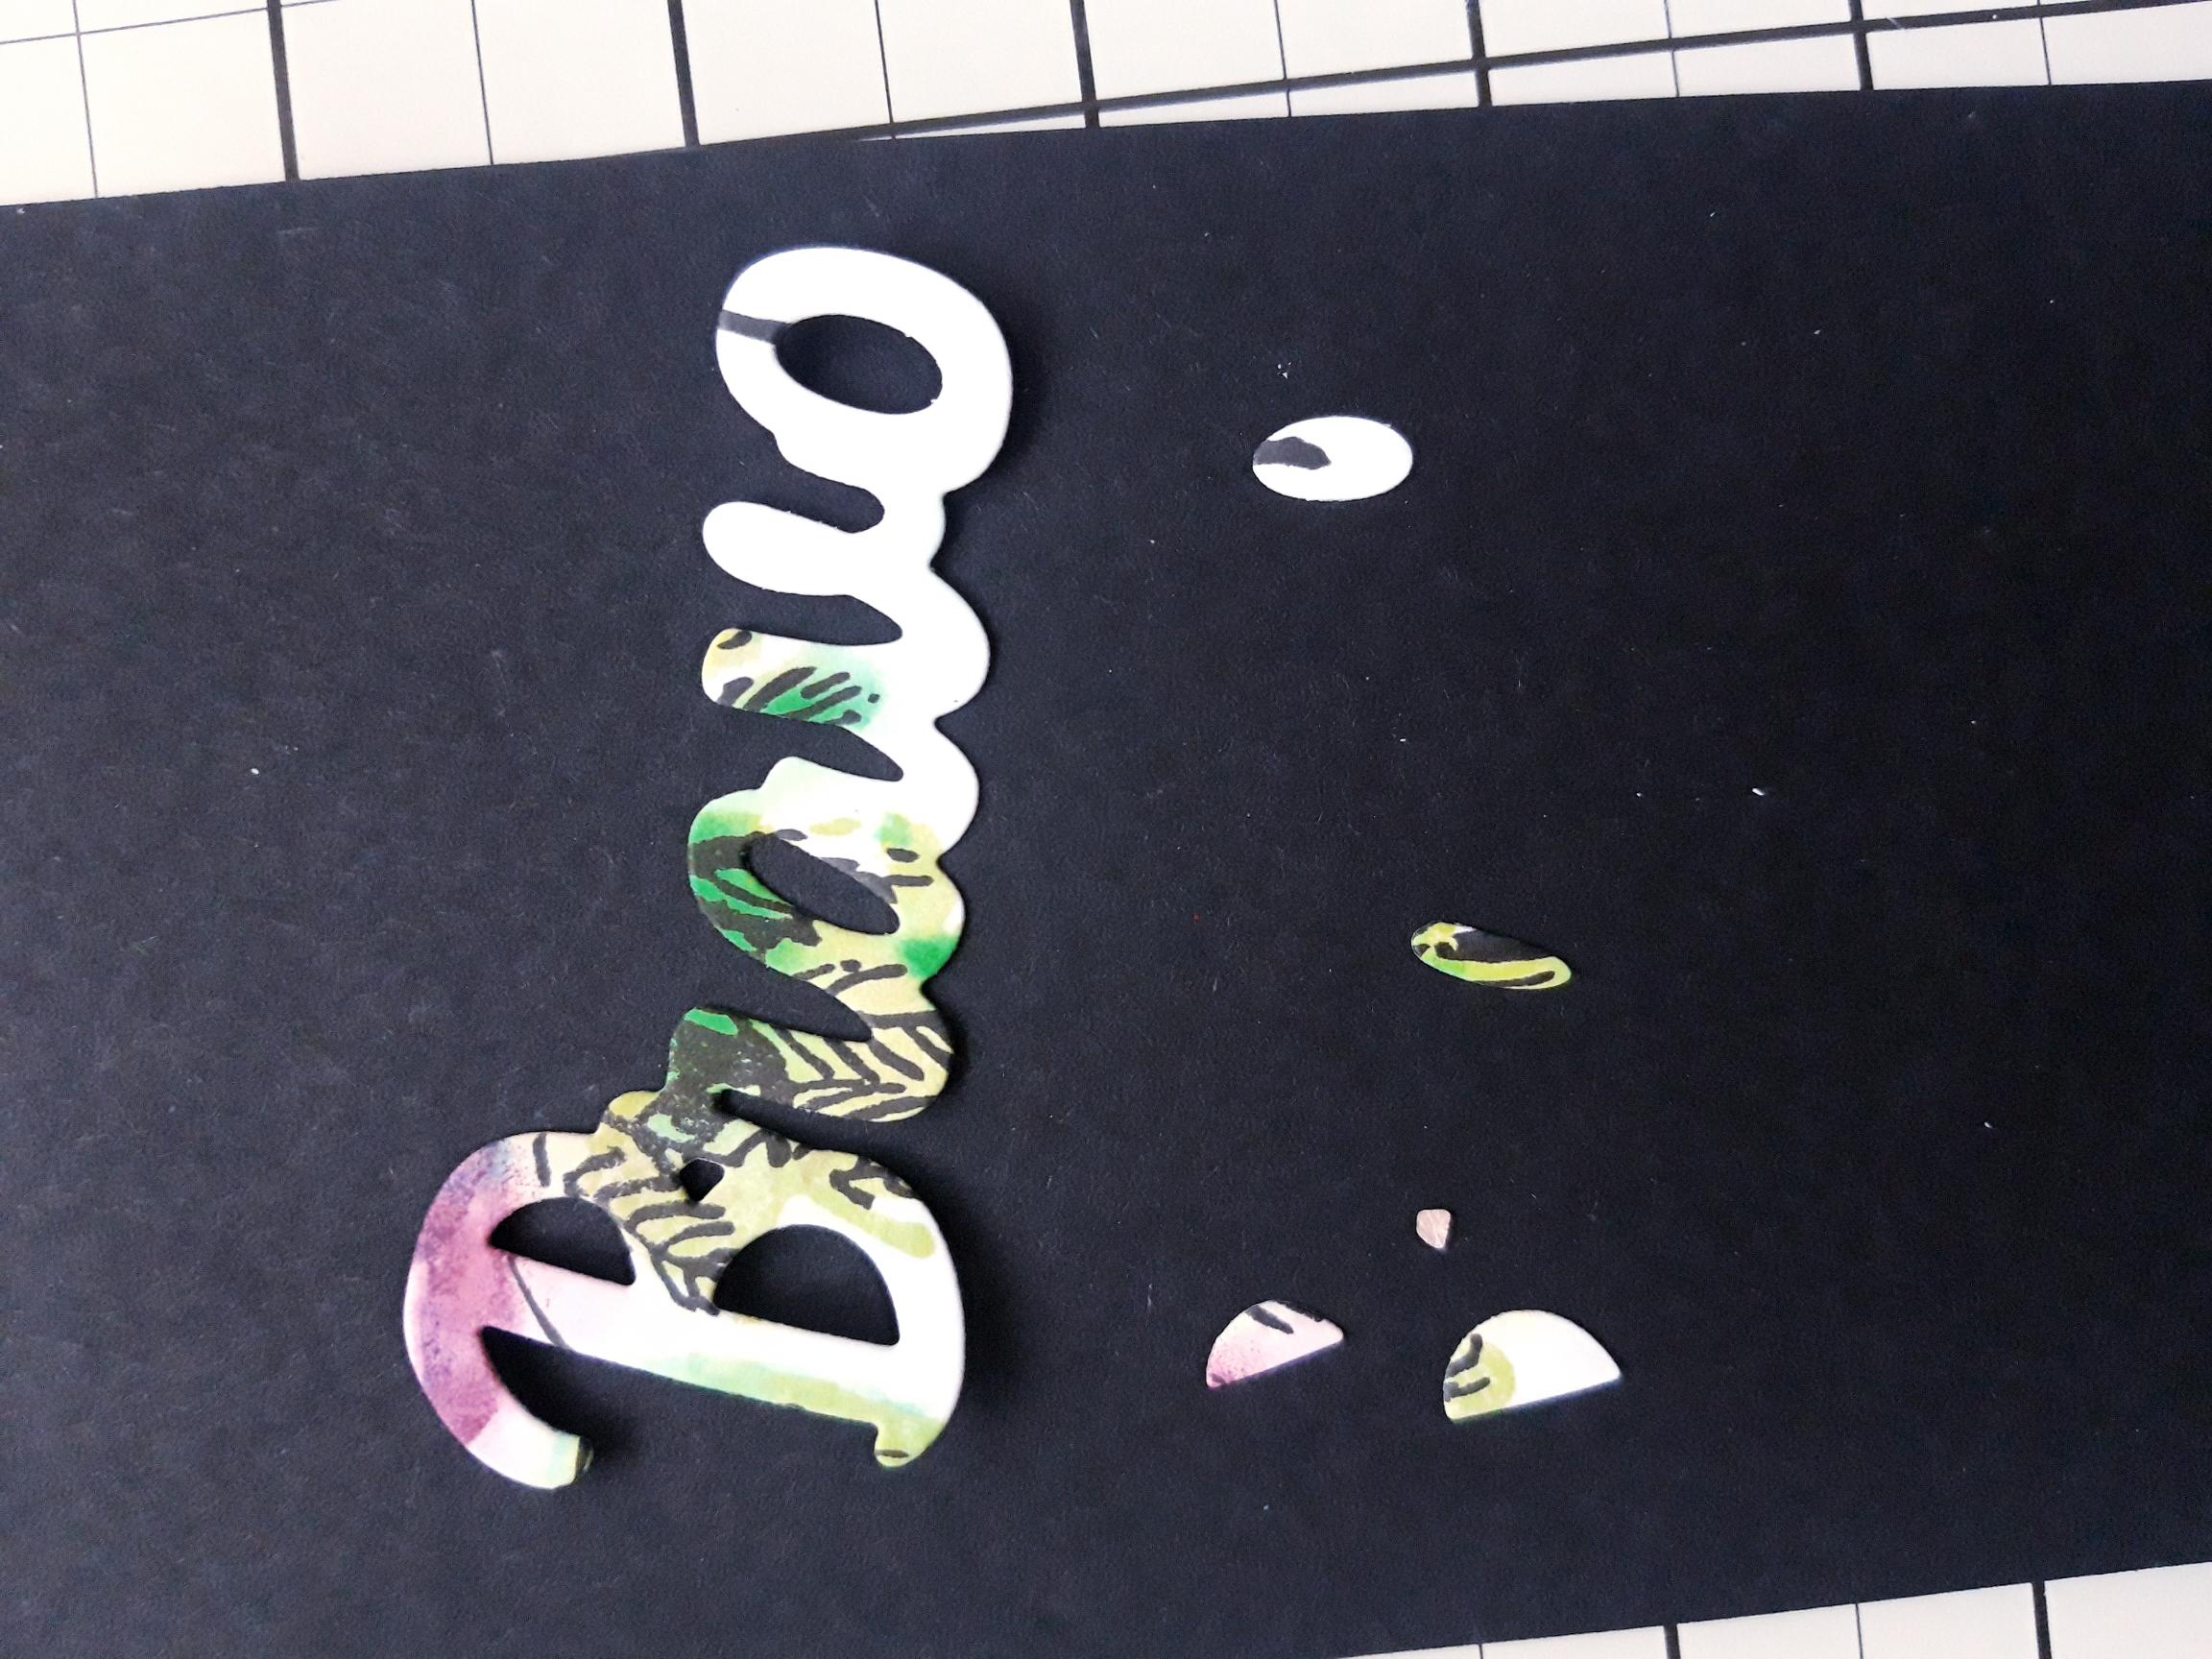
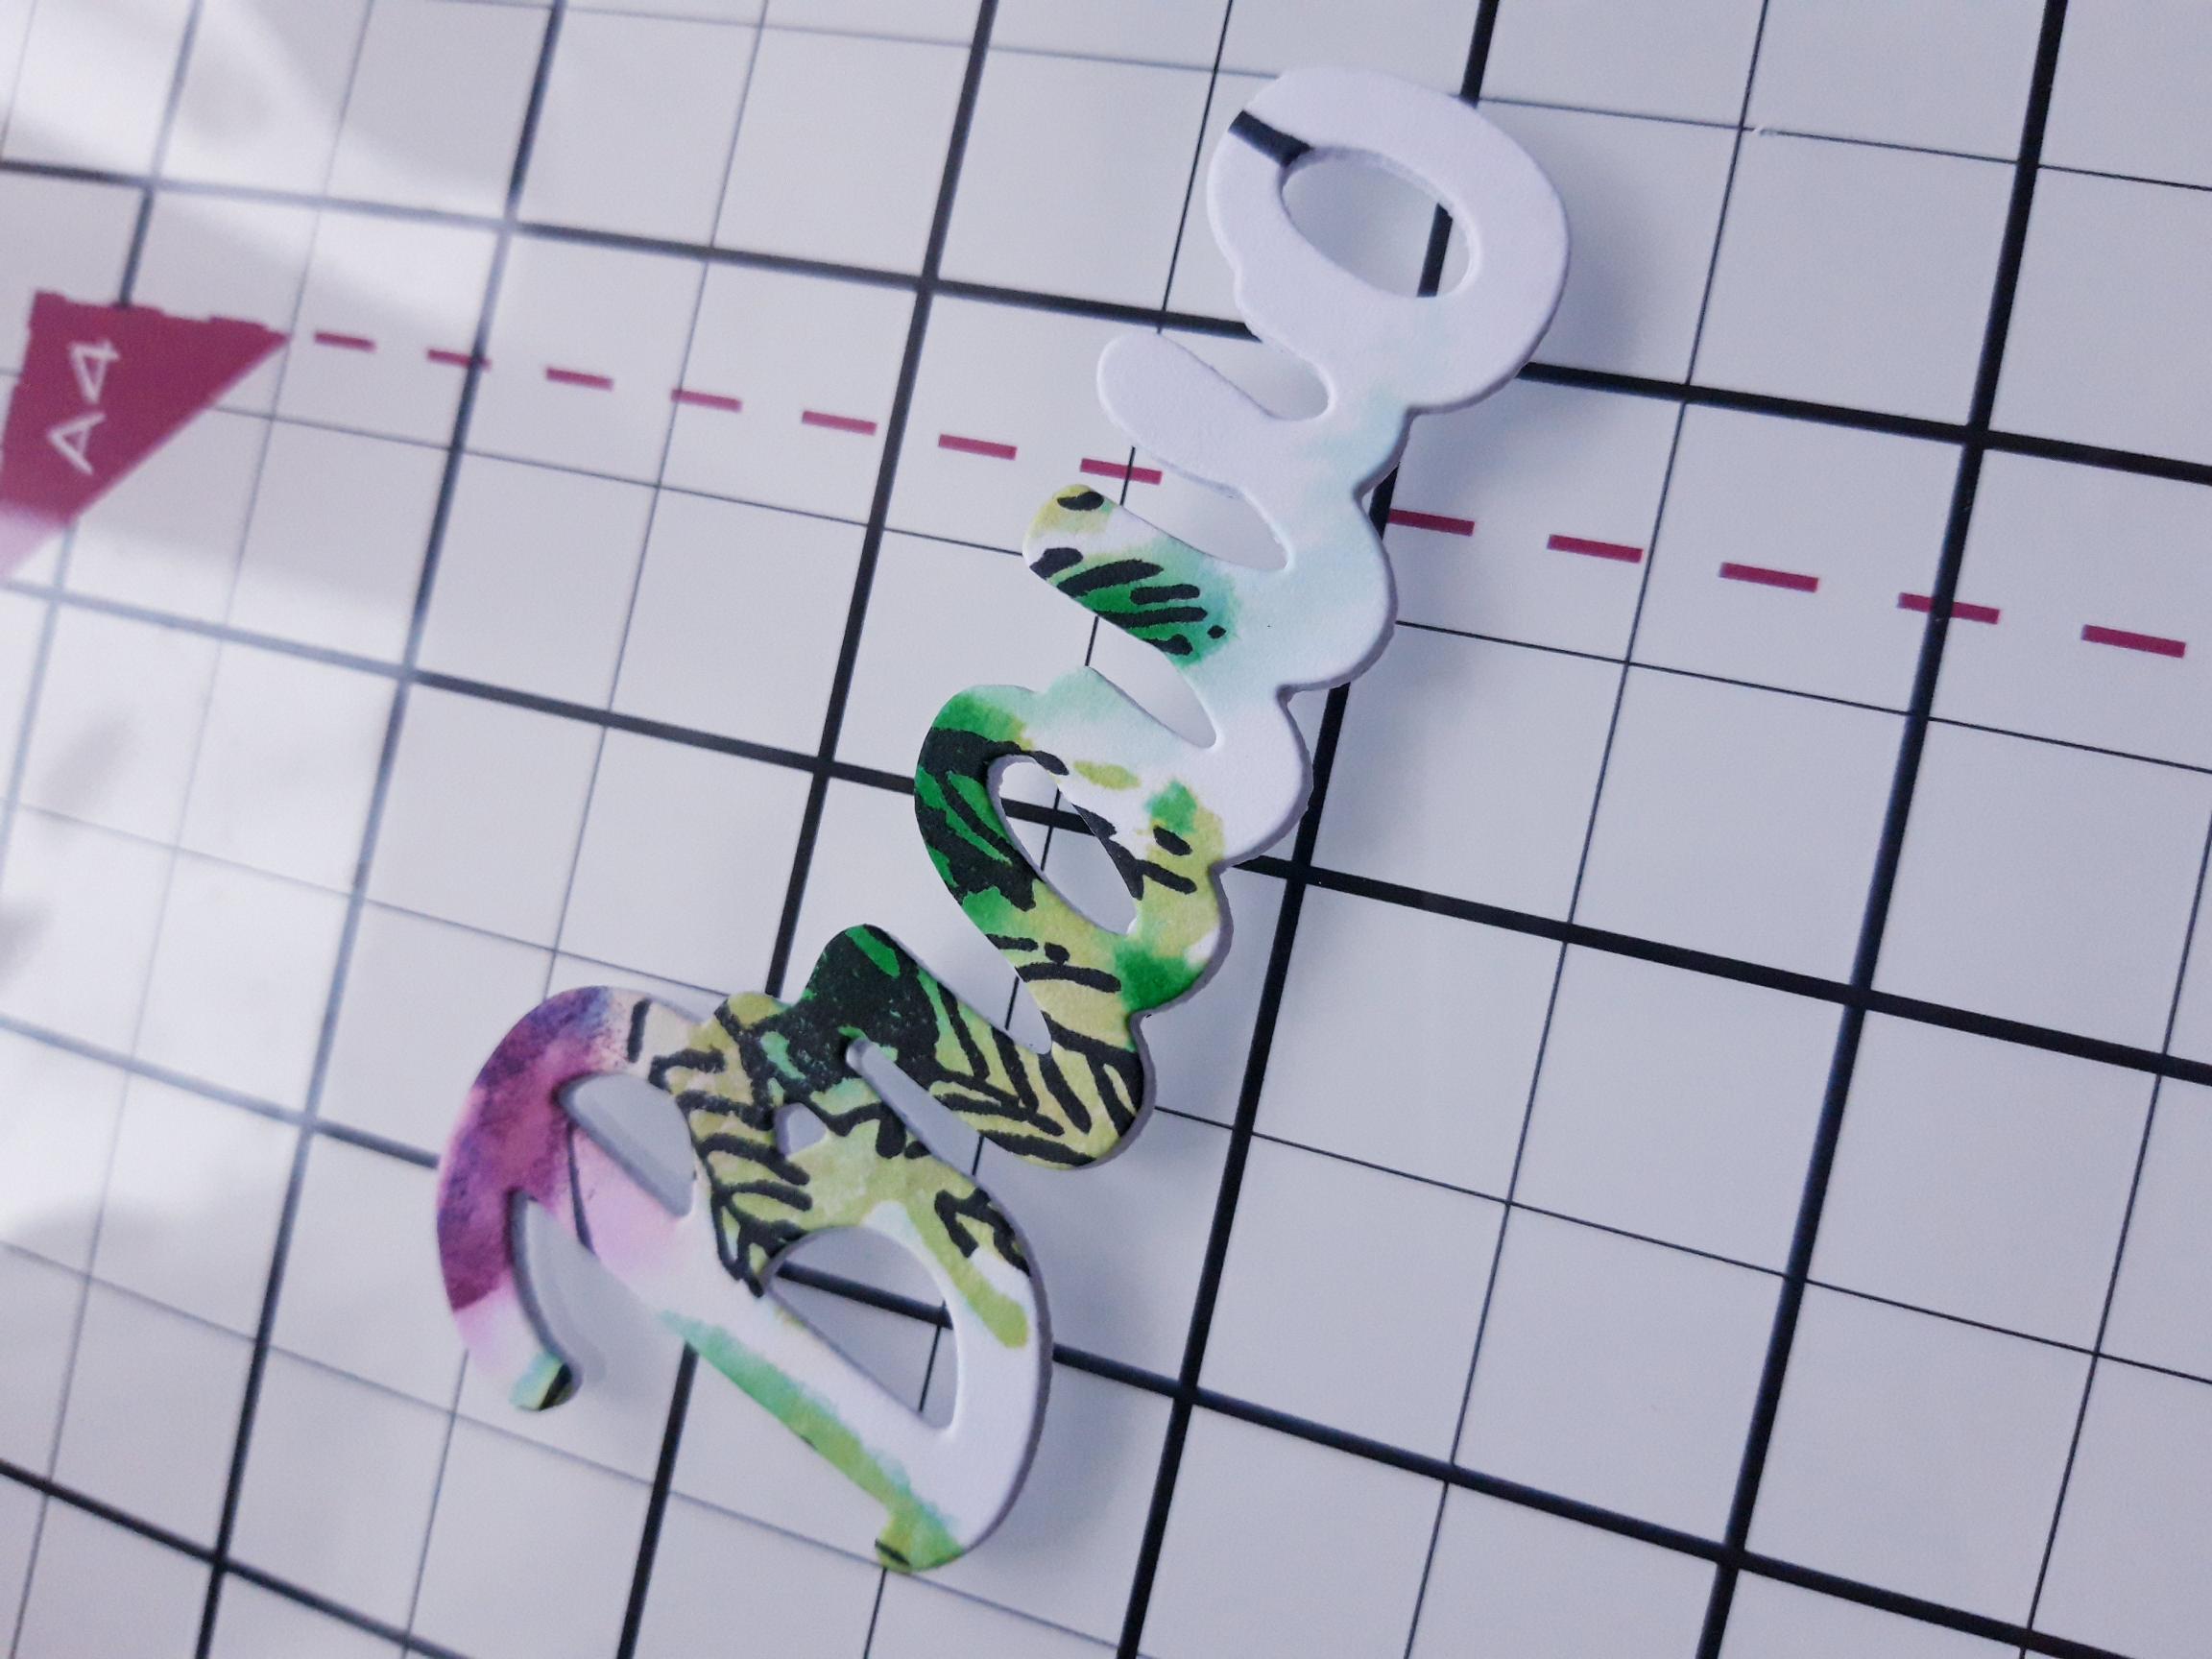
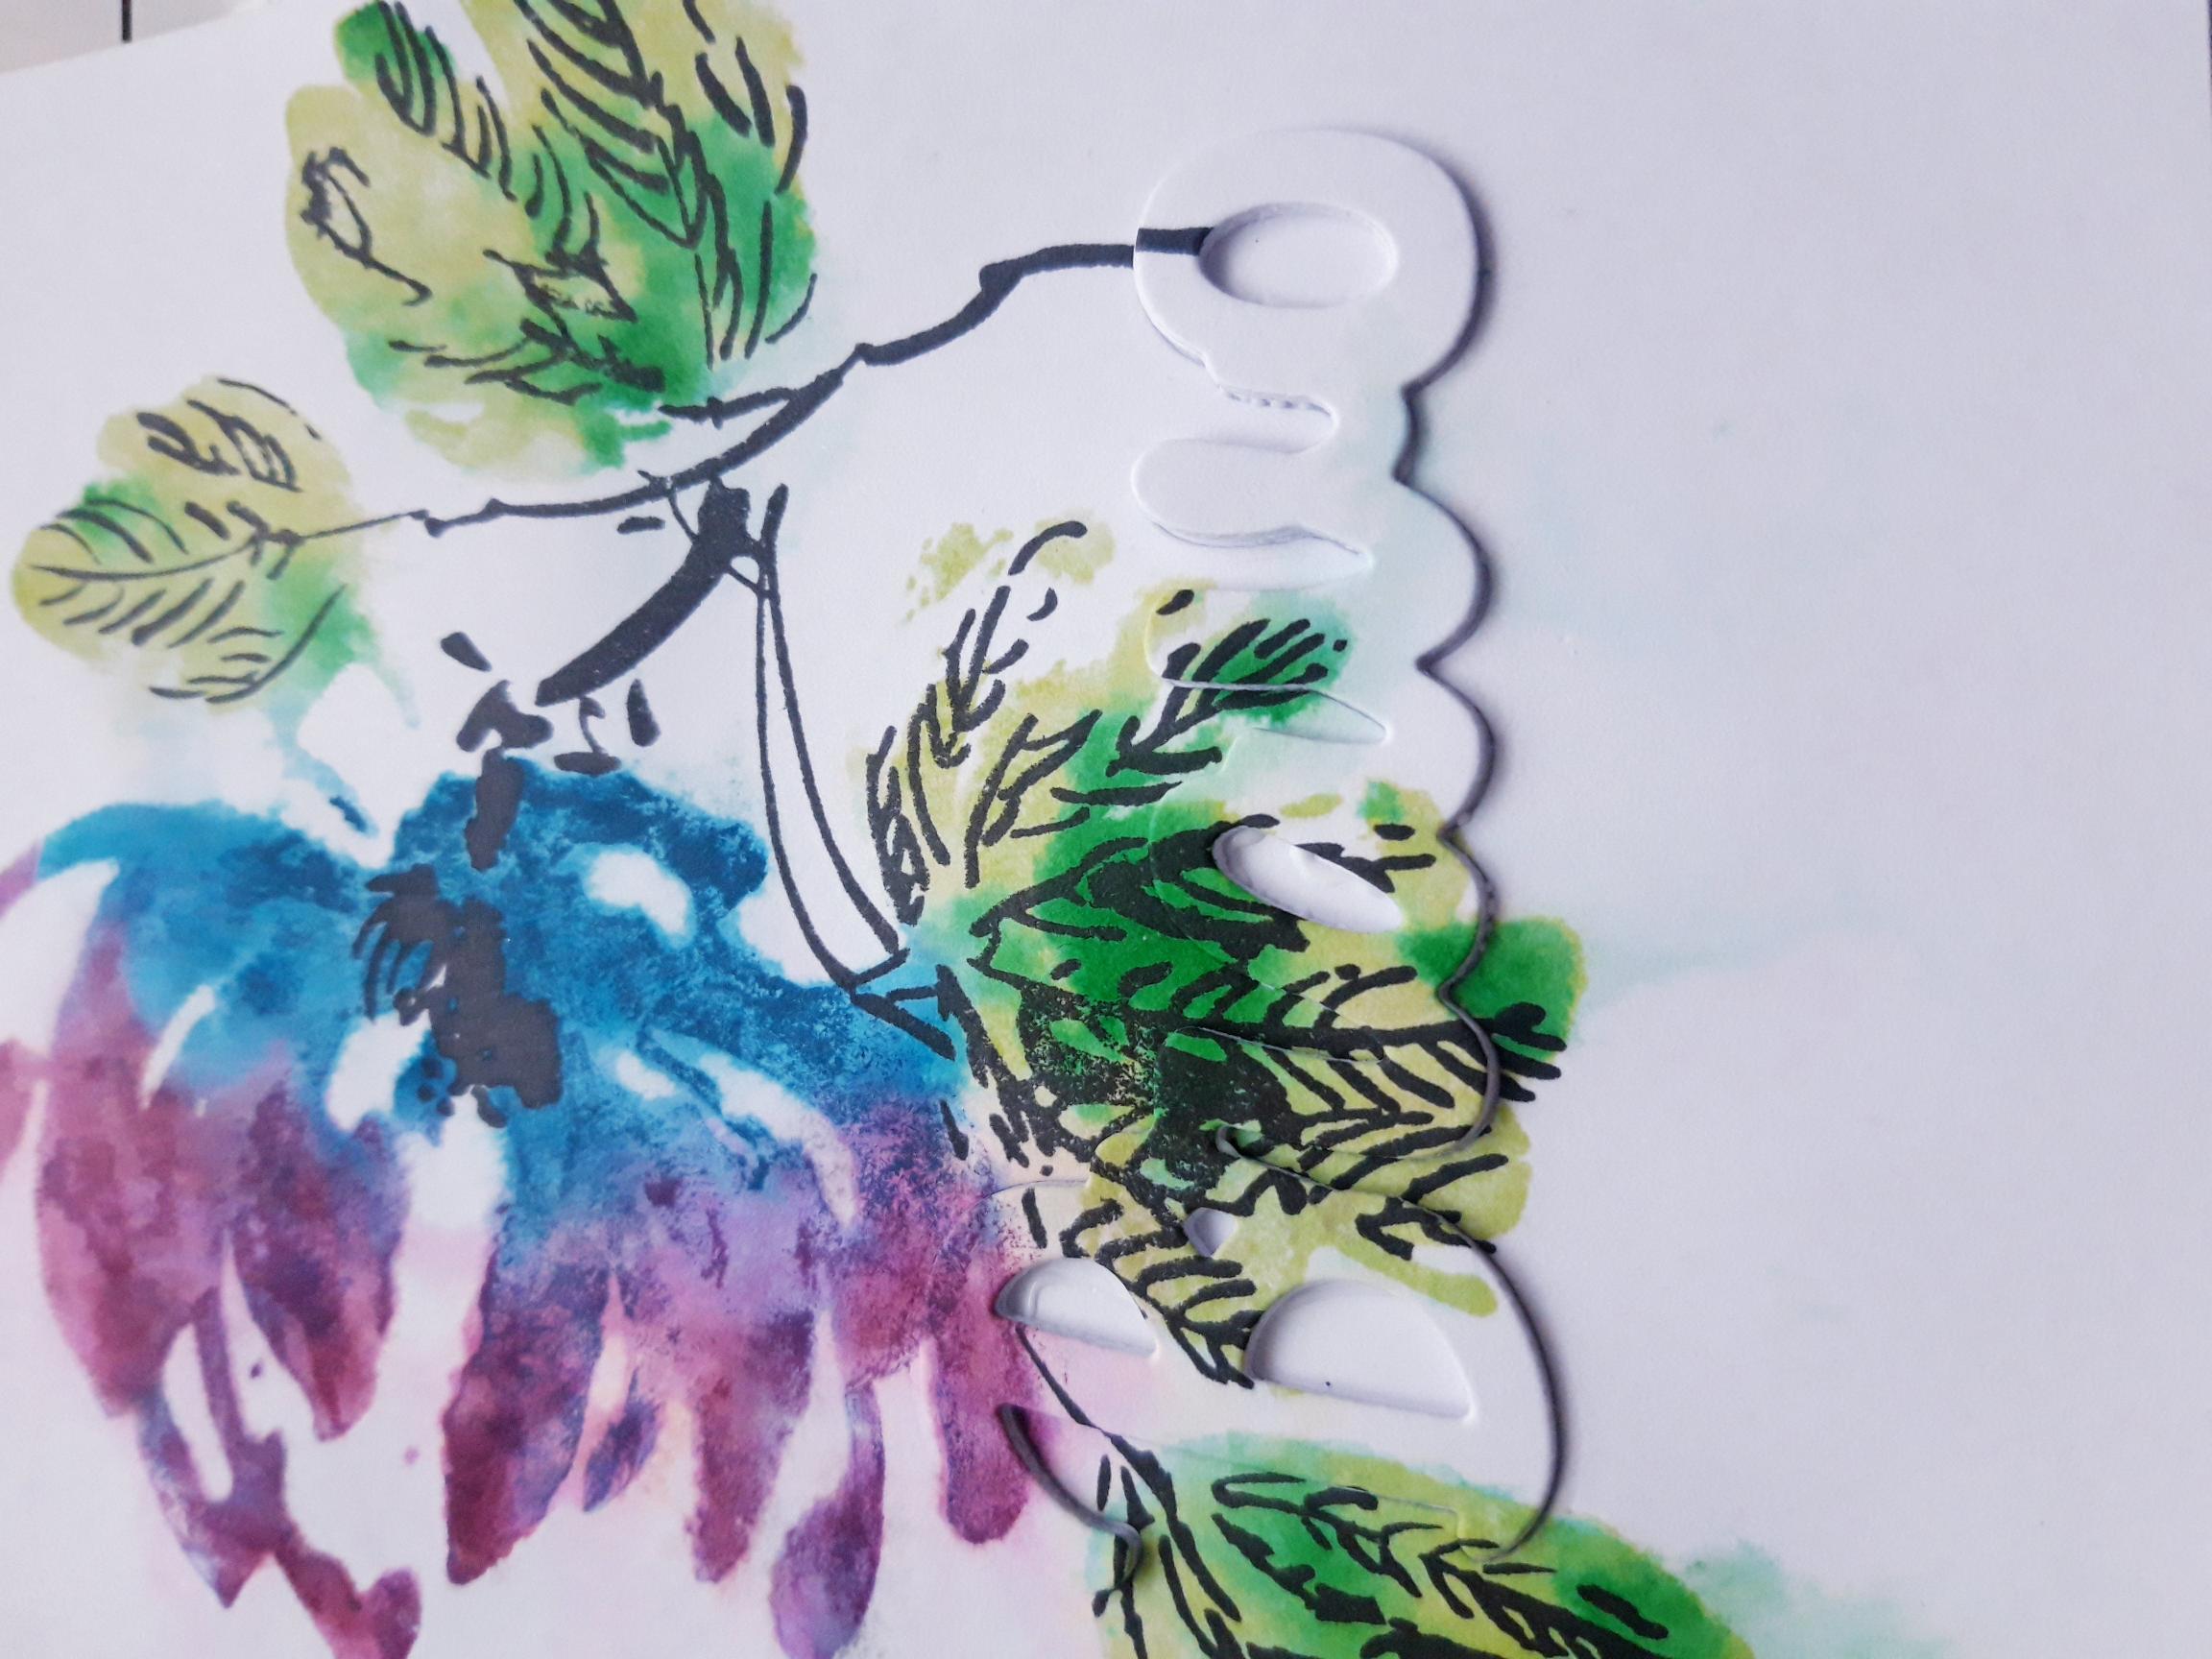
Keeping all those little bits safe, adhere the stamped die cut Bravo, on top of the 3D die cut sentiment. |
|
Once your artwork is dry, adhere it on to the second piece of white card, cut to 6 1/2 x 4 1/2". Ensure all the edges of the die cut Bravo aperture, are completely glued flat. |
|
Now glue your die cut Bravo element, back in the recess die cut aperture.The Bravo element should now stand proud from the rest of the artwork!! |
|
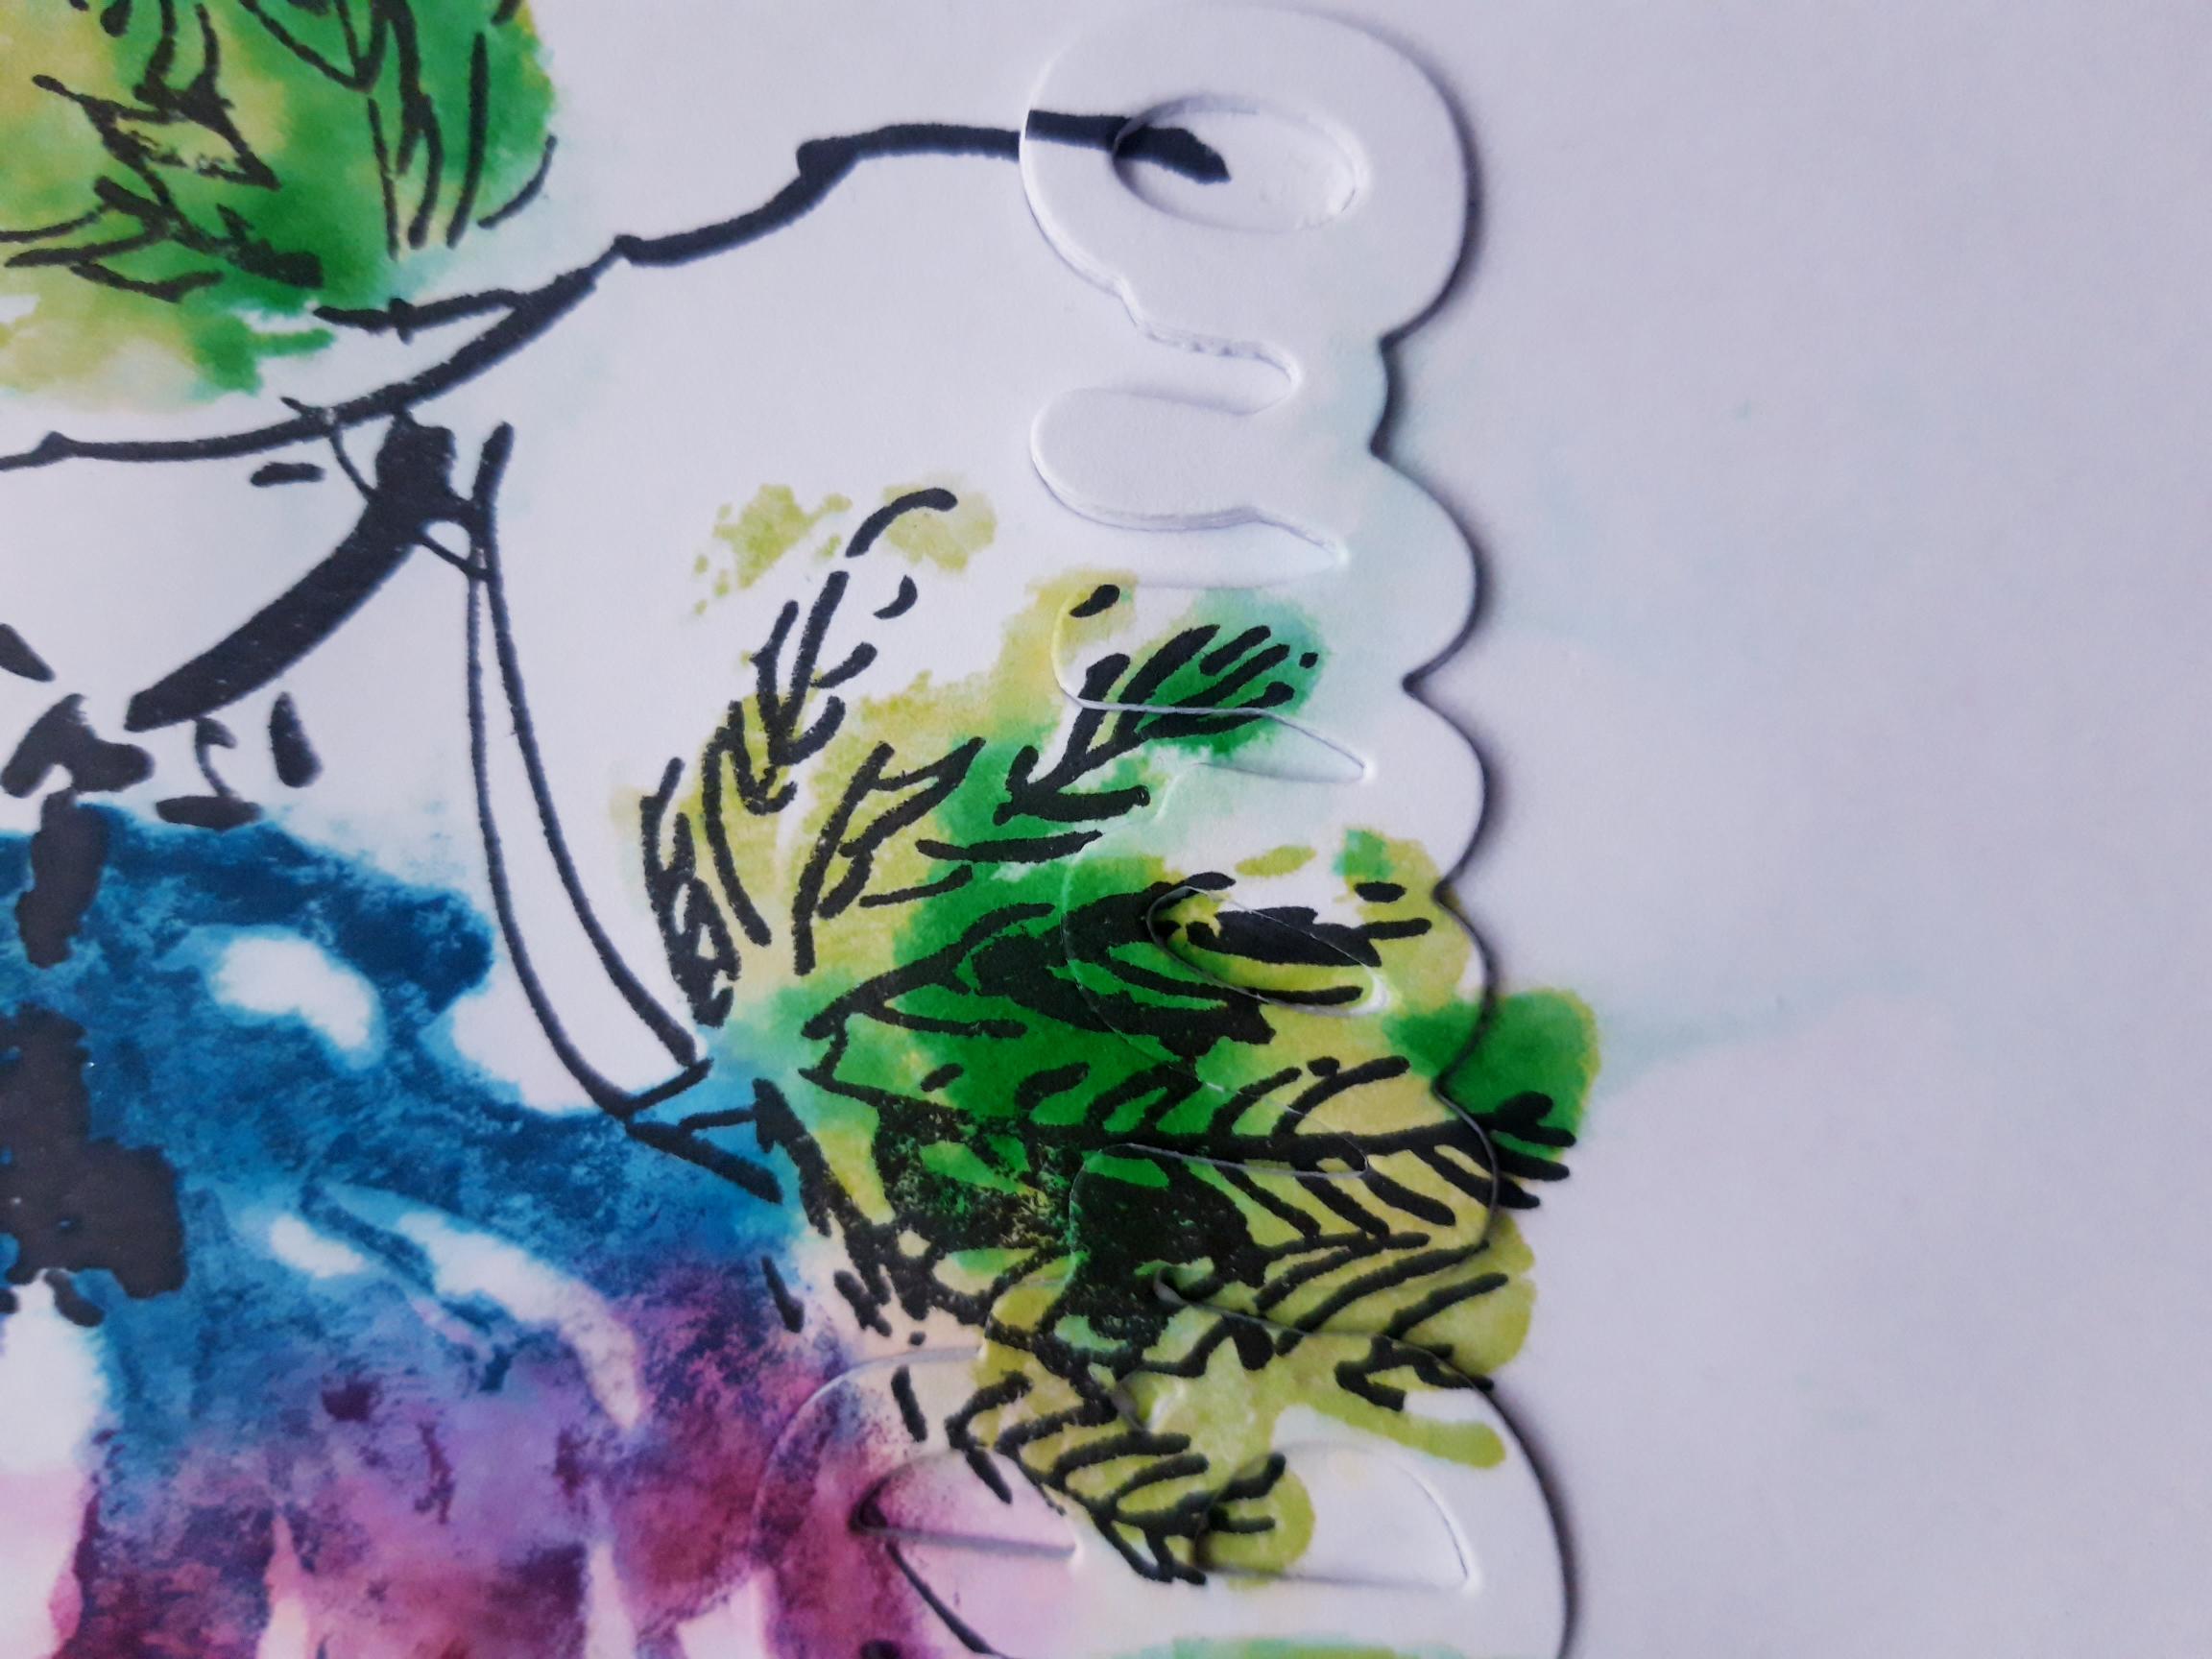
Now you need to glue all those tiny little stamped bits back in to the die cut recesses, to complete your "hidden word"!! |
|
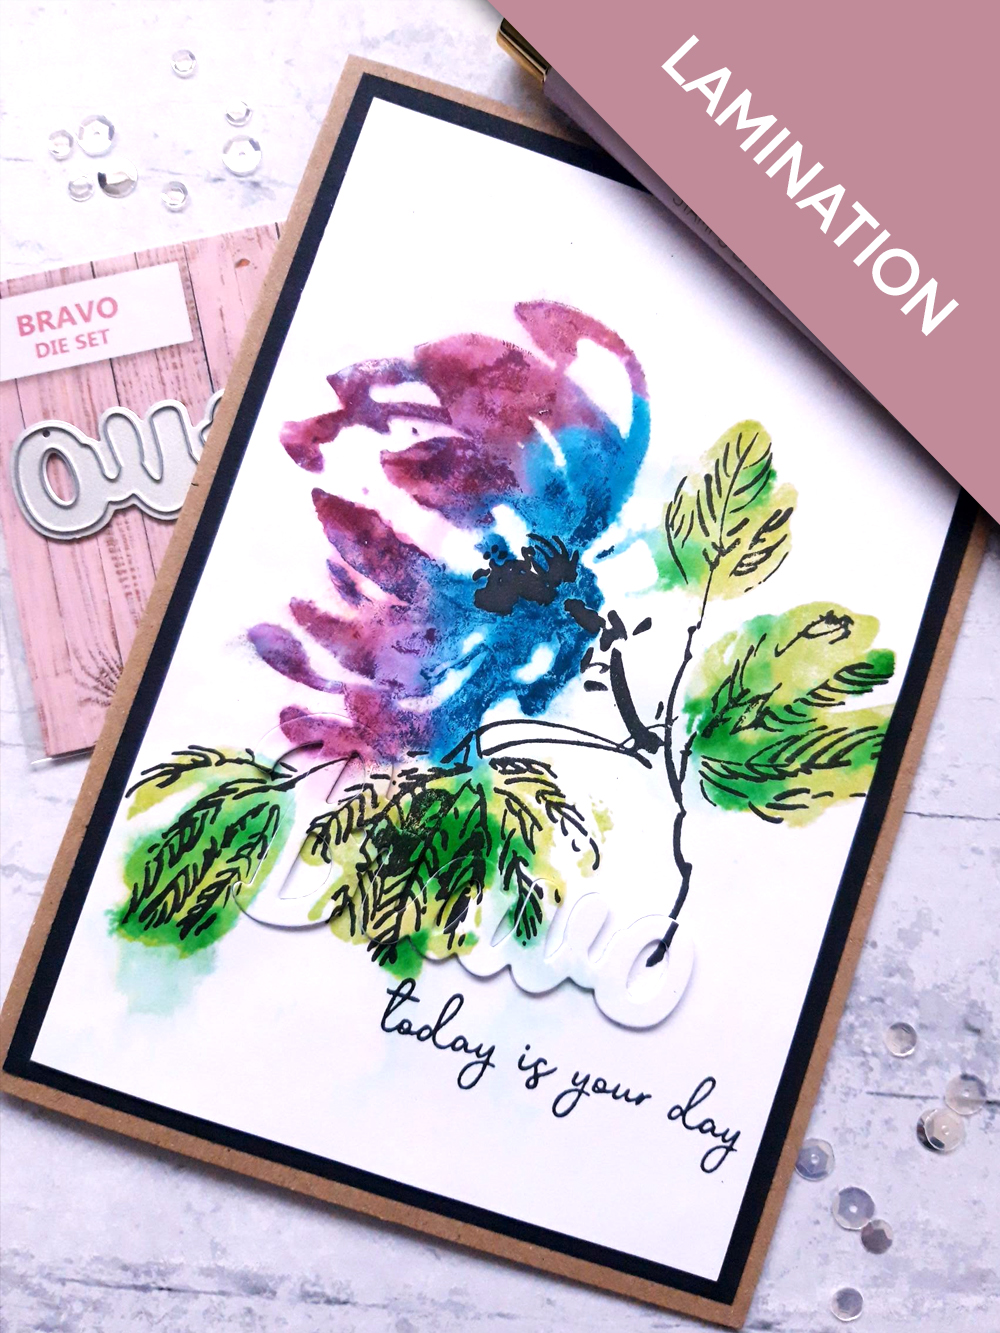
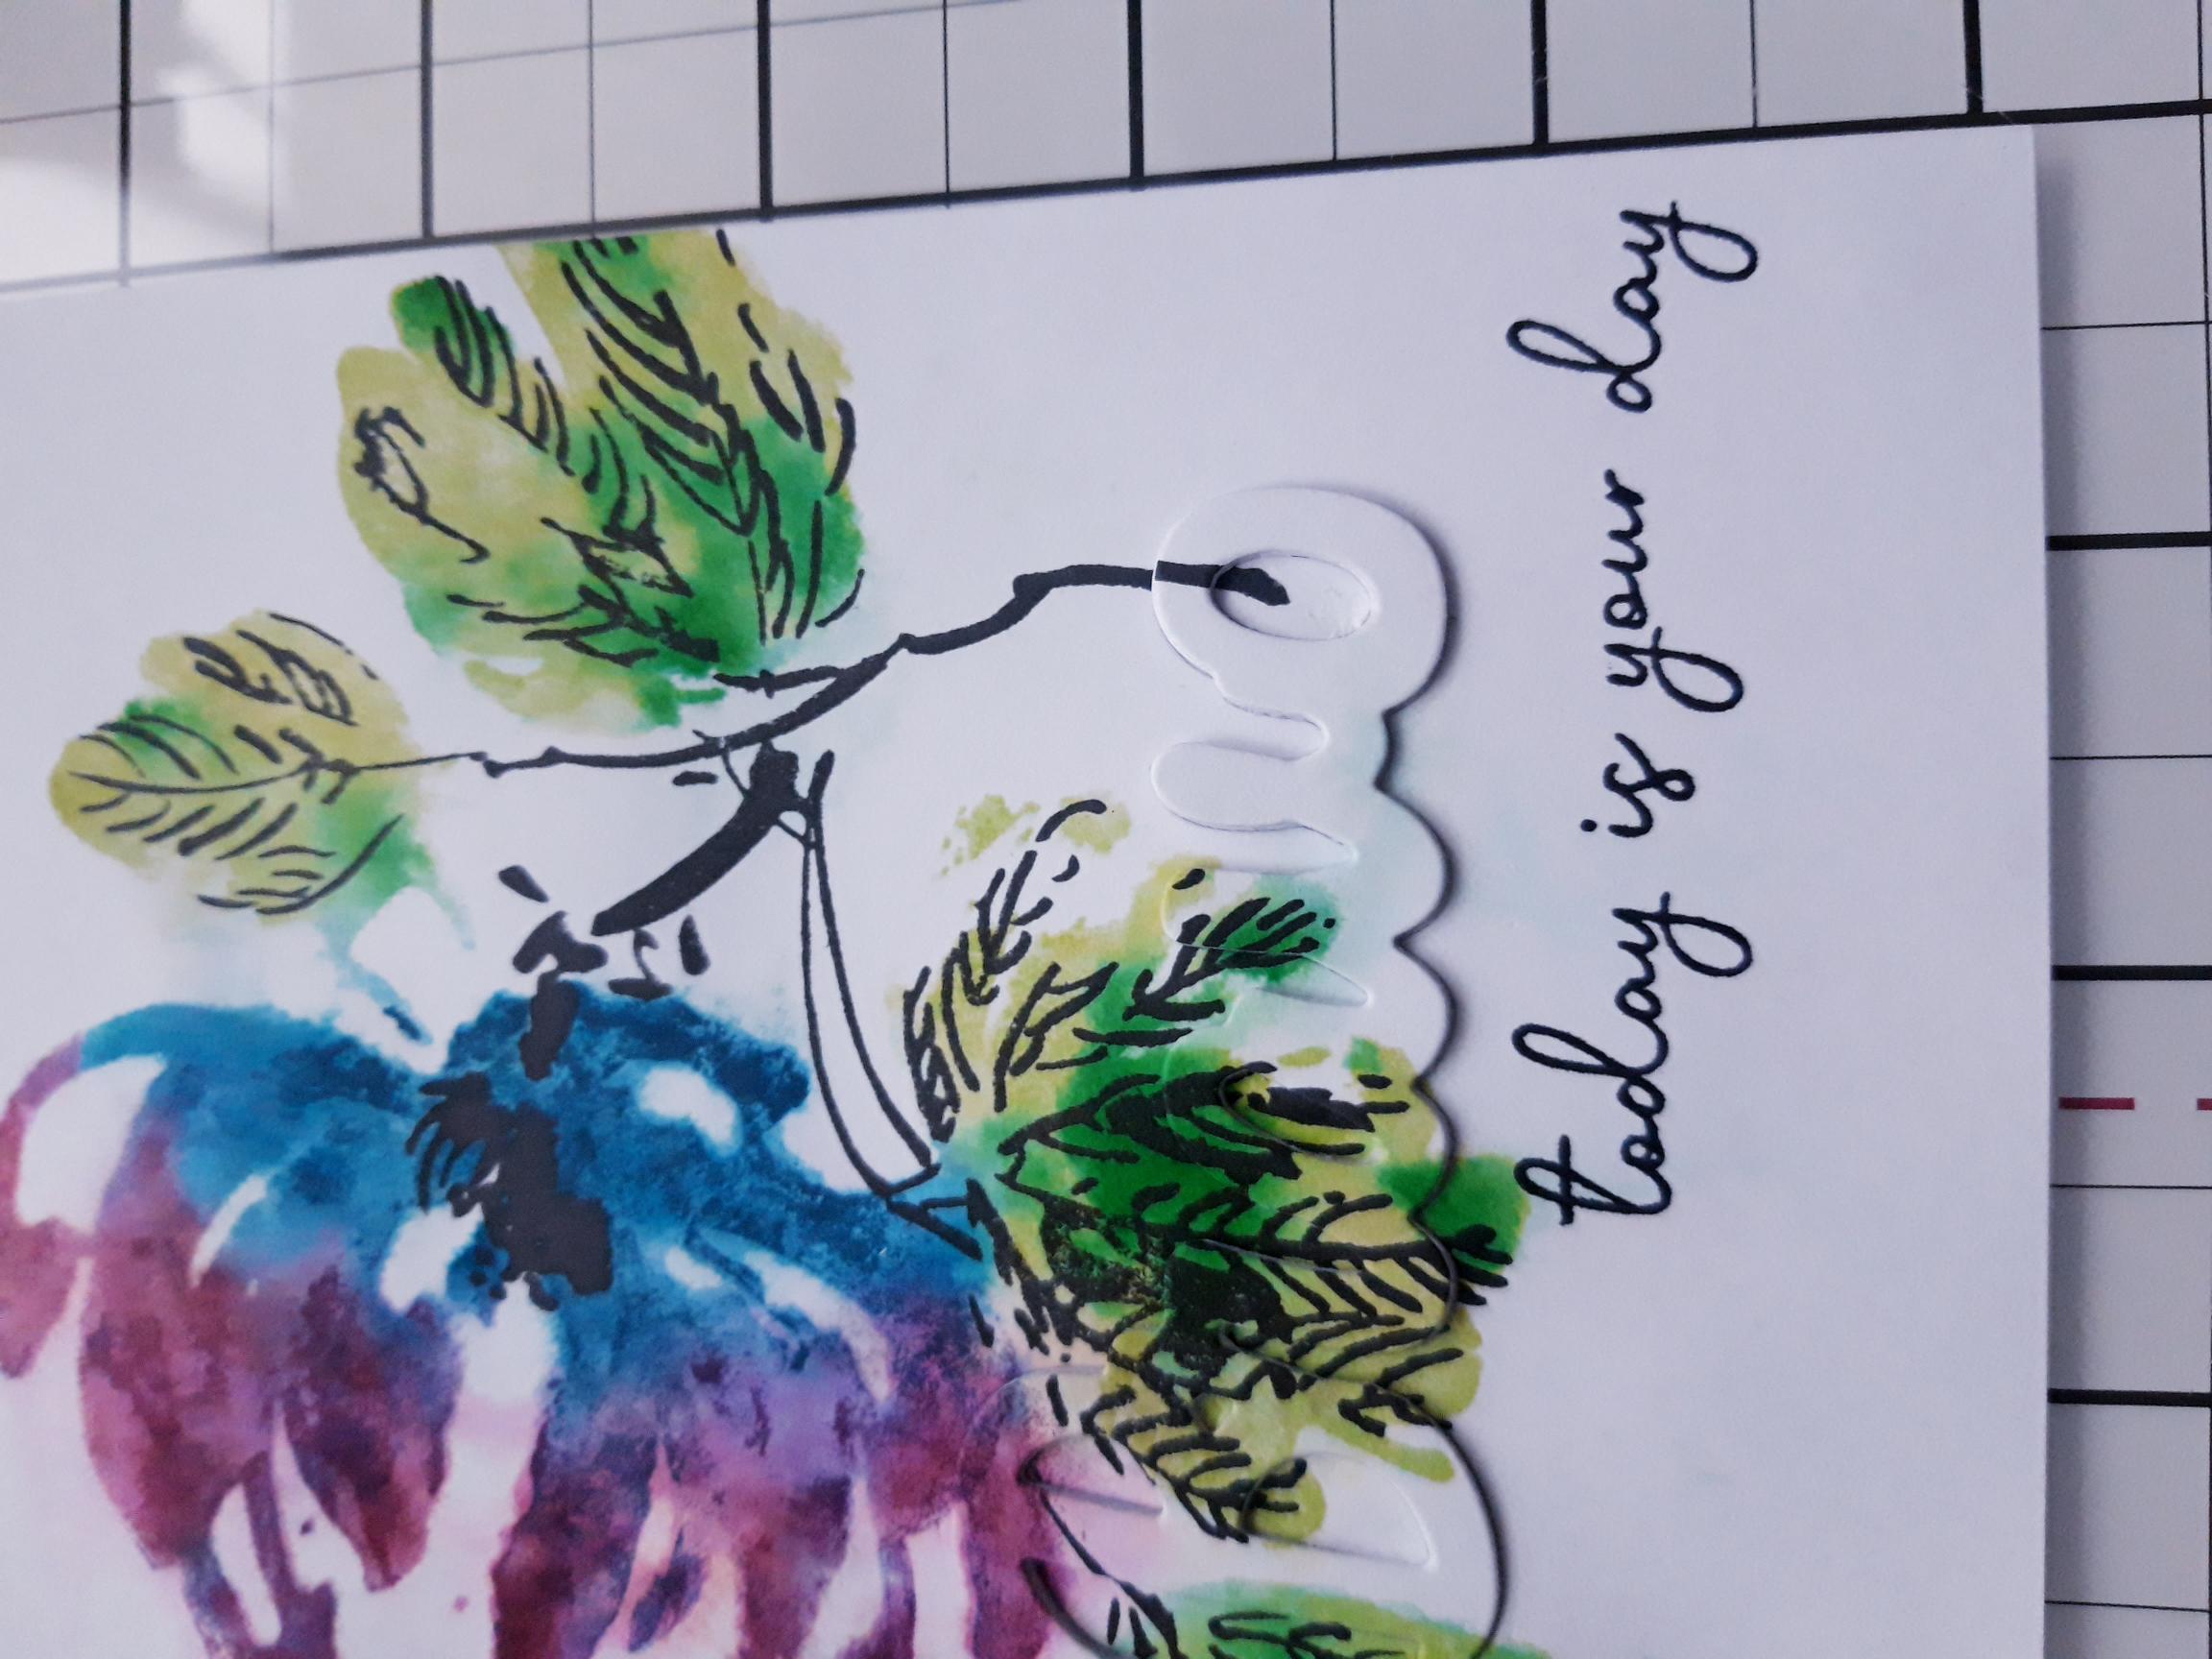
Ink up this sentiment stamp, from the There For You Lamination Stamp Collection, with the Midnight ink and stamp below your hidden word. |
|
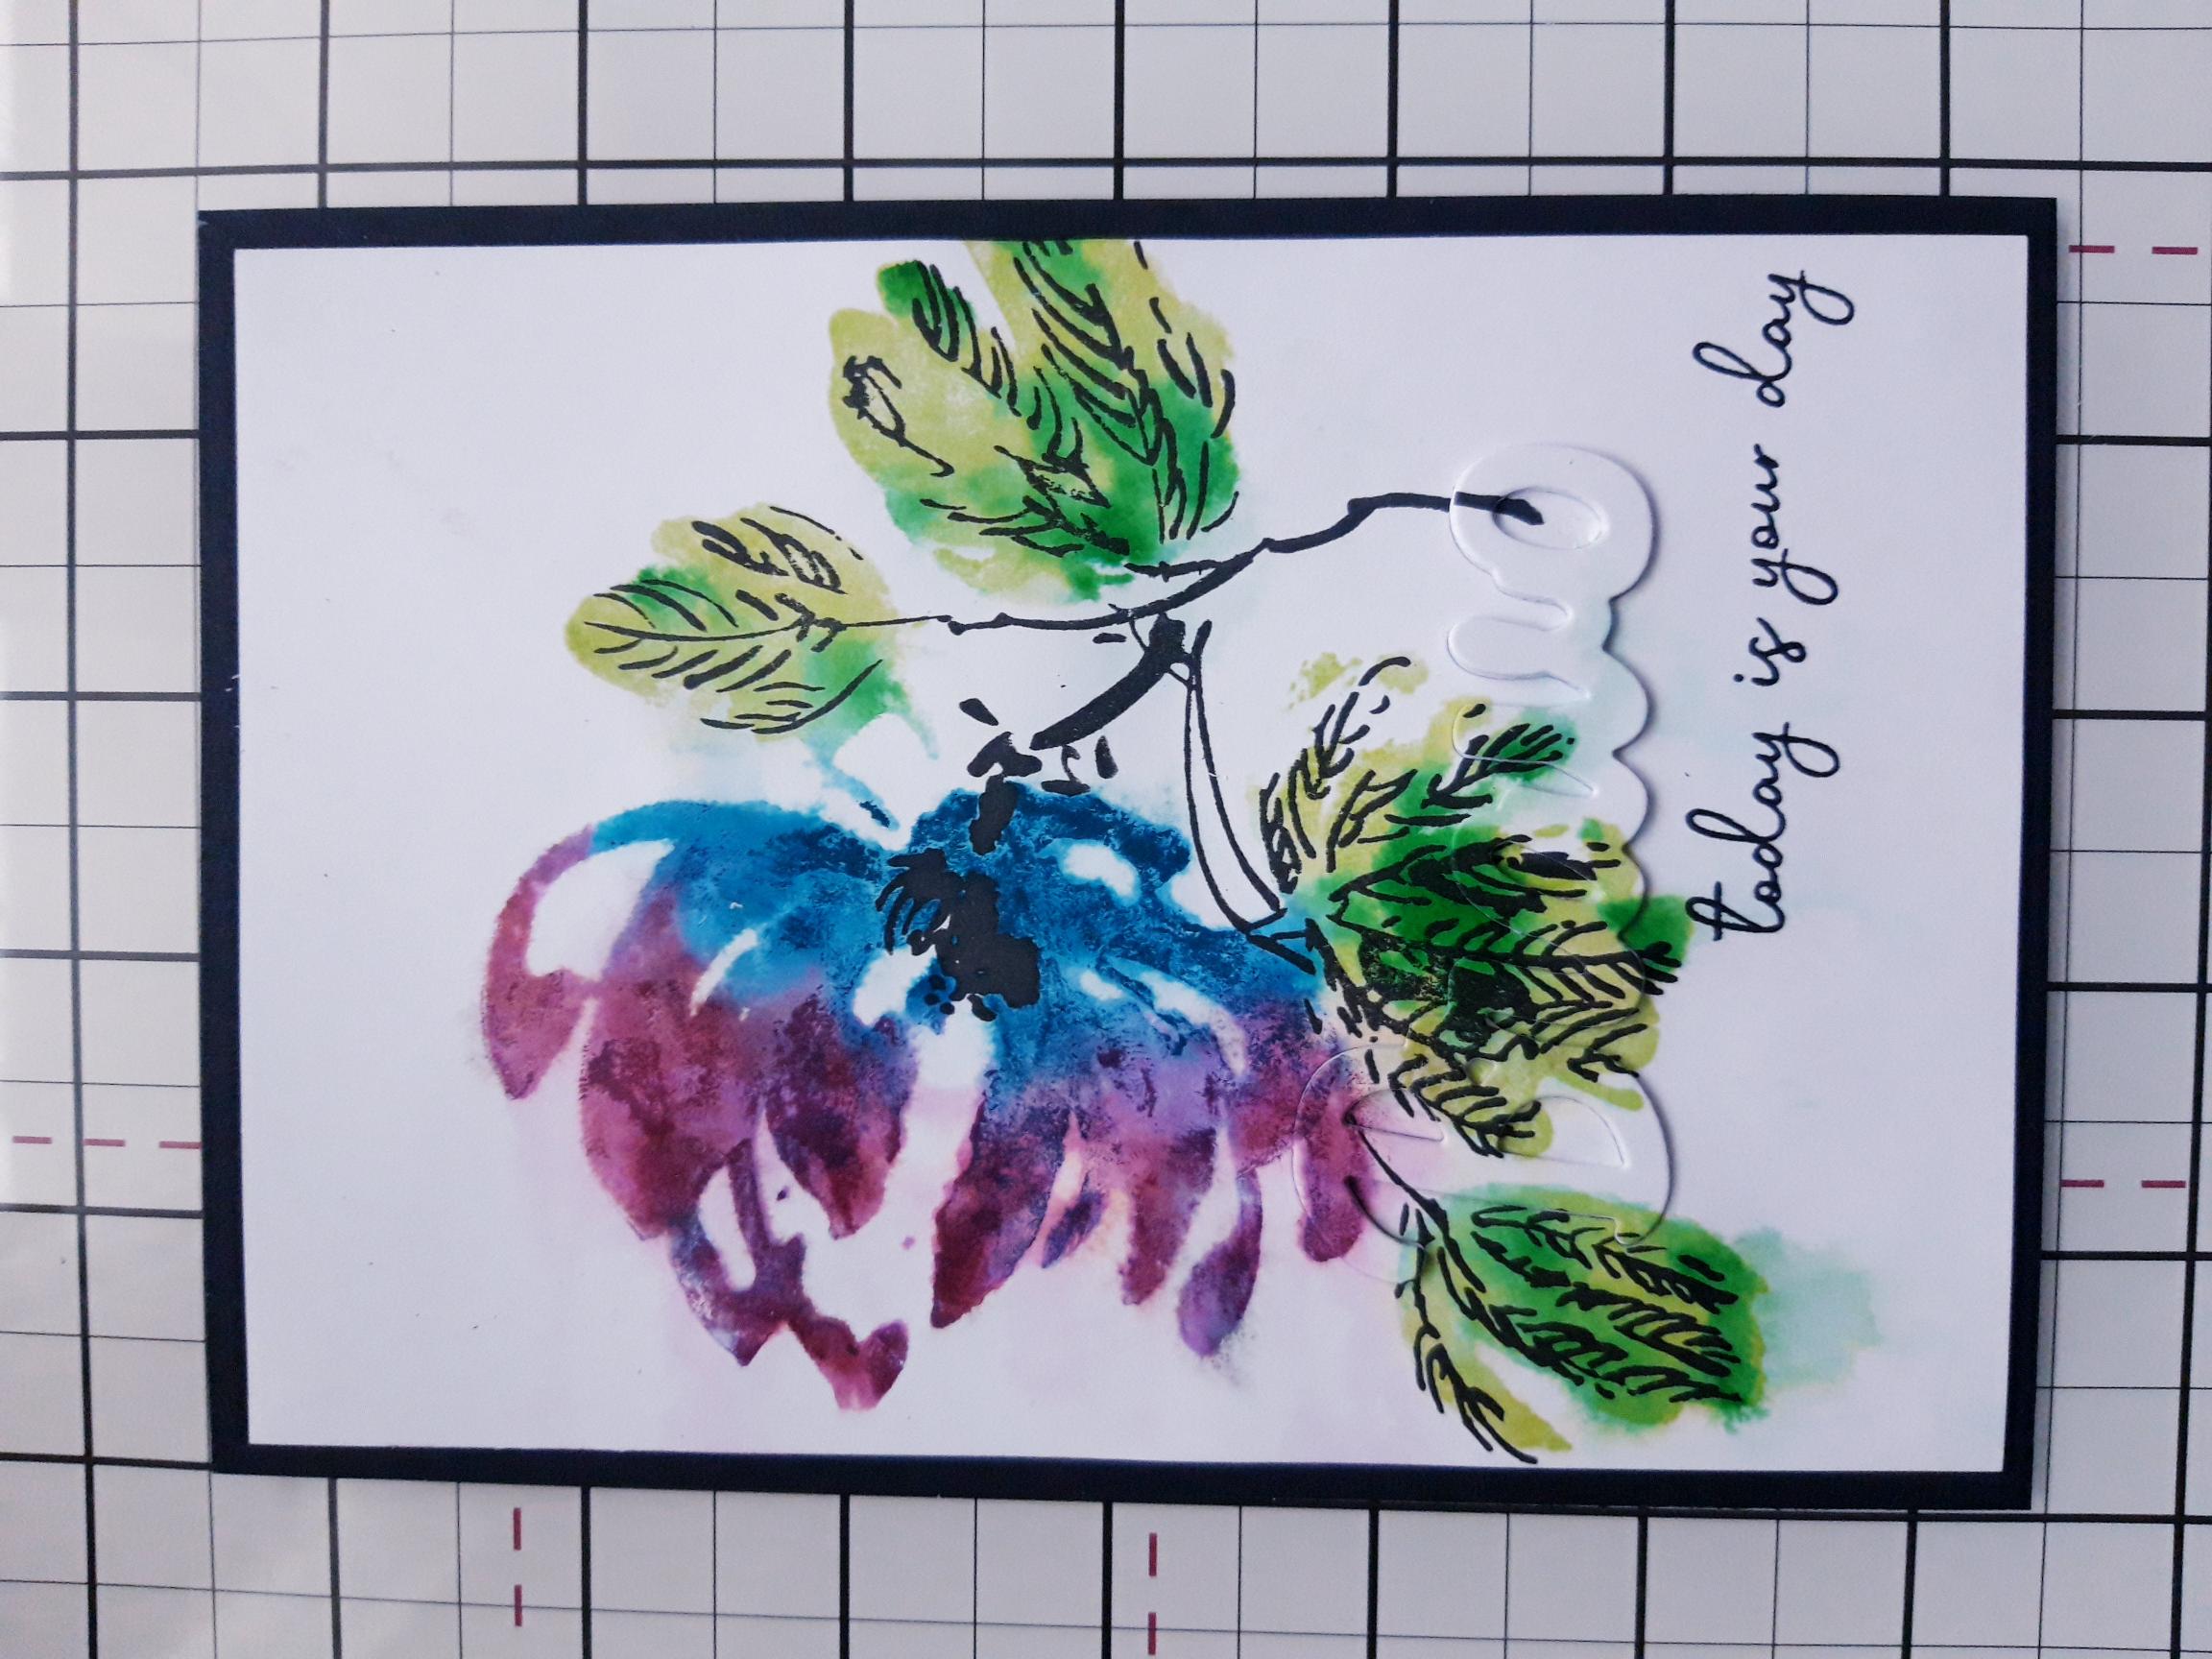
Adhere your artwork on to the black card. |
|
Finally, adhere to your kraft card blank. |