Give your friends $10 off their first order!
Refer a FRIEND


WHAT YOU WILL NEED:
Black landscape card blank 7 x 5"
White card 6 3/4 x 4 3/4"
Black and white card - for sentiment
Pretty Things Inside Under The Tree A6 stamp set
Pretty Things Inside Meet Me By The Willow A6 stamp set
Pretty Things Inside Family Gathering A6 stamp set
Pretty Things Inside Say It With Love A6 stamp set
Pretty Things Inside Love & Hope A5 stamp set
SBM Hybrid Ink Pad: Midnight
Premium Ink pad: Tiffany
Ranger Distress Ink Pad: Black Soot
Paint brush
Circle stencil (approx 2" diameter)
Blending tool
Eureka 101 Watercolour Tablet
SBM Magnetic glass mat
Paper Trimmer
Perfect Together Glue
Foam pads
[click image to enlarge] 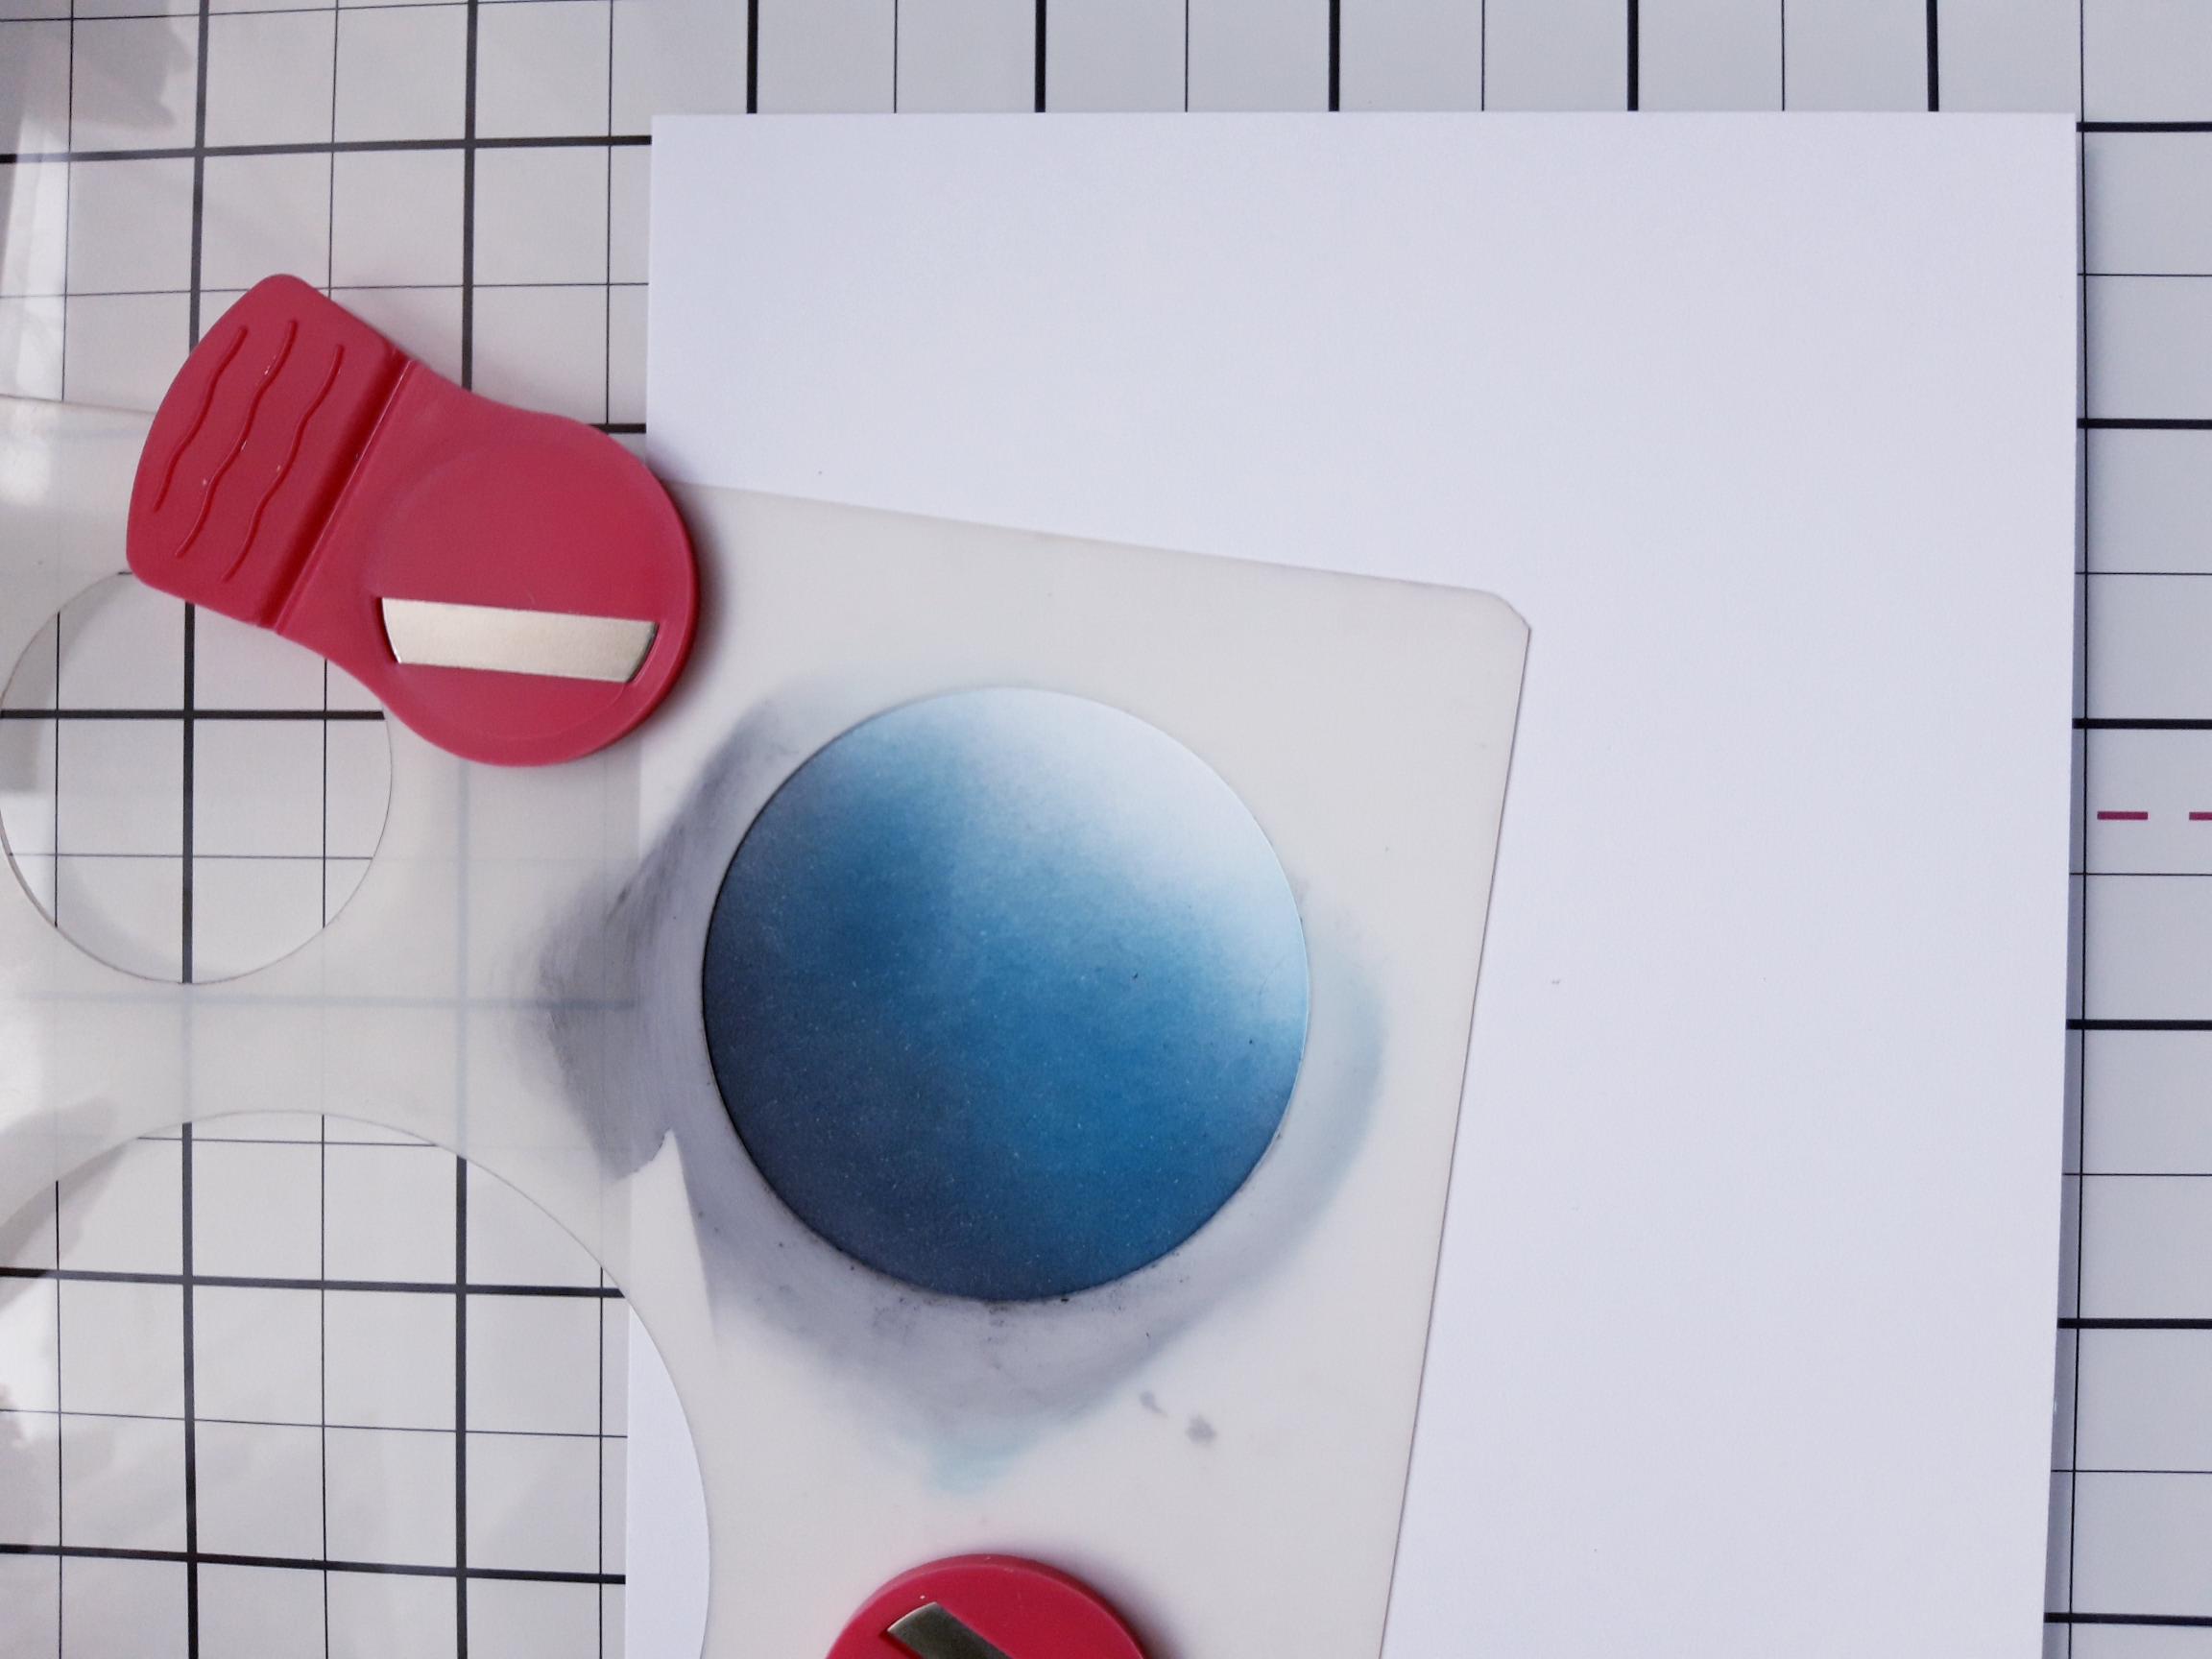
|
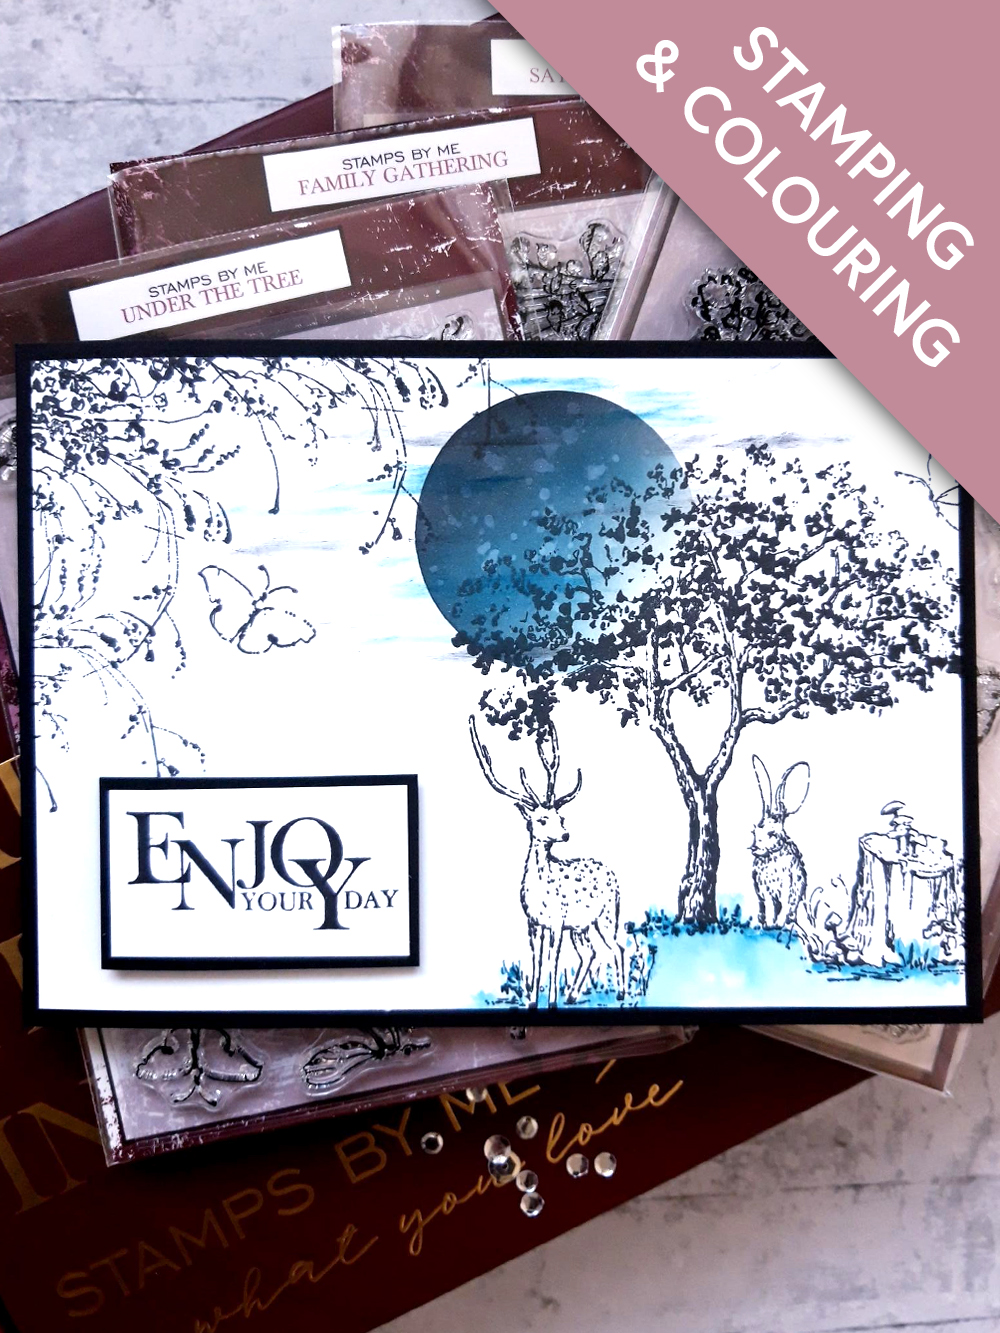
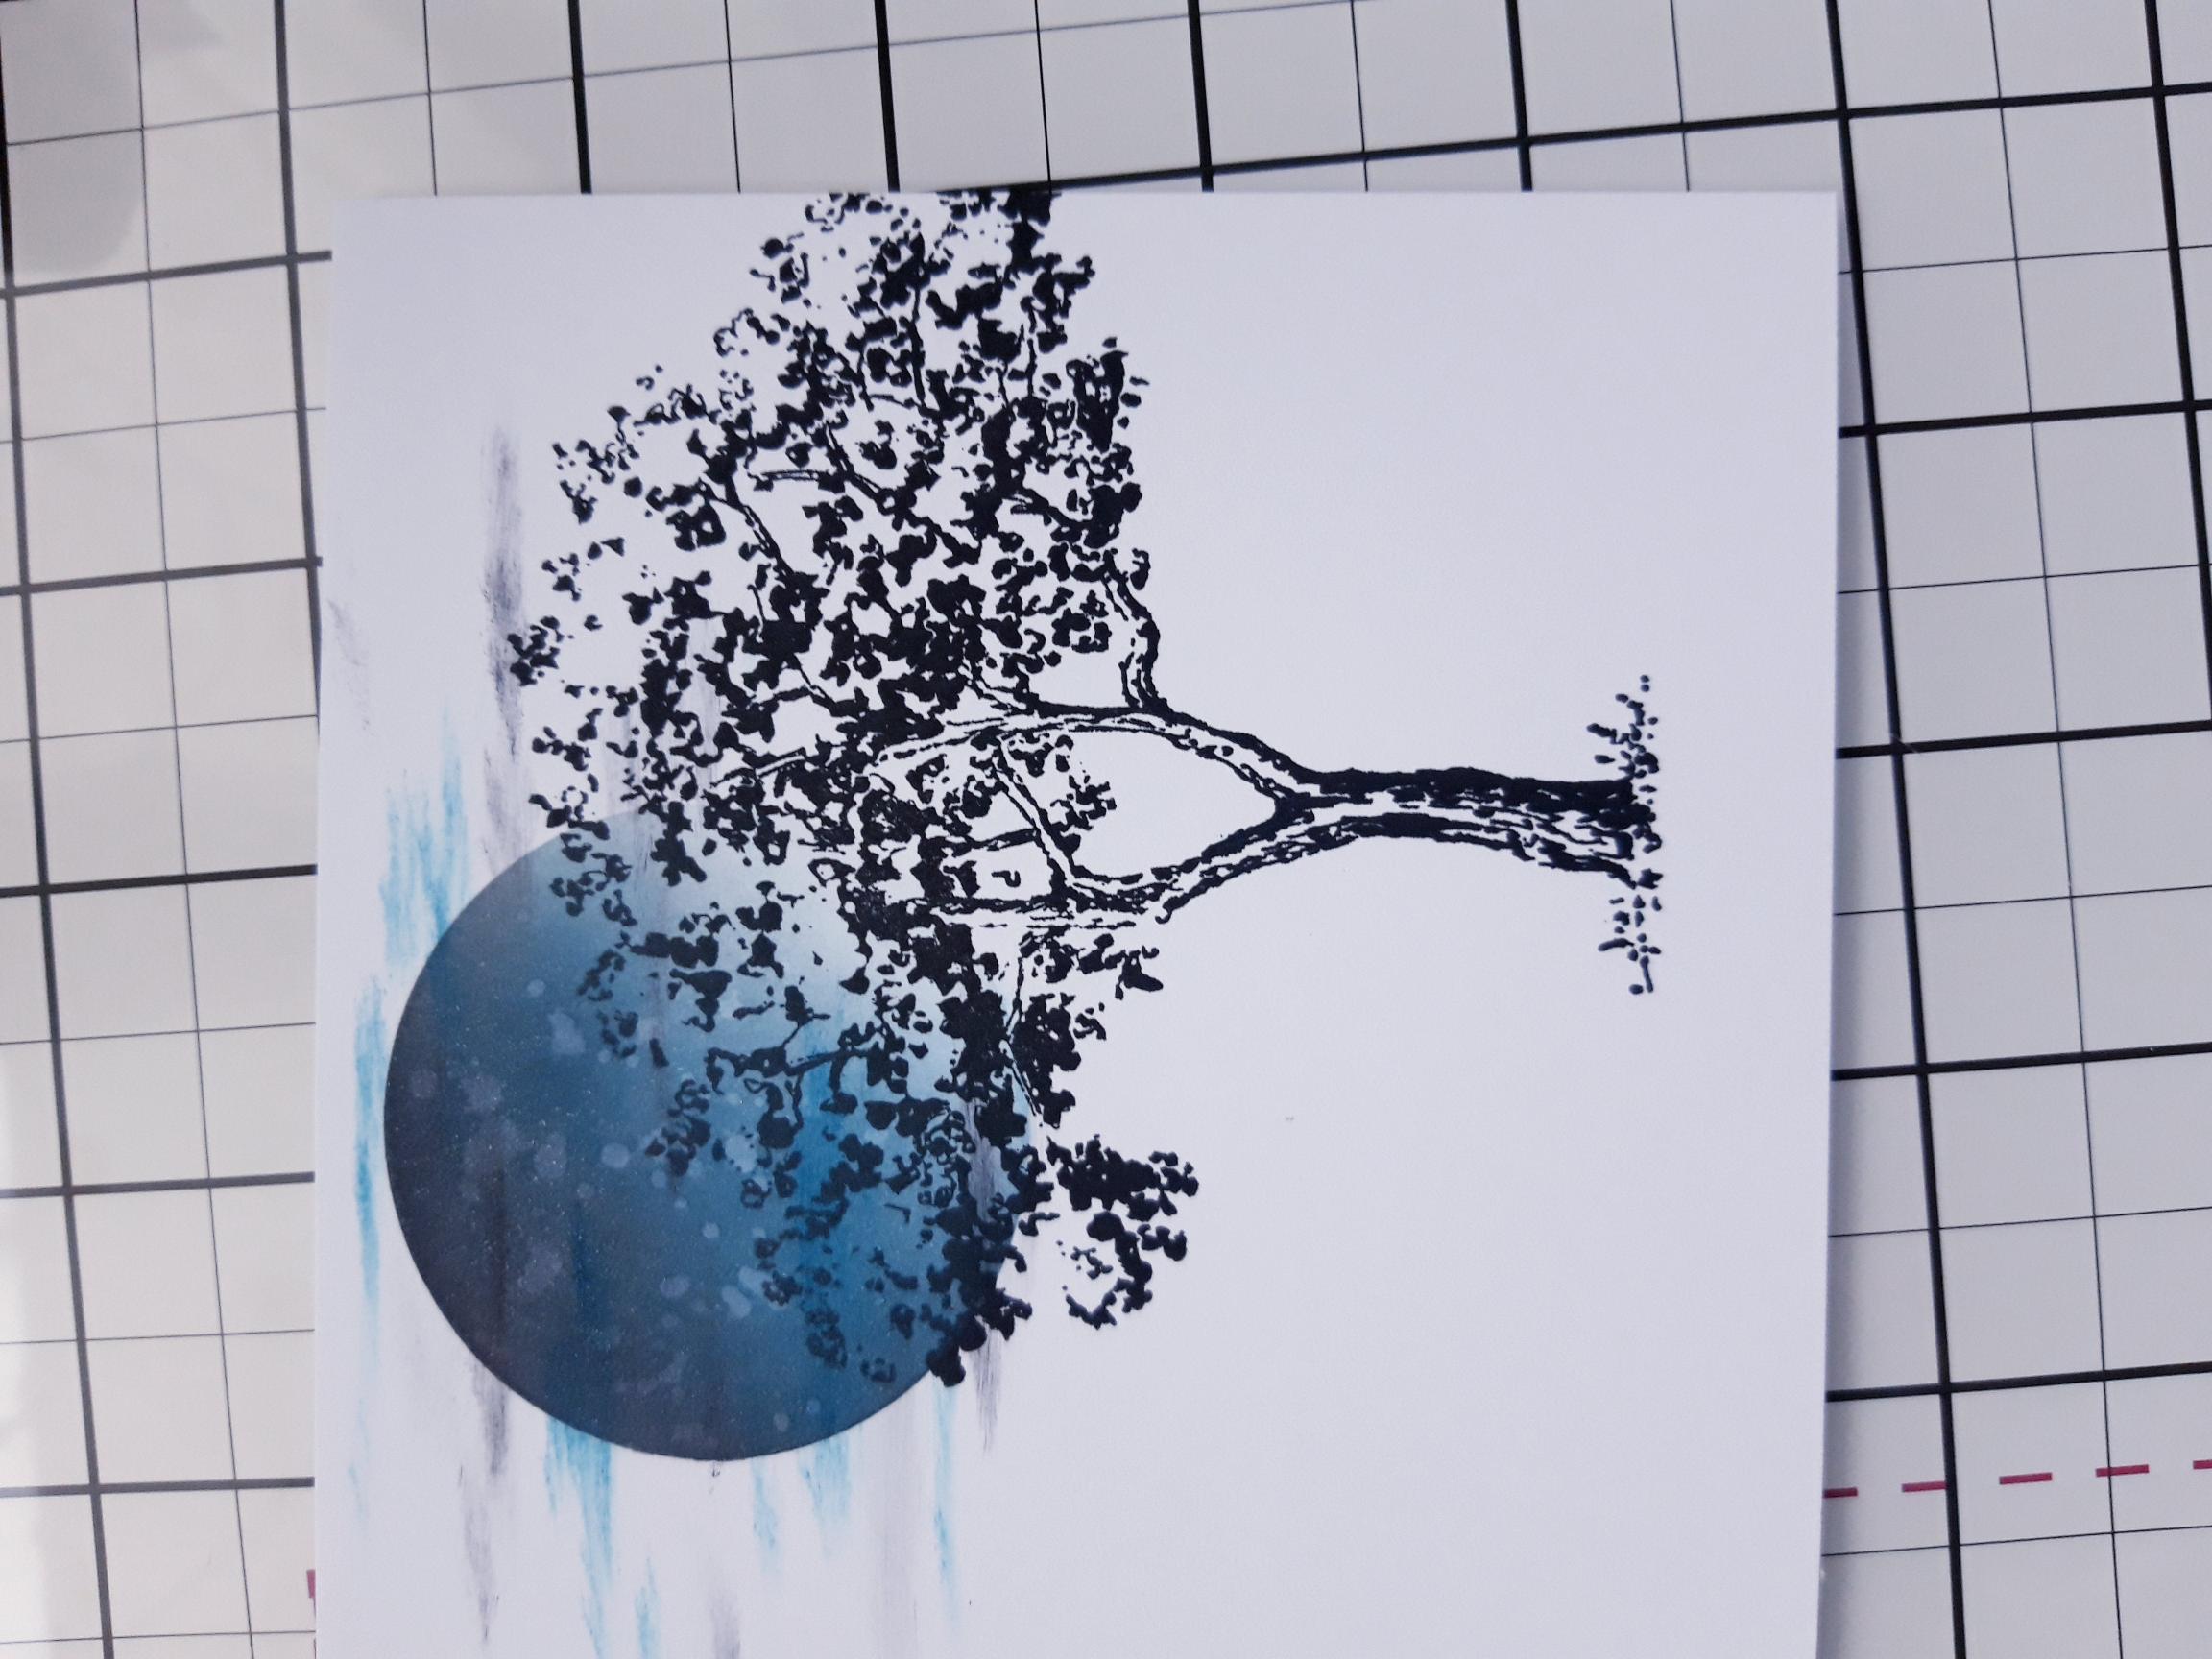
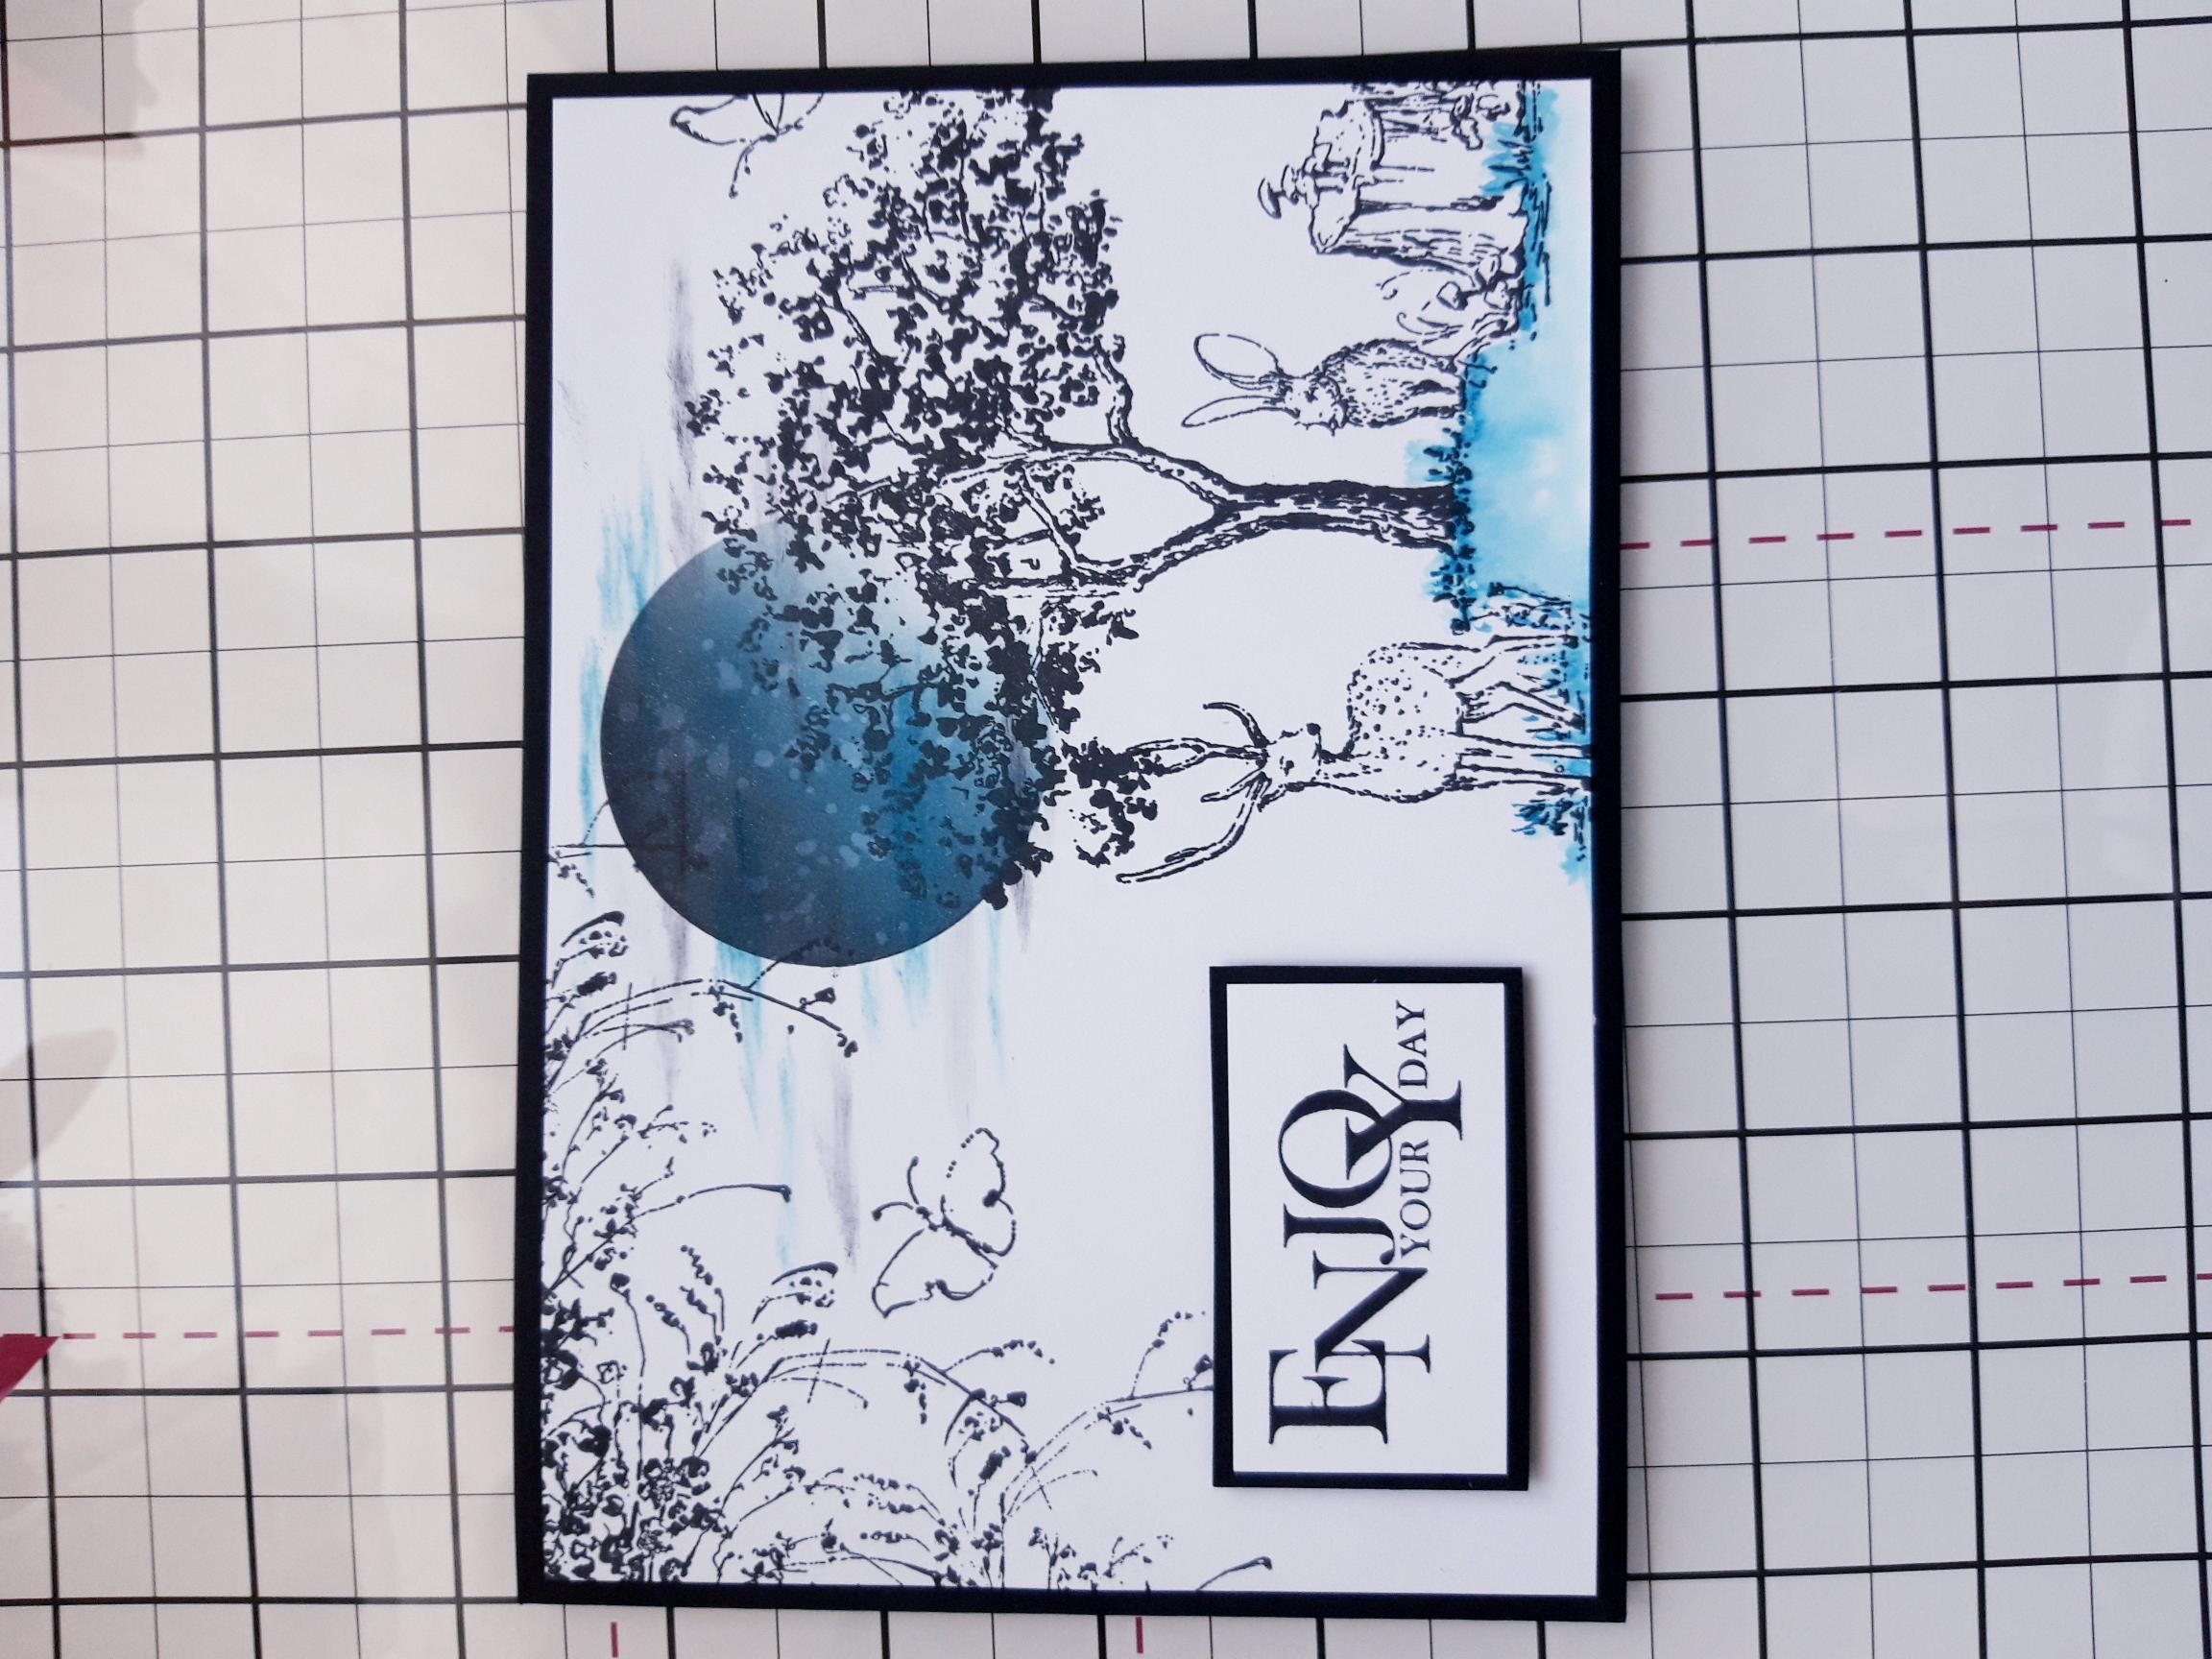
Position your circle stencil top centre of the white card, placed in landscape view. Use your tree stamp as a guide, as you want the tree to overlap the Moon, but go off the right hand edge of the card. Use your blending tool to blend the Tiffany dye ink within the circle stencil, fading it out as you move towards the bottom right. Blend with the Black Soot Distress Ink, to make the colour more intense and create shadow, around the top left of the Moon.
|
|
Use a paint brush to splatter water on to the ink, wait a few seconds then mop up the excess with a paper towel. |
|
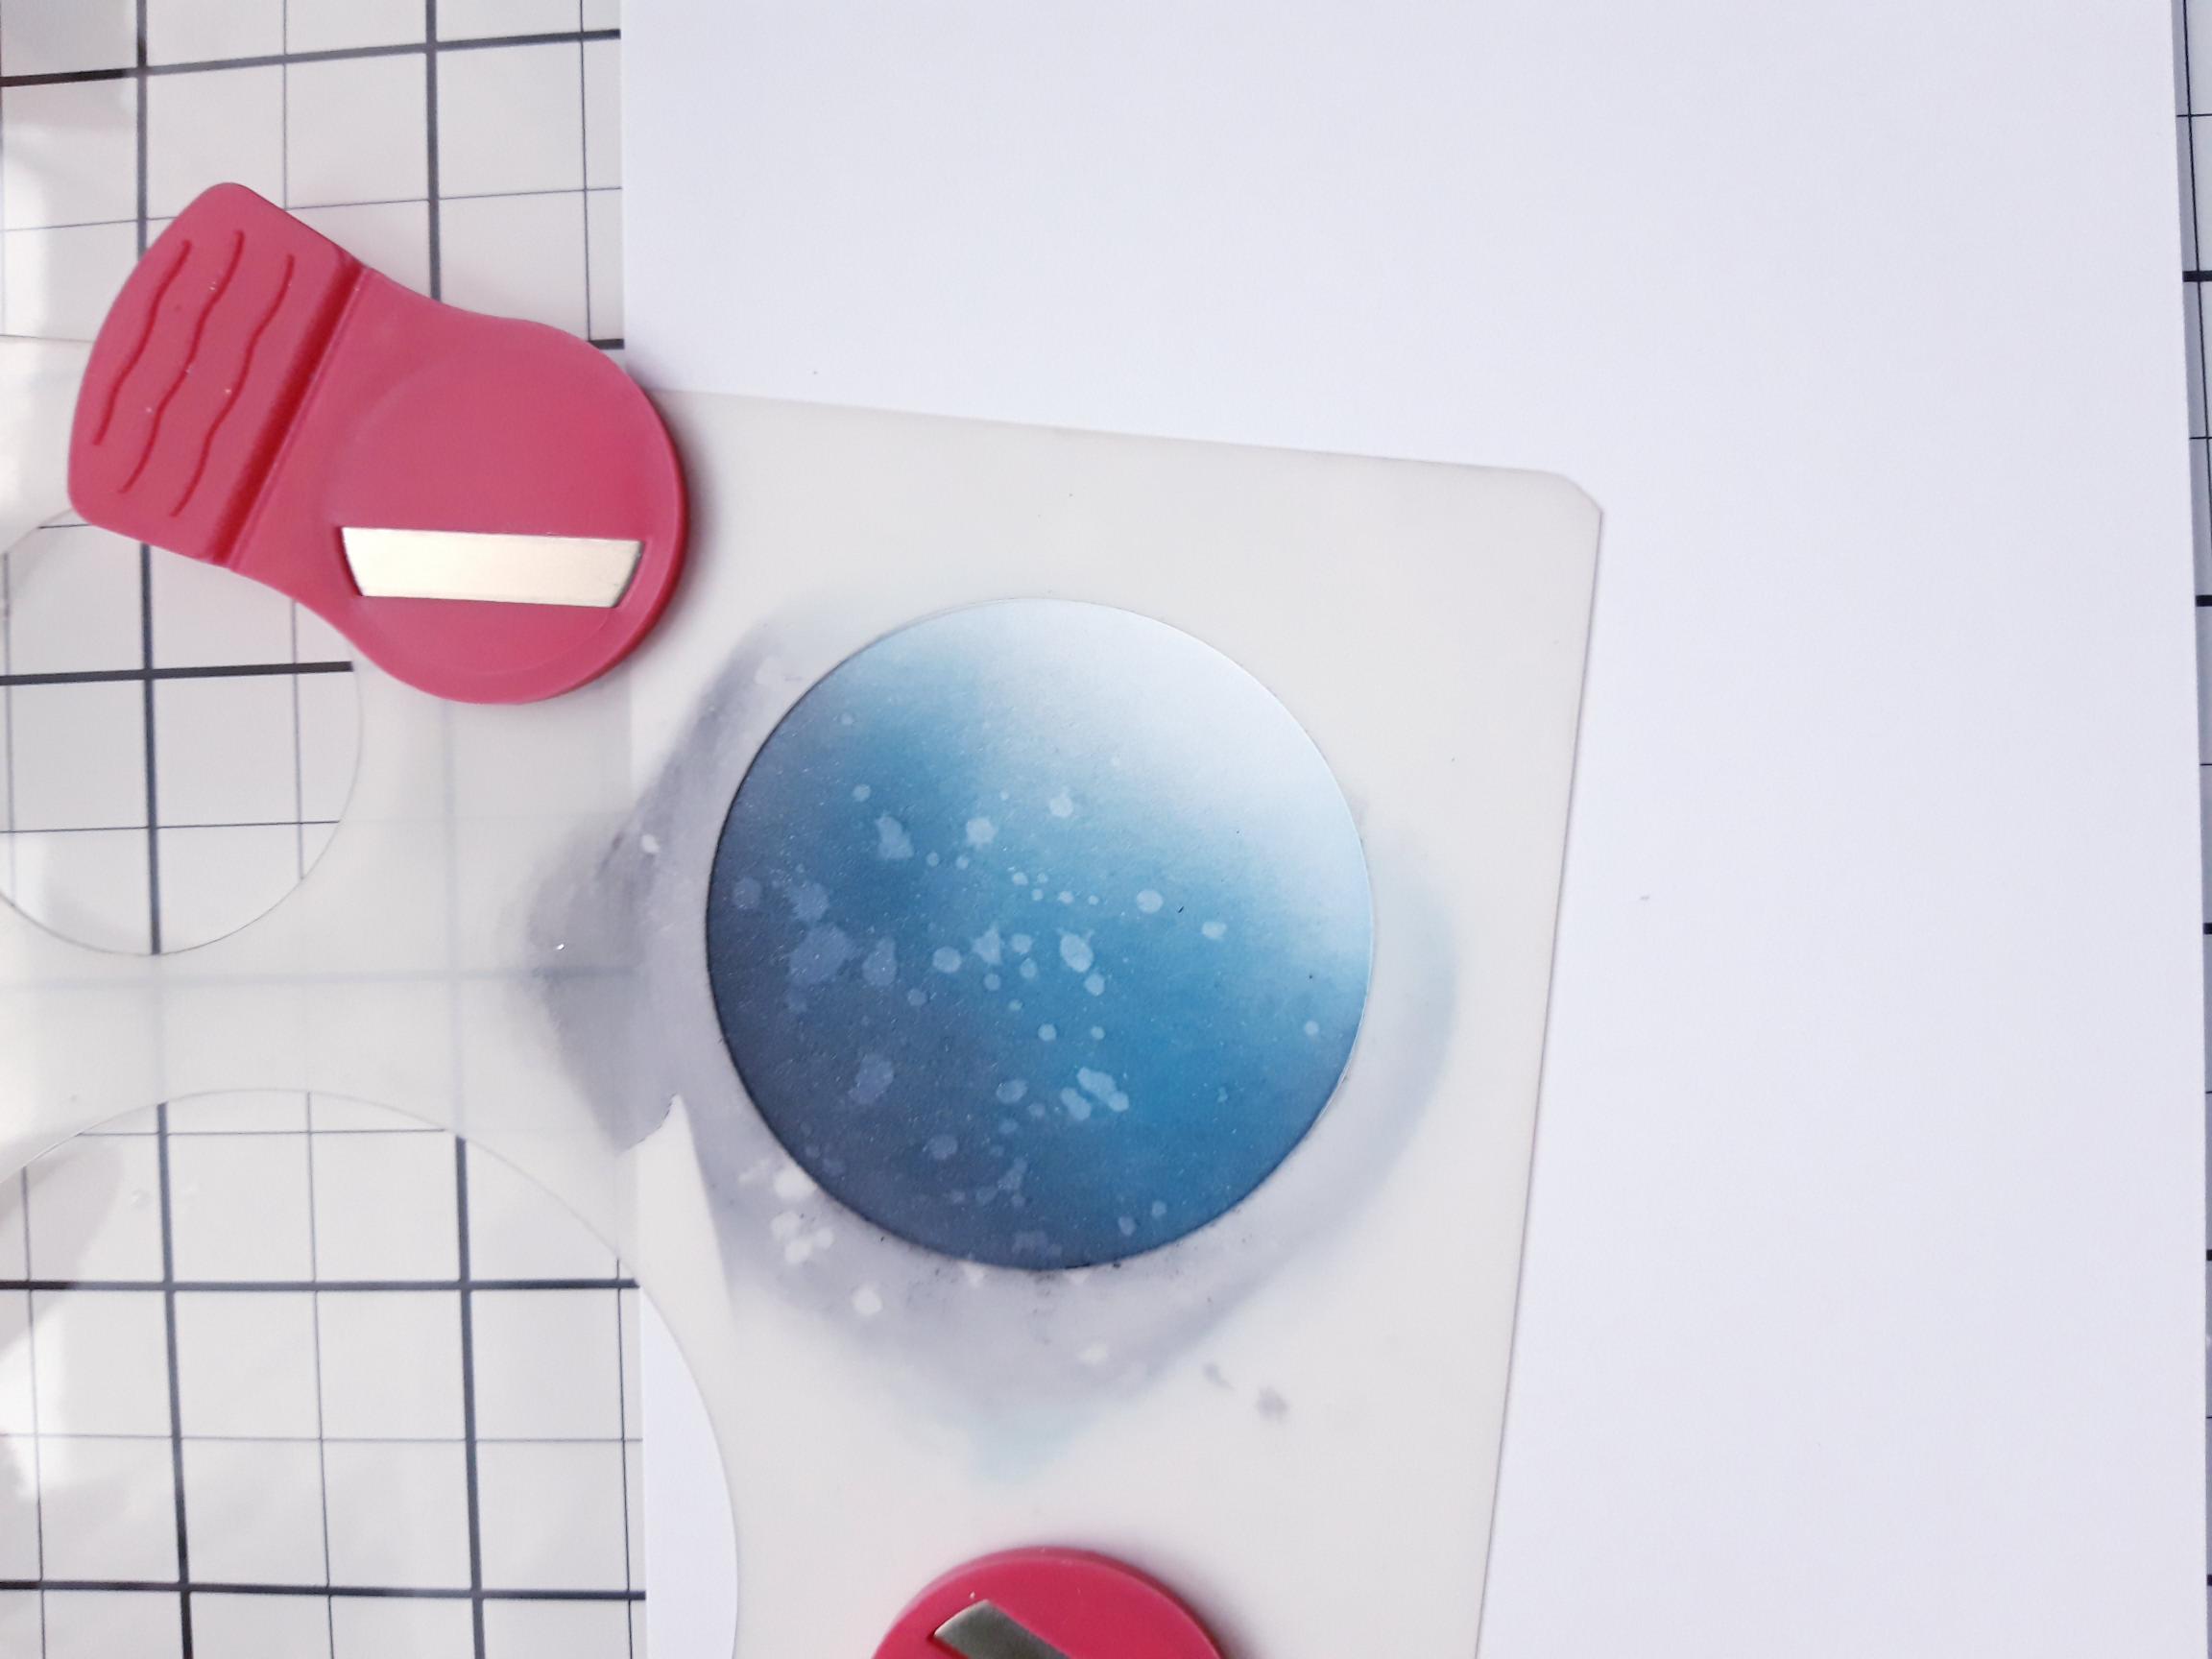
Remove the stencil and, using the edge of your blending tool, drag the Tiffany and Black Soot across your Moon, thus creating wispy clouds. |
|
Once the ink is dry, ink this gorgeous tree stamp, from Under The Tree, with the hybrid Midnight and stamp just off the right hand edge of the card. |

|
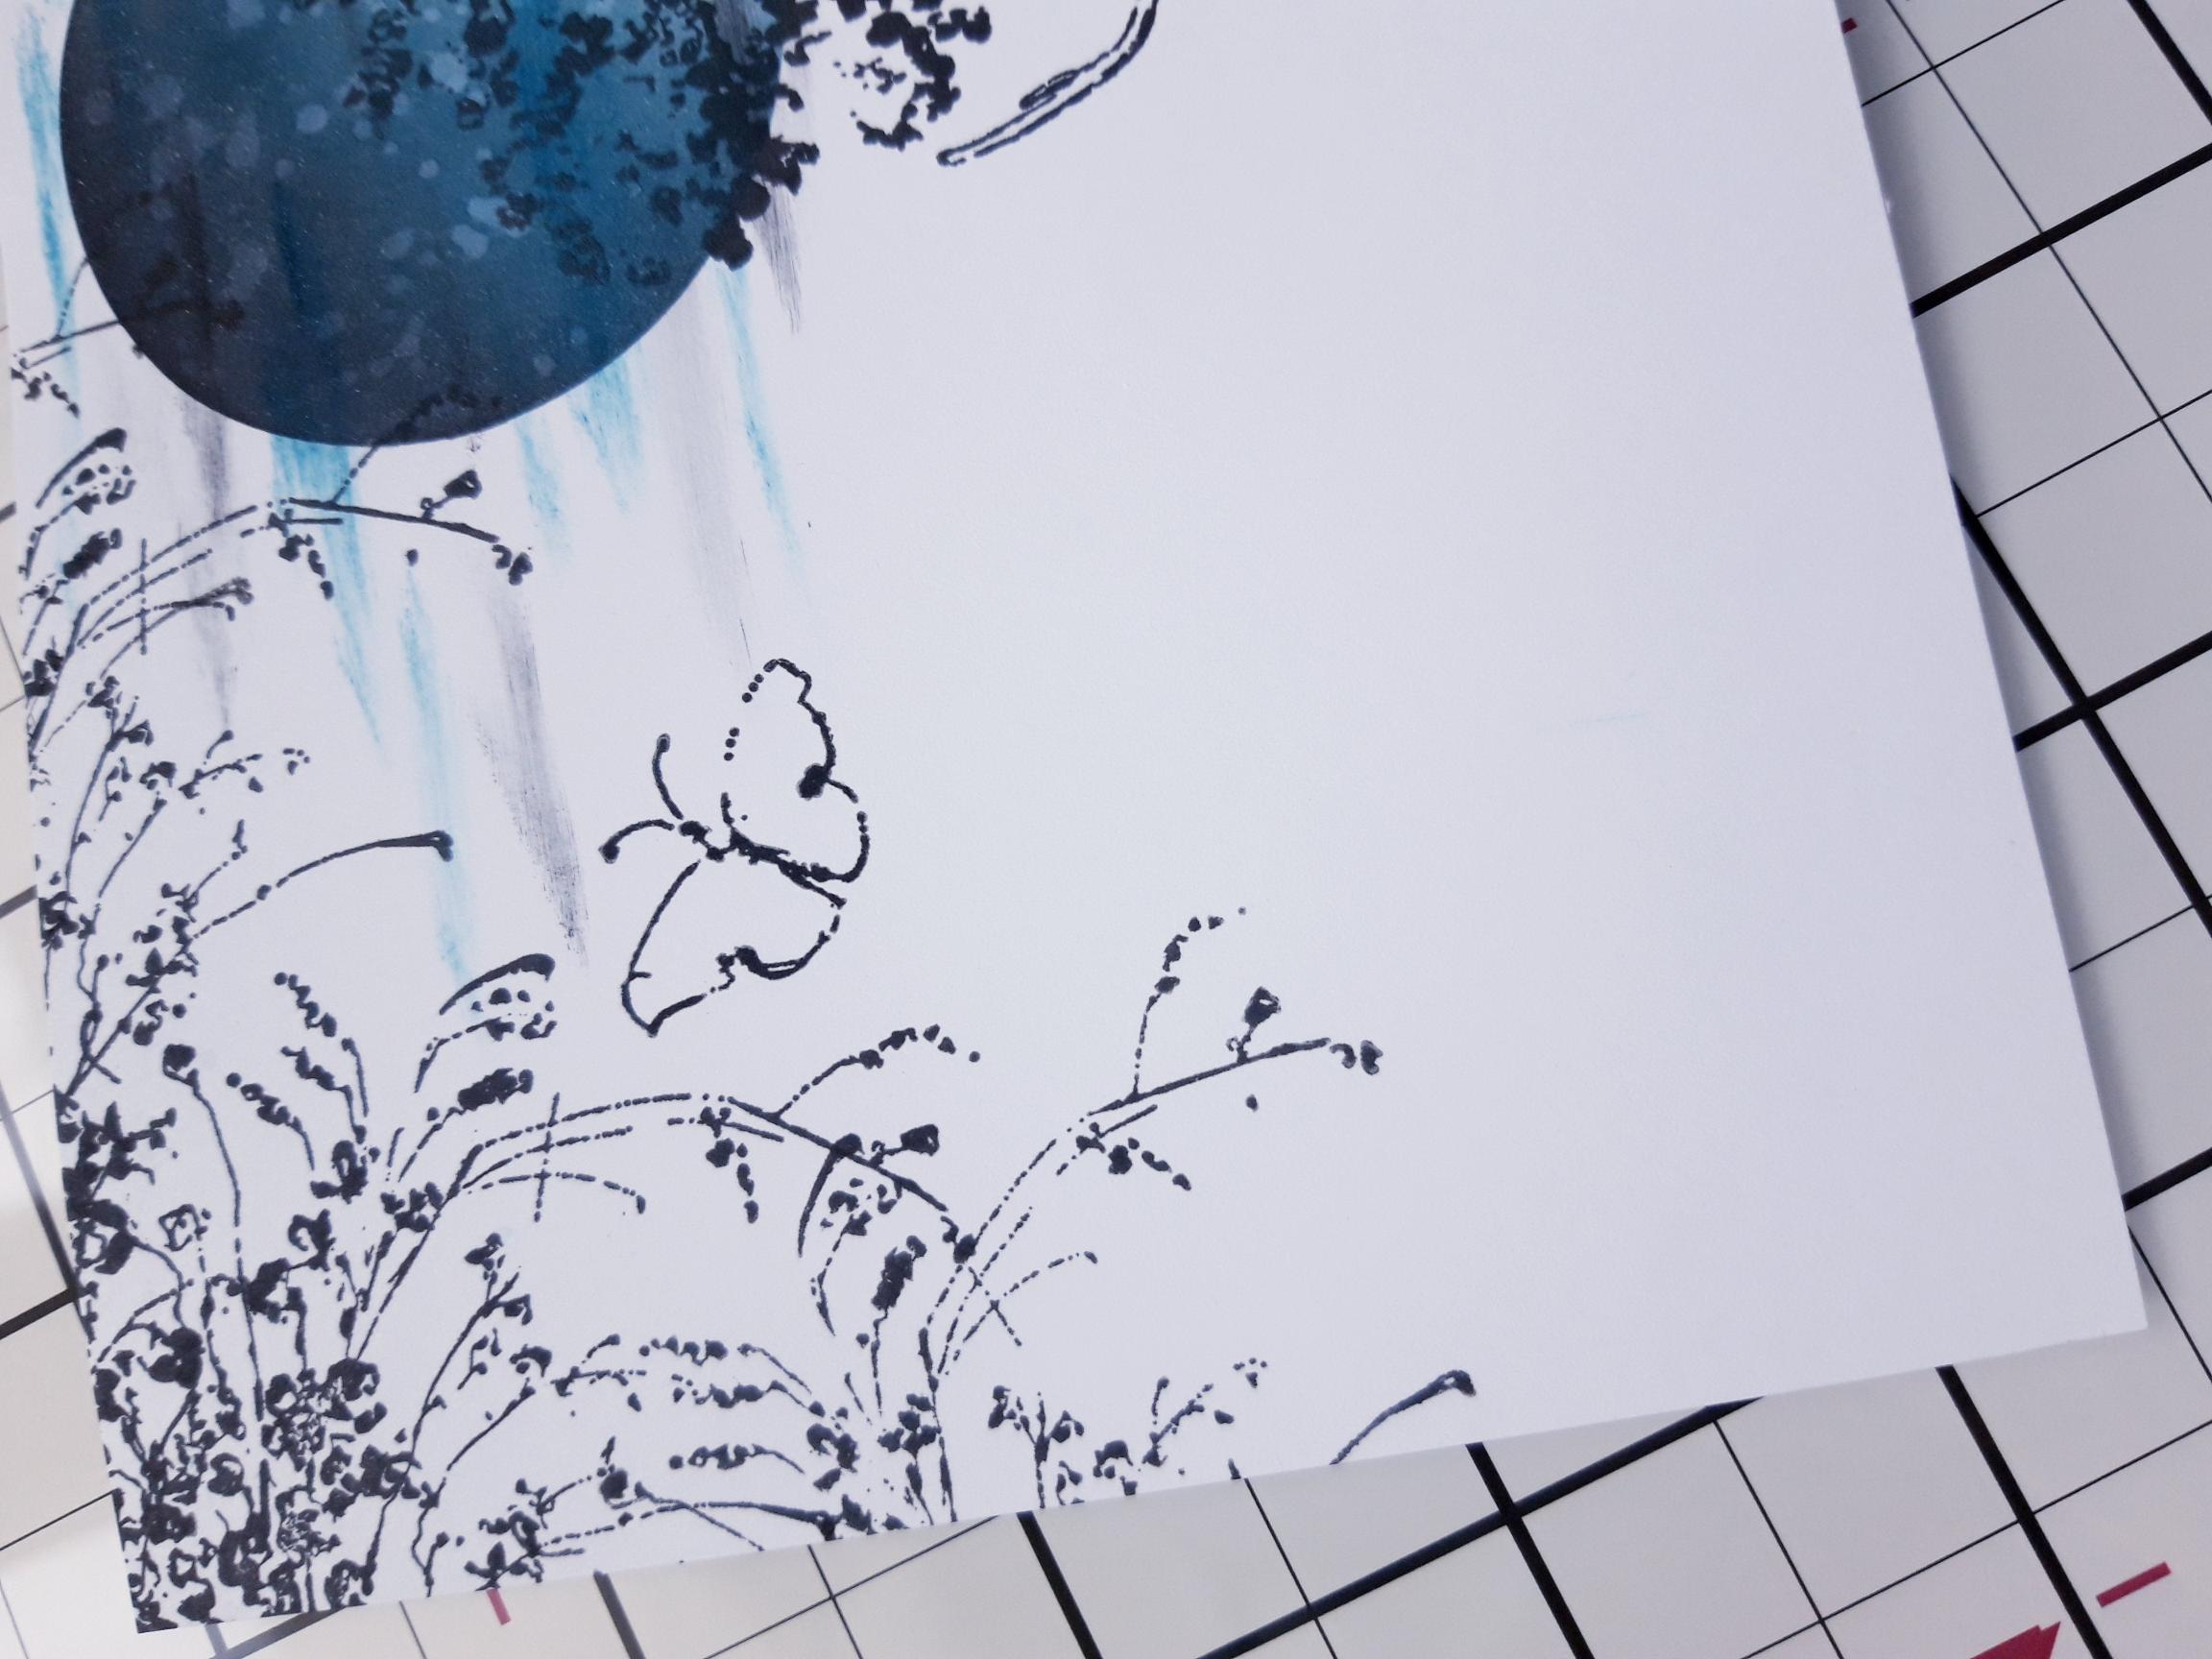
Ink up the large floral stamp, from Say It With Love, with the Midnight ink and stamp coming down from the top left corner of your card. |

|
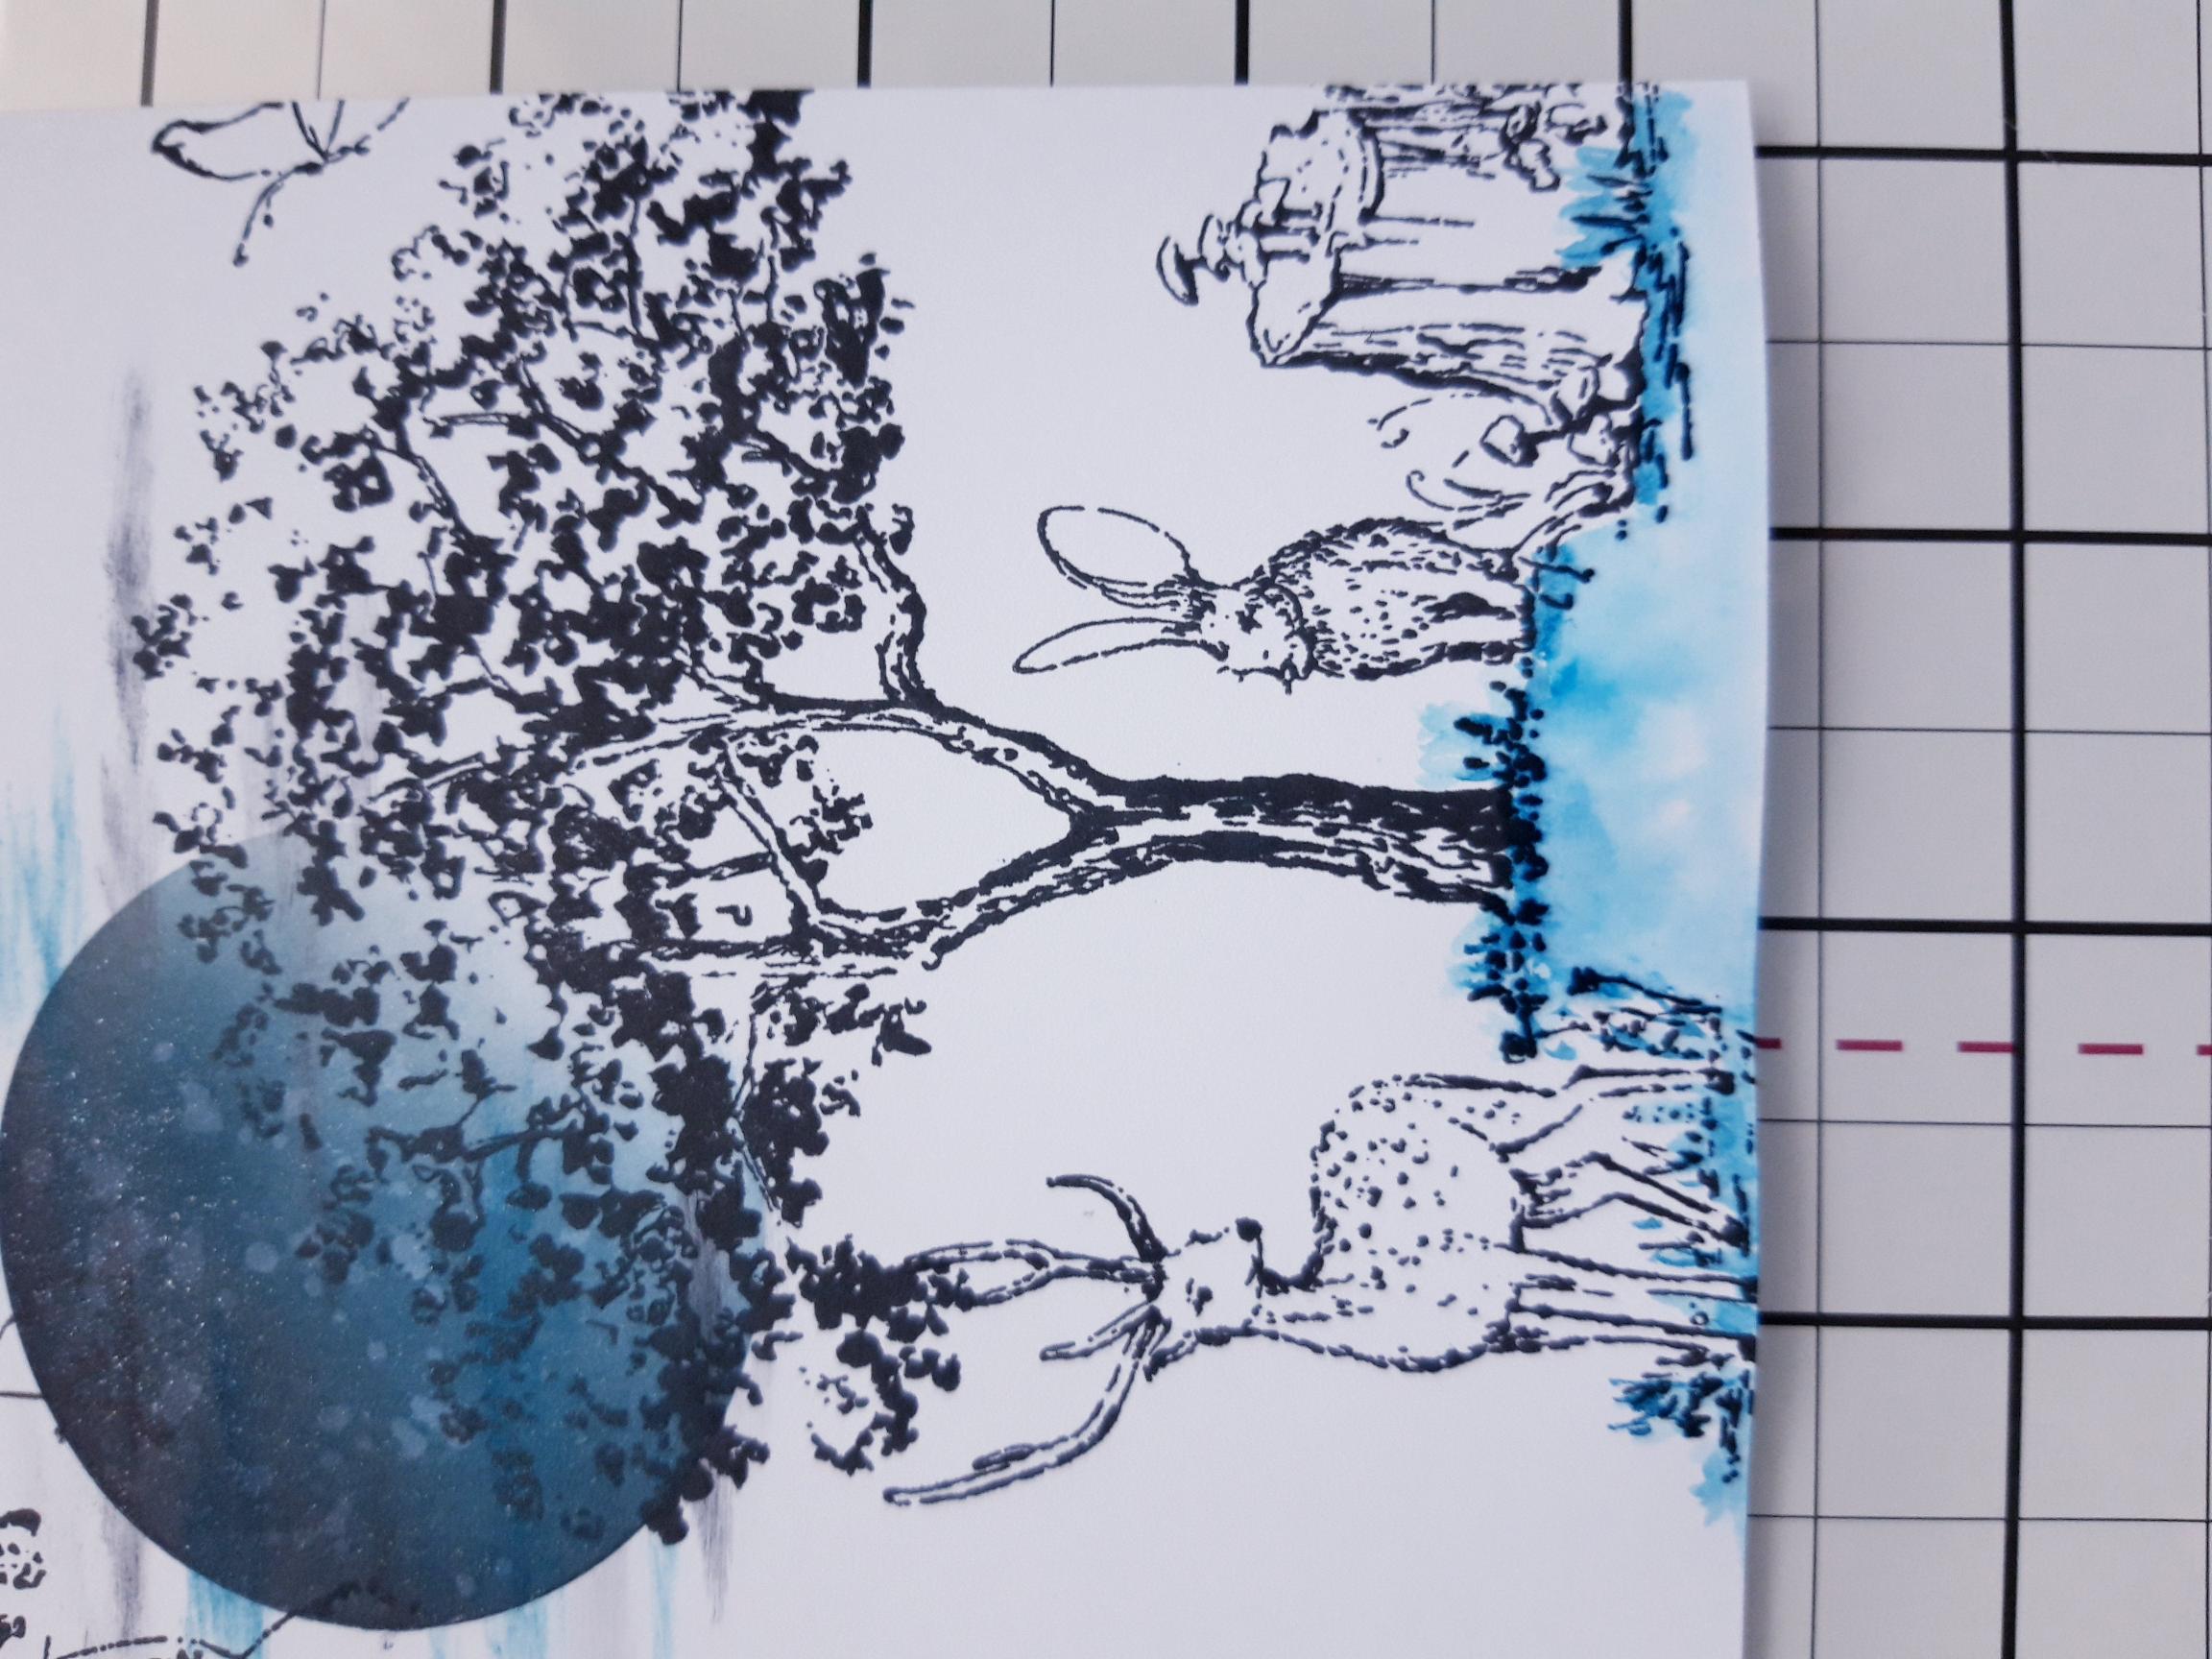
Ink up the Stag, Hare and tree trunk stamps, from your Pretty Things Inside stamp sets, with Midnight, then stamp them below the tree, thus creating your beautiful scene. |
|
Ink up one of the Butterfly stamps, from Under The Tree and stamp amongst the hanging foliage. |
|
Ink up another and stamp it flying in, from the top right of your scene. Pop a little of the Tiffany on to your glass mat and add water. Using a paint brush, blend it below the tree and animals, to ground your artwork. Set aside to dry. |
|
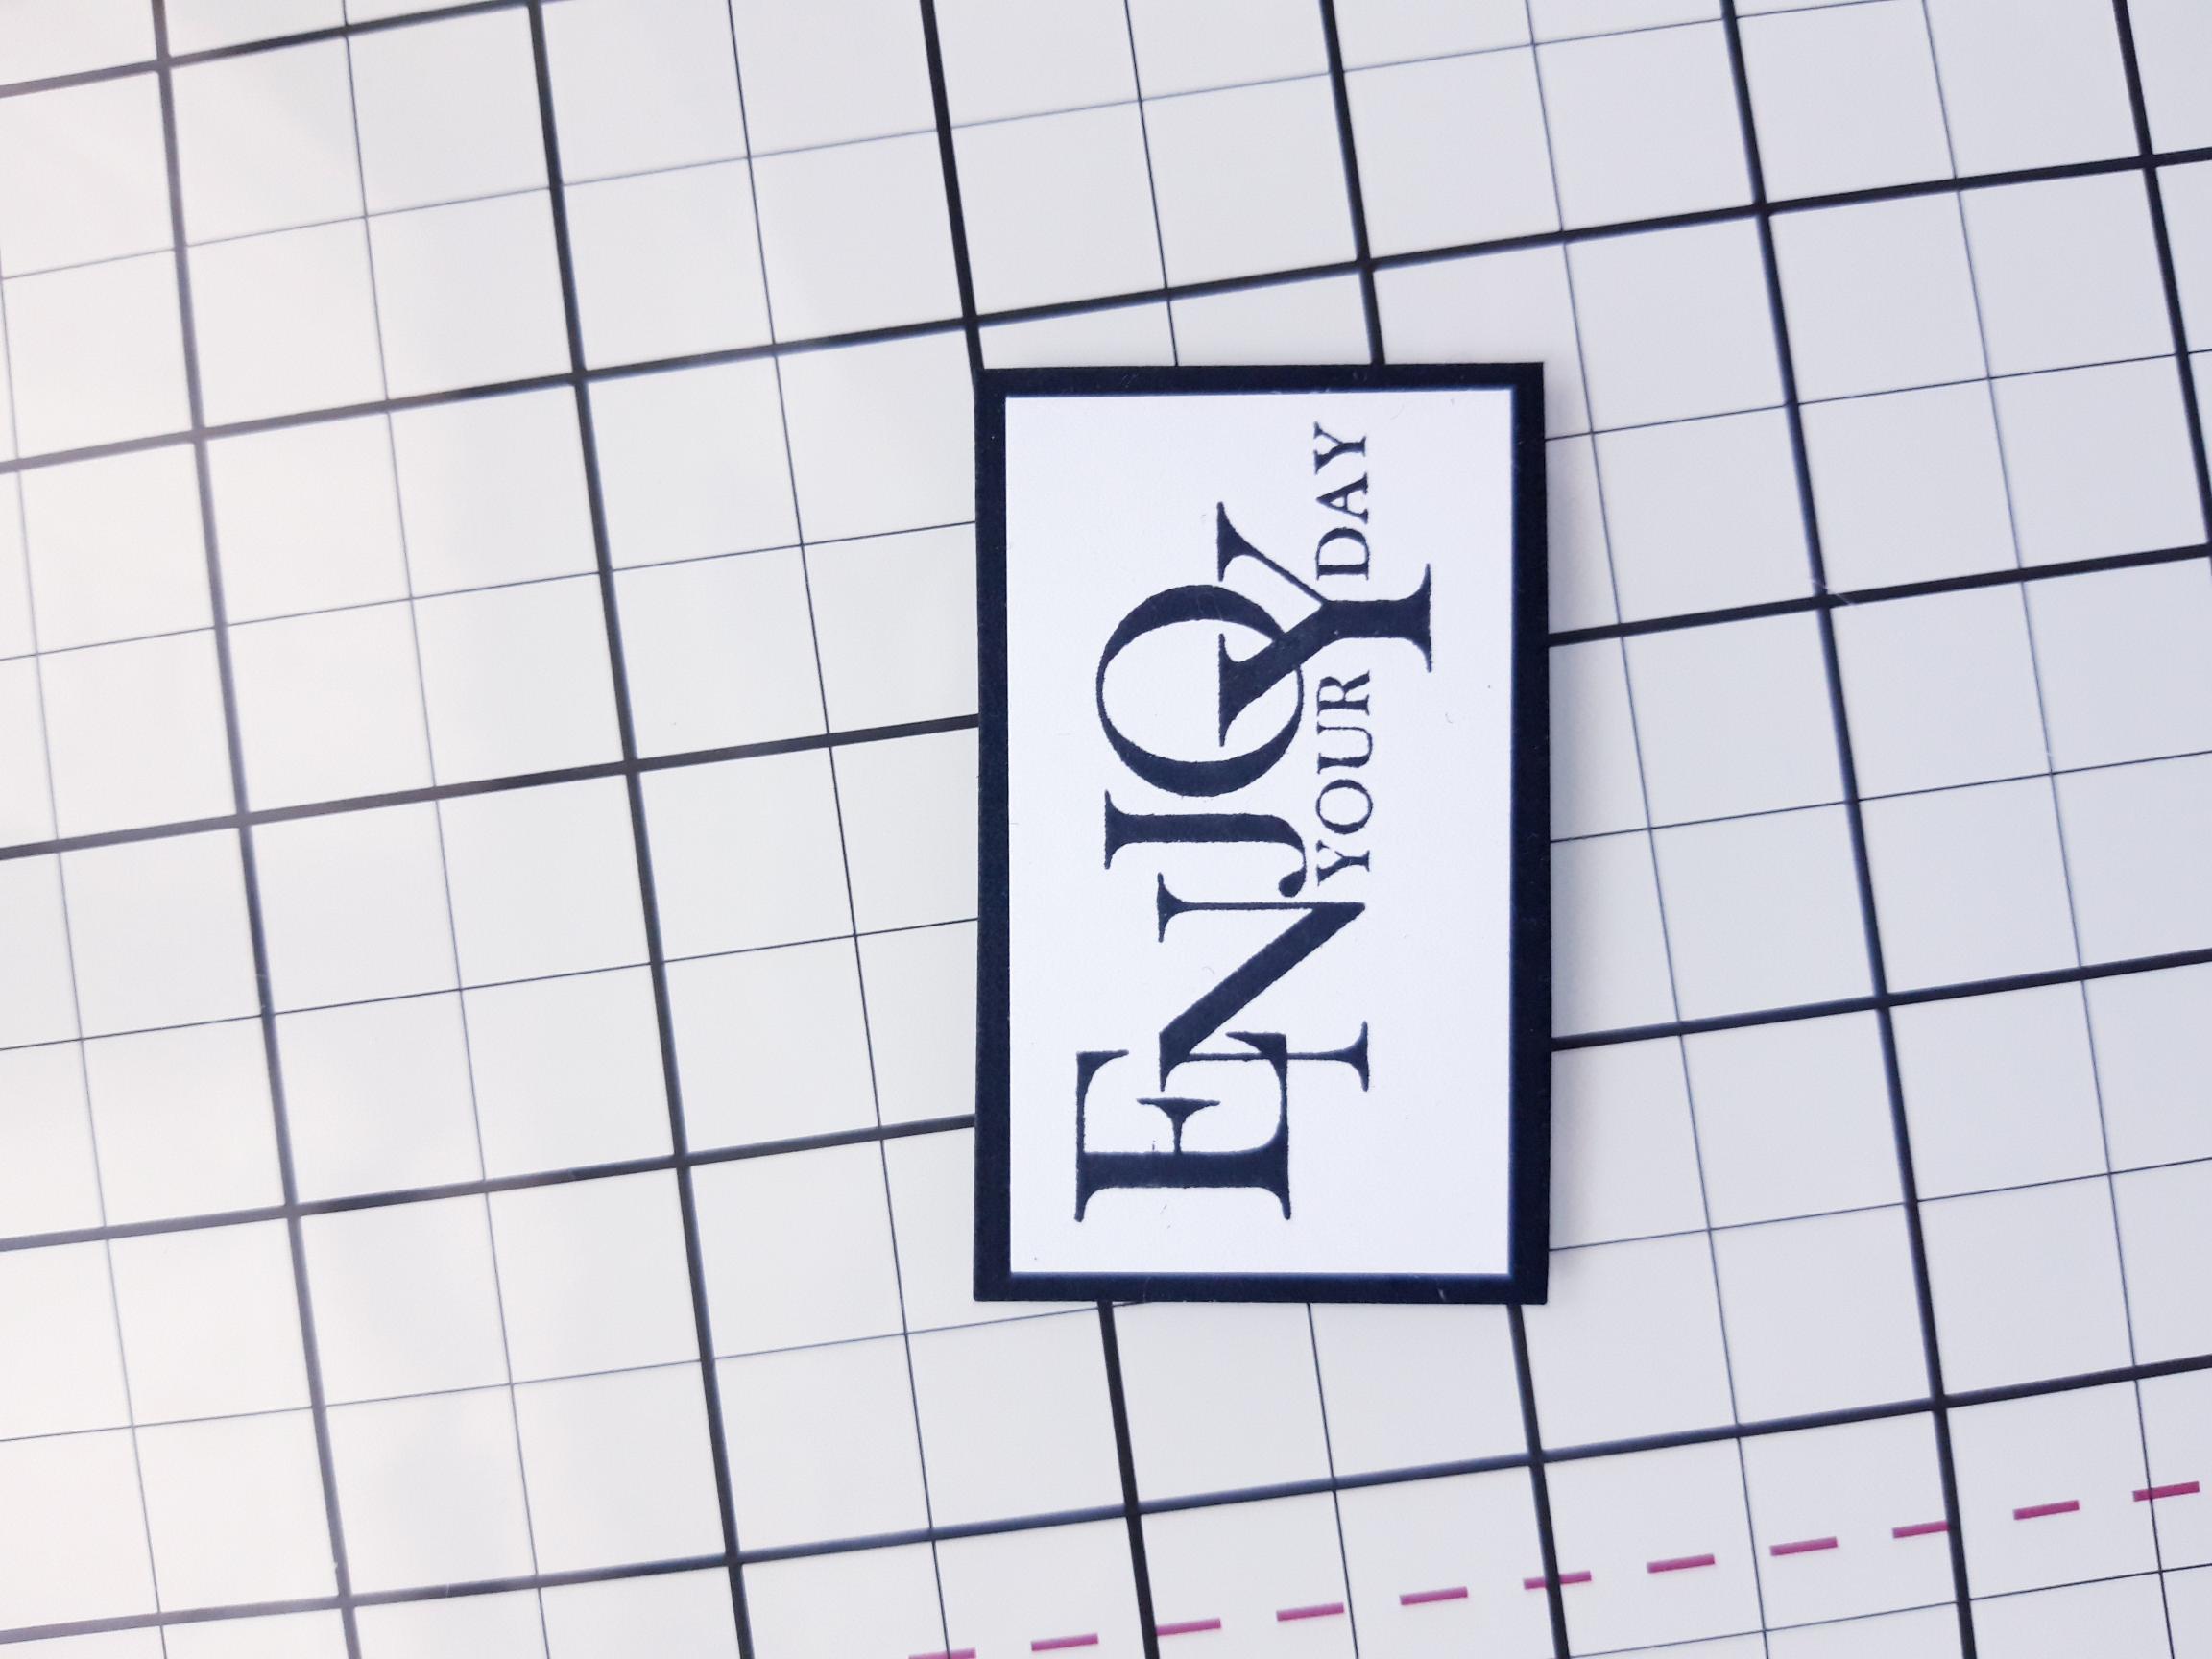
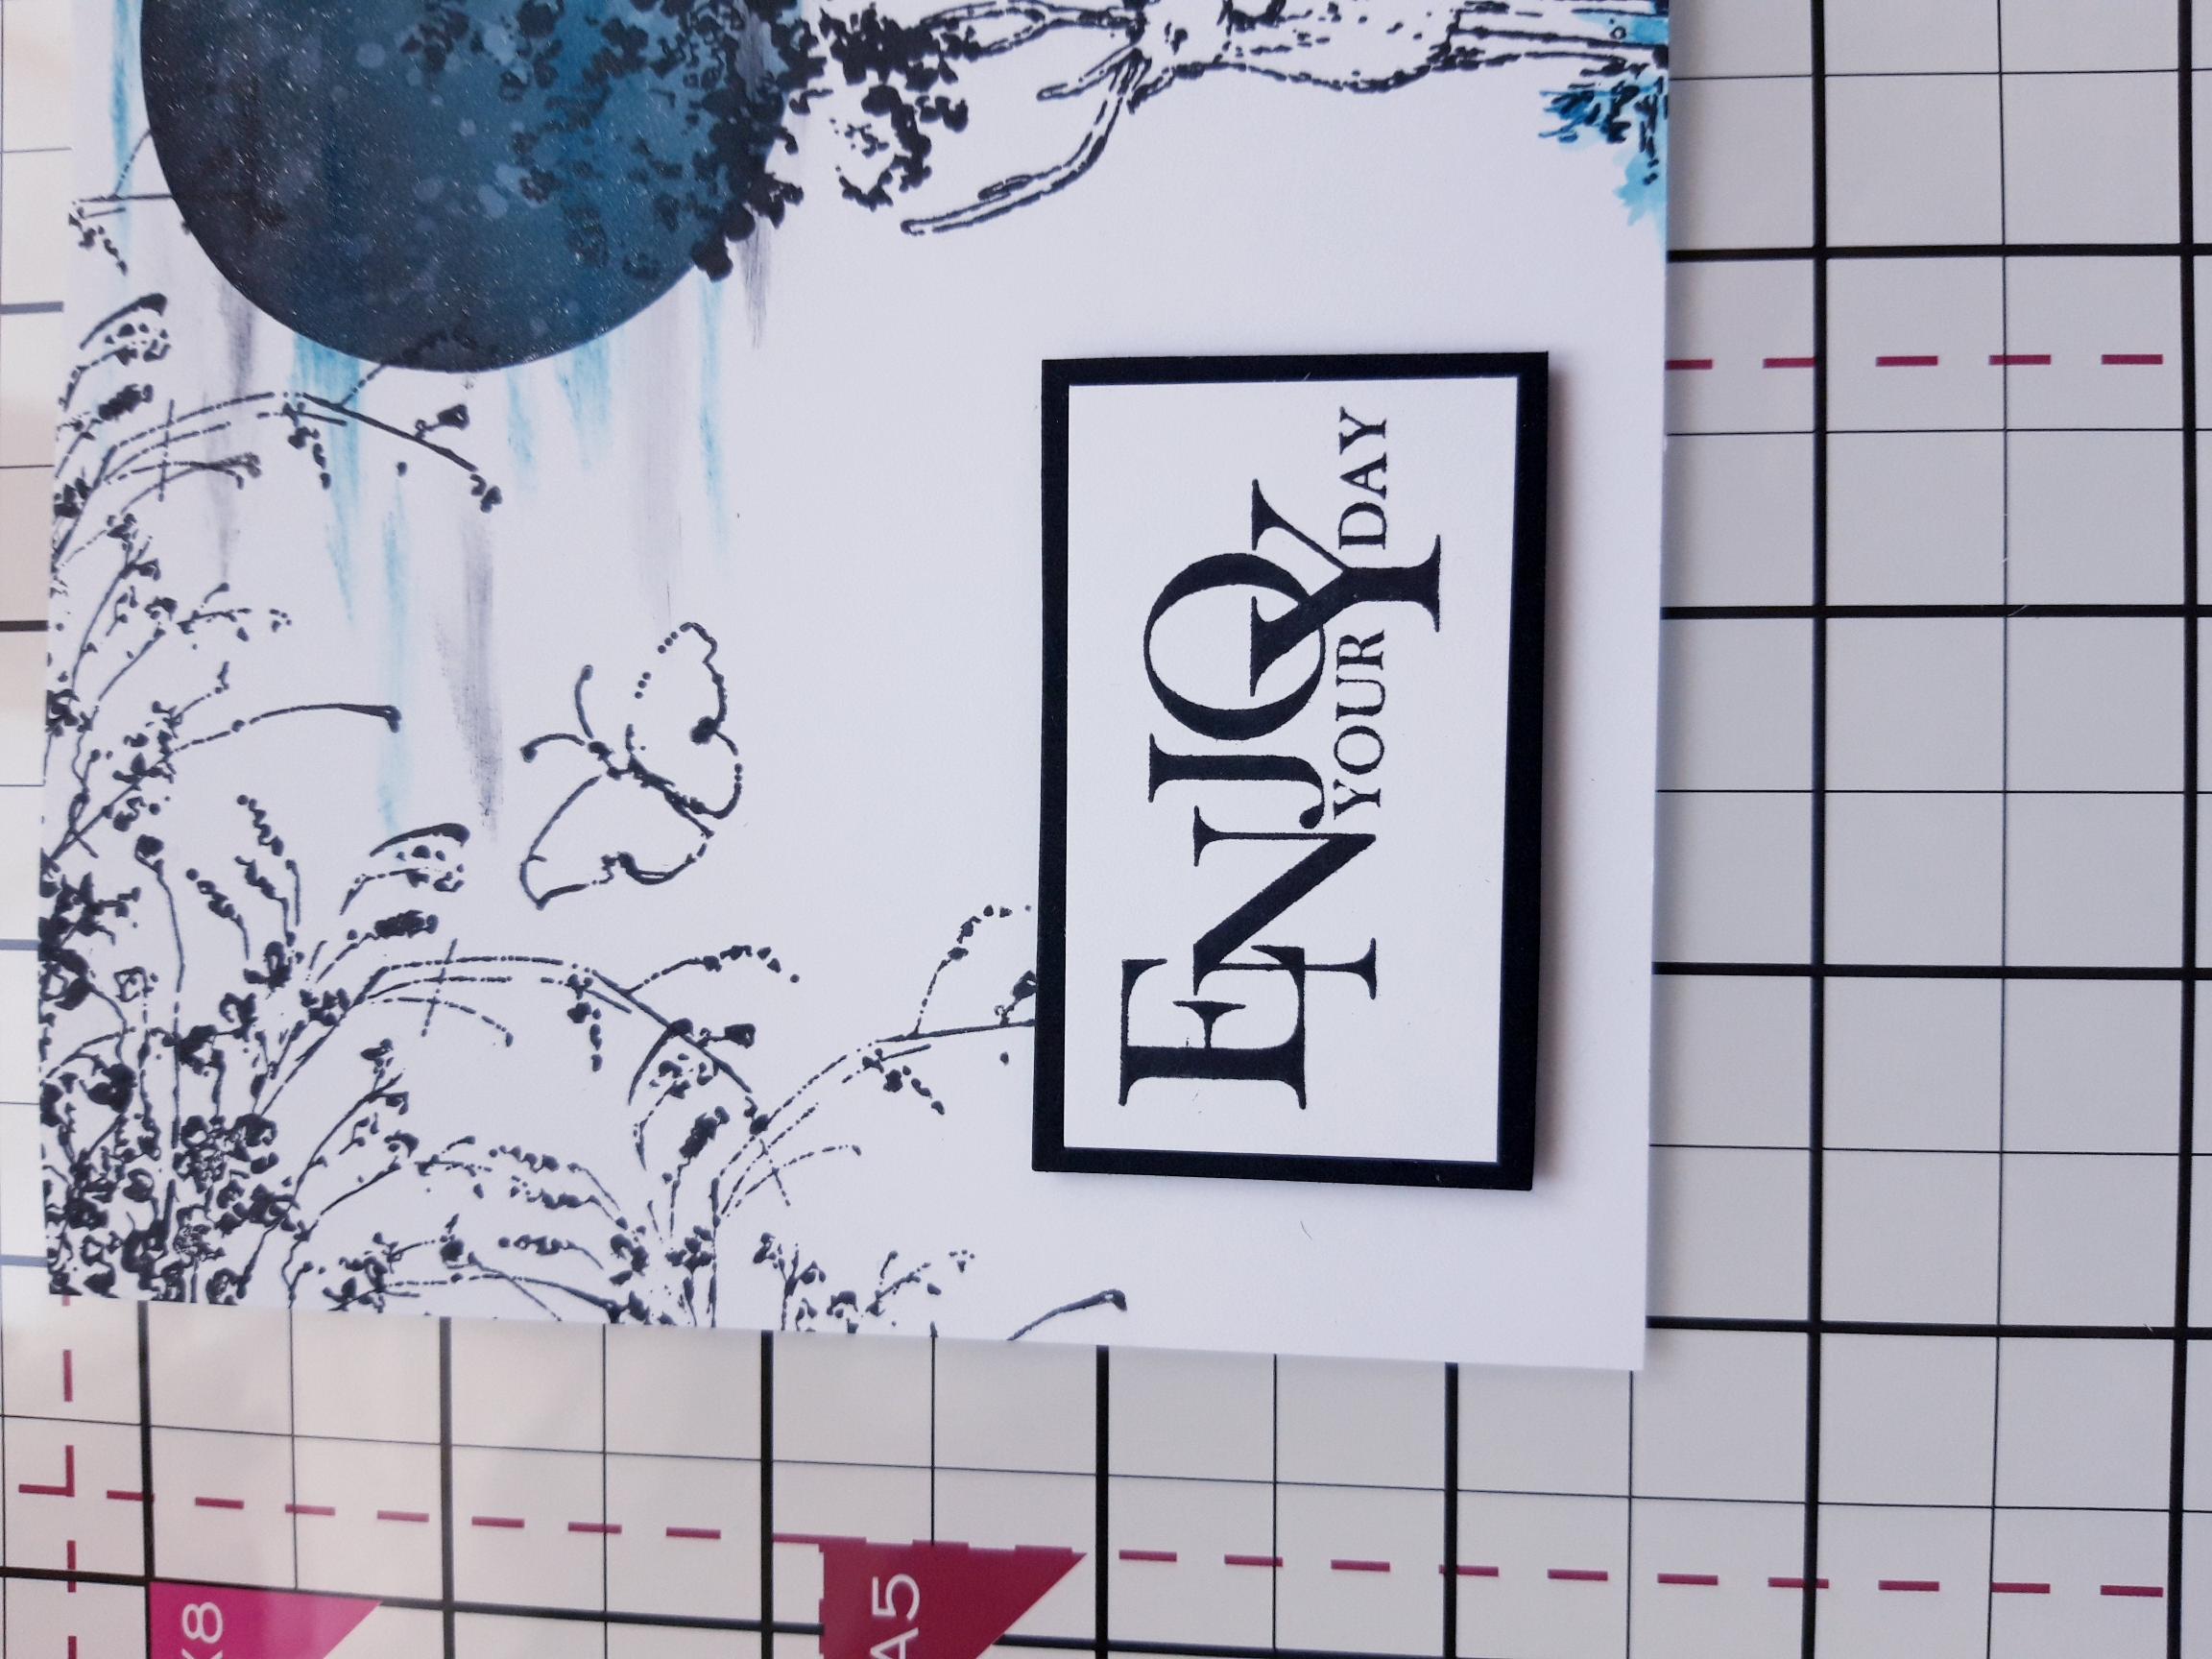
Use the Midnight to ink your sentiment stamp from Love & Hope and stamp on to white card. Trim, adhere to black card, then trim that to create your mat. |
|
Adhere your sentiment, with foam pads, to the bottom left of your artwork. |
|
Finish by adhereing this on to your black, landscape card blank. |