Give your friends $10 off their first order!
Refer a FRIEND


WHAT YOU WILL NEED:
Pretty Things Inside Secret Forest 8 x 8" Paper Pad
Pretty Things Inside Secret Forest A5 Vellum Pack
Pretty Things Inside Maple And Lime Die Set
Tag Punch
Banner Punch
Hole Punch
Circle Punch
Sequins: Down By The Bay
Gem pick up and pokey tool
Black pen
Twine
Score board
Score tool
SBM Magnetic glass mat
Paper Trimmer
Perfect Together Glue
Red liner tape/double sided tape
Die Cutting machine
[click image to enlarge] 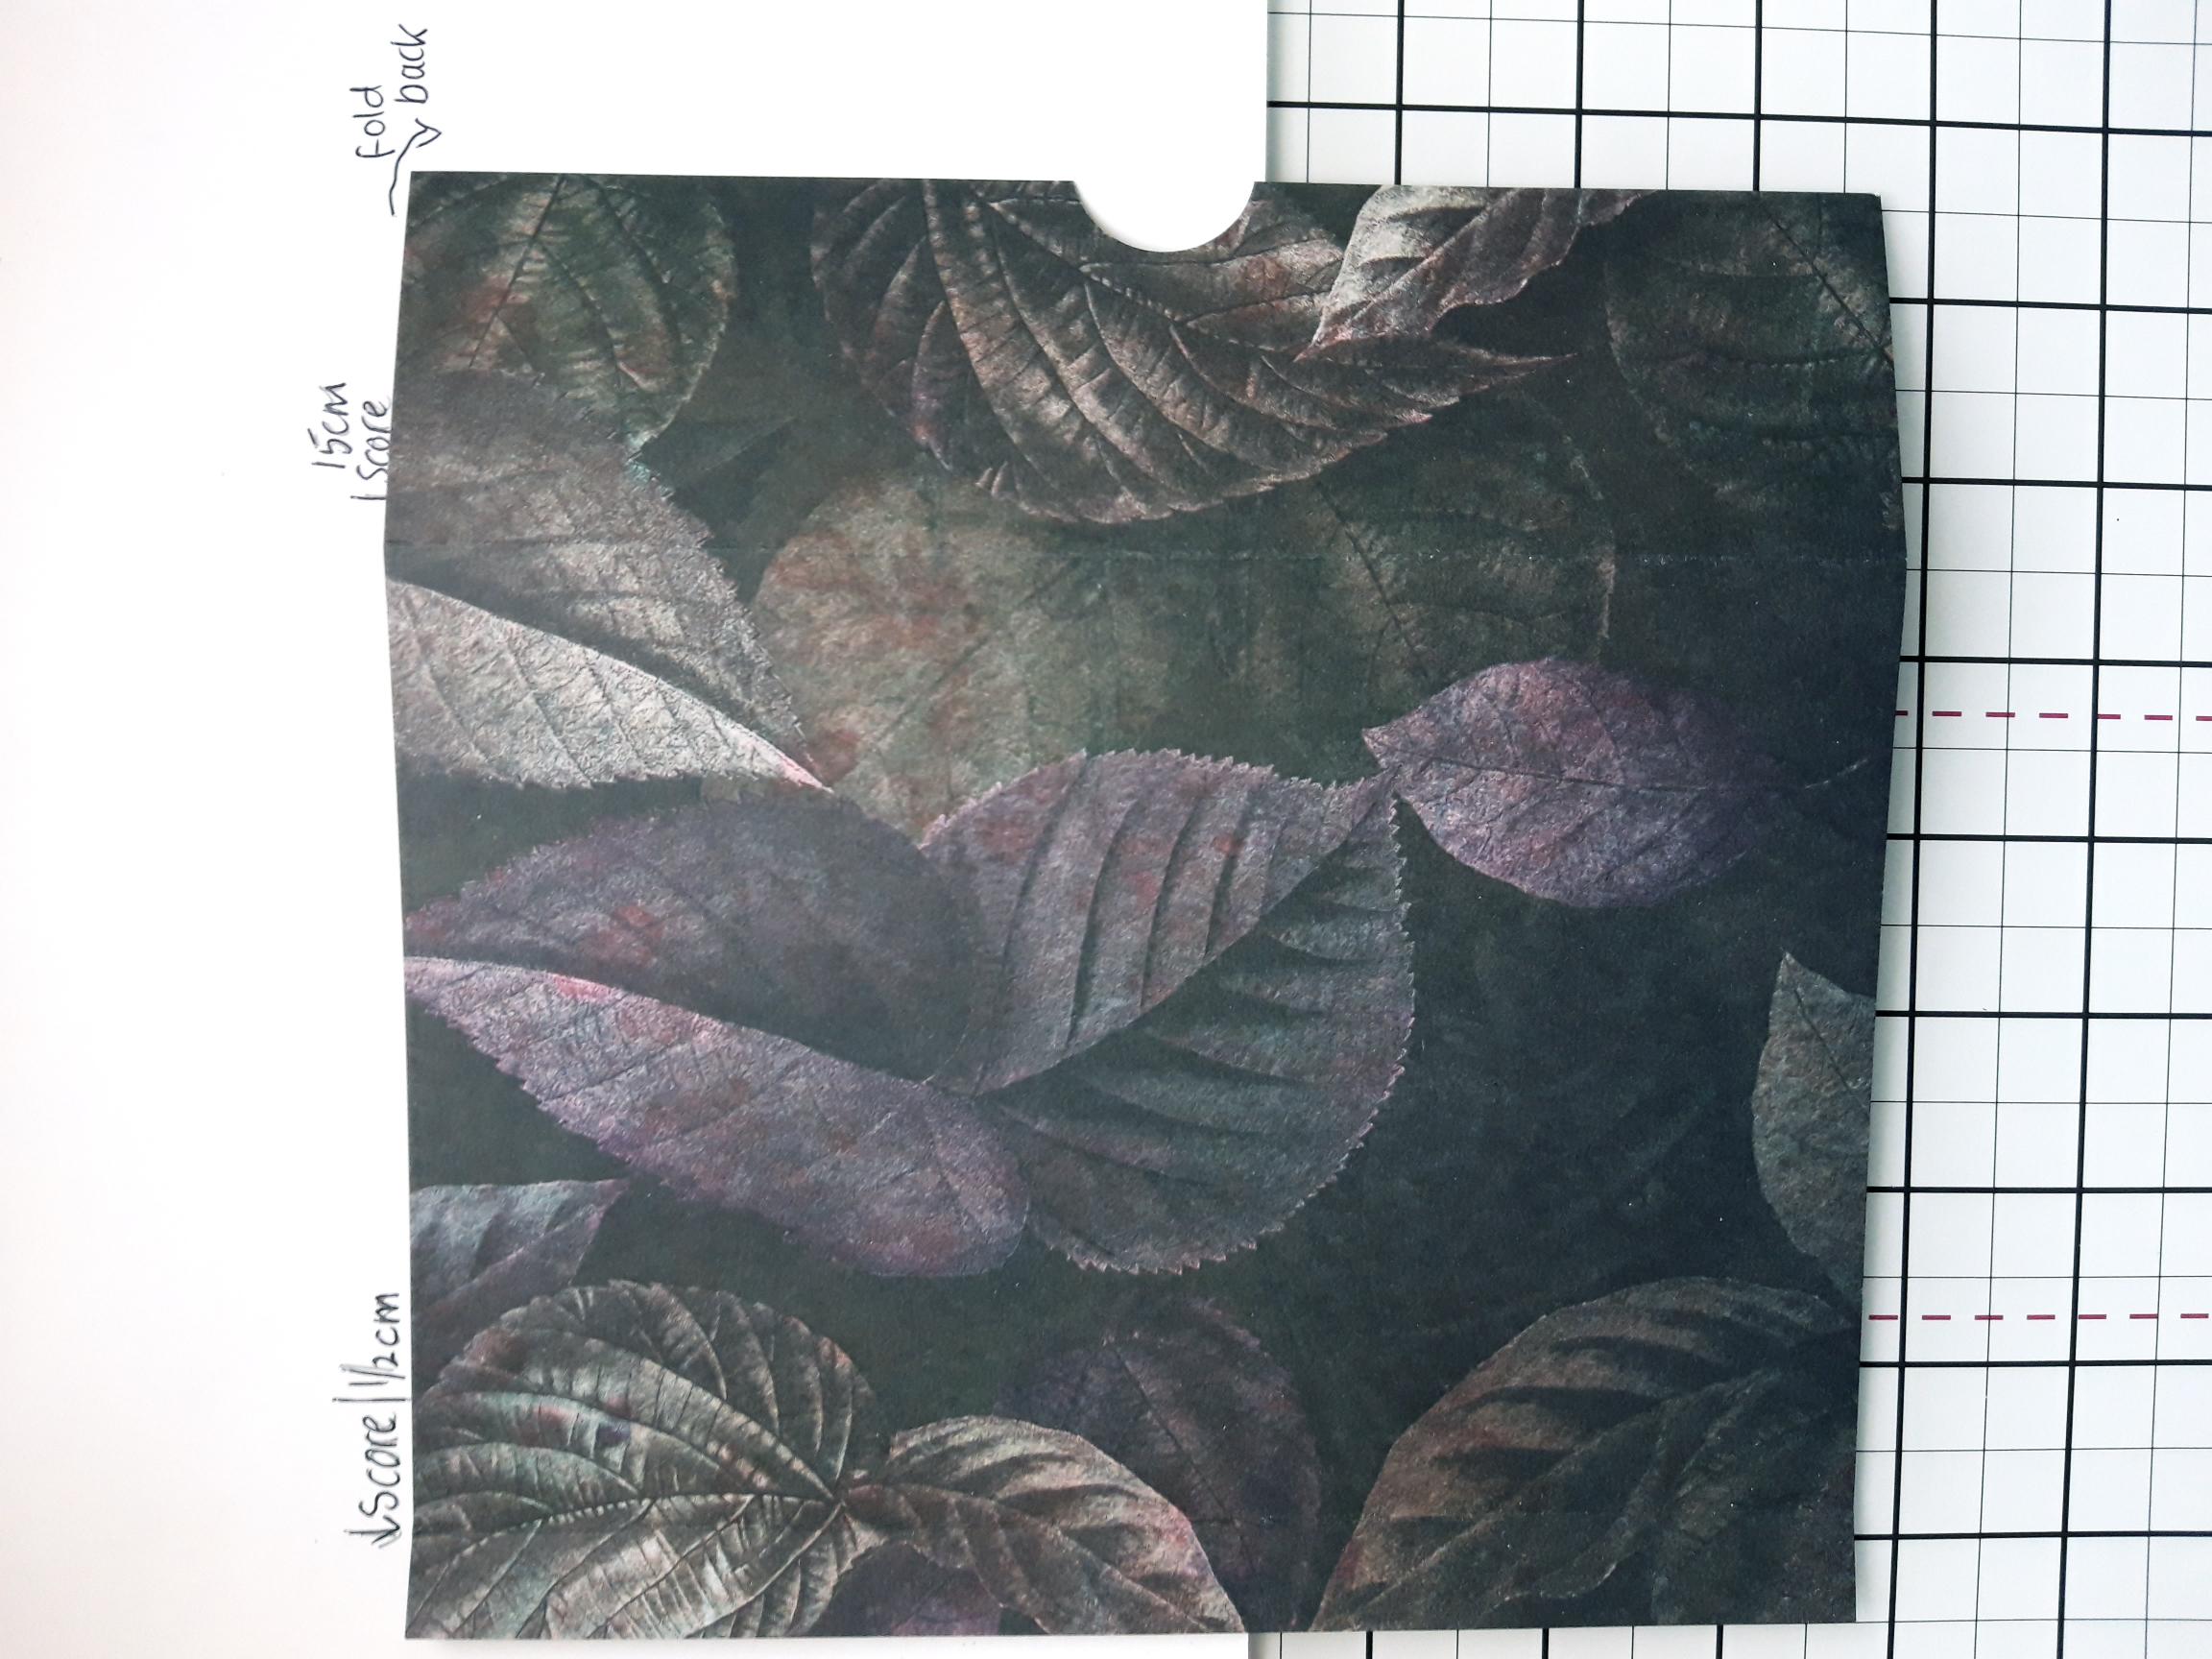
|
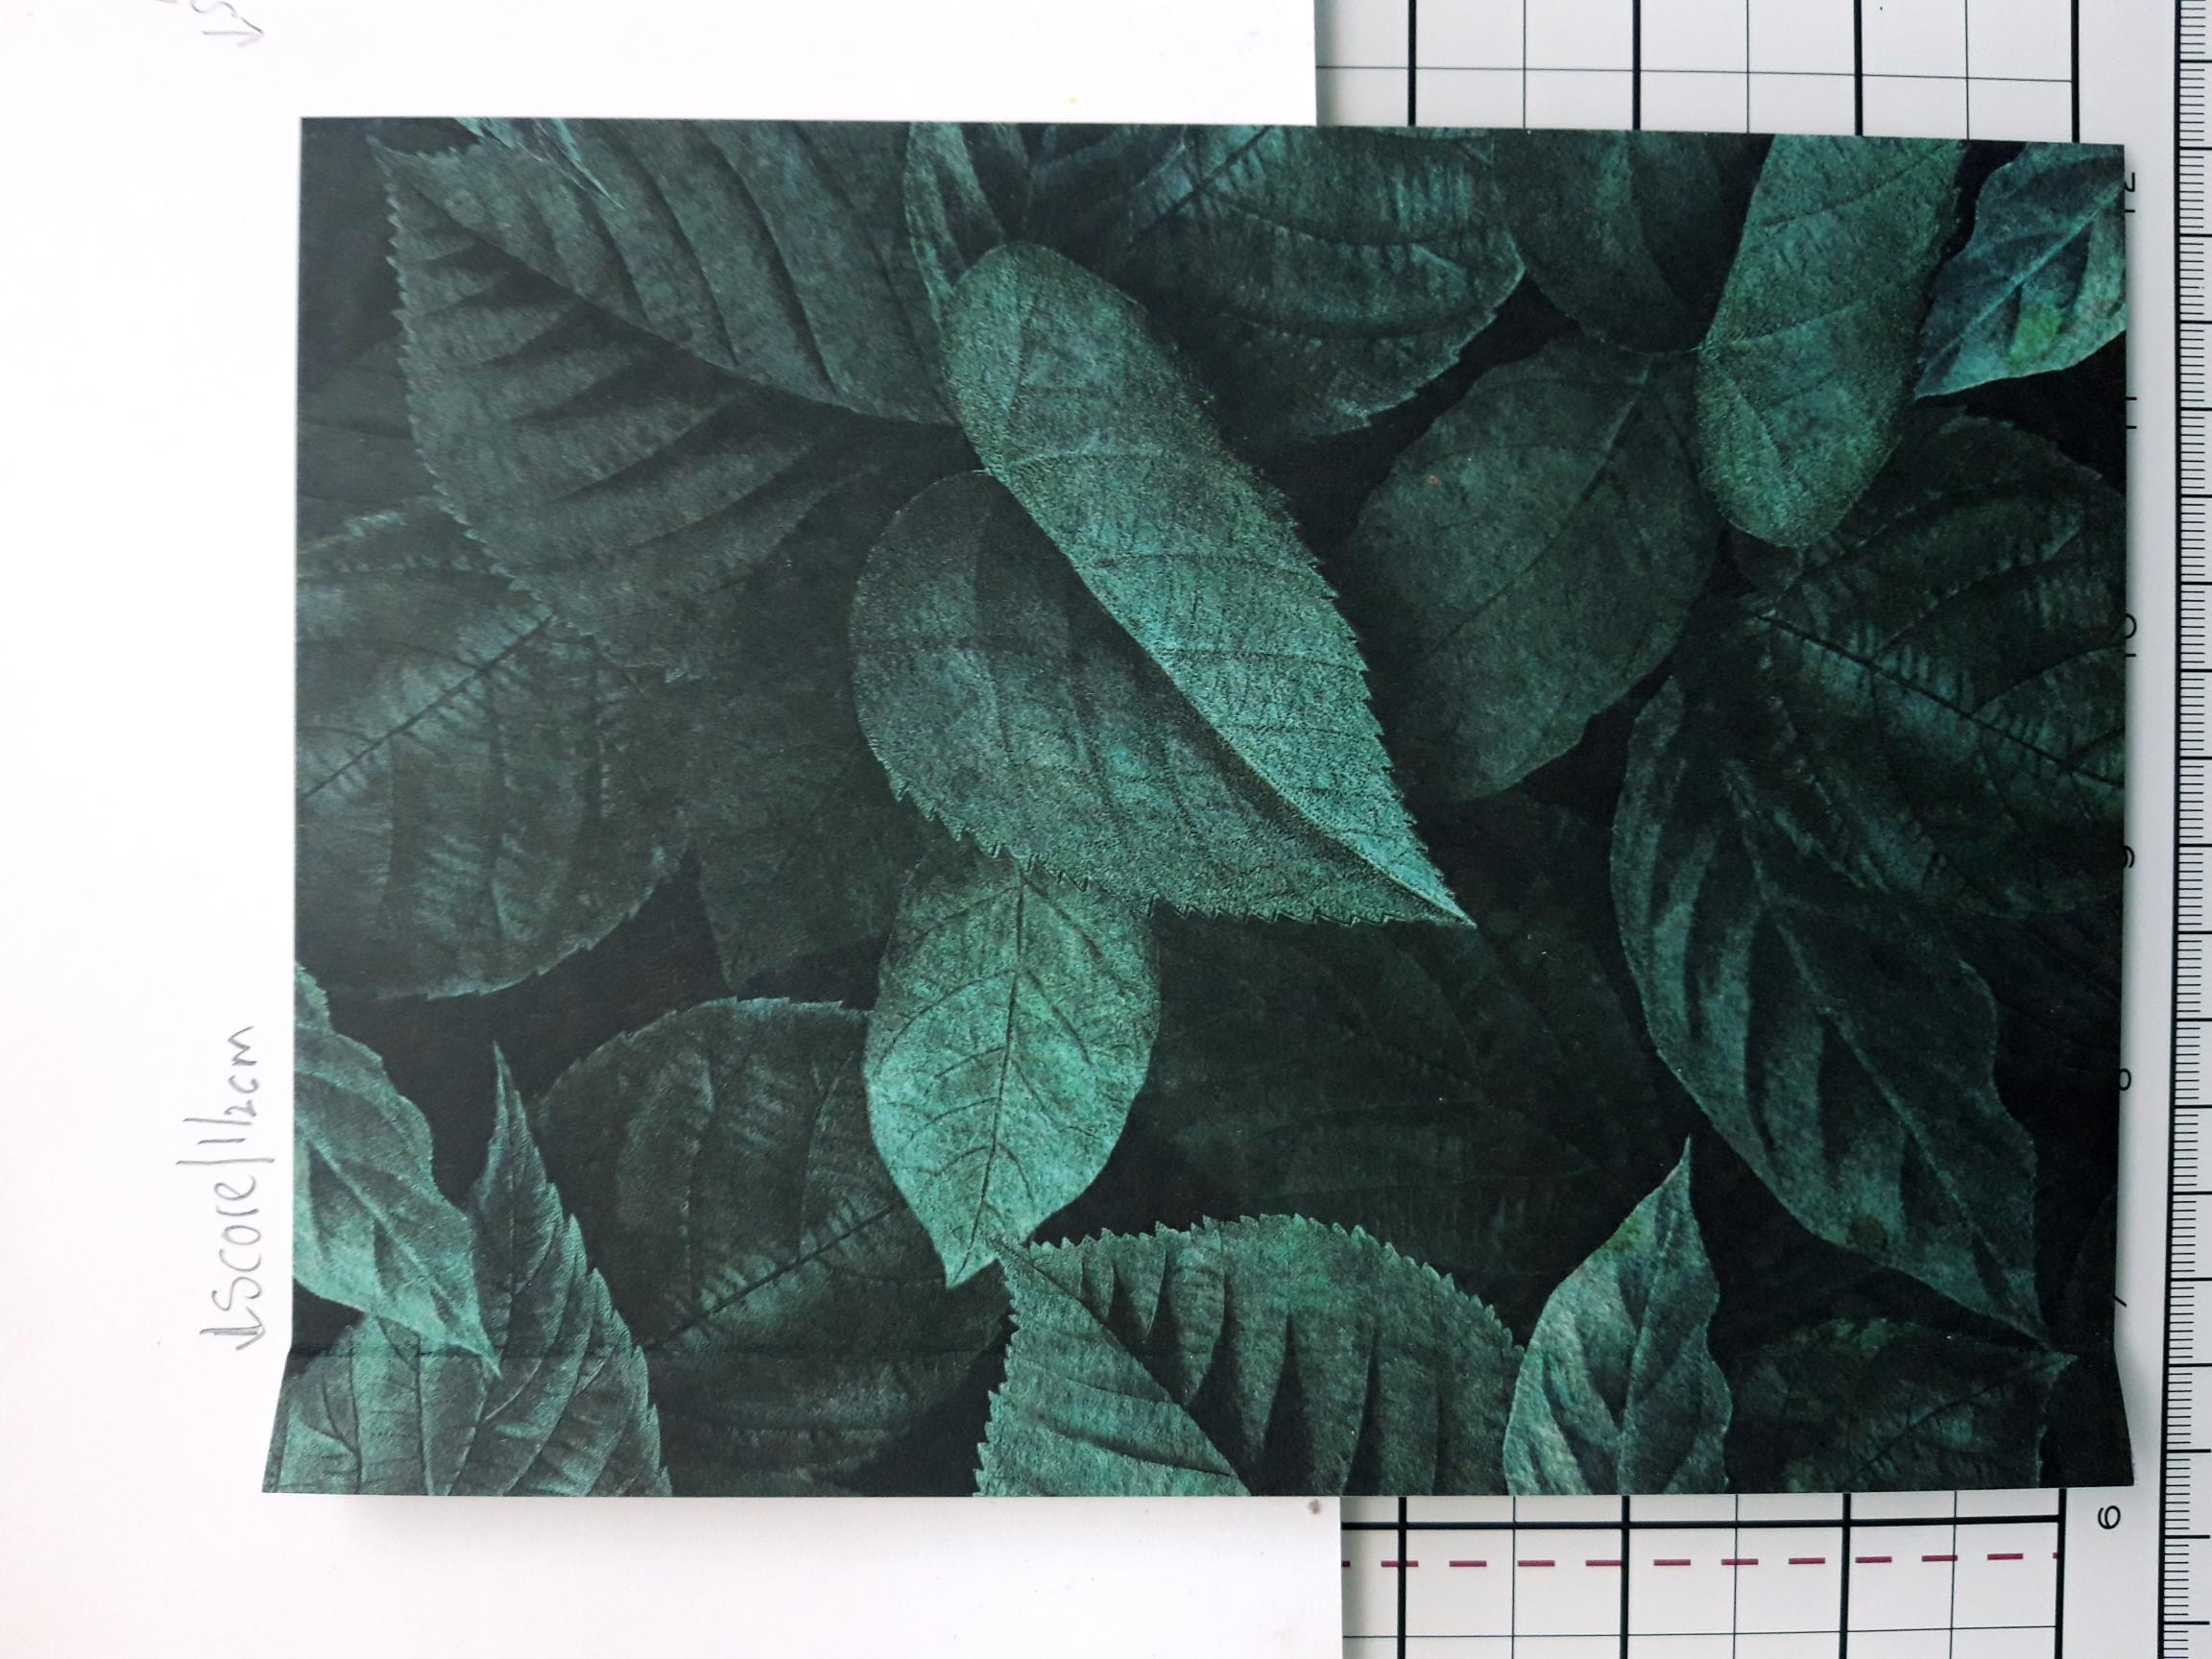
Tear out this decorative sheet from the paper pad. Score down the left hand side at 1 1/2cm, to create your album spine and then at 15cm. Fold the paper back at the 15cm score line. This will create a pocket on the reverse. This will be the front cover/page of your album. Use your circle punch along the right hand edge, as seen here. NB: All pages you put in the album must be scored 1 1/2cm in, down the left hand side. Keep all the off-cuts of paper, to use as pockets in your album. You can use your circle punch down the open edges of the pages, as required. |
|
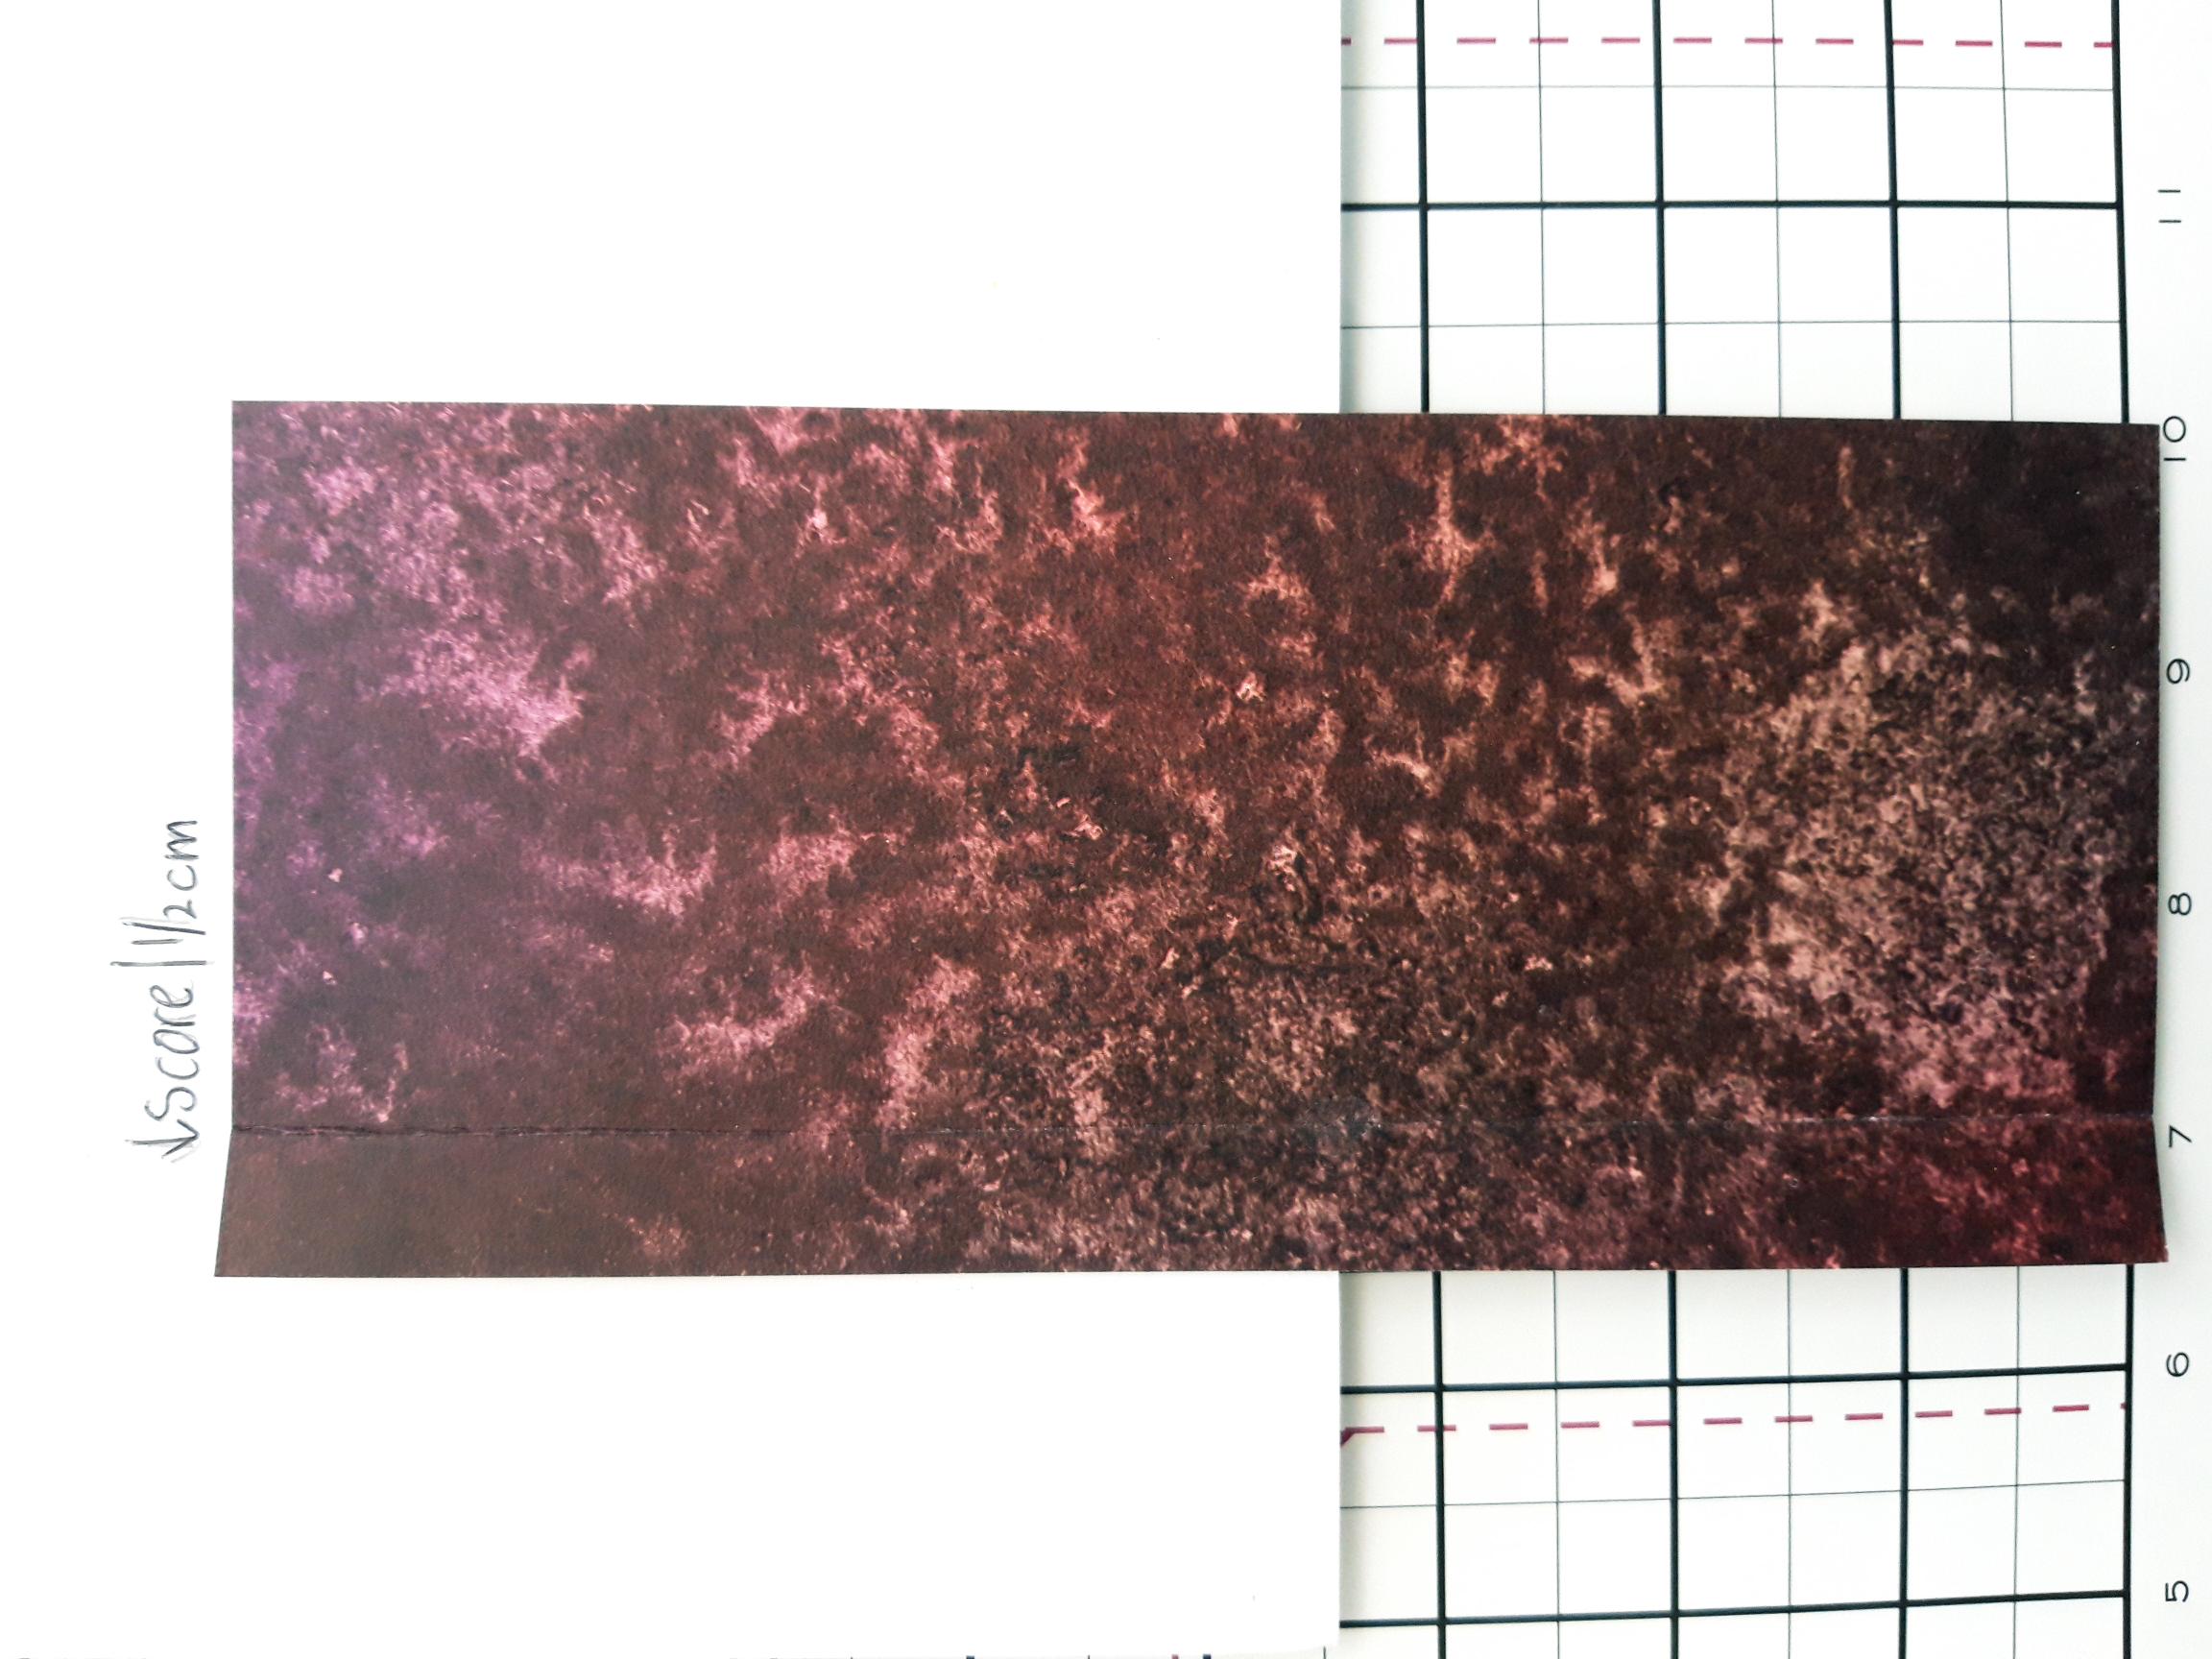
For the next page, score this decorative paper at 1 1/2cm as before, then cut at 9cm, to create a slimline page. |
|
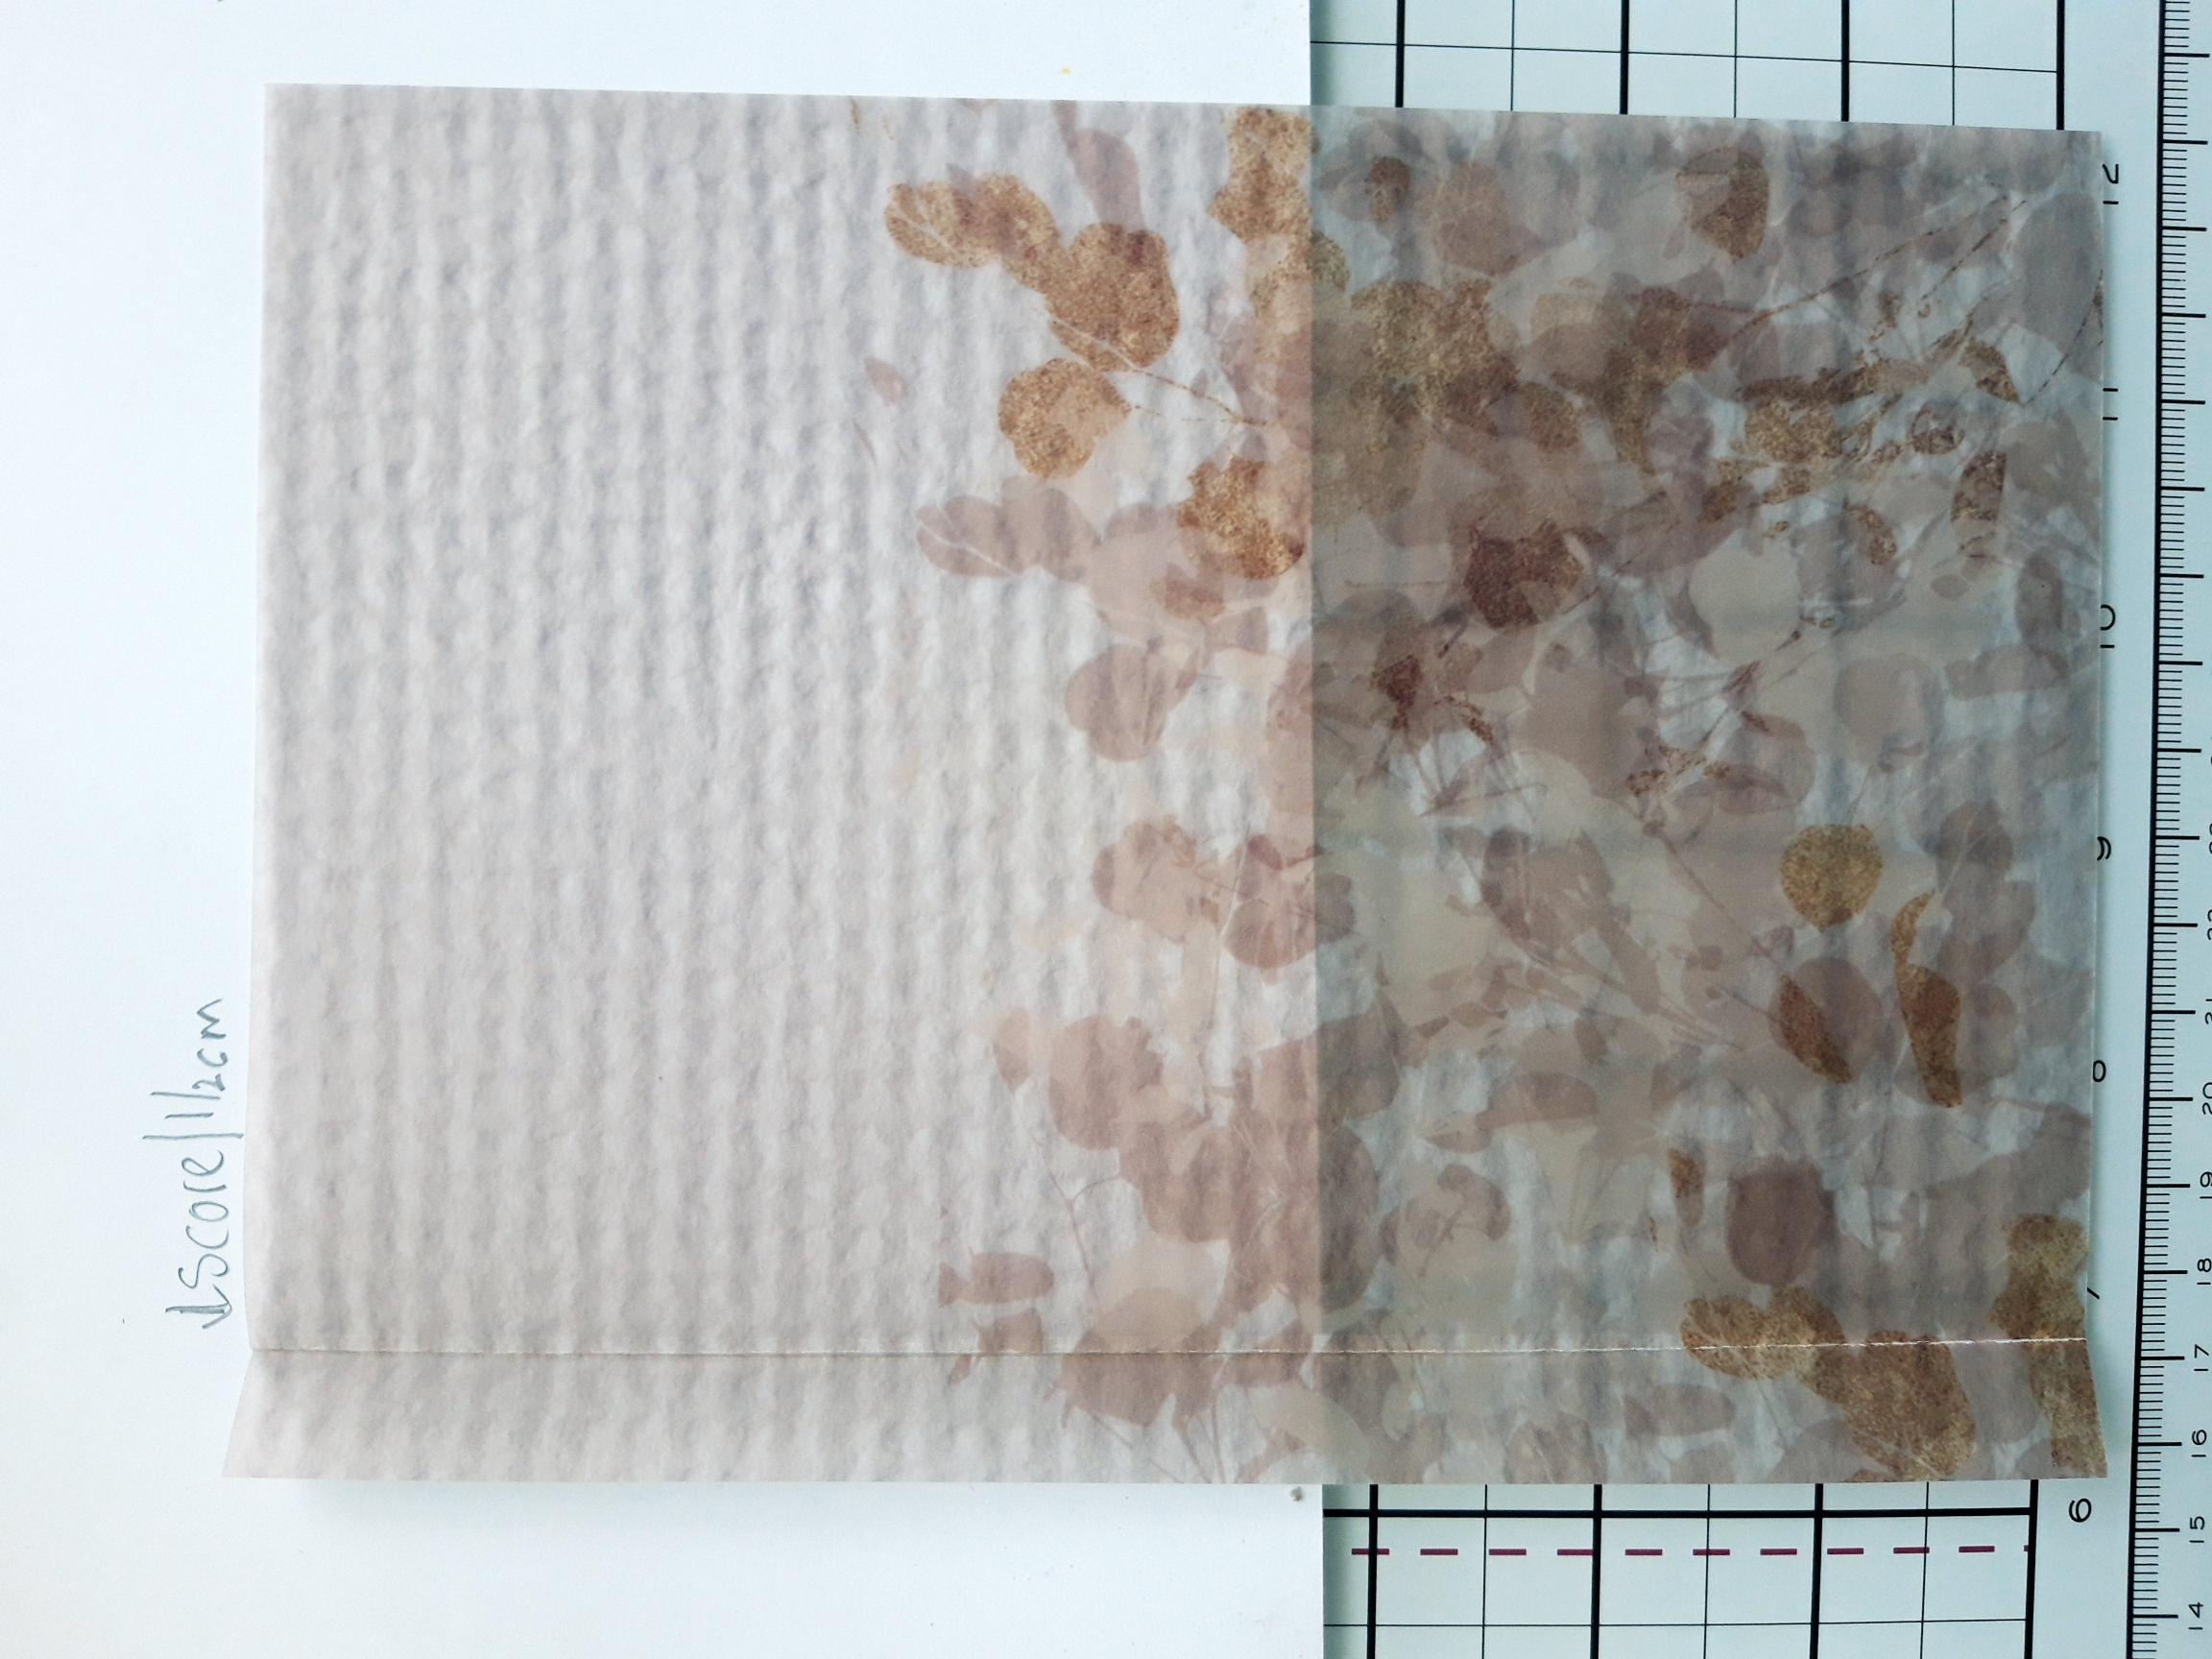
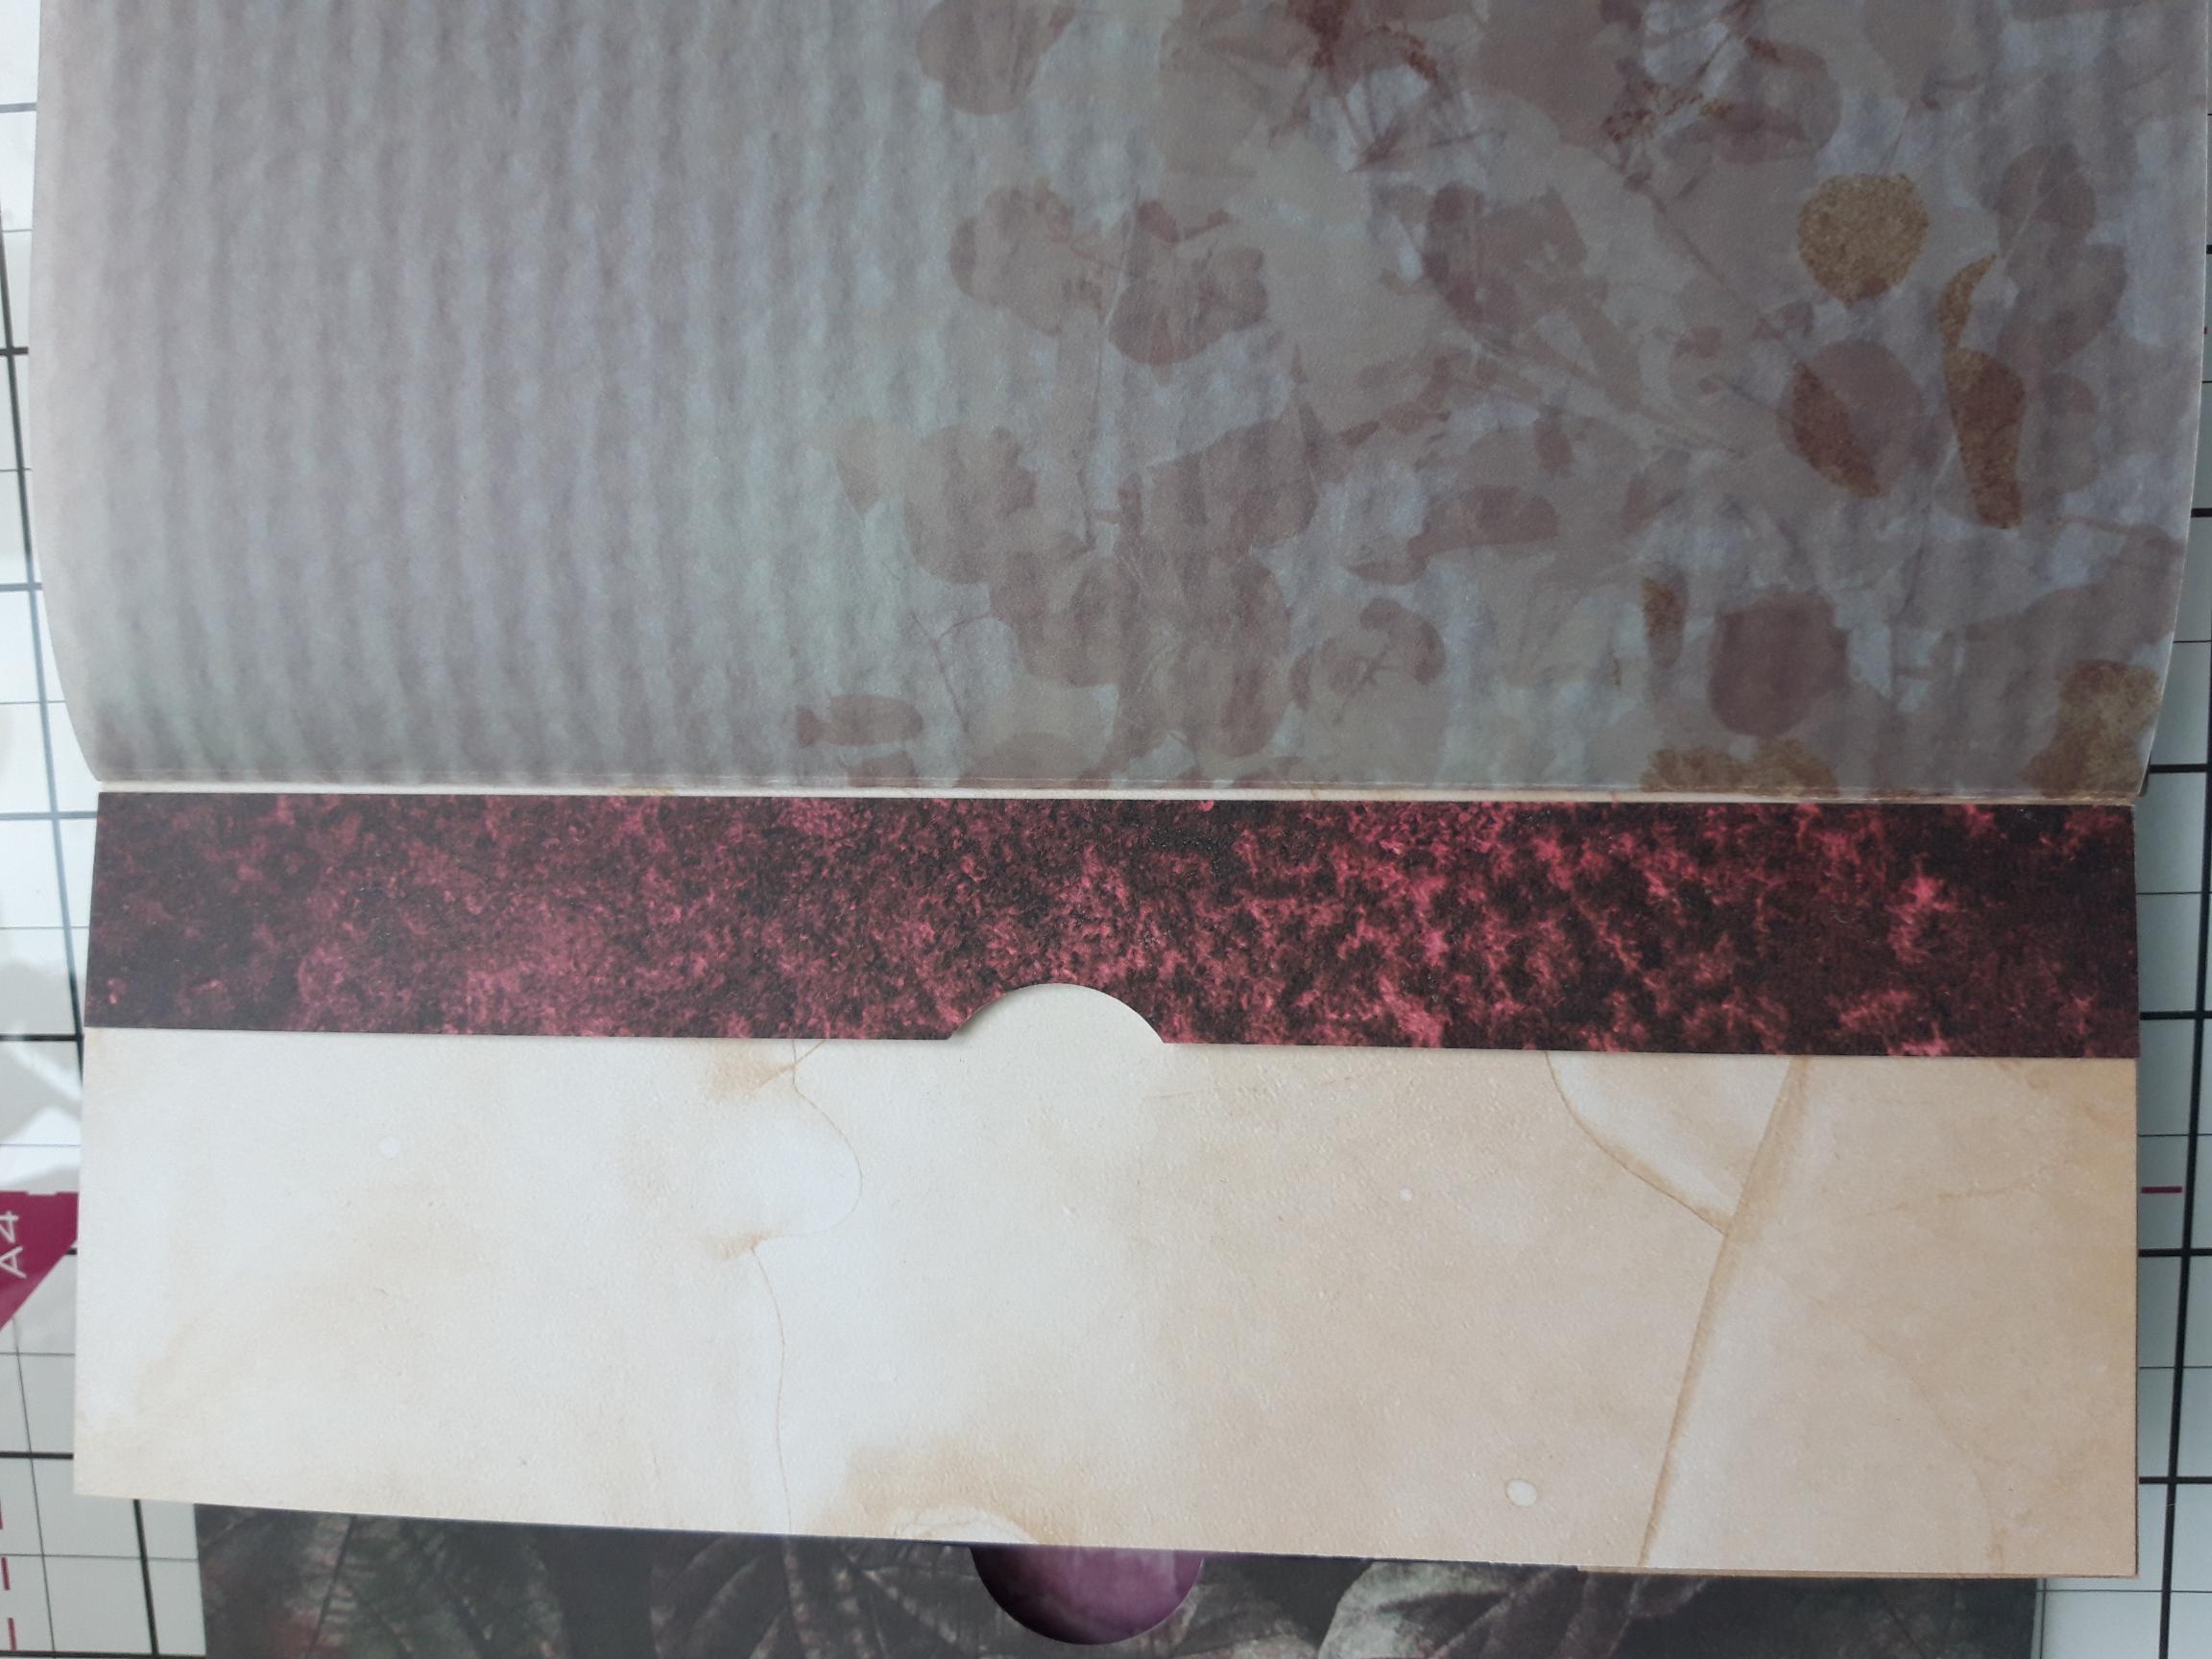
Remove this sheet from the vellum pack. Trim to 8", so it's the same height as all the other pages and then score at 1 1/2cm, to create your spine. |
|
Score at 1 1/2cm as before, then cut at 15cm. This is your back page. NB: You can add as many pages as you wish, ensuring that you score all down the left hand side, at 1 1/2cm, thus creating equal spines, to join your pages together. |

|
To put your pages together, apply red liner tape, or double sided adhesive tape down the spines and adhere each page to the next page. |
|
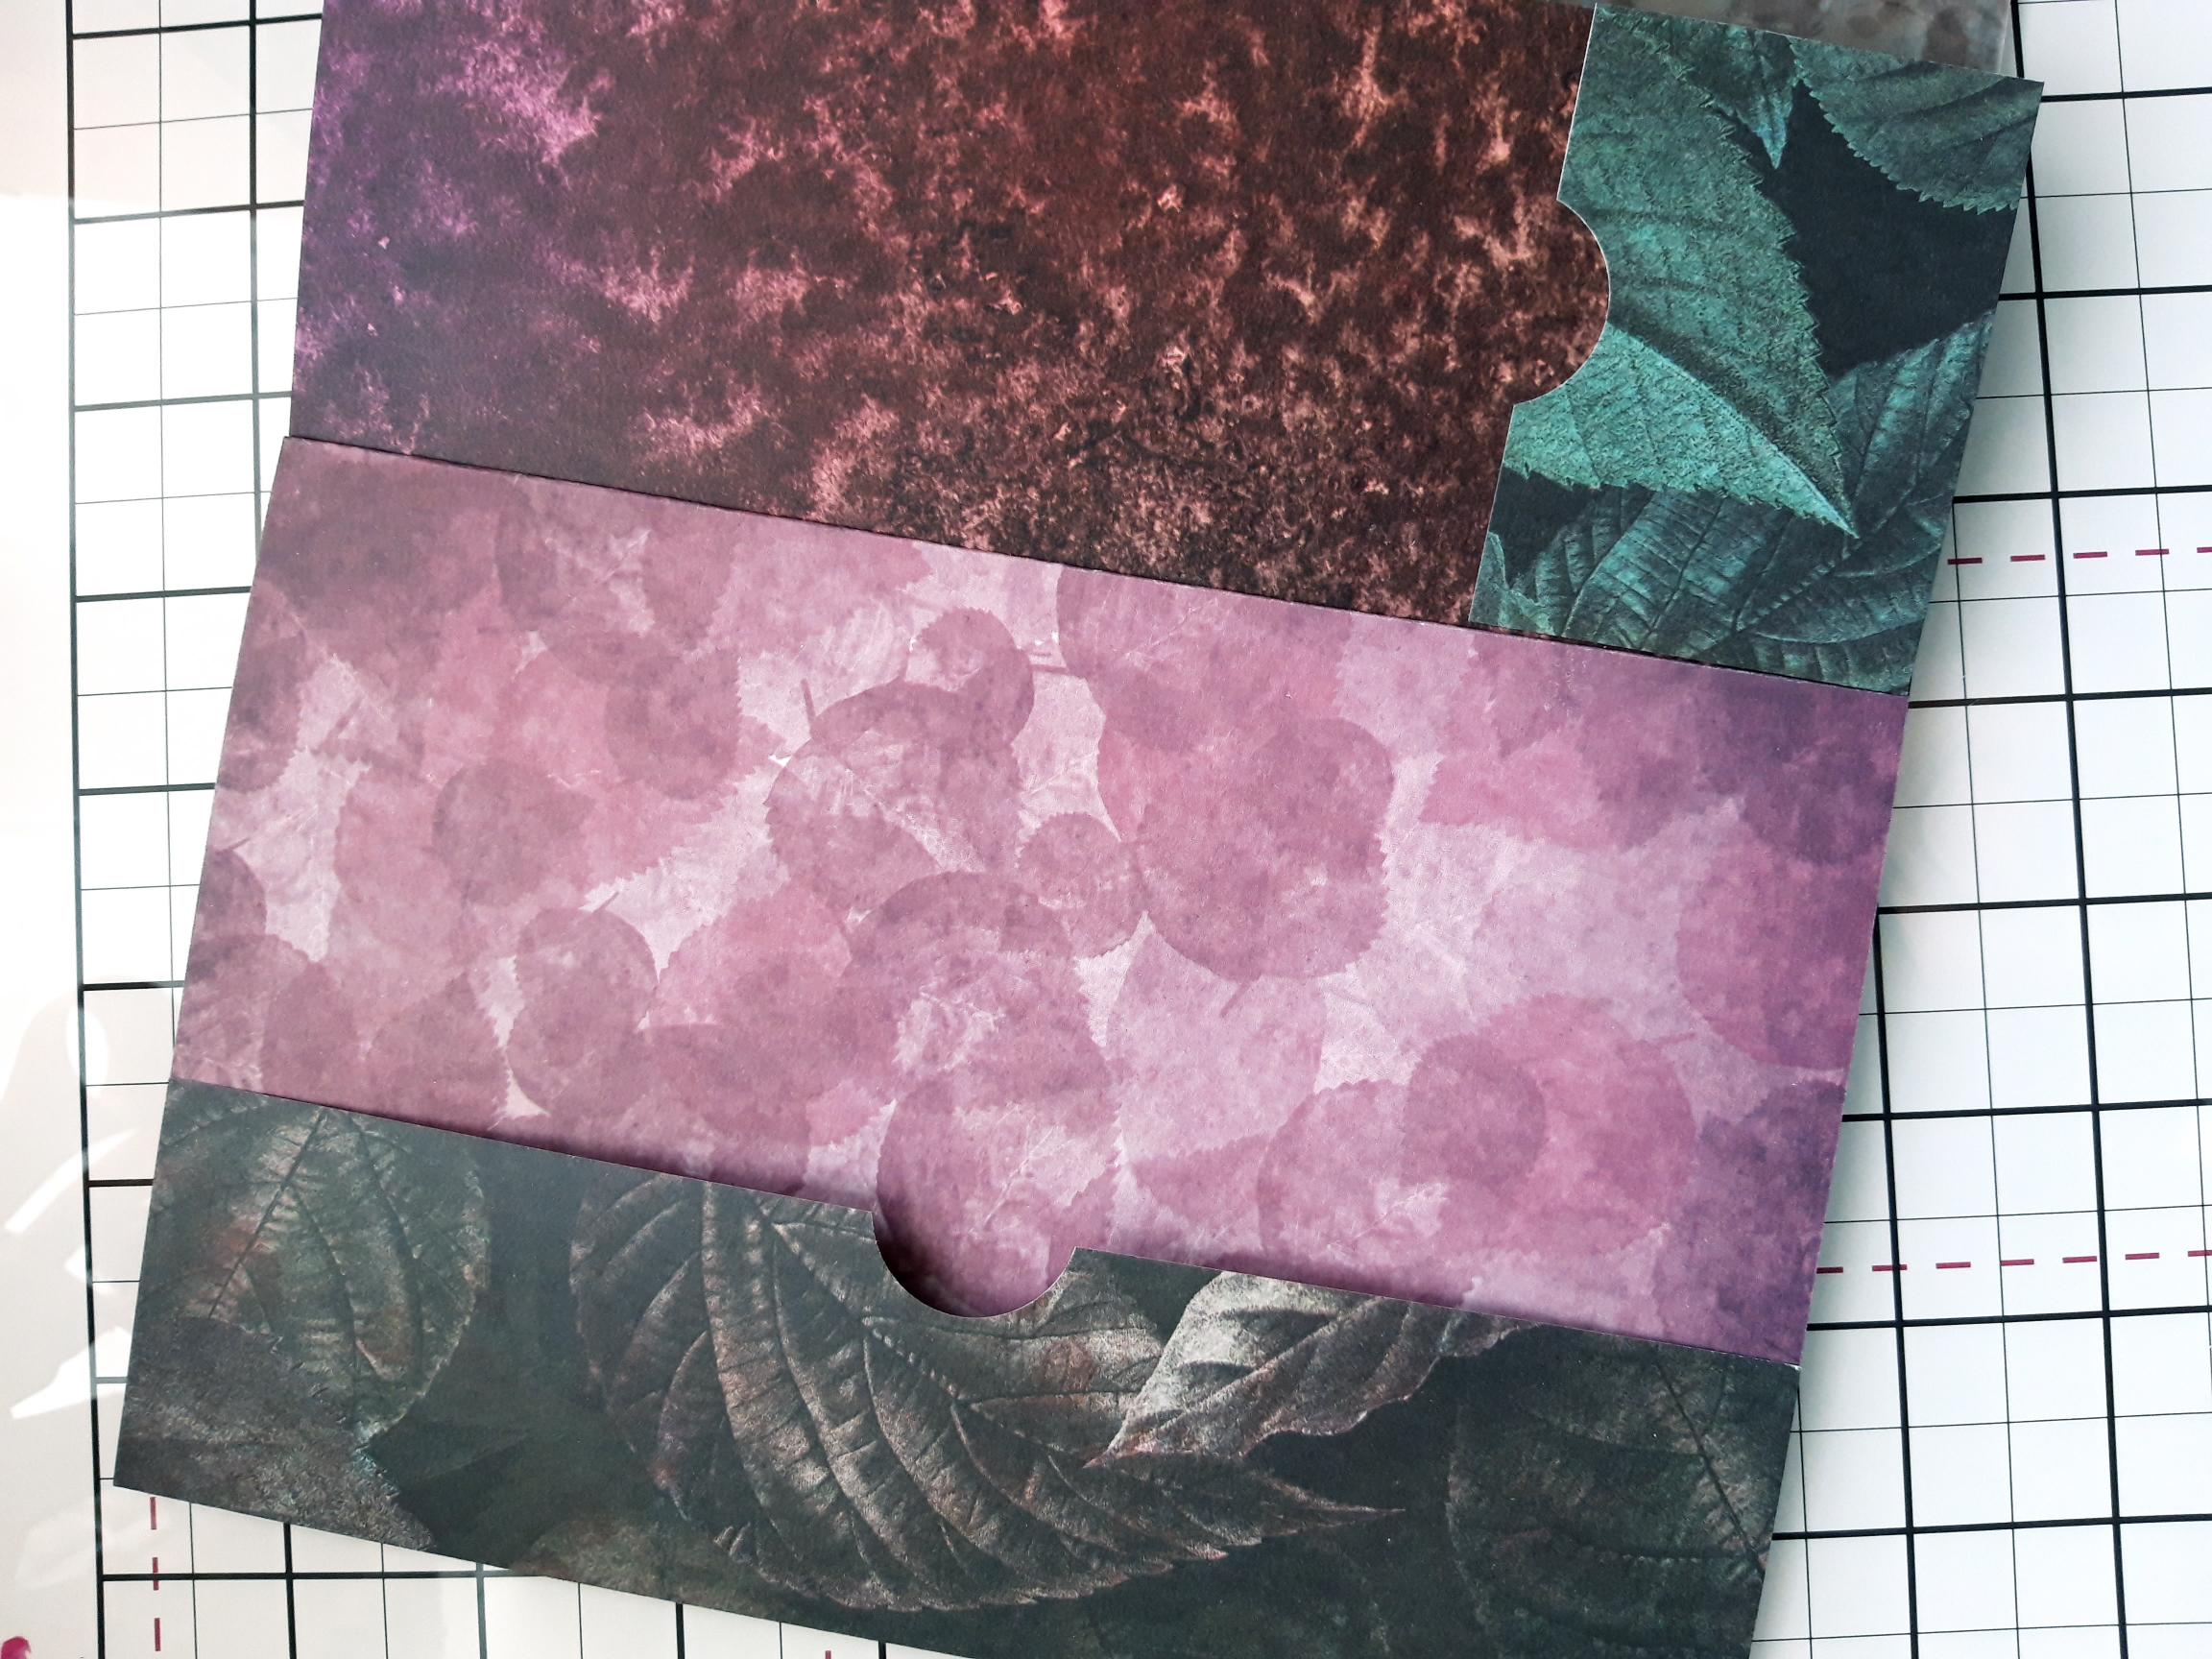
Where the front cover page has been folded back, in step 1, apply the adhesive tape down the two sides and adhere to create a side pocket. Use one of the decorative paper off-cuts, to create a pocket on the bottom of the right, slimline page, again using the circle punch on the open edge. Apply the tape to the bottom and both sides, to create this pocket.
|
|
Use an off-cut down the right hand edge of the reverse of the slimline page, to create another pocket, applying tape down the length and the two sides. |
|
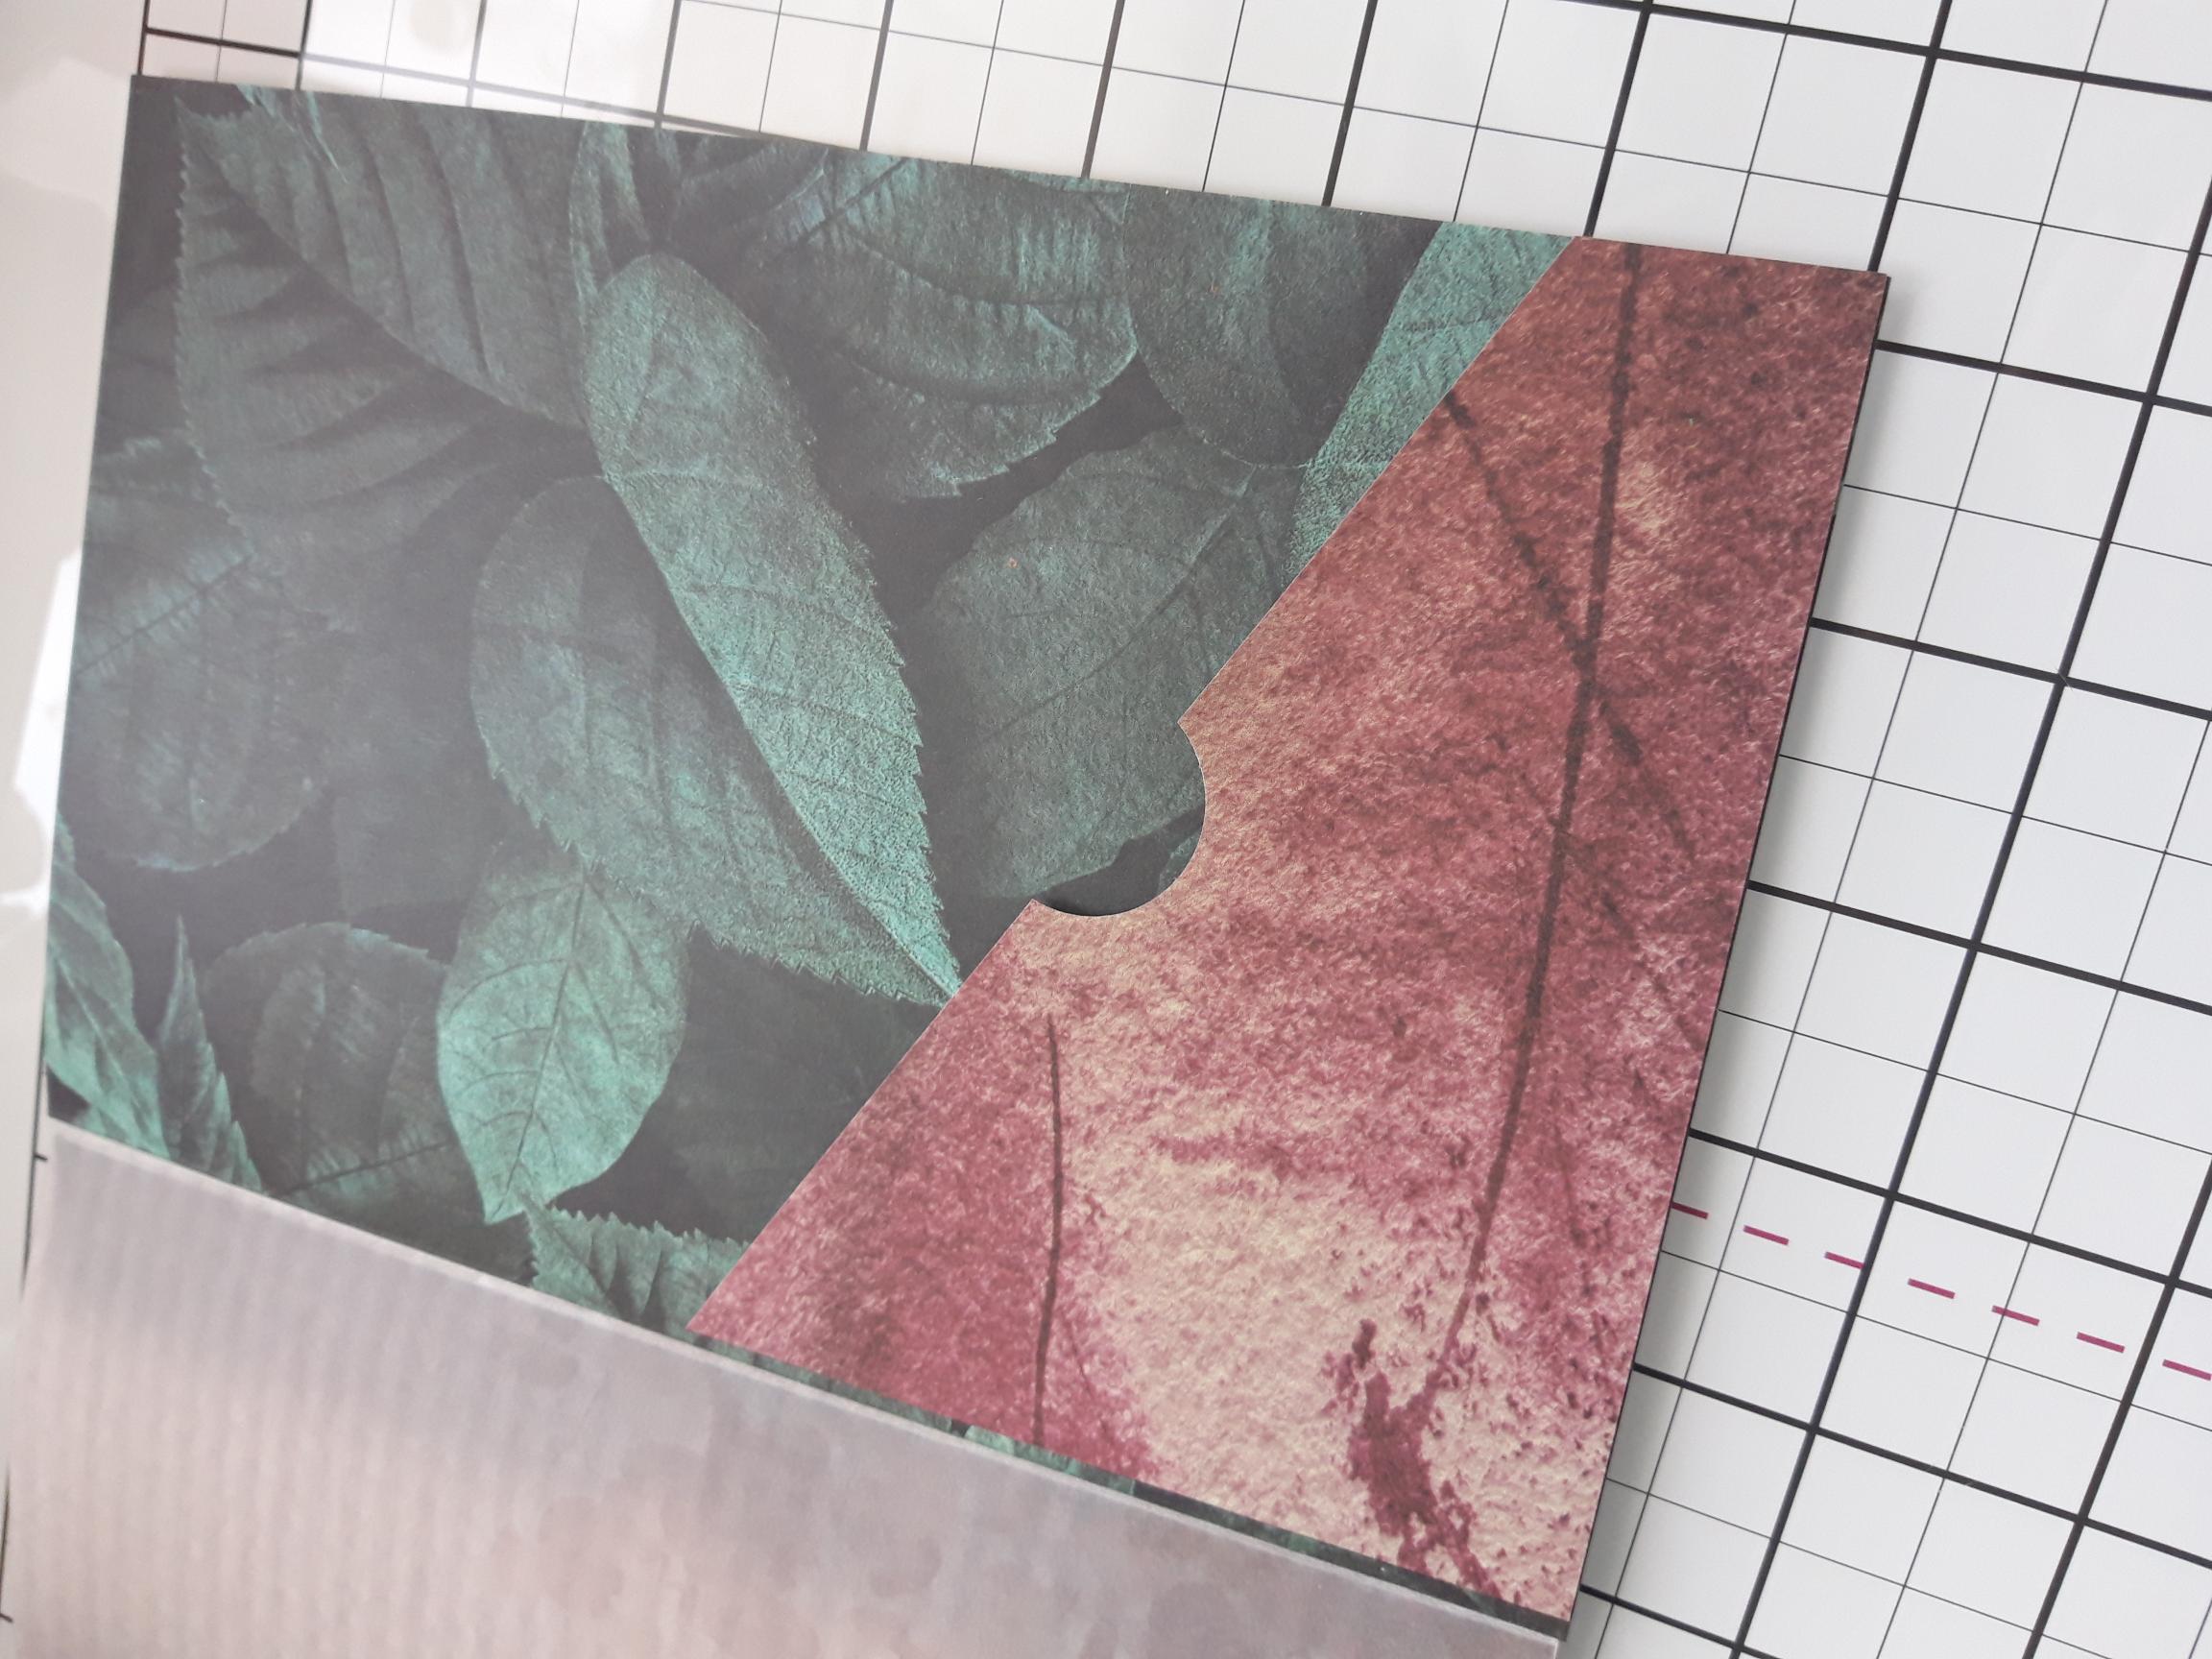
Use the decorative papers to create a diagonal pocket, on the back page, applying the tape along the bottom and down the two sides. If you have added more pages, continue to use off-cuts to create a variety of pockets, as required. |

|
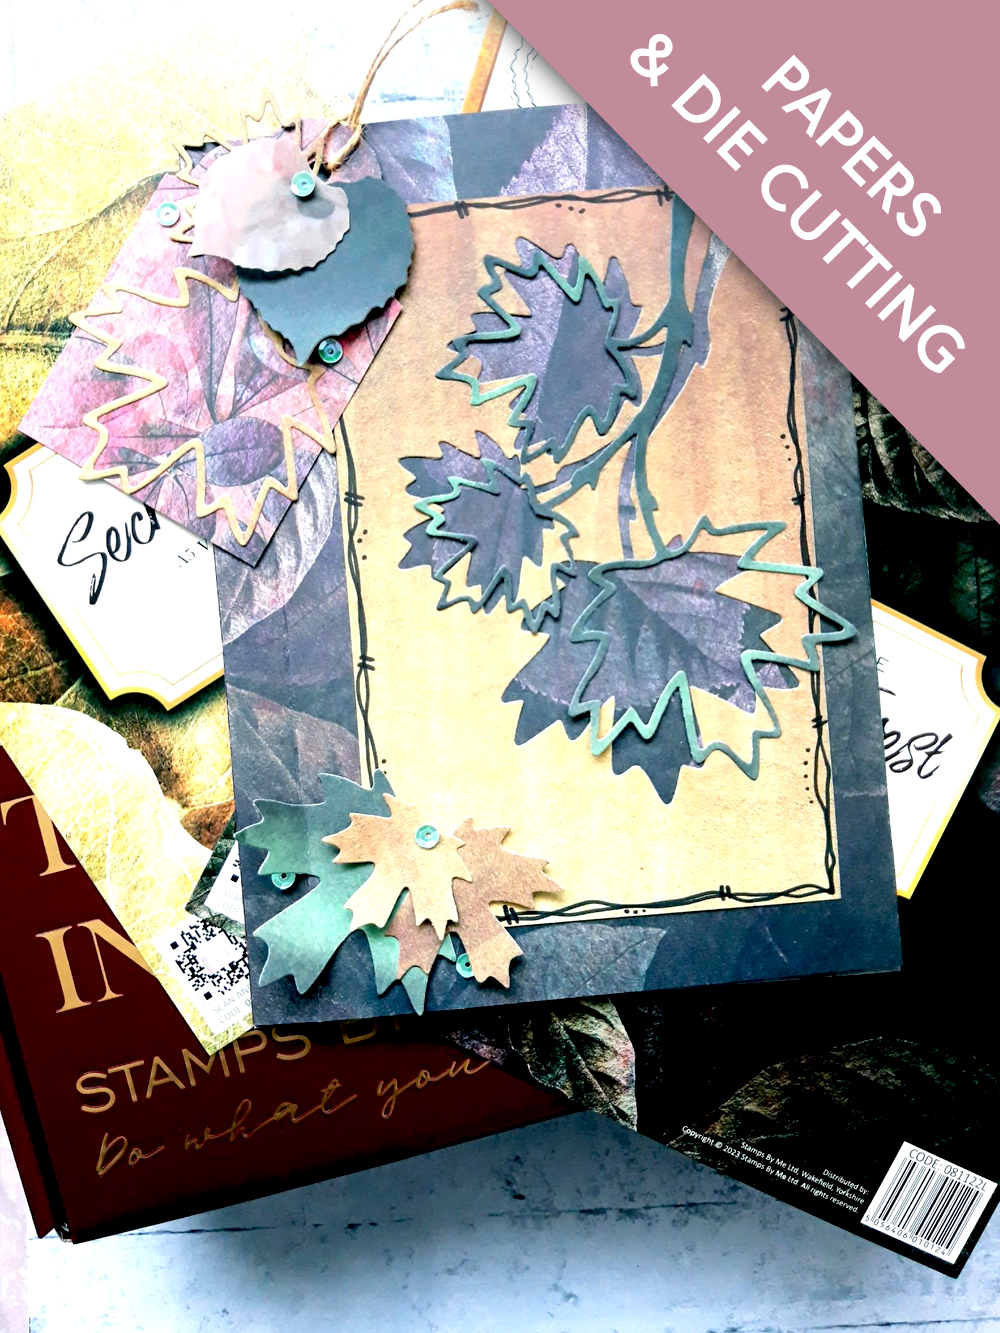
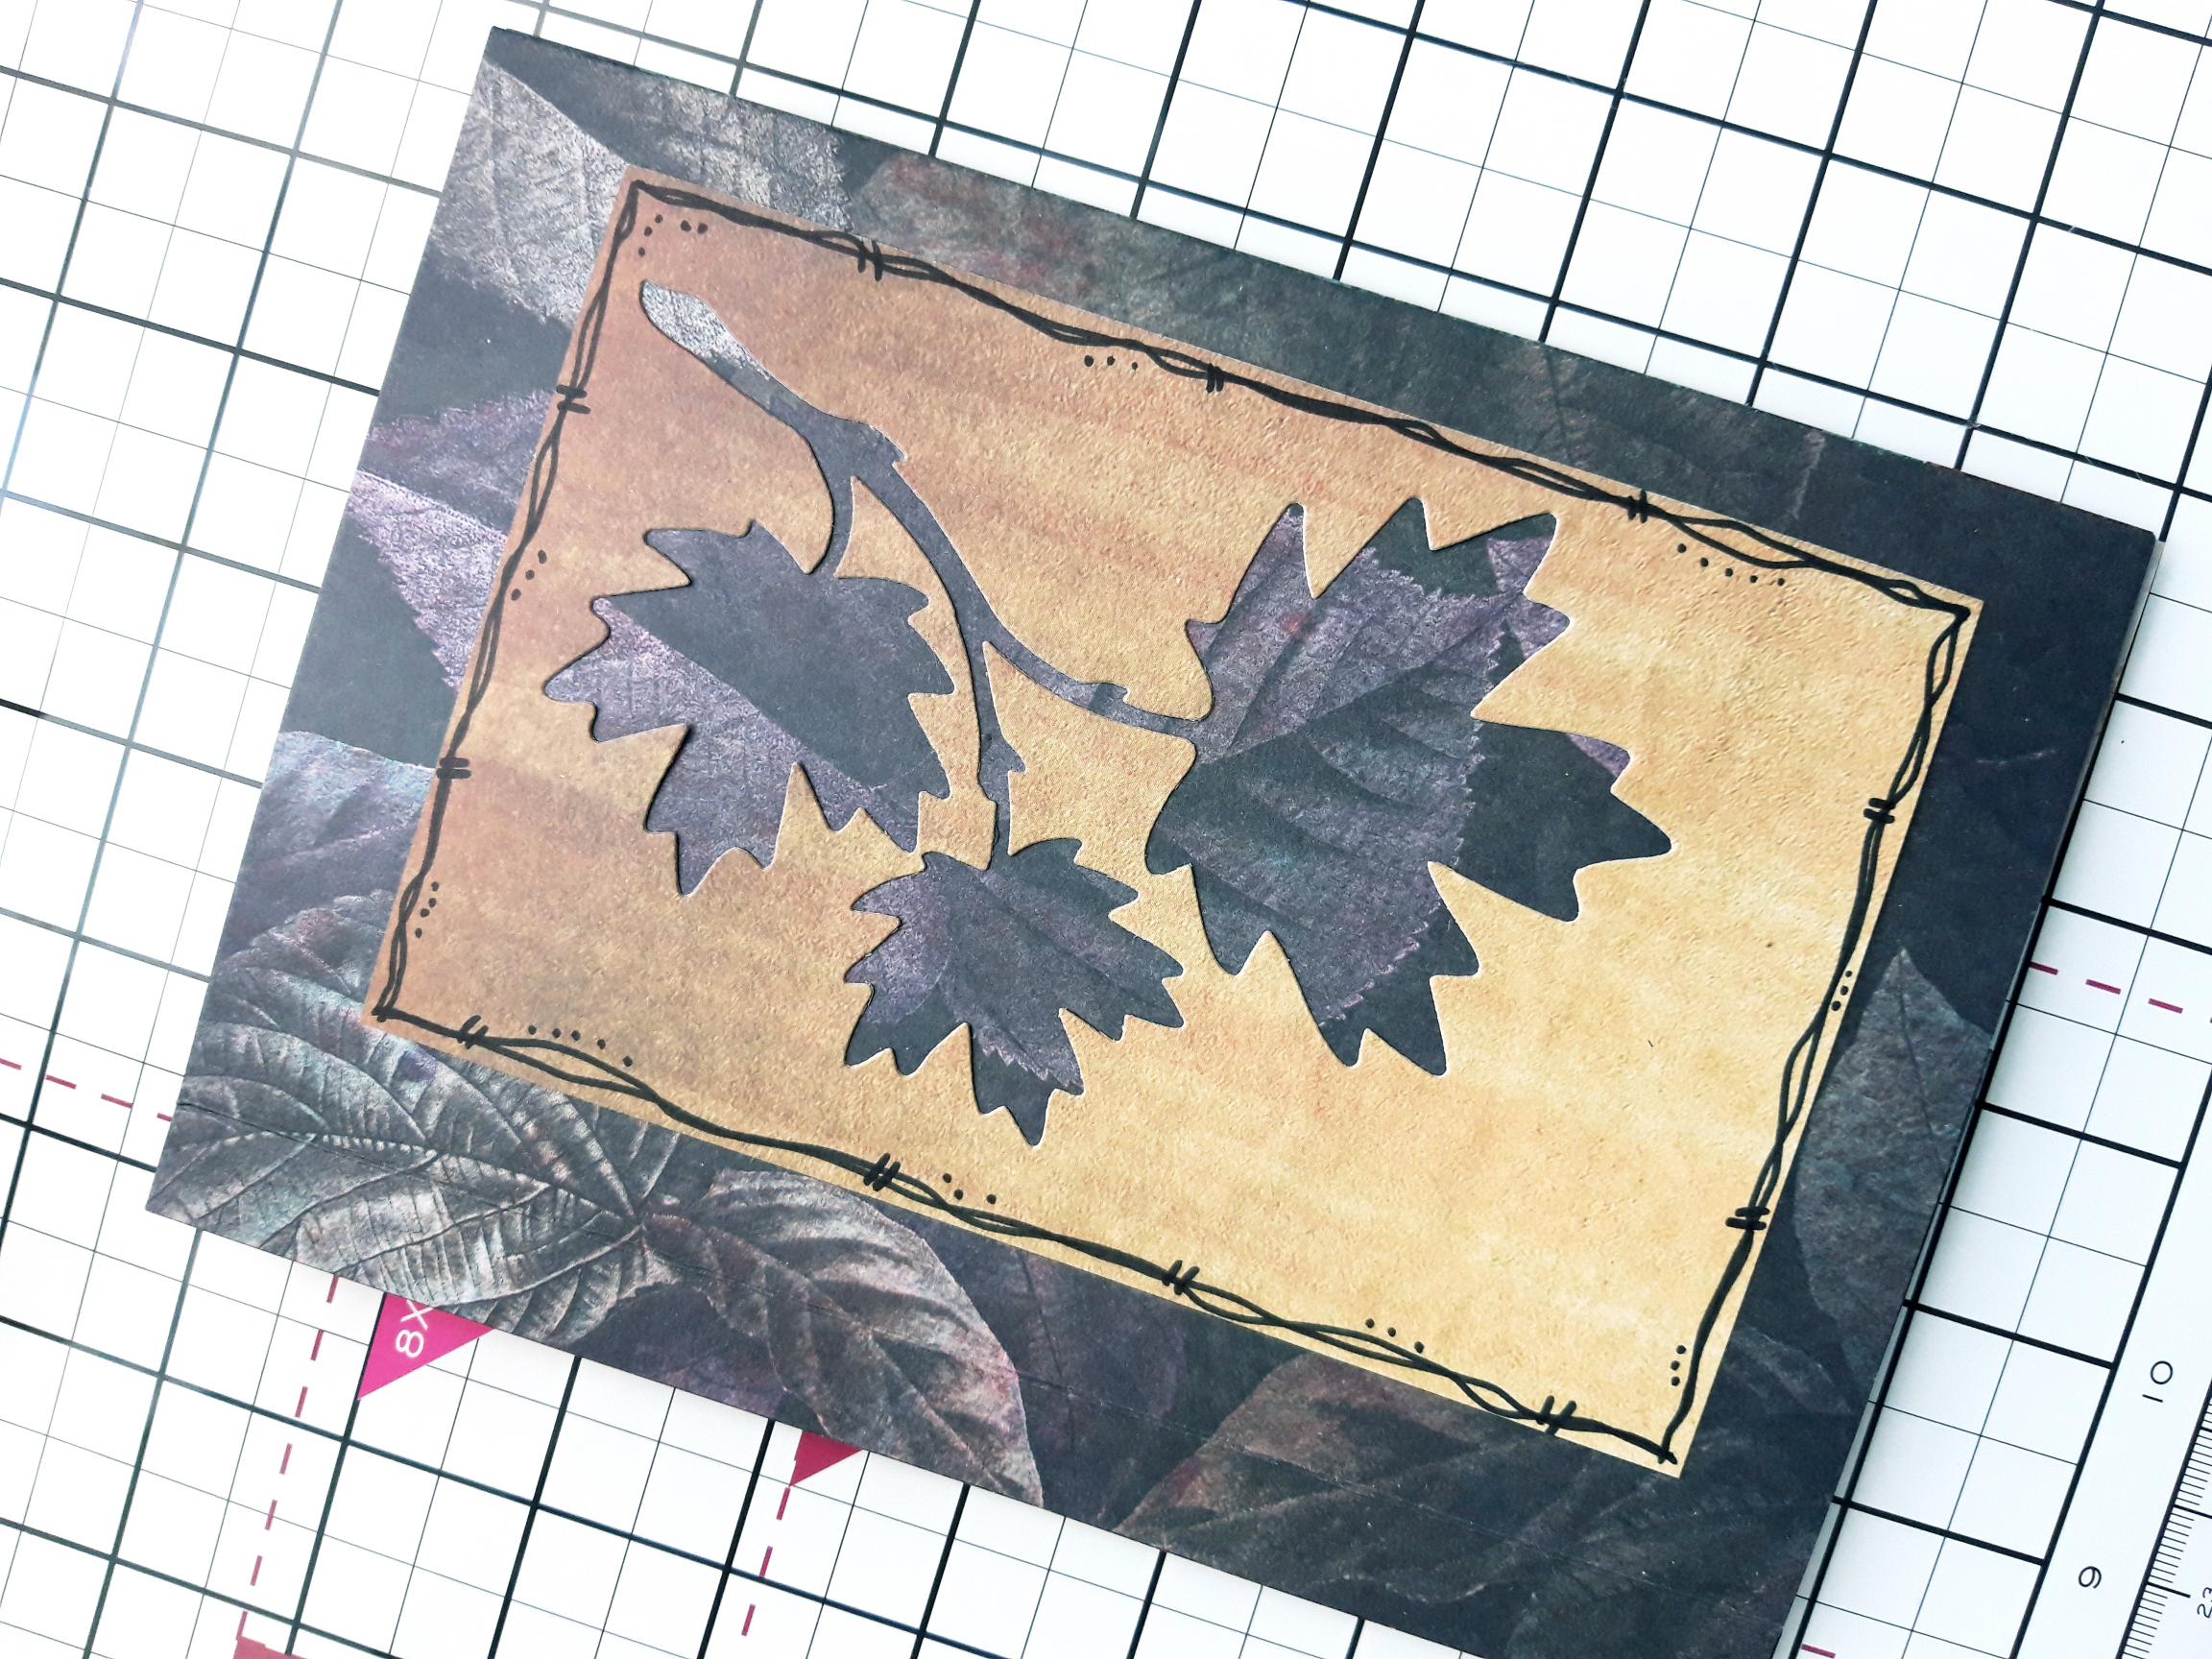
Trim down a decorative sheet, to go on the front of your mini album. Use the Maple and Lime die to cut out the element from the panel. Die cut a second, coordinating leafy element, as seen here. Use a black pen to draw a decorative, wiggly frame around the aperture panel. |
|
Adhere the aperture panel to the front of your mini album. |
|
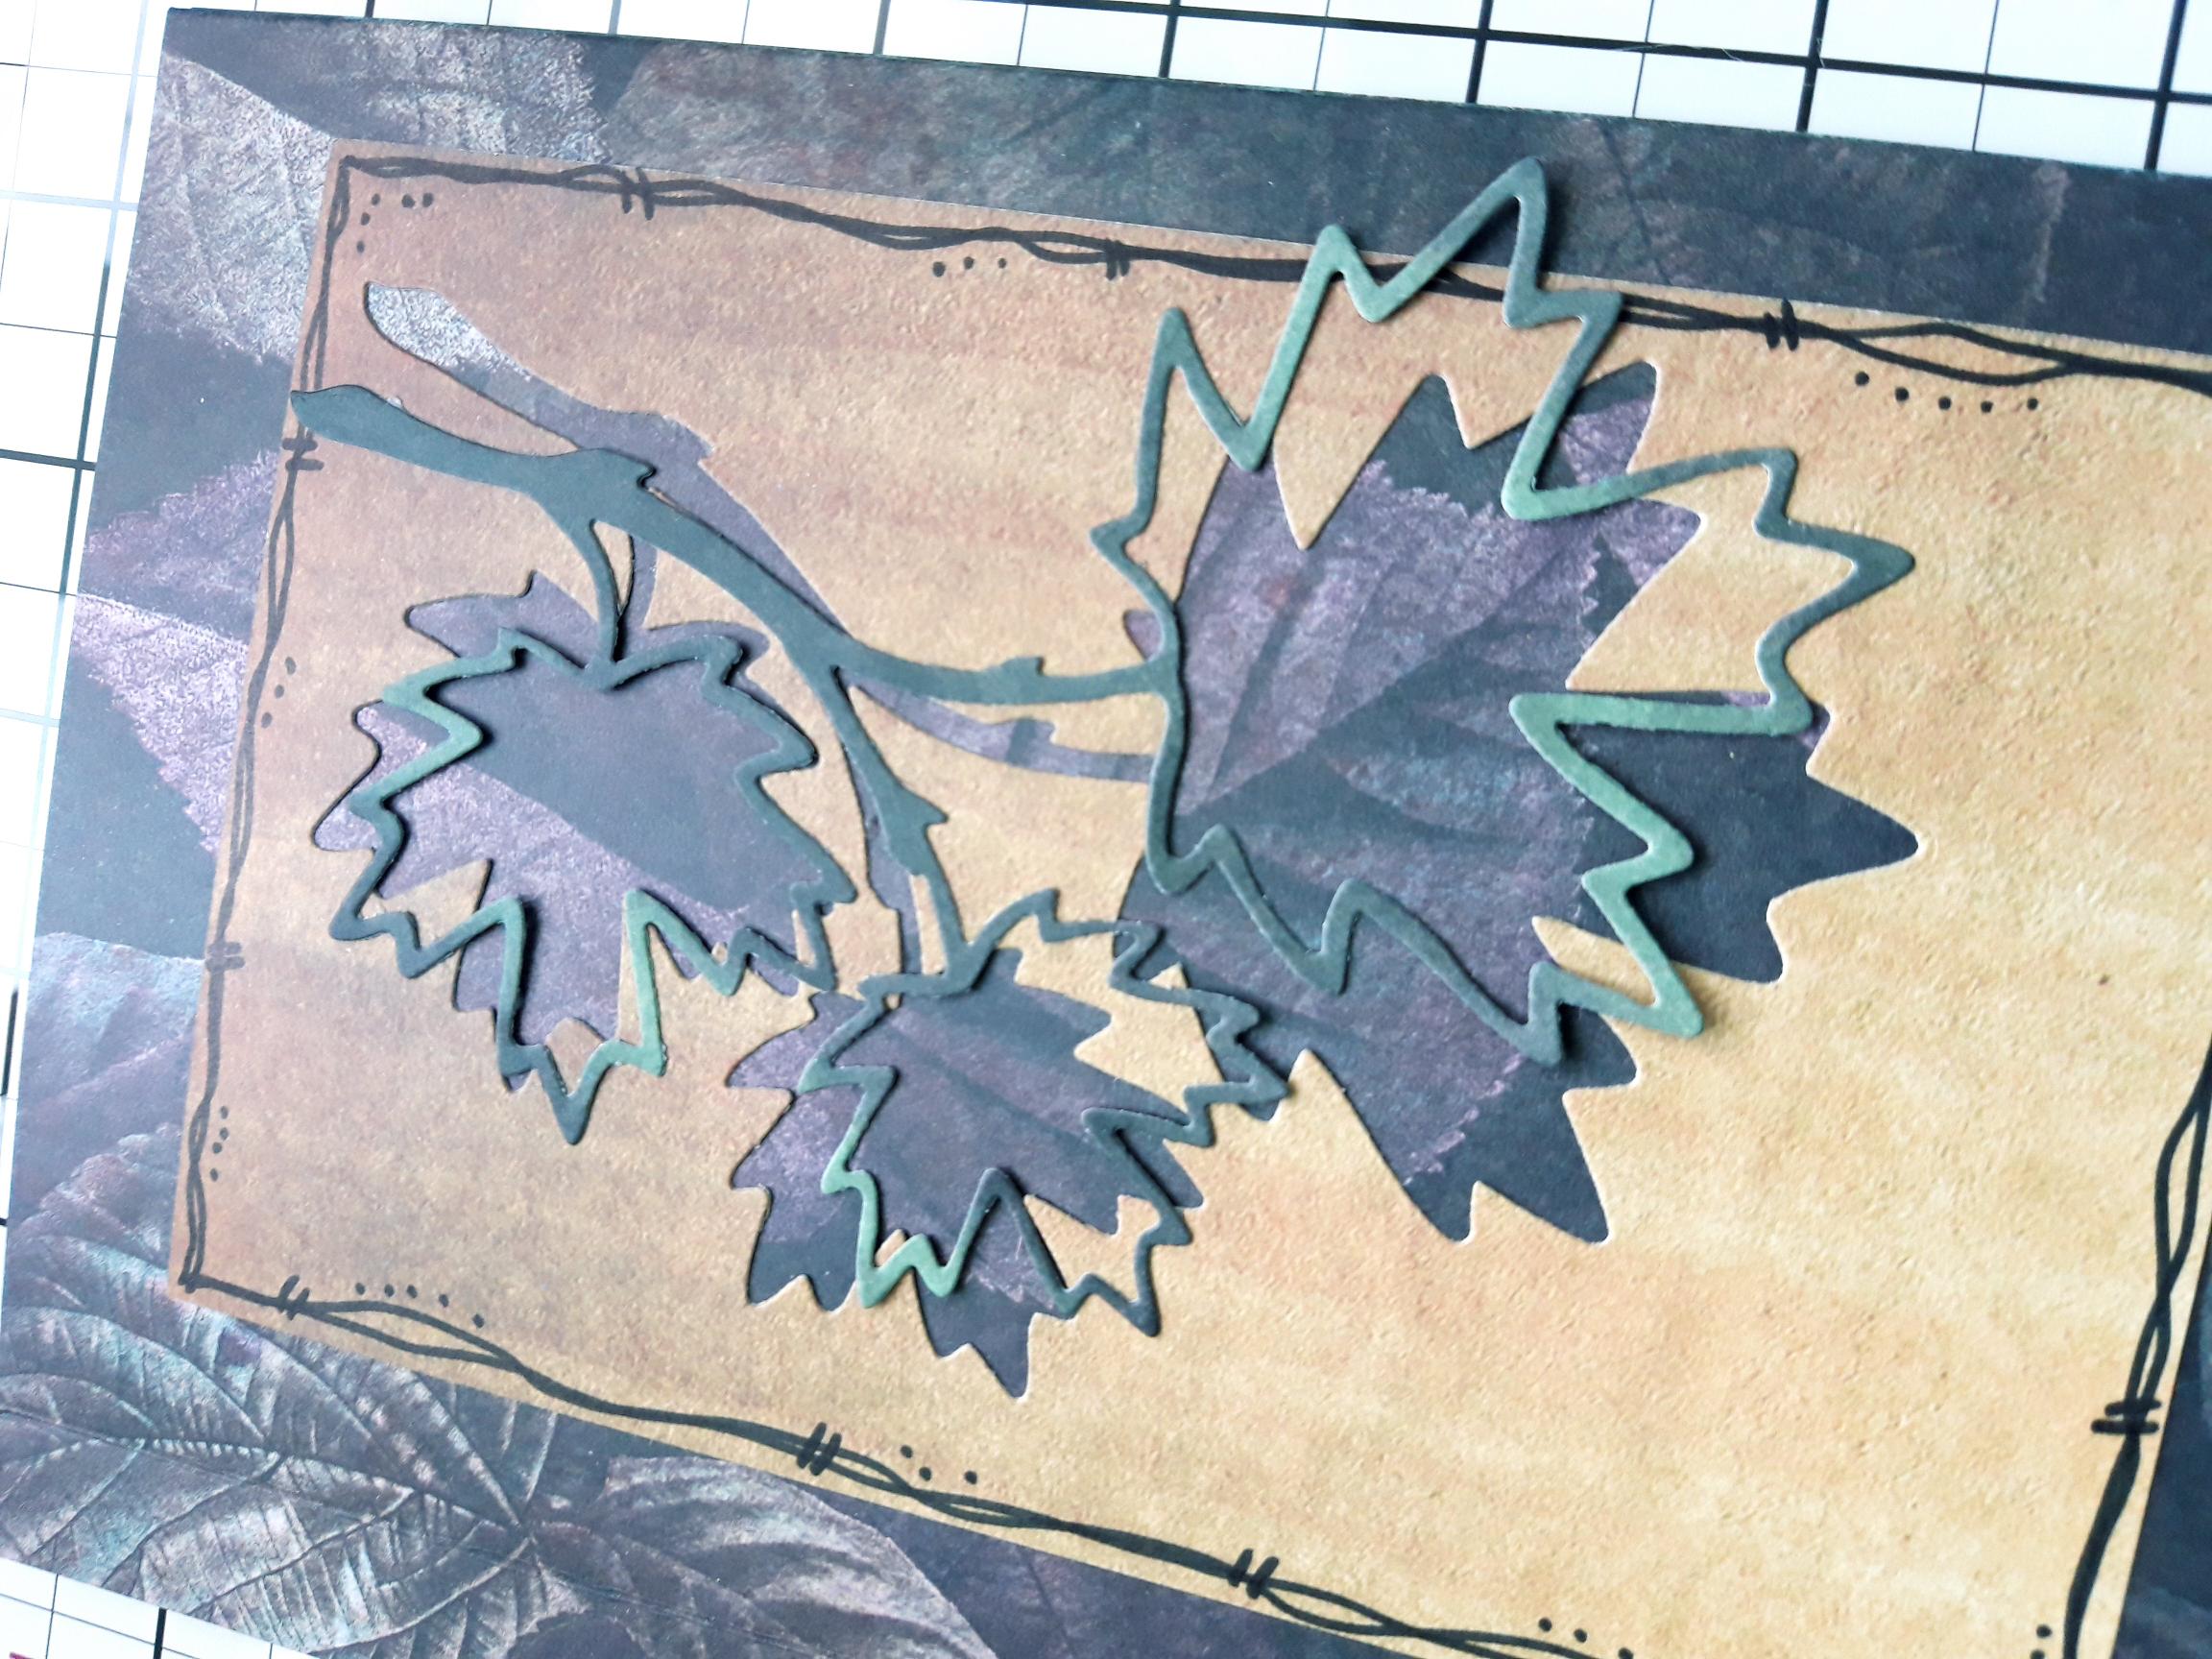
Adhere the die cut leafy element, on to the panel, but offset it as shown here. |
|
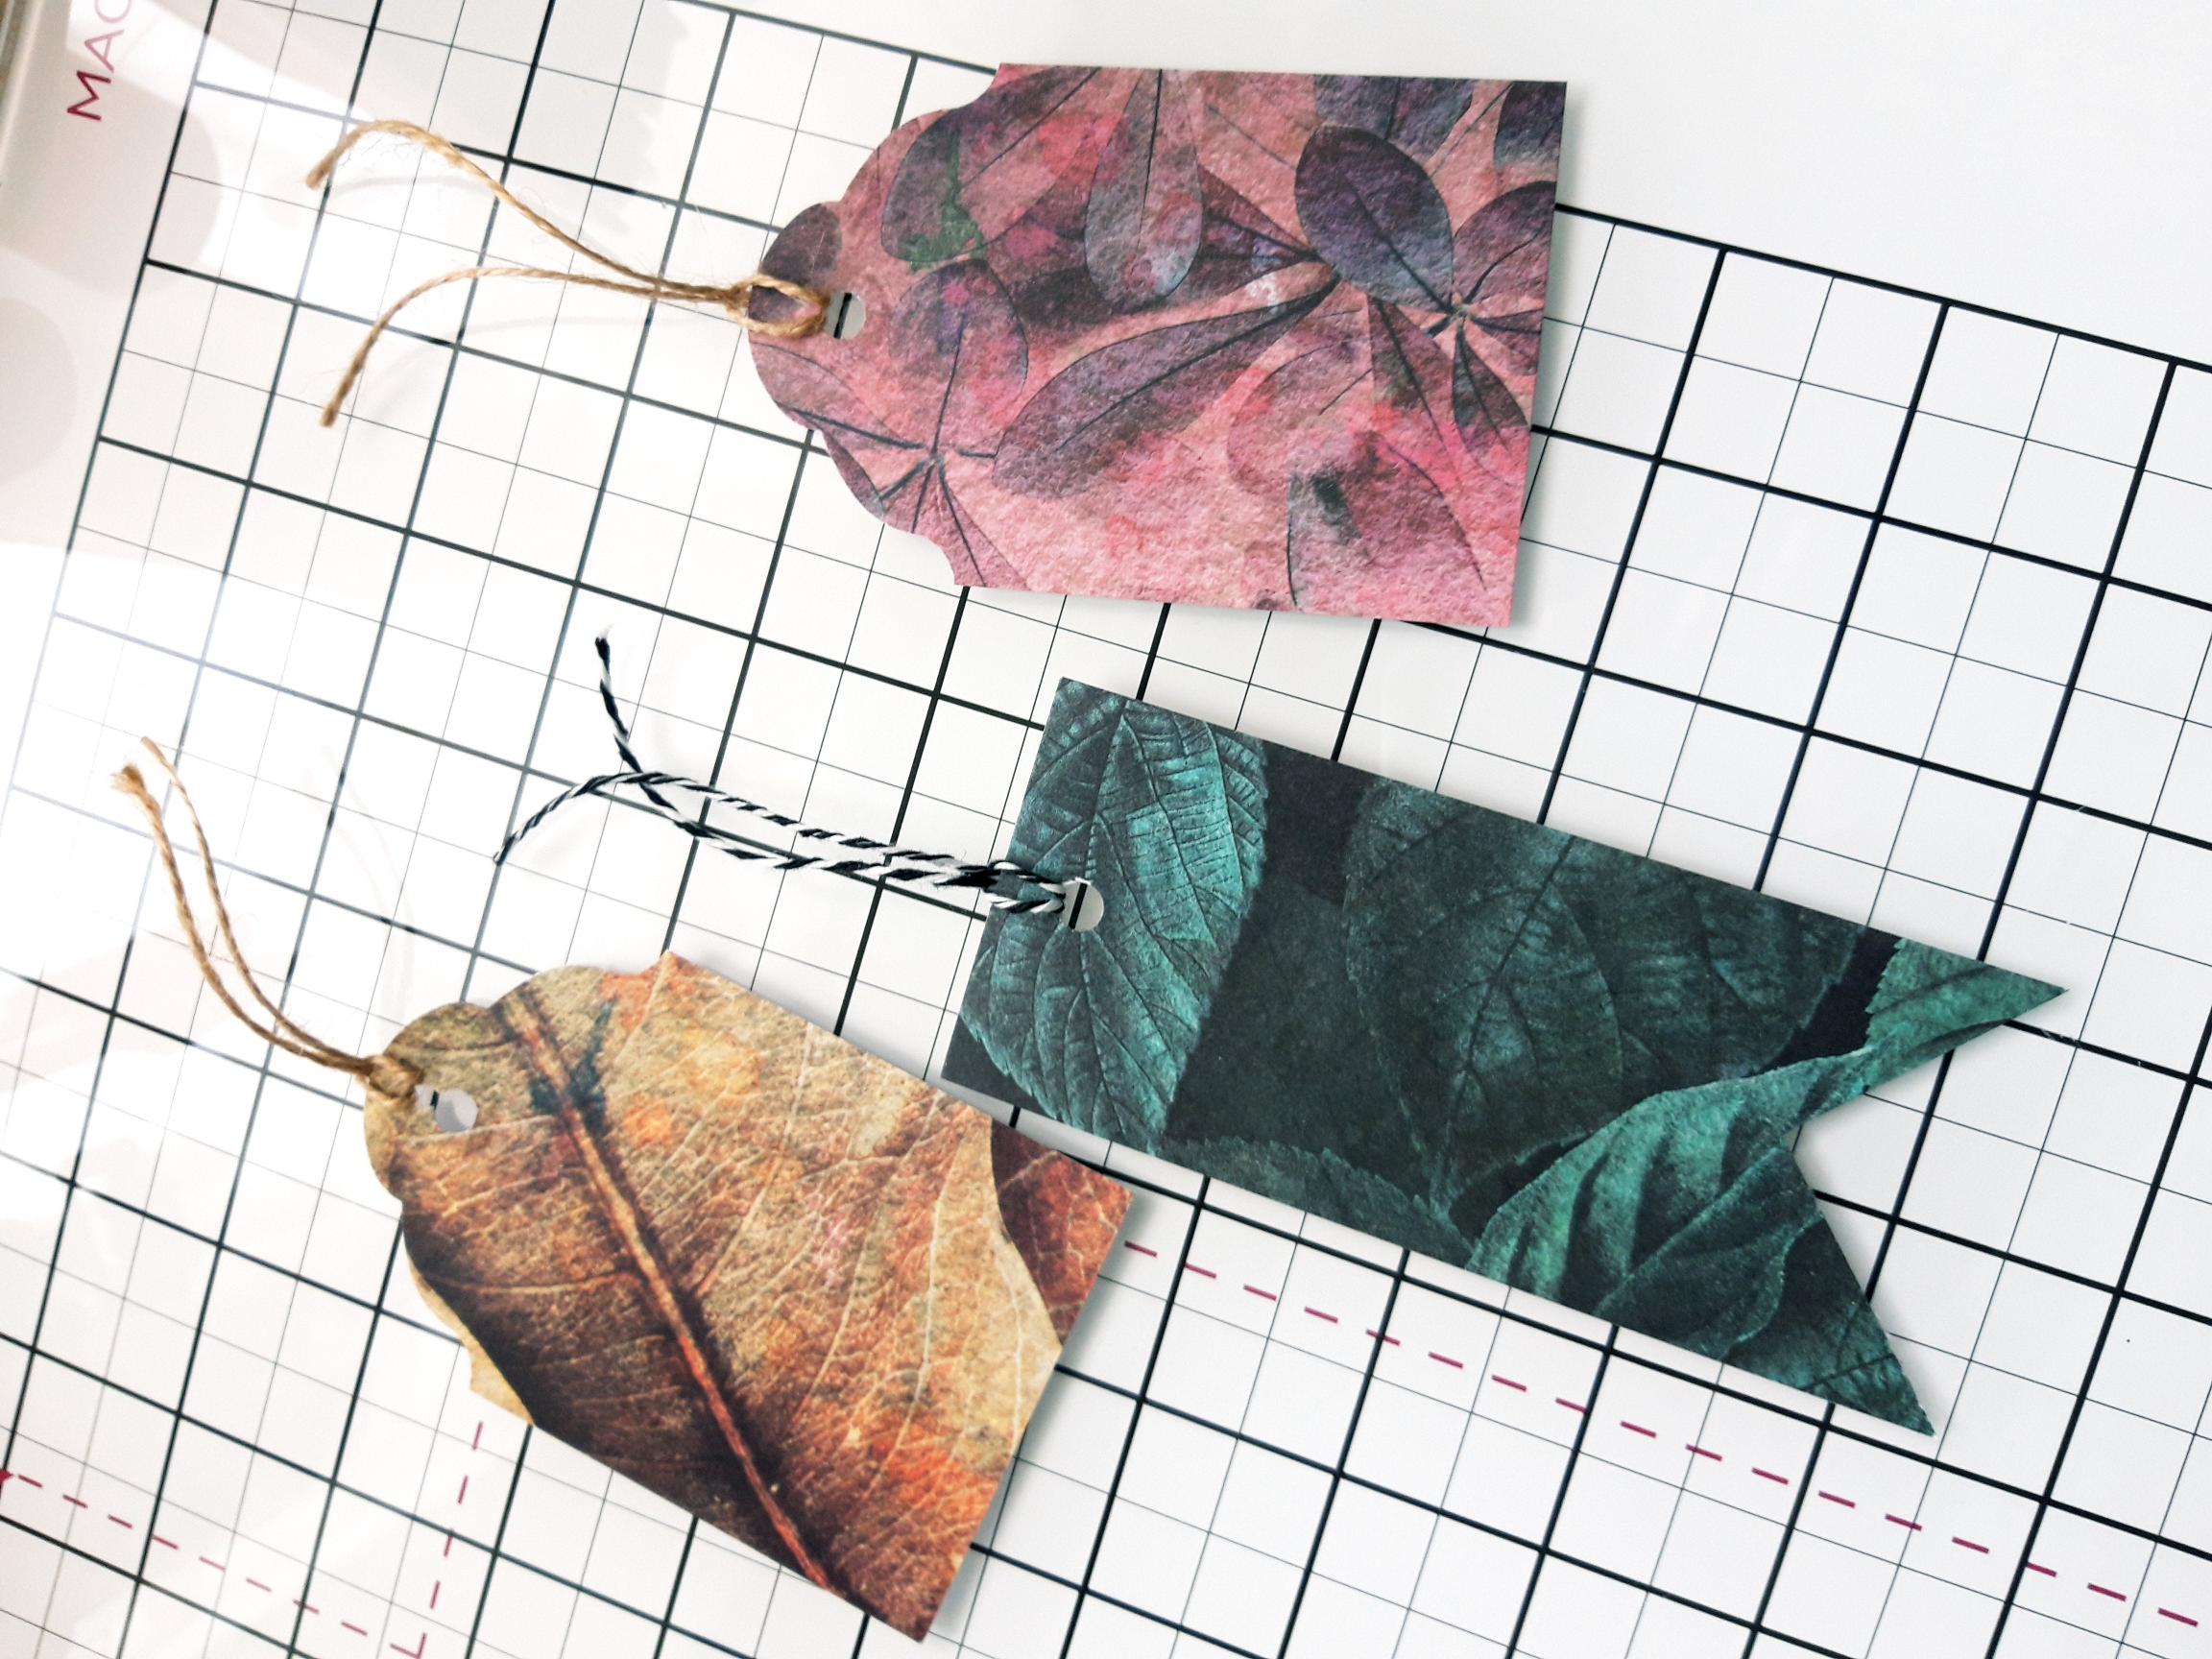
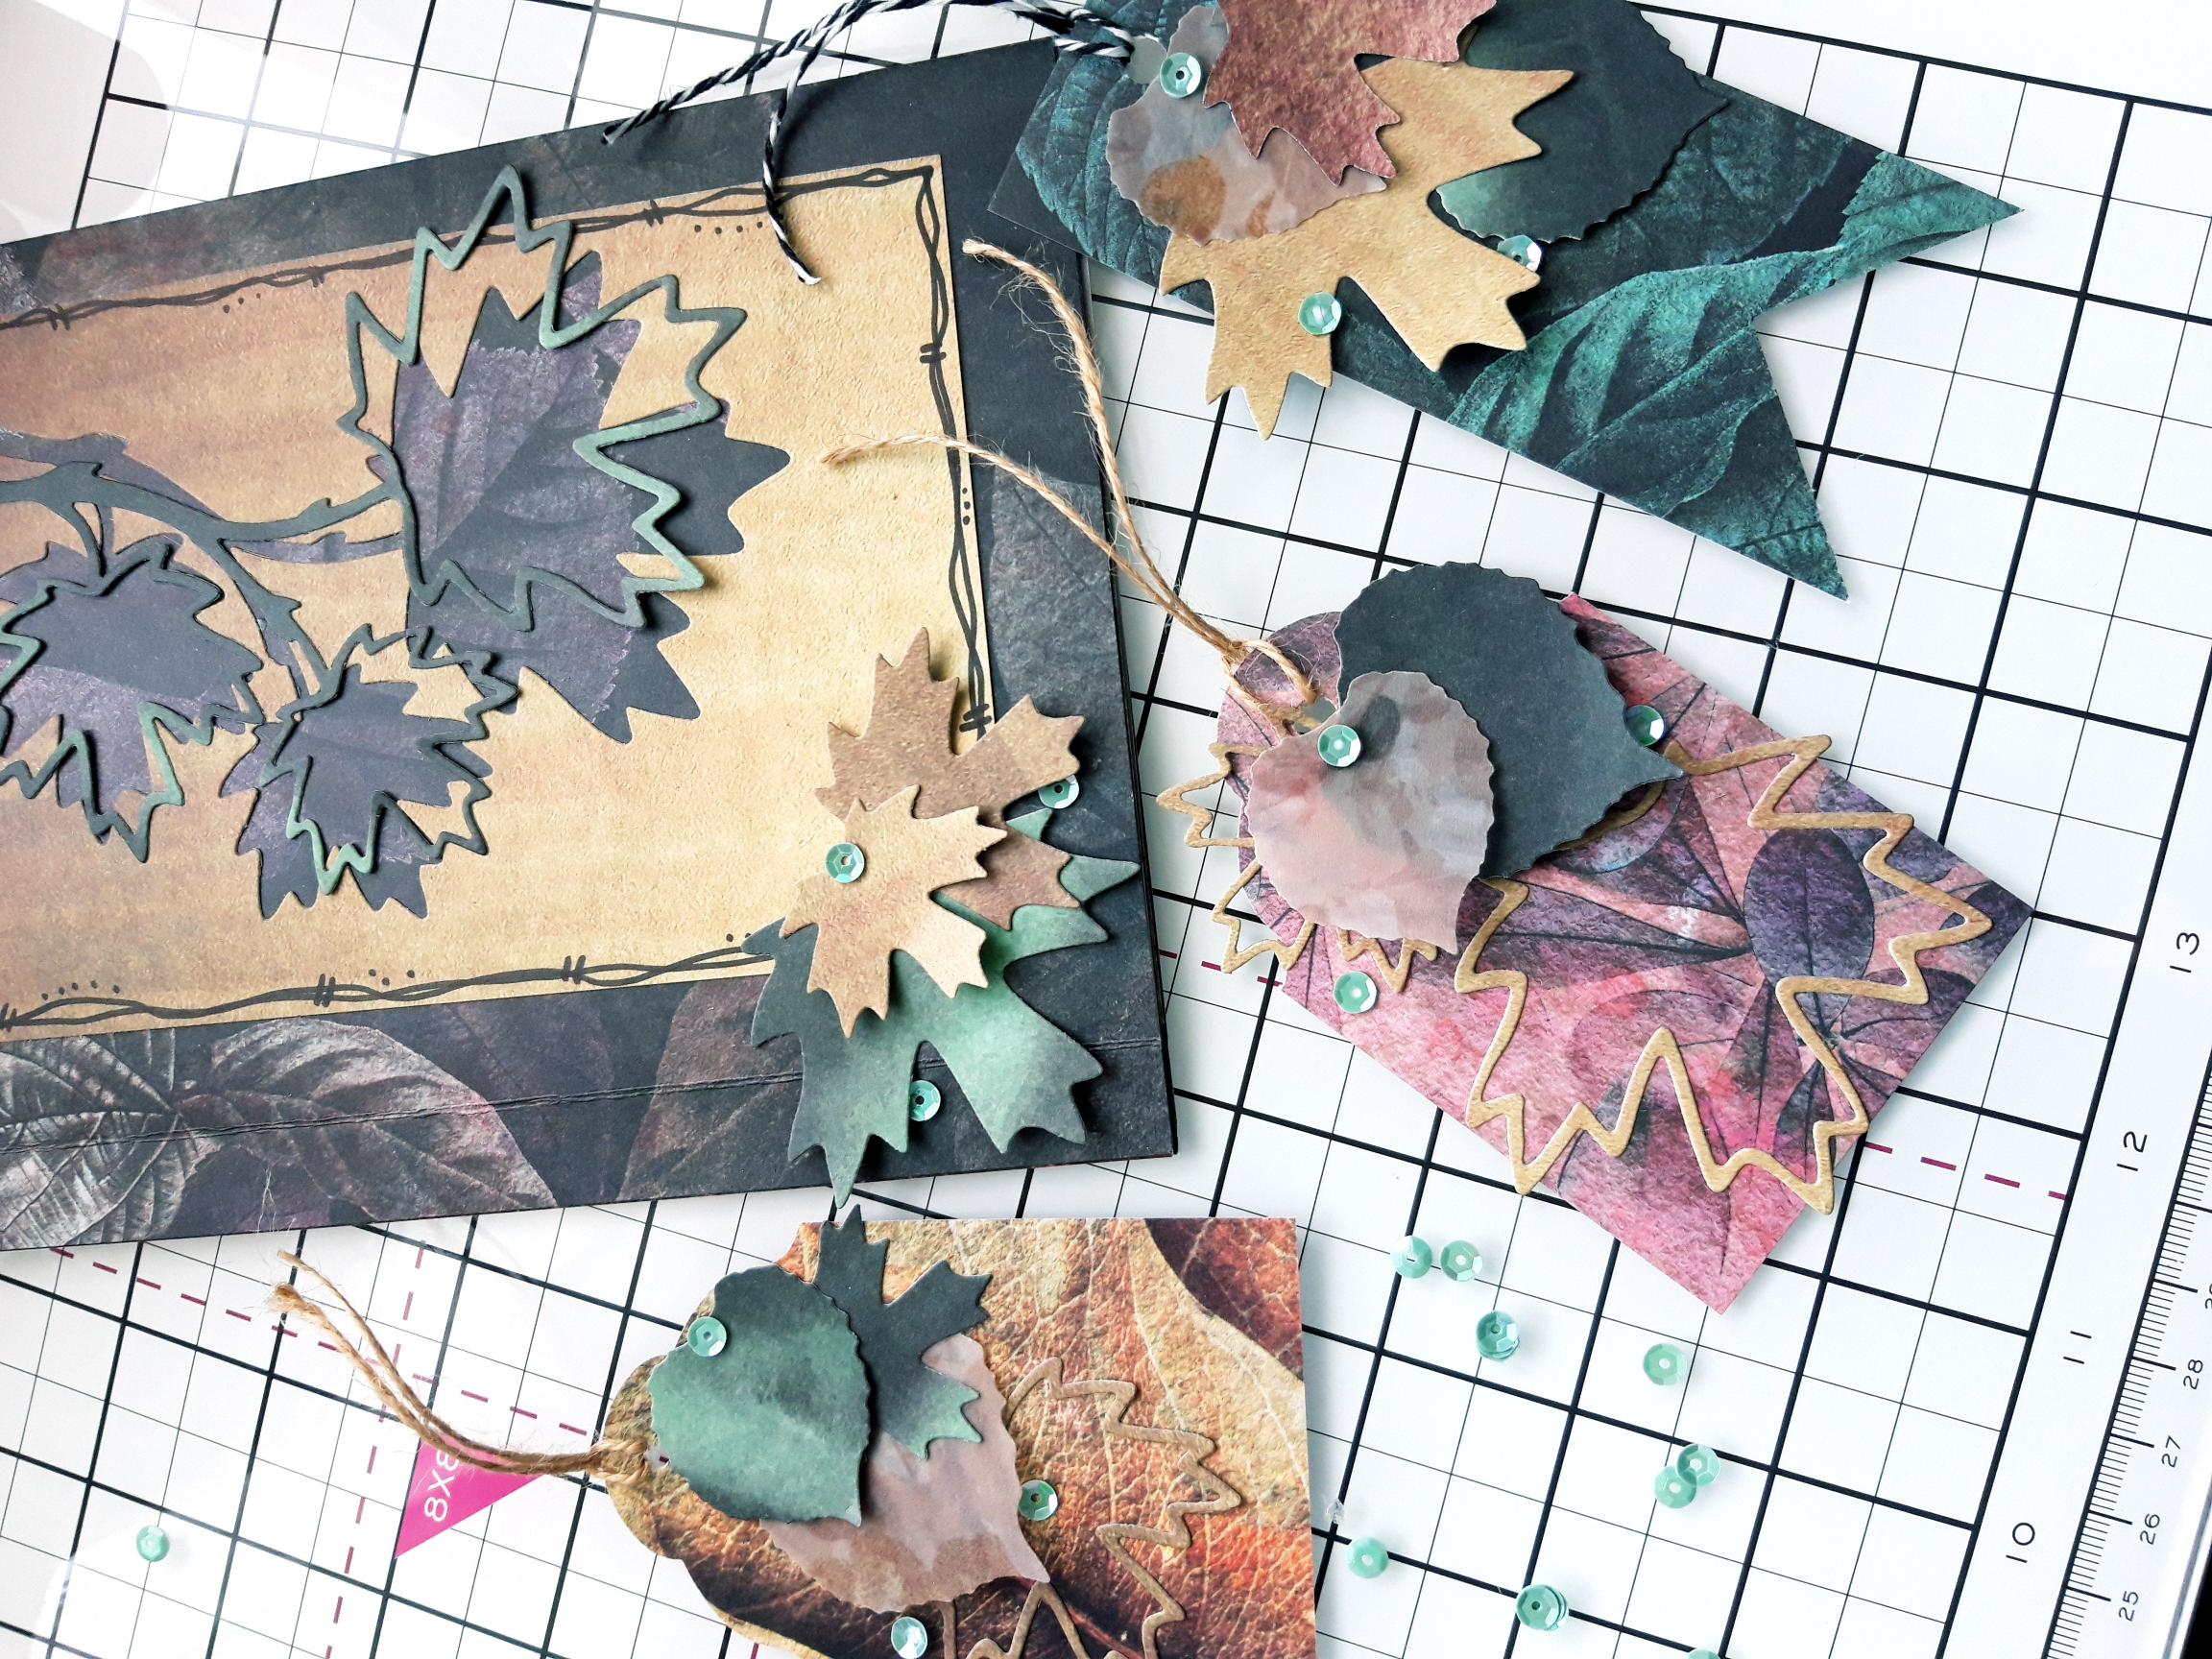
Use your papers and punches to create tags in different shapes and sizes, so they will fit inside your album pockets. Use a hole punch and thread twine through each. |
|
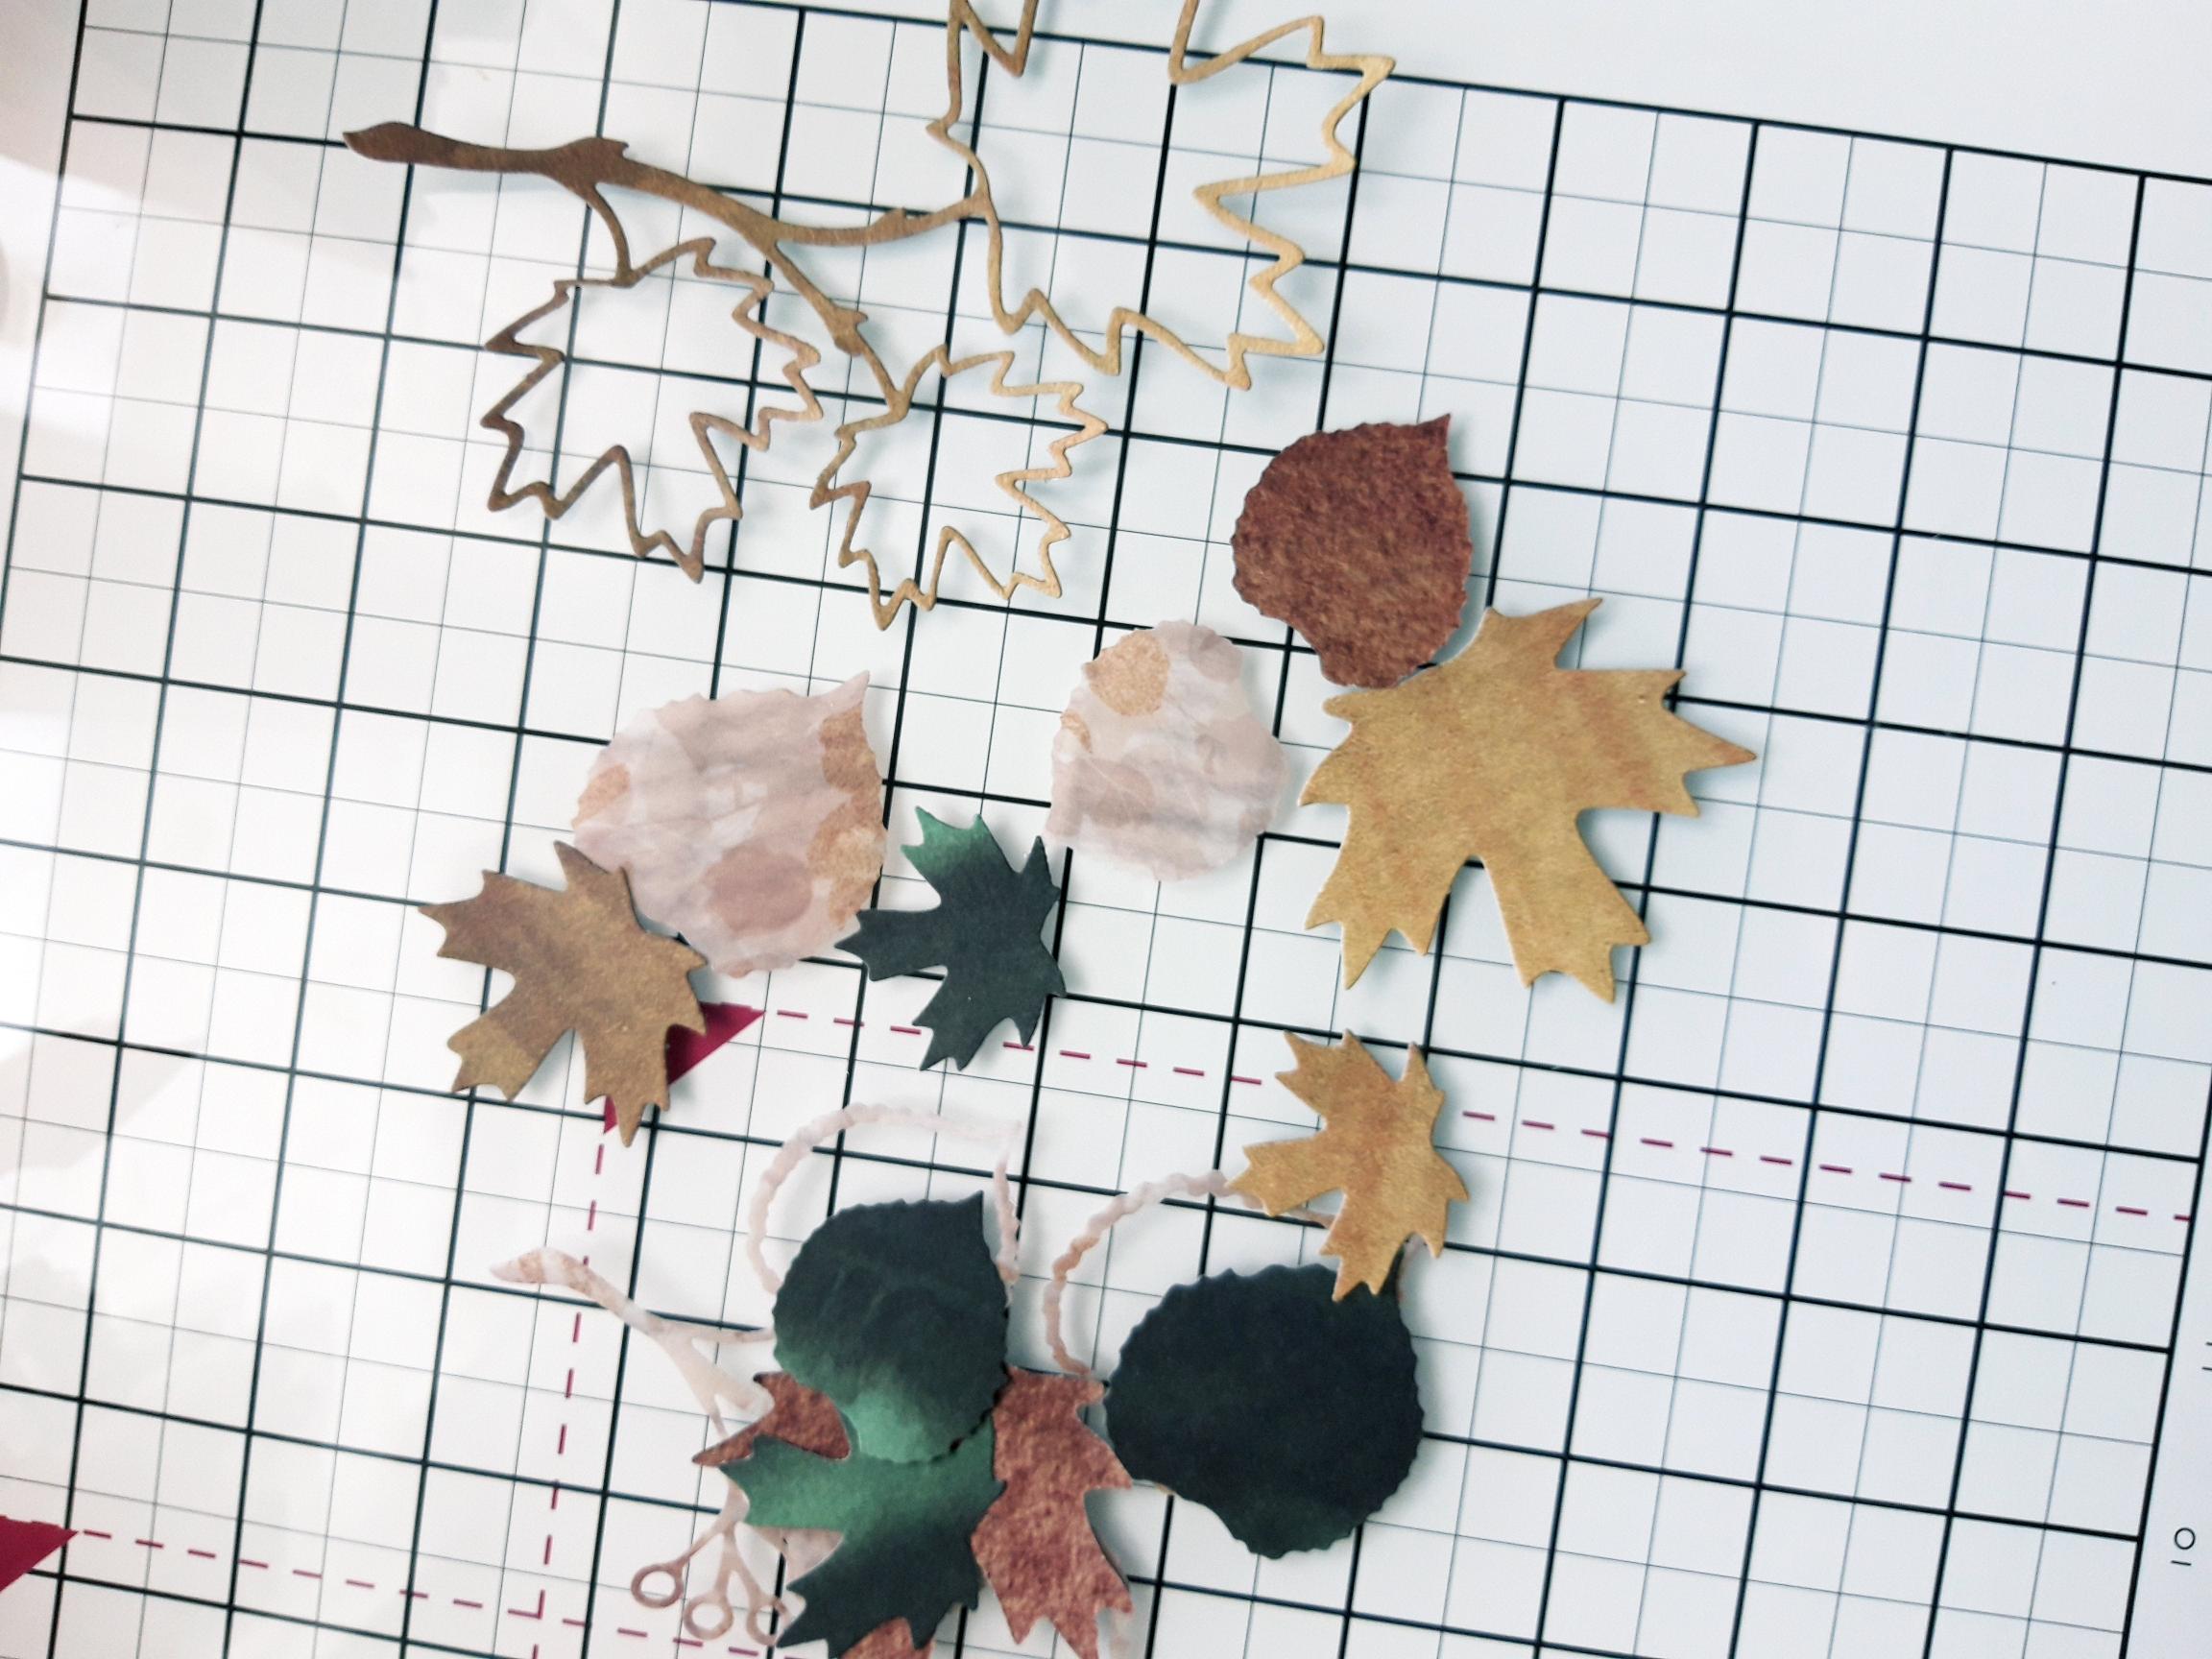
Using the Maple and Lime dies, cut out a variety of 3D elements from the papers and vellums. |
|
Use these to decorate the front of your album, tags and inner pages, as required and finish with a few sequins. You can also decorate tags and create toppers, using the stamps from the Pretty Inside Box Collection. Once the basic mini album has been made, let your creative juices flow!!!!! |