Give your friends $10 off their first order!
Refer a FRIEND


WHAT YOU WILL NEED:
White card blank 7 x 7"
White card 6 3/4 x 6 3/4"
White card A4
You & Me A6 Die Set
Beautiful Soul Stamp Collection
Love Always Stamp And Die Collection
SBM No-Line Ink Pad
SBM Pigment Ink Pad: Cotton
SBM Premium Dye Ink Pad: Limeade, Hedgerow, Heather, Tiffany
Paint brush
Sequins: Amethyst
Gem pick up and pokey tool
WOW heat tool
Eureka 101 Watercolour Tablet
SBM Magnetic glass mat
Paper Trimmer
Perfect Together Glue
Foam pad/foam roll
Die Cutting machine
[click image to enlarge] 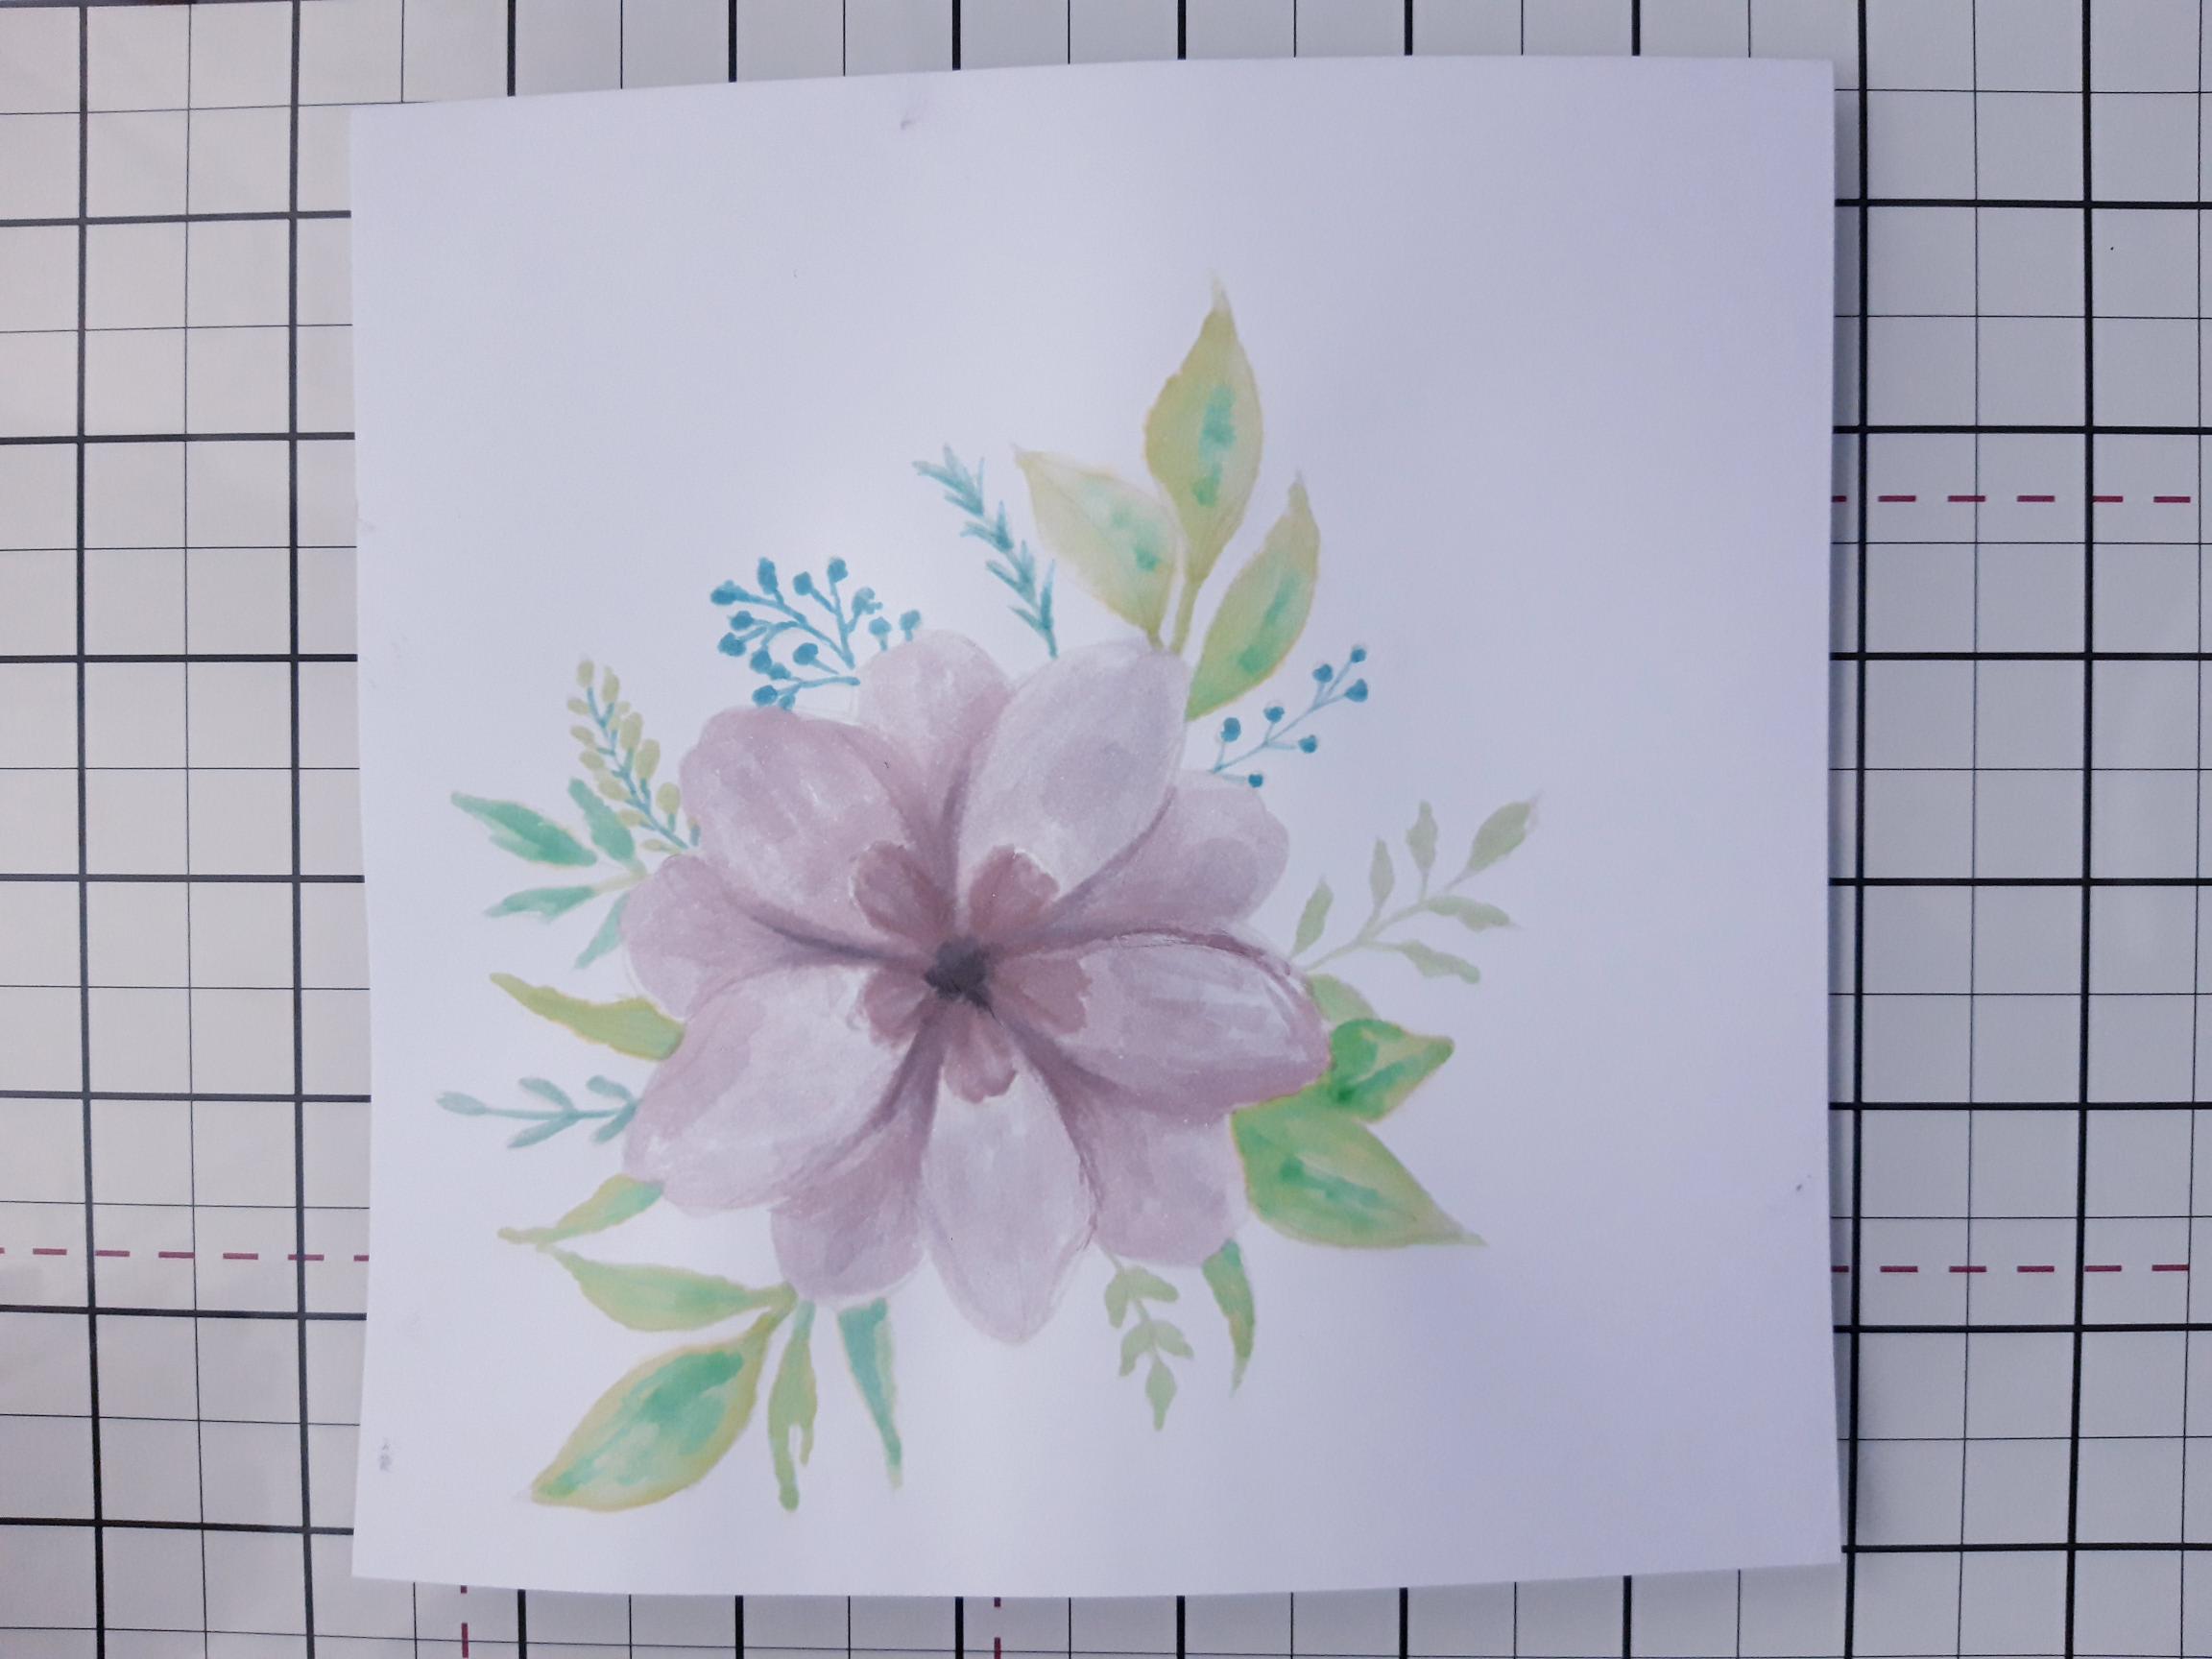
|
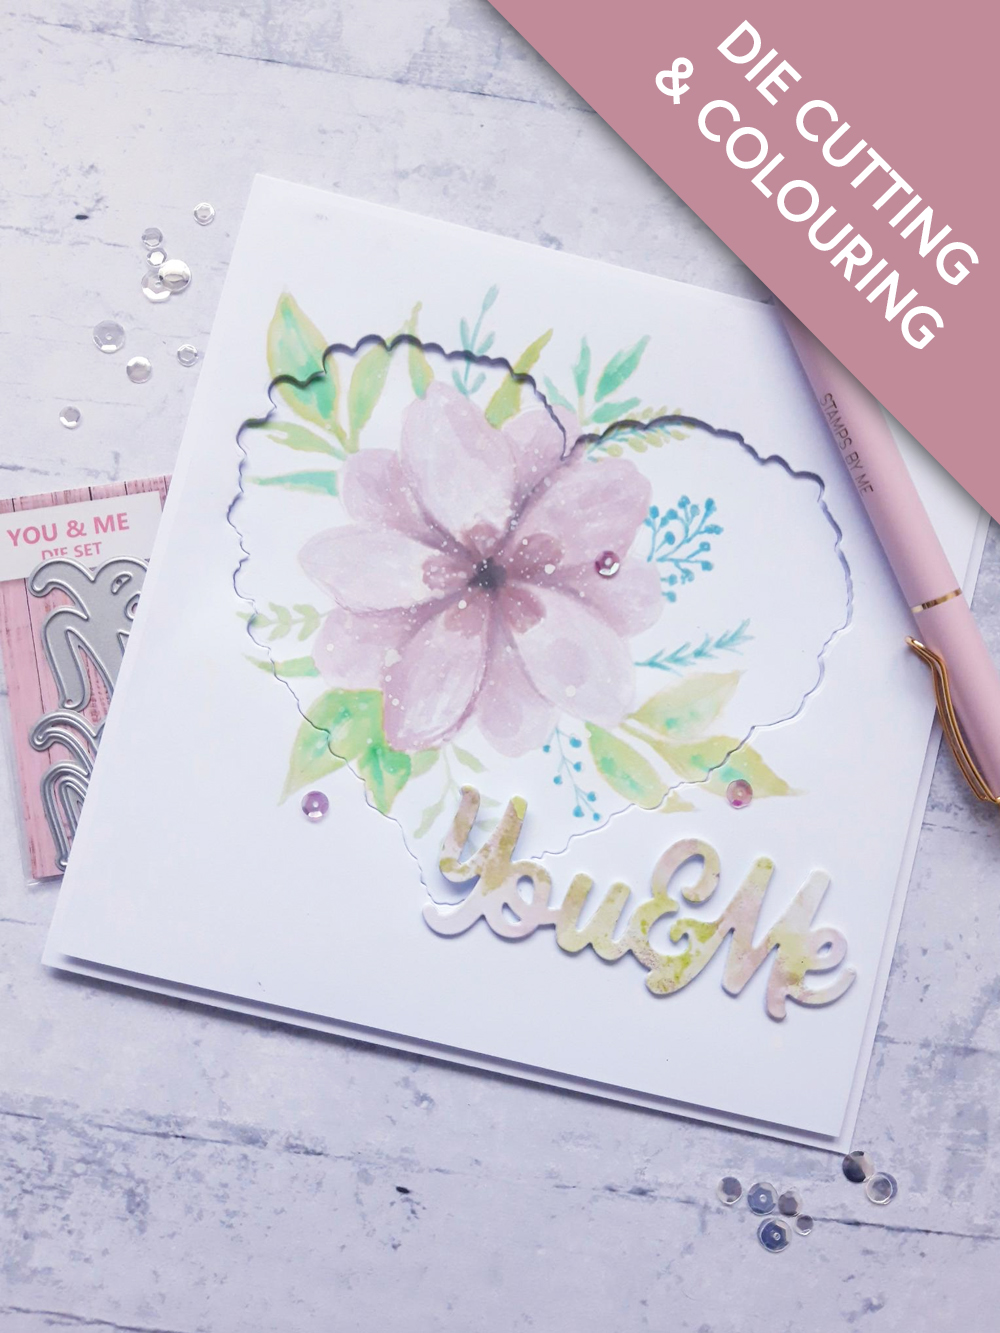
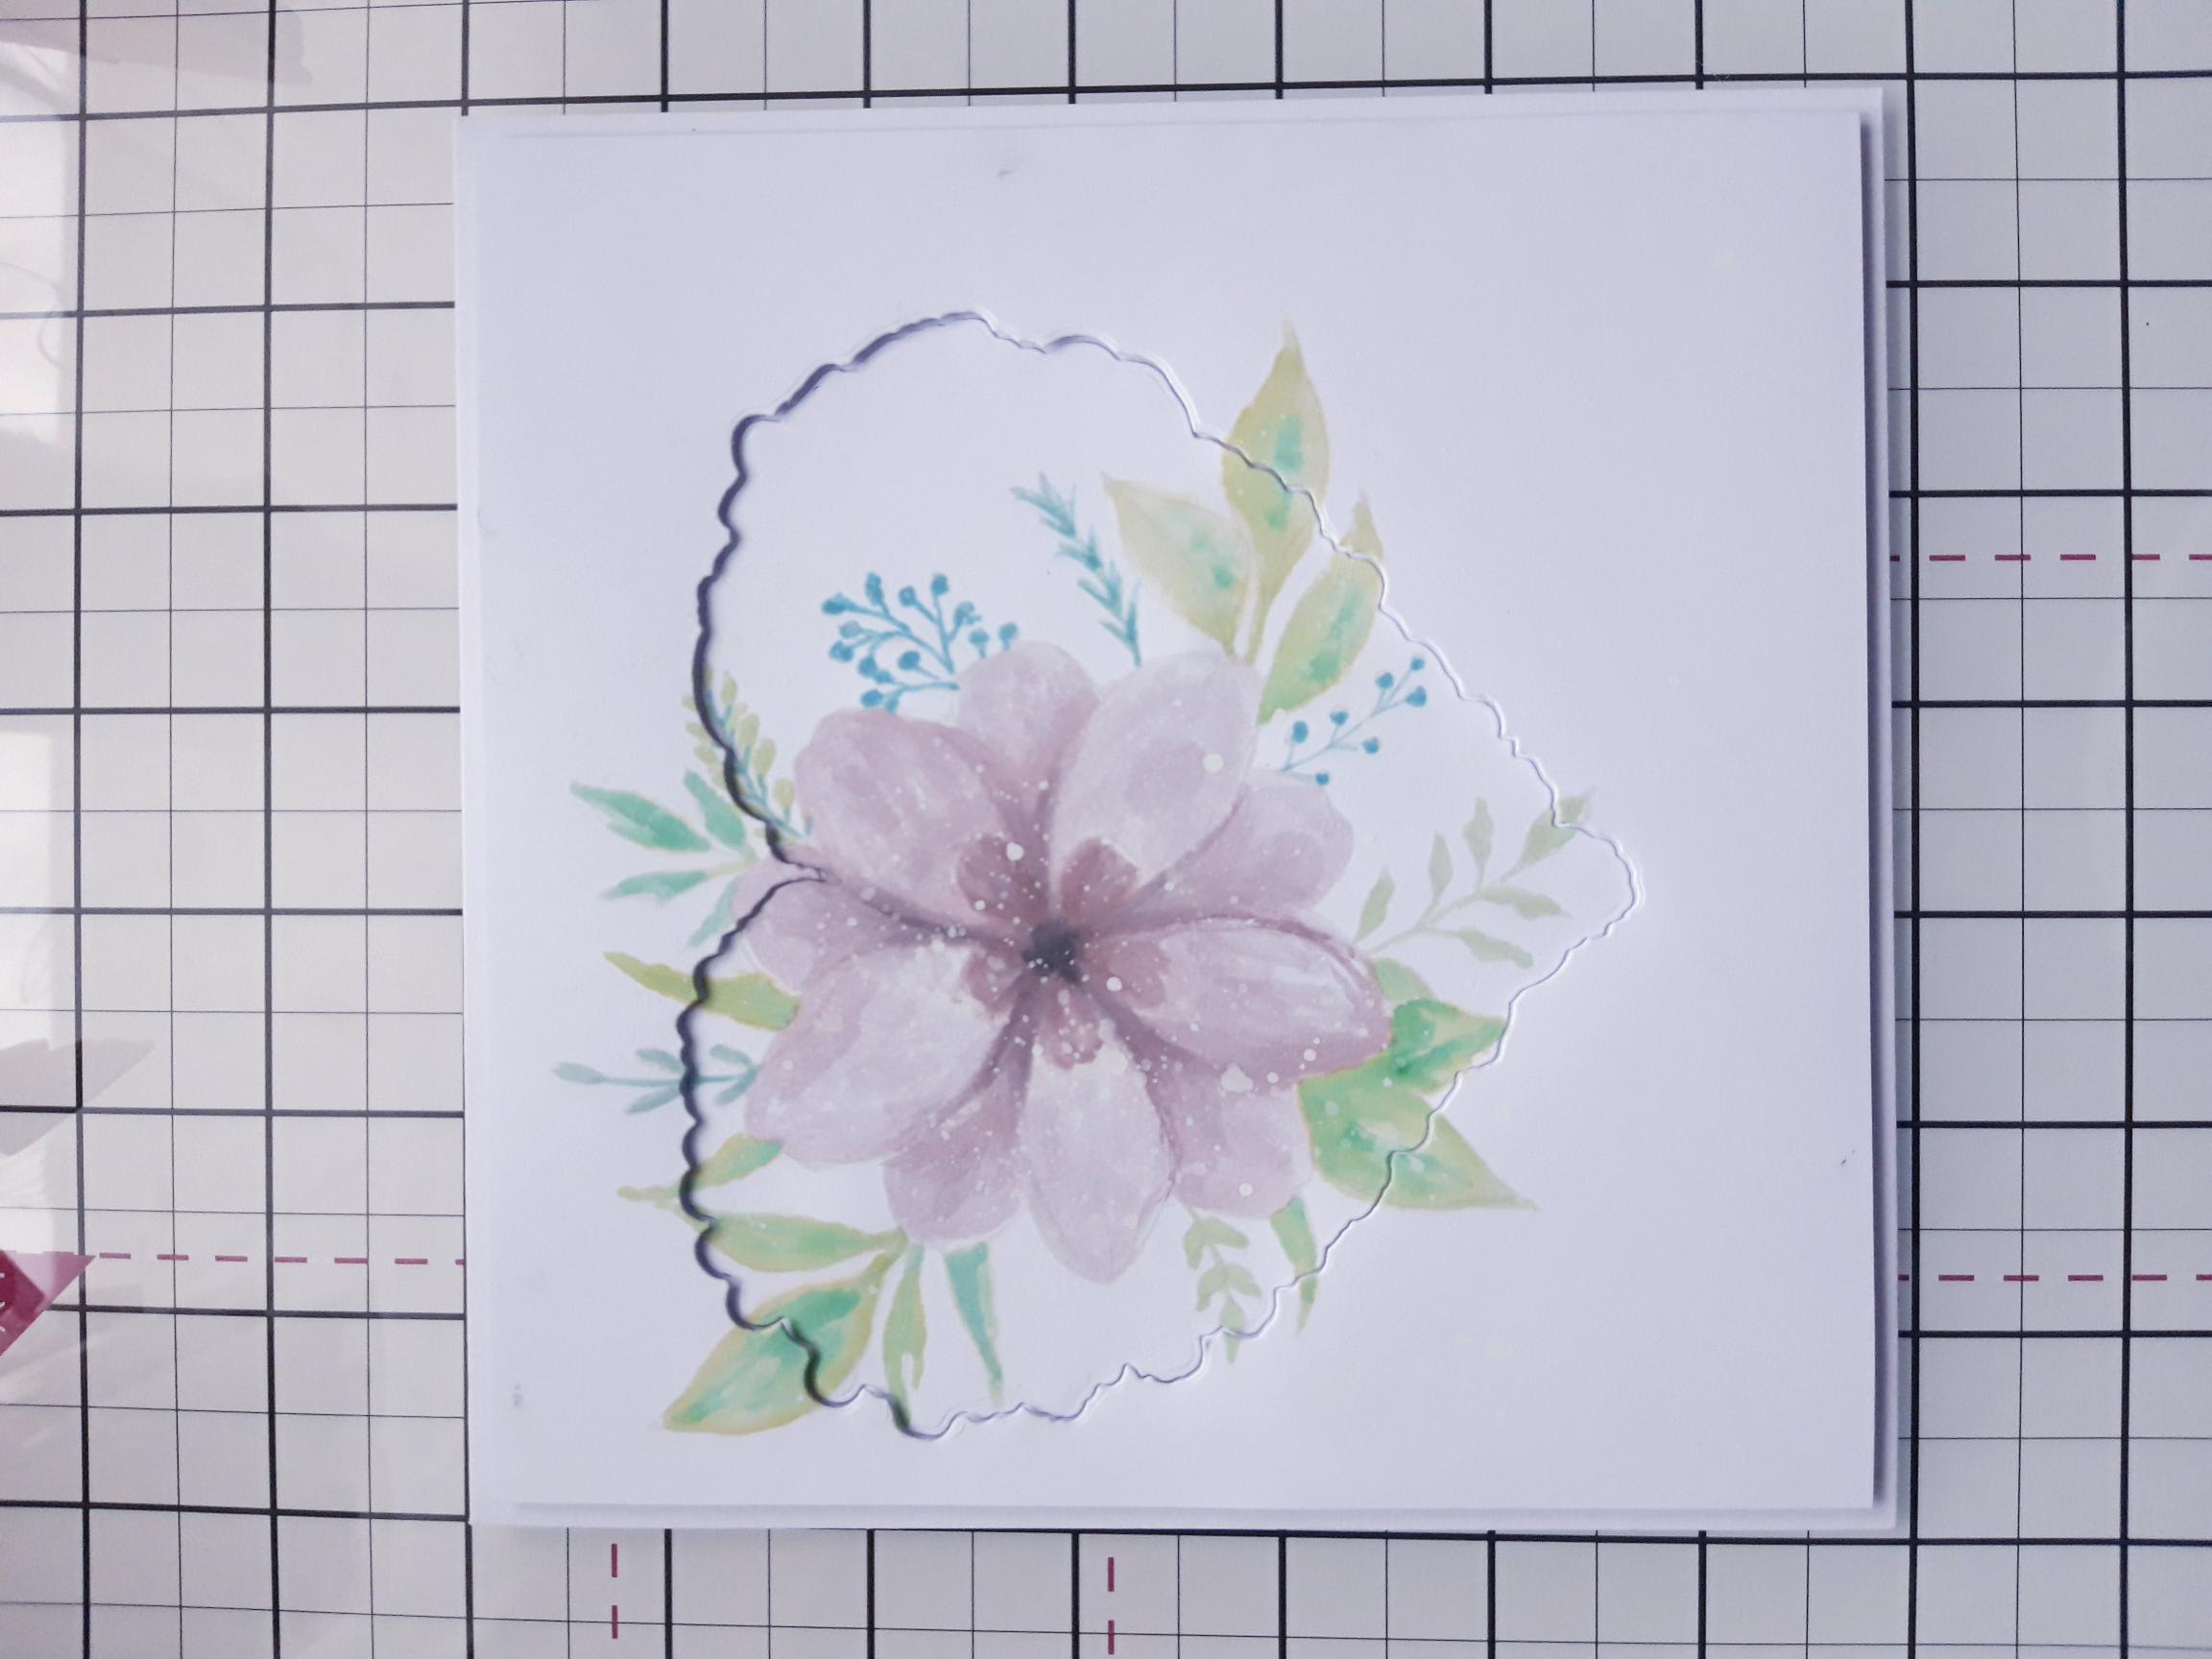
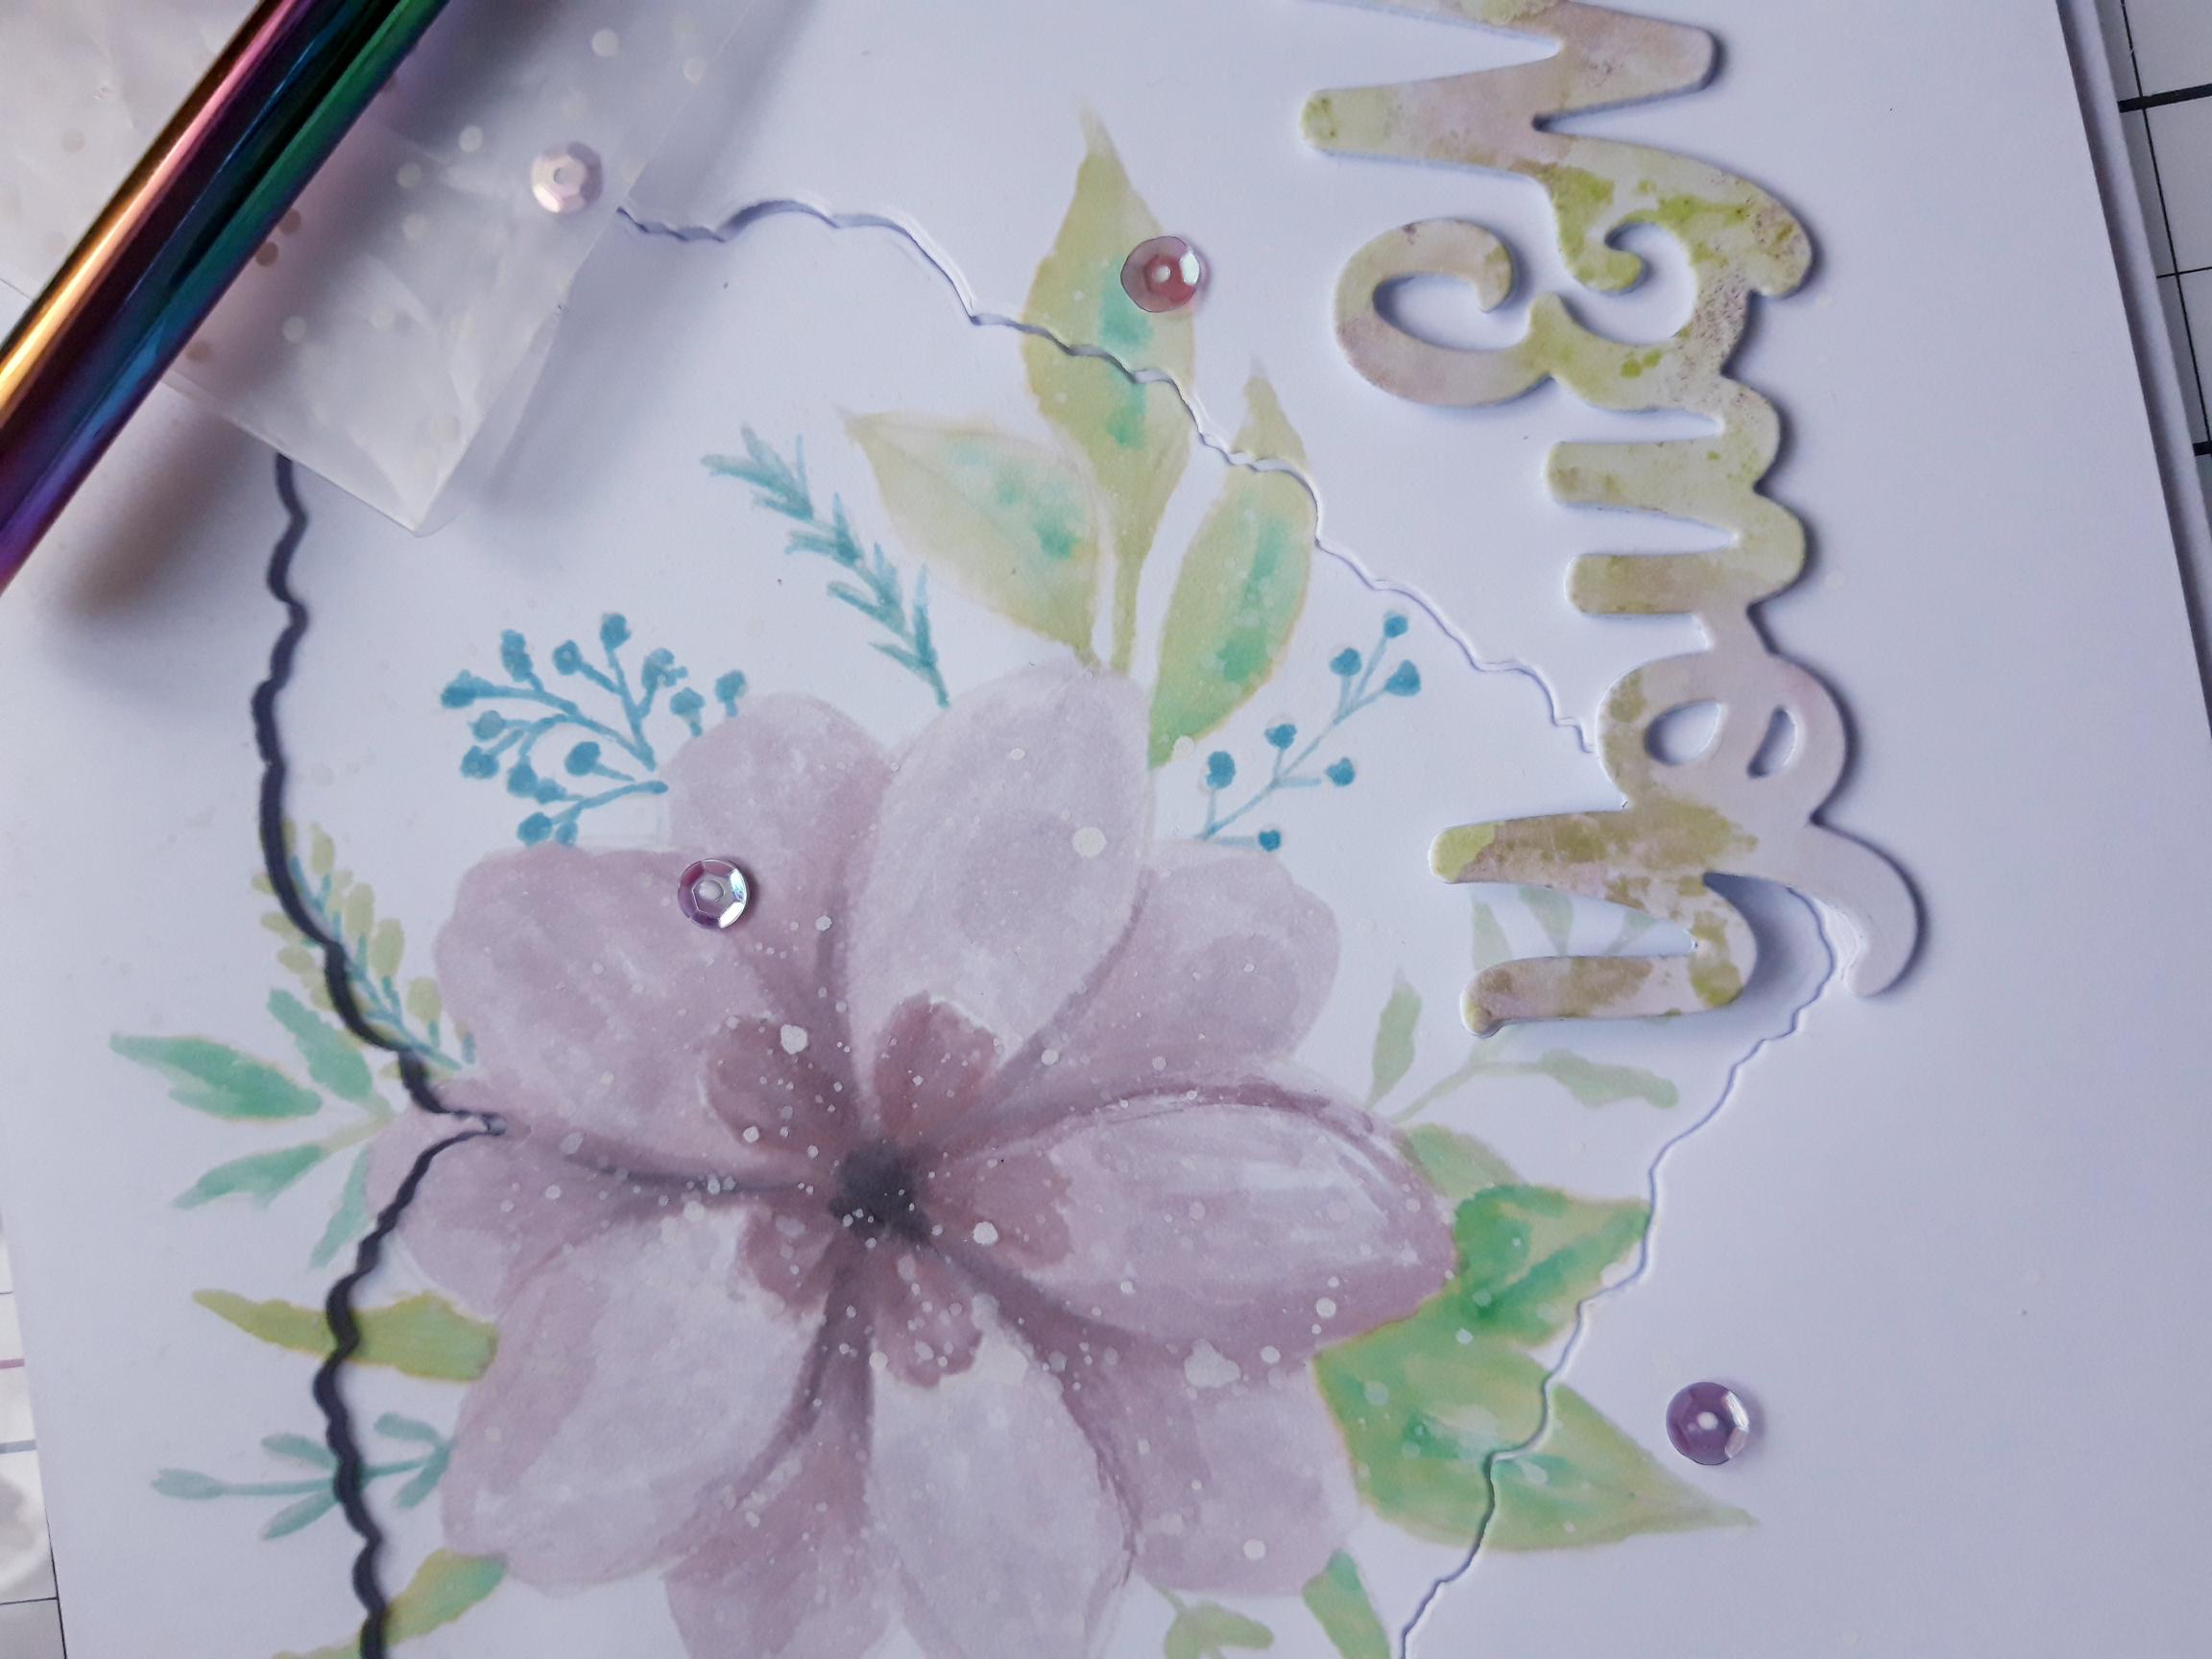
Ink up this gorgeous floral stamp, from the Beautiful Soul set, with the no-line ink pad and stamp just to the top left of the white card (6 3/4" square). Apply a little of your Premium ink pads to your glass mat, add water and paint your stamped image, as required. |
|
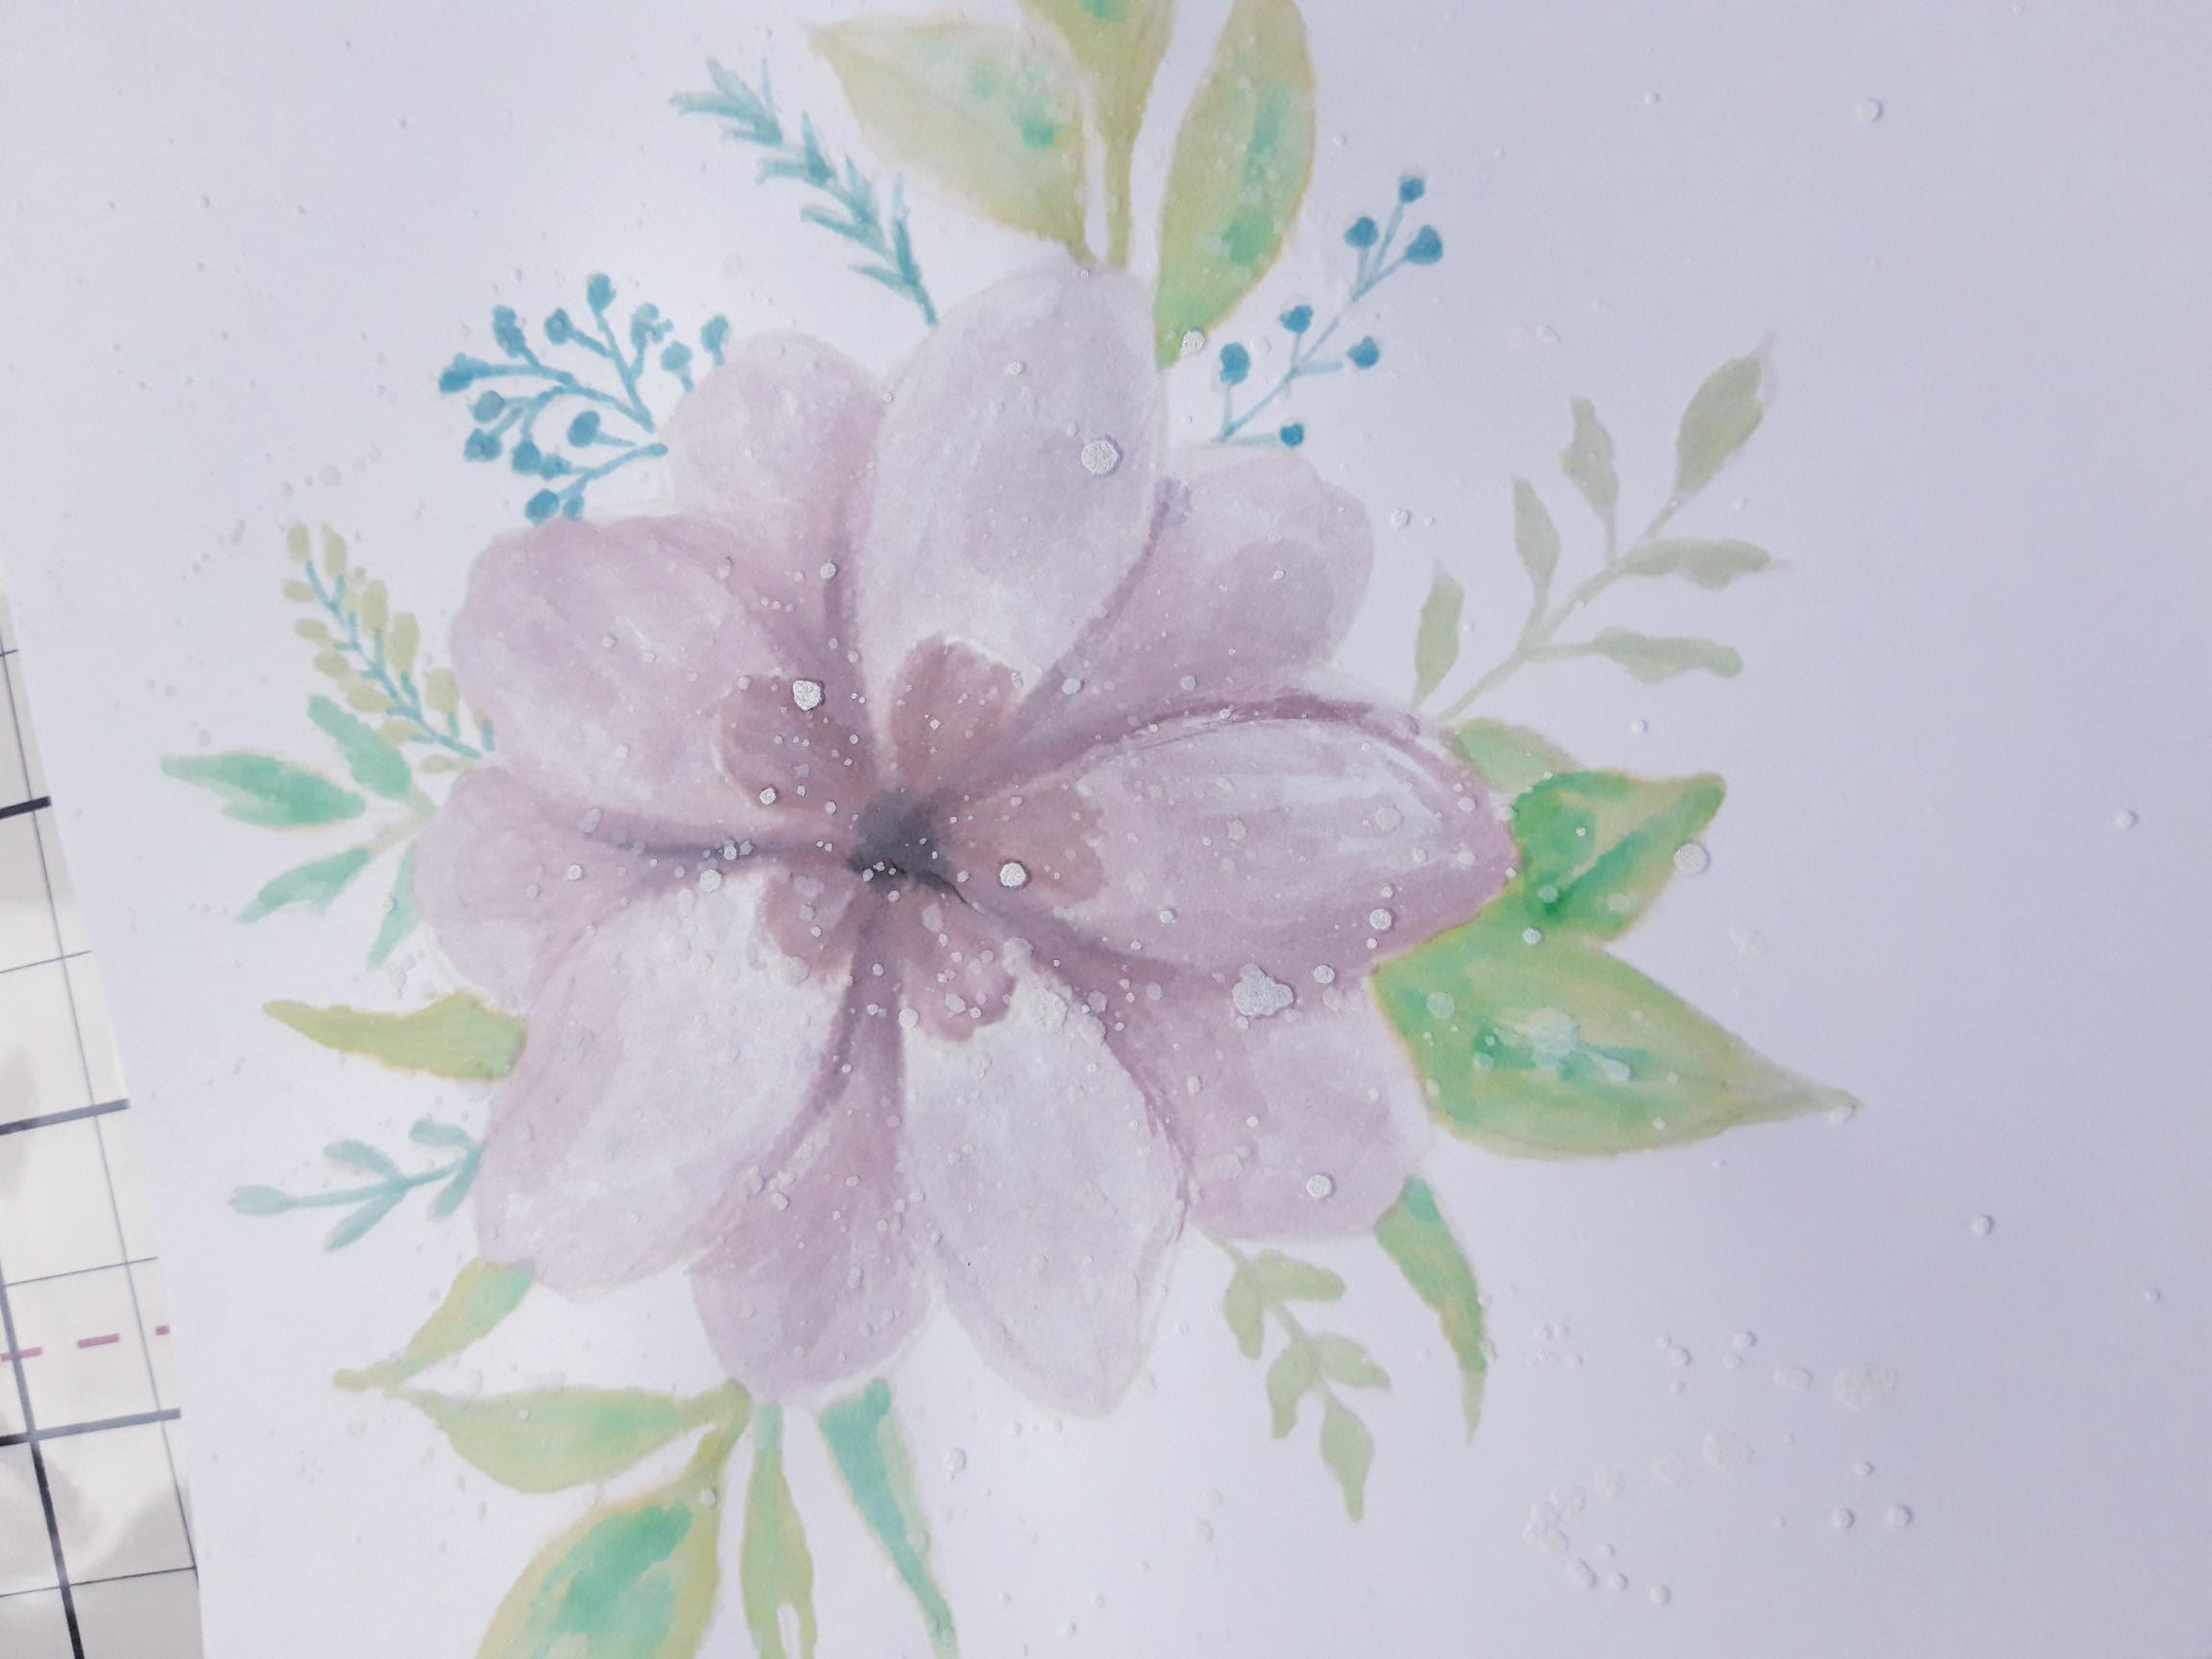
Once the ink is dry, apply a little of the Cotton Pigment ink on to your glass mat, add water and splatter over your artwork. Use your heat tool to dry the inks thoroughly, before proceeding to the next step. |
|
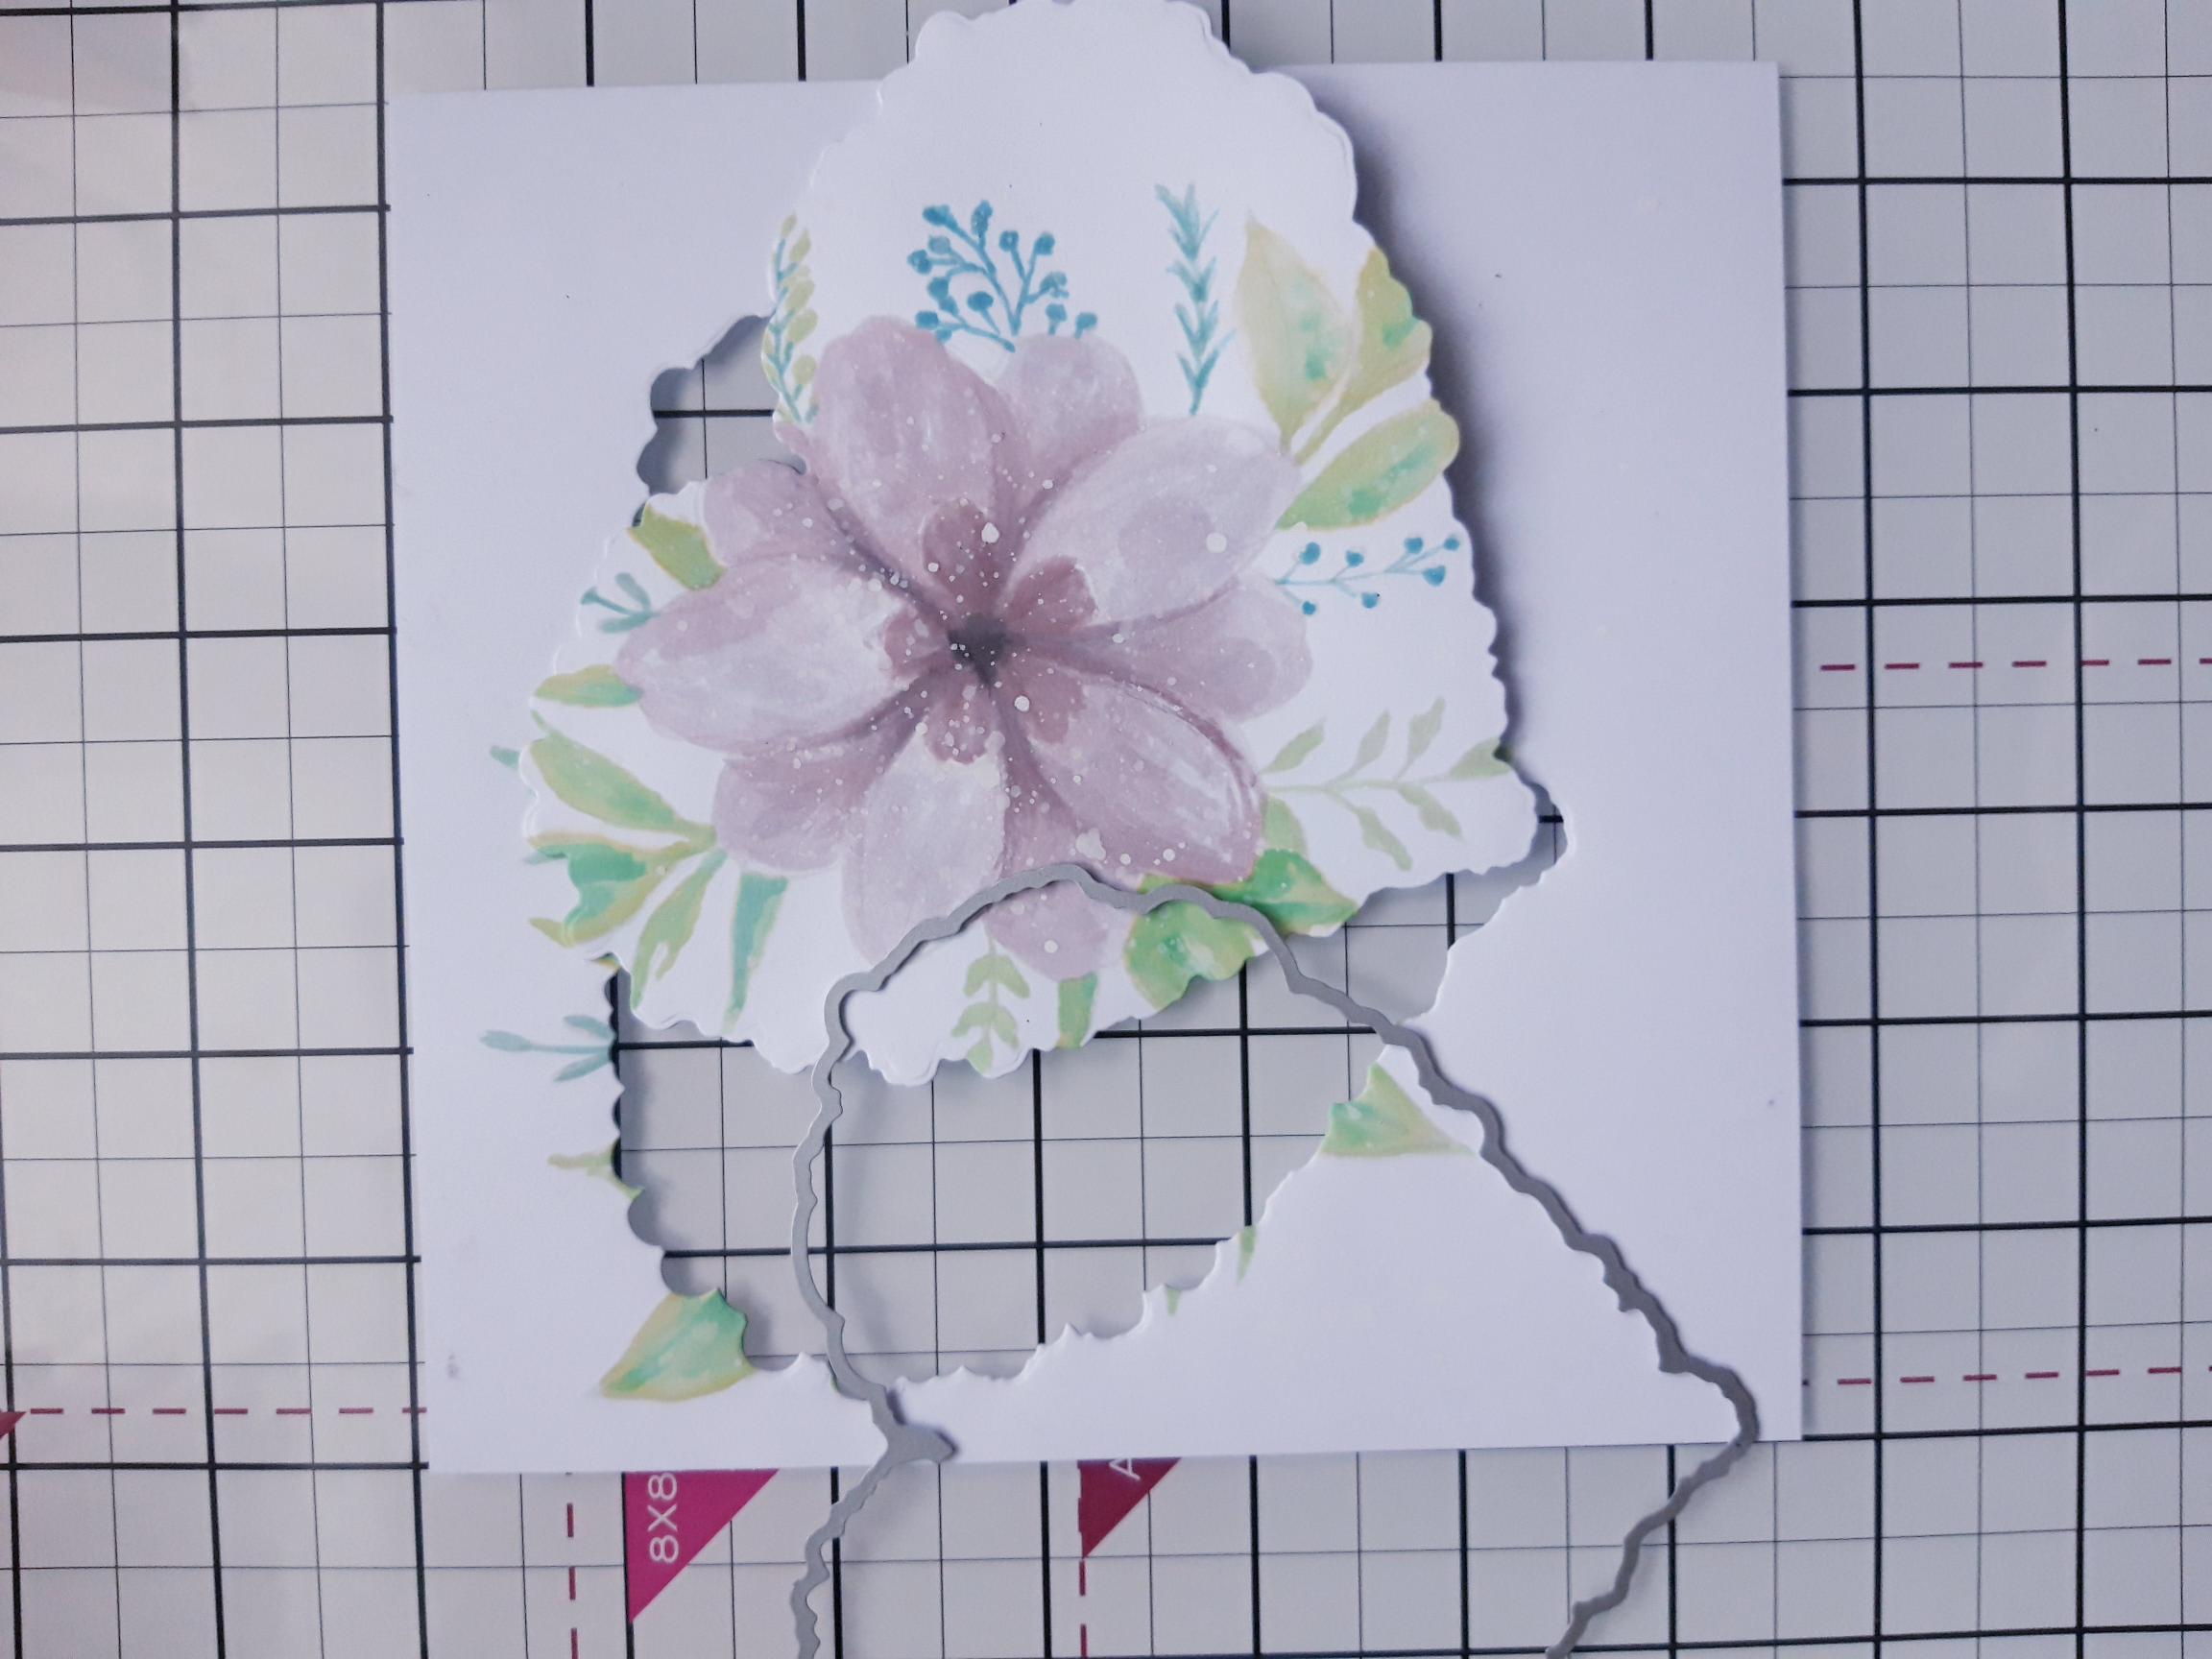
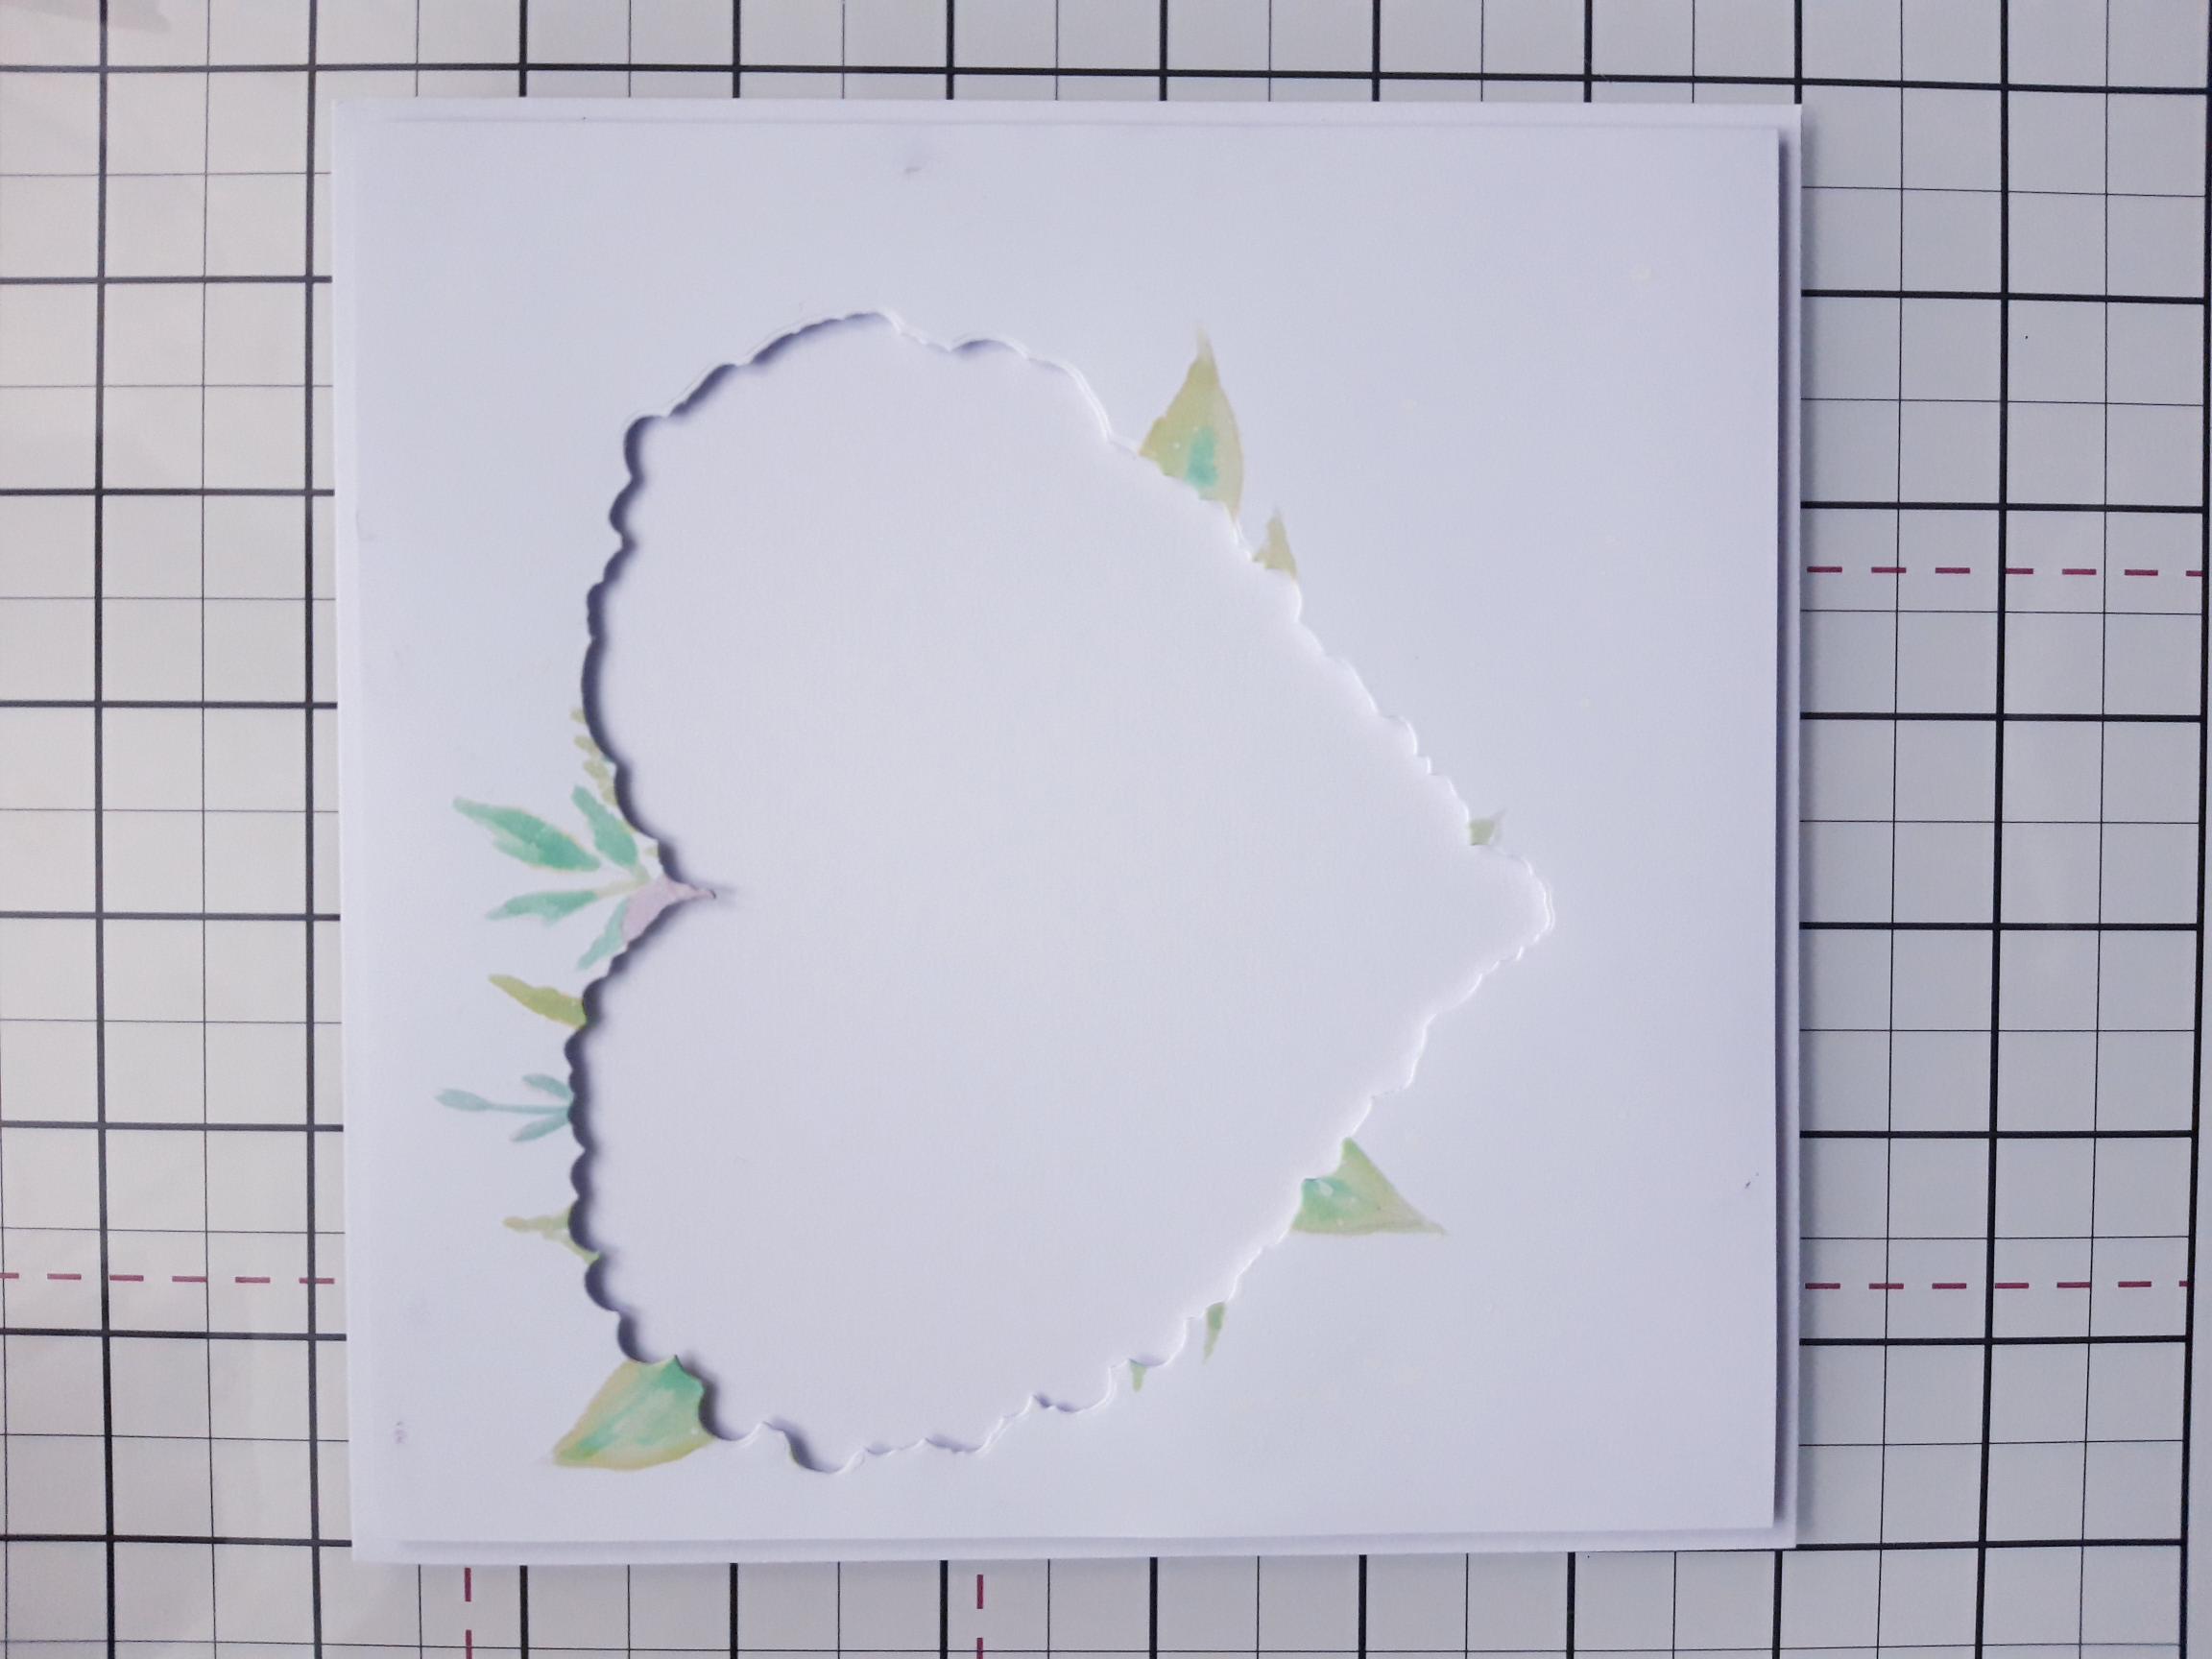
Use the heart die, from the Love Always Stamp and Die Collection, to die cut an aperture through your stamped image, as seen here. The heart die needs to be smaller than the stamped image, allowing some of the image to remain "uncut". Set the stamped, die cut heart to one side. |
|
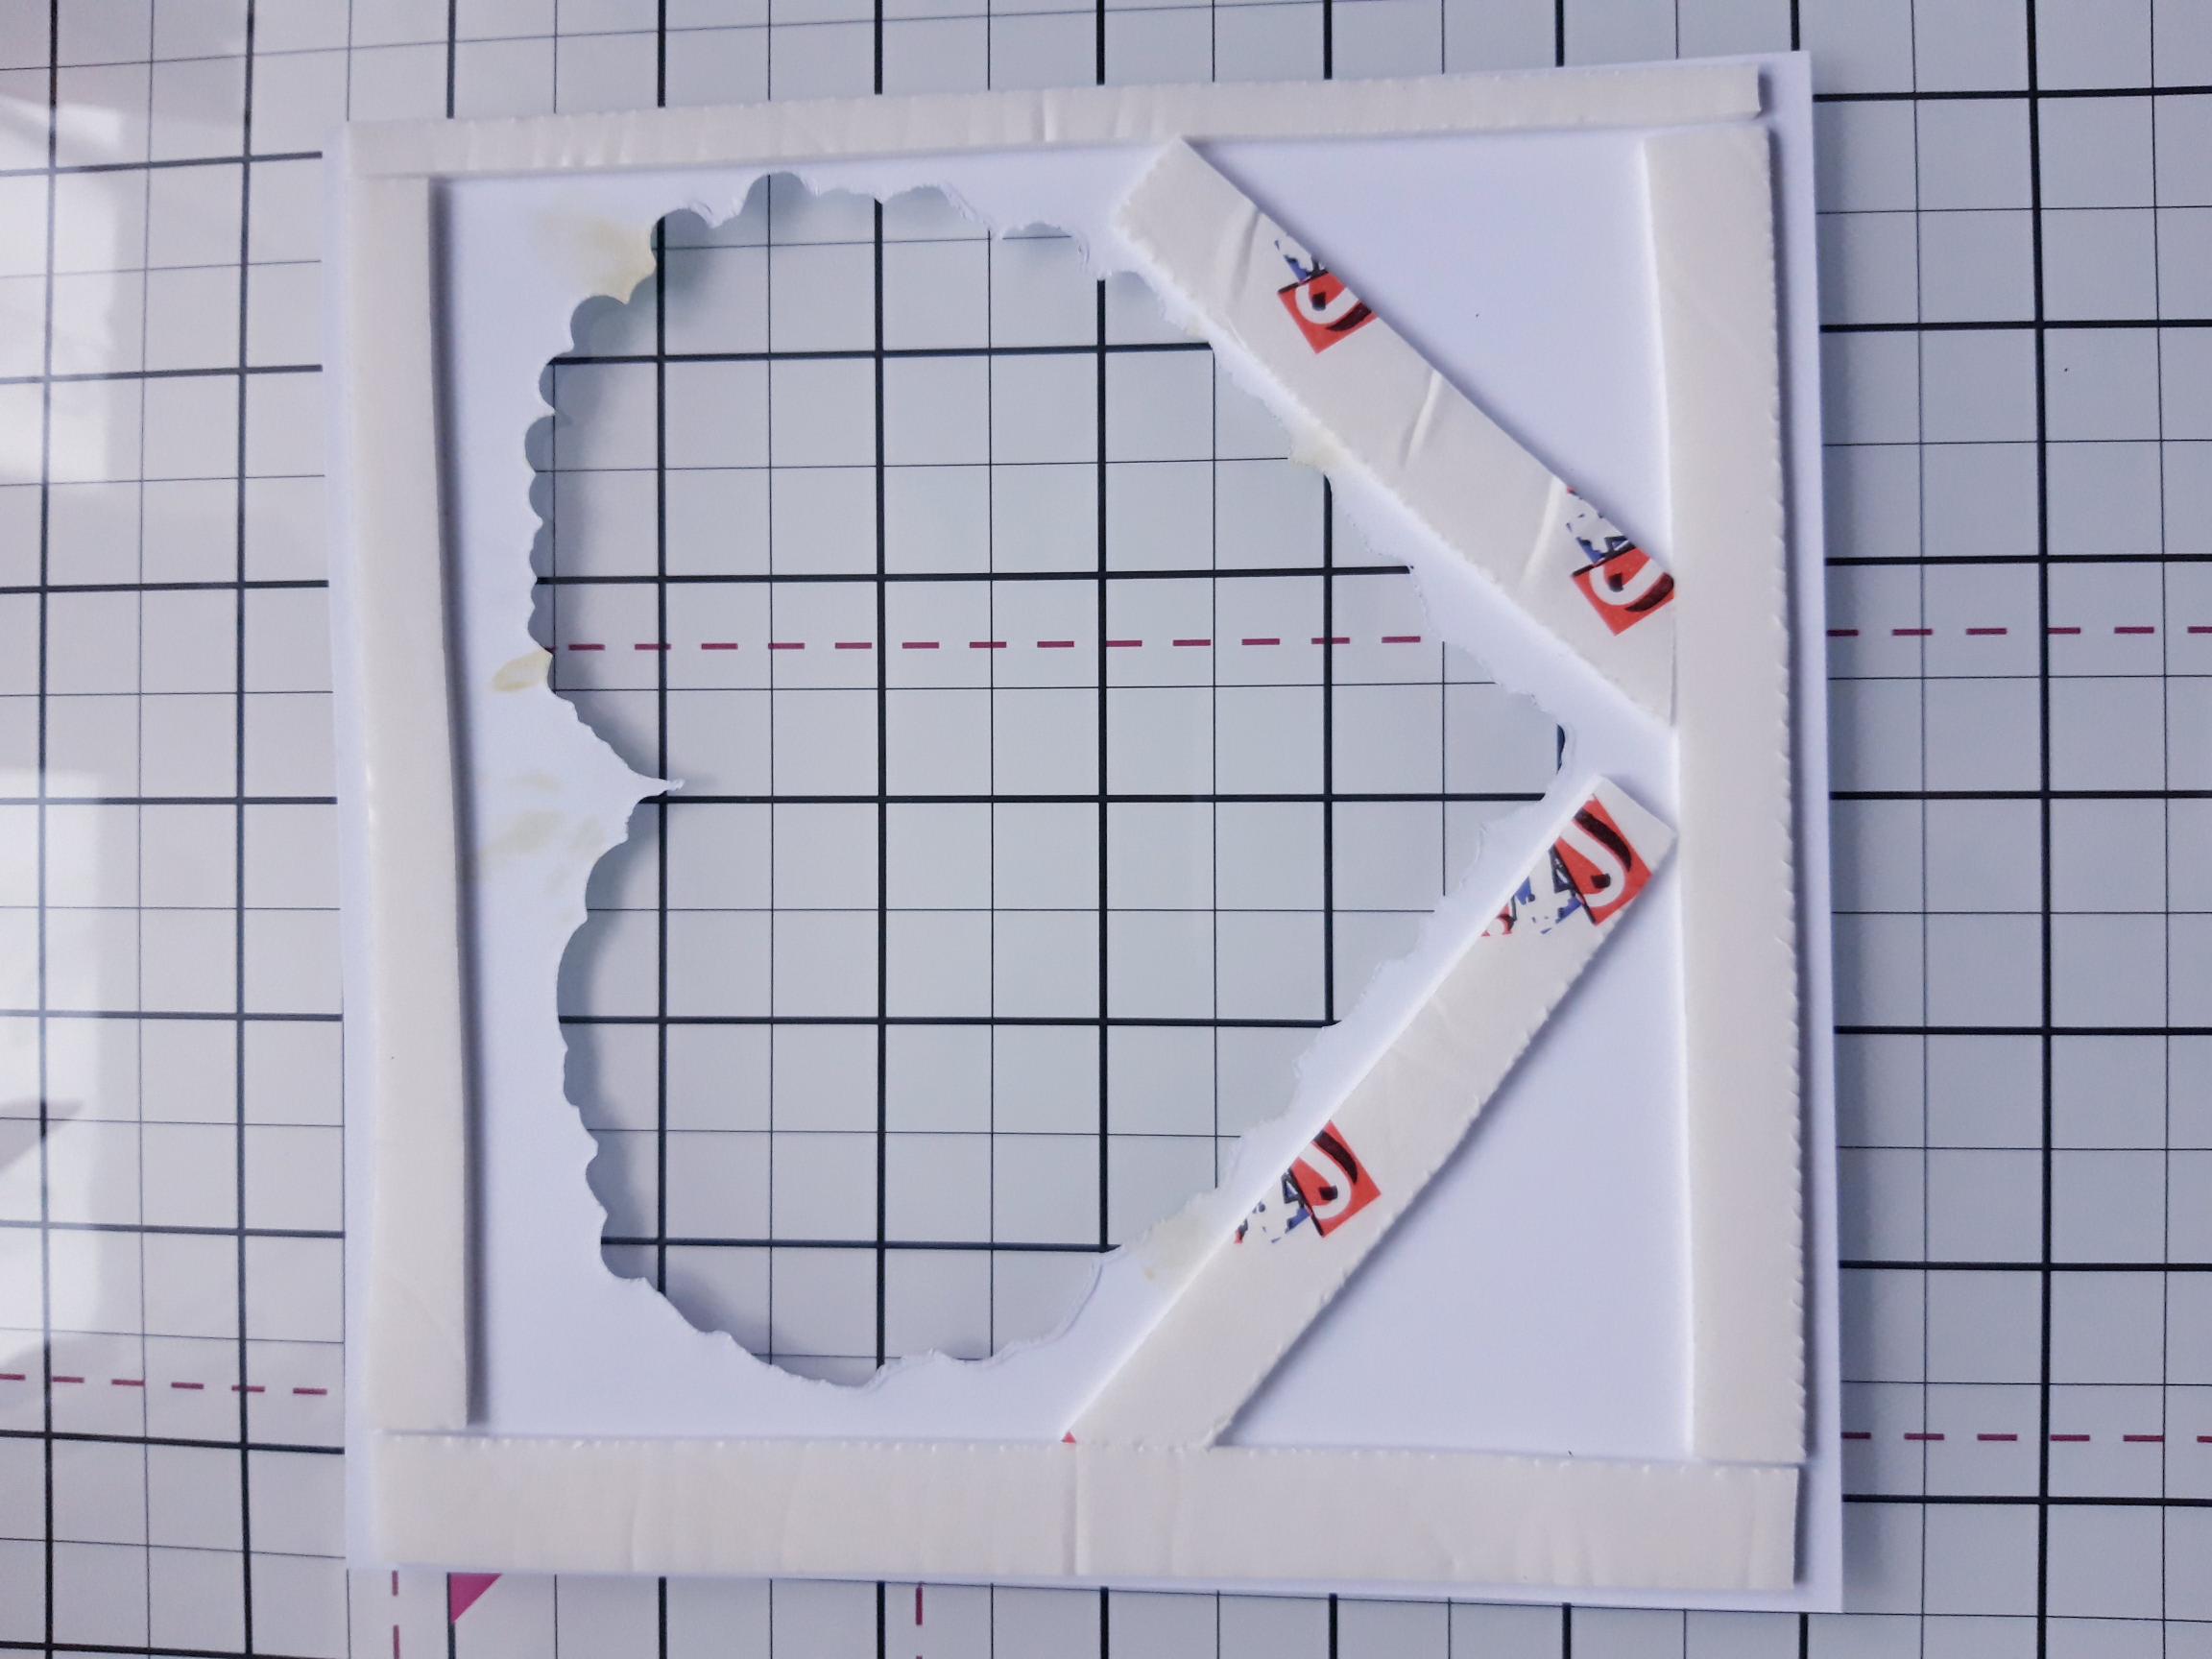
Apply foam pads on the reverse, around the edges of the card and the aperture, as seen here. |
|
Adhere this on to your white, 7 x 7" card blank. |
|
Use wet glue to adhere the stamped heart back inside the aperture, ensuring you line up your stamped image. Set your card aside. |

|
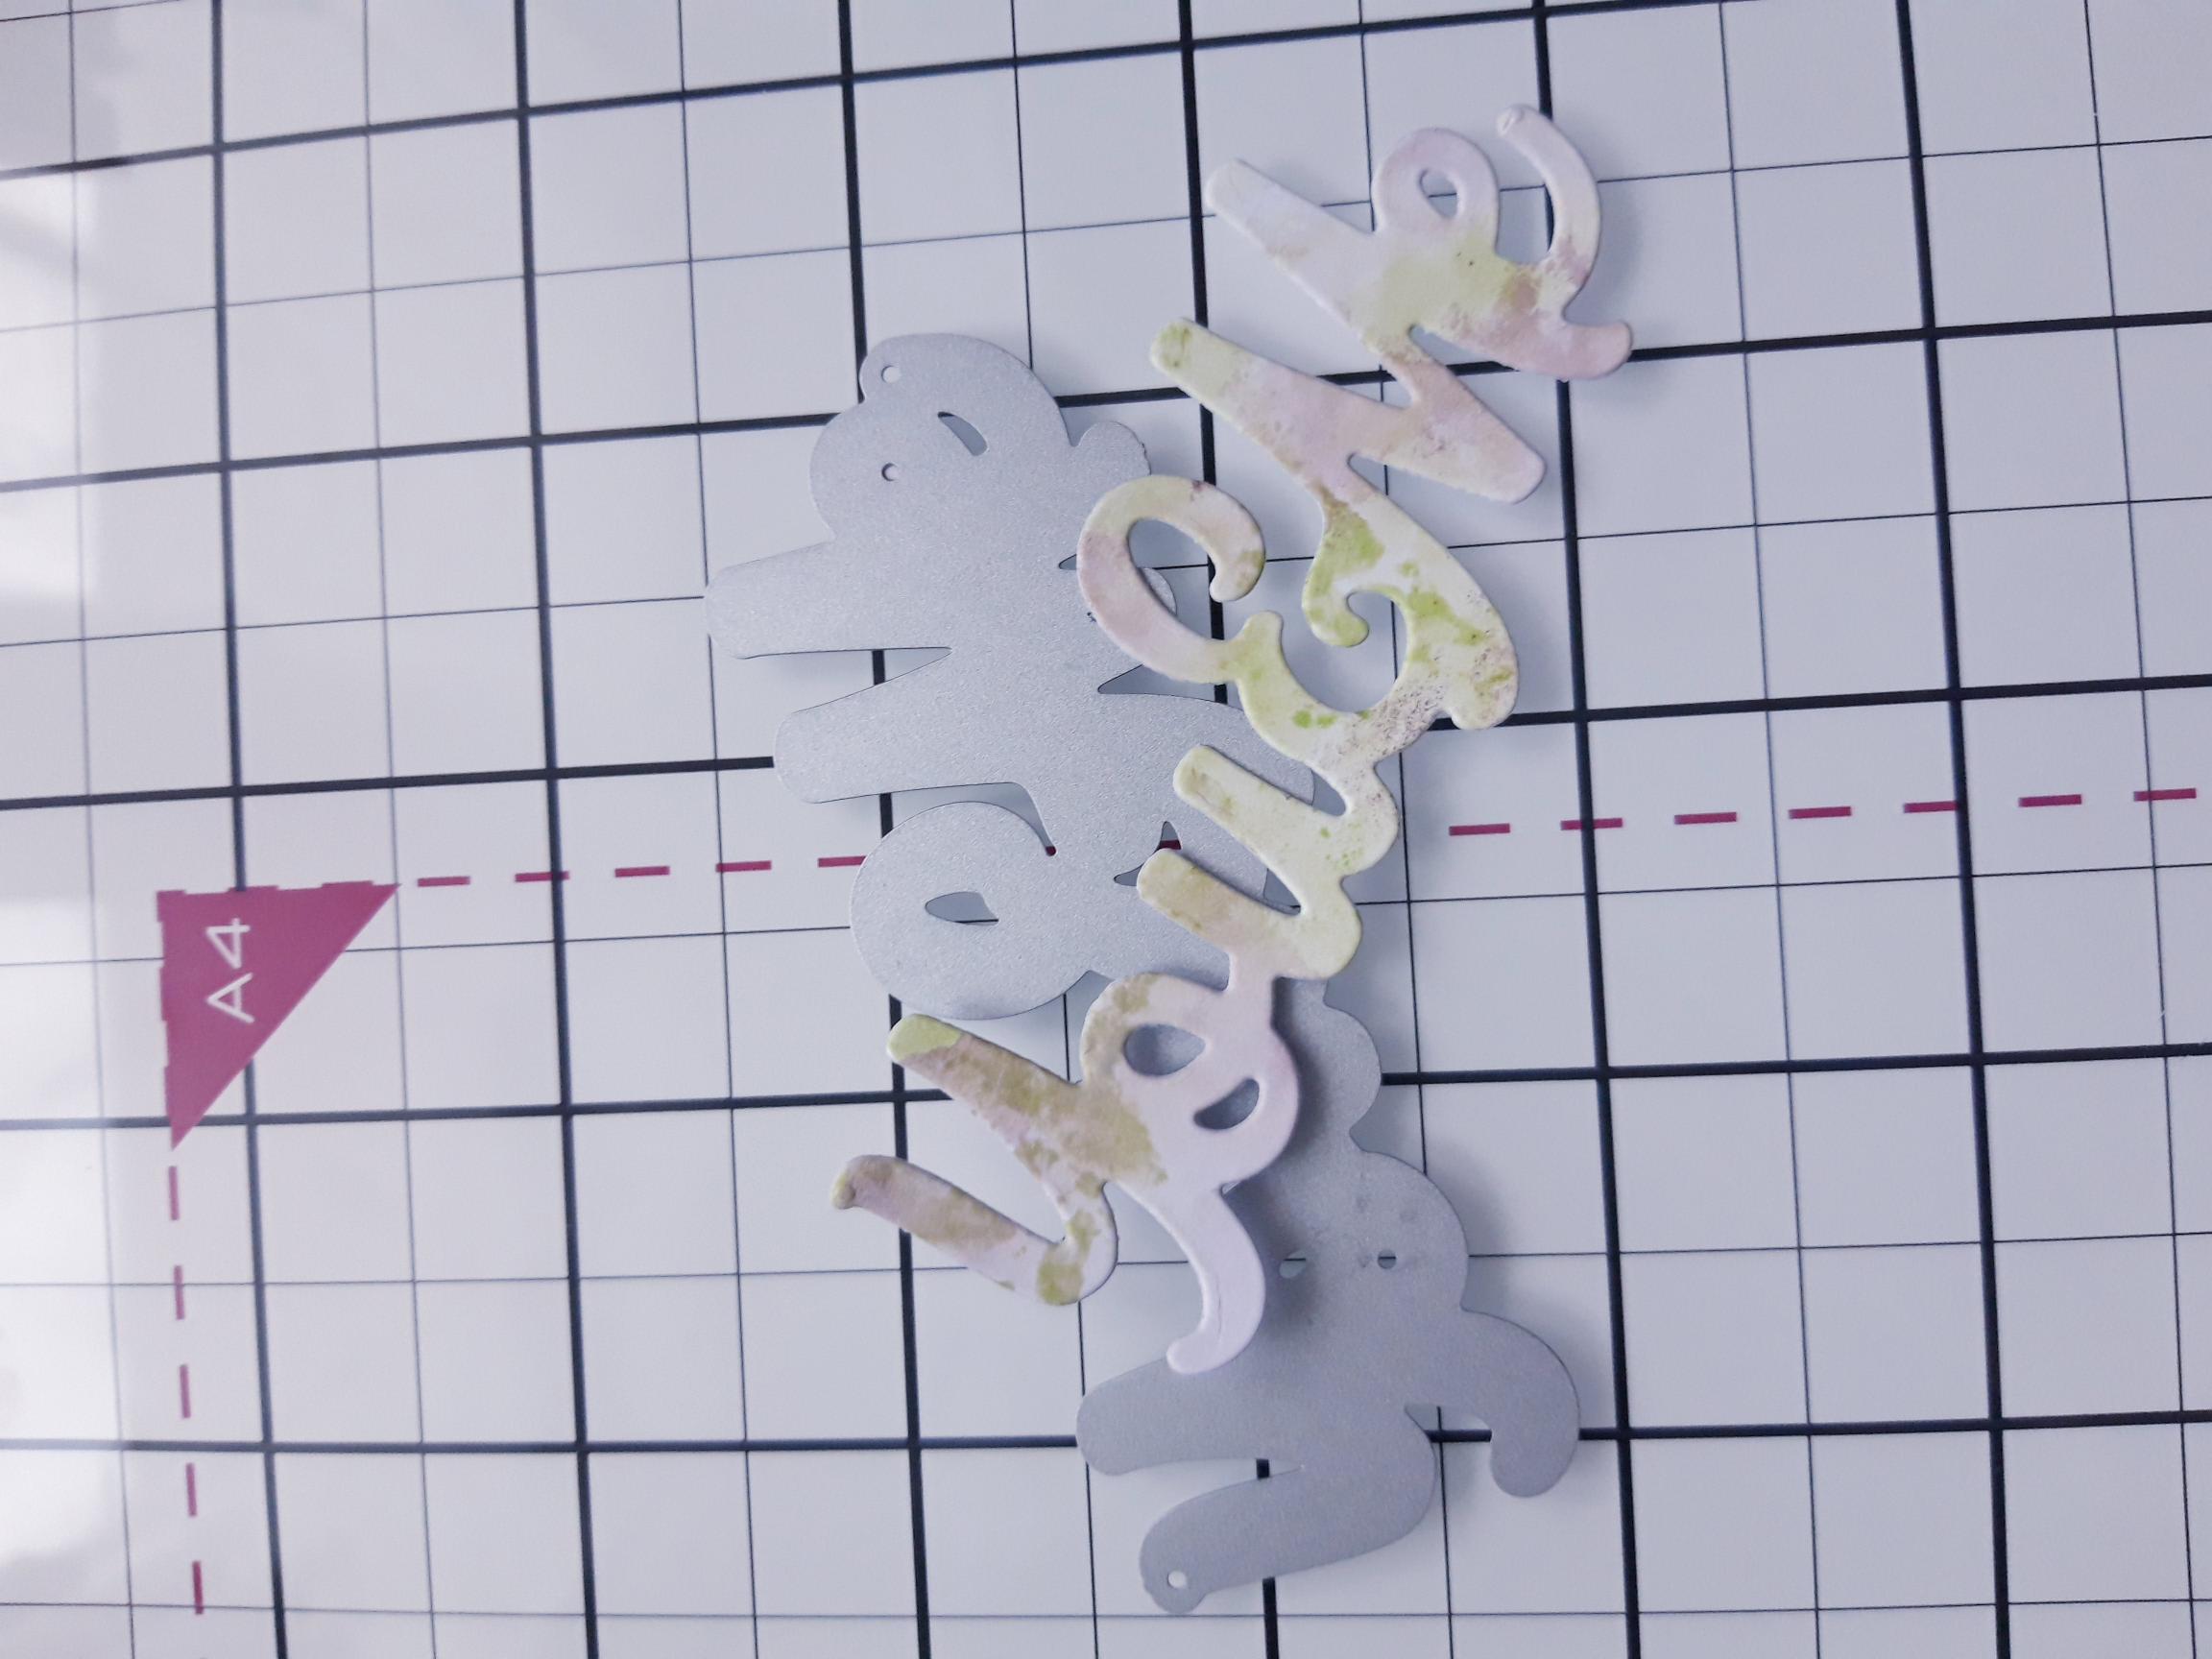
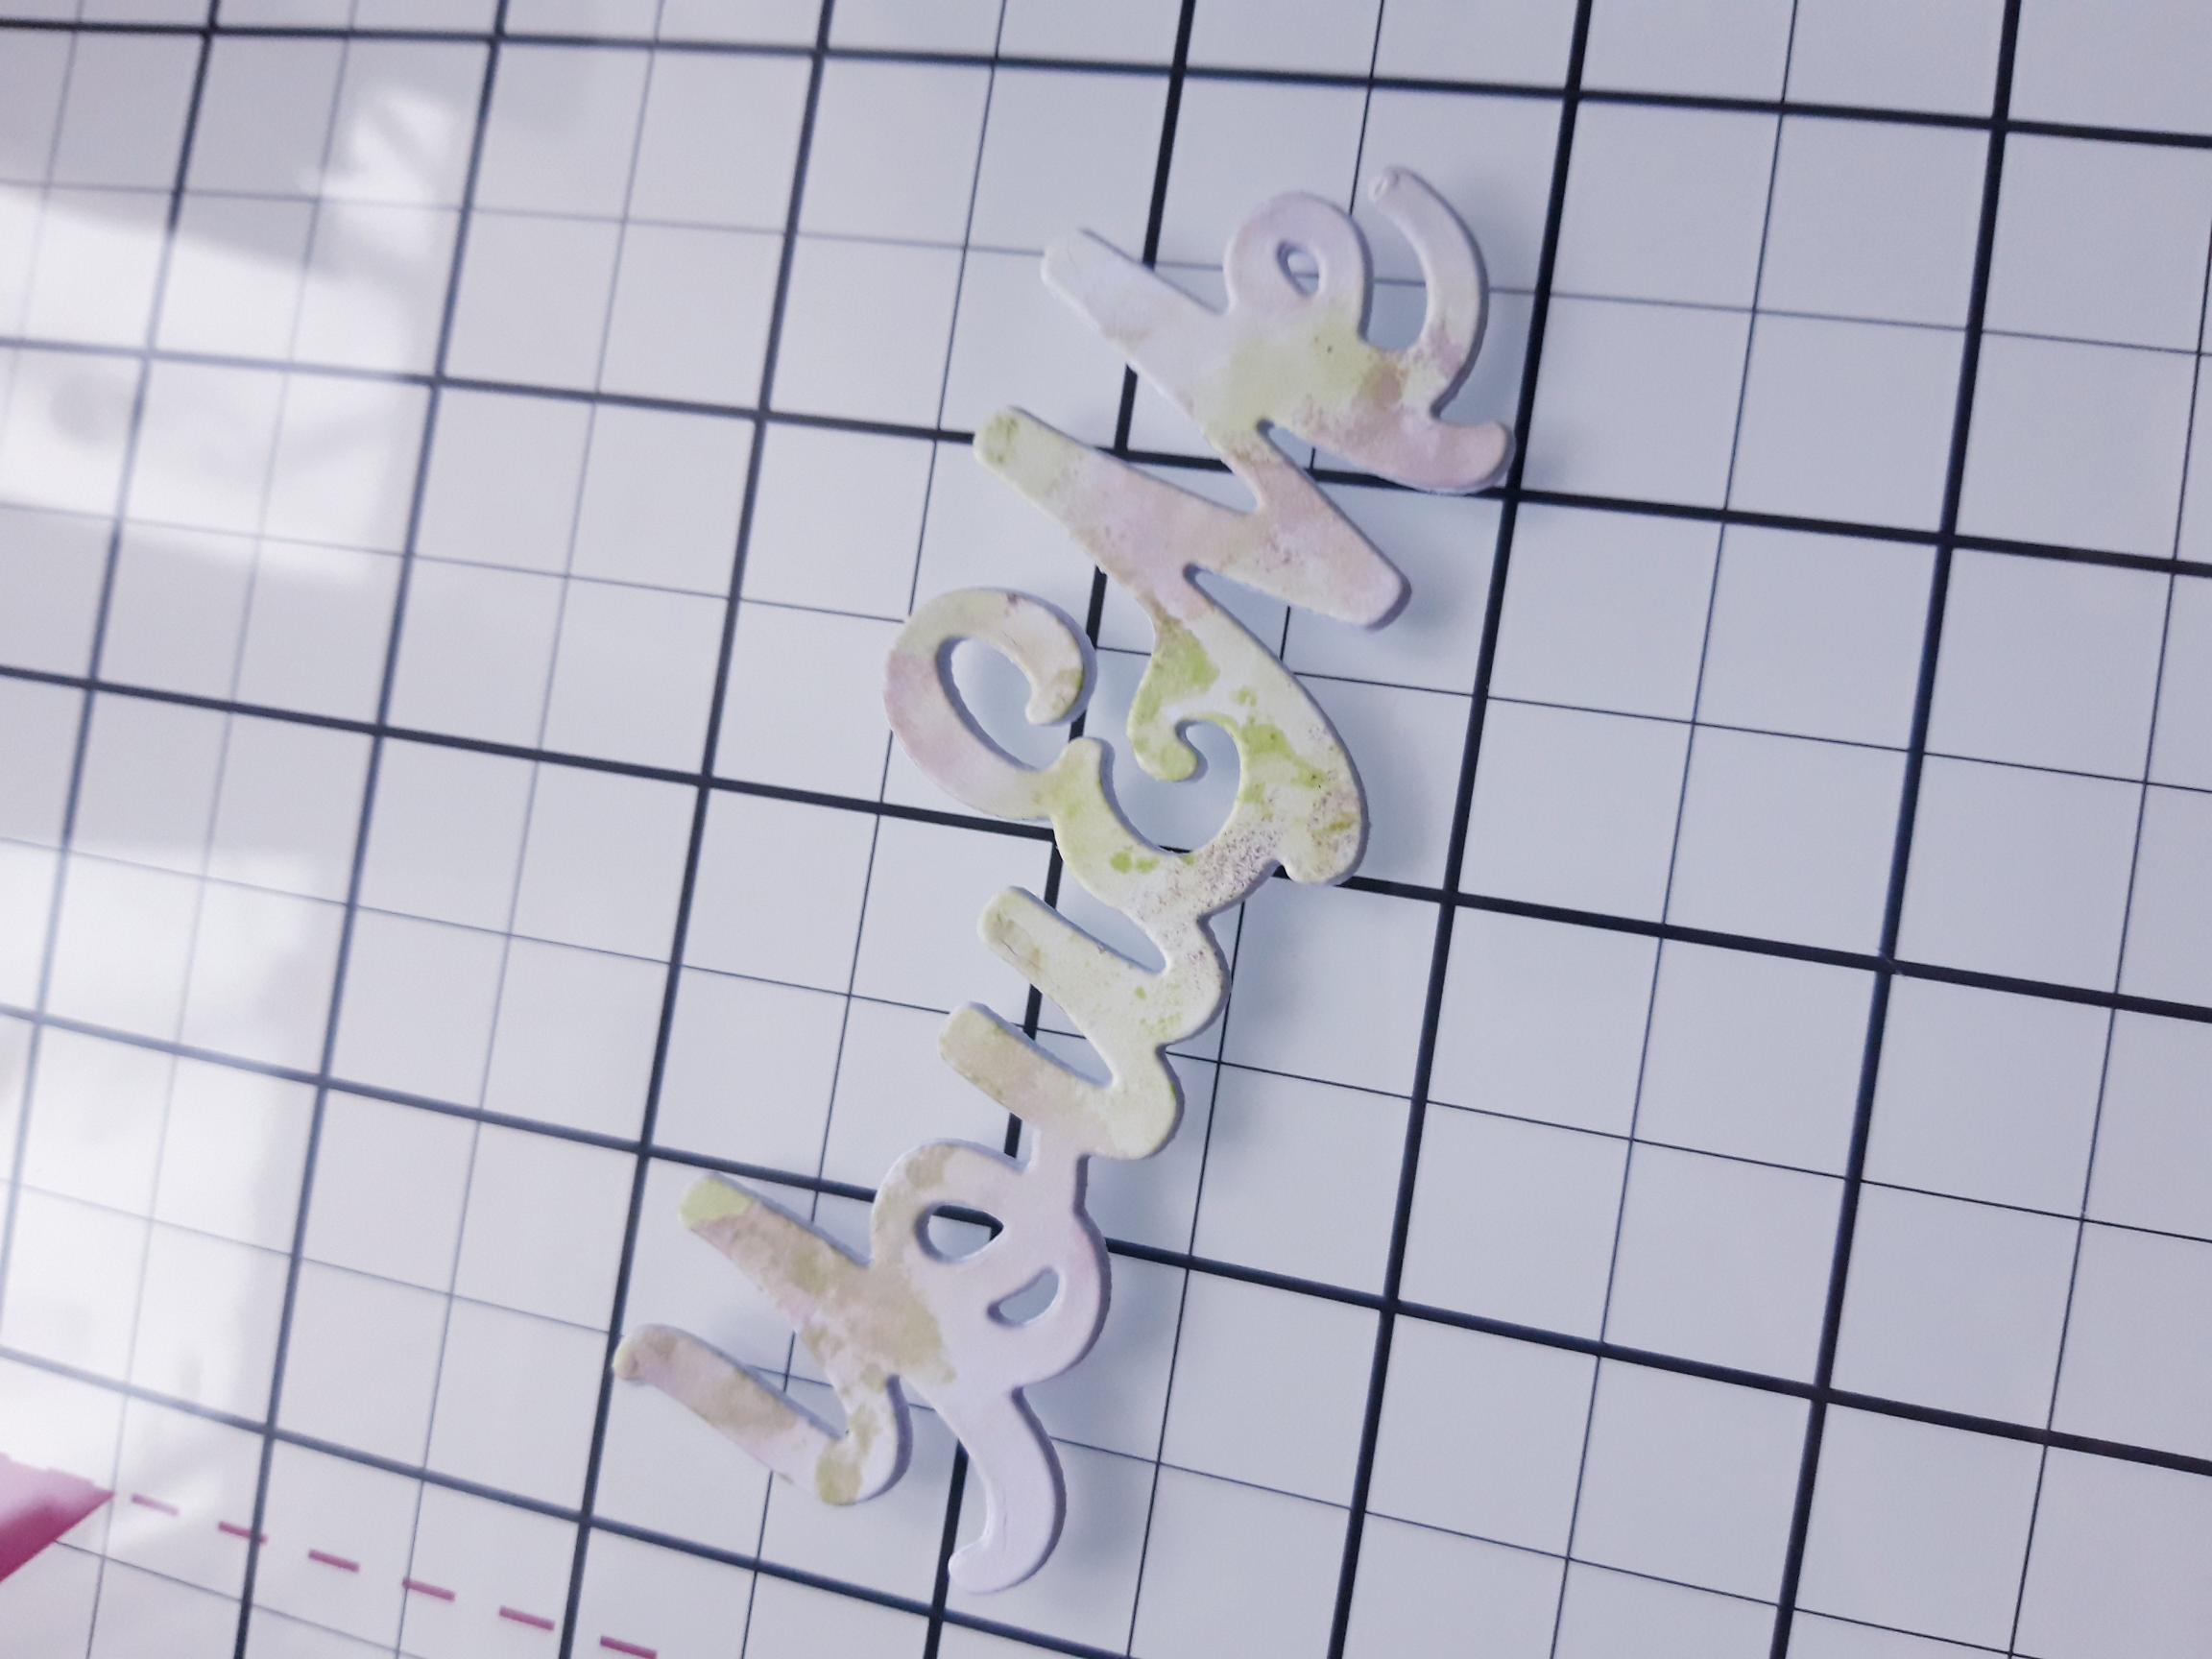
Cut a piece from the white A4 card, slightly bigger than your You & Me die. Set the remainder of the card aside. Pop a little of the Limeade and Heather on to your glass mat, add water then smoosh your card in to the ink, ensuring you dry off in between each colour, to avoid colour contamination. Dry the ink with a quick blast from your heat tool. |
|
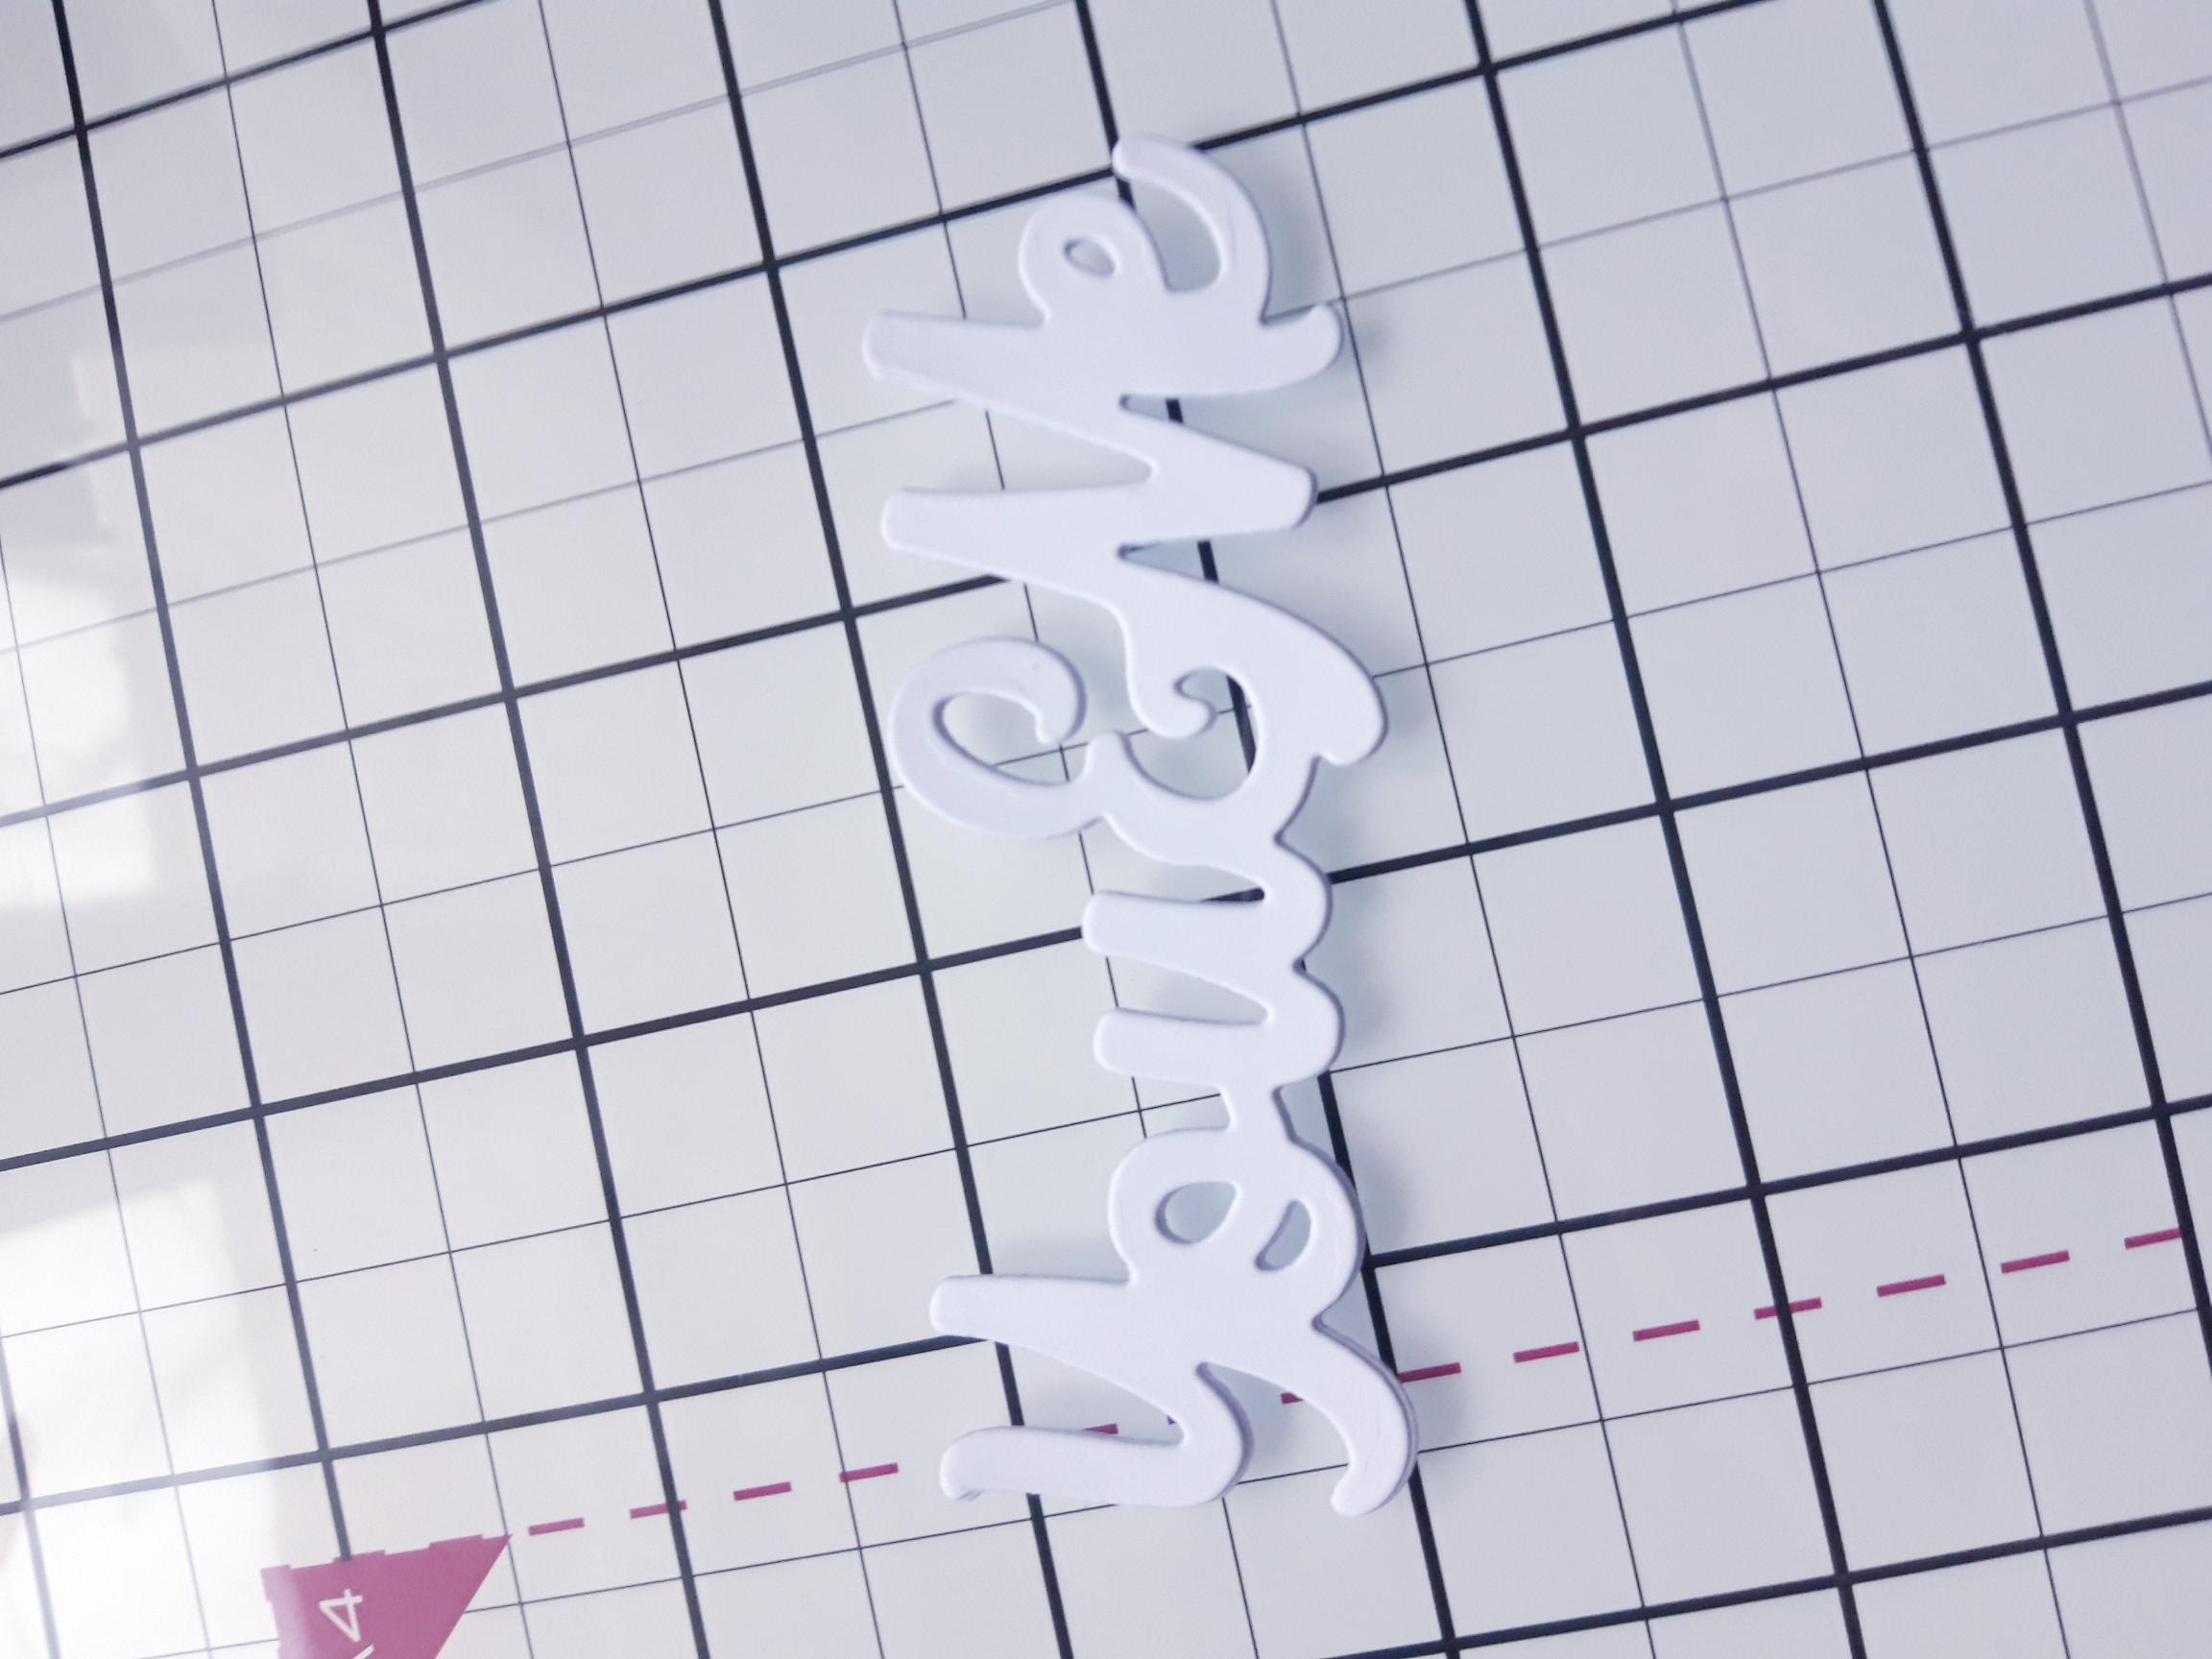
Place the You & Me die on the inky card and run it through your die cutting machine. |
|
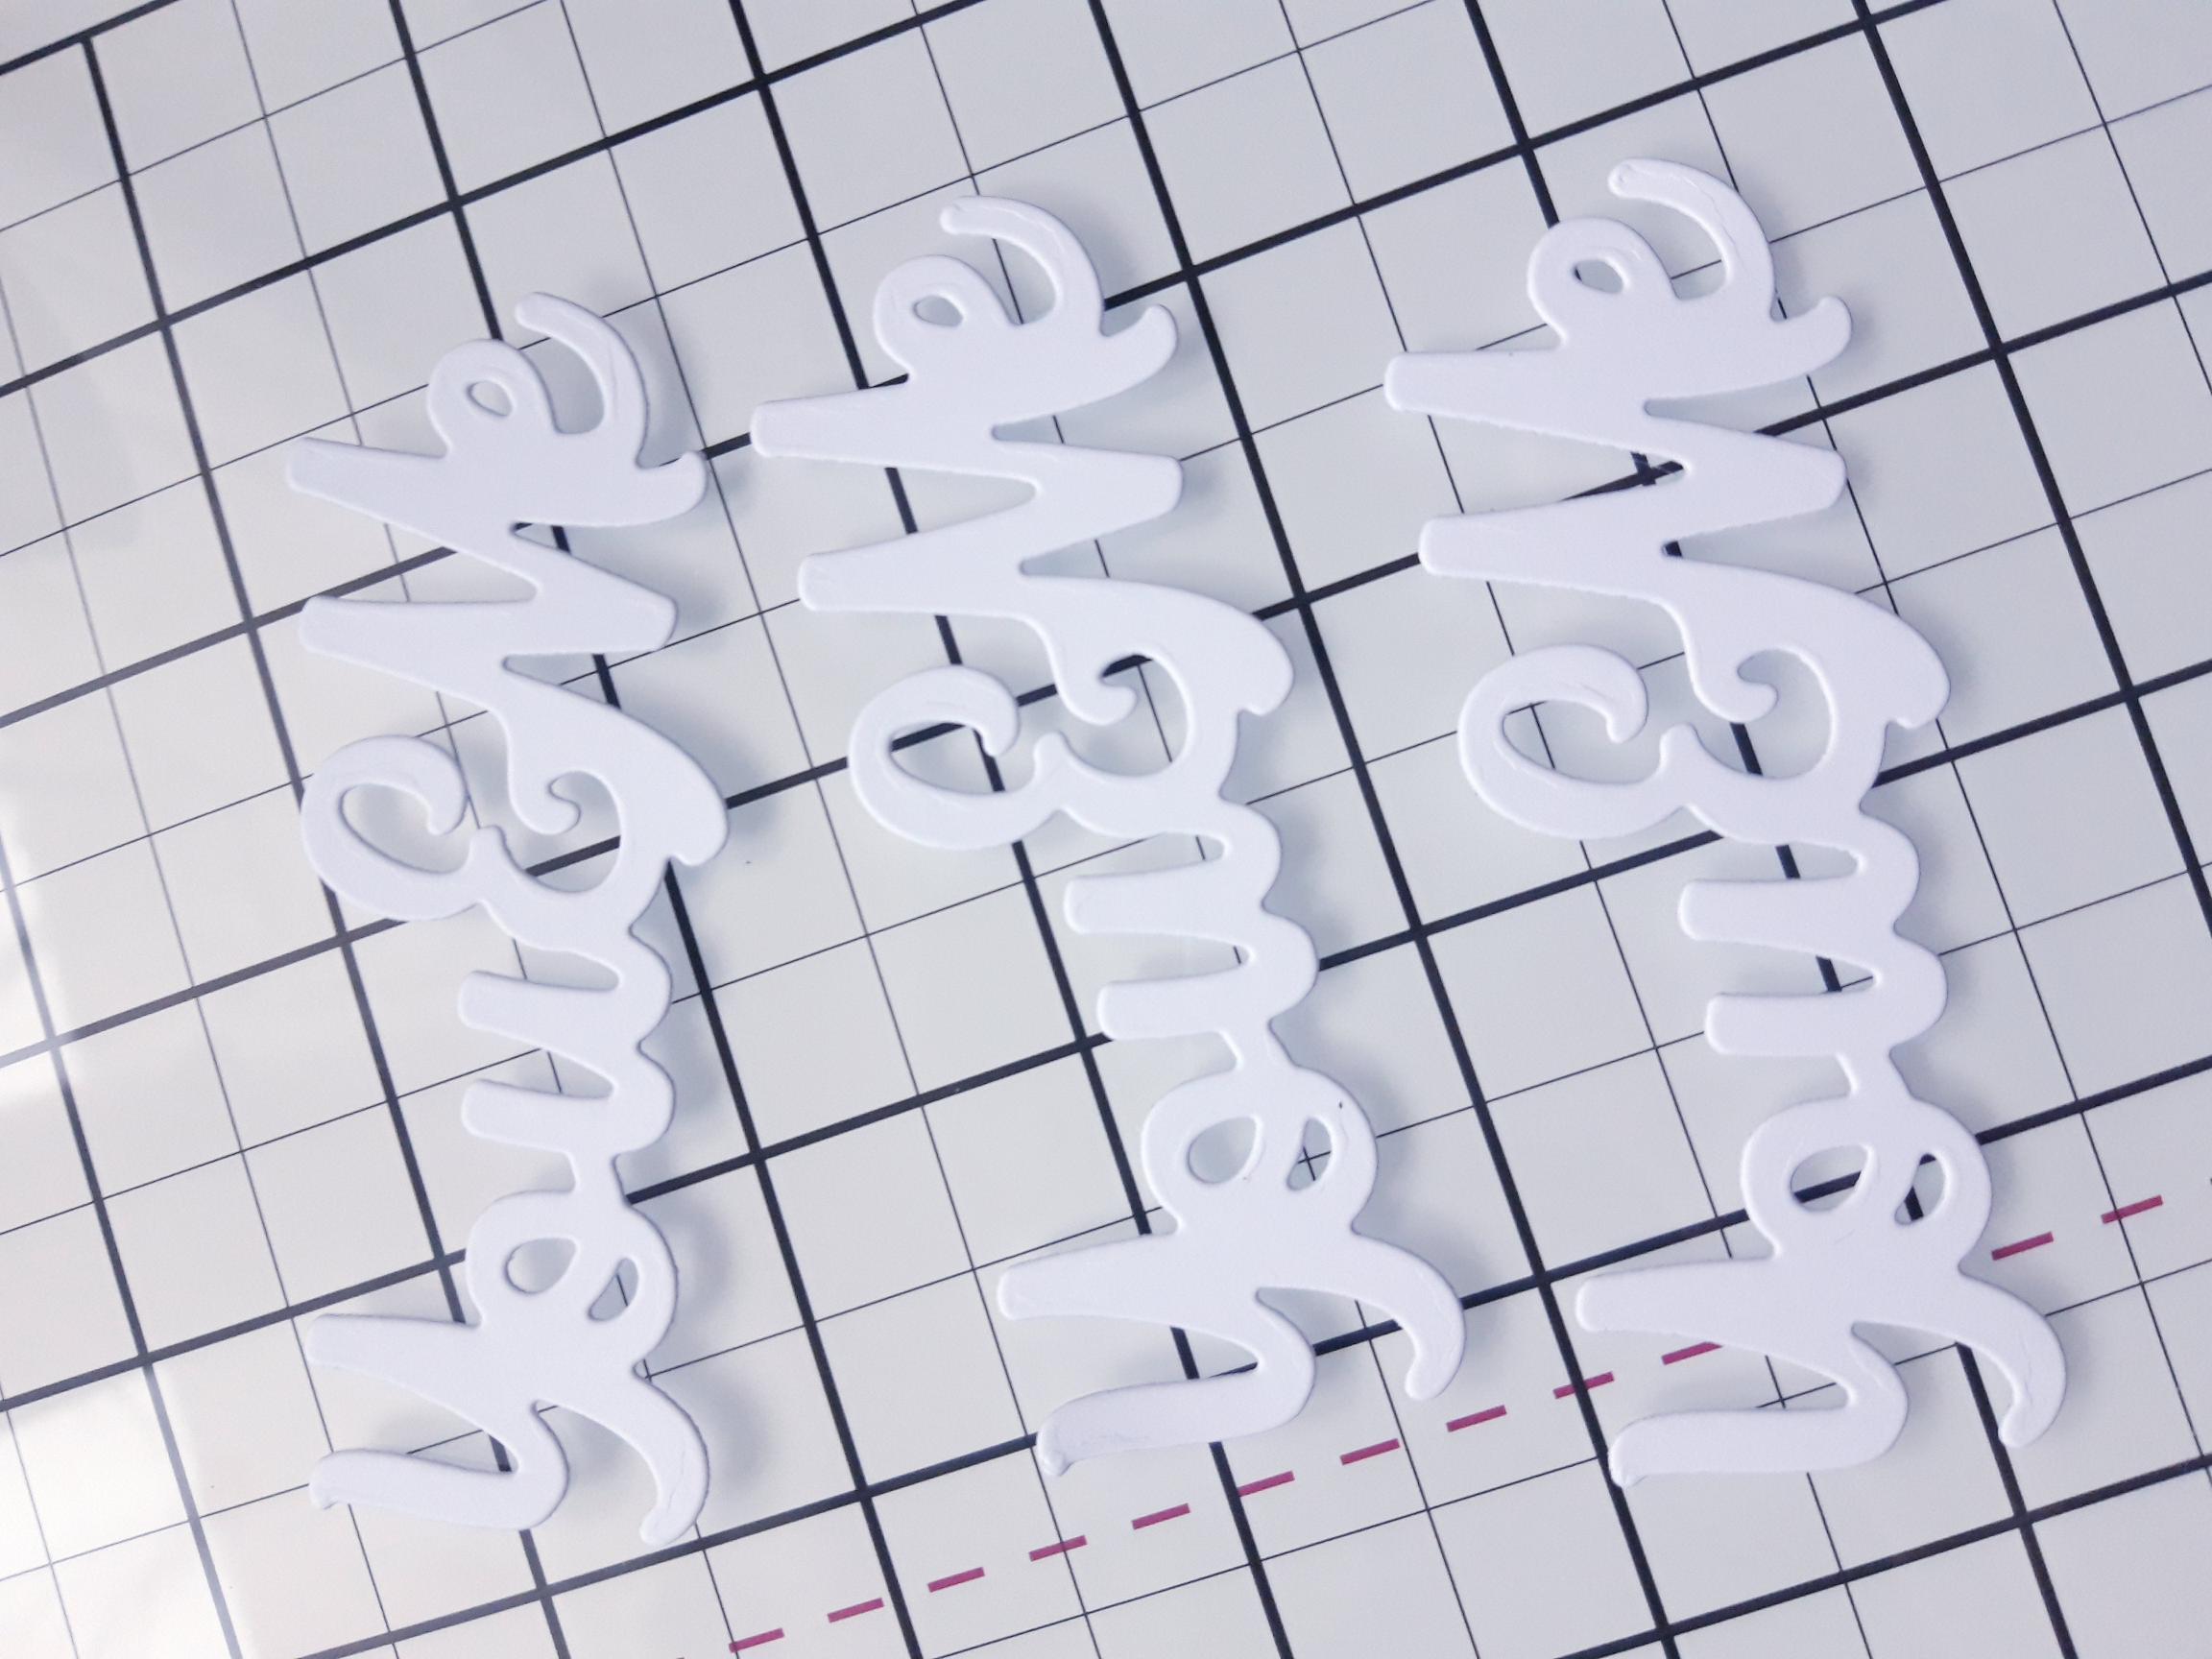
Die cut THREE more sentiments from the white card you set aside. |
|
Adhere the three die cuts together, to create a more substantial 3D element. |
|
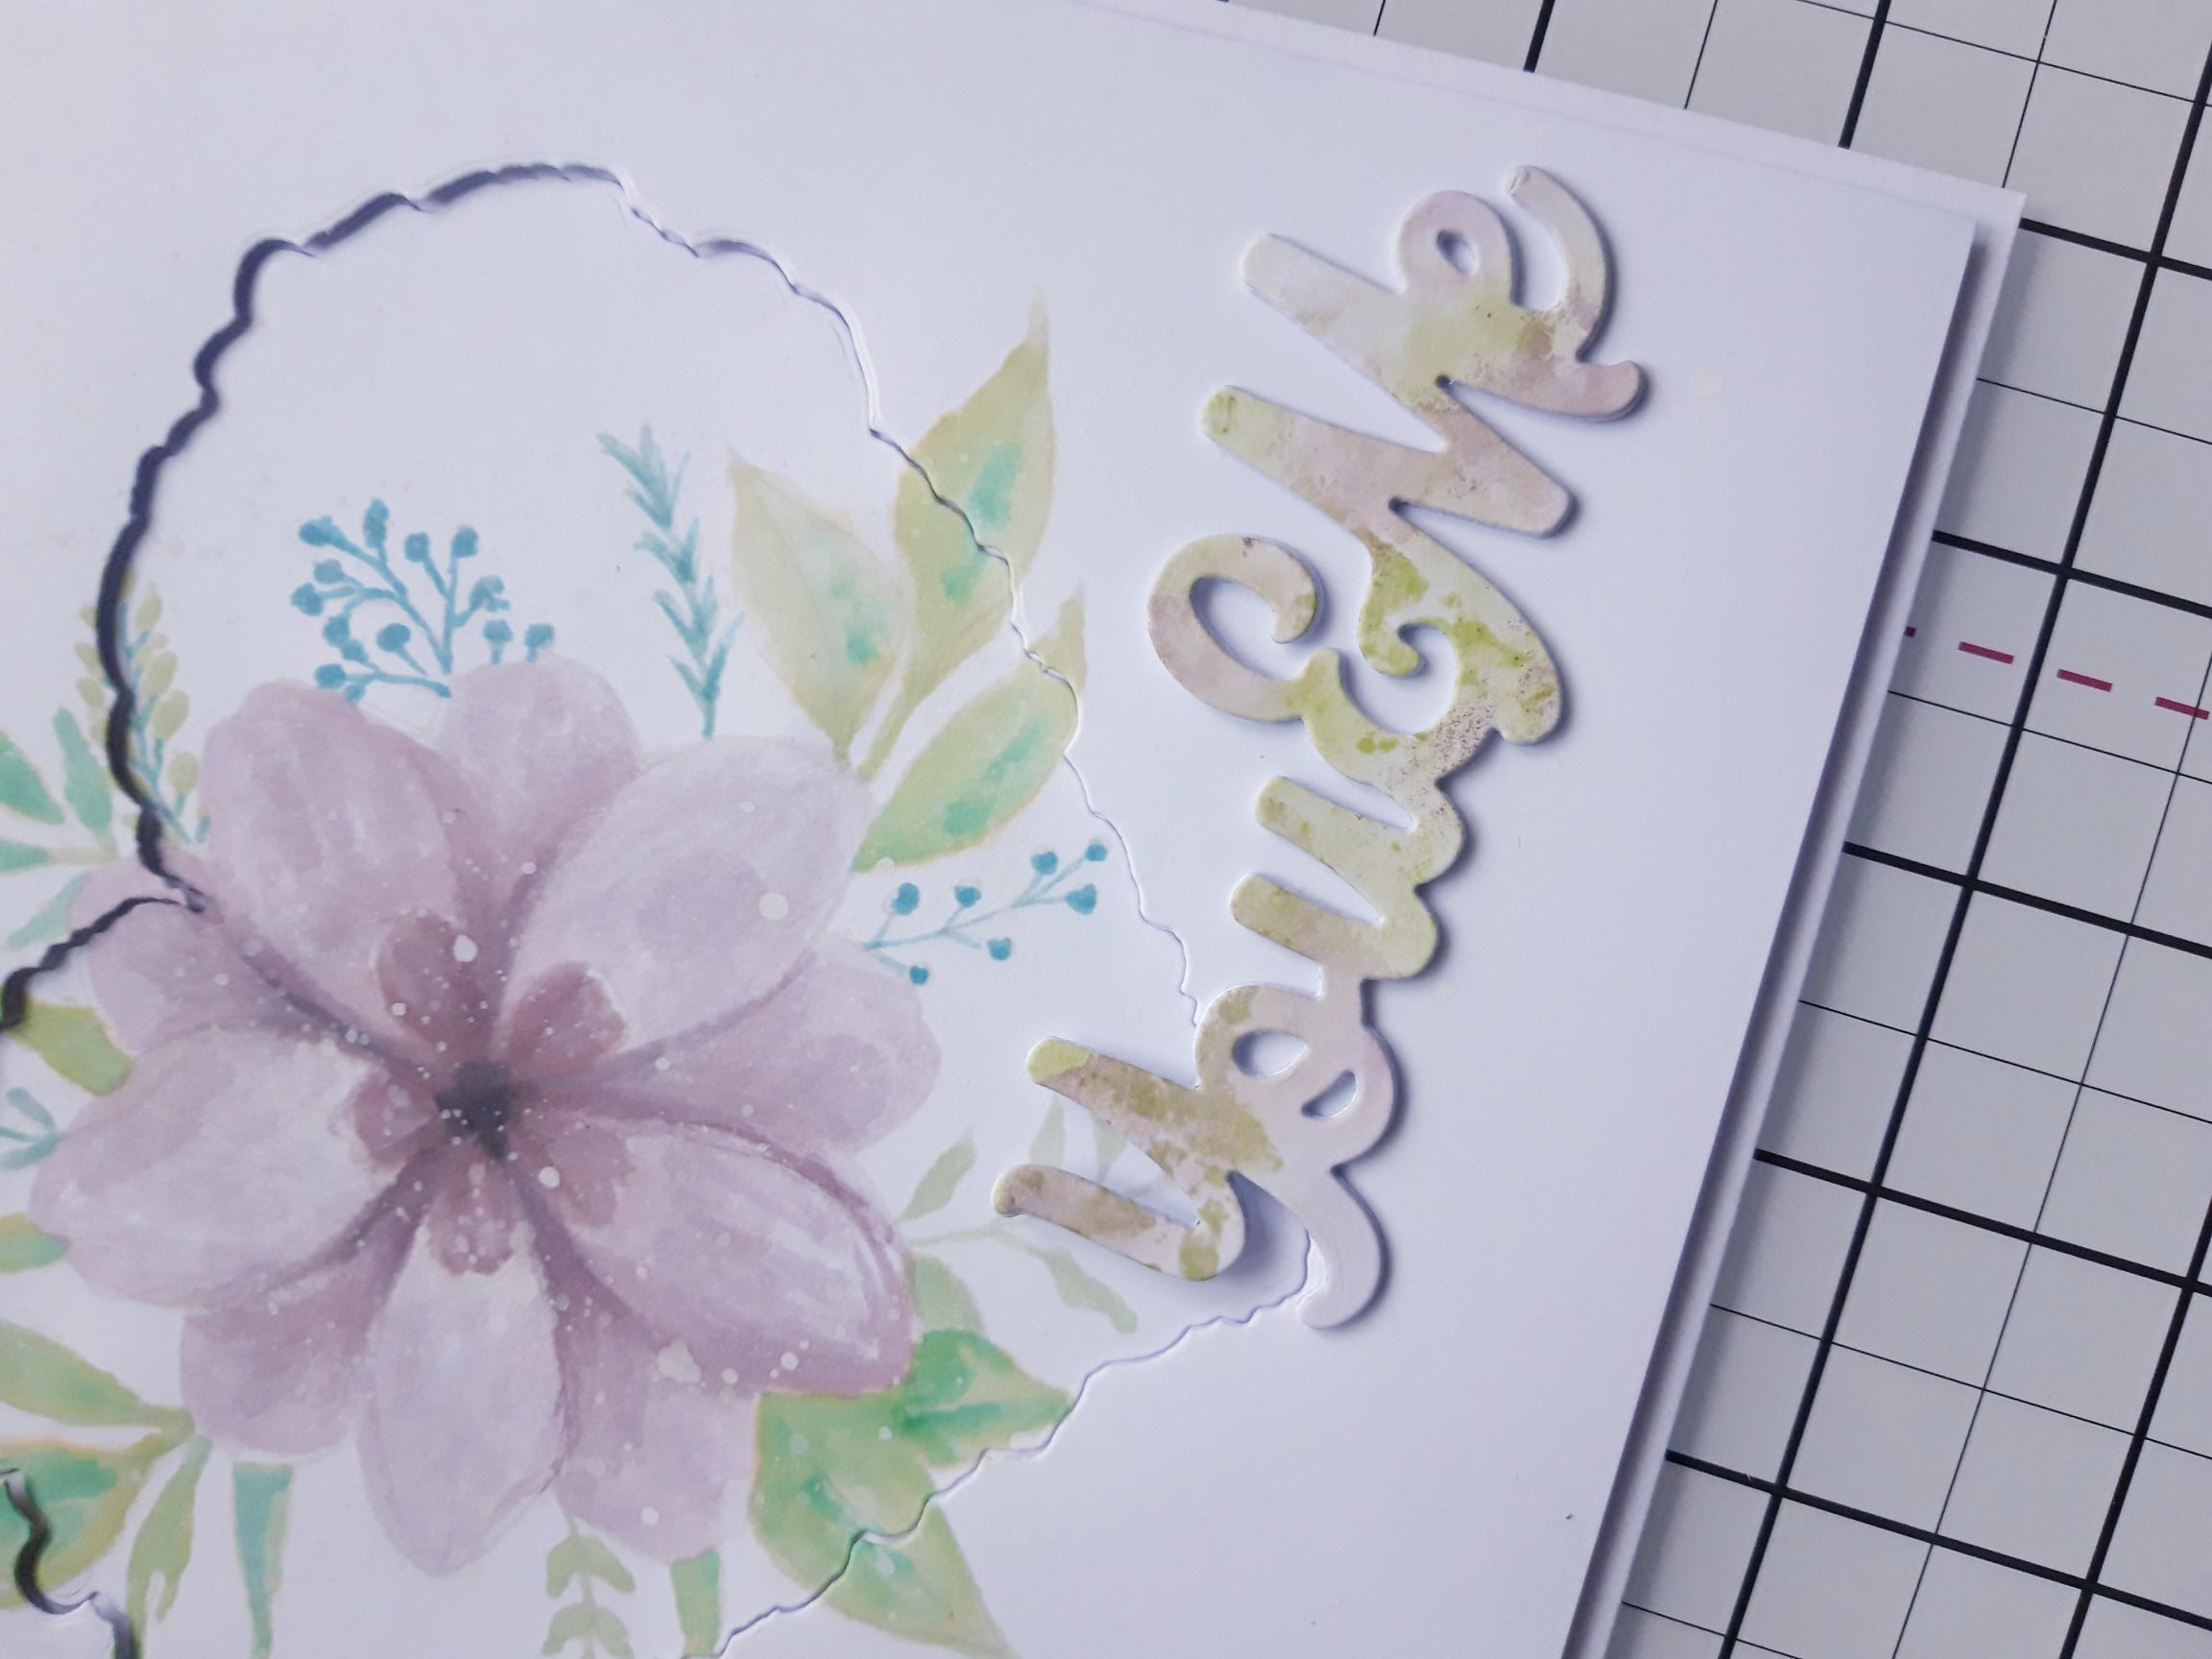
Adhere the inky die cut on top of the 3D element. |
|
Adhere your 3D sentiment to the bottom right of your artwork. |
|
Finally, adhere sequins on and around your artwork, as required. |