Give your friends $10 off their first order!
Refer a FRIEND


White card blank 7 x 5"
Carta watercolour card
Black card 6 3/4 x 4 3/4"
Black card for die cuts
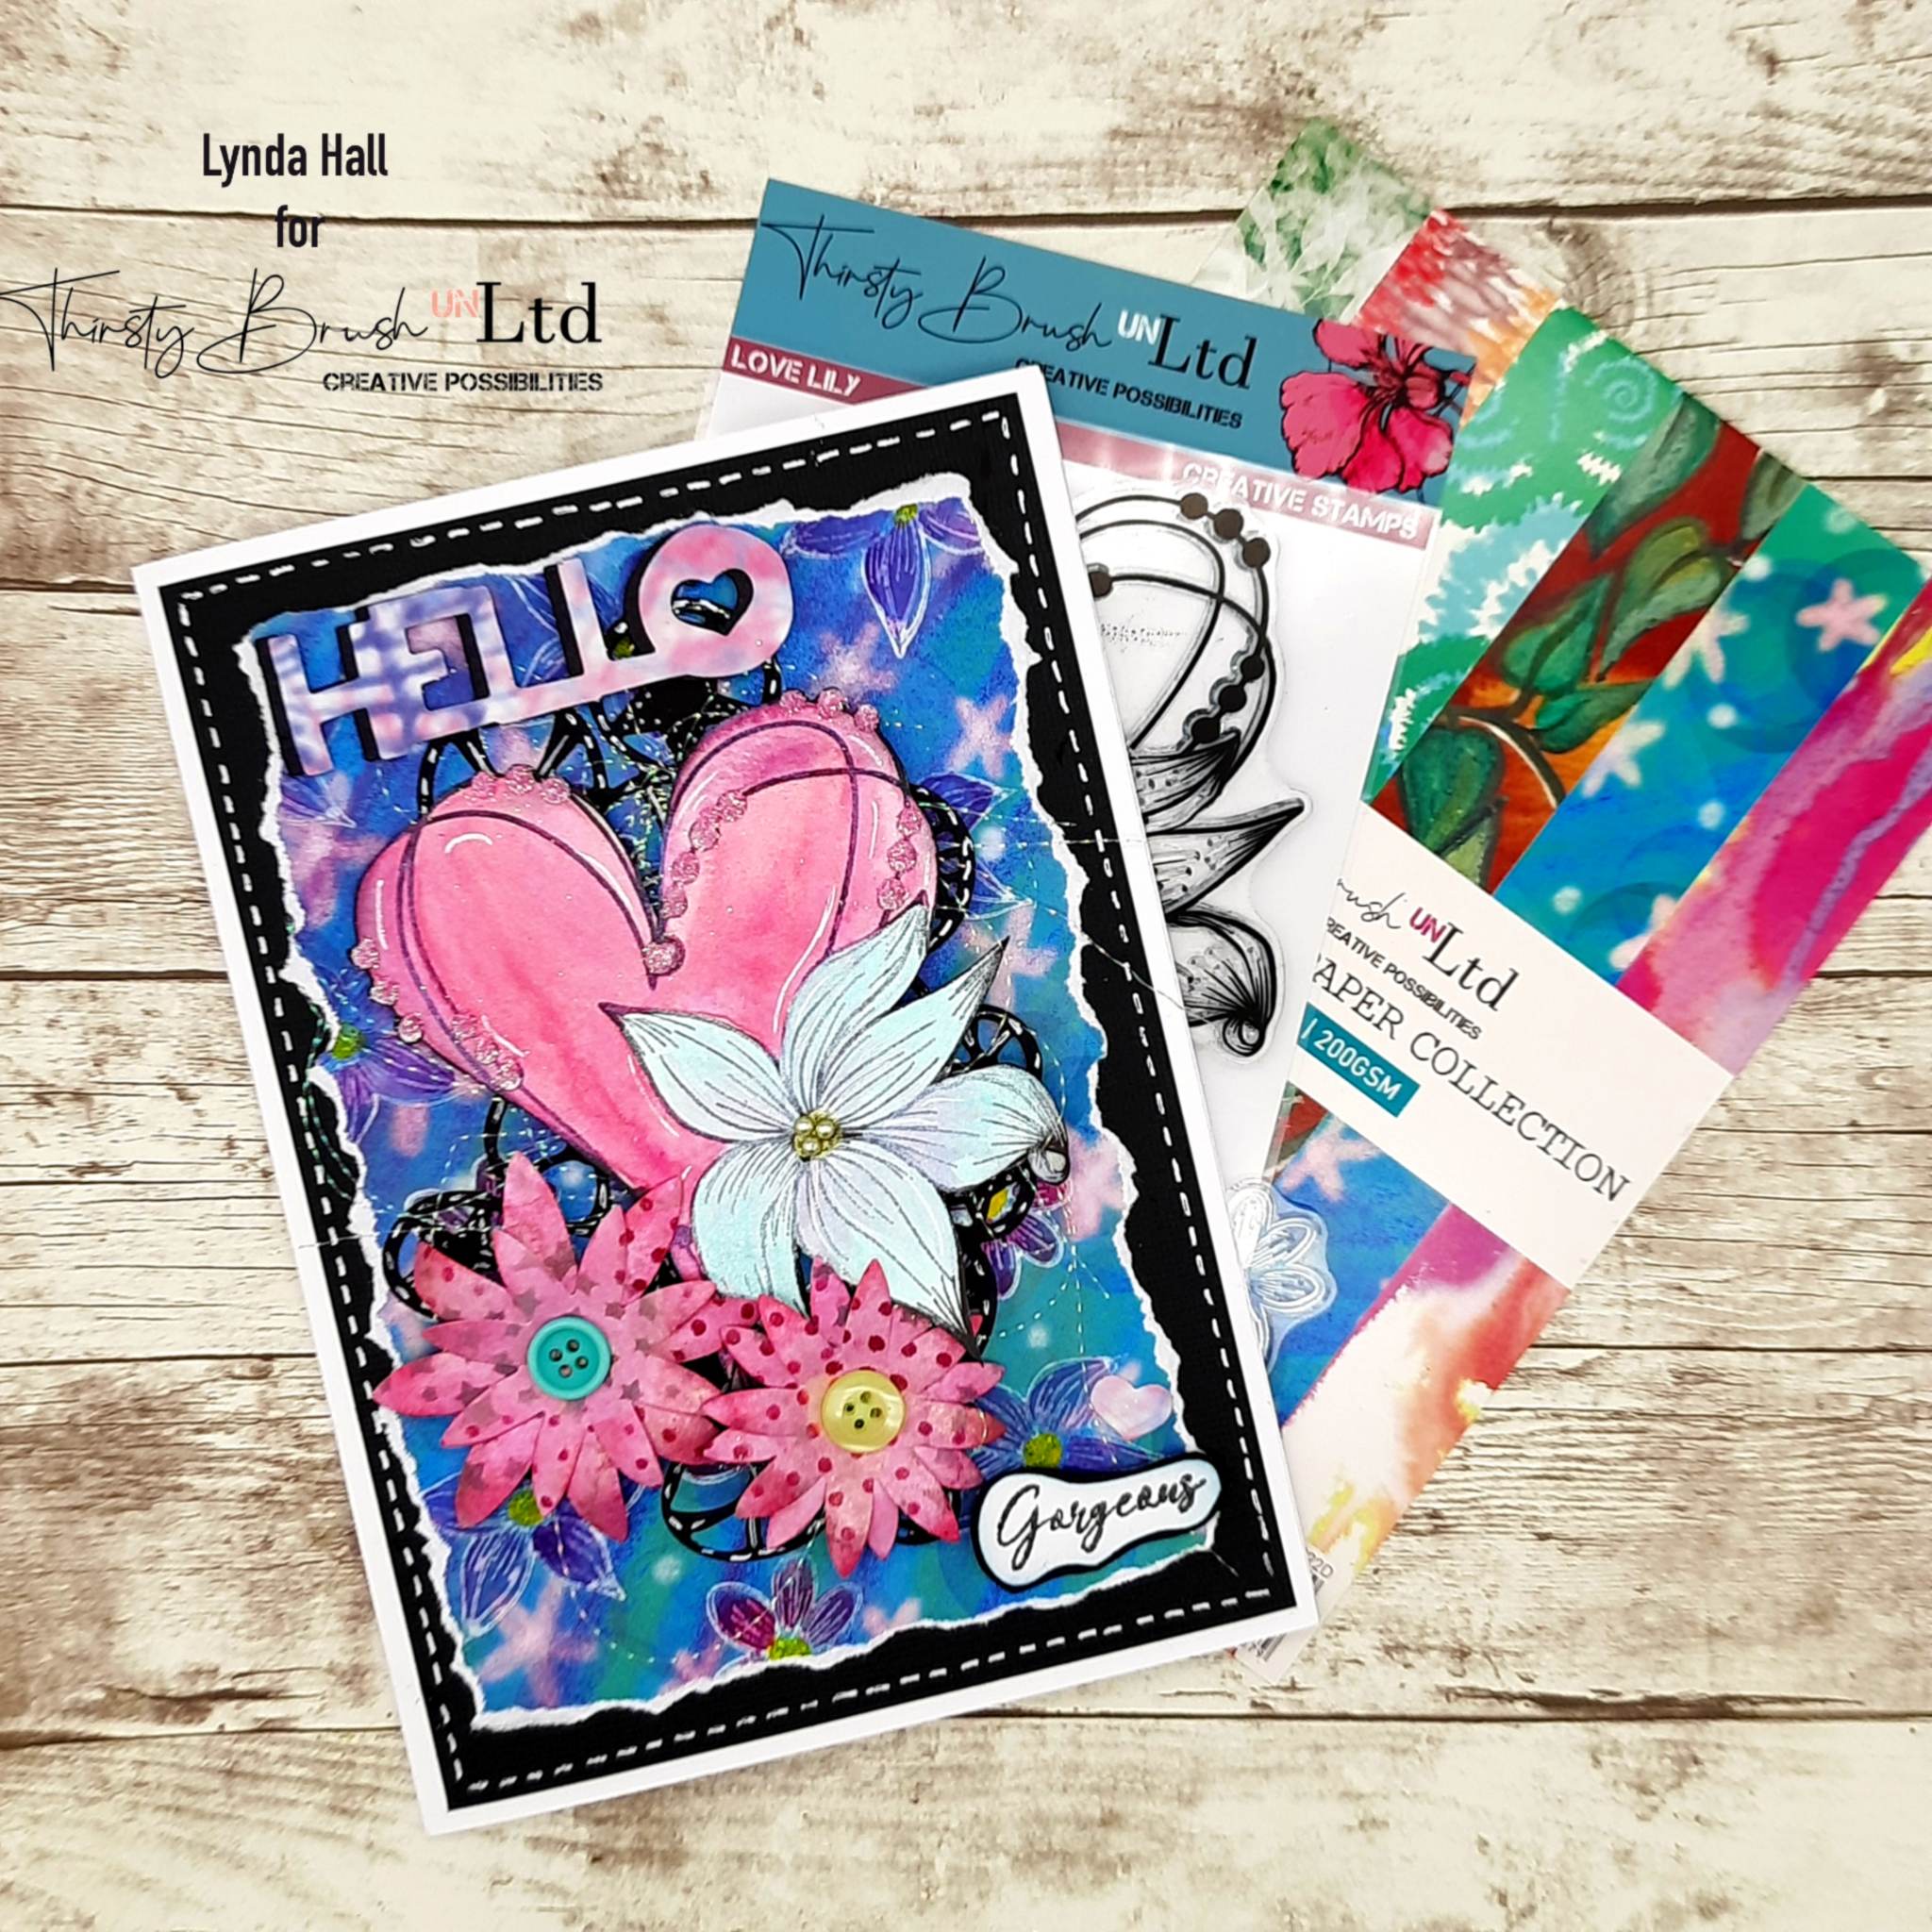
Thirsty Brush Love Lily Creative Stamps
Thirsty Brush A5 Bold and Beautiful Paper Collection
Thirsty Brush A5 Bold and Beautiful Vellum Collection
Thirsty Brush Funky Rounds Creative Dies
Thirsty Brush Build A Bloom Creative Dies
Pretty Colour Inside Ink Pad: Cotton
Pretty Colour Inside Hybrid Ink pad: Midnight
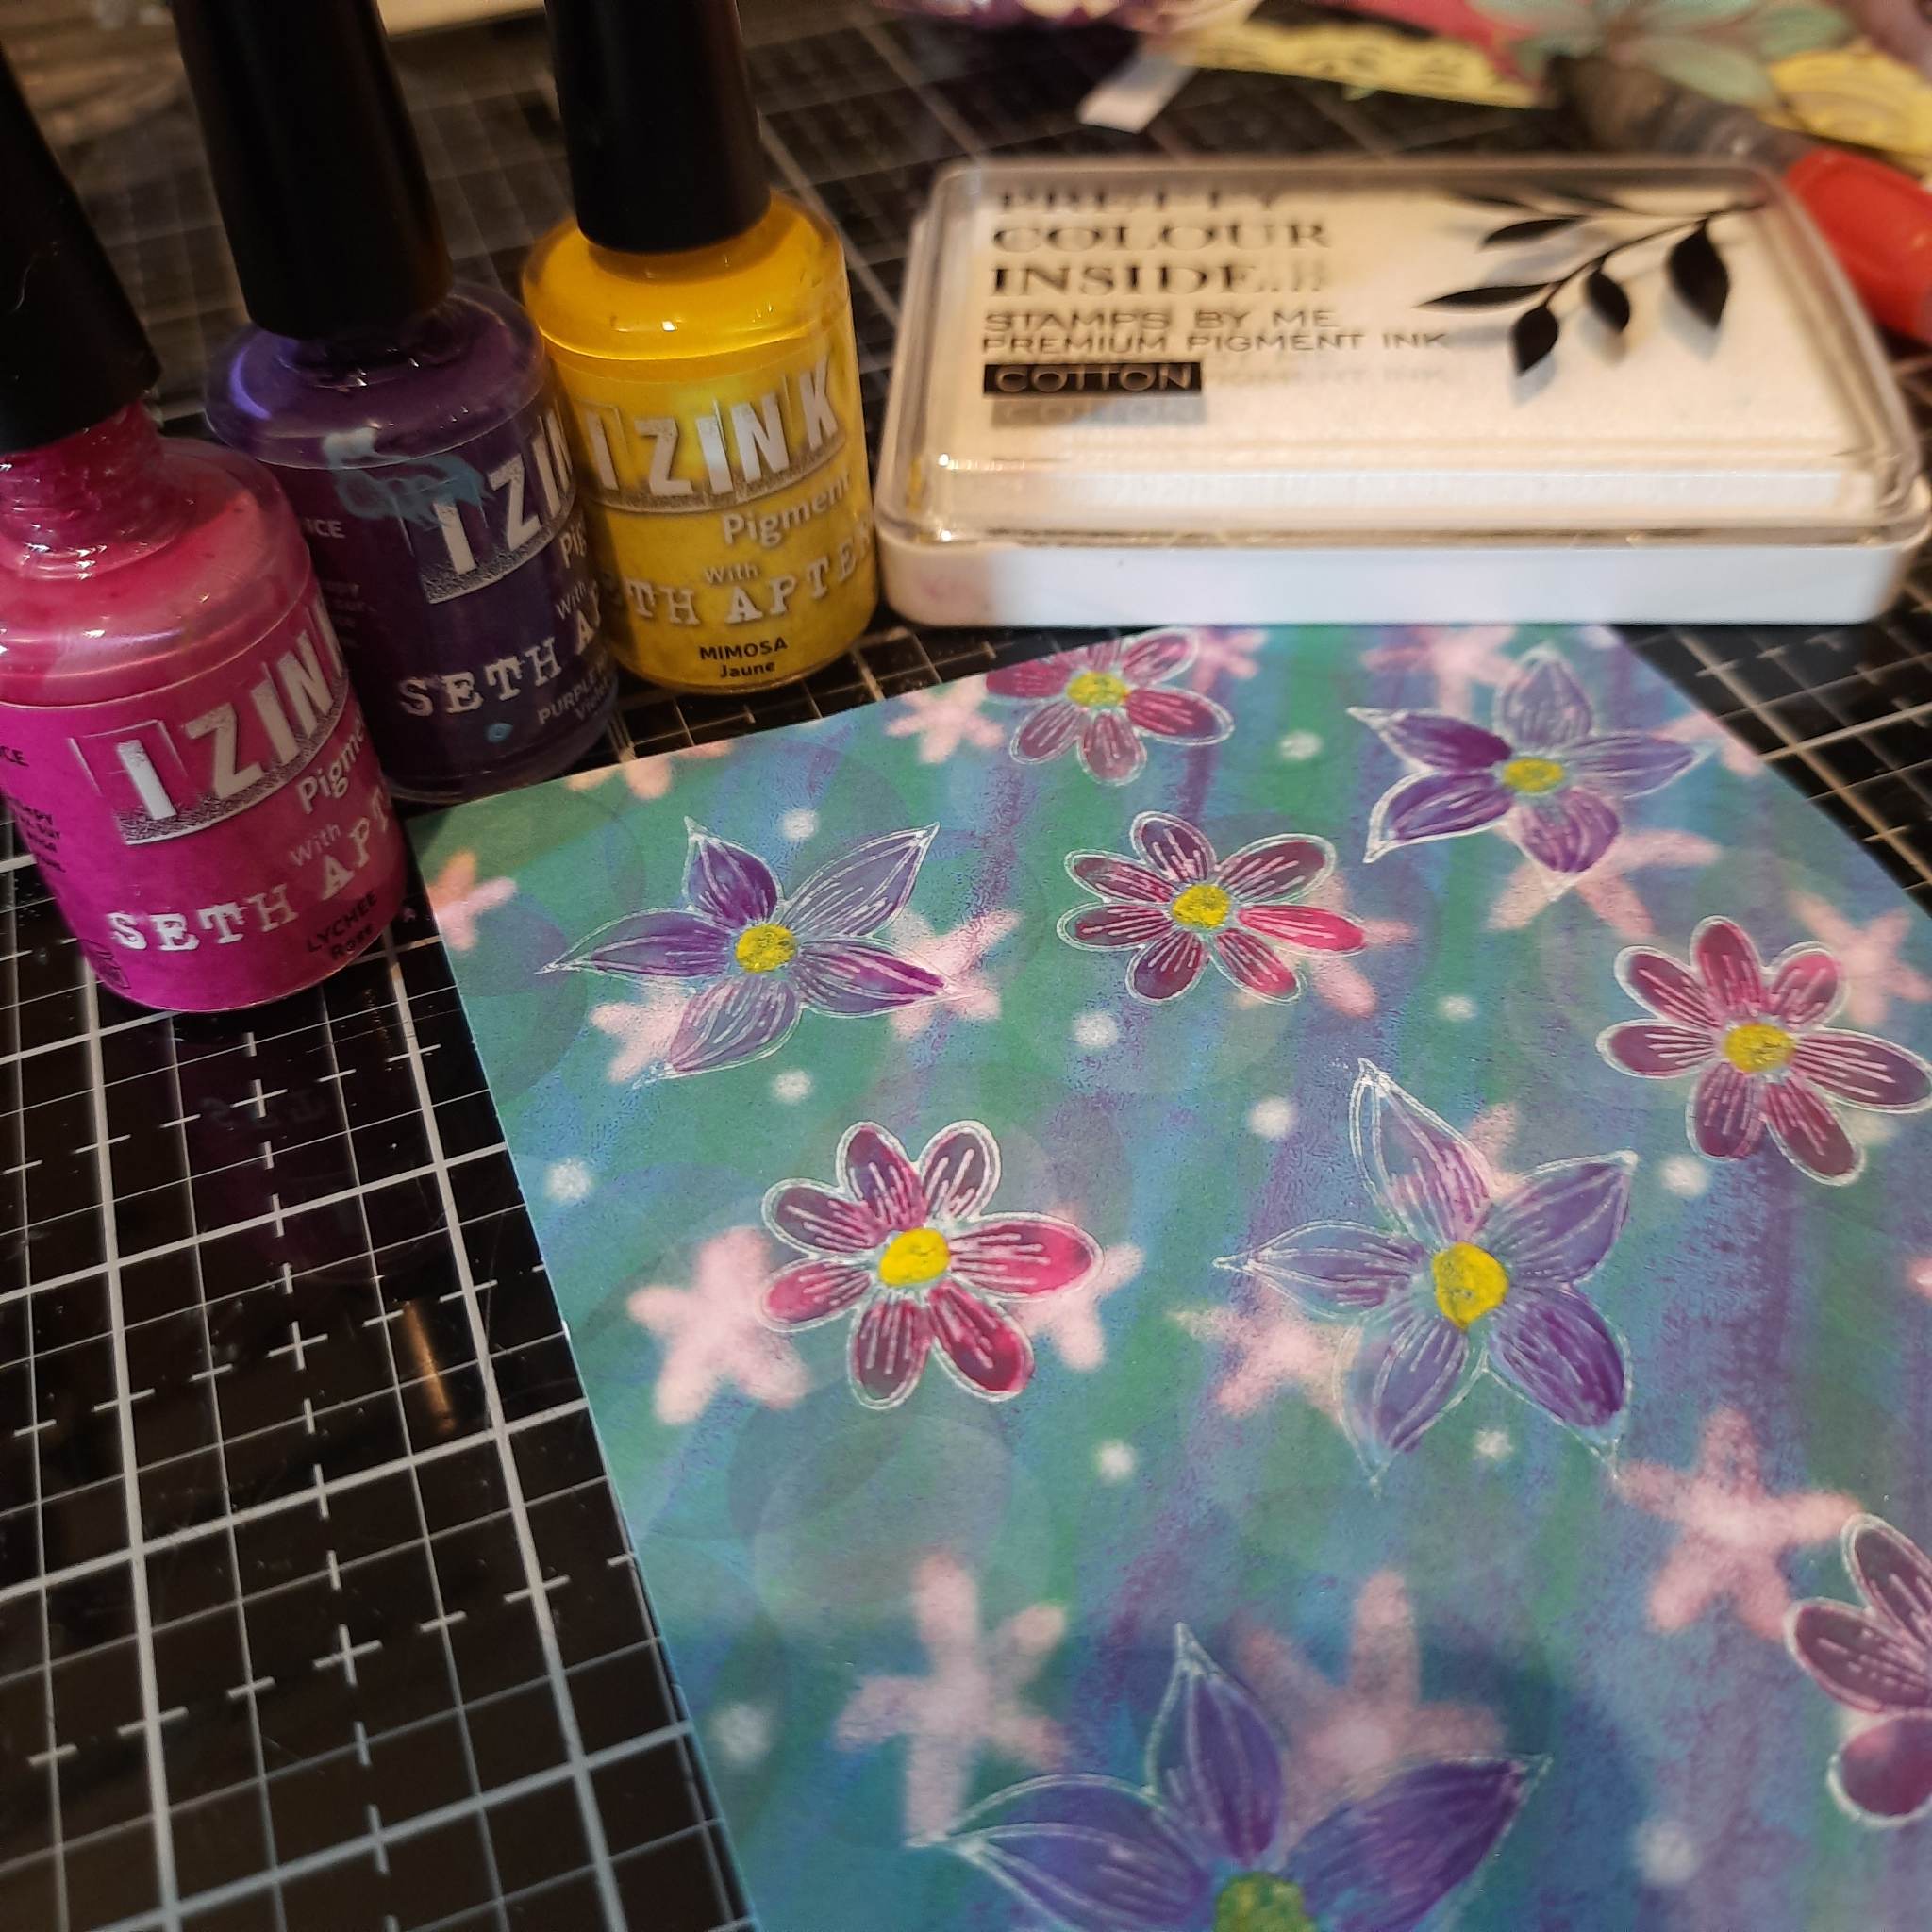
Izink Pigment Ink: Lychee, Mimosa, Purple Haze
Confetti Ink: Satin, Grasshopper, Grape
Buttons
Ball tool
White gel pen
Paint brush
Eureka 101 Watercolour Tablet
SBM Magnetic glass mat
Paper trimmer
Glue/double sided adhesive tape
Foam Pads
Die cutting machine
[click image to enlarge] 
|
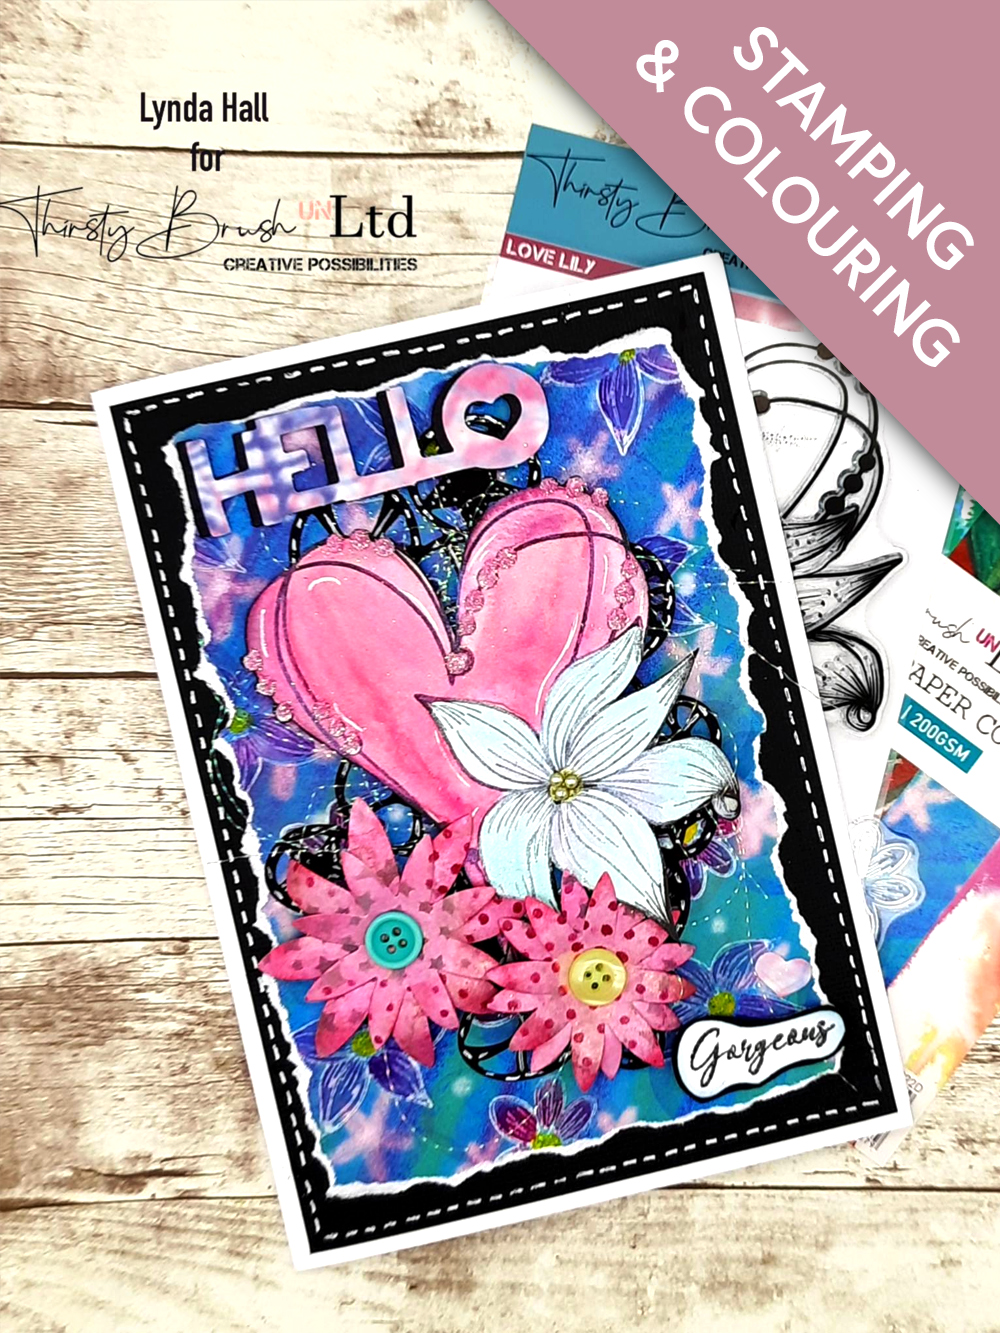
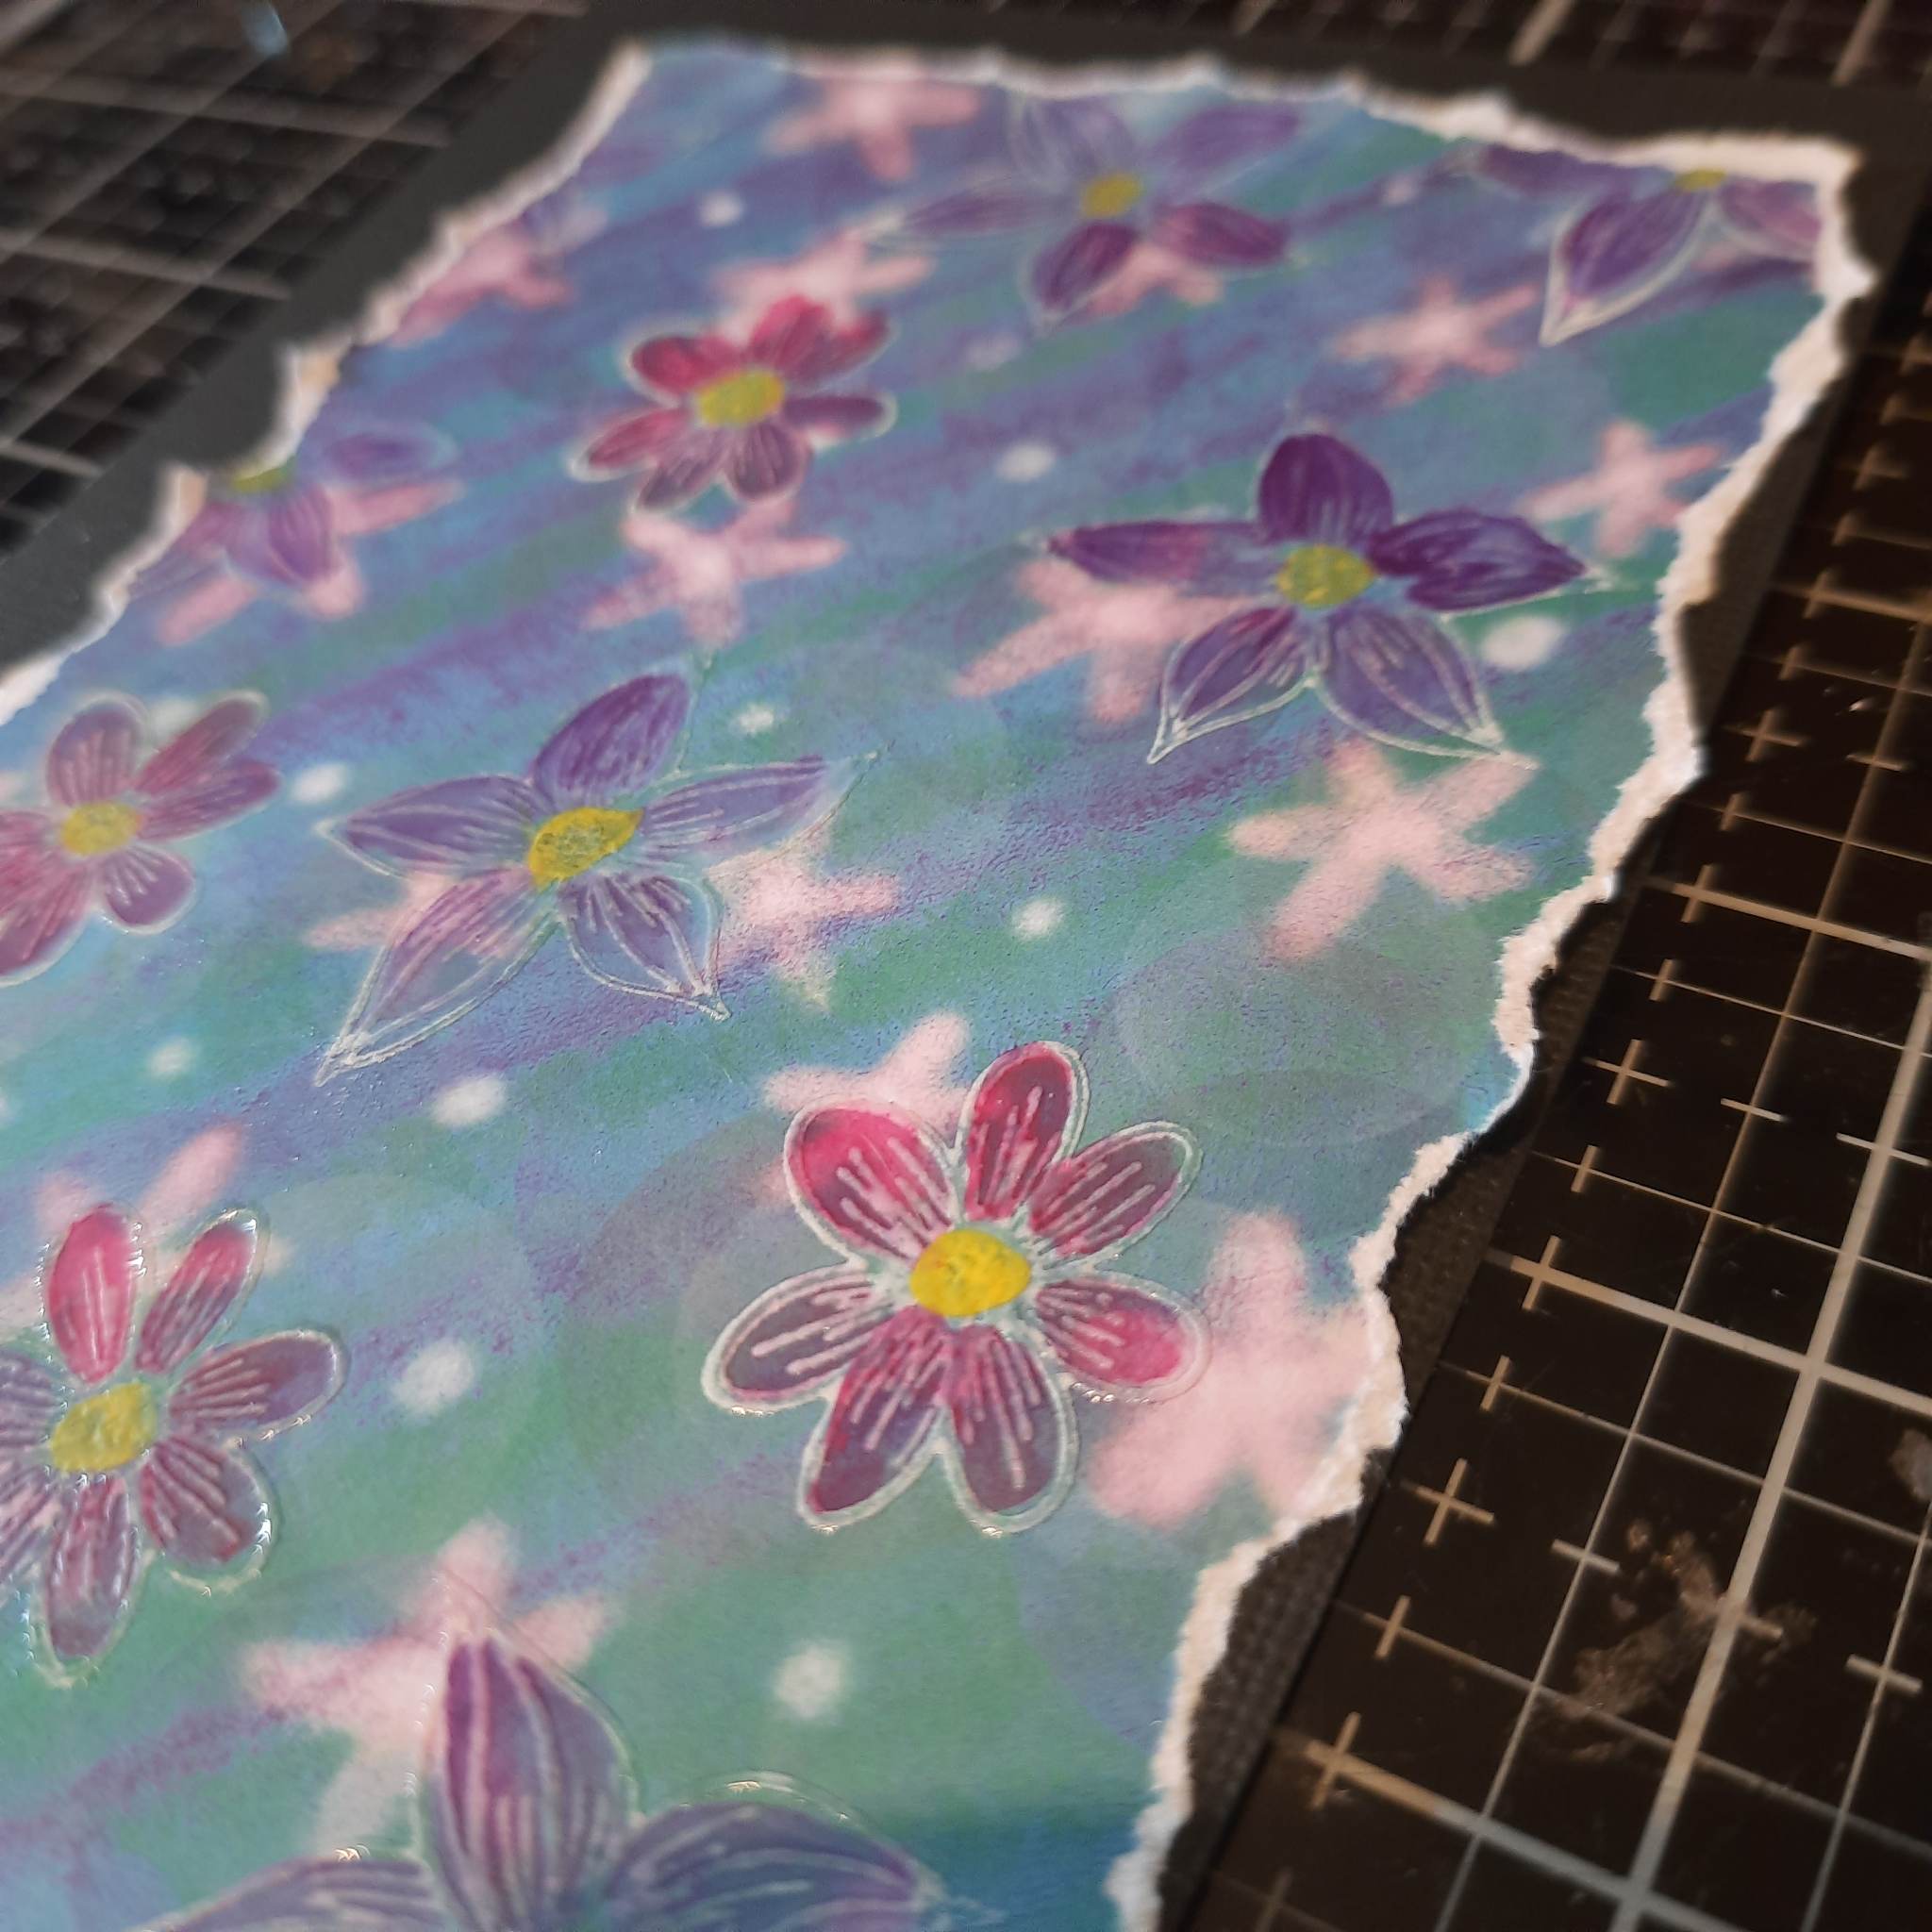
Take this sheet of patterned paper, from the A5 paper pack and randomly stamp the small flower from the Love Lily set, with Pretty Colour Inside Cotton ink. Allow to dry or blast with your heat tool, as it is a very slow drying ink! |
|
Use a paint brush to colour the flowers with your Izink Pigment inks. |
|
Tear around the edges so that it is slightly smaller than 4 1/2 x 6 1/2”. |
|
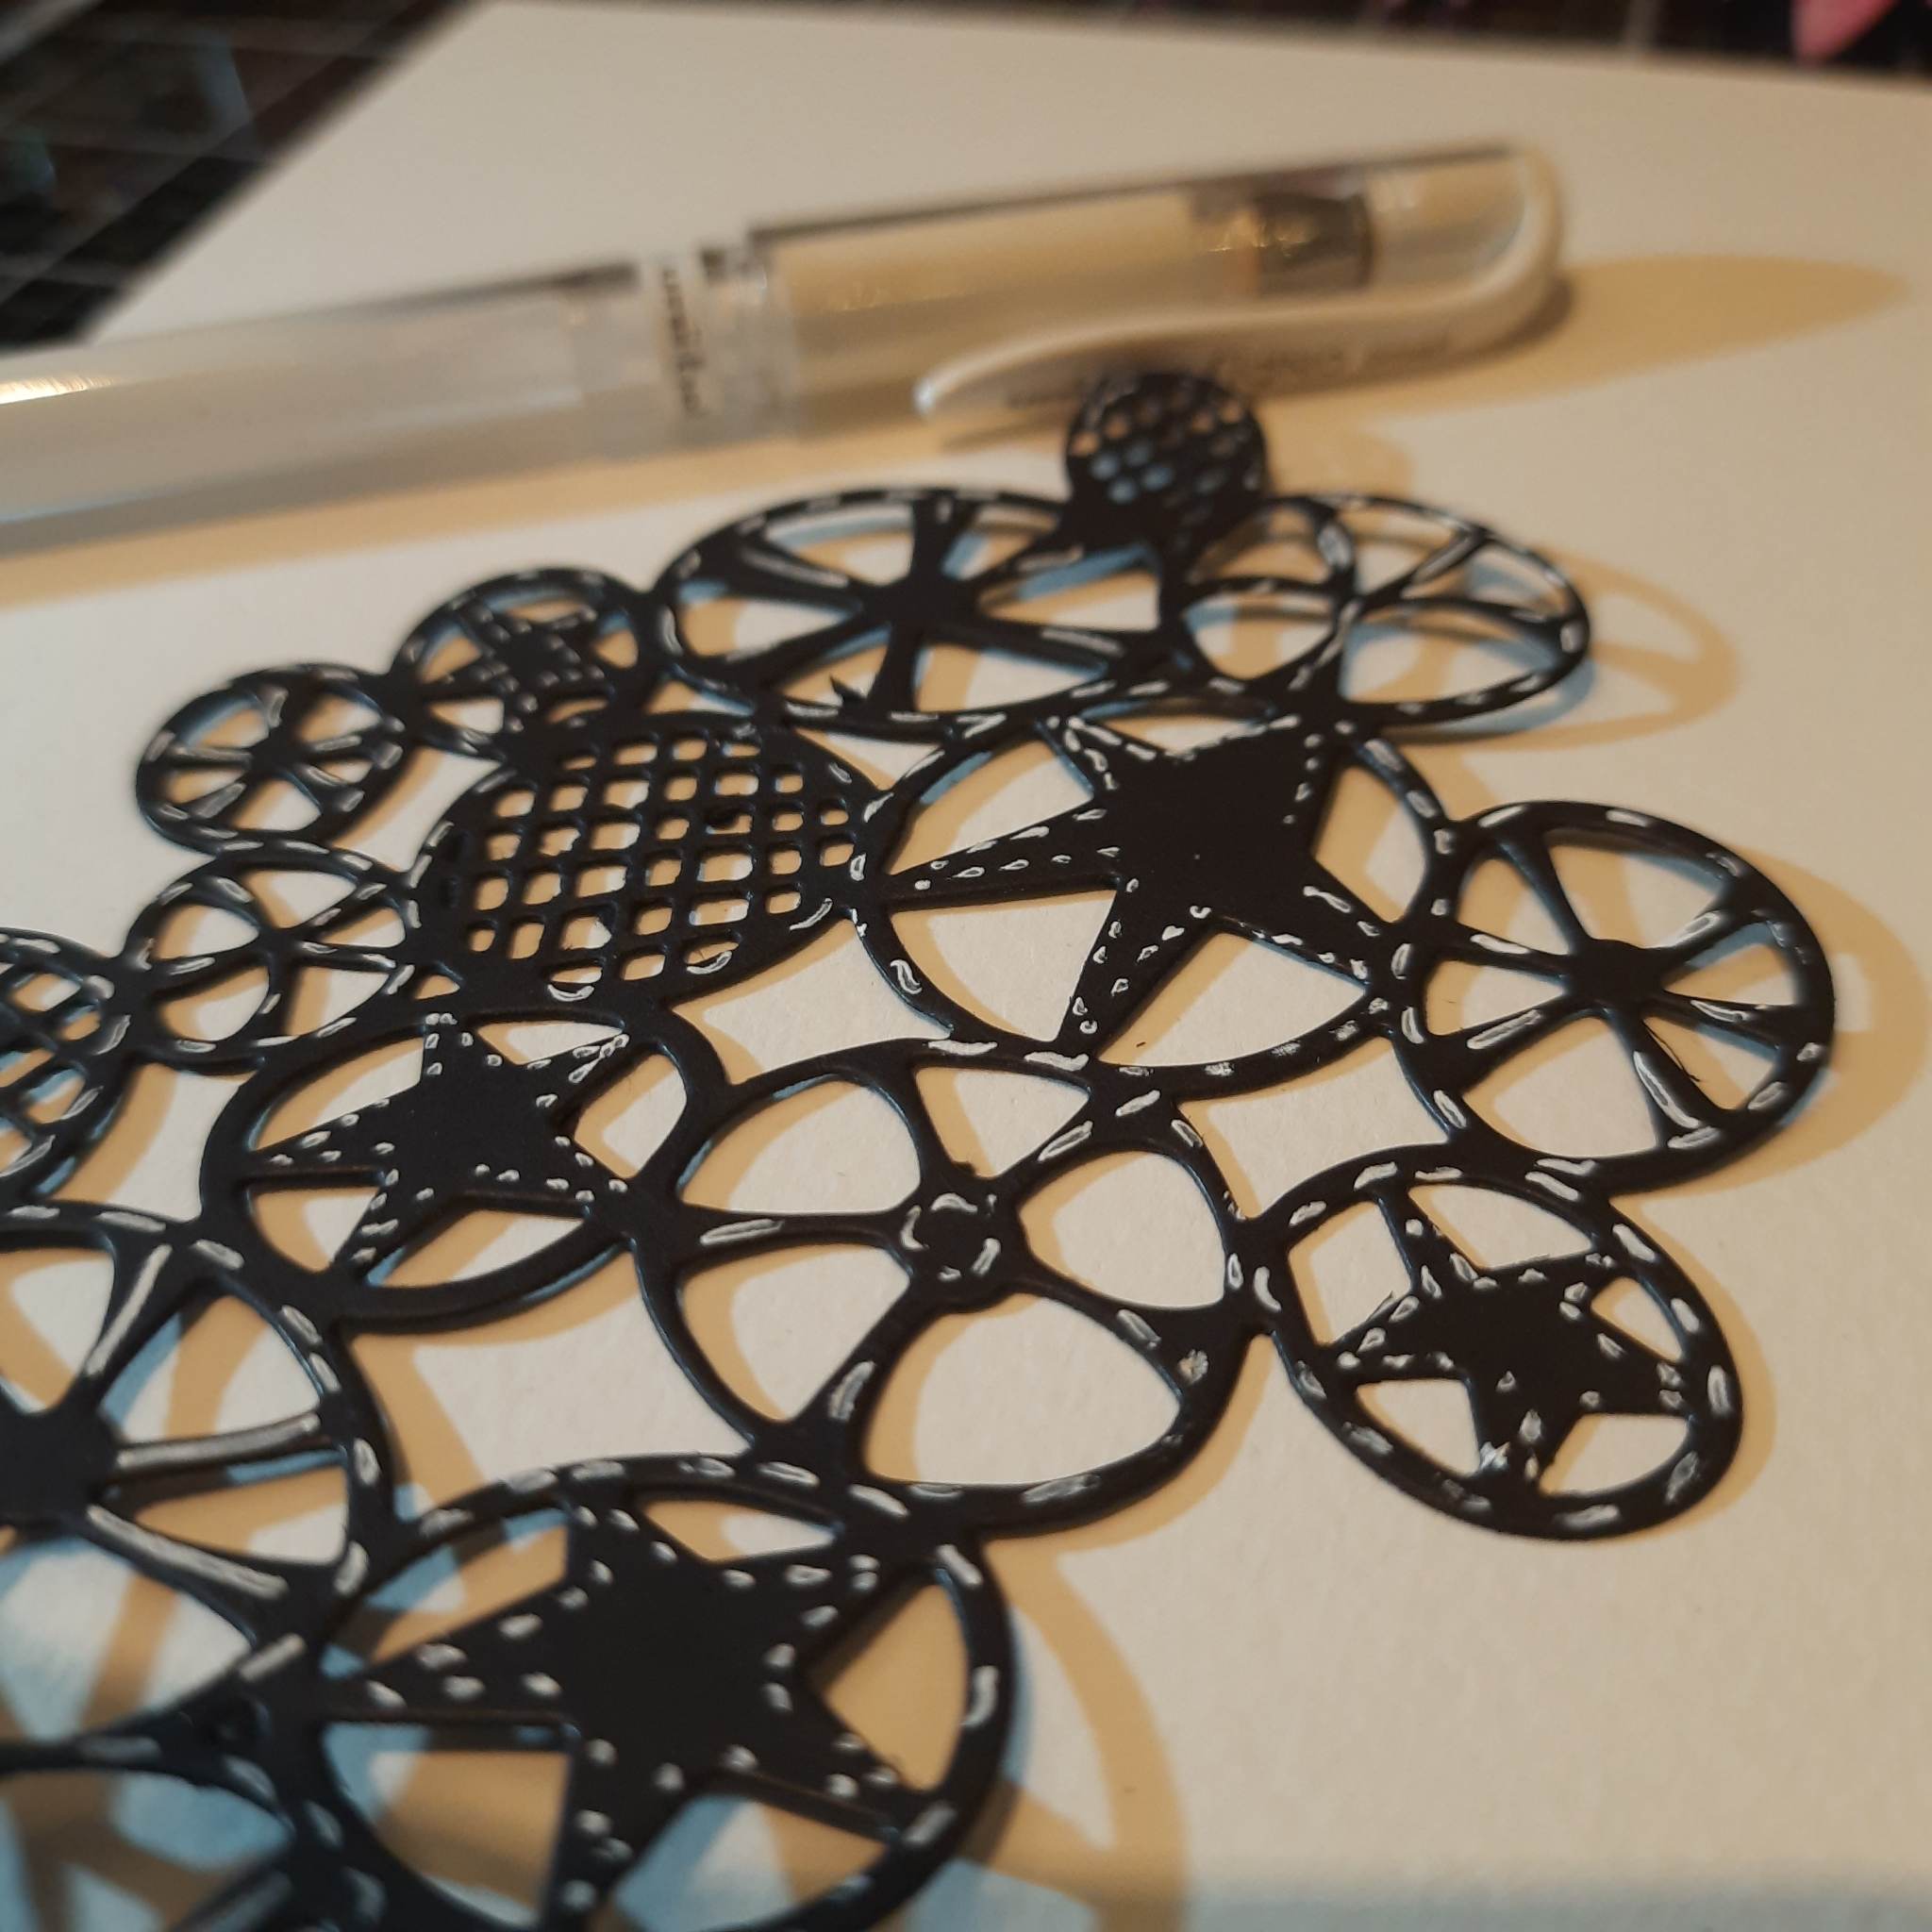
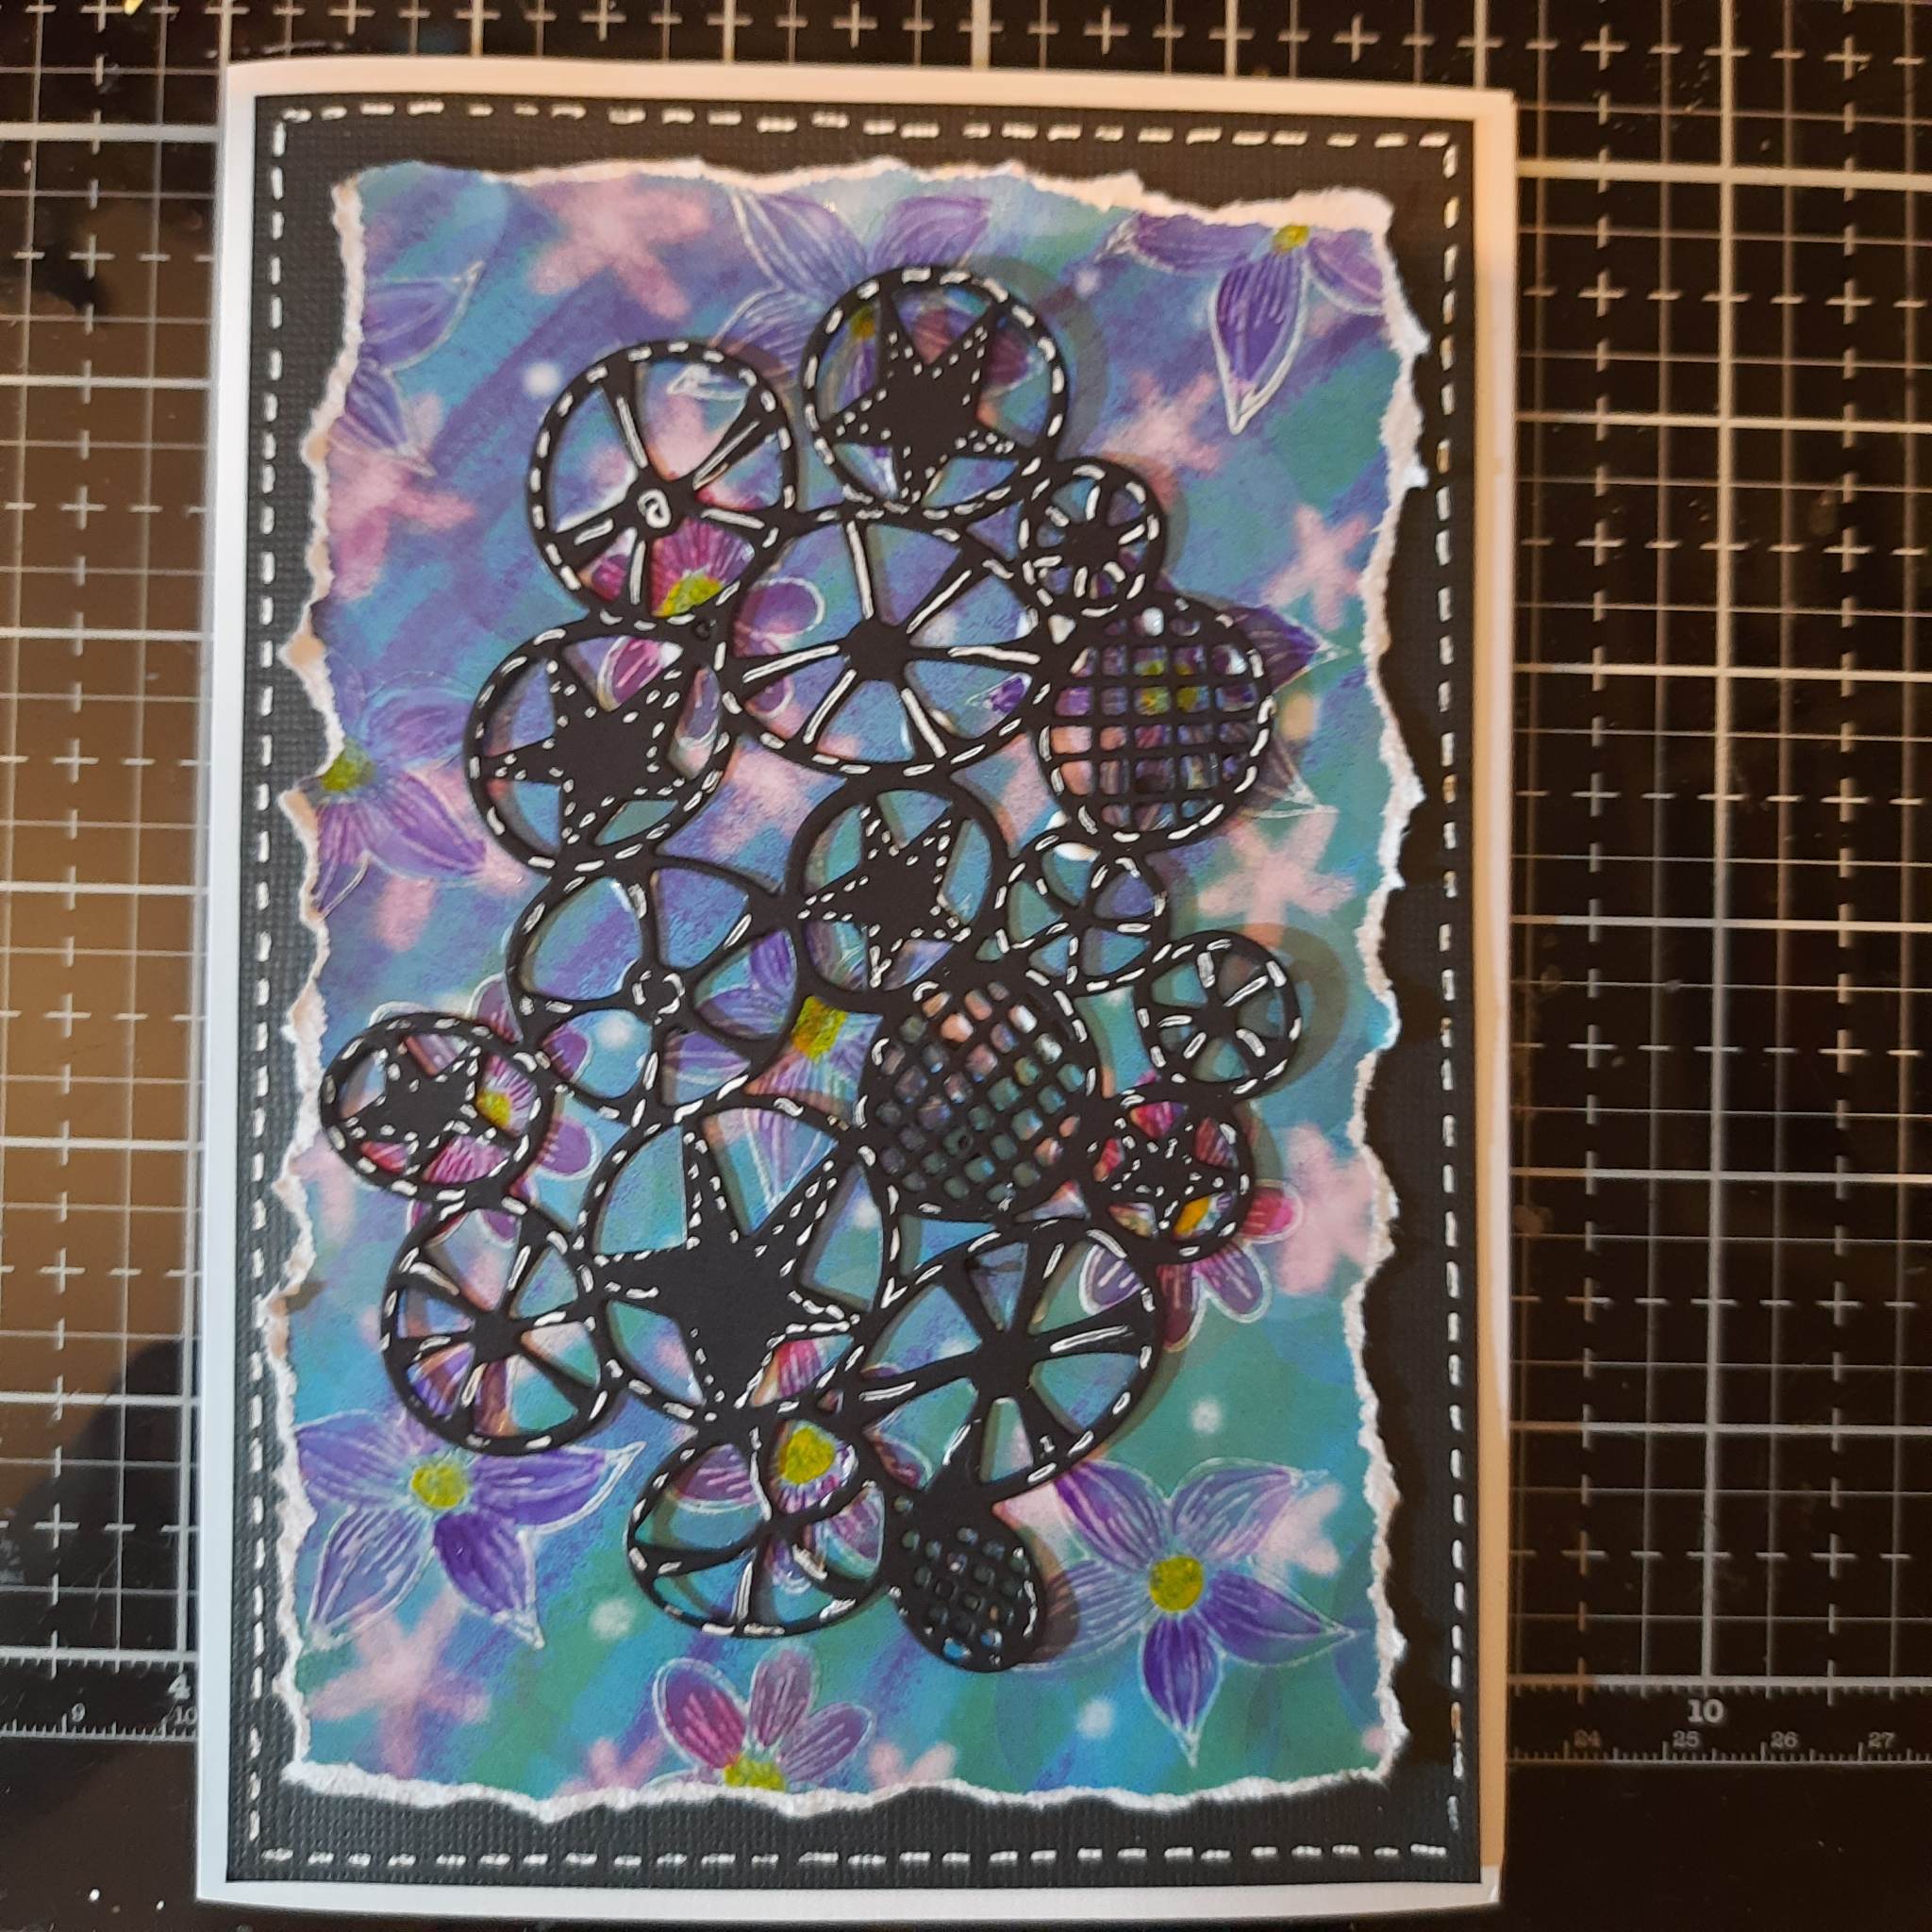
Die cut the Funky Rounds from black card and use a white gel pen to add faux stitching. |
|
Adhere the patterned paper to the black card, cut to 6 3/4 x 4 3/4", then adhere the Funky Rounds die cut on top. Use white gel pen to create a faux stitched border, around the edge of the black card. Adhere this to your white card blank and set to one side. |

|
Stamp the Love Lily heart on watercolour card, with your Midnight hybrid ink, then paint with the Confetti inks. Once dry fussy cut and set to one side. |
|
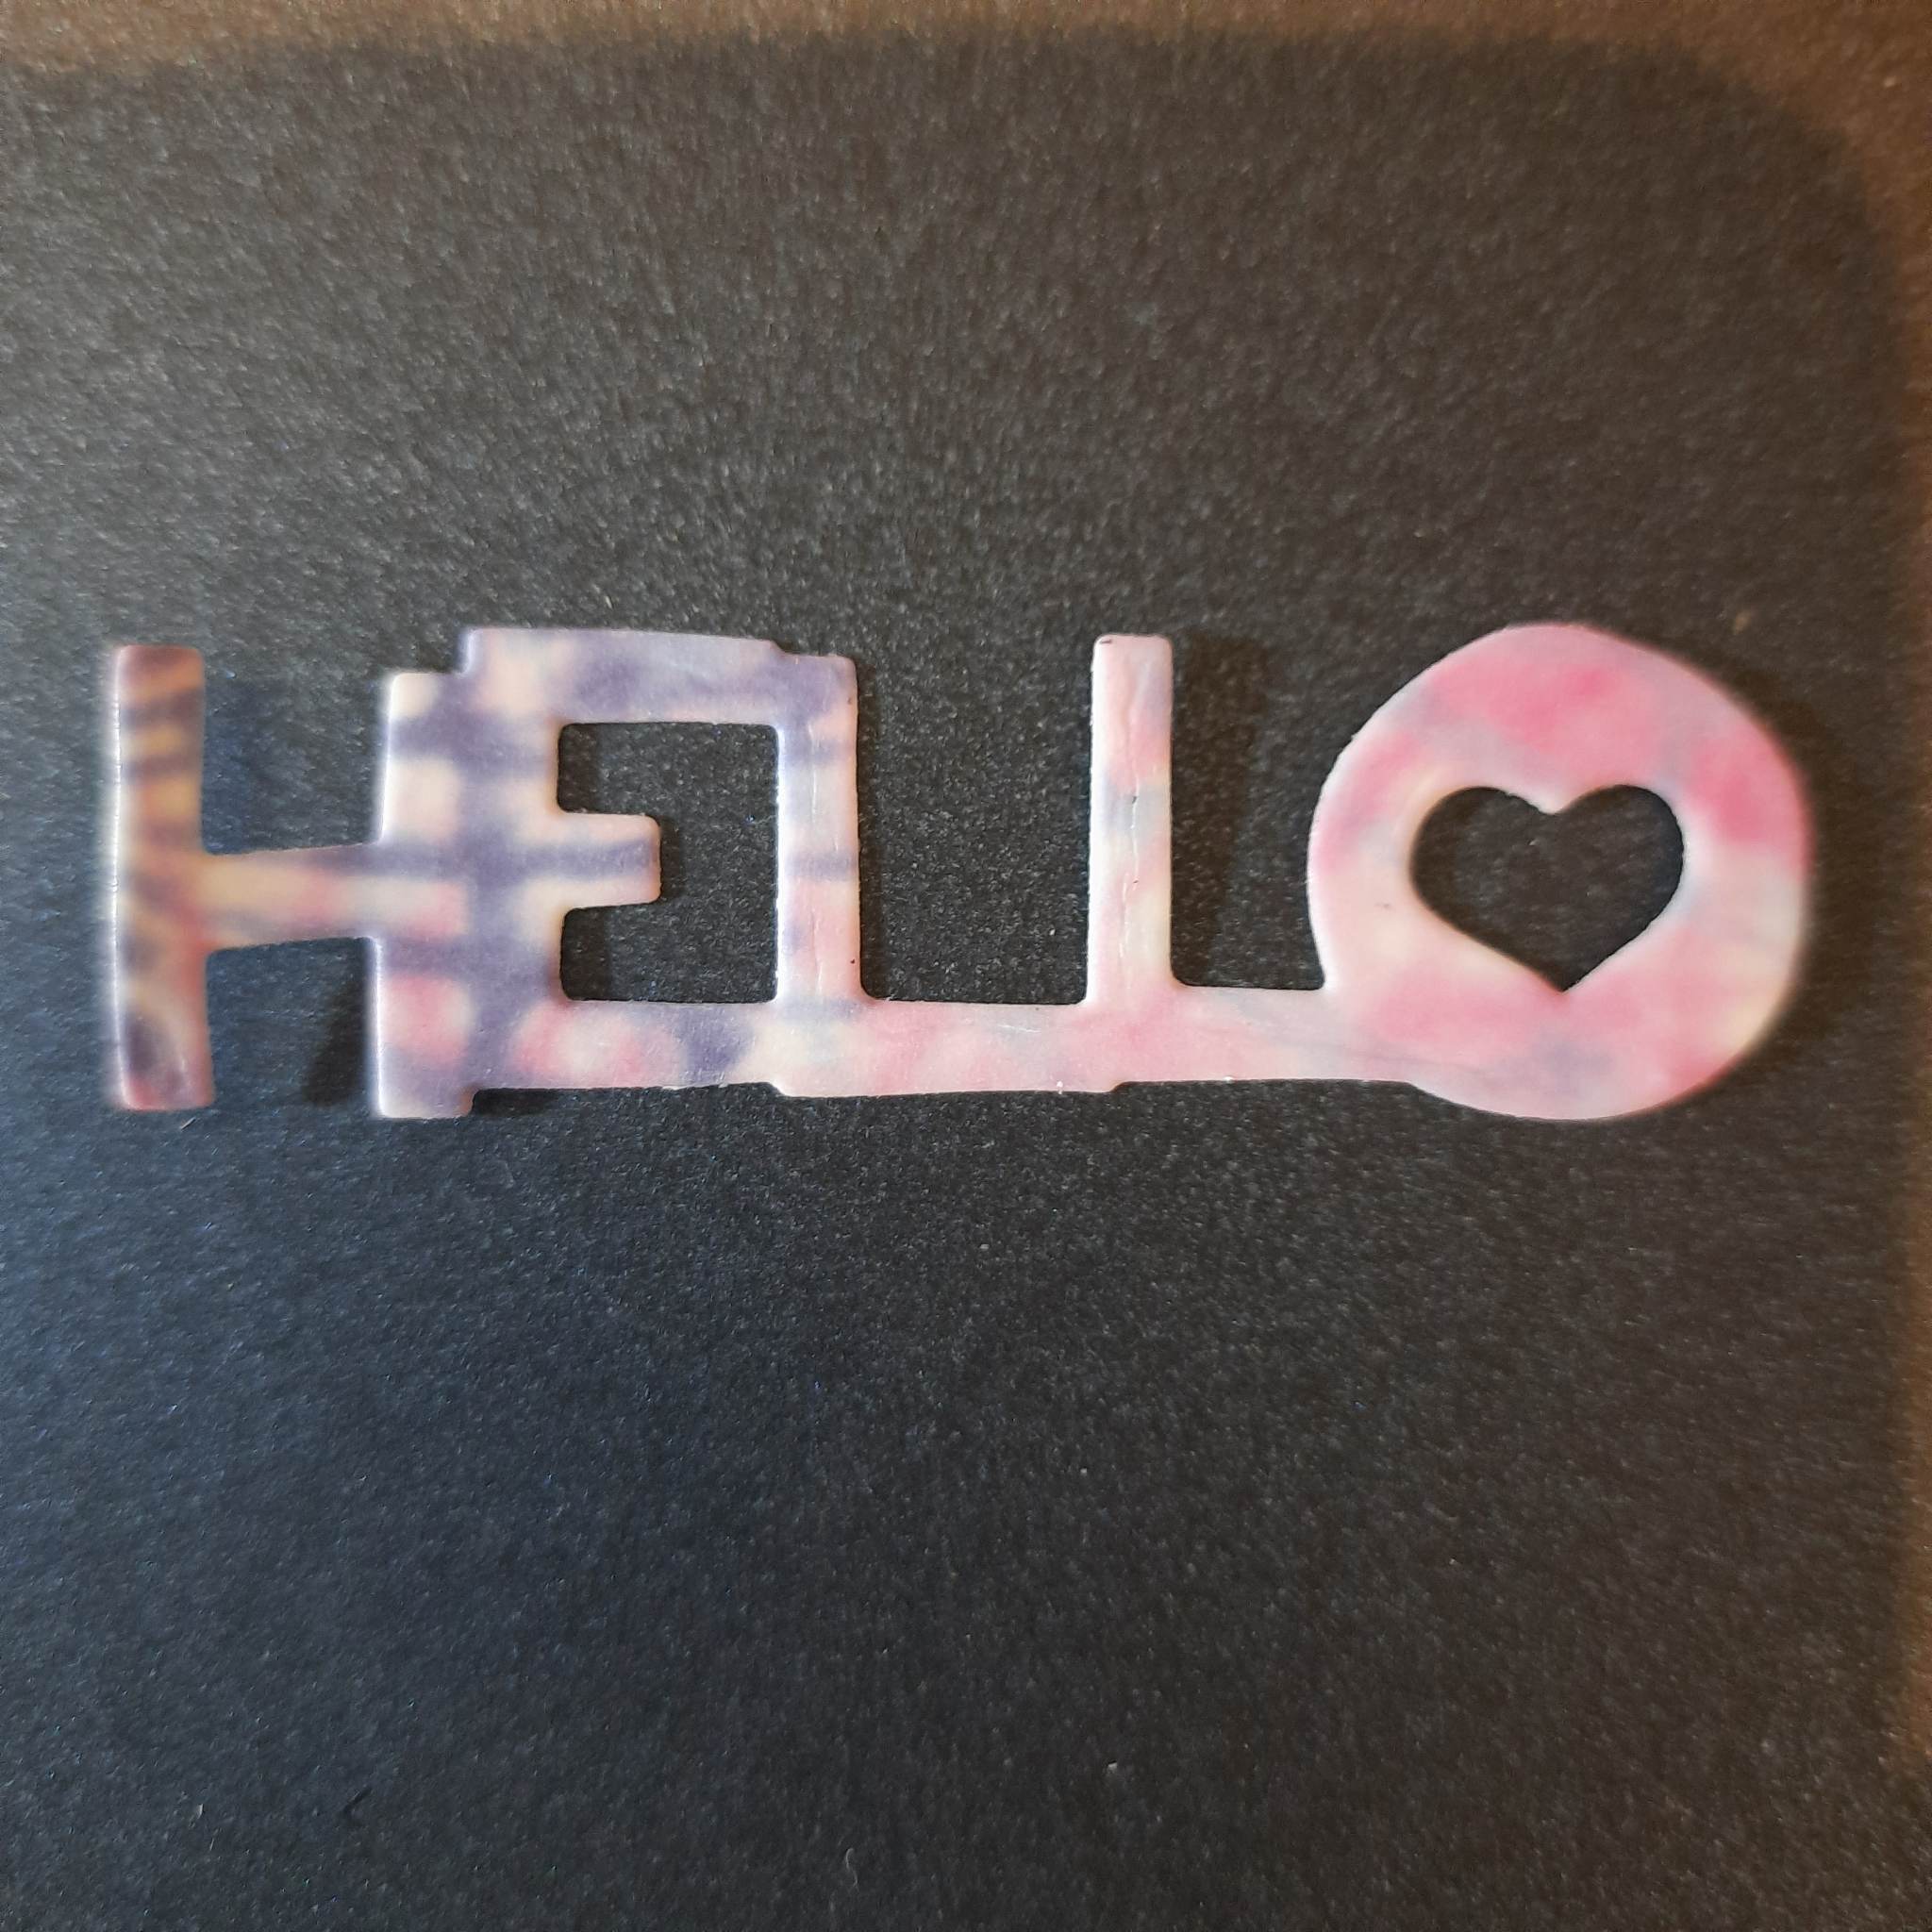
Attach some double sided adhesive to the back of a small piece of Thirsty Brush Vellum and adhere to white card. Die cut the Hello sentiment from the Thirsty Brush Build a Bloom die set. Also die cut from black card and adhere this to the back, to create a drop shadow. |
|
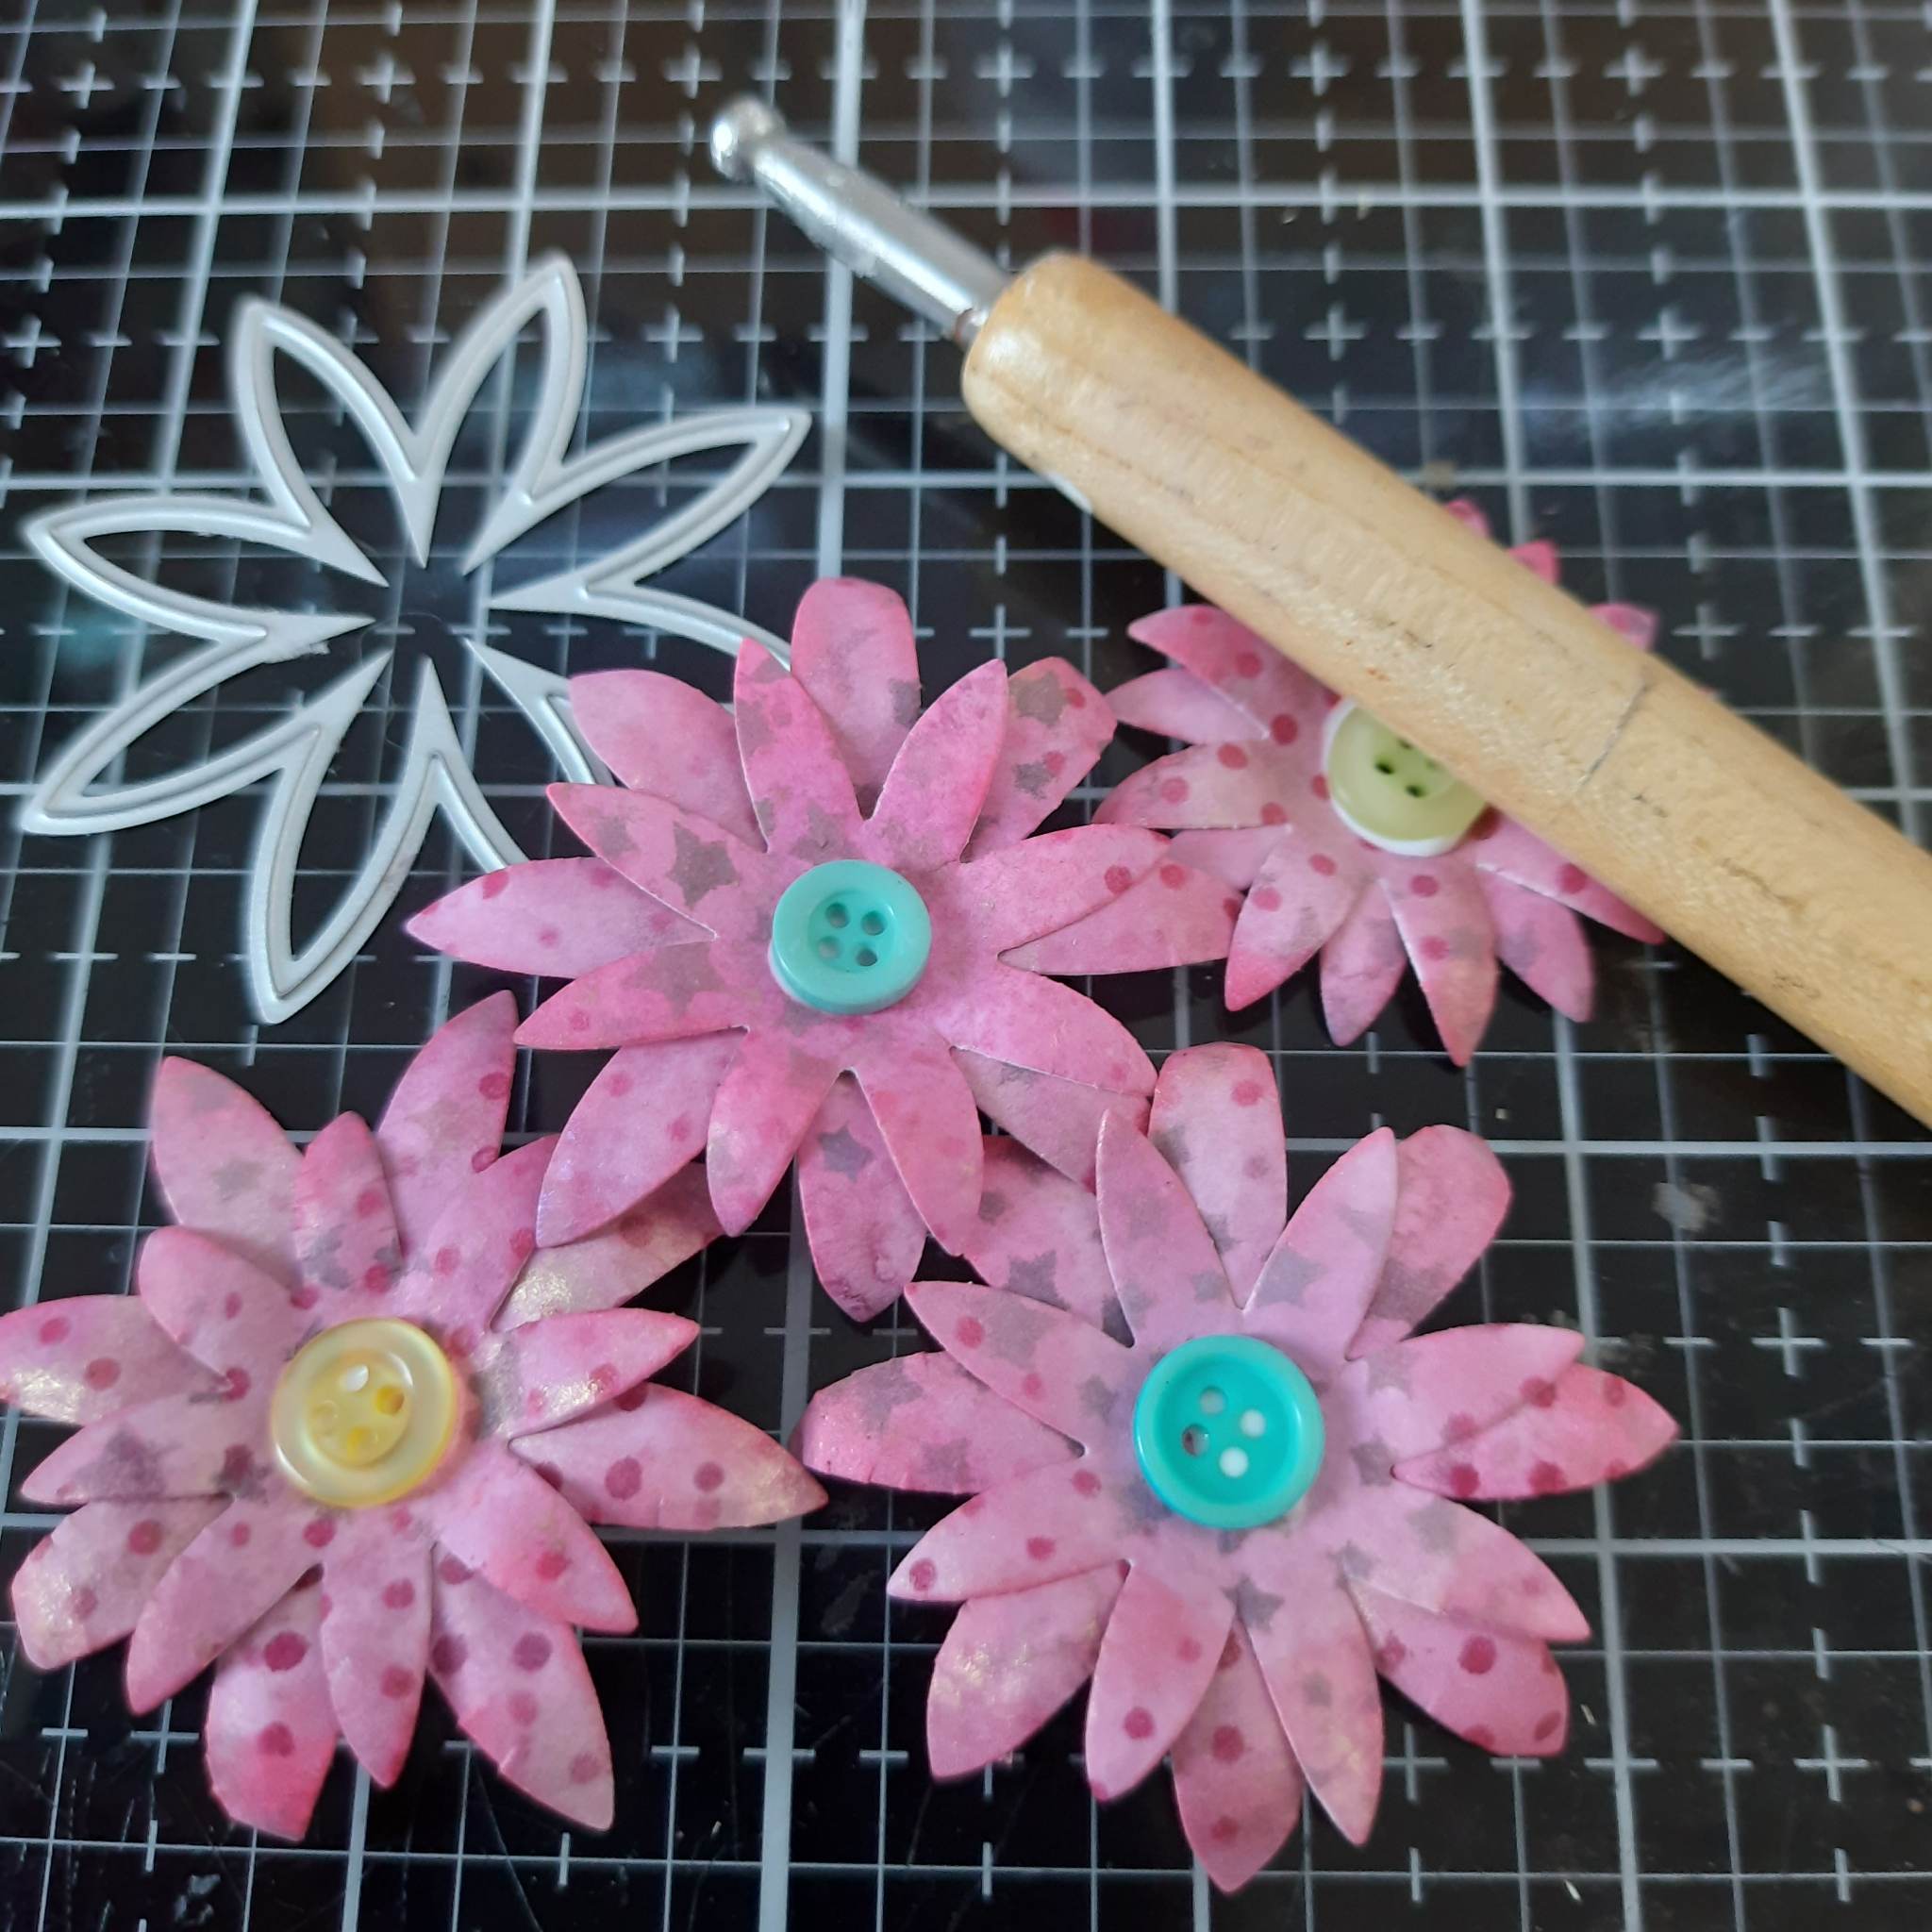
Die cut several flowers, from the Build A Bloom Creative Dies set, from inky scraps and shape with a ball tool. Layer together and add a button to the centres. |
|
Mount the heart, flowers and sentiment on foam pads to finish. |