Give your friends $10 off their first order!
Refer a FRIEND


WHAT YOU WILL NEED:
Black card blank 8 1/4 x 5 3/4"
Premium A4 Cardstock Teal Collection: Blue texture card 6 3/4 x 4 1/2", 3 1/2 x 2 1/2"
White card 7 1/2 x 3", 3 1/2 x 2 1/2"
Imala Impossible Stamp Collection
Imala Adventure Stamp Collection
Imala Collage Paper Pad
SBM Hybrid Ink Pad: Midnight
SBM Premium Dye Ink Pad: Limeade, Tiffany
Distress Ink: Tattered Rose
Paint brush
Blending tool
Eureka 101 Watercolour Tablet
SBM Magnetic glass mat
Paper Trimmer
Perfect Together Glue
Foam pads
[click image to enlarge] 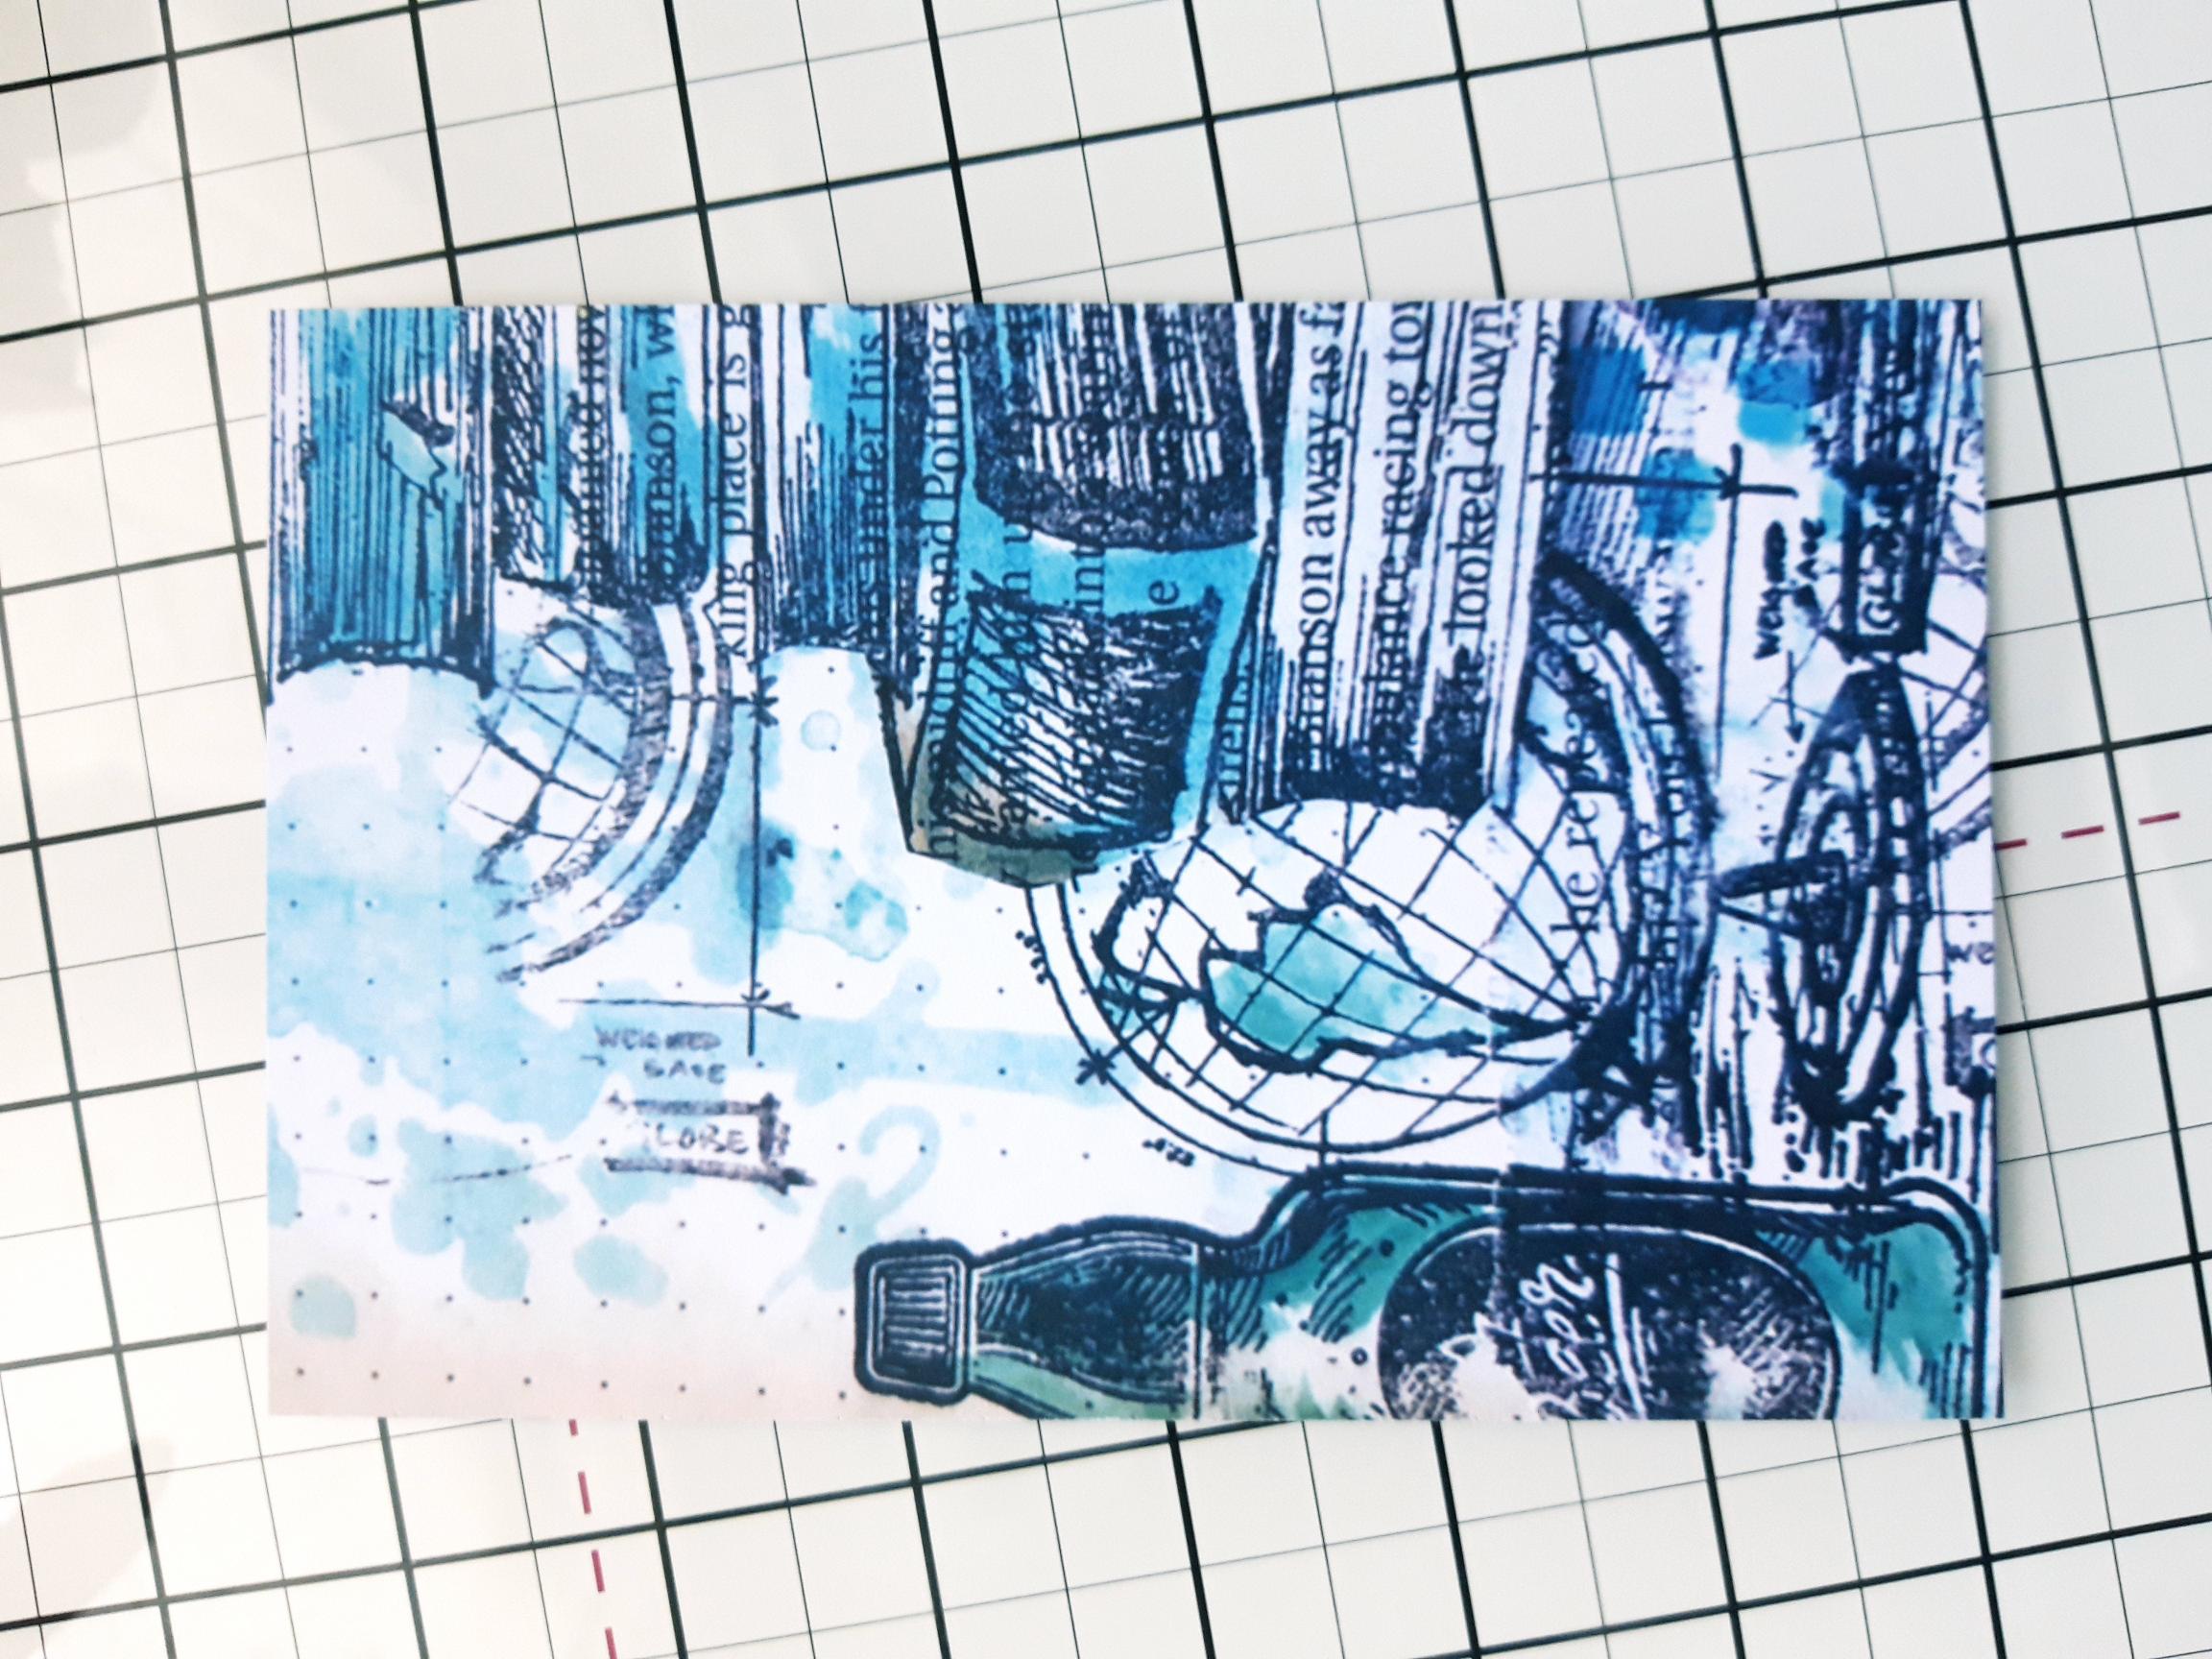
|
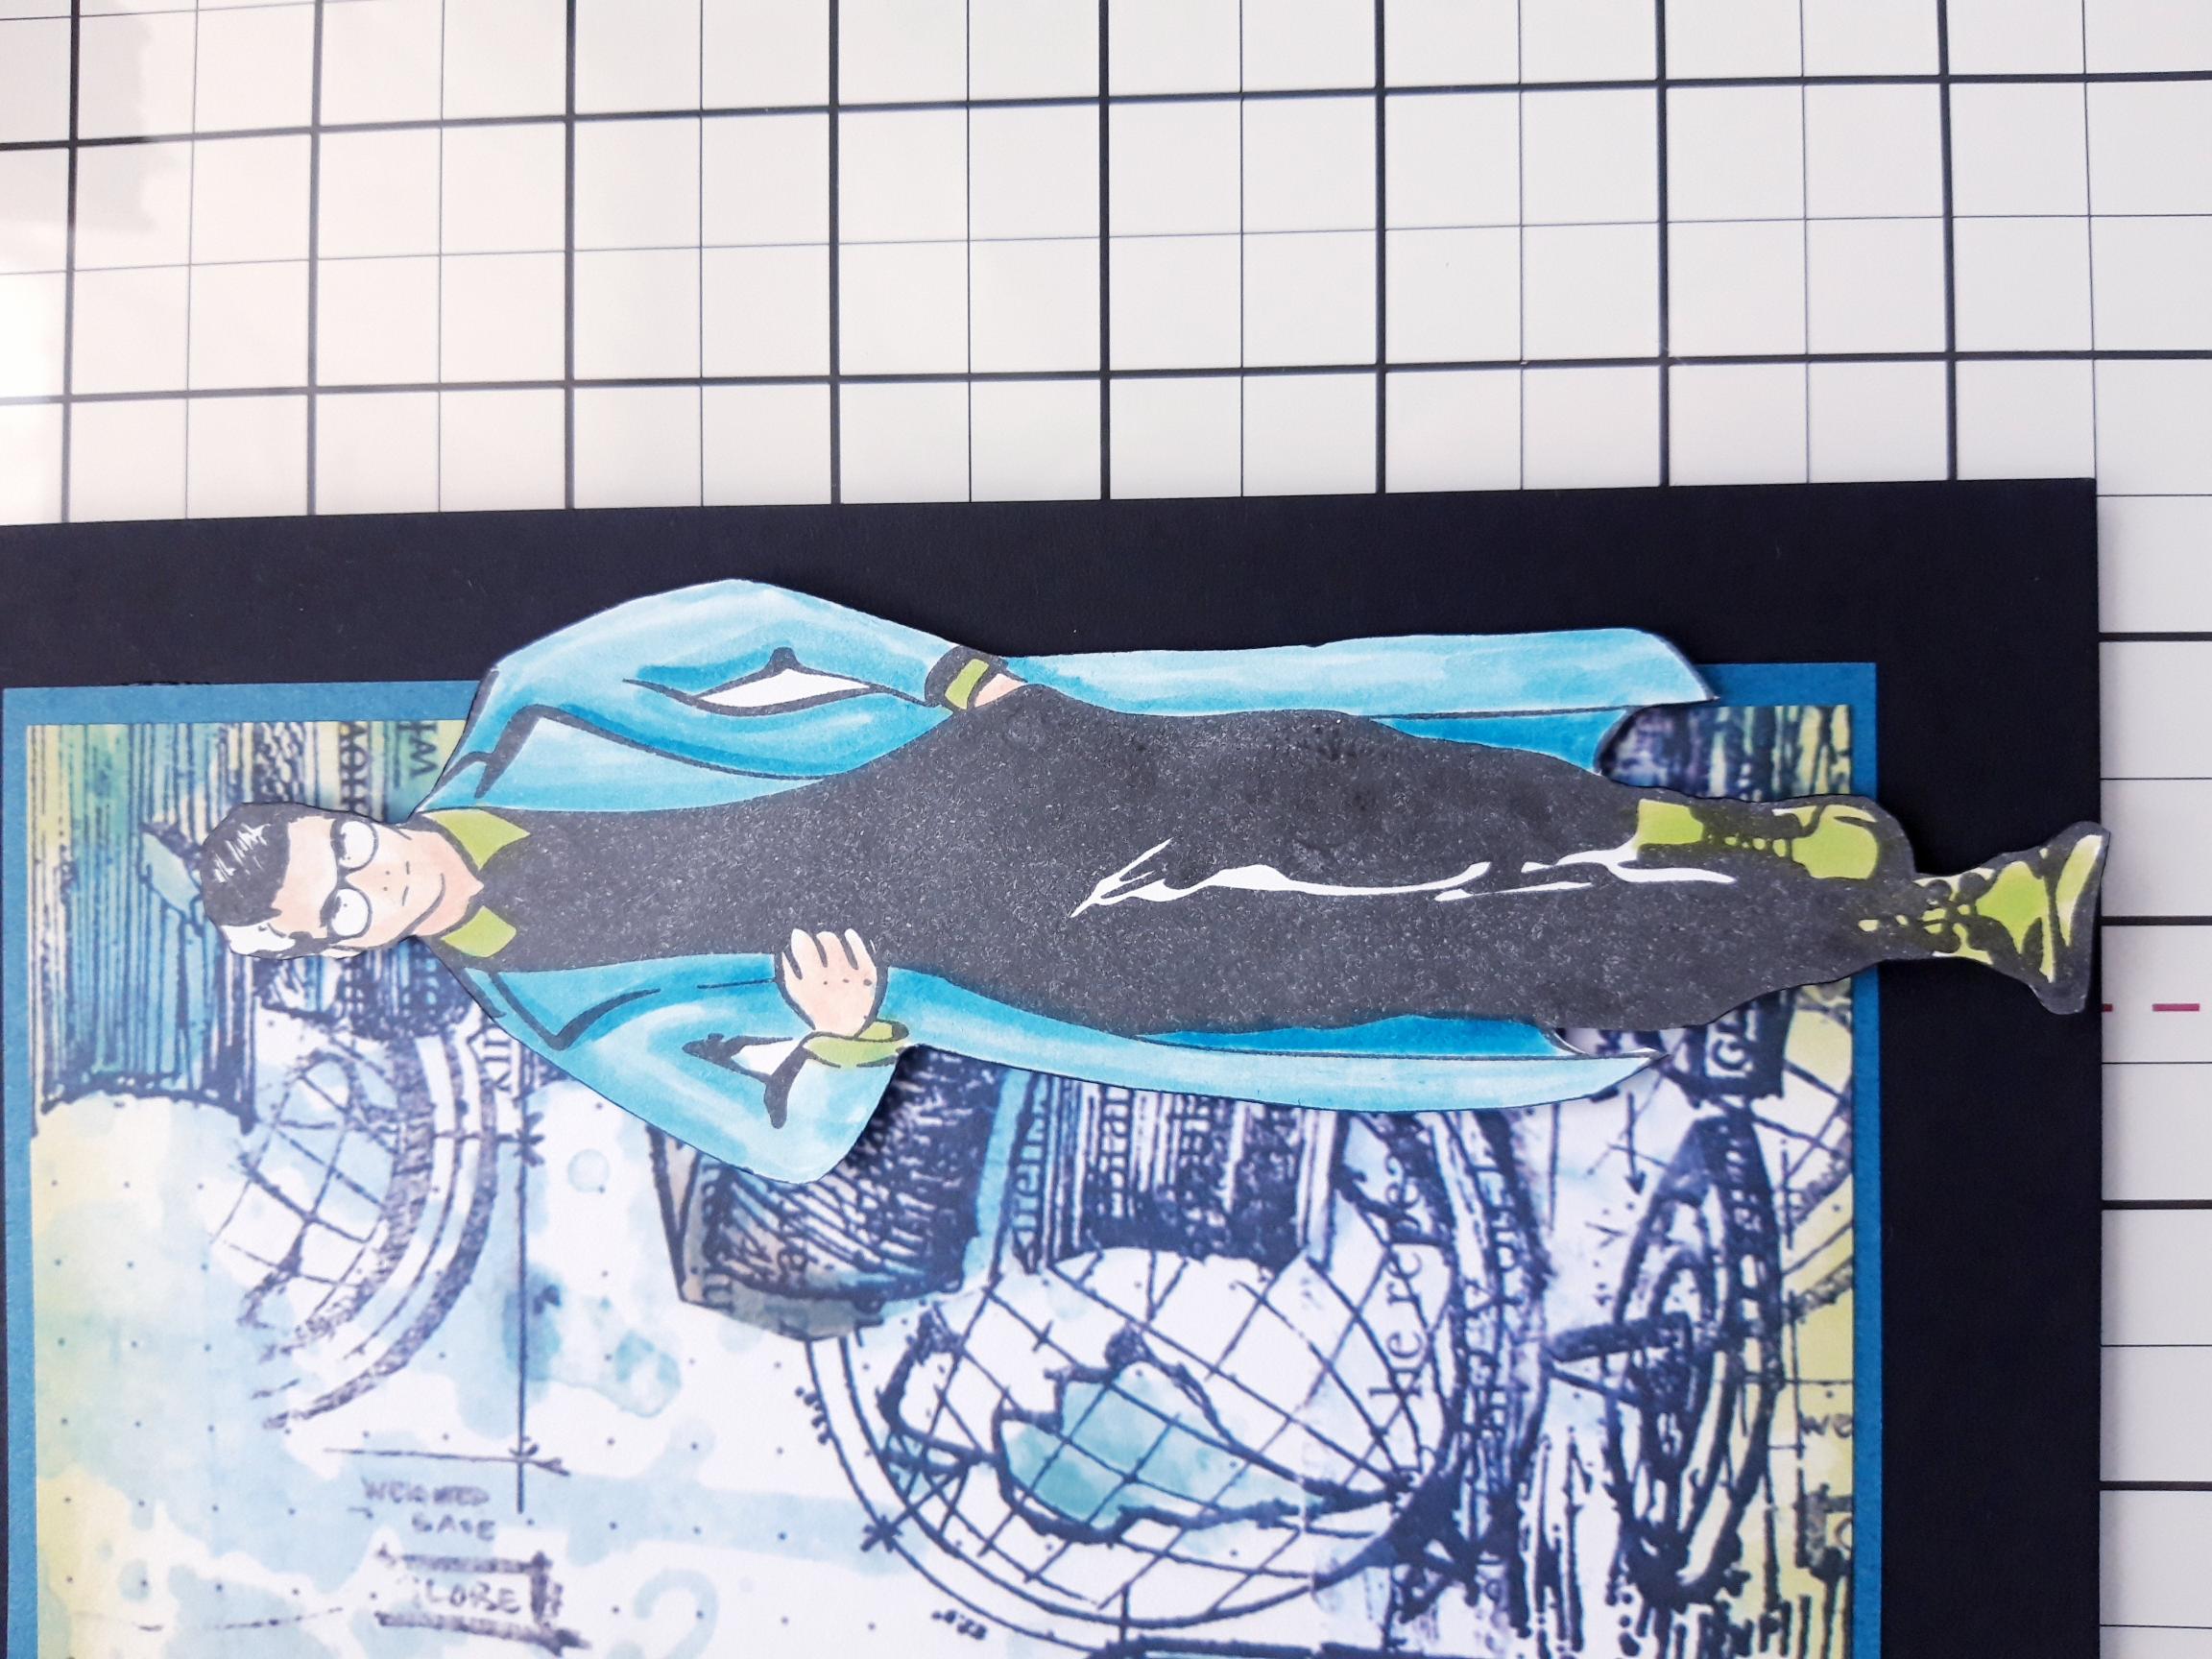
Remove this decorative paper from the Imala Collage Paper pad and trim to 6 1/2 x 4 1/4". |
|
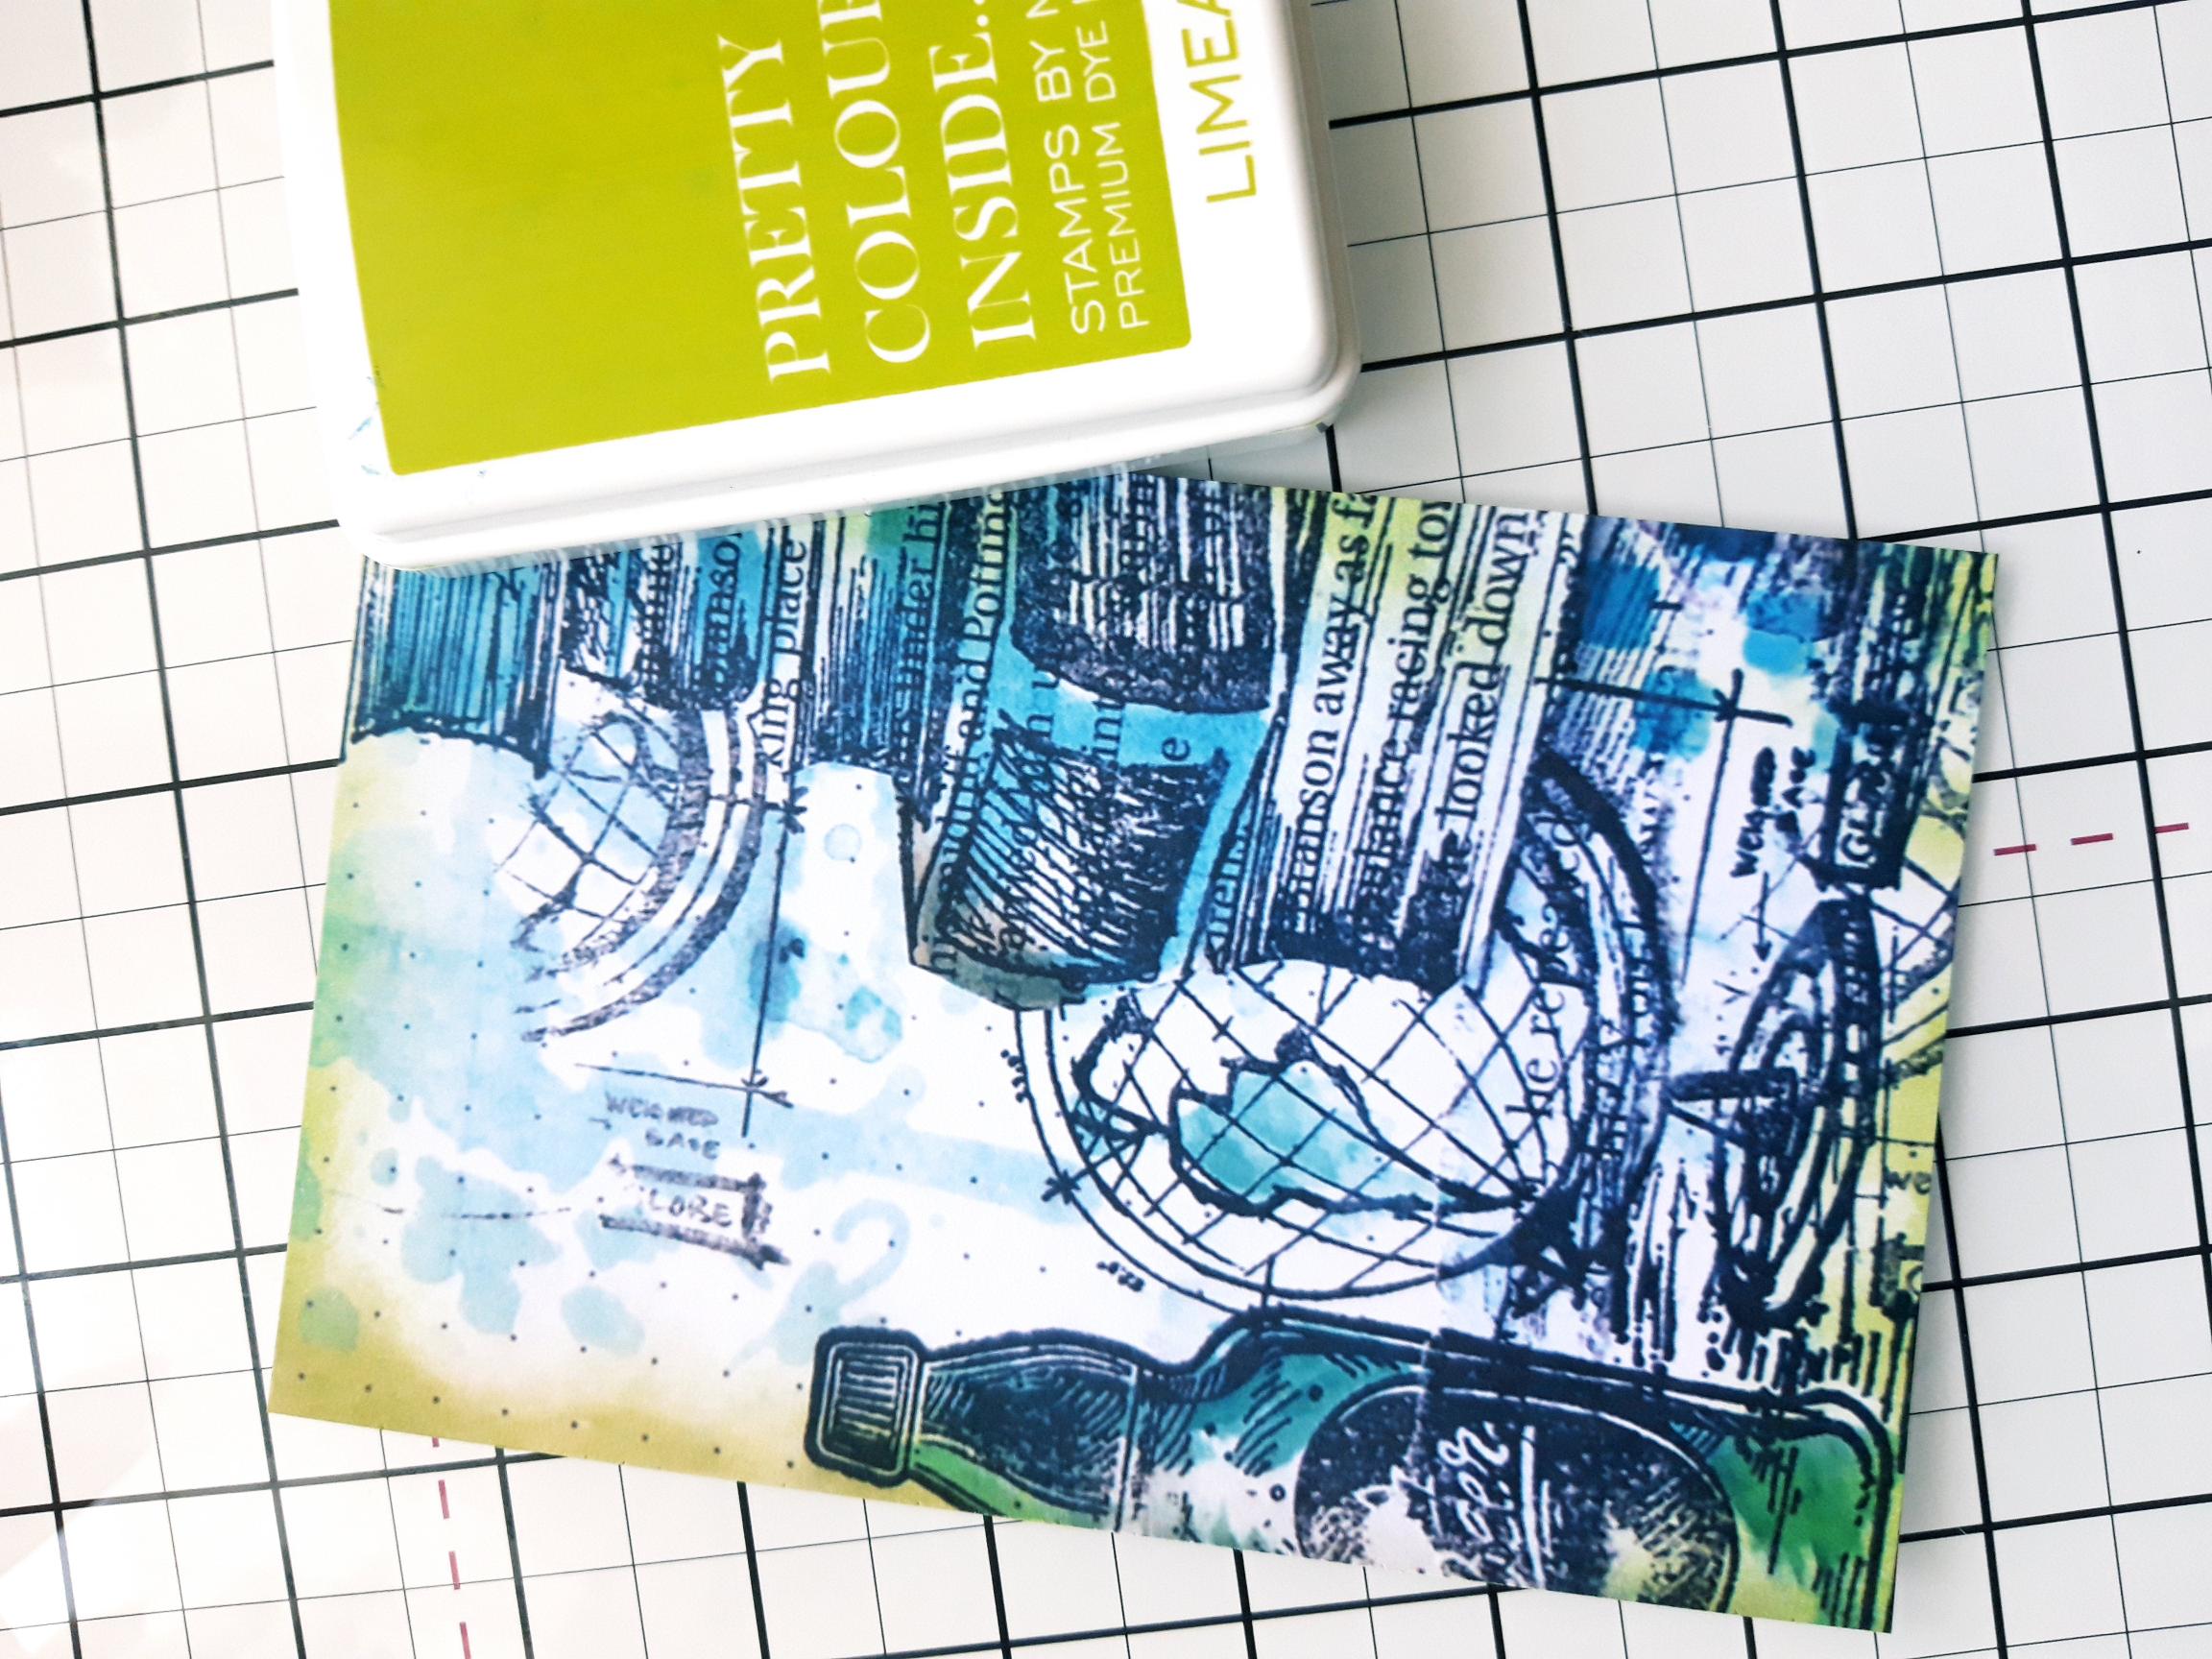
Using a blending tool, blend the Limeade around the edges of your decorative paper. You can also add the Limeade to random areas of the printed image, to tie it all together. |
|
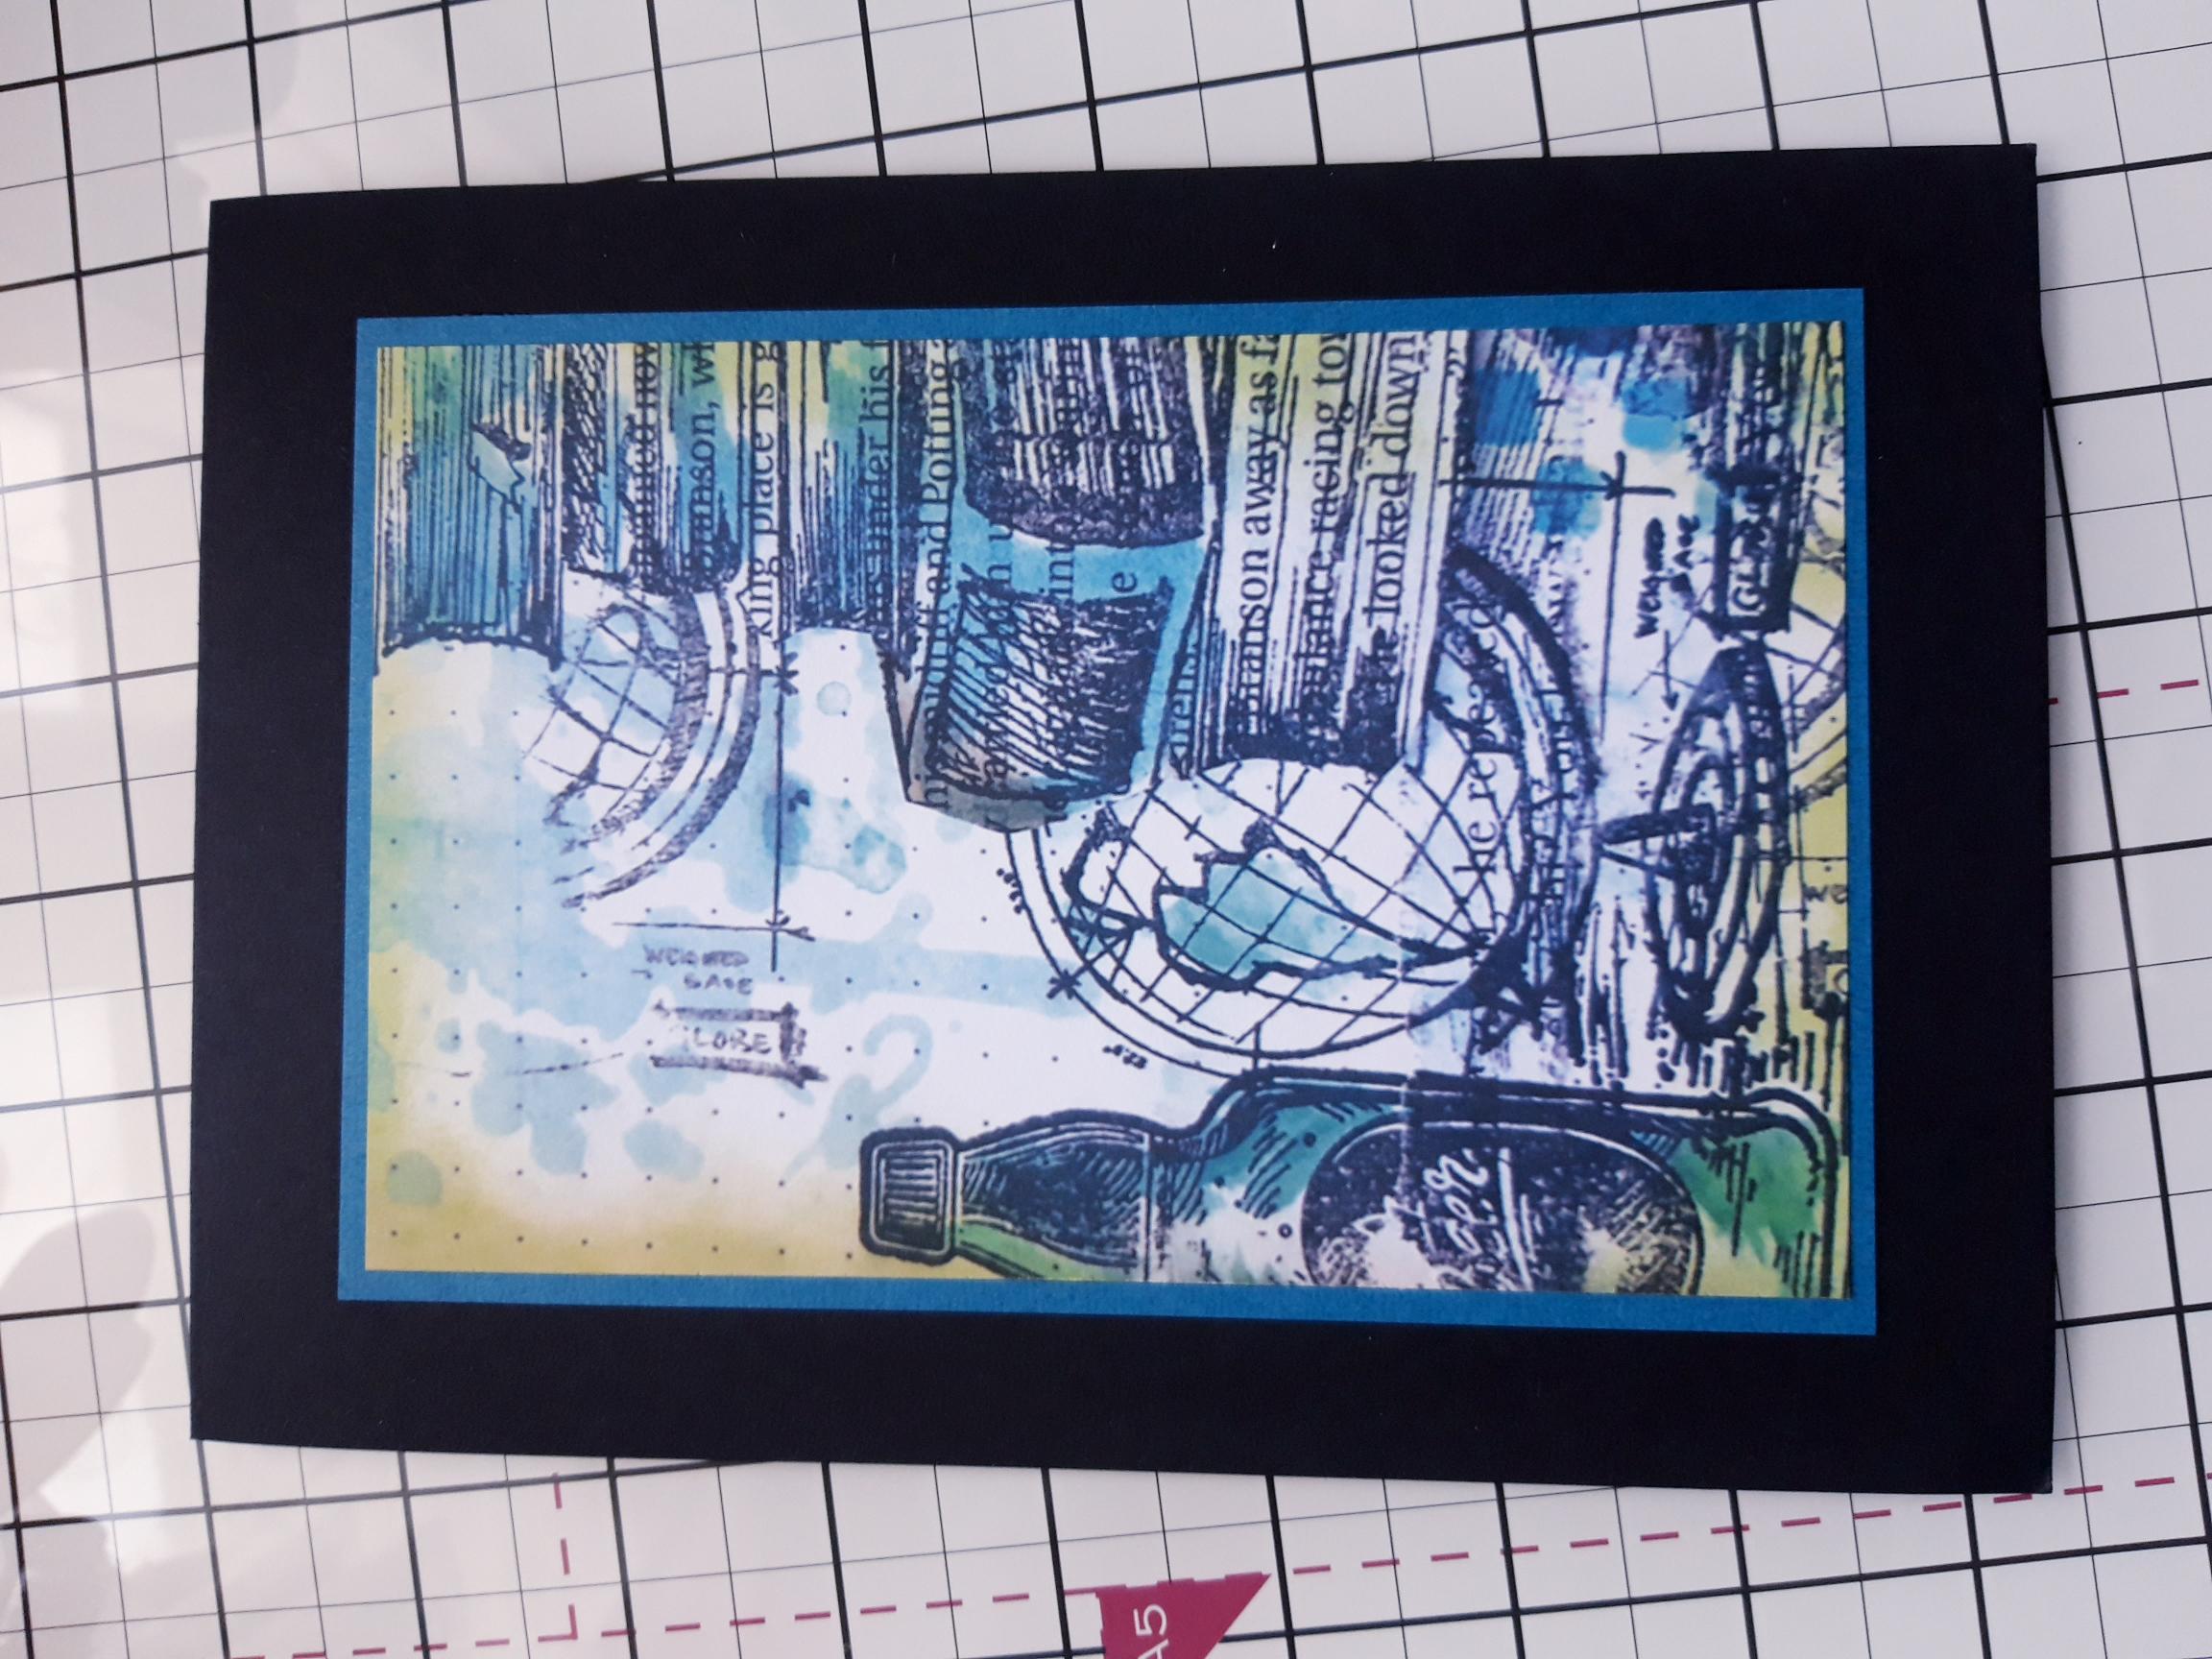
Having dried the ink, adhere the paper to the blue textured card and then on to the front of your black card blank. |
|
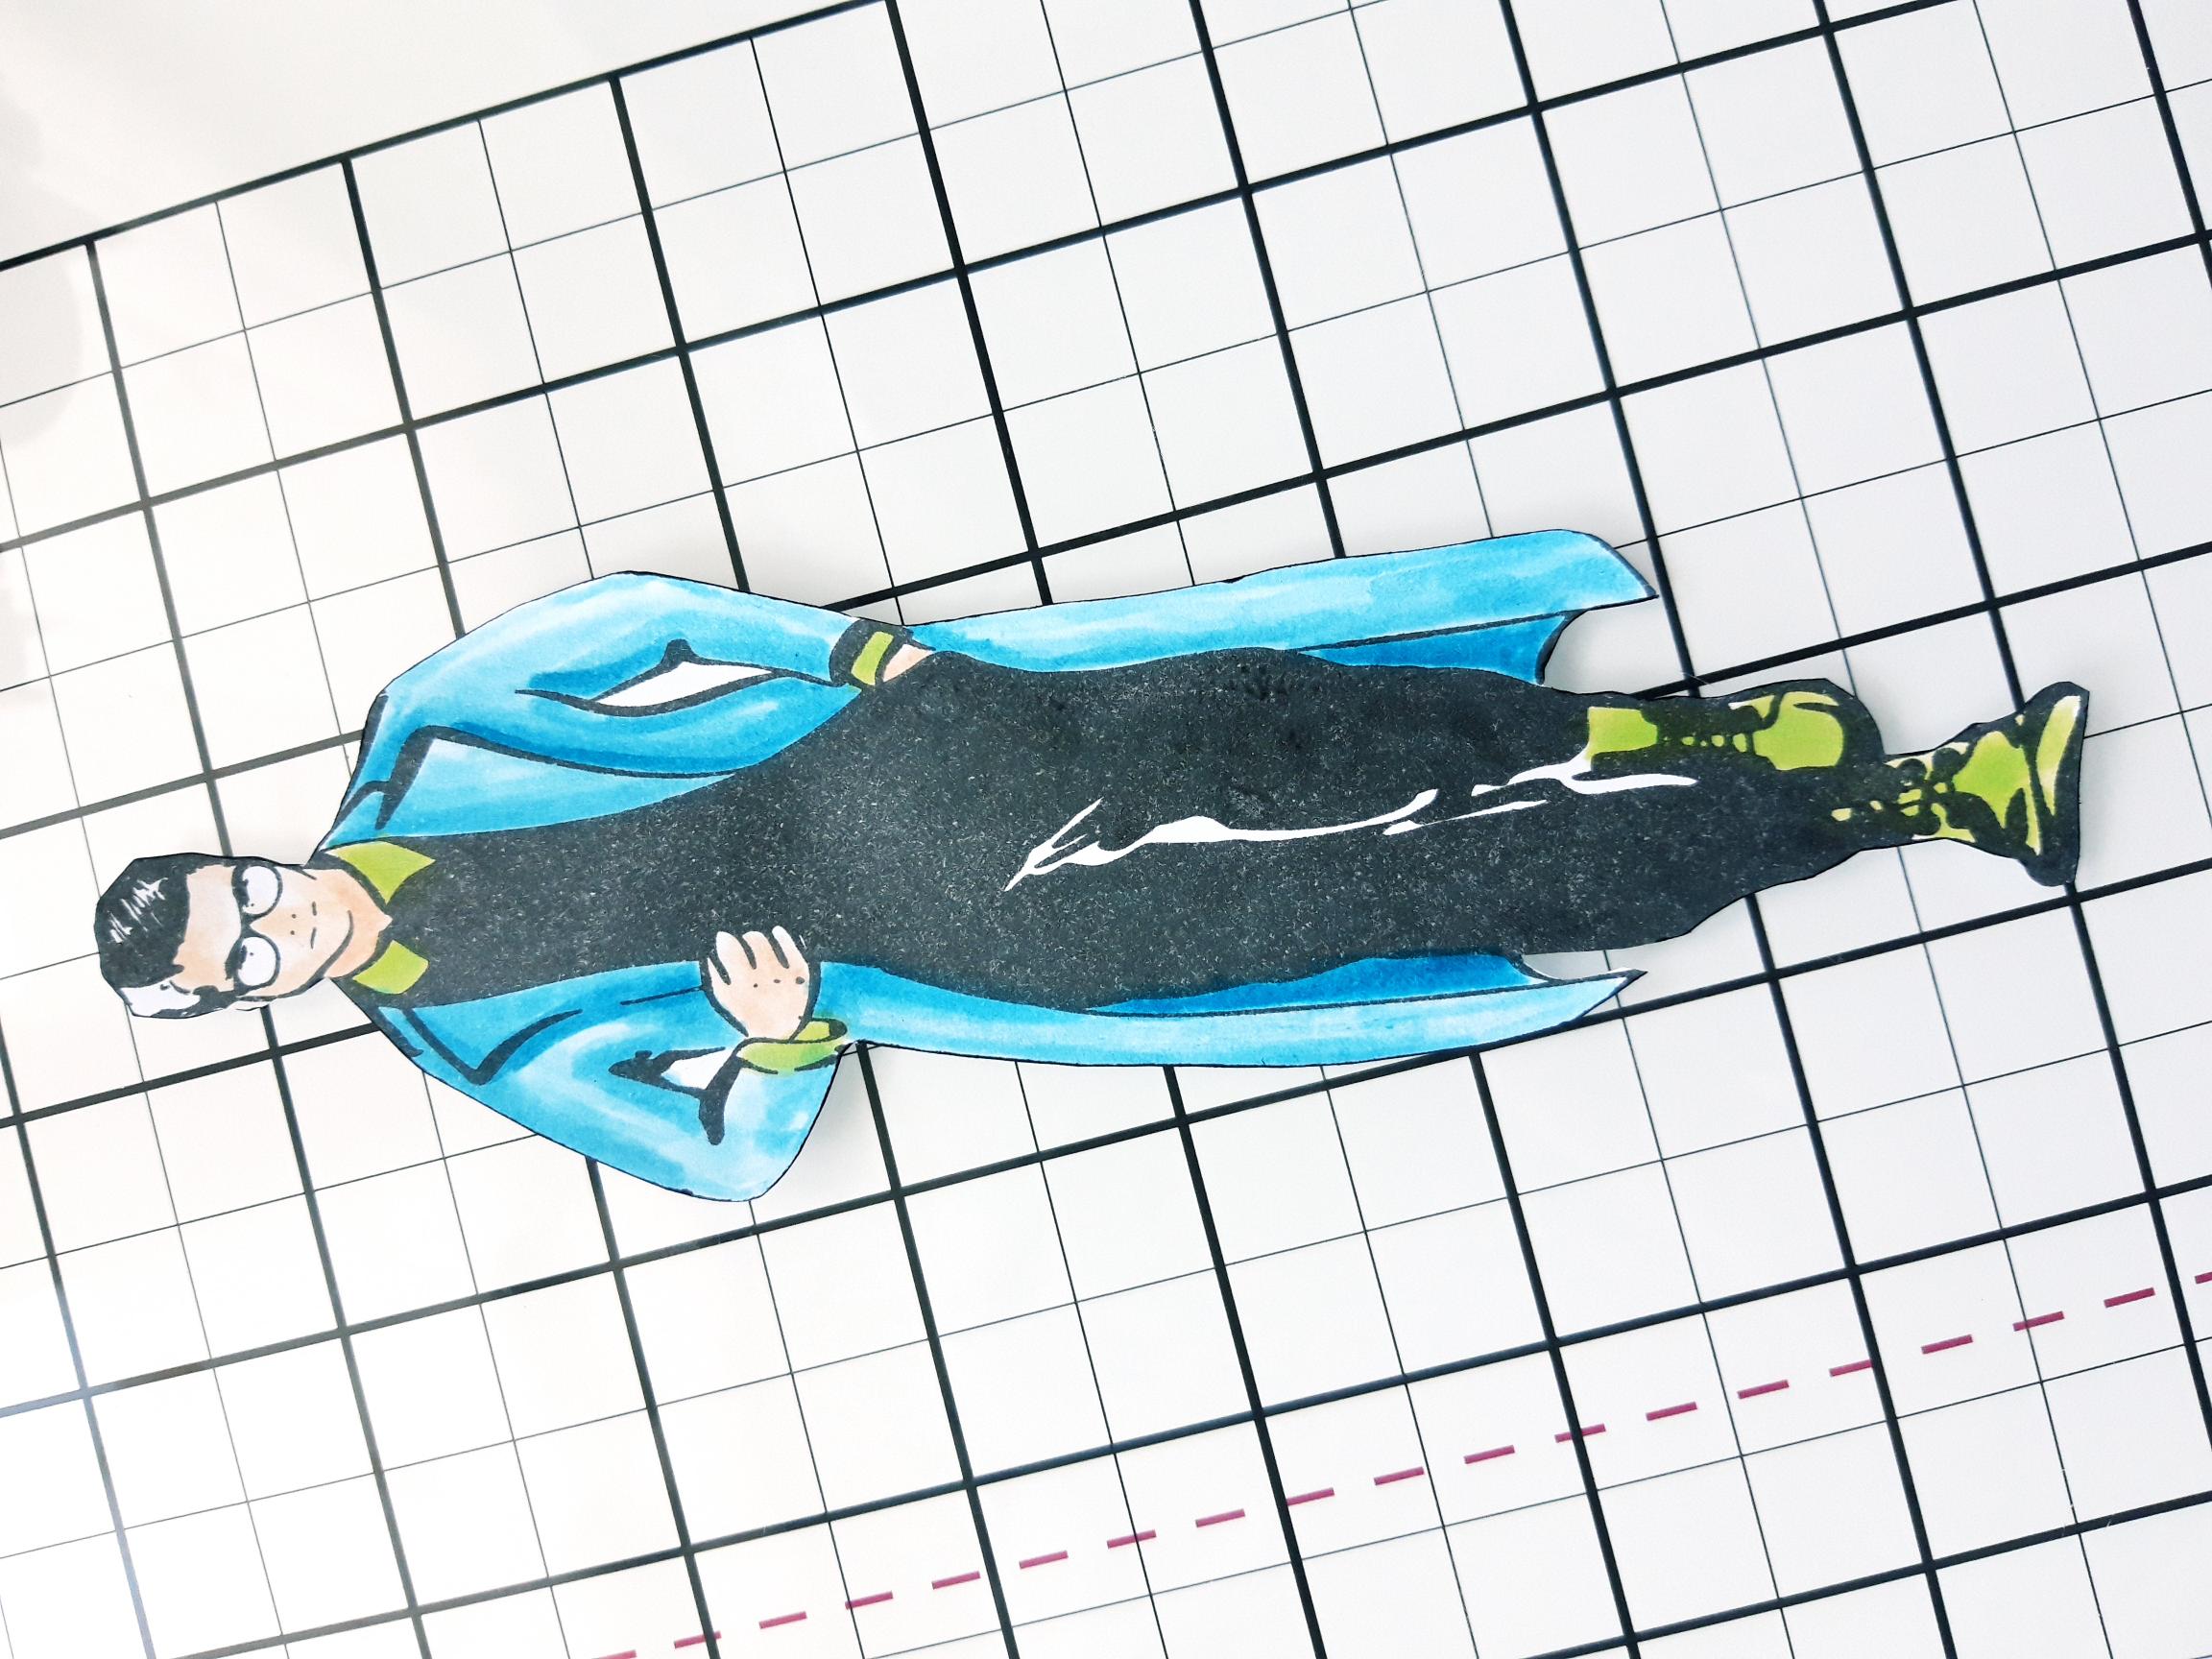
Ink up this cool, young man, from the Imala Impossible set, with the Midnight hybrid ink and stamp on to the white card, 7 1/2 x 3". Apply a little of the Limeade and Tiffany ink on to your glass mat, add water and paint your stamped image. Once the ink is dry, fussy cut. If you prefer, you can fussy cut first and then paint your element, whichever is easier for you. |
|
Use foam pads to adhere him to the right of your decorative paper. |
|
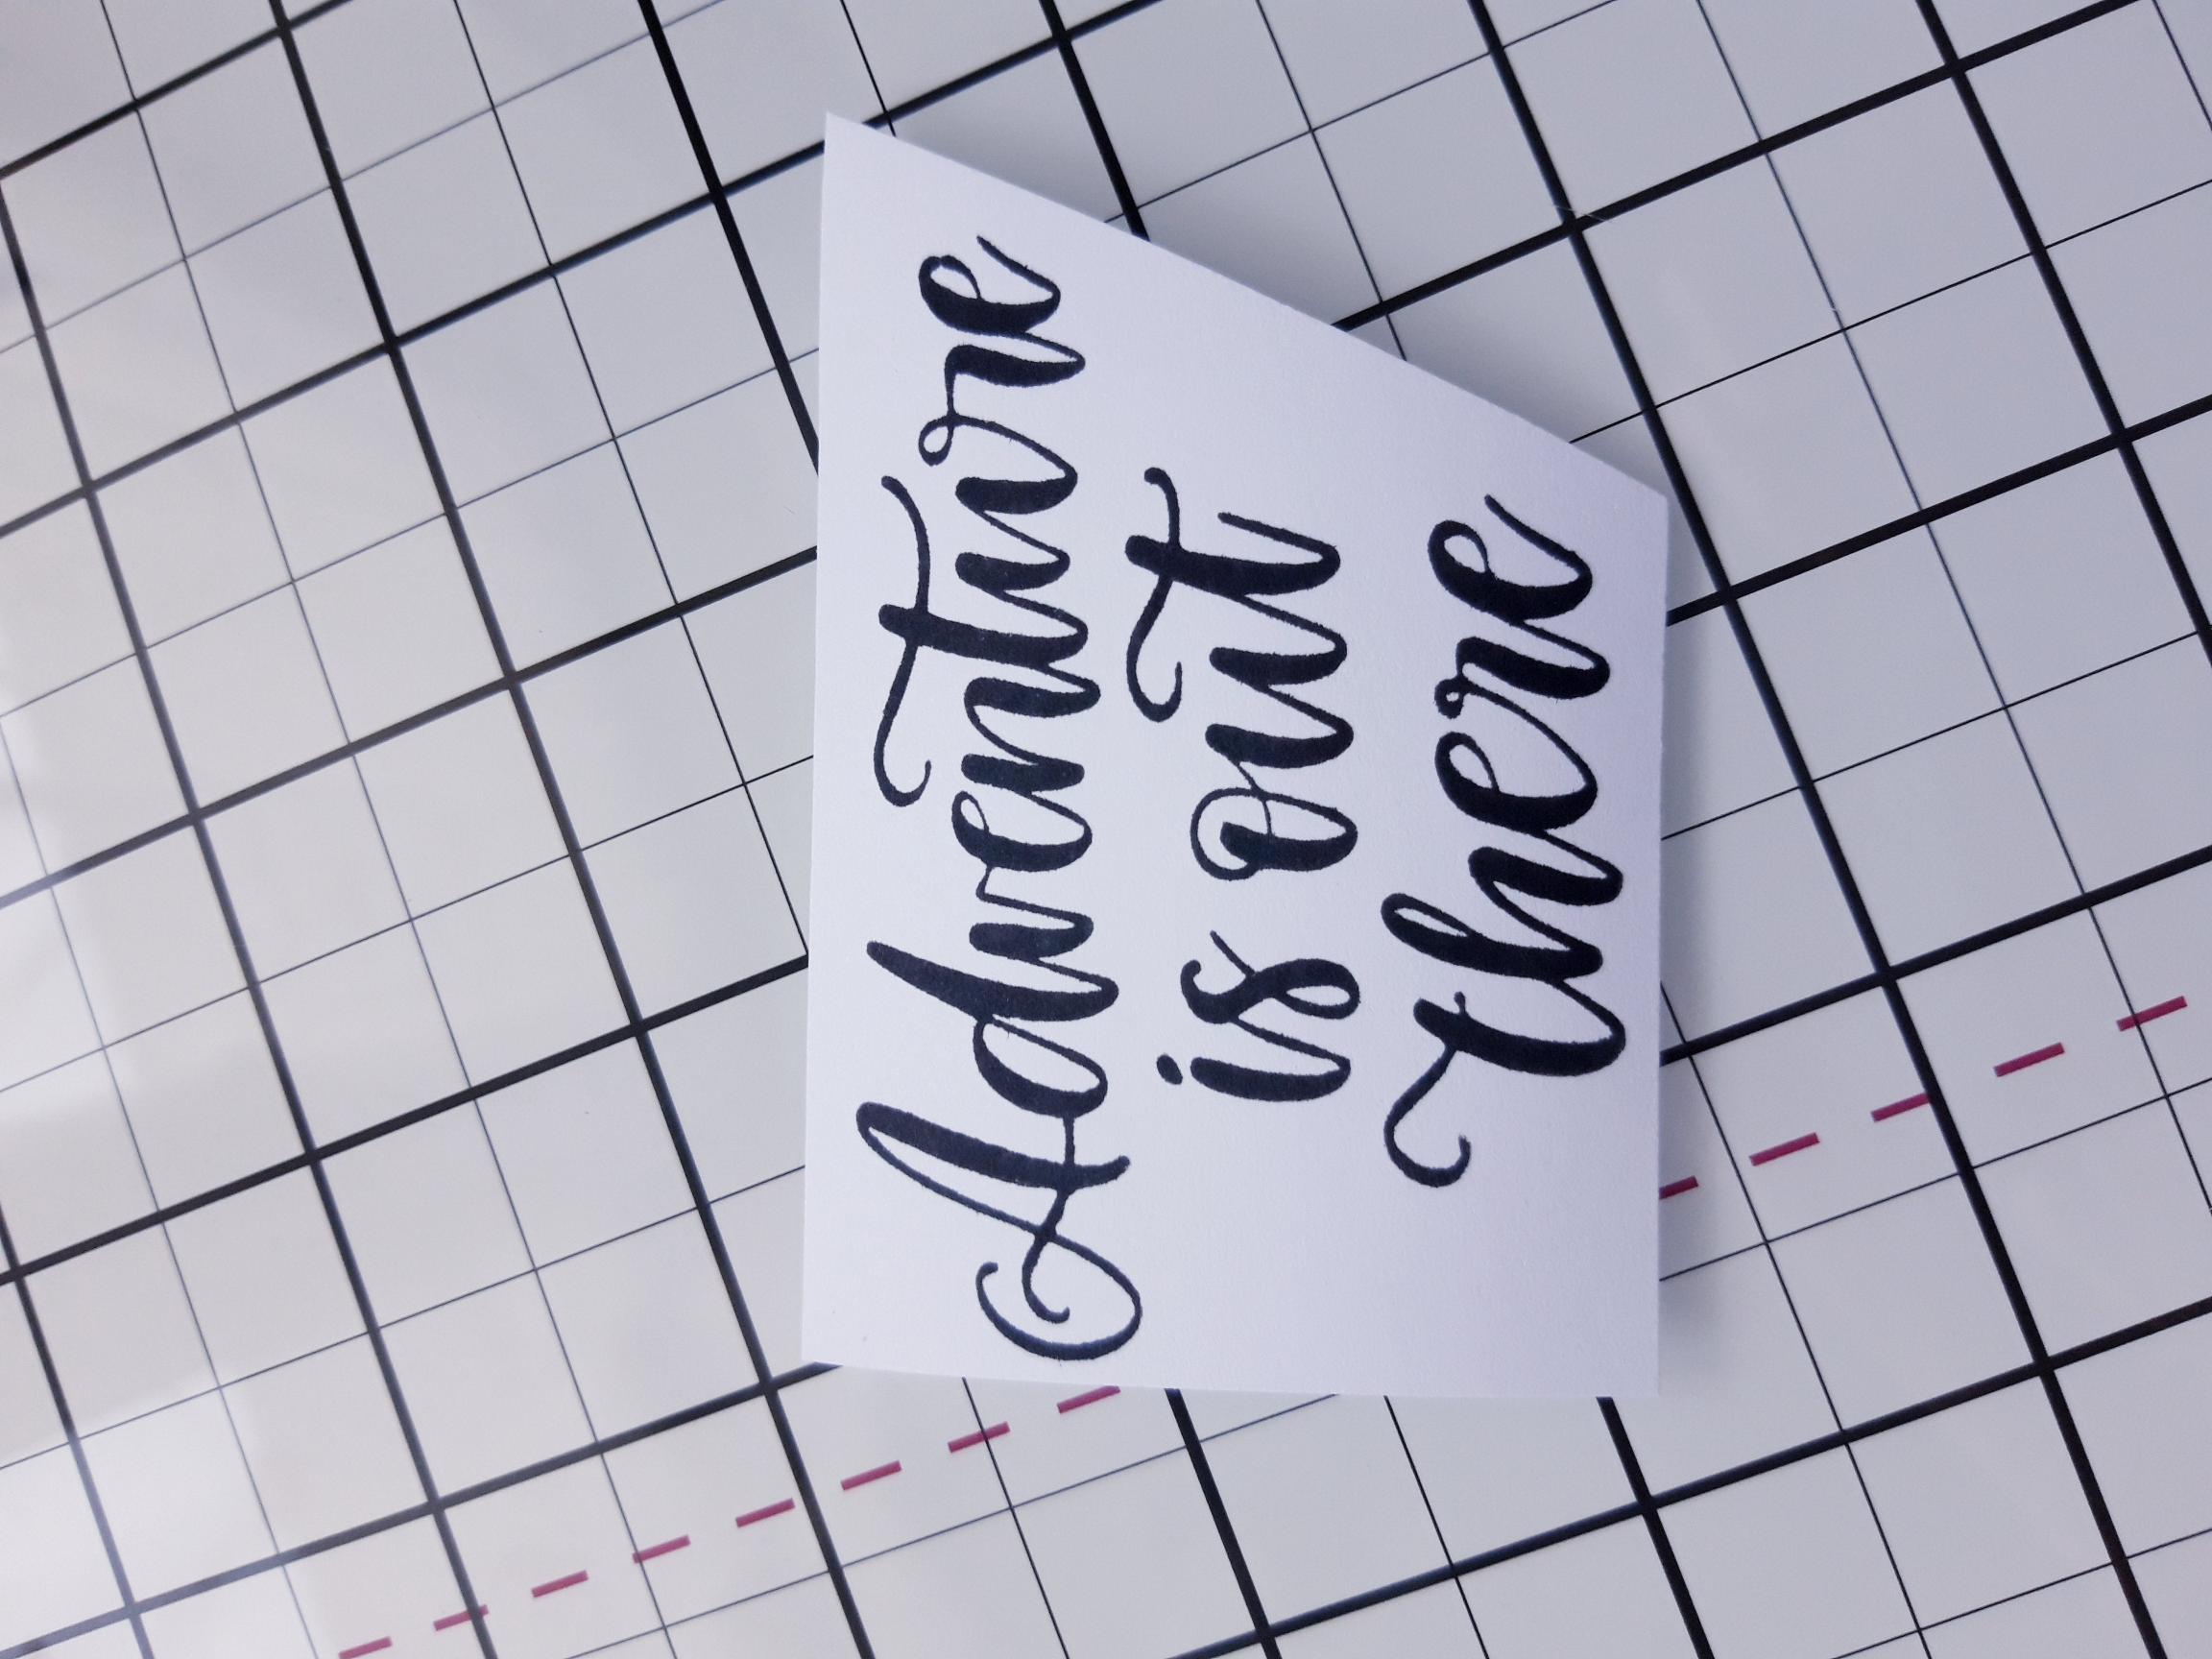
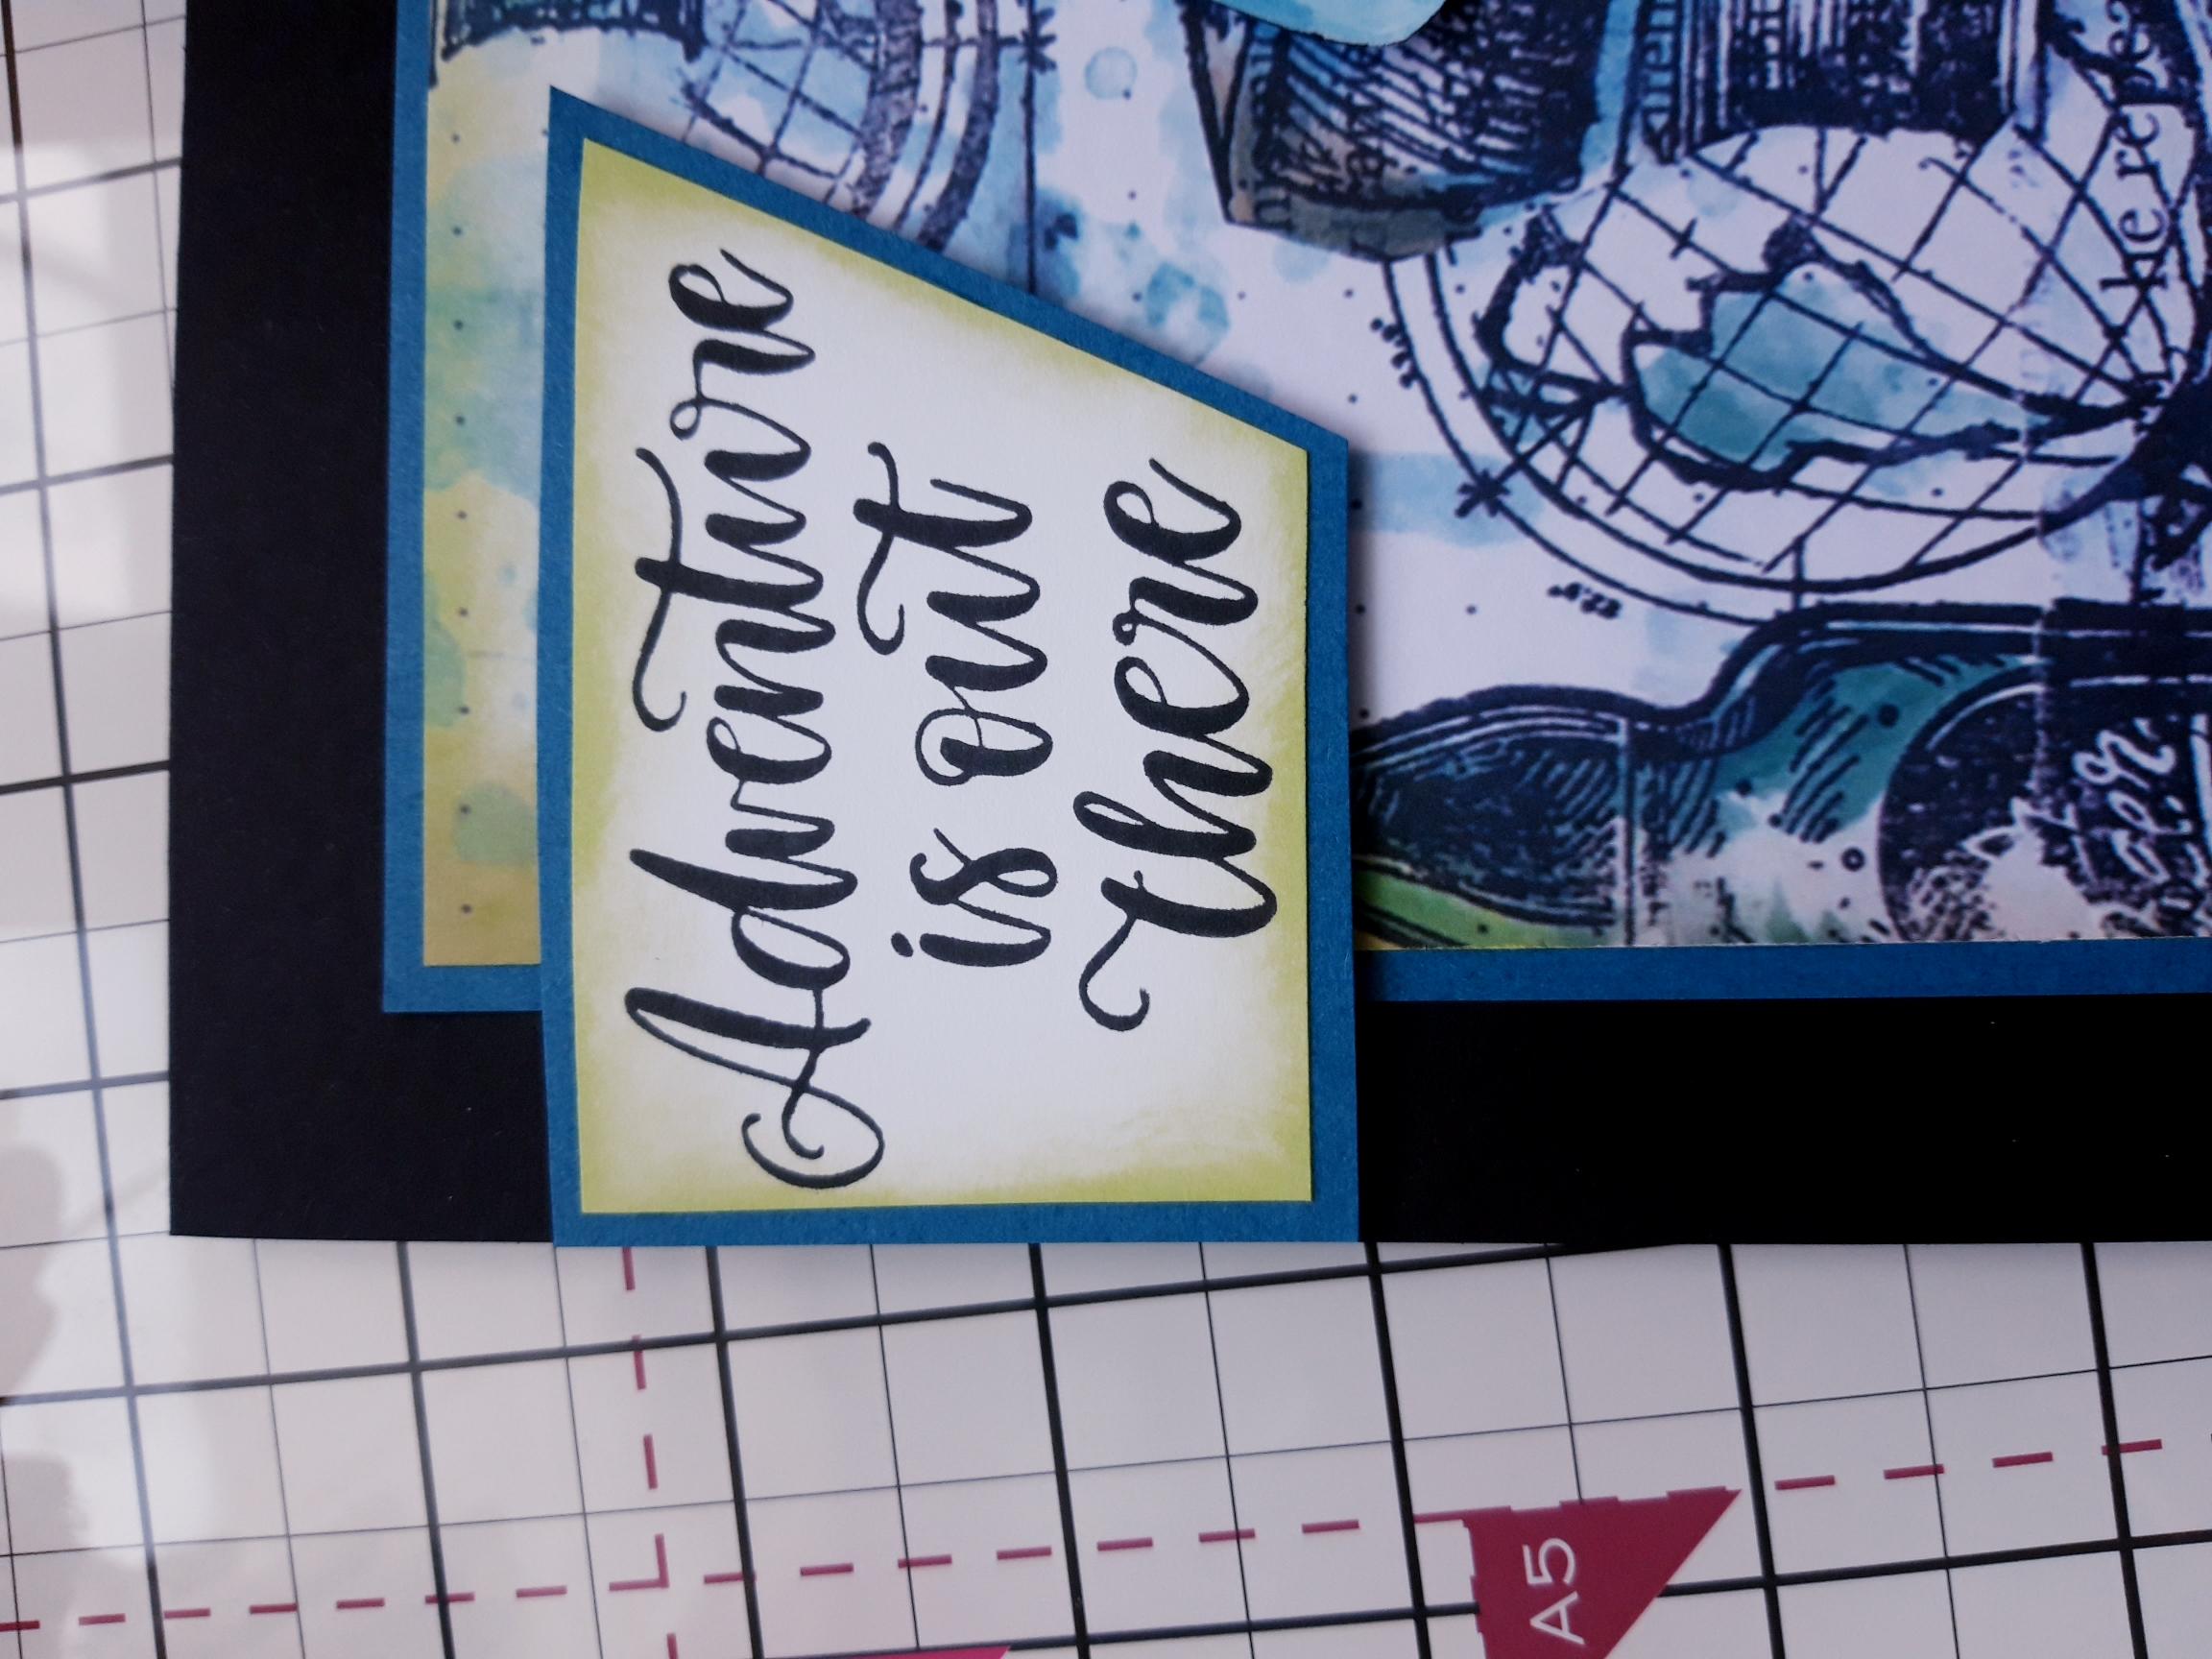
Ink up the sentiment stamp from the Imala Adventure Stamp Collection, with the Midnight and stamp on to the white card, 3 1/2 x 2 1/2". Trim around your sentiment as required...I like jaunty angles but the choice is yours! |
|
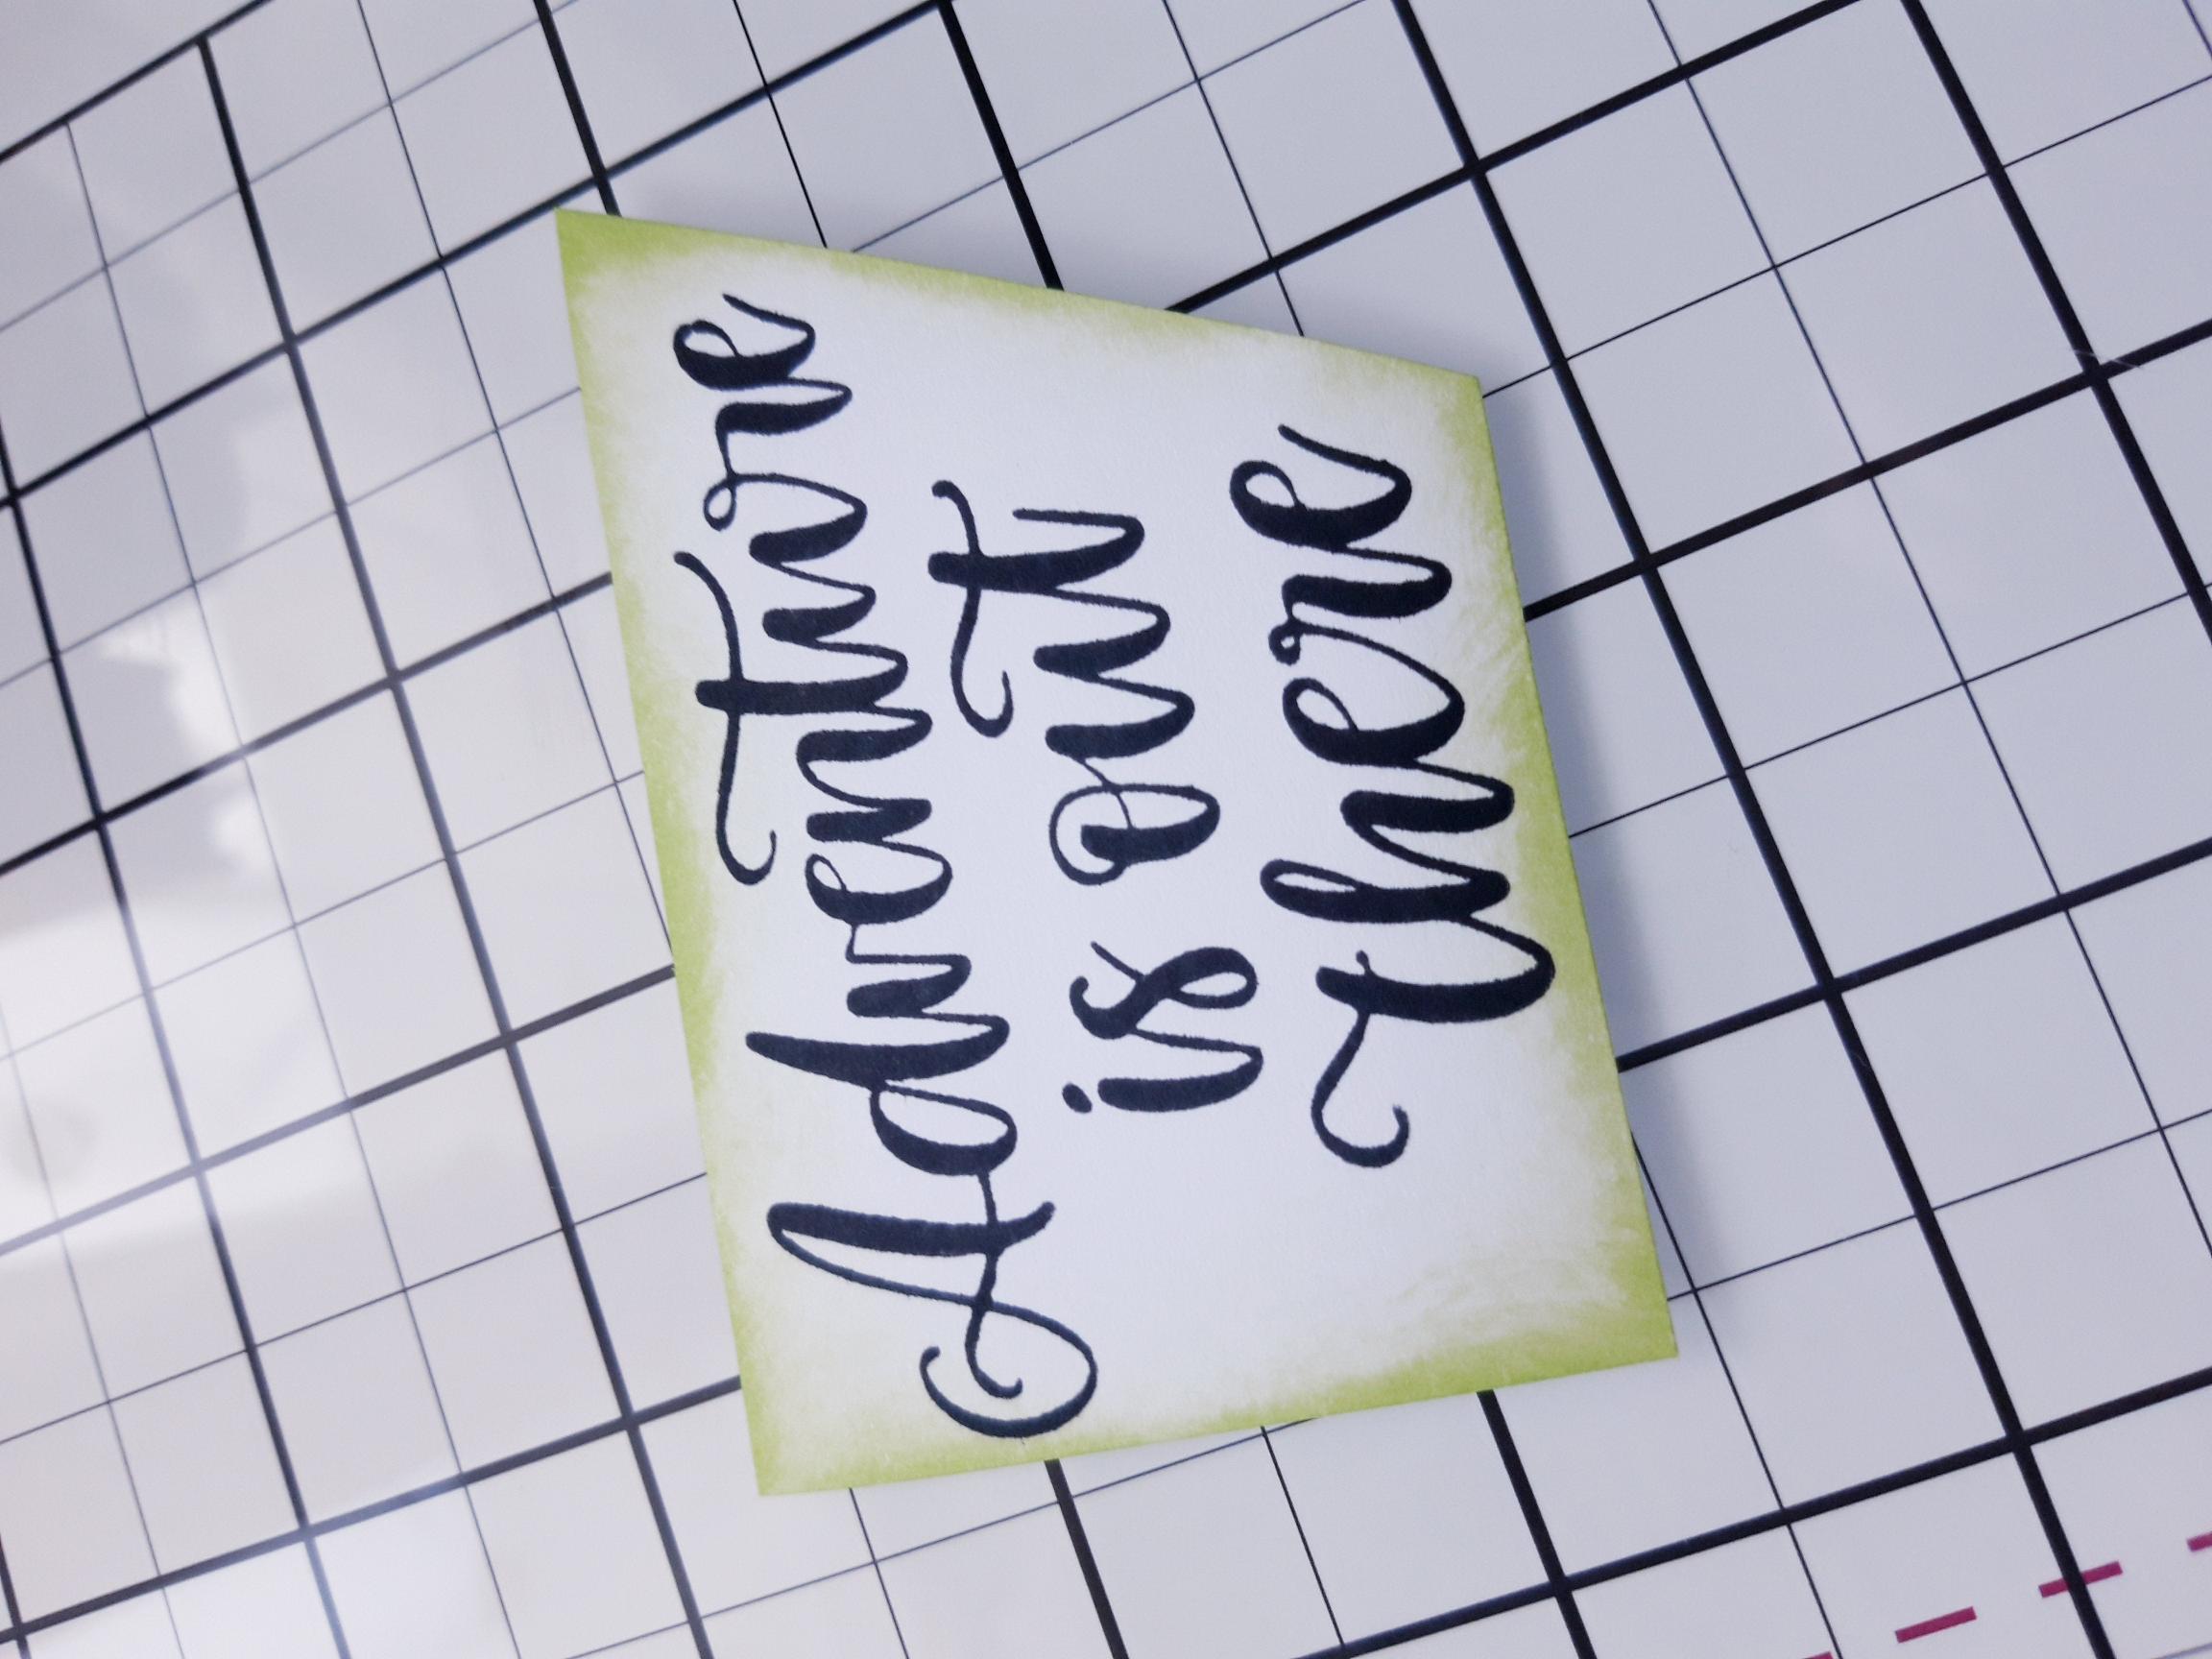
Blend the Limeade around the edges of the card, to tie it in with the rest of your artwork. |
|
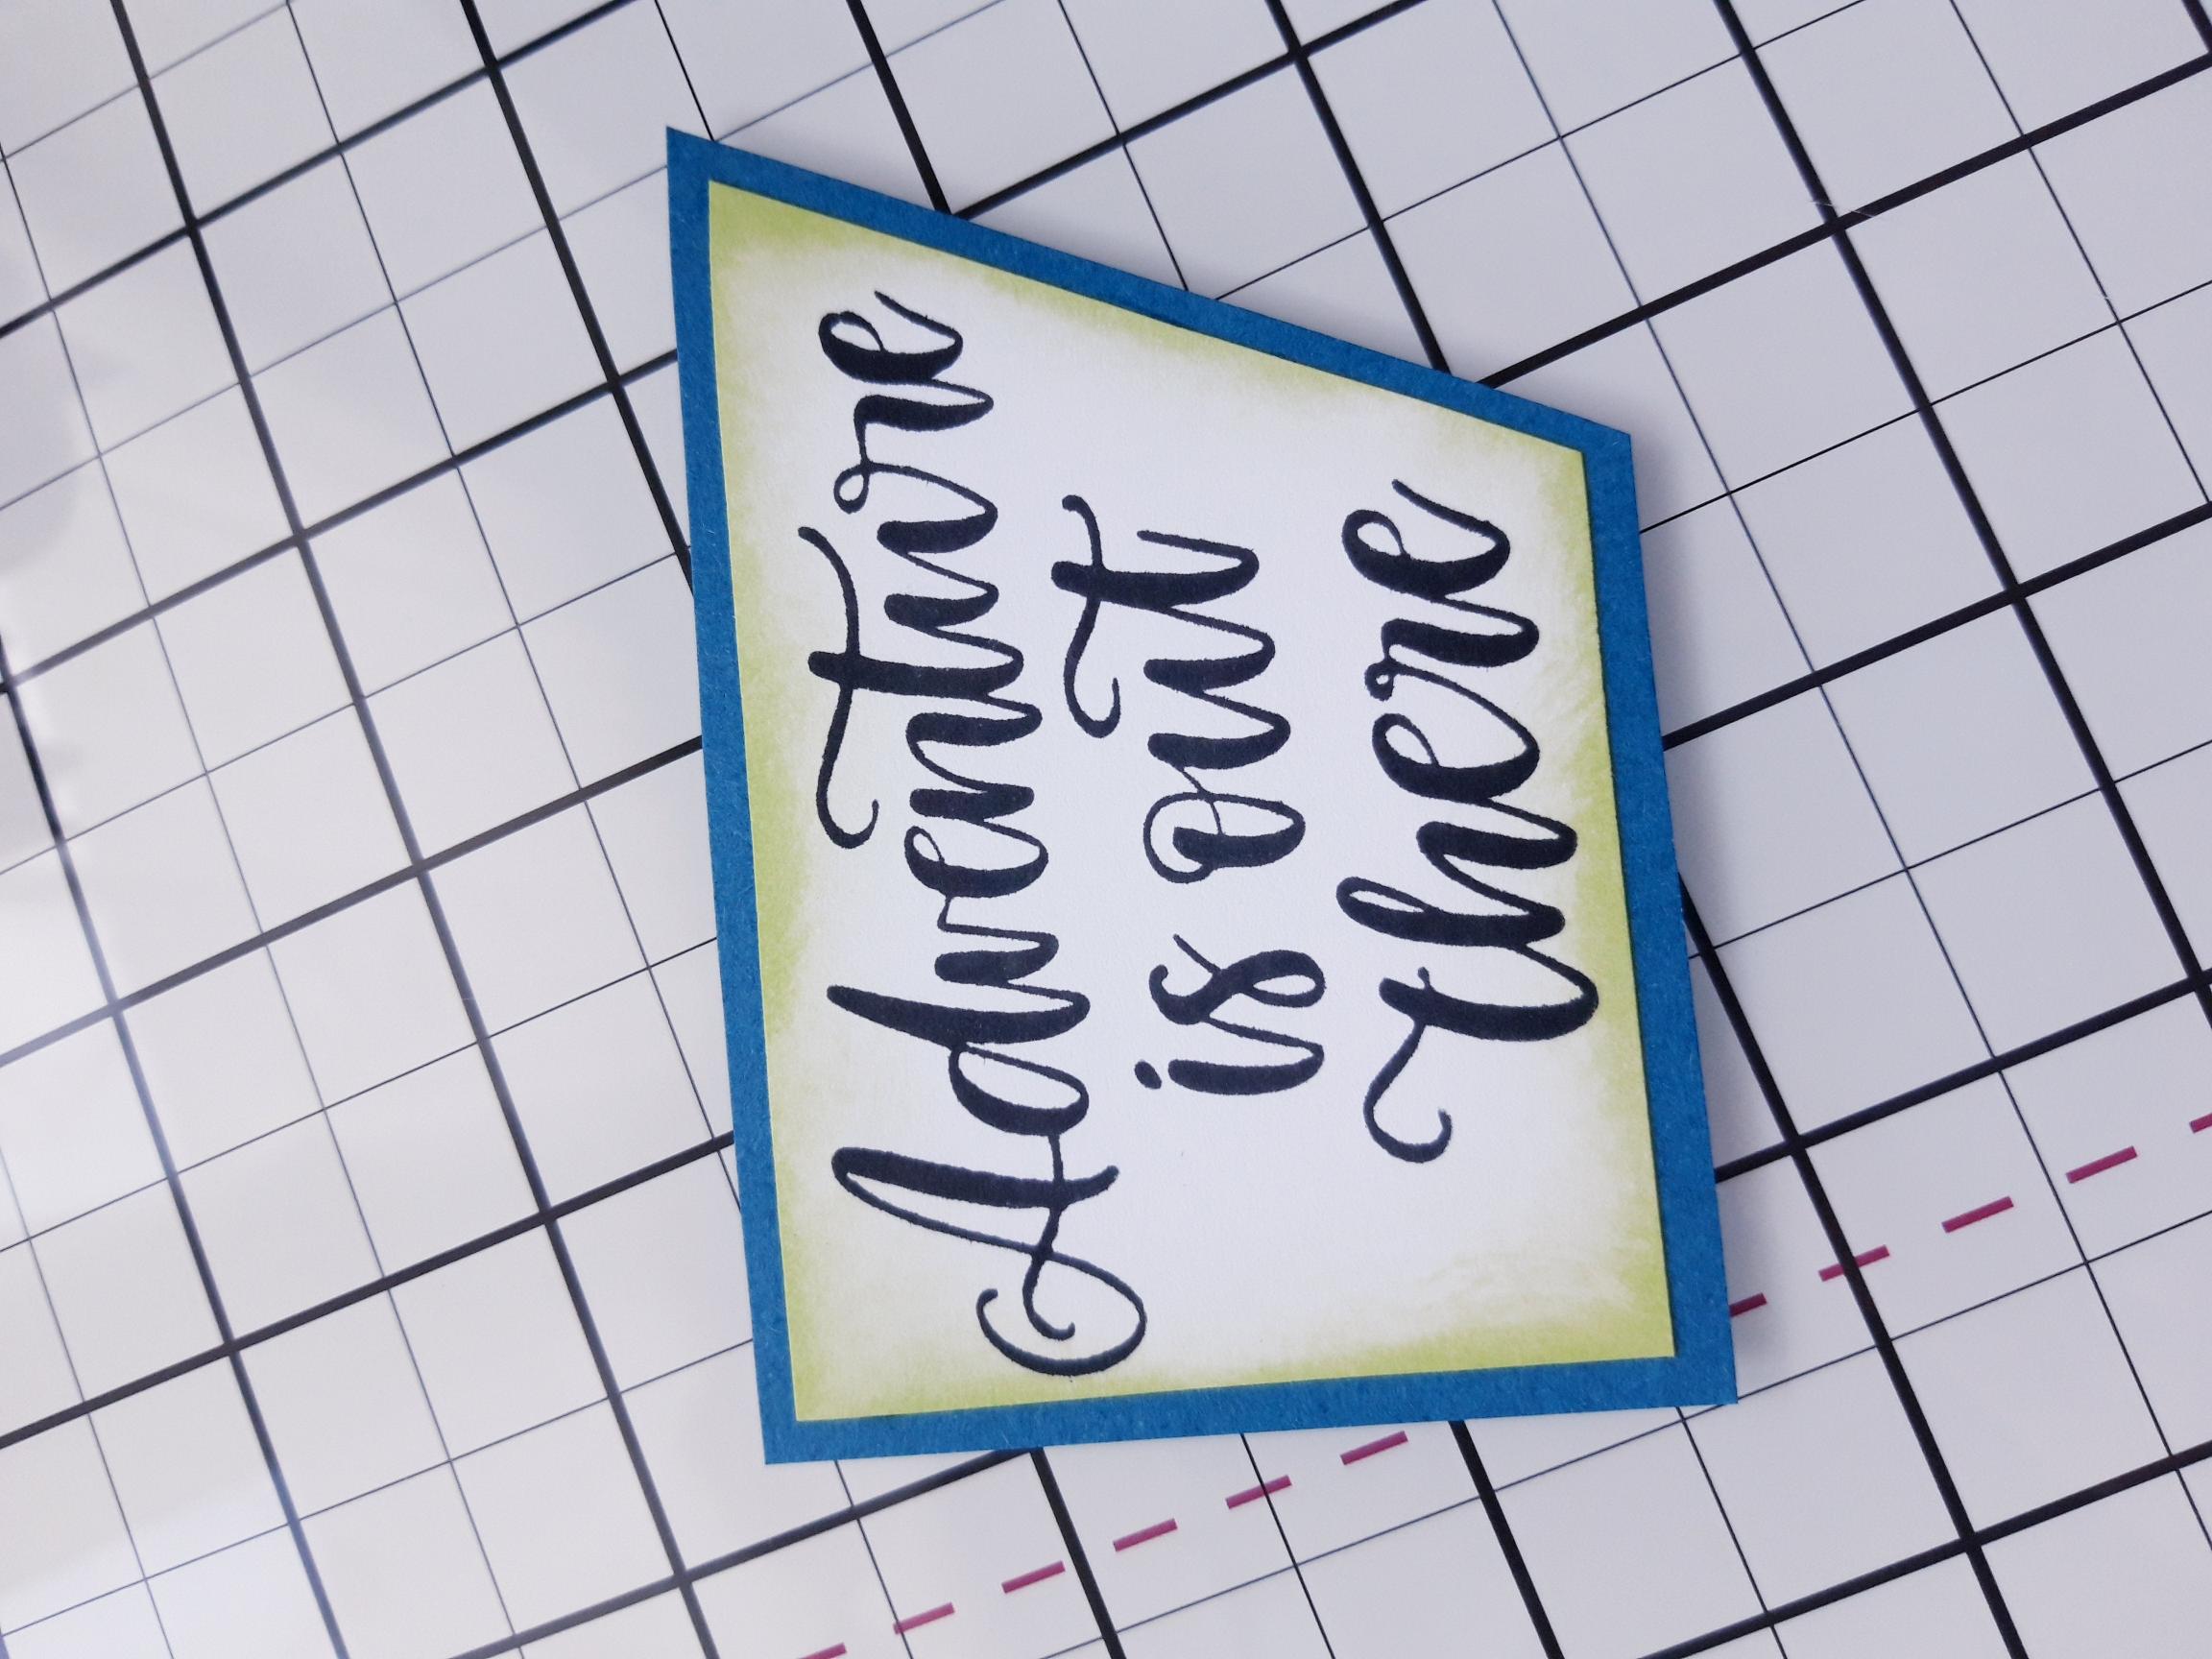
Once the ink is dry, adhere to the blue textured card, 3 1/2 x 2 1/2", then trim around the white card to create your coloured mat. |
|
Adhere your sentiment, with foam pads, to the top left of your artwork, to finish. |