


Step 1 of 9
Ink up the Victoria stamp with the Midnight Hybrid ink and stamp on to a masking sheet or copy paper. Cut her out, as close to the lines as possible, to create your mask.








Prices change straight away. Languages are translated by Google.
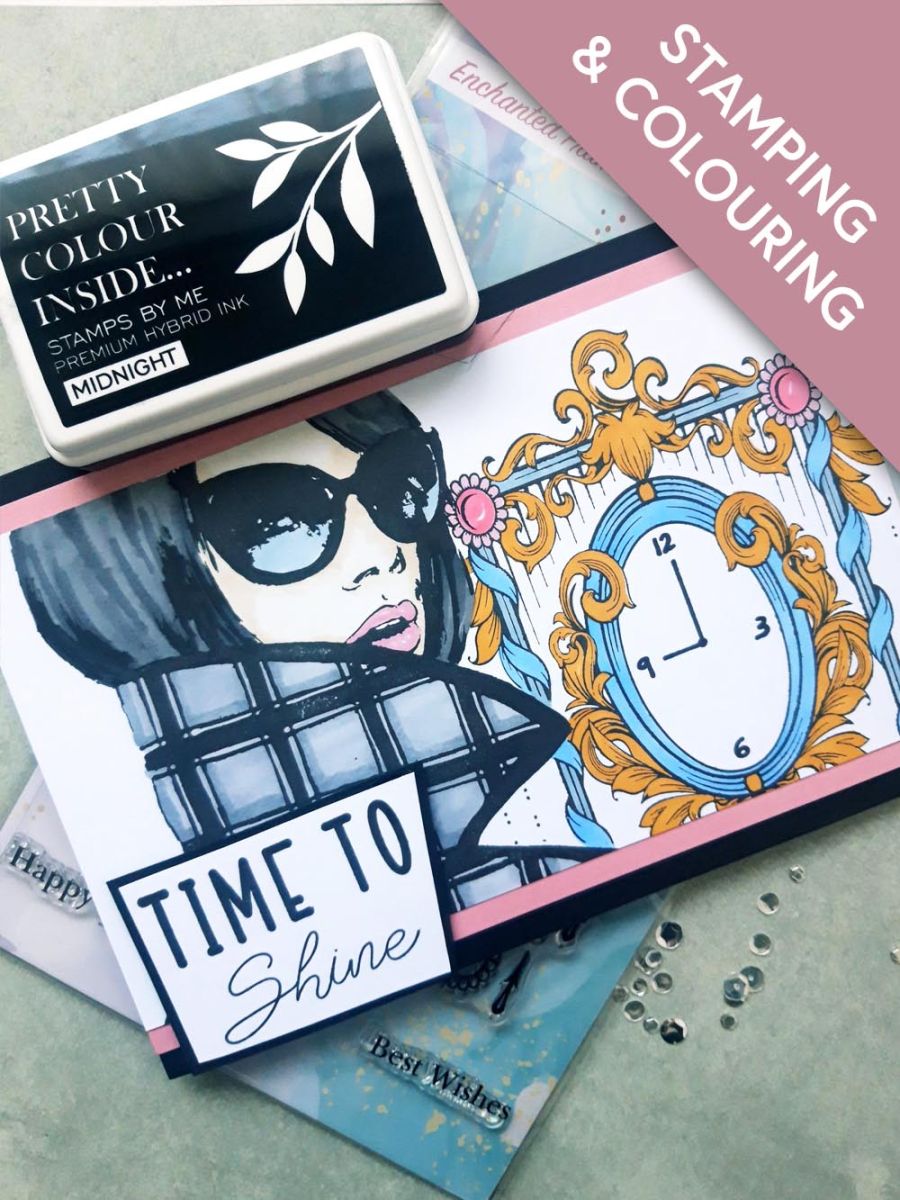
Ink up the Victoria stamp with the Midnight Hybrid ink and stamp on to a masking sheet or copy paper. Cut her out, as close to the lines as possible, to create your mask.
Reink Victoria and stamp to the left of the landscape card, cut to 8 1/4 x 4 3/4".
Place the mask over your stamped image.
Ink up the Enchanted Frame in the Midnight and stamp to the right of Victoria but so the frame falls on to the edge of the mask.
Remove your mask, then use a black pen to draw a clock face in the centre aperture of the Enchanted Frame.
Colour in your stamped images using your Gossip alcohol pens. Pop a sheet of copy paper or card underneath to prevent the alcohol ink, that bleeds through the card, from damaging any work surface.
Adhere your artwork to the pink textured card, ensuring the sides are flush and an equal amount of pink card is visible top and bottom, as seen here.
Adhere on to the front of your black, landscape card, again making sure sides are flush and top and bottom gaps are equal.
Ink up the sentiment from the Victoria set with Midnight and stamp on to the white card. Trim around the sentiment, then adhere to the black card. Trim that, to create your mat and layer.
Finally, adhere to the bottom left of your card with foam pads.
Share your make with the Stamps By Me community - and keep this guide for next time.
Prefer the previous layout? Open the old page.



