Give your friends $10 off their first order!
Refer a FRIEND


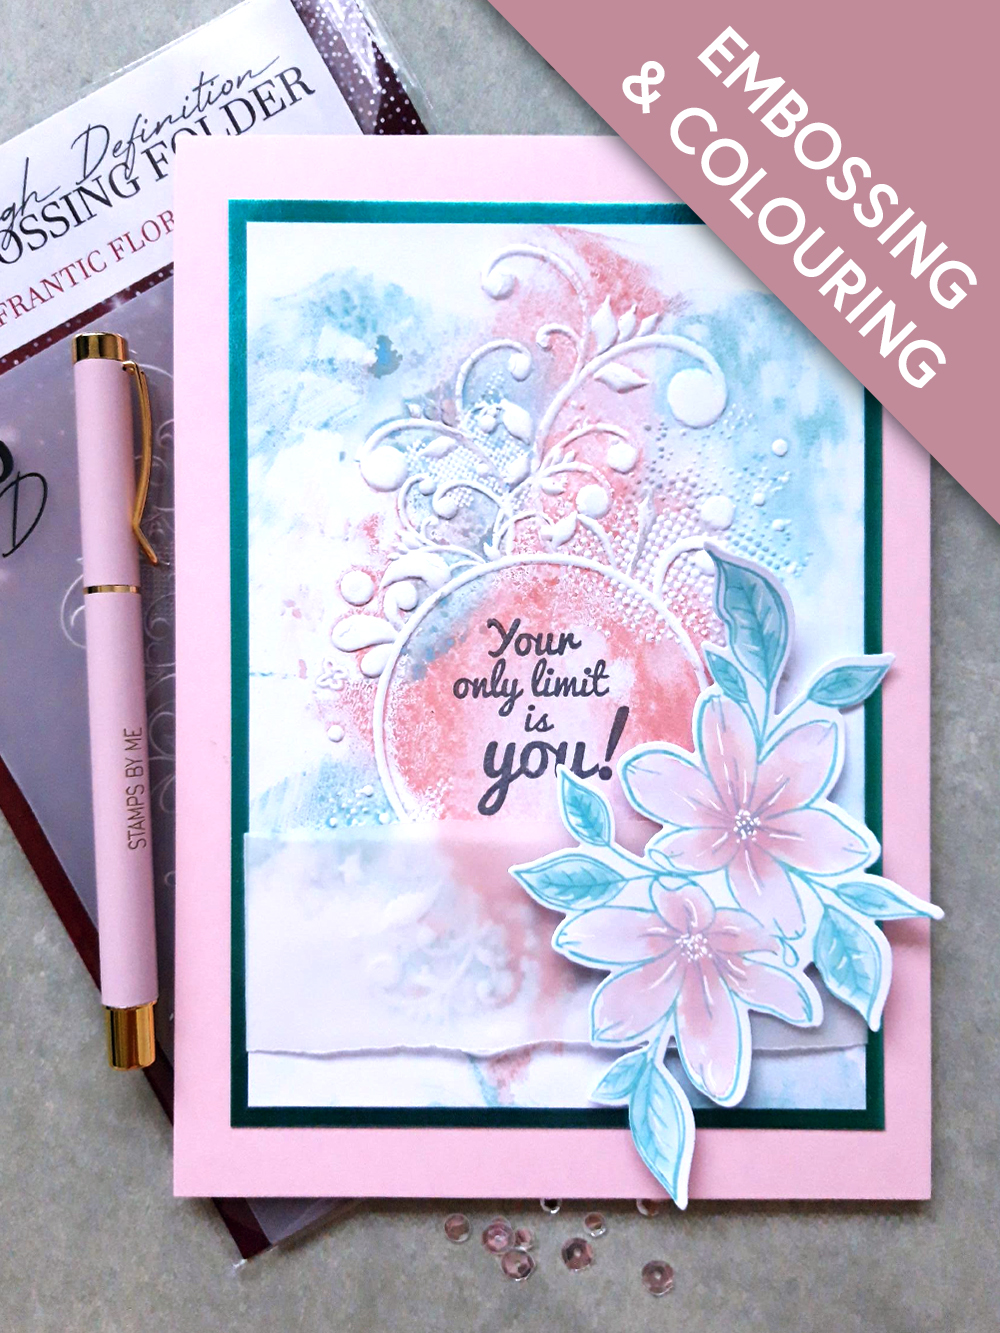
WHAT YOU WILL NEED:
Pink top folding card blank 8 x 5 3/4"
A4 Premium Cardstock Teal collection: Teal pearl card 7 x 5"
White card 7 x 5"
White card 5 1/2 x 4"
Vellum torn to approx 6 x 1 3/4"
High Definition 3D Frantic Floral Embossing Folder
Remember This Stamp And Die Collection
Your Only Limit Is You Stamp Collection
Versafine Ink Pad: Smokey Gray
Distress Ink/Oxide ink pad: Salvaged Patina, Victorian Velvet
Water spray bottle
Paint brush
White gel pen
Eureka 101
Paper Trimmer
Perfect Together Glue
Double sided tape/tape runner
Die Cutting machine
[click image to enlarge] 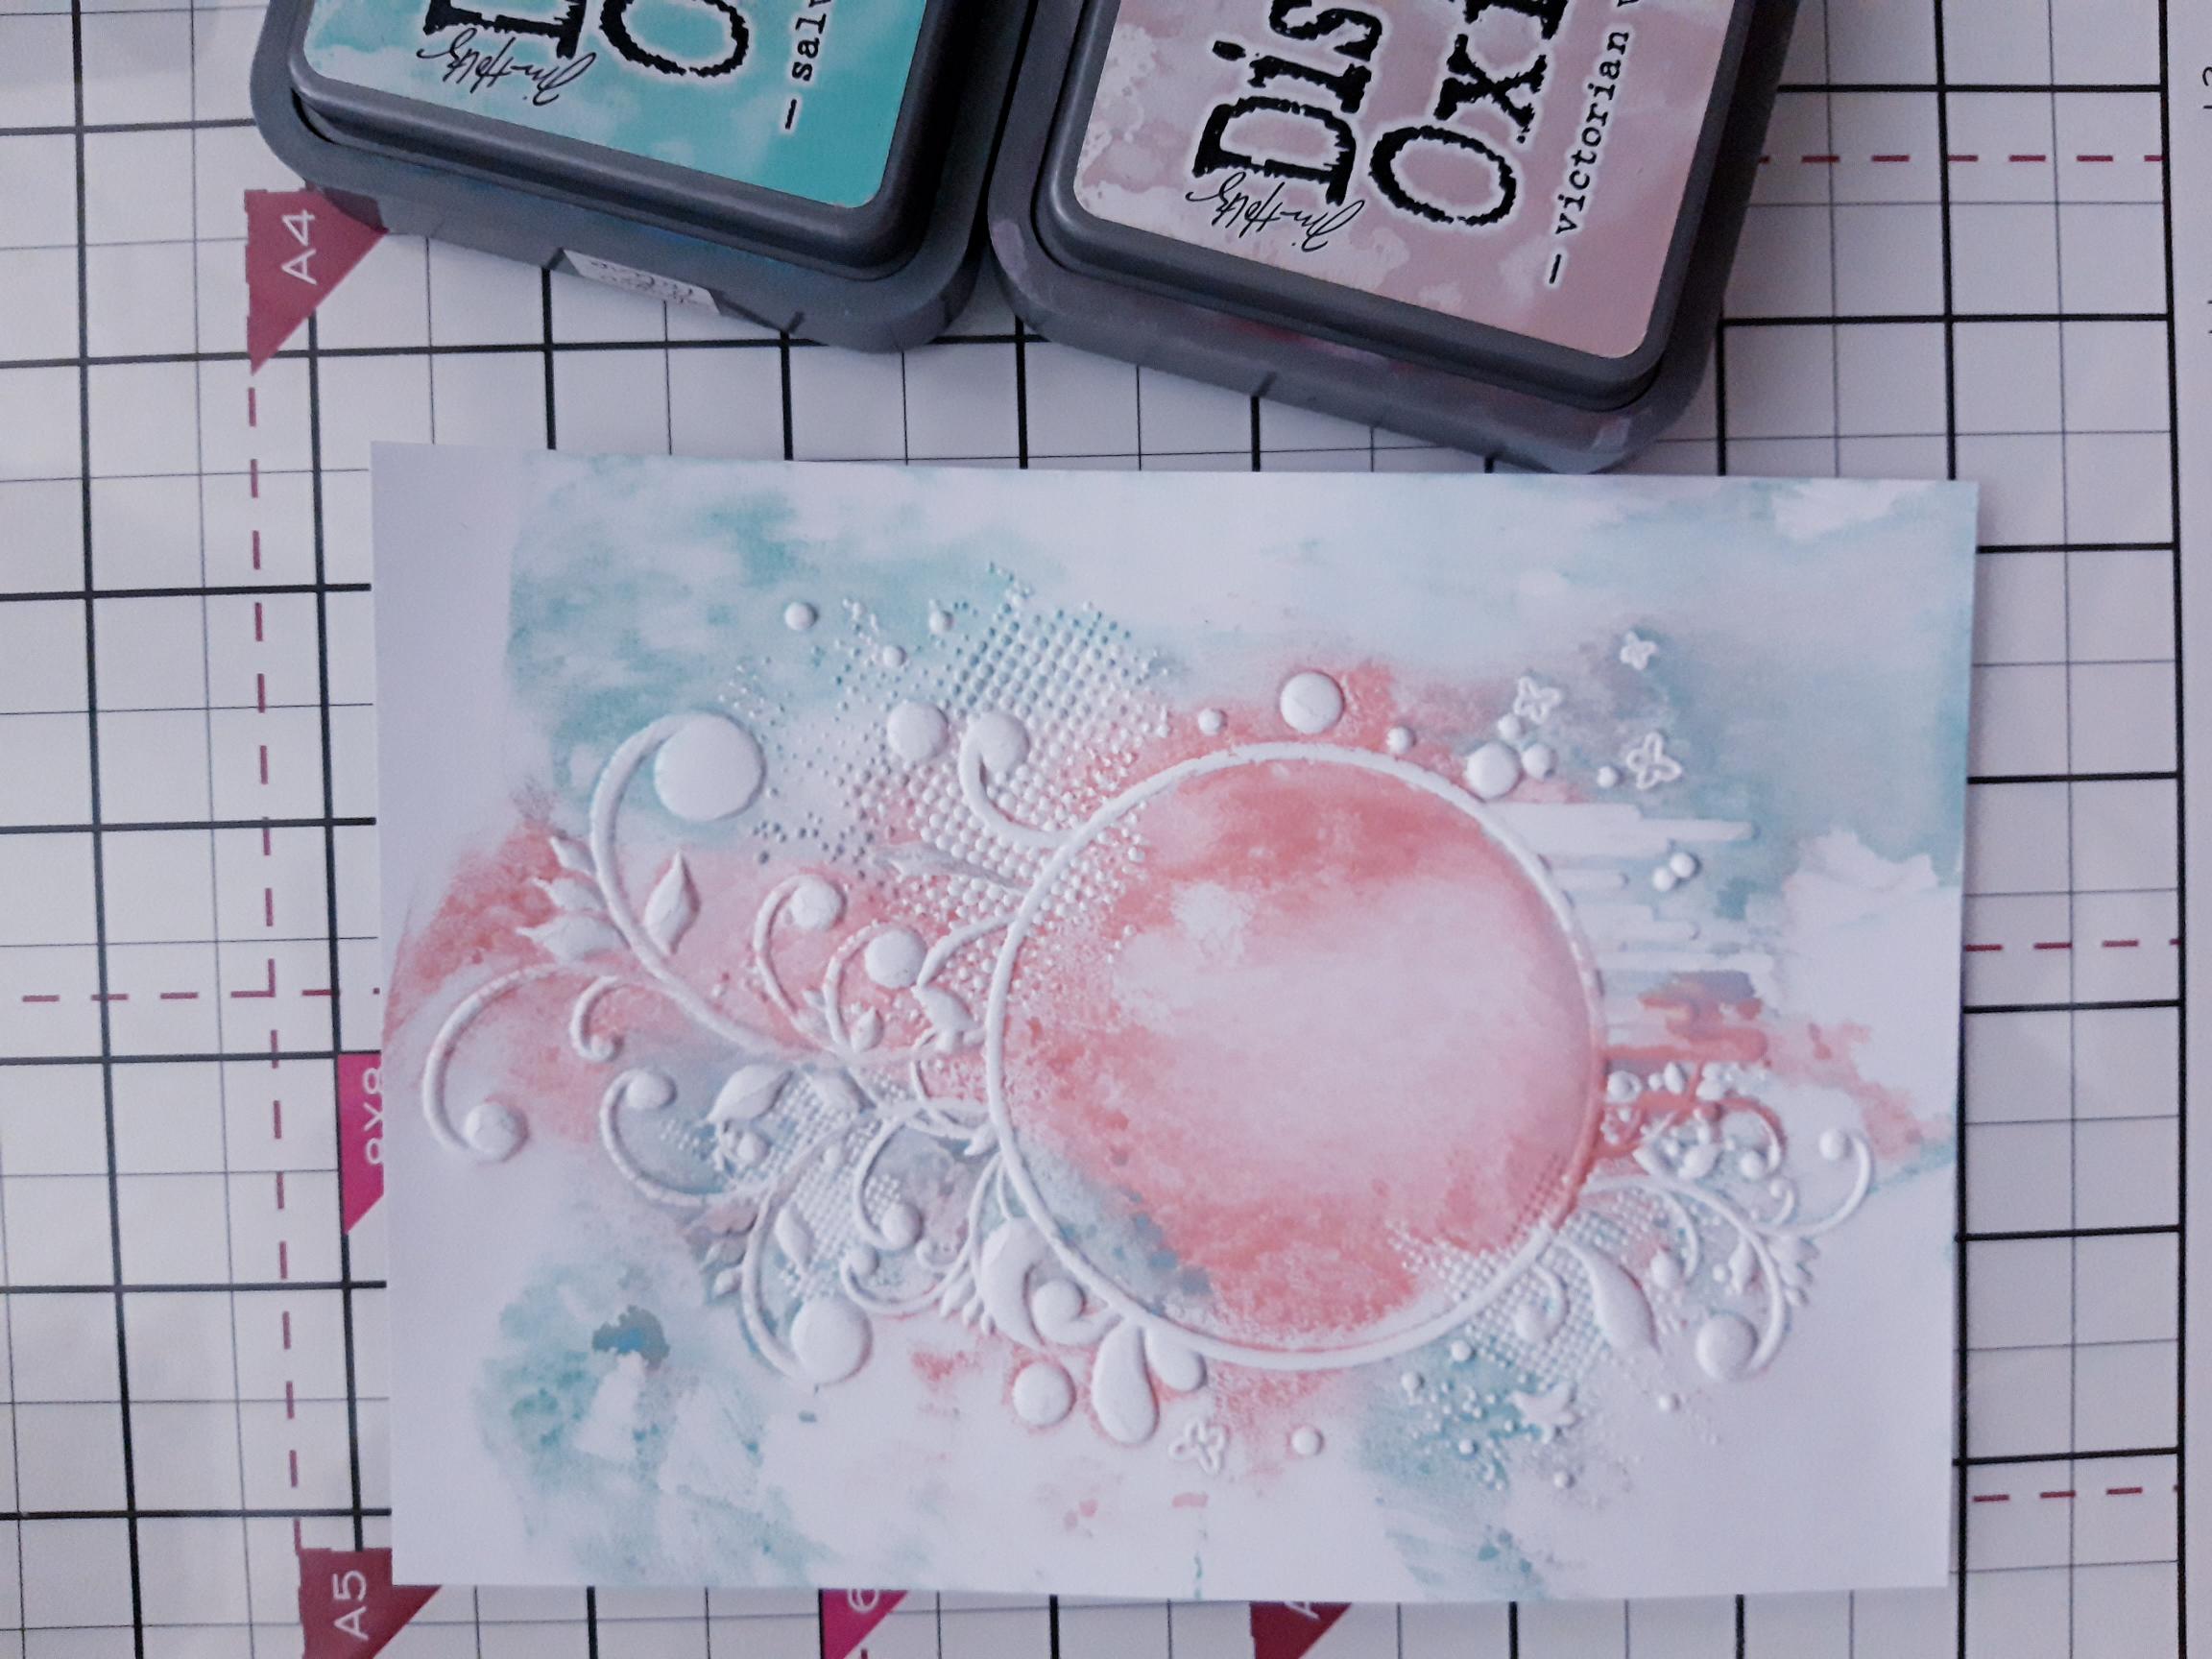
|
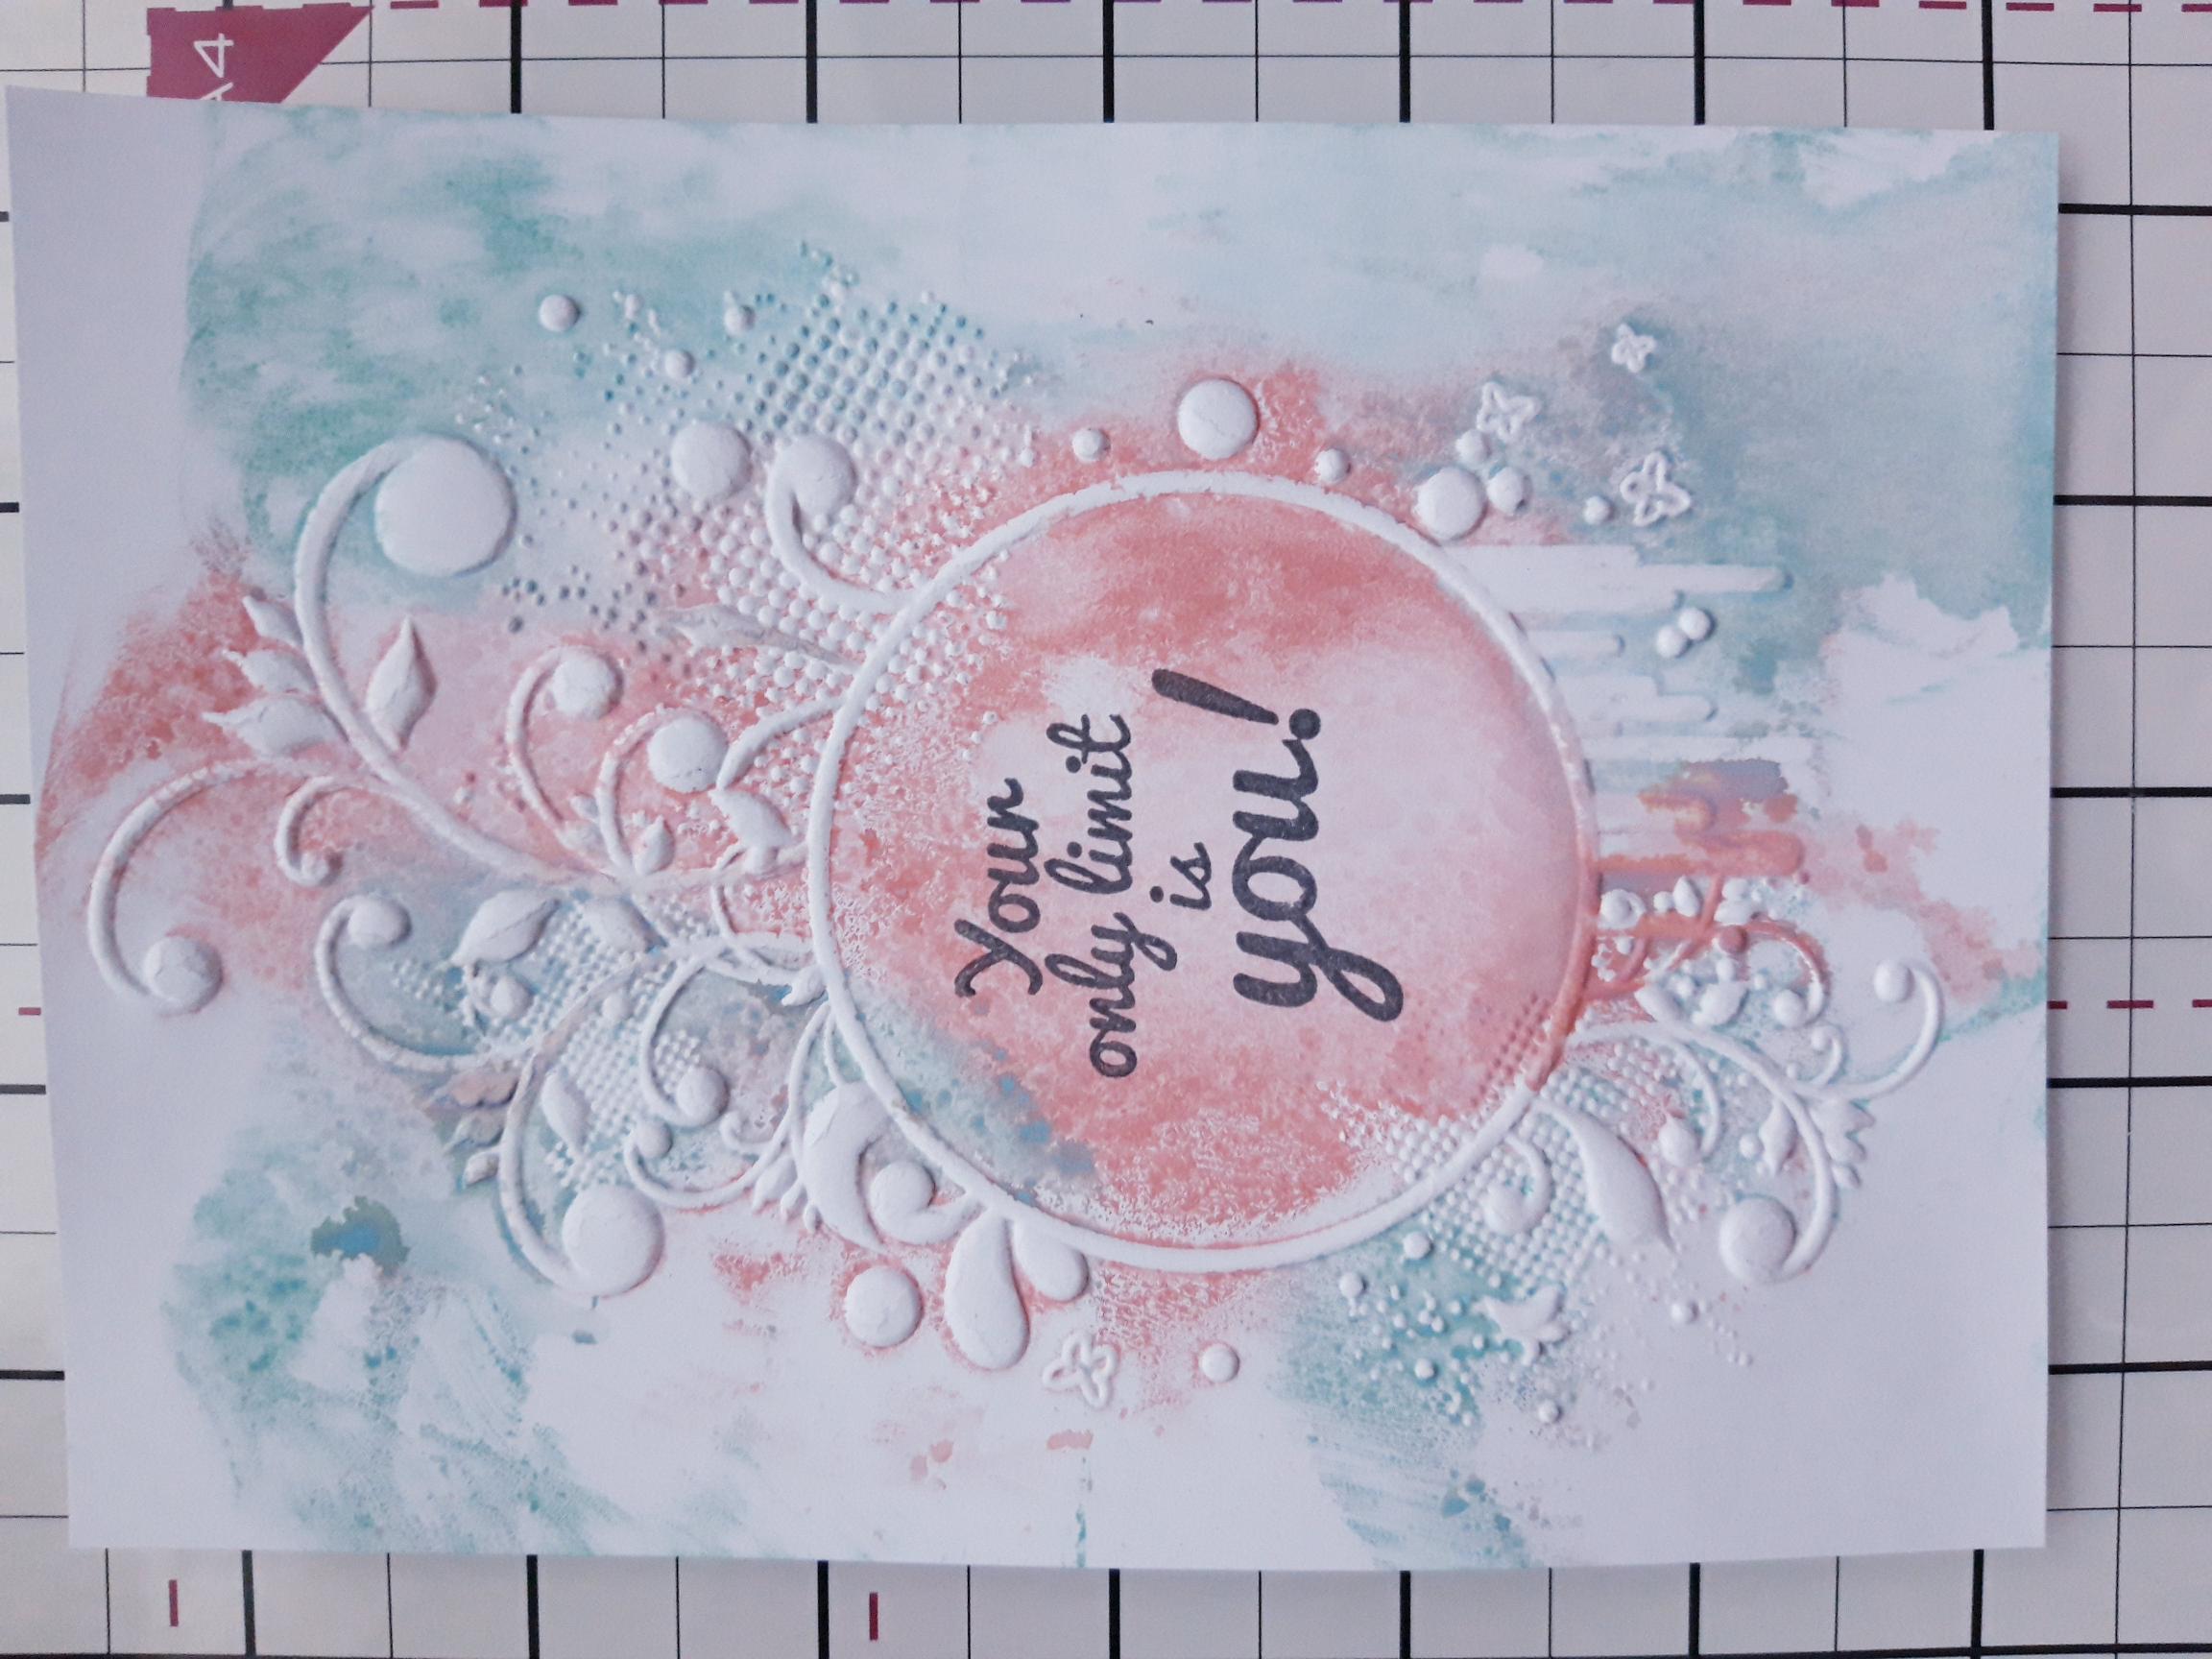
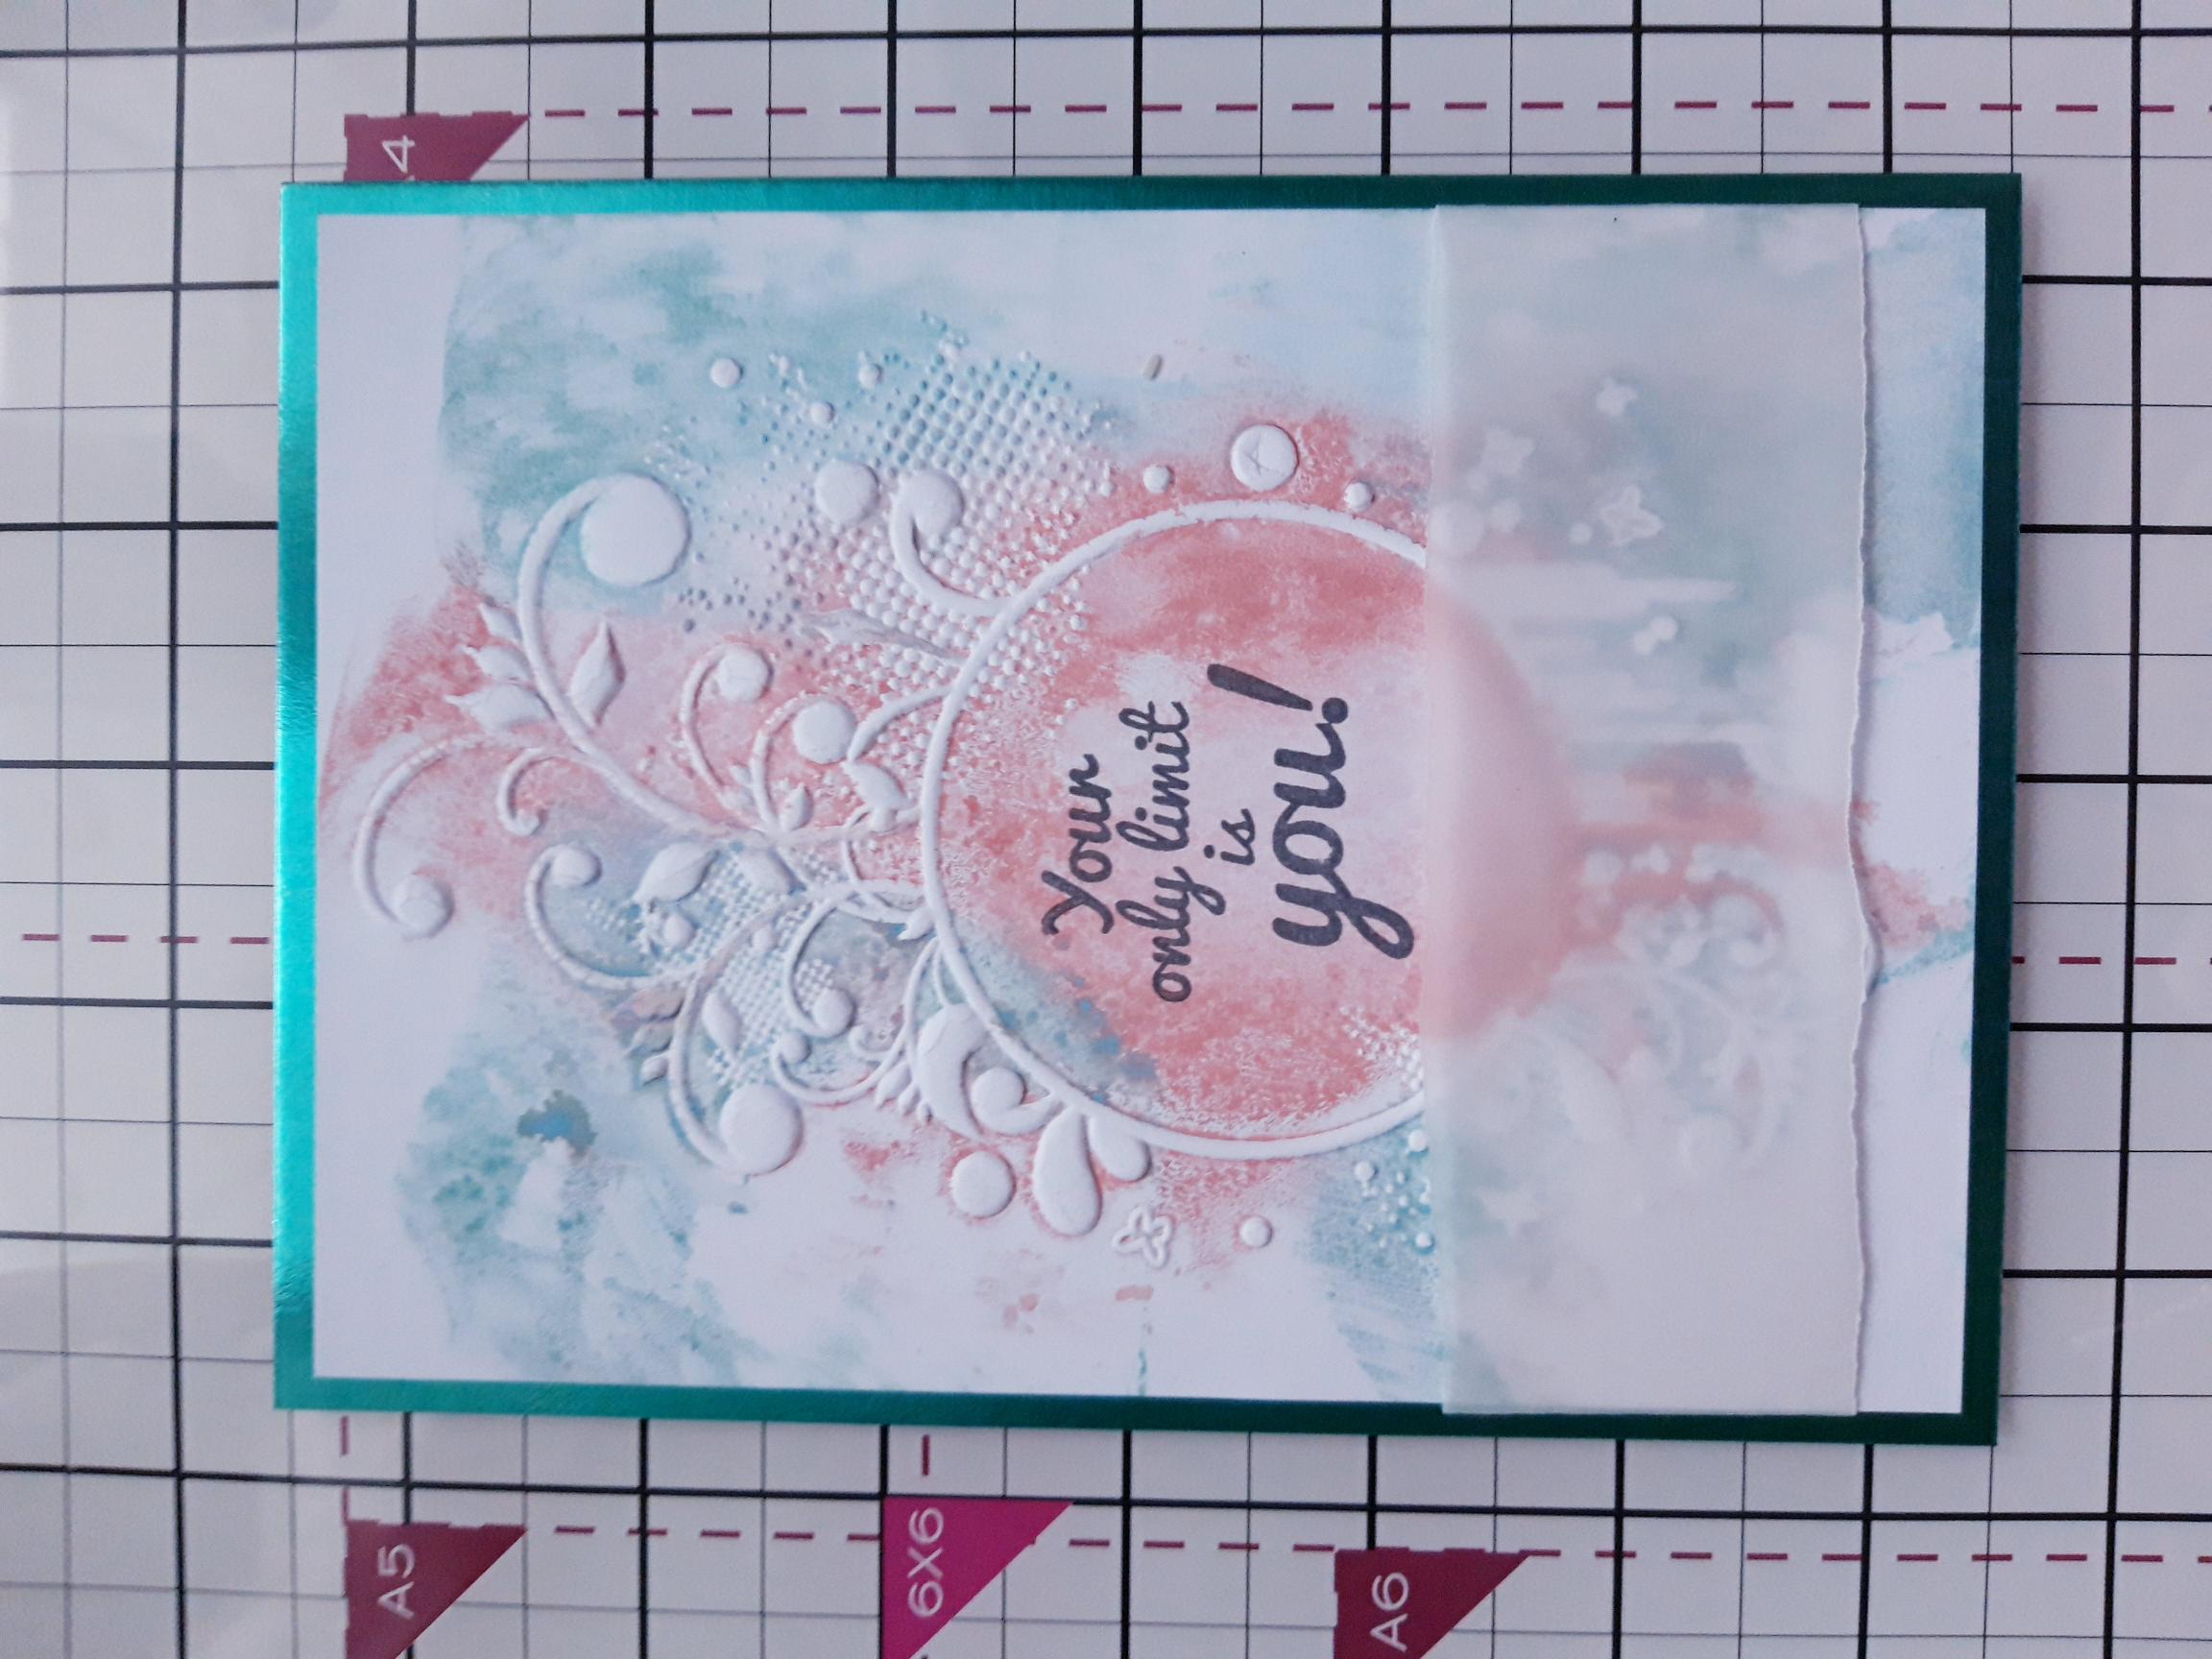
Rub the Victorian Velvet ink pad around the centre of the debossed side, of your Frantic Floral embossing Folder. Rub the Salvaged Patina ink pad around the outer edges of the debossed image. Spritz the ink with water. Place the 7 x 5" white card inside the folder, inked side on the top and run it through your embossing machine. You can add more ink to the folder and run it back through your embossing machine, until you are happy with the effect achieved. Trim the card to 6 3/4 x 4 3/4", then set to one side to dry. |
|
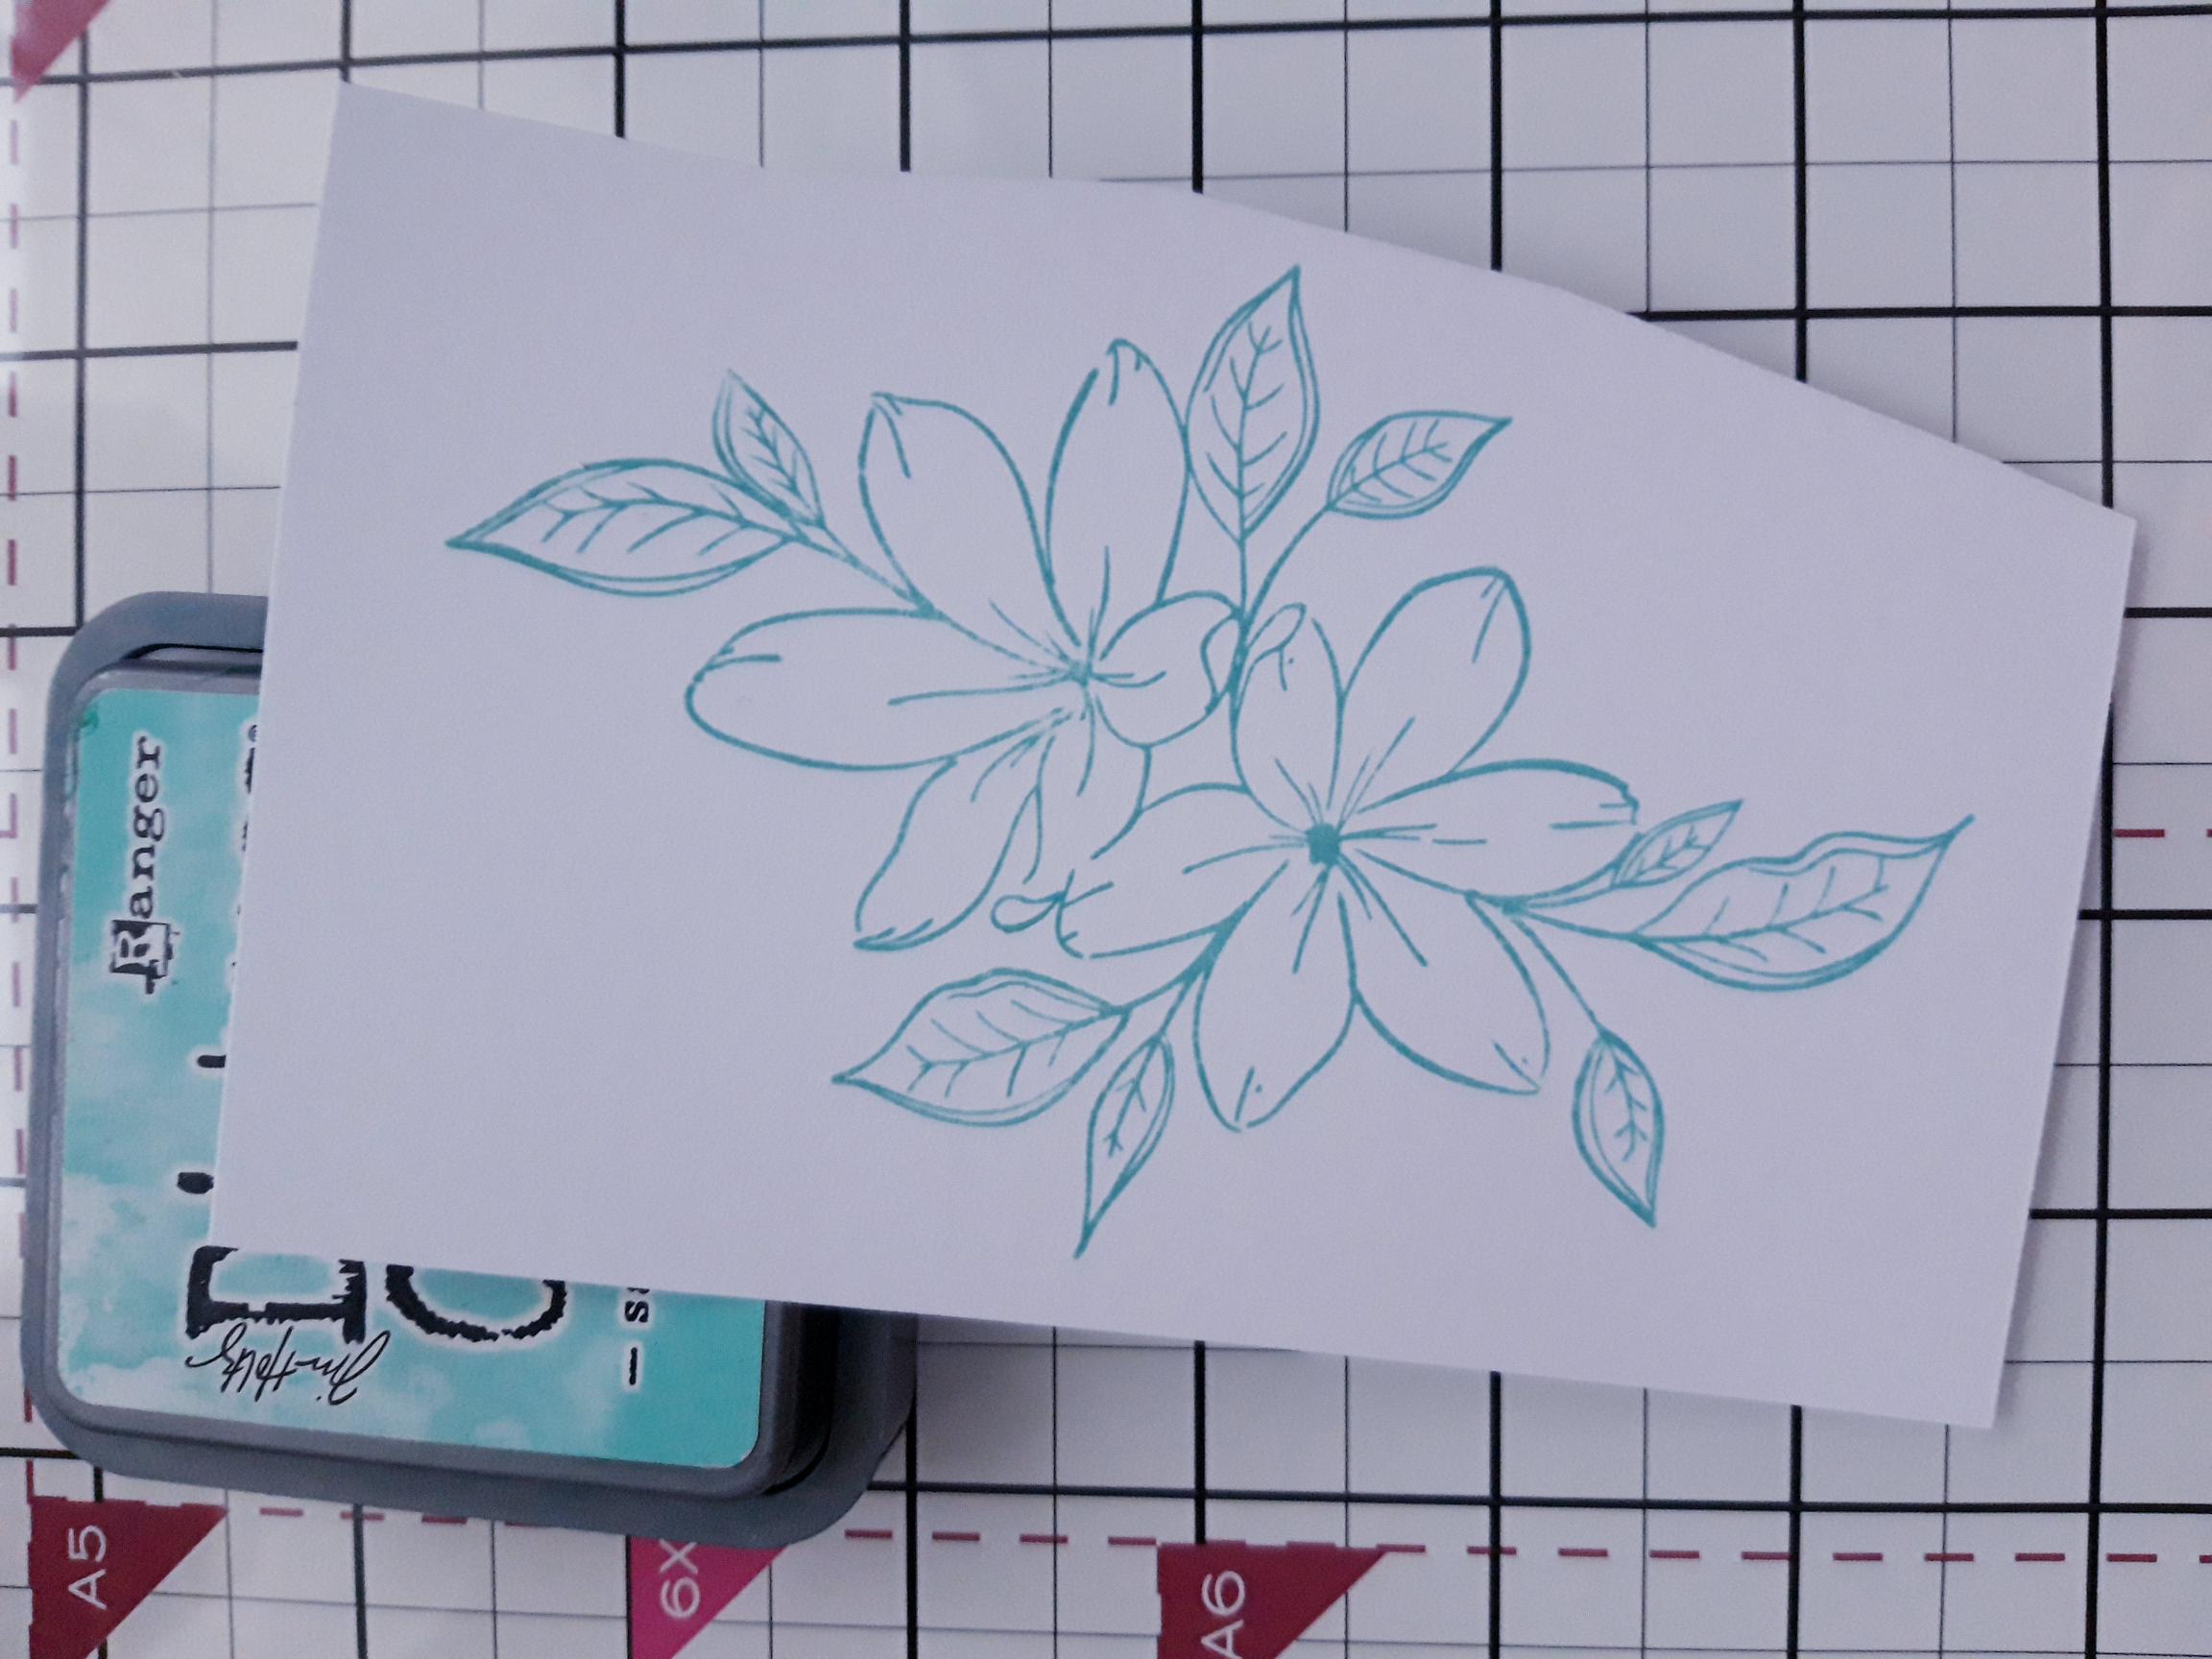
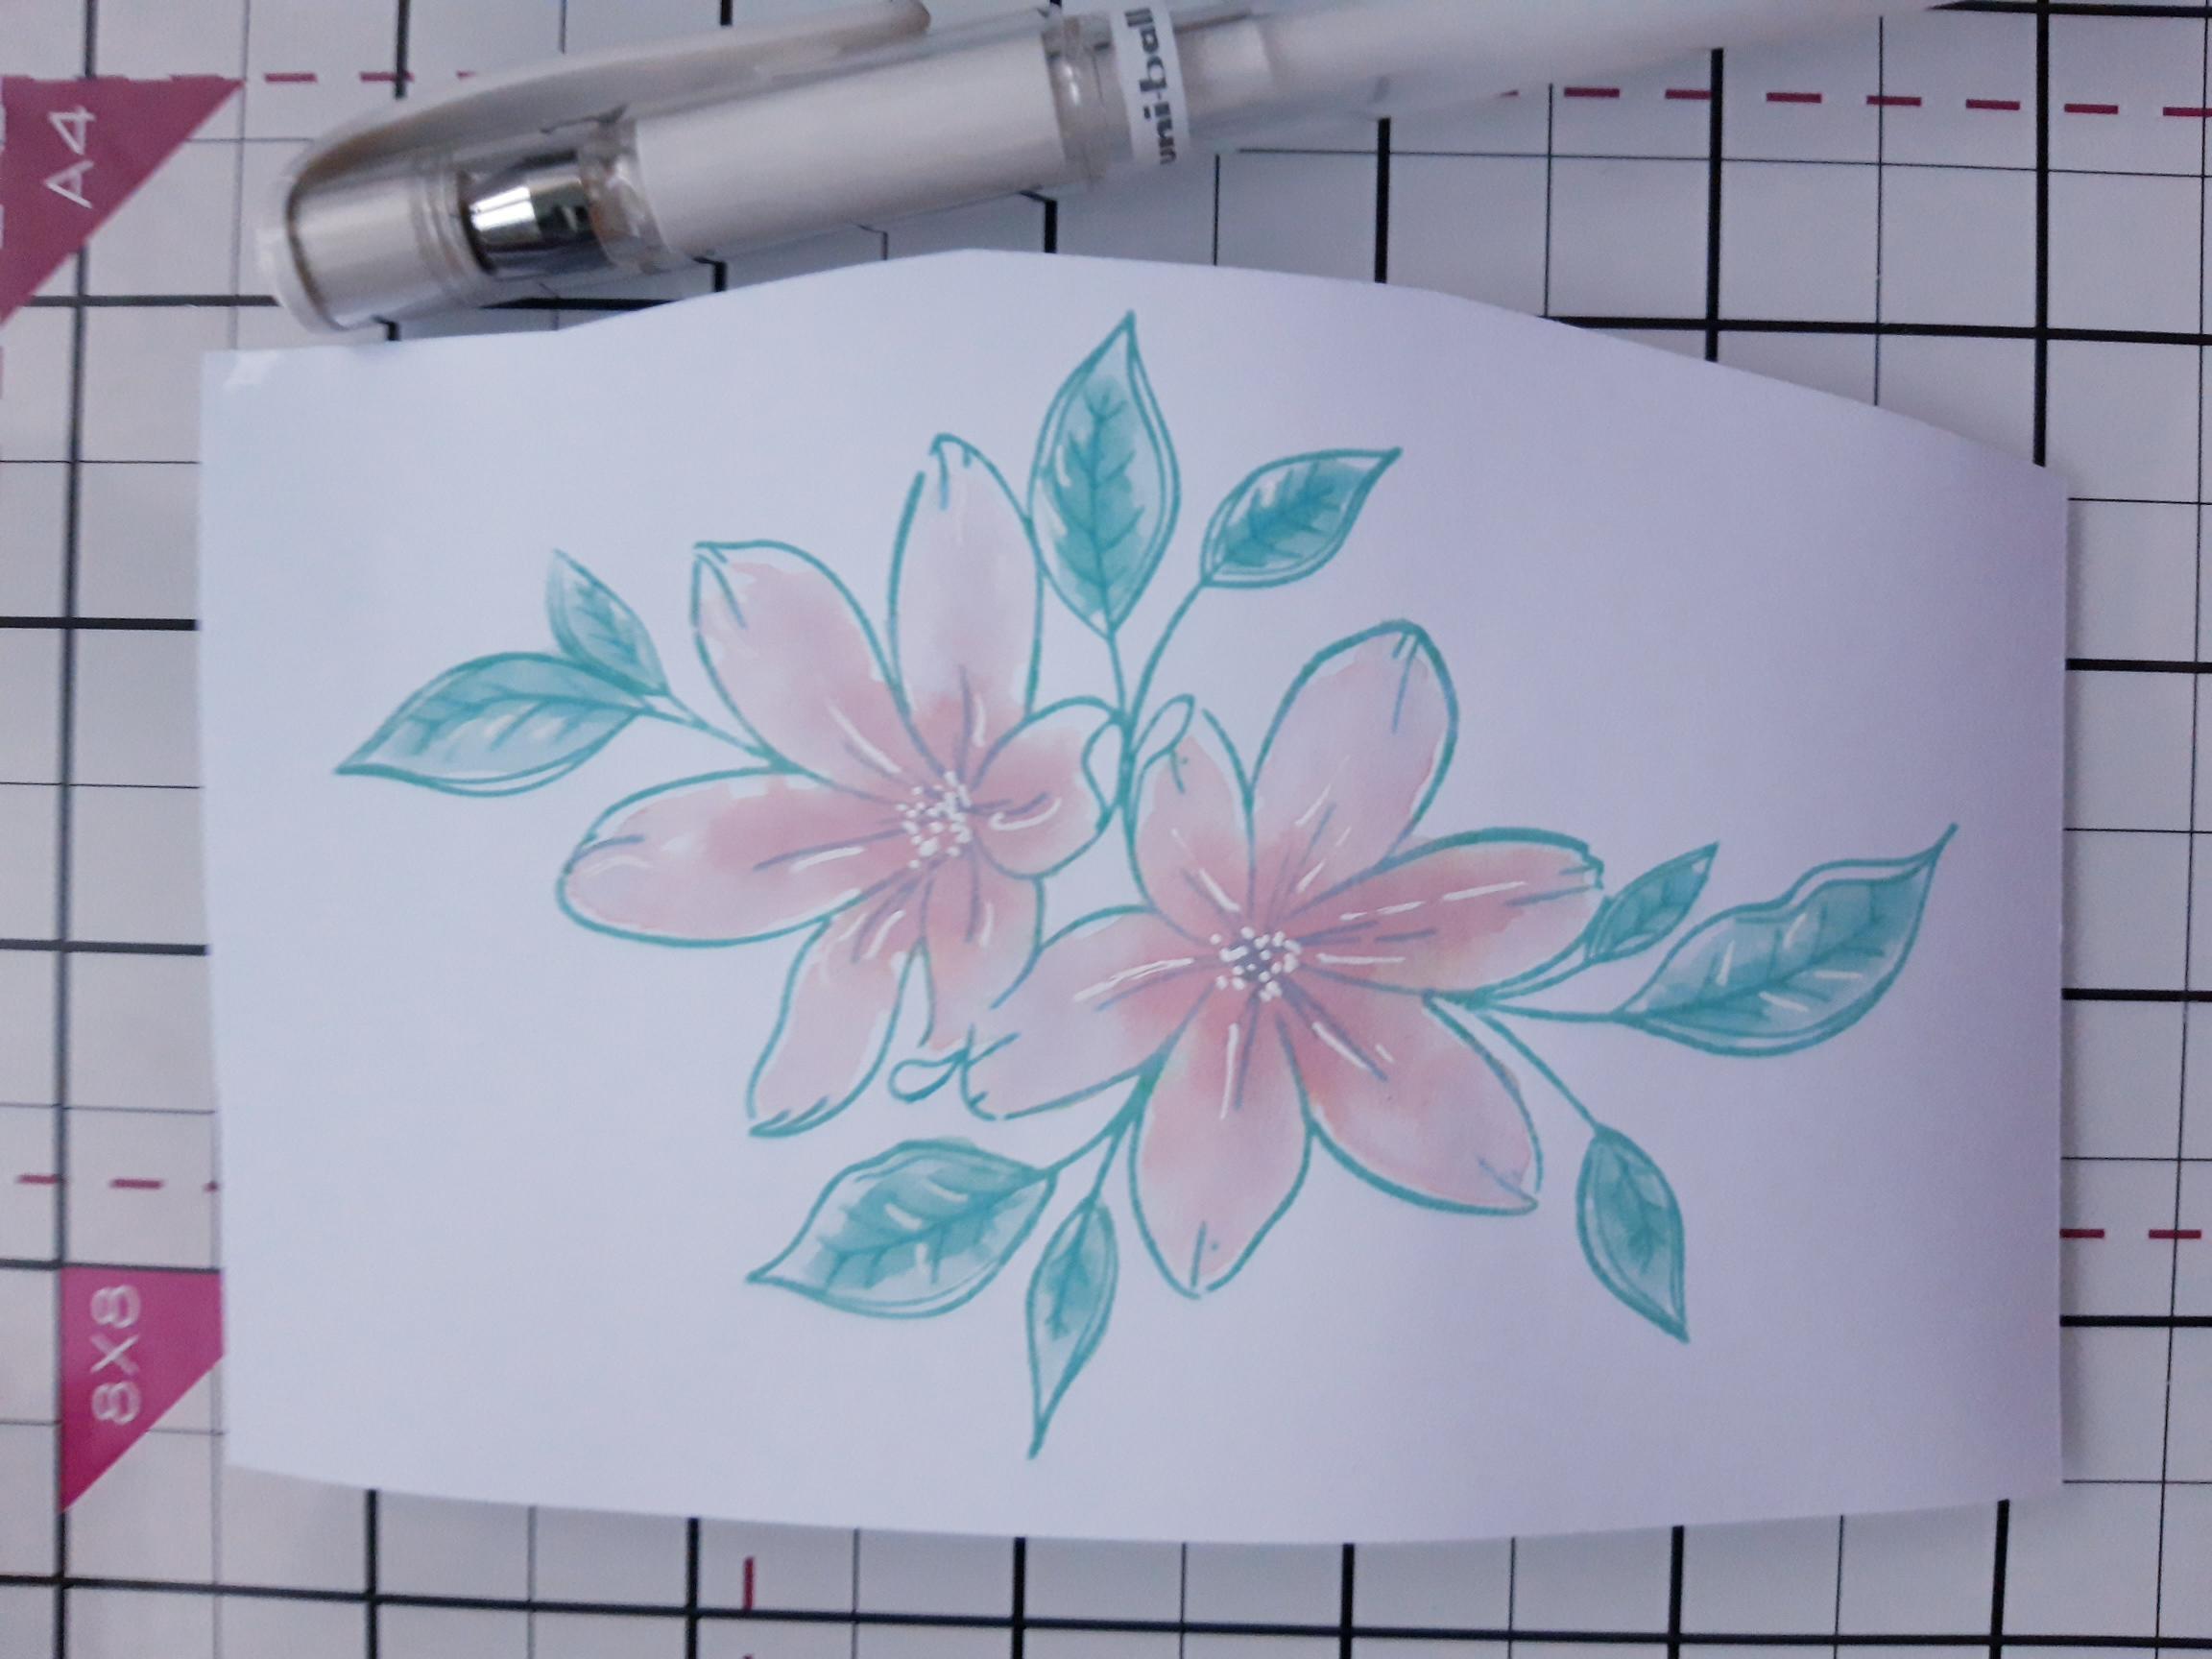
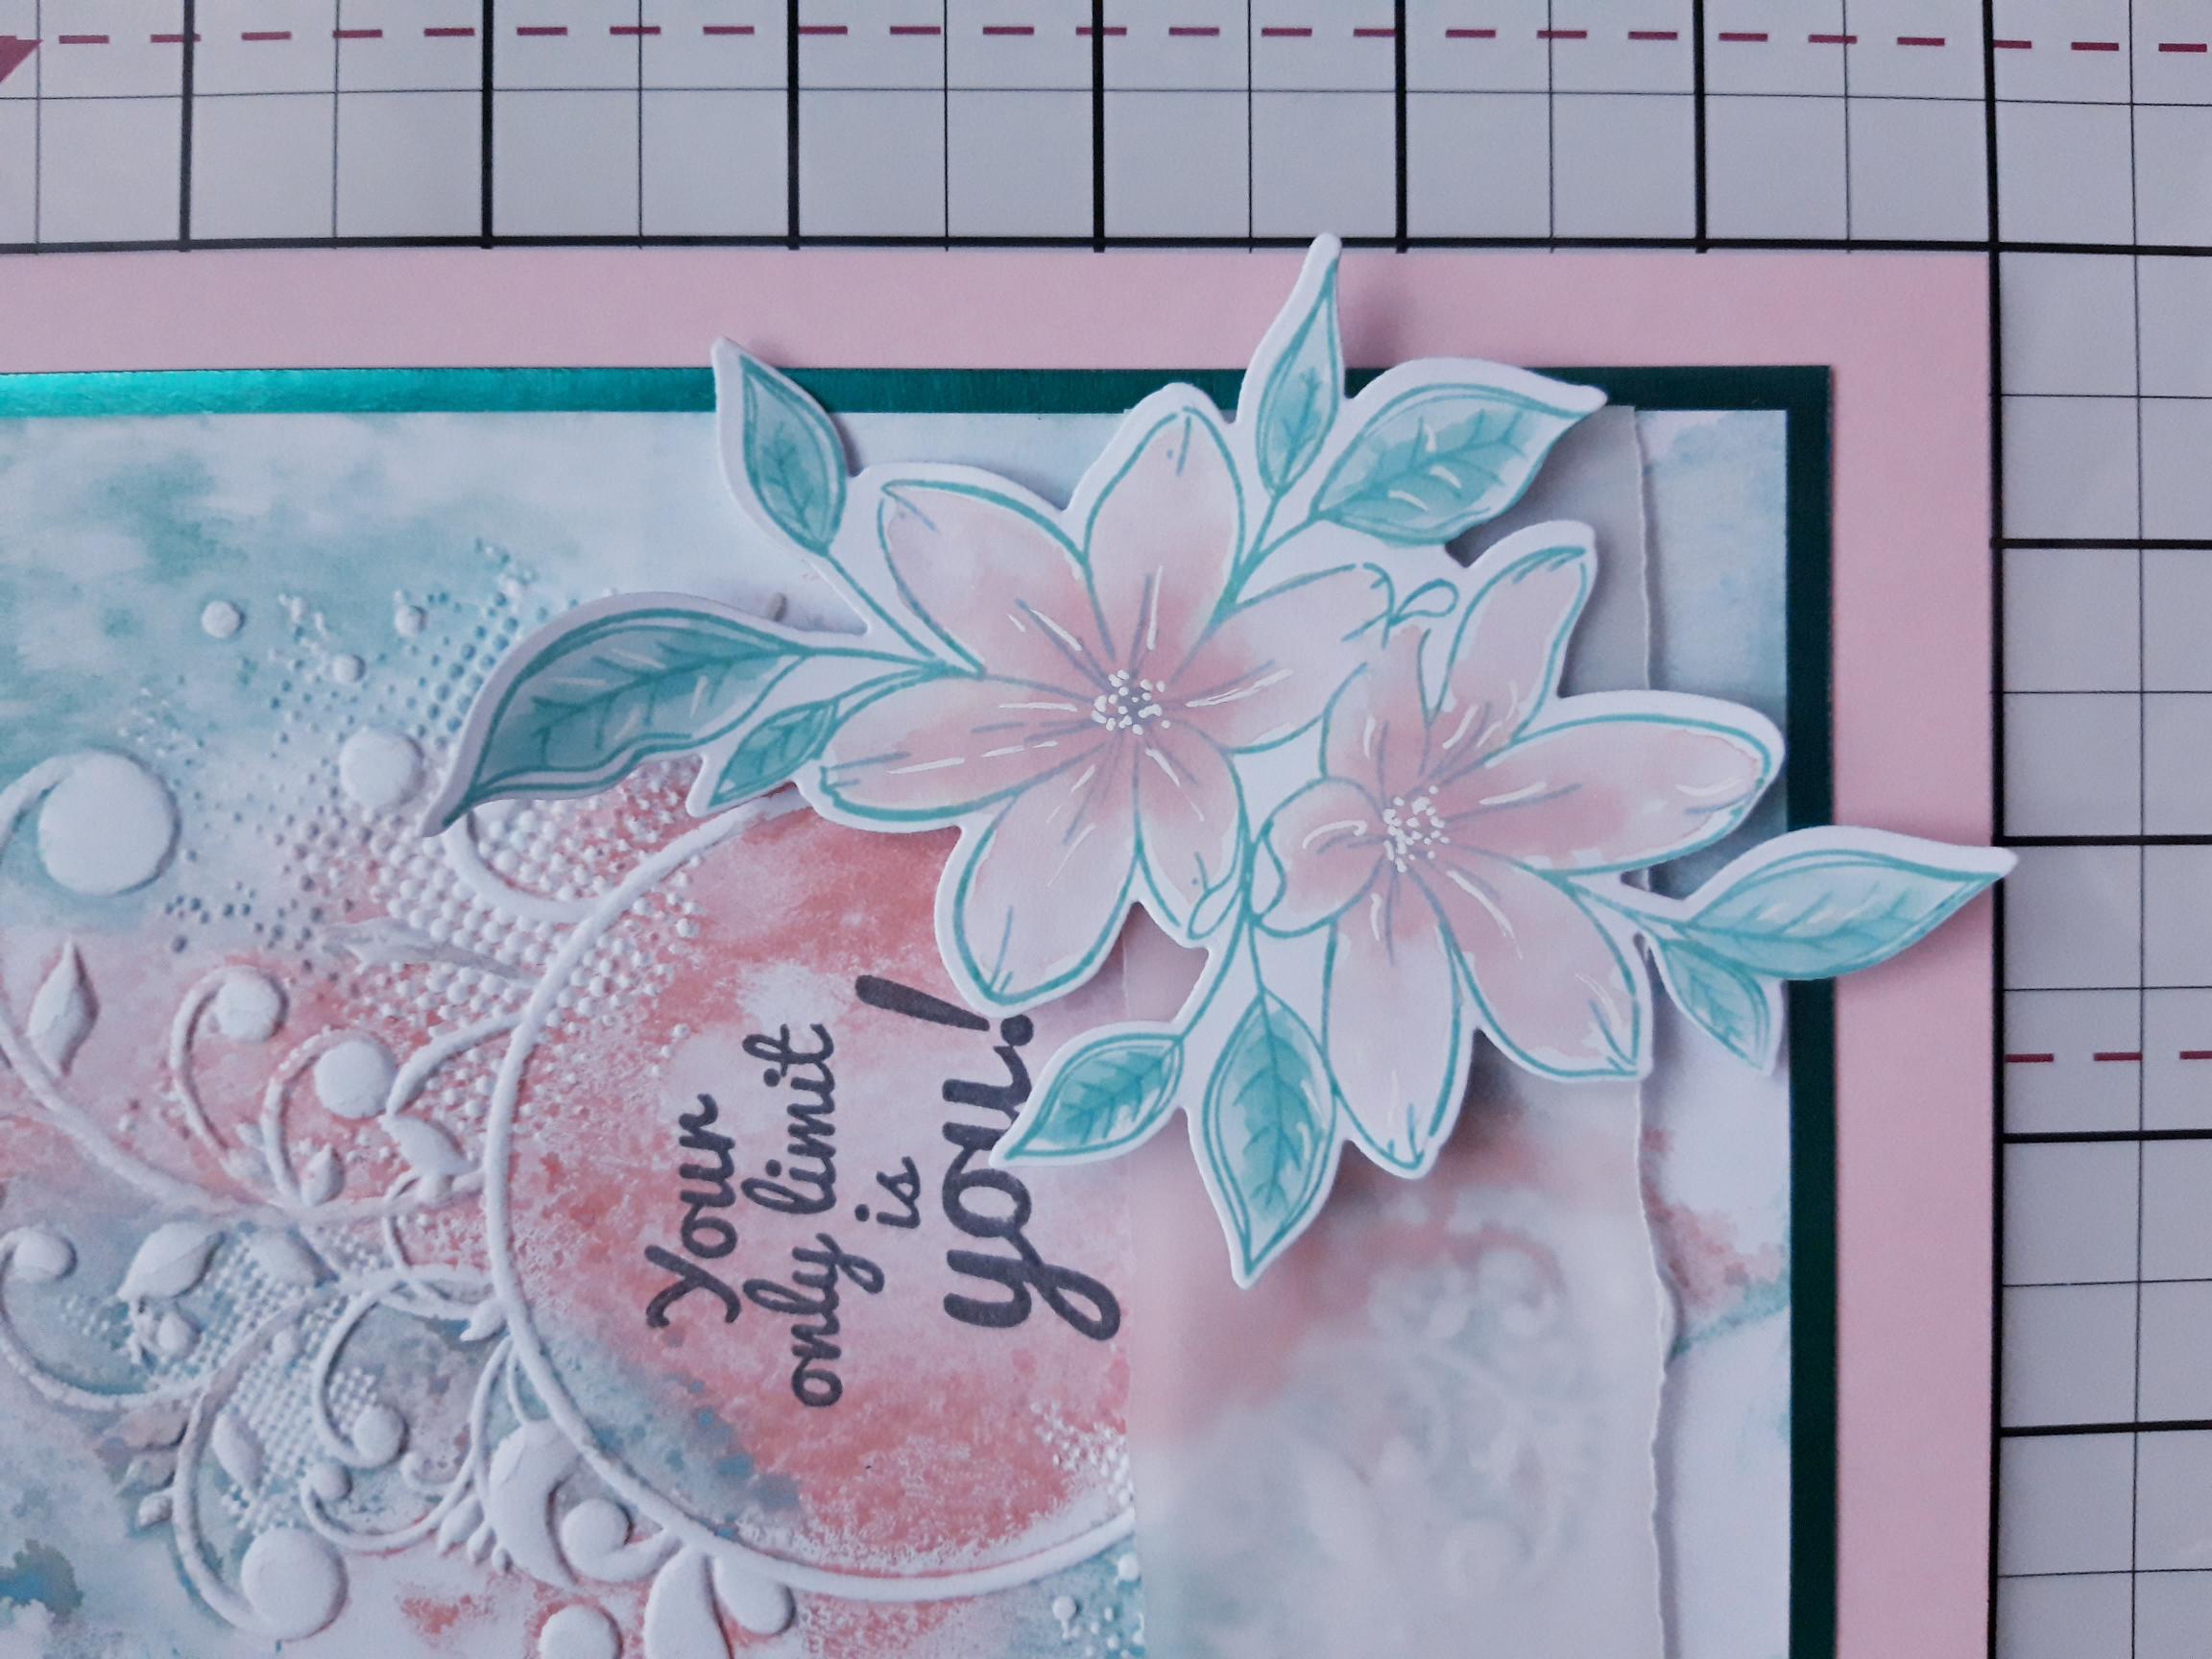
Ink the floral stamp from Remember This, with the Salvaged Patina. Spritz the stamp lightly with water, then stamp on to the white card, 5 1/2 x 4". |
|
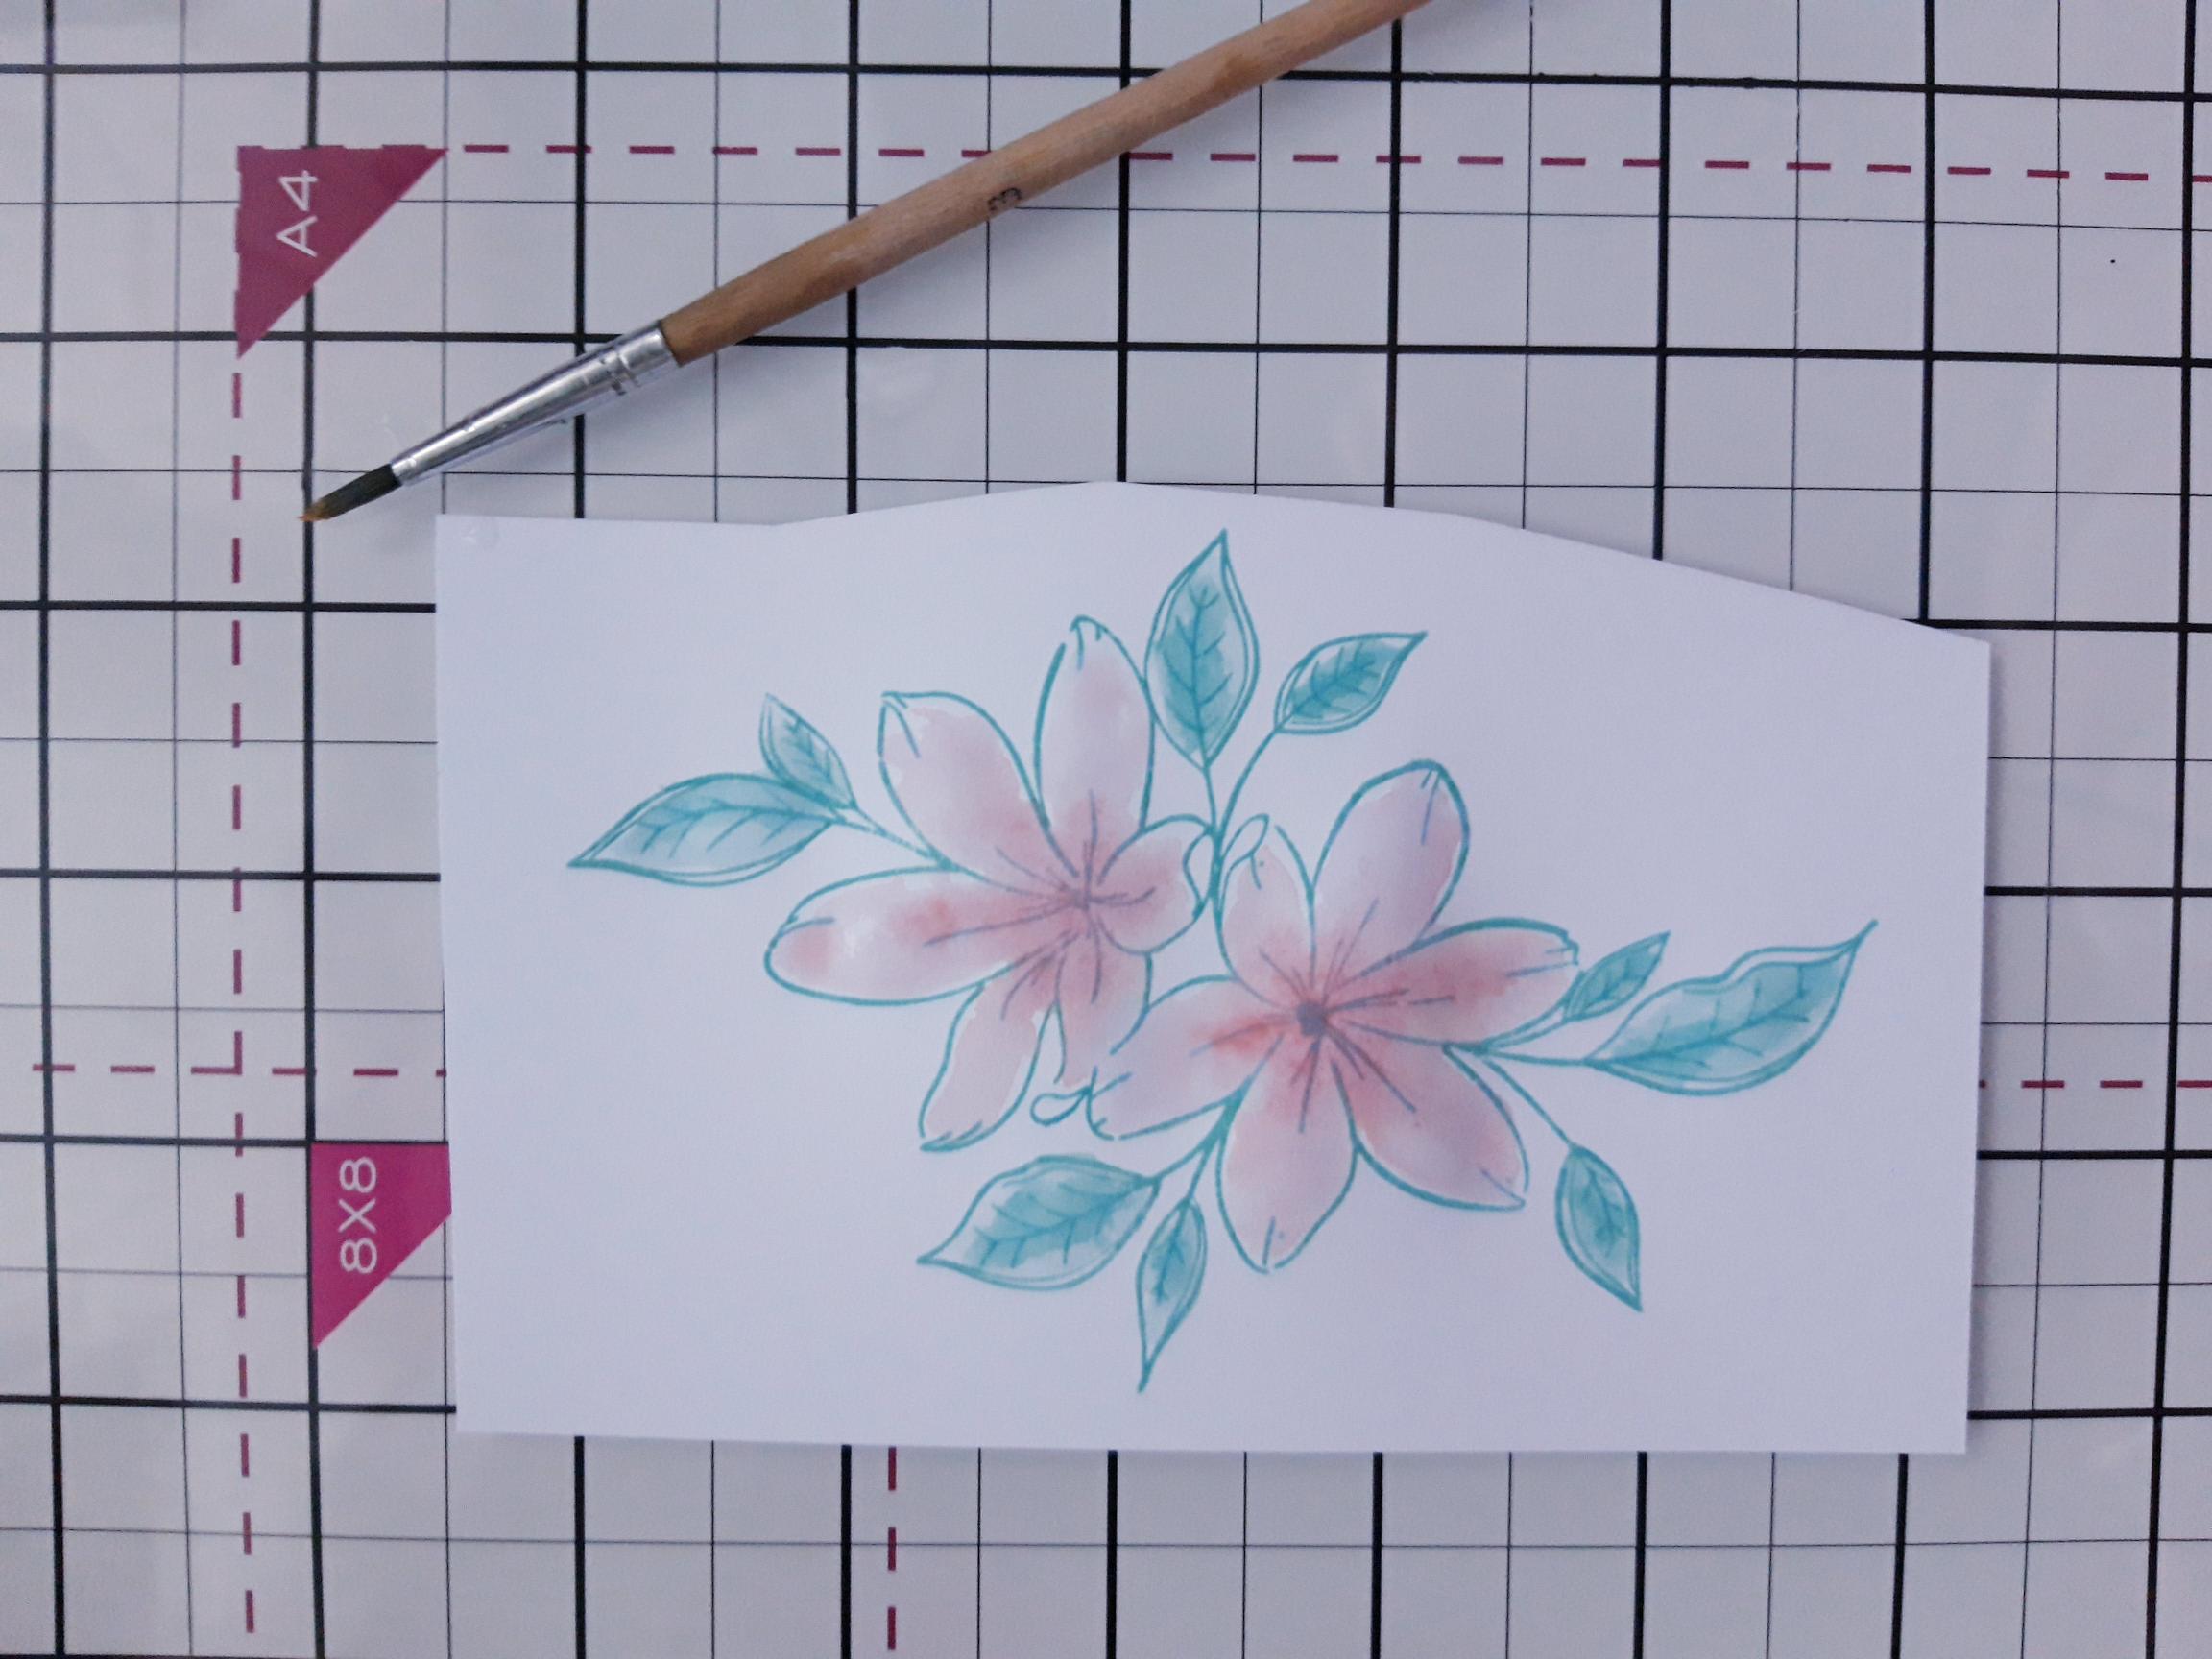
Use your Distress Inks and a paint brush, to add colour to your floral image. Dry the ink before proceeding to the next step. |
|
Use a white gel pen to add accents and highlights, to your floral image. |
|
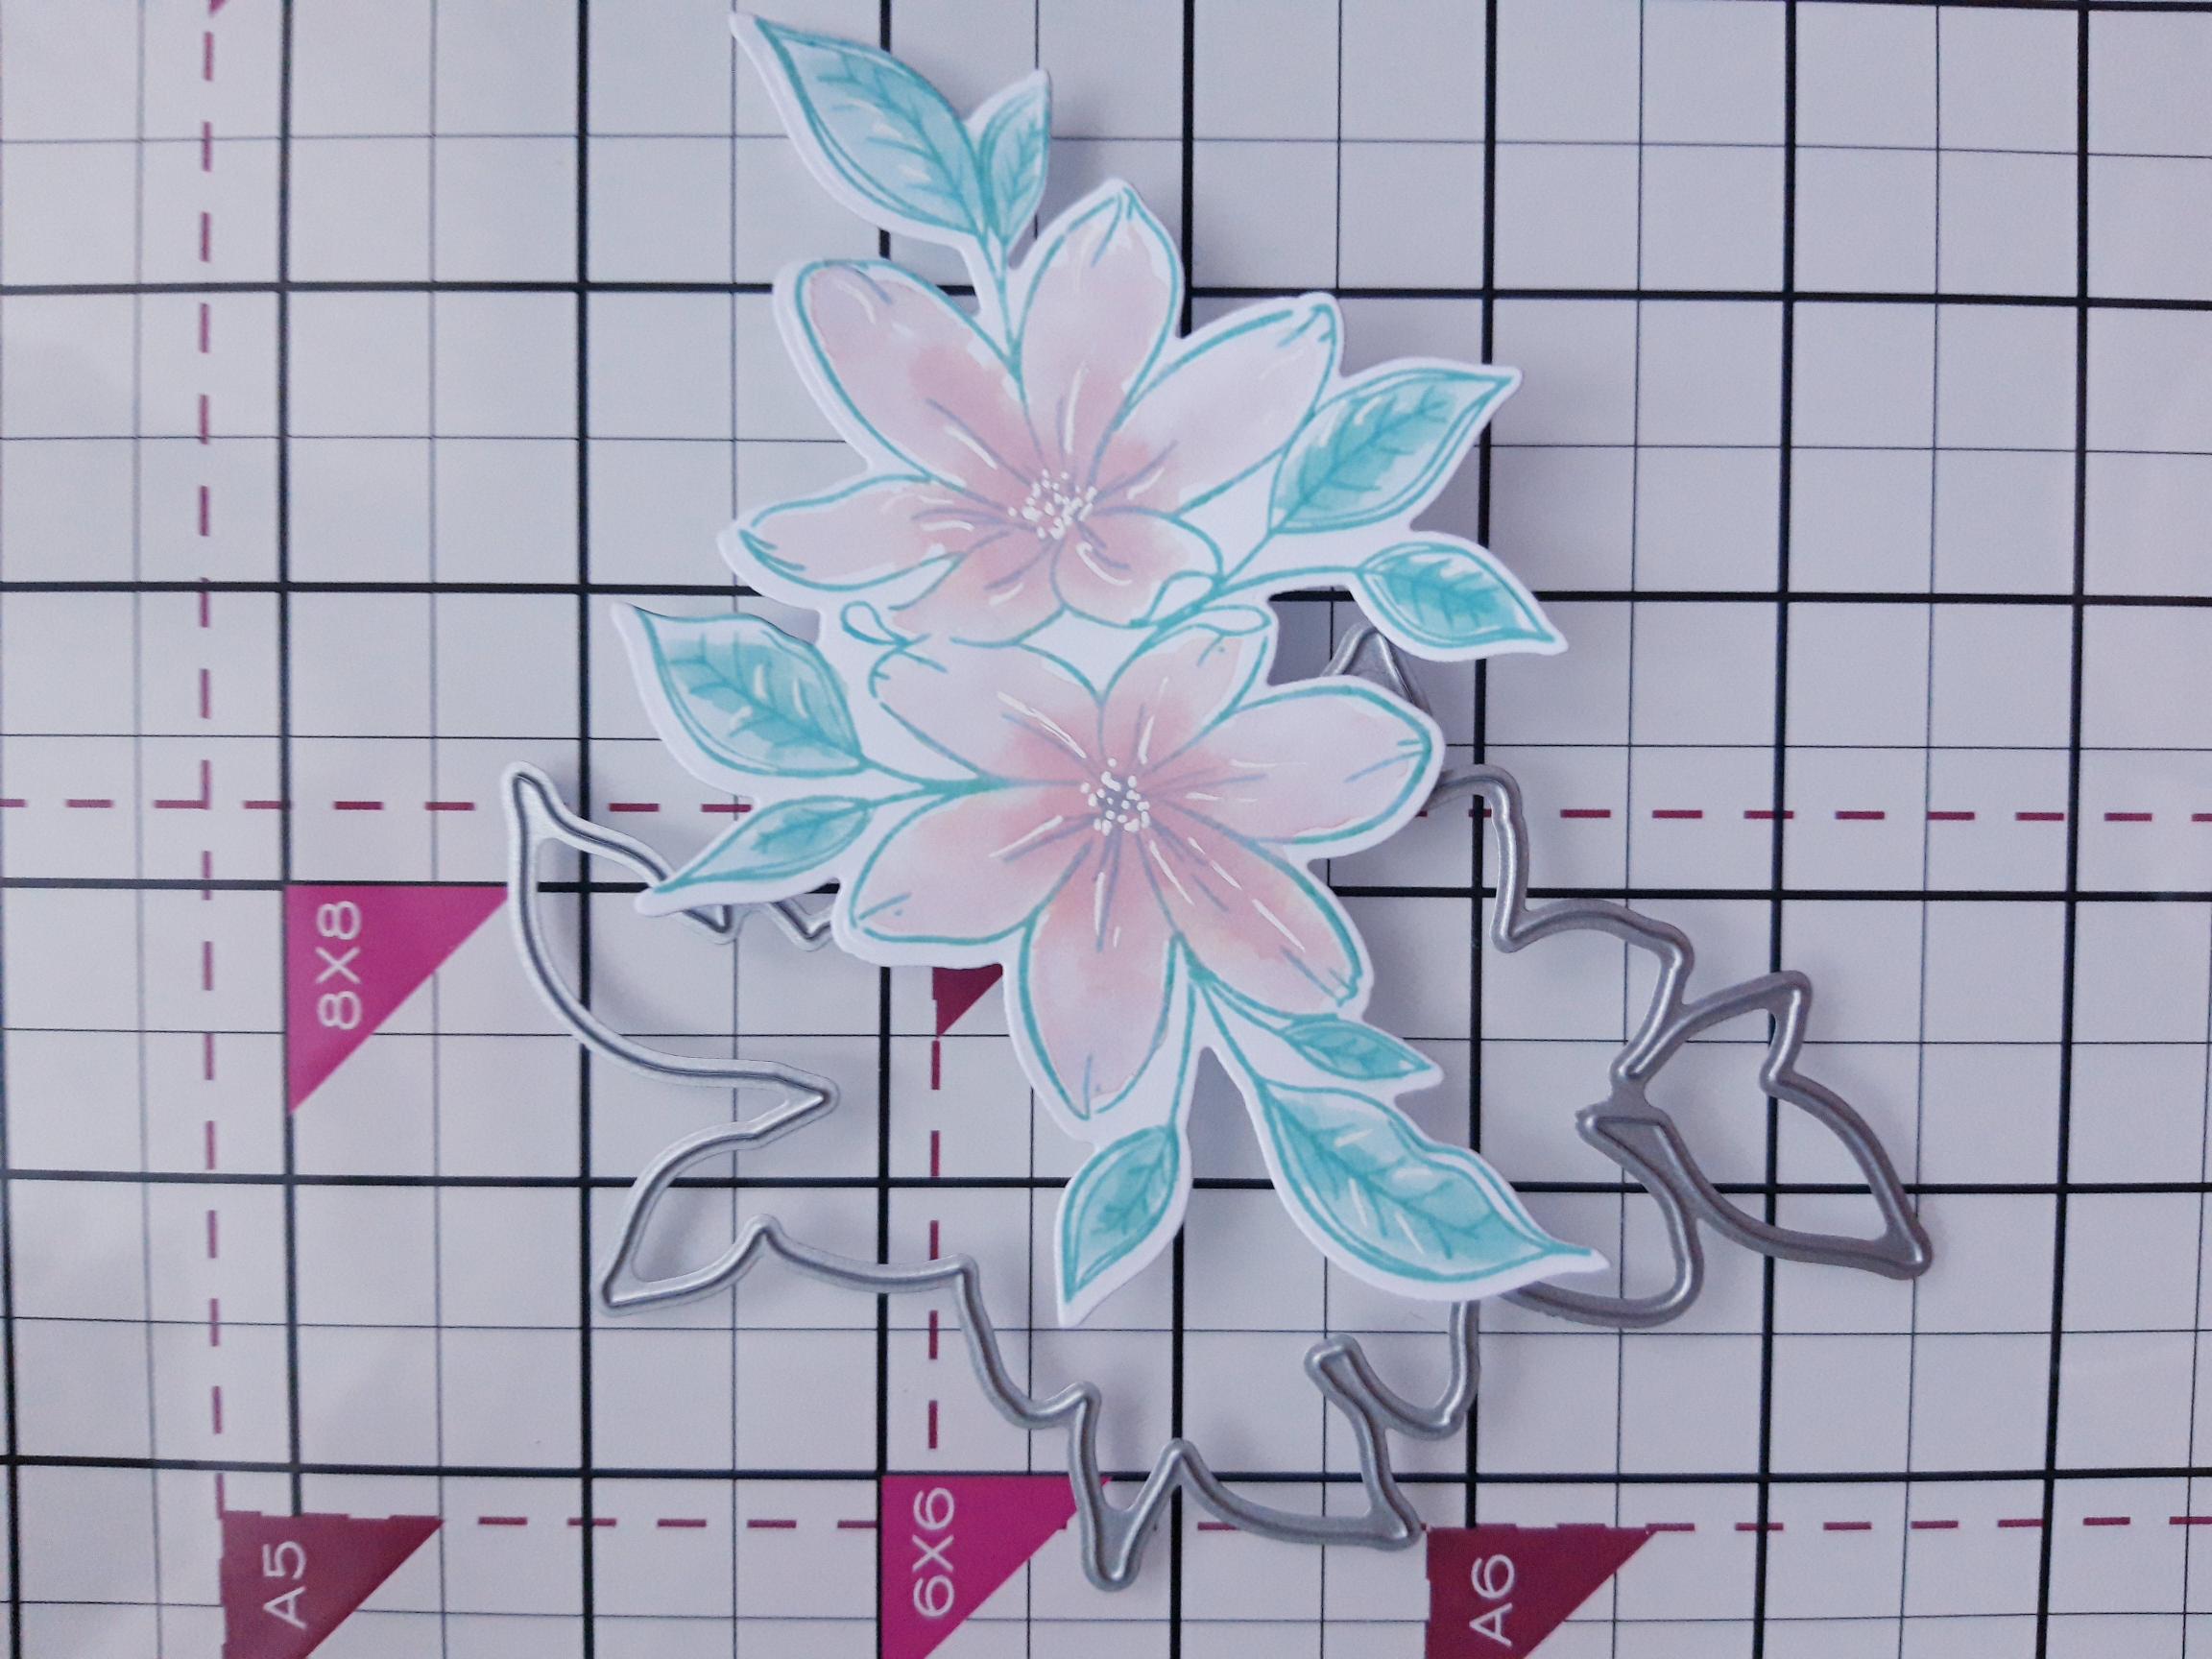
Die cut with the co-ordinating die. |
|
Ink the sentiment stamp, from Your Only Limit Is You Stamp Collection, with the Smokey Gray Versafine. Stamp within the embossed frame, slightly towards the top. |
|
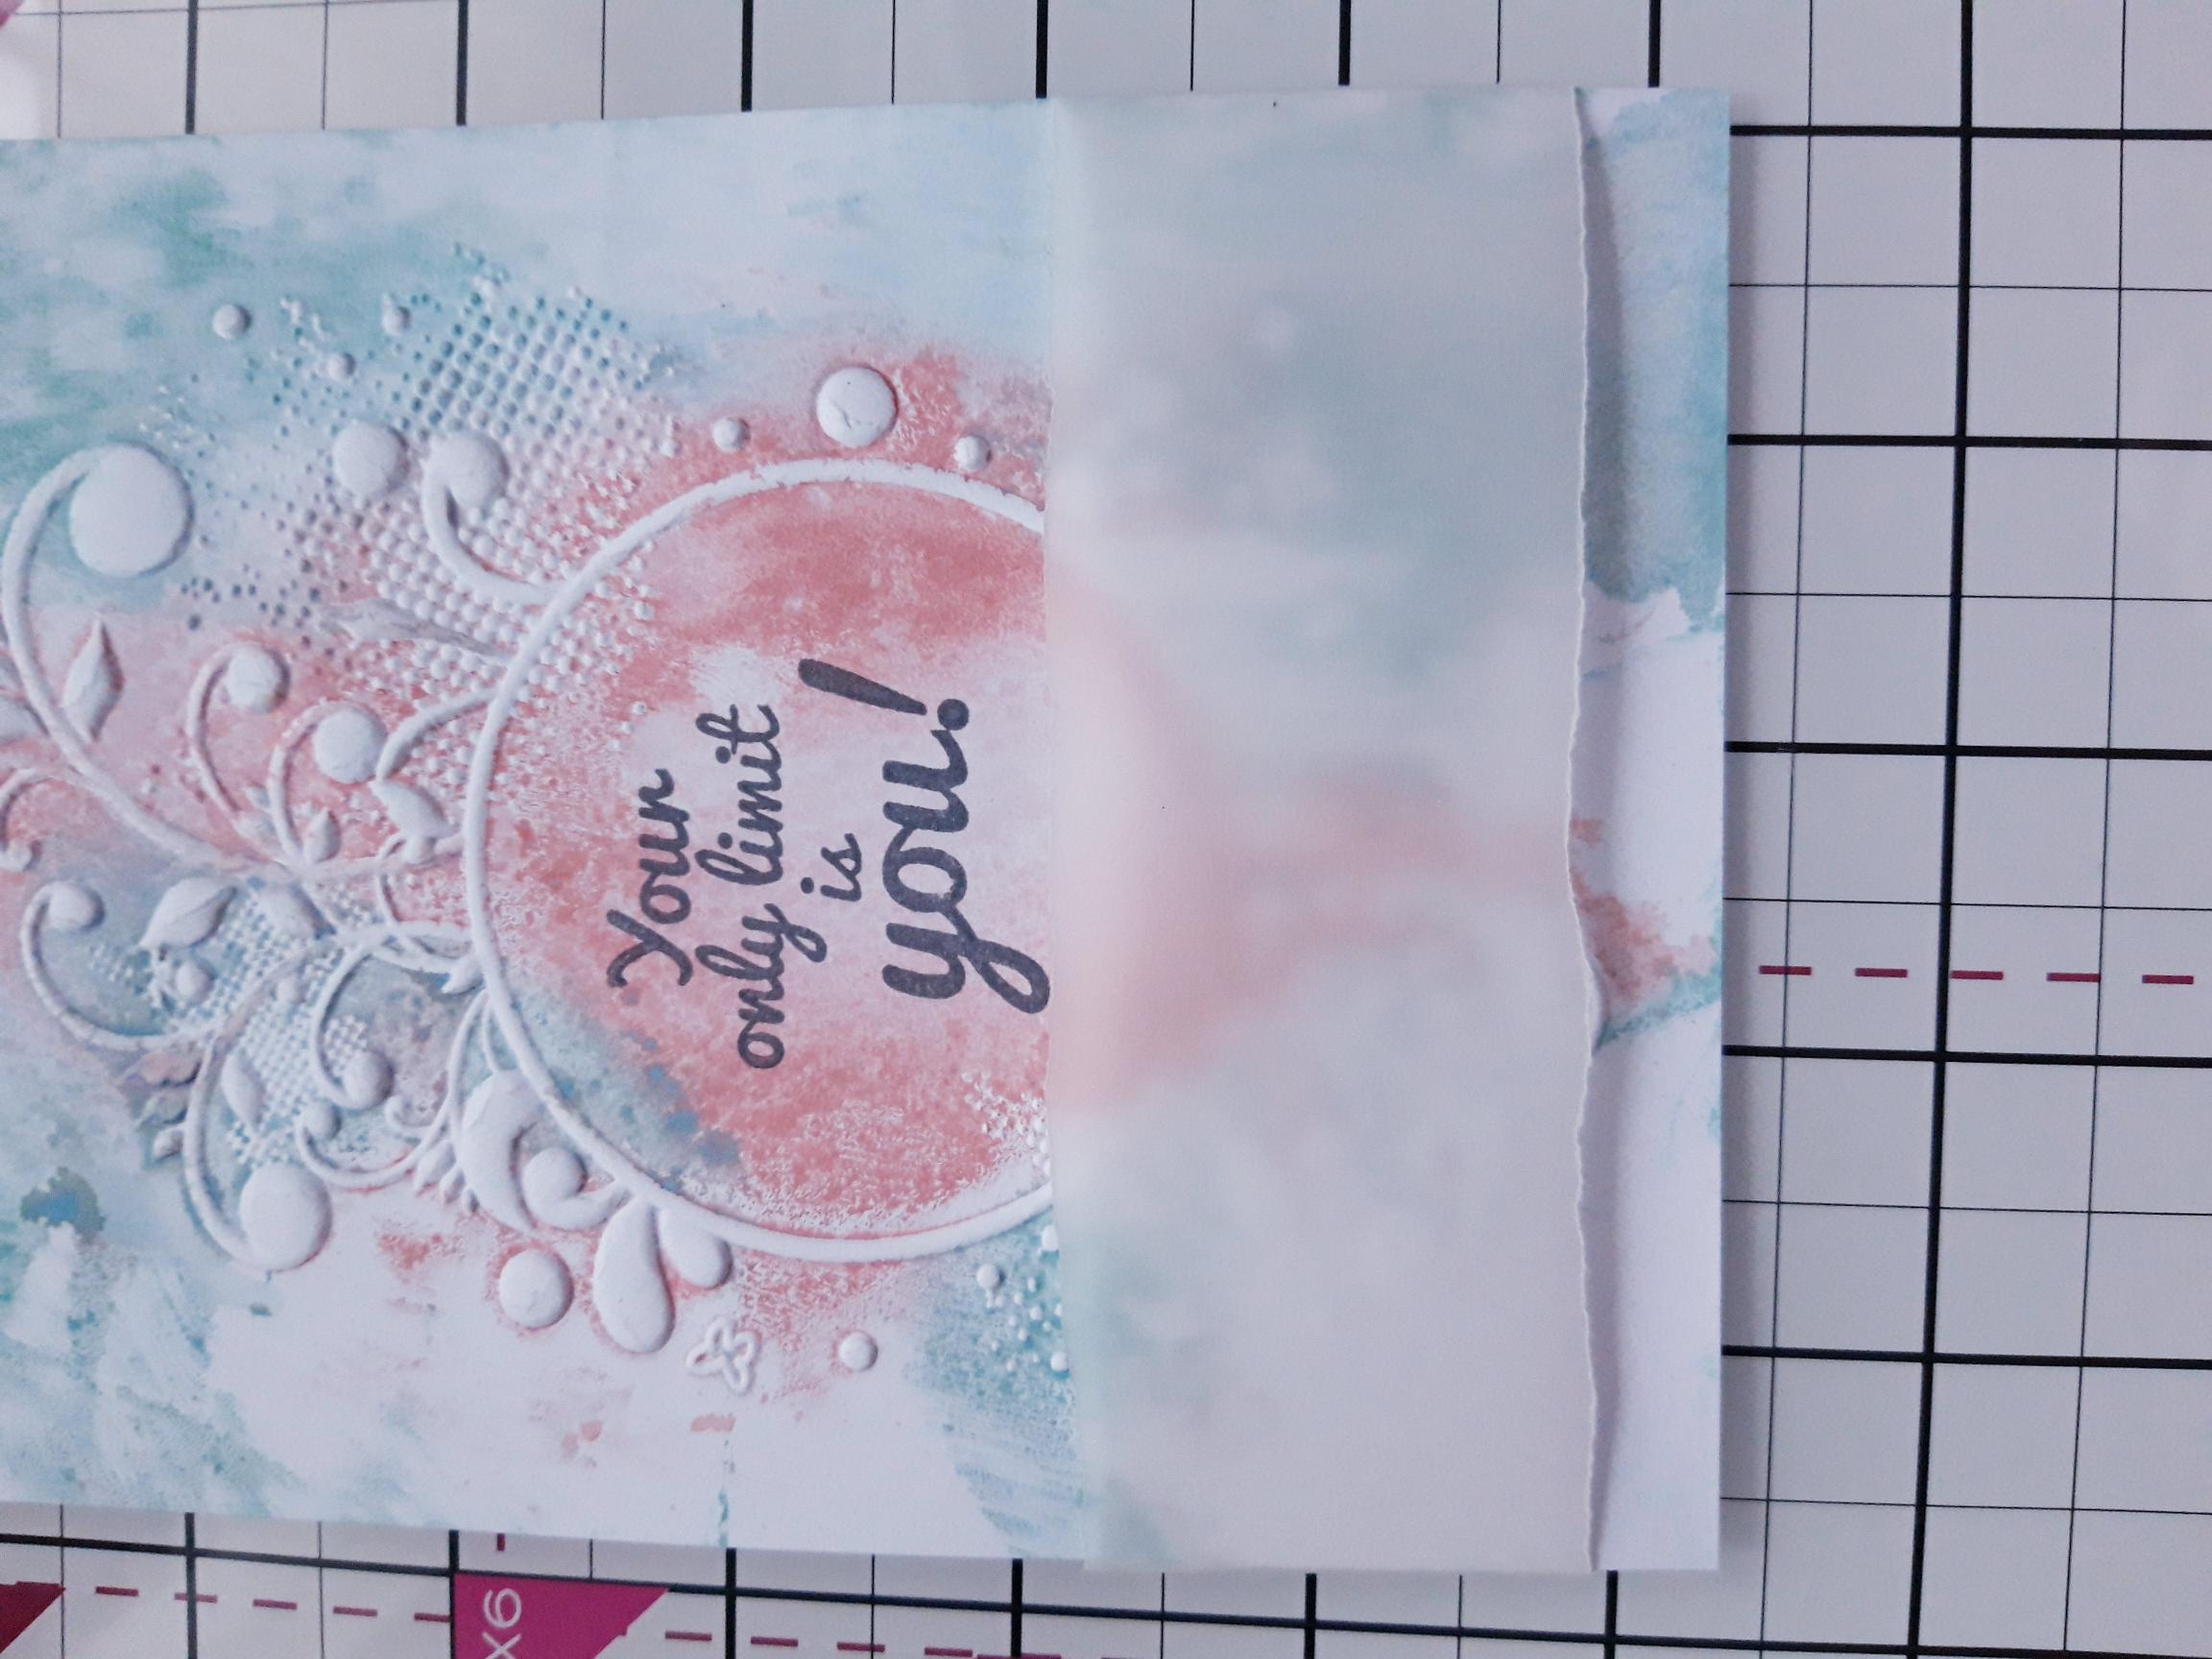
Lay your torn vellum panel across the bottom of the embossed frame, as seen here. Fold the excess vellum over the edges of the card and secure on the back, with double sided adhesive tape or a tape runner. |
|
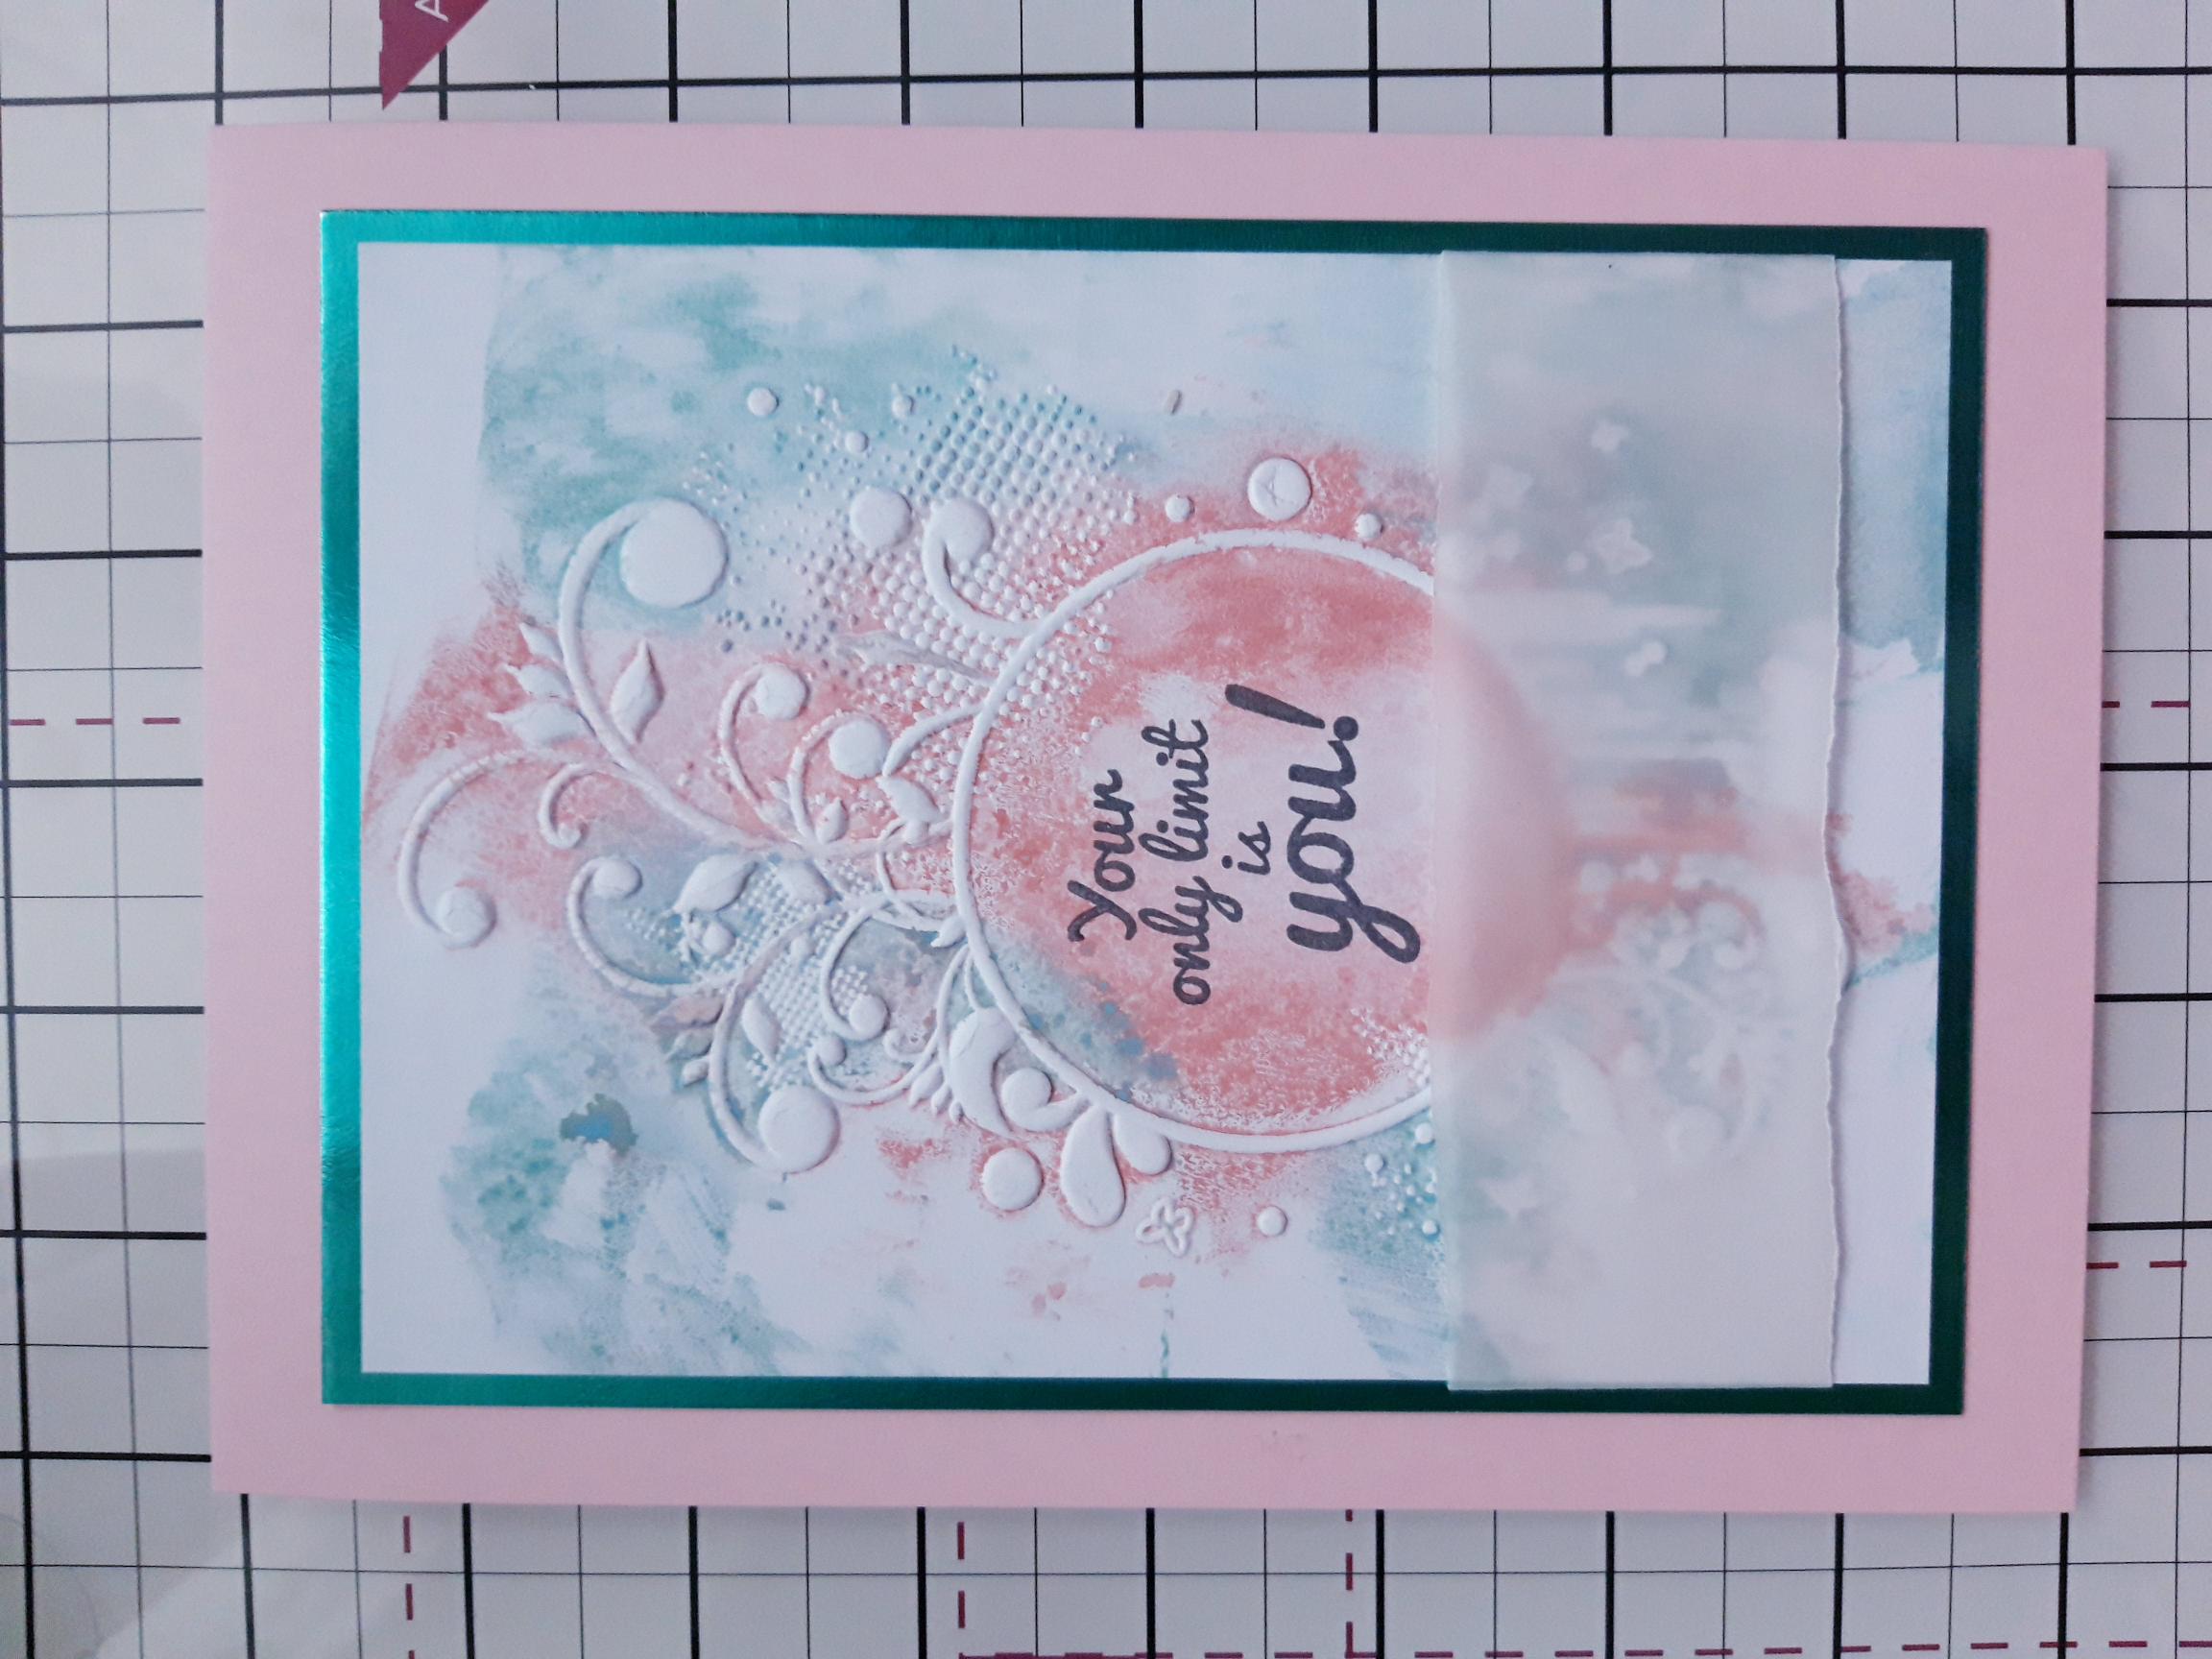
Adhere your artwork on to the Teal pearl card, cut to 7 x 5". |
|
Adhere this on to your pink card blank. |
|
Finally, adhere your 3D floral element with foam pads, across the bottom right corner of your card. |