Give your friends $10 off their first order!
Refer a FRIEND


WHAT YOU WILL NEED:
Kraft card blank 7 x 5"
Black card 6 1/2 x 4 1/2"
White card 6 1/4 x 4 1/4"
Black card for sentiment die
White card for sentiment die
Vellum torn to 6 x 1 1/2"
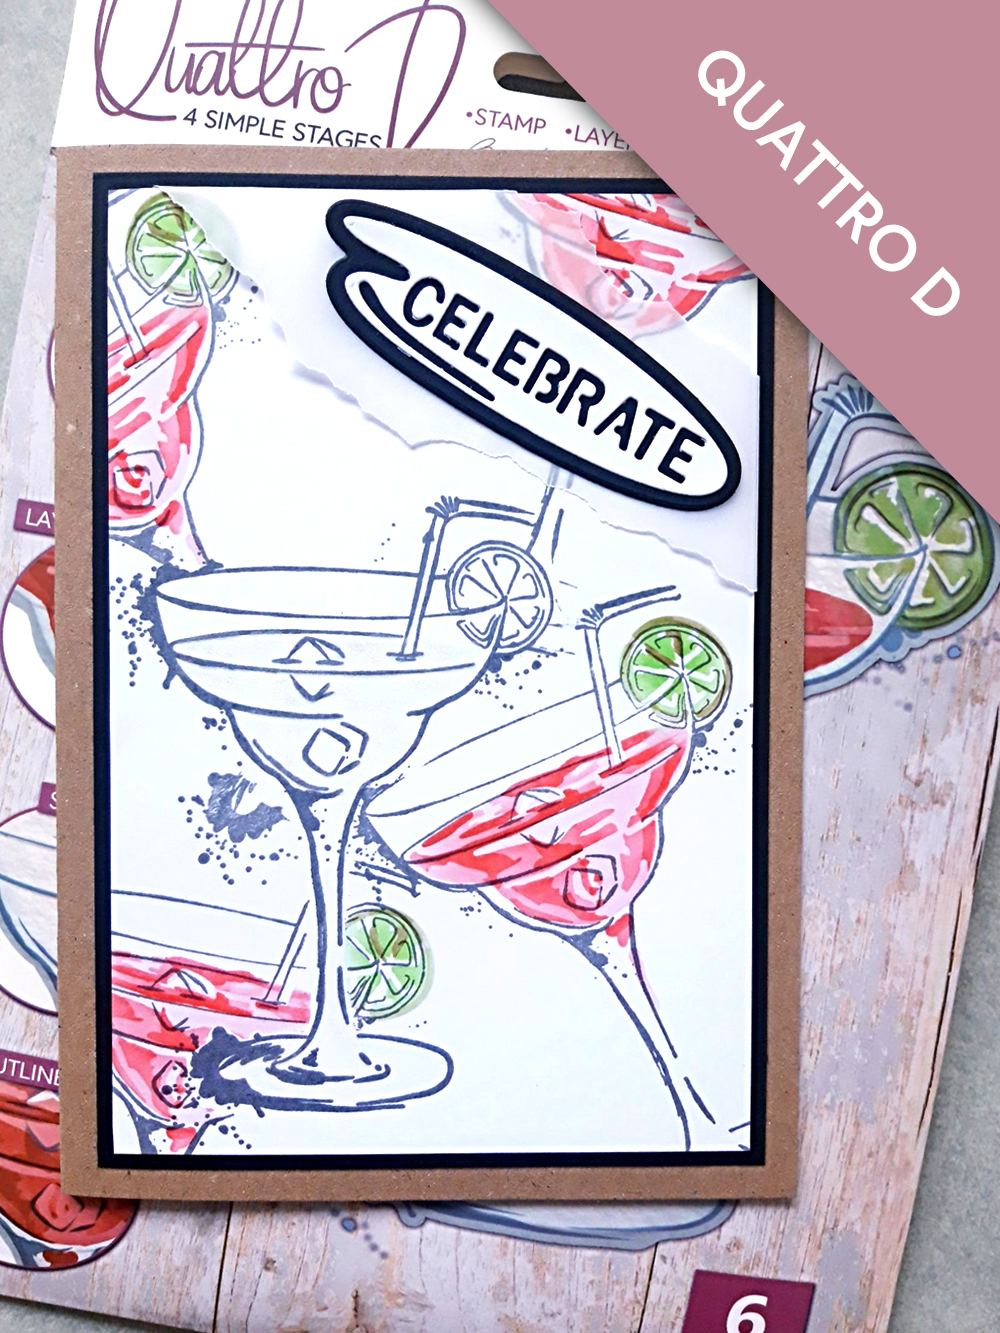
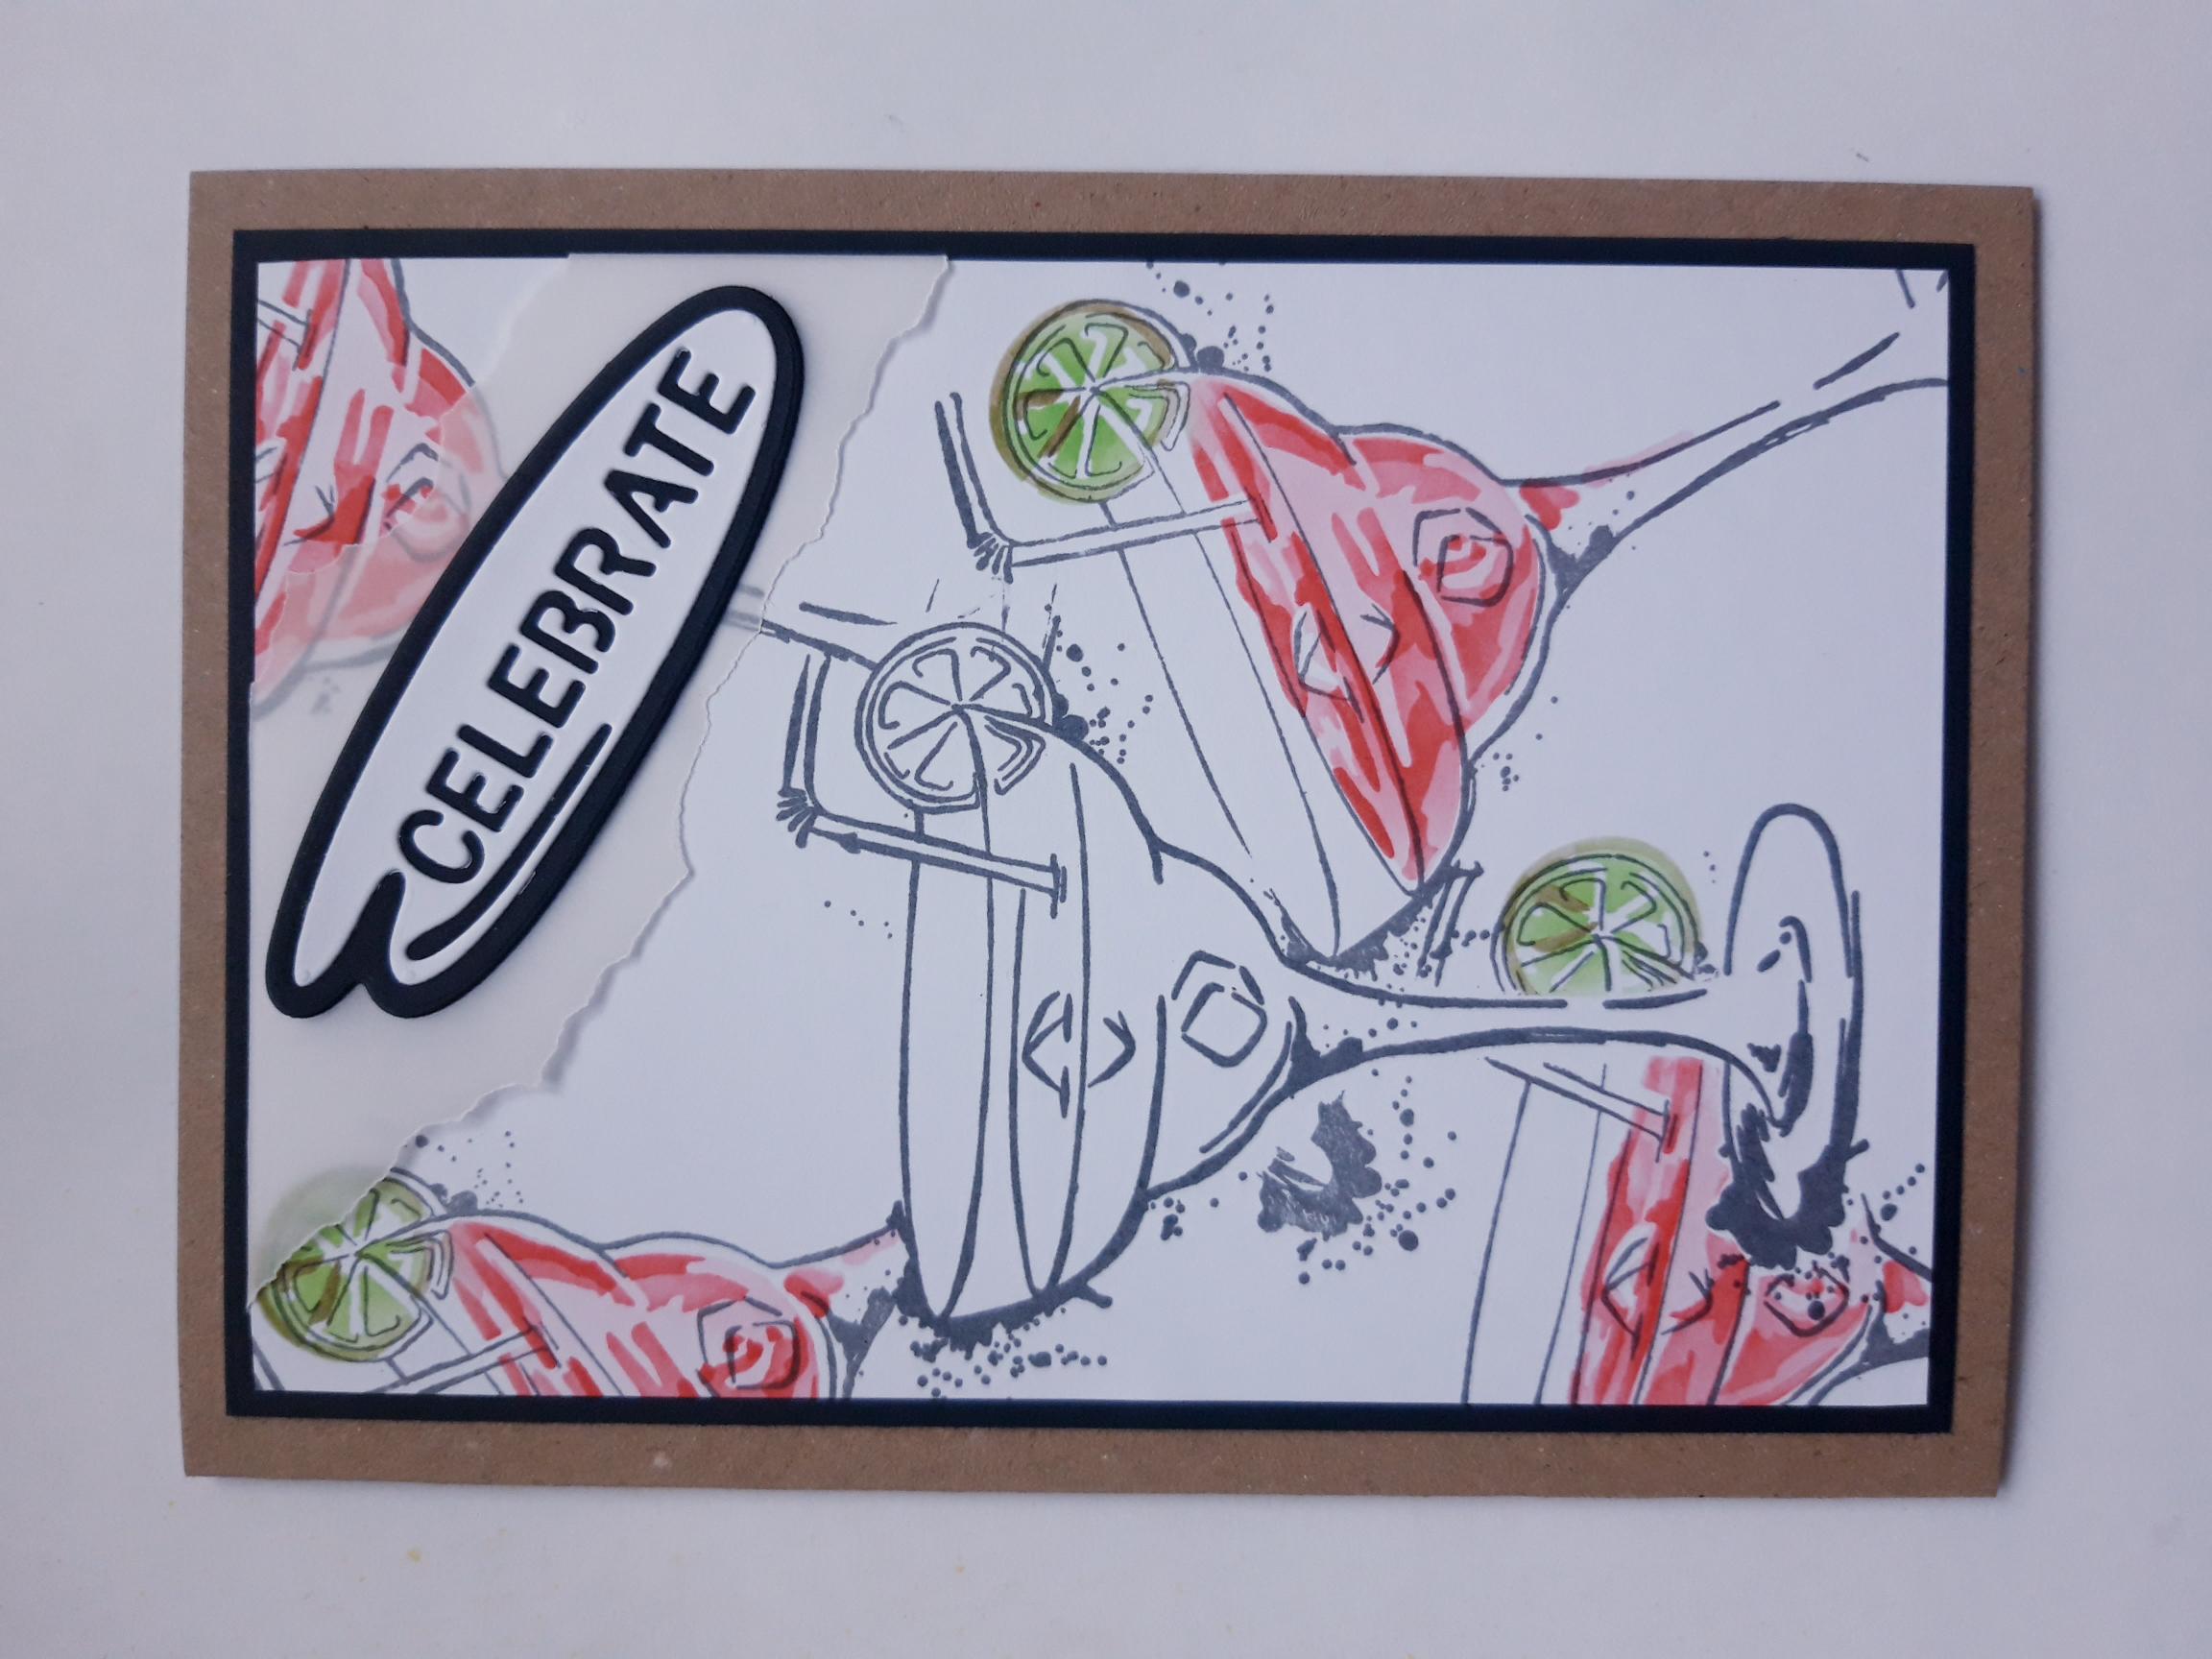
Quattro D Strawberry Margarita Collection
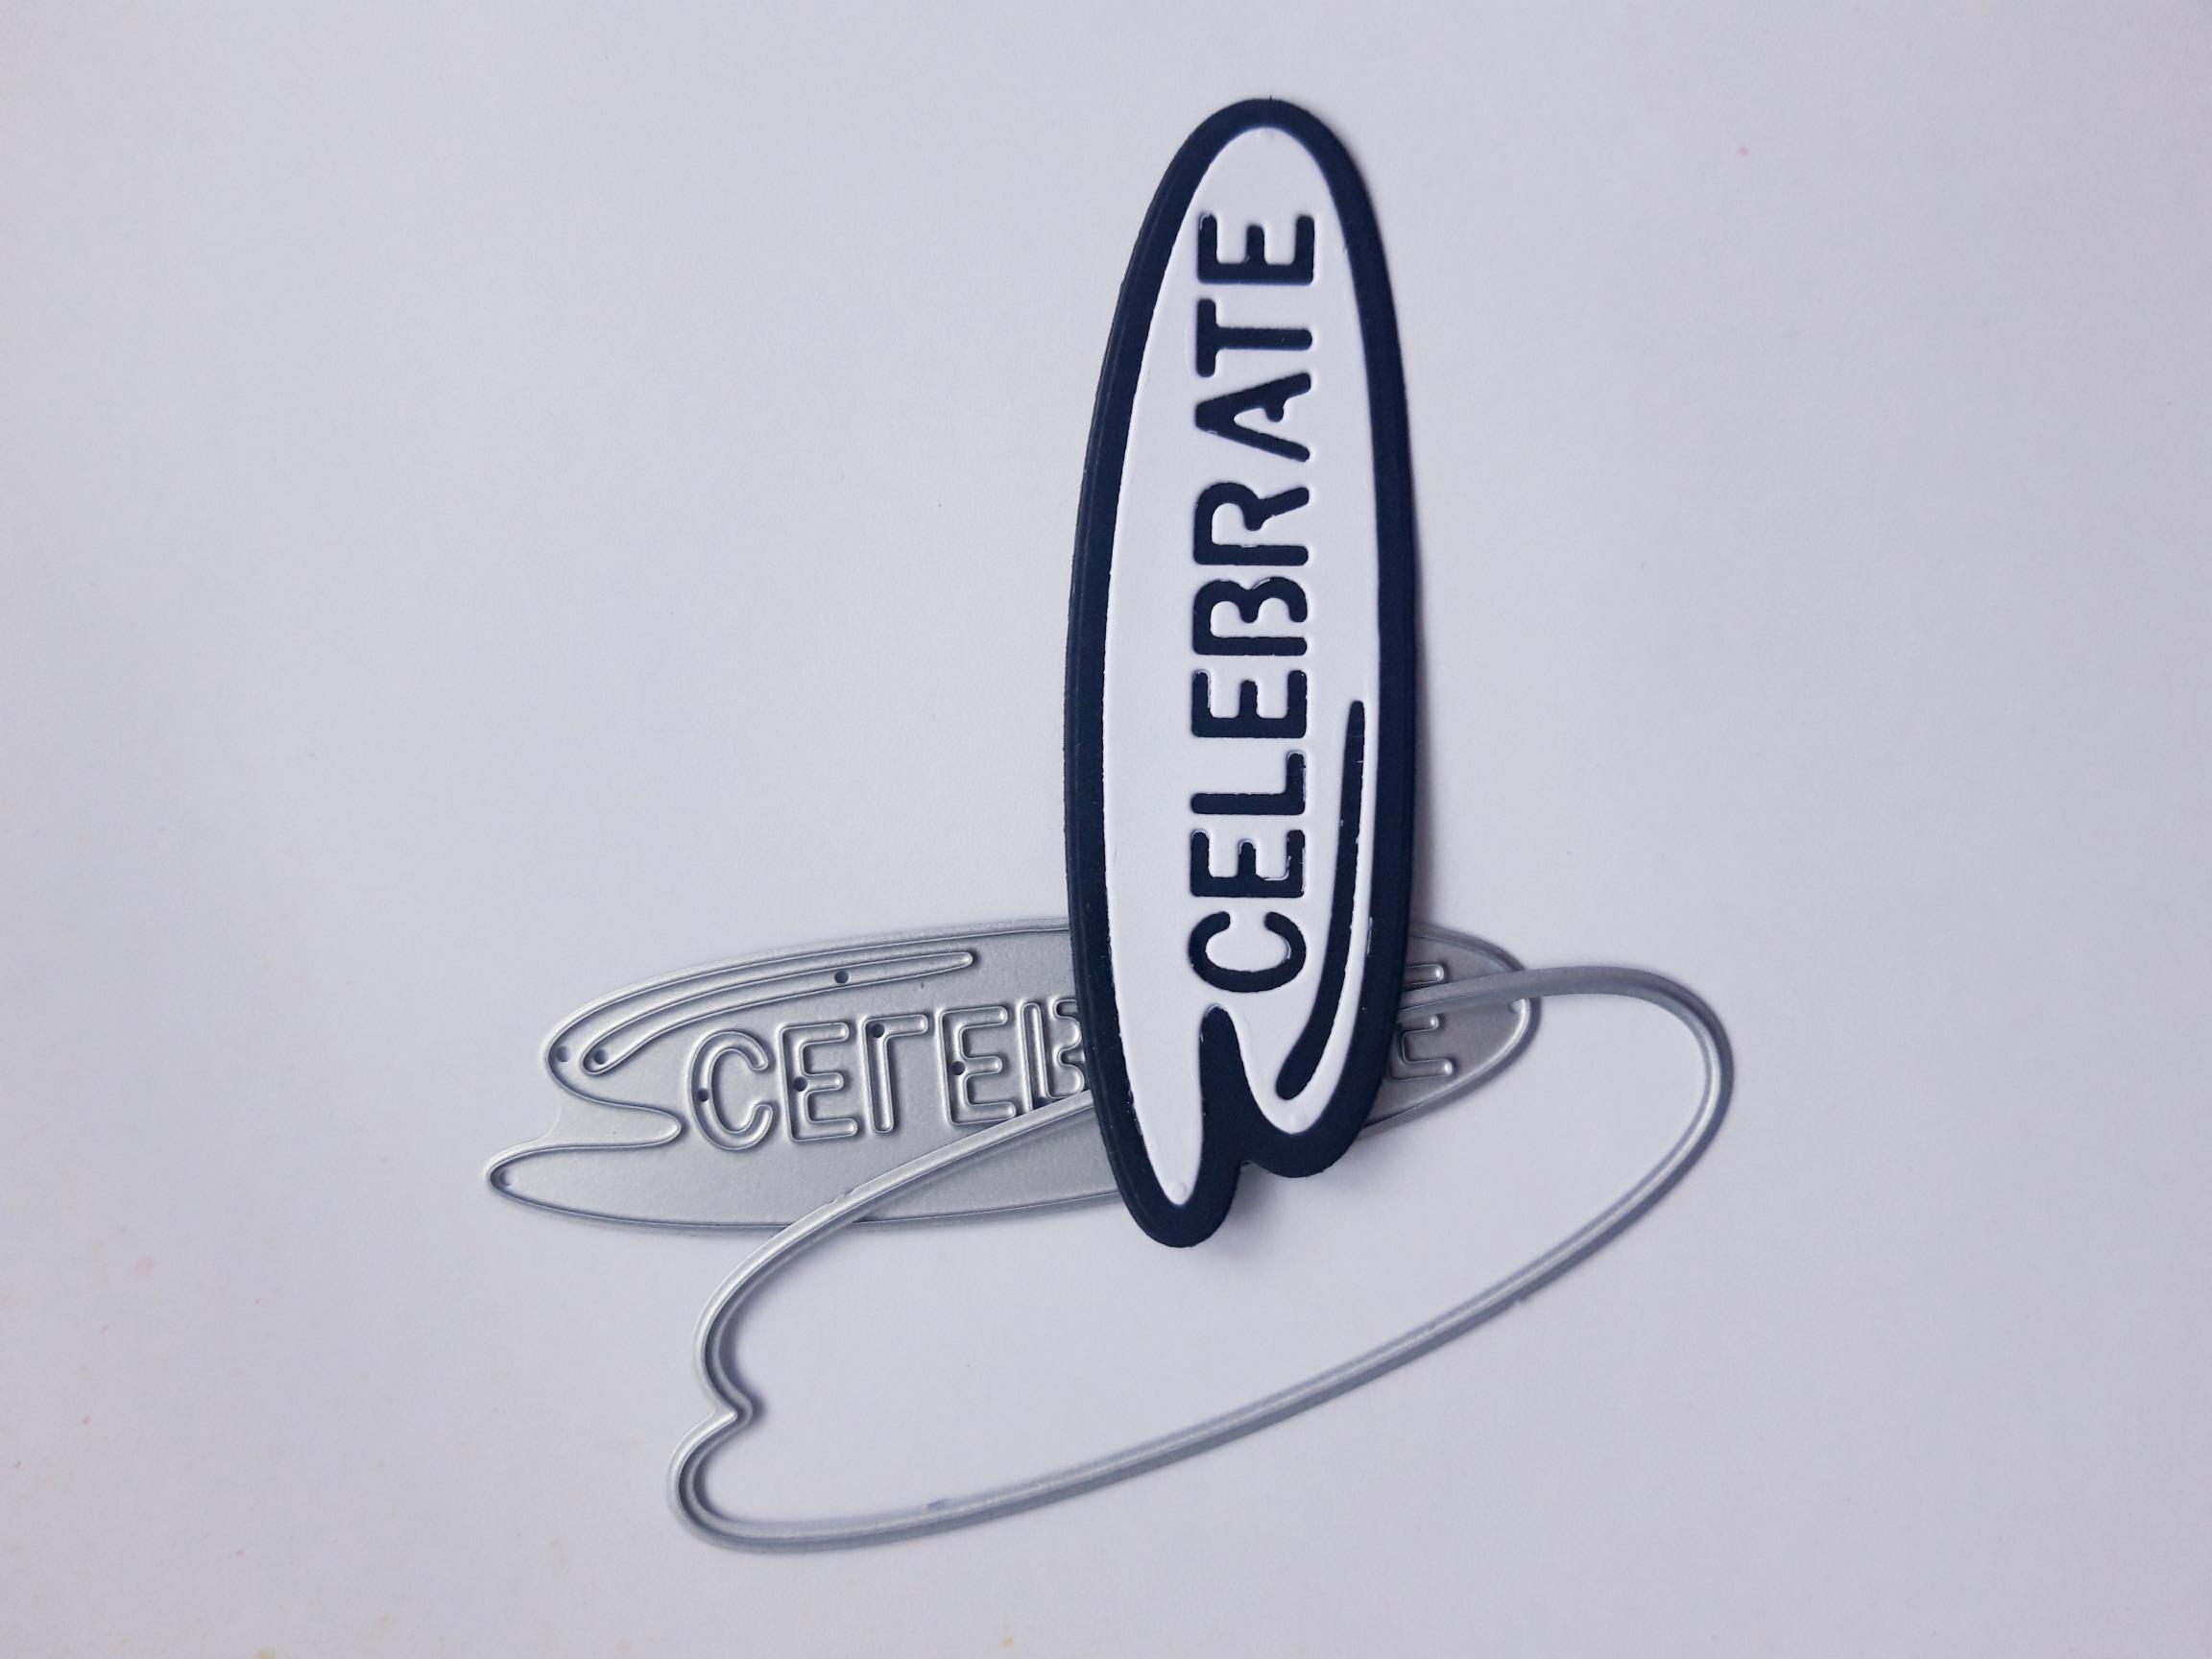
Sentiment die of your choice (Celebrate Die set coming soon!!!)
Versafine Ink Pad: Smokey Gray
Izink Dye Ink pad: Menthe, Grenadine
Blending tool
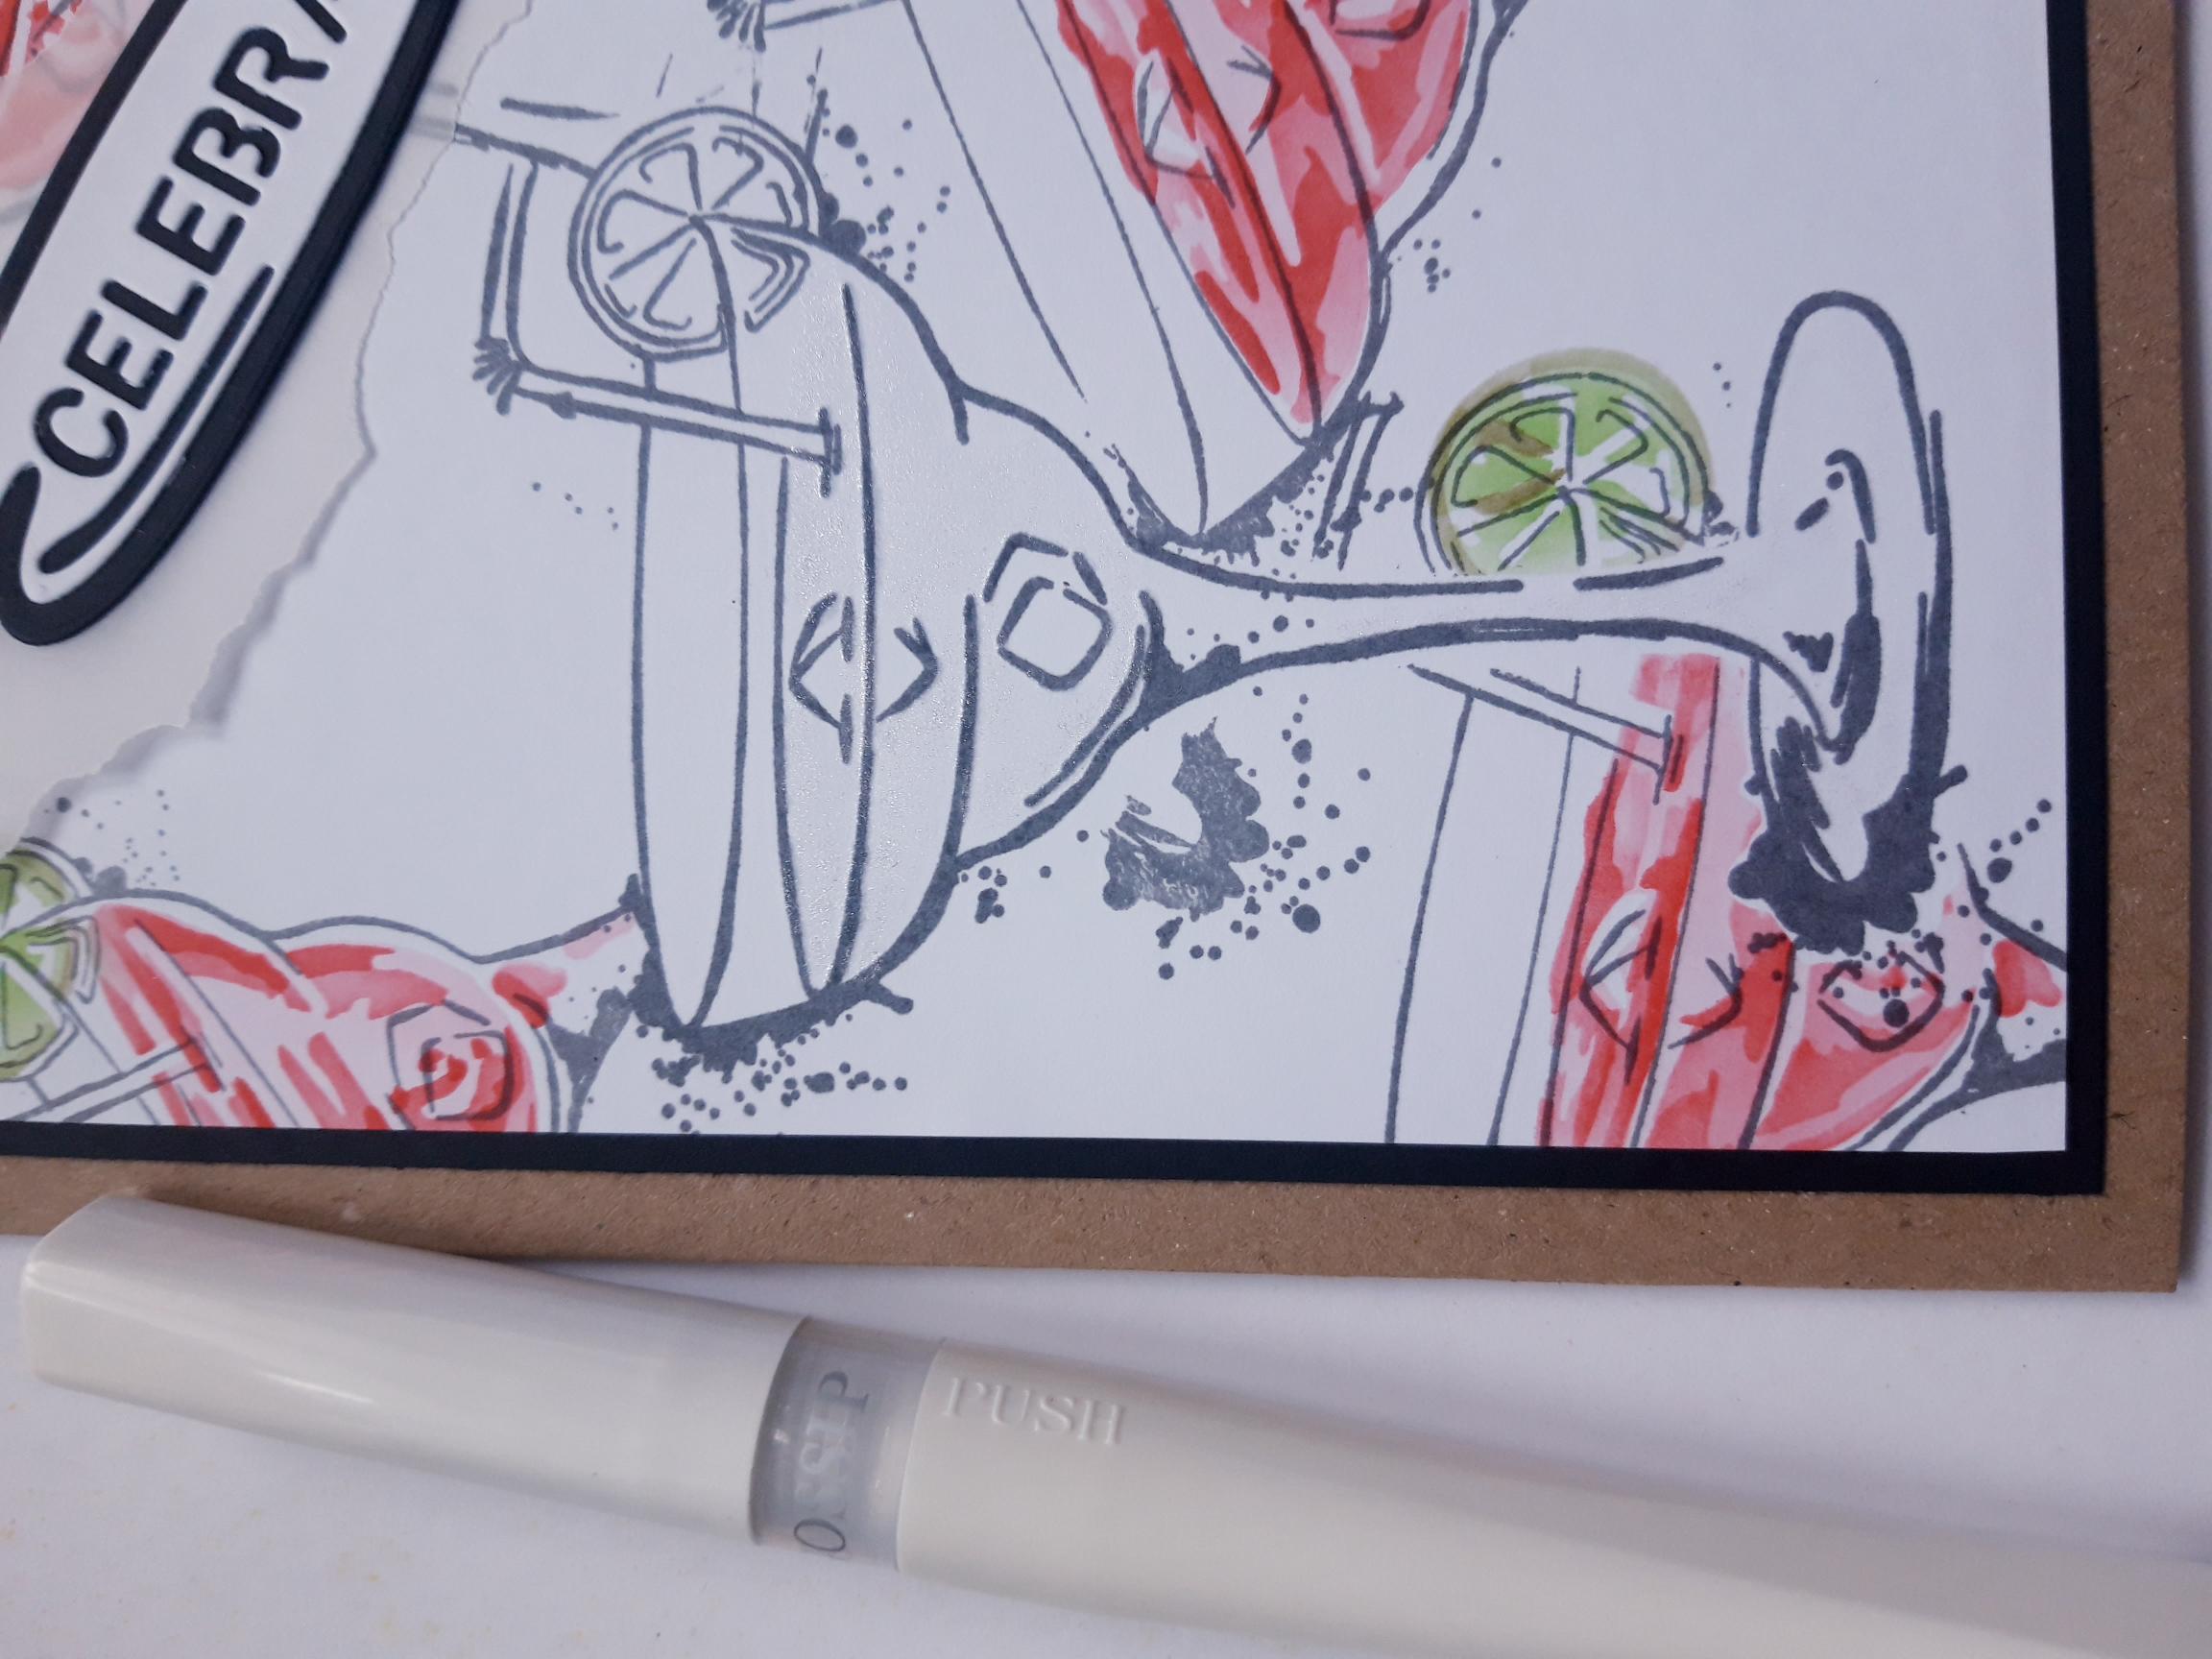
Gossip Sparkle pen: Clear overlay
Eureka 101
Paper Trimmer
Perfect Together Glue
Double sided tape
Foam pads
Die Cutting machine
[click image to enlarge] 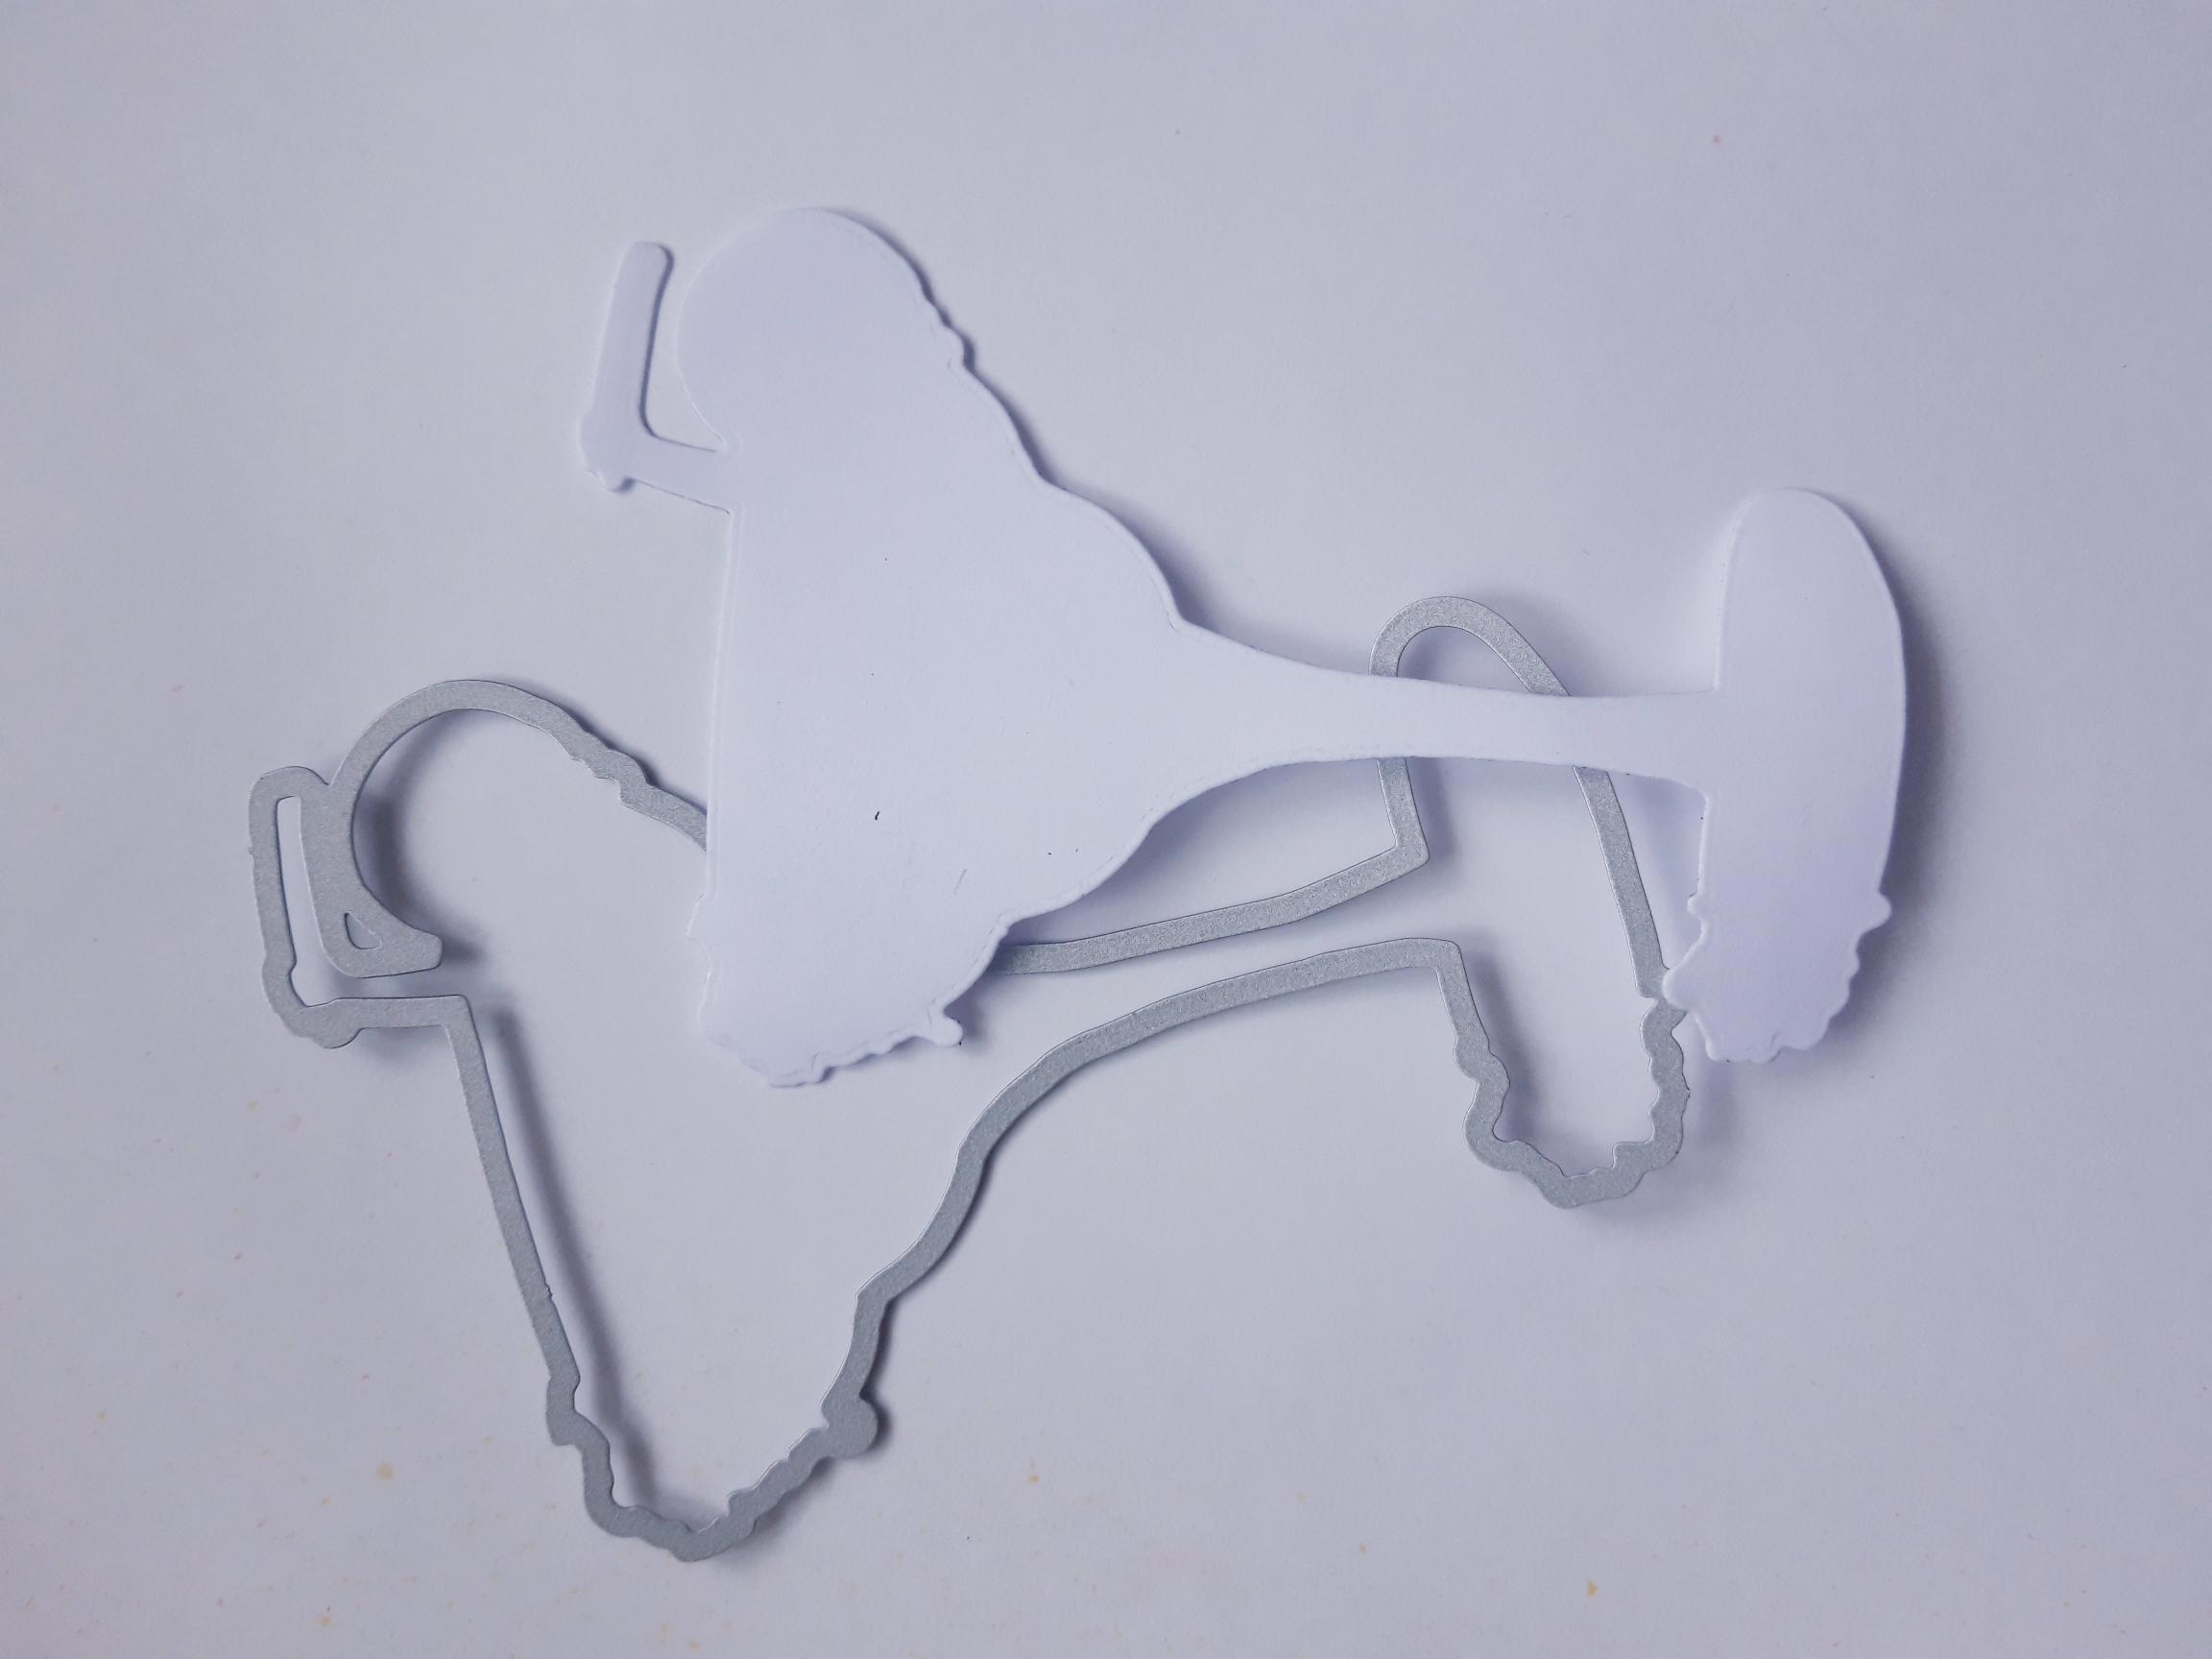
|
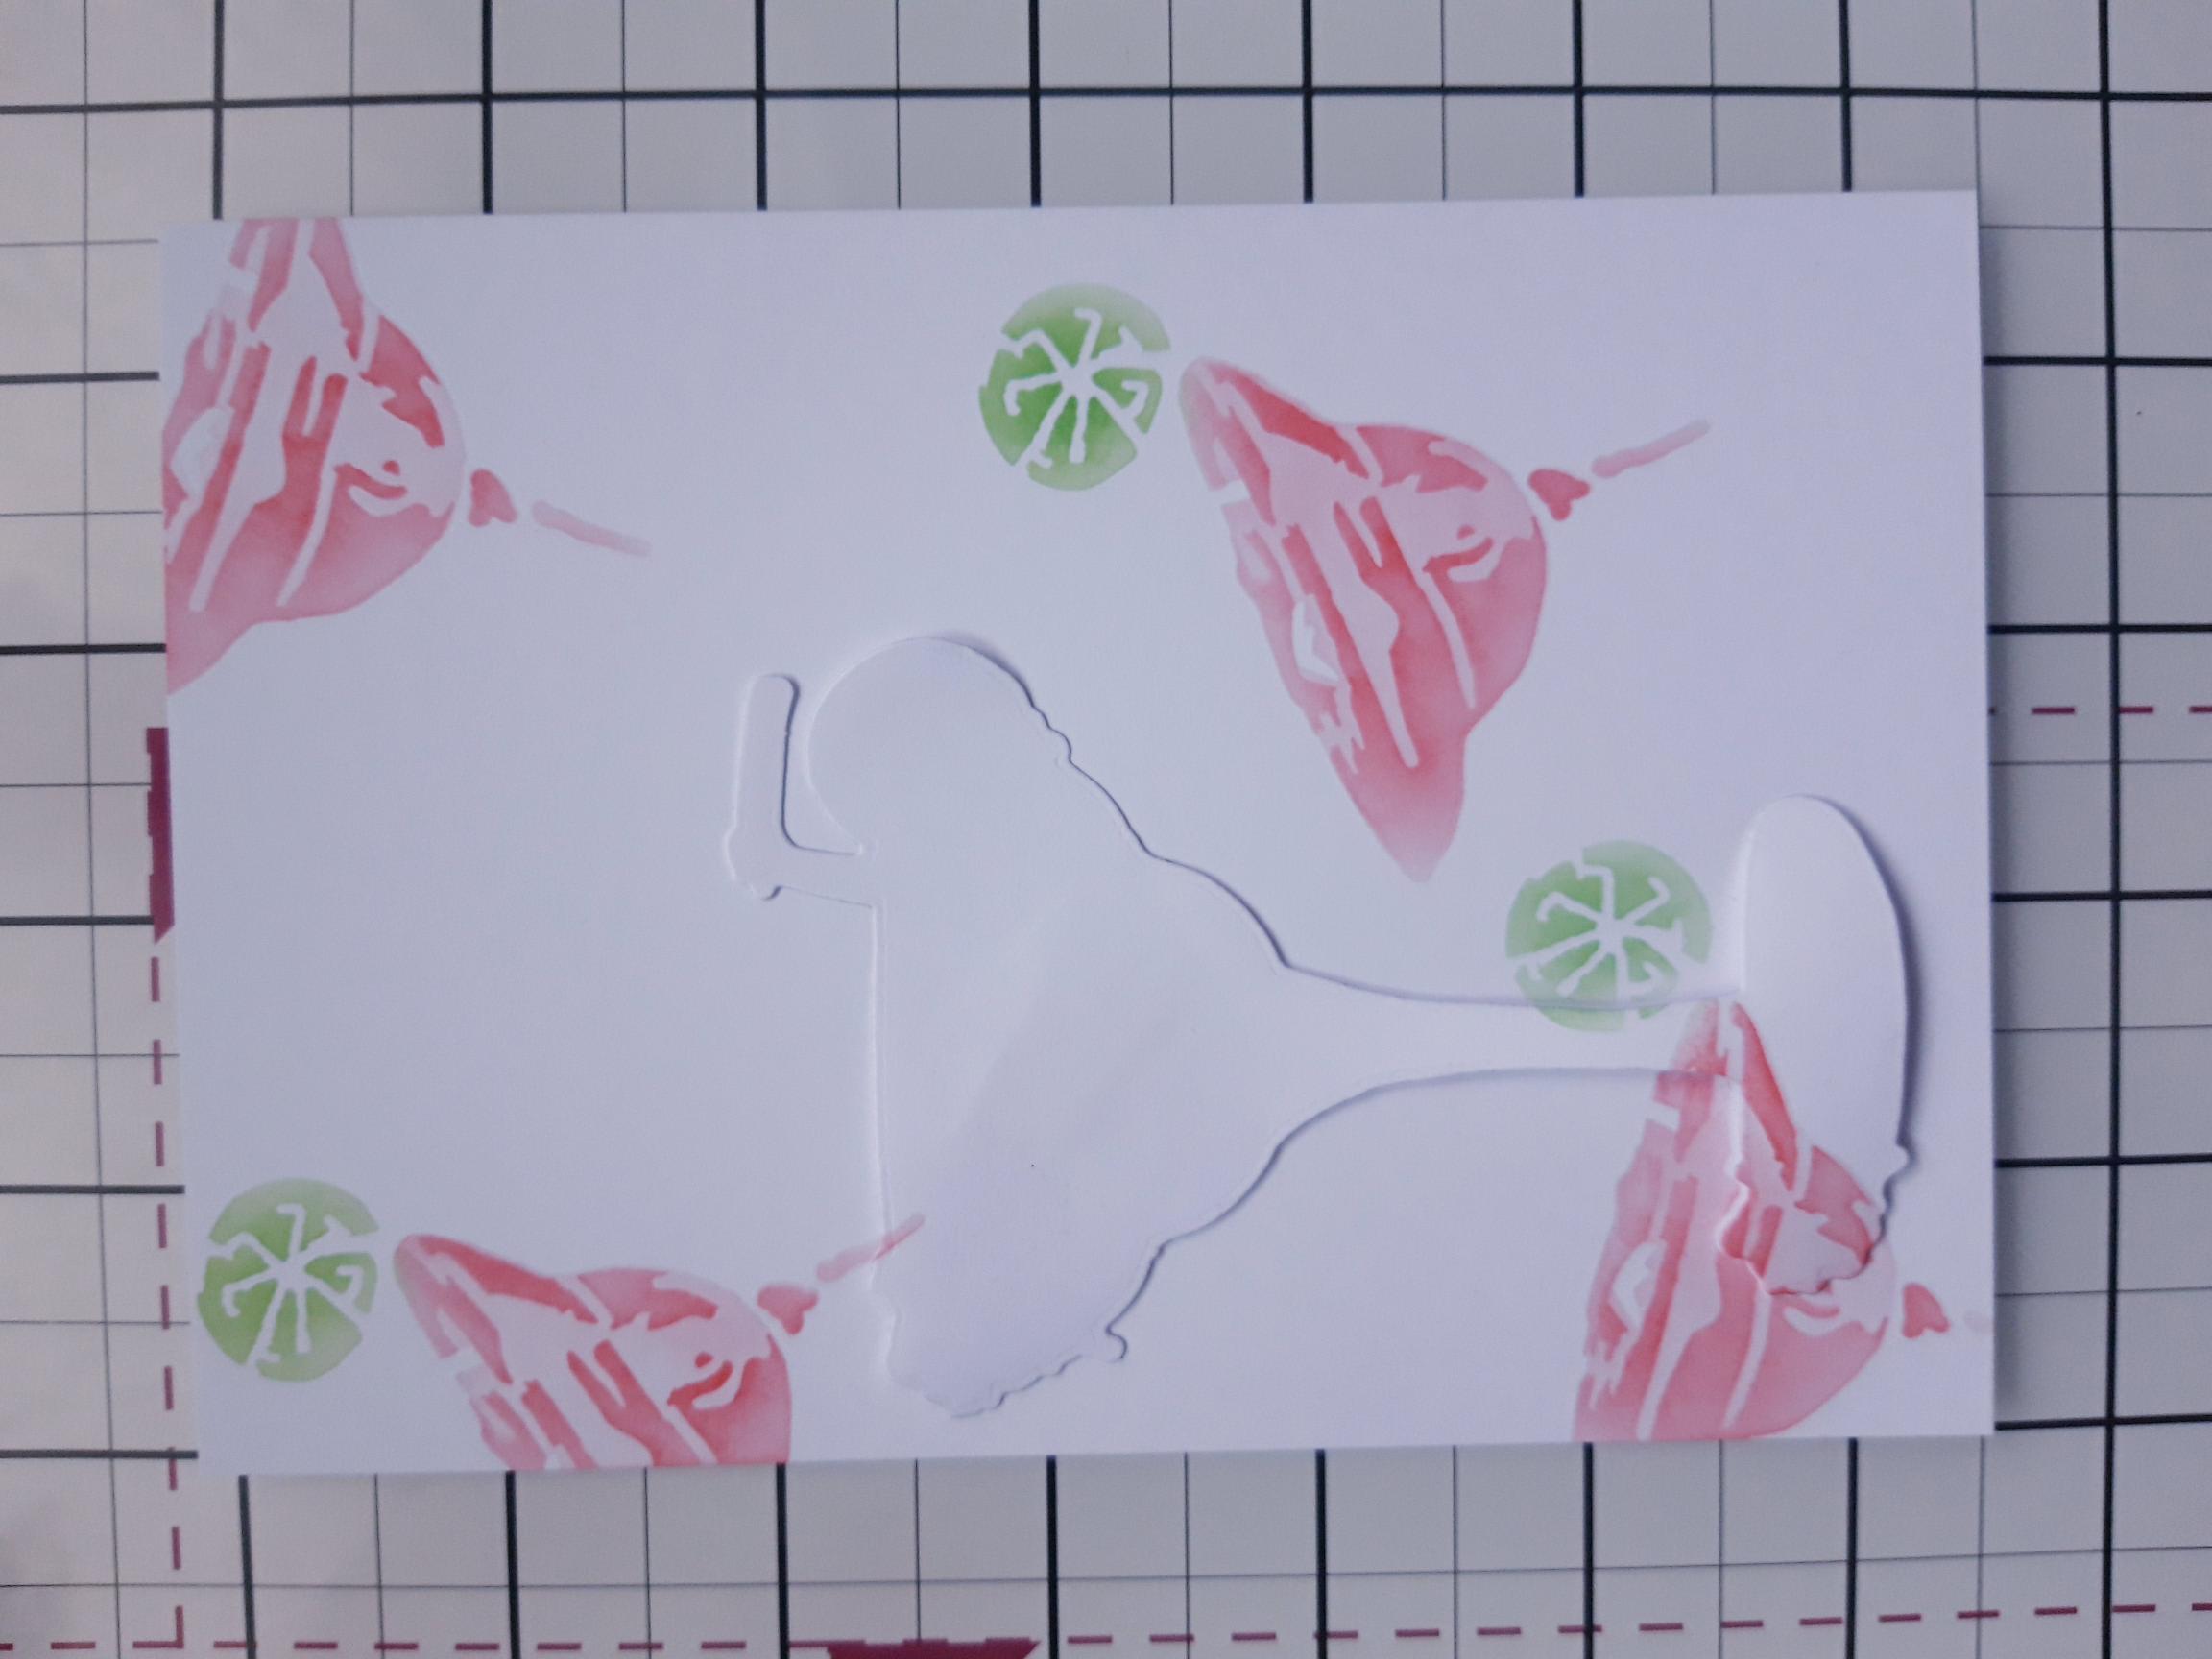
Place the Cocktail die on a masking sheet or copy paper and run it through your die cutting machine, to create a "mask". |
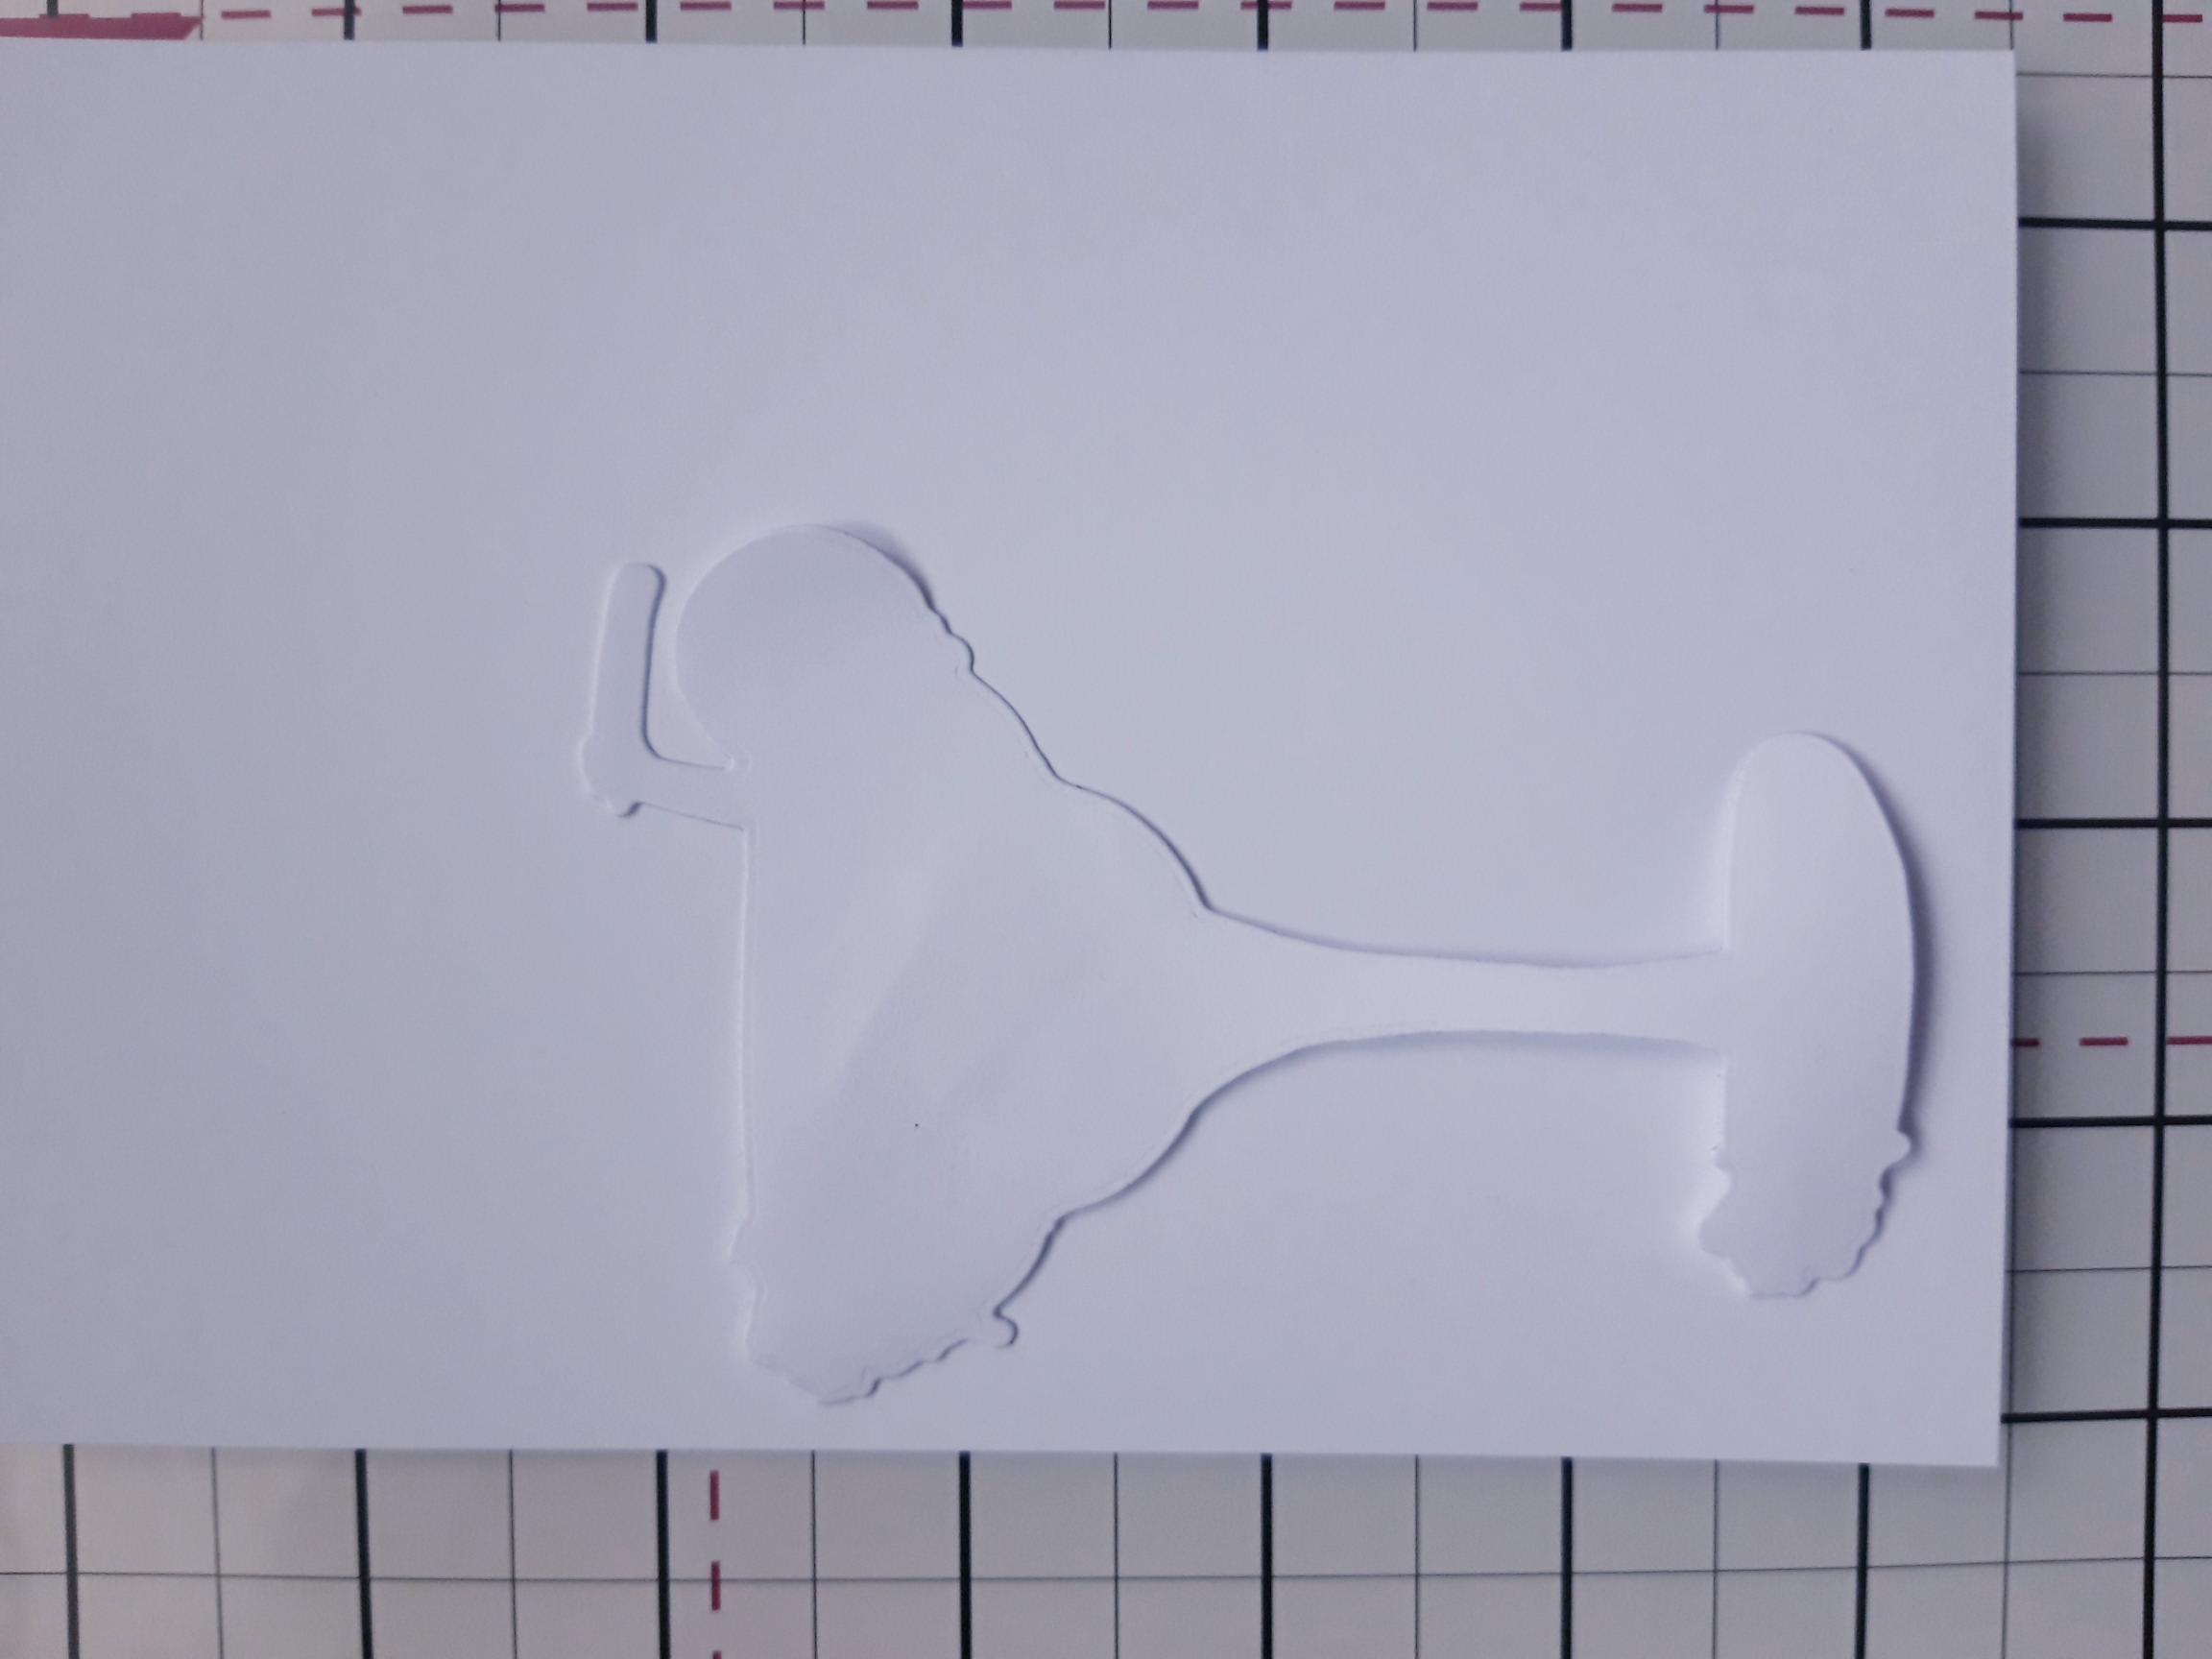
|
Place the mask to the left of the white card, cut to 6 1/4 x 4 1/4". You can secure it in place with low adhesive tape, or with a magnet on your magnetic glass mat. |
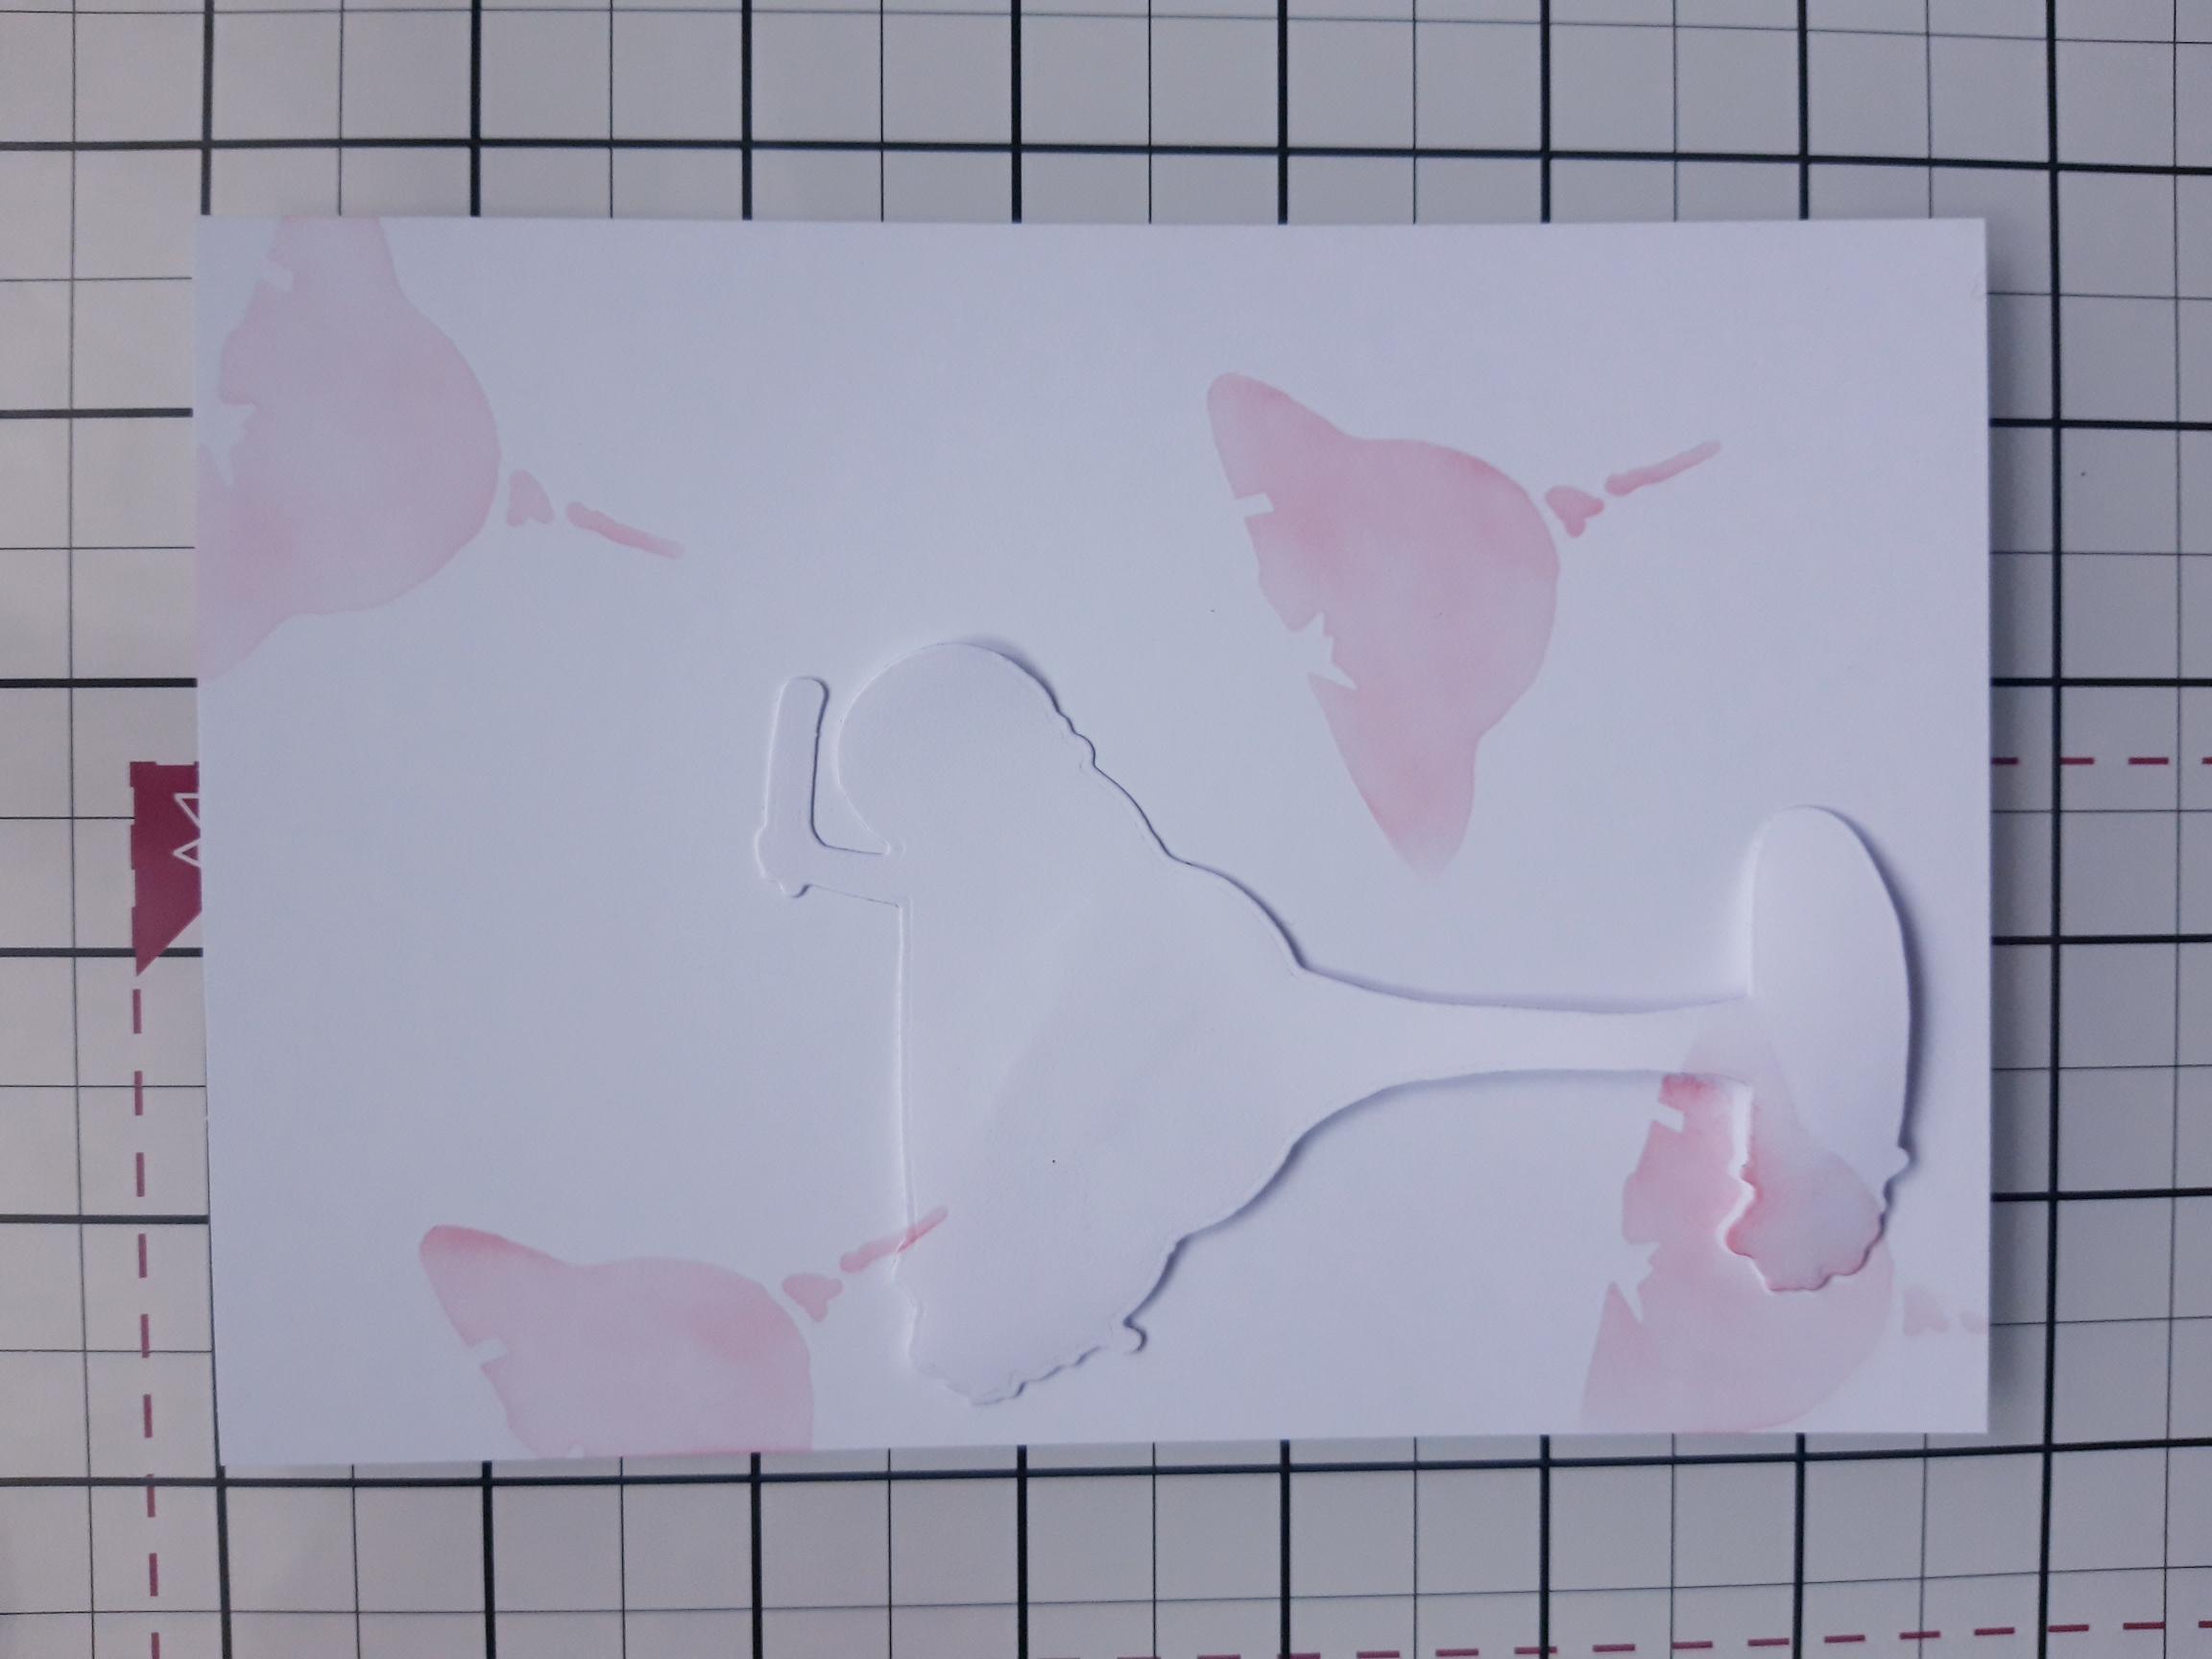
|
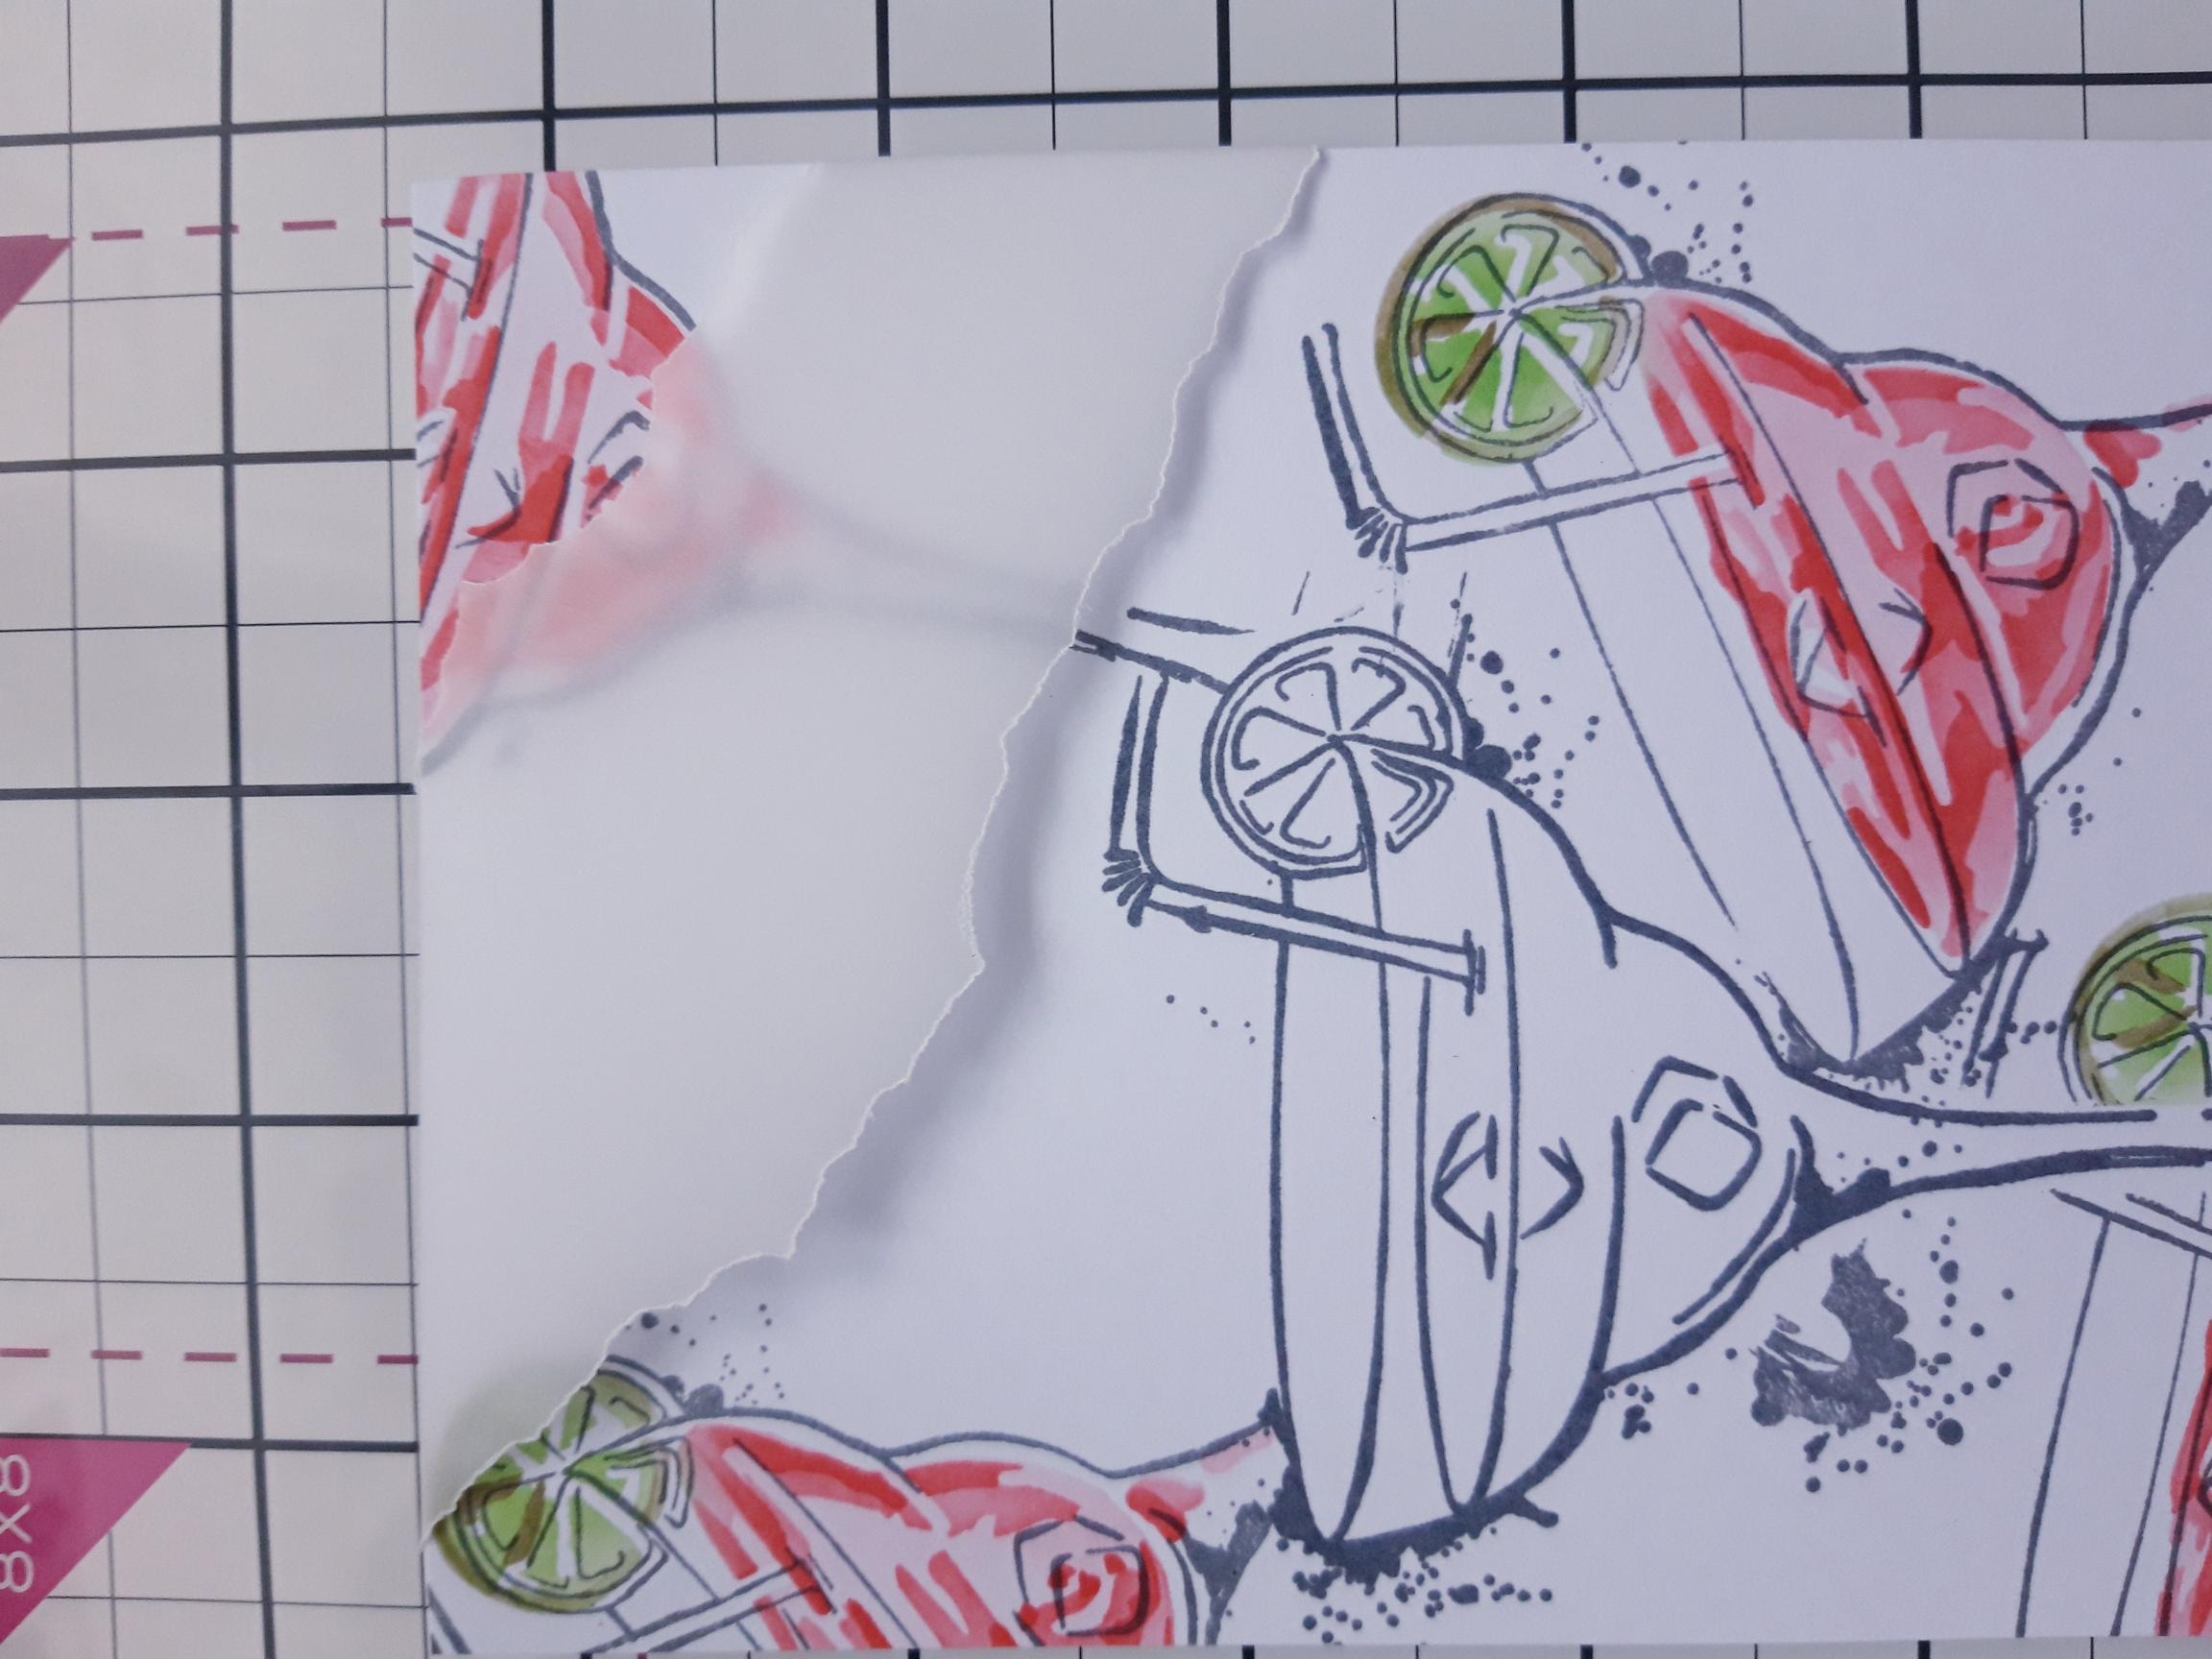
Place stencil 1 off the top right corner of the card and lightly blend through with the Izink Grenadine. Move the stencil to another position and blend the ink again. Repeat this several times to create the first stage of your background. |
|
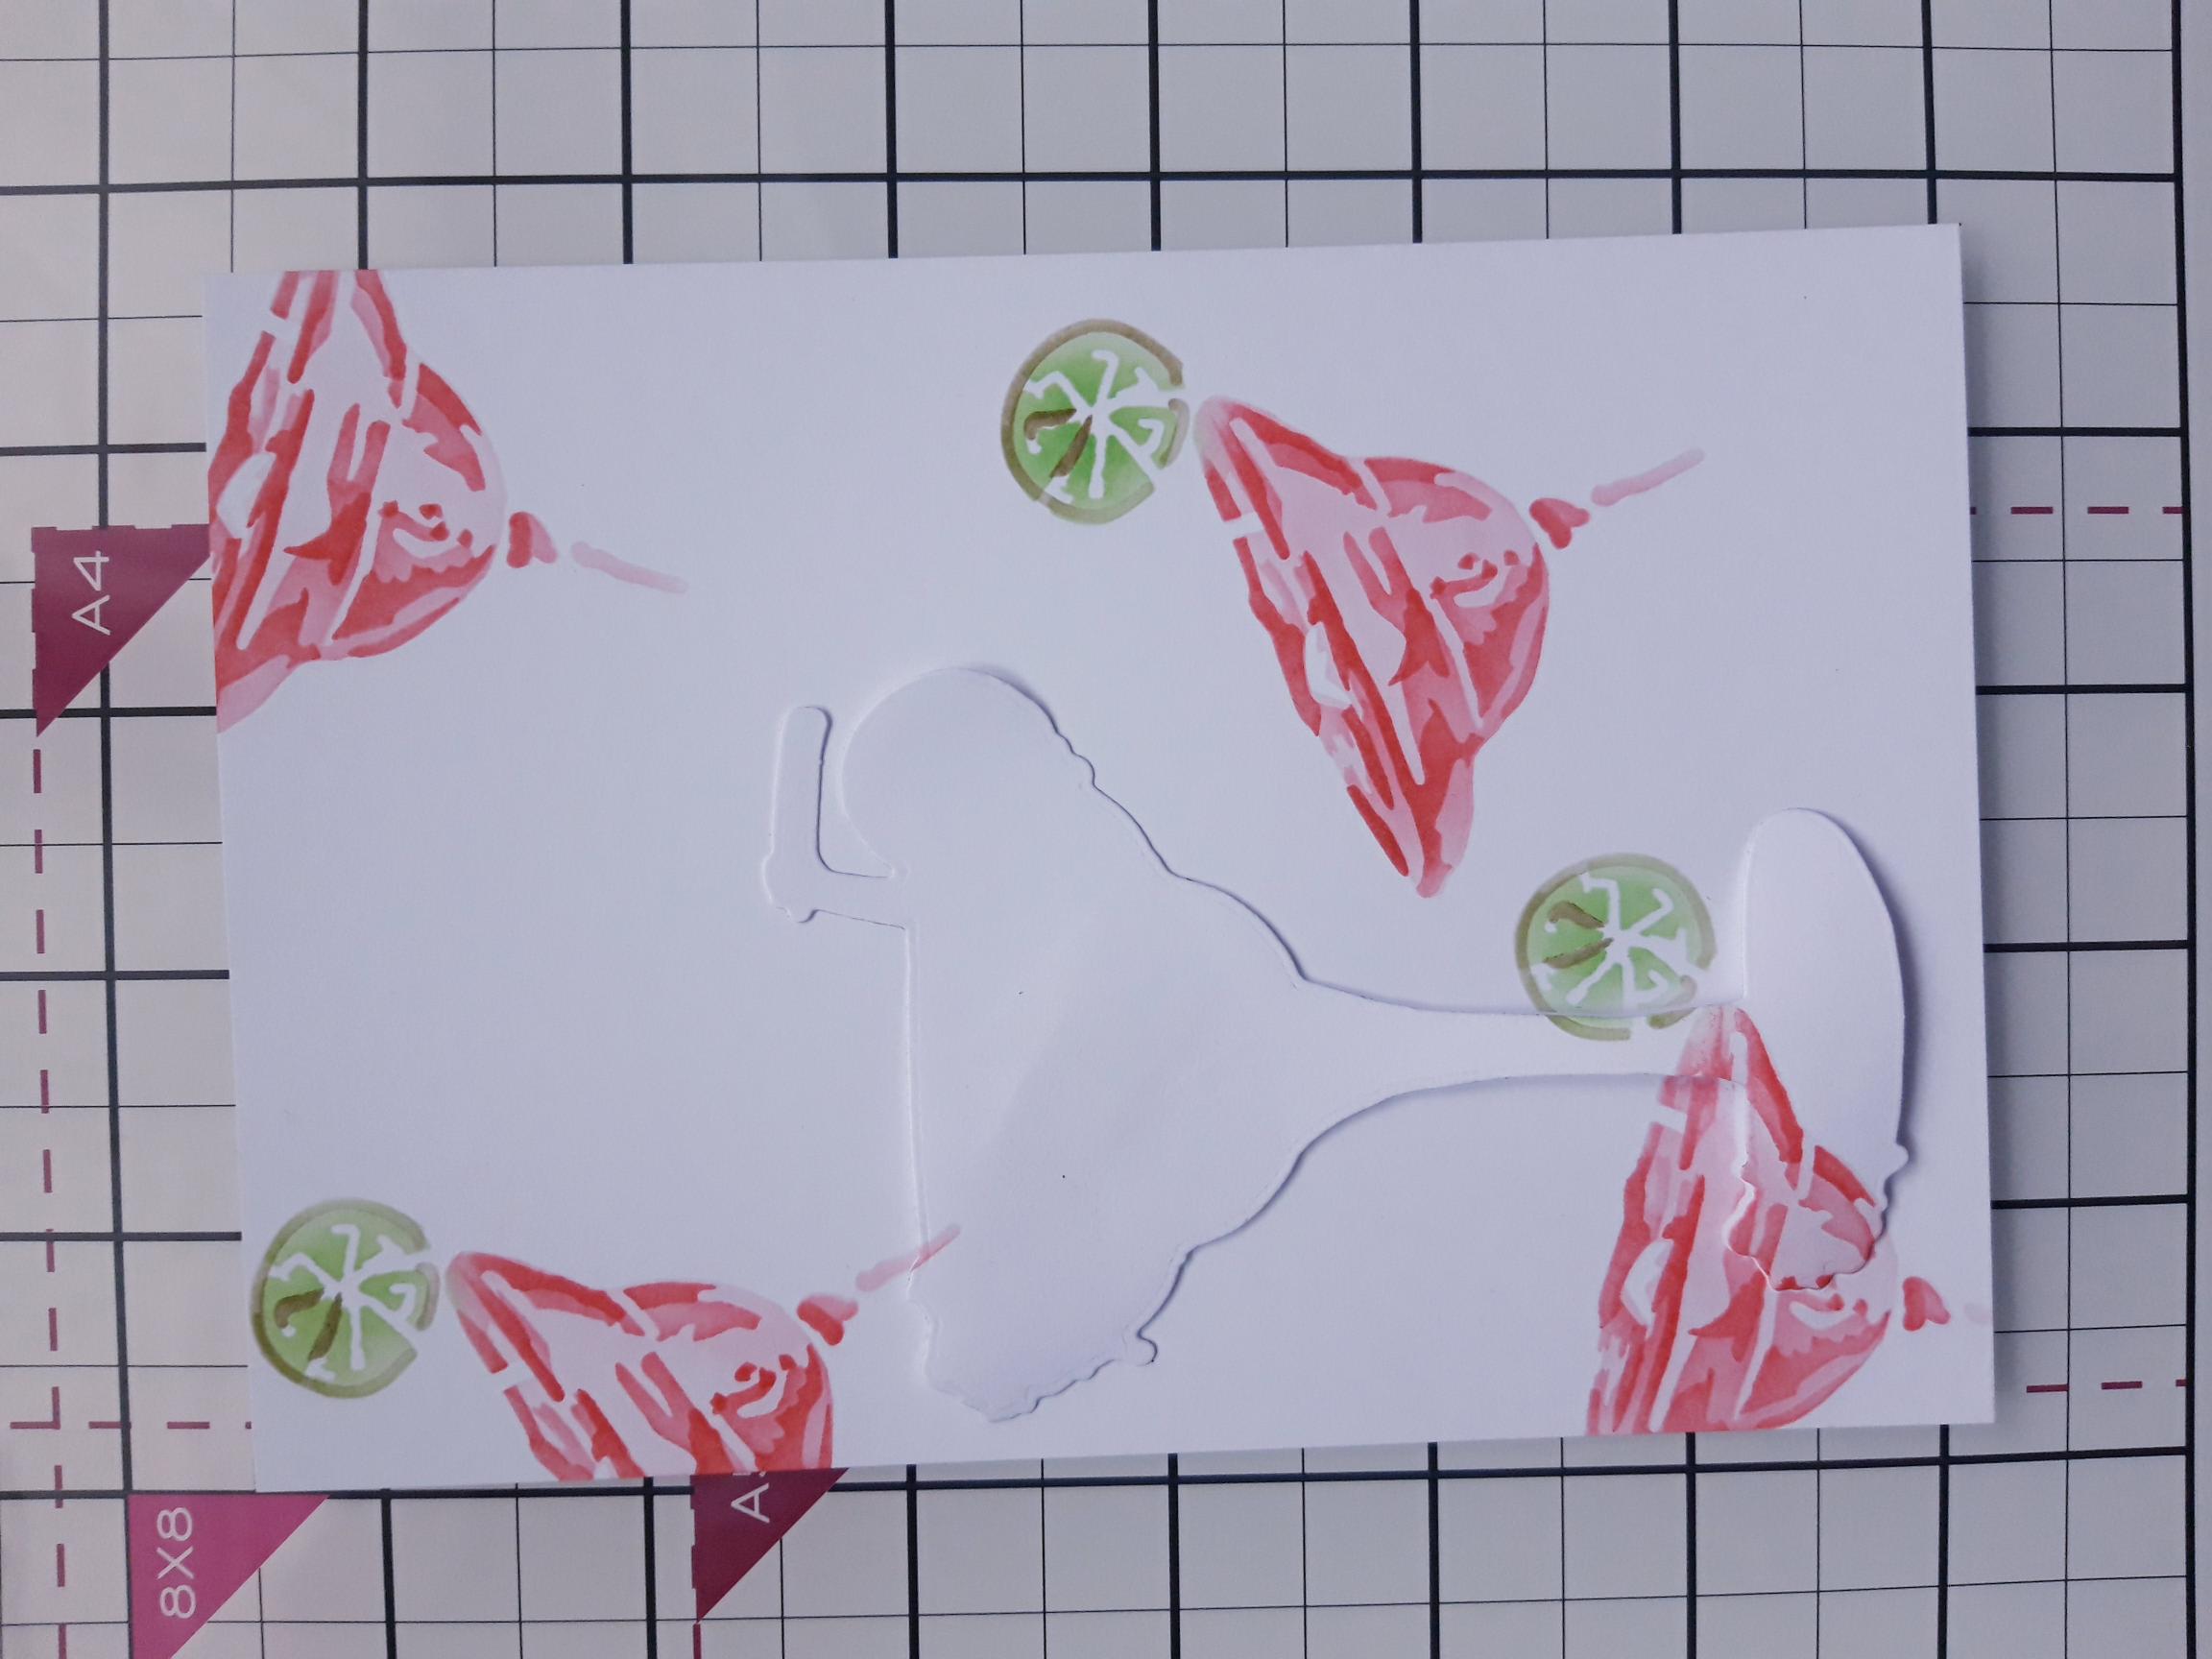
Line up stencil 2 on one of the stencilled images and blend the Izink Grenadine through the cocktail glass area, with a little more pressure and the Izink Menthe for the lime. Repeat this process over each of your stencilled designs. |
|
Line up stencil 3 on the first image and go back in with both inks, but this time with a lot more pressure, to get the depth of colour required. Repeat over the other images. |
|
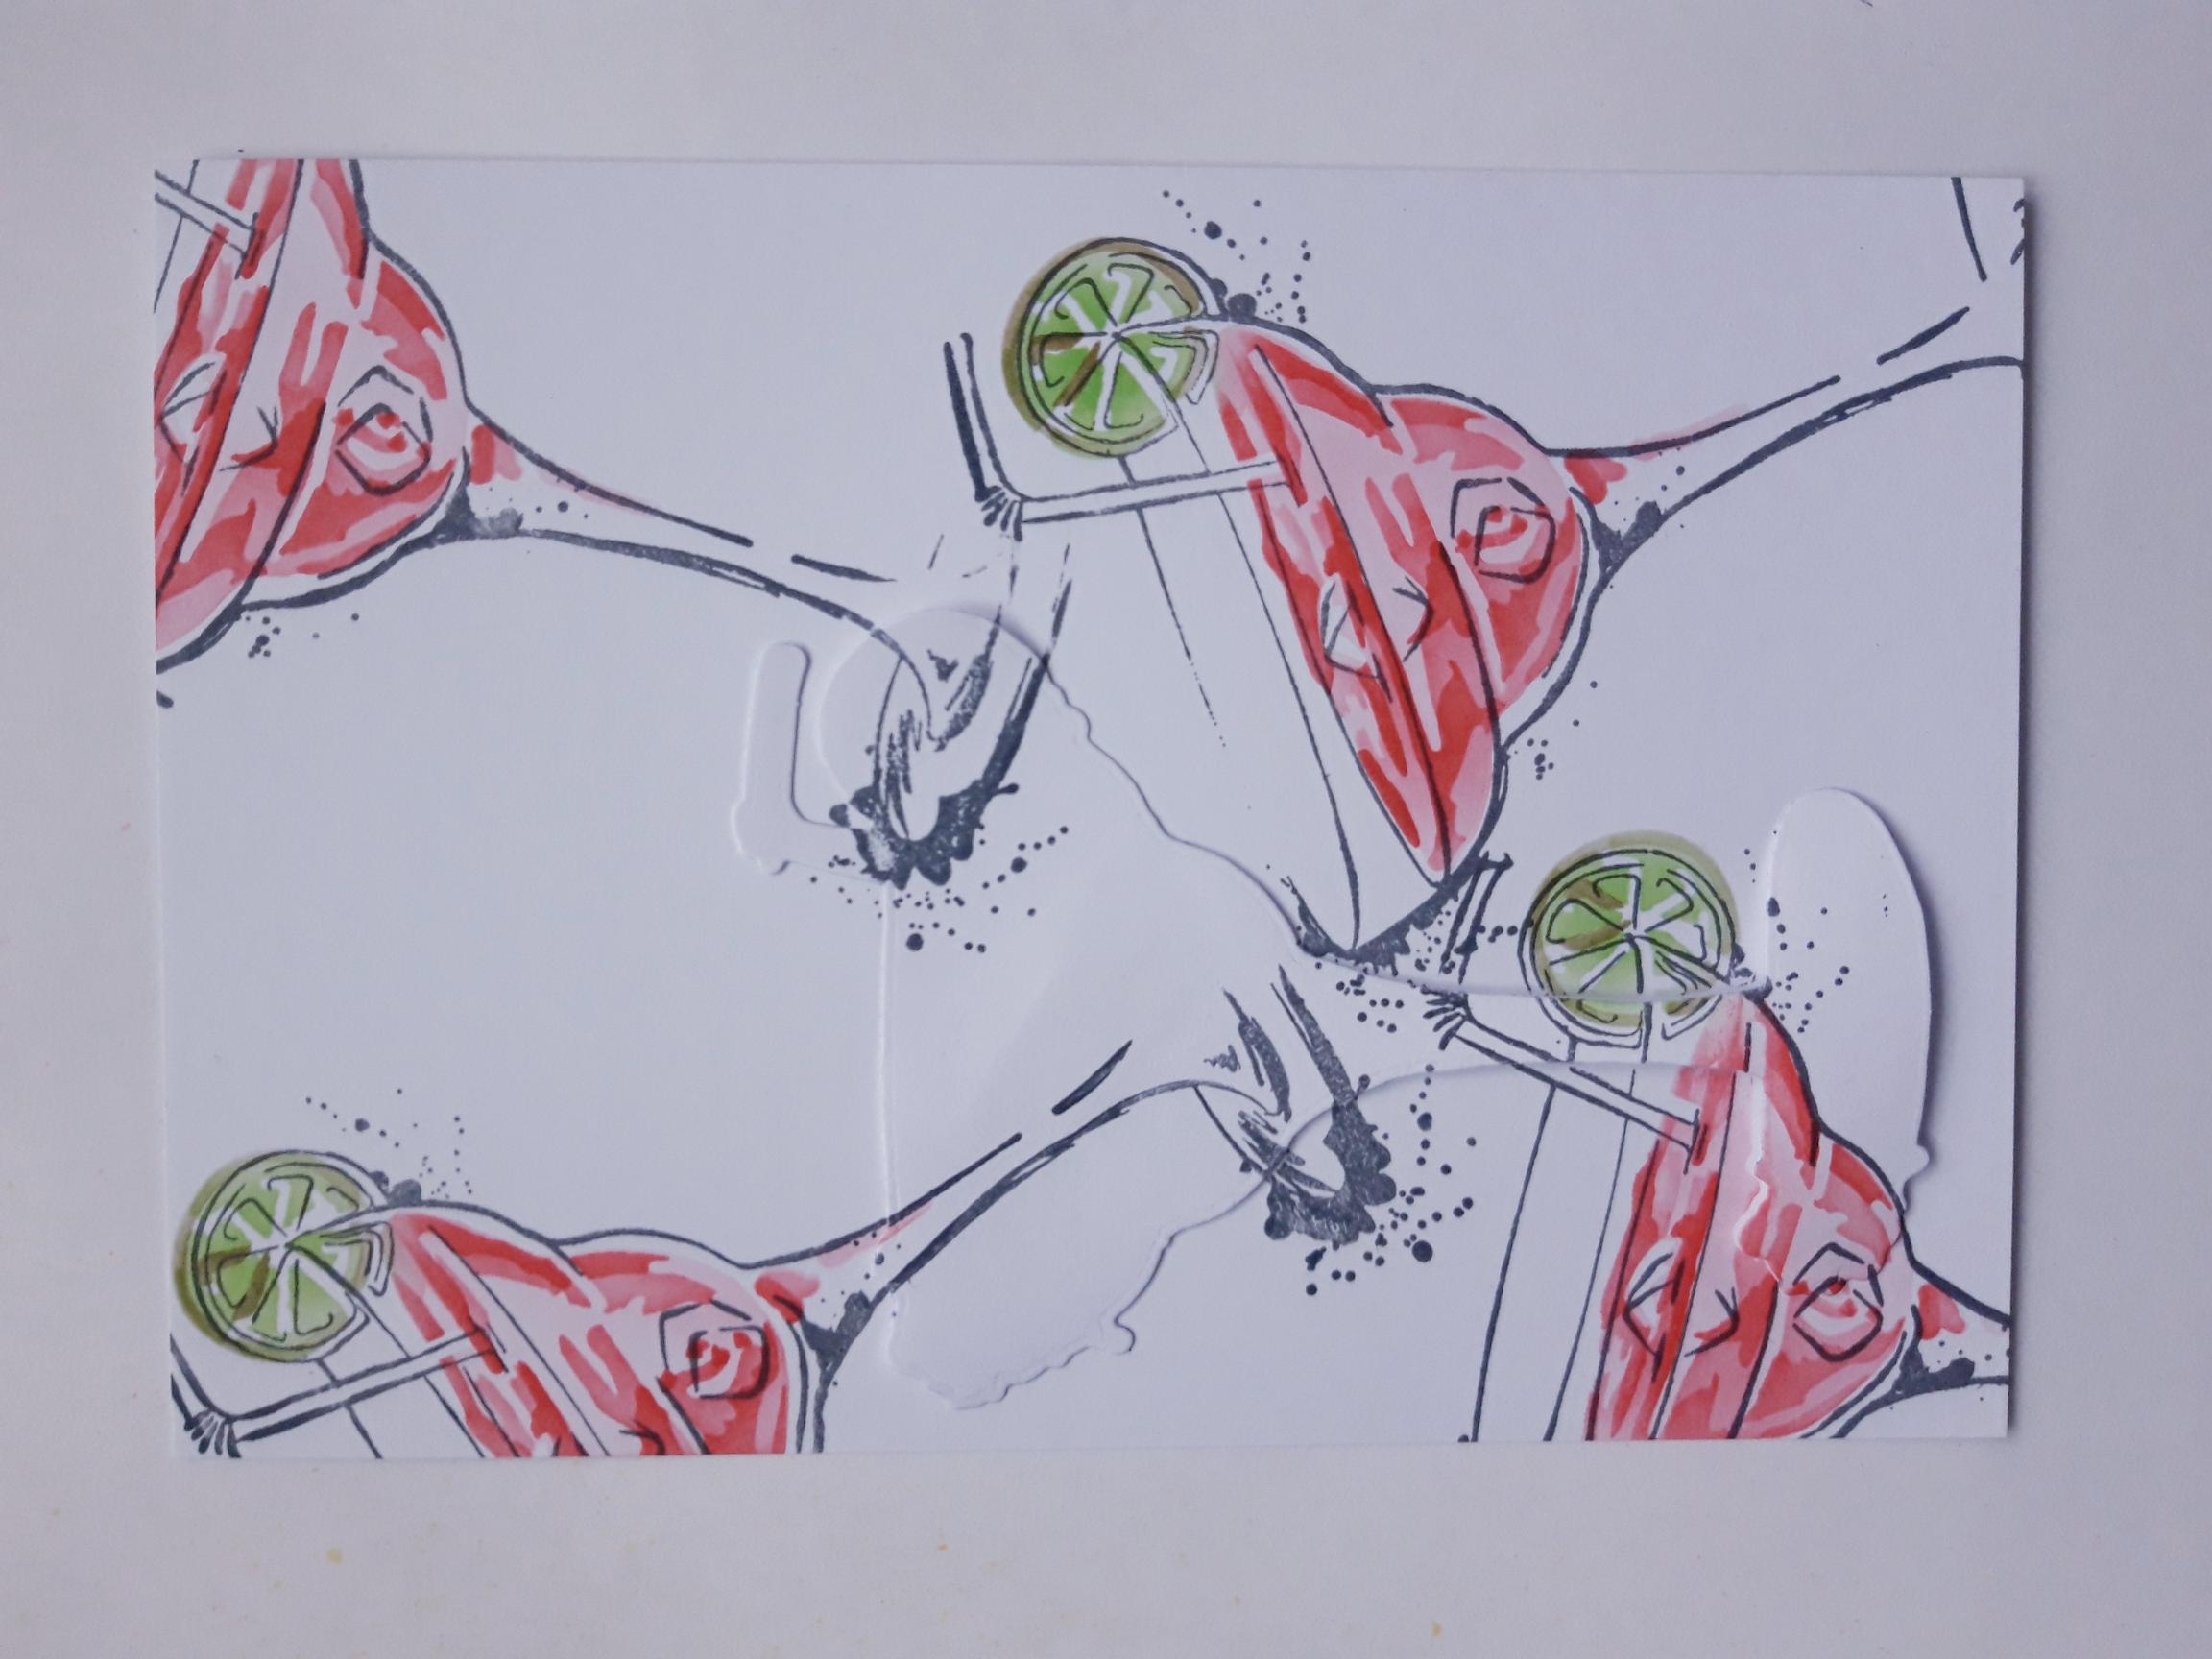
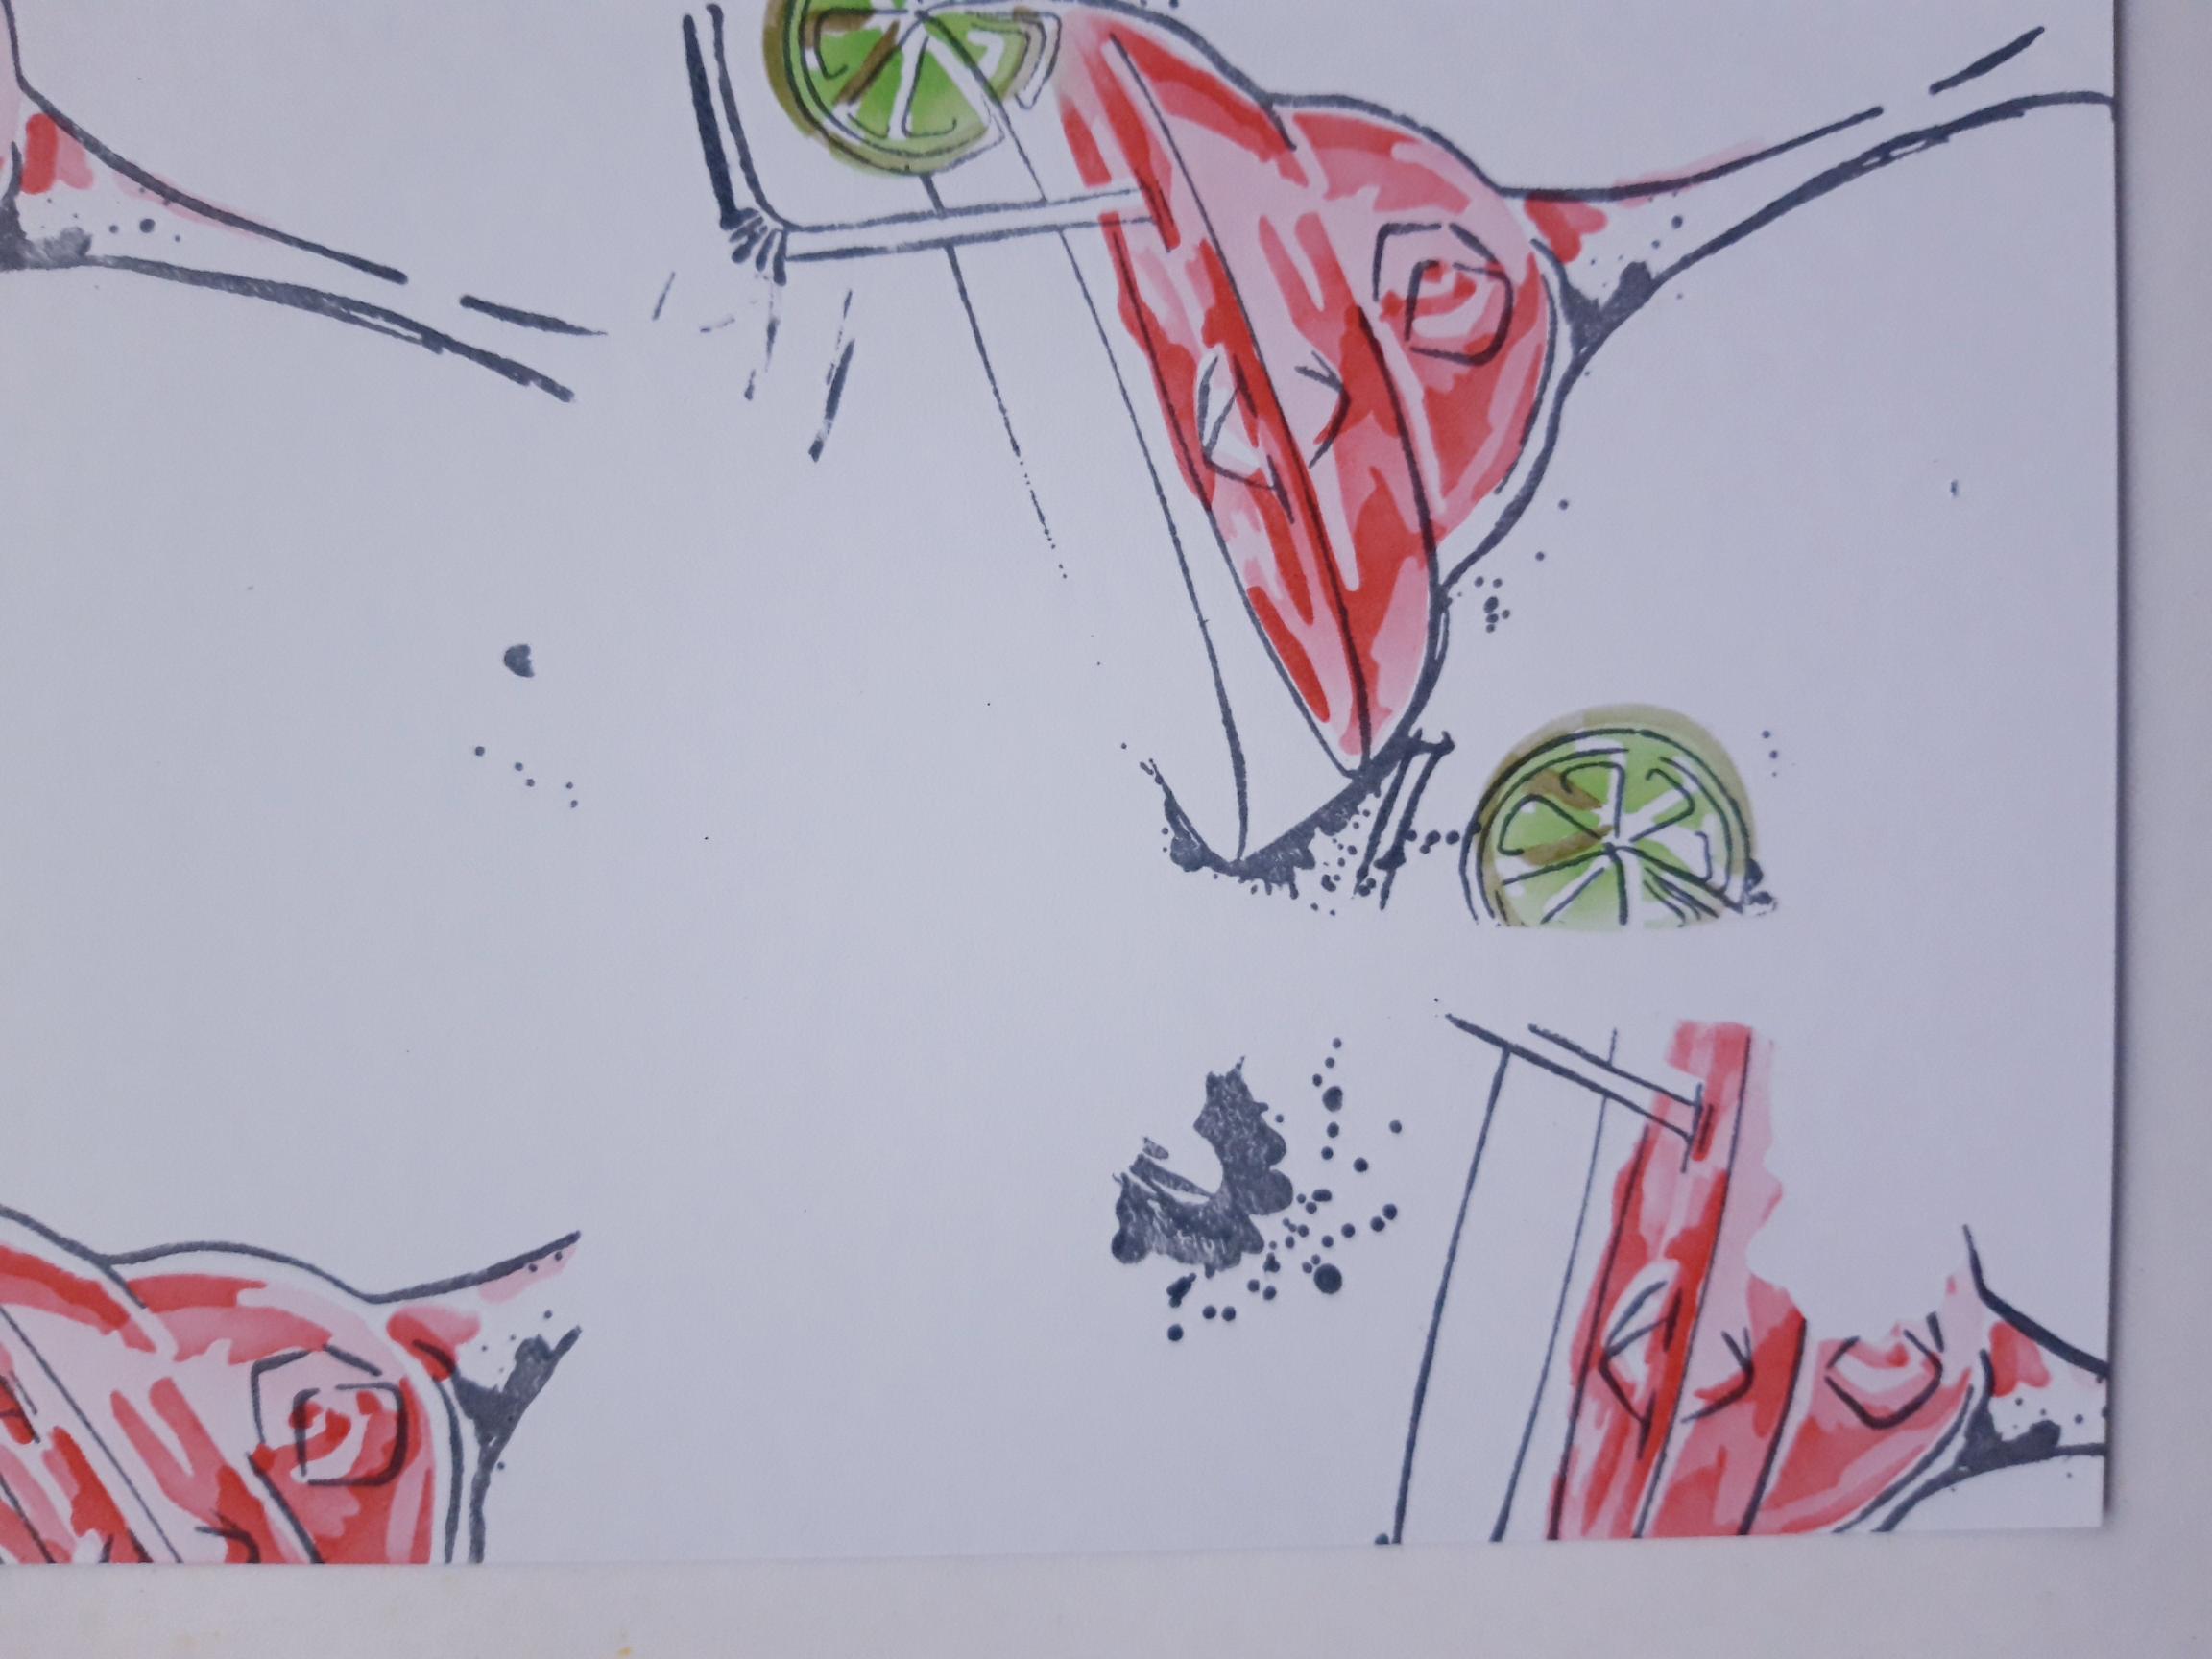
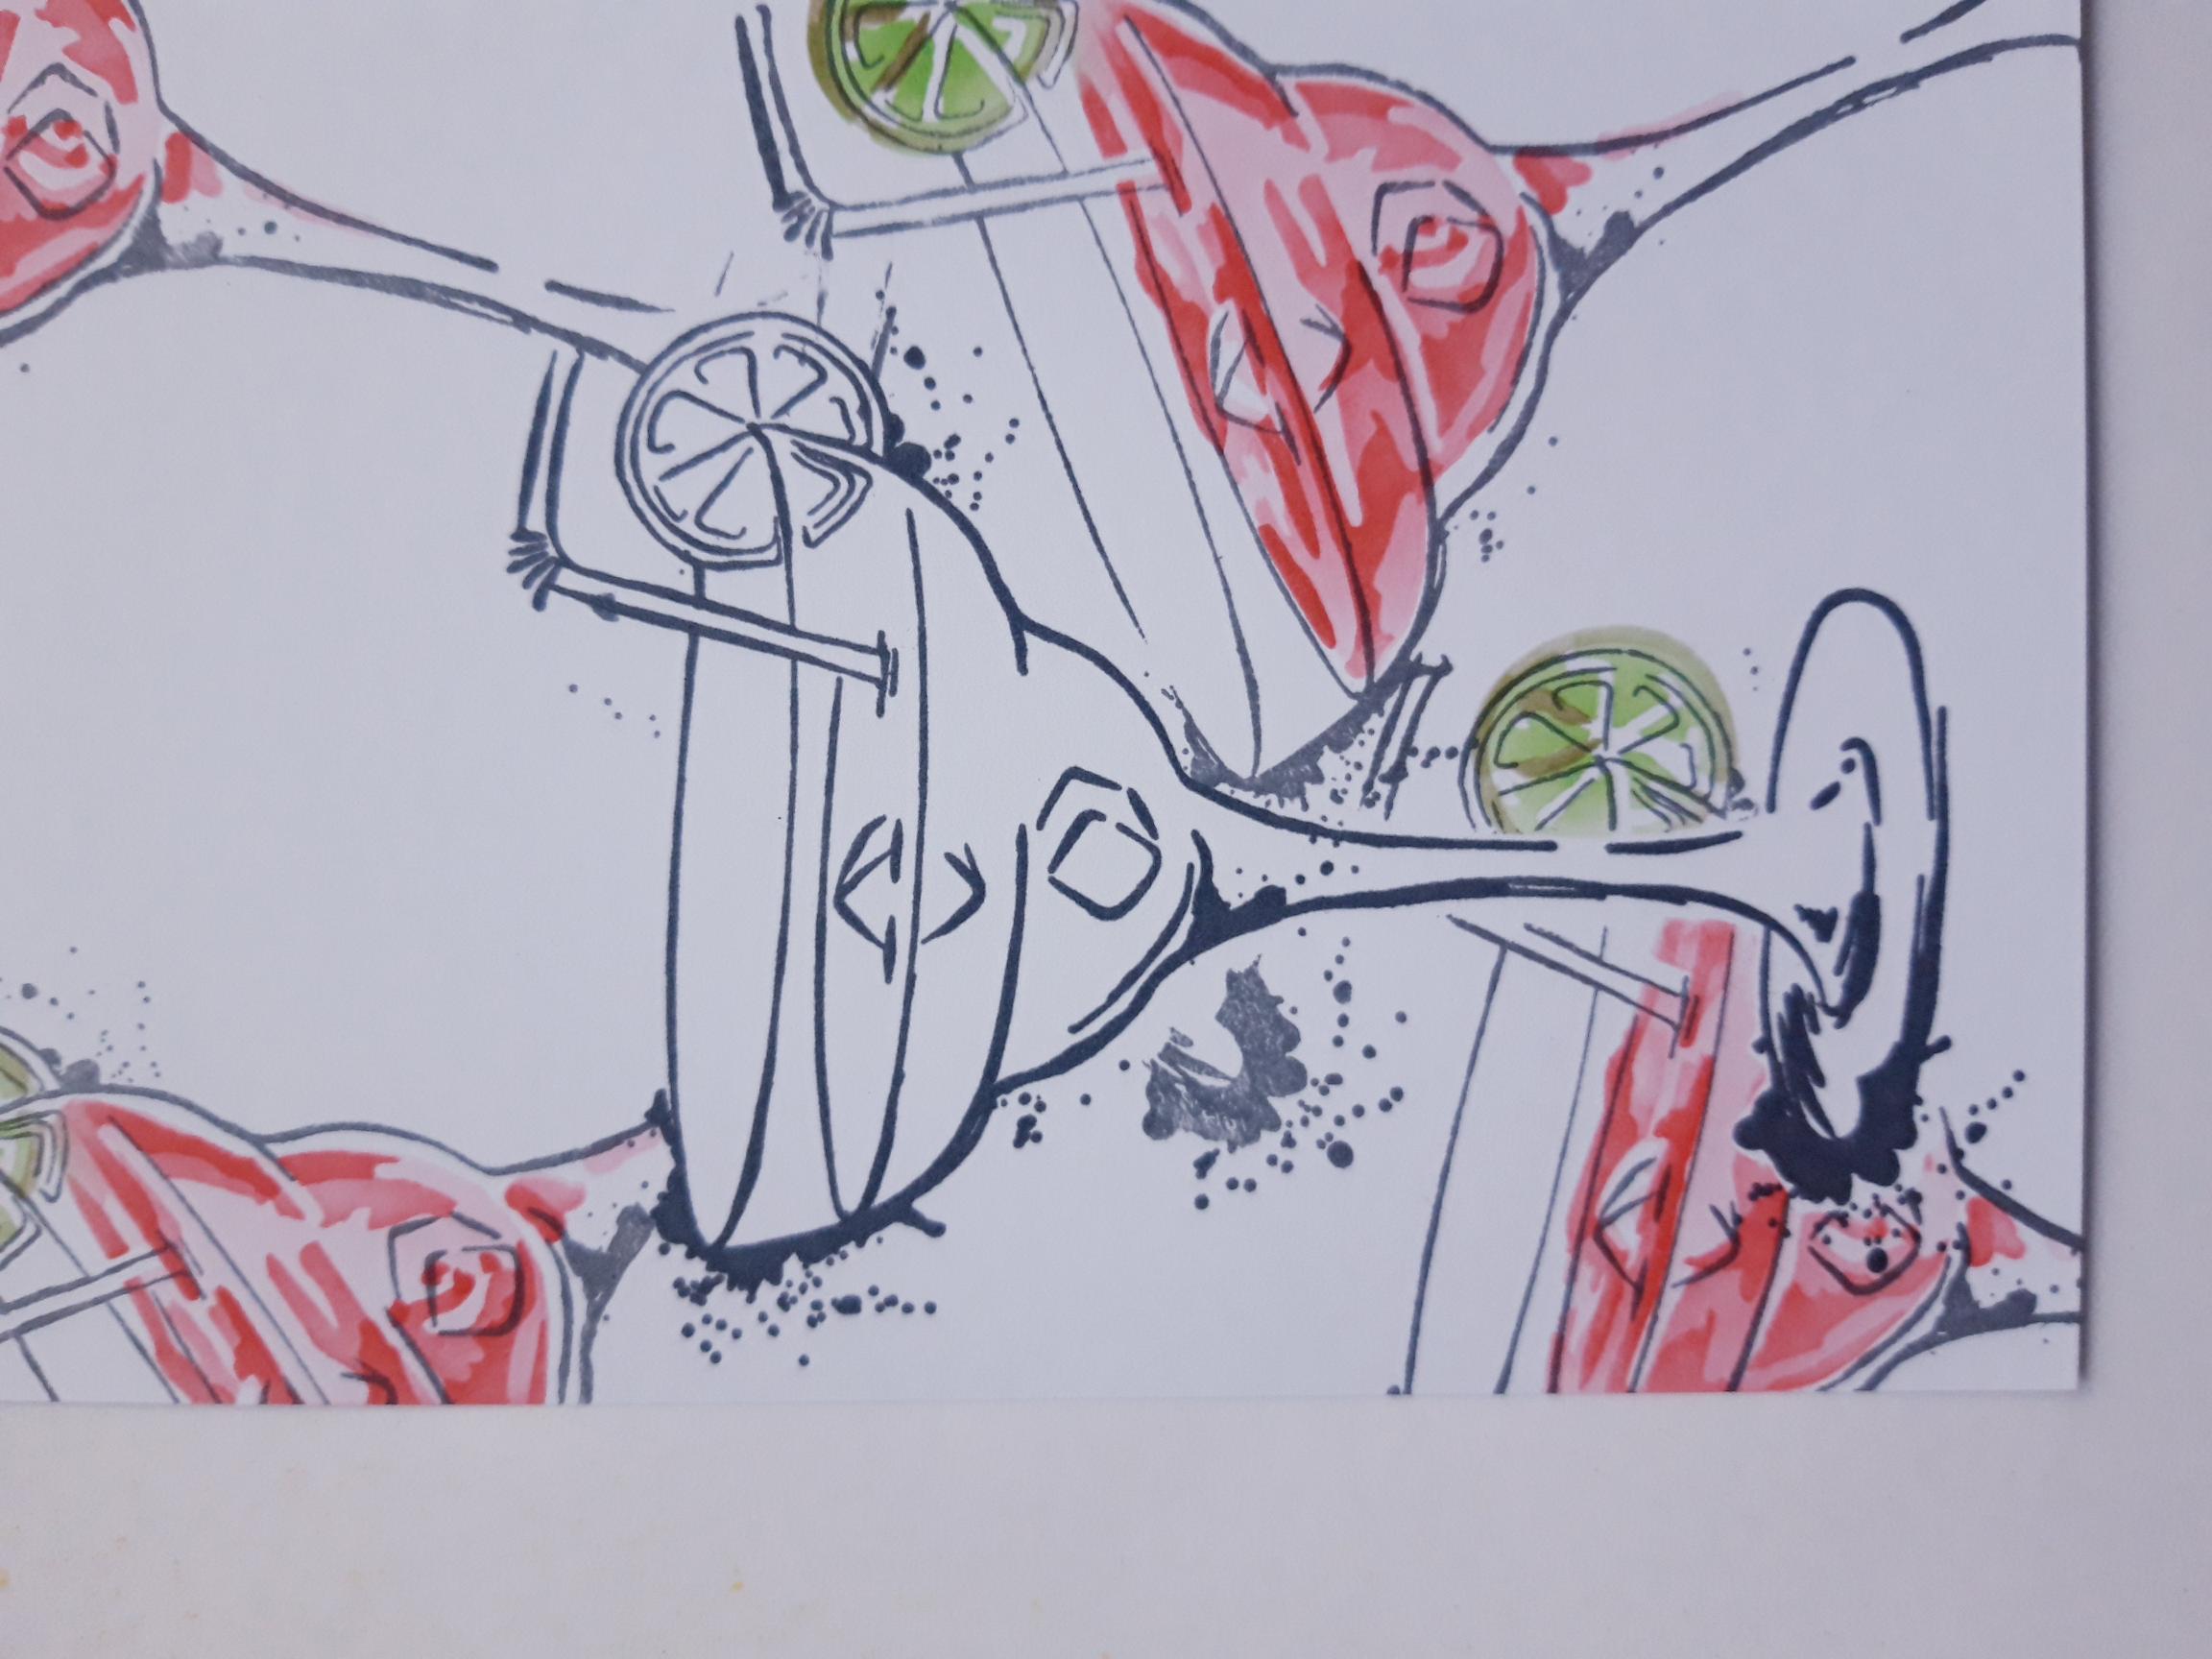
Ink up the co-ordinating stamp with the Smokey Gray Versafine and stamp over your first image. Reink and stamp over each of the stencilled images. |
|
Once your artwork is dry, carefully remove the Cocktail "mask". |
|
Reink the Cocktail stamp with the Versafine and stamp in the masked off area. |
|
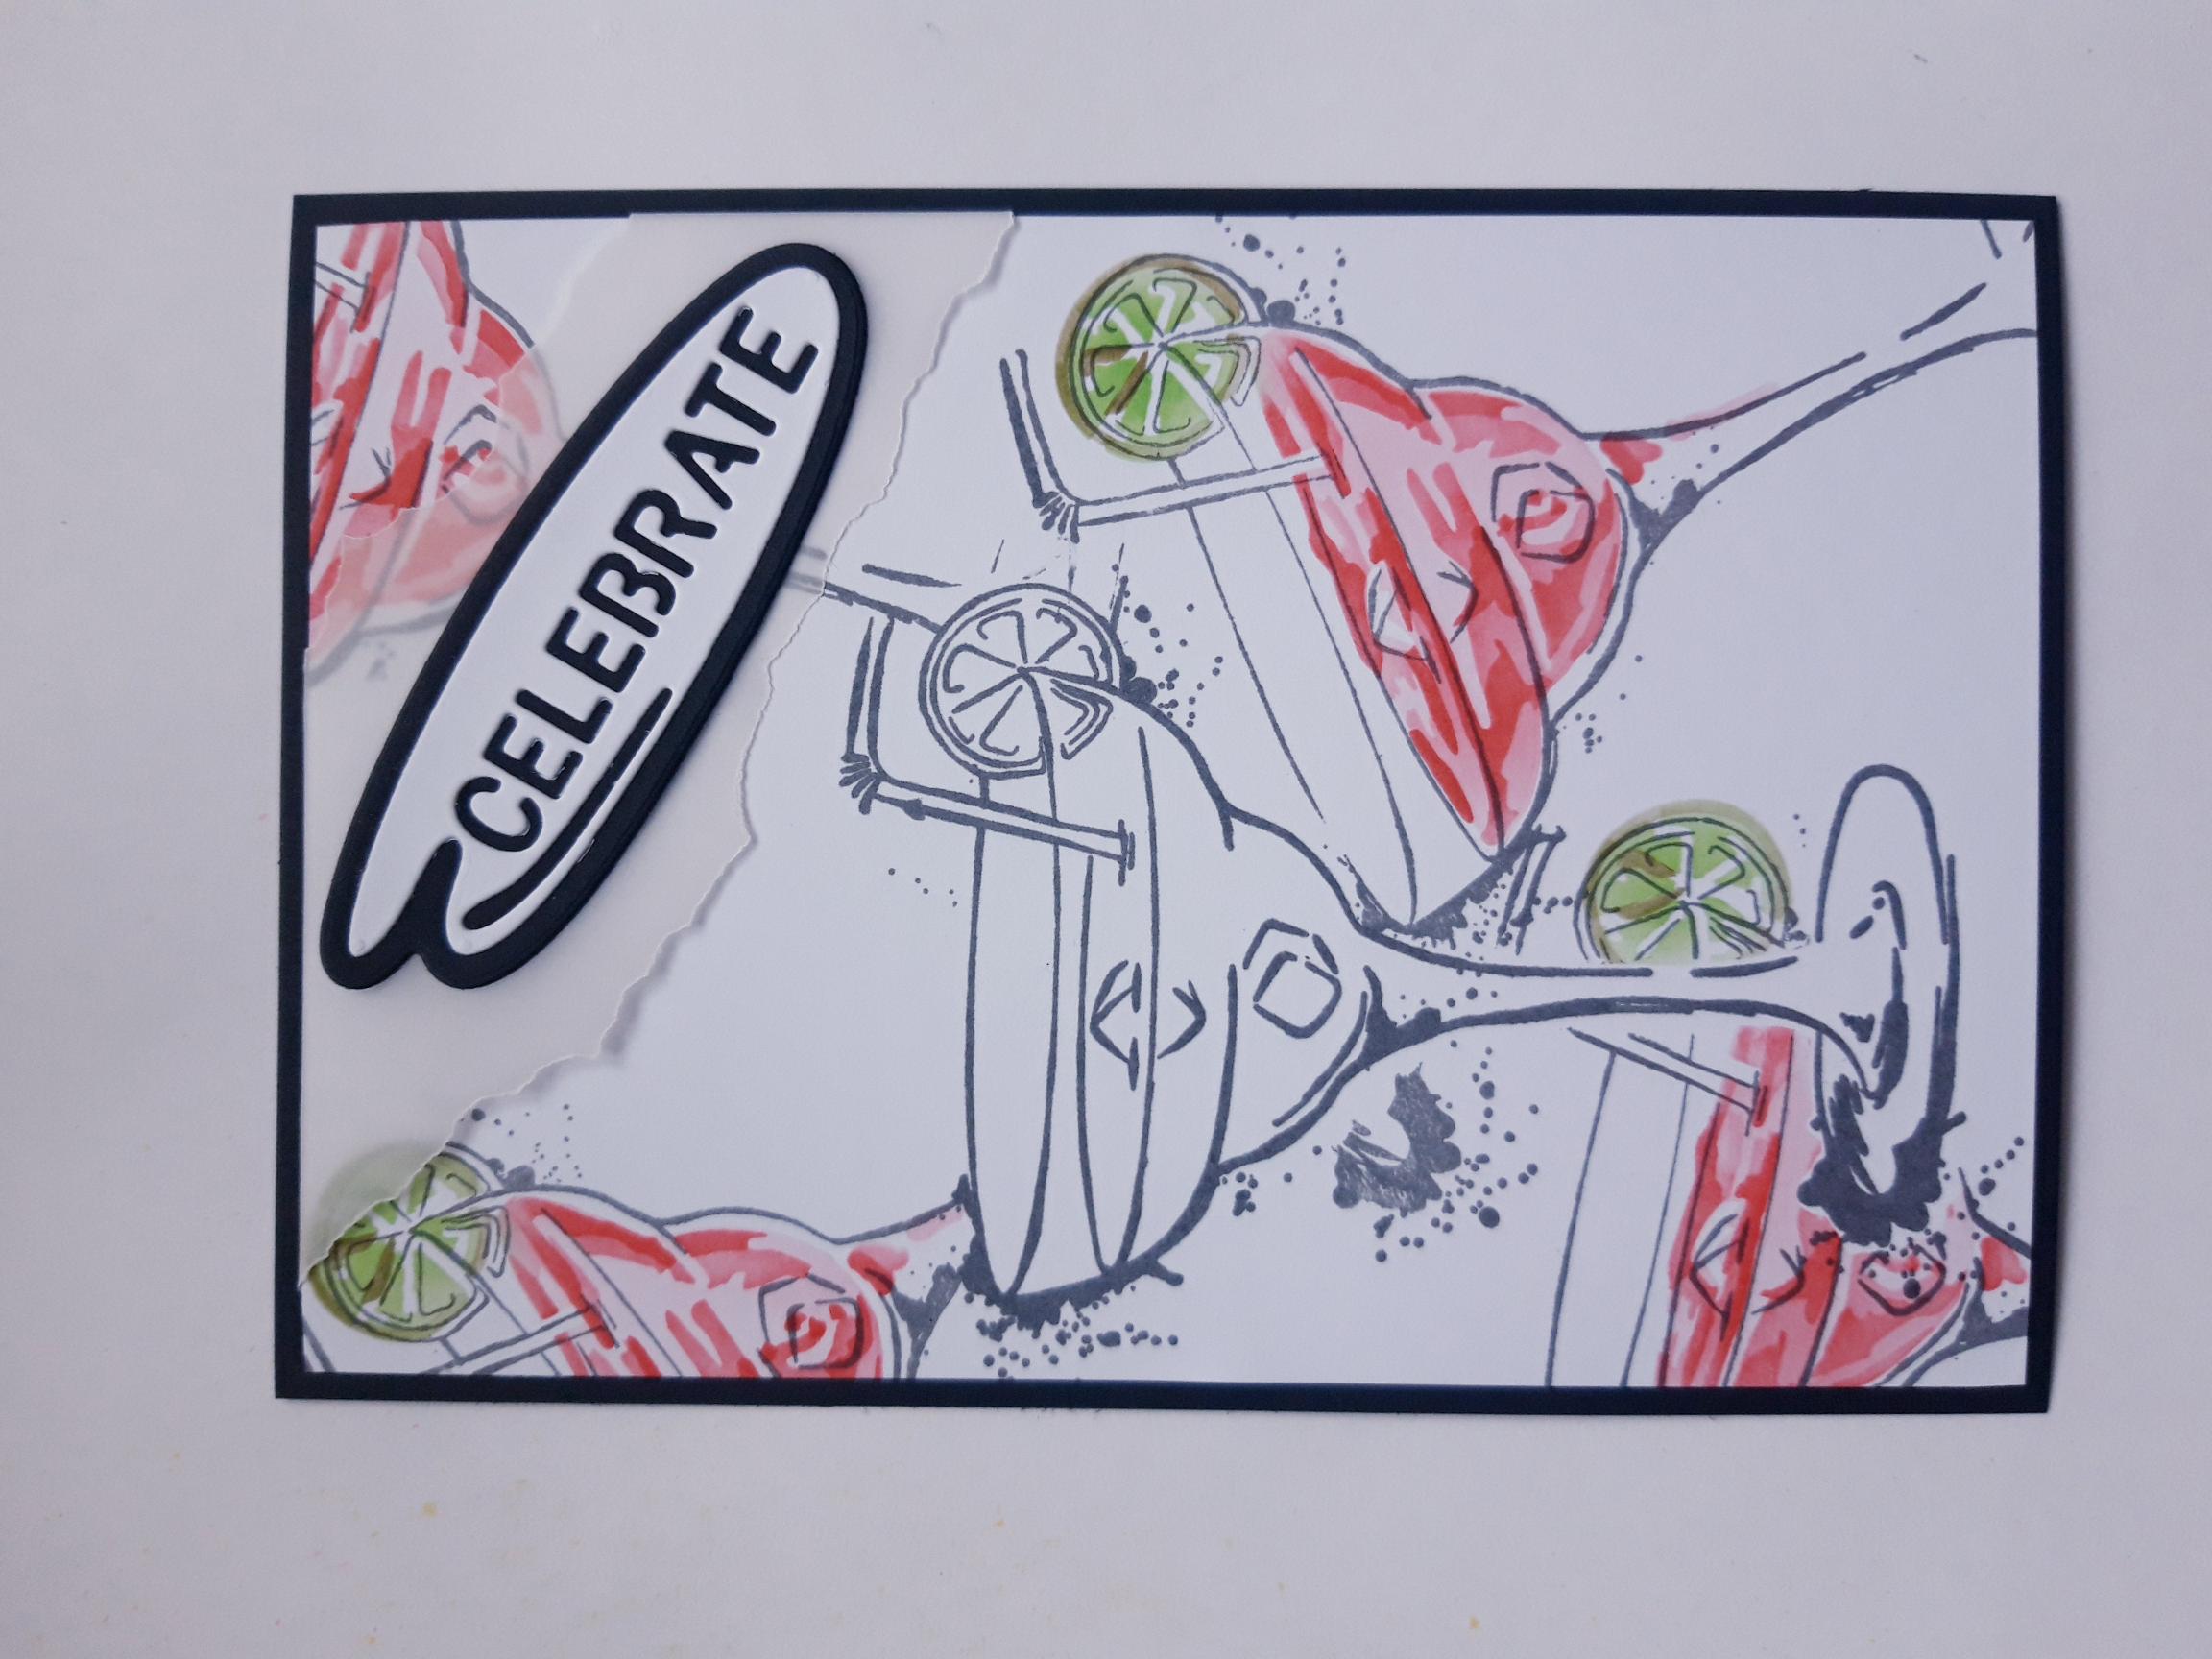
Using your chosen die as a guide, place the vellum panel diagonally, across the top right corner of your background. The die cut sentiment will need to fit along the length of the vellum. Tuck the overhanging vellum behind the card and adhere, on the reverse, with your double sided tape. |
|
Die cut your chosen sentiment on the white card and the layering mat die, if it has one, from the black card. Adhere them together, as required. |

|
Adhere on to your vellum panel, with foam pads. |
|
Adhere your artwork on to the black card, cut to 6 1/2 x 4 1/2". |
|
Adhere to the front of your kraft card blank. |
|
To finish, use your clear overlay Gossip Sparkle pen on your focal image, for a "sparkly" tipple! |