


Step 1 of 11
Spray the Izink Jaune on to your glass mat, then mop up the ink with the white card cut to 6 1/2" square. Give it a quick blast with a heat tool.
Repeat with the Orange Pastel and then the Bleu Clair.








Prices change straight away. Every language is our own translation, not Google.
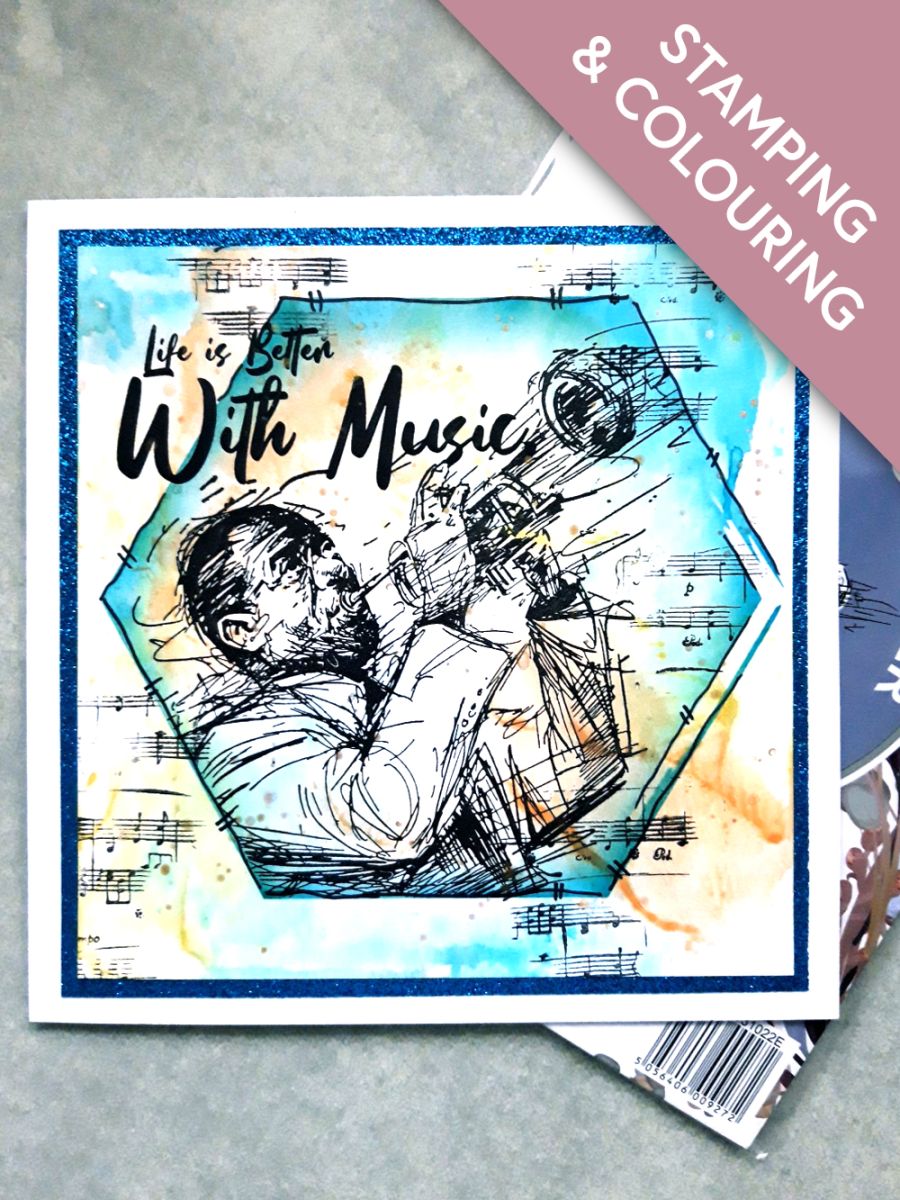
Spray the Izink Jaune on to your glass mat, then mop up the ink with the white card cut to 6 1/2" square. Give it a quick blast with a heat tool.
Repeat with the Orange Pastel and then the Bleu Clair.
Swirl the Pearlywinks Pearl Mist to activate the mica, then spray a little on to your glass mat. Use a paint brush to add splatters over your background.
Give it a blast with your heat tool.
Position the Stylized Hexagon stencil on to your background. I chose to secure mine in place with masking tape, as I didnt want to get any unwanted ink over the corner edges, on to my background.
Ink up this stamp with the Onyx Black Versafine and stamp within the Hexagon stencil. You will need to press firmly where the stamp meets the stencil, to get a good image.
Blast off the ink with your heat tool, being careful not to melt your stencil!
Once your stamped image is dry, blend the Izink Ocean around the inner edges of the stencil, as seen here. Fade the colour out, as you move inwards.
Carefully remove the masking tape and stencil and dry your artwork.
Ink up the sentiment with the Versafine and stamp top left of your artwork.
Using a black pen, follow the outline of the hexagon stencil, to create a decorative frame.
Ink up the music background stamp with the Versafine and, holding it in the palm of your hand, randomly stamp around your artwork, as required.
Give your artwork a quick blast of the heat tool, ensuring all the ink is dry.
Adhere on to the turquoise glitter card stock.
Finally, adhere to your white card blank.
Share your make with the Stamps By Me community - and keep this guide for next time.
Prefer the previous layout? Open the old page.



