Give your friends $10 off their first order!
Refer a FRIEND


YOU WILL NEED:
White top folding card blank (8 1/4 x 5 3/4")
Black cardstock (7 3/4 x 5 1/4")
White cardstock (7 1/2 x 5")
White cardstock (4 x 3 1/2")
Stamps from Be The Exception Stamp Collection
Versafine Ink Pad: Onyx Black
Izink Shiny Sprays: Vert D'Eau, Bleu Clair
Izink Dye Spray: Goldmine
Izink Pigments: Mimosa, Wet Meadow, Avalanche
Black fine line pen
Sequins from Creative Box
Water spray bottle
Spray Box (optional)
Paintbrush (fine)
Heat gun (optional)
Eureka 101
Foam Pads
Perfect Together Glue
Paper Trimmer
[click image to enlarge] 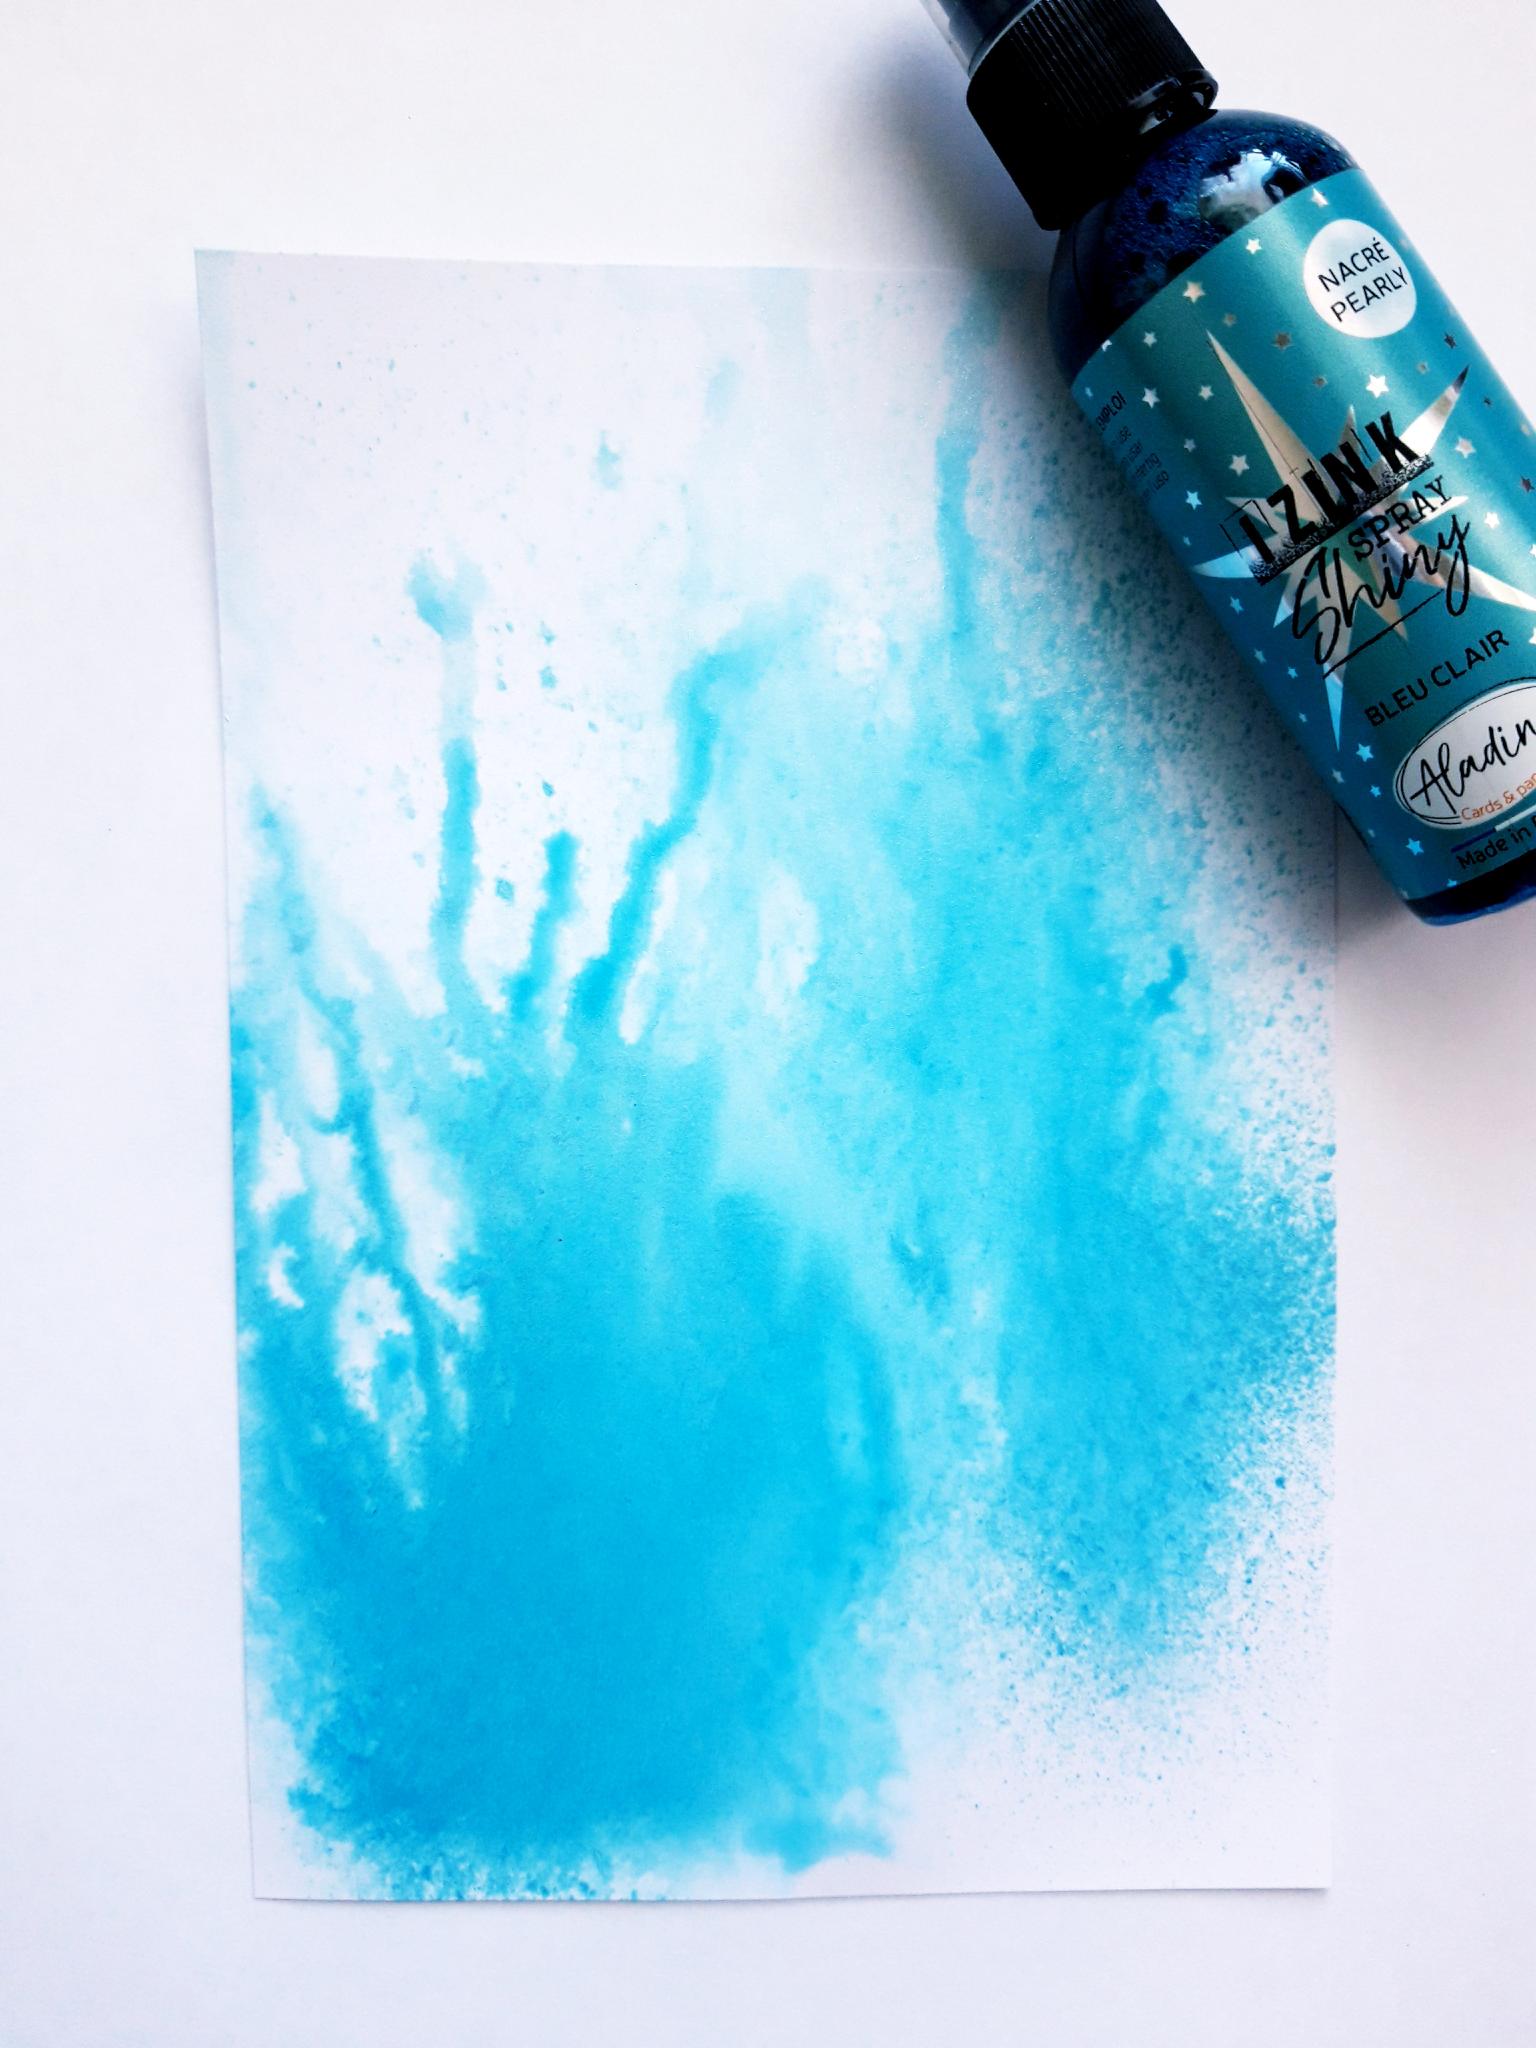
|
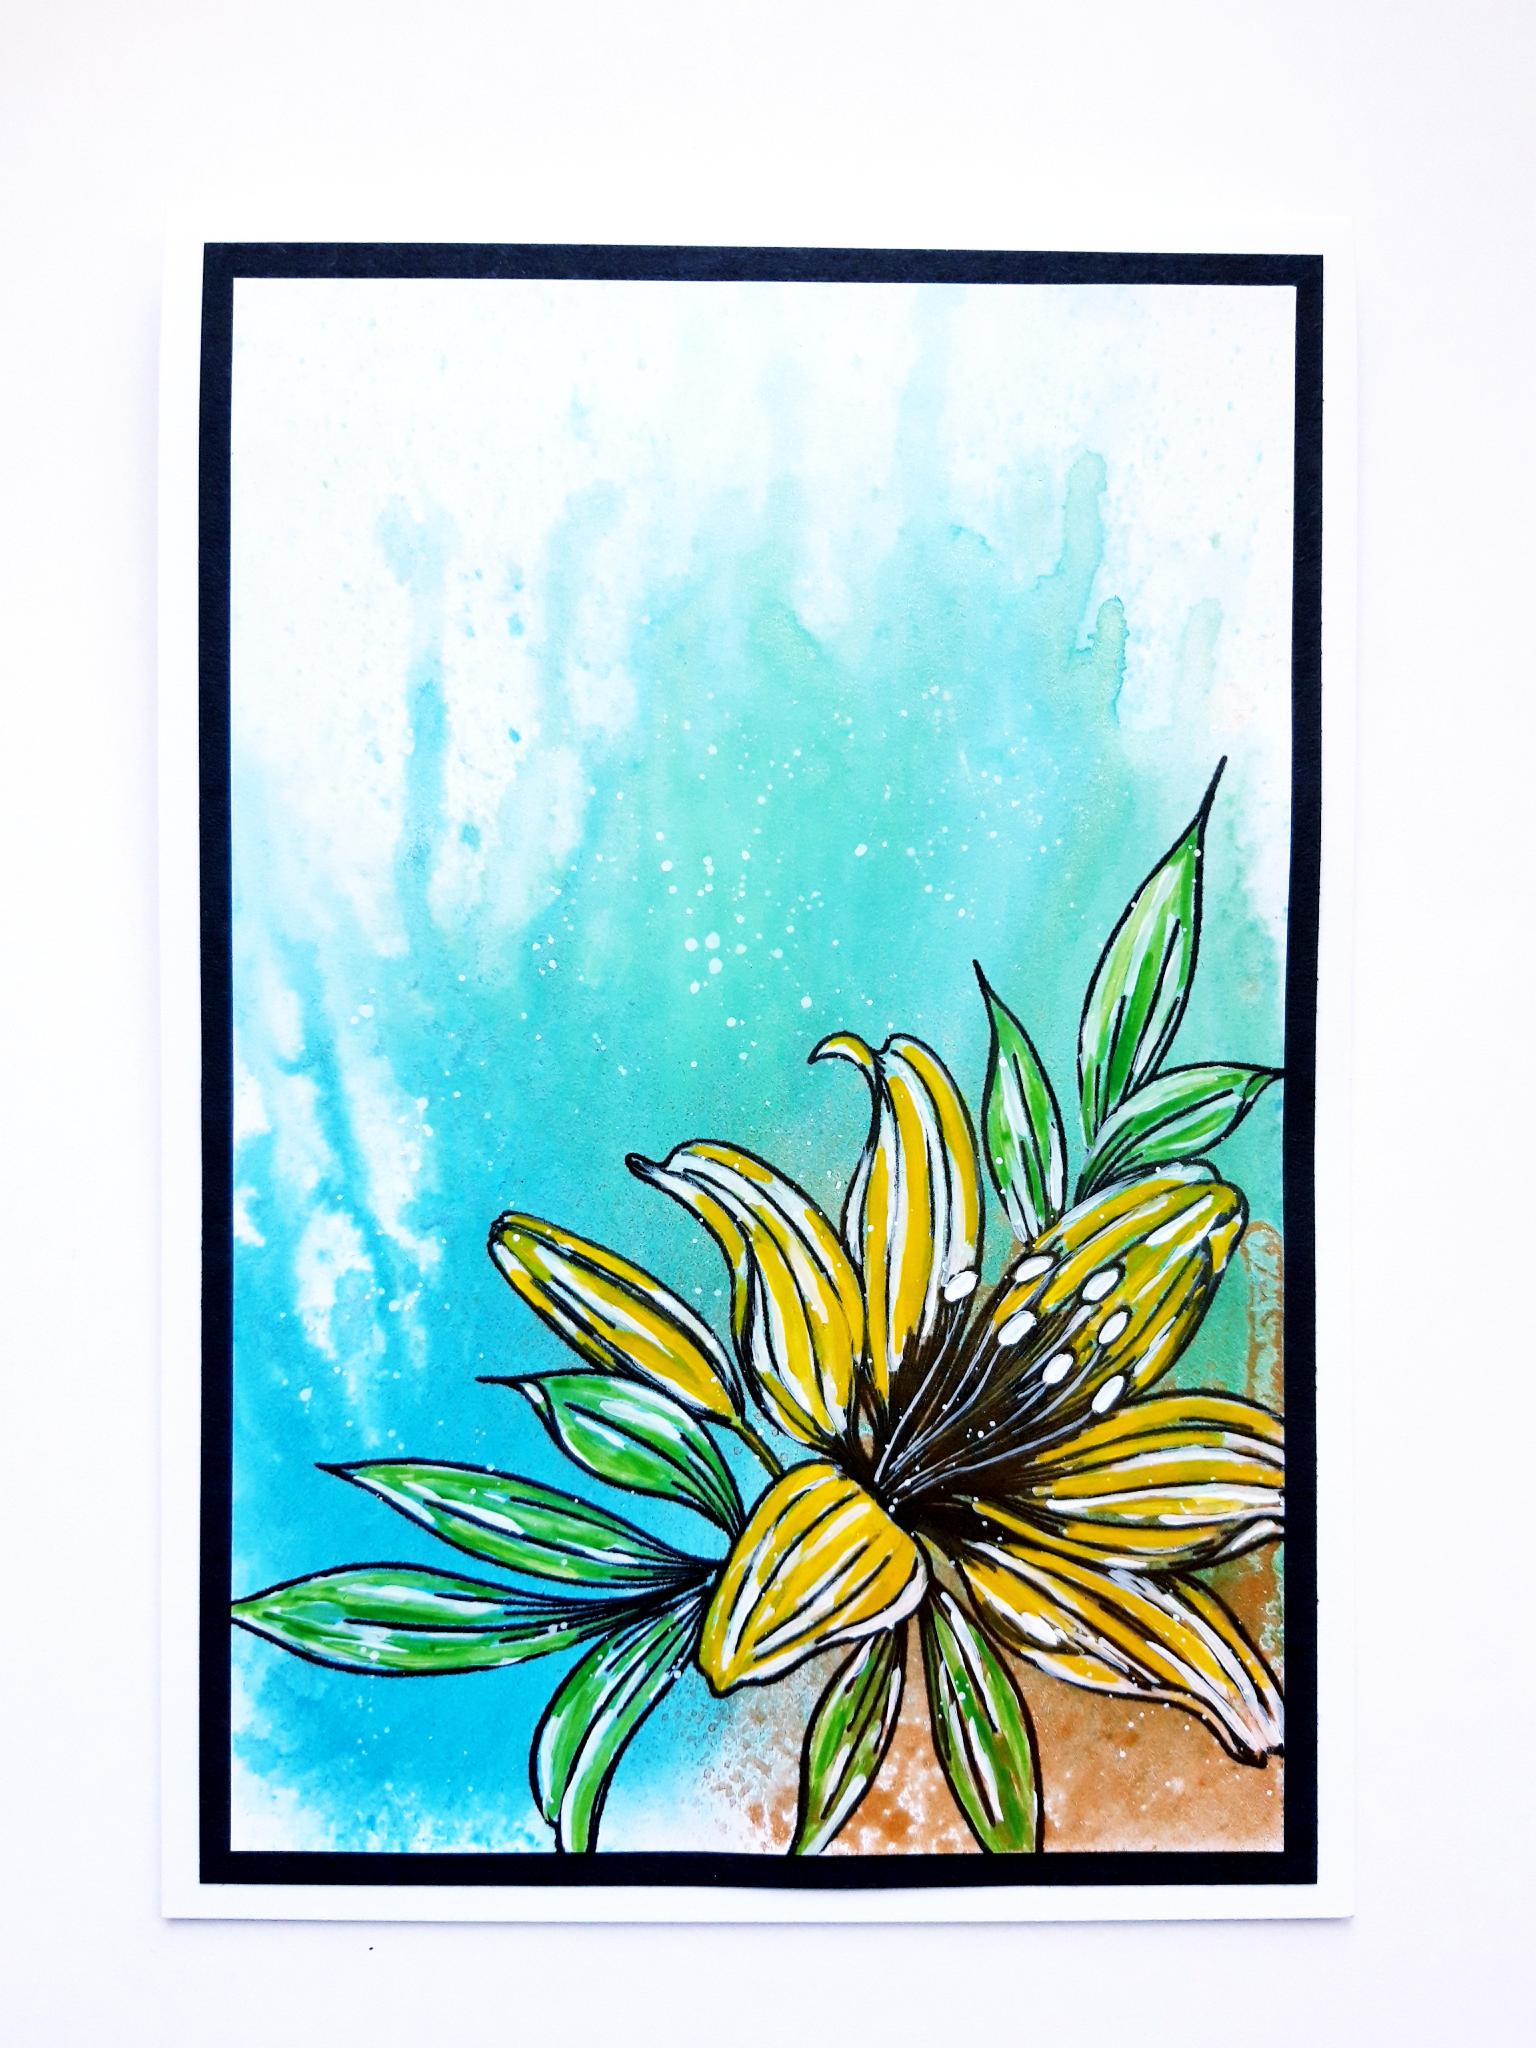
Spray the white cardstock ( 7 1/2 x 5") with water. Hold the wet card upright in a spray box and spray the Izink Bleu Ciel at the top, and allow it to run down your cardstock. You can spray more water if the ink doesn't move as well as you want. Mop up any excess ink. |
|
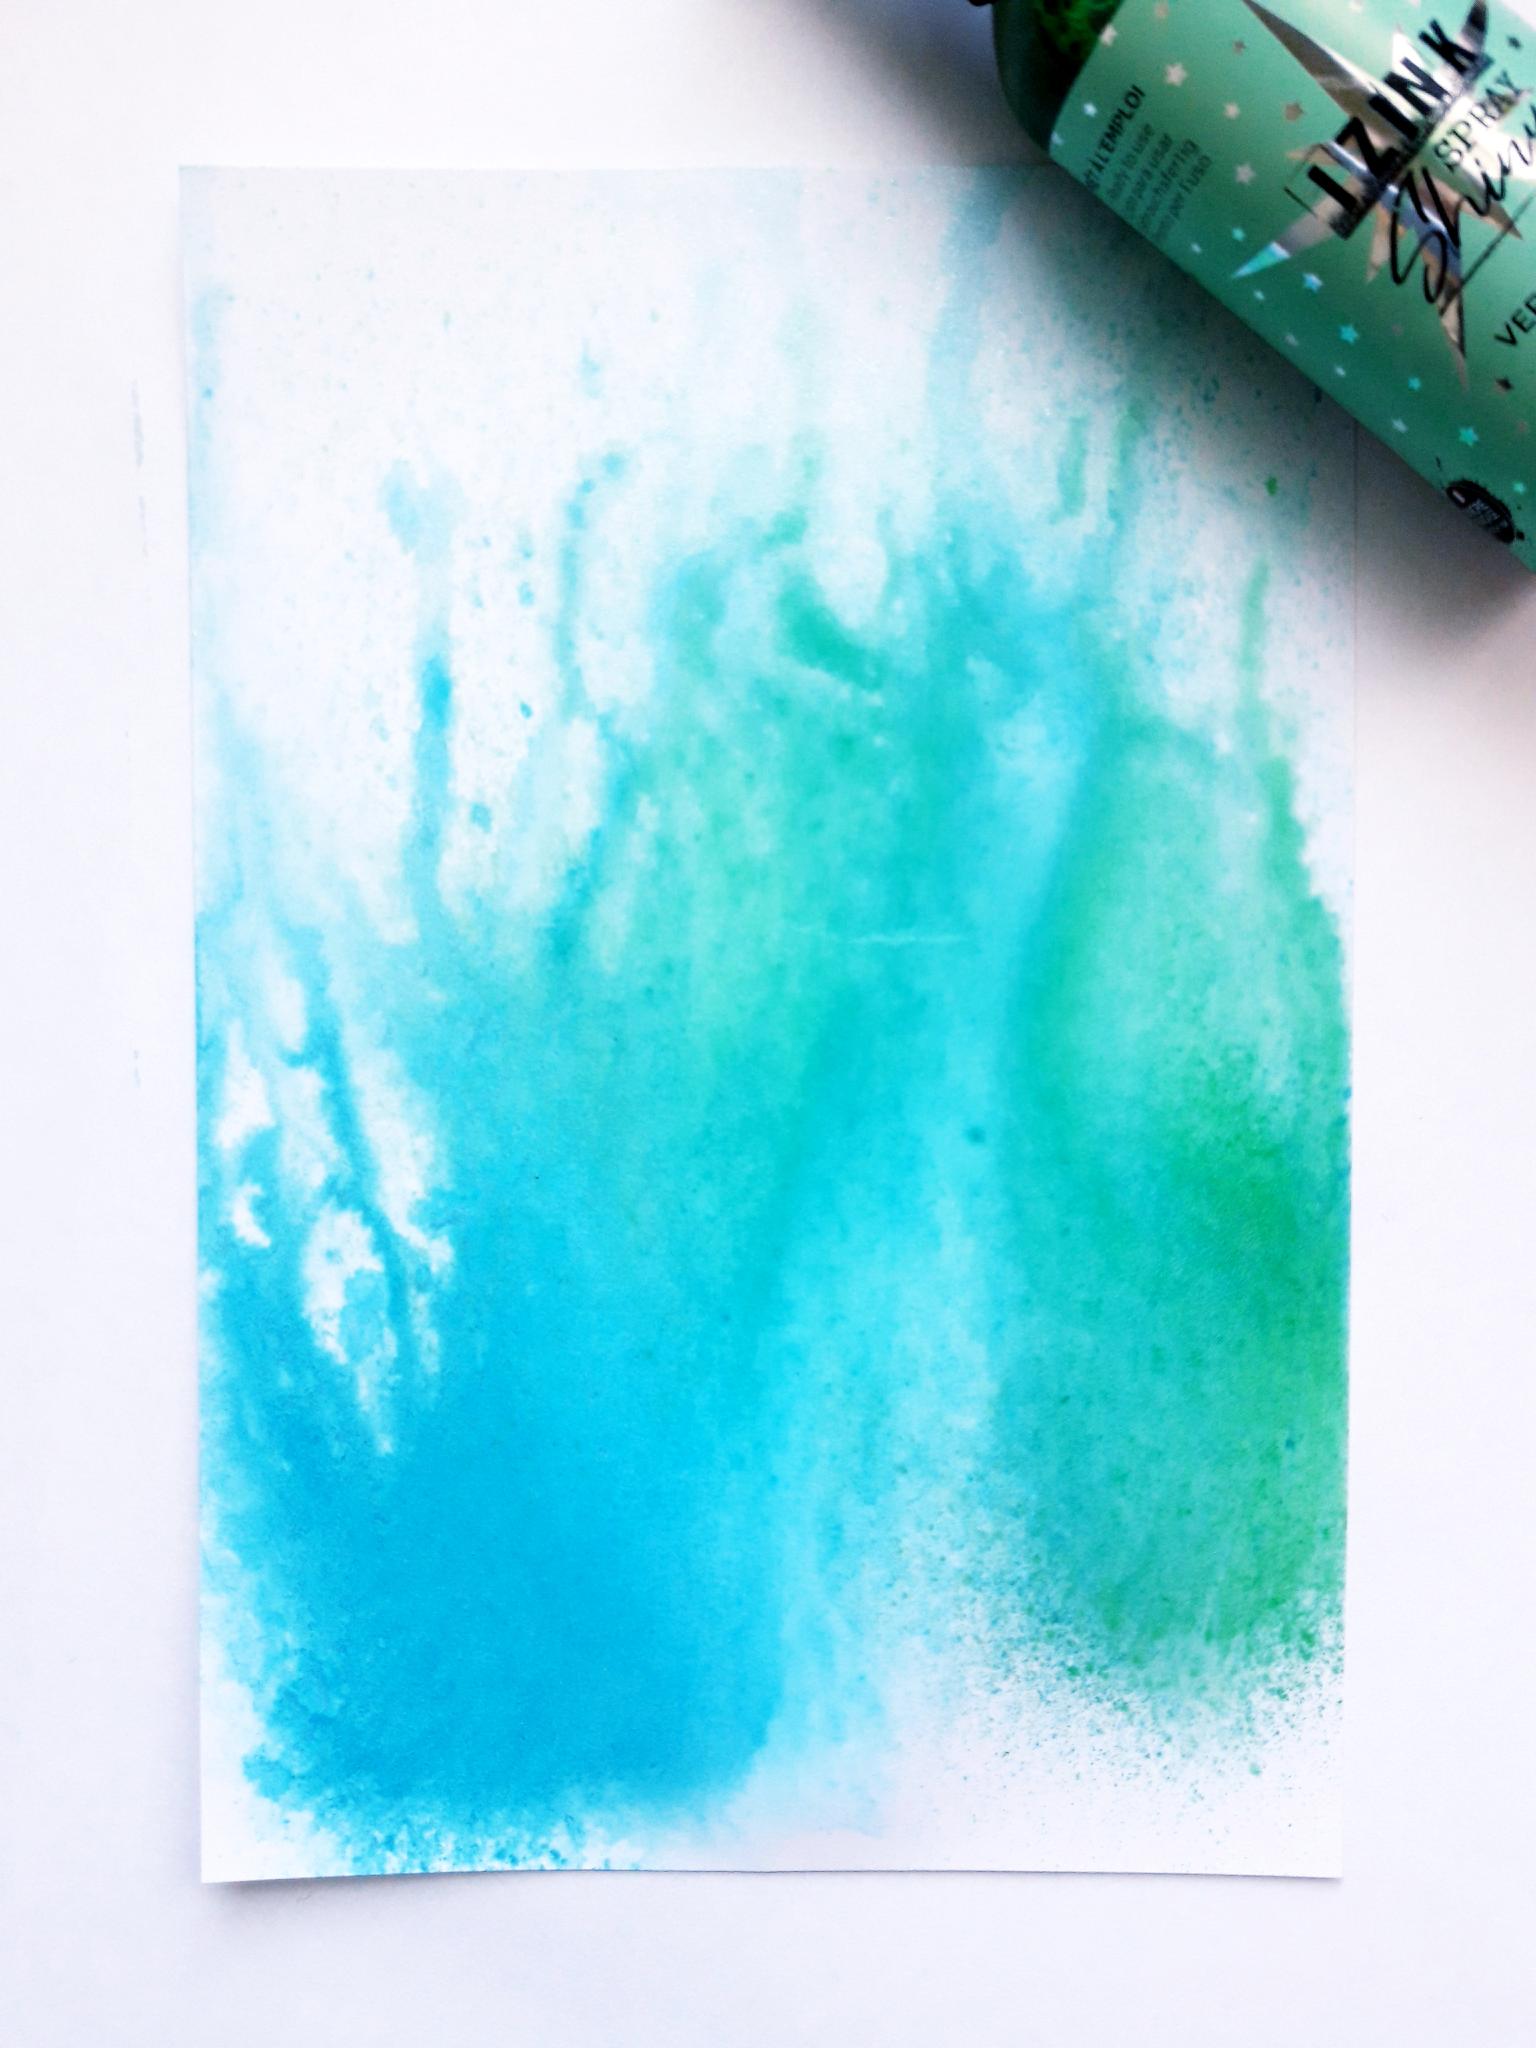
Repeat step 1 using the Izink Vert D'Eau spray. Dry off your cardstock naturally, or with a heat gun if you're impatient like me! |
|
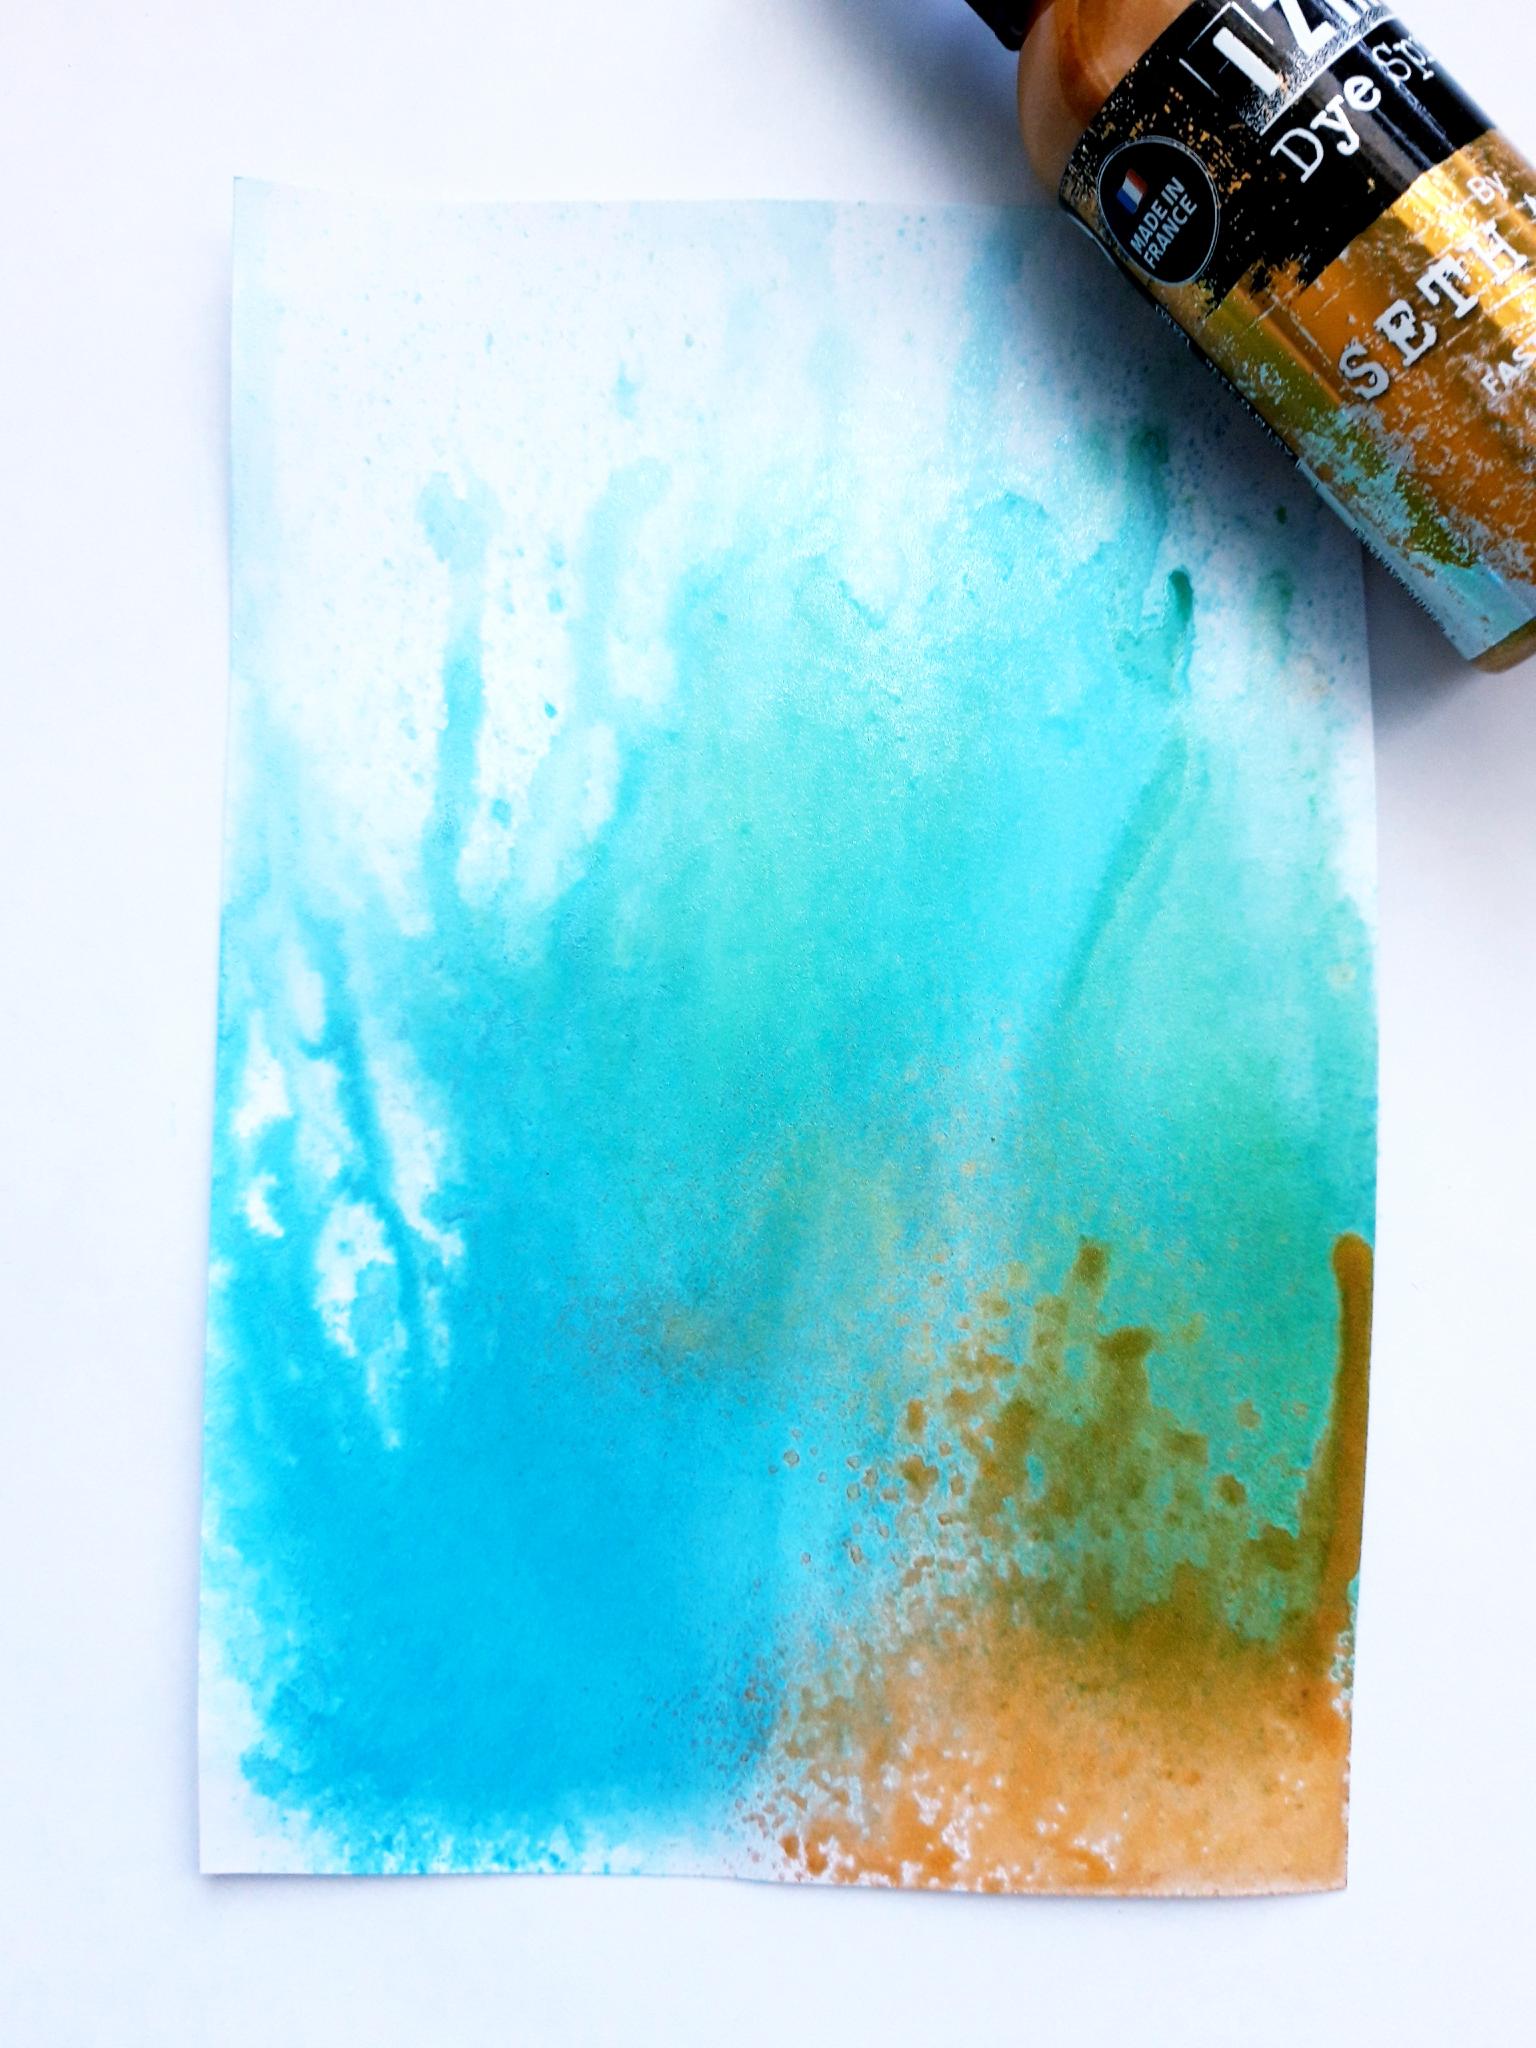
This time lay the cardstock down, and spray the Izink Goldmine just in the bottom right corner of your background. Mop up any excess ink before it drips too far down, as you want this colour to be fairly contained to this corner. Allow your background to dry naturally, or with a heat gun. |
|
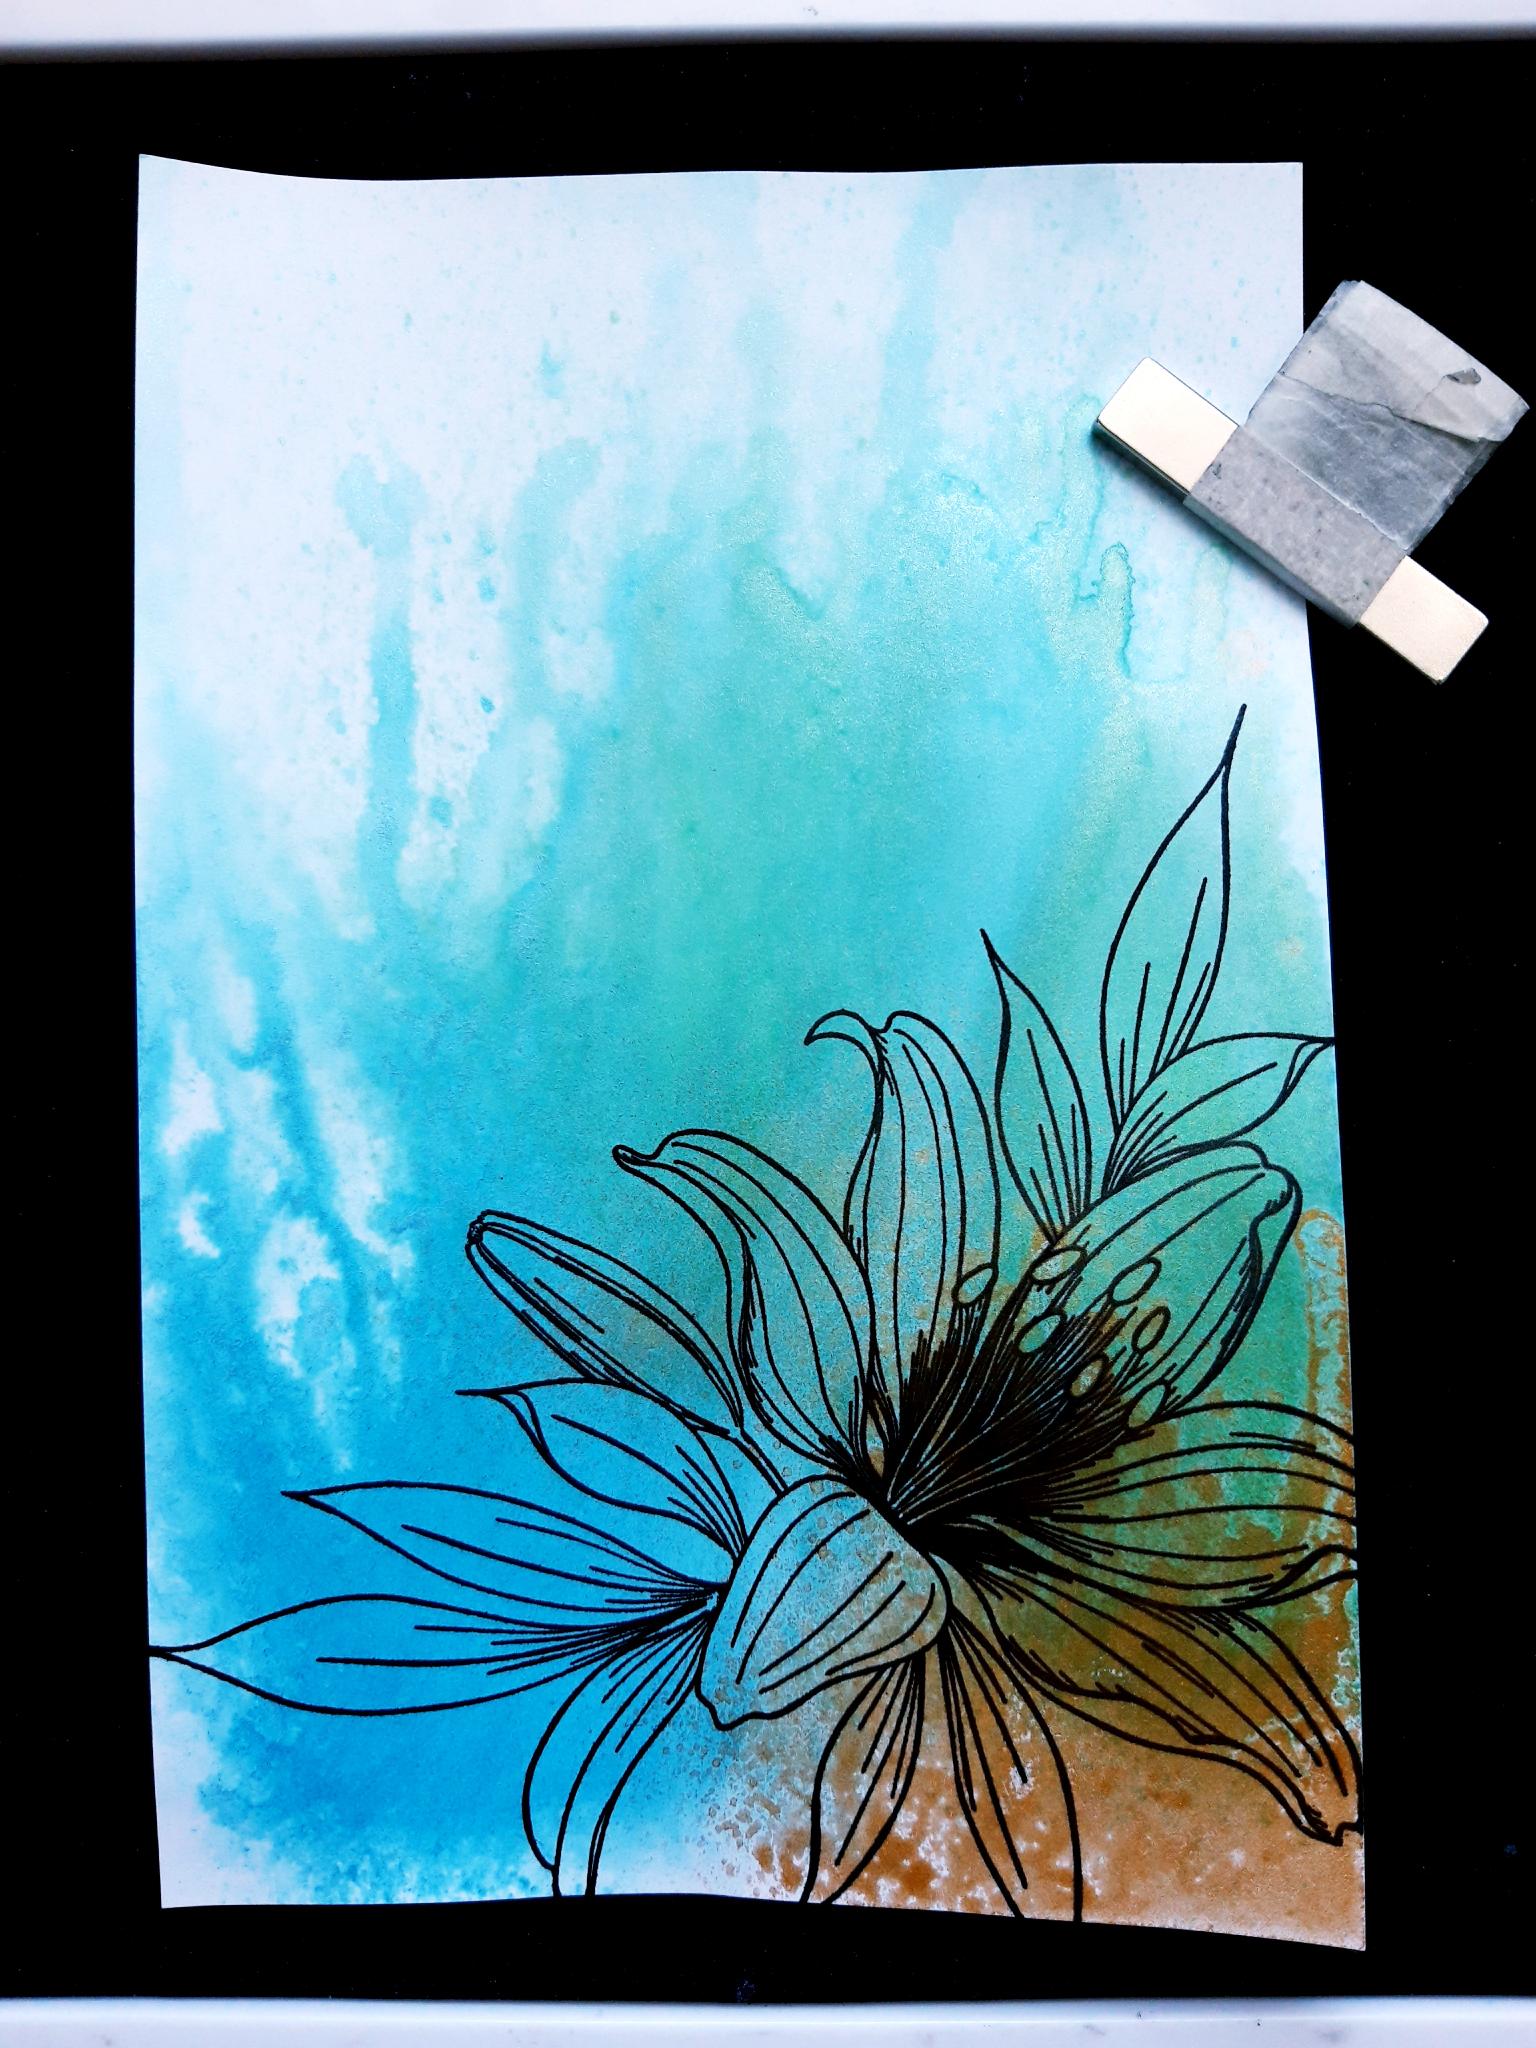
Ink up the floral stamp from Be The Exception Stamp Collection, in the Onyx Black Versafine. Stamp off the bottom right corner of your background. |
|
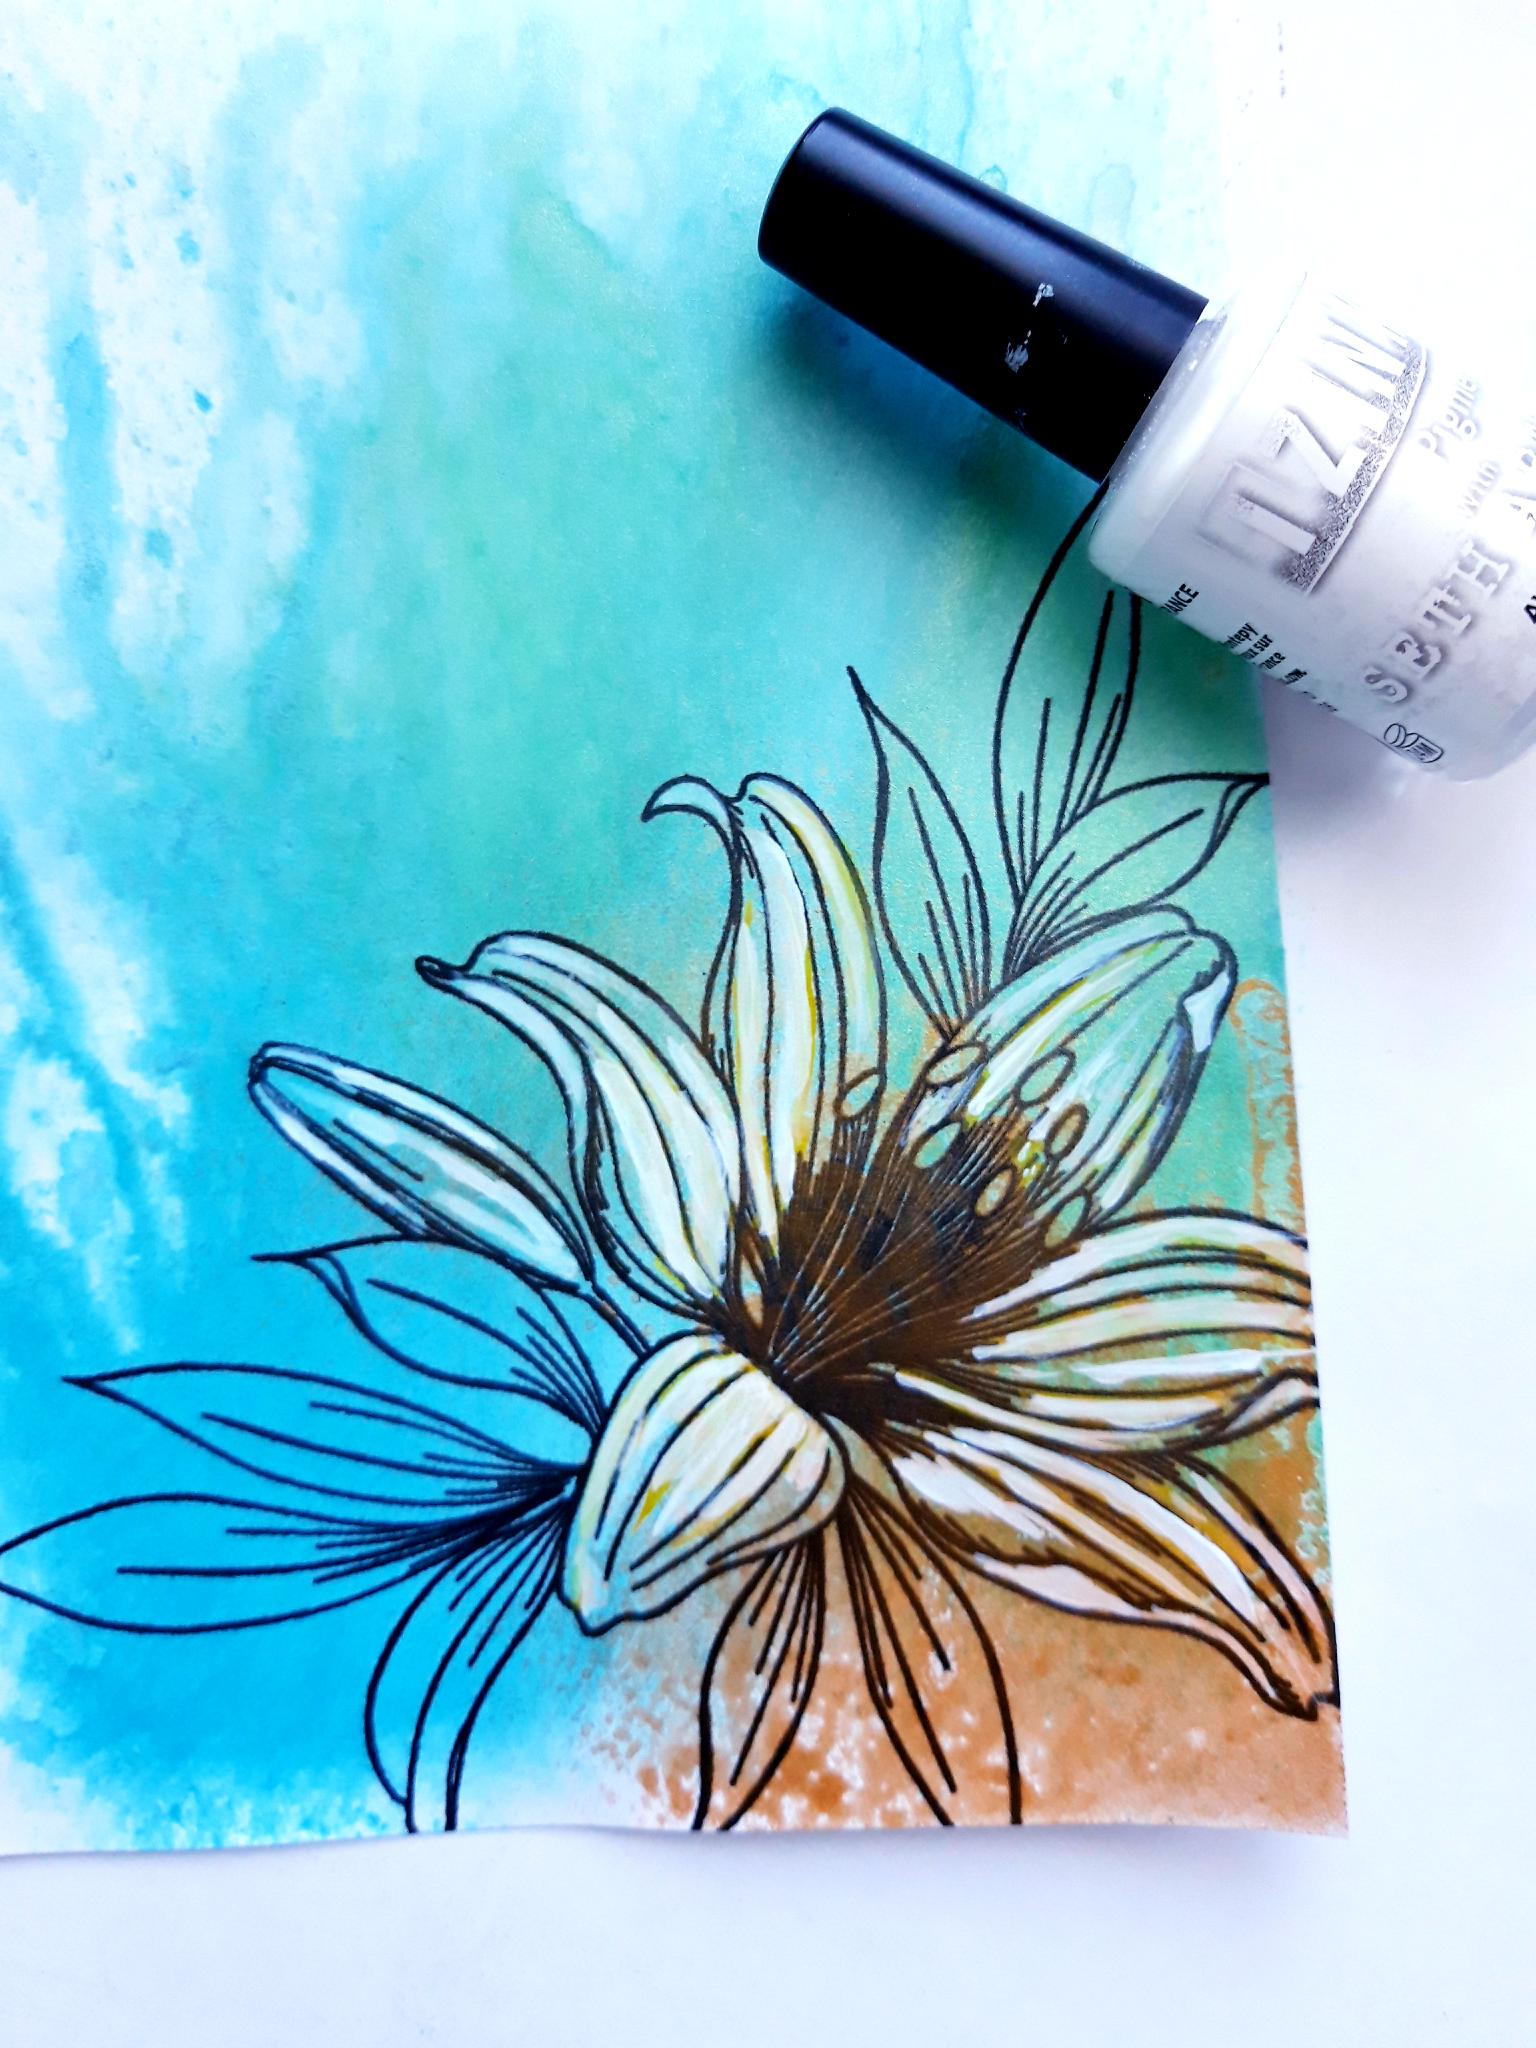
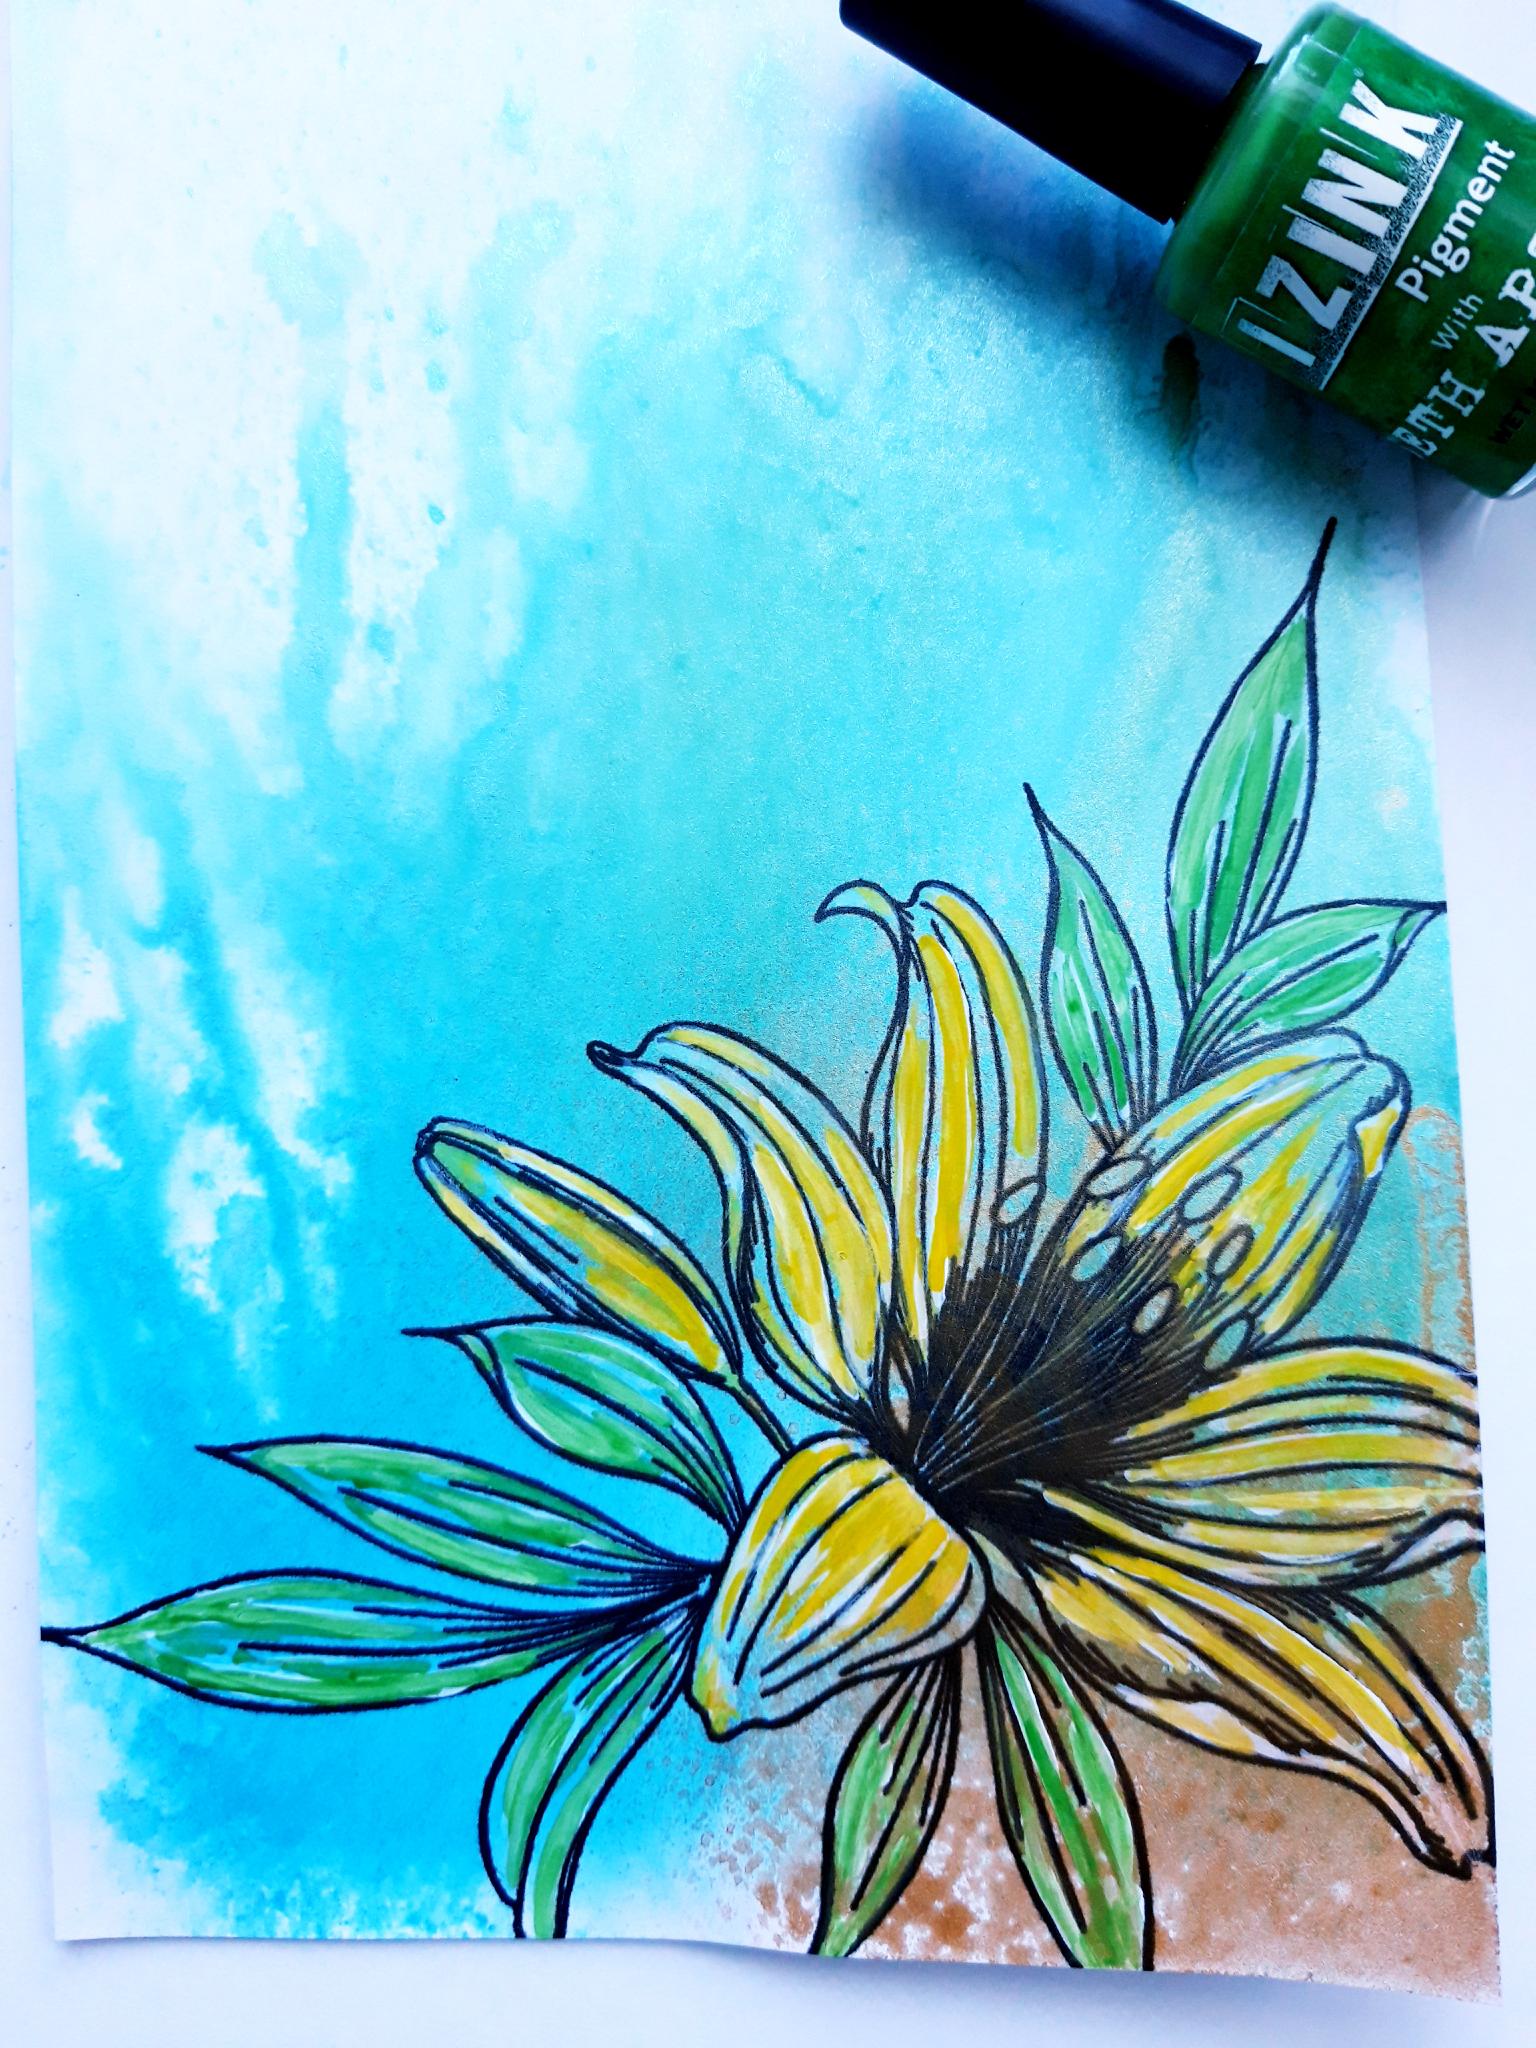
Using the Izink Avalanche Pigment and a fine paintbrush, paint random stripes on the petals of your stamped image. (Note this is a random, distressed effect, so do not be particular or fussy about where you lay any of the Pigments in the next few stages of your artwork). Allow the white Pigment to dry. |
|
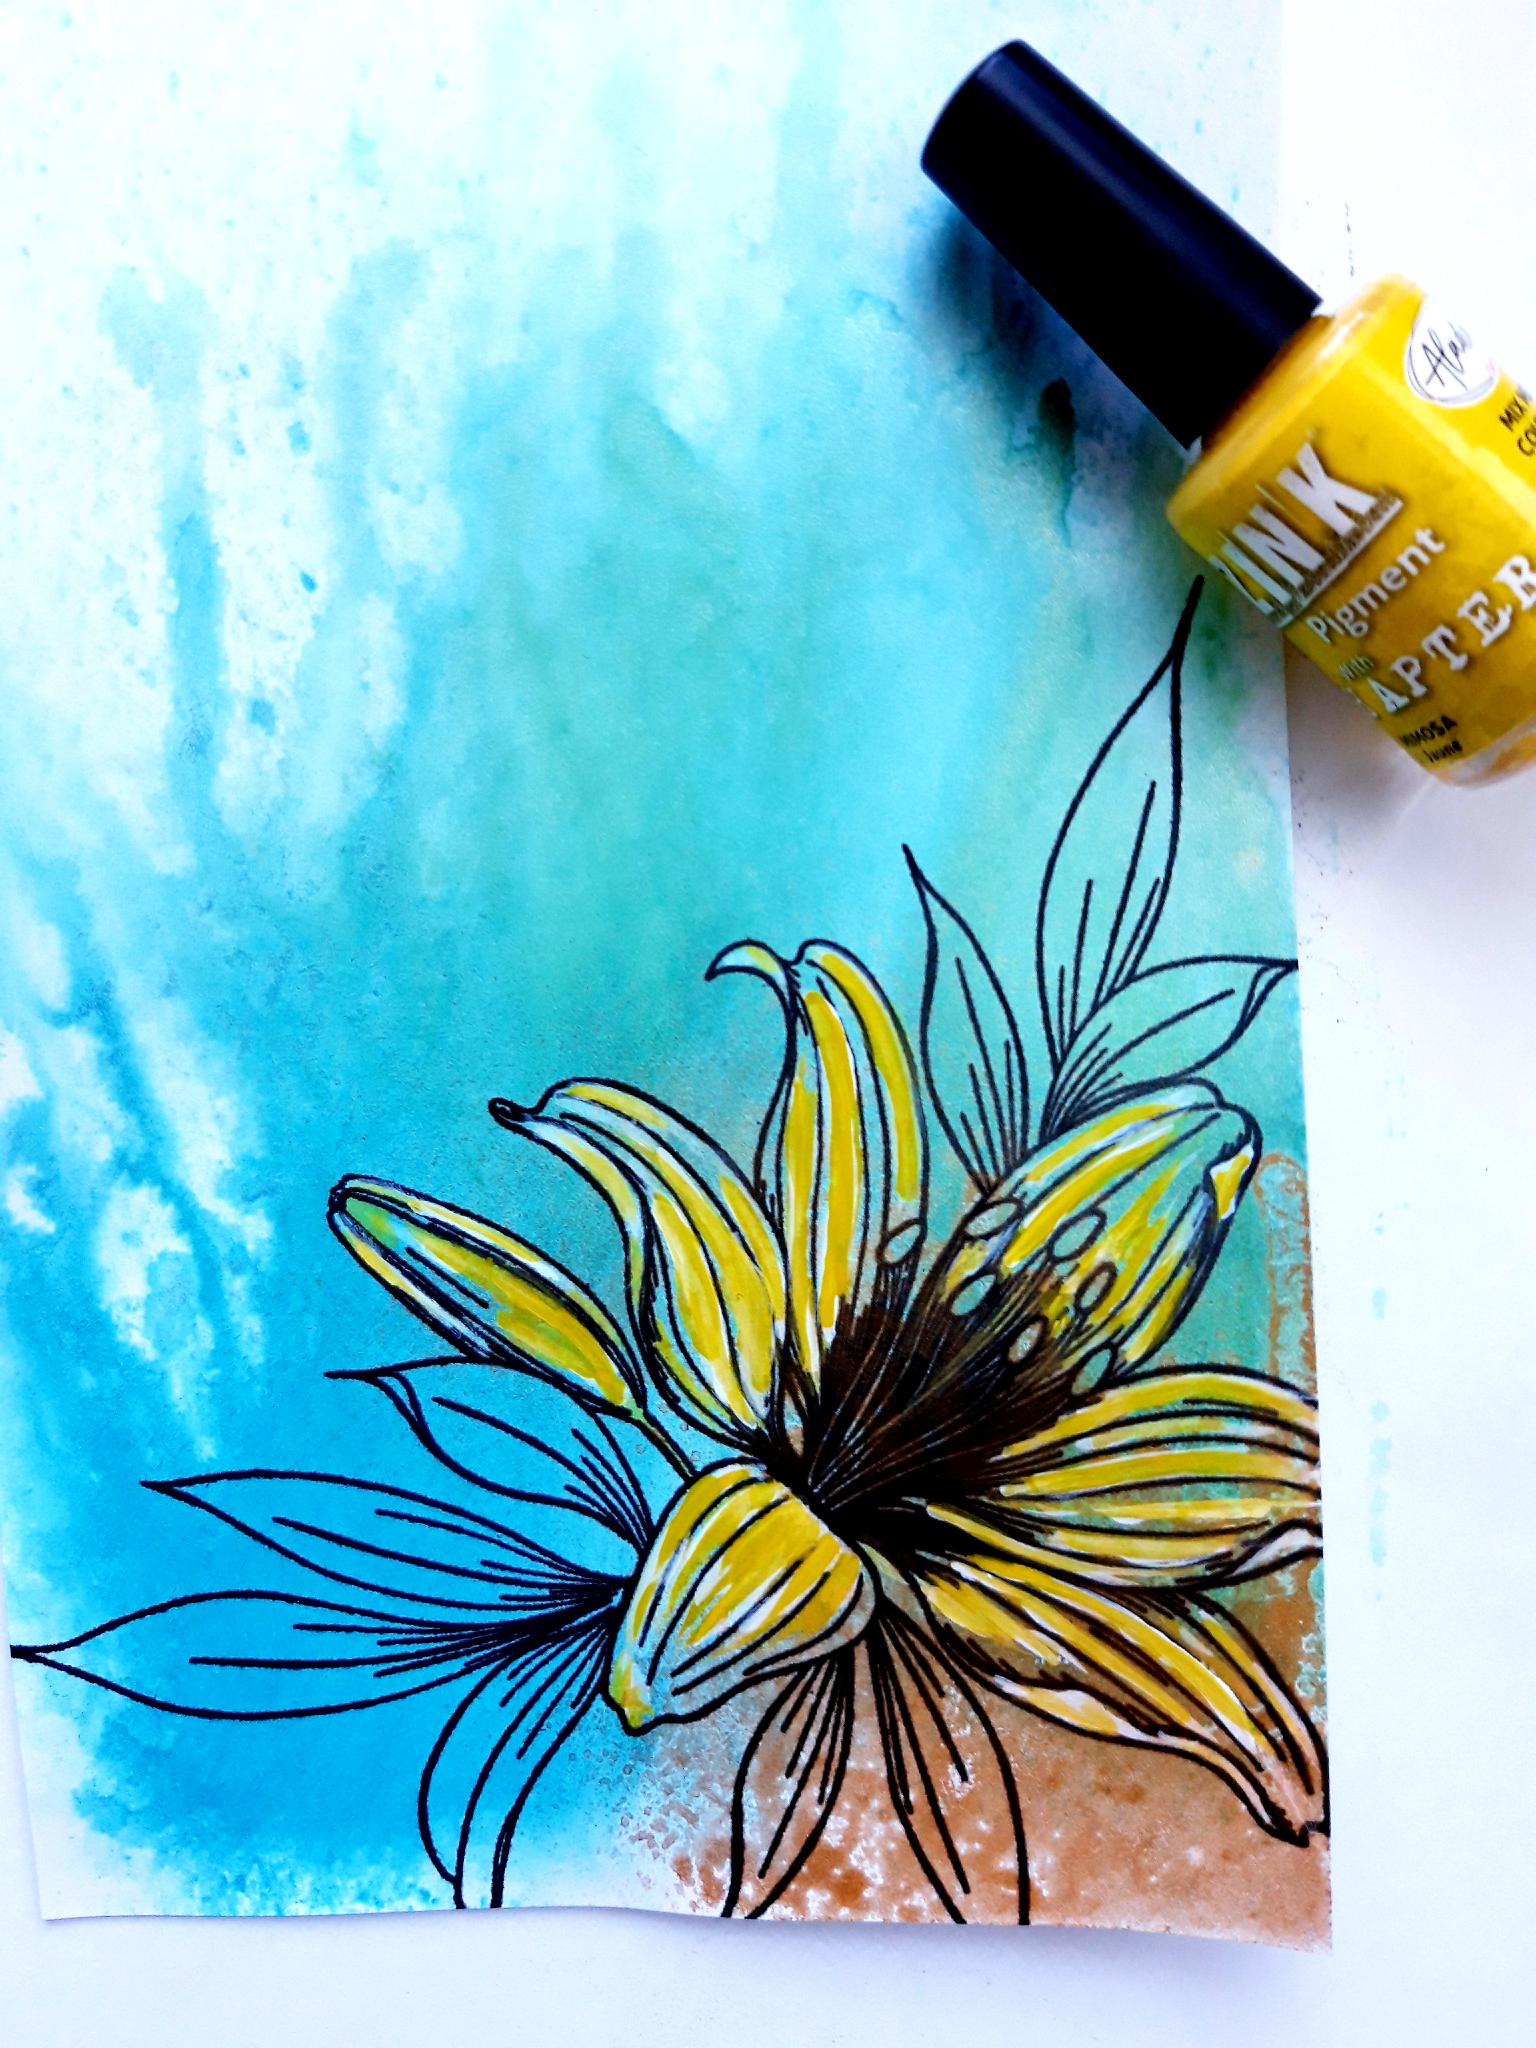
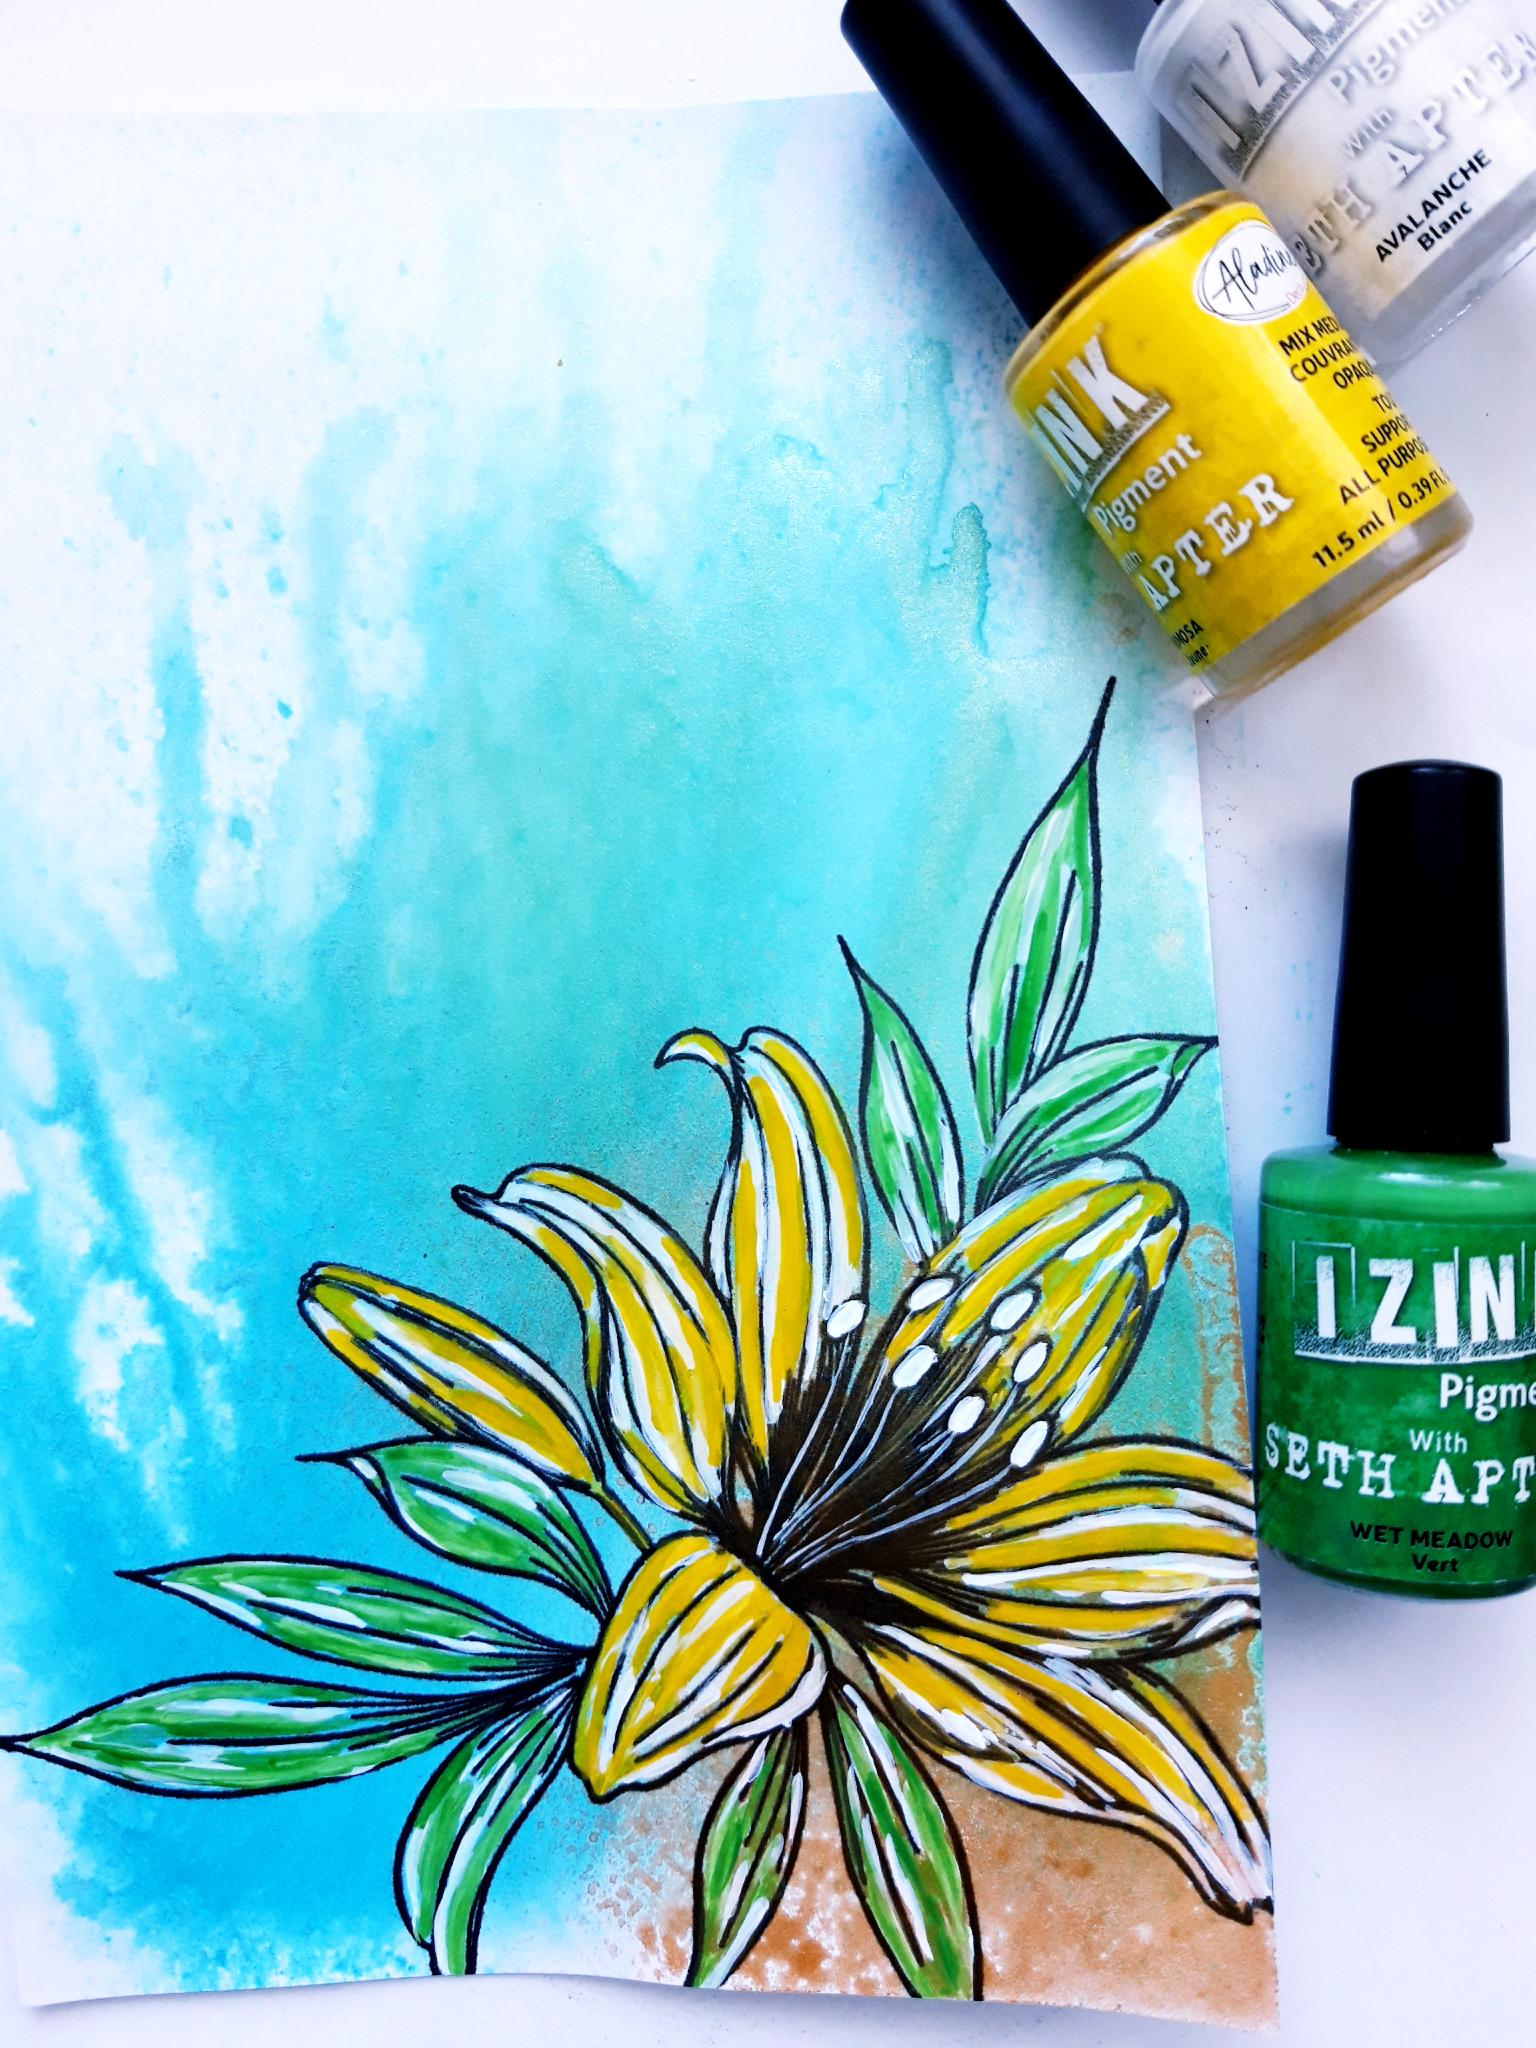
Using the Mimosa Pigment, and the fine paintbrush, paint loosely over the top of the white Pigment. The white already laid down will make the Mimosa really "pop". |
|
Use the Izink Avalanche Pigment to lay down stripes on the leaves, in the same way as you did on the petals. Allow to dry or use your heat gun. |
|
Use the fine brush to paint loosely over the white pigment on the leaves, with the Izink Wet Meadow Pigment. |
|
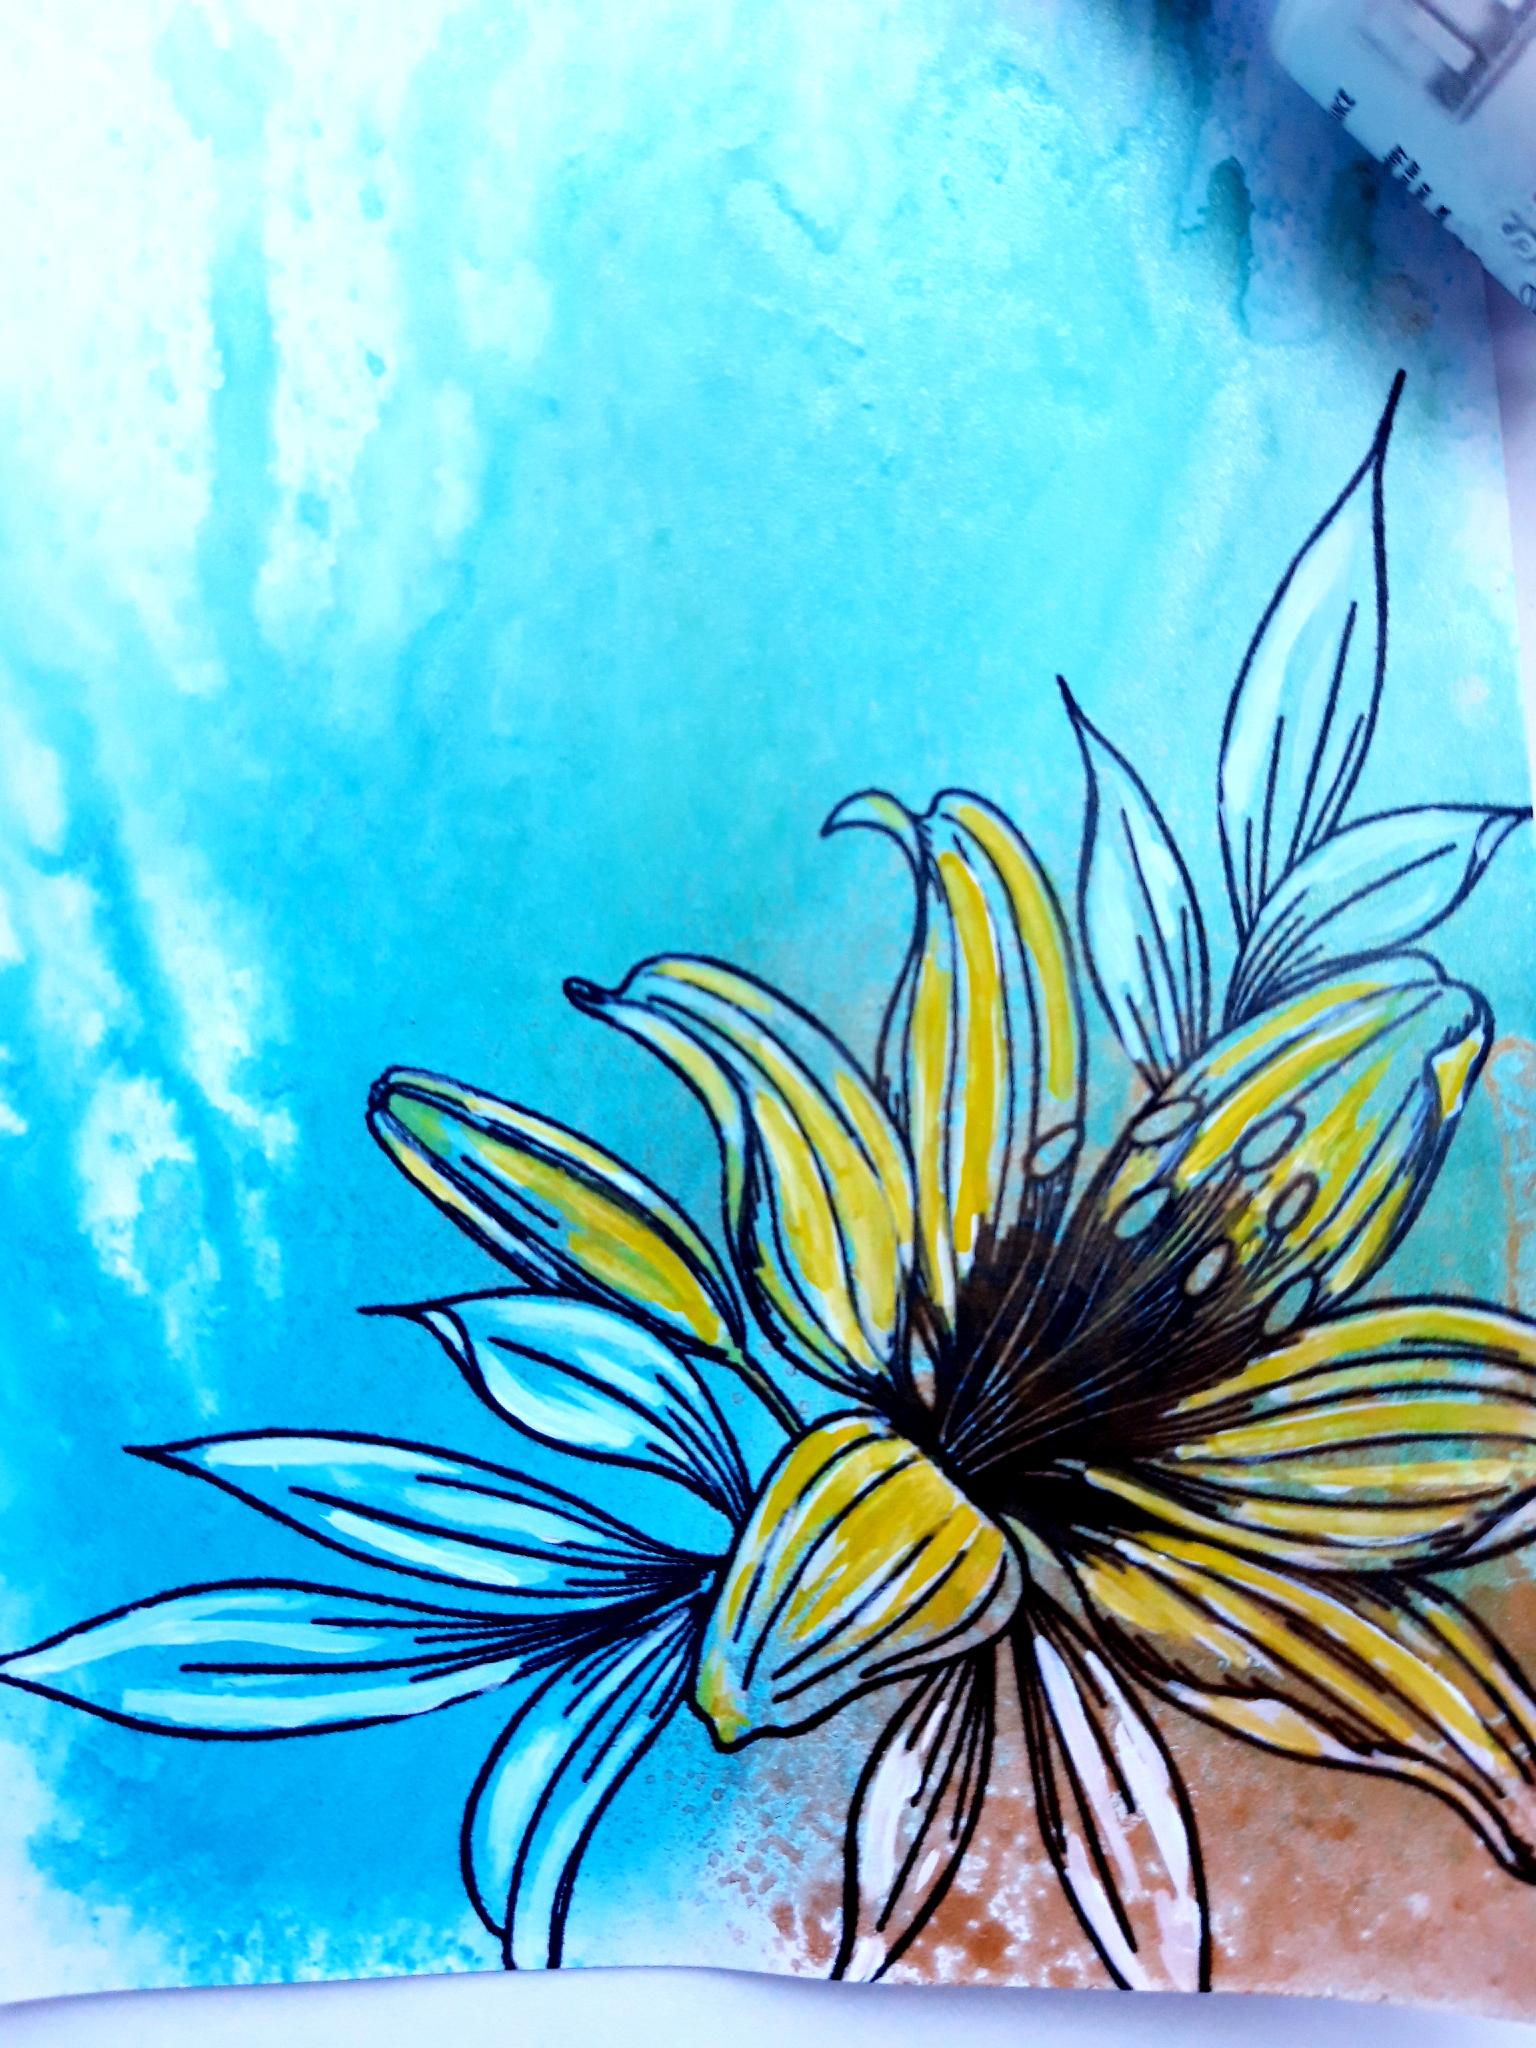
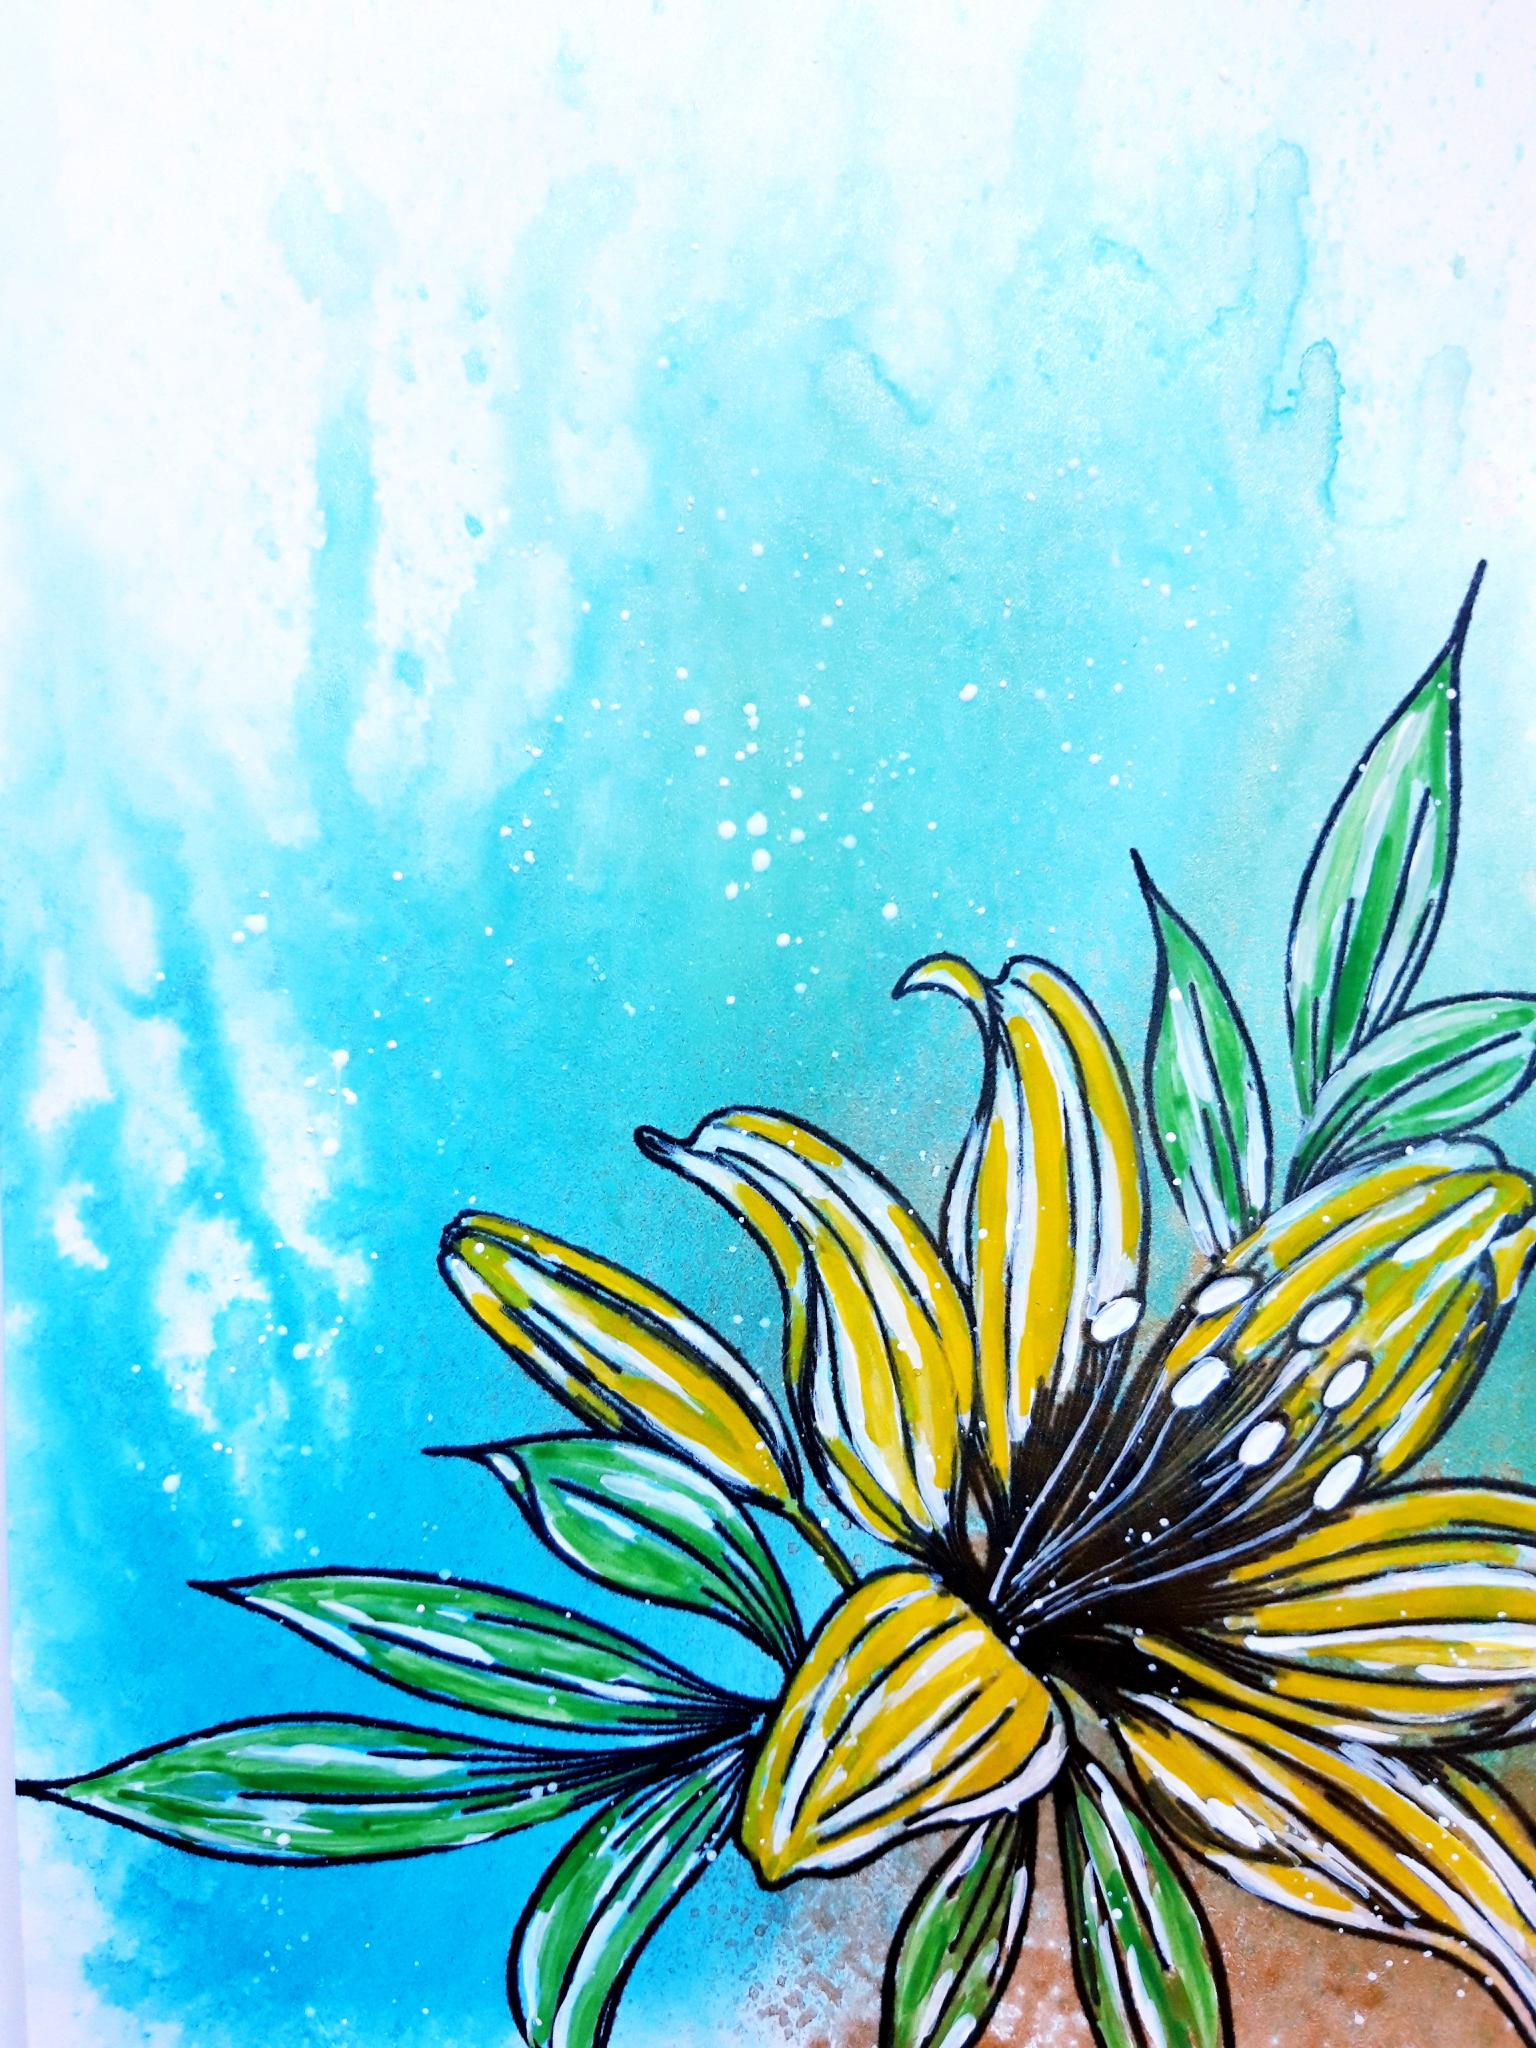
For the final stage you can go back over any of the yellow or green stripes, very loosely and randomly, with more Pigment, to make some areas really "pop" with colour. Once all the Pigment is completely dry, use the Avalanche Pigment to add random highlights to the image. Use the Avalanche to paint in the stamens. |
|
Add splatters of Avalance Pigment, mixed with a little water, all over your artwork, as desired. Set to one side, and if possible, allow your artwork to dry naturally, as it retains more colour pigment this way.
|

|
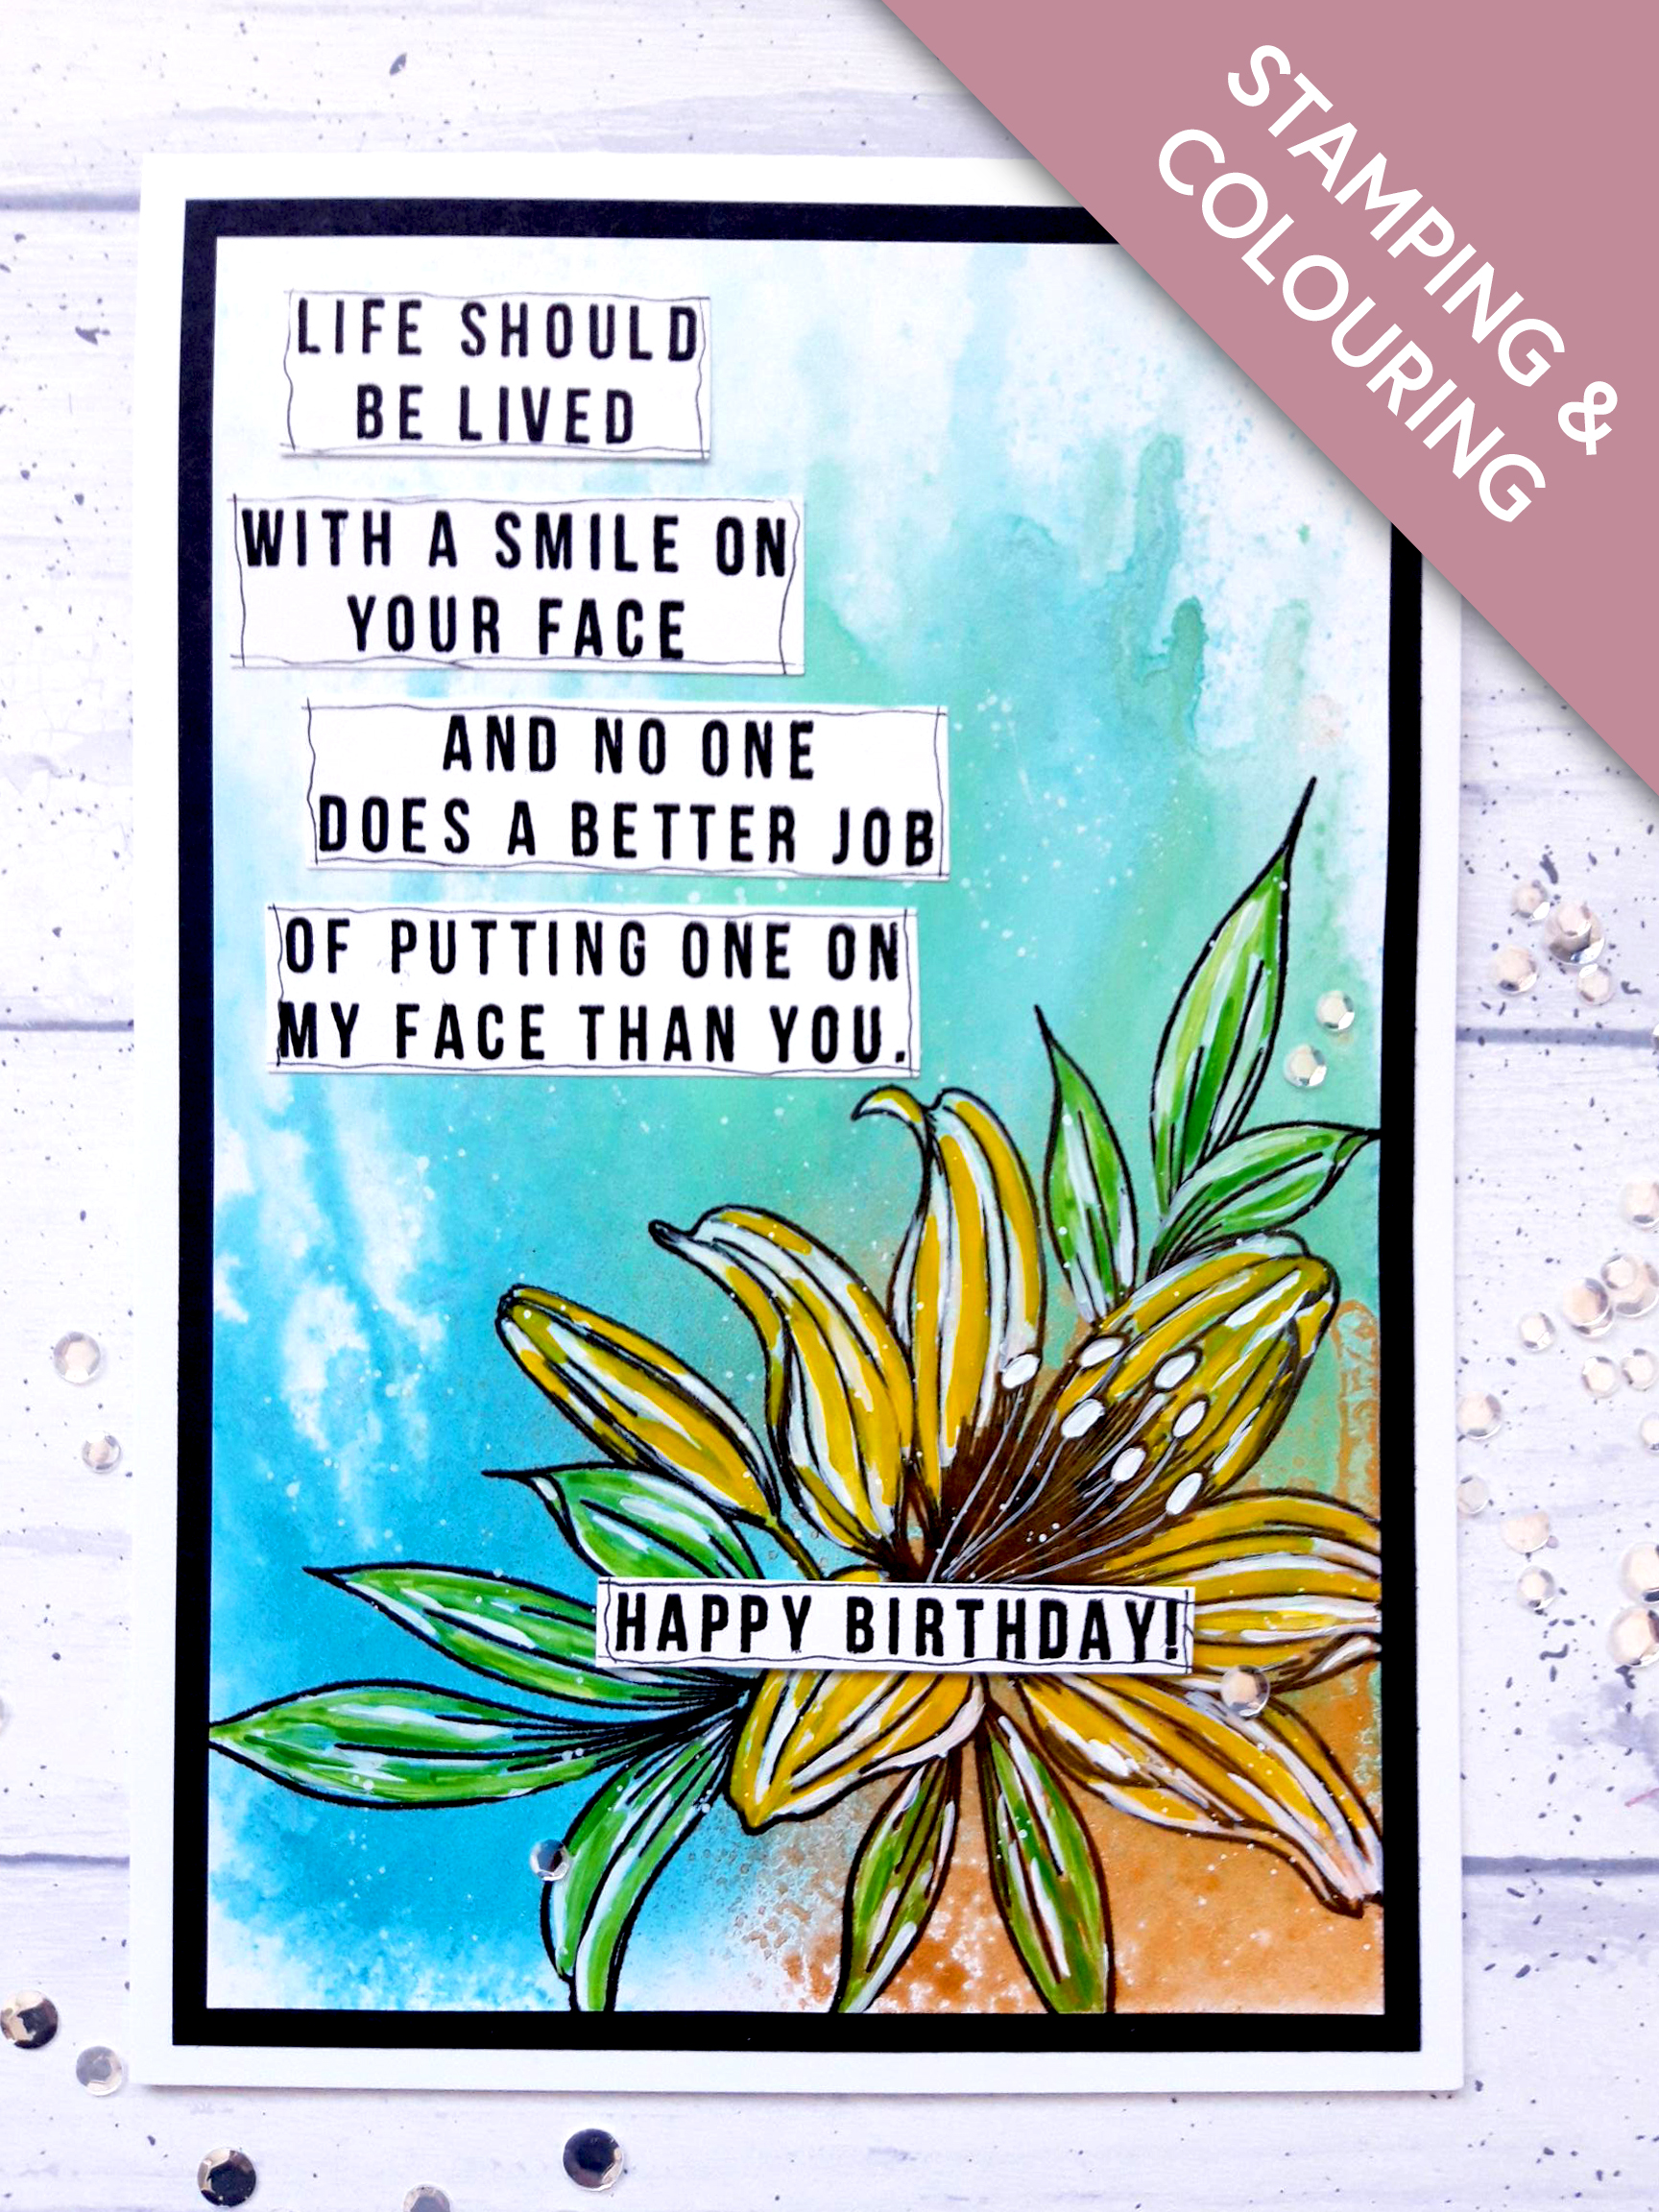
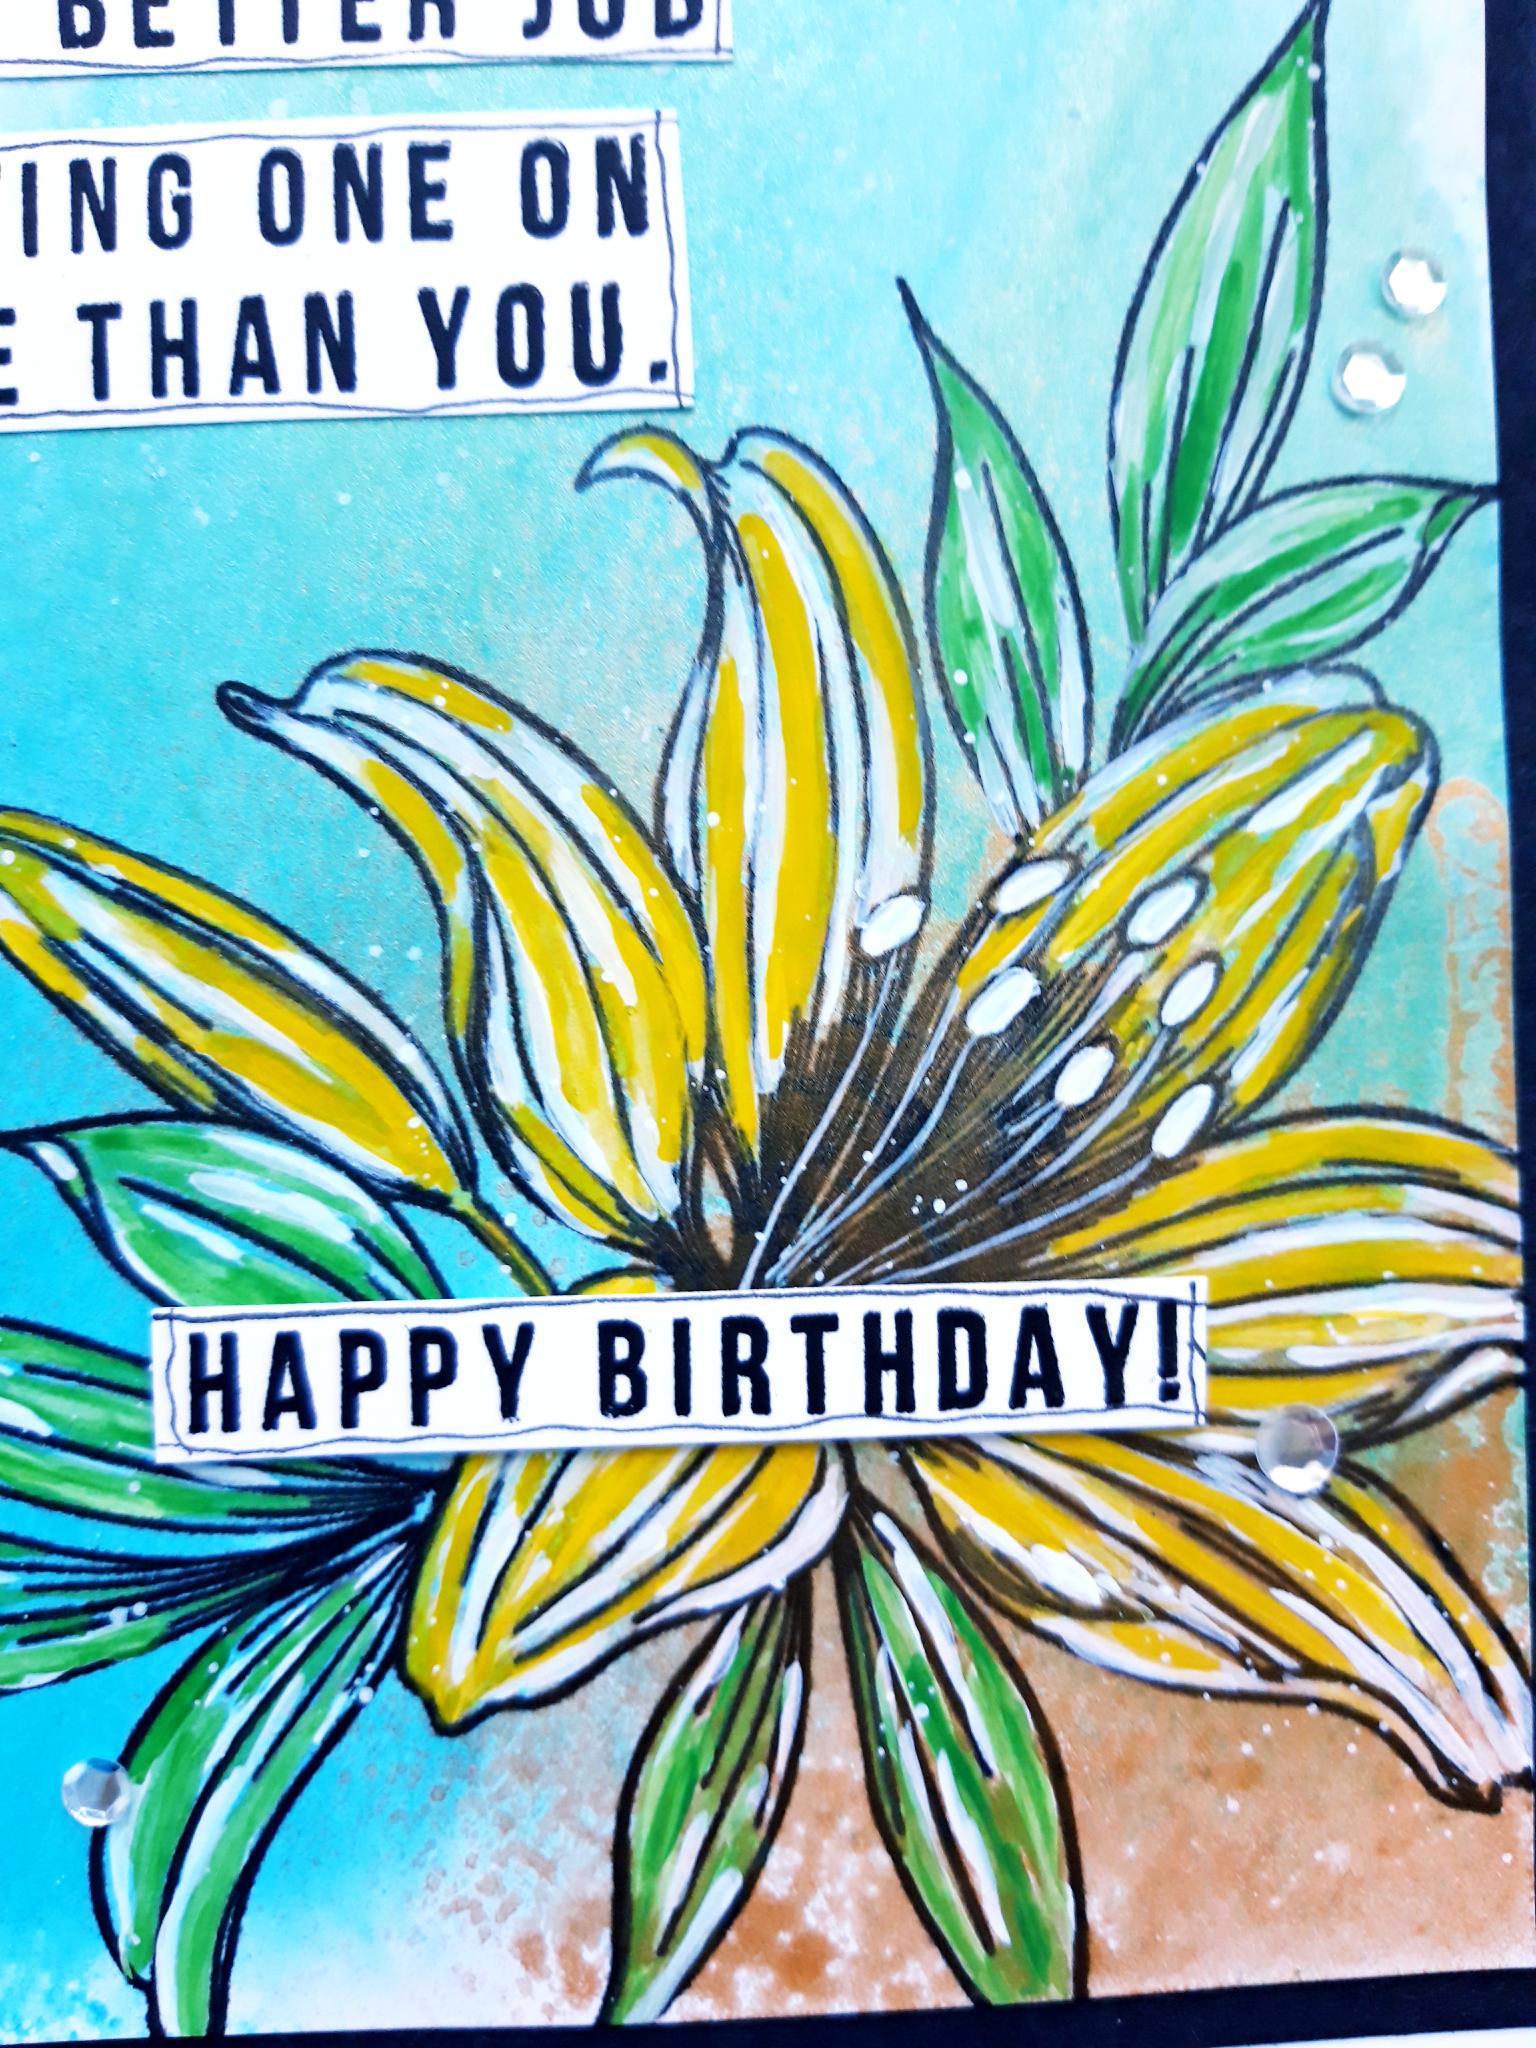
Ink up the sentiment from the same stamp set, in the Onyx Black Versafine. Stamp on to the white cardstock (4 x 3 1/2"). Once the ink is dry, cut the sentiment in to strips. Draw a wiggly frame around each strip with a fine line pen. Set to one side. |
|
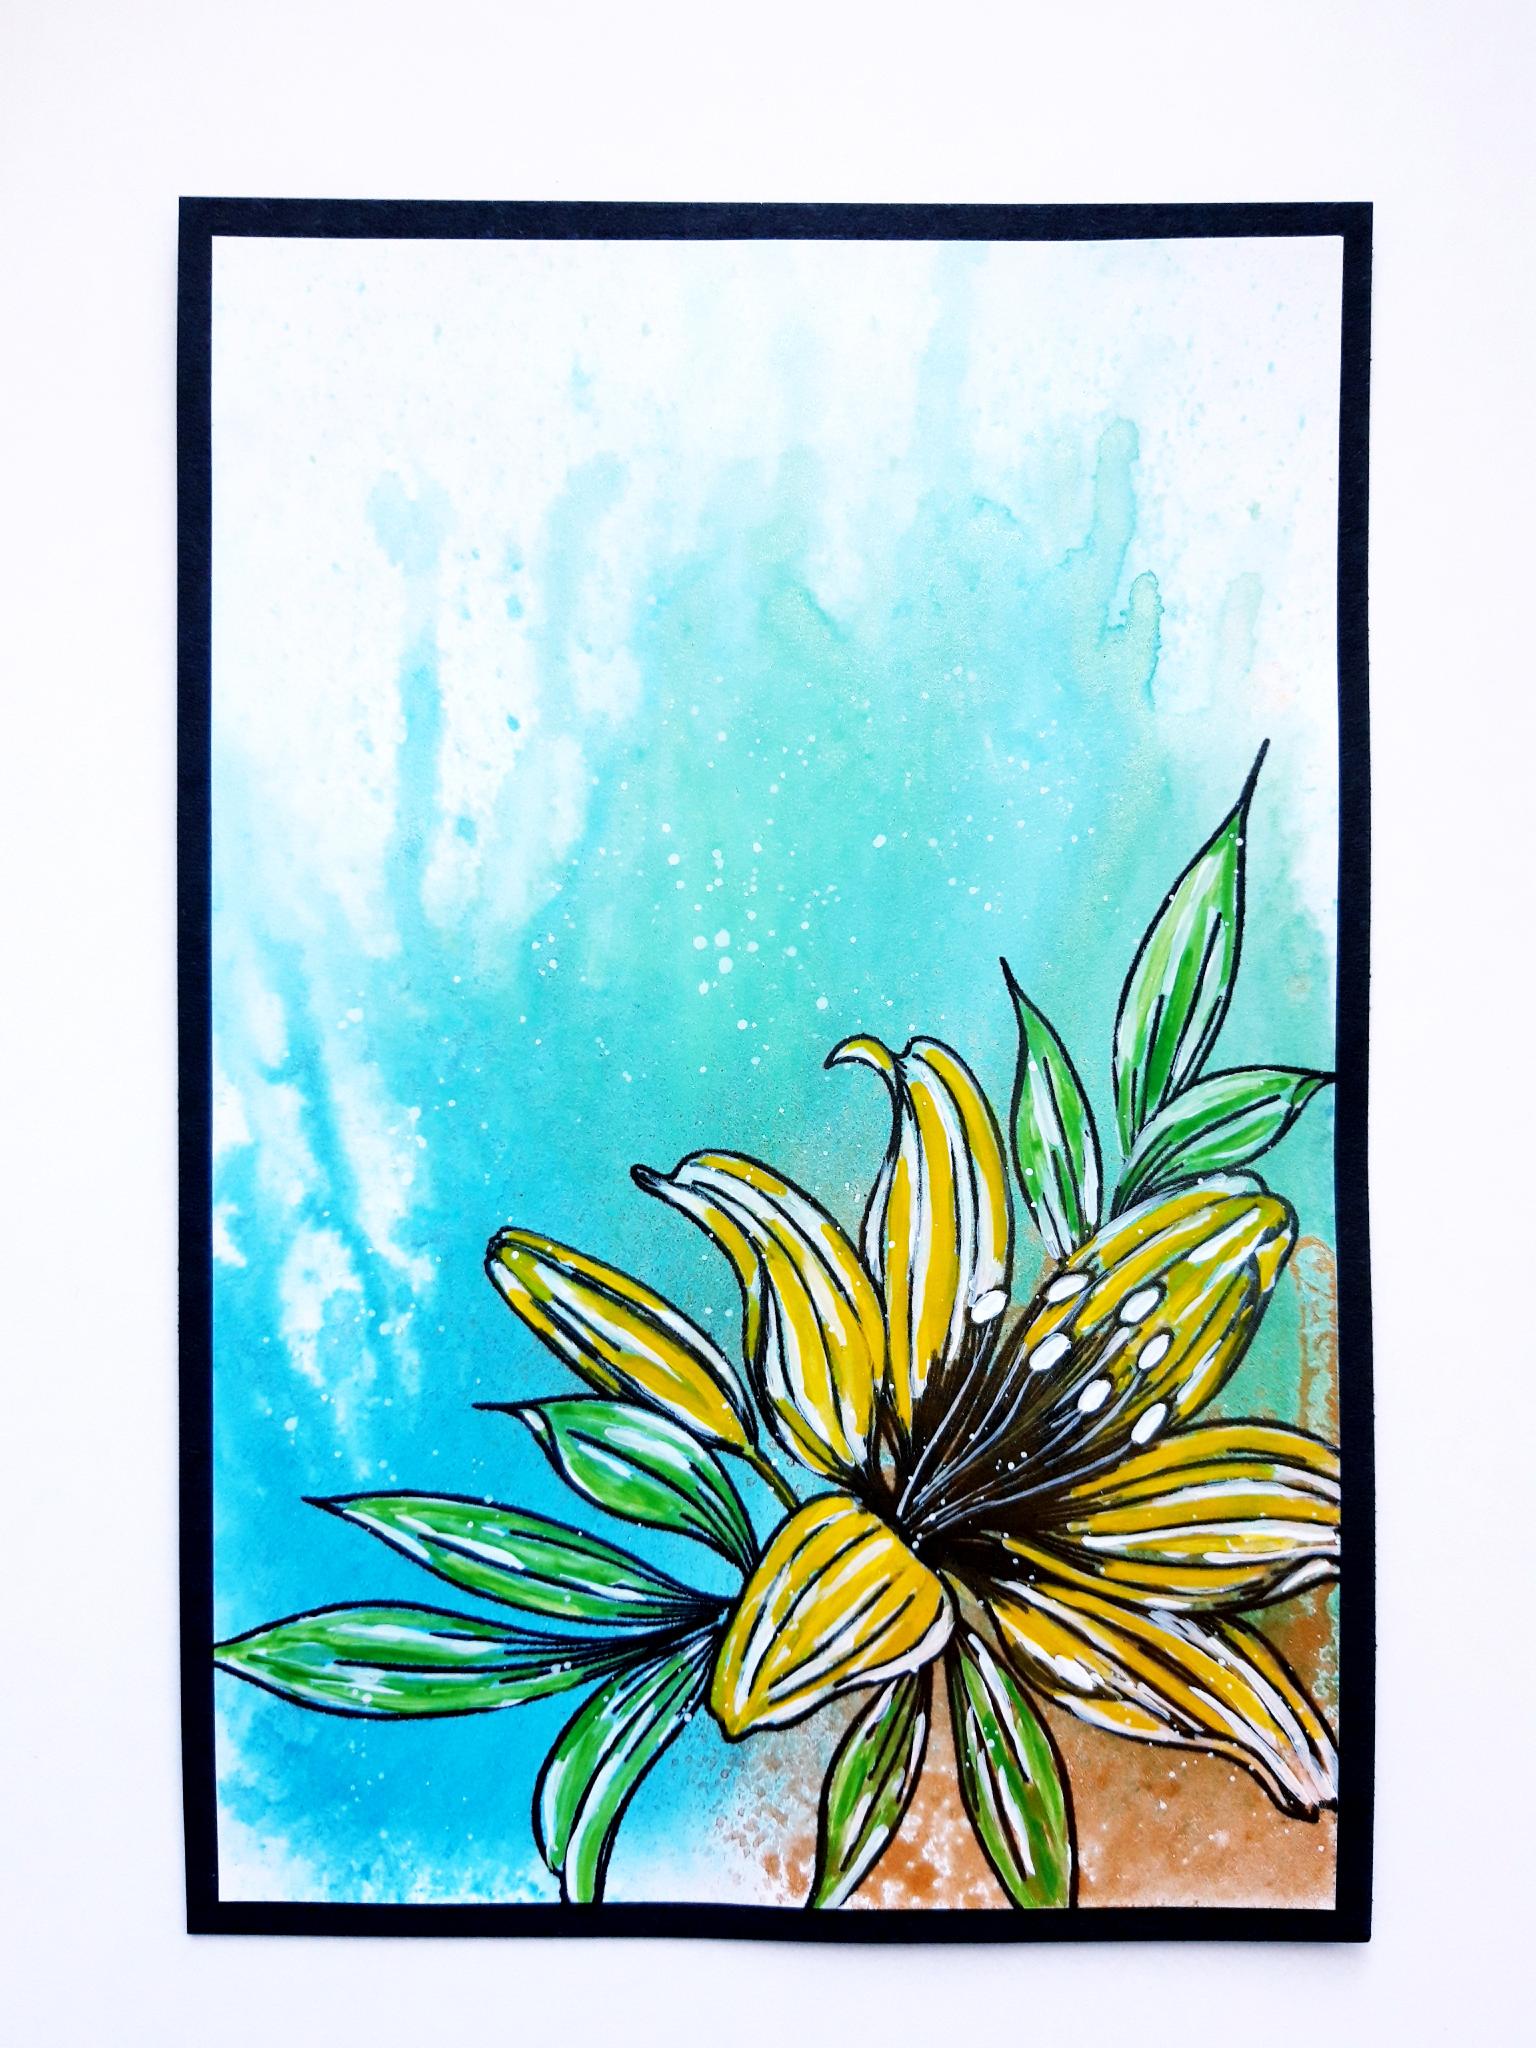
Once dry adhere your artwork on to the black cardstock |
|
Adhere this on top of your white card blank. |

|
Adhere your stamped sentiment strips on to the top left side of your artwork using wet glue. I like them placed randomly, but you can line them up straight, if you prefer. Adhere the Happy Birthday sentiment strip across your floral image, using foam pads. |
|
To finish of your card, adhere sequins where desired. |