Give your friends $10 off their first order!
Refer a FRIEND


WHAT YOU WILL NEED:
MDF Tag 8 x 4" or you can make your own tag out of cardstock/greyboard
White card 8 x 5"
Black card 4 x 2 1/2"
Imala Jumbled Up Stamp Collection
Imala Stay Fancy Stamp Collection
Imala Feel Beautiful Stamp Collection
Imala Extraordinary Stamp Collection
Imala A4 Collage paper pad
Versafine Ink Pad: Onyx Black, Smoky Grey
Distress Oxide: Salvaged Patina
Water spray bottle
Craft sanding block, sandpaper or emery board
Pencil
Eureka 101
Paper Trimmer
Perfect Together Glue
[click image to enlarge] 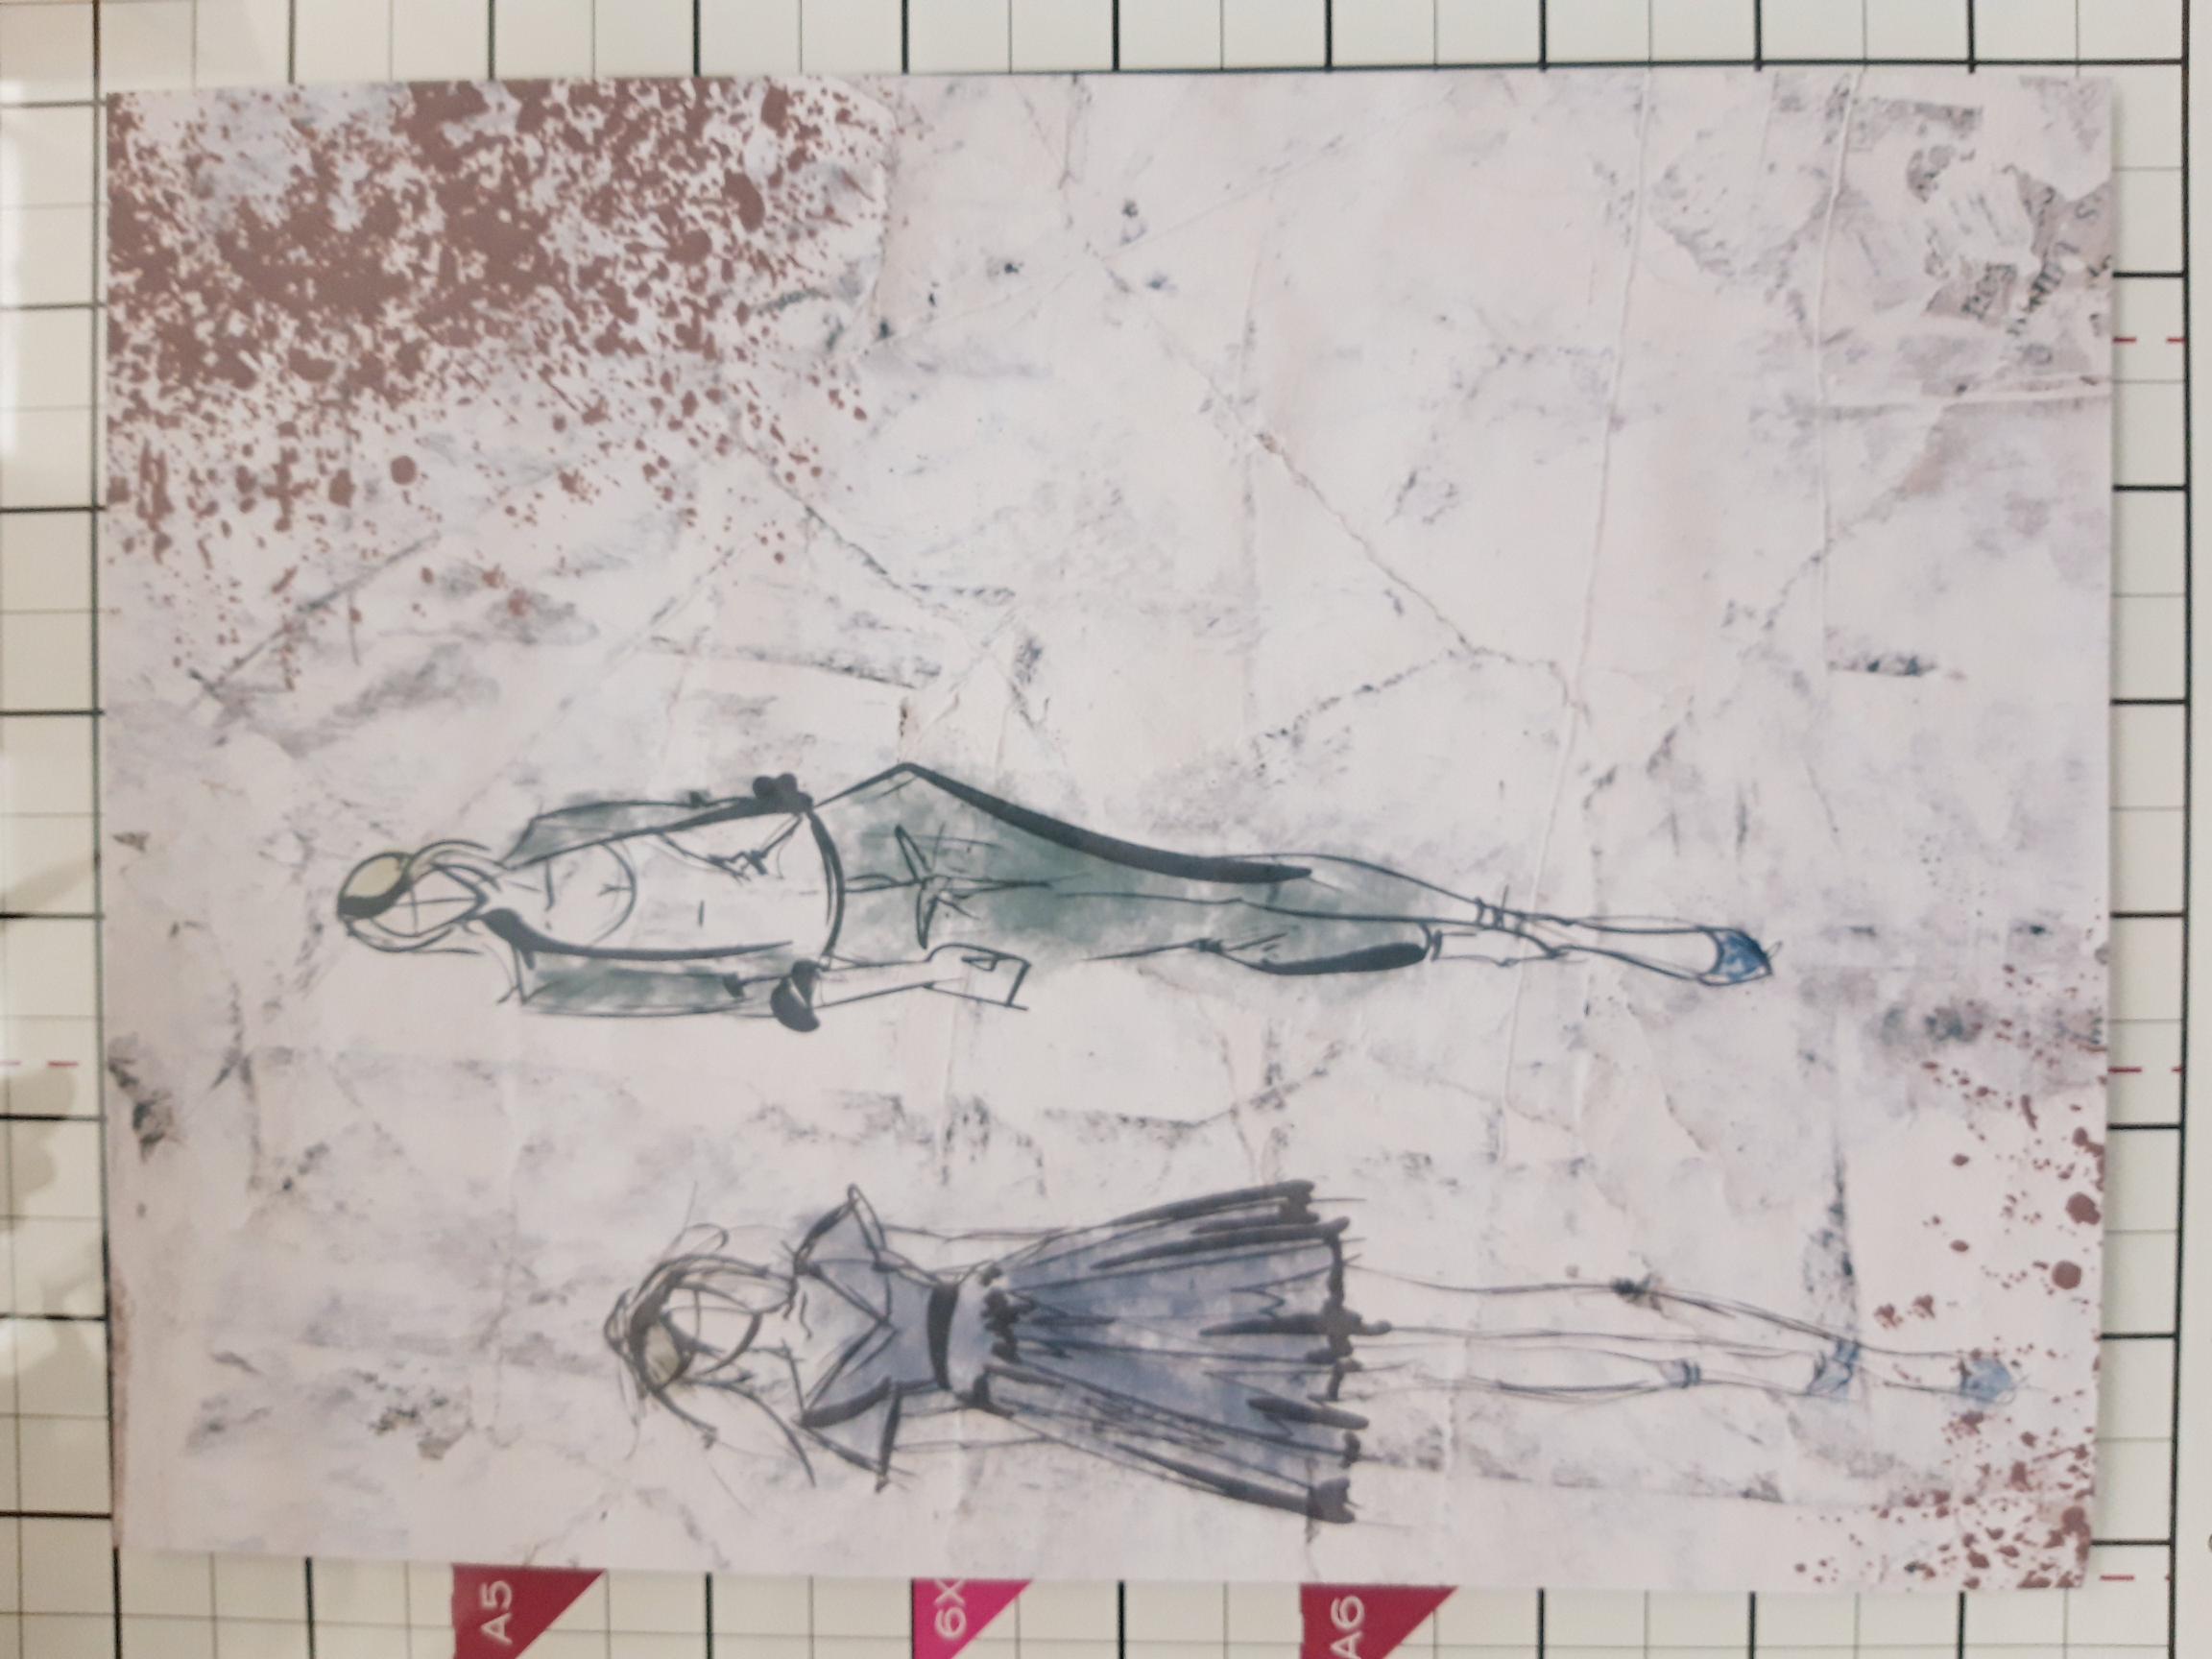
|
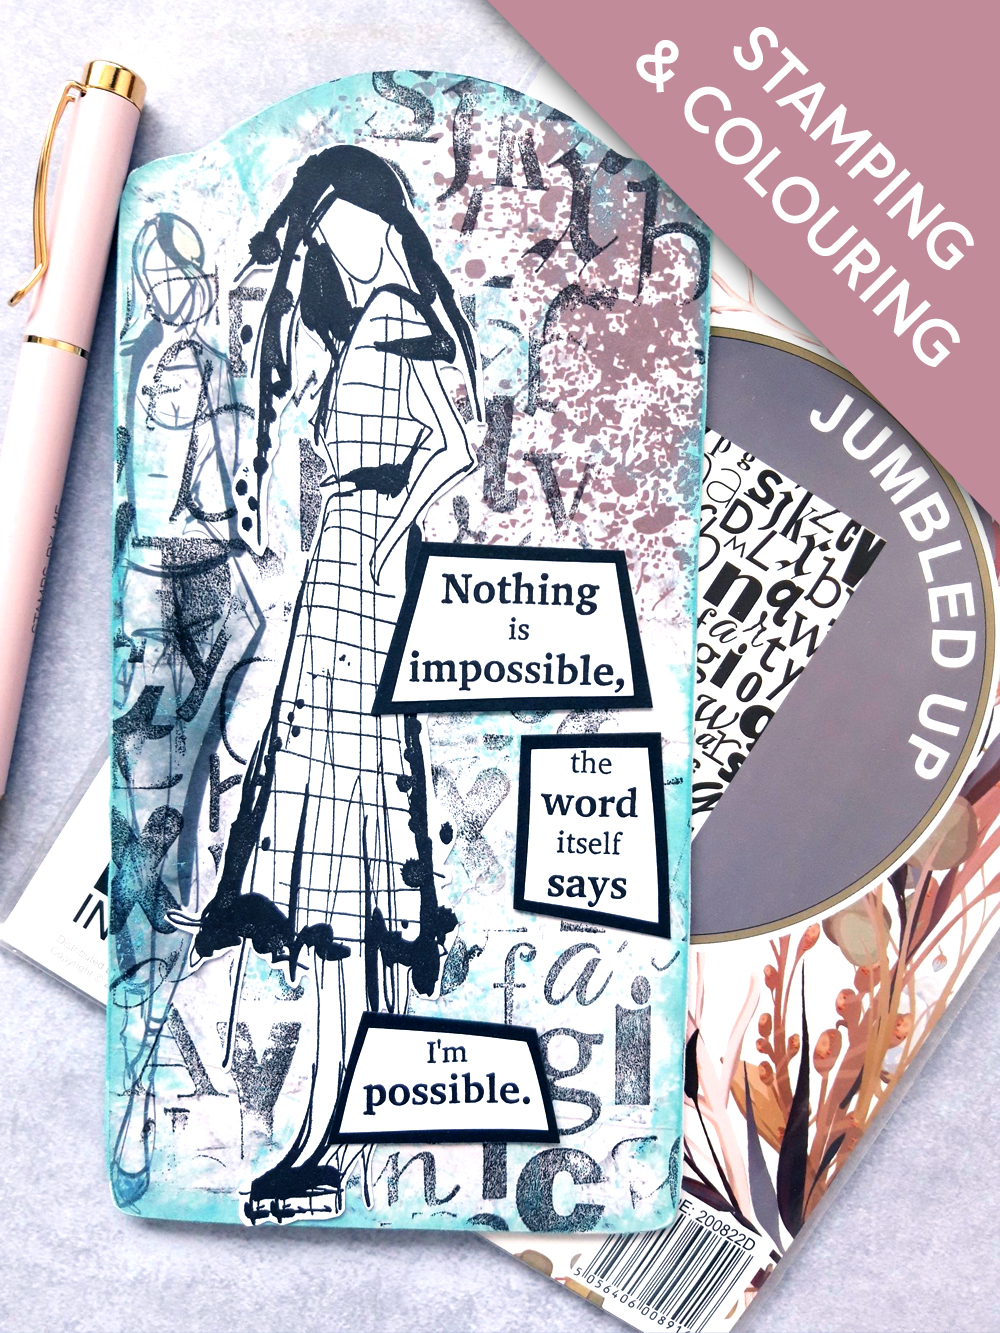
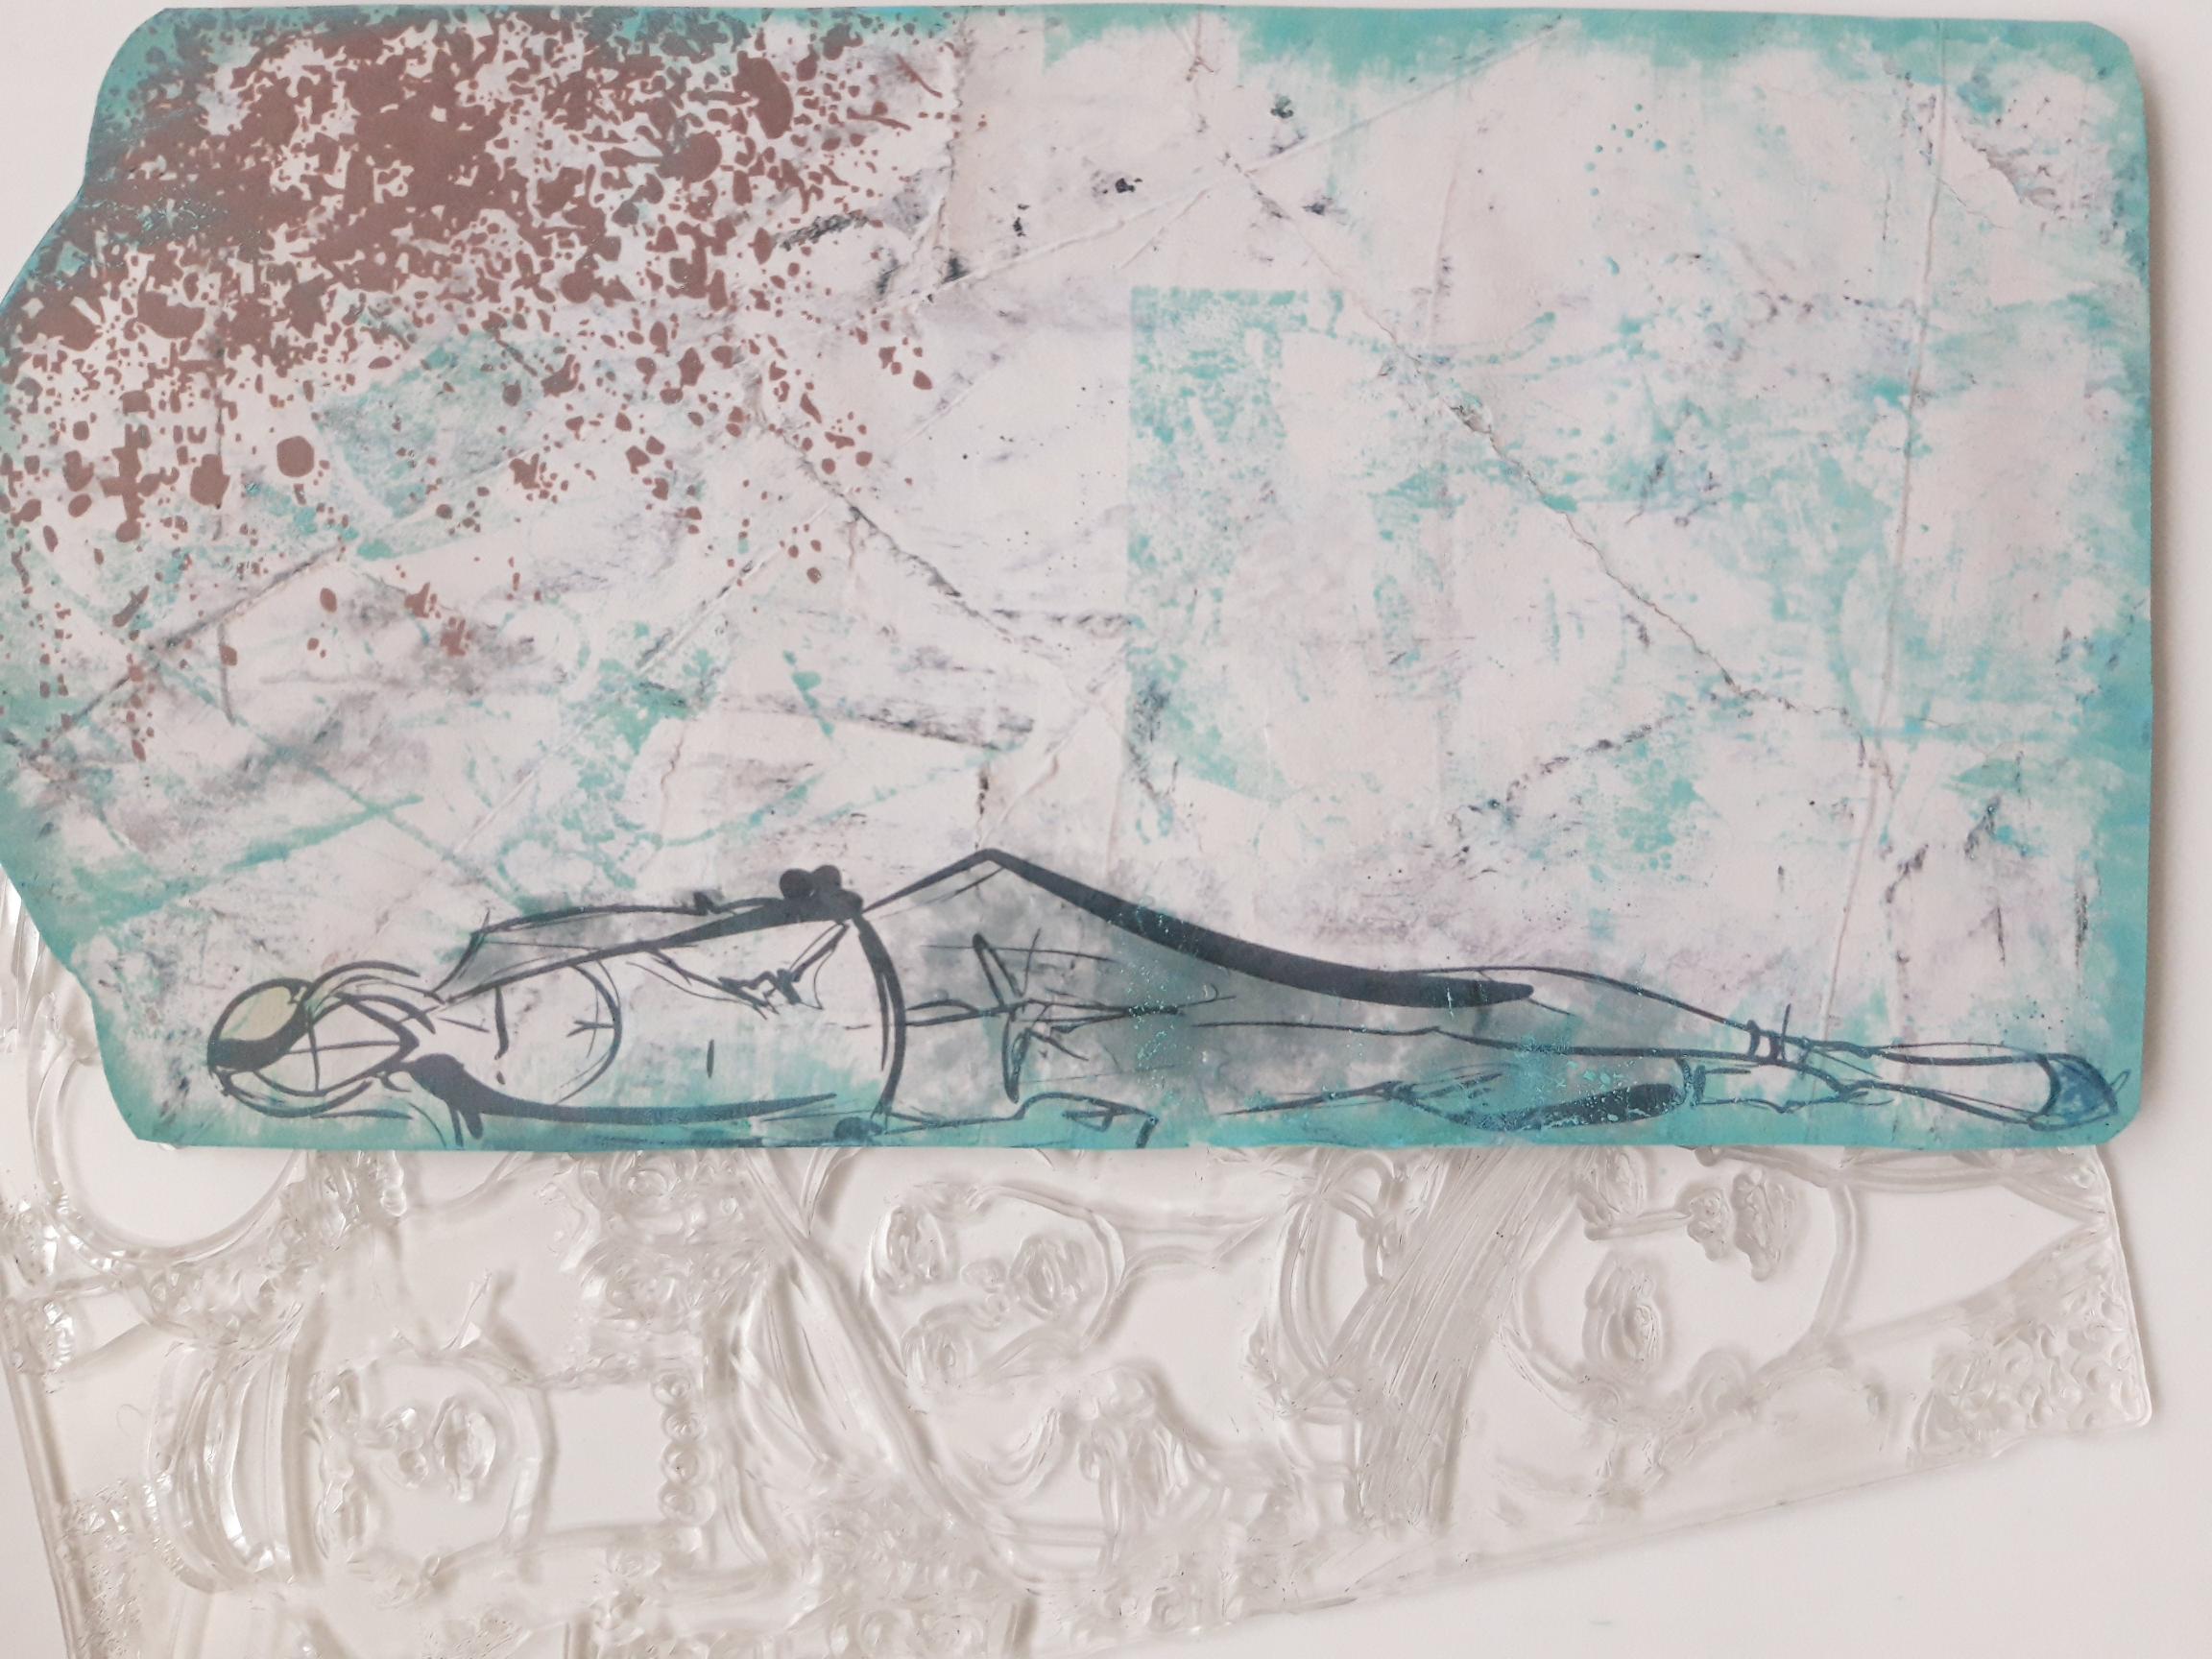
Tear out this decorative paper, from the Imala Collage paper pad. |
|
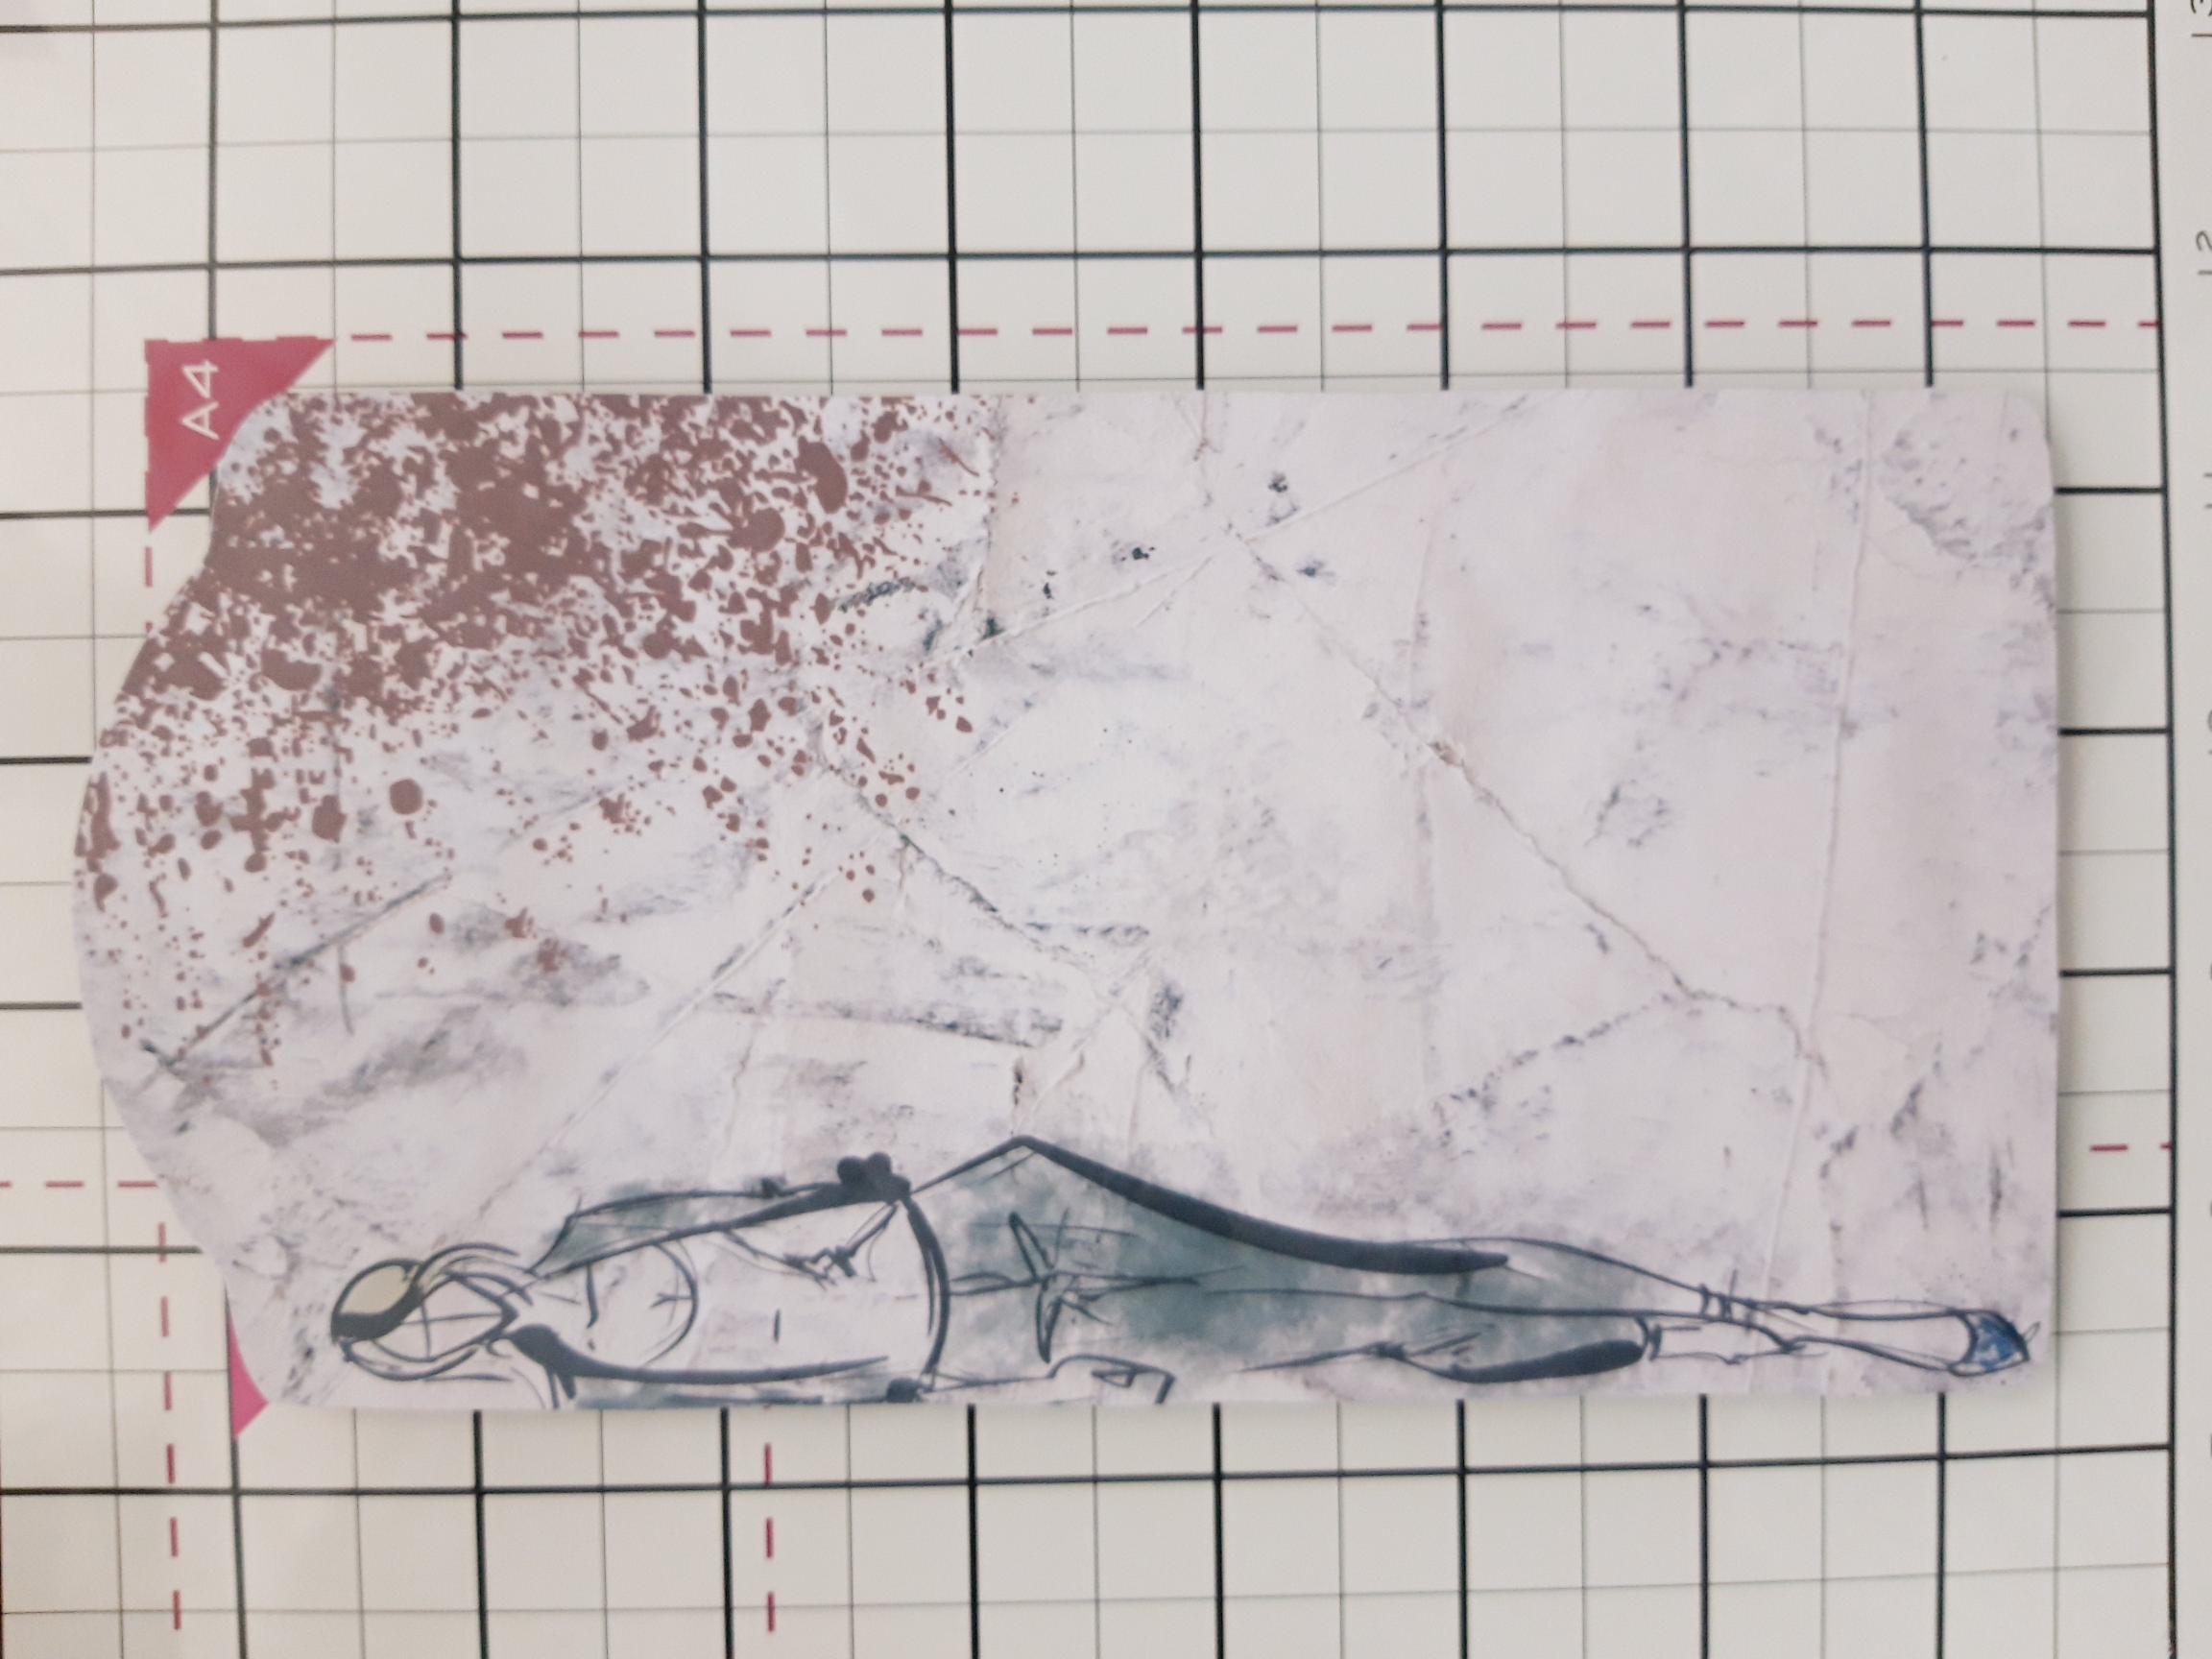
Place your MDF tag on the area of the decorative sheet you would like to use and draw around it lightly, with a pencil. Cut it out and adhere it to the tag. Use your sanding block around the edges, to sand off any excess paper and smooth the edges down. |
|
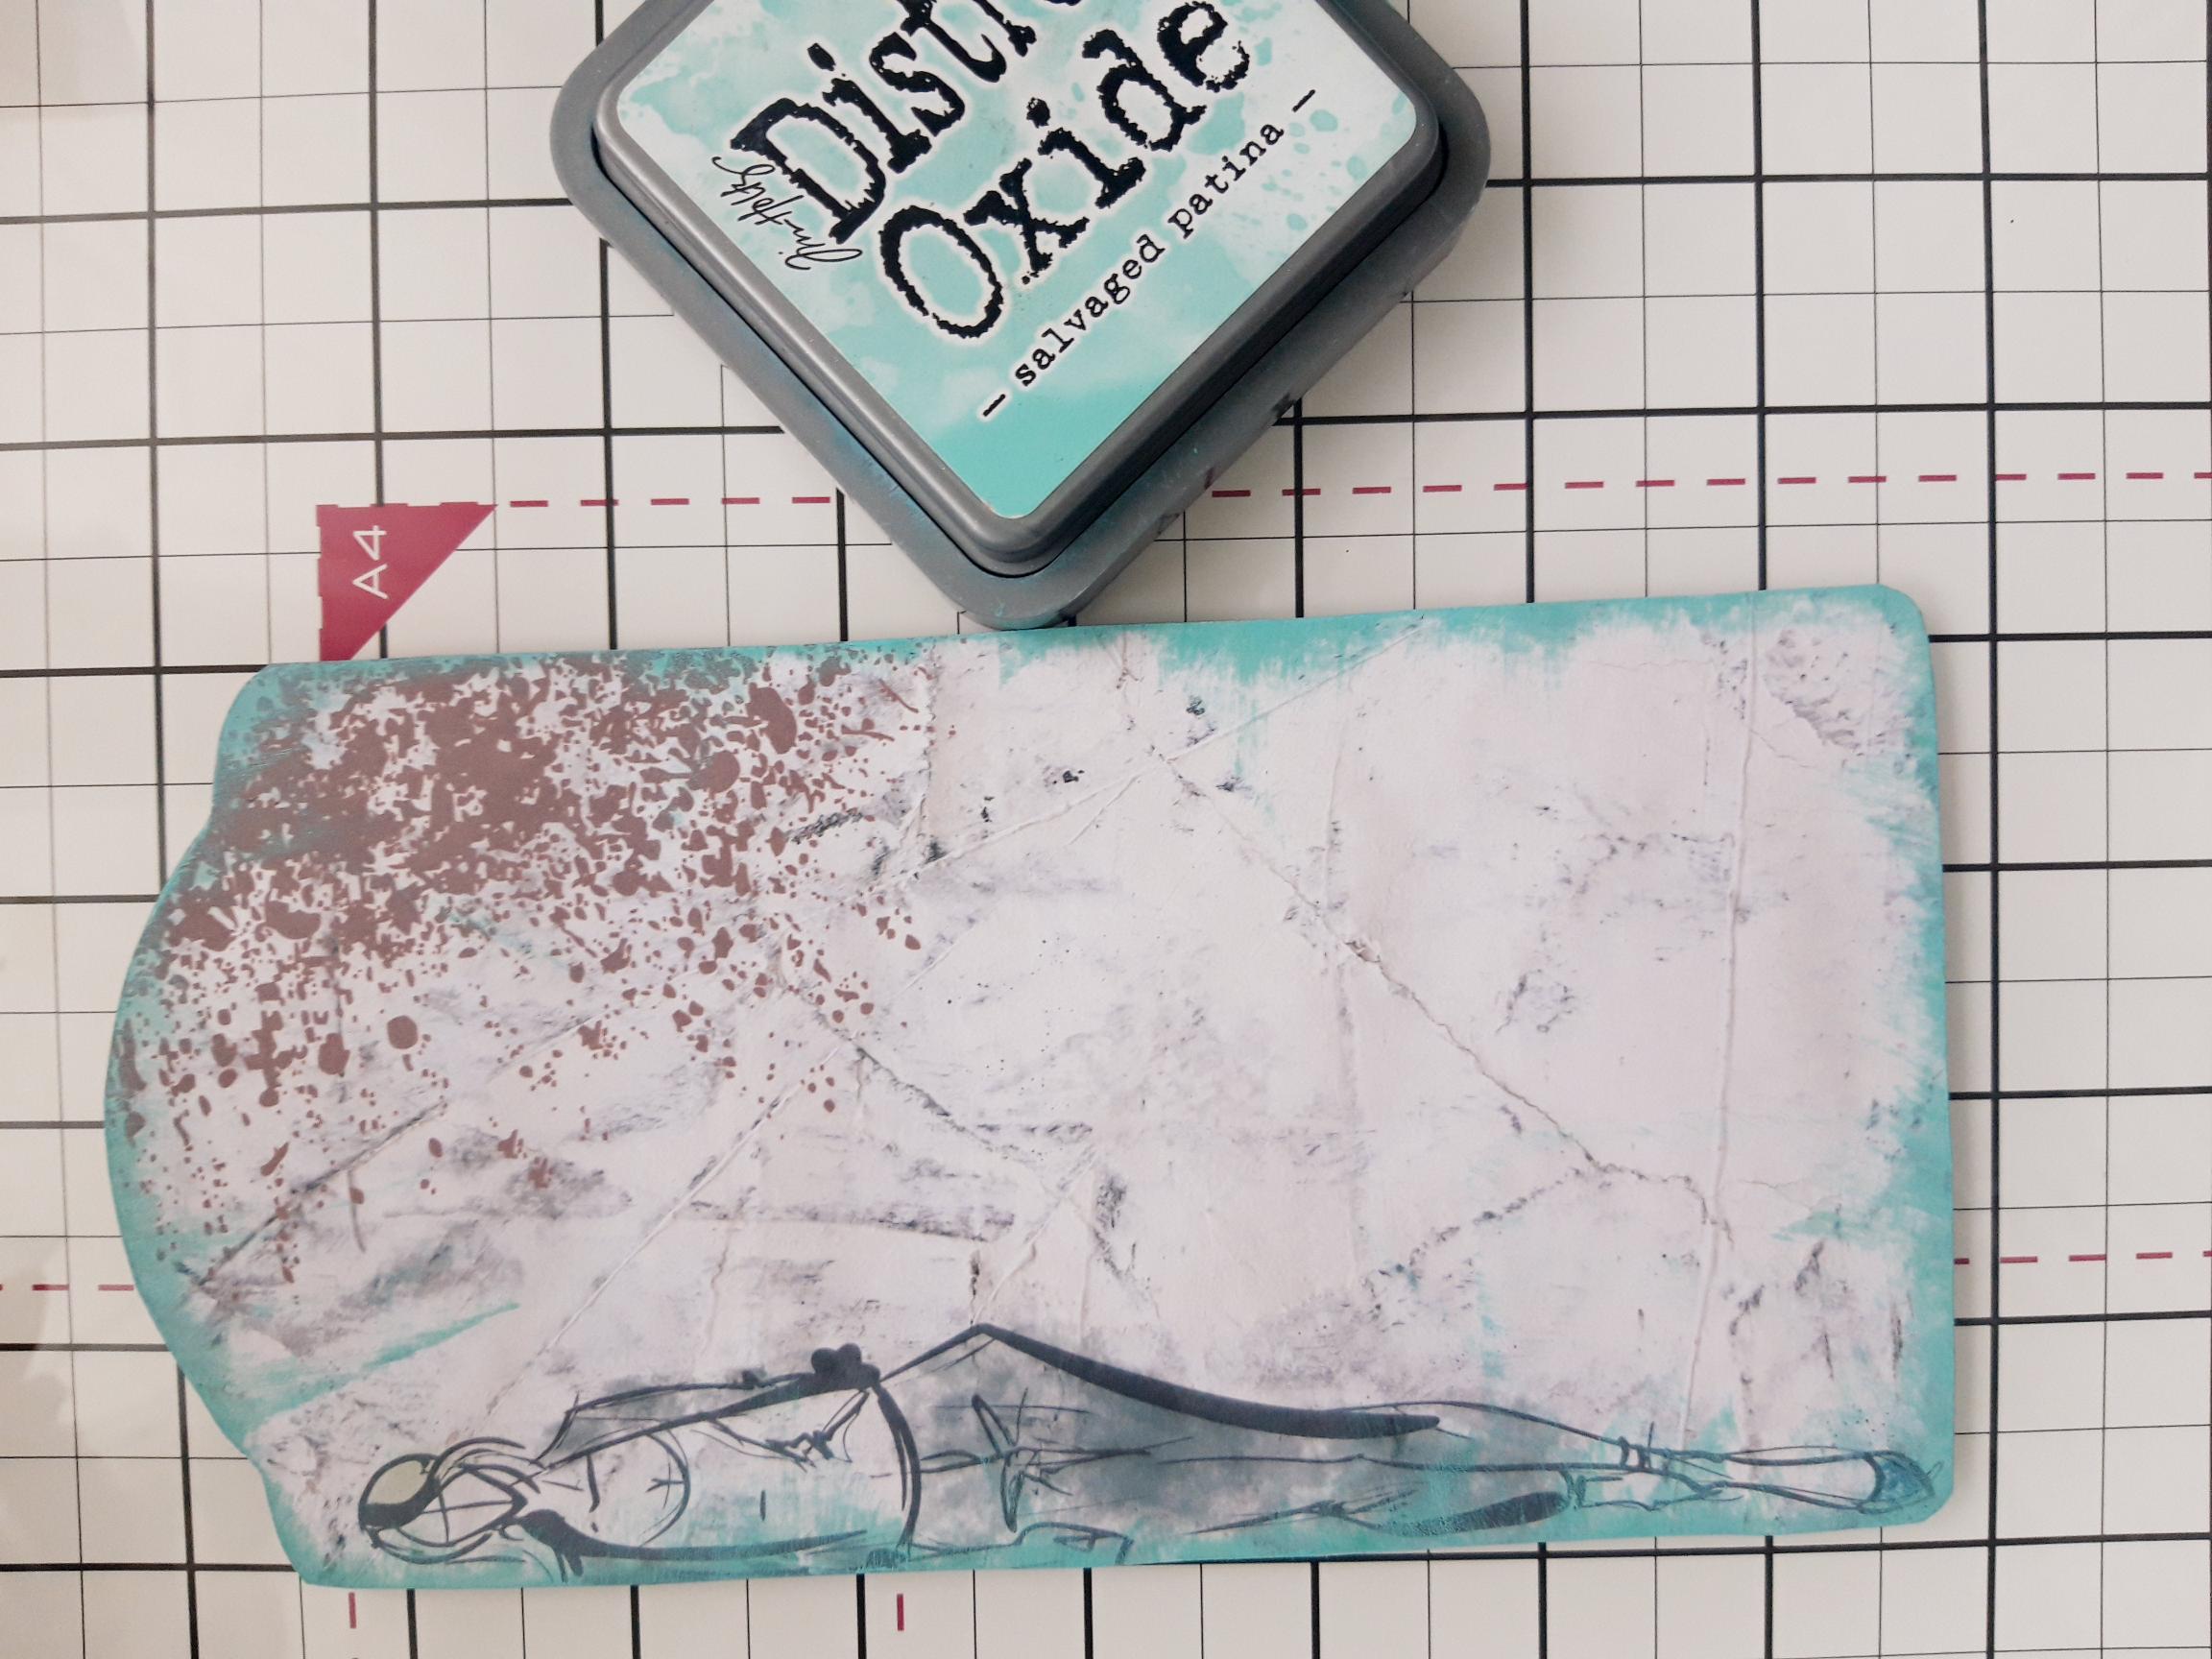
Swipe your Salavaged Patina Oxide around the edges of the tag. |
|
Ink up the Stay Fancy stamp with the same Oxide and, holding it in the palm of your hand, randomly stamp on to the tag, thus creating a distressed look. |
|
Ink the Jumbled Up stamp with the Smoky Grey Versafine and again, holding it in the palm of your hand, randomly stamp on to the tag. Set your tag to one side. |
|
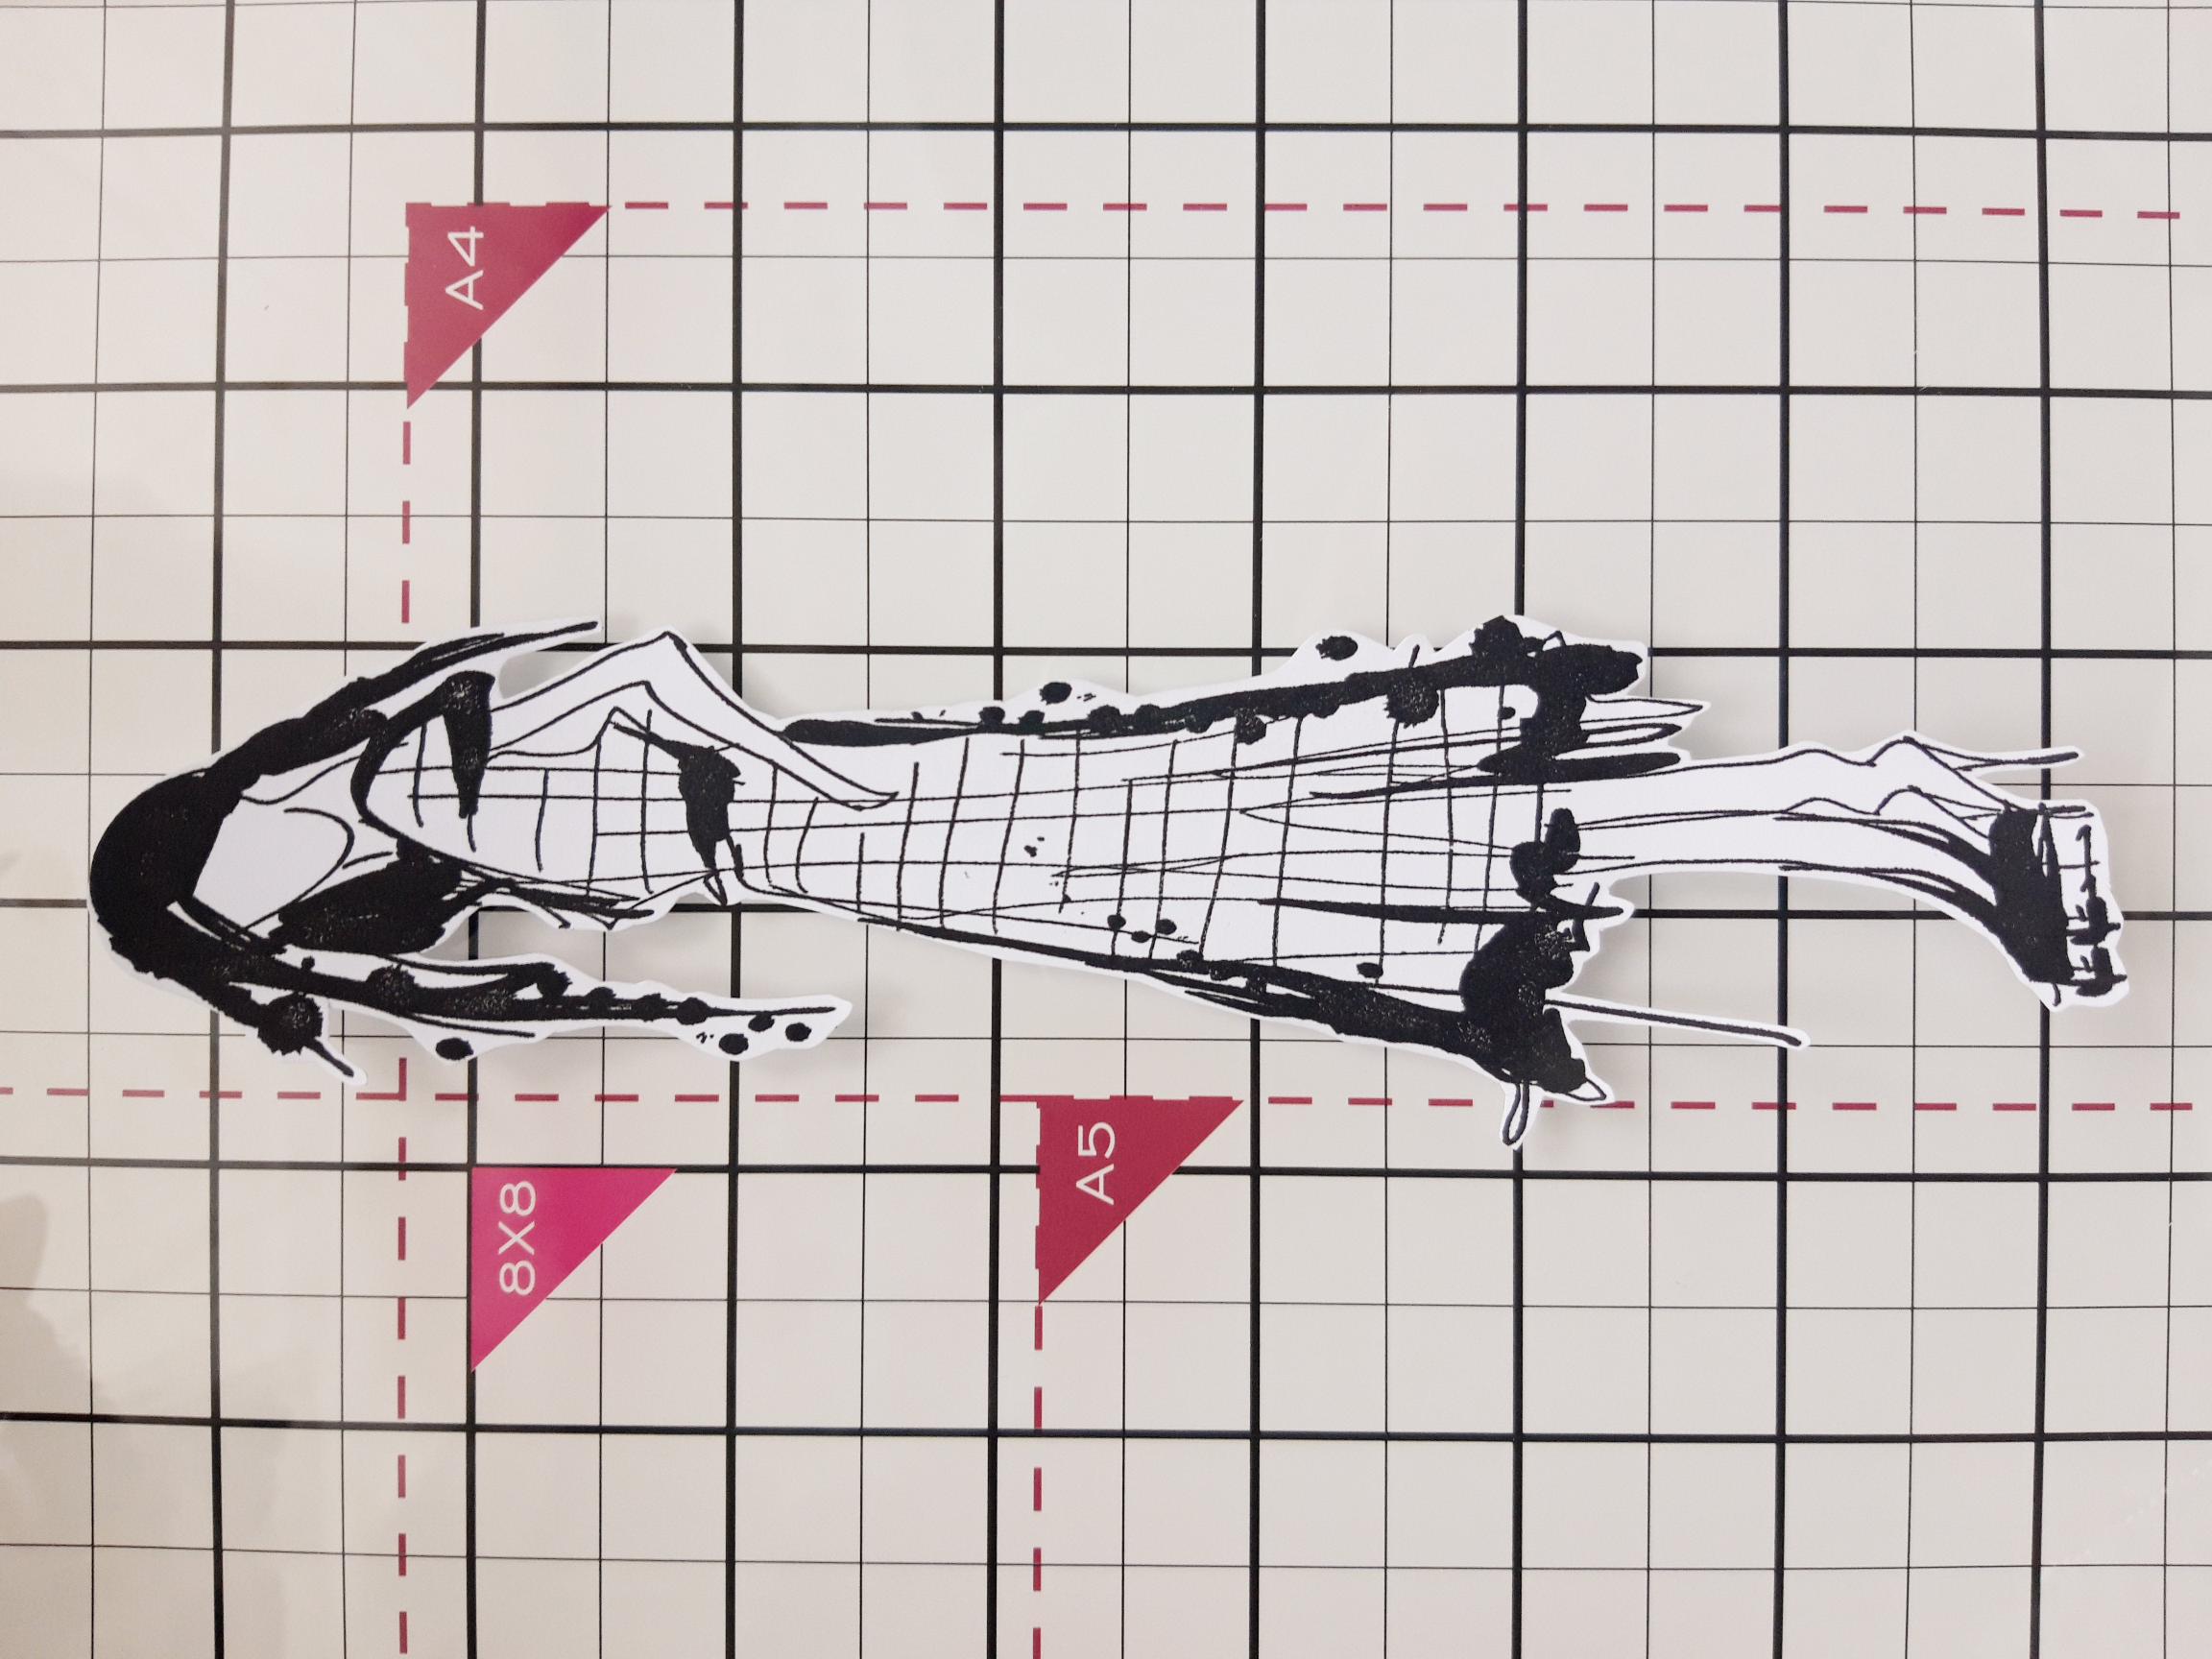
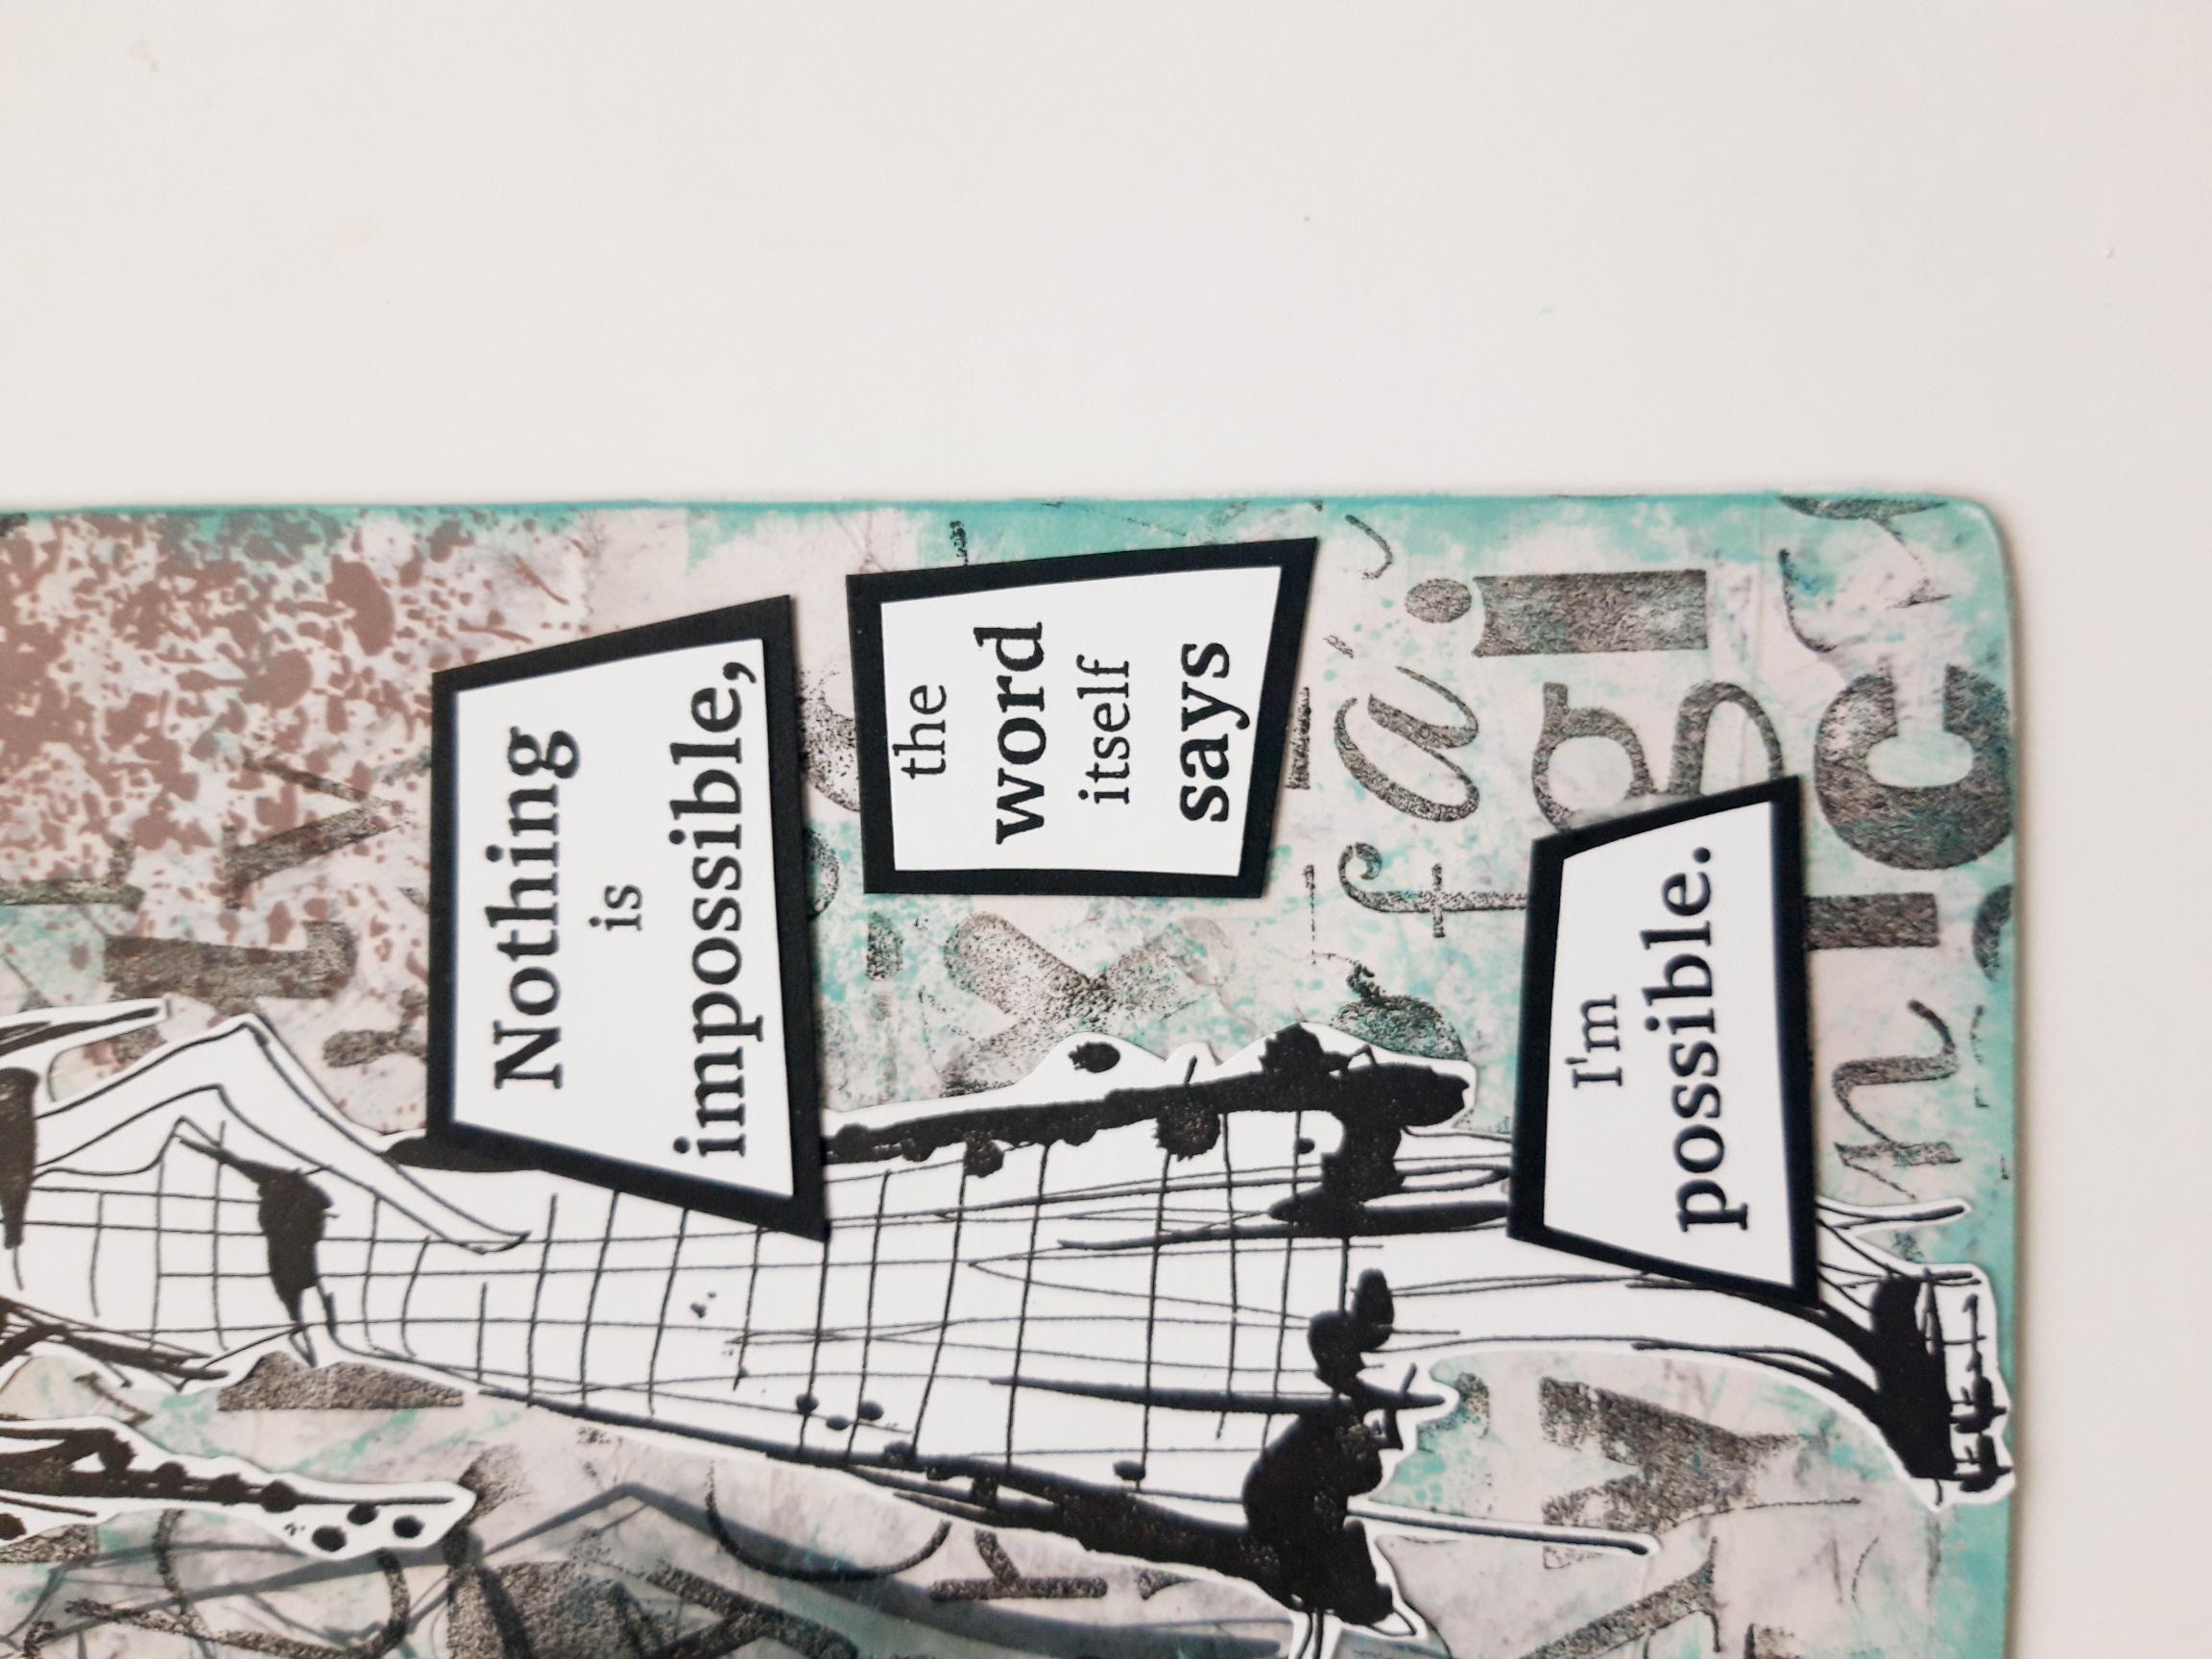
Ink up our lady from the Feel Beautiful set, with the Onyx Black Versafine. Stamp her on the white card cut to 8 x 5", then fussy cut her out. Set the remaining card to one side, to stamp the sentiment on, in a later step. |
|
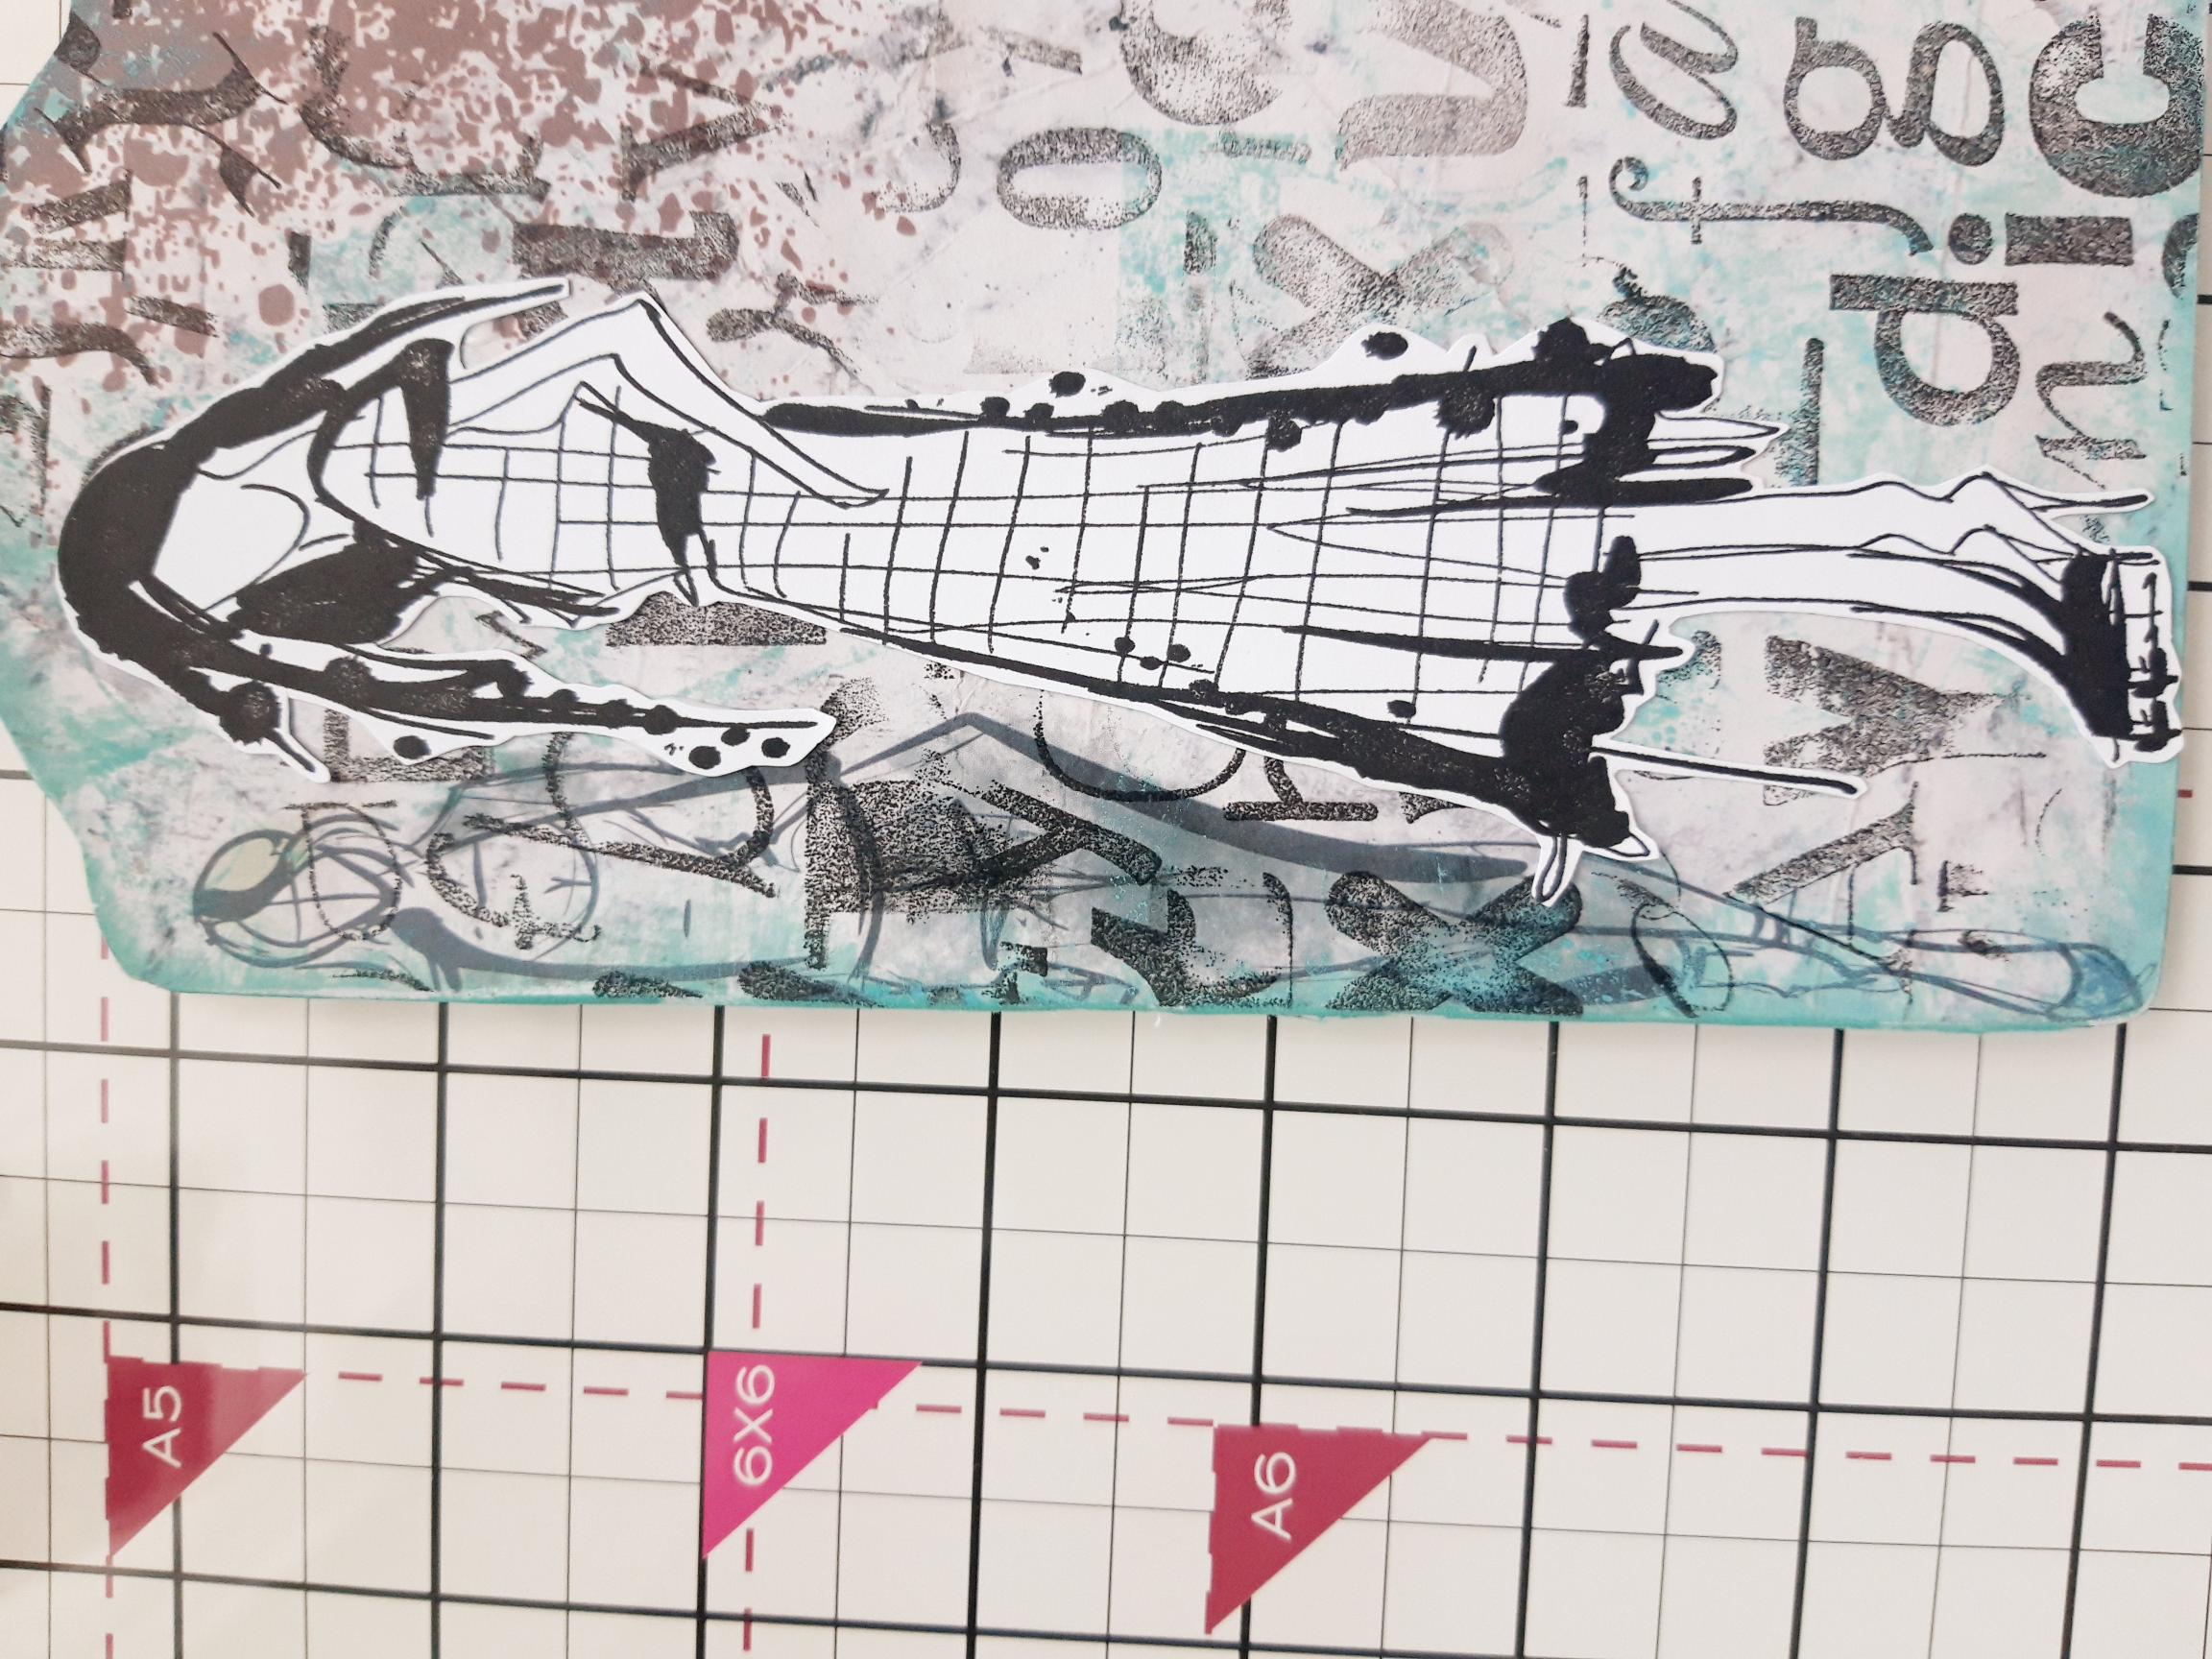
Adhere her down the left side of your inked tag and set to one side. |
|
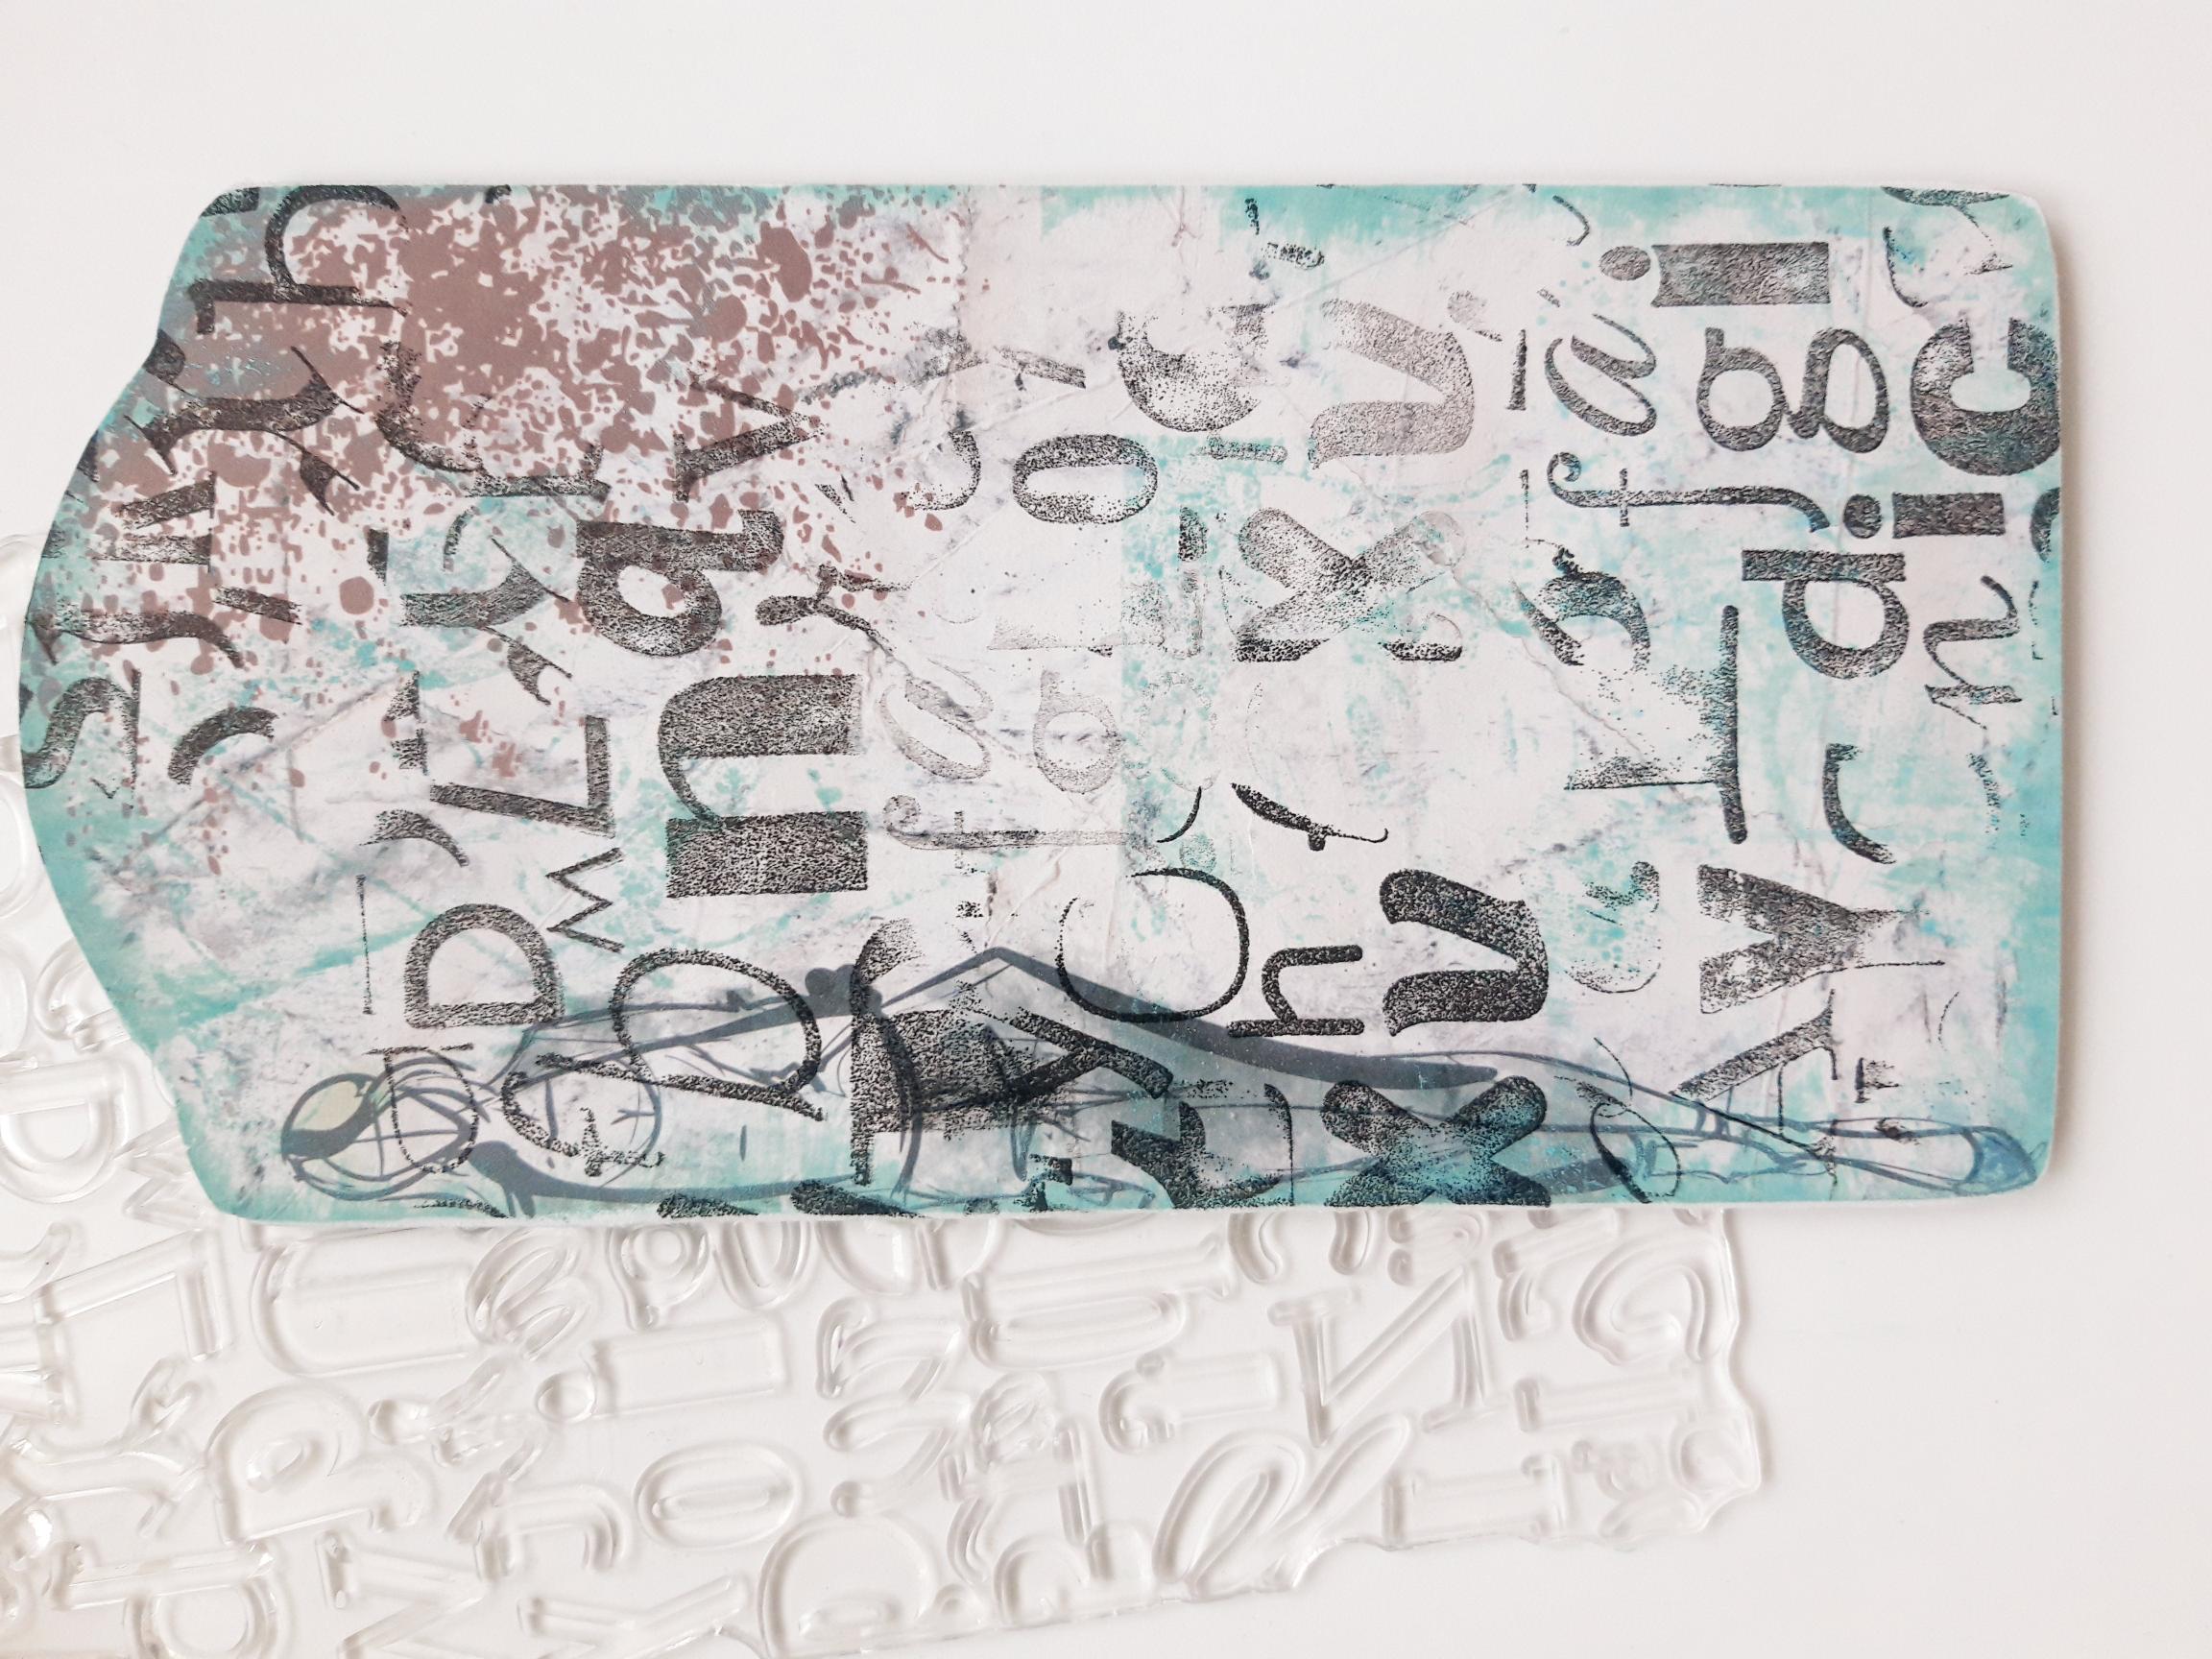
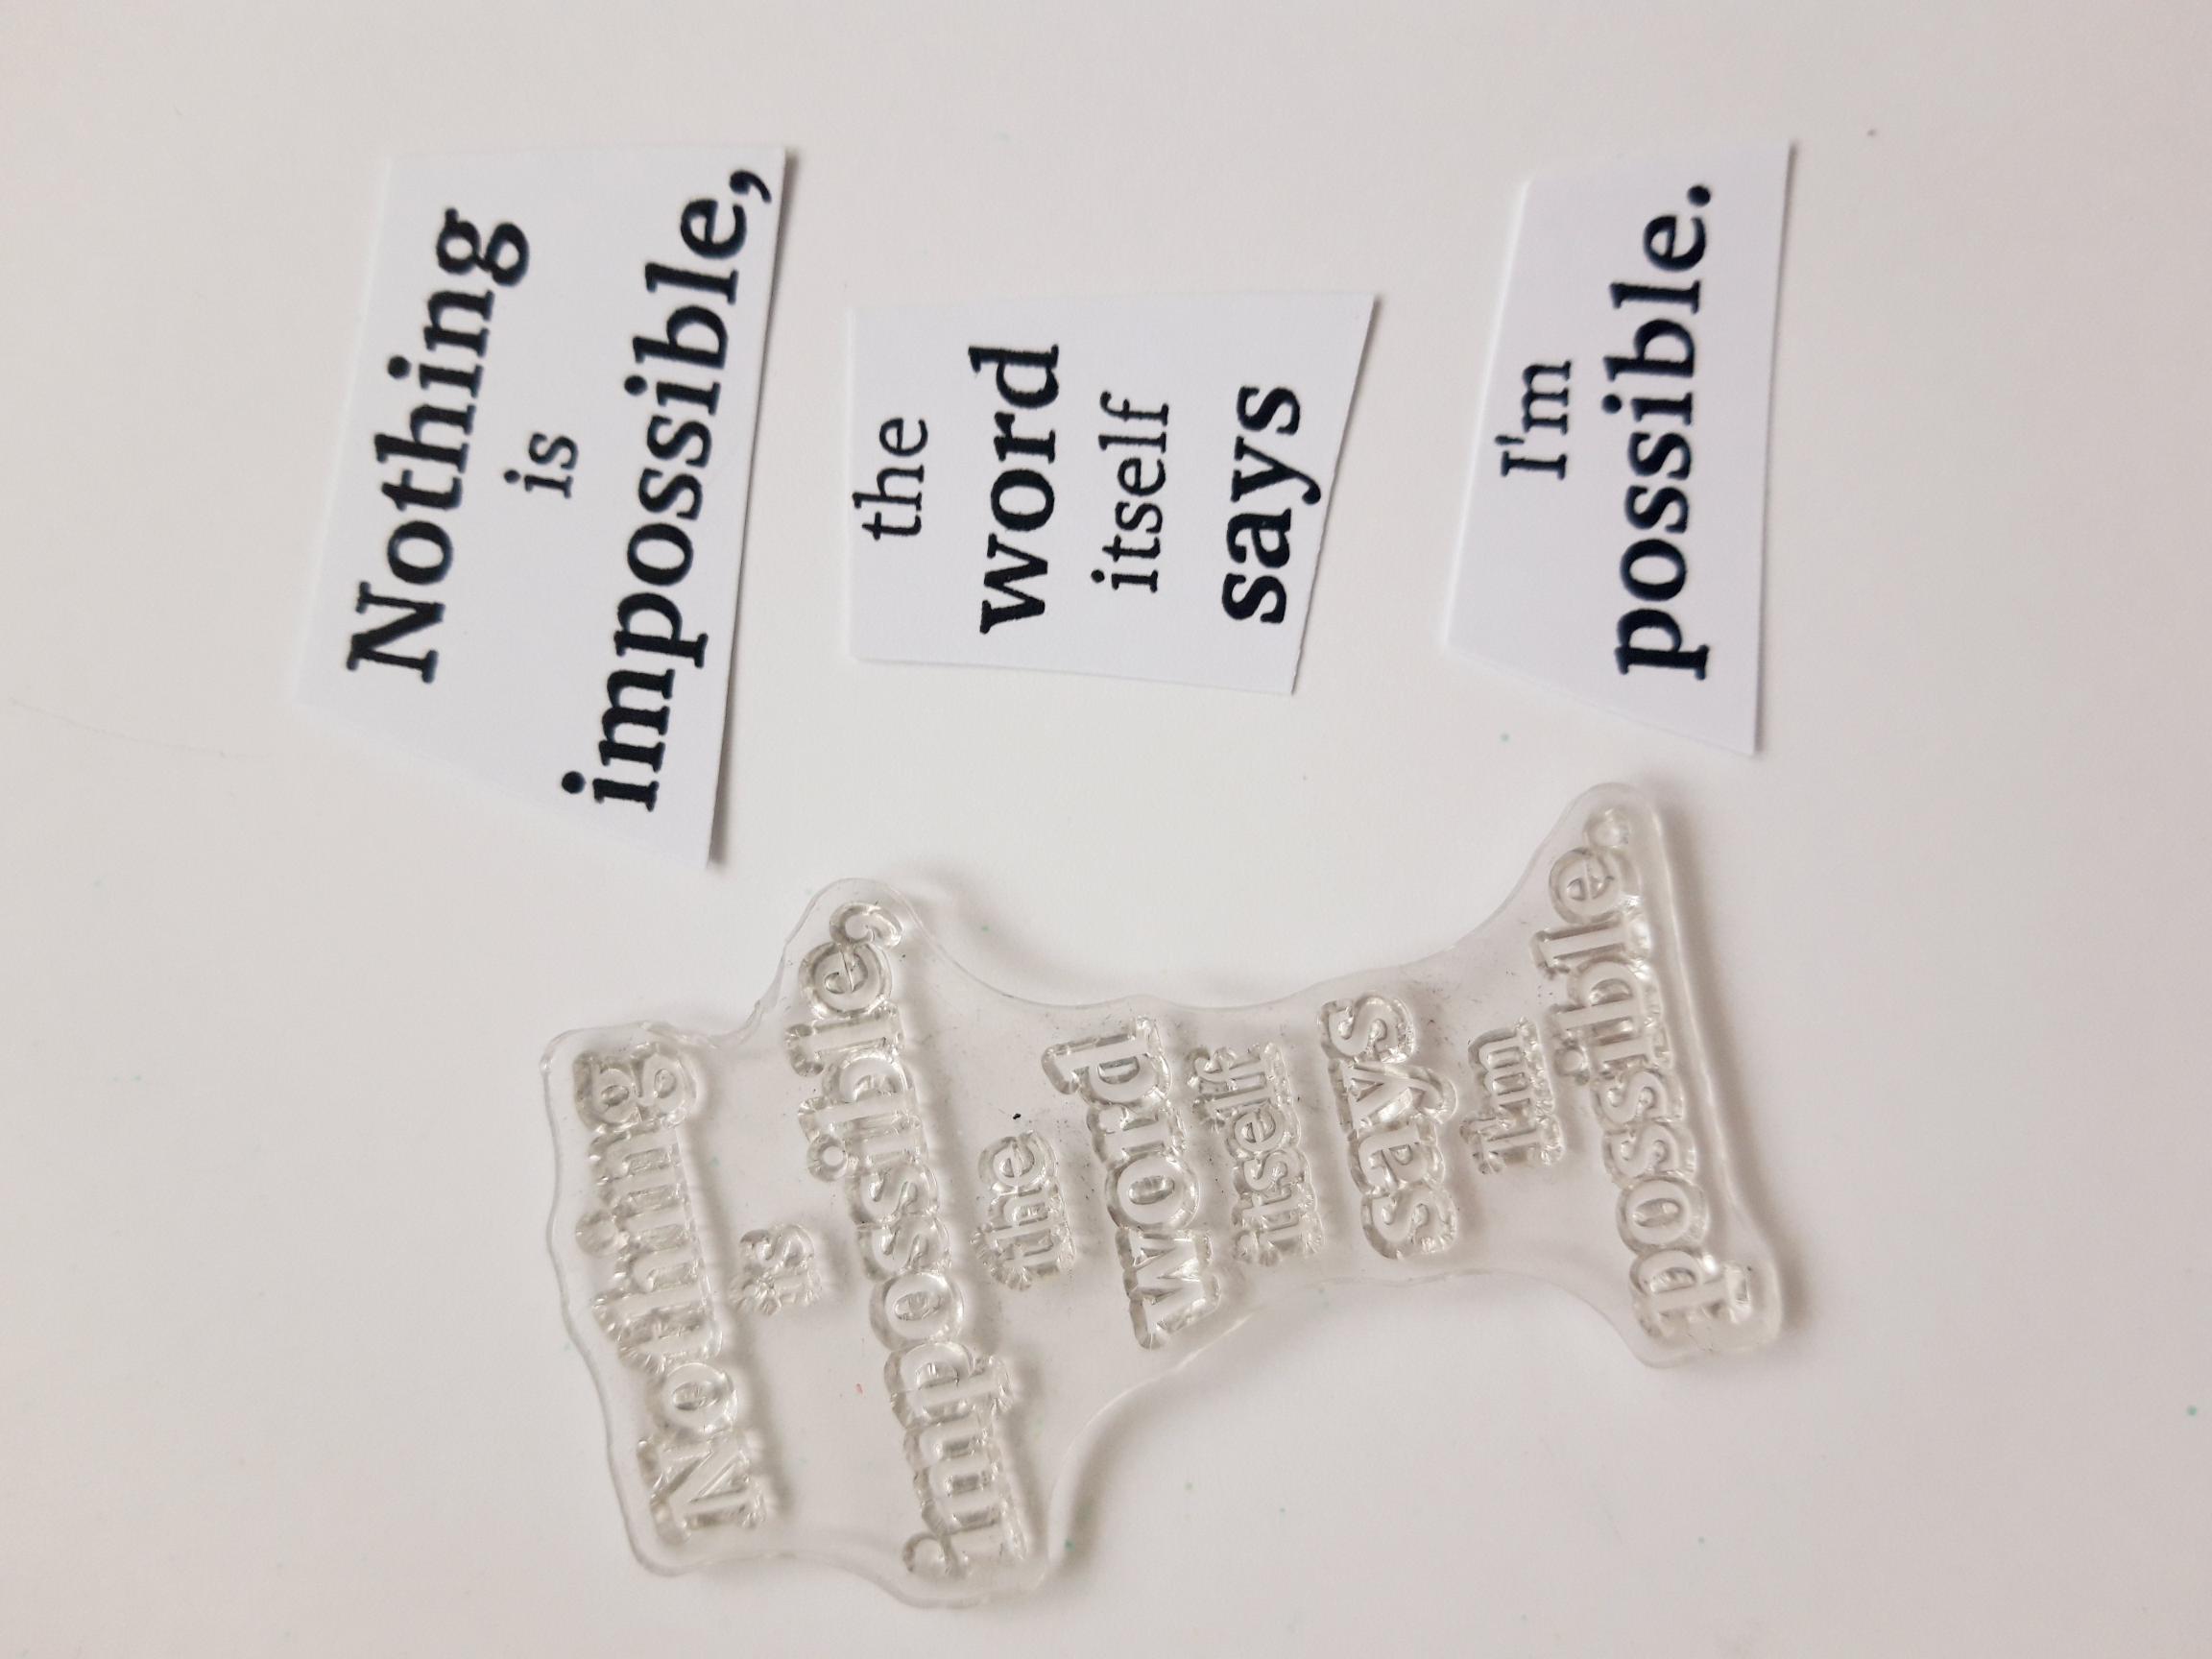
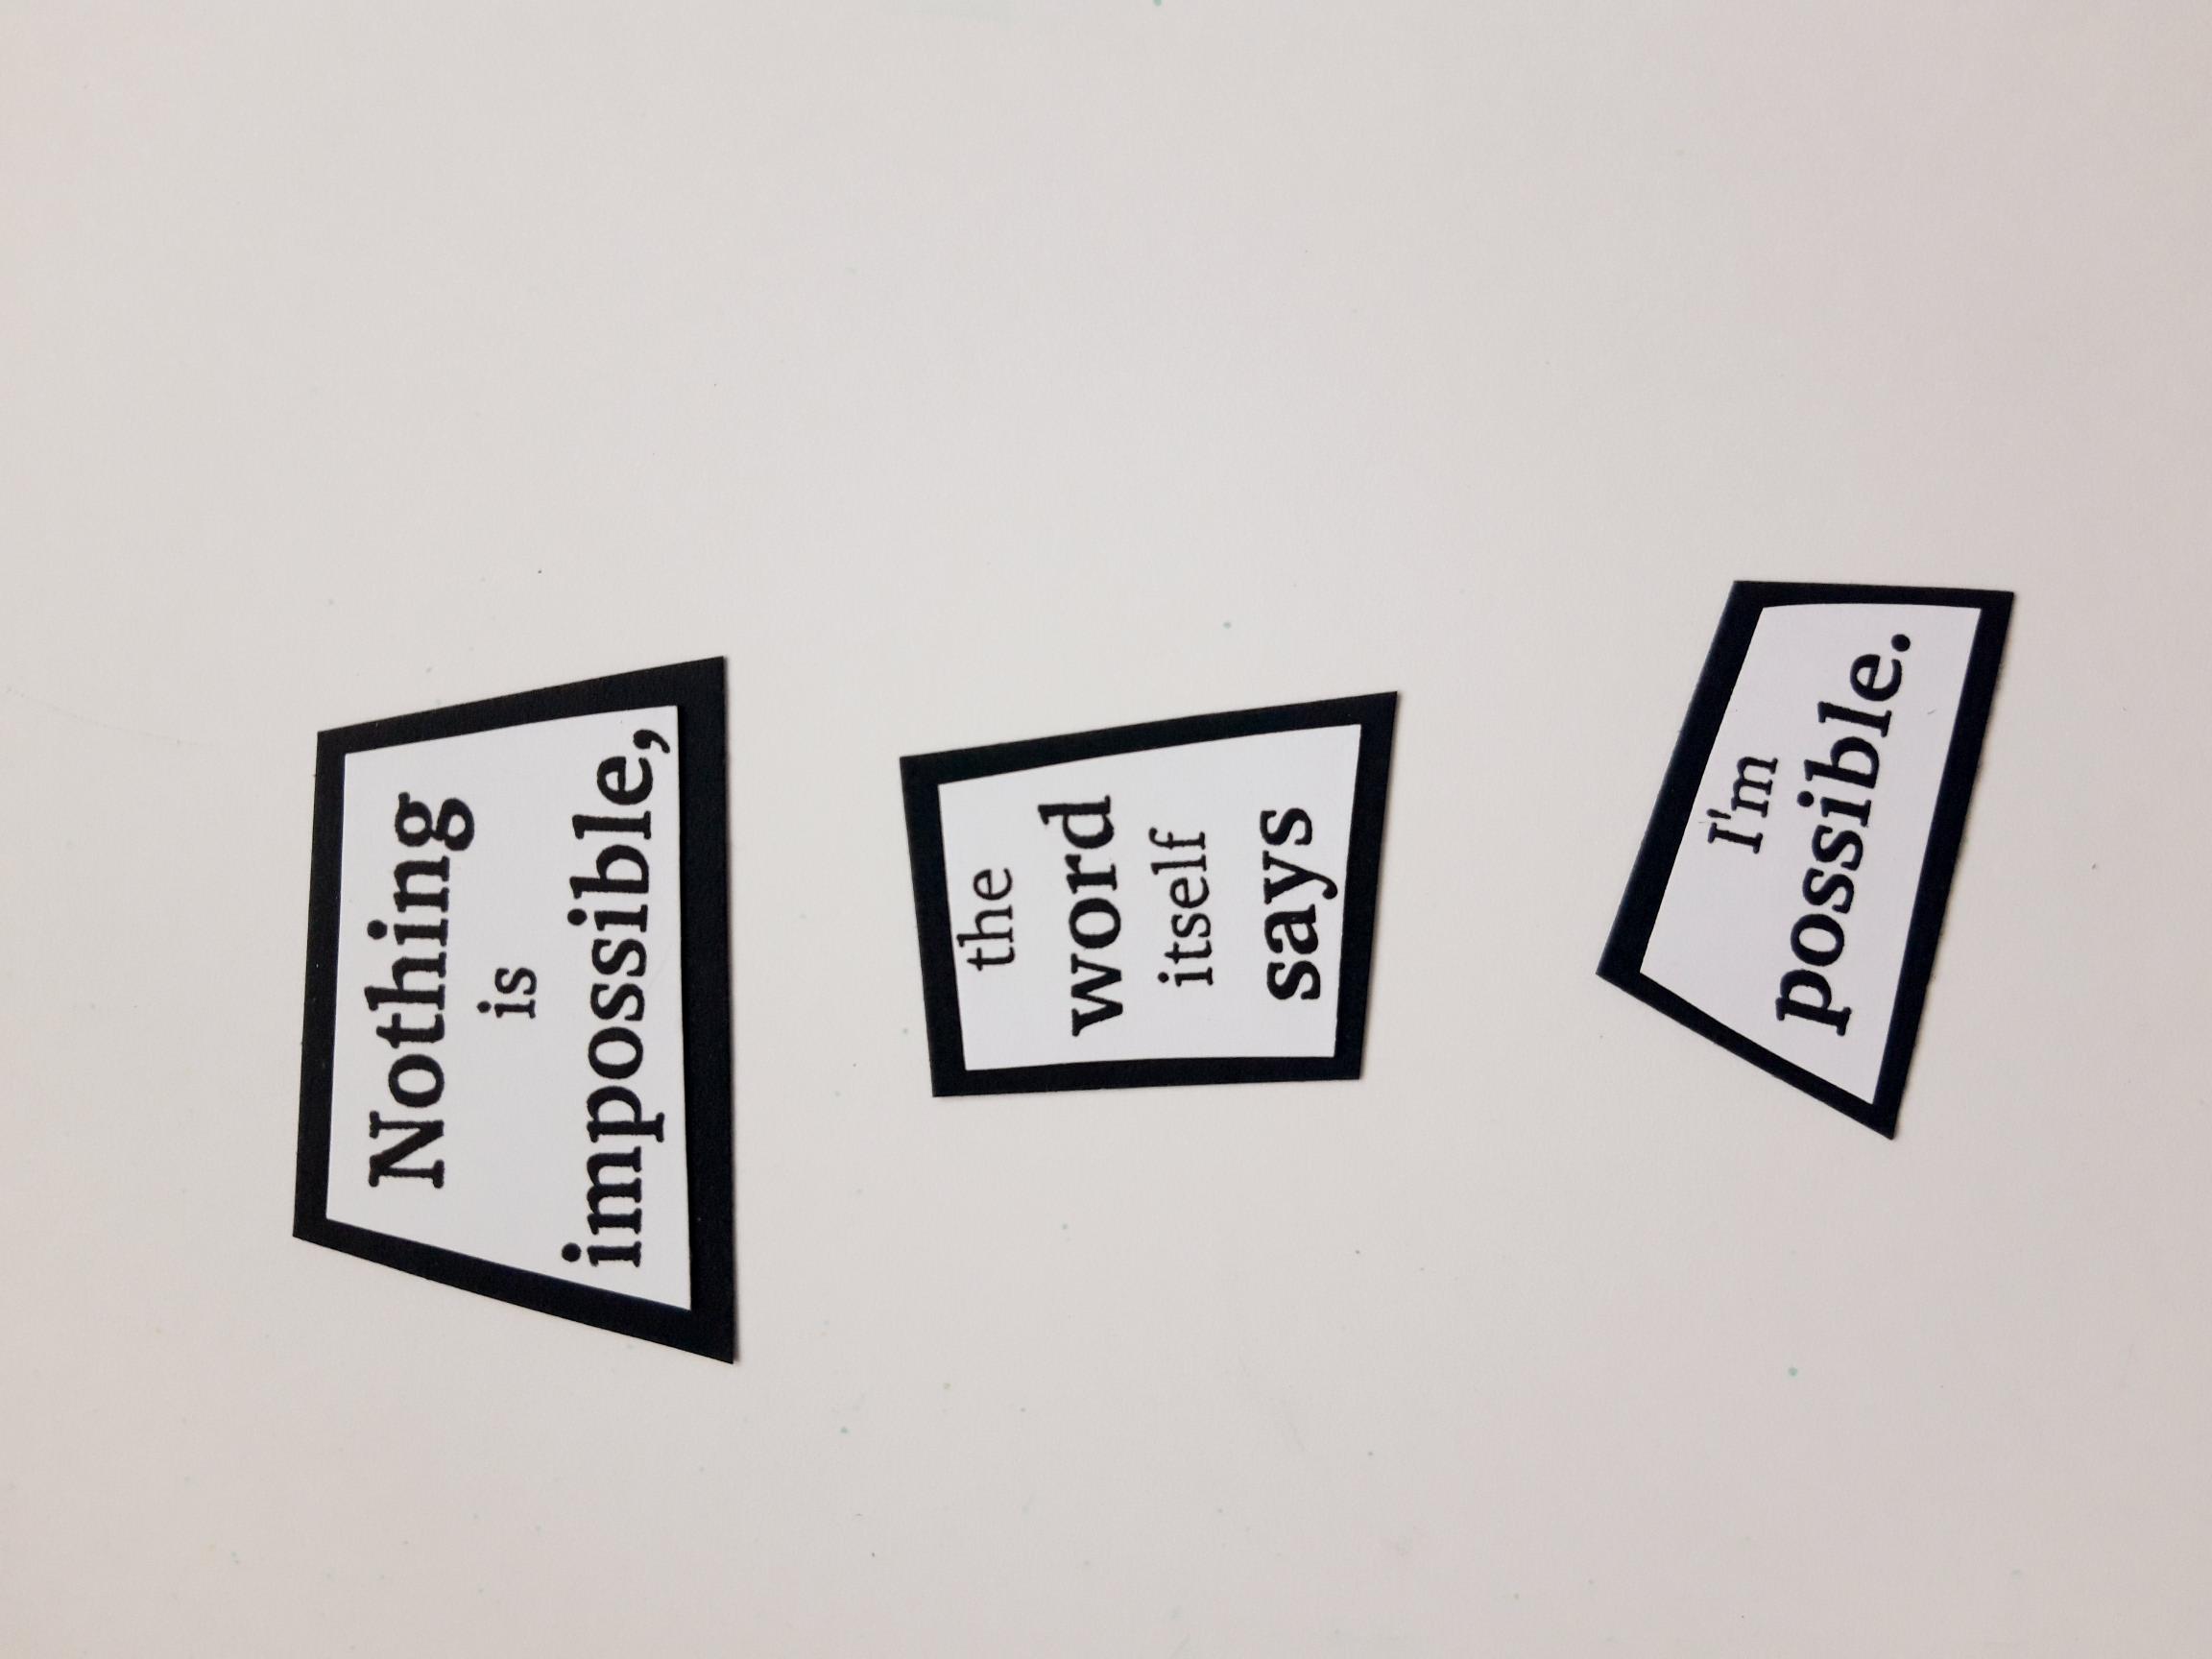
Ink up the sentiment stamp, from the Imala Extraordinary Collection, with the Onyx Black Versafine. Stamp on to the white card you set aside earlier. Cut the sentiment in to strips, as shown here. I like cutting them on a slant, but it's personal preference! |
|
Adhere them on to the black card and trim each one down, to create a black "mat". |
|
Adhere down the right side of your tag, to finish. |