Give your friends $10 off their first order!
Refer a FRIEND


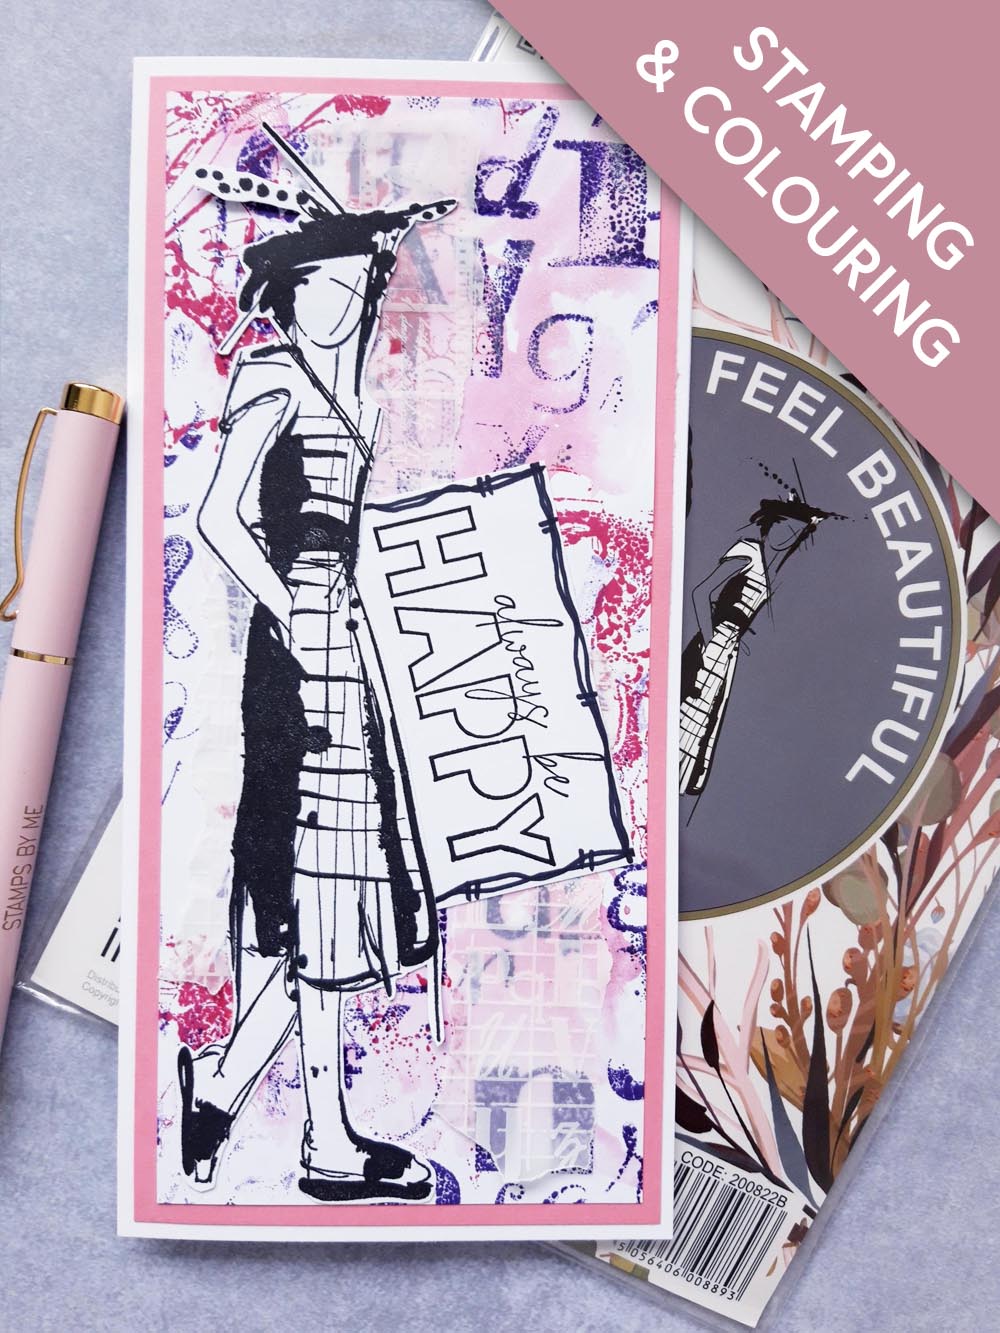
WHAT YOU WILL NEED:
White DL card blank 8 1/4 x 4"
White card 7 3/4 x 3 1/2"
White card A4
Premium A4 Cardstock Blush Collection: Pink texture card 8 x 3 3/4"
Imala Feel Beautiful Stamp Collection
Imala Stay Fancy Stamp Collection
Imala Jumbled Up Stamp Collection
Imala My Rules Stamp Collection
Versafine Ink Pad: Onyx Black
Premium Dye Ink Pad: Magenta, Indigo
Pearlywinks Pearl Mist: Glitter Pearl
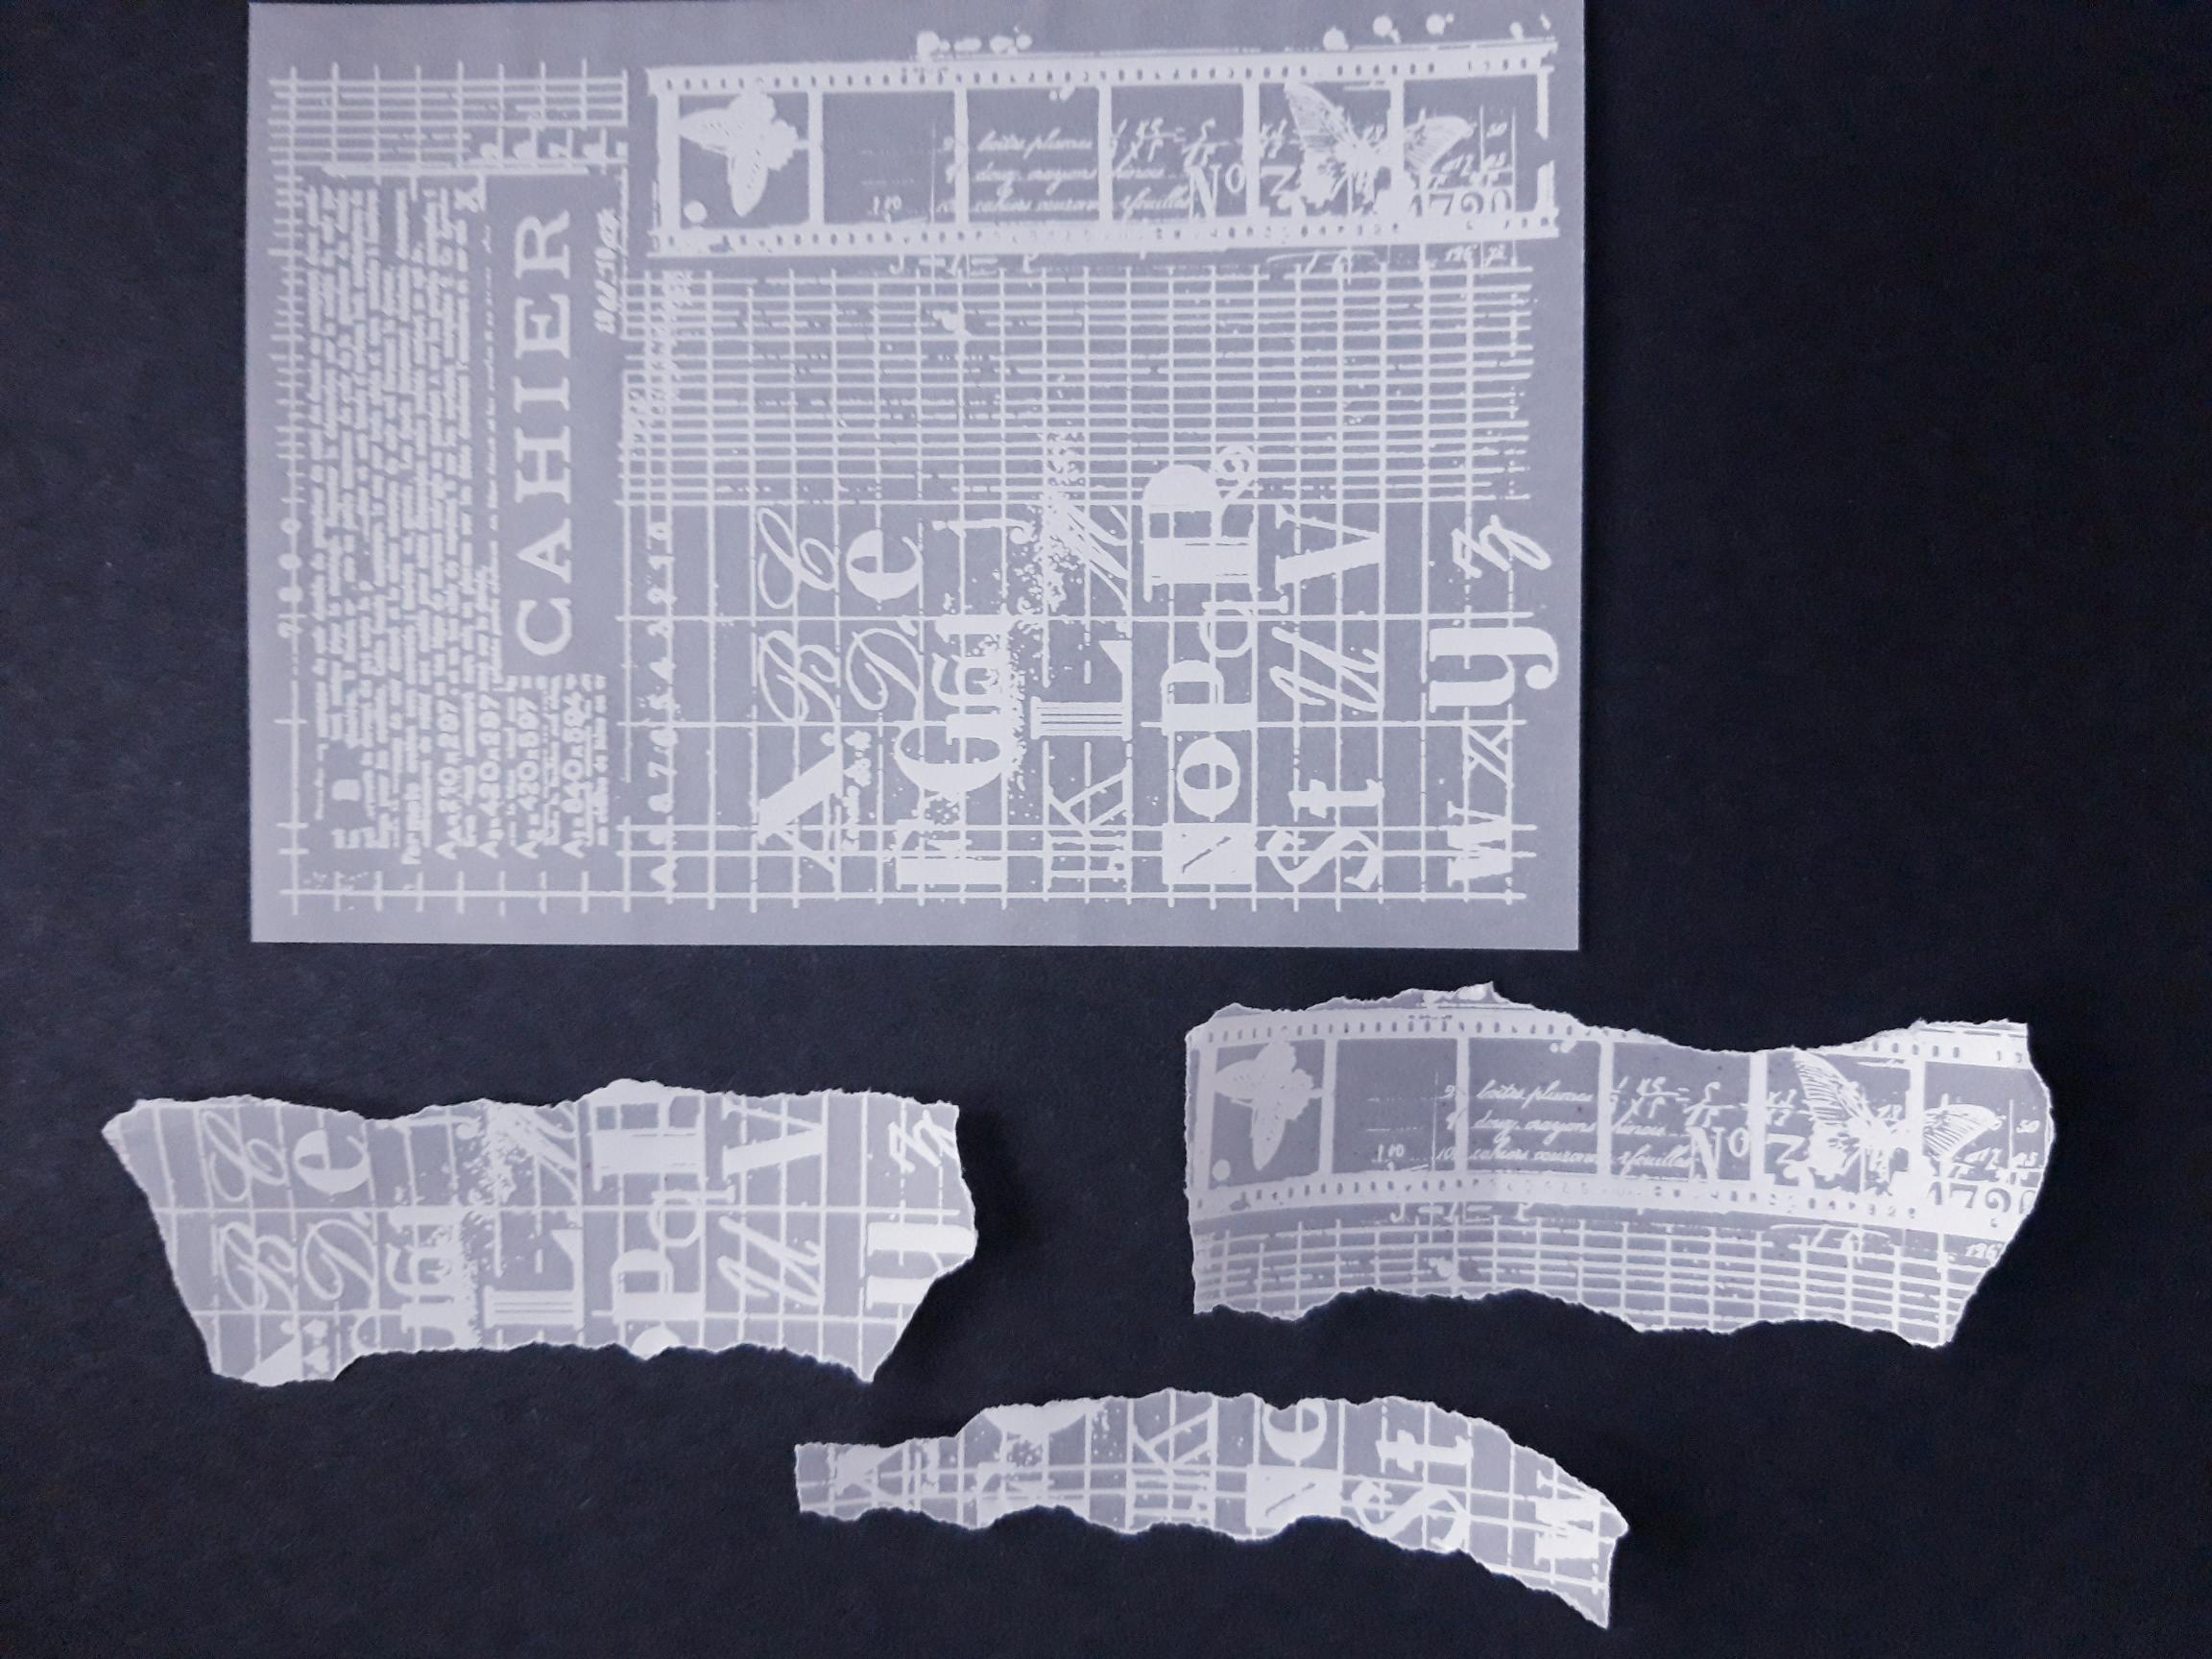
Vellum Postcard Collection: Timeless
Black pen
Eureka 101
Paper Trimmer
Perfect Together Glue
[click image to enlarge] 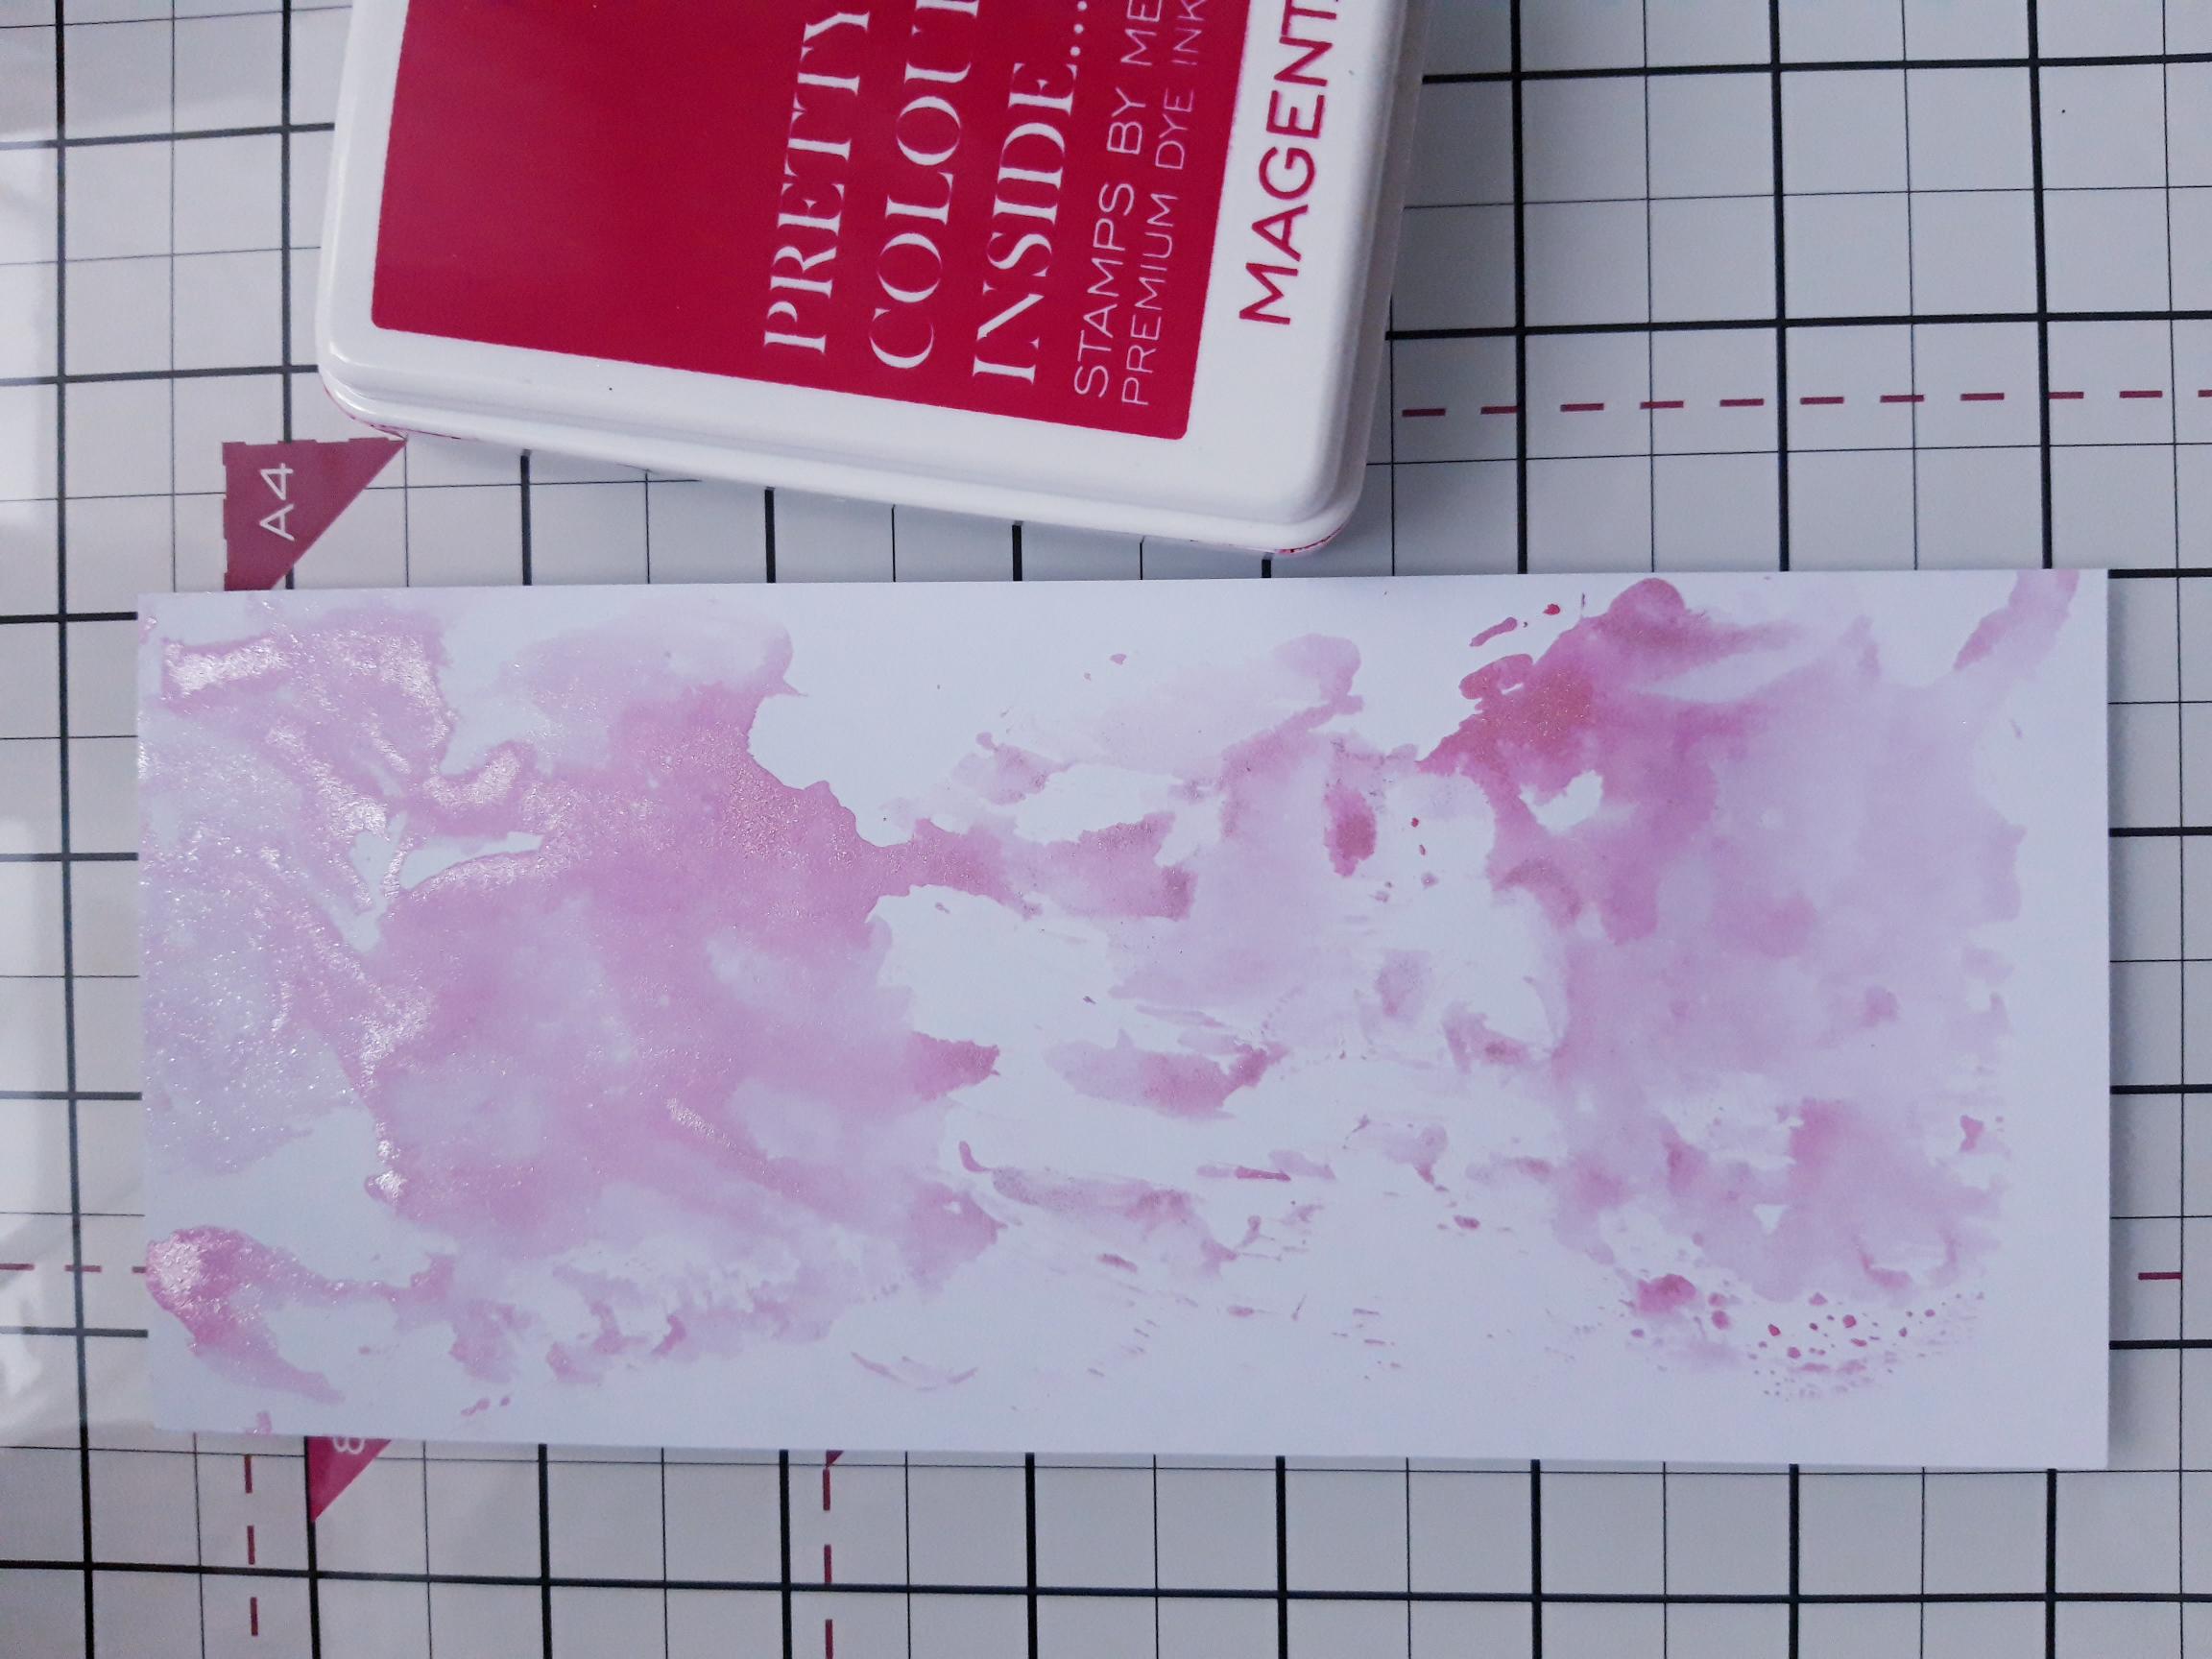
|
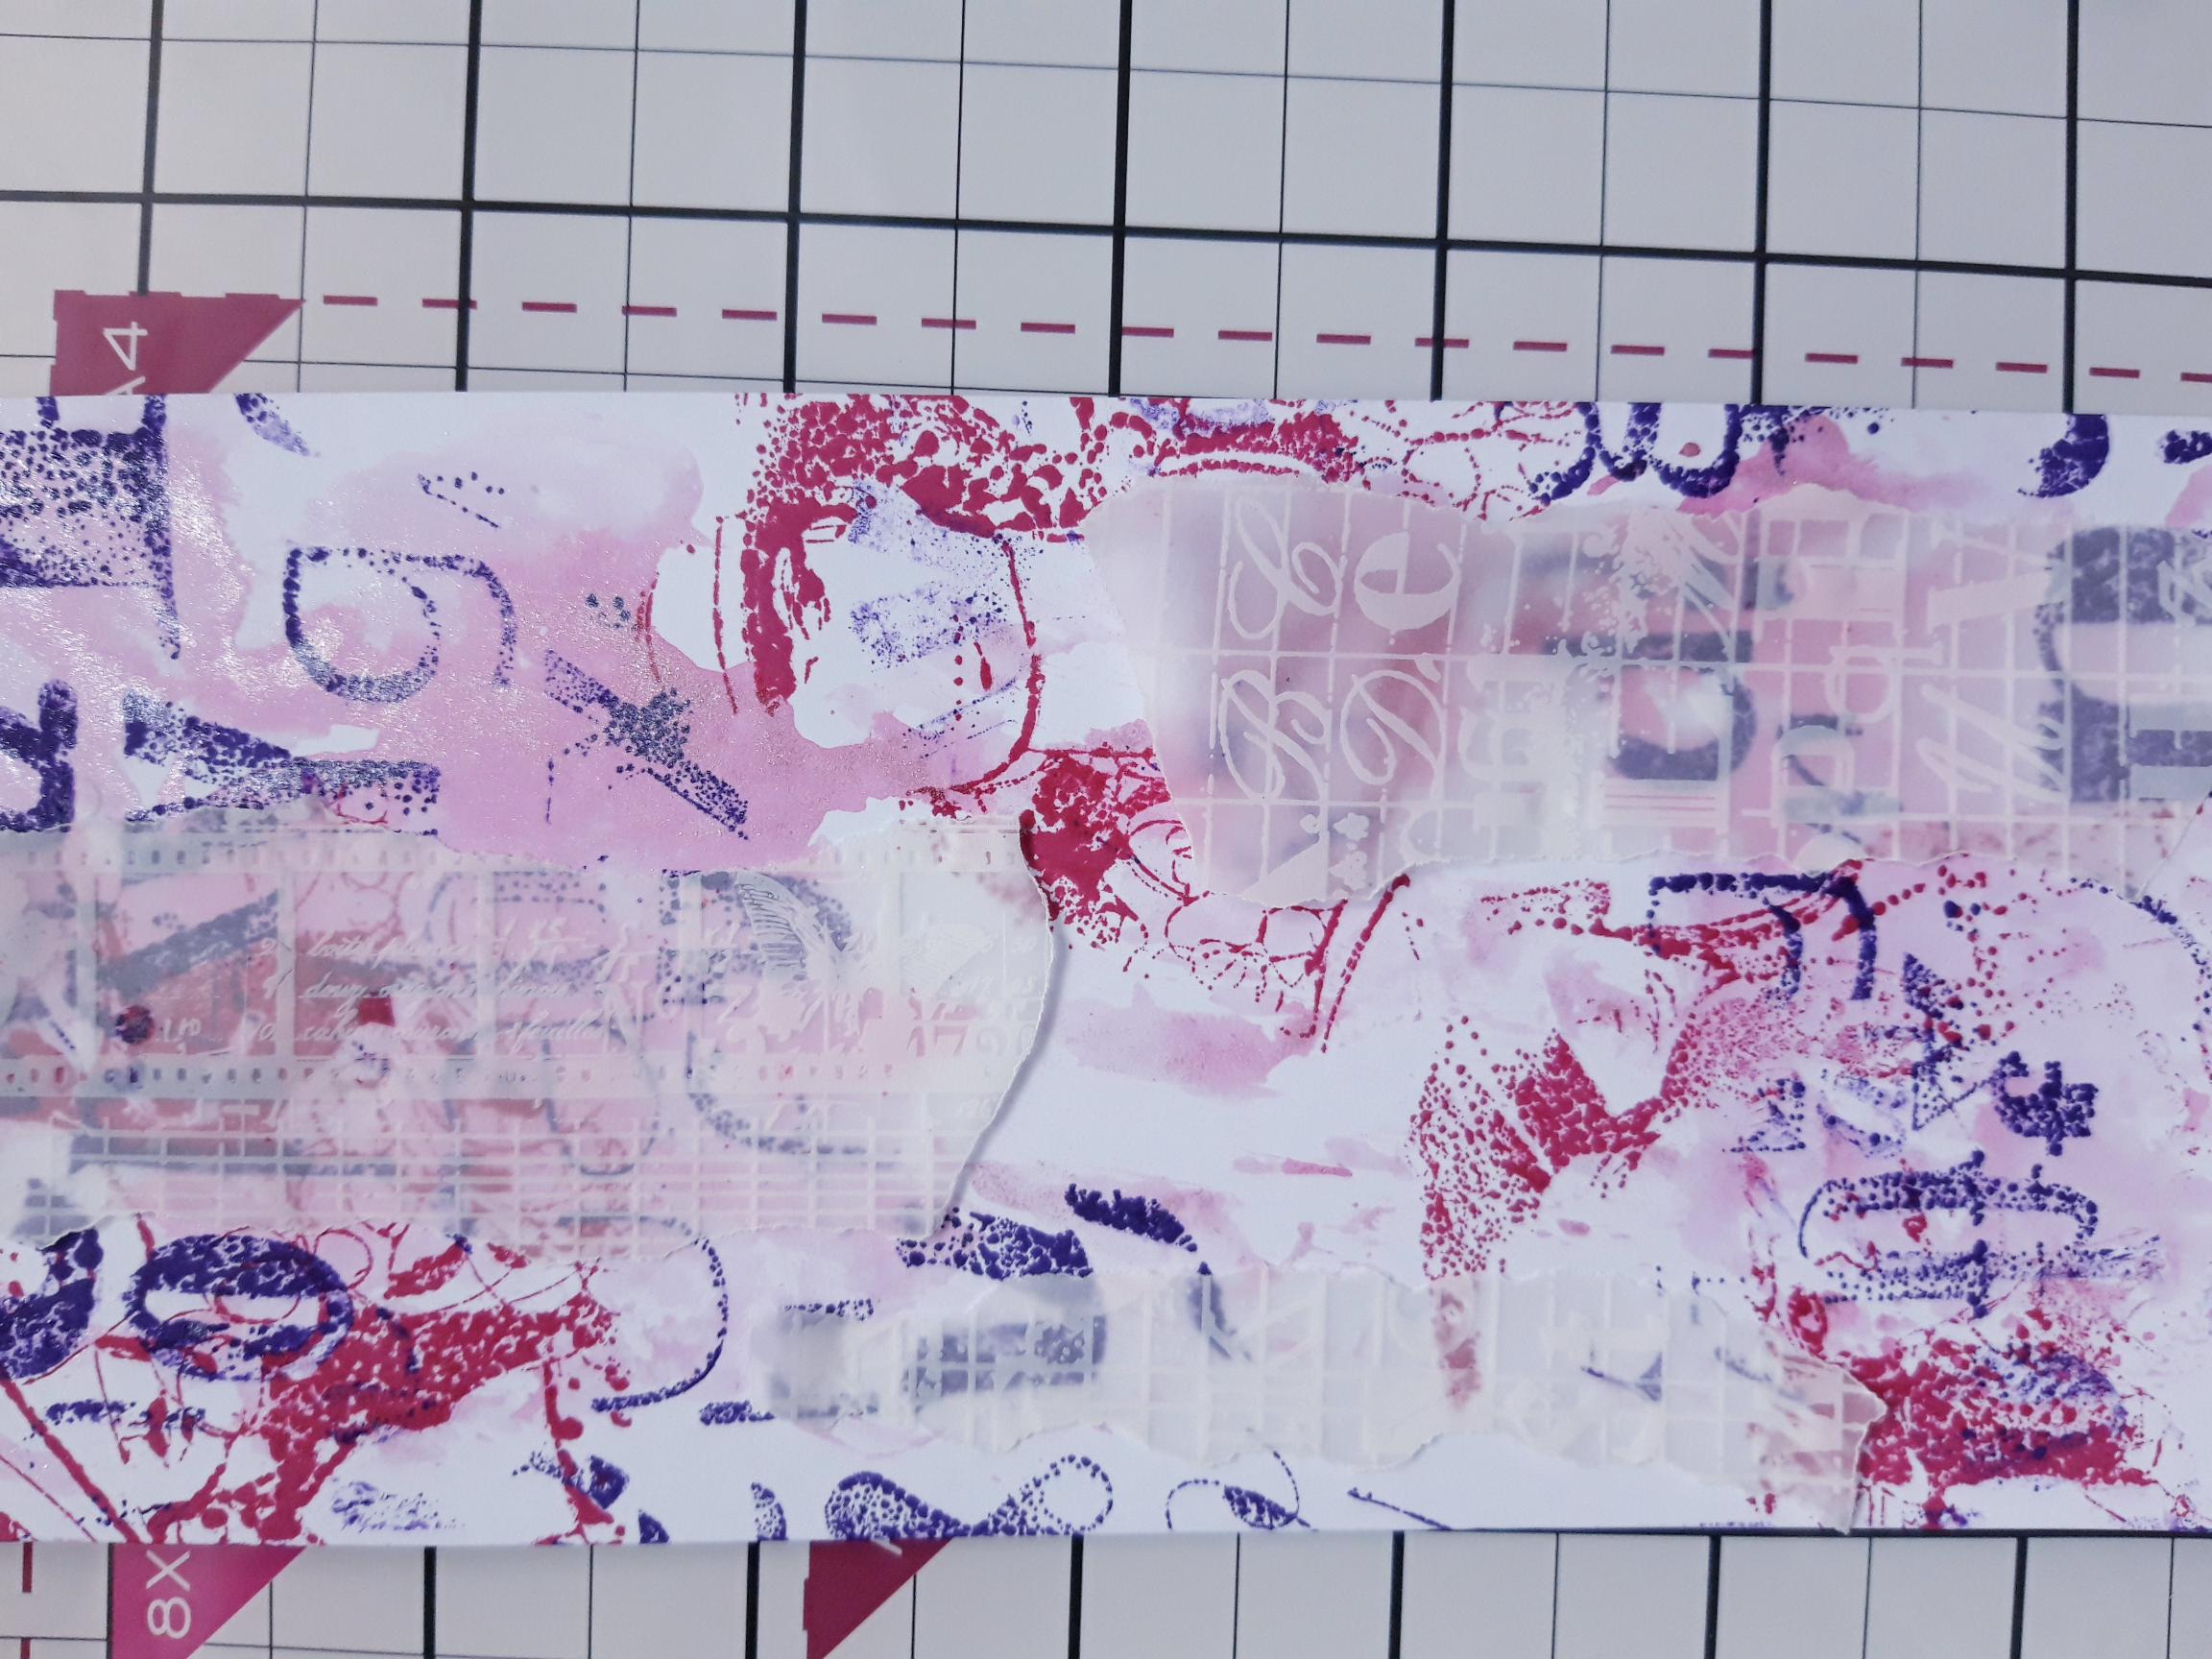
Apply a little of the Magenta ink on to your craft mat and spritz with the Pearlywinks Glitter Pearl Mist. Pick up the ink on to the white card, cut to 7 3/4 x 3 1/2". |
|
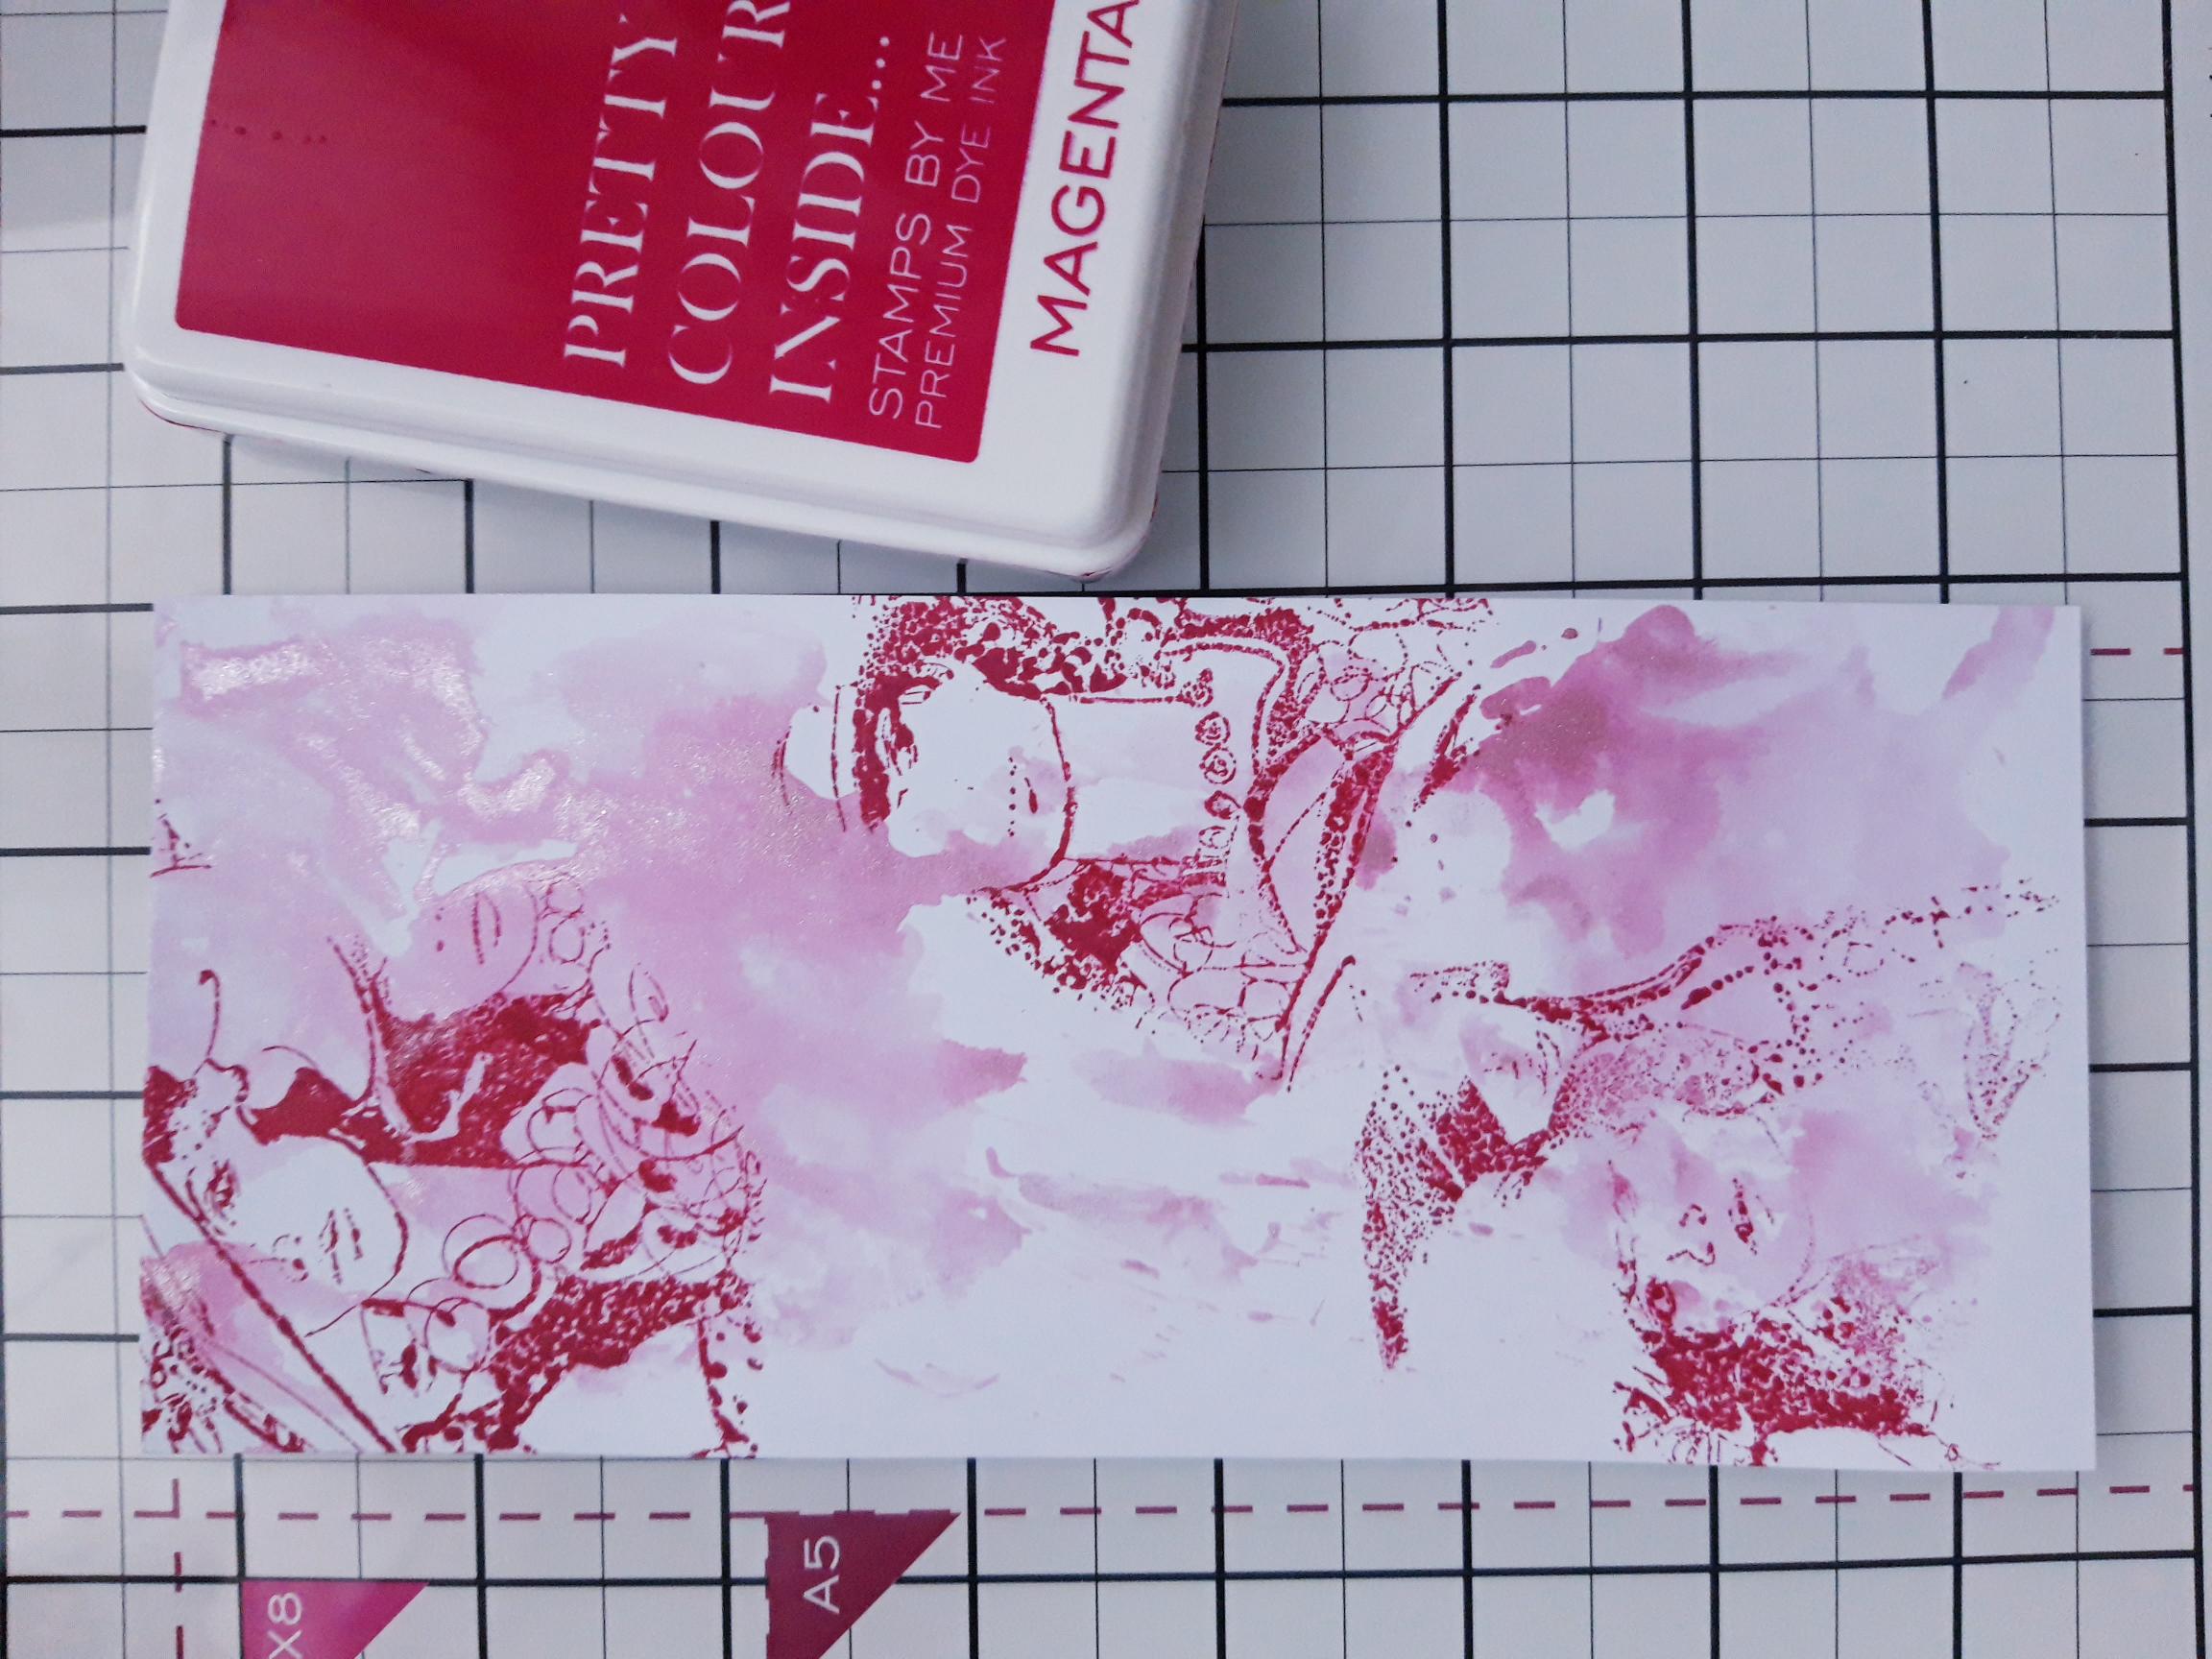
Ink up the Imala Stay Fancy stamp with the Magenta ink and, holding the stamp in your hand, randomly stamp on to your inky background, to create a distressed effect. |
|
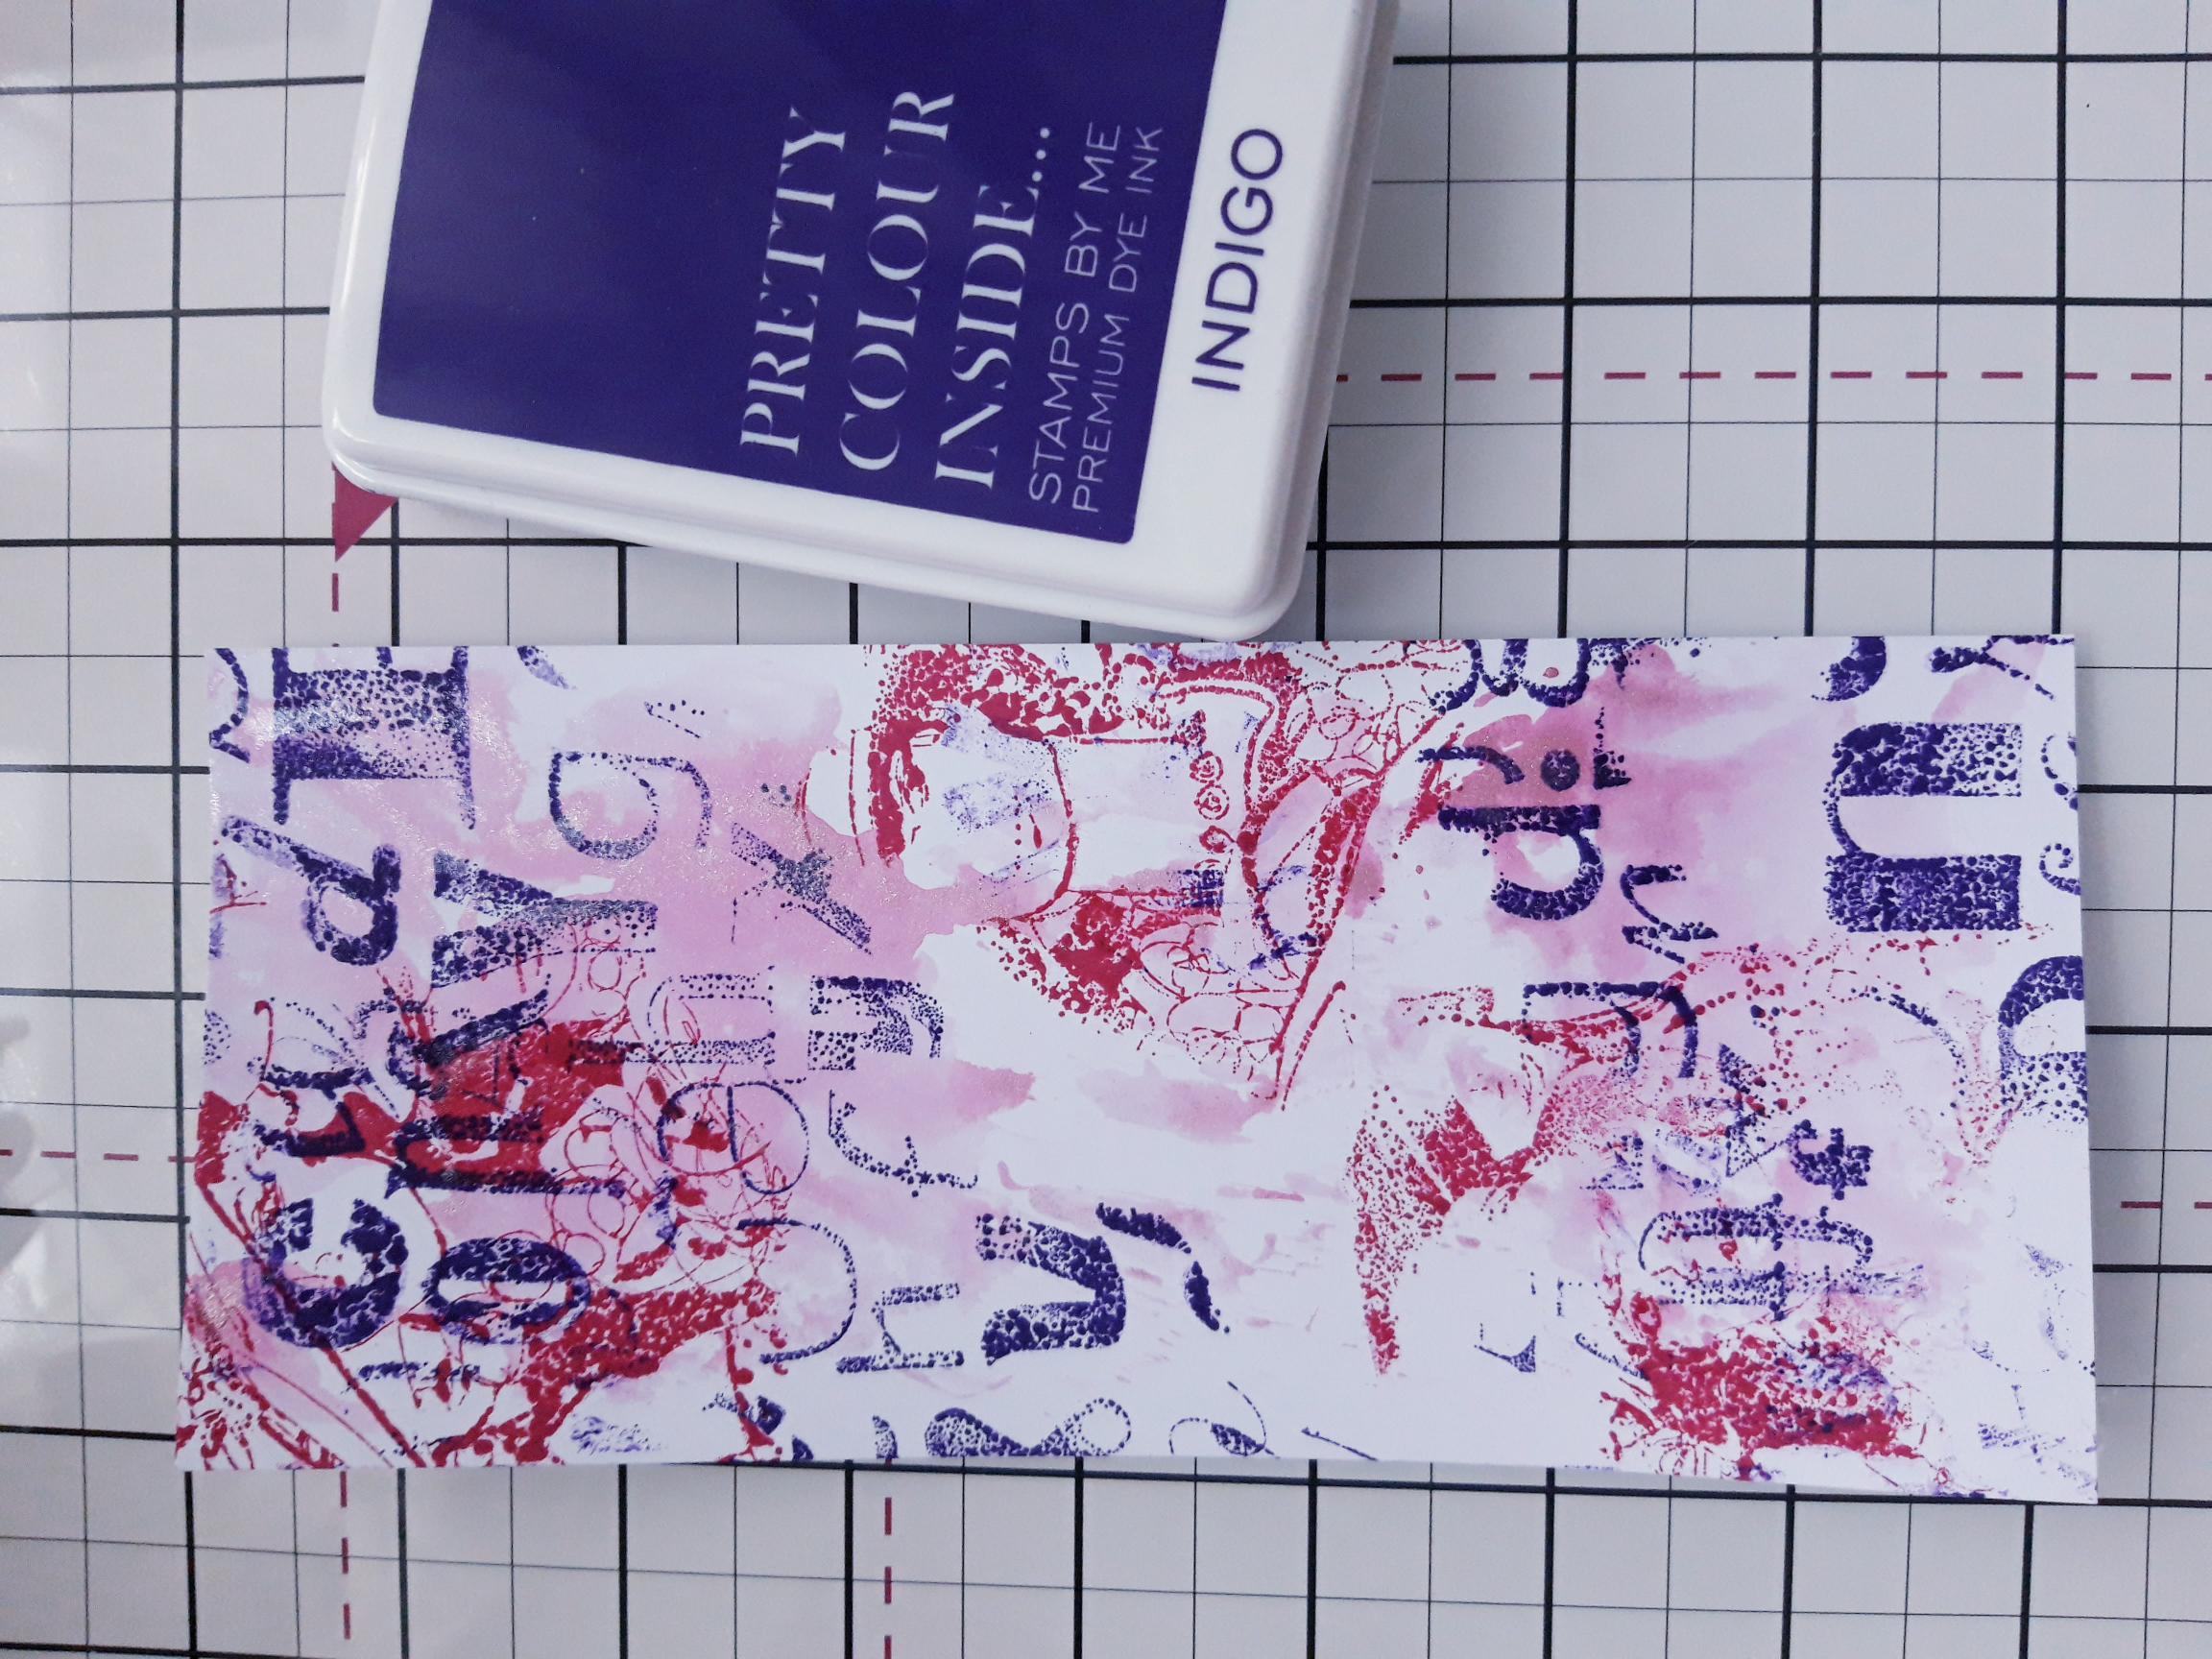
Repeat the previous step using the Imala Jumbled Up stamp, inked with the Indigo ink pad. Blast your background with your heat tool, before setting it to one side. |
|
Tear up this vellum postcard in to 3 or 4 random strips, as seen here. |
|
Adhere the strips randomly, on to your inky background, with a little glue, or vellum dots. |
|
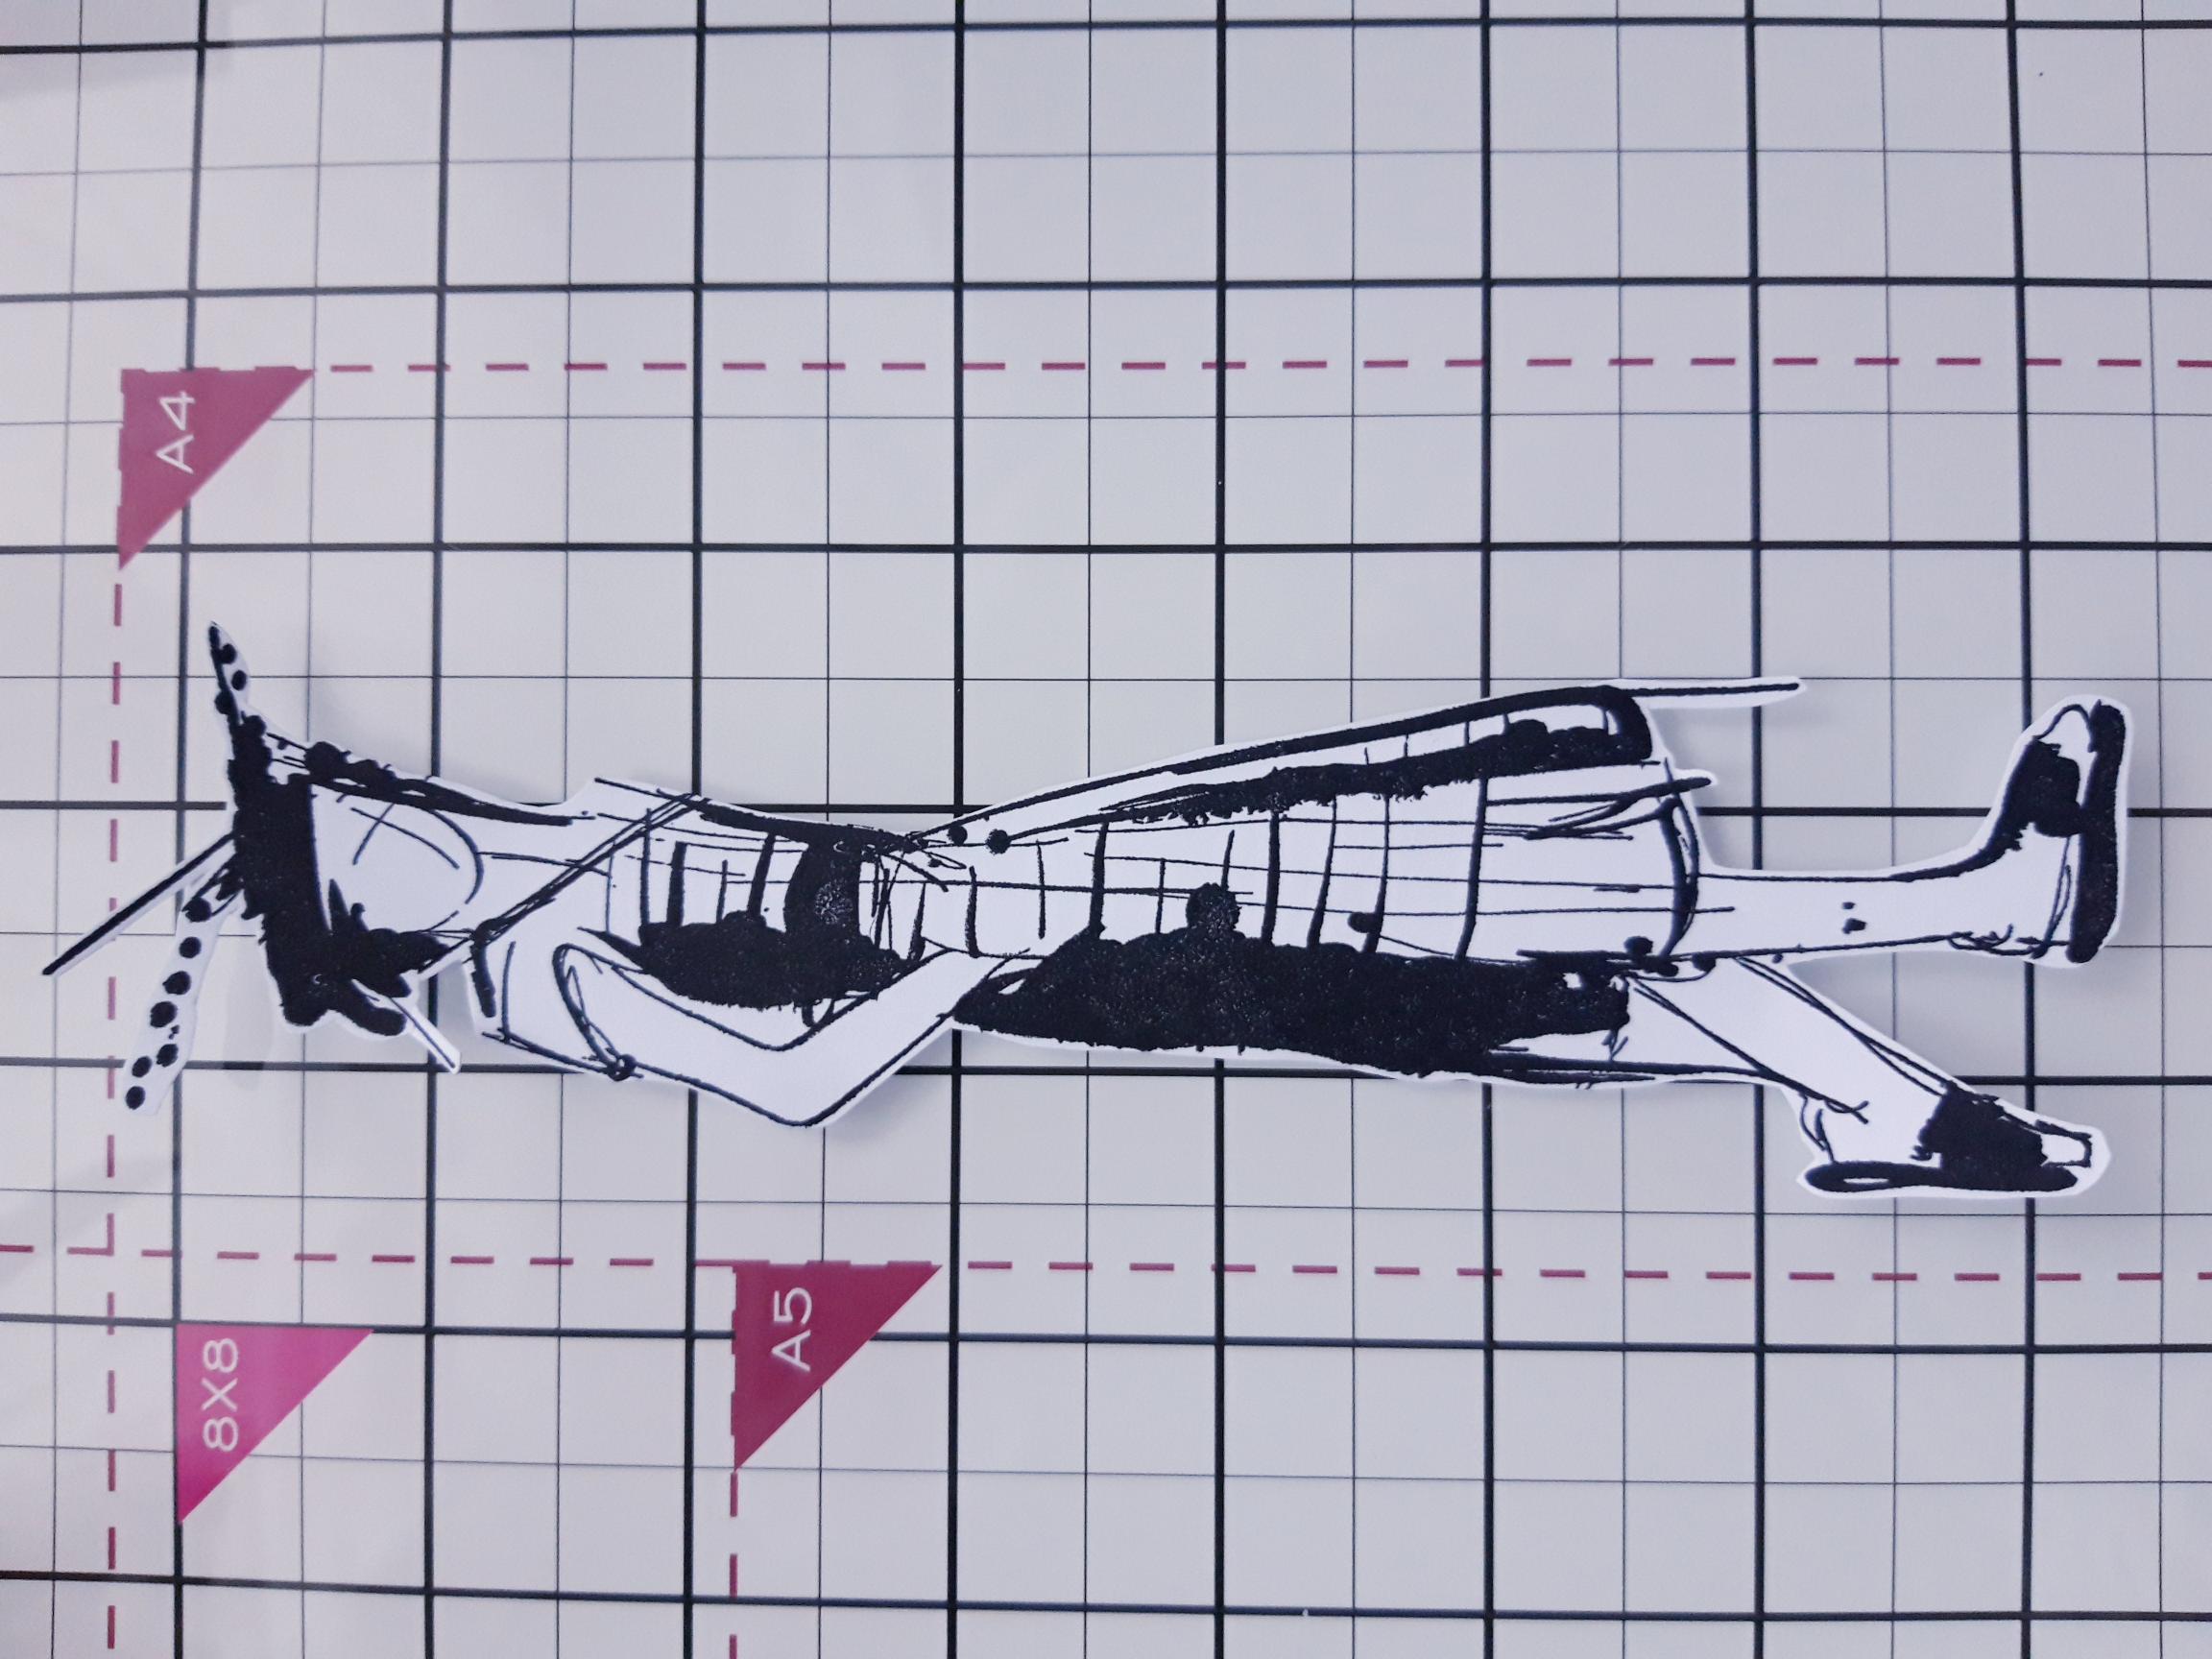
Ink up this lovely lady, from the Imala Feel Beautiful Stamp Collection, with the Onyx Black Versafine, and stamp on to the white A4 card. Cut her out and set the remaining white card to one side. |
|
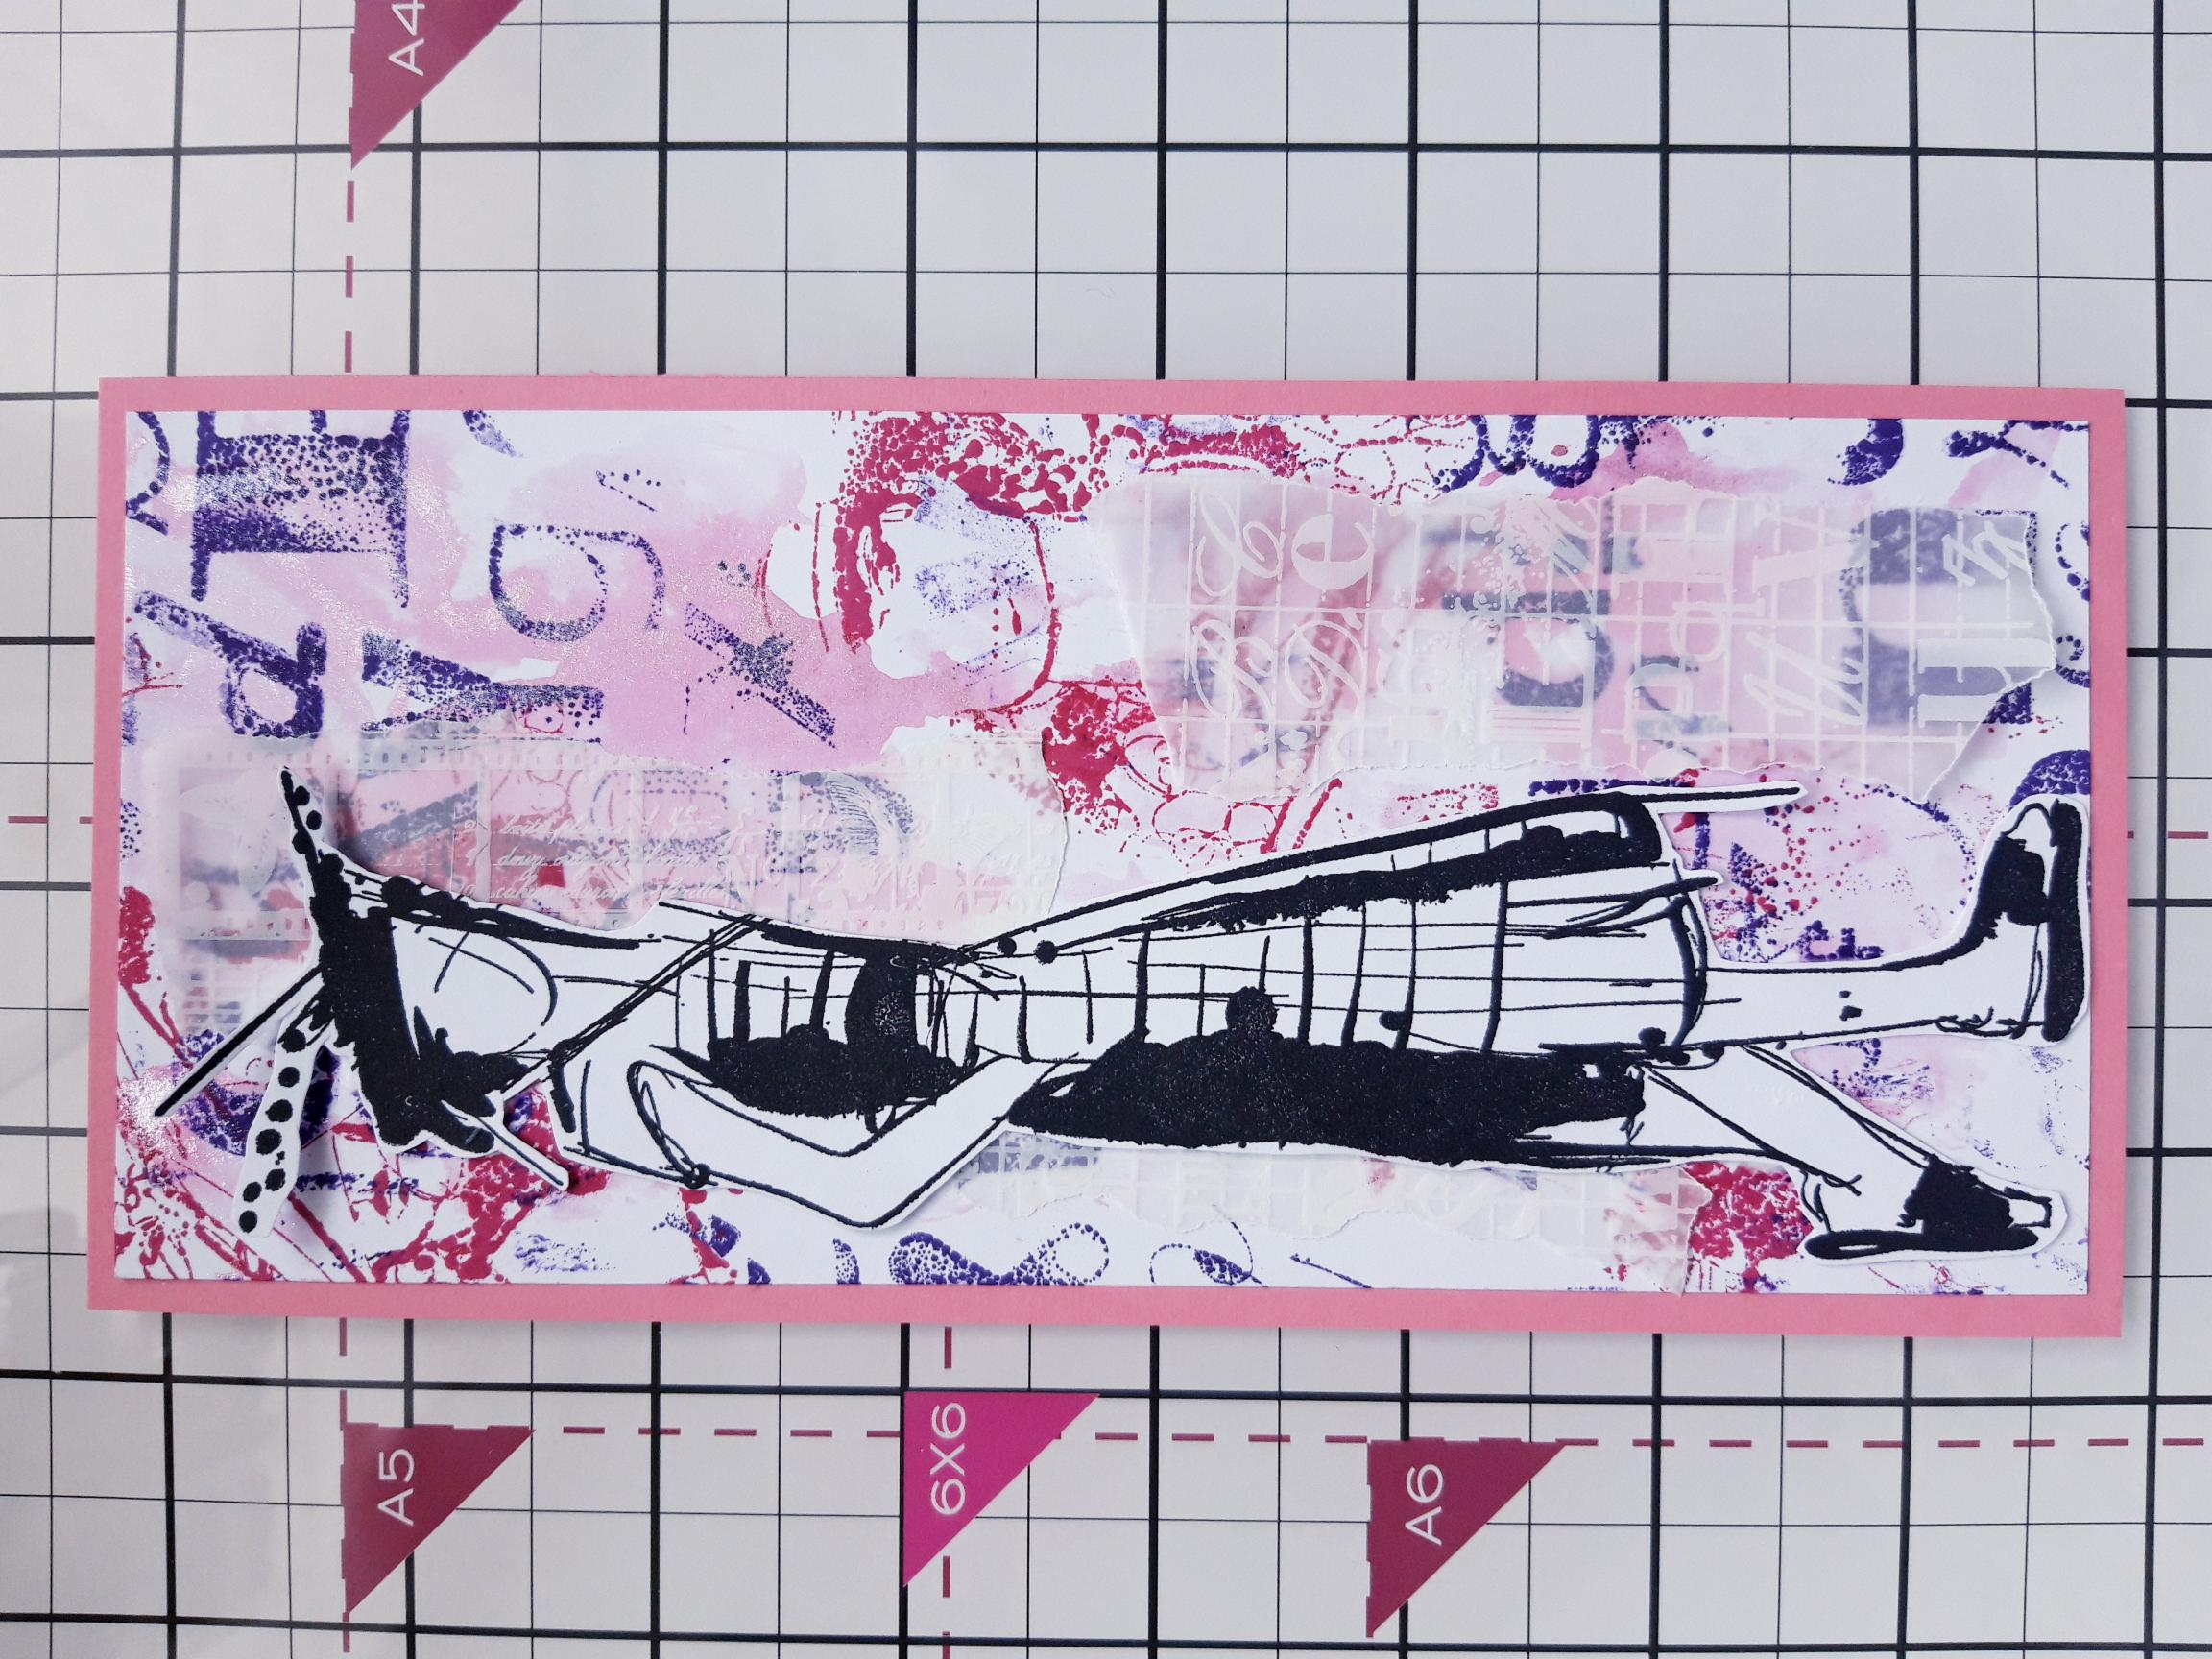
Adhere your lady, with foam pads, to the left of your inky background, then adhere this on to the textured, pink cardstock. Set to one side. |

|
Ink up the sentiment stamp from Imala My Rules Stamp Collection, with the Versafine and stamp on to the white card, set aside earlier. Cut it out and draw a decorative, wiggly frame around 3 sides of the card, as shown here.
|
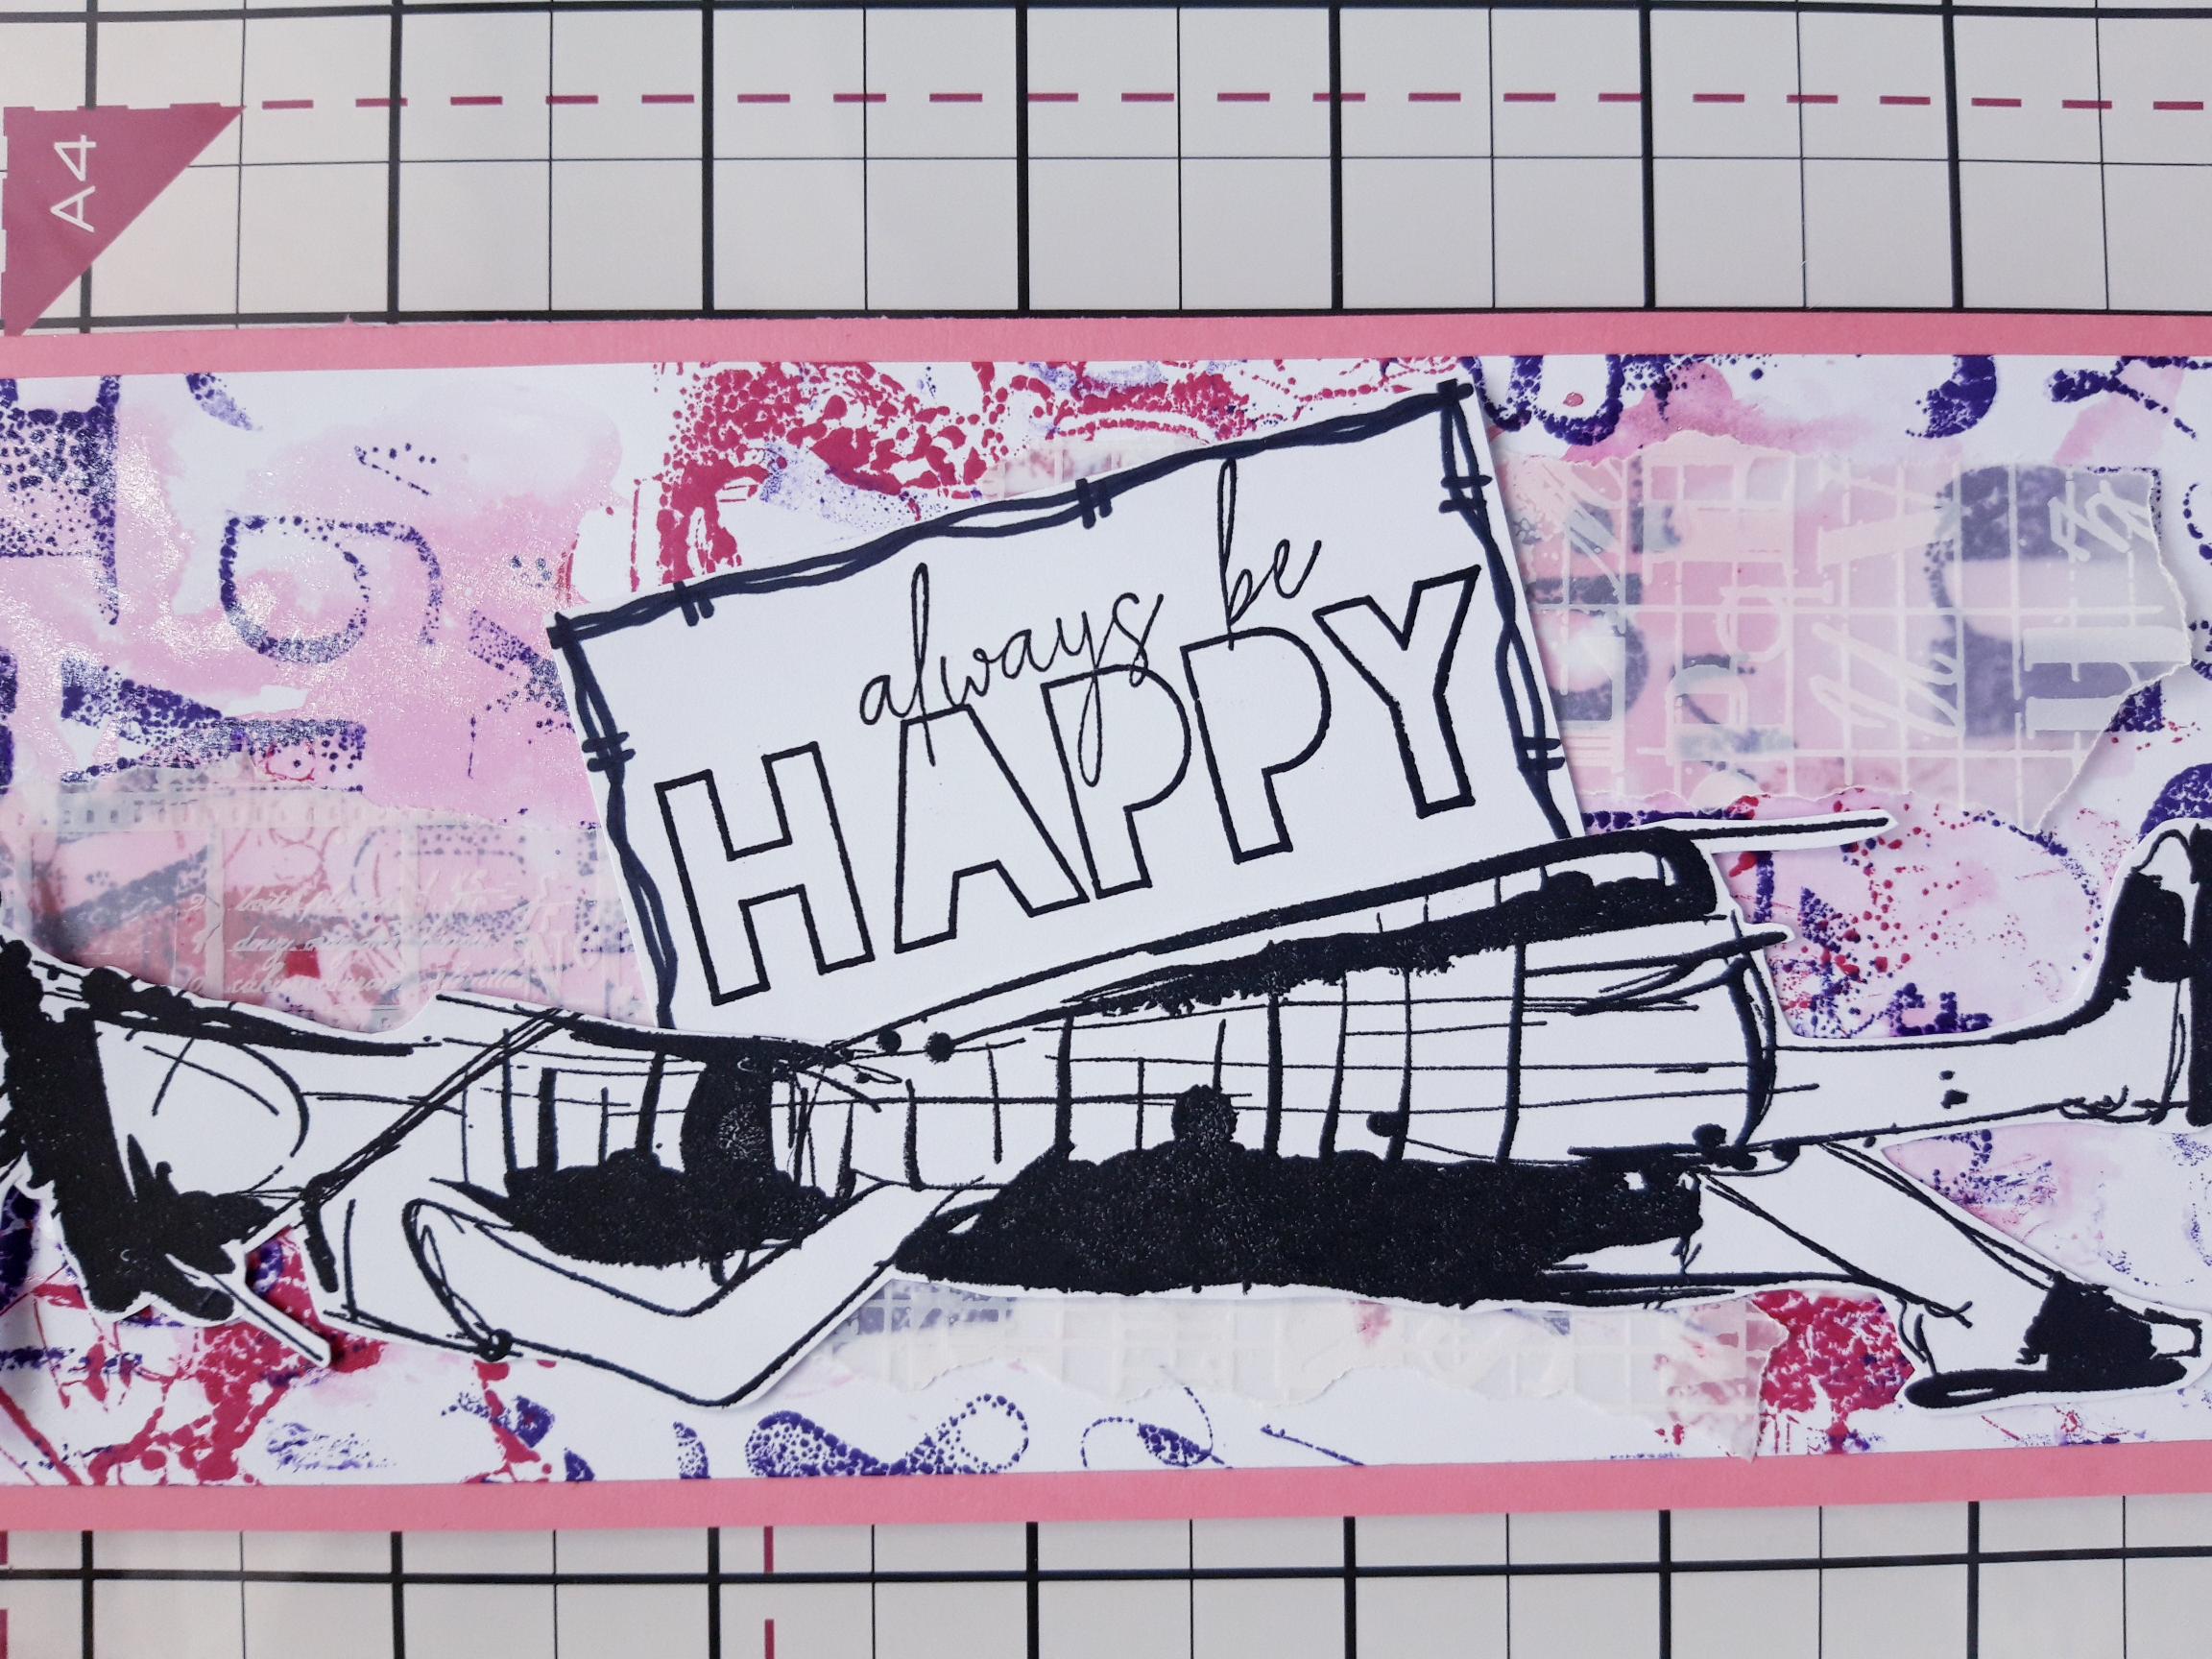
|
Adhere the sentiment with wet glue, so it's tucked just under your stamped lady, as seen here. |
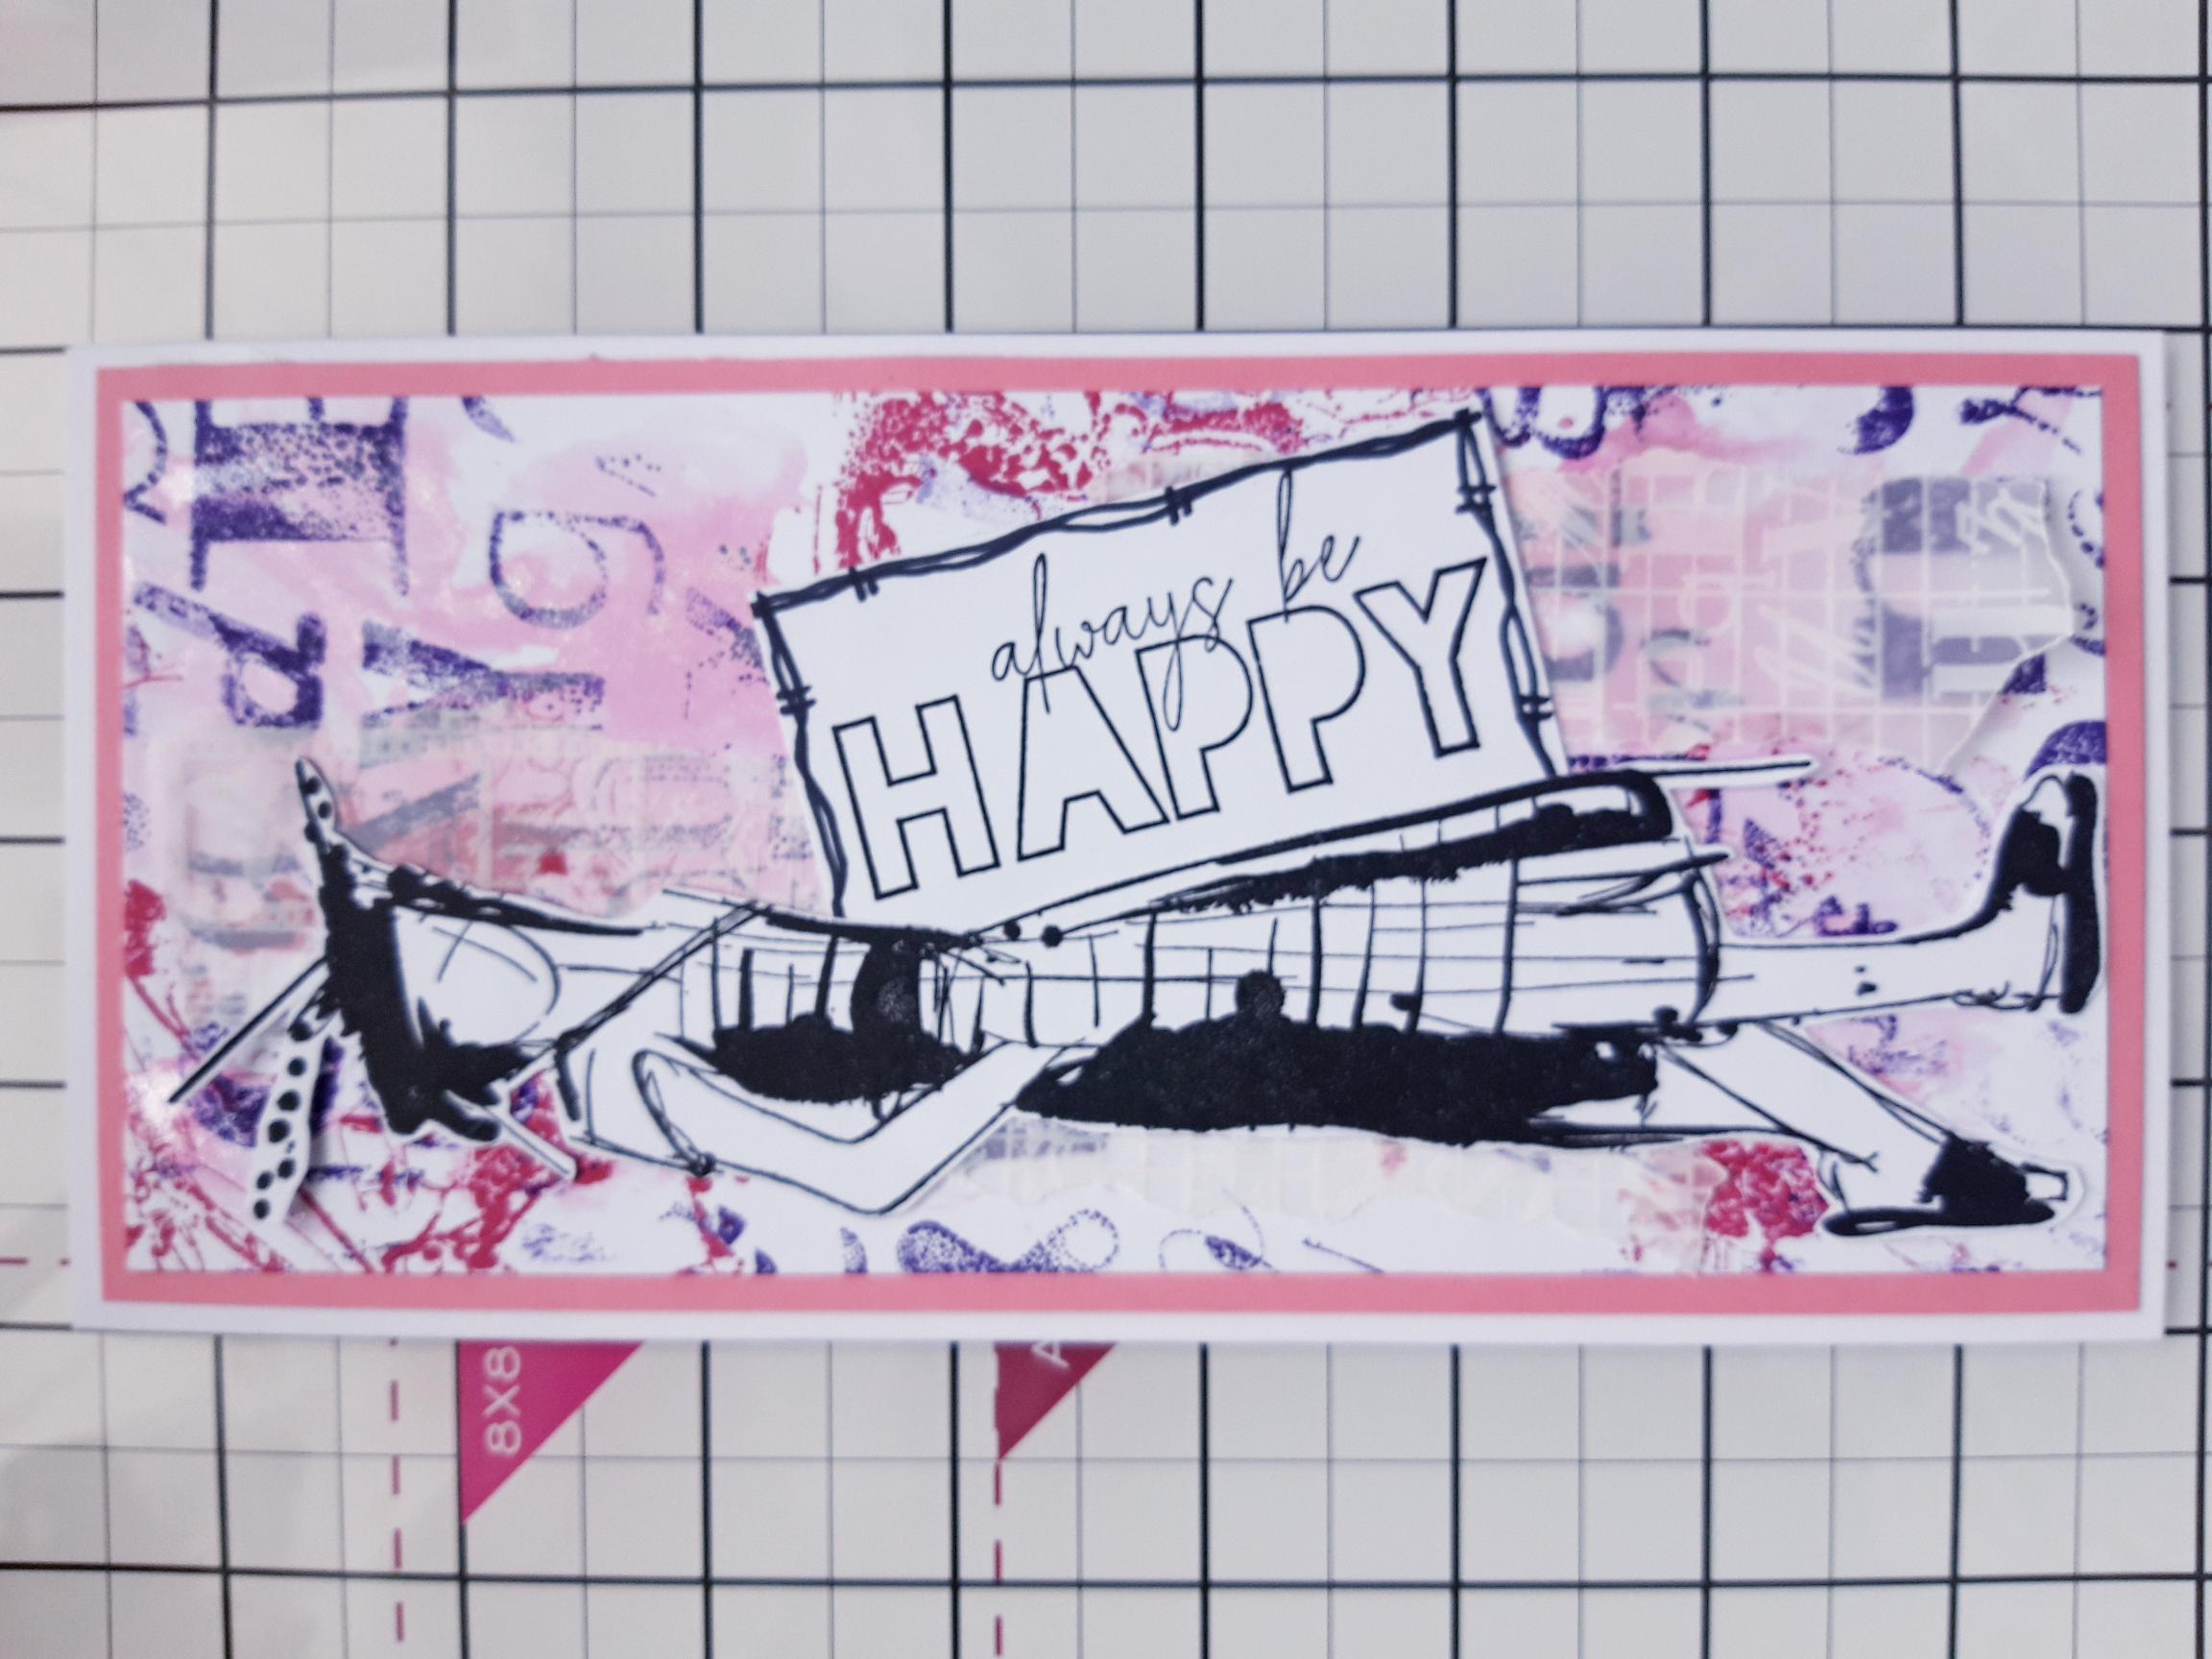
|
Adhere your artwork on to the front of your DL card blank, to finish. |