Give your friends $10 off their first order!
Refer a FRIEND


WHAT YOU WILL NEED:
White top folding card blank ( 8 1/4 x 5 3/4")
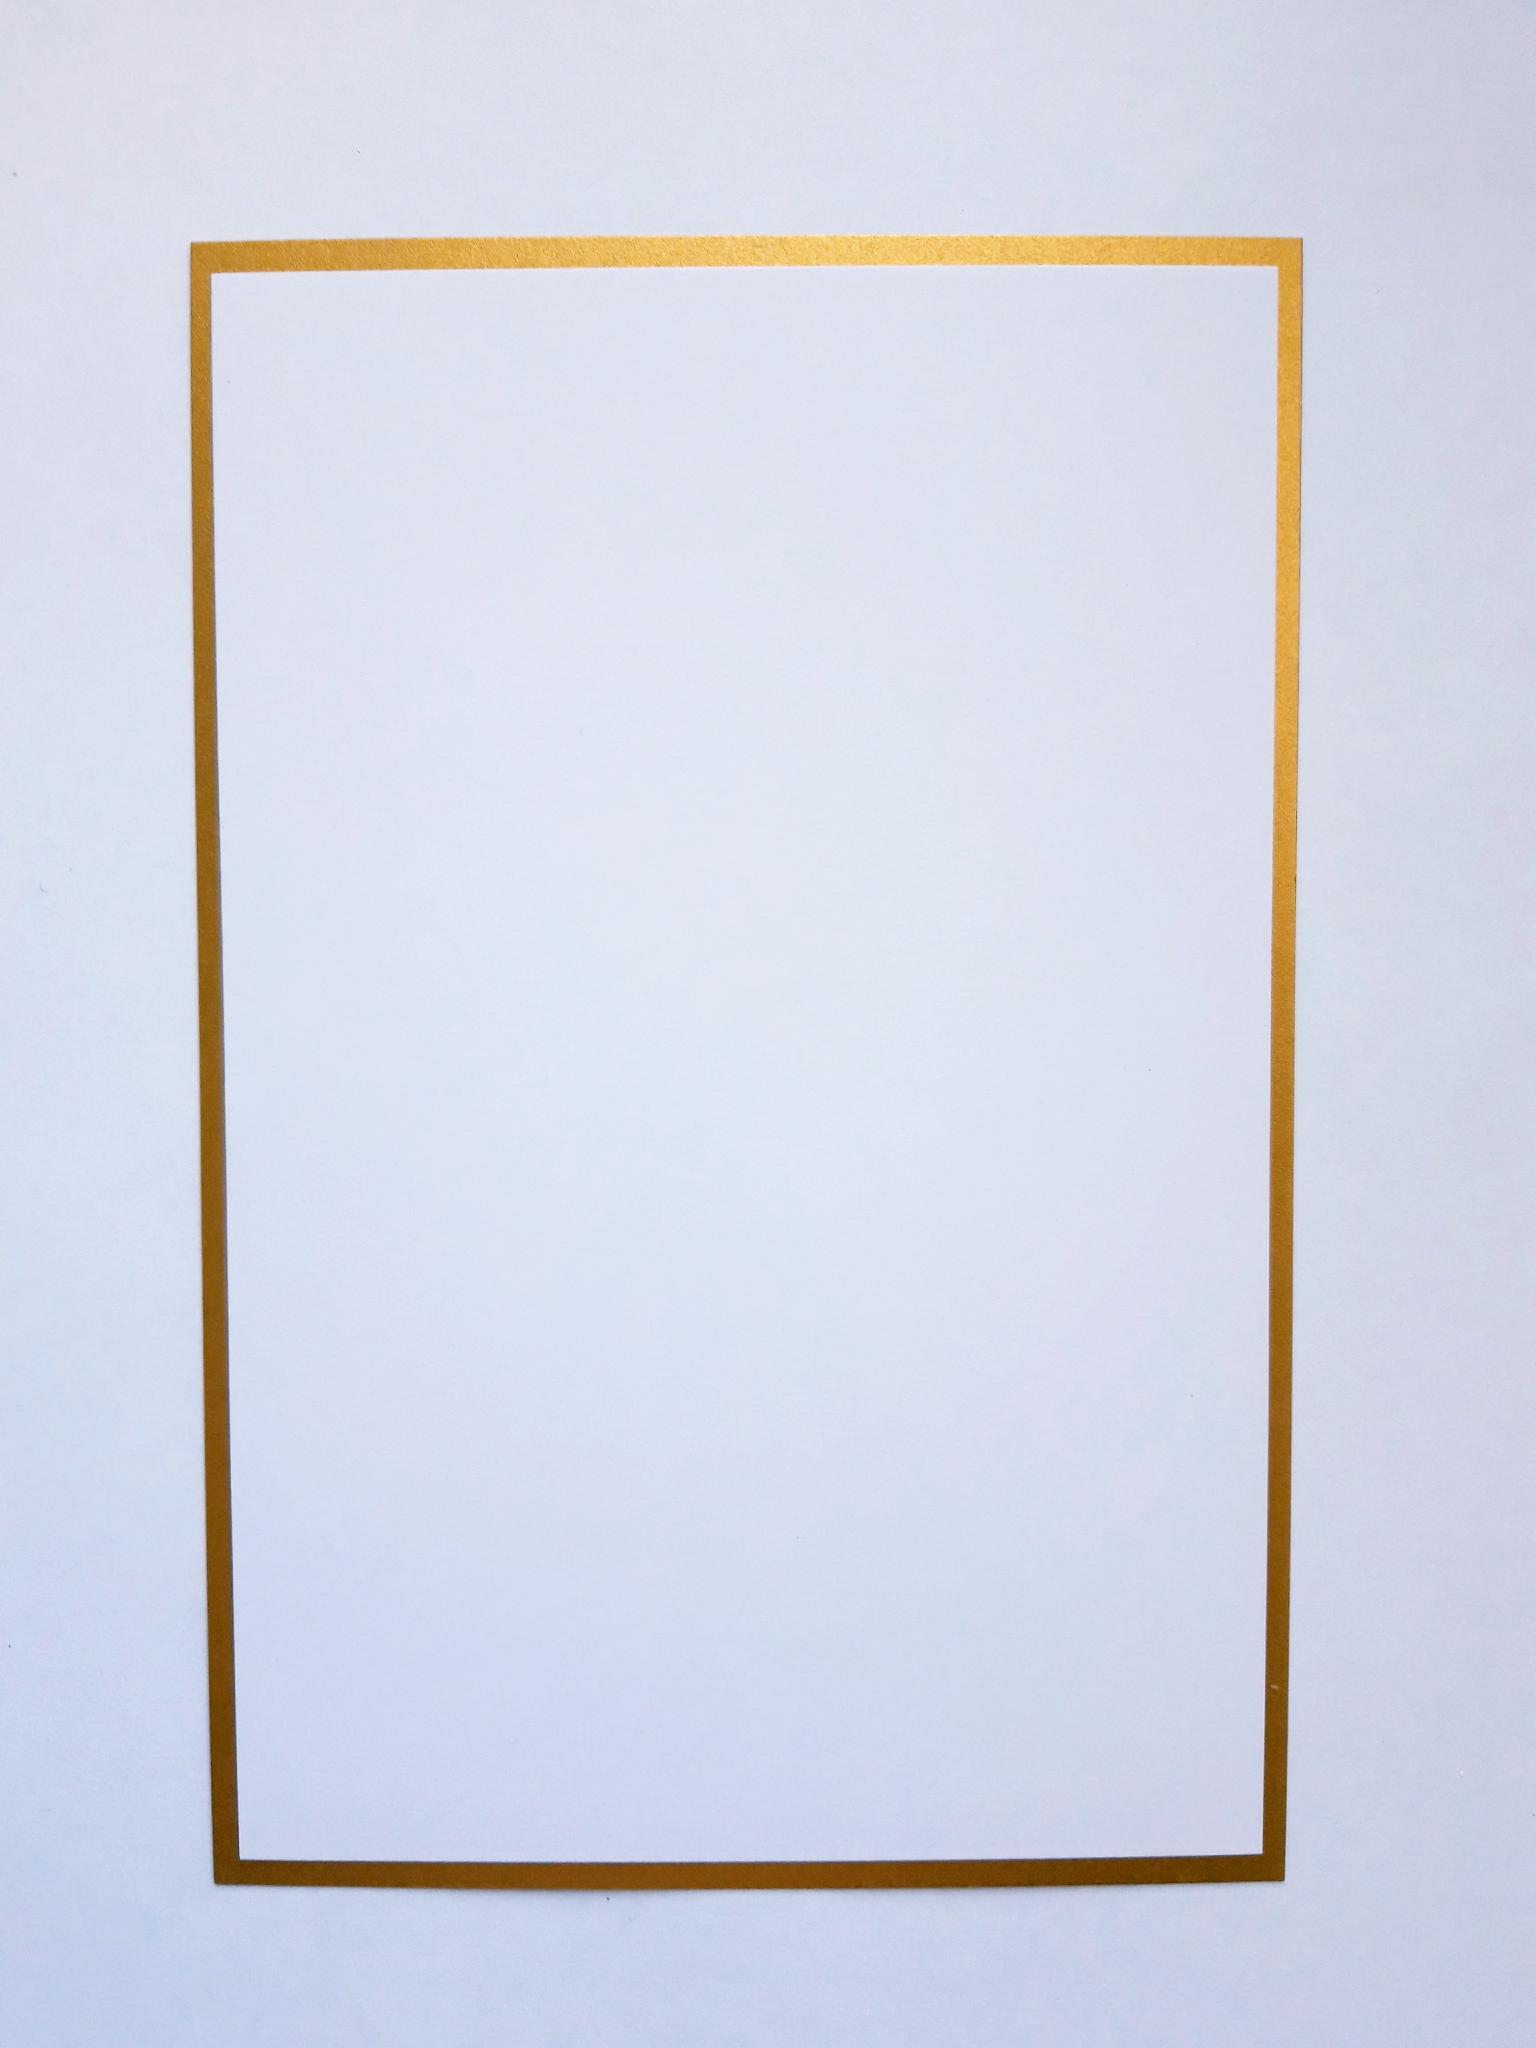
A4 Gold matt pearlised cardstock: cut a mat 8 x 5 1/2". Keep rest of cardstock for the sentiment panel
White cardstock ( 7 3/4 x 5 1/4")
White cardstock (7 x 5")
White cardstock (7 x 6")
White cardstock (4 x 3")
Dies from Hug For Your Hands Die Collection
Dies from Log Slices Die Collection
Stamps from Be The Exception Stamp Collection
Die from Be The Exception Die Collection
Versafine Ink Pad: Onyx Black
Izink Pigments: Wet Meadow, Stratosphere, Celestial, Avalanche
Izink Embossing ink pad: Metal Copper
Distress Oxide: Fossilized Amber
Sequins: Glistening Waves
Eureka 101
Die cutting machine
Foam Pads
Perfect Together Glue
Paper Trimmer
[click image to enlarge] 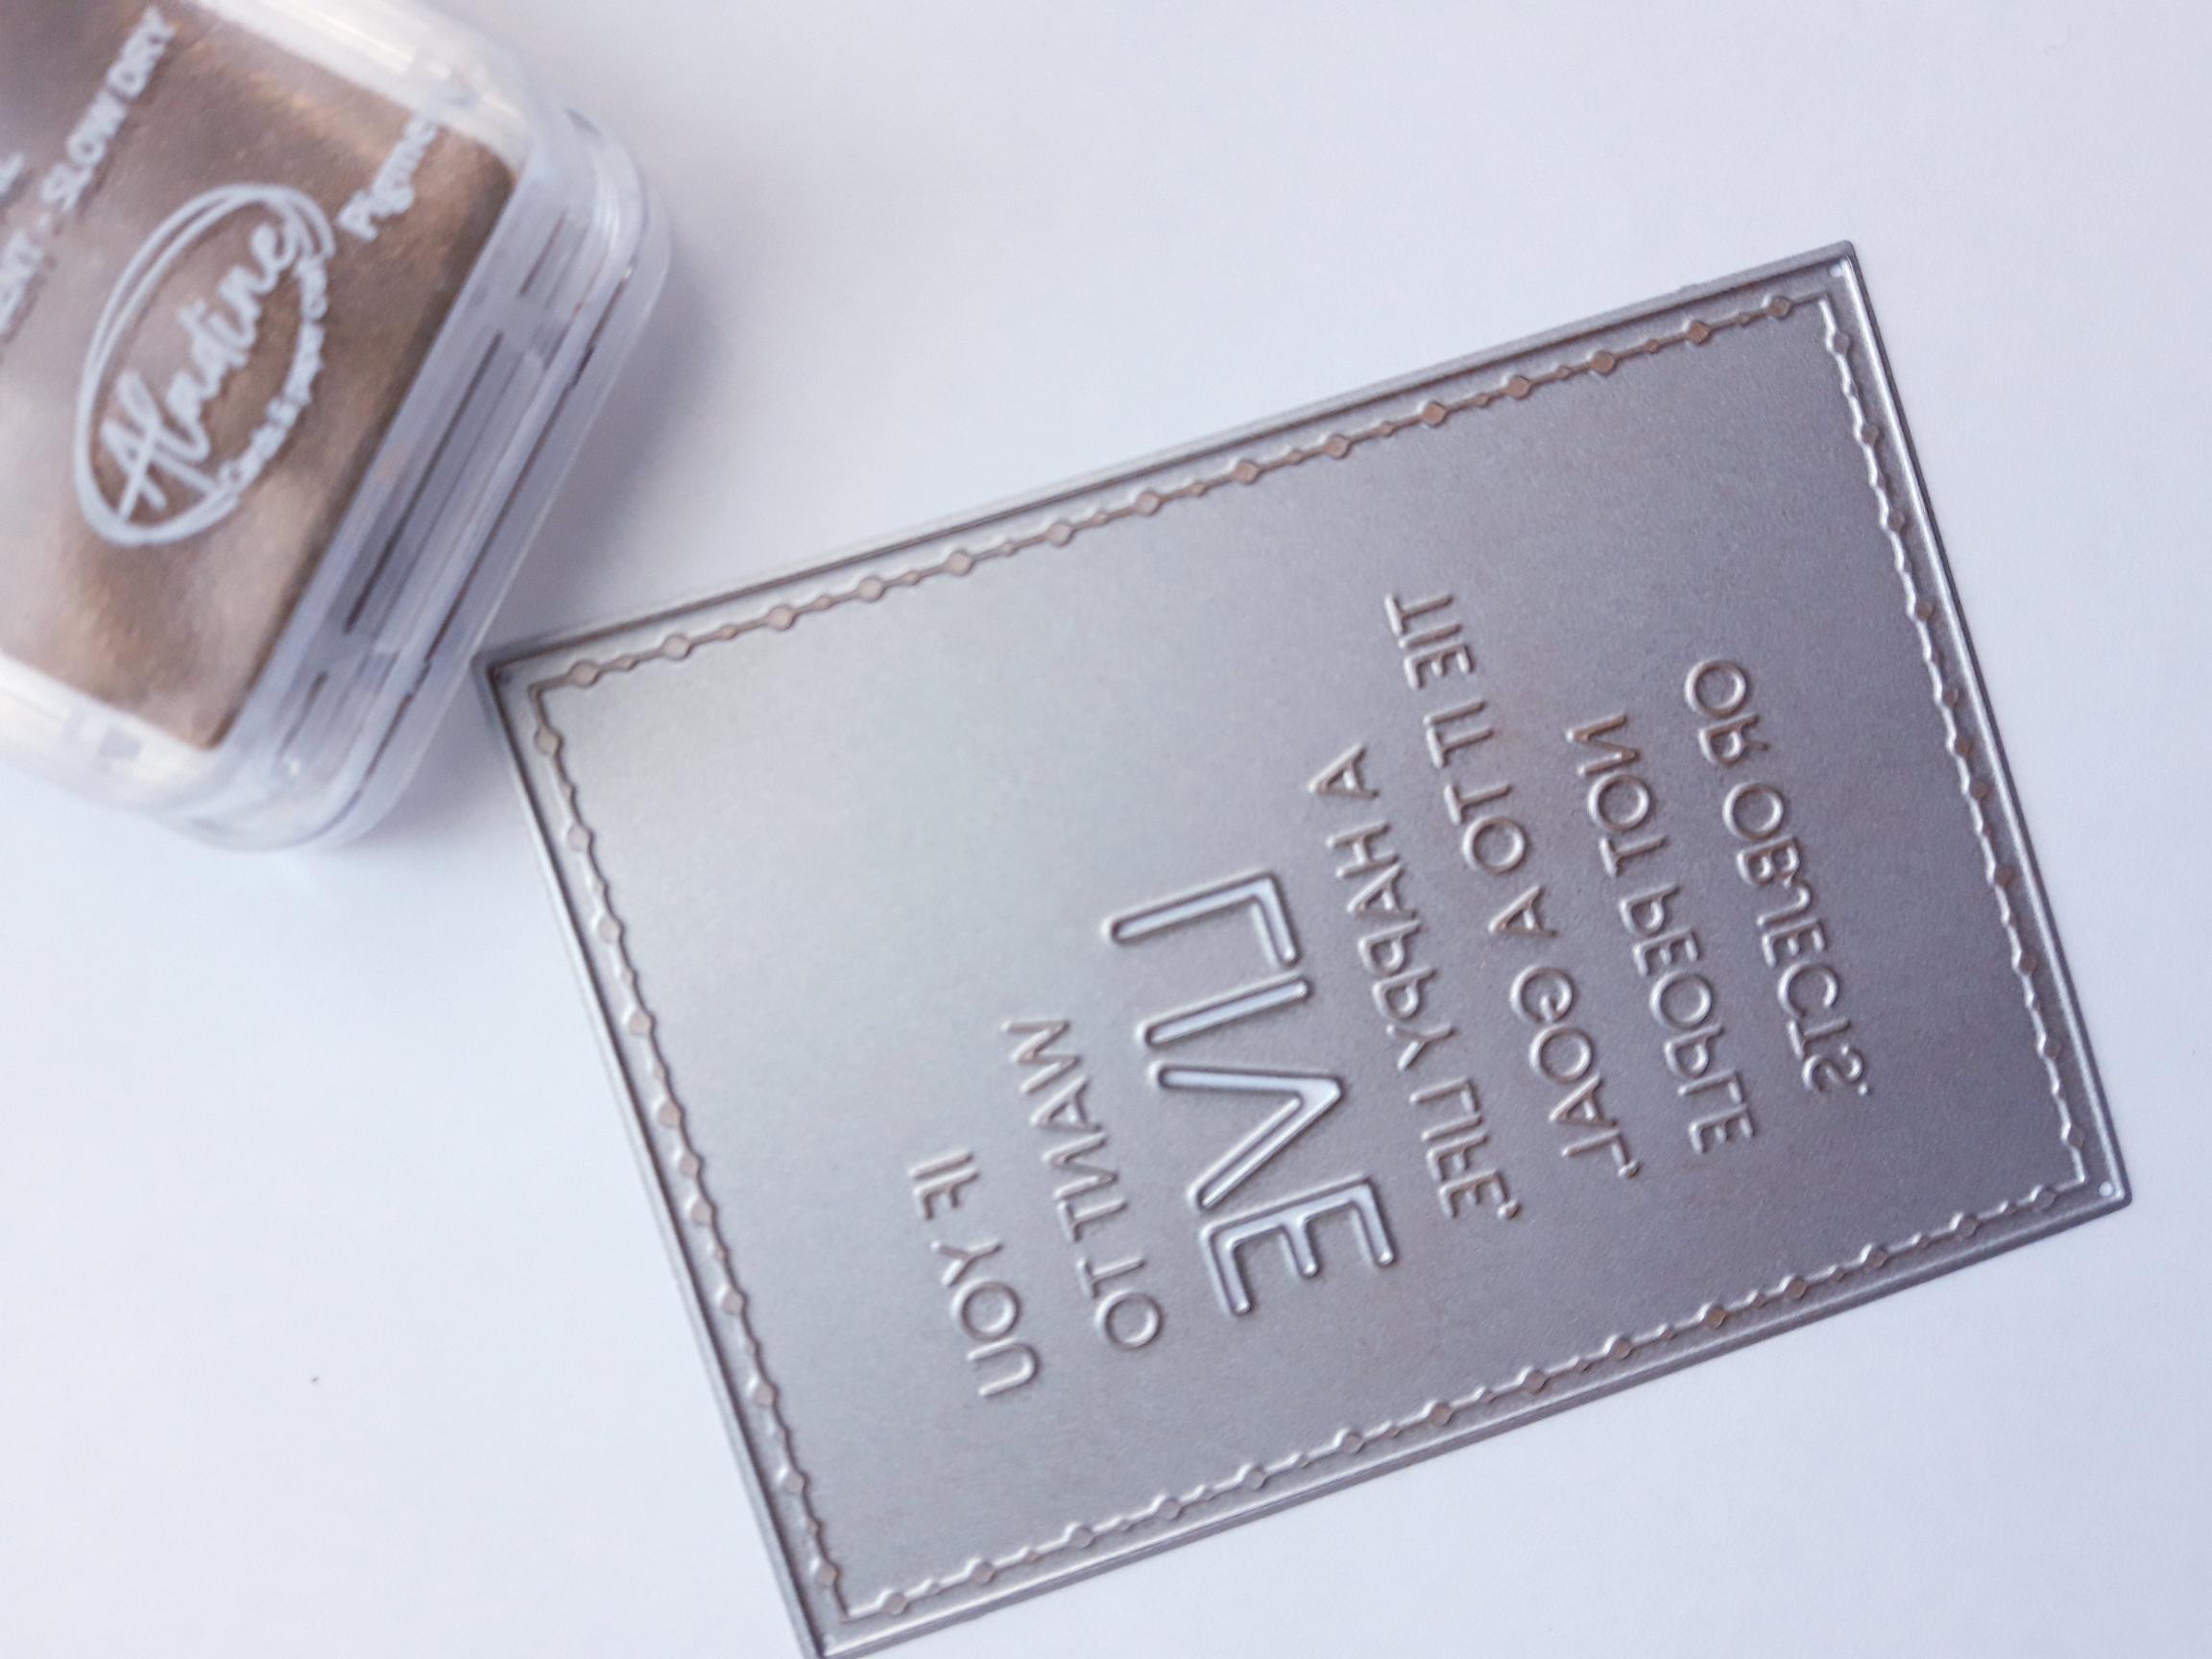
|
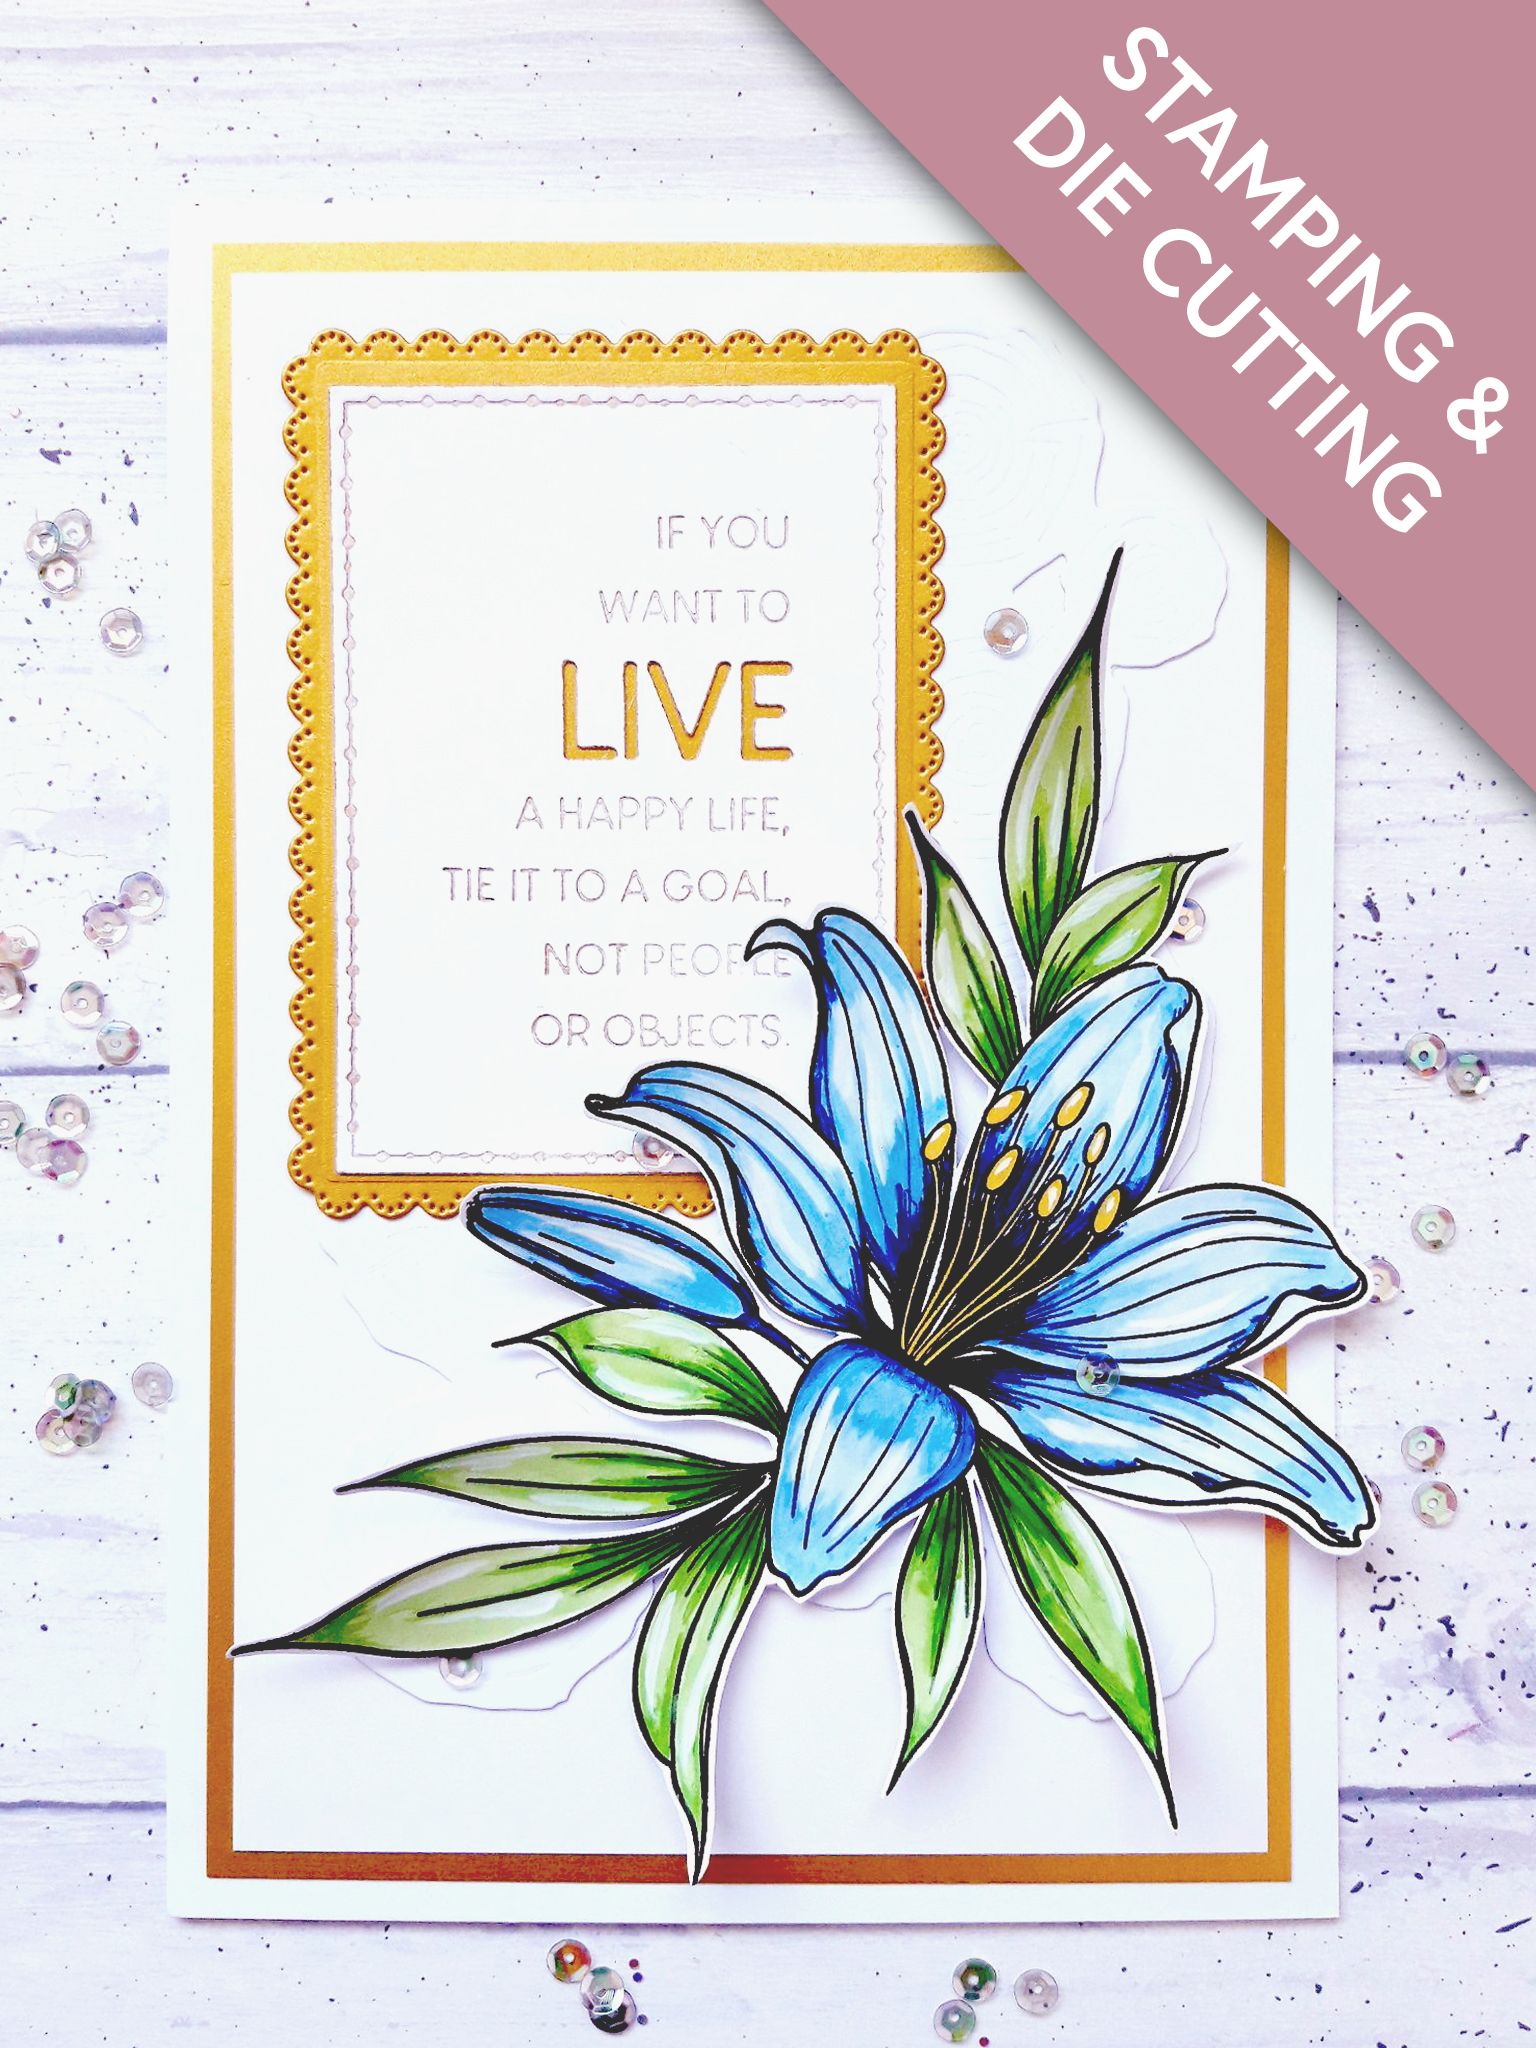
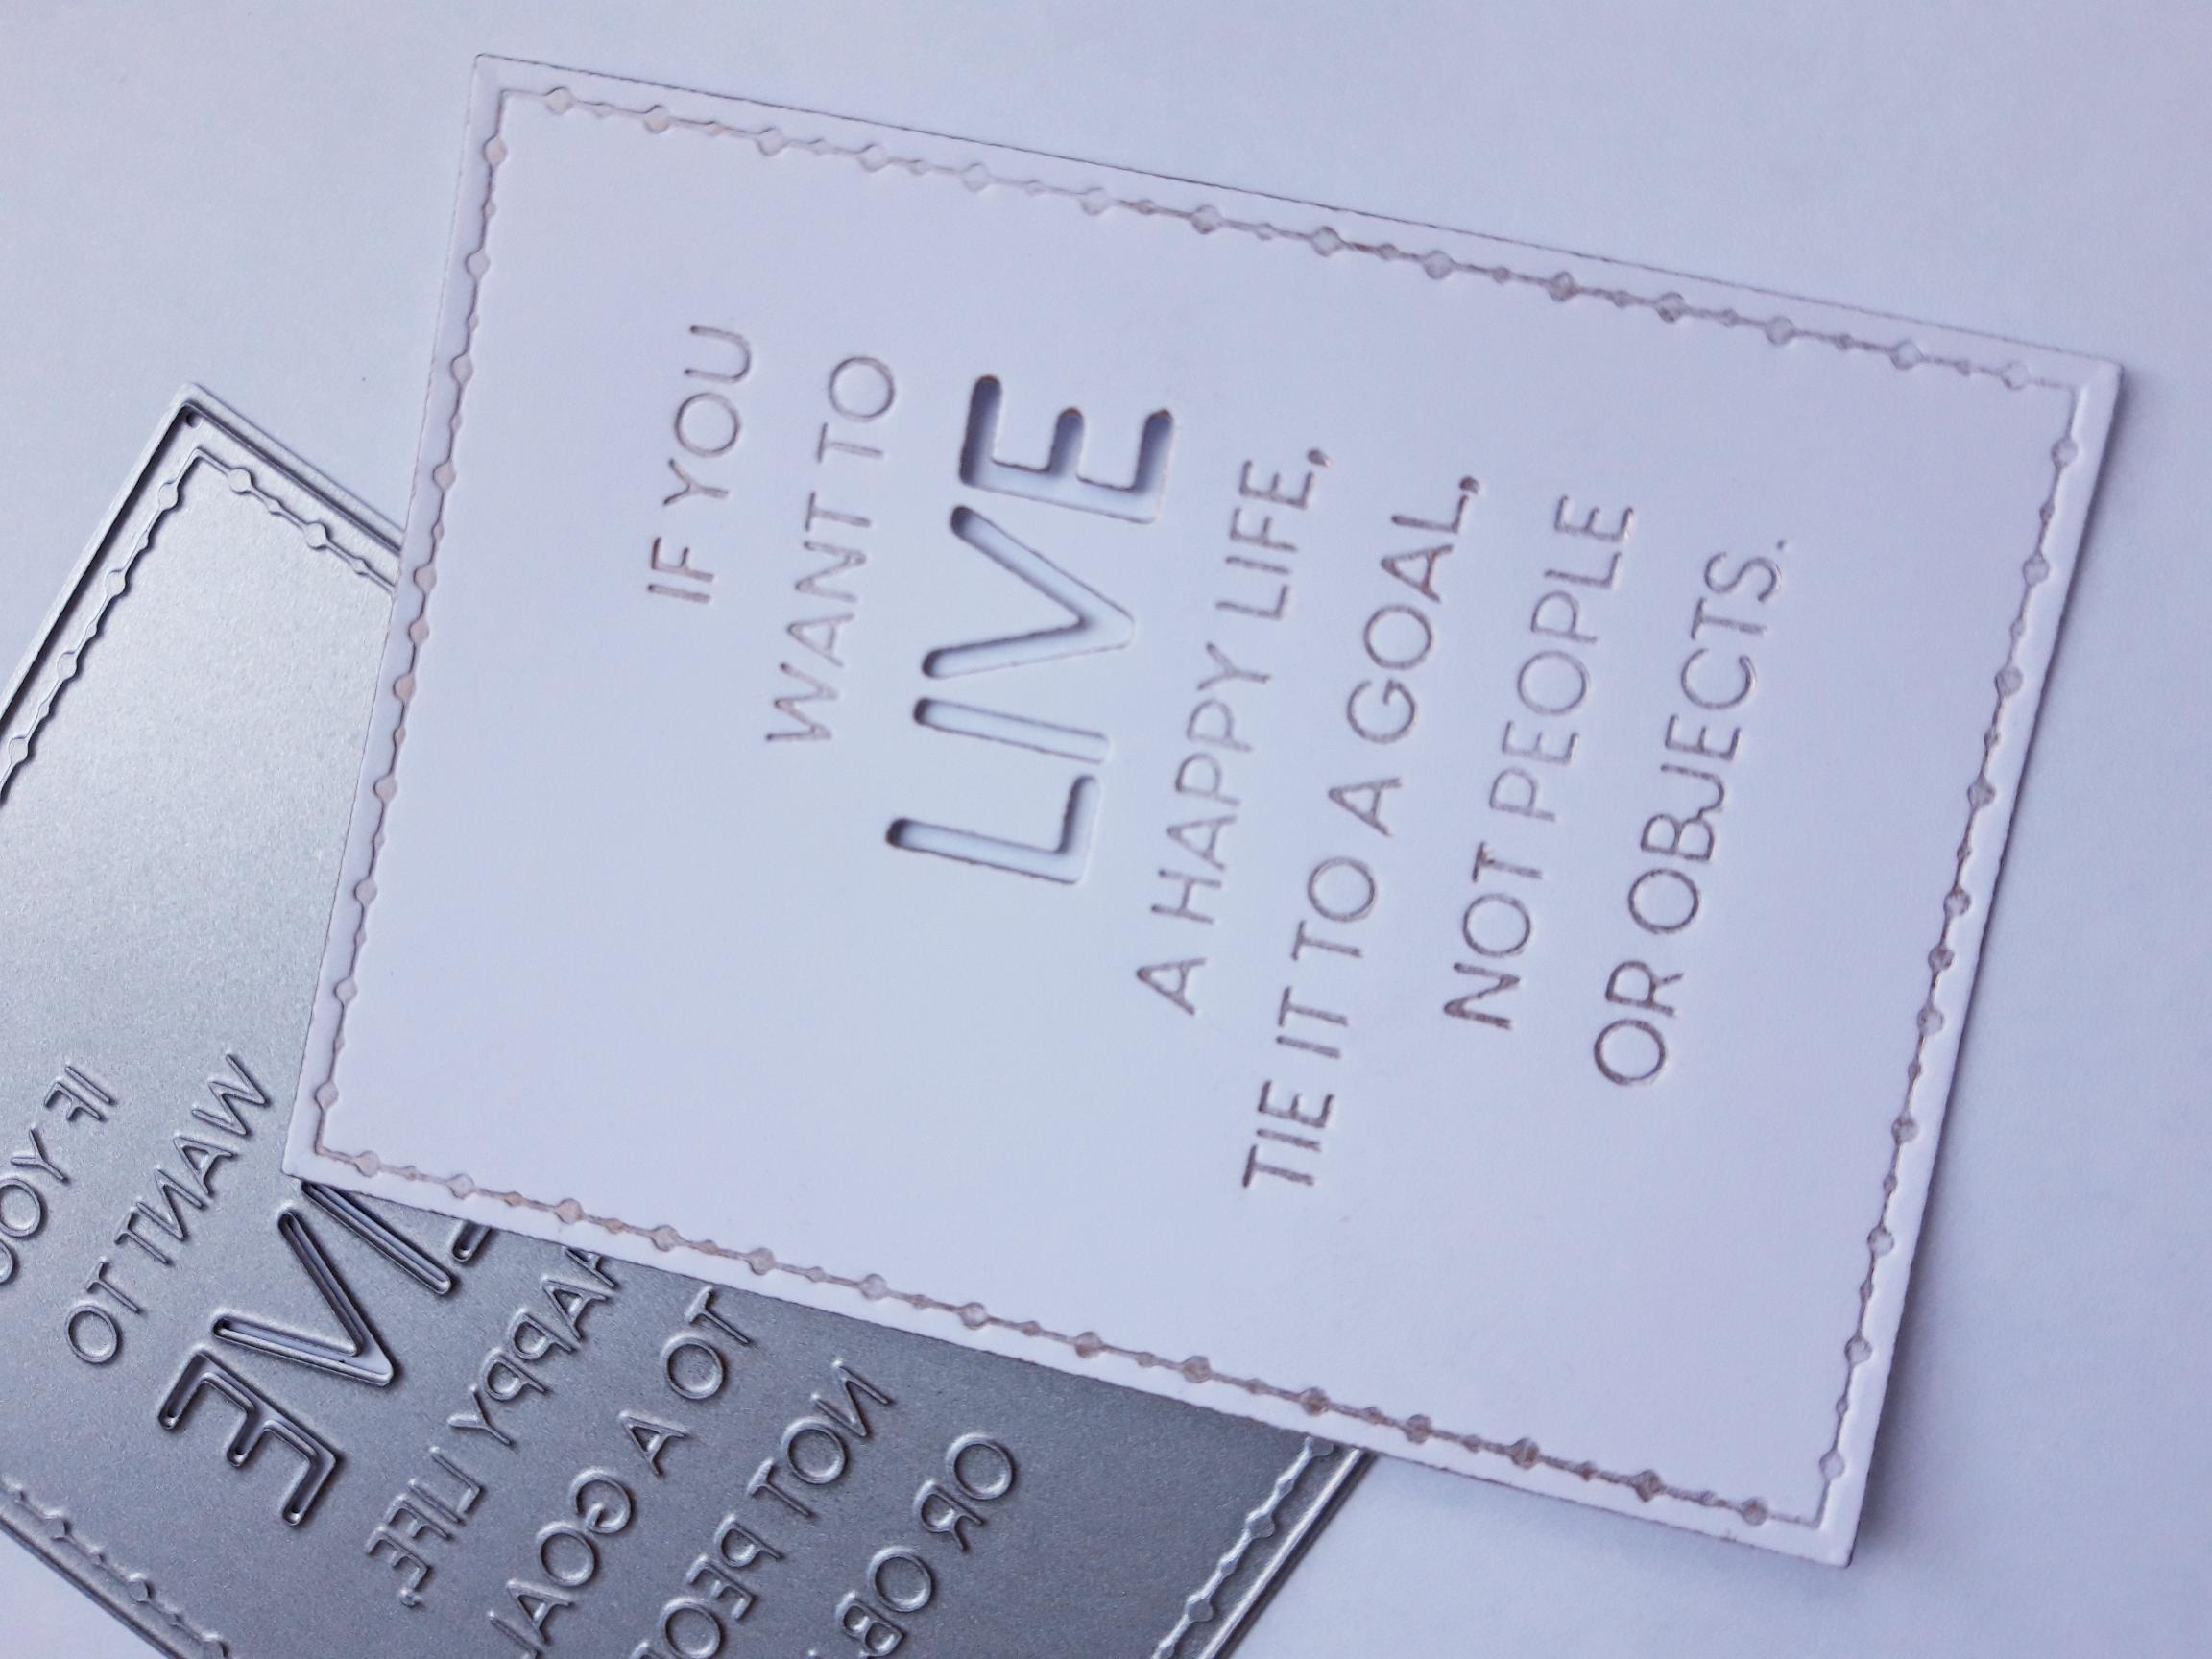
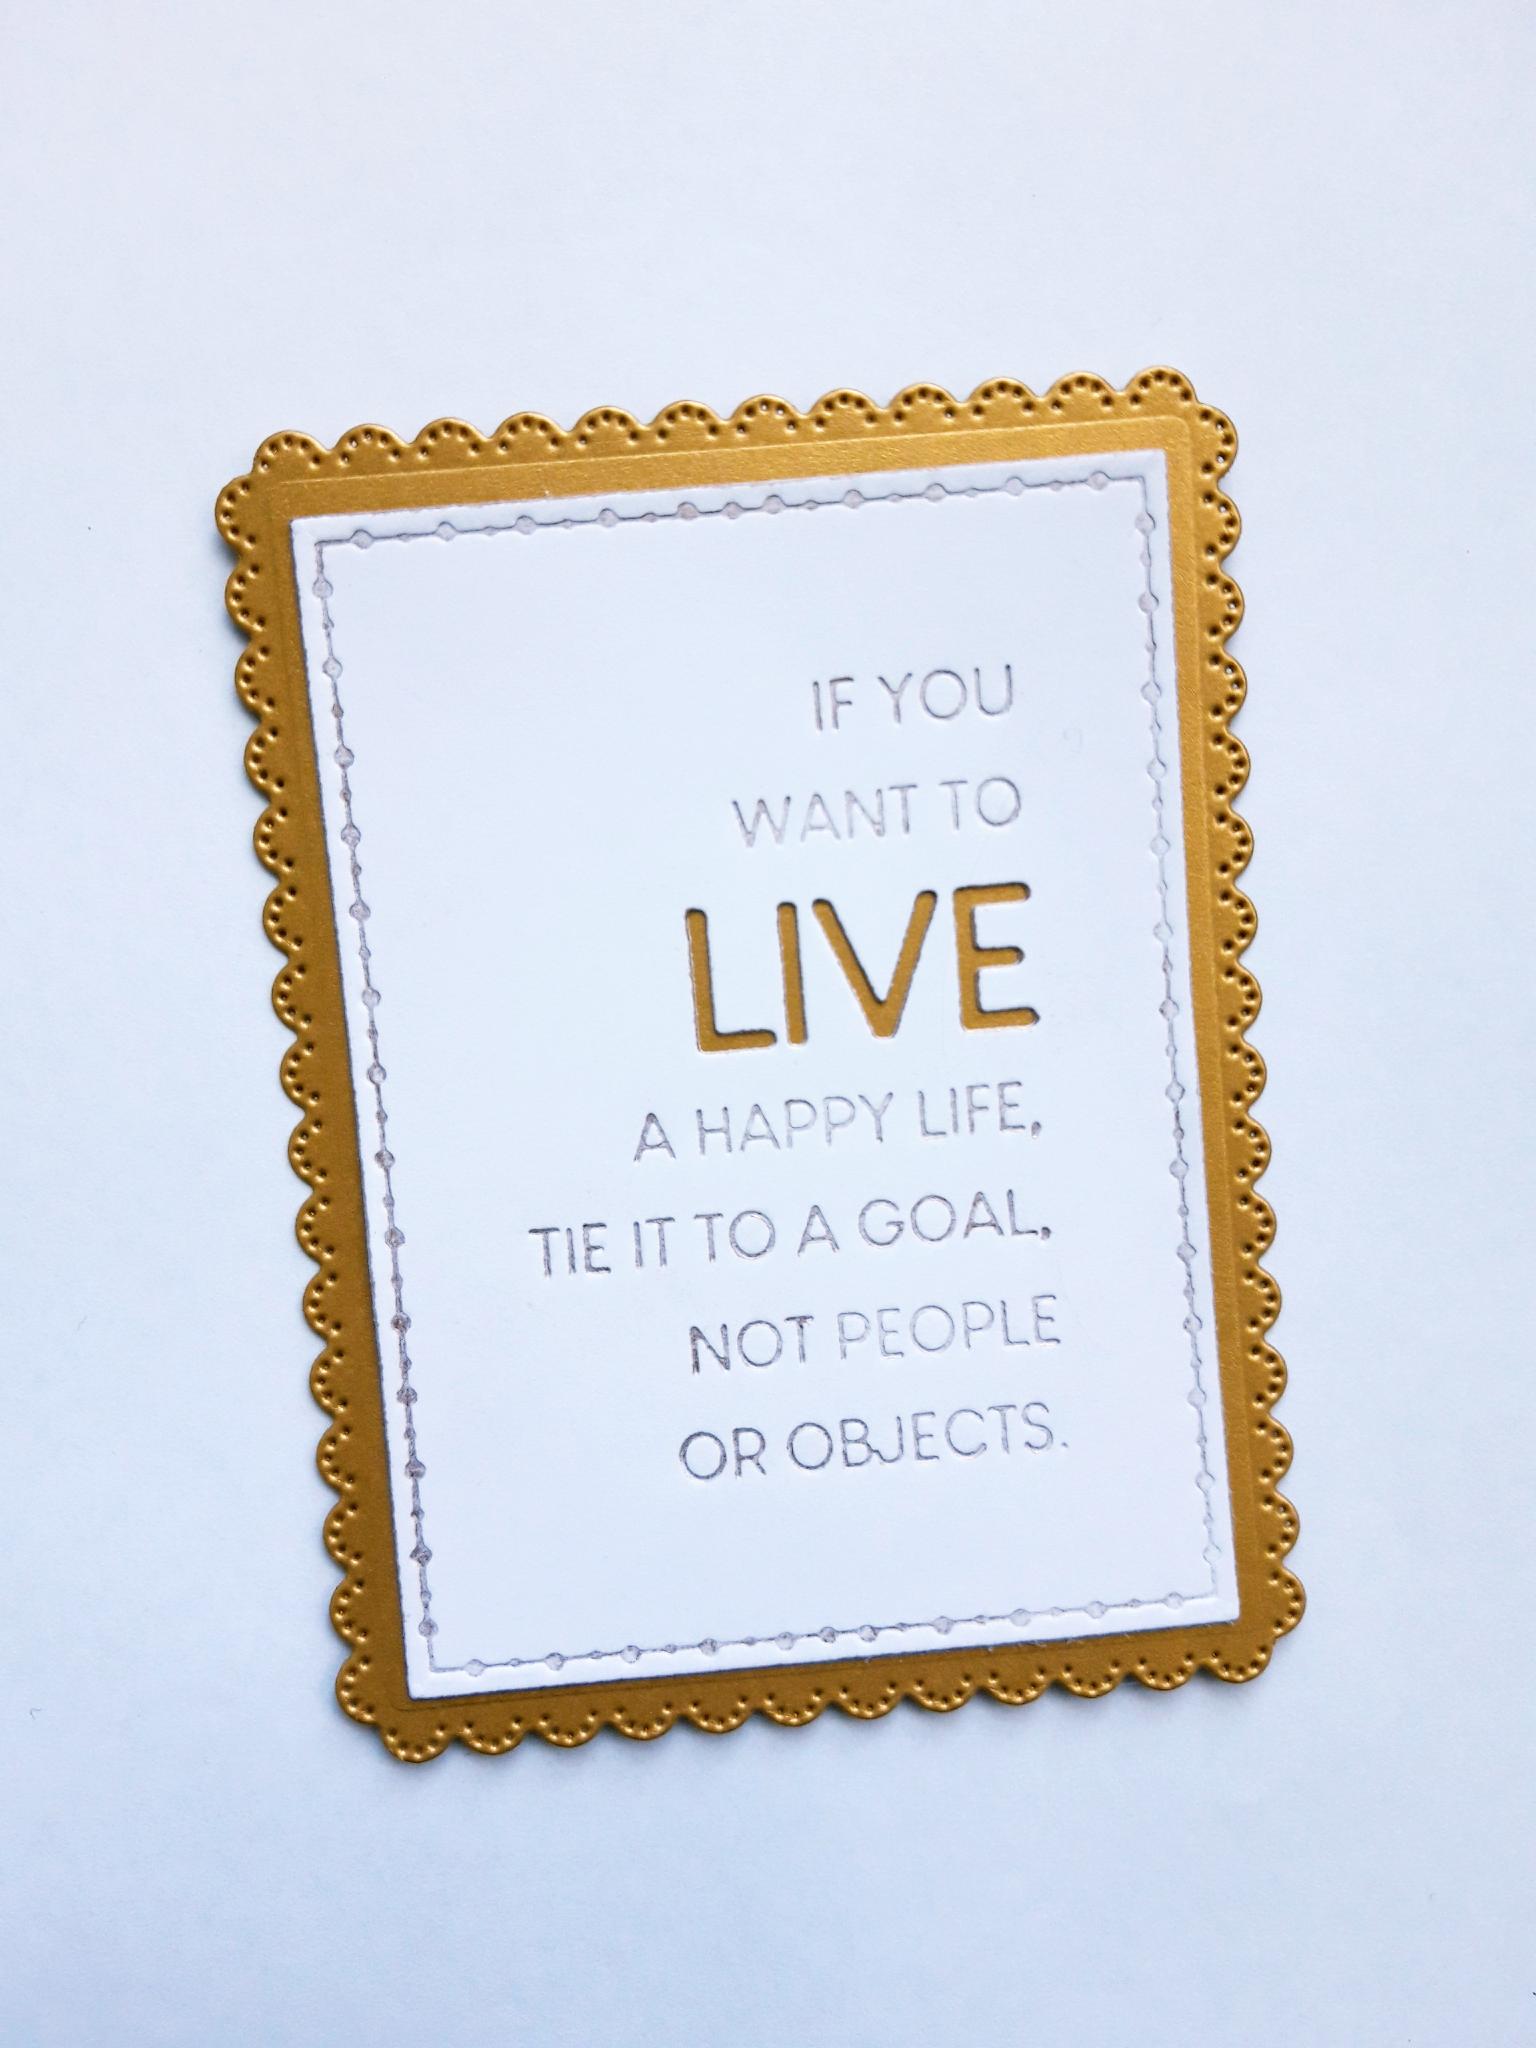
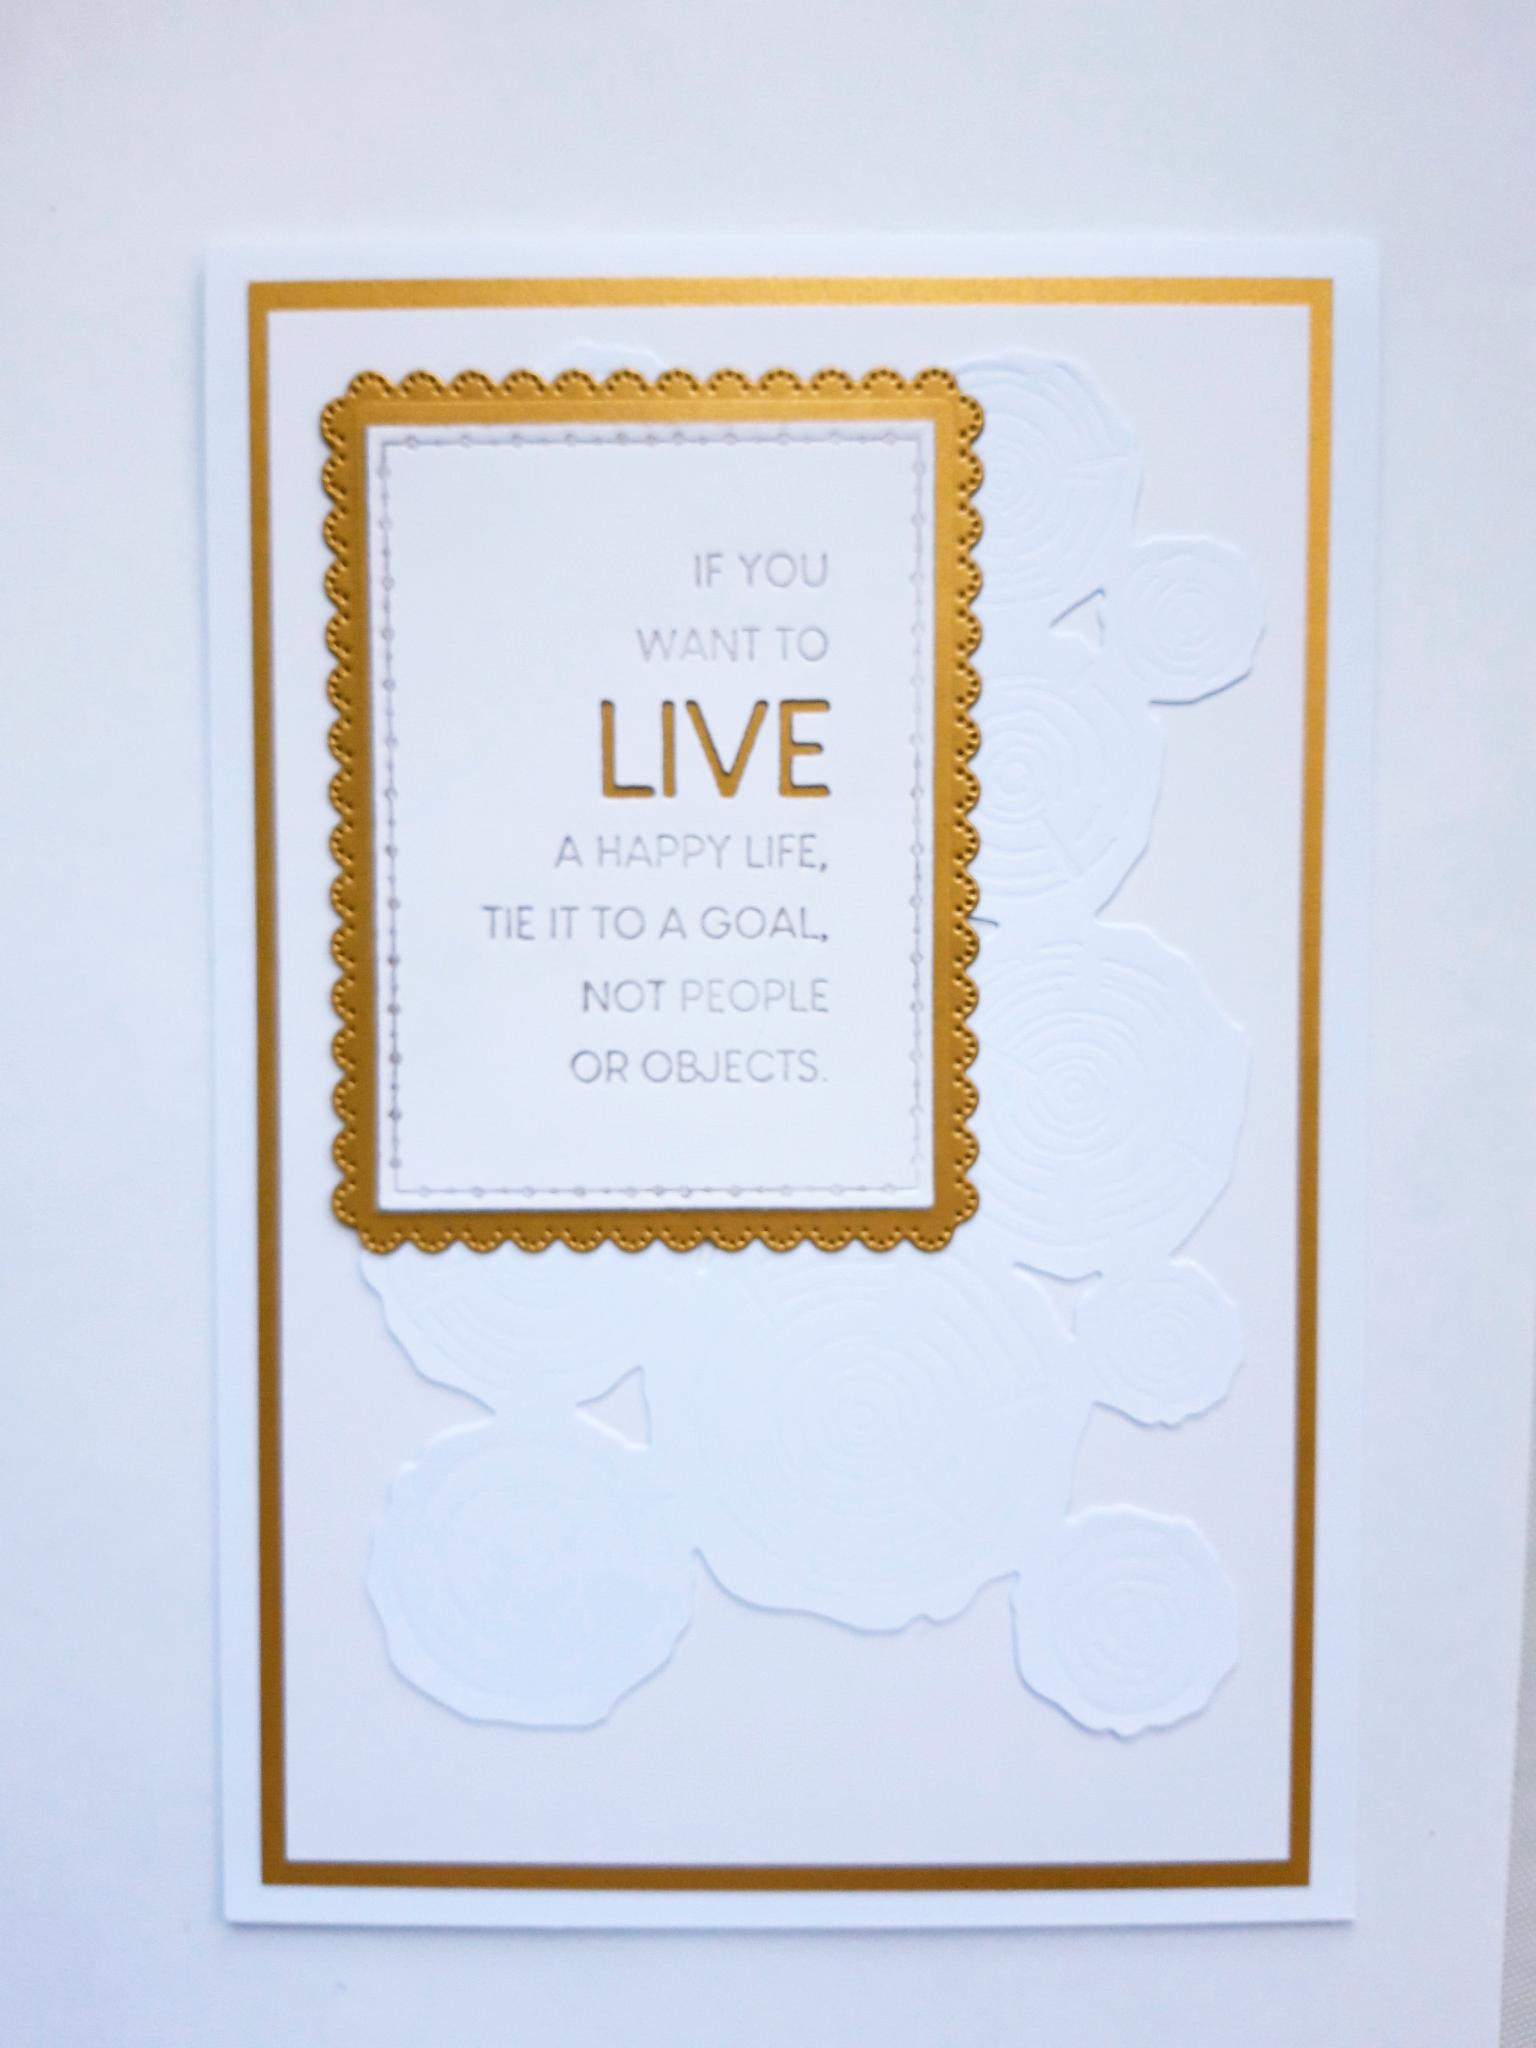
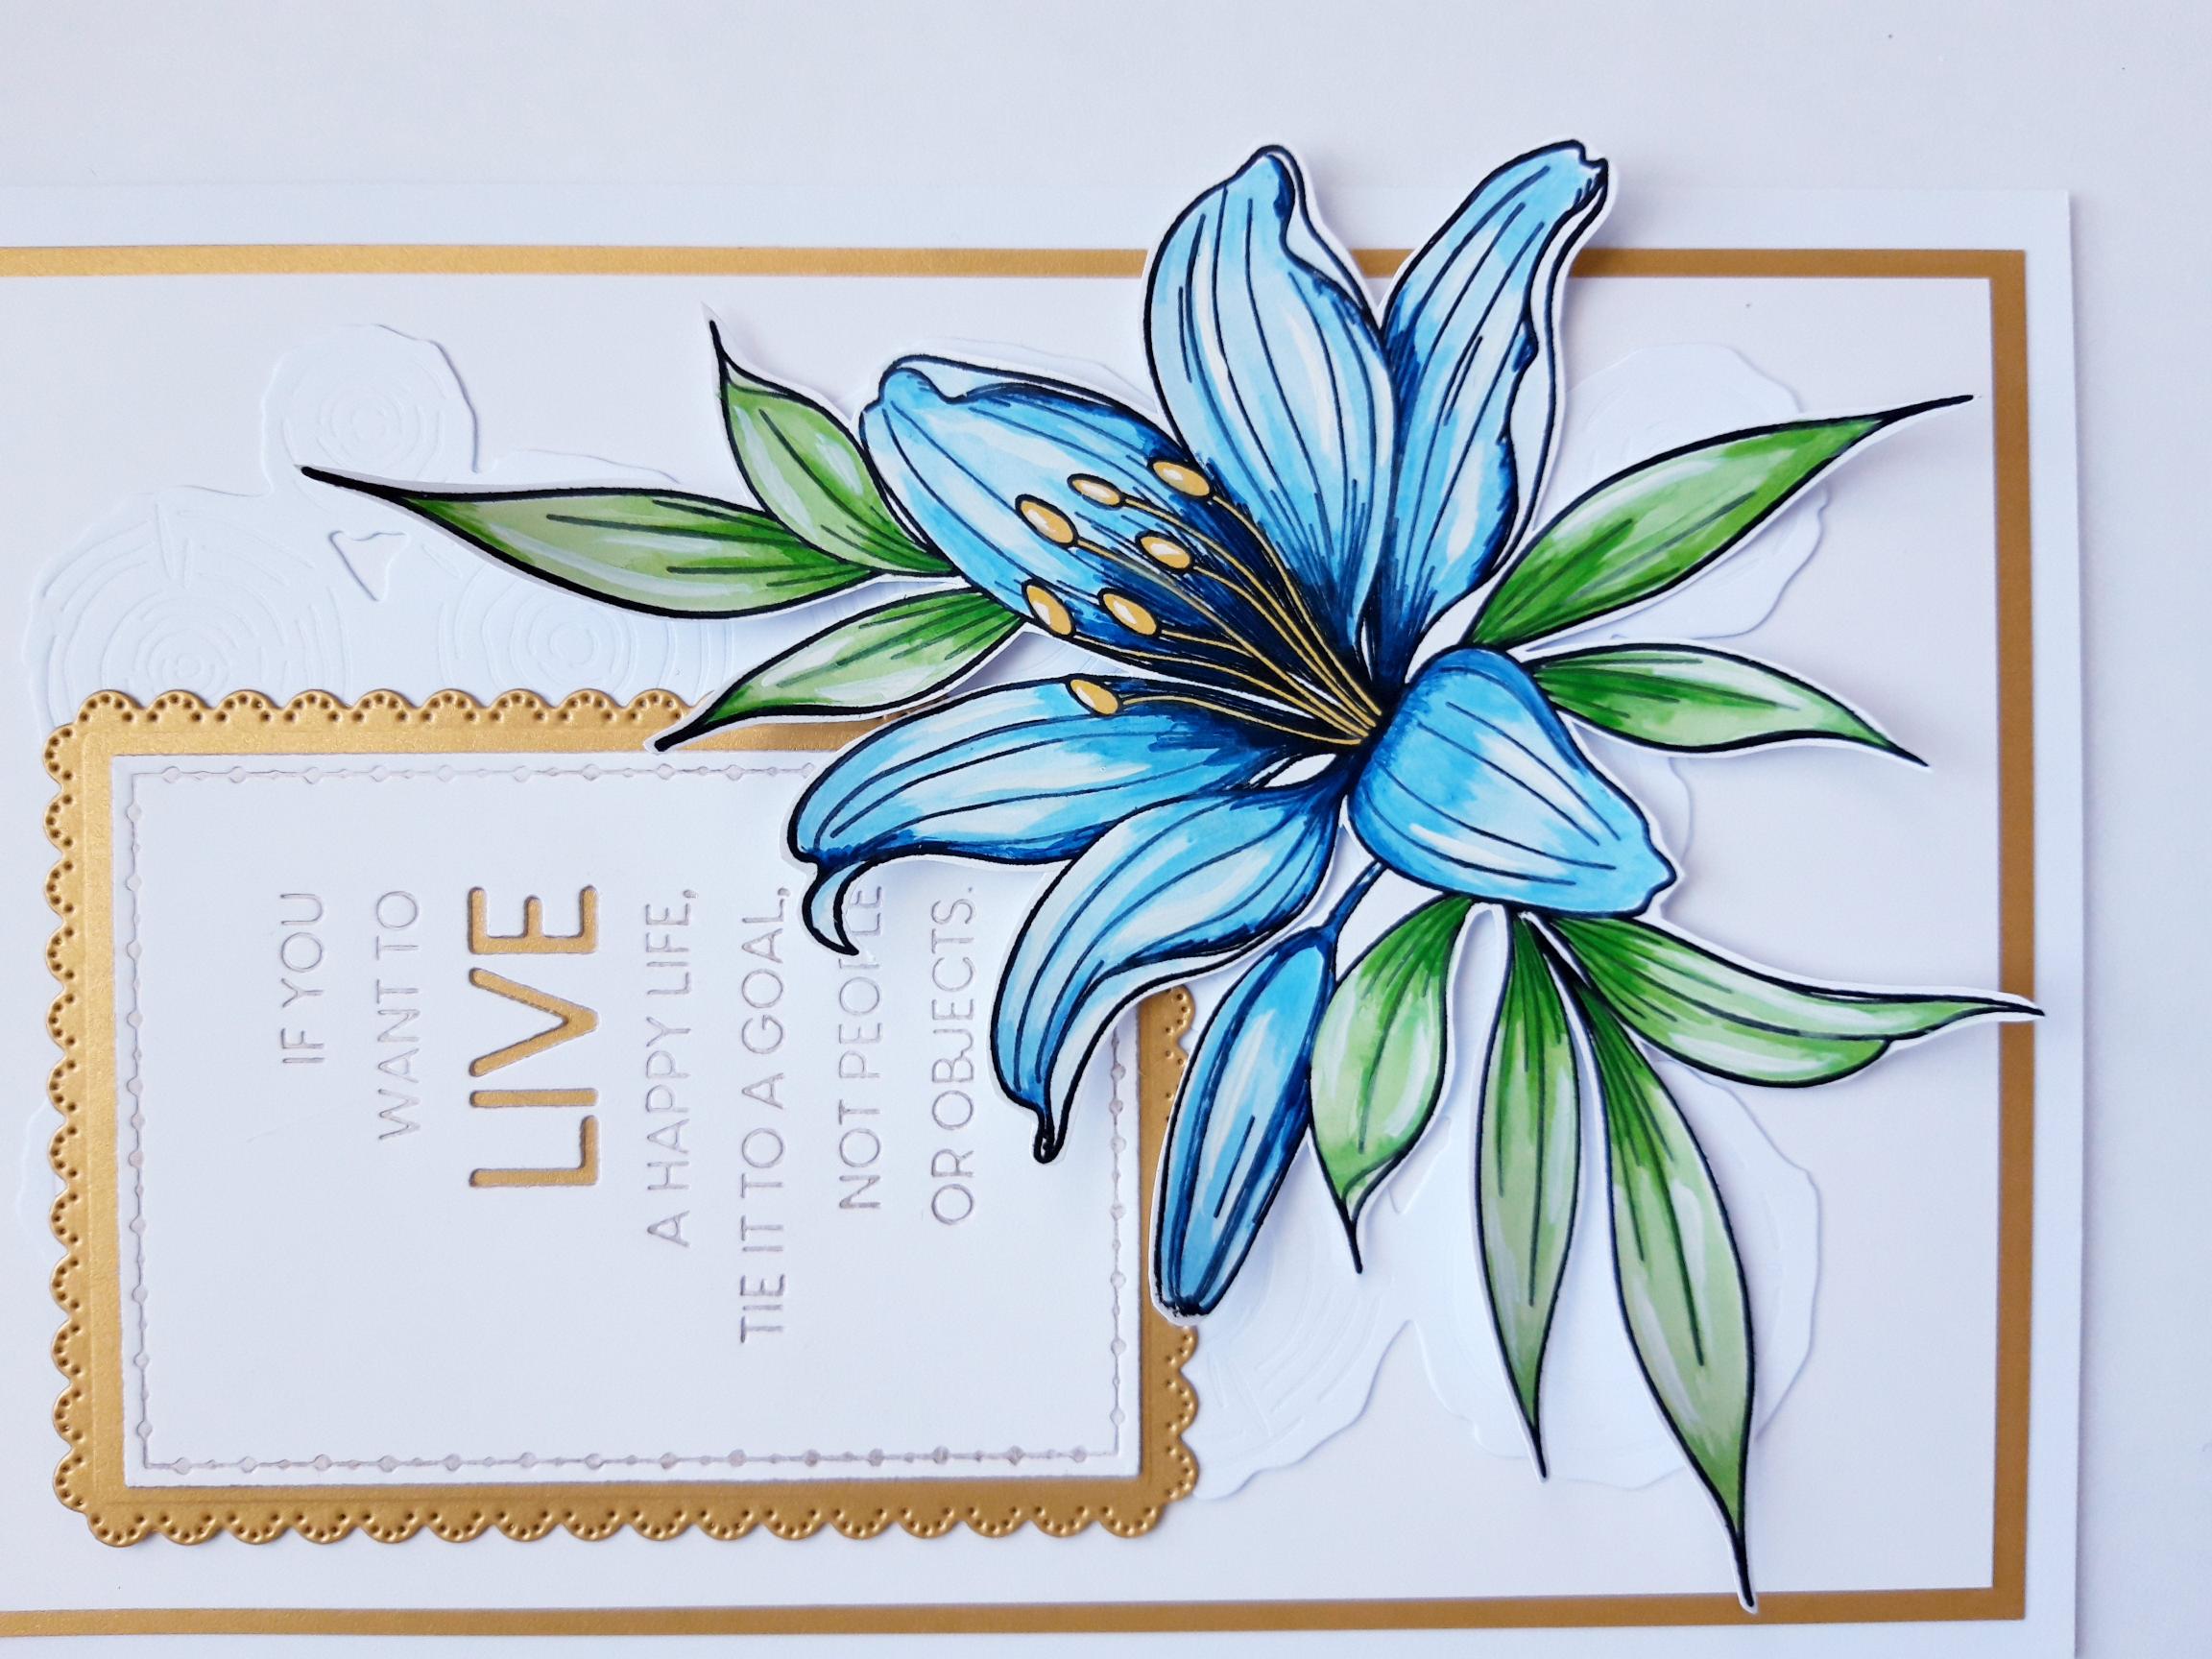
Apply the Izink Metal Copper Embossing ink pad lightly over the sentiment die plate, from the Hug For Your Hands Die Collection, using small taps, so as not to saturate the plate. The idea is to apply ink to the words and decorative edging only. Place the die plate on top of the white cardstock ( 4 x 3"), and run through your die cutting machine. |
|
Carefully remove the cardstock from the plate, to reveal the delicately inked and letterpressed sentiment panel. |
|
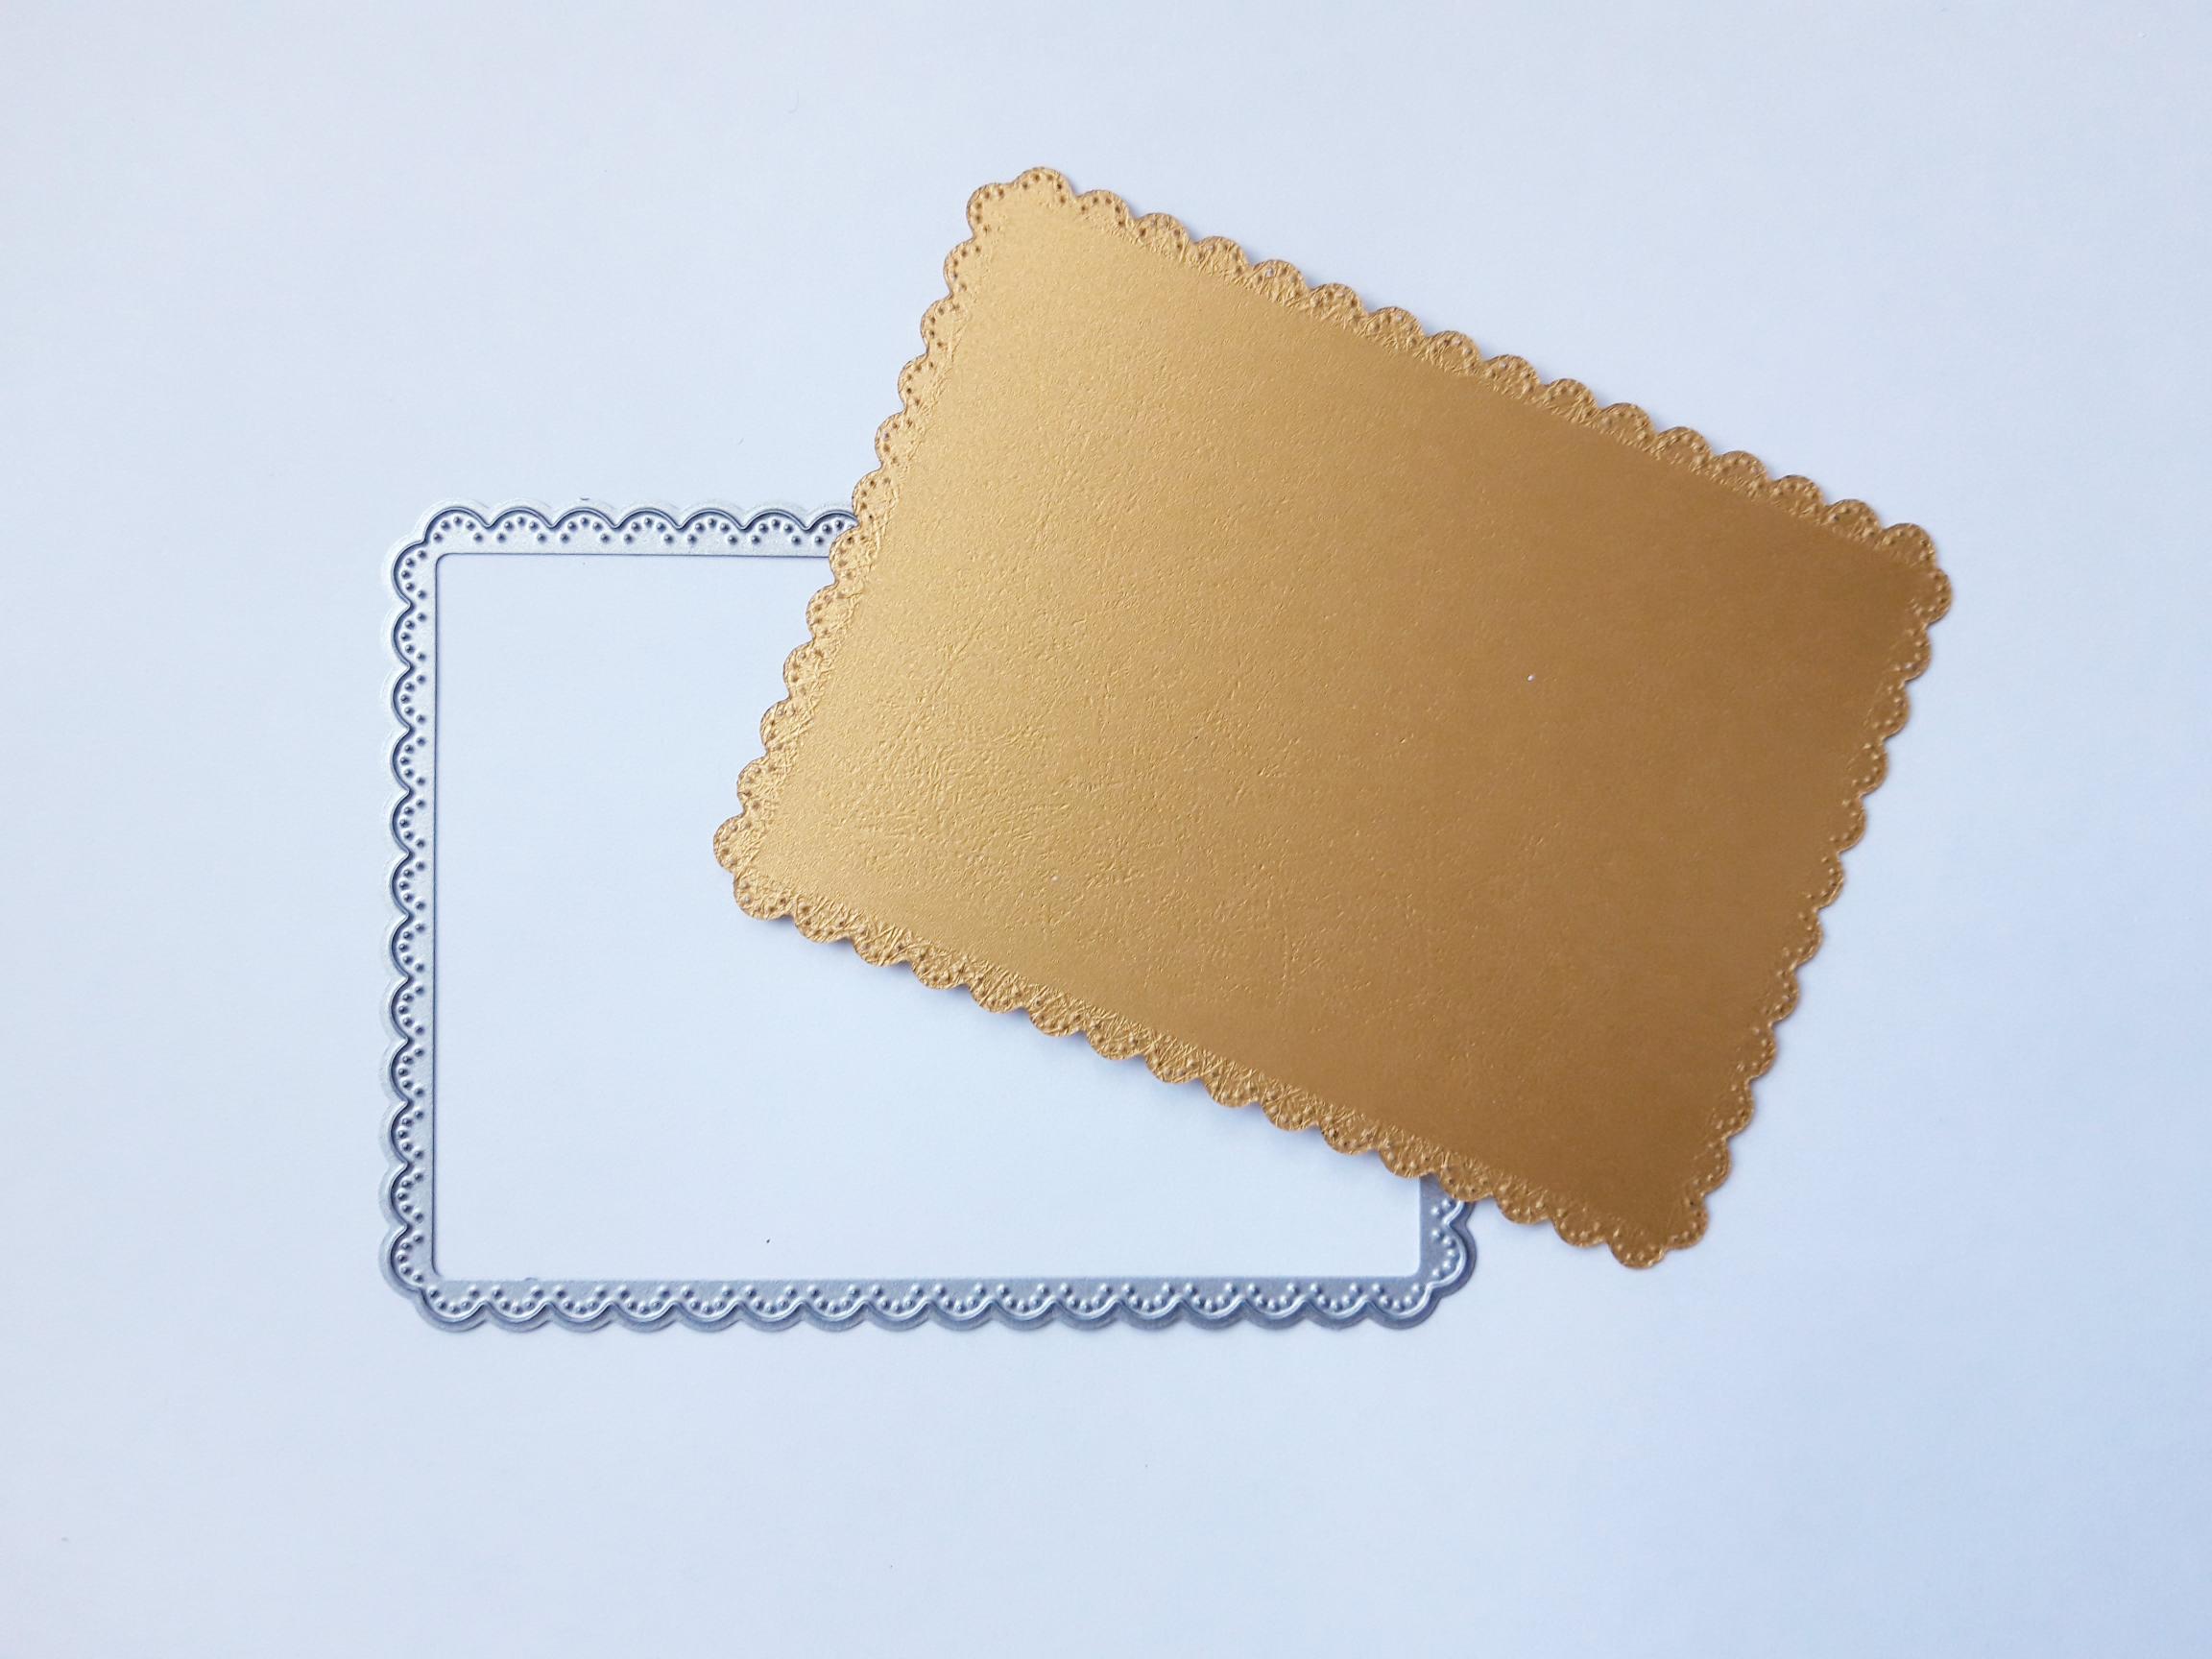
Die cut one of the decorative mats, from the leftover piece of pearlised gold cardstock, using a die from the Hugs For Your Hands Die Collection. |
|
Adhere the inked, letterpressed sentiment panel, on to the gold decorative mat. Set to one side. |
|
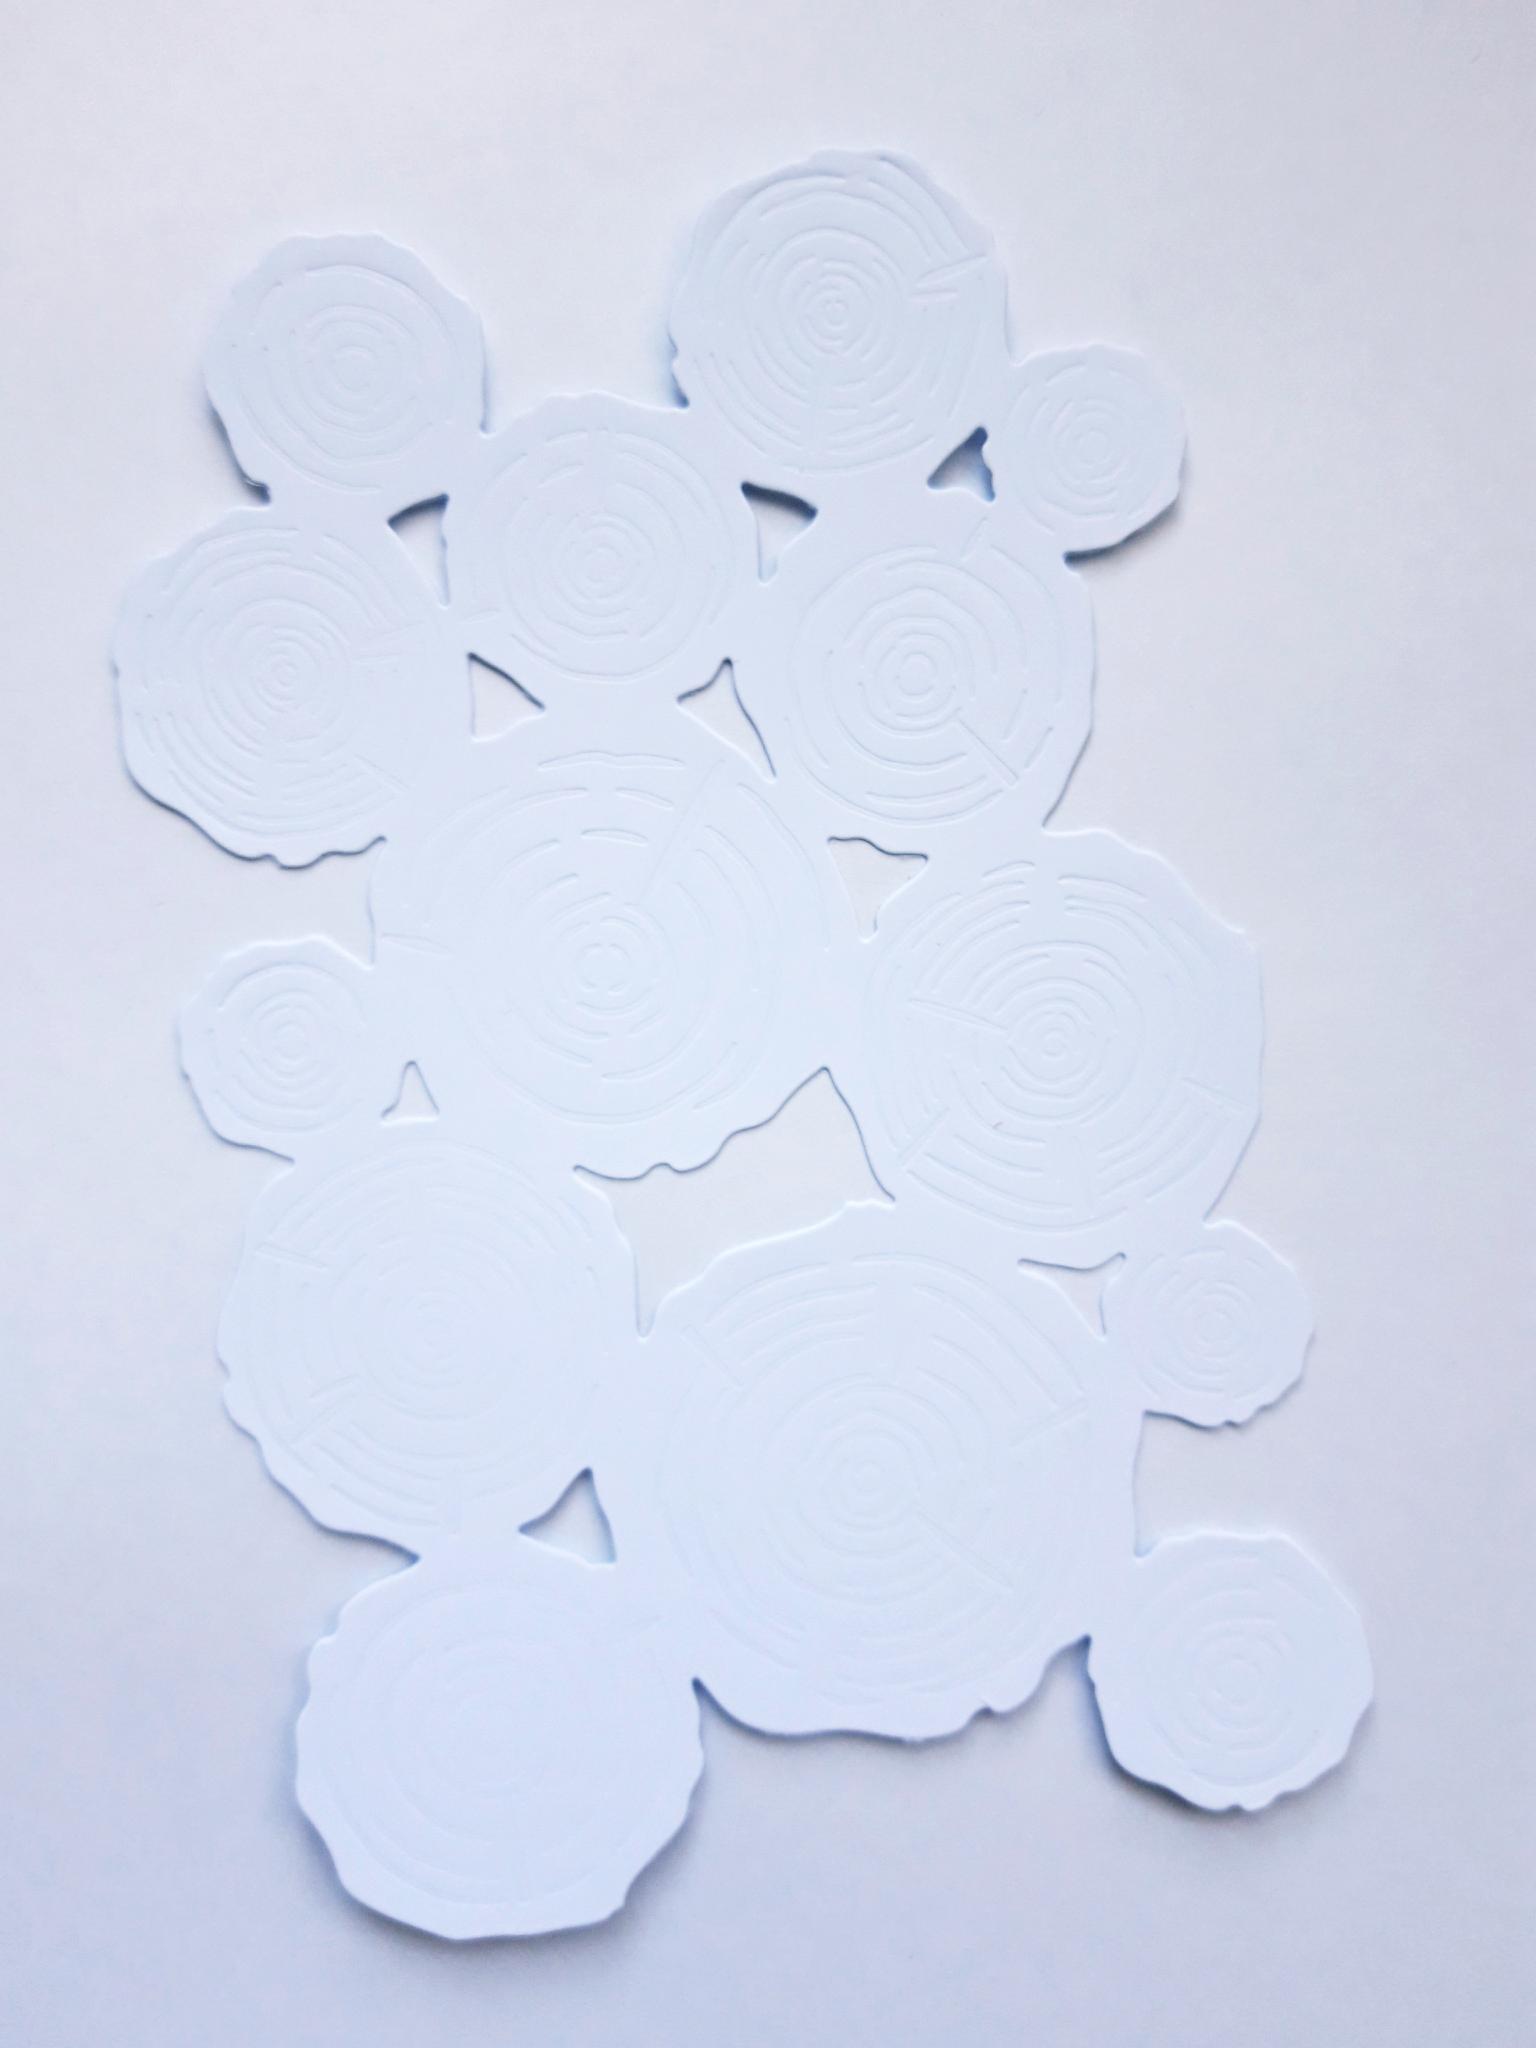
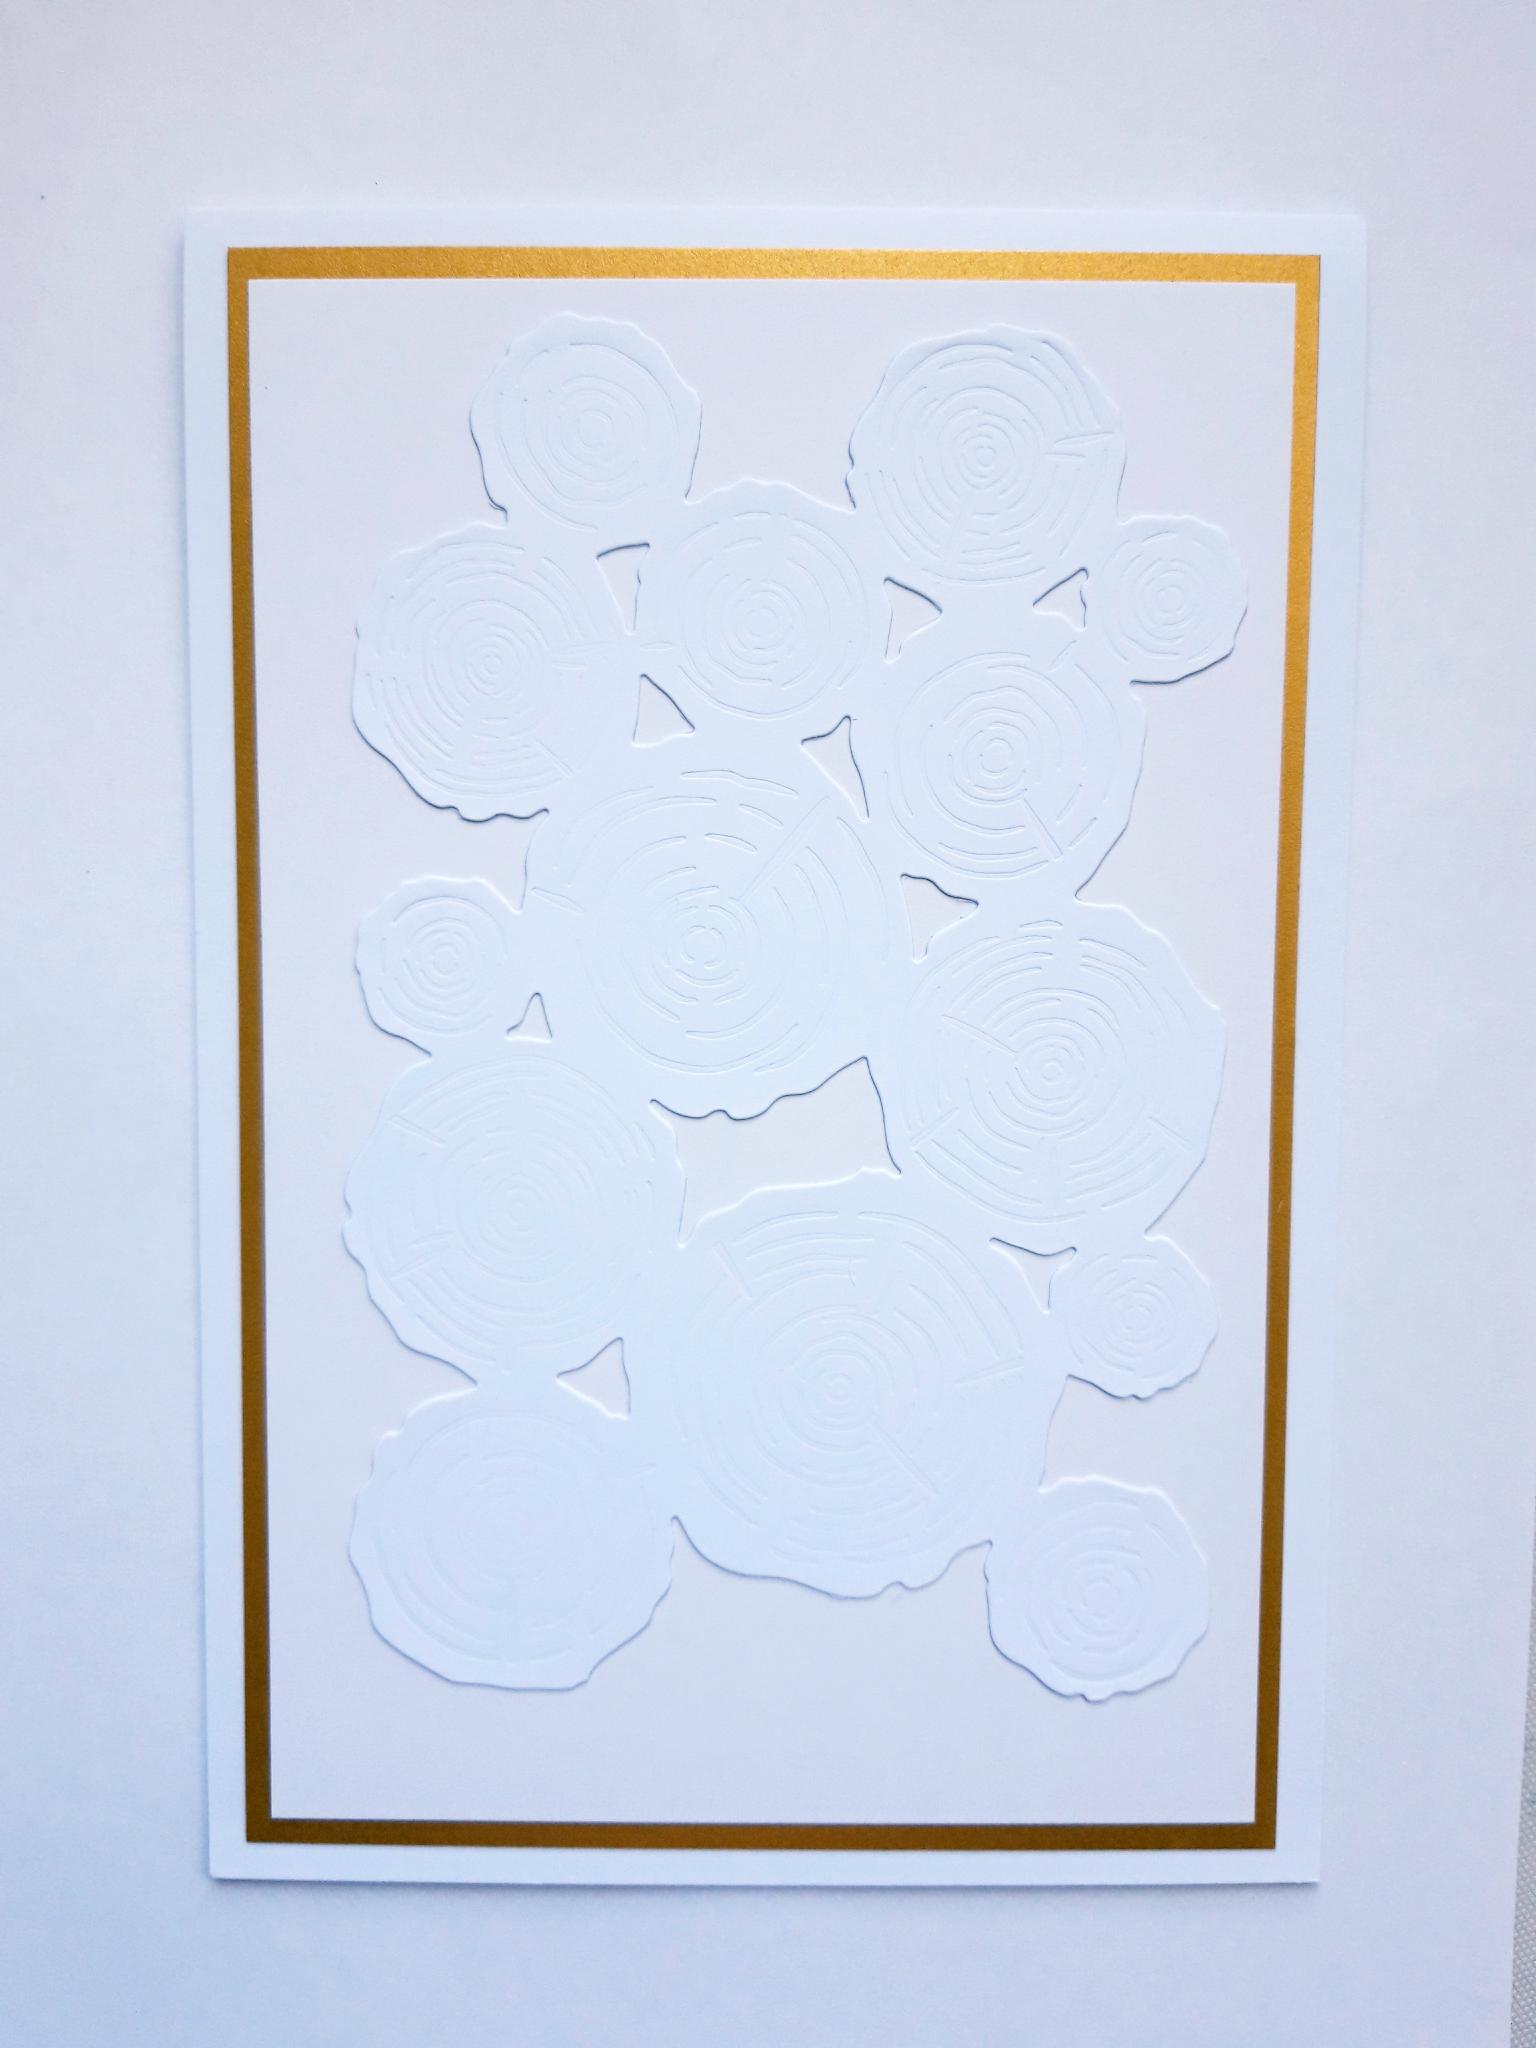
Place the die plate, from the Log Slices Die collection, on to the white cardstock ( 7 x 5"). Run through your die cutting machine. Set to one side. |
|
Adhere the white cardstock (7 3/4 x 5 1/4"), on to the gold pearlised mat. |
|
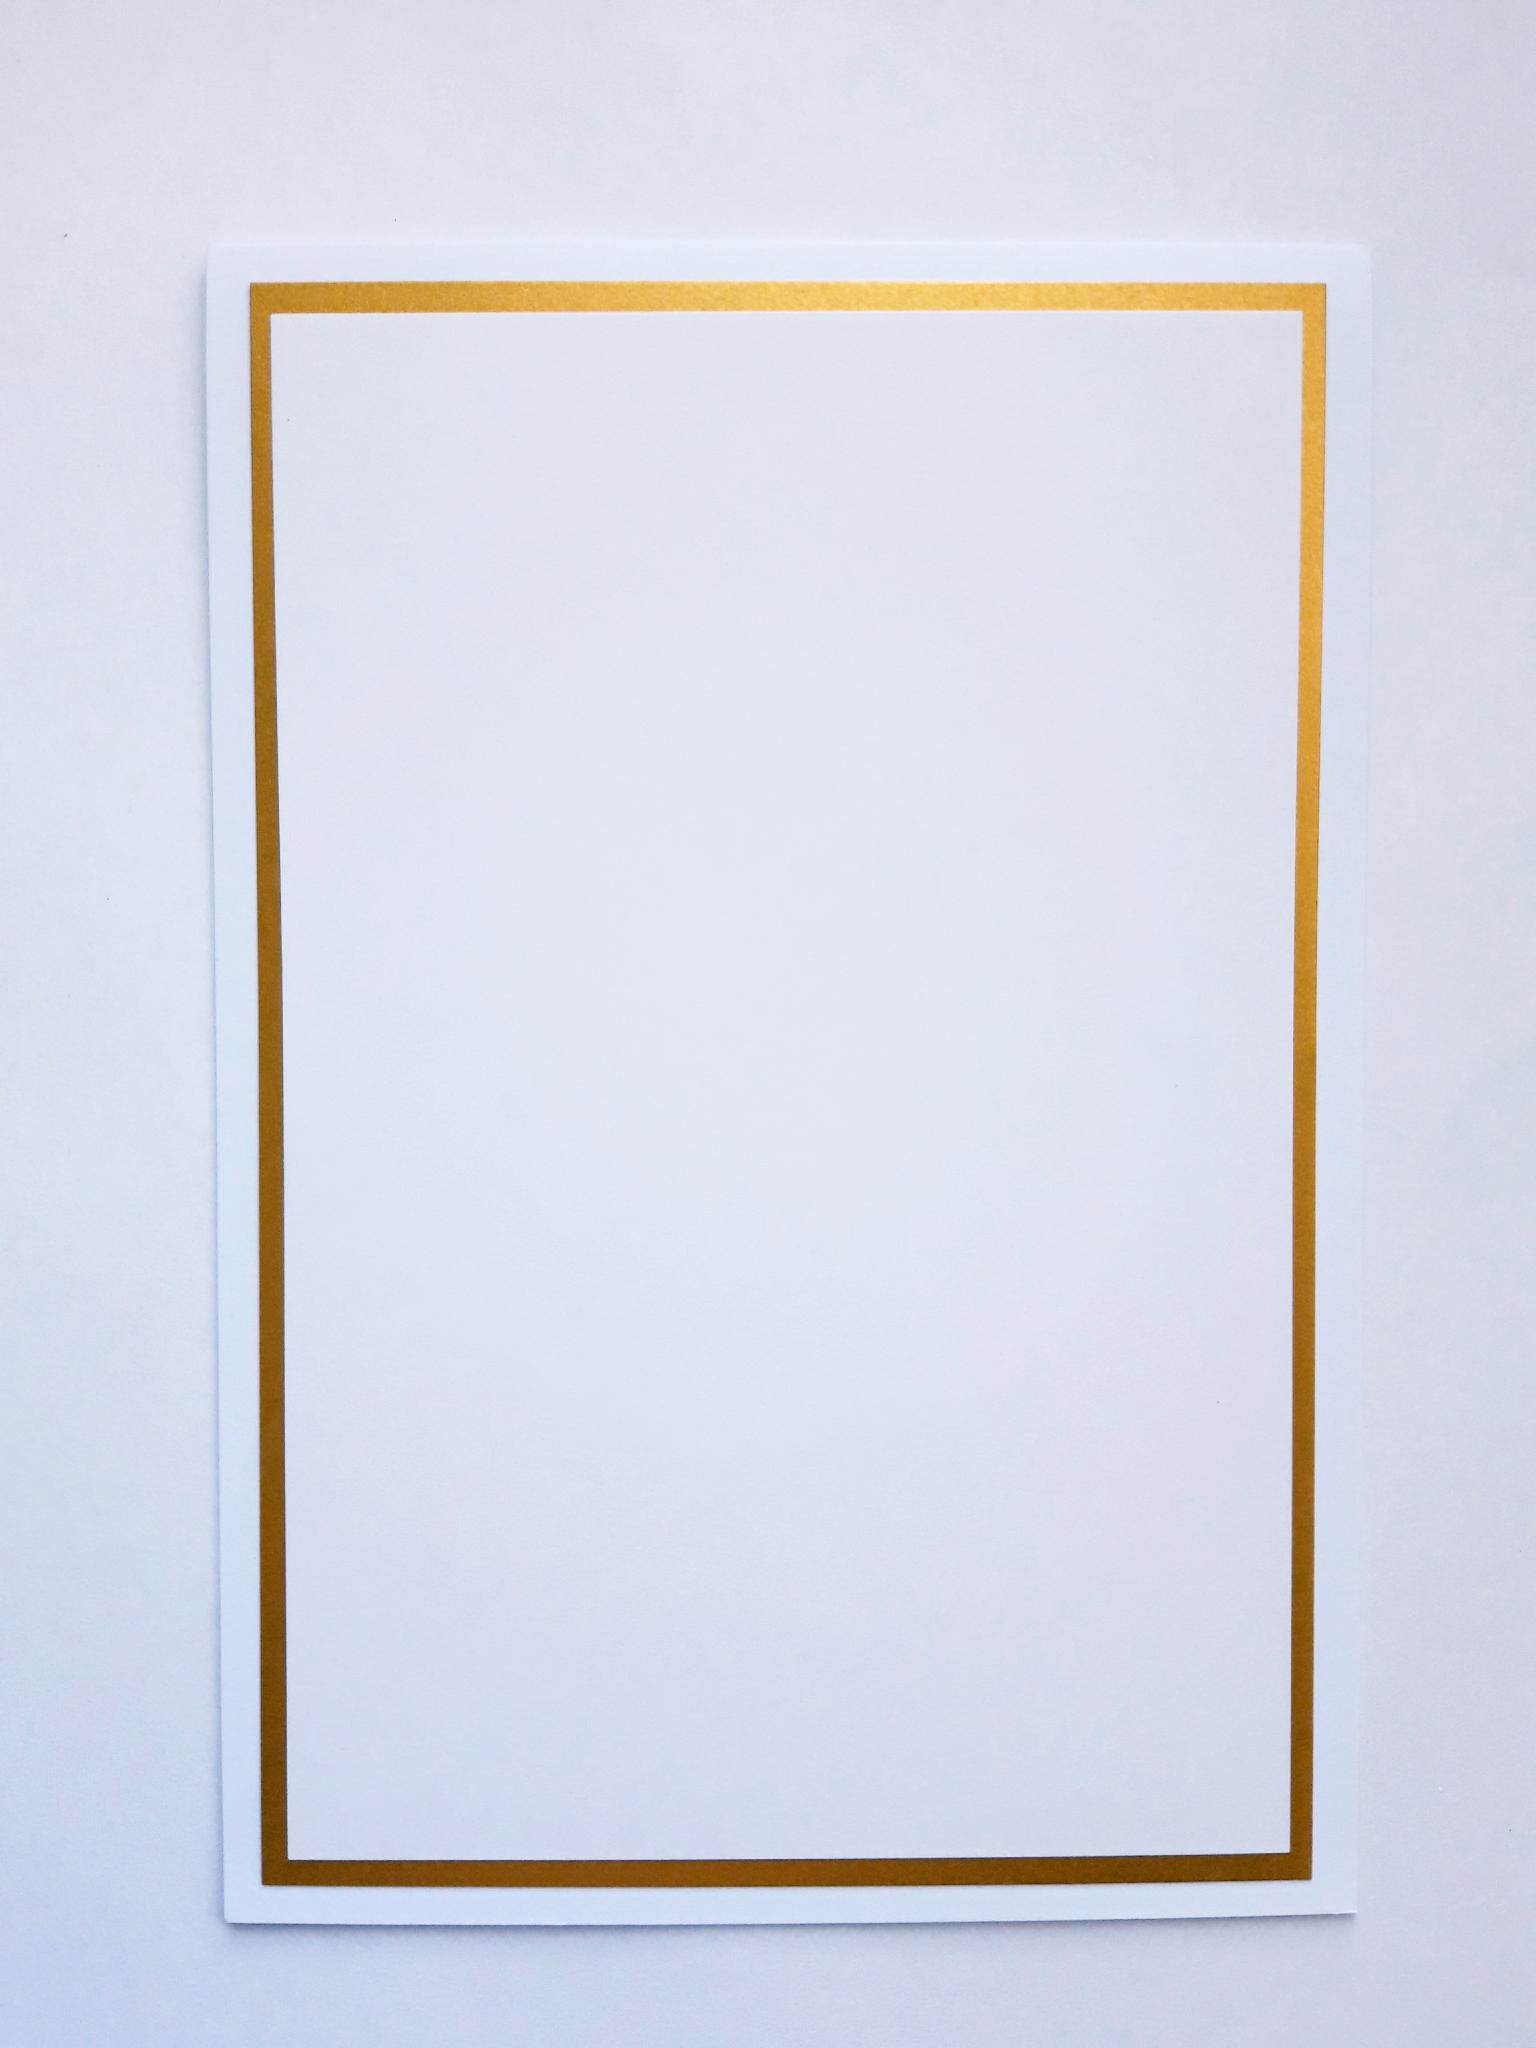
Adhere your layered cardstock on top of the white card blank. |
|
Adhere your die cut log slices on to your card. |
|
Adhere your layered sentiment panel to the top left of your log circles, using wet glue or foam pads. Set your card to one side. |
|
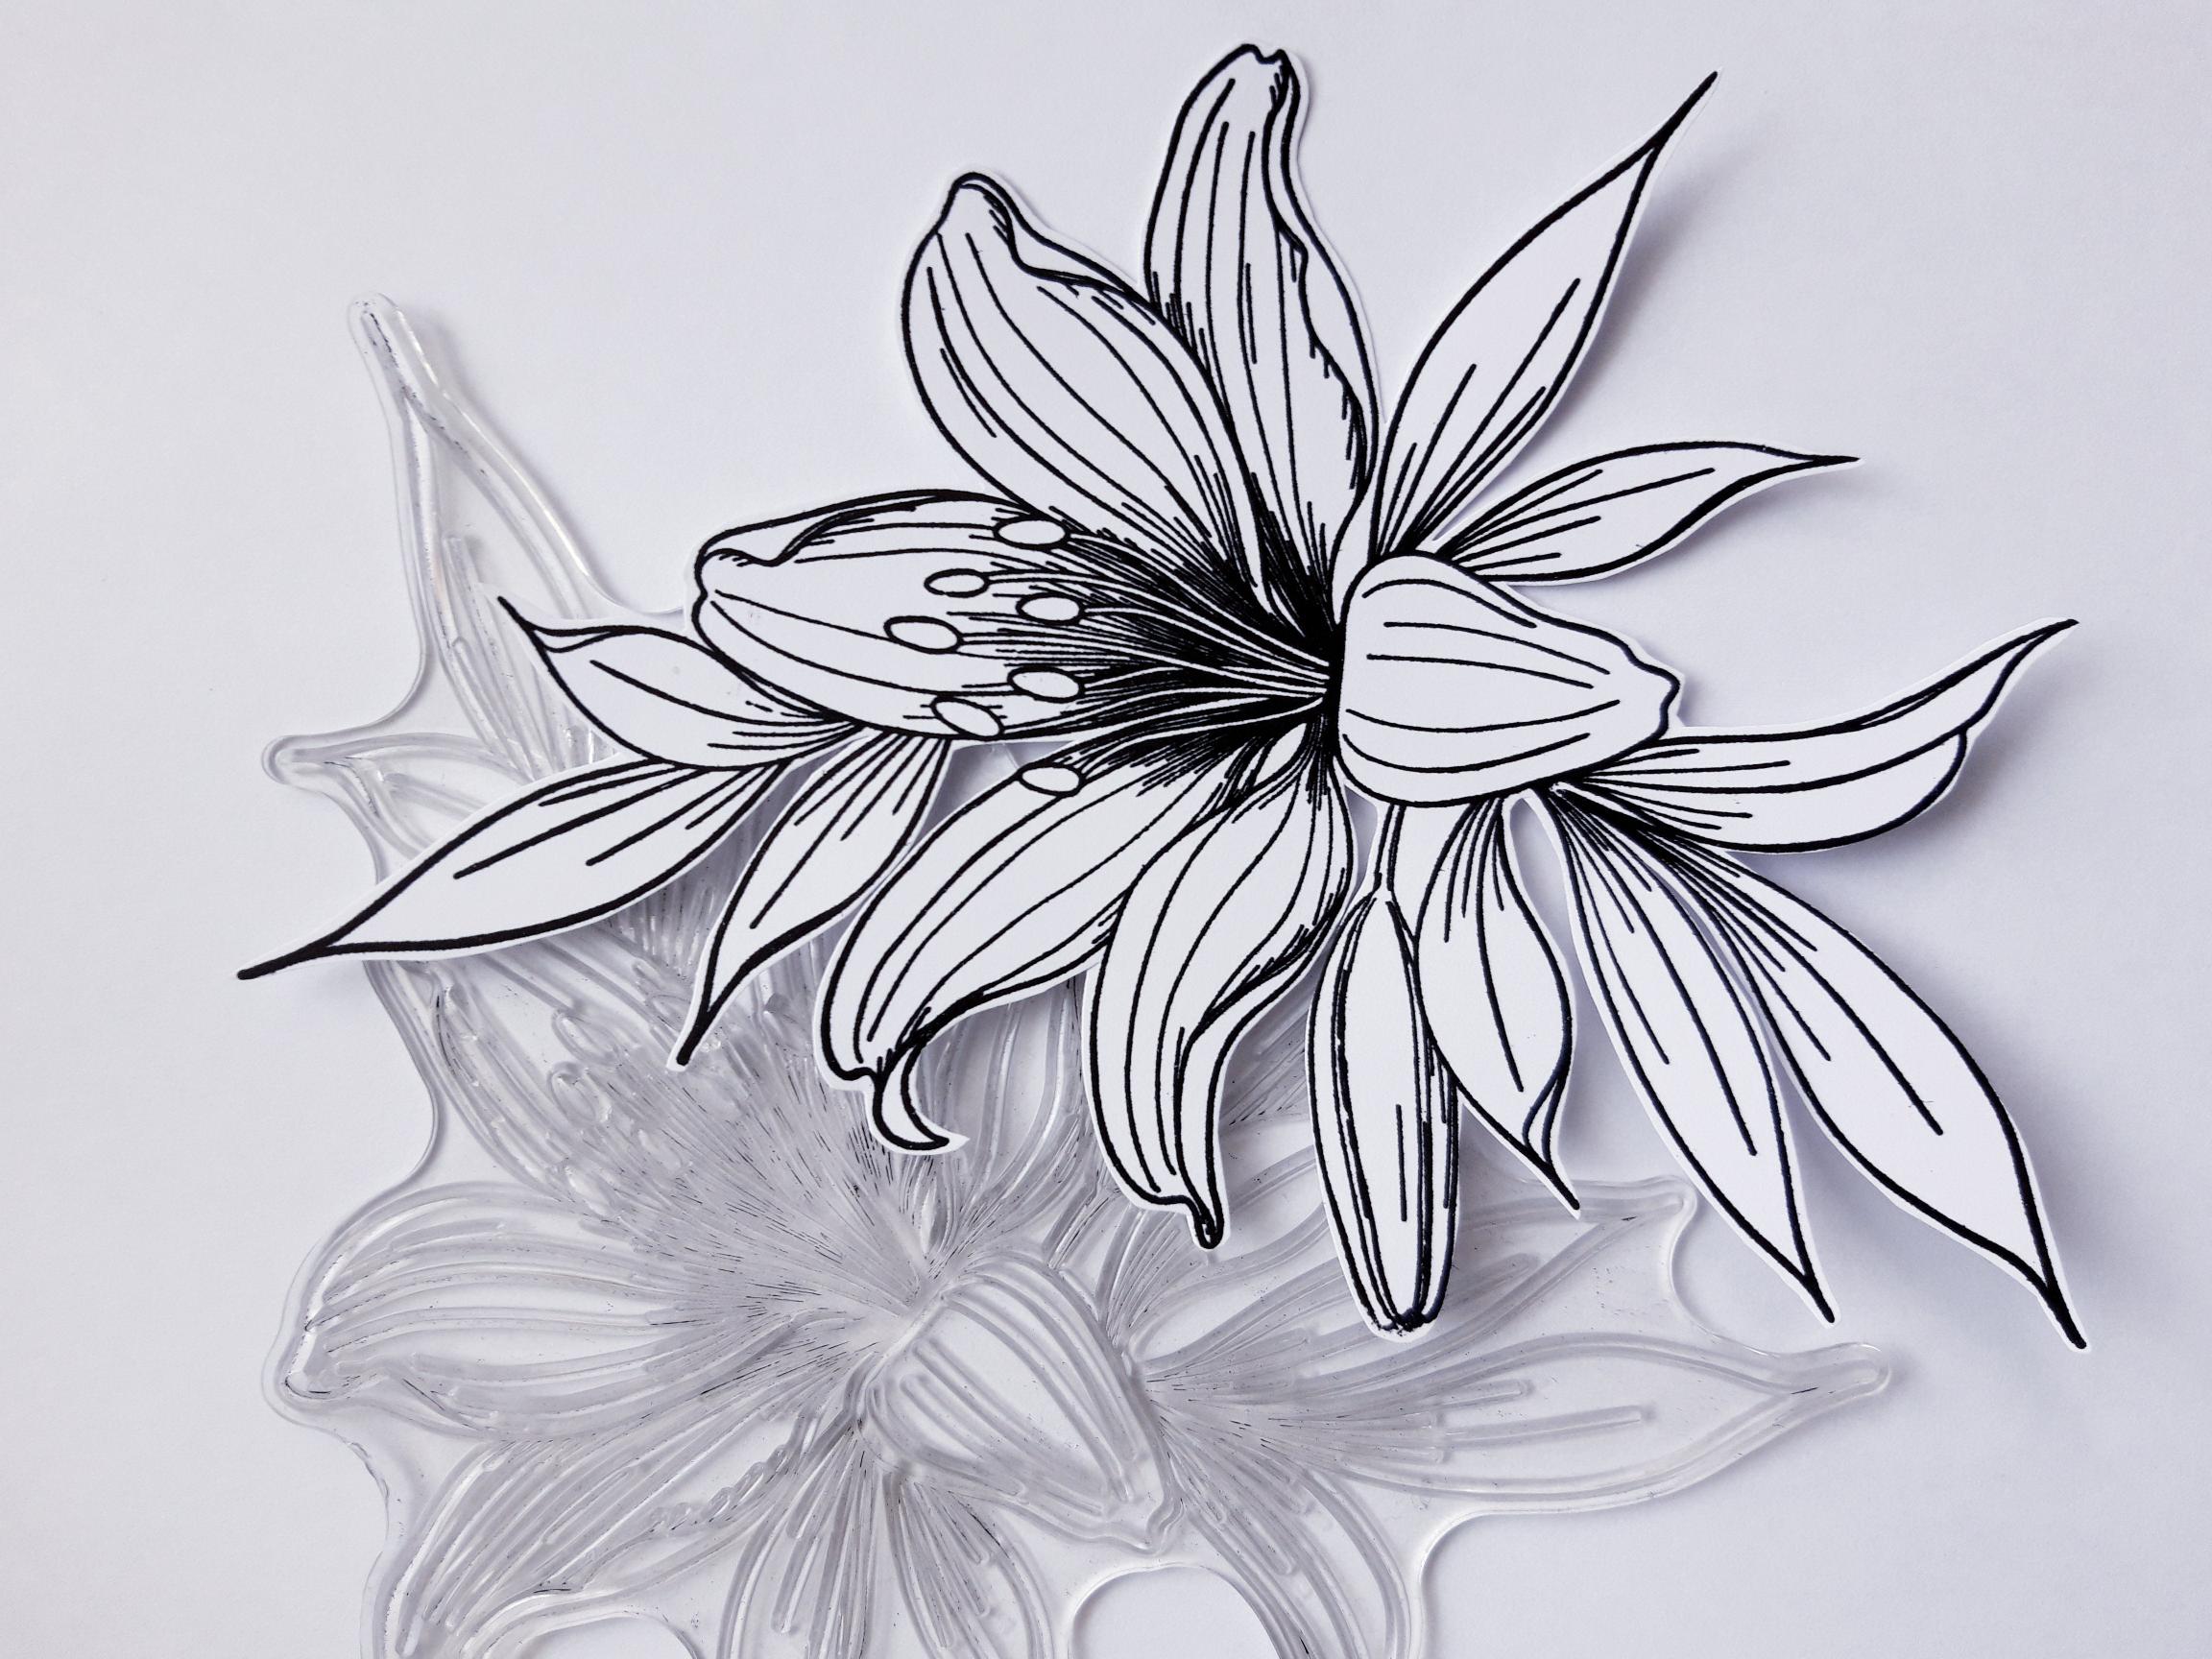
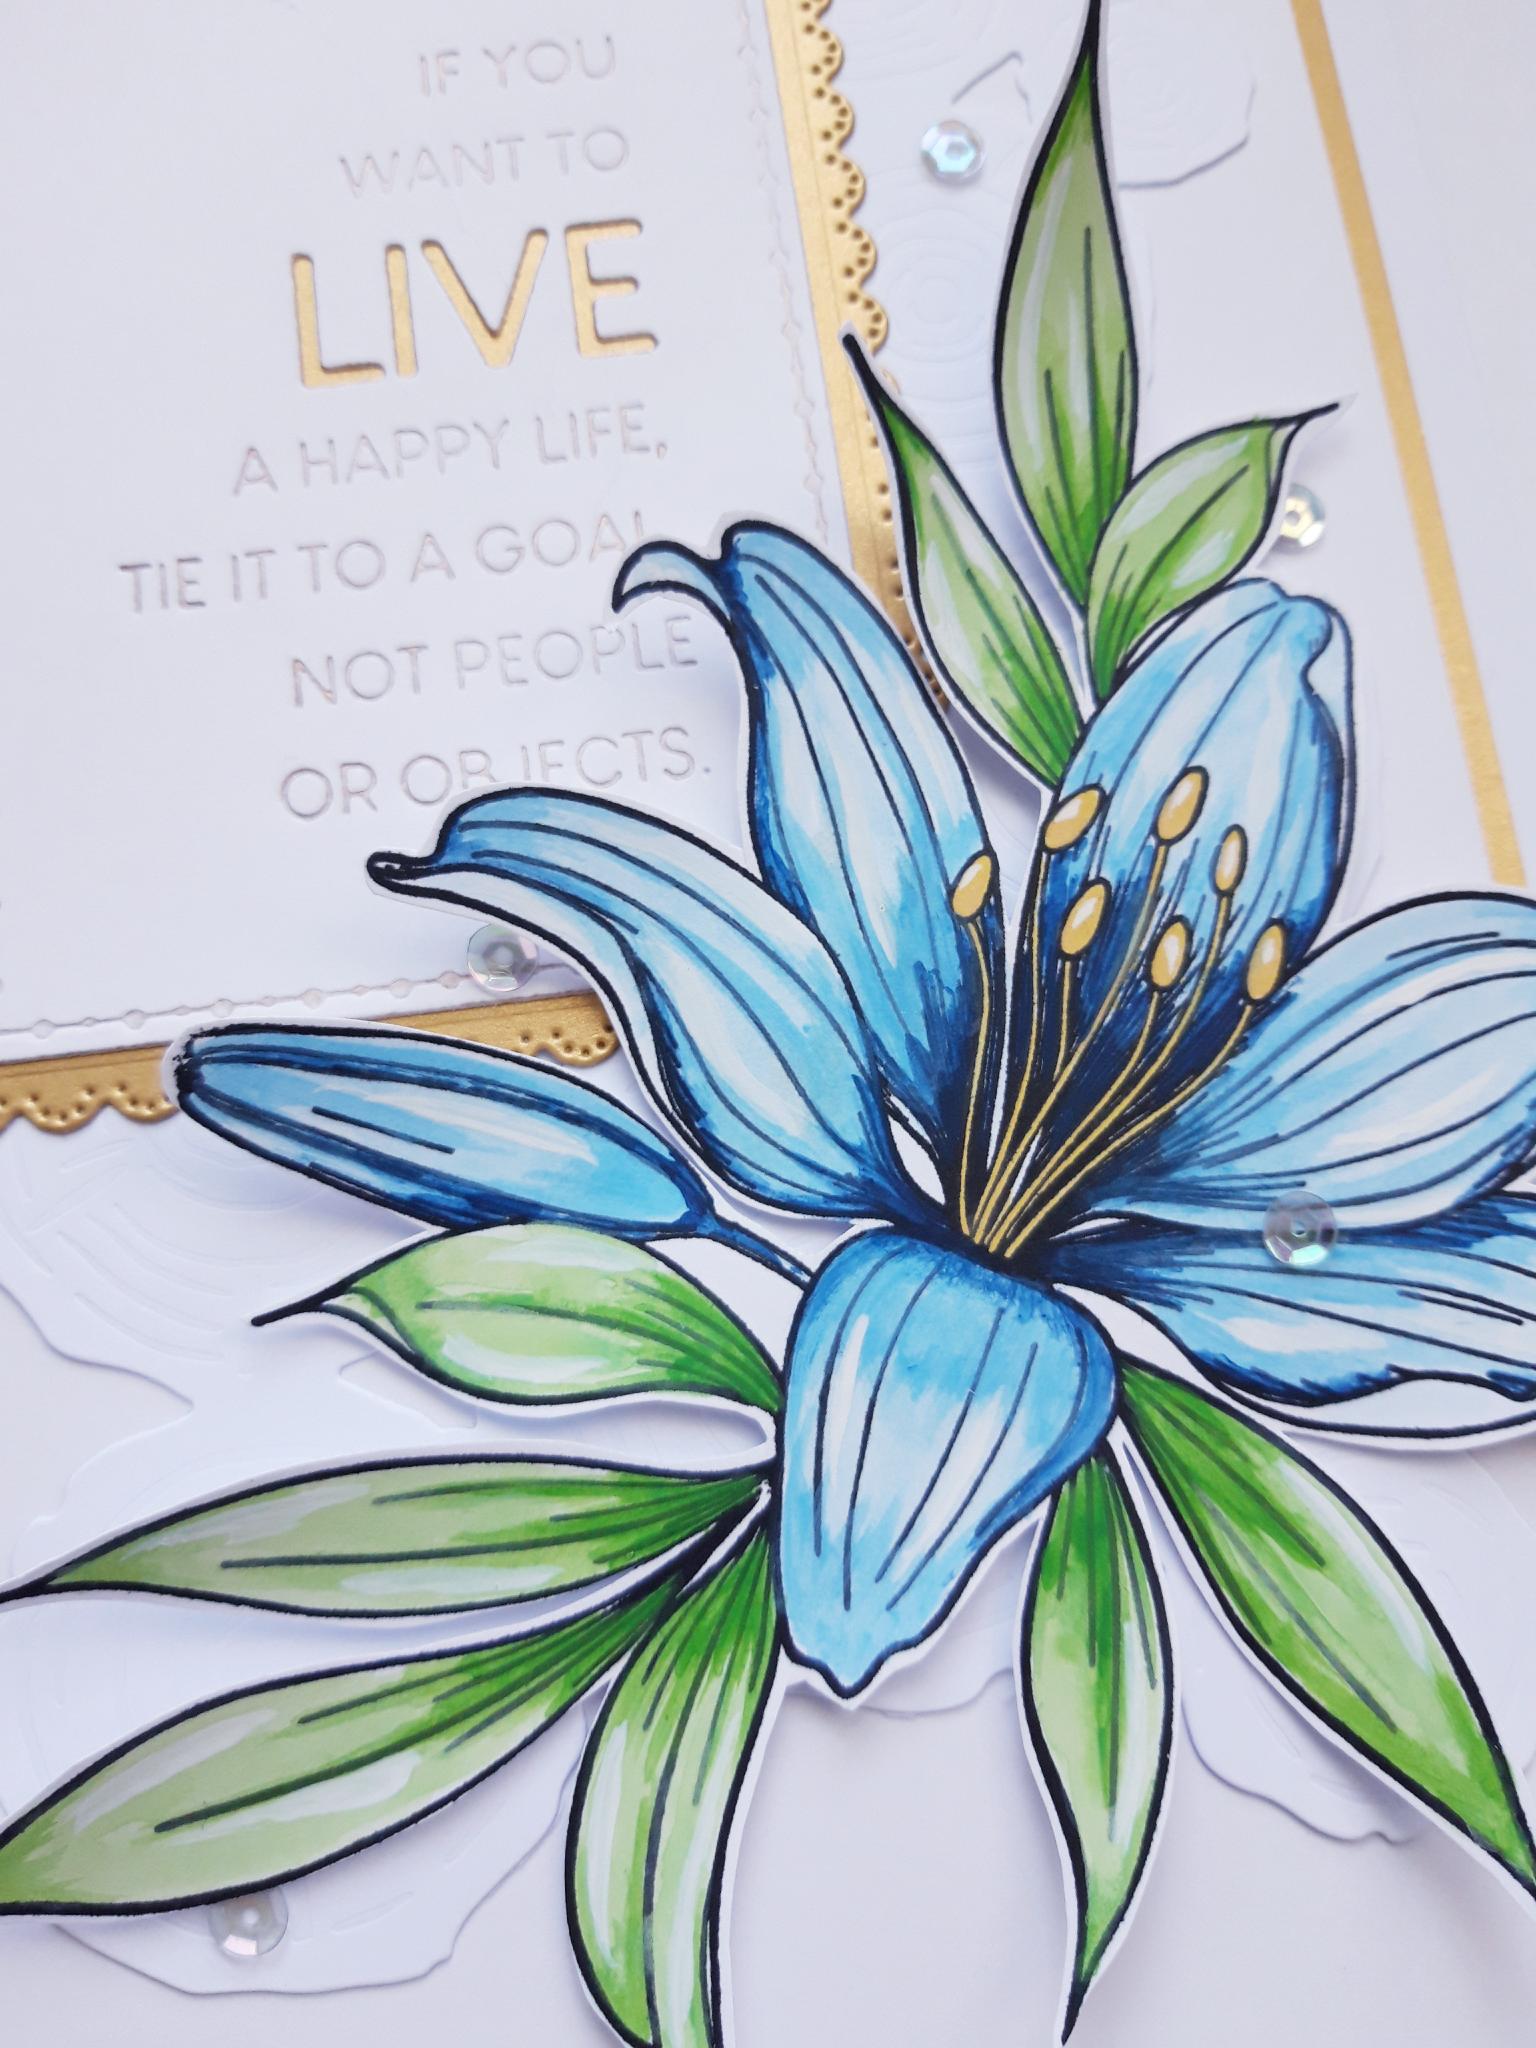
Ink up the floral stamp from the Be The Exception Stamp Collection in the Onyx Black Versafine, and stamp on to the white cardstock ( 7 x 6"). Once the ink is dry, place the coordinating die over the stamped image, and run it through your embossing machine.
|
|
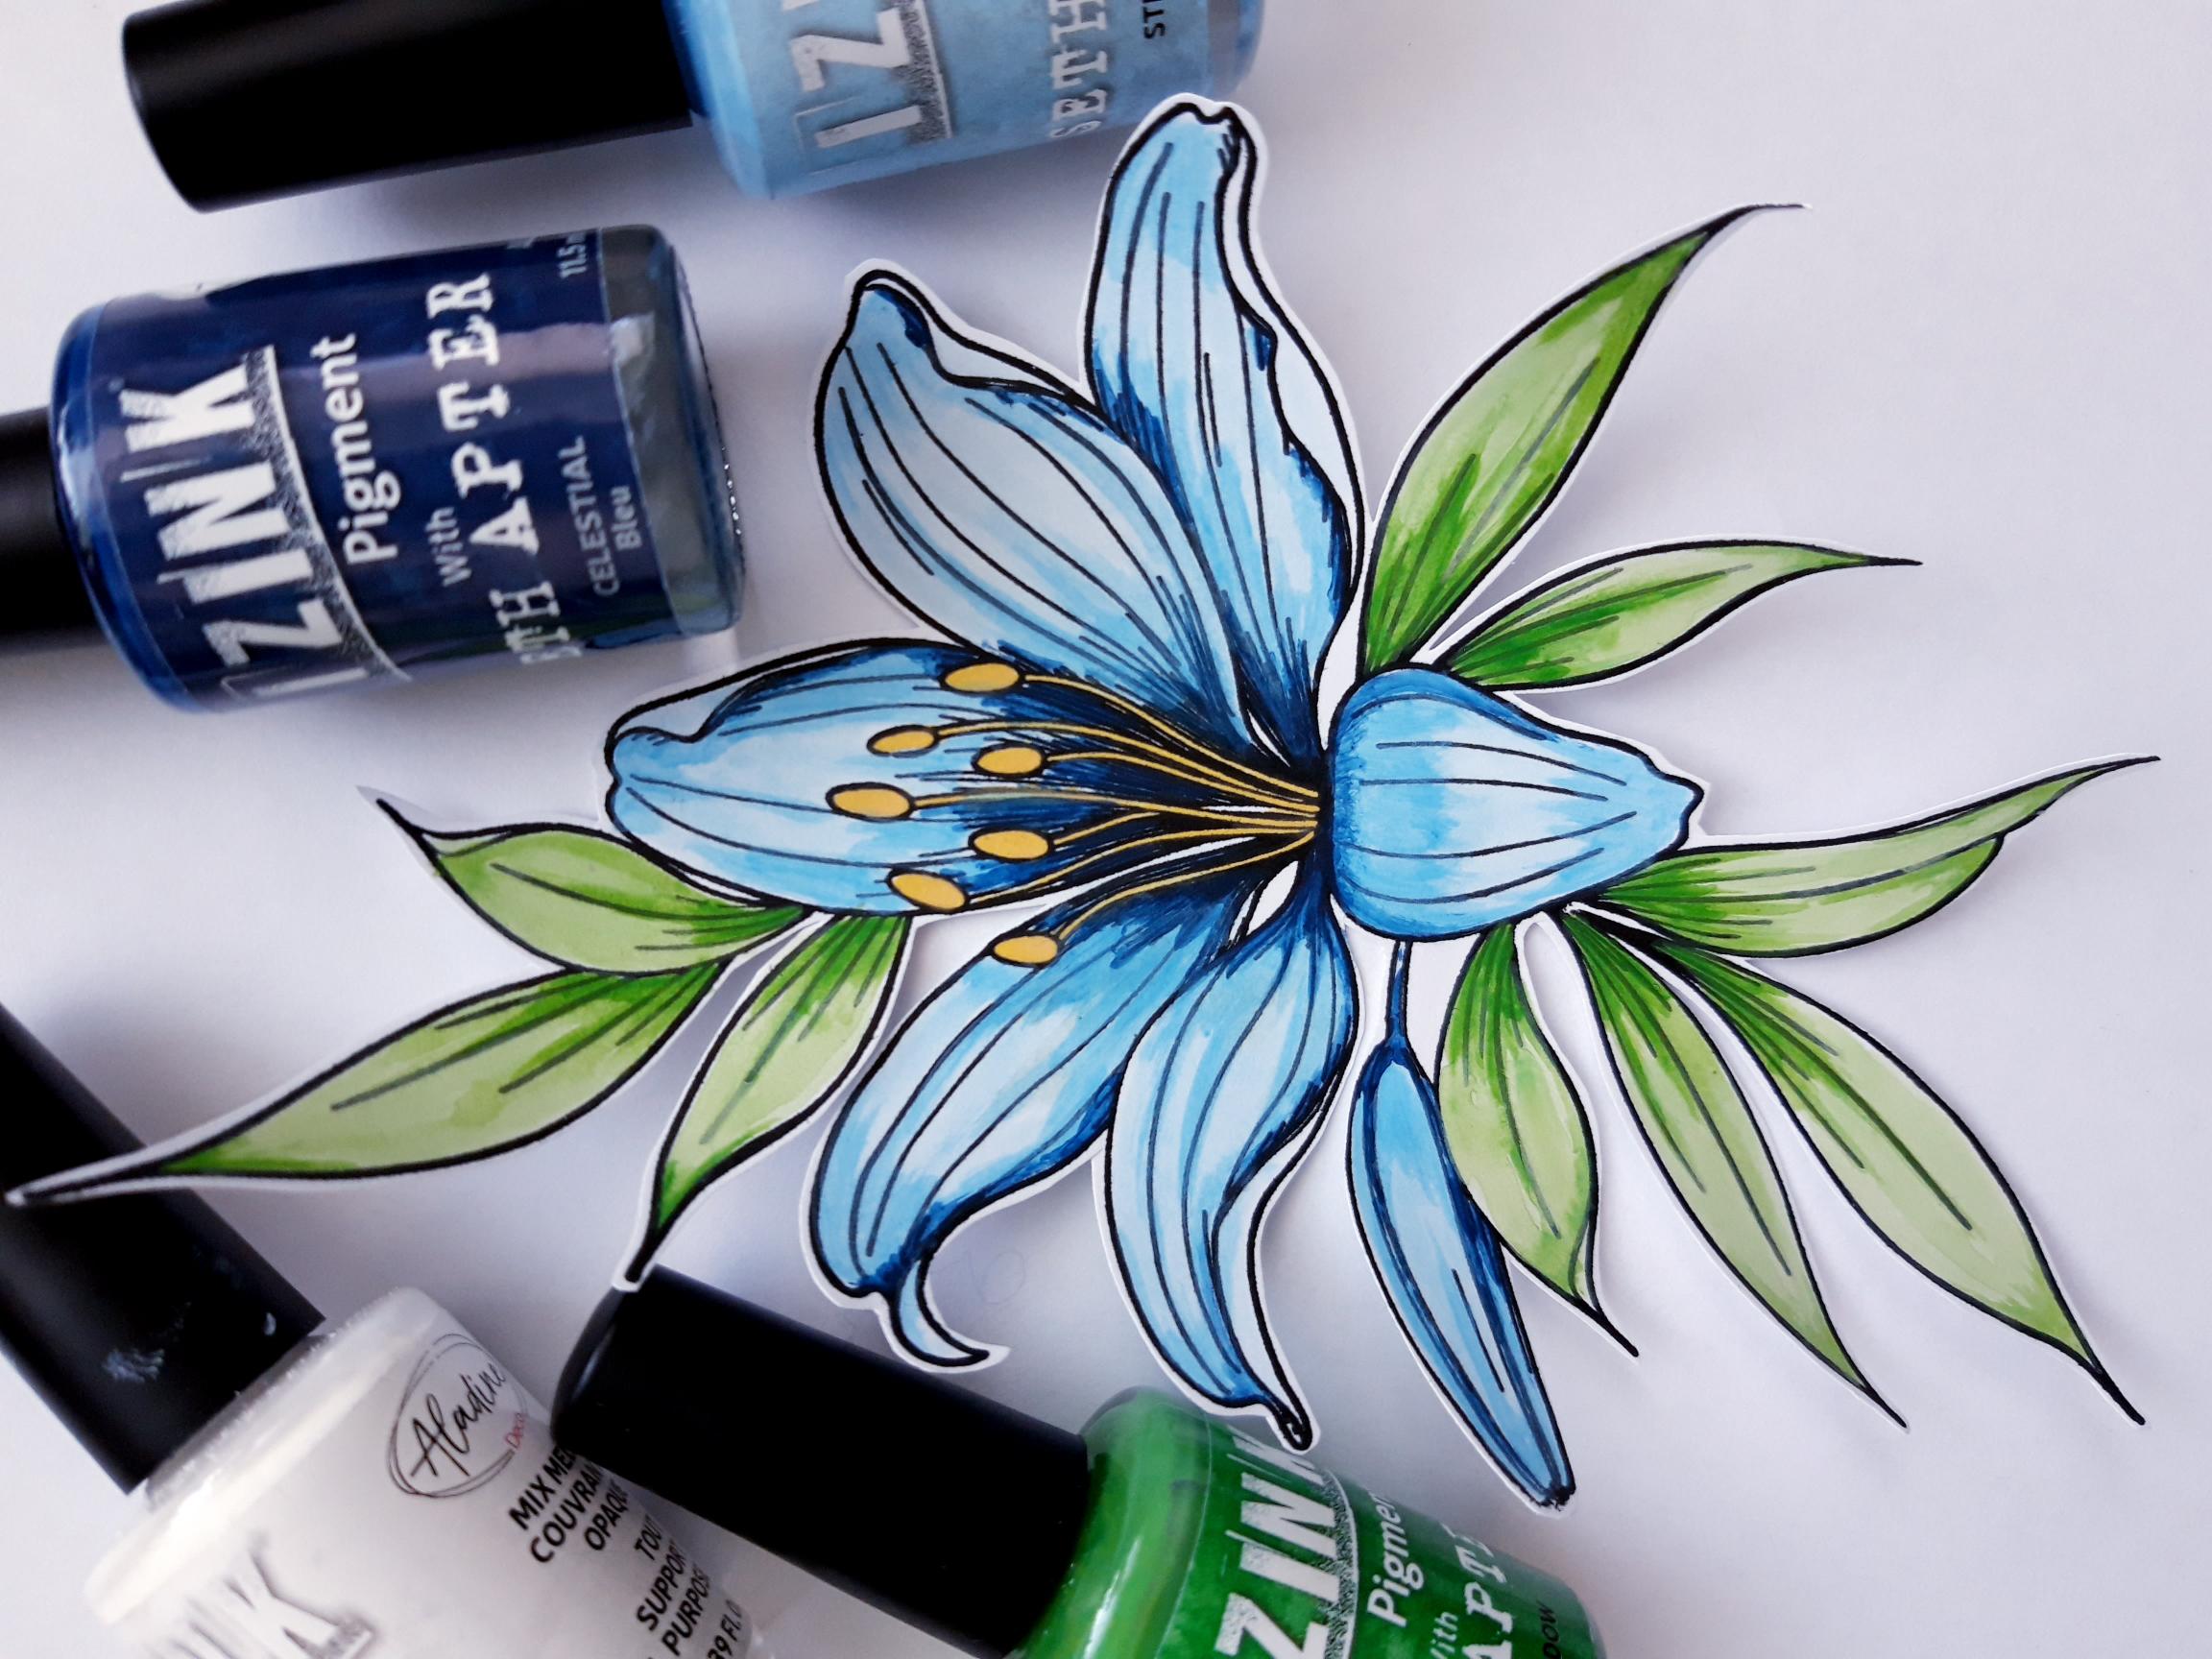
Use your Izink Pigments, and a paintbrush, to colour in your image. Add a little drop of each Pigment on to a craft or glass mat. Add a little water and paint your stamped image, starting with the lightest colours, and using the darker colours to add depth and shade. You can add the Avalanche Pigment to the other colours, to create paler shades. Use the Fossilized Amber Distress Oxide to colour in the stamens, adding several layers of colour to make them "pop". |

|
Use the Avalanche Pigment, without any water, to add highlights to your image. |
|
Adhere your painted floral image to the bottom right corner of your sentiment panel, using foam pads. |
|
To finish off your card, add a few sequins around, and slightly tucked under, your floral embellishment. |