Give your friends $10 off their first order!
Refer a FRIEND


WHAT YOU WILL NEED
Pink top folding card blank 8 1/4 x 5 3/4"
White card 8 x 5 1/2"
Hope Collection
Dash Frame Stamp Collection
Beautiful Moments Lamination Stamp Collection
It's All About You Paper Pad: Subtle Tones, Vibrant Tones OR papers of your own choice
Versafine Ink Pad: Onyx Black
Distress Oxide: Fossilized Amber, Wilted Violet, Kitsch Flamingo
Gossip clear overlay sparkle pen
Water spray bottle
Ranger Liquid Pearl Drops: White Opal
Eureka 101
Paper Trimmer
Perfect Together Glue
Die Cutting machine
[click image to enlarge] 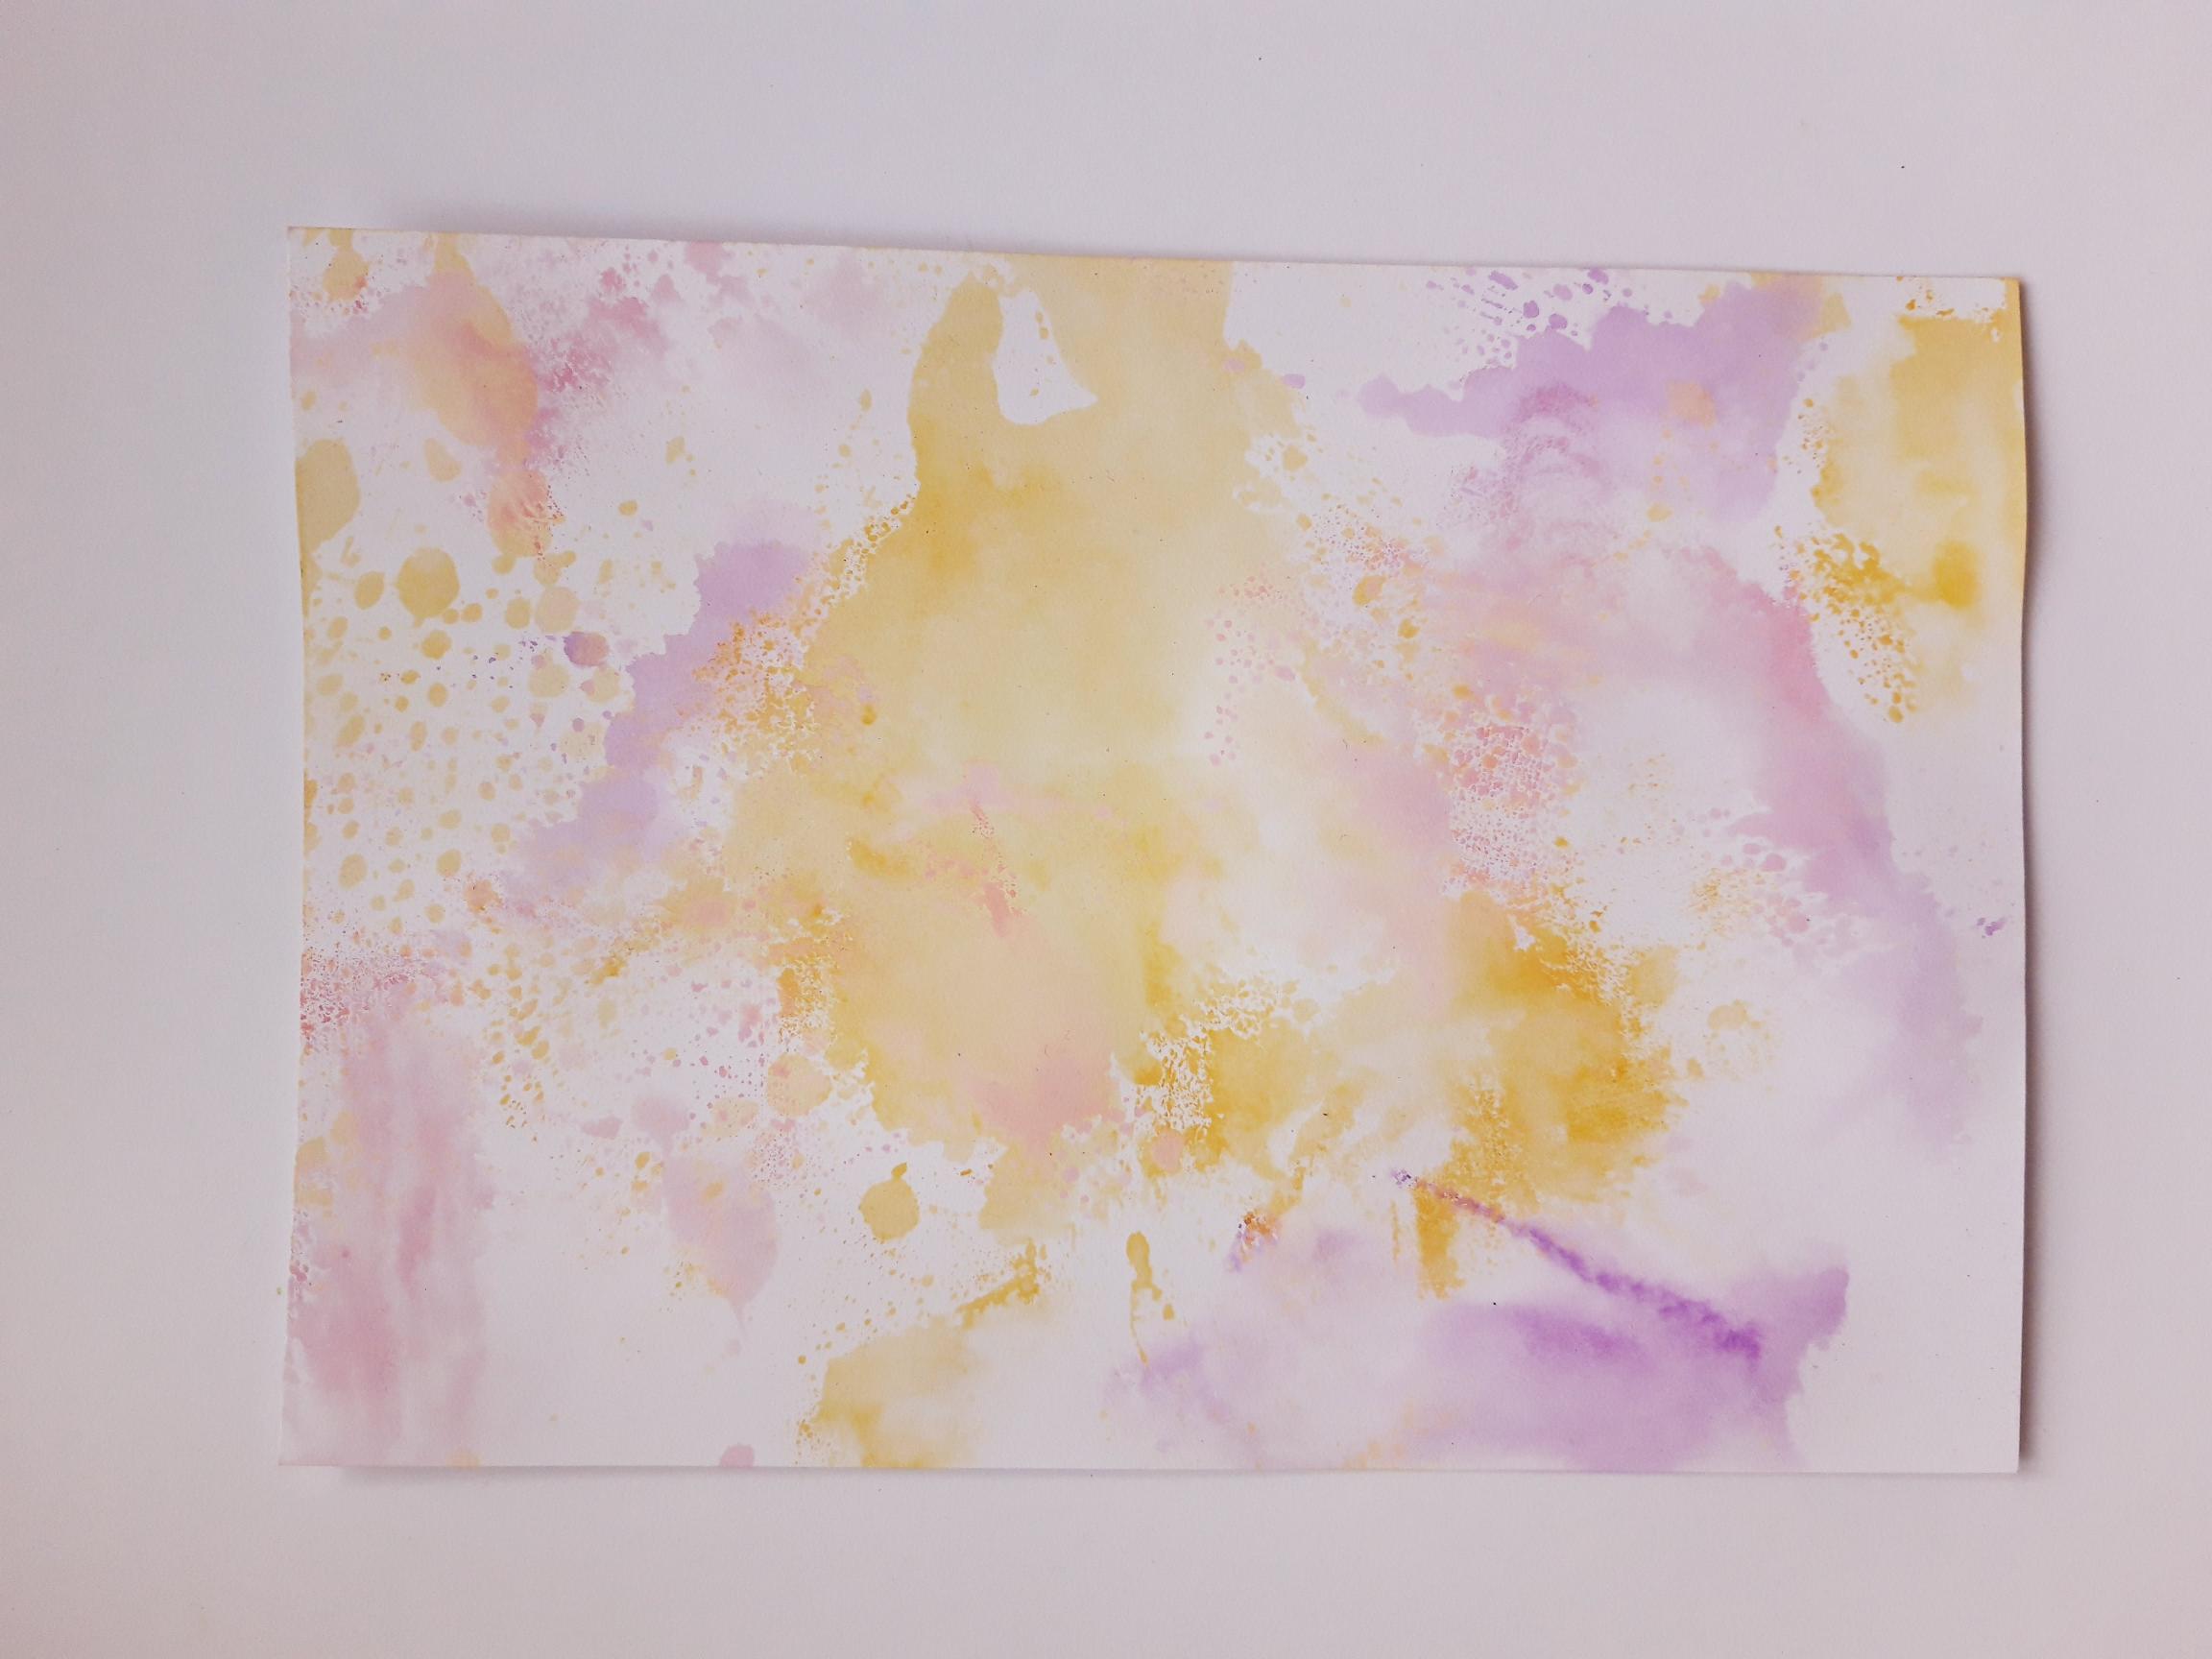
|
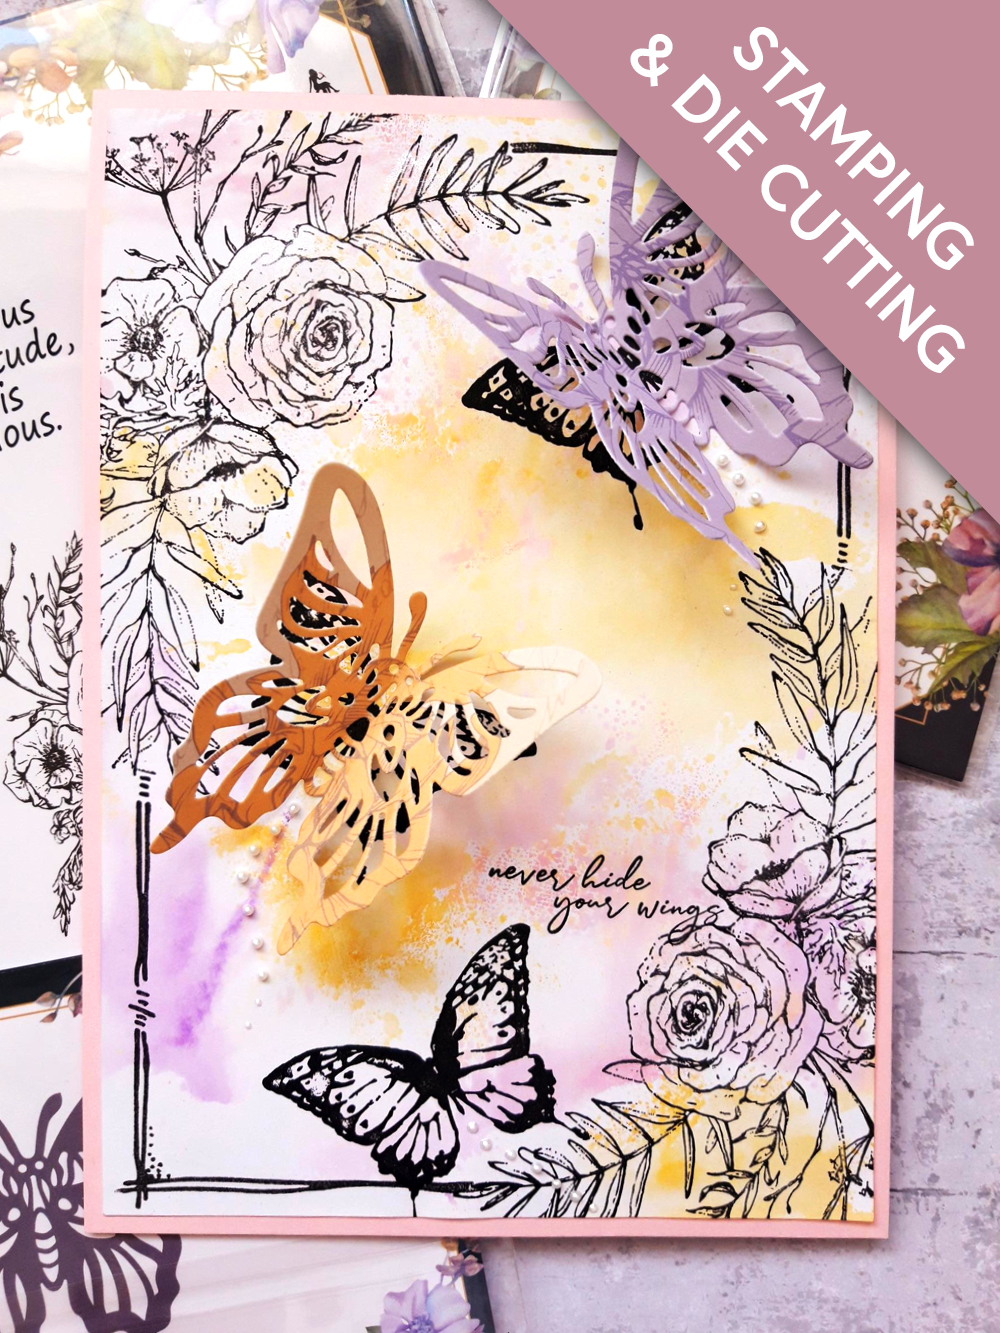
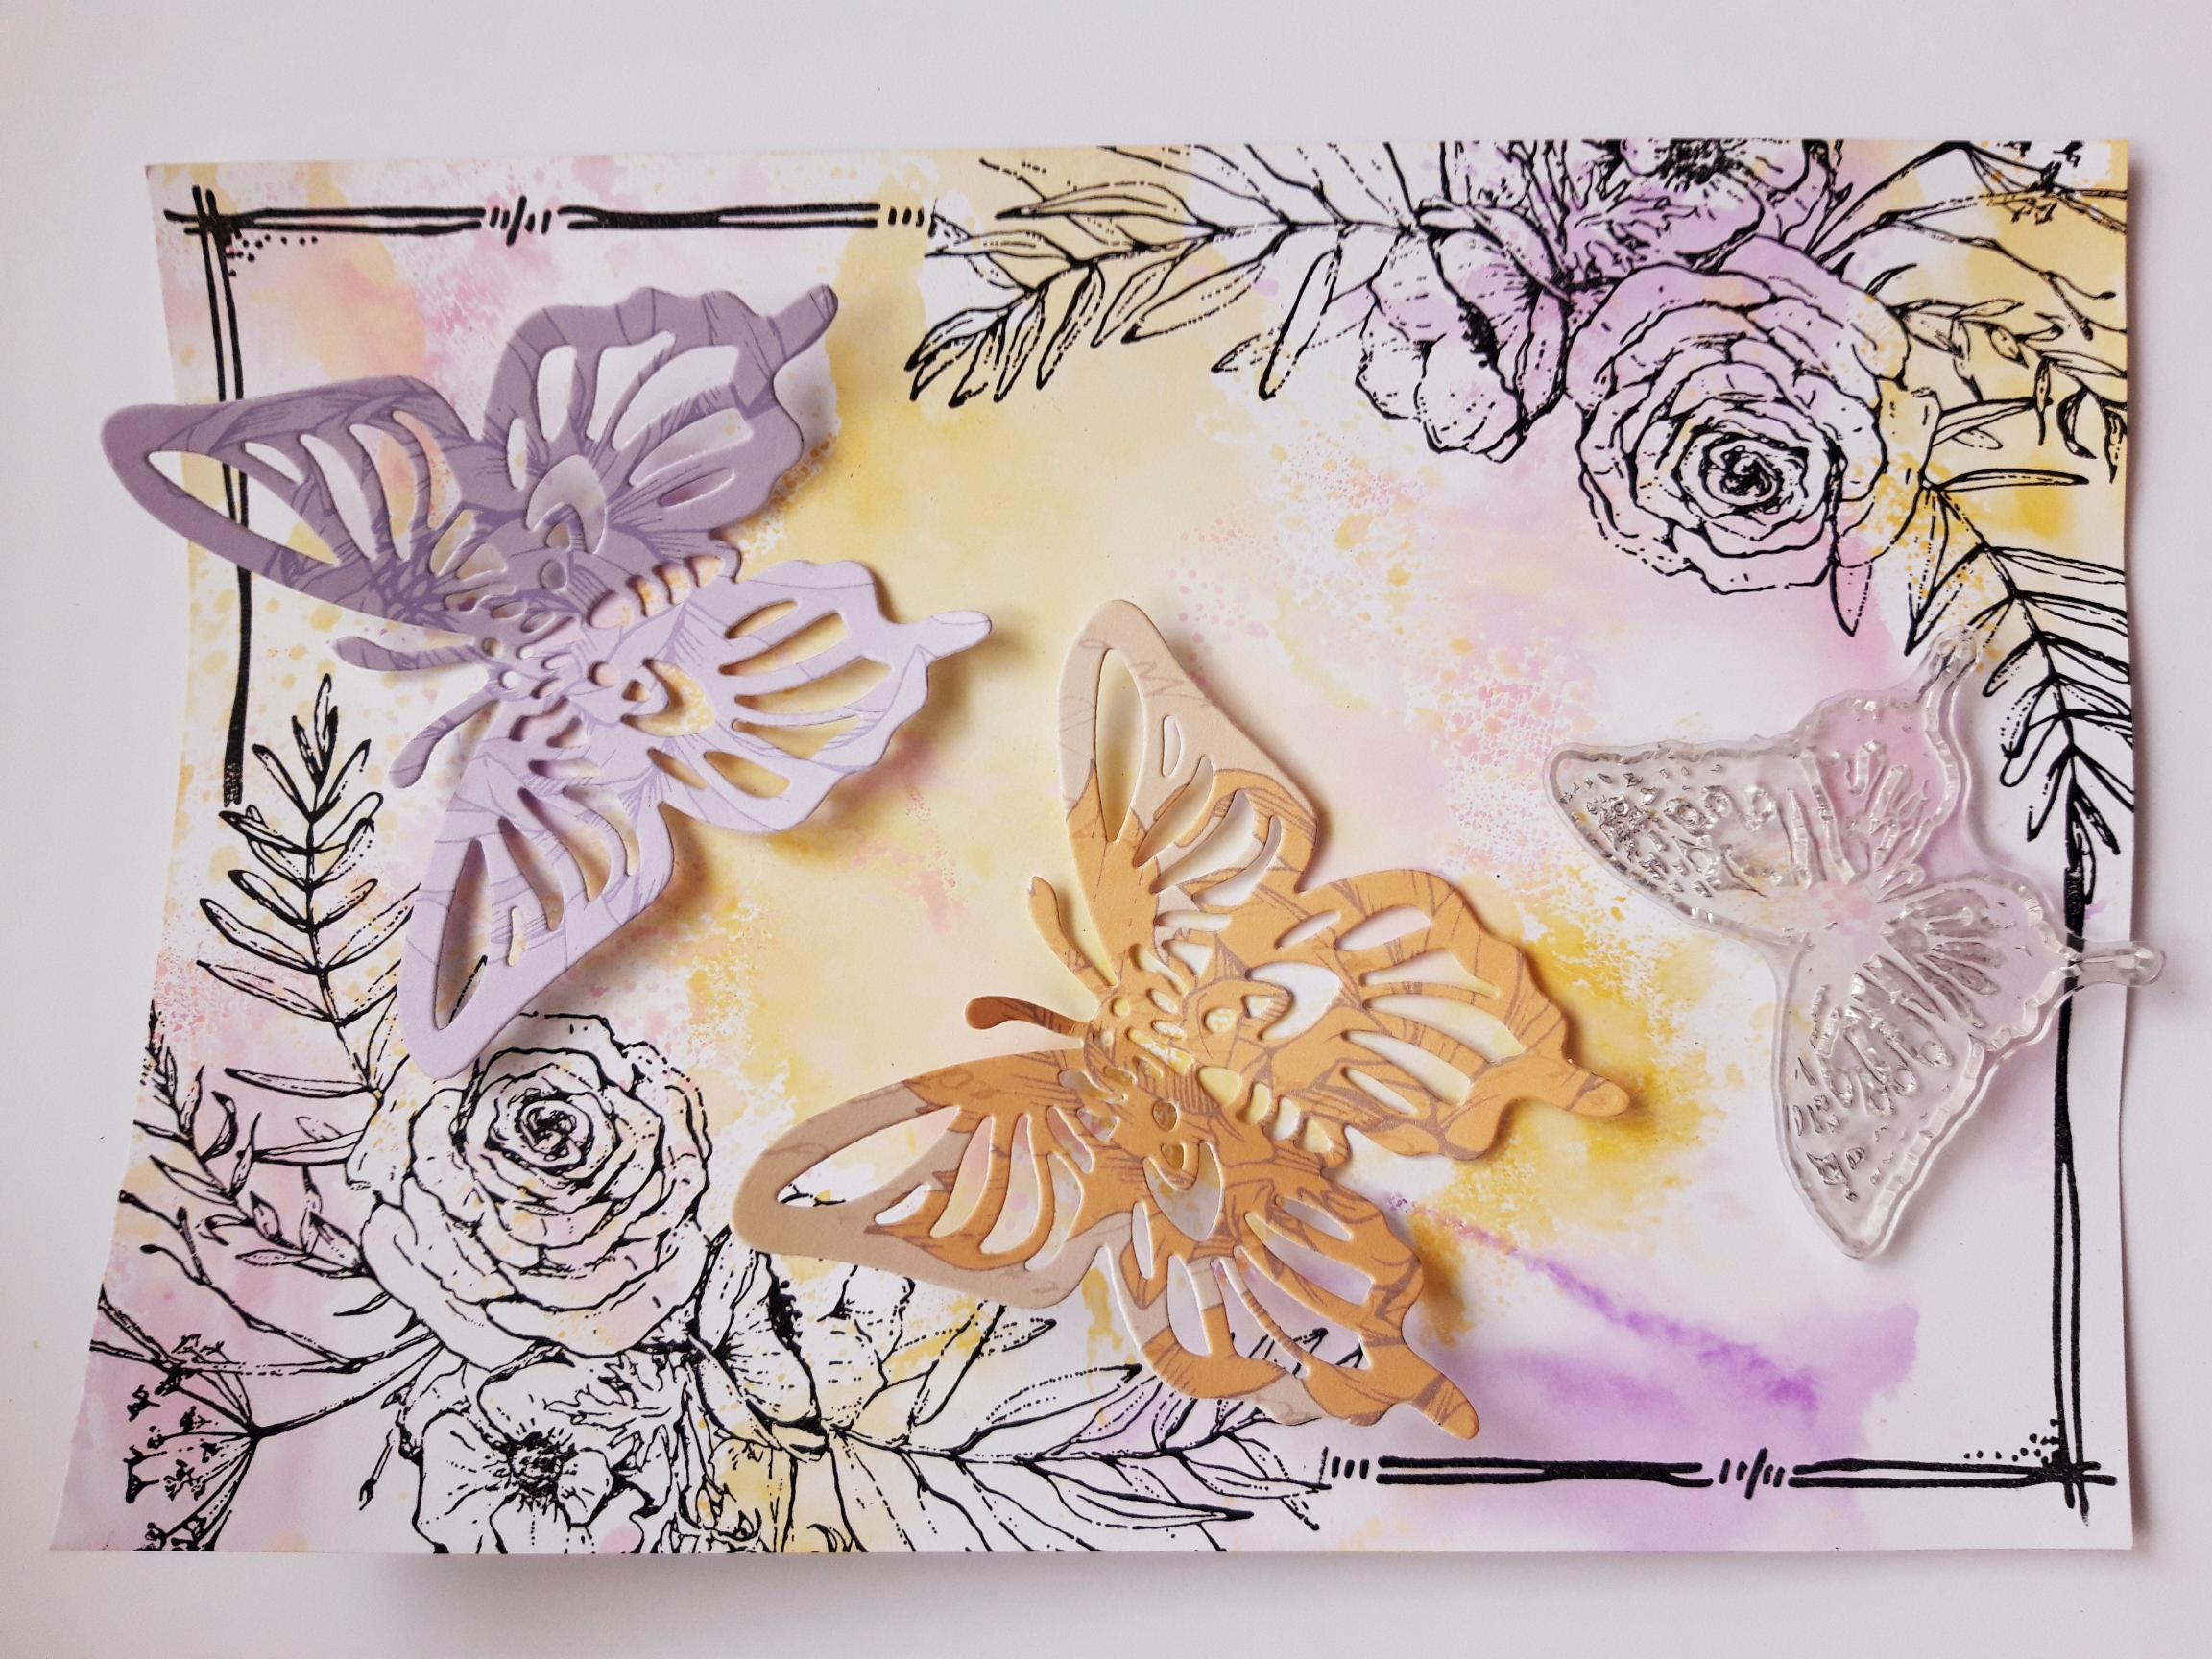
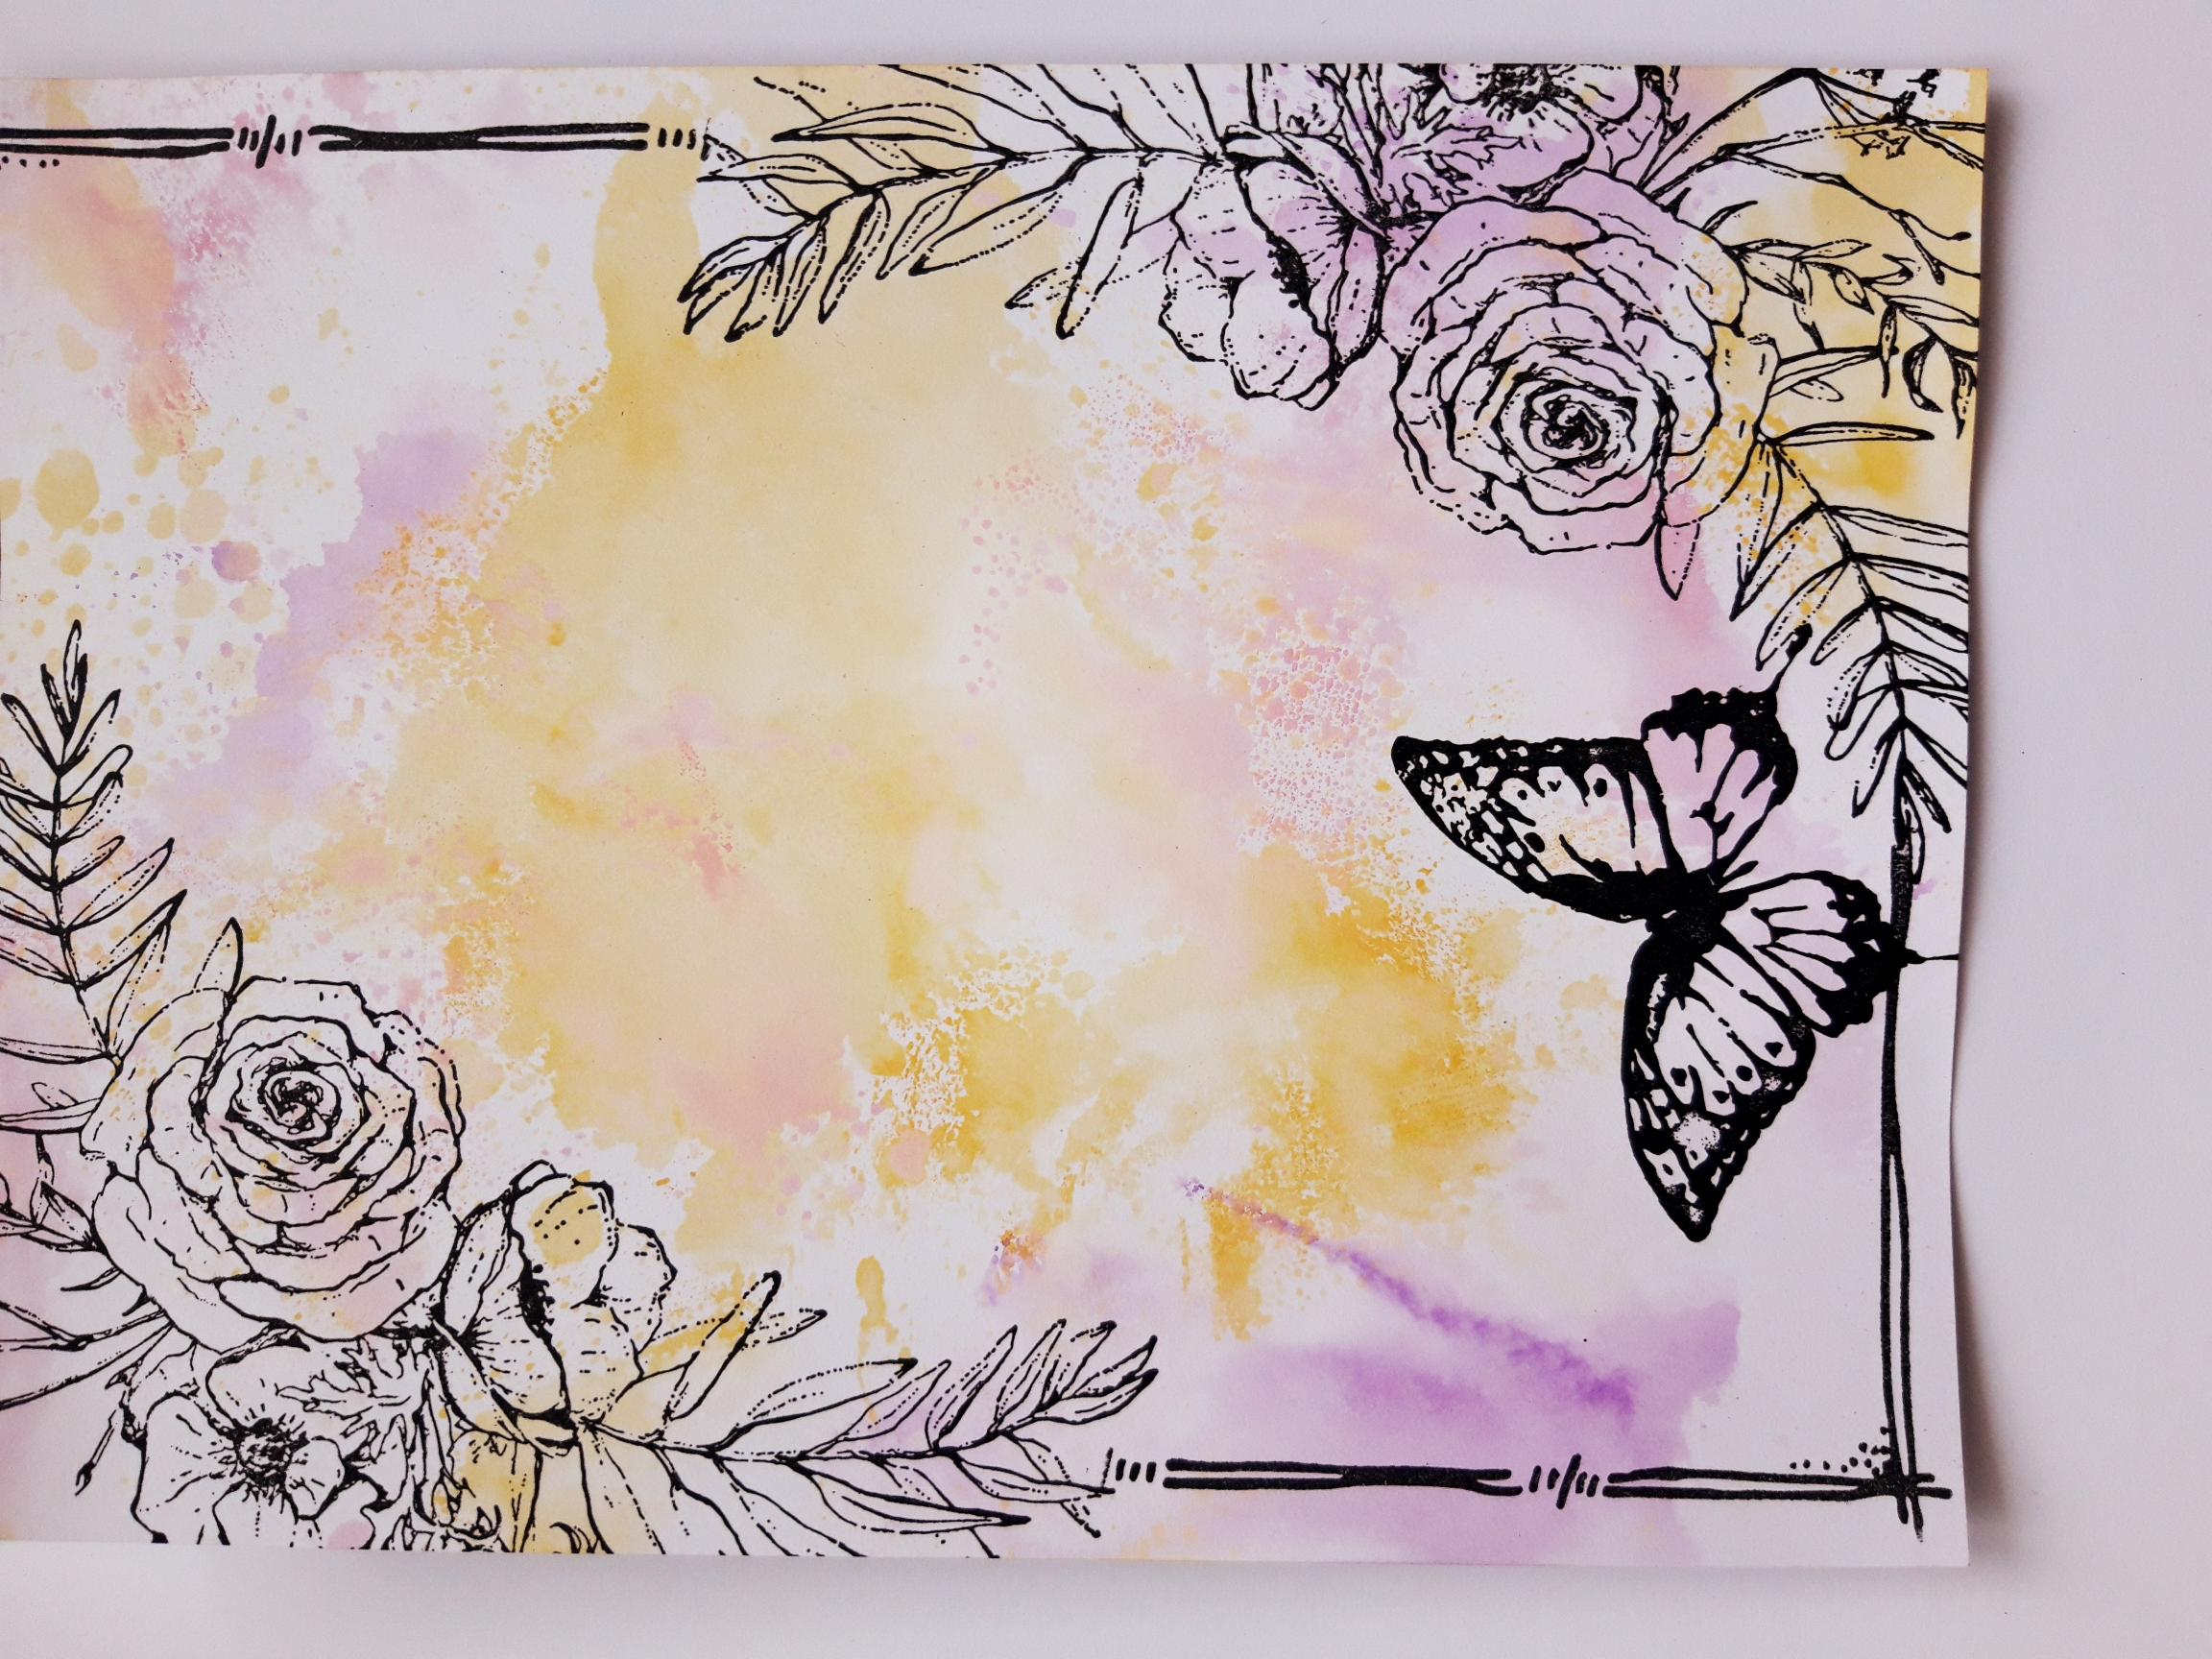
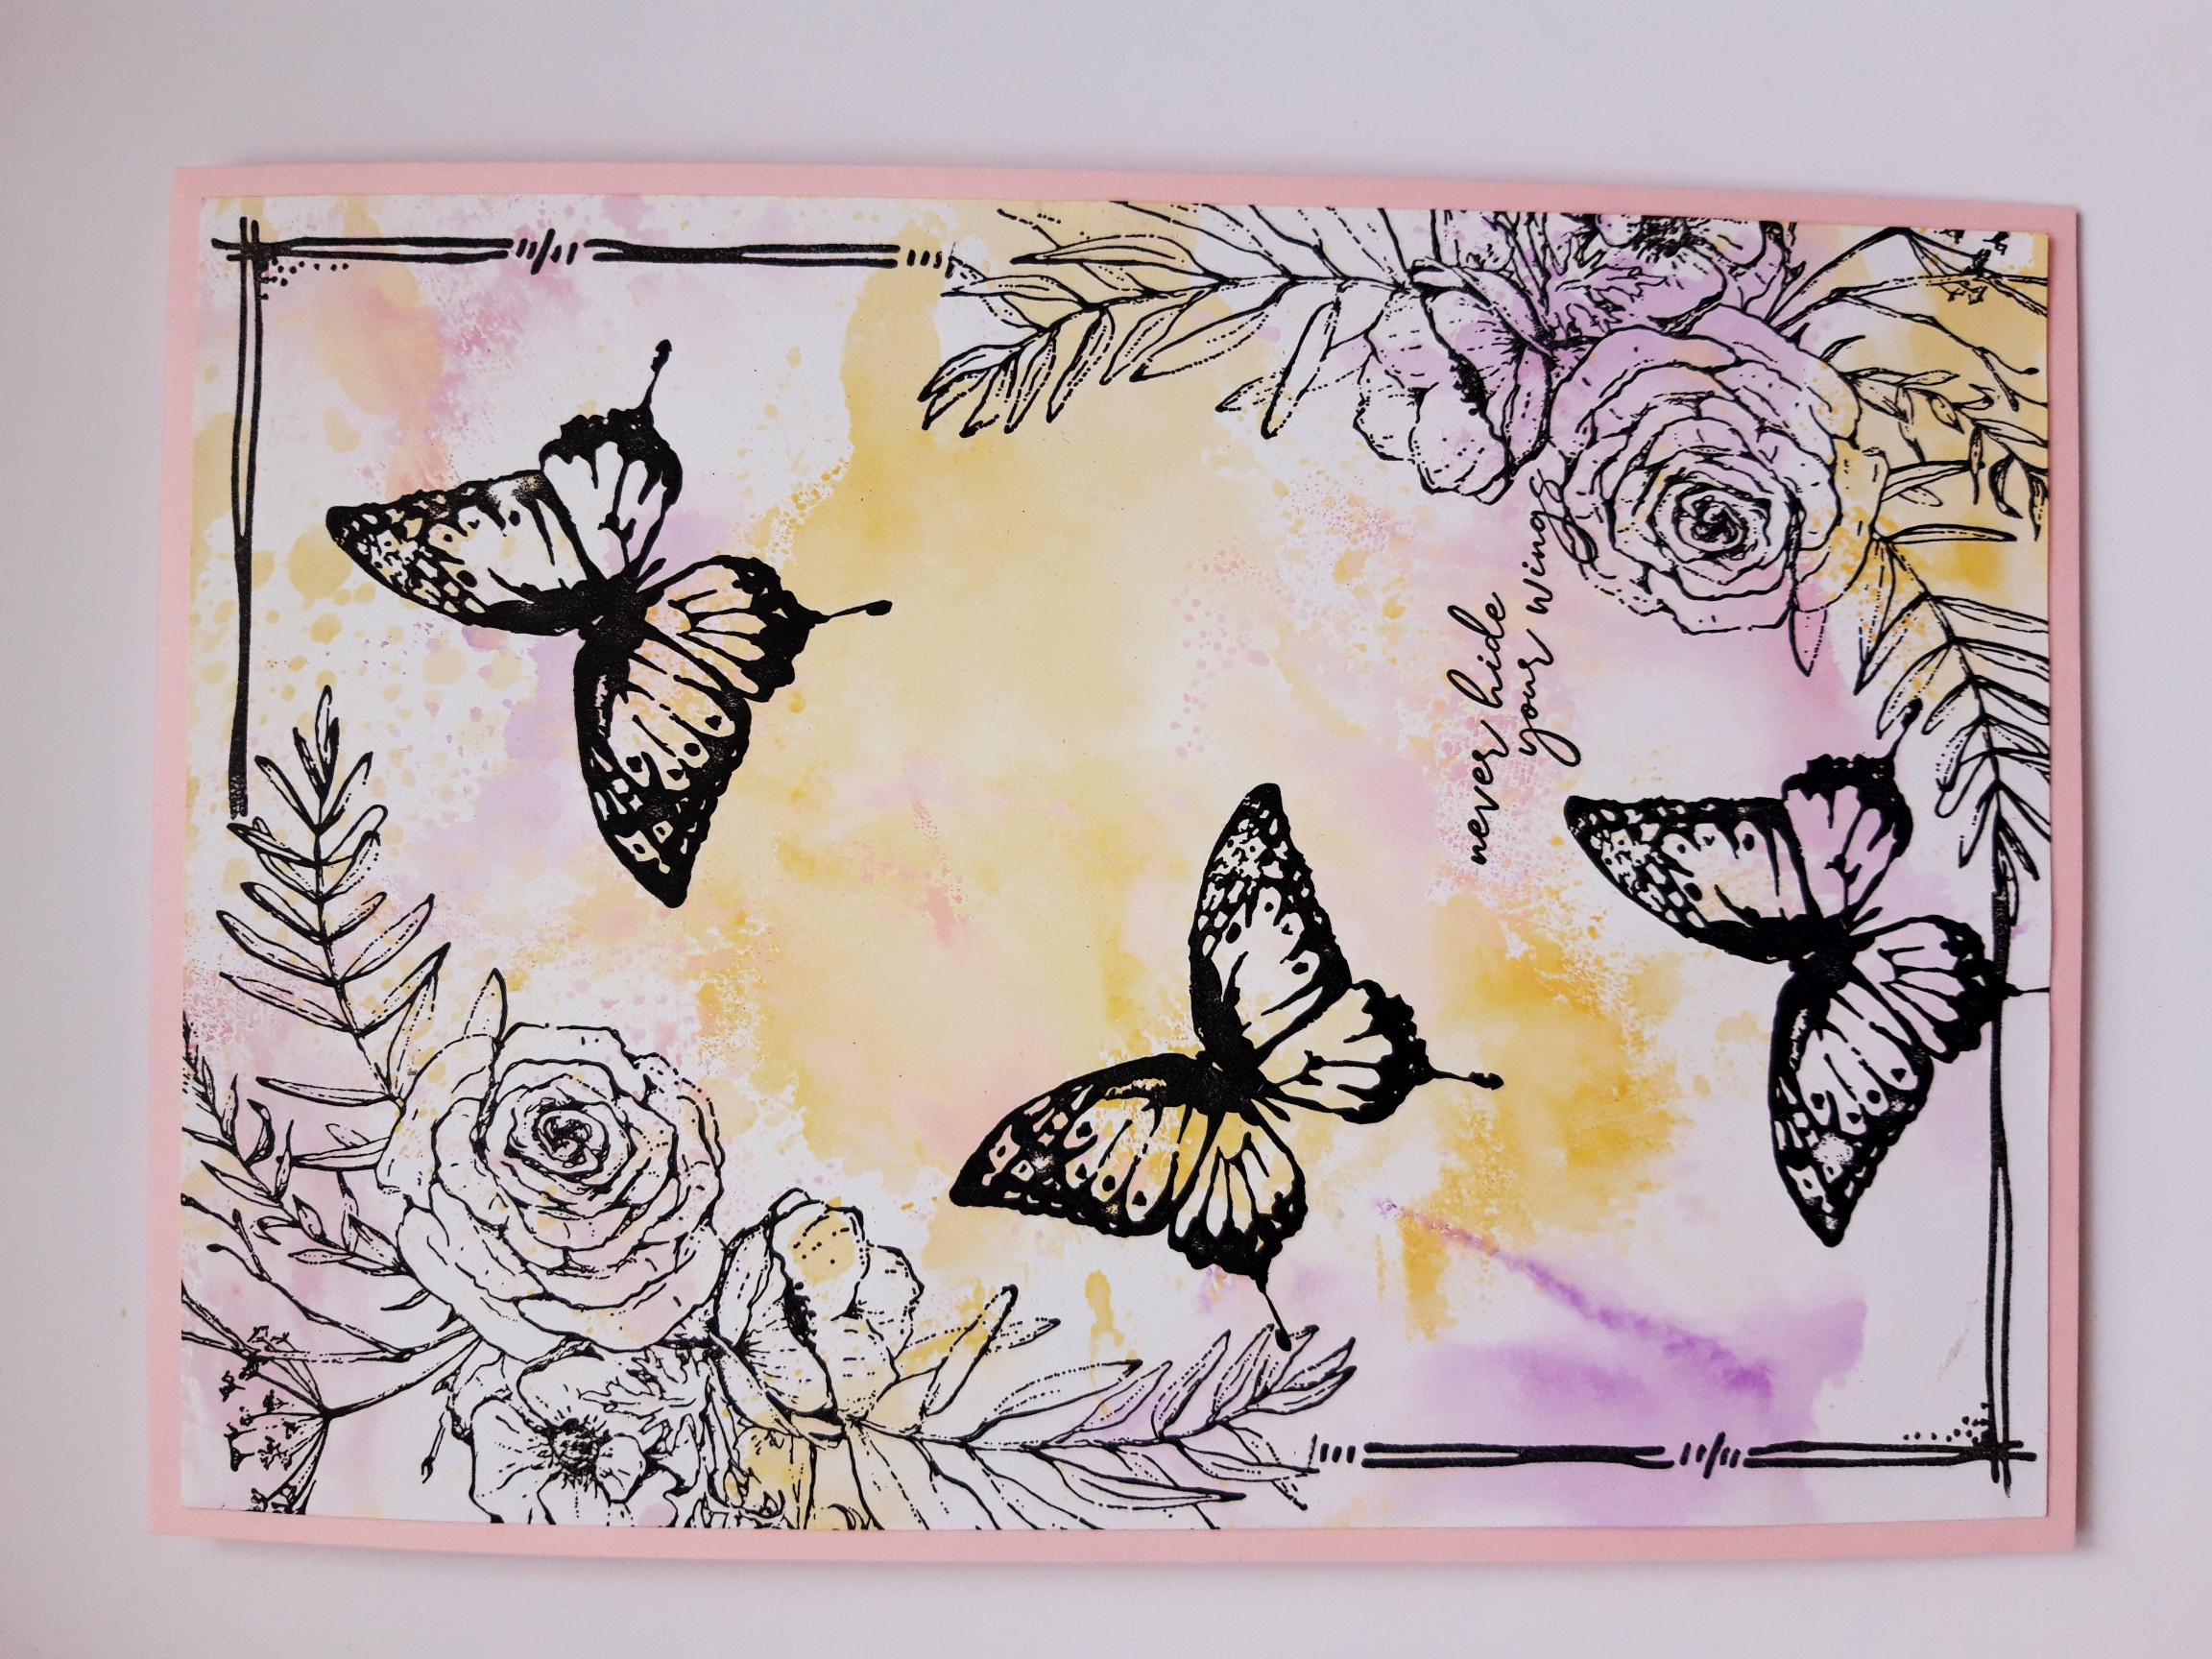
Apply the Distress Oxides one at a time, on to your craft mat. Spritz with water and mop up the inks, to create your background. Blast with your heat tool. |
|
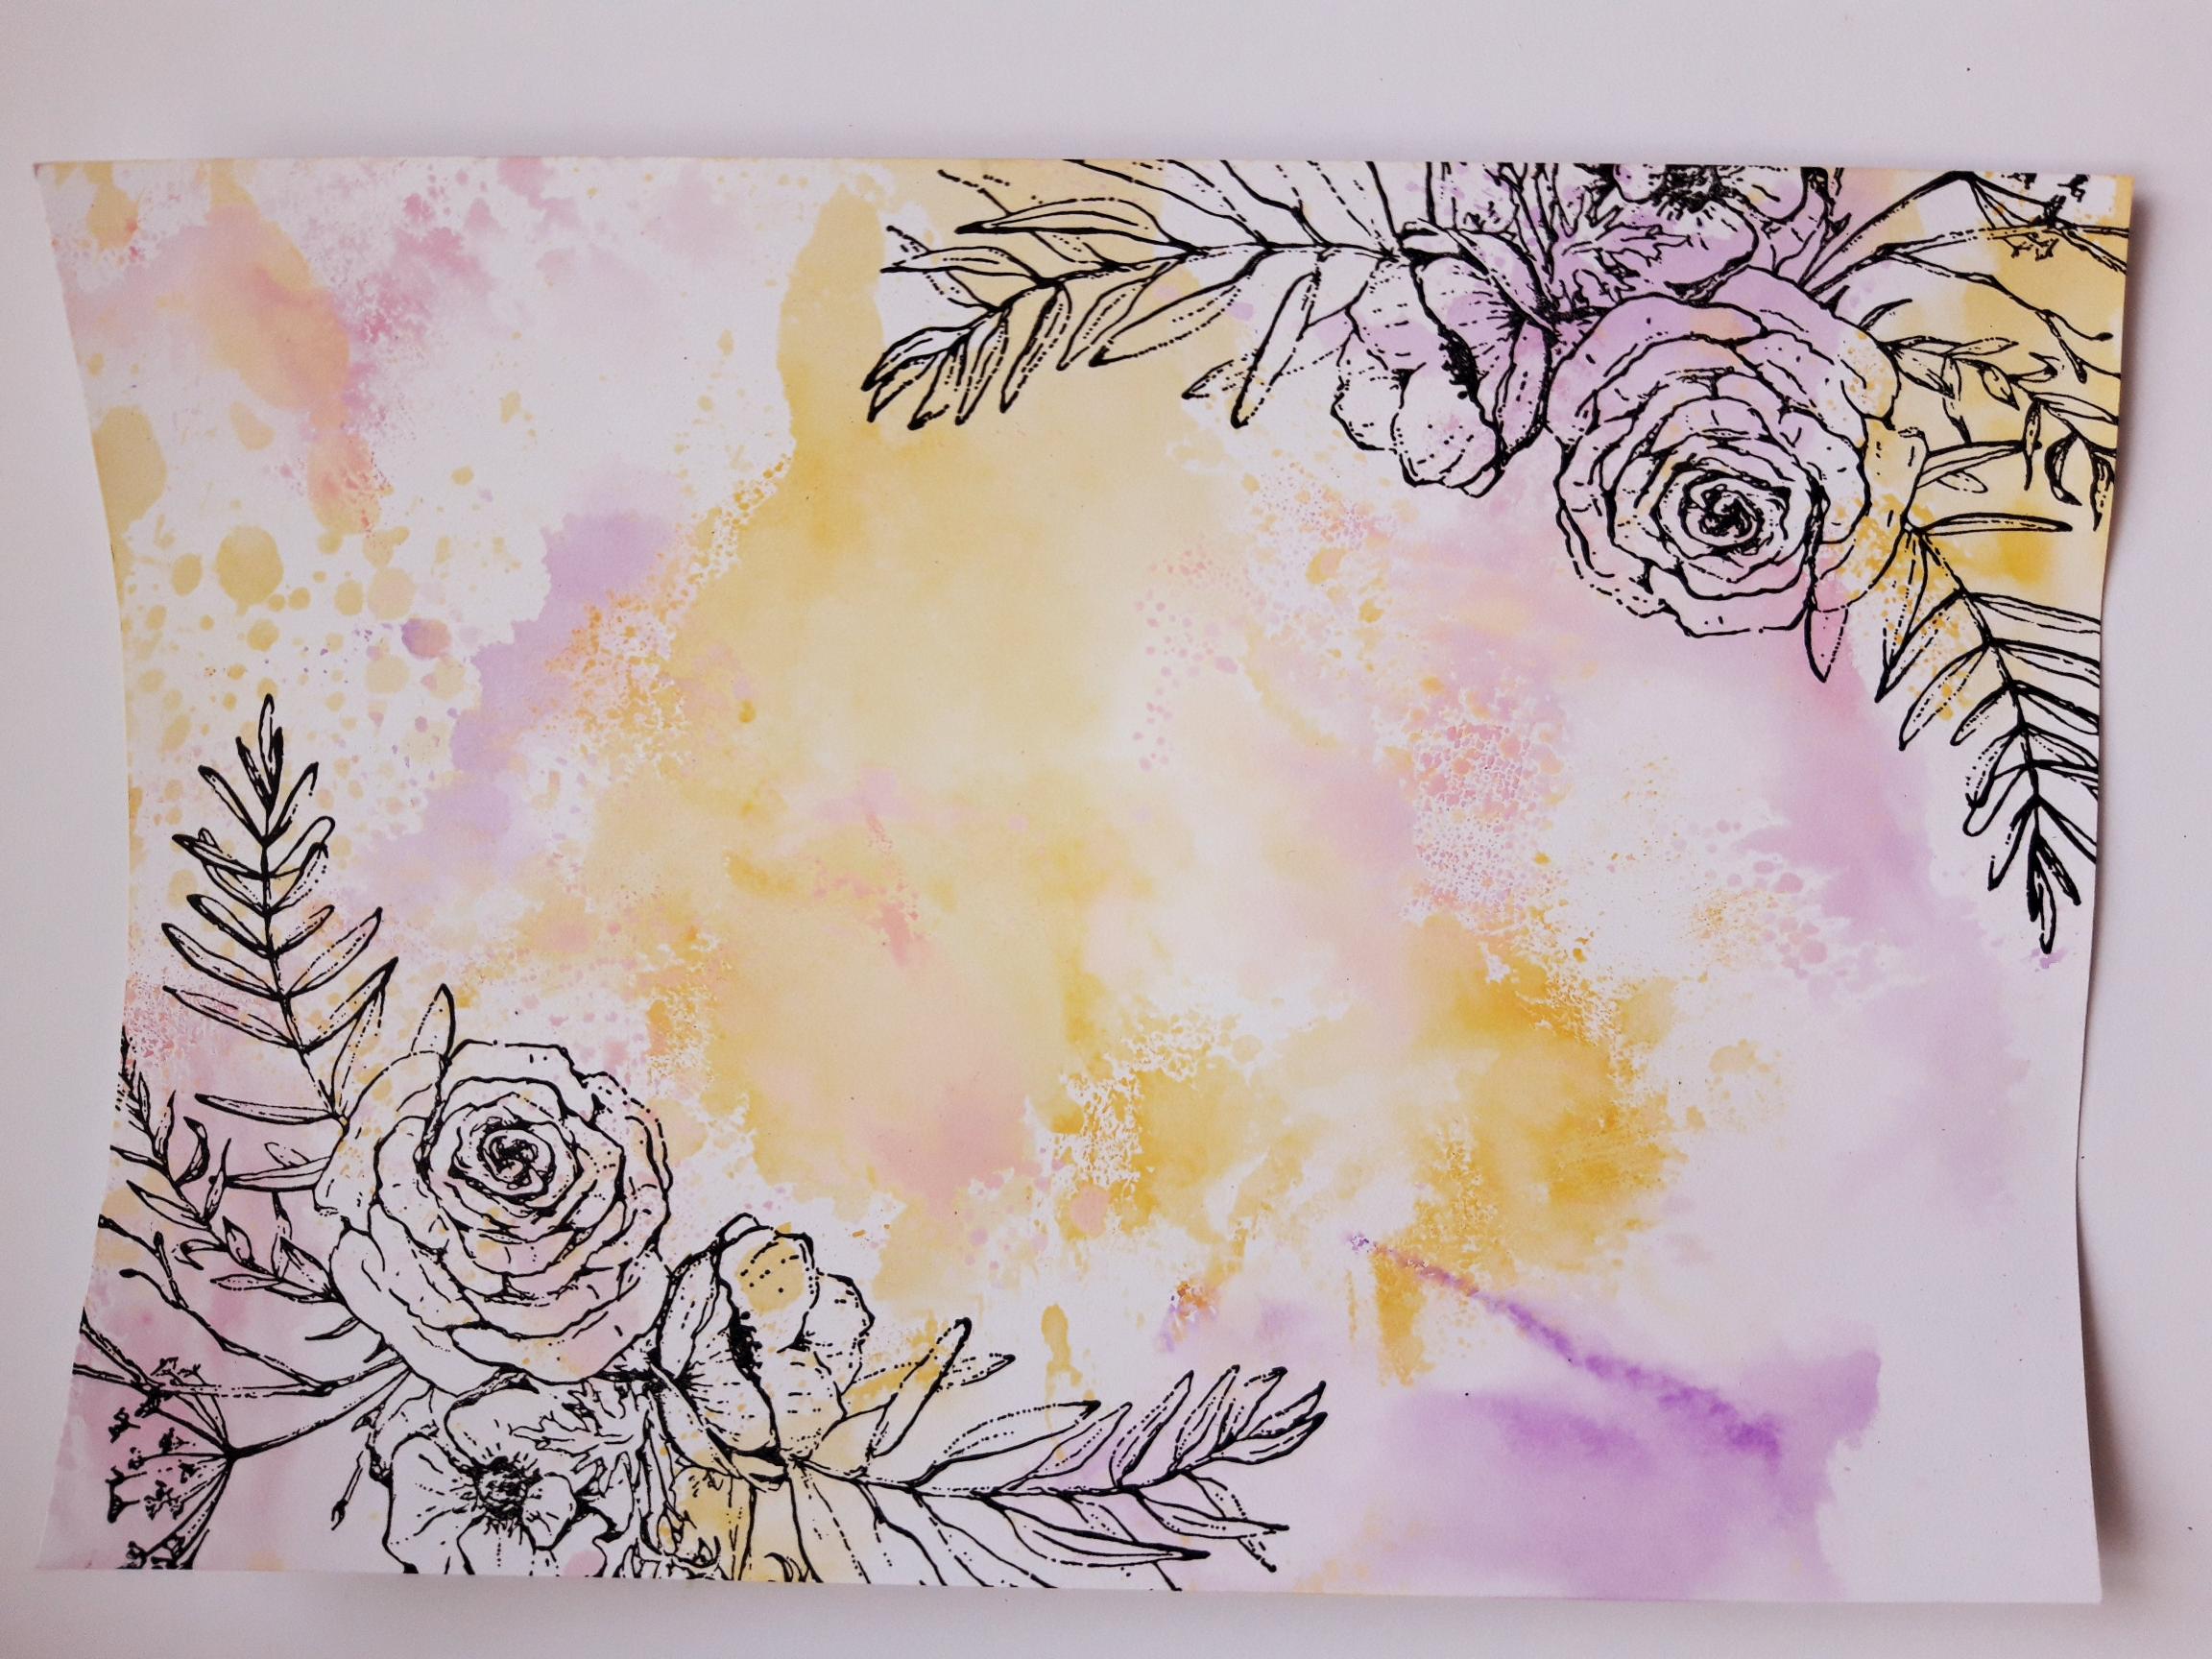
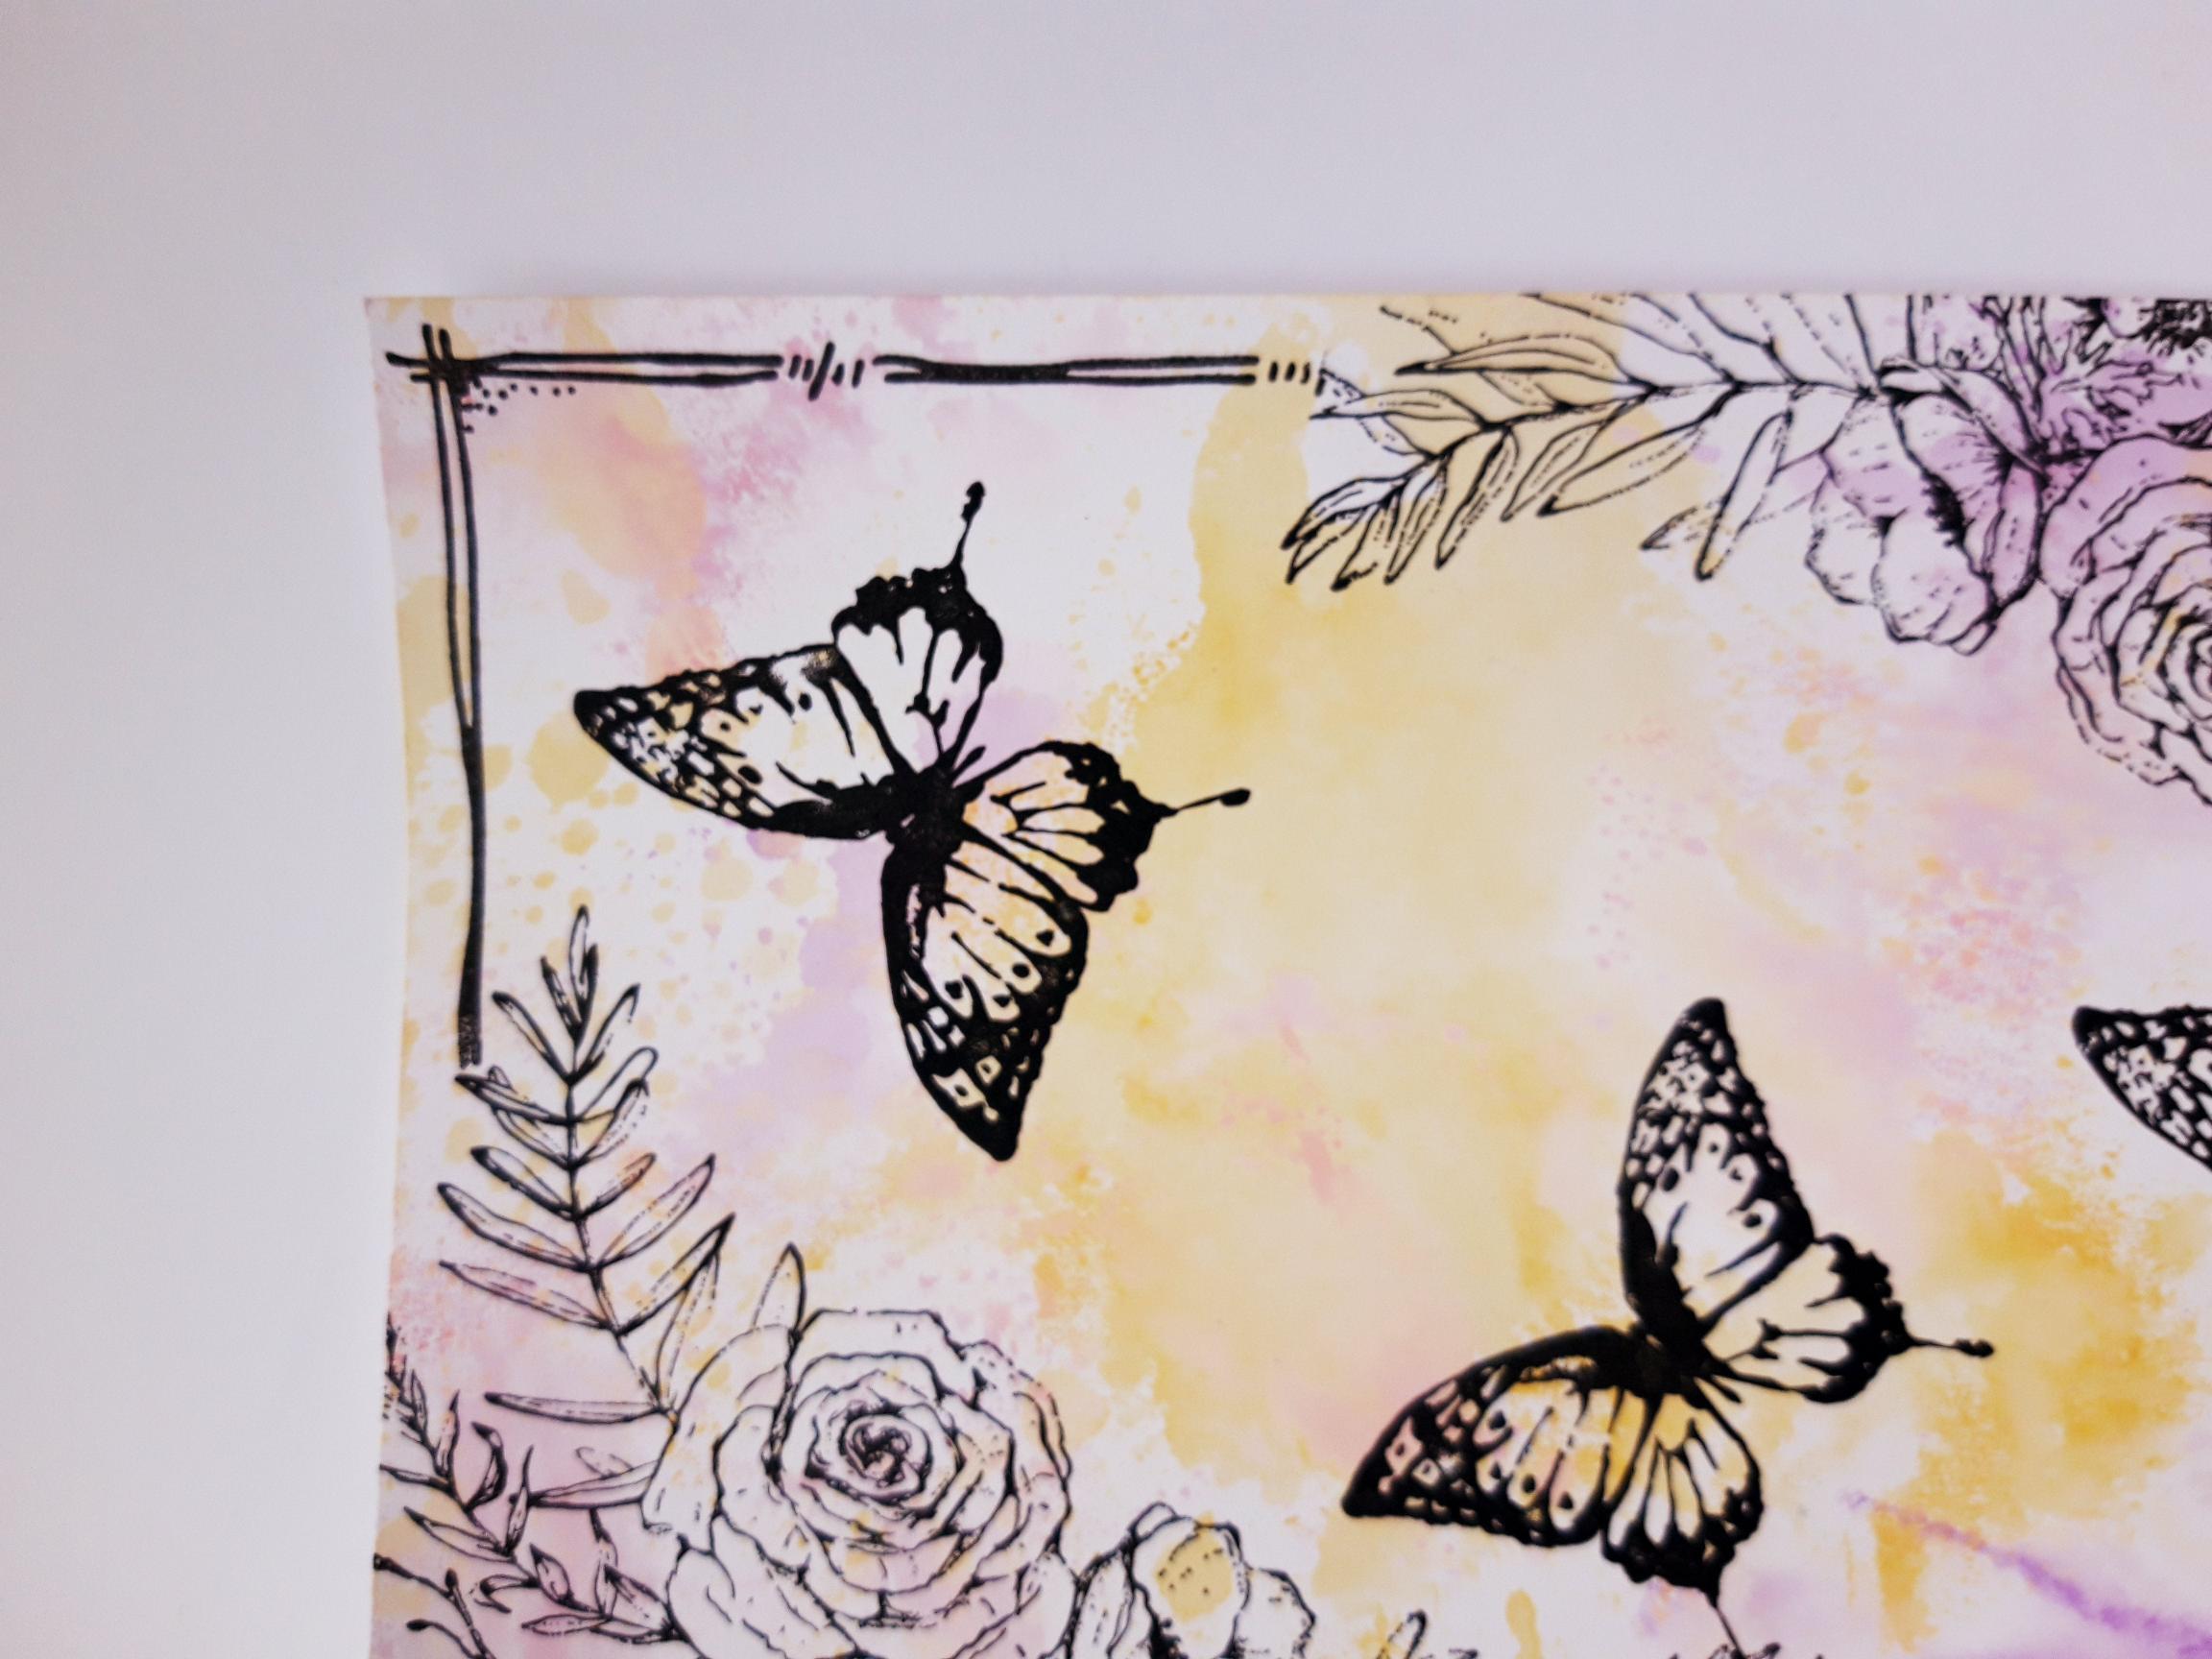
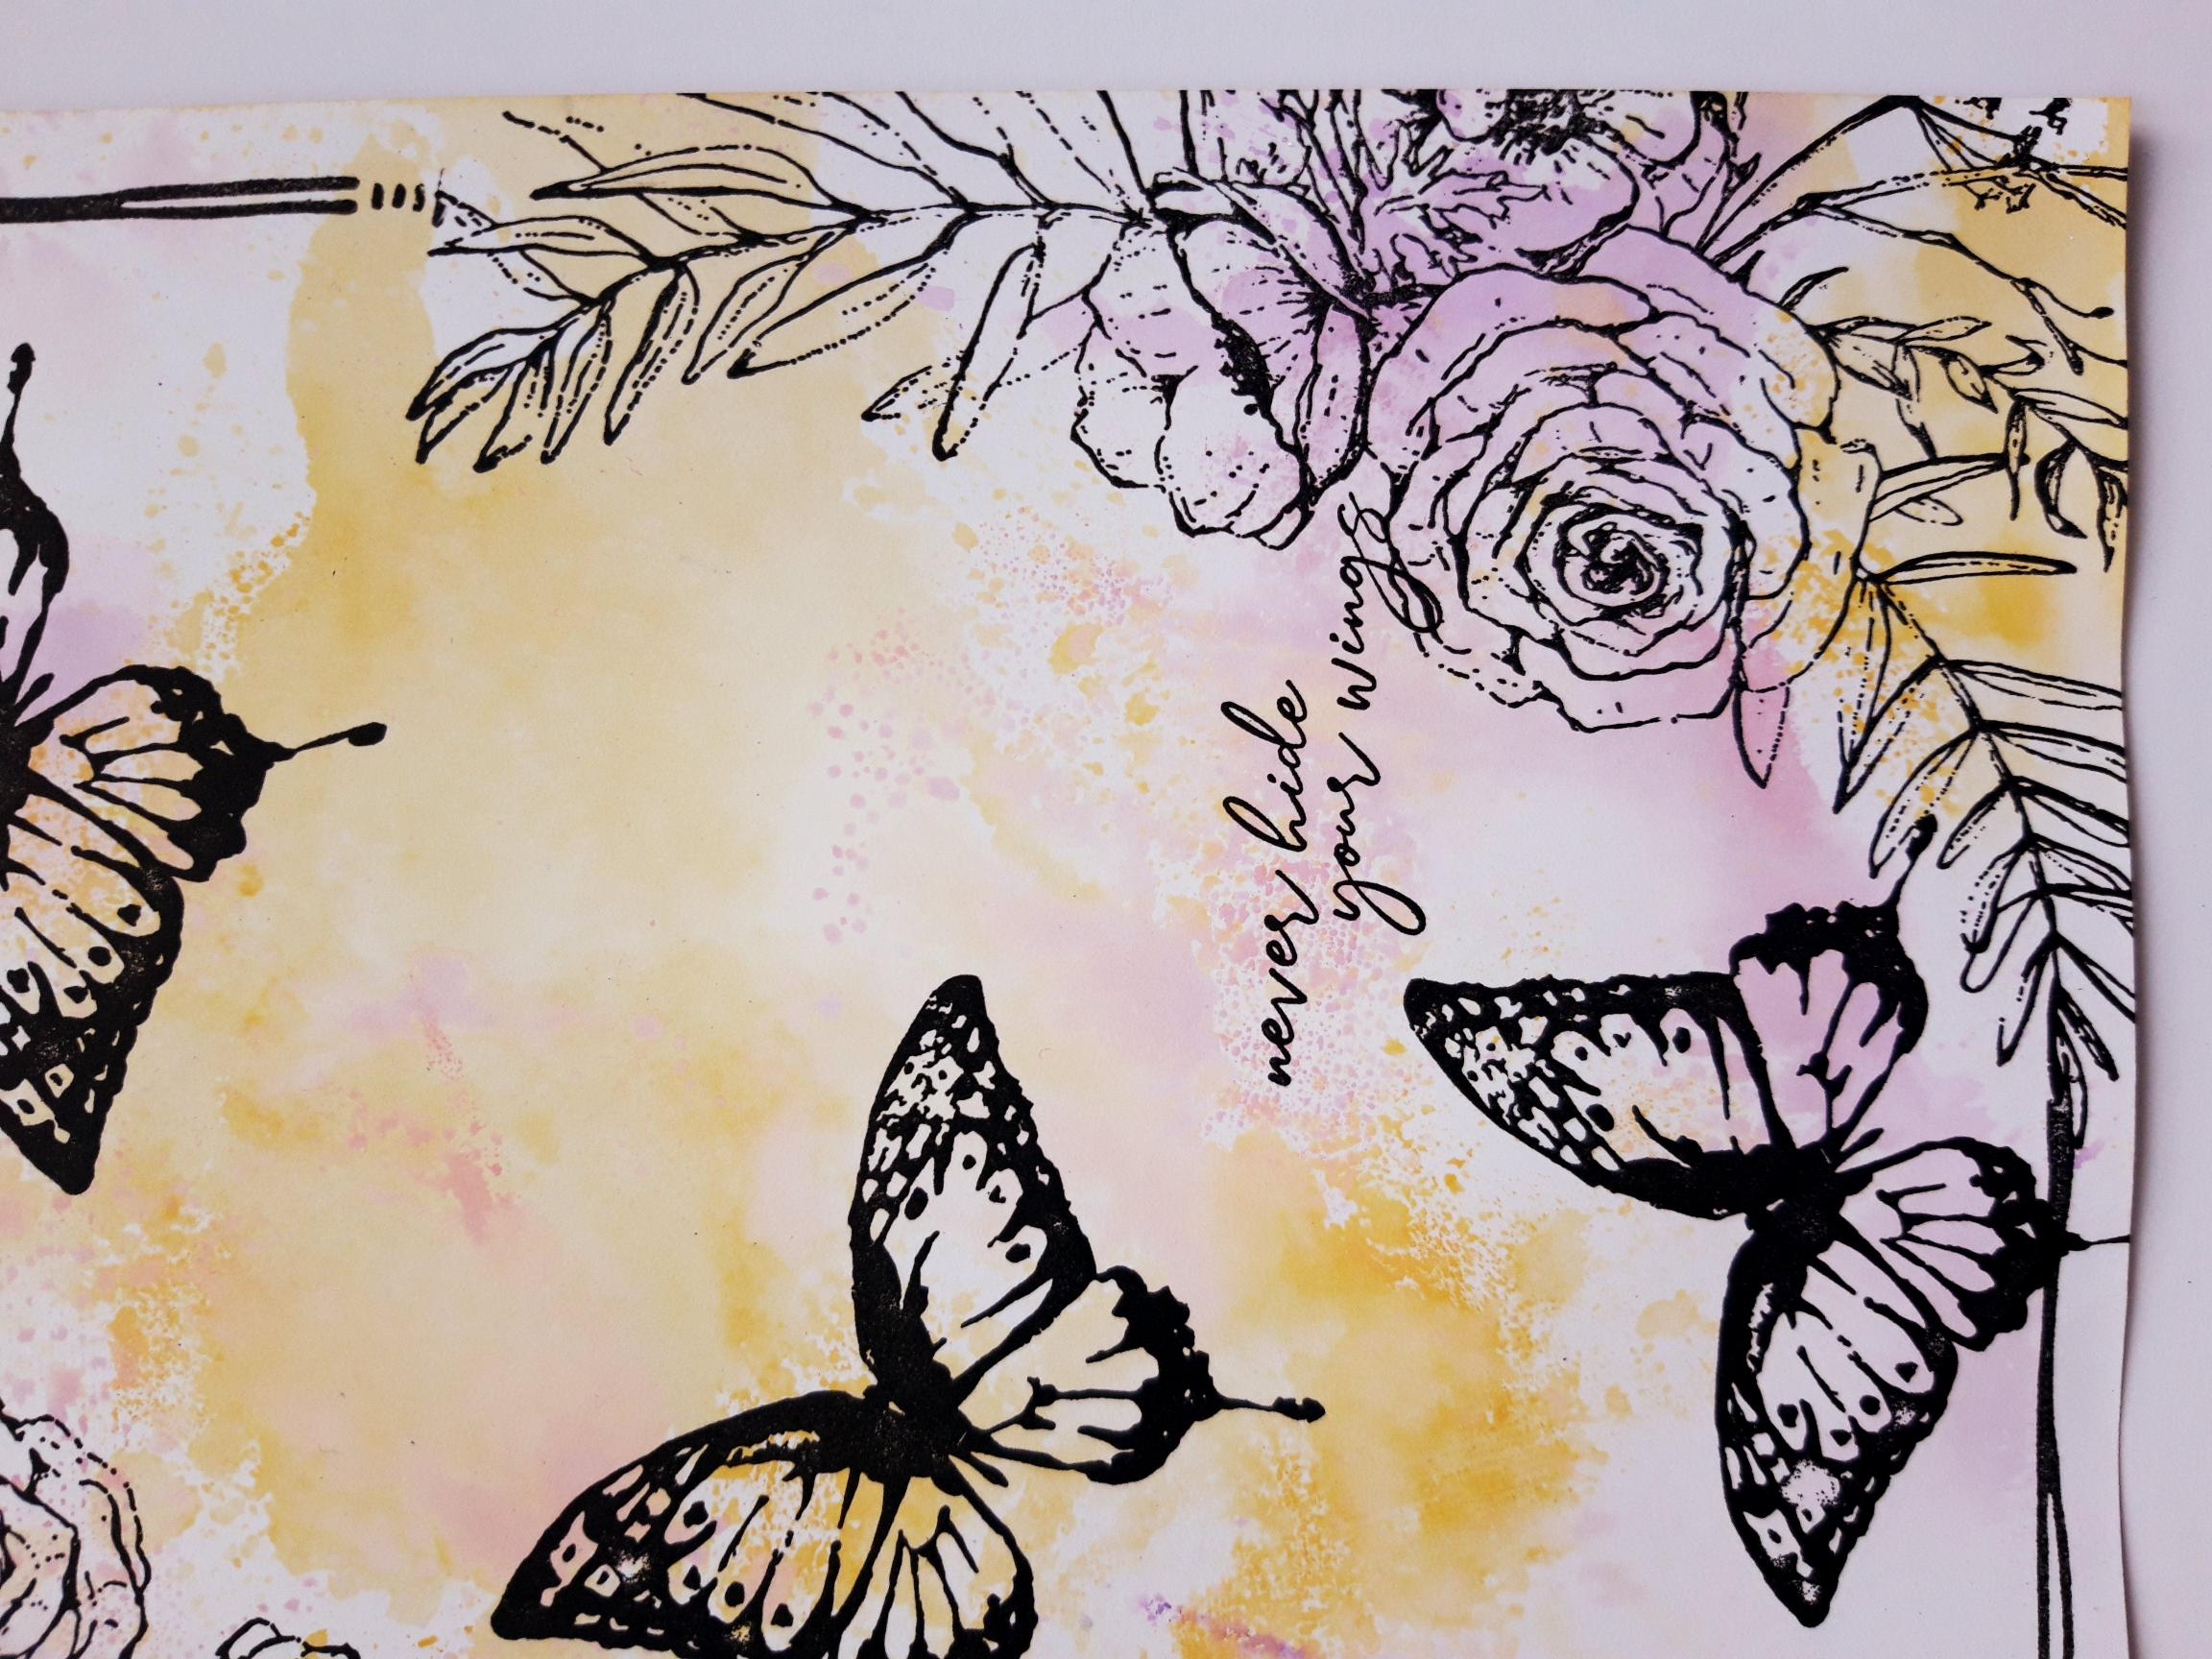
Ink up this beautiful floral stamp, from the Hope Collection, with the Onyx Black Versafine and stamp across the top left corner of your background. Repeat, this time stamping it in the bottom right corner. |
|
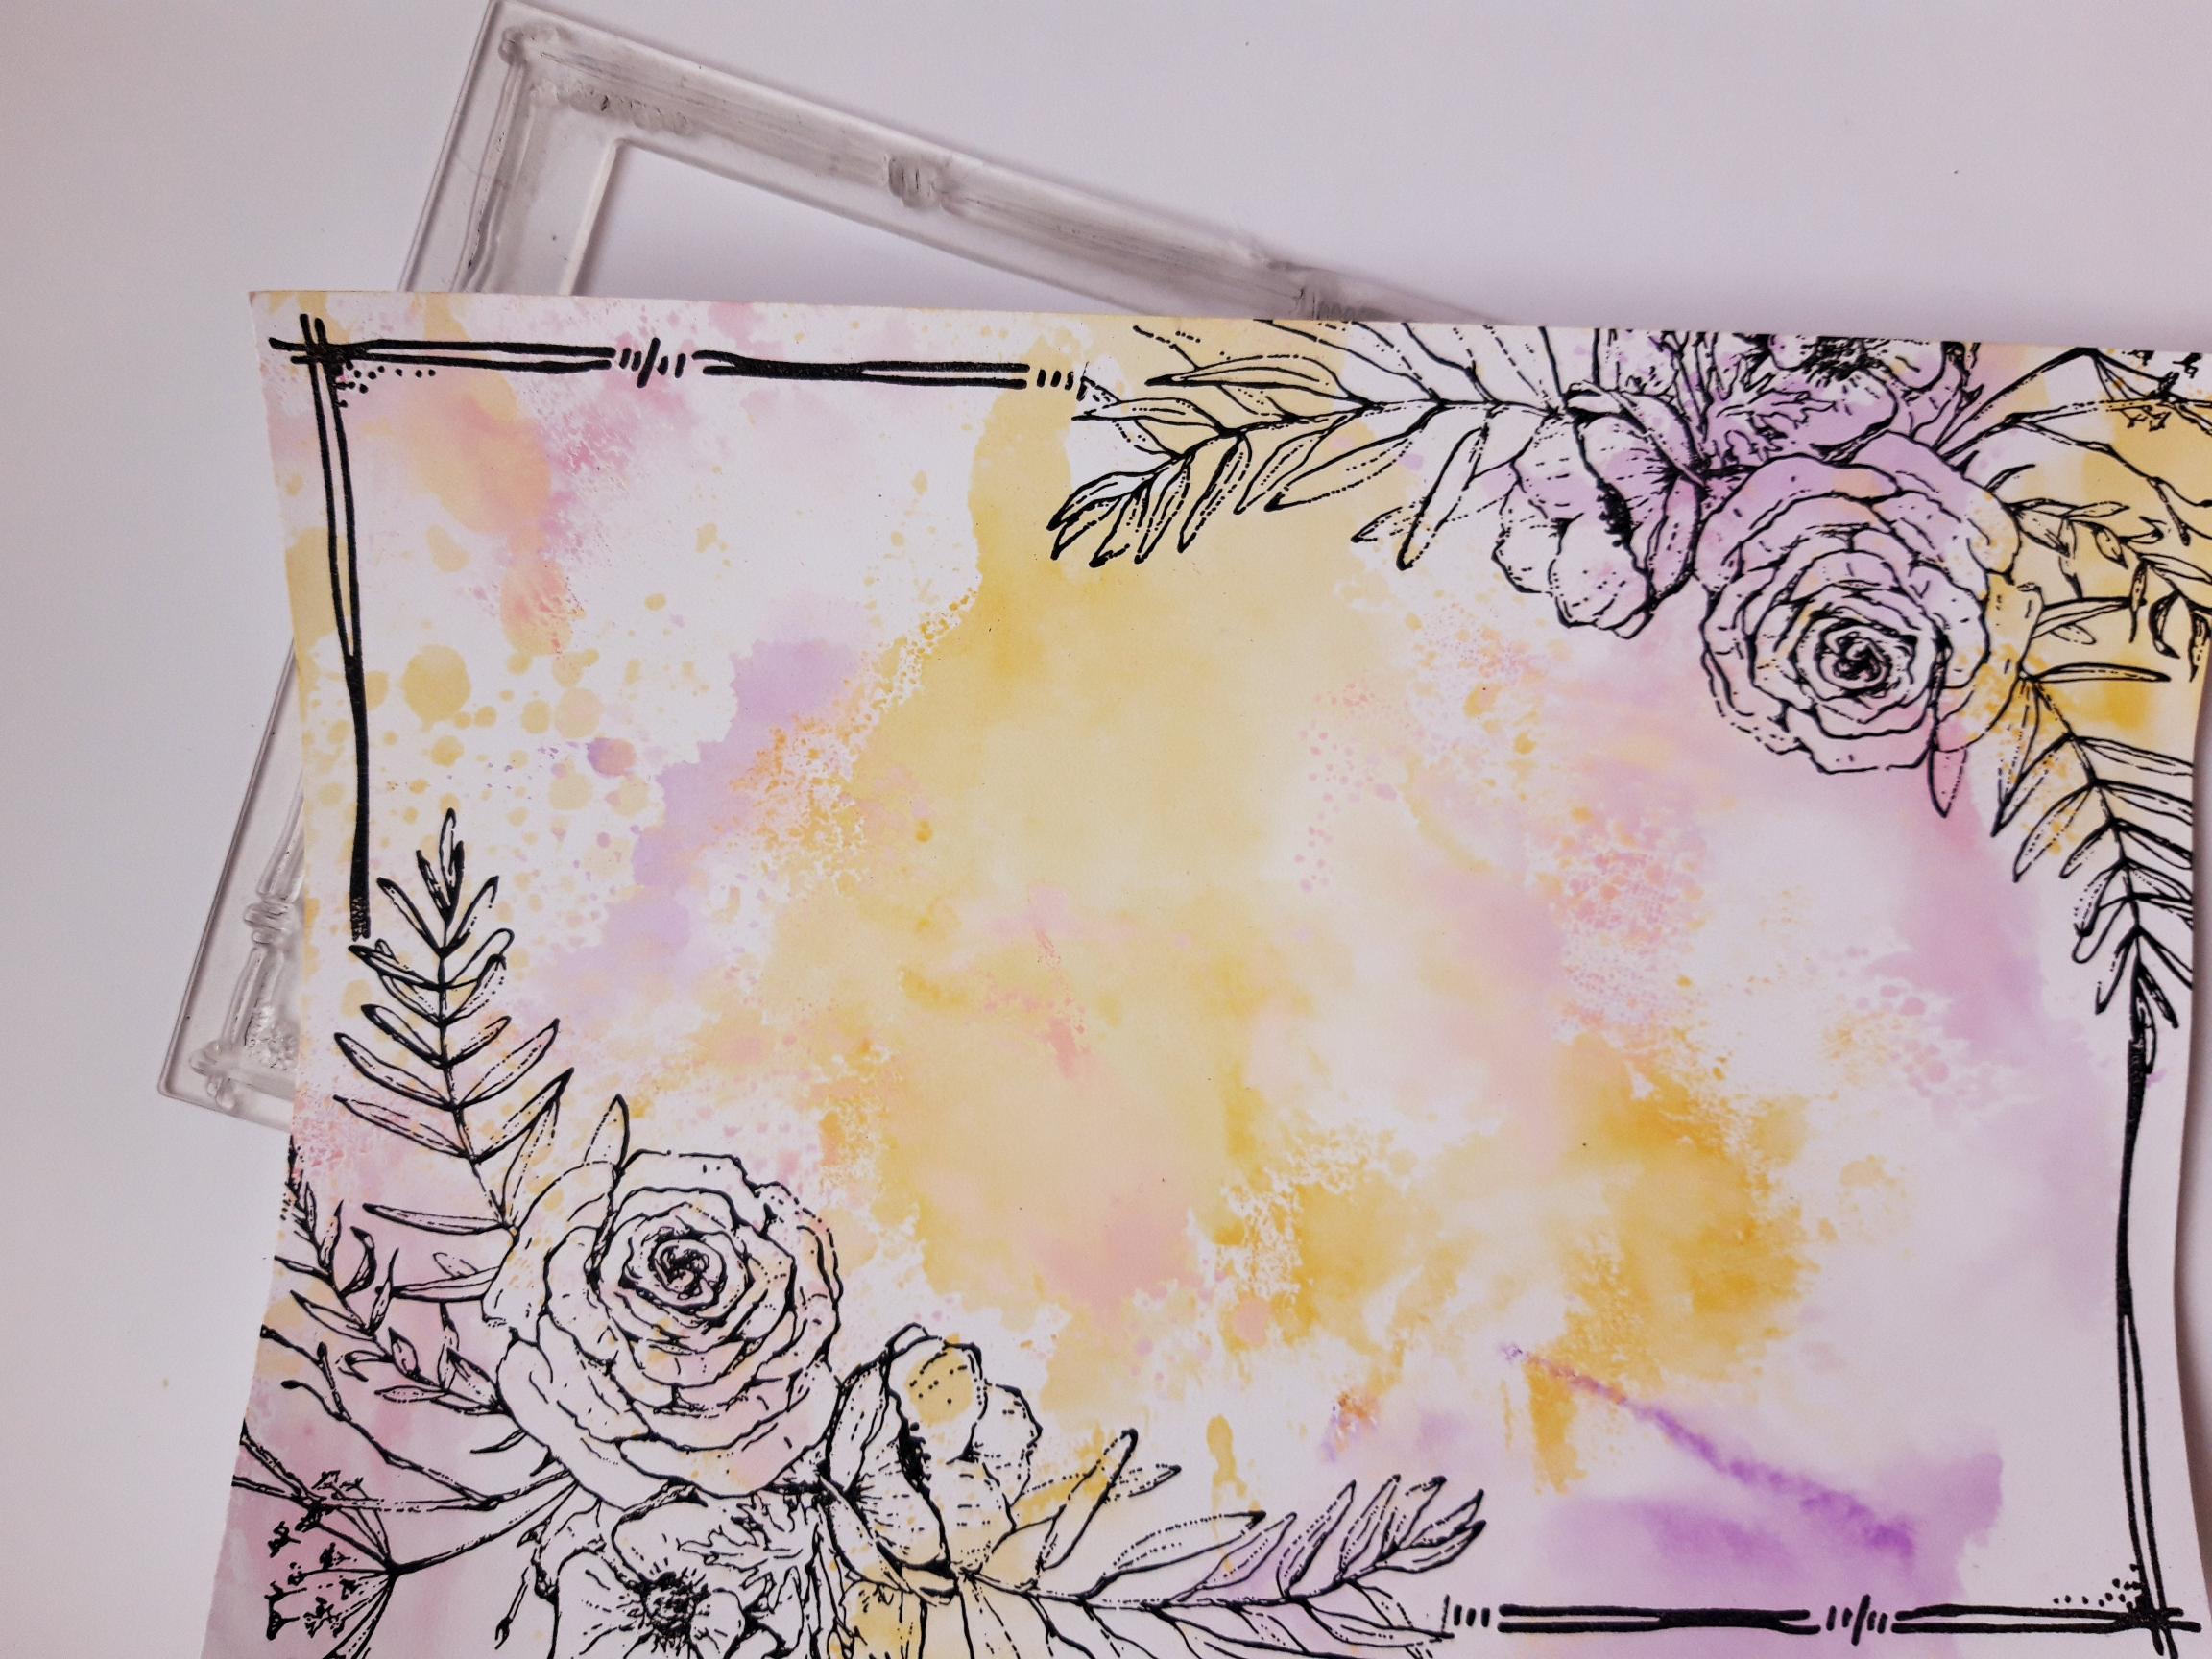
Placing the Dash Frame stamp in position, ink it up with the Versafine but only in the top right and bottom left corners, then stamp as shown here. |
|
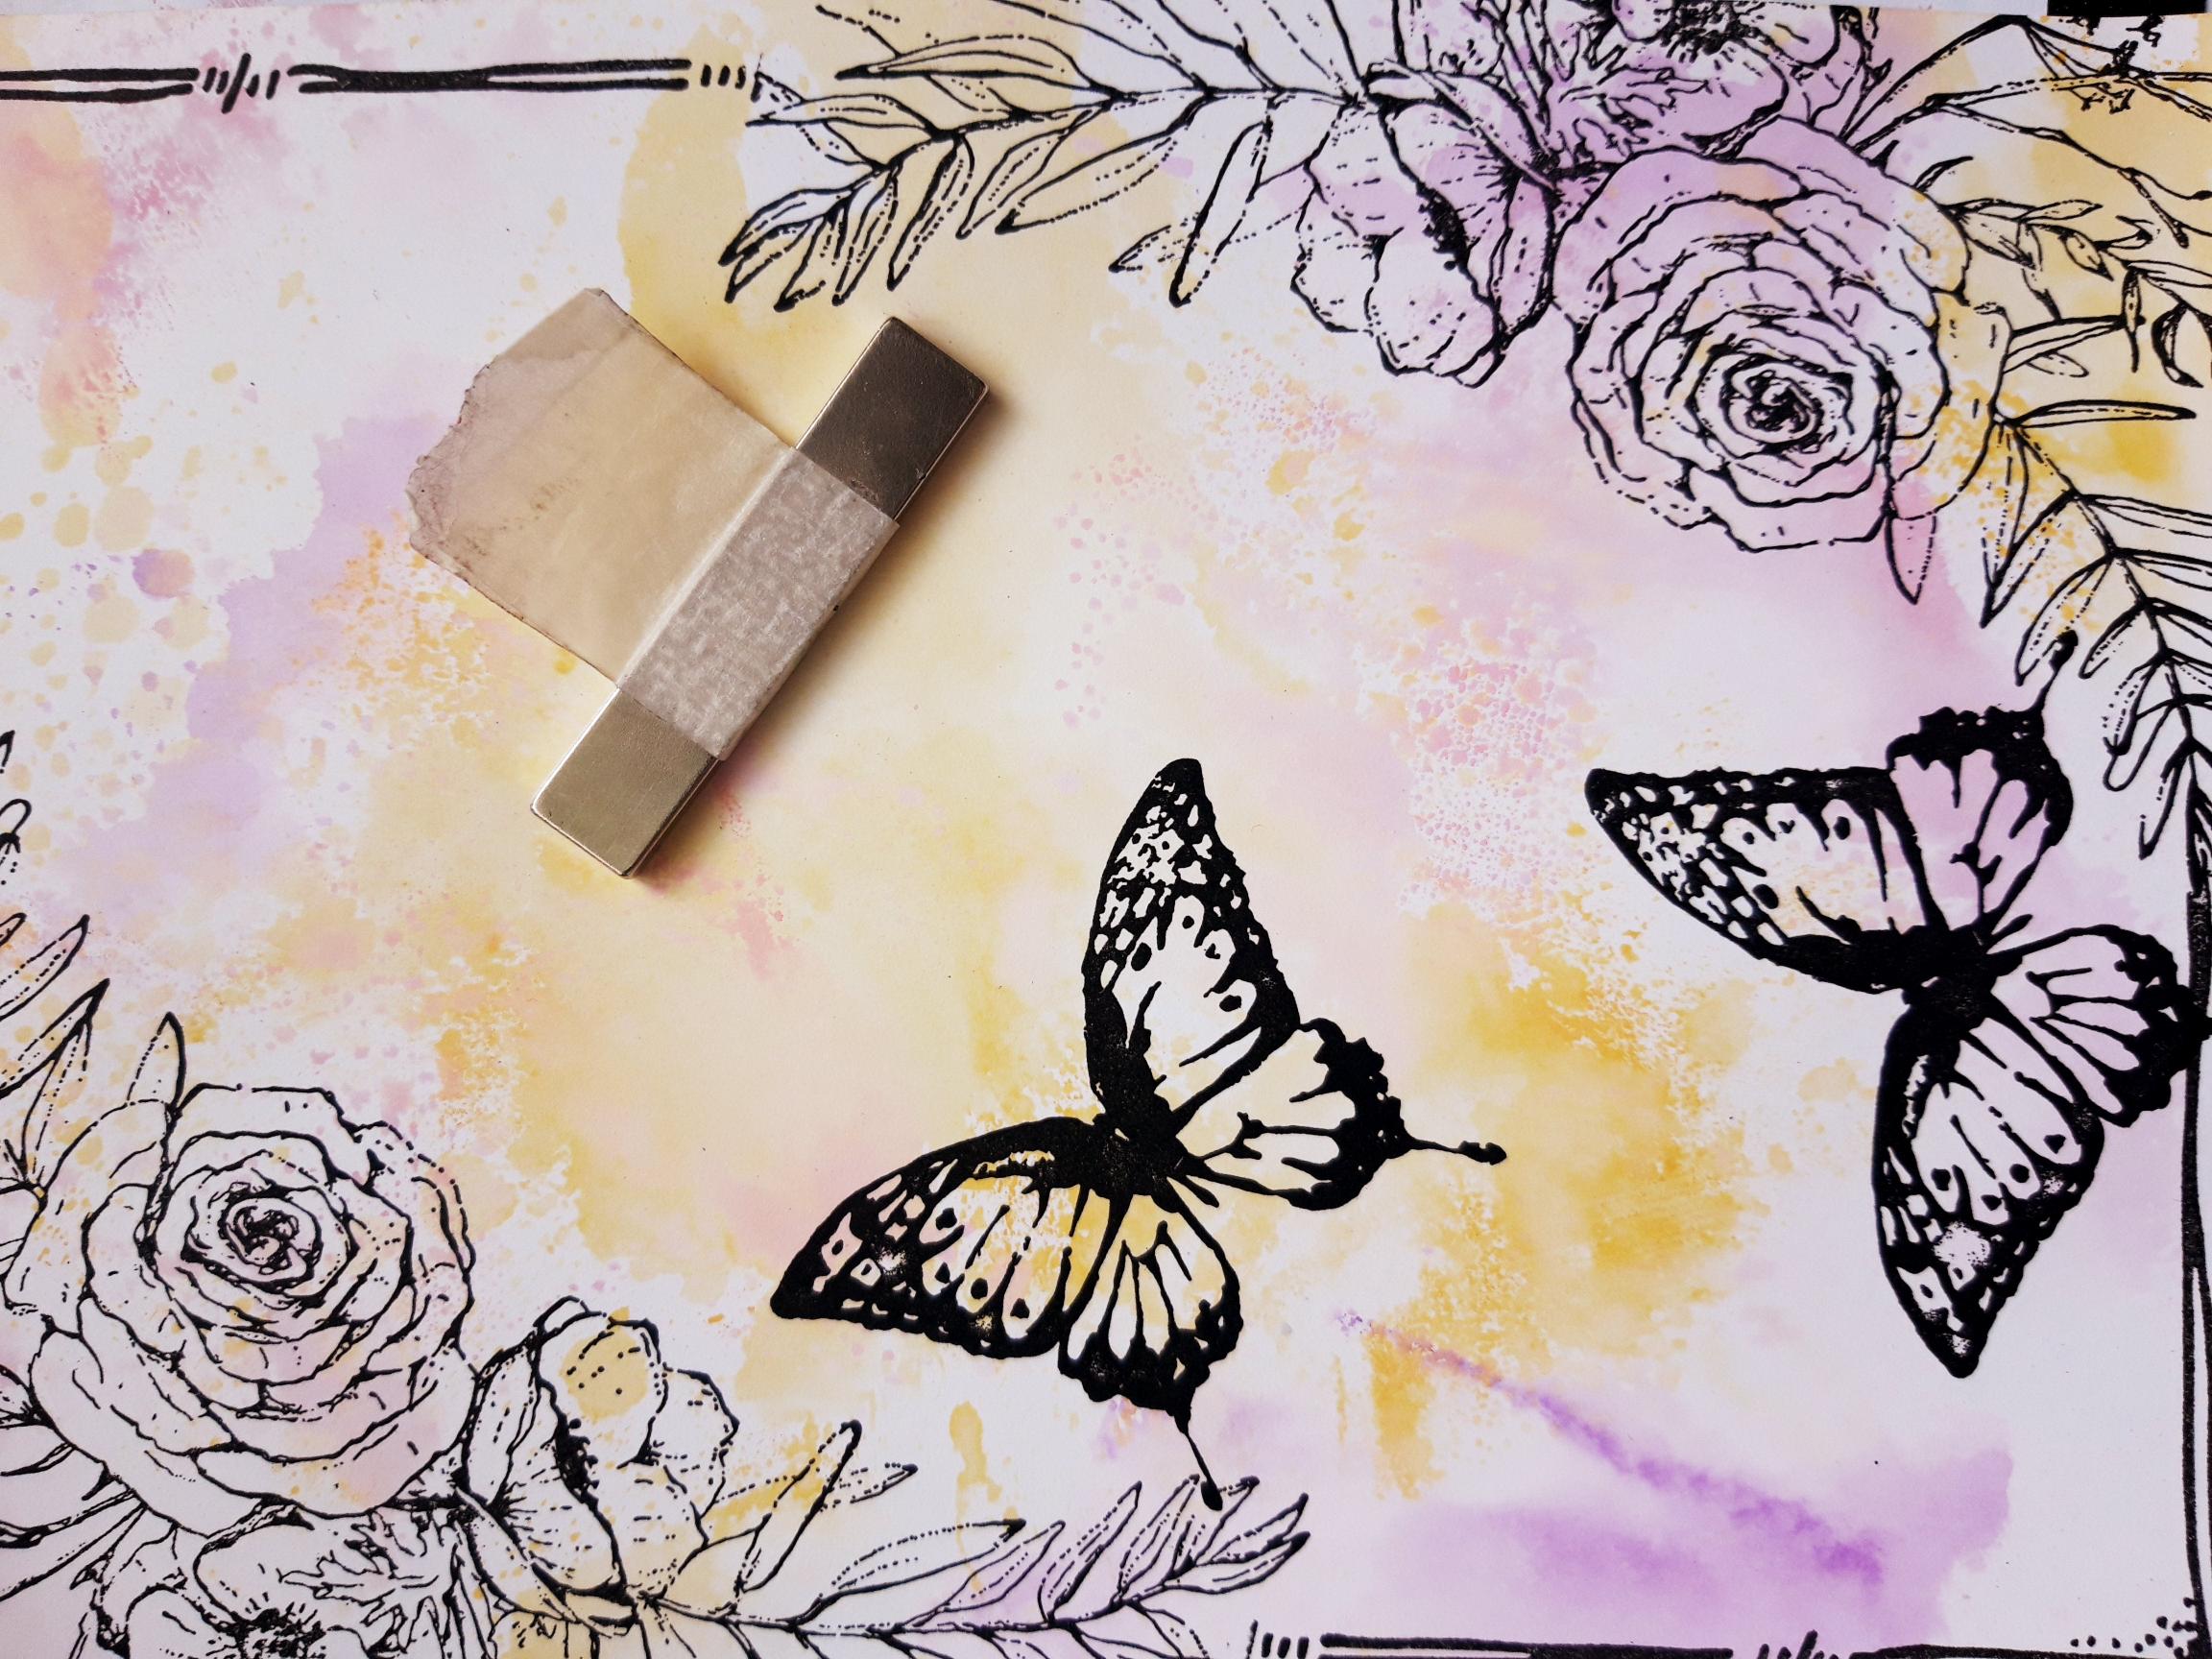
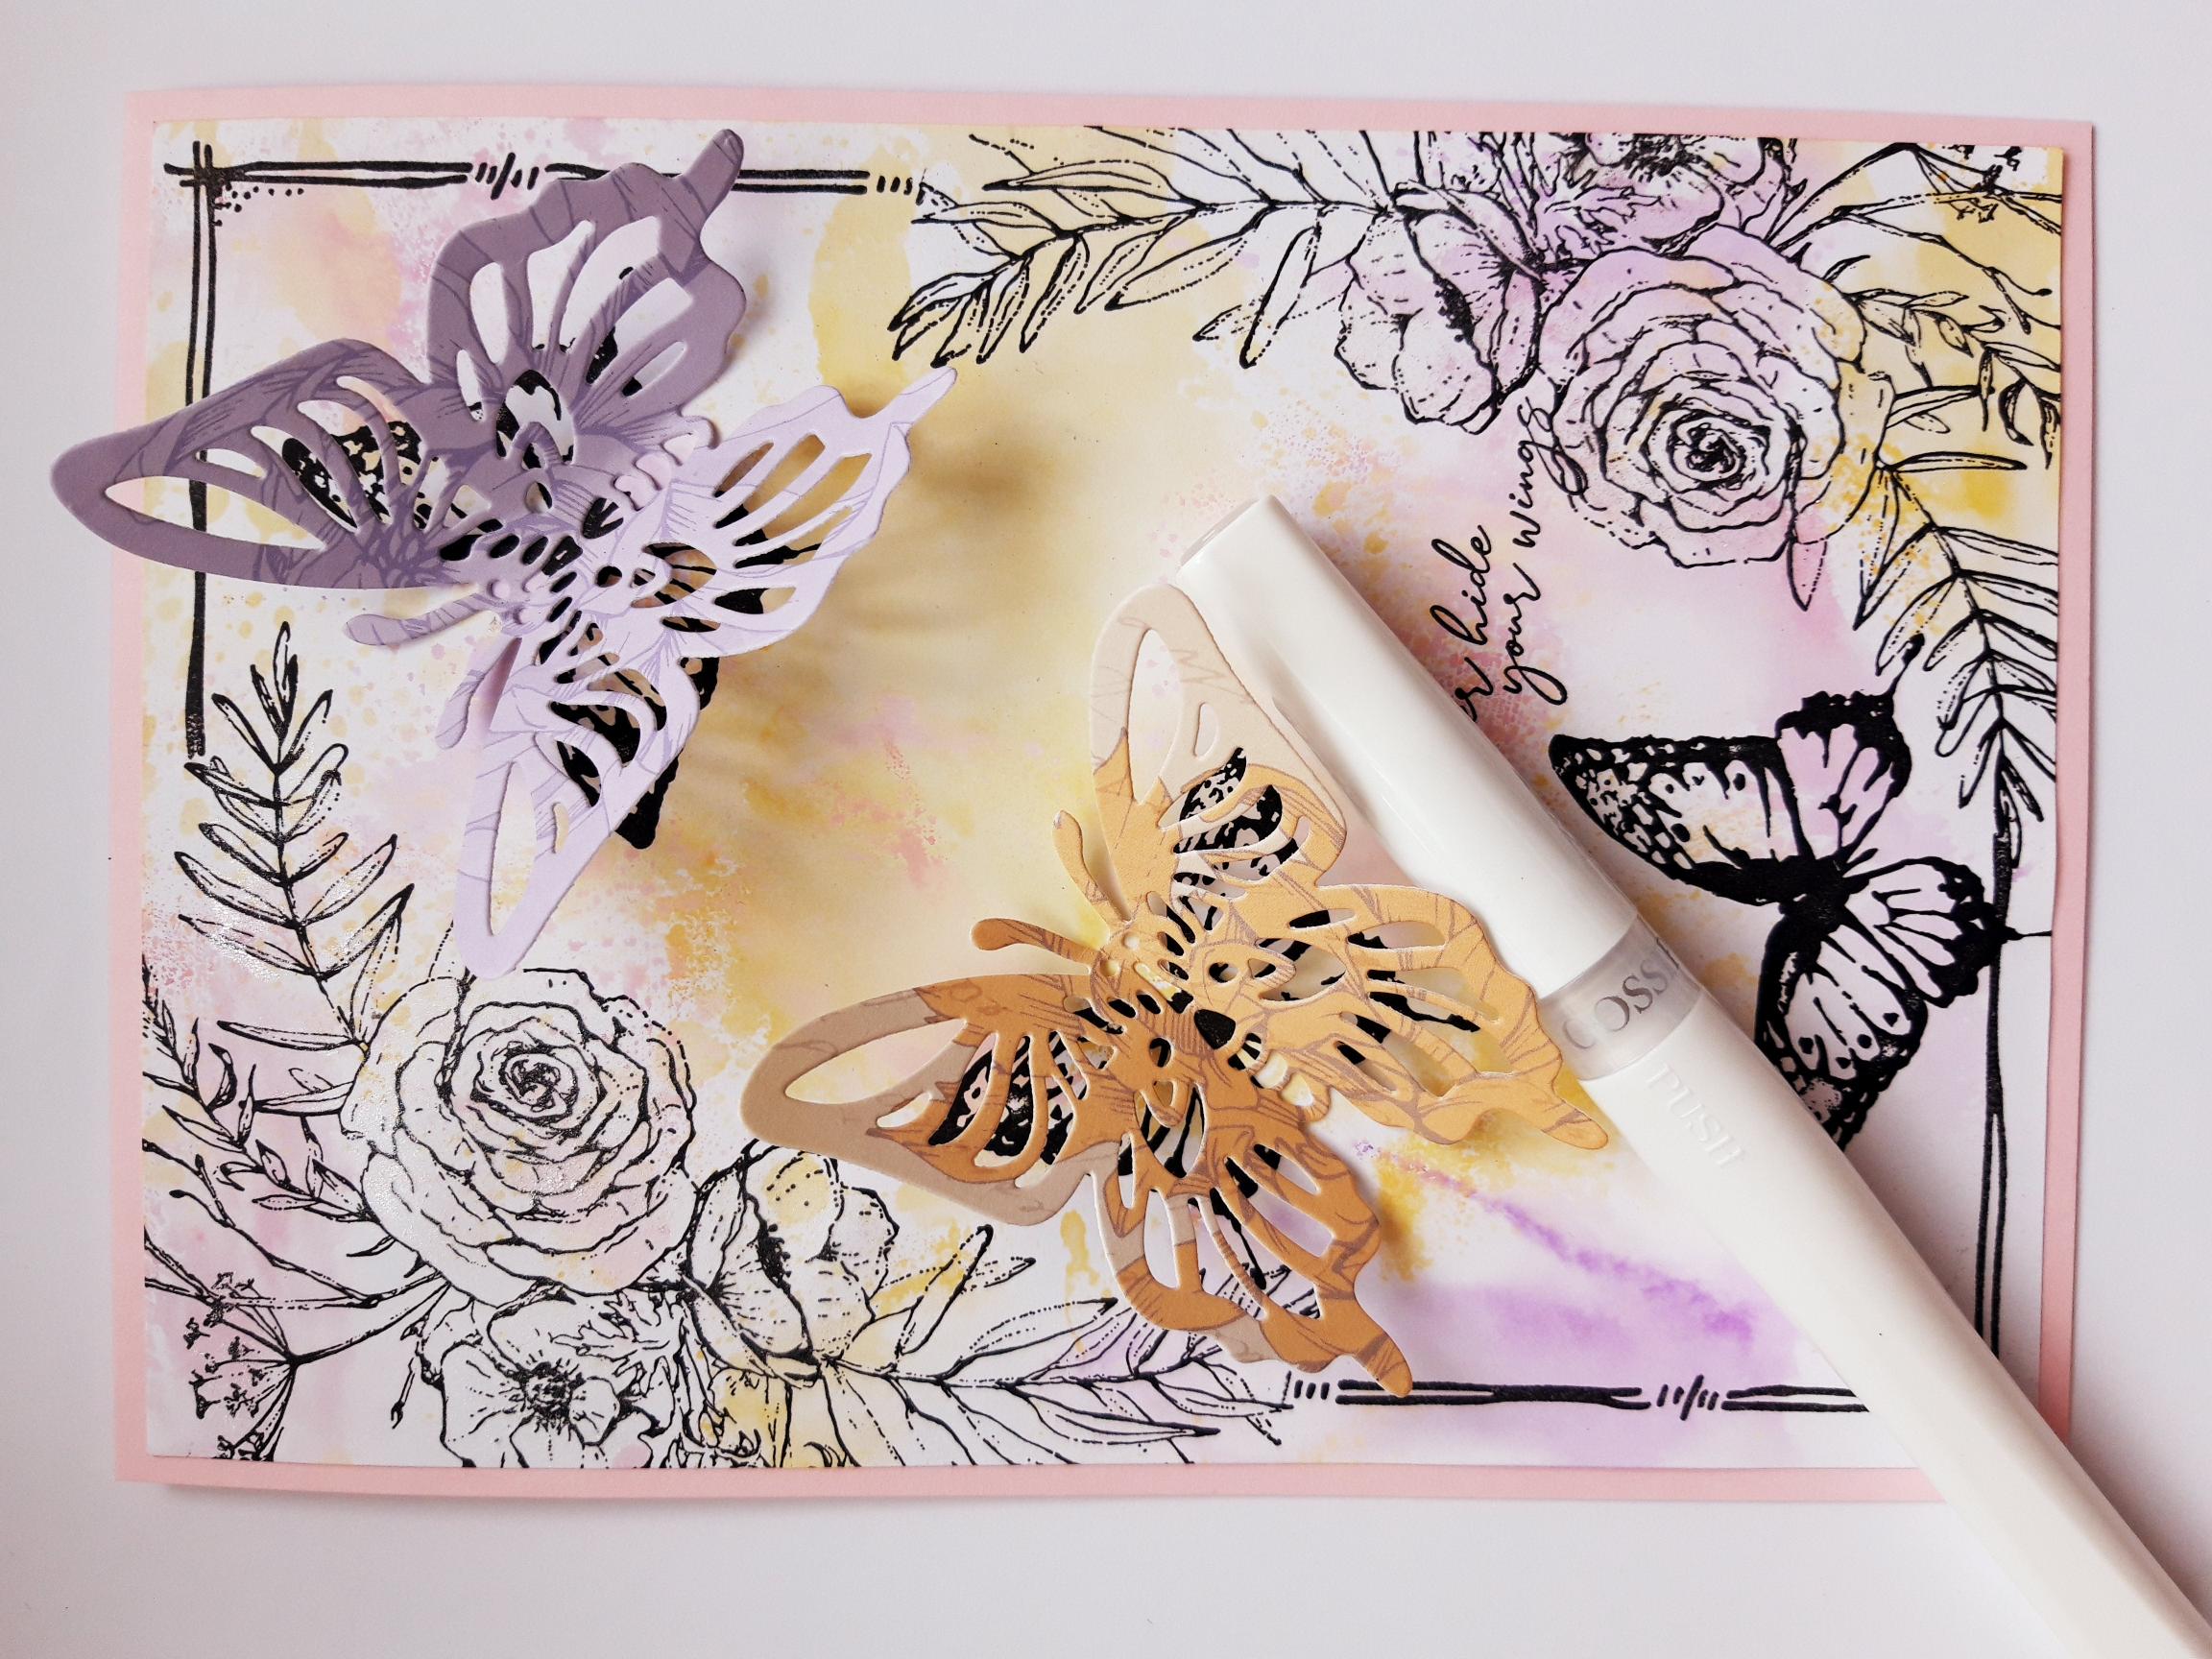
Using the die from the Hope Collection, die cut 2 butterflies from decorative sheets in It's All About You paper pads, or from any other papers in your crafty stash. Place the 2 die cut butterflies as shown here, to determine where you want to stamp the butterfly, from the Hope Collection. |
|
Ink up the buttefly stamp with the Versafine and stamp in position. |
|
Using your die cut butterfly as a guide, ink up and stamp the second butterfly in place, so in a later step the die cut butterfly will be adhered directly ON TOP of the stamped image. |
|
Repeat the previous step, stamping the 3rd butterfly where the other die cut butterfly will eventually be adhered. |
|
Ink up the sentiment stamp from the Beautiful Moments Stamp Collection, with the Versafine and stamp where required, remembering you still have the die cut butterflies to add. |
|
Adhere your artwork on to your top folding, pink card blank. |
|
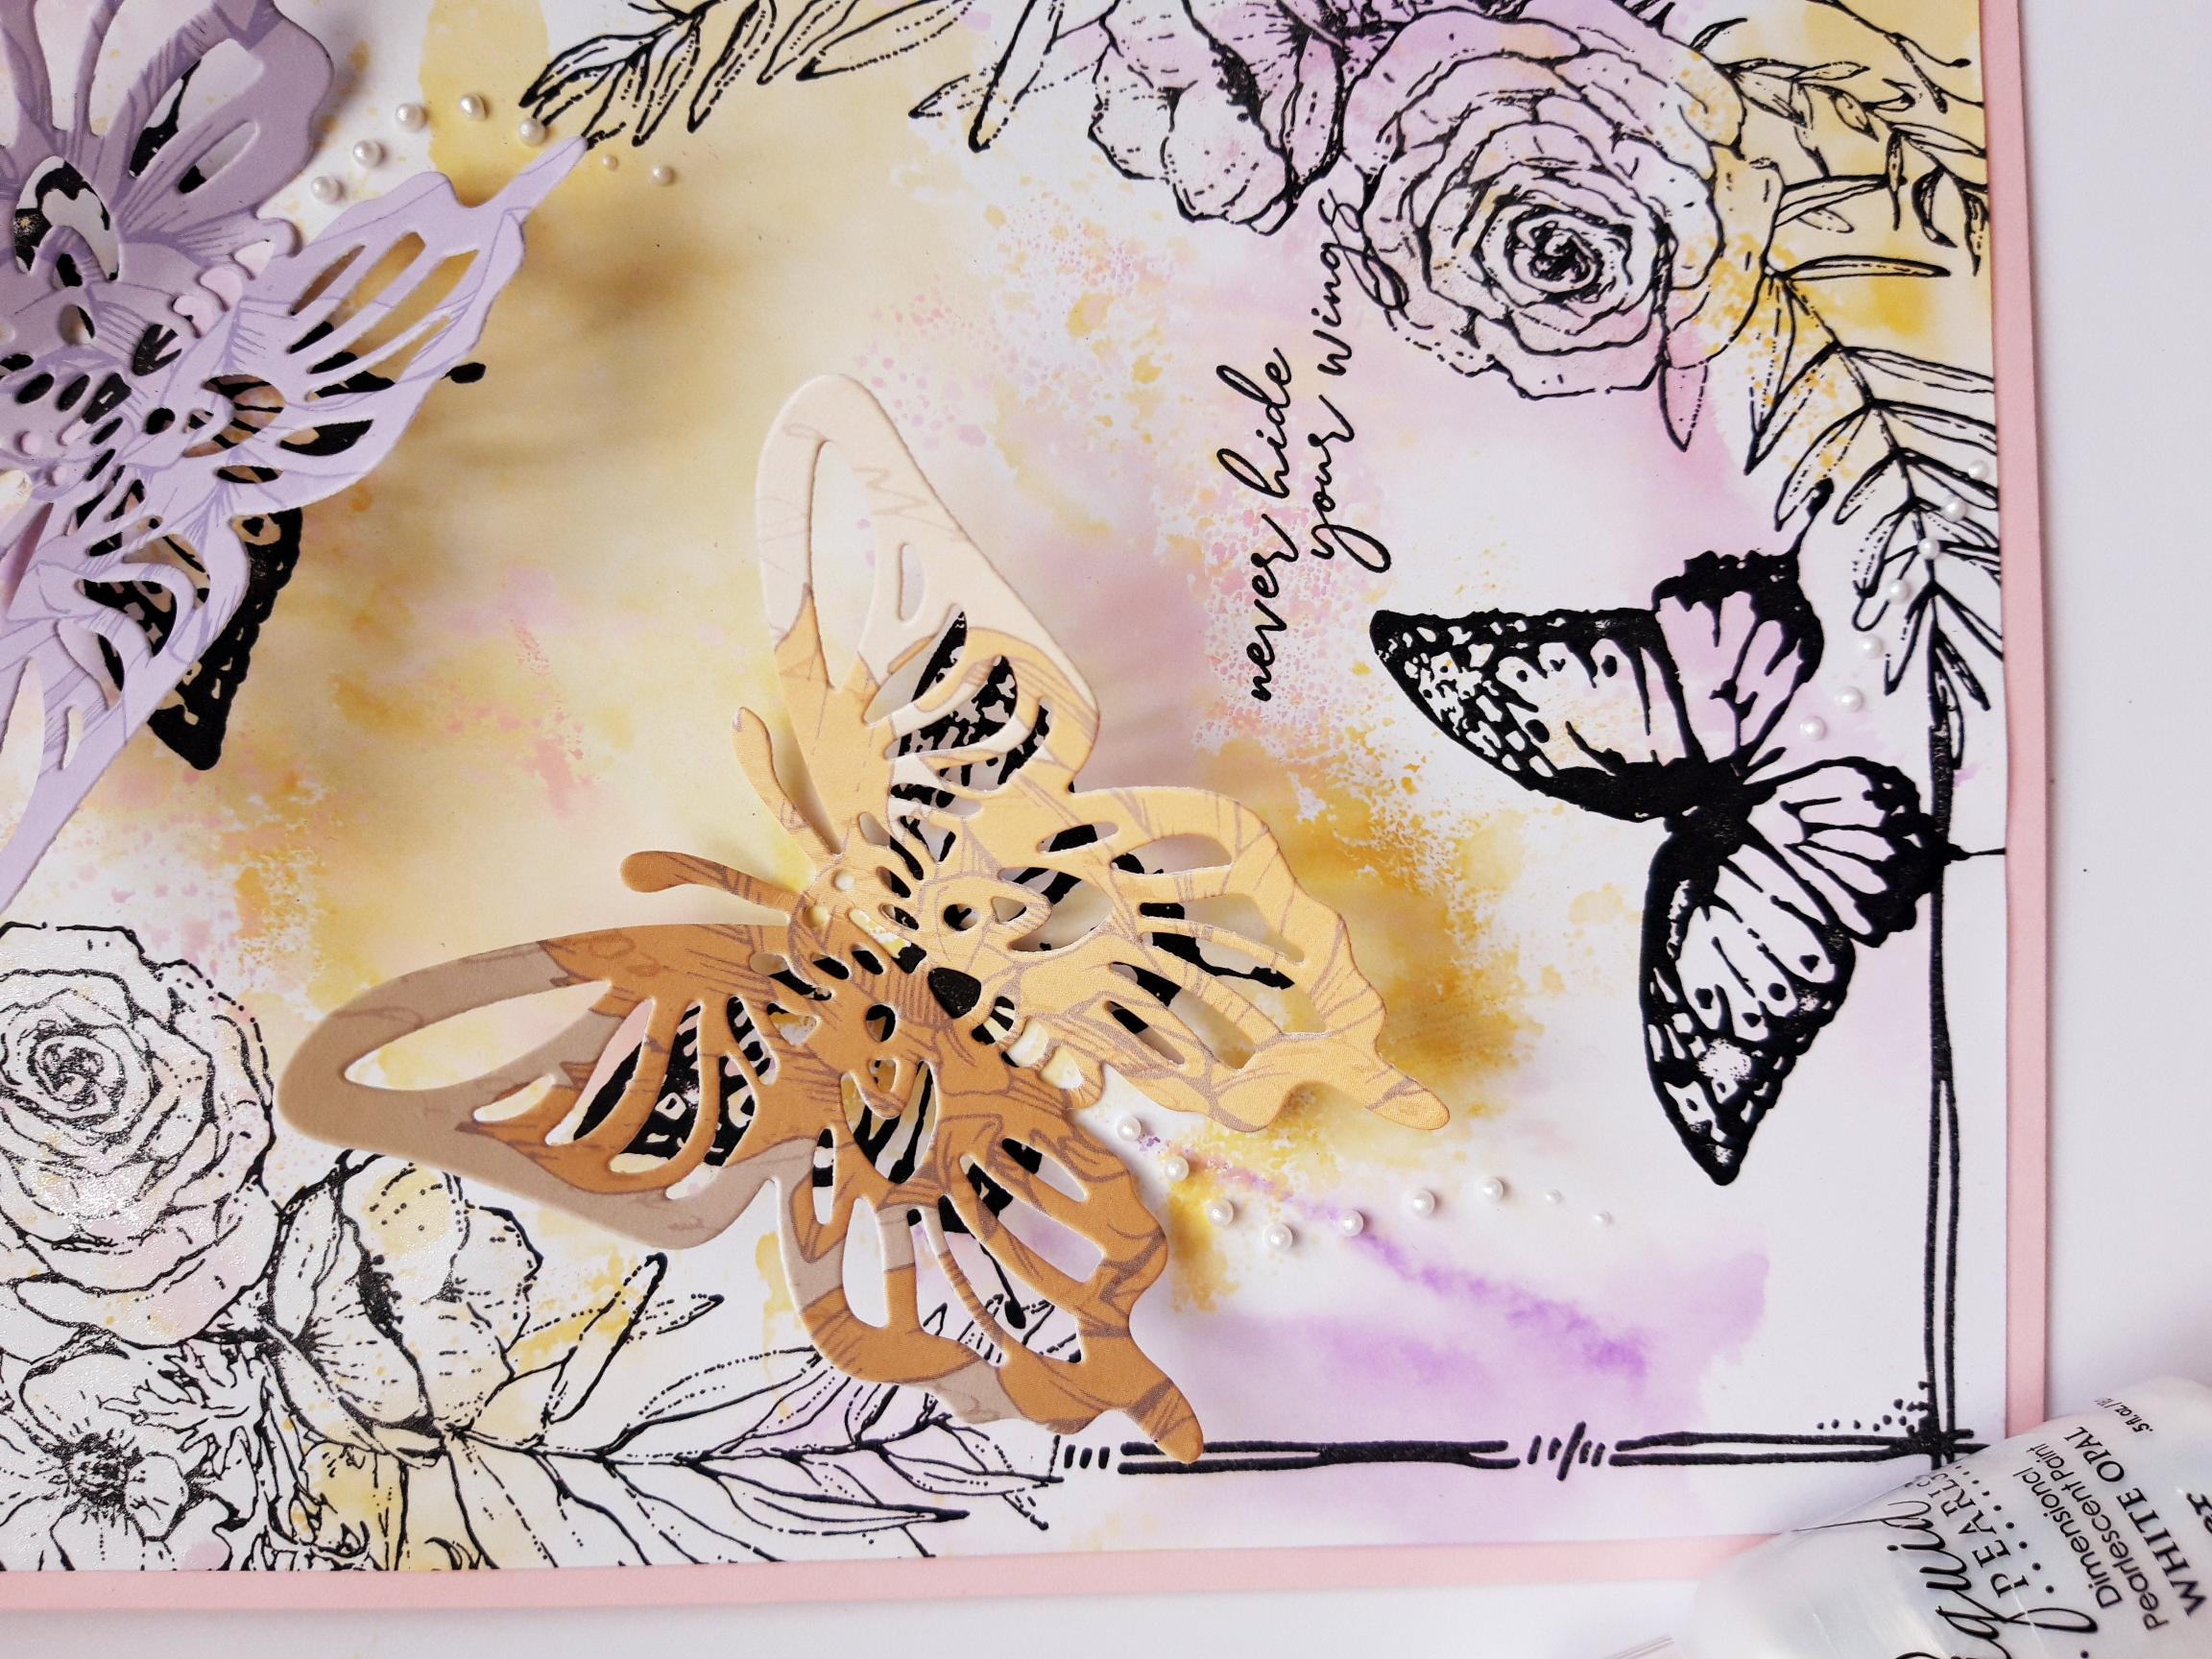
Add sparkle to your die cut butterflies, then adhere in place on top of the 2 stamped butterflies. |
|
To finish, use the Liquid Pearl Drops to add butterfly trails. |