Give your friends $10 off their first order!
Refer a FRIEND


WHAT YOU WILL NEED
Grey top folding card blank 8 1/4 x 5 3/4"
Navy Pearlised card 7 1/2 x 5"
White card 7 1/4 x 4 3/4"
White card - super smooth 6 x 6"
Just Because Stamp and Die Collection
Versafine Ink Pad: Onyx Black
Memento Ink Pad: Tuxedo Black
Gossip Alcohol Pens: Blues and greens
Premium Dye Ink Pad: Surfboard
Pearlywinks Glitter Pearl Mist
Graphics & Floral Washi Tape Collection
Eureka 101
Paper Trimmer
Perfect Together Glue
Foam pads
Die Cutting machine
[click image to enlarge] 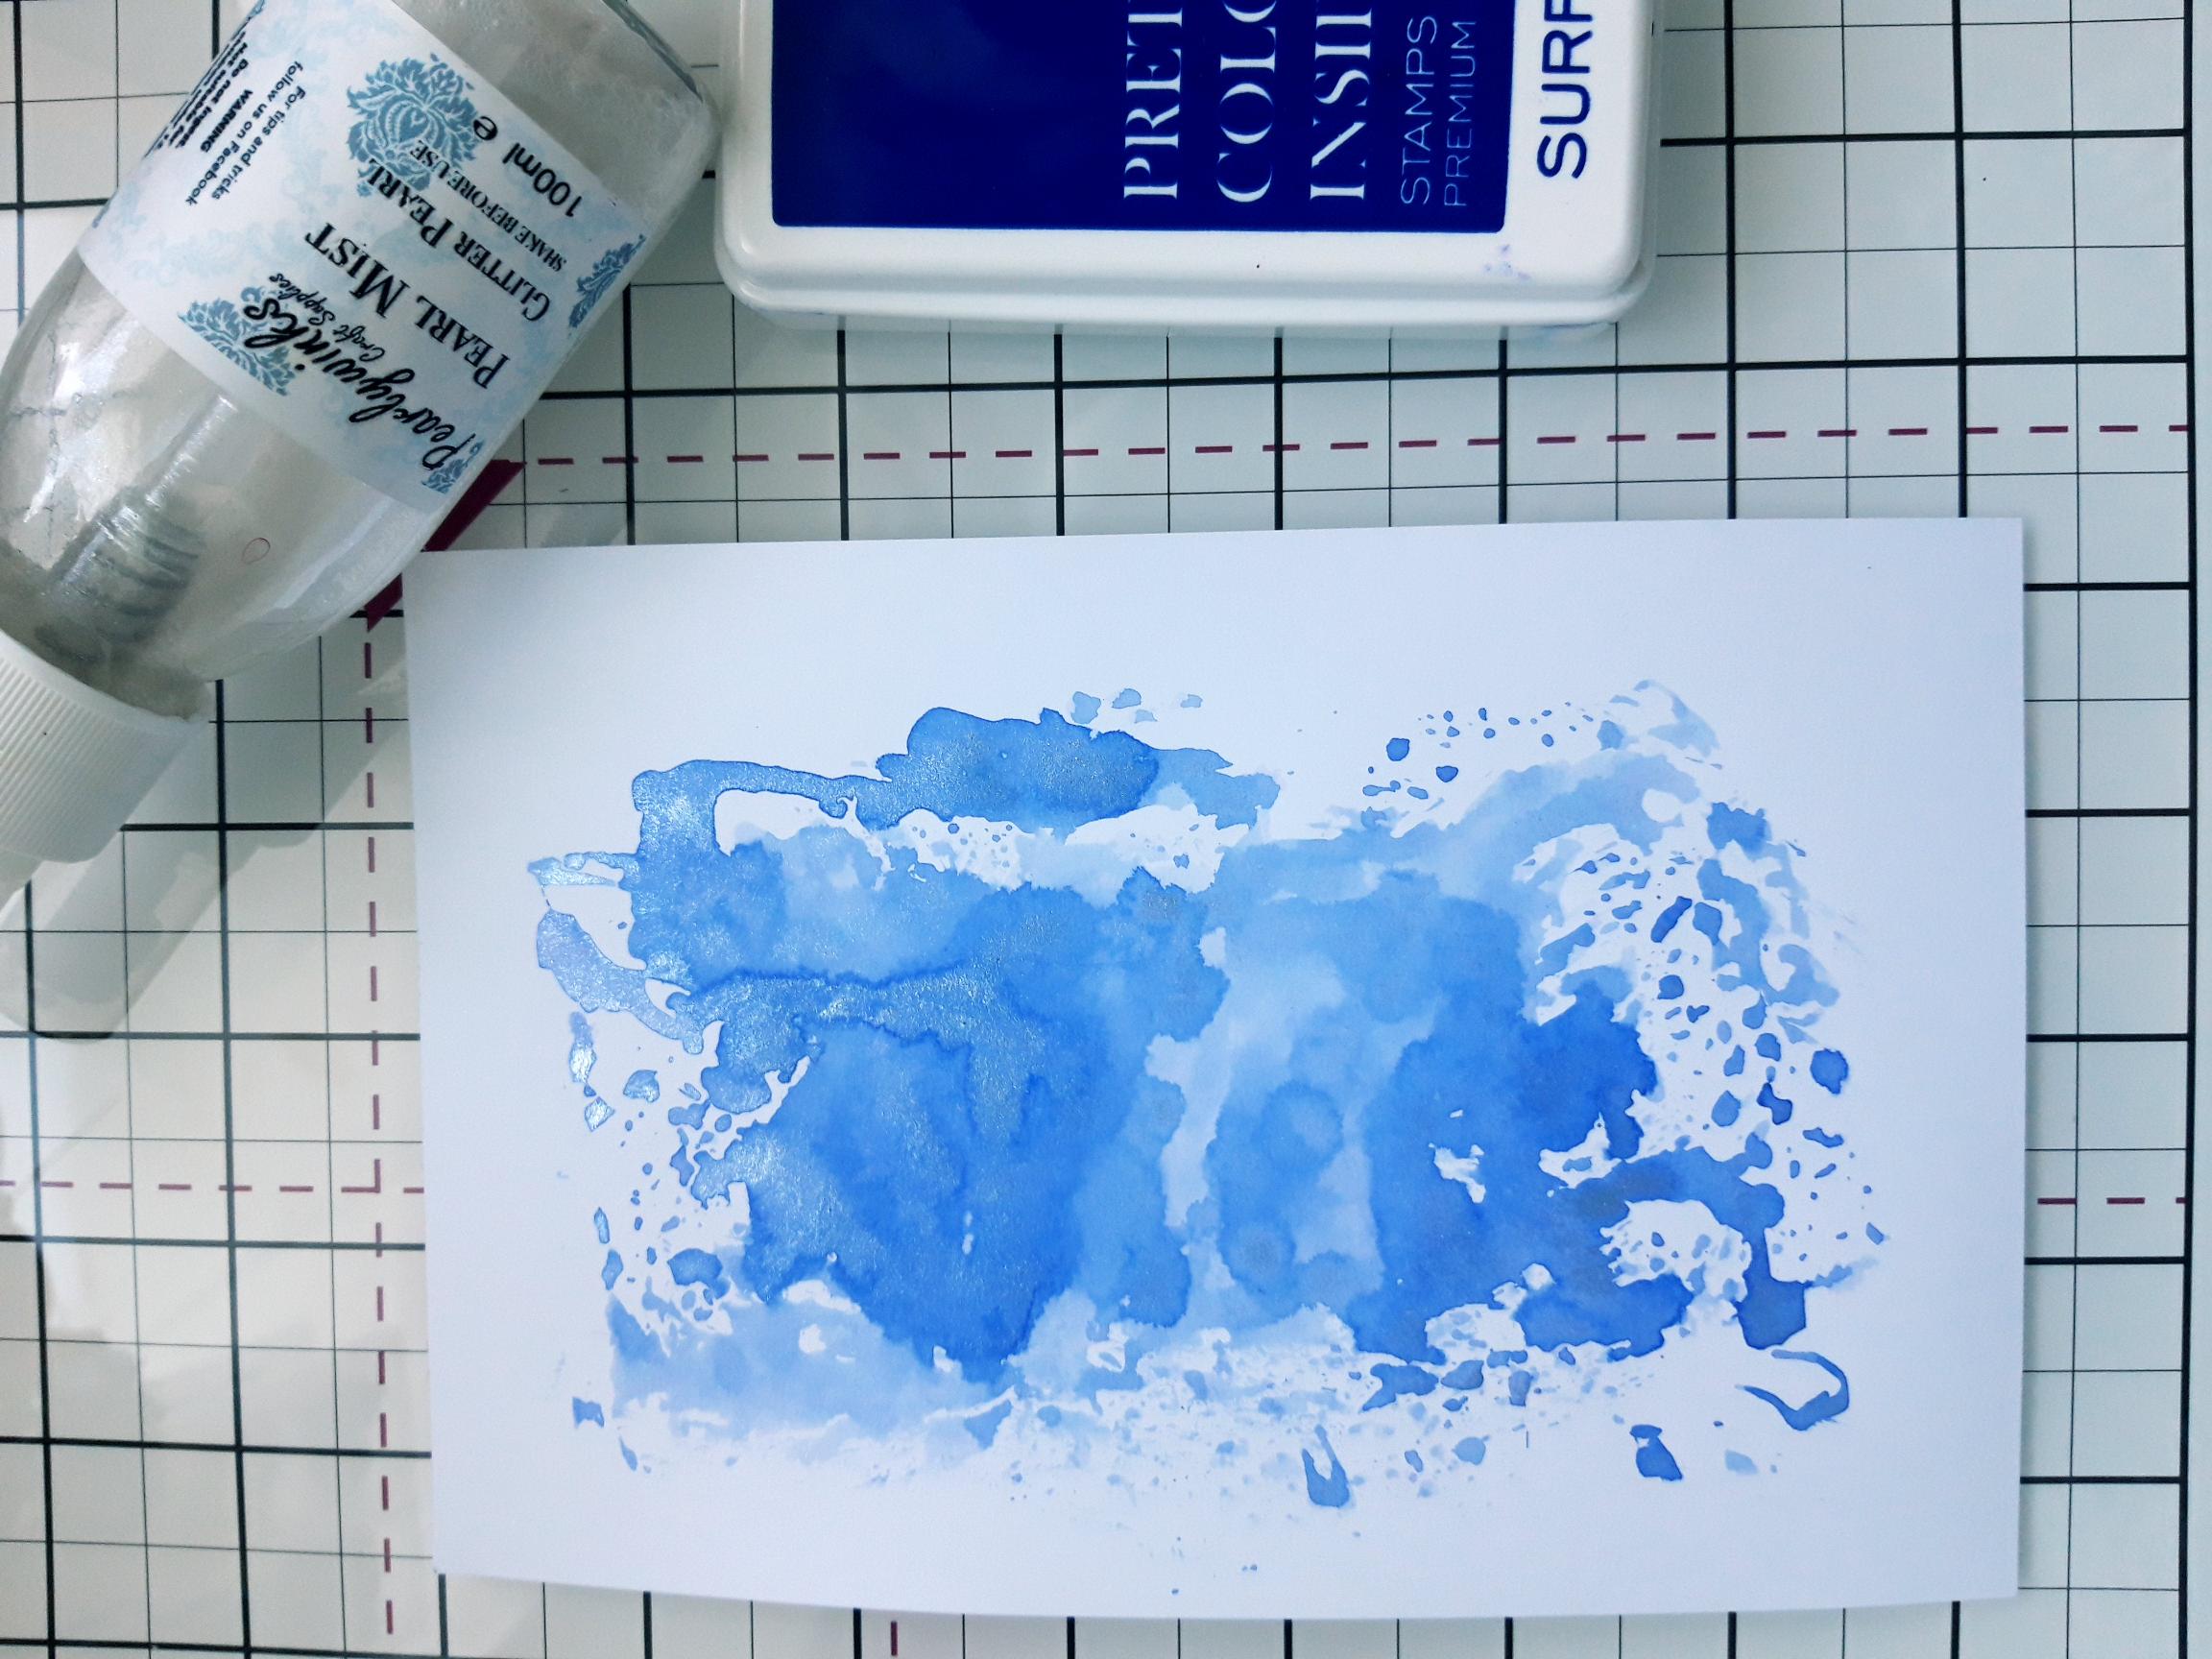
|
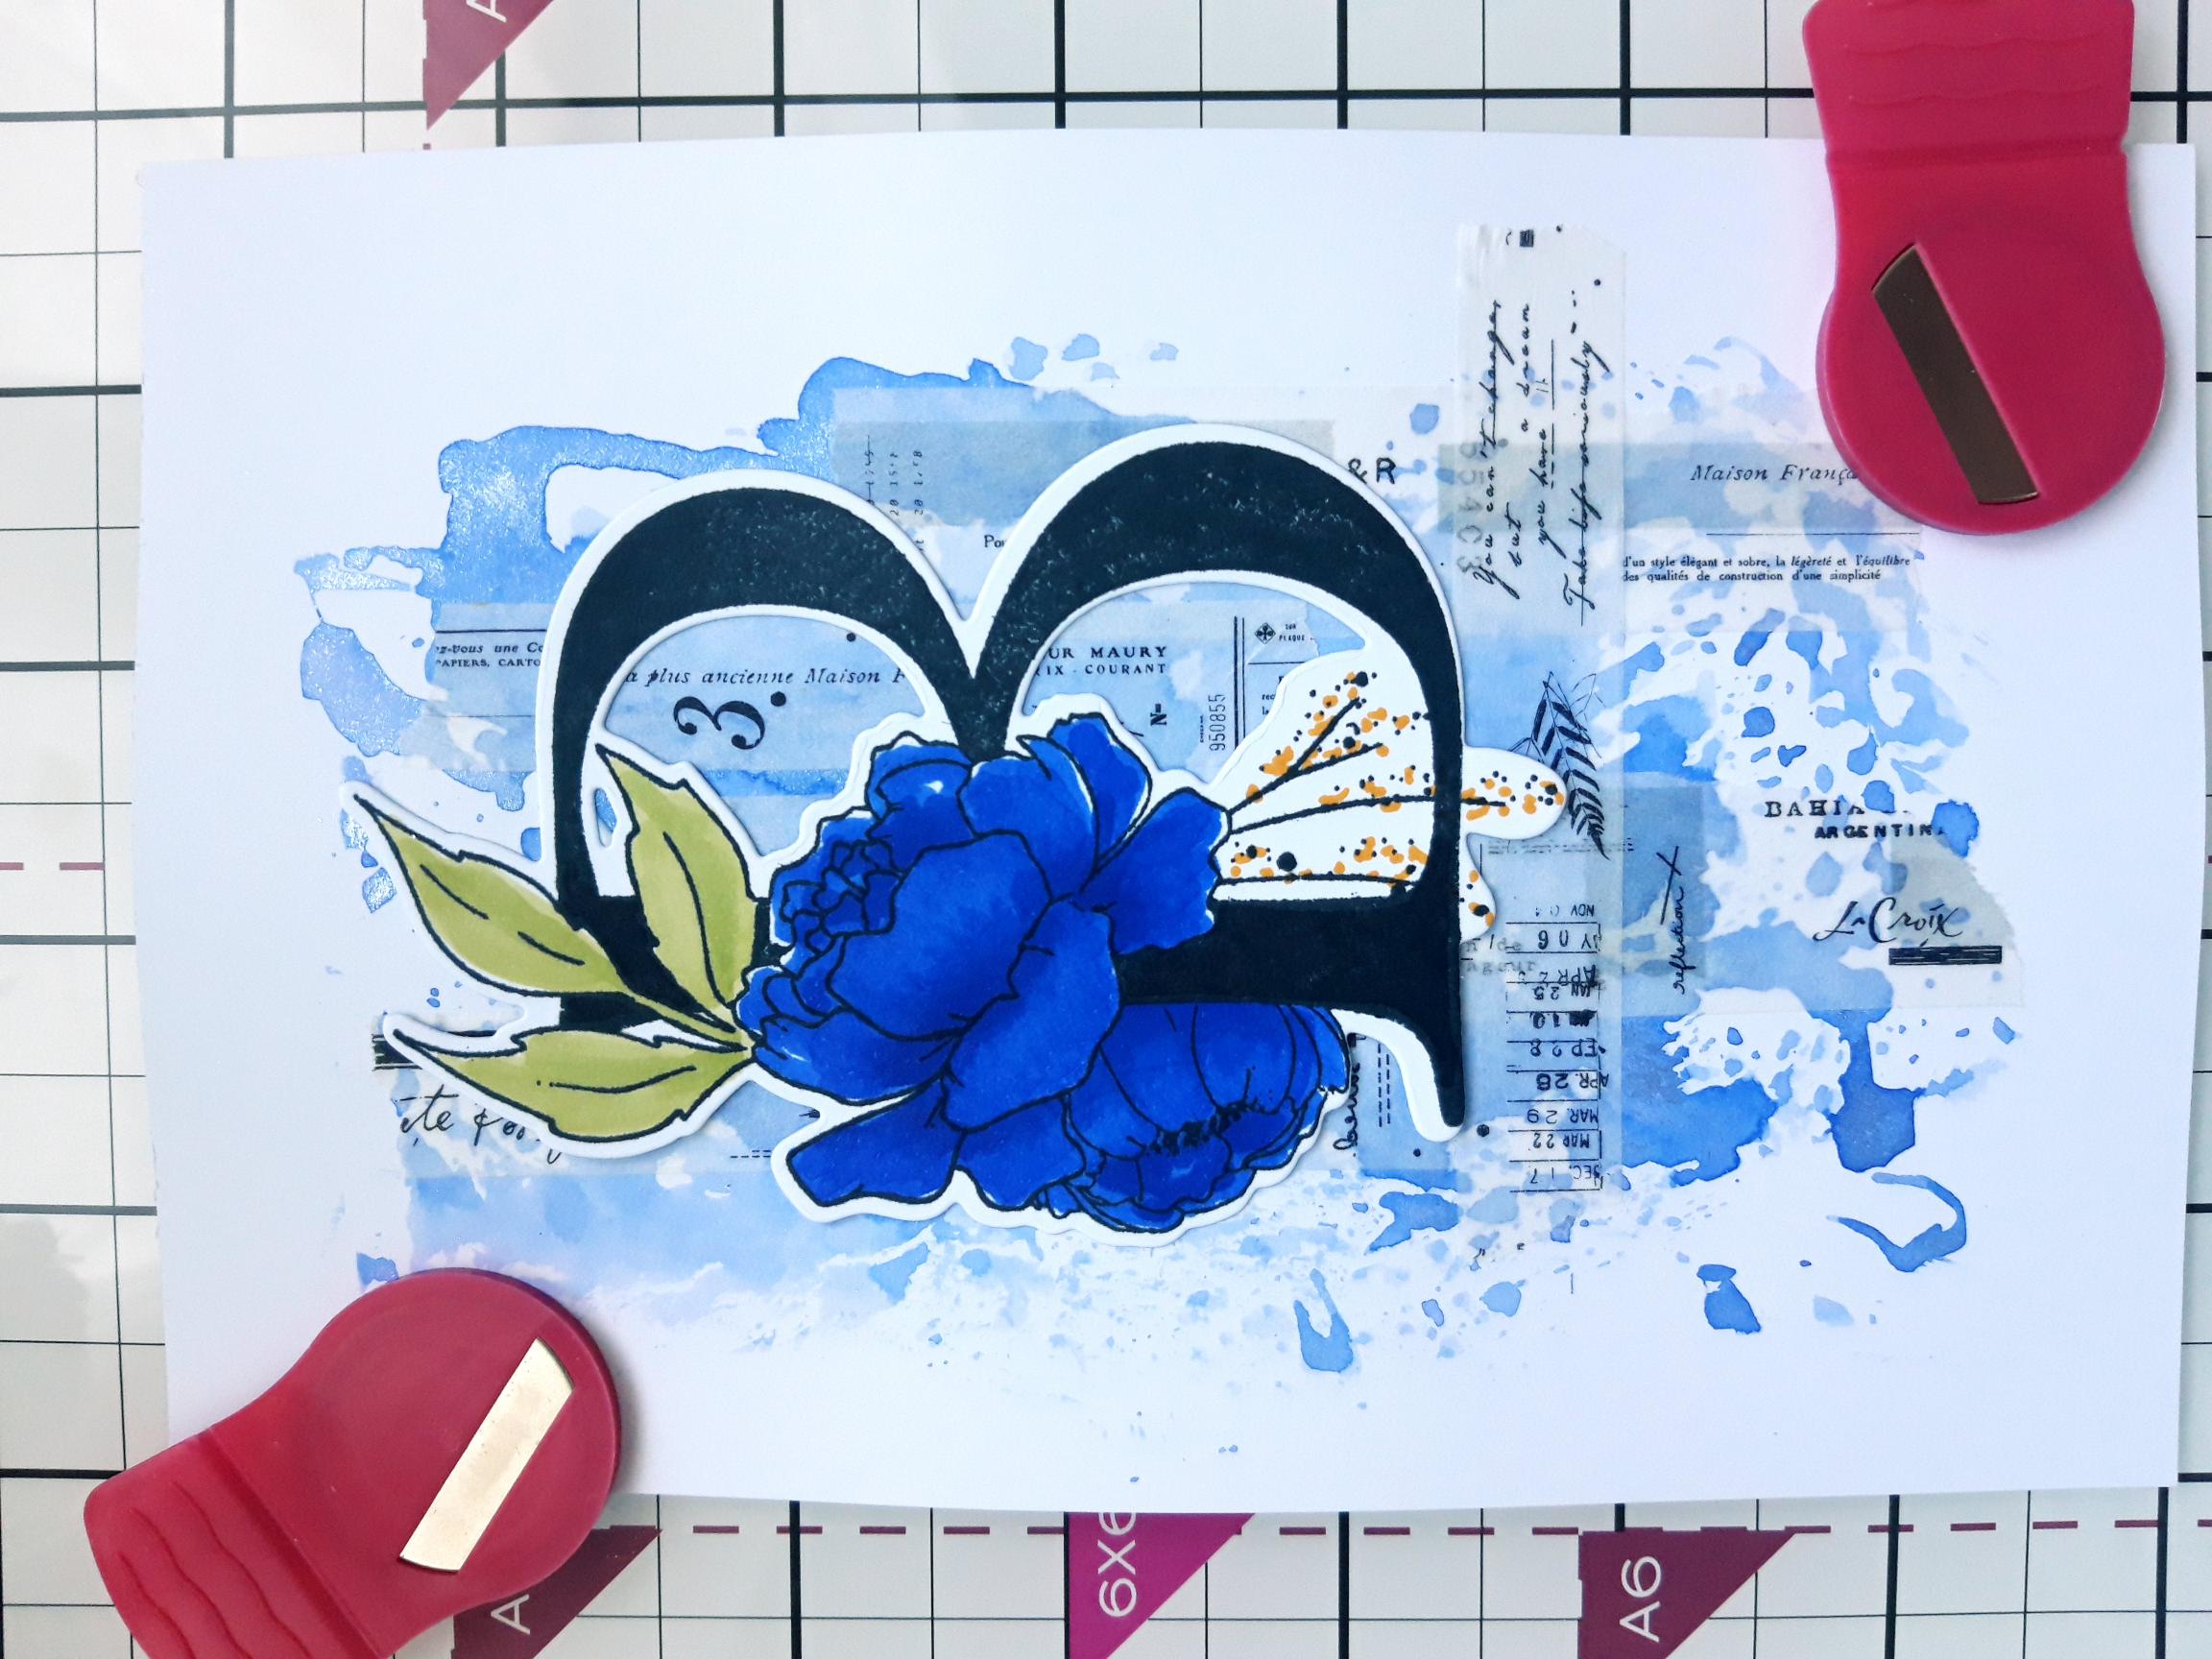
Smoosh a little of the Surfboard on to your craft mat and spritz it with the Pearlywinks Glitter Pearl Mist. Pick up the ink on to the white card, cut to 7 1/4 x 4 3/4". Allow to dry, or blast it off with your heat tool, if you're impatient like me!! |
|
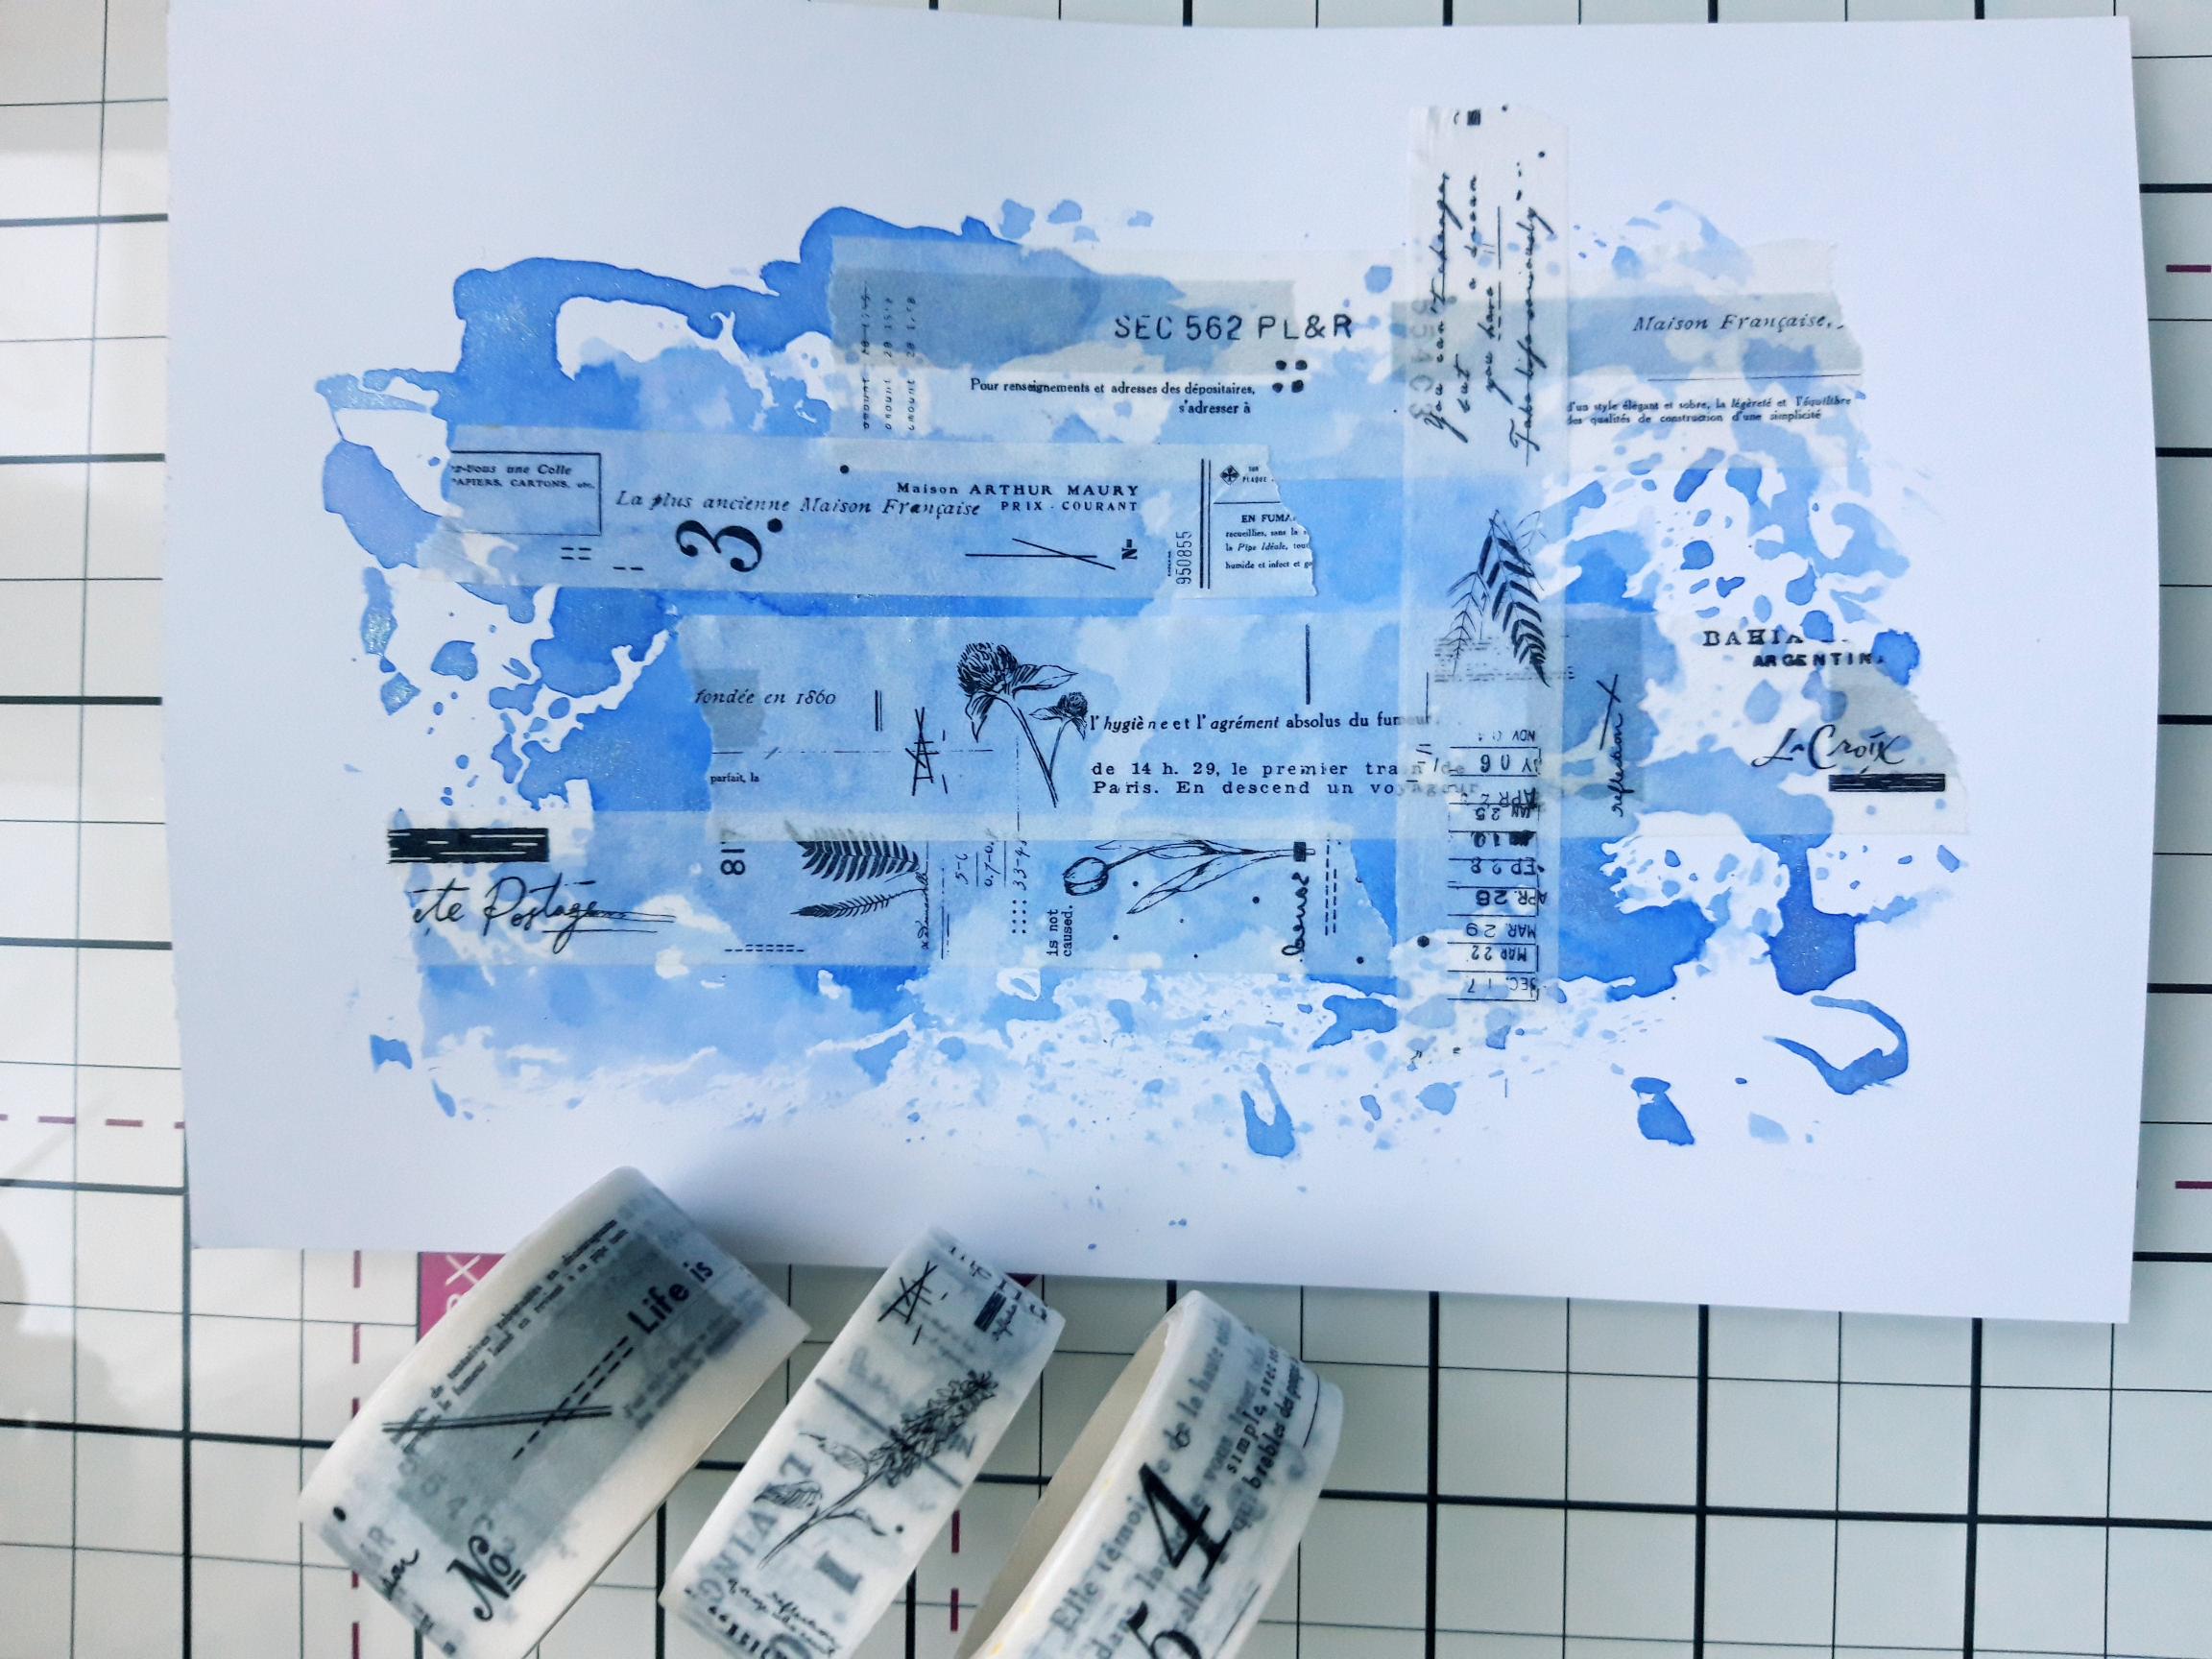
Tear off random strips from the washi tapes and adhere vertically and horizontally, on to your inky background. Set to one side.
|
|
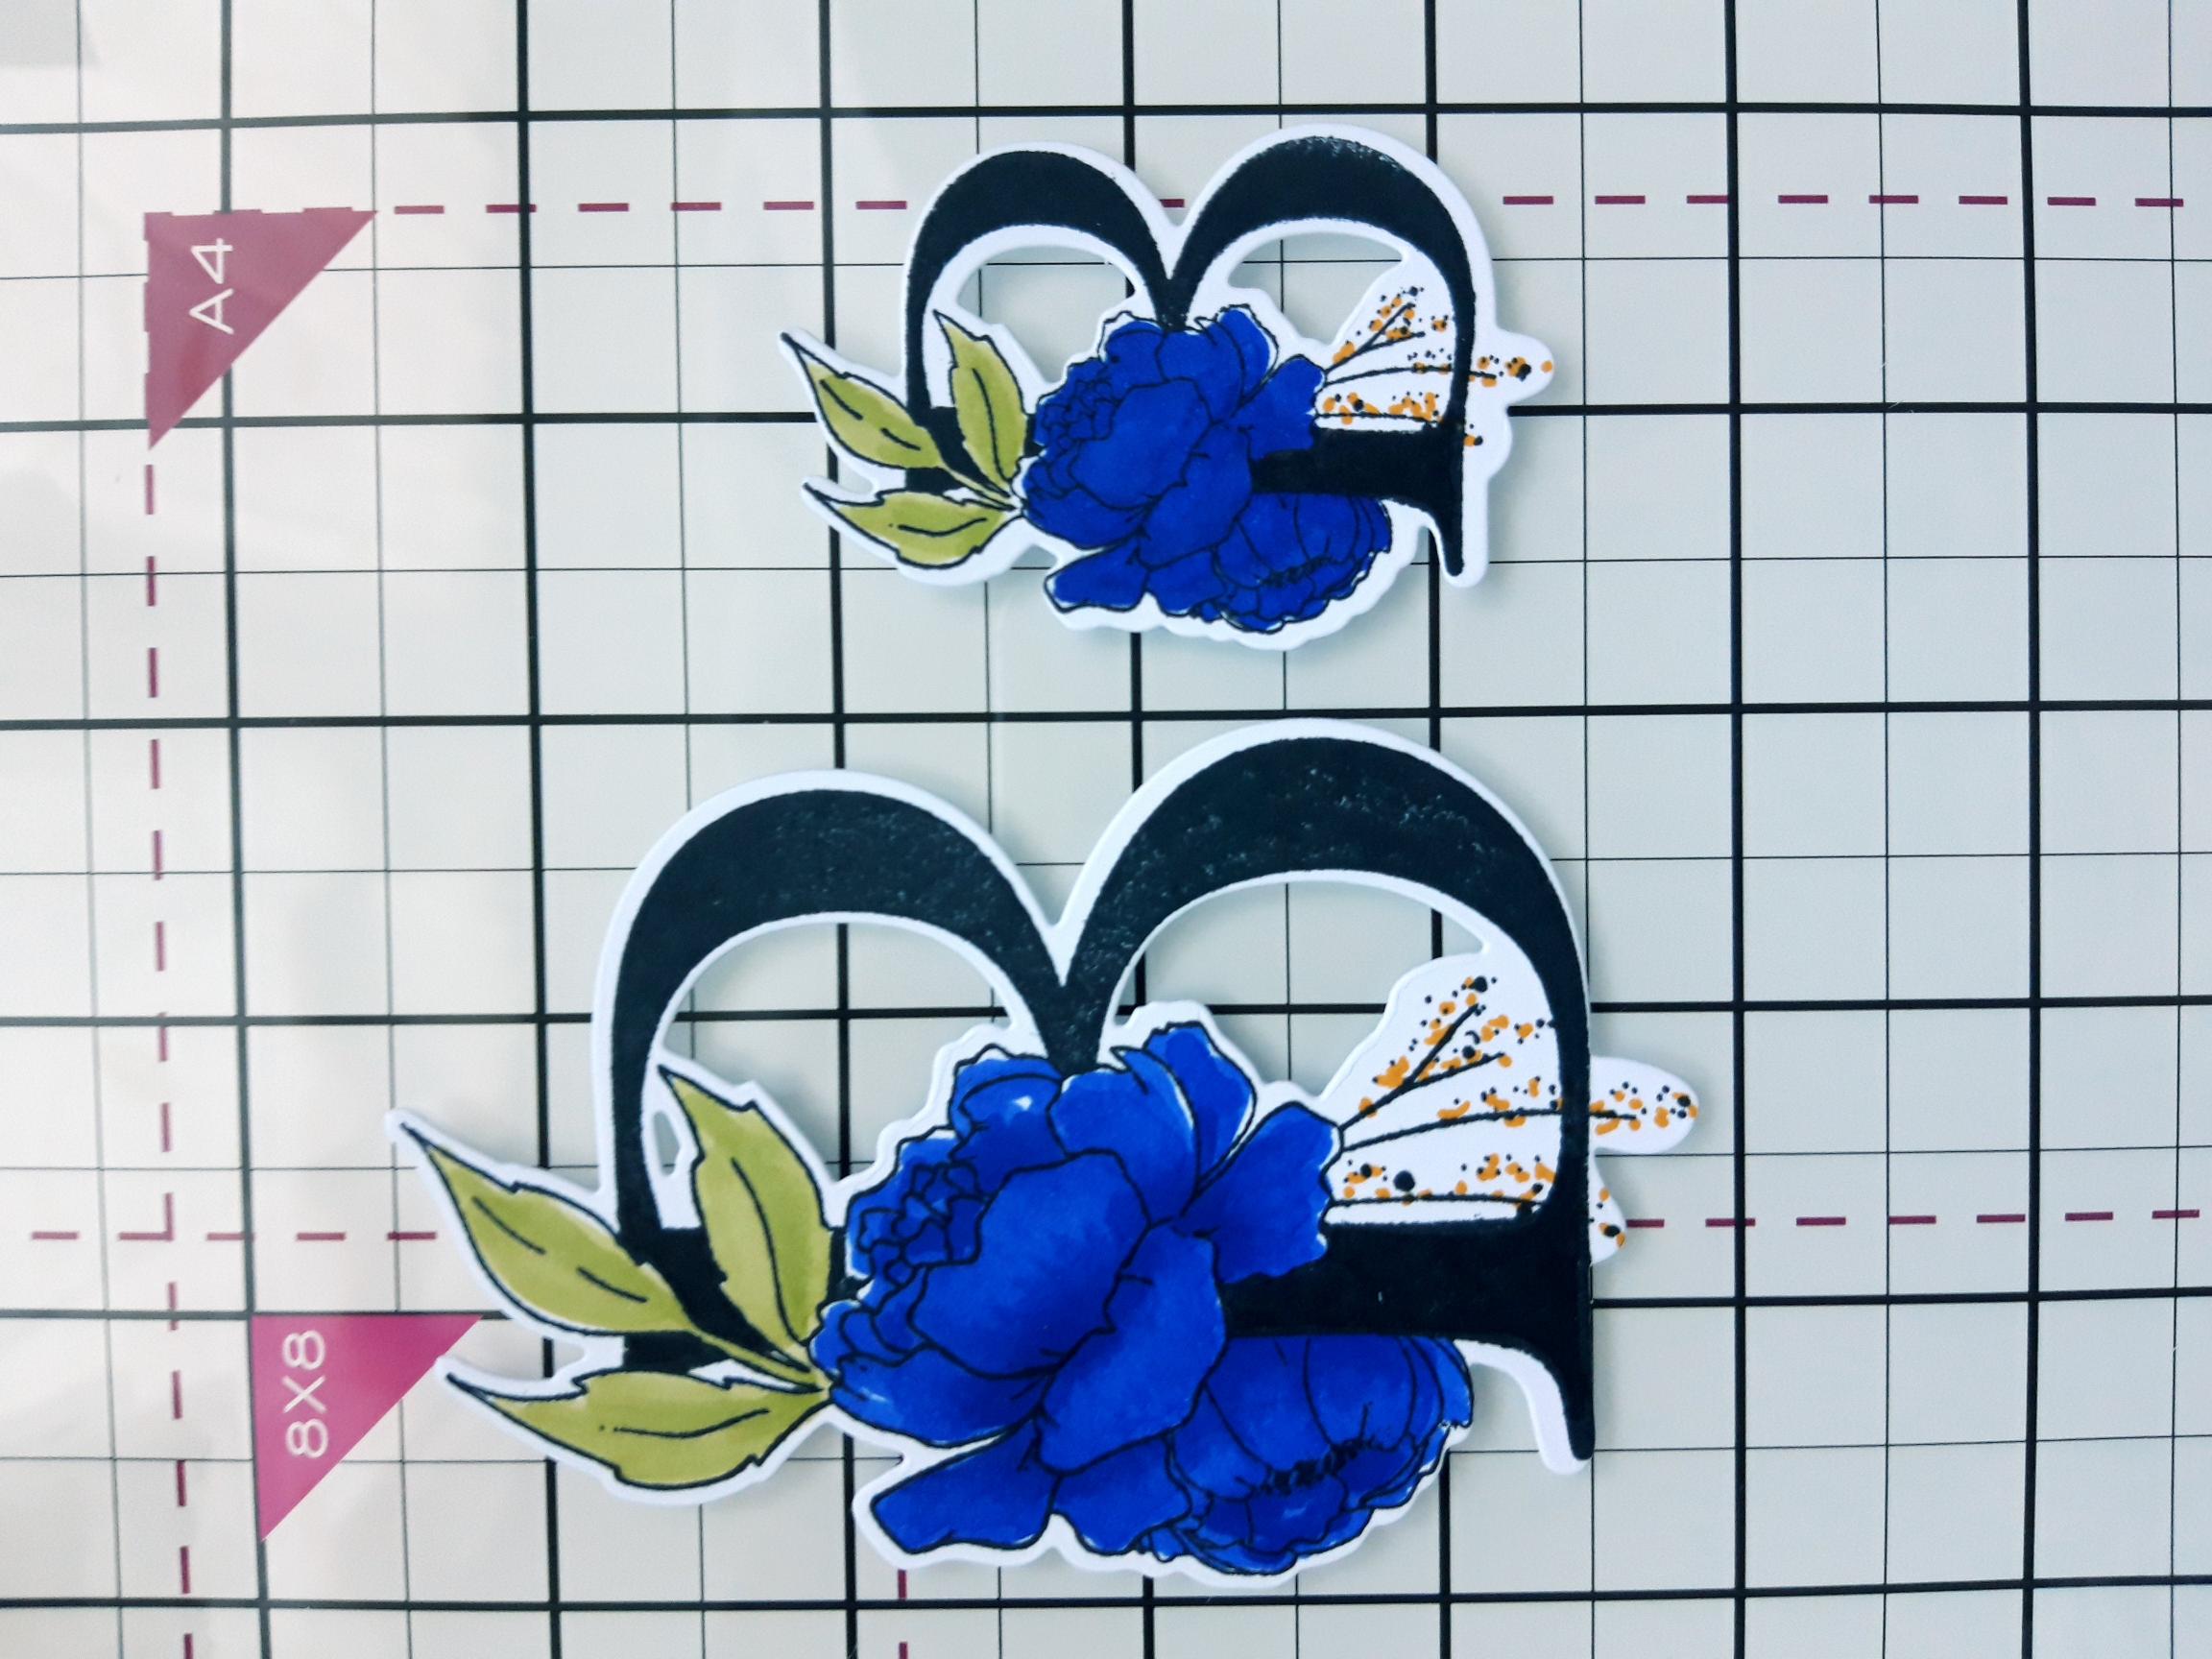
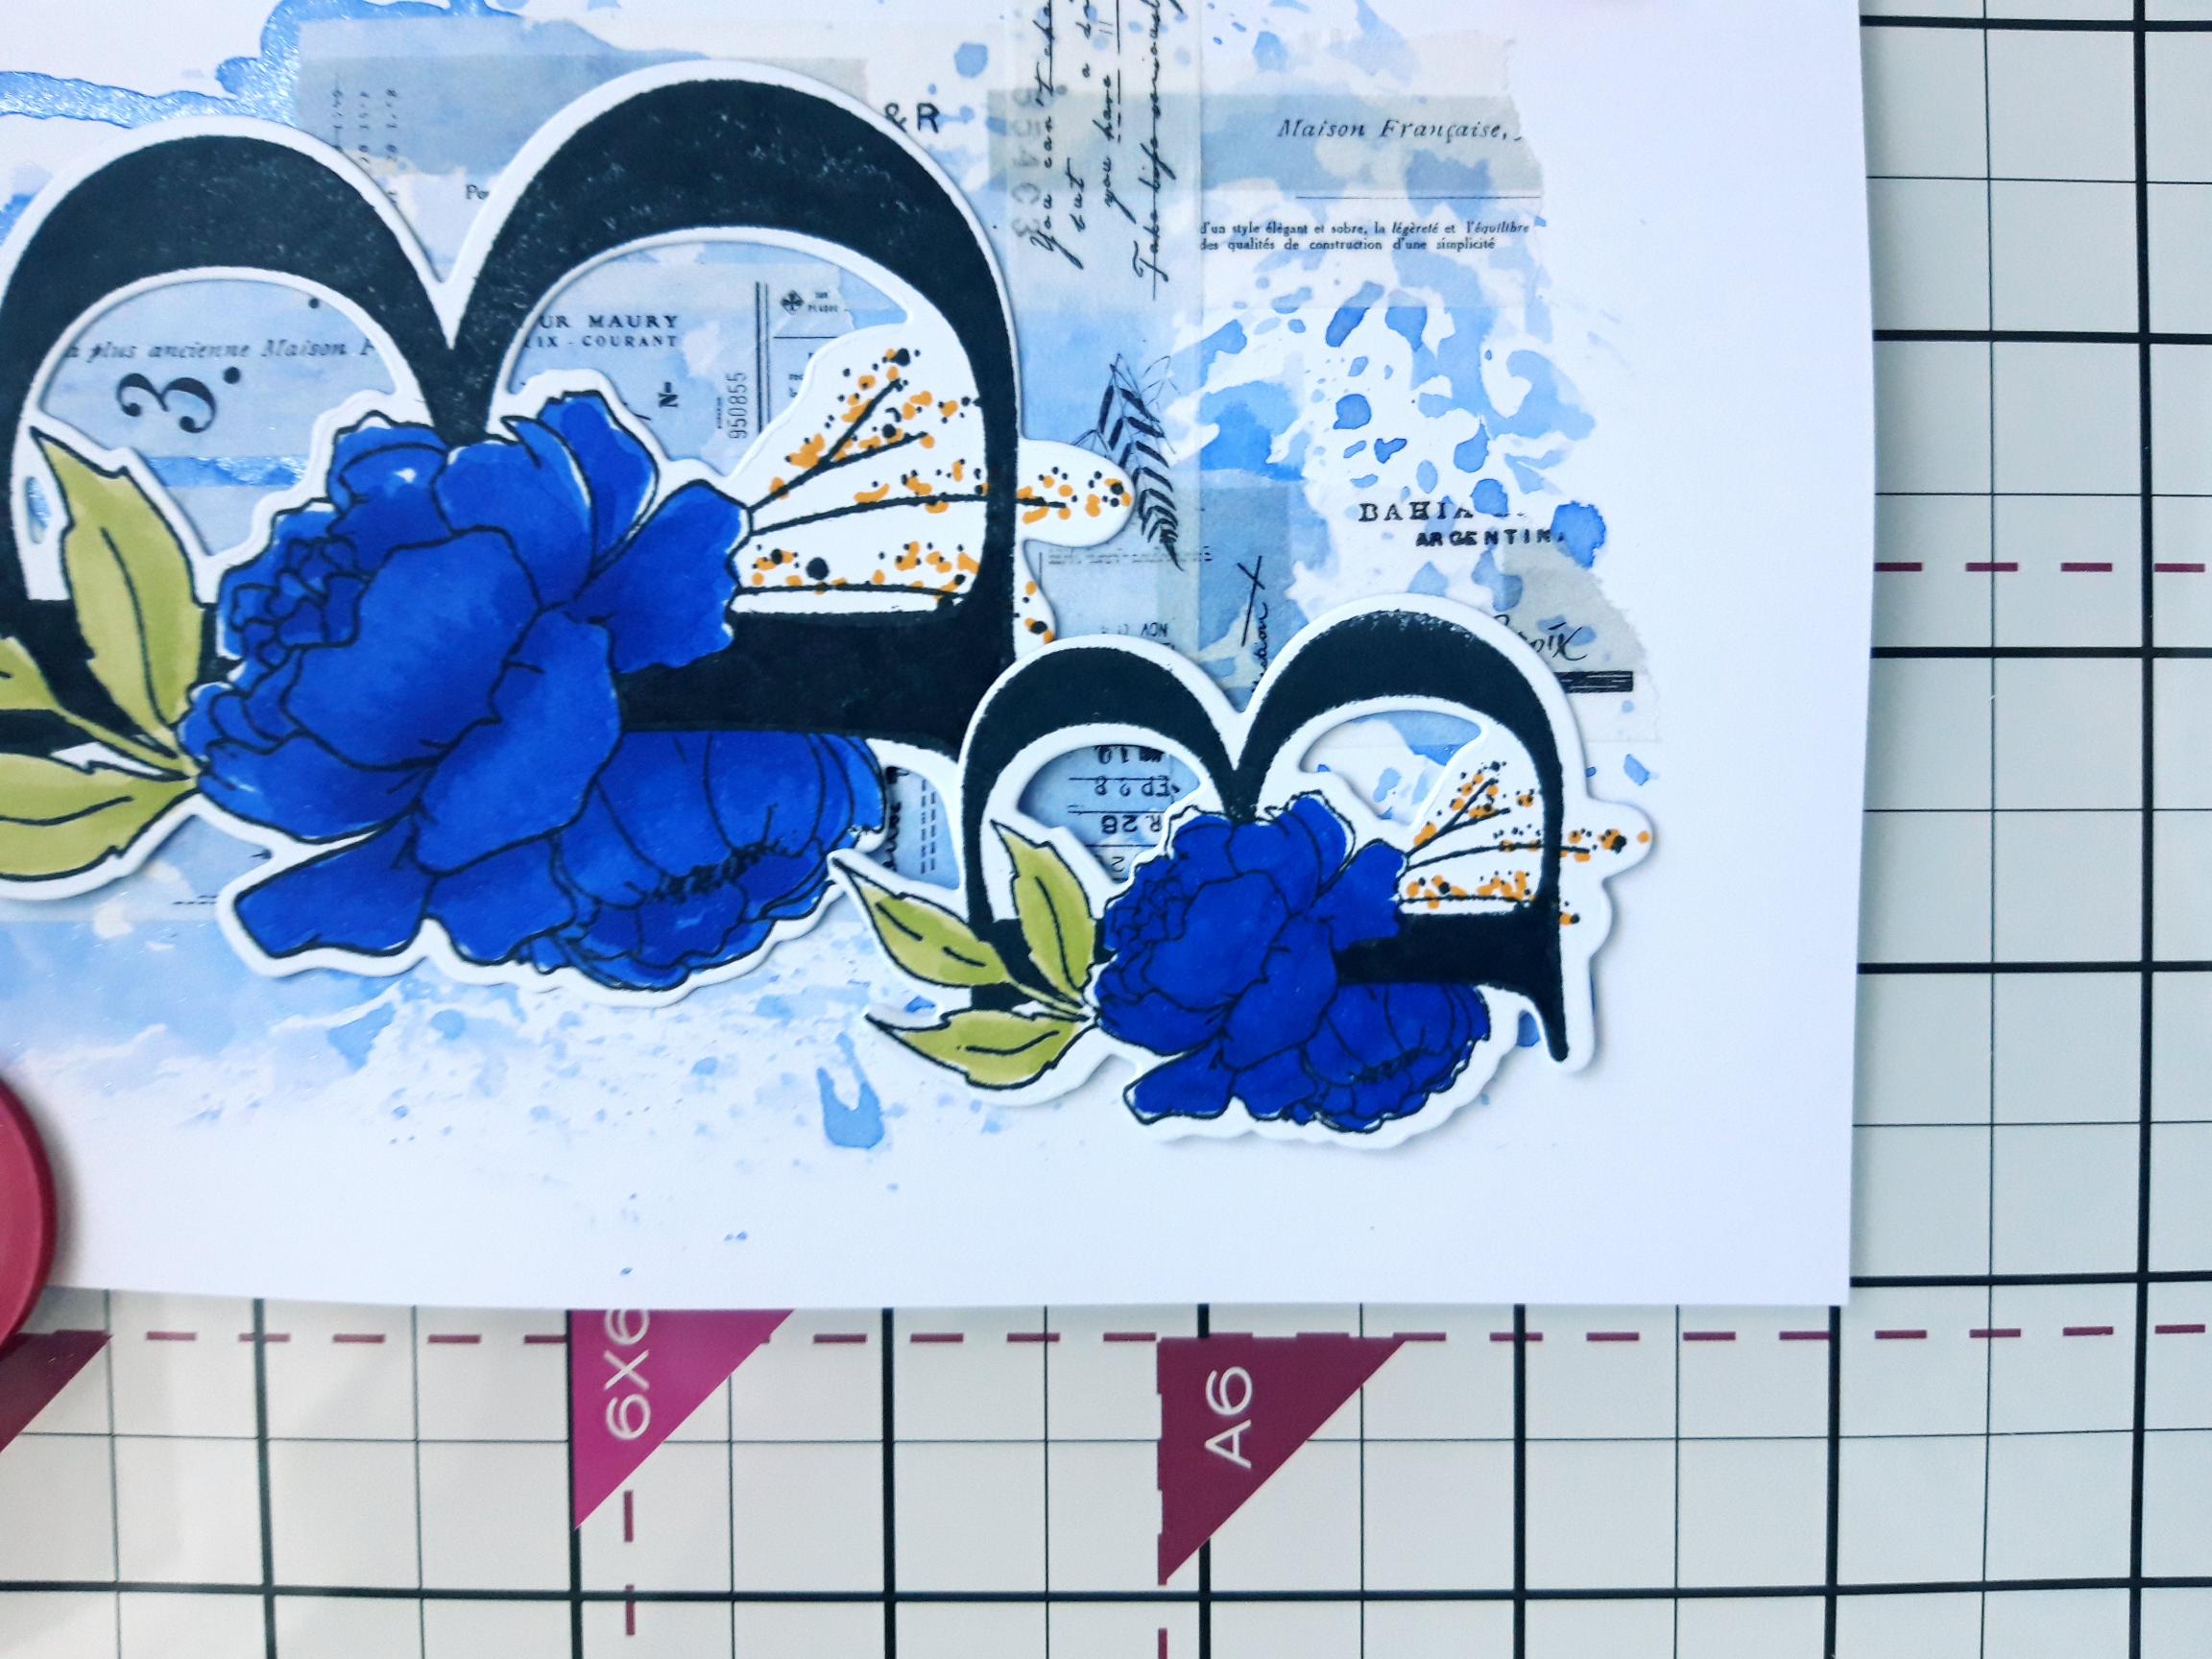
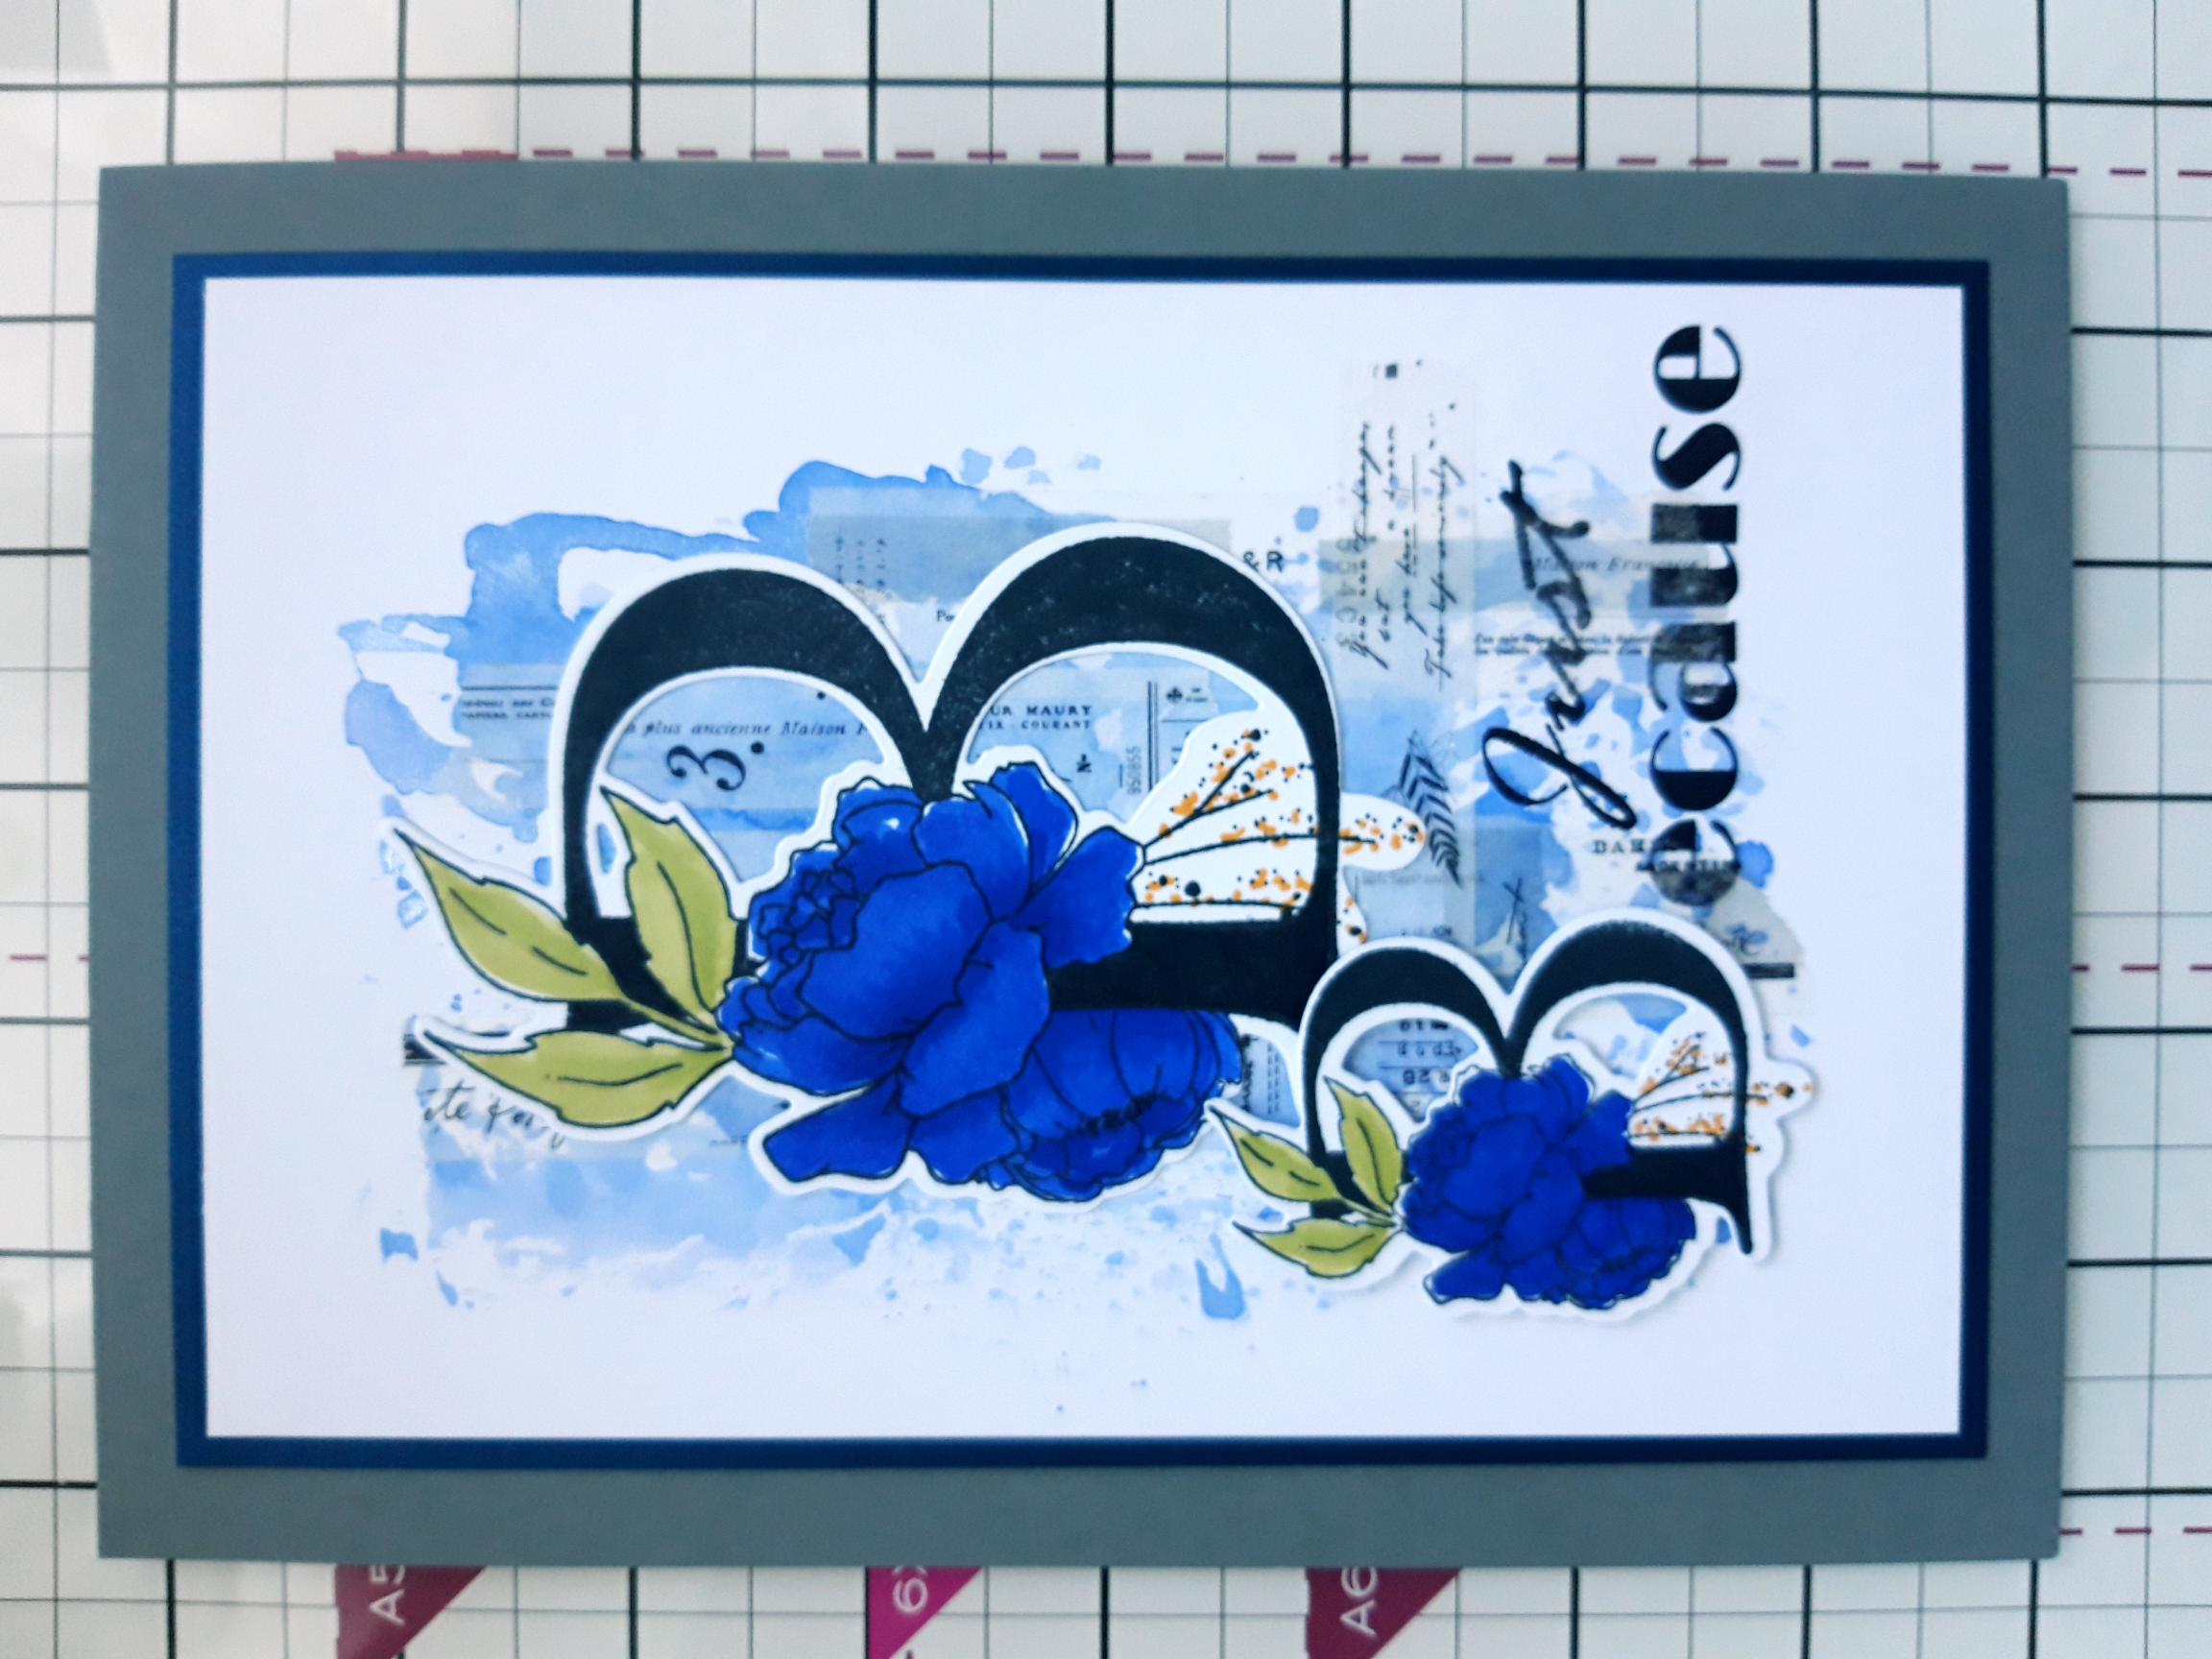
Ink up the largest and smallest "B" stamps, from Just Because Collection, with the Memento Tuxedo Black ink. Stamp on to the super smooth white card. Having placed a sheet of copy paper under your stamped card, colour in your images with your Gossip Alcohol pens. NB: Alcohol pens bleed through the card and could stain your work surface, hence placing copy paper underneath. Use the coordinating dies to cut them out. |
|
Adhere the largest die cut "B" centre top, of your inky background. |
|
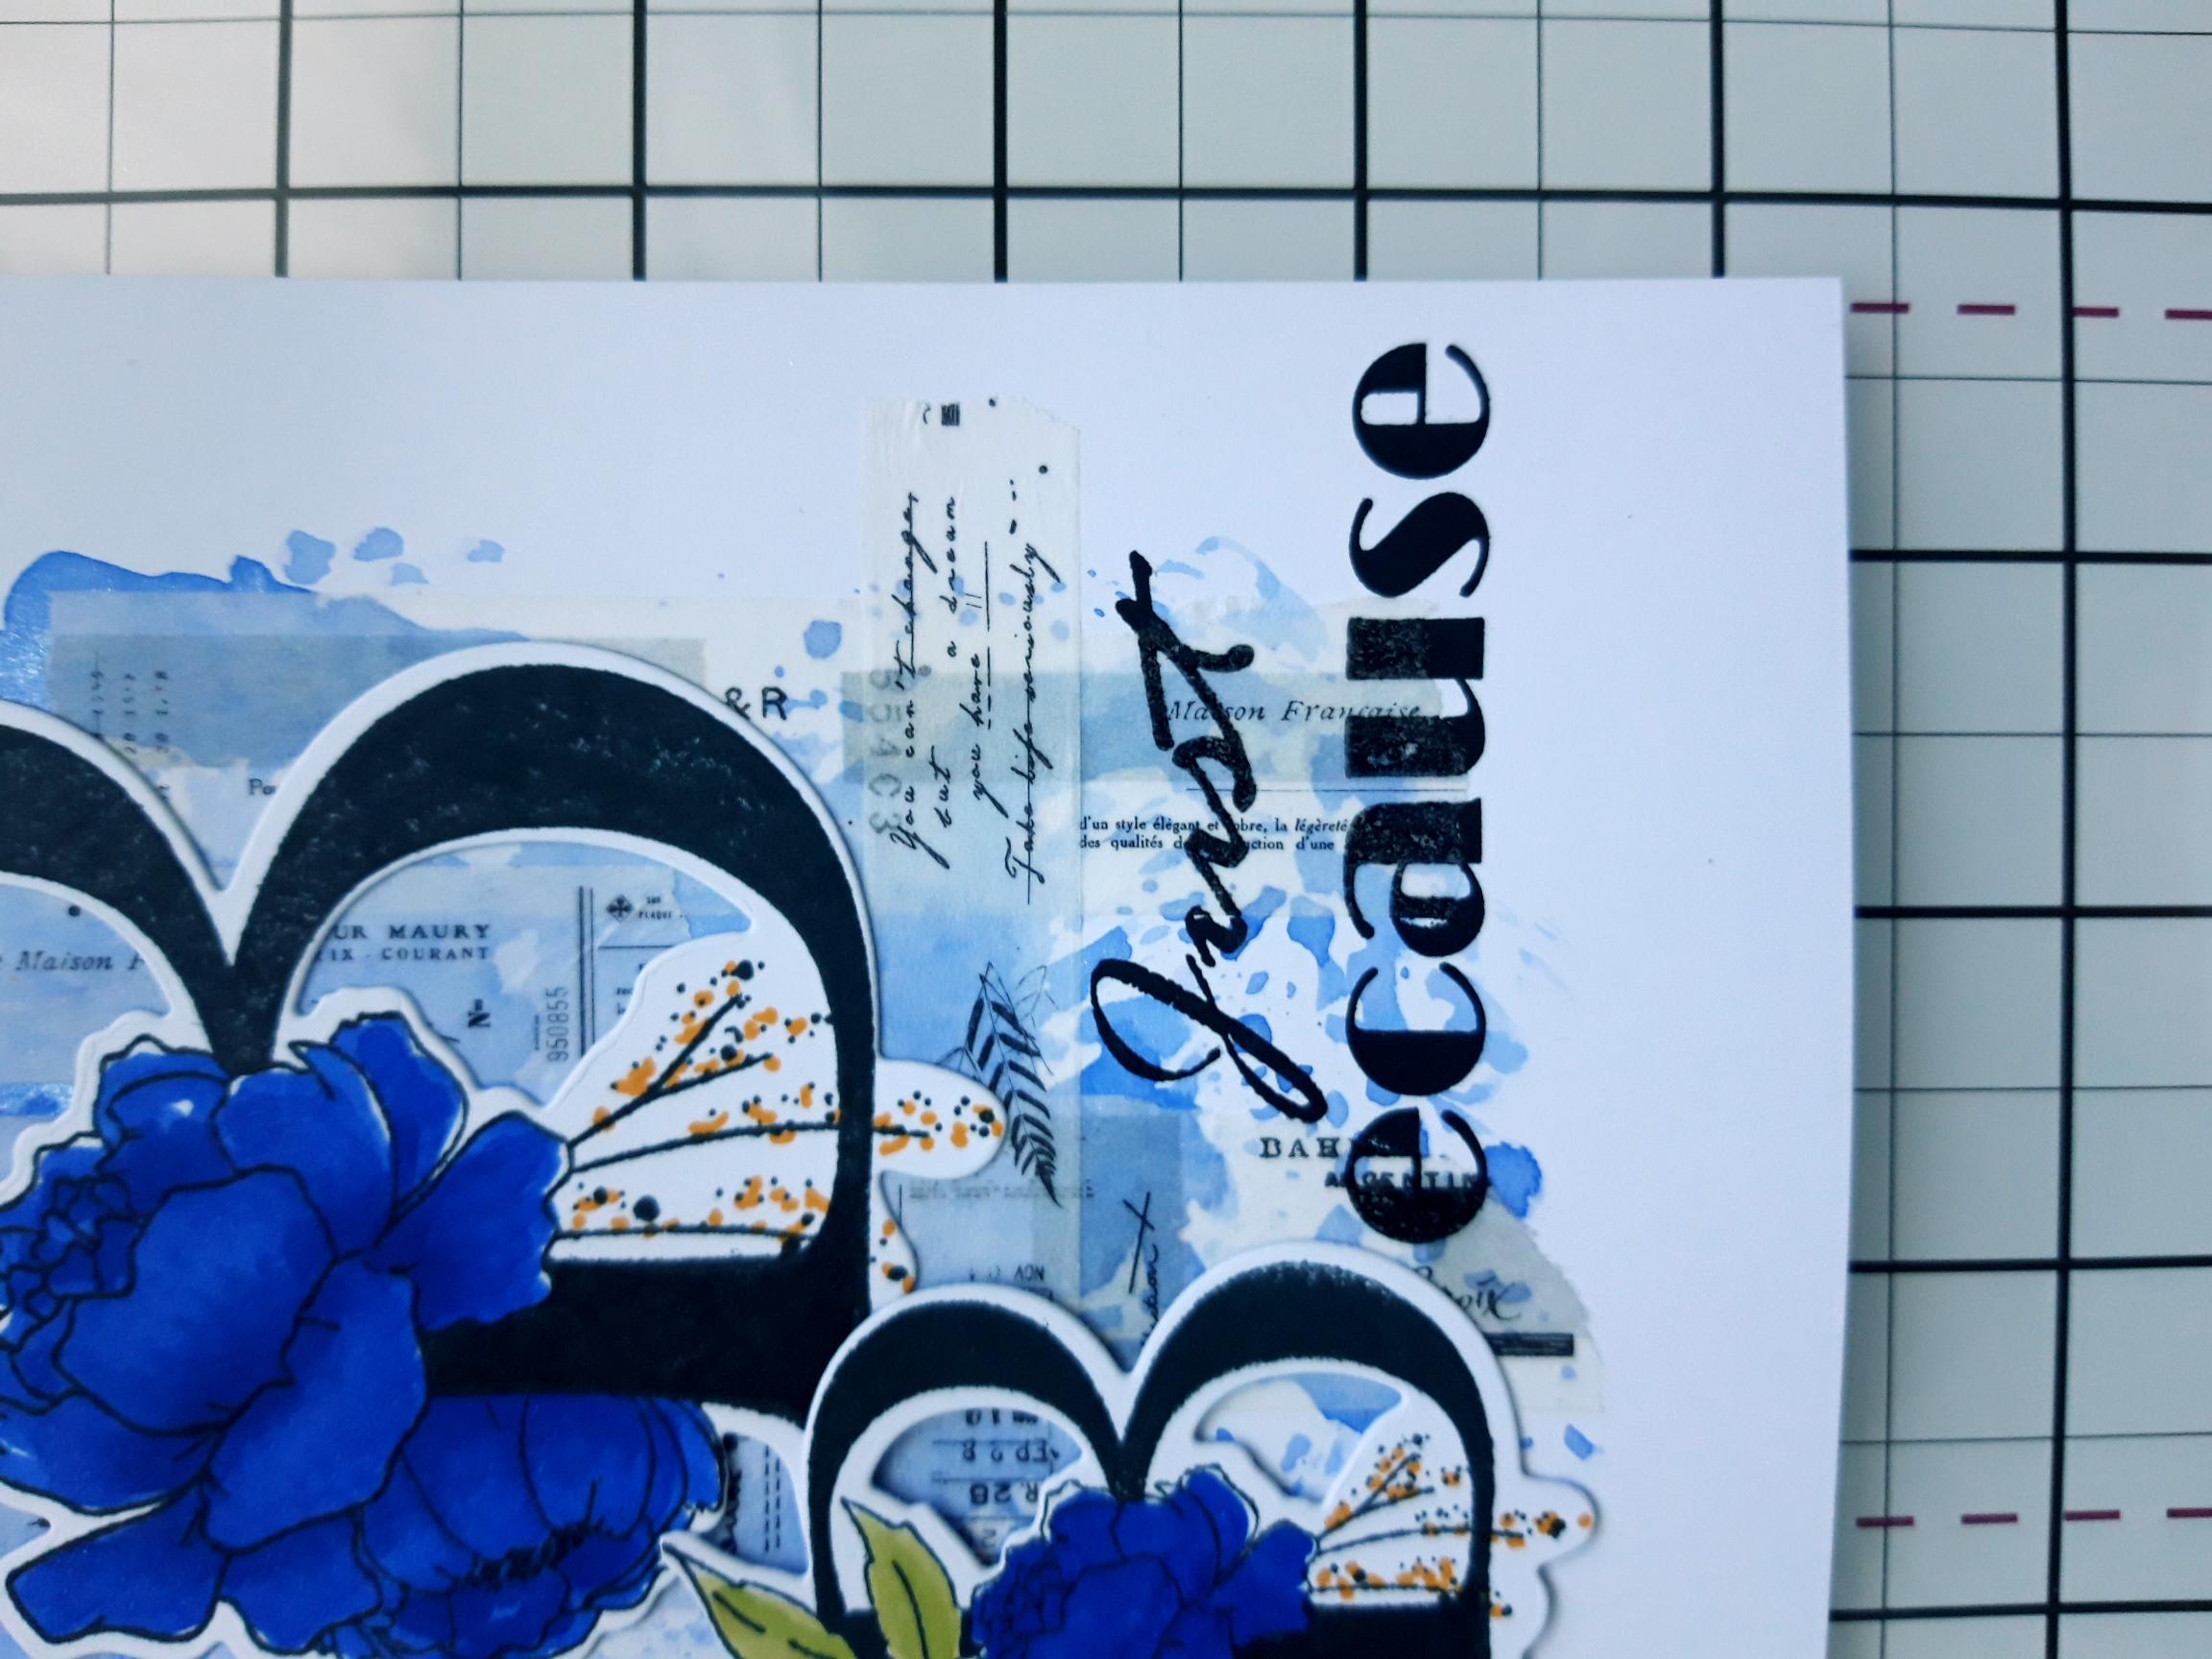
First decide which add-on stamped sentiment you will be using, before adhereing the smaller die cut "B" with a foam pad, in the appropriate position, allowing space for your sentiment. NB: If you're using deep foam pads, it may be better for you to stamp your add-on sentiment first and then adhere the die cut letter in place. |
|
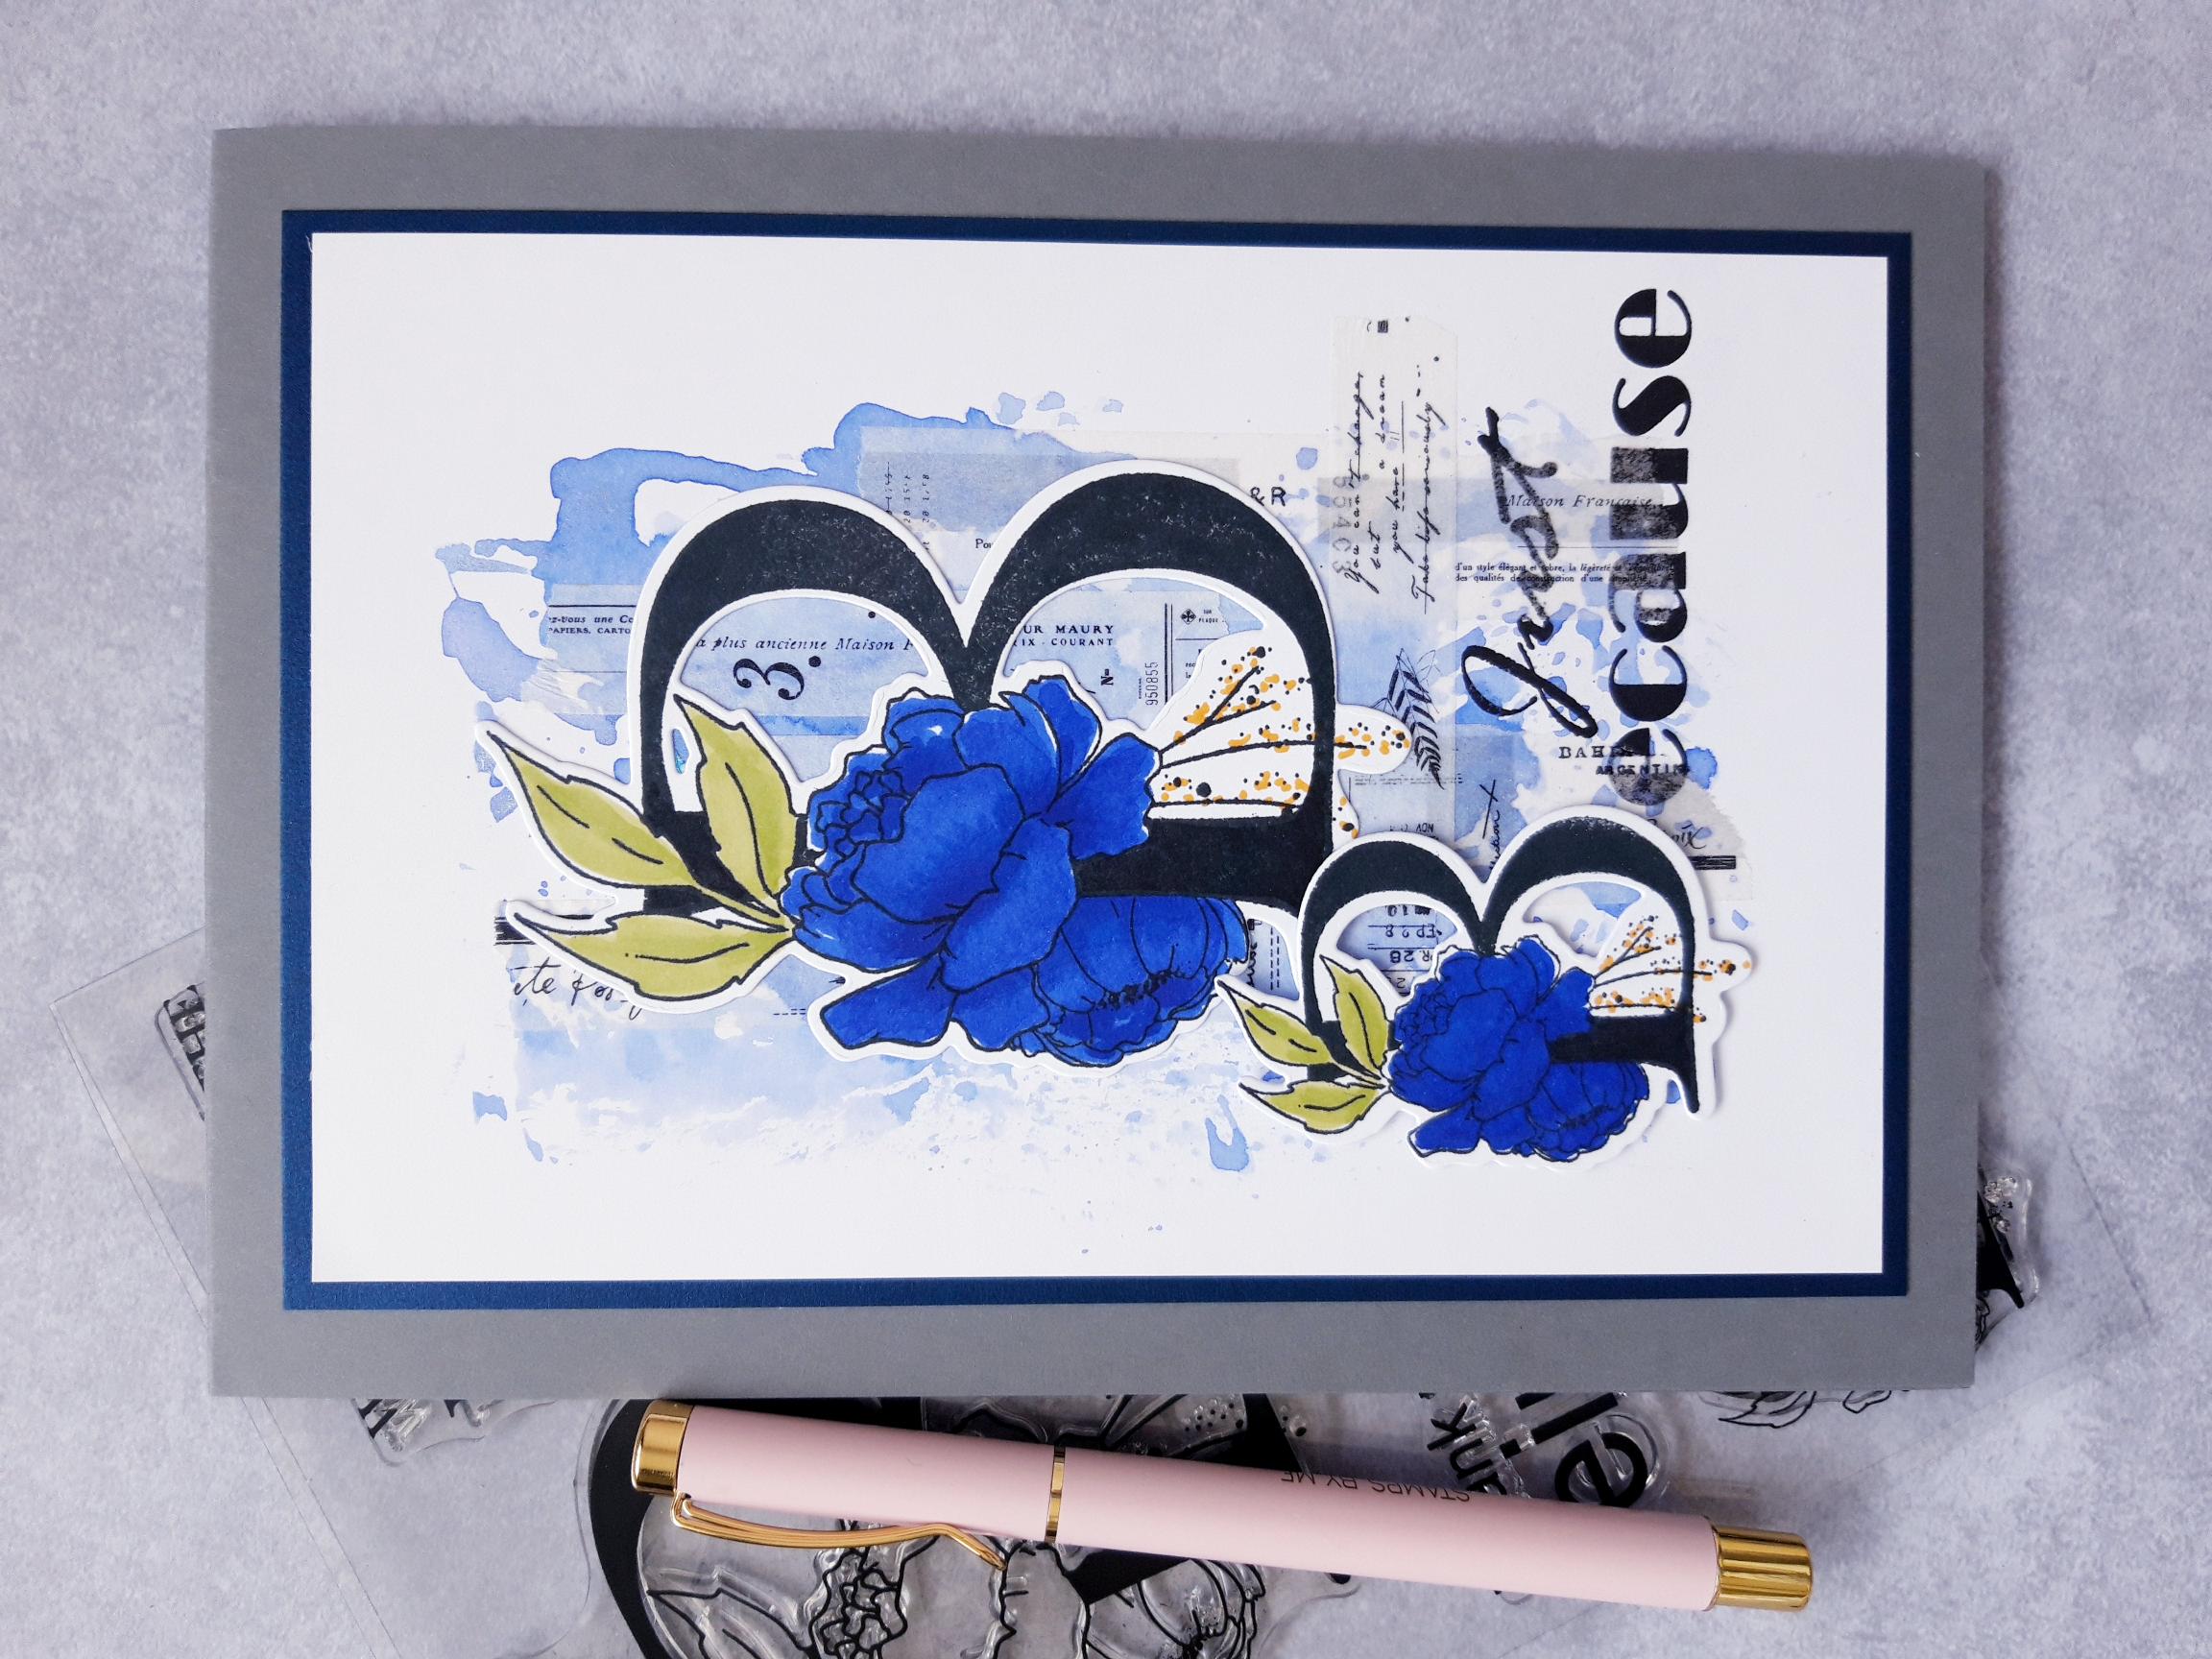
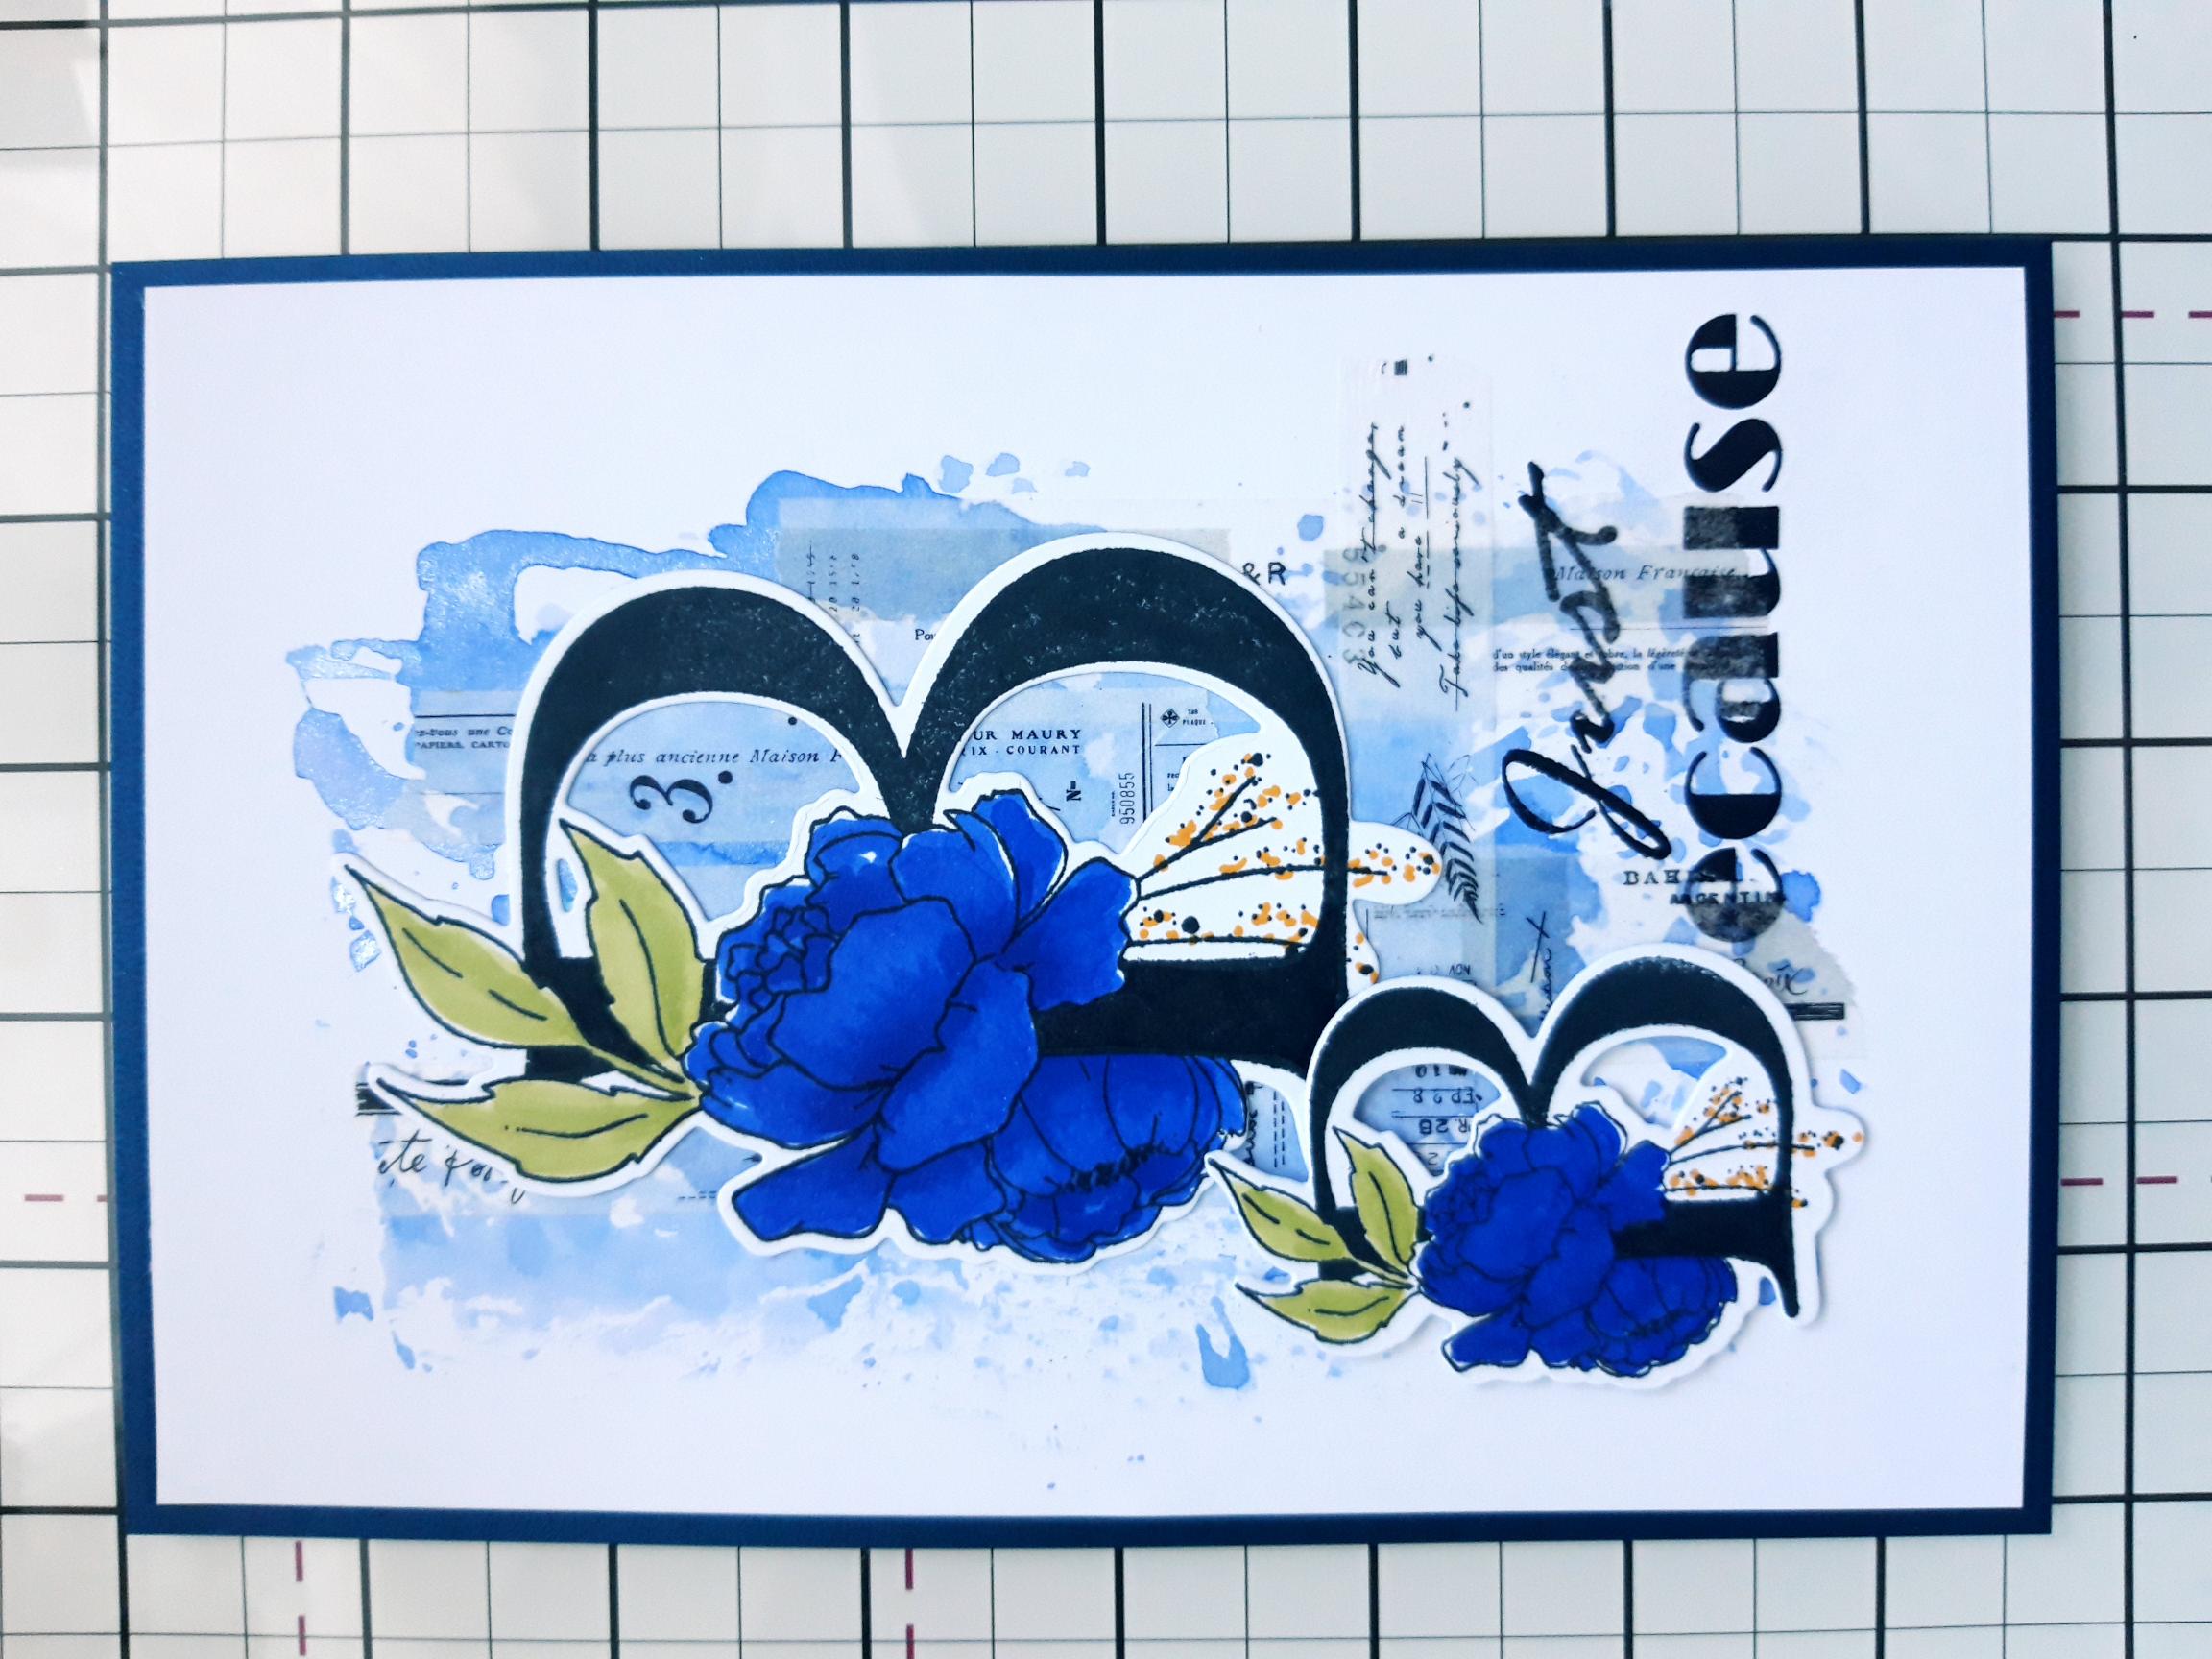
Ink up your chosen sentiment stamp with the Onyx Black Versafine and stamp in position, alongside your die cut letter. You can use the Memento, but I prefer the crisper image produced with Versafine ink. |
|
Once dry, adhere your artwork on to the navy, pearlised cardstock. |
|
Adhere to the front of your top folding, grey card blank, to finish. |