Give your friends $10 off their first order!
Refer a FRIEND


WHAT YOU WILL NEED:
Red top folding card blank - cut to 7 x 5"
Black card 6 3/4 x 4 3/4"
White card 6 1/2 x 4 1/2"
White card
Black card
Thirsty Brush UnLtd Framed Hearts Creative Dies
Thirsty Brush UnLtd Daisy Dream Creative Stamps
Thirsty Brush UnLtd Perfectly Imperfect Creative Stamps and Dies
Versafine Ink Pad: Onyx Black
Confetti Ink: Grasshopper
Paint brush
Izink Dye spray: Rusty Saffron
Black pen
Water spray bottle
Eureka 101
Paper Trimmer
Perfect Together Glue
Foam pads
Die Cutting machine
[click image to enlarge] 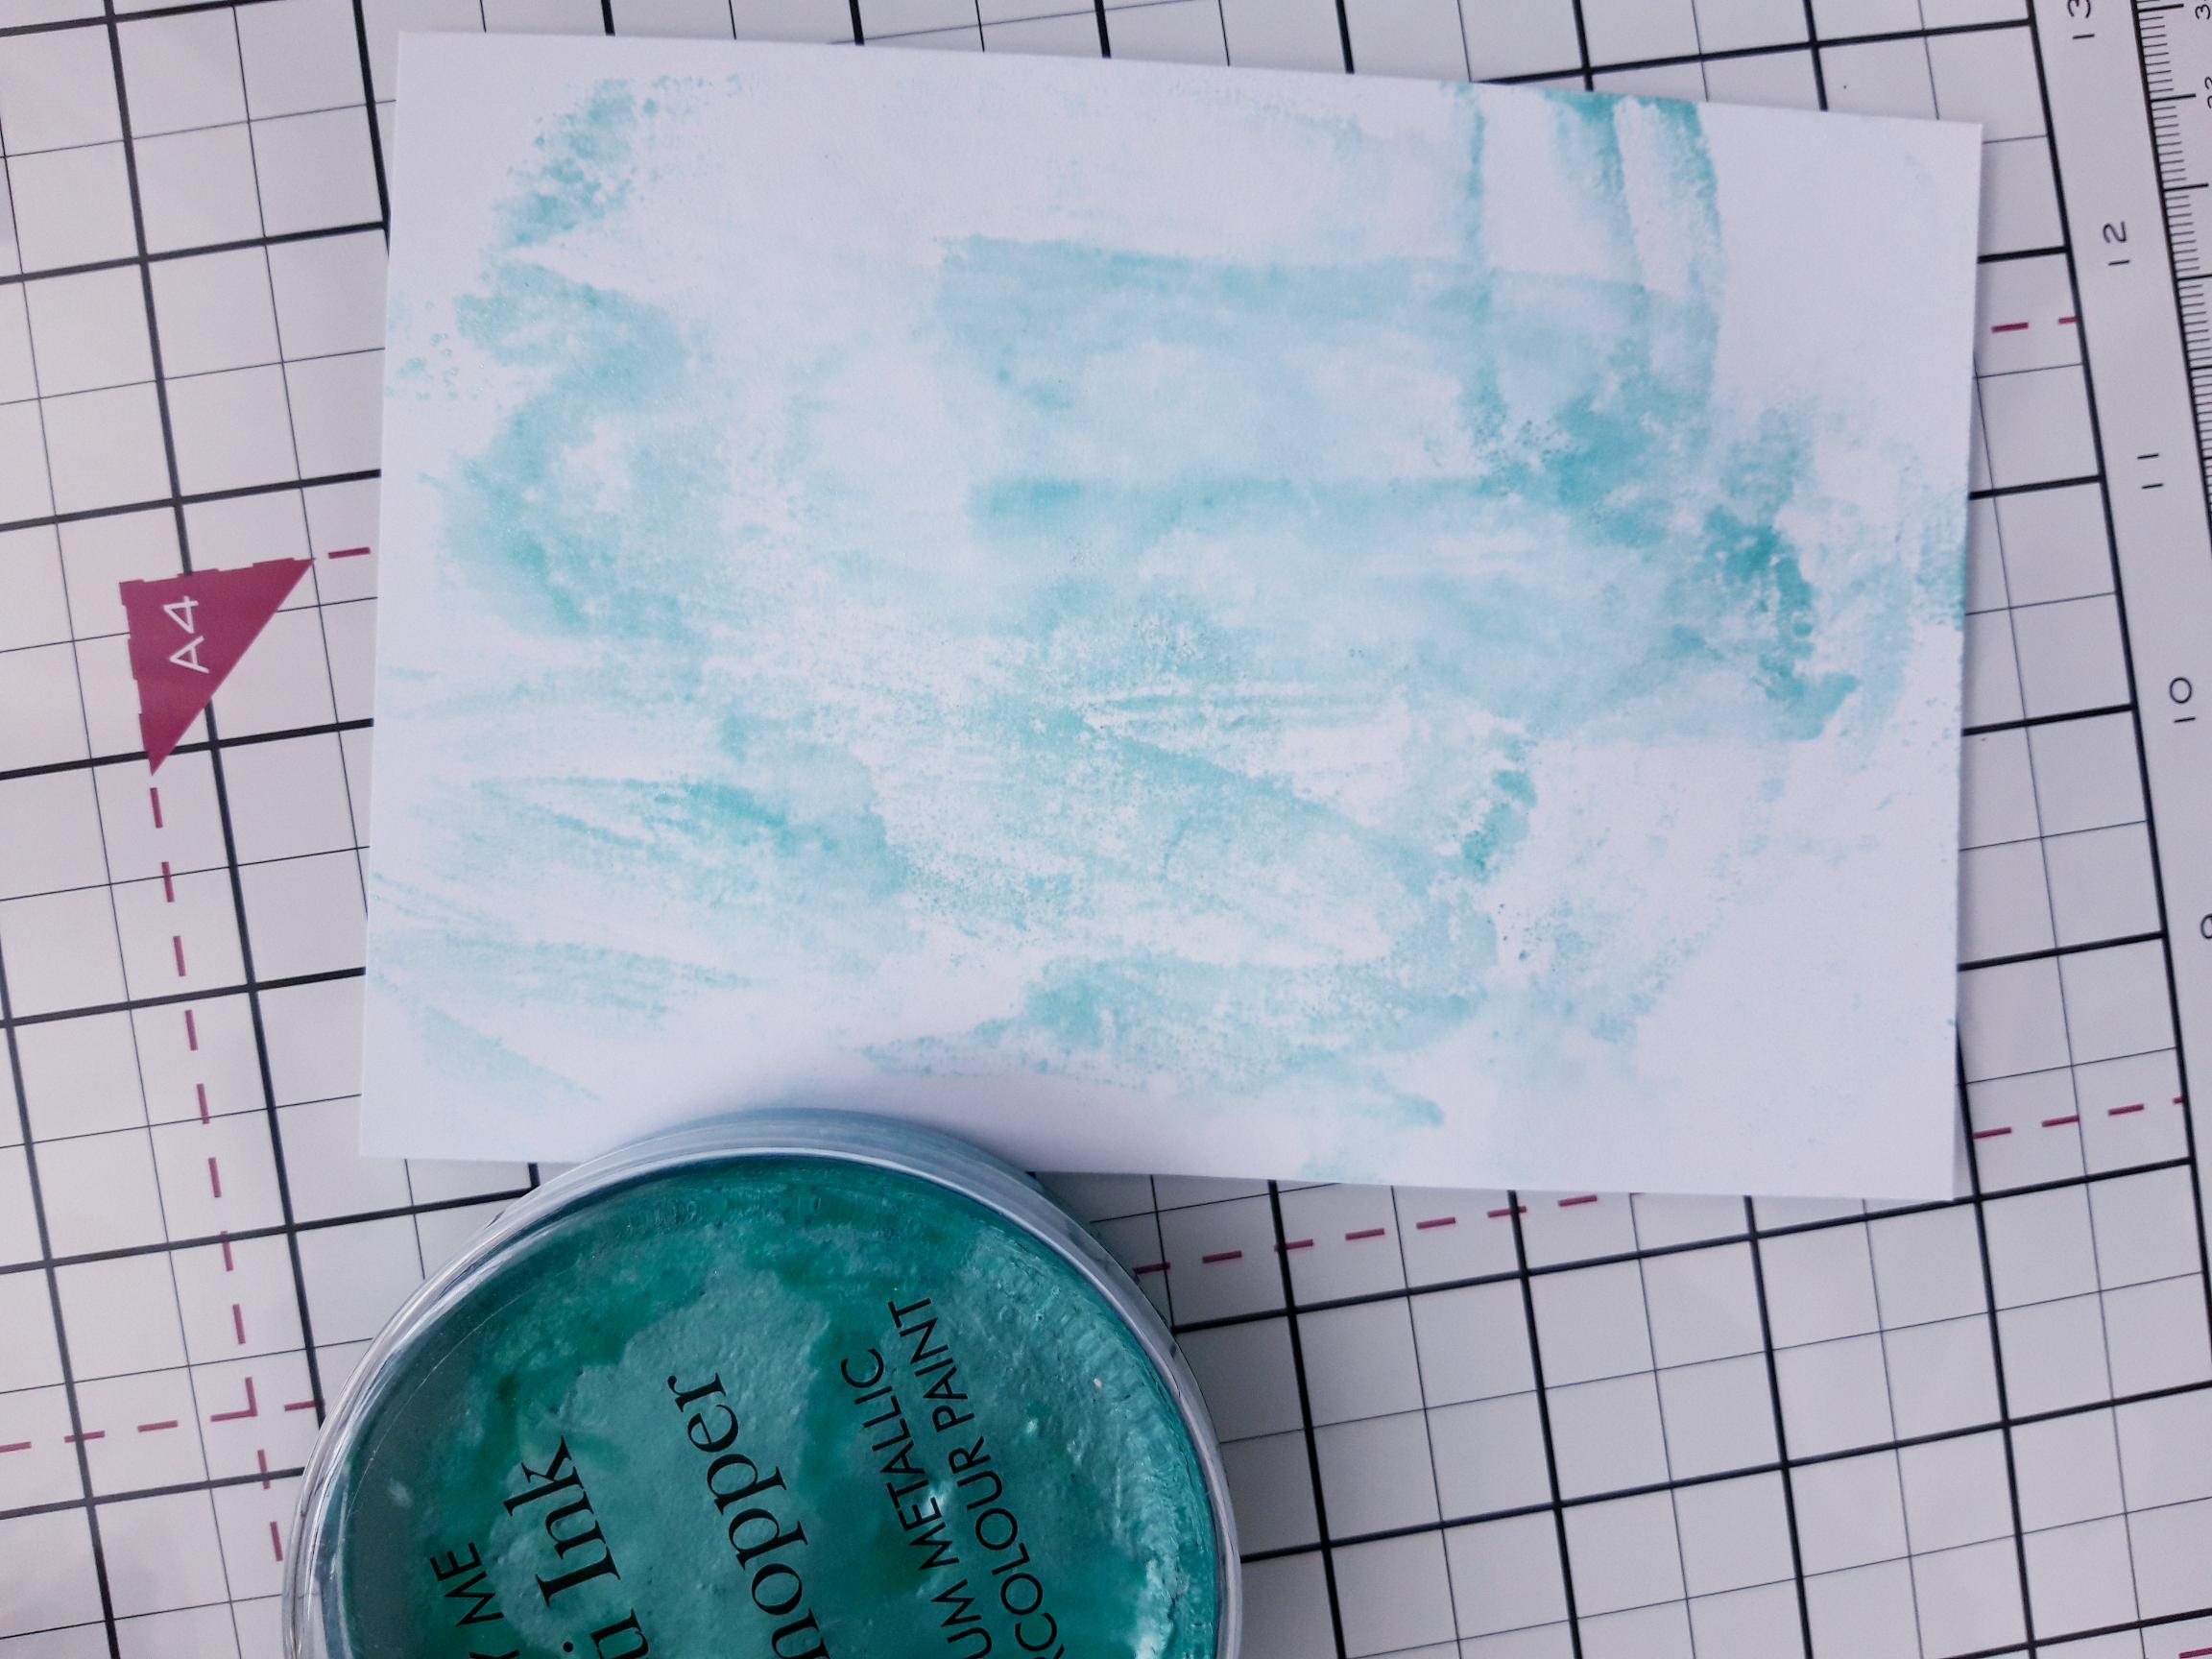
|
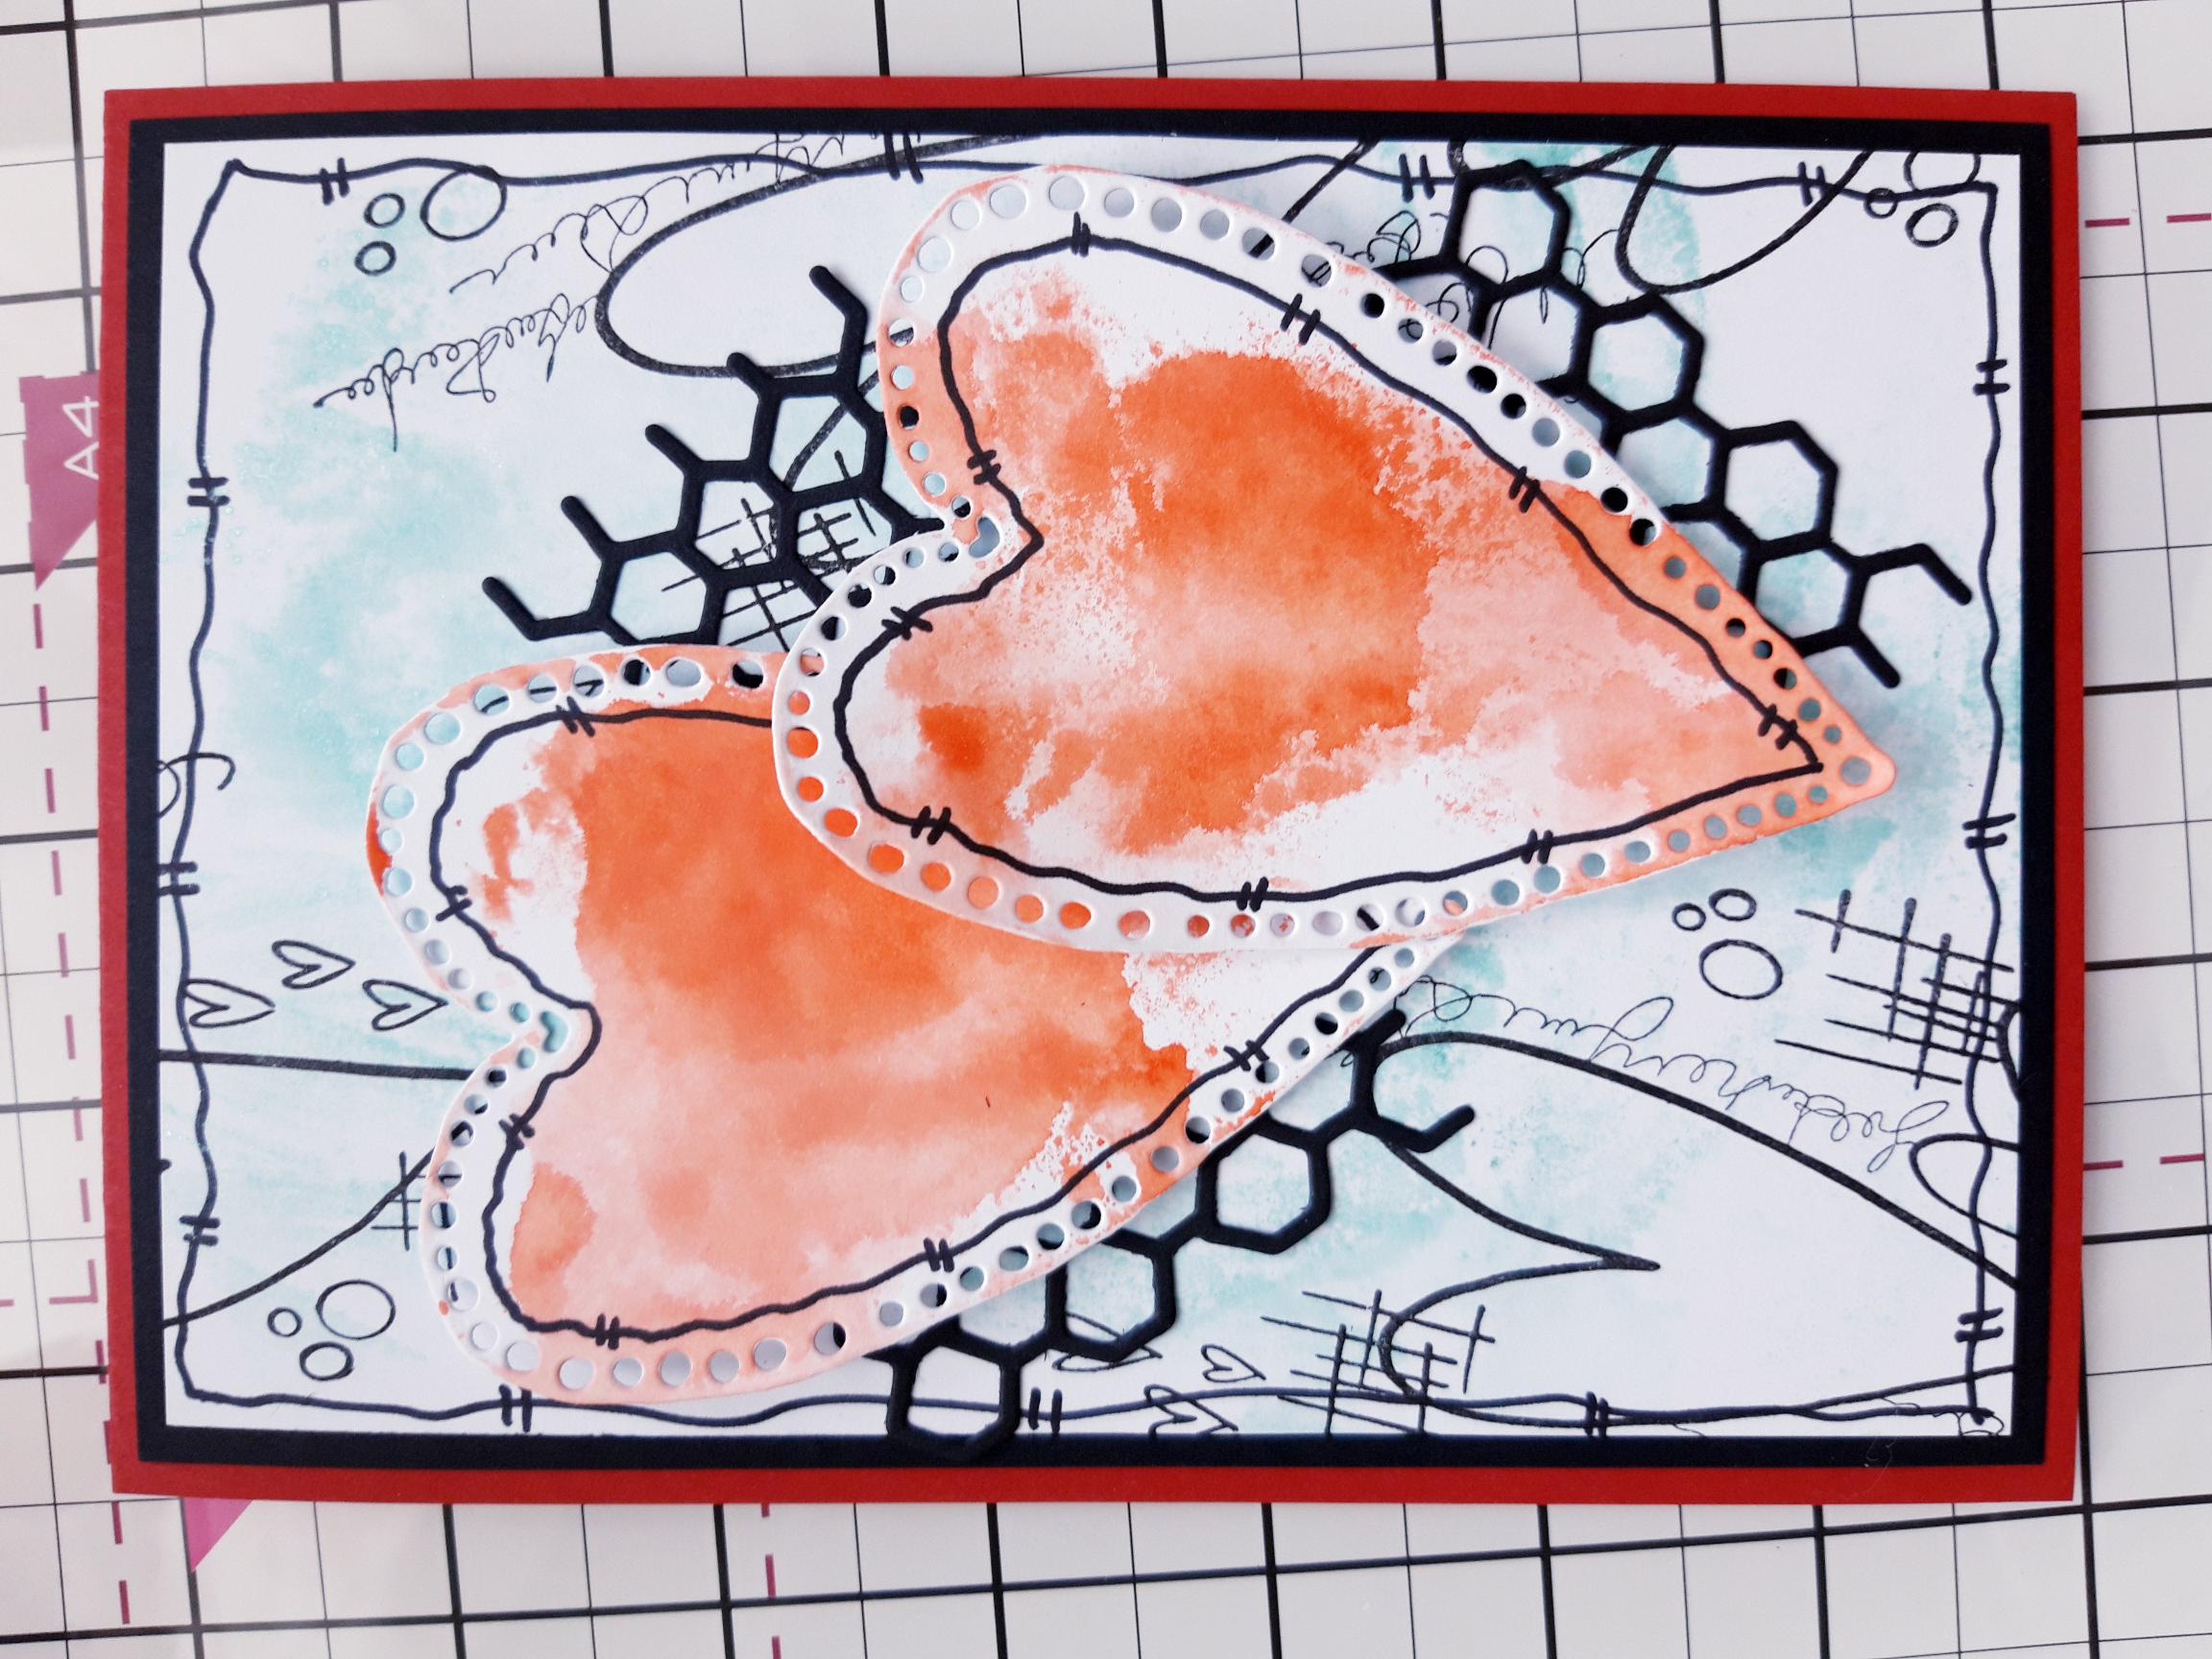
Spray the Grasshopper Confetti paint with water and apply some on to your craft mat, with a large paintbrush. Mop up the paint on to the white card, cut to 6 1/2 x 4 1/2". You can reapply more paint, until you are happy with your background. |
|
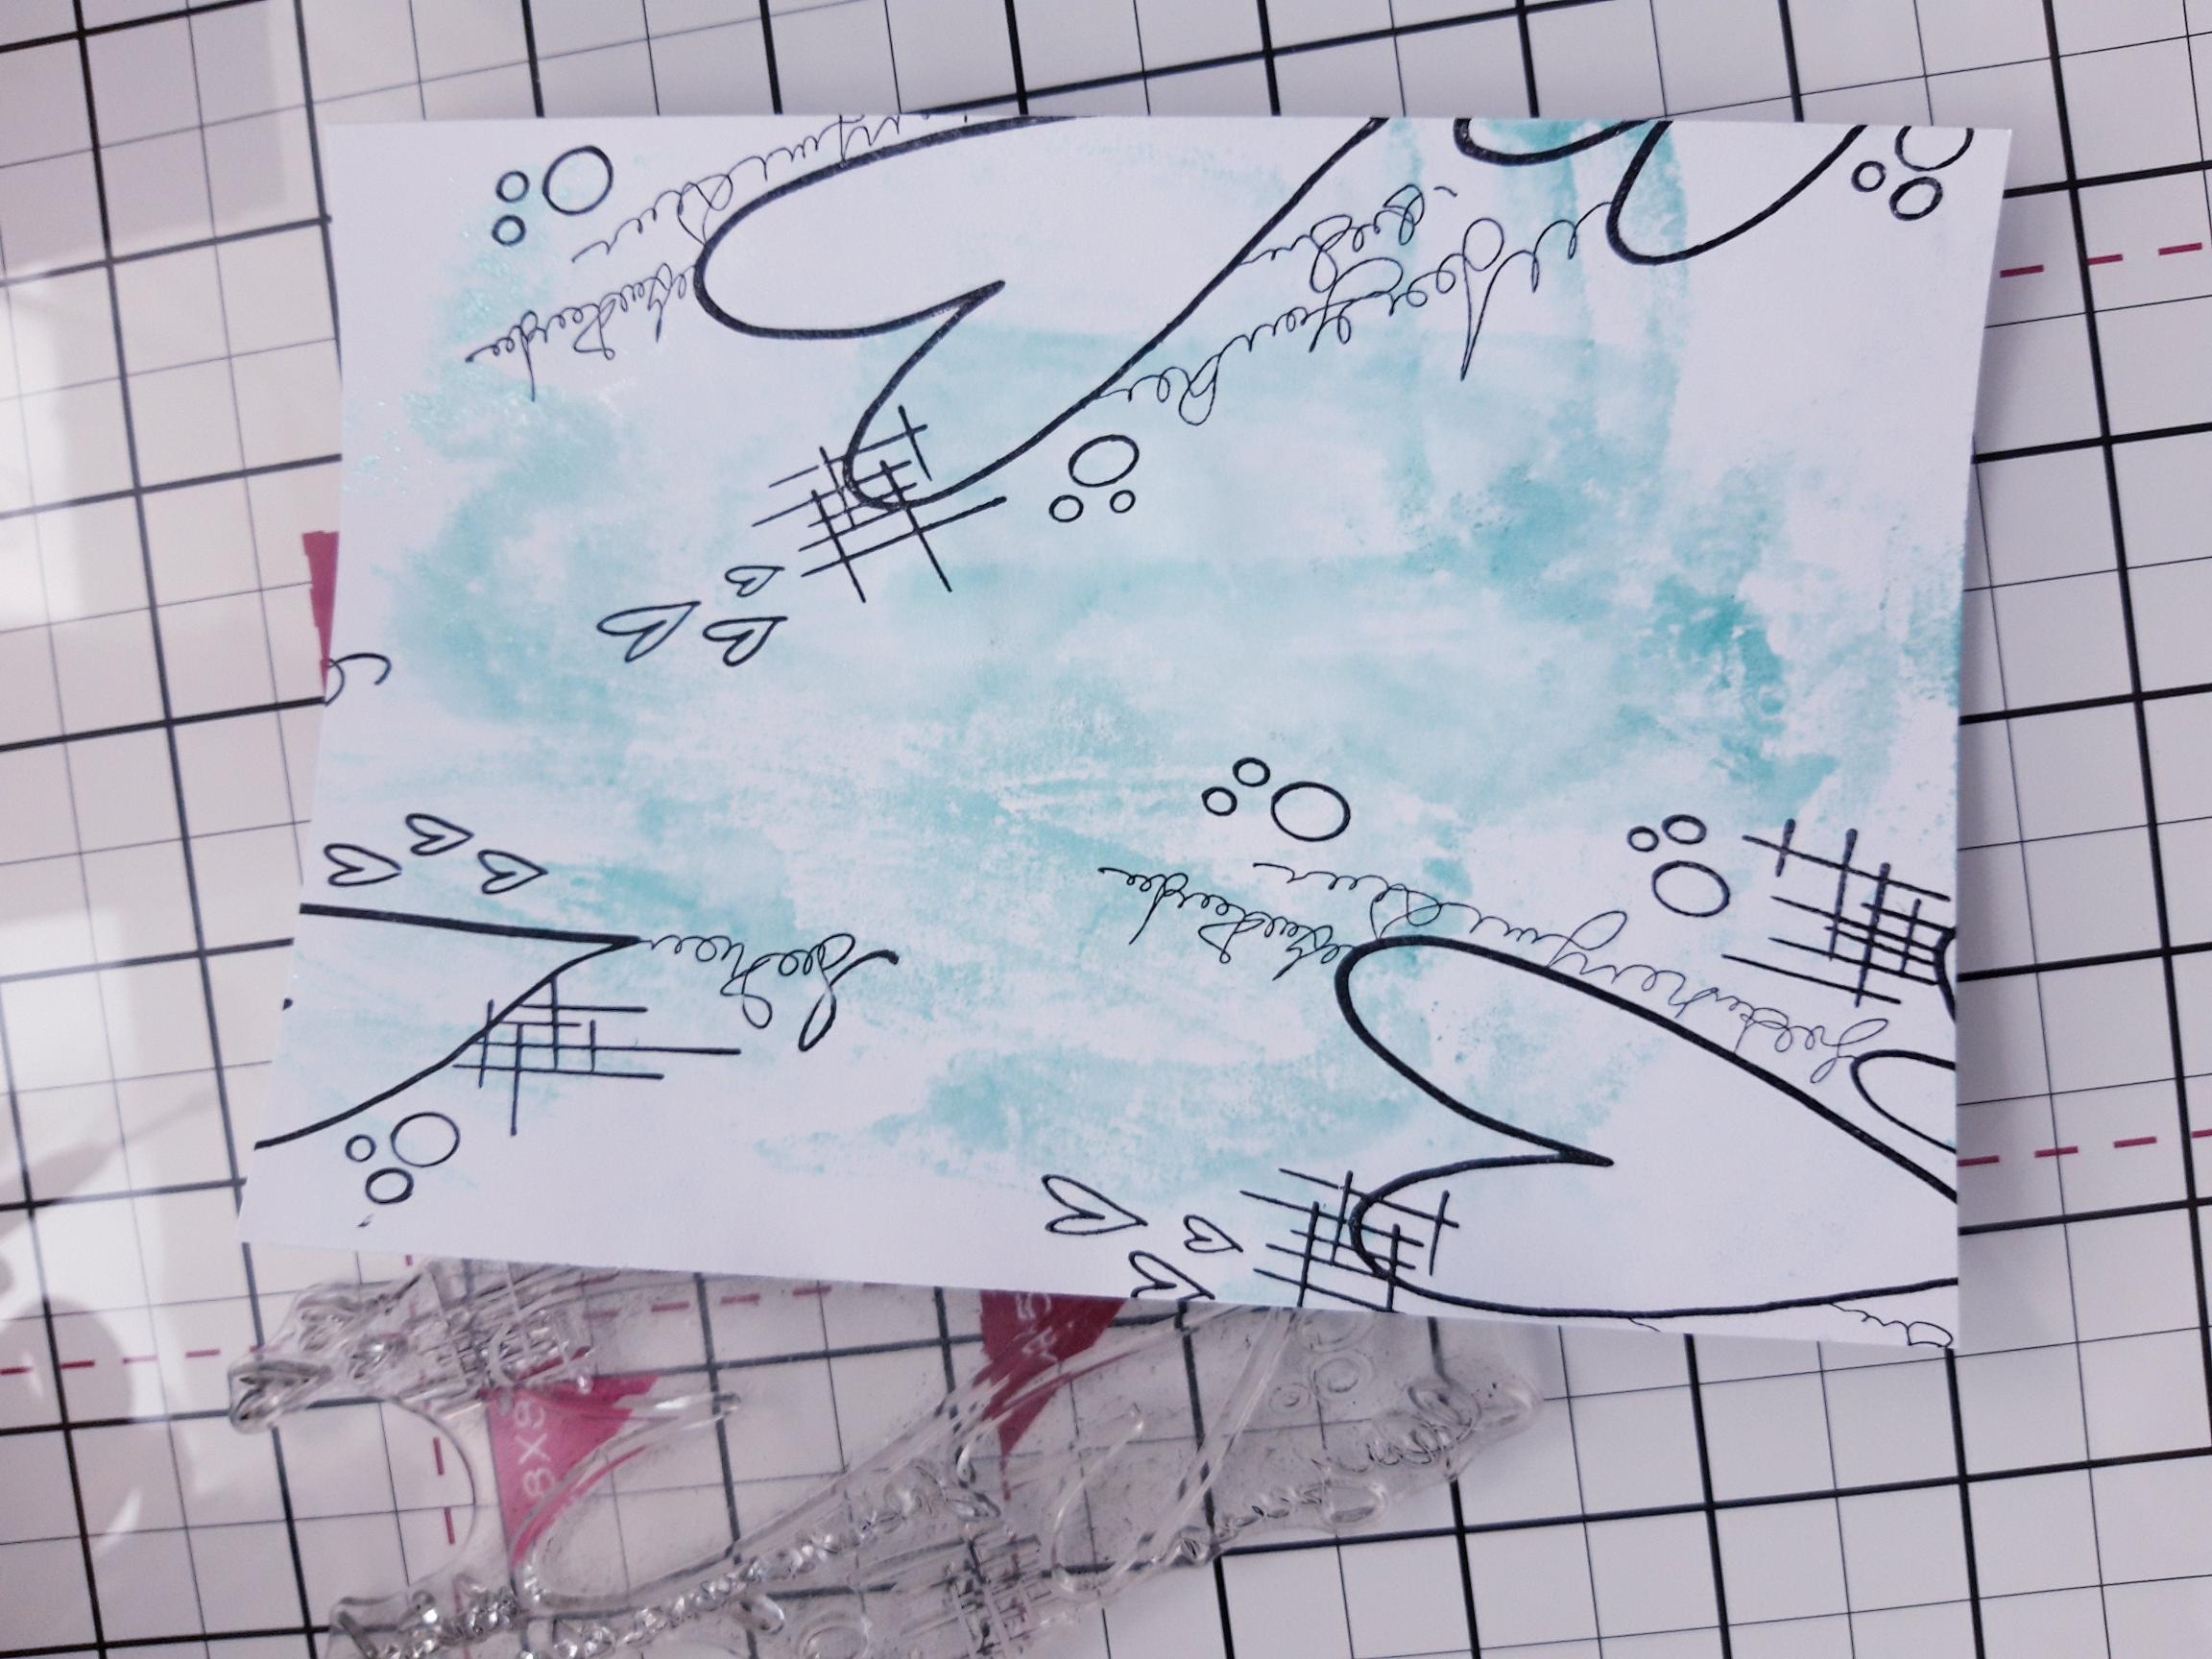
Ink up this stamp from the Daisy Dream set, with the Onyx Black Versafine and randomly stamp on to your dried background, ensuring you take some of the images off the edges of the card. |
|
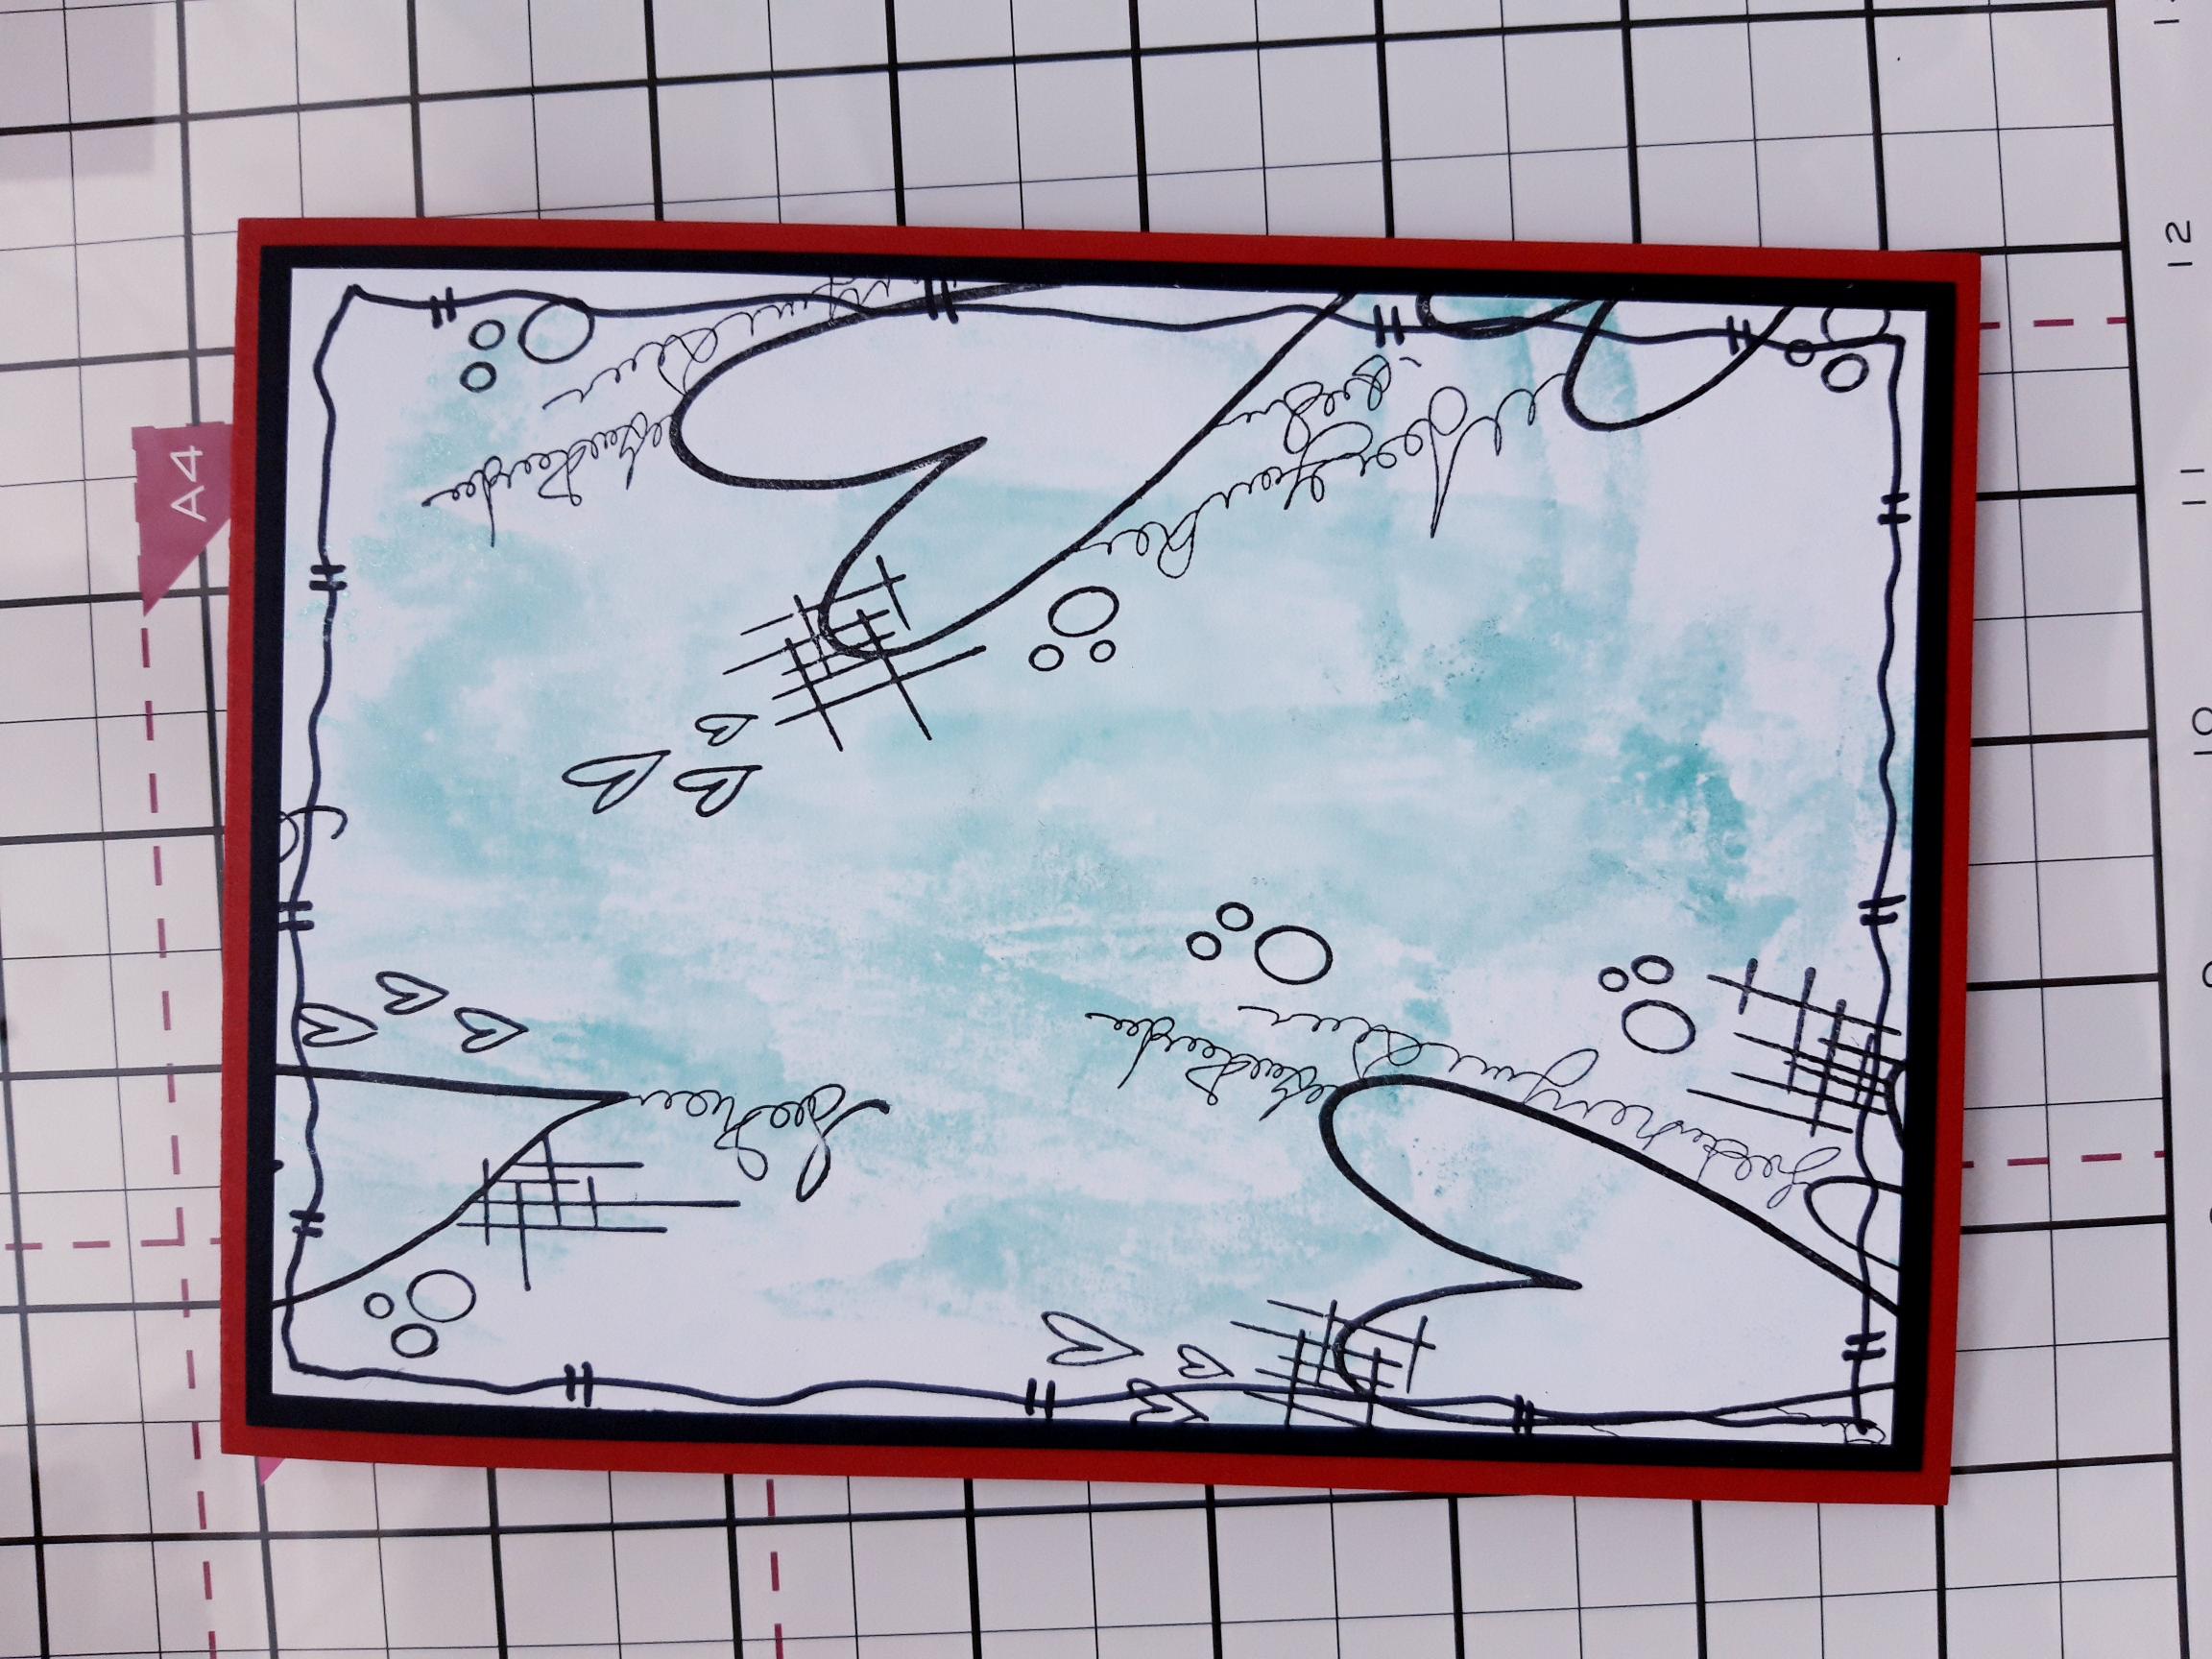
Use a black pen to draw a decorative, wiggly frame around your artwork. Adhere on to the black card and then on to the front of your red card blank. |
|
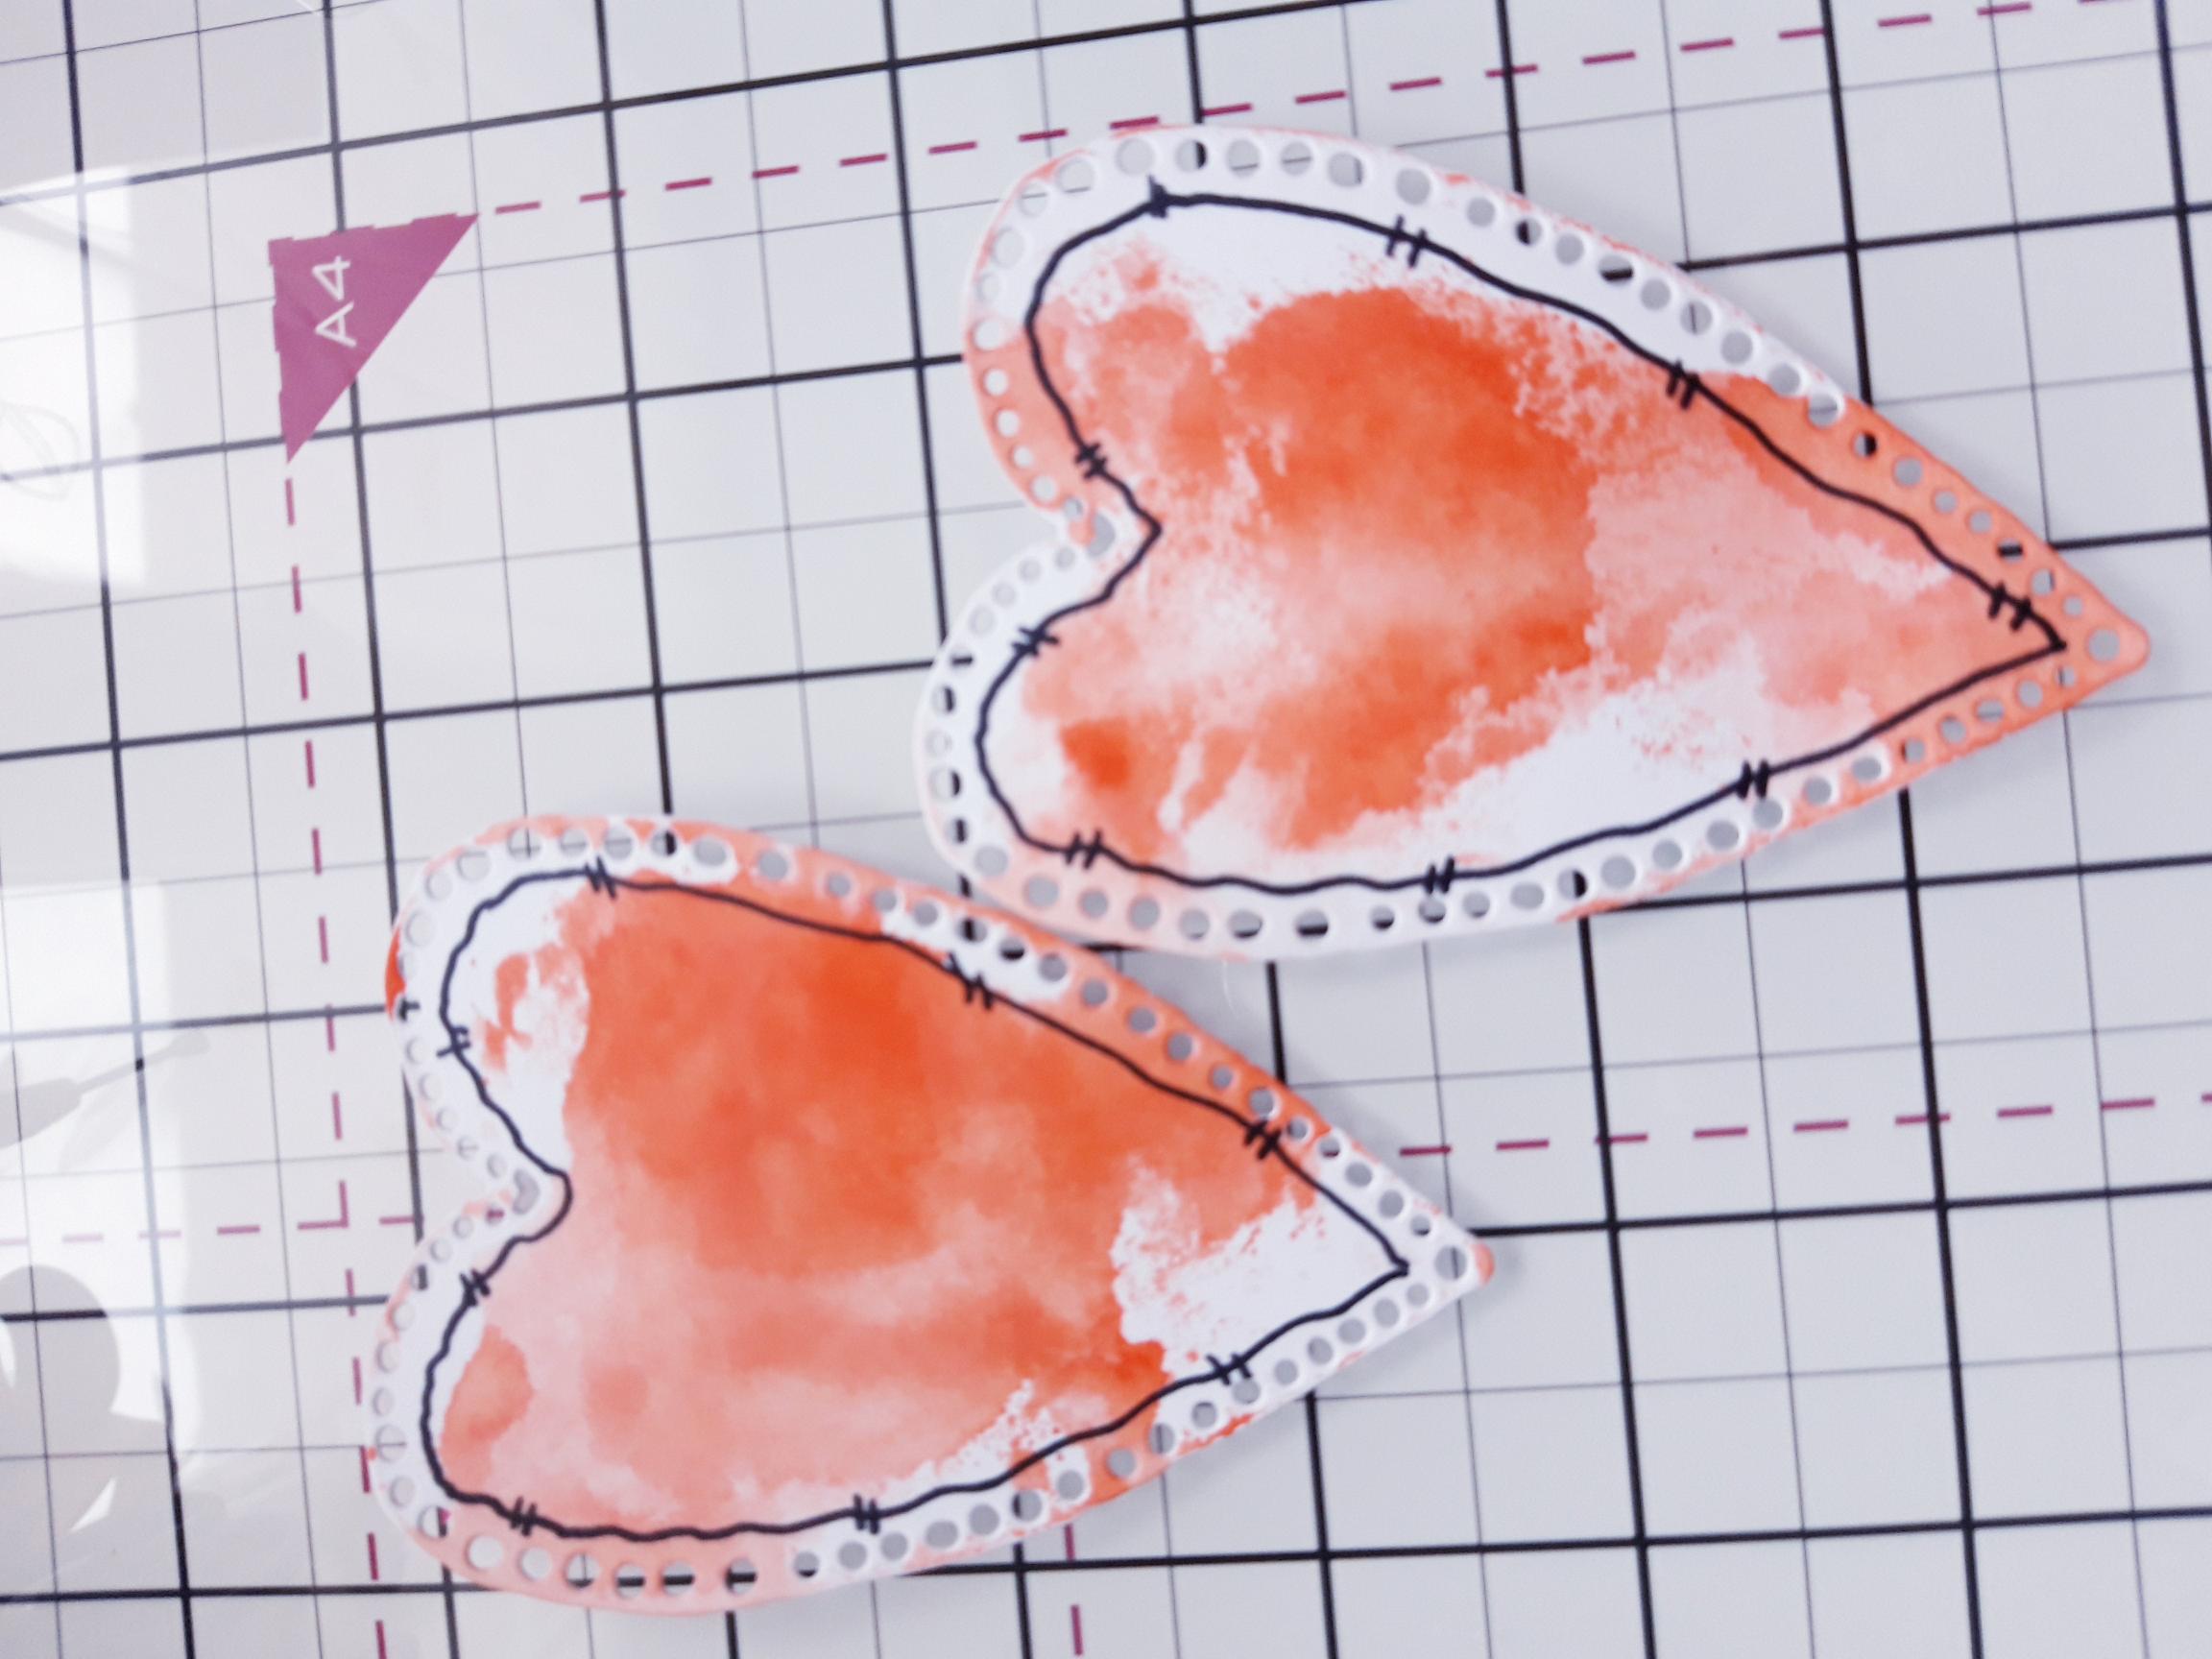
Use the Framed Hearts Creative dies set, to die cut 2 hearts out of white card. Spray the Izink Rusty Saffron on to your craft mat, spritz with water and smoosh your 2 hearts in to the ink. Dry with a heat tool and set to one side. |
|
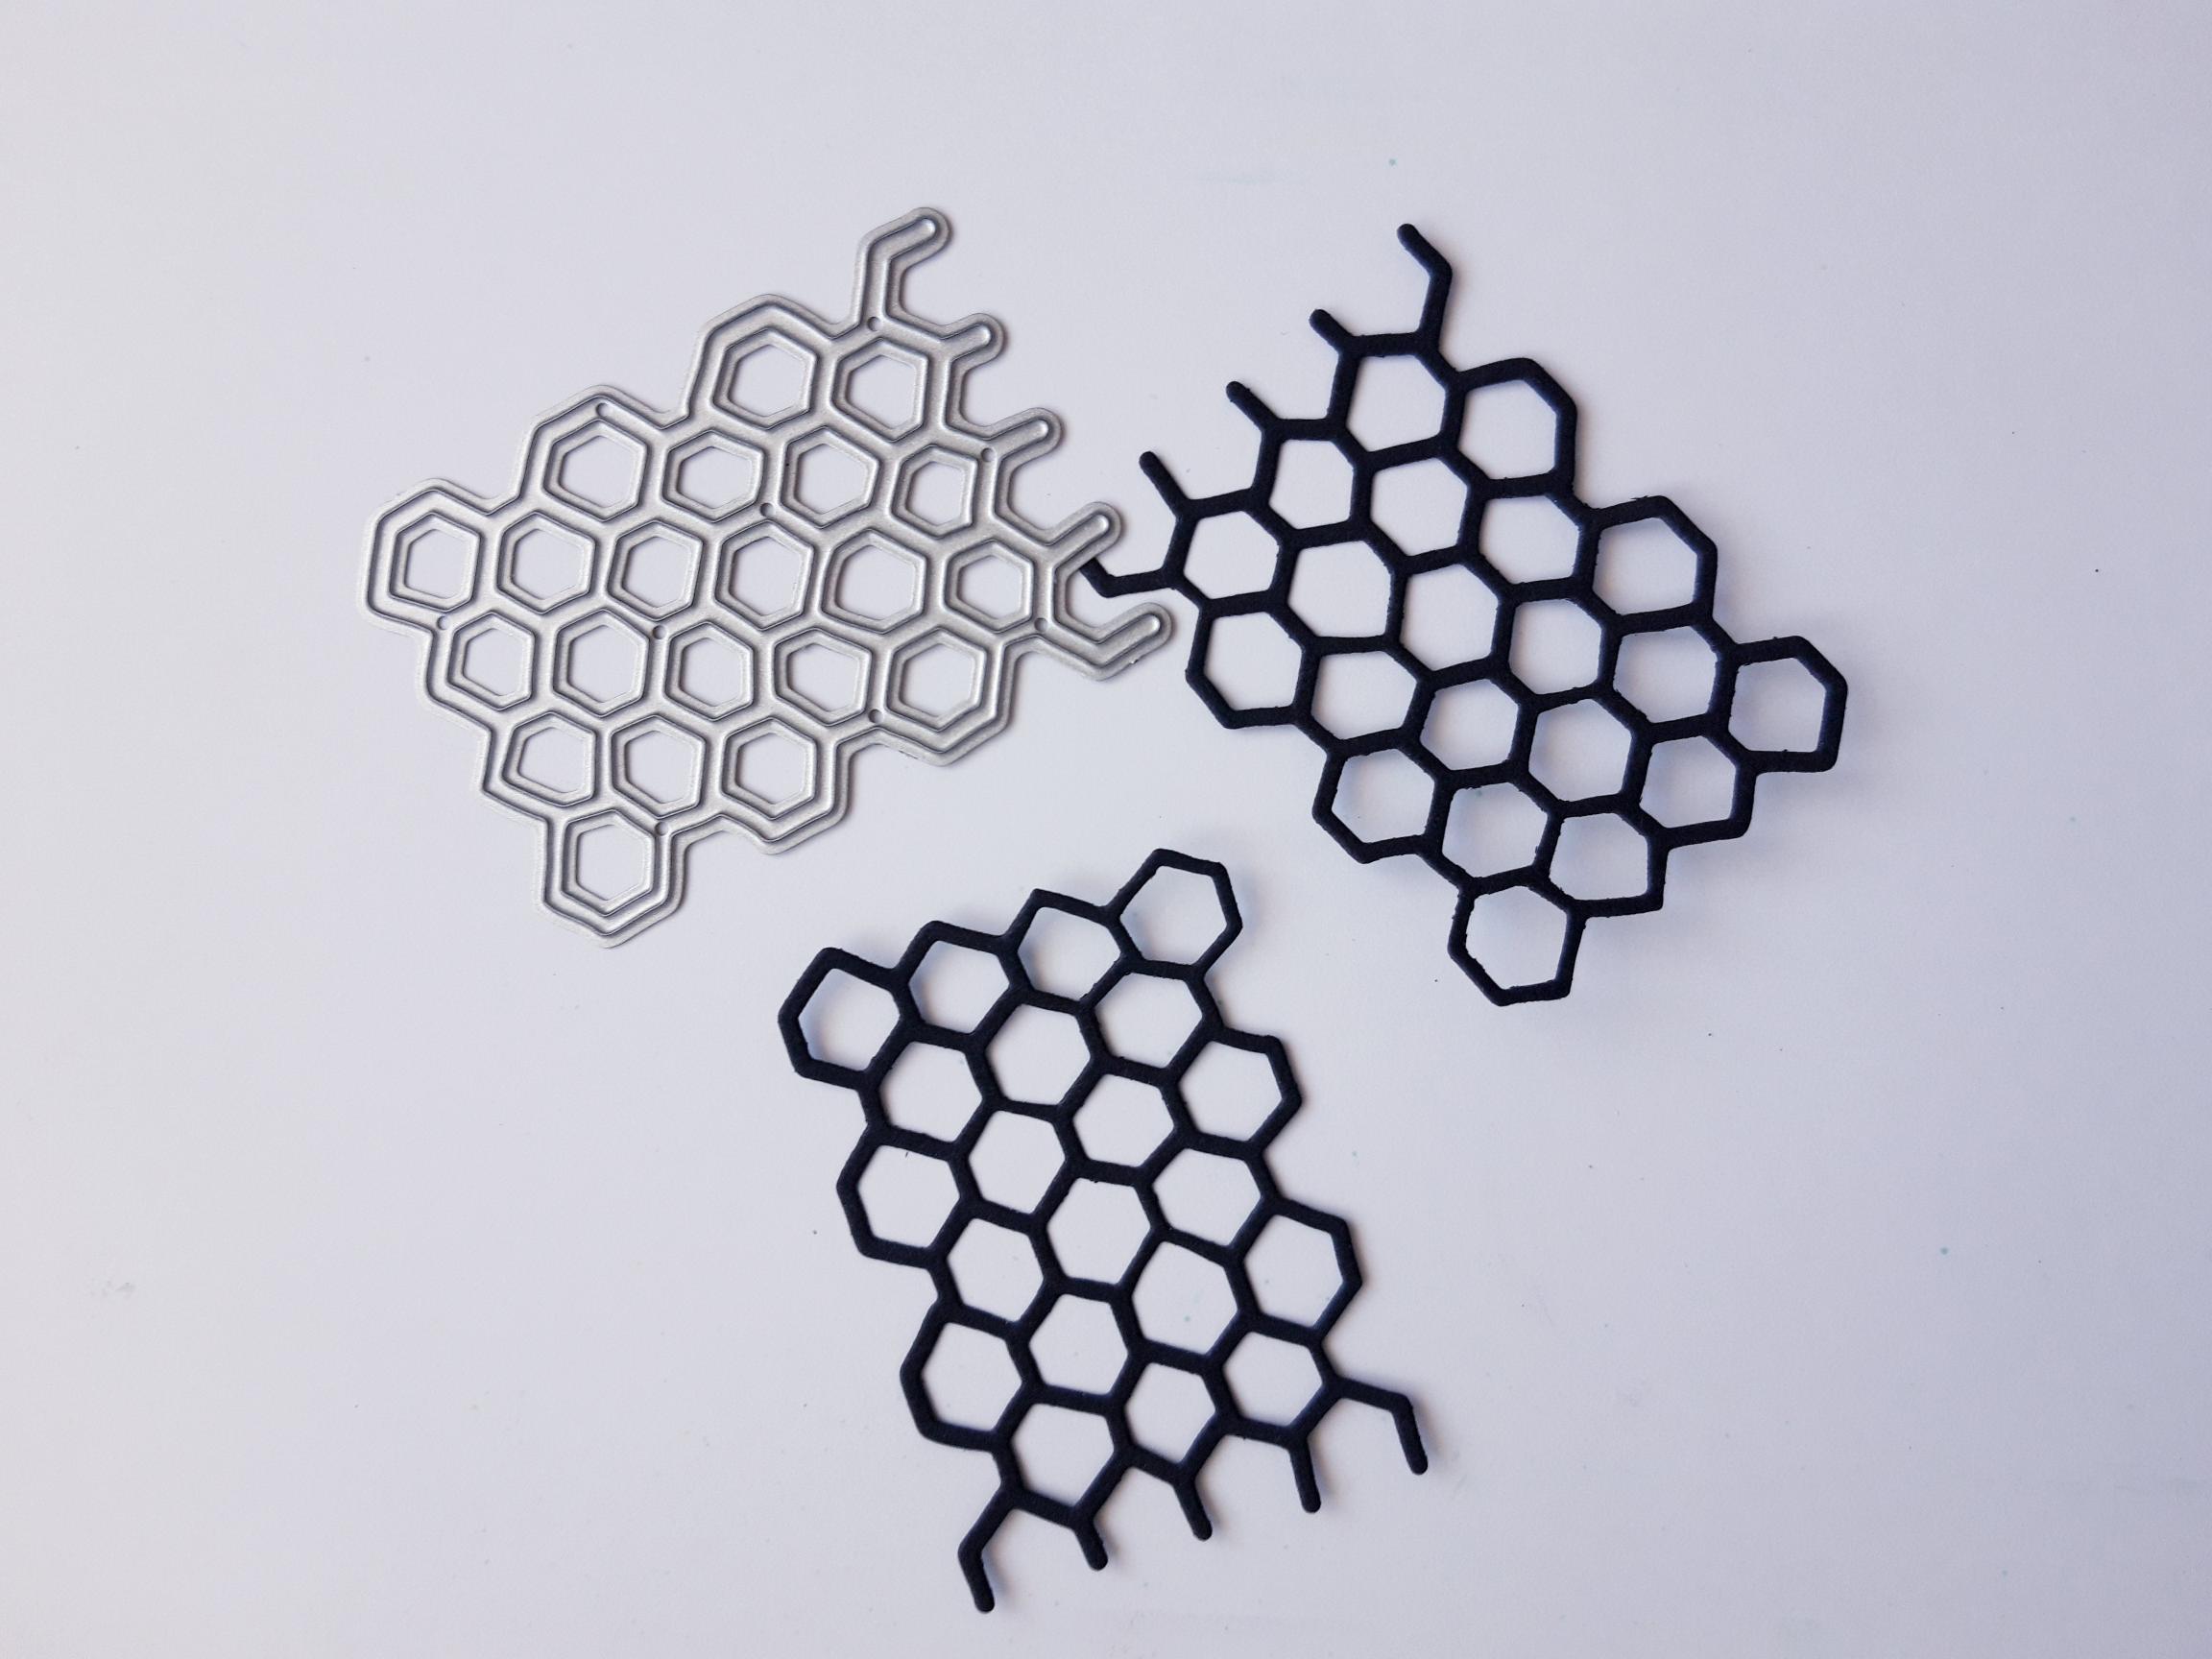
Cut 2 honeycombs, from black card, using the die from the Perfectly Imperfect set. |
|
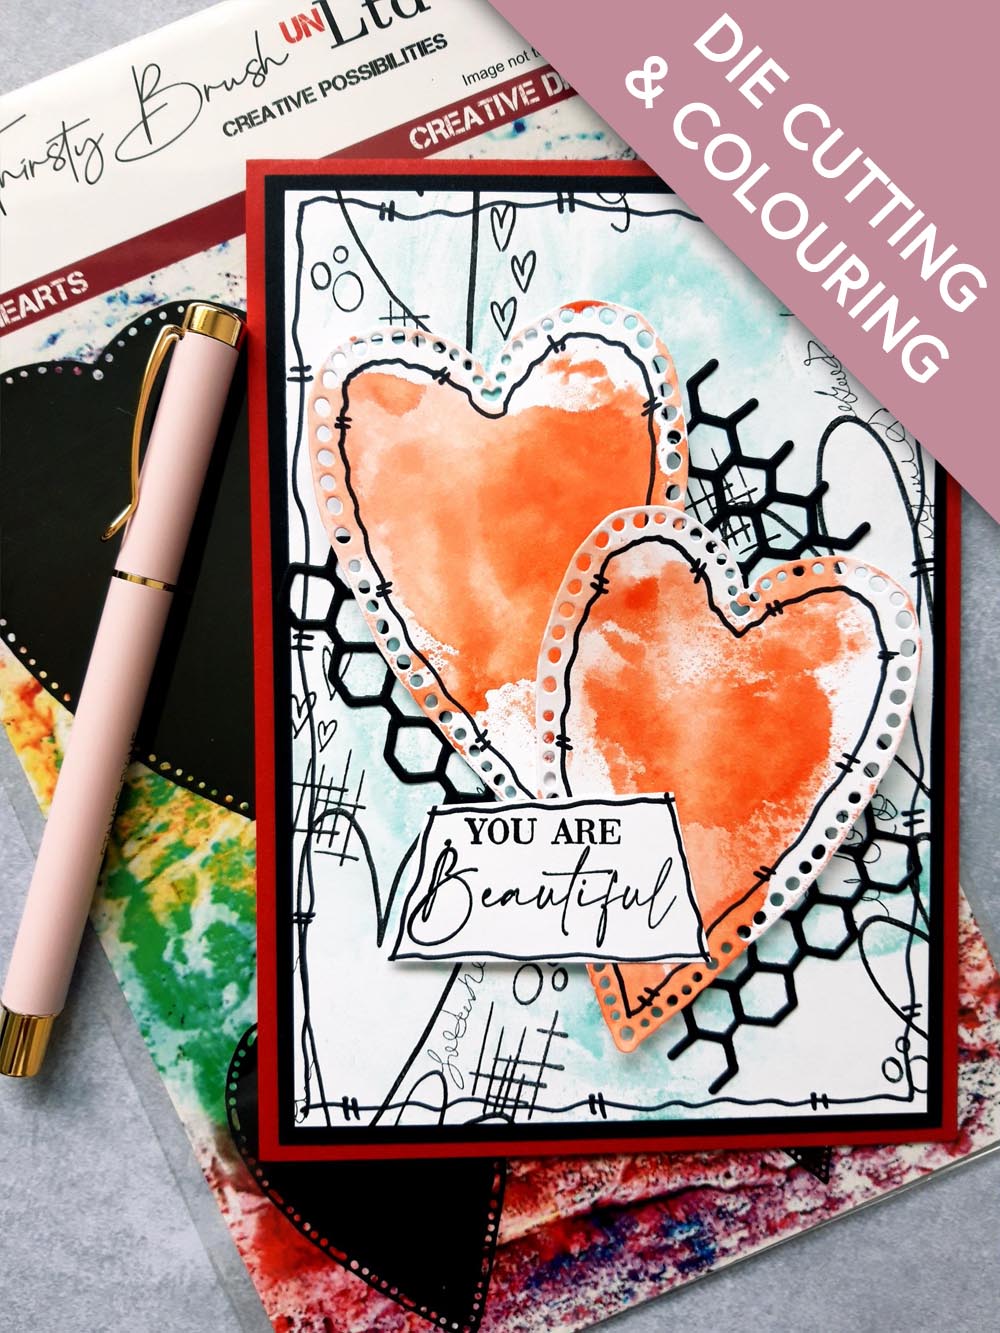
Adhere your 2 hearts on to your card, with foam pads and having cut up the die cut honeycombs, adhere them around and tucked under your hearts. |
|
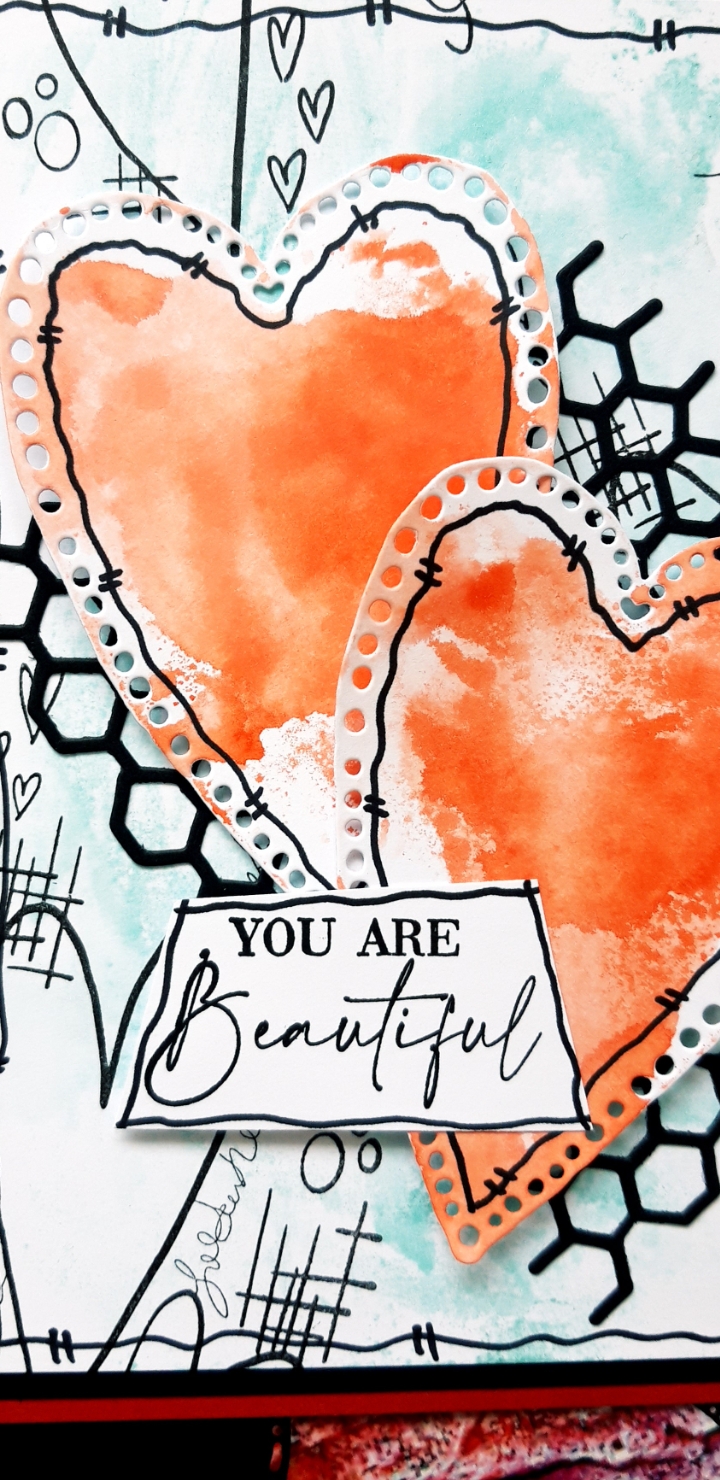
Ink up the sentiment stamp from the Perfectly Imperfect set, with the Versafine and stamp on to a piece of white card. Cut it at an angle and use a black pen to draw a decorative, wiggly frame around it. Adhere to the bottom left of your hearts, with foam pads, to finish. |