Give your friends $10 off their first order!
Refer a FRIEND


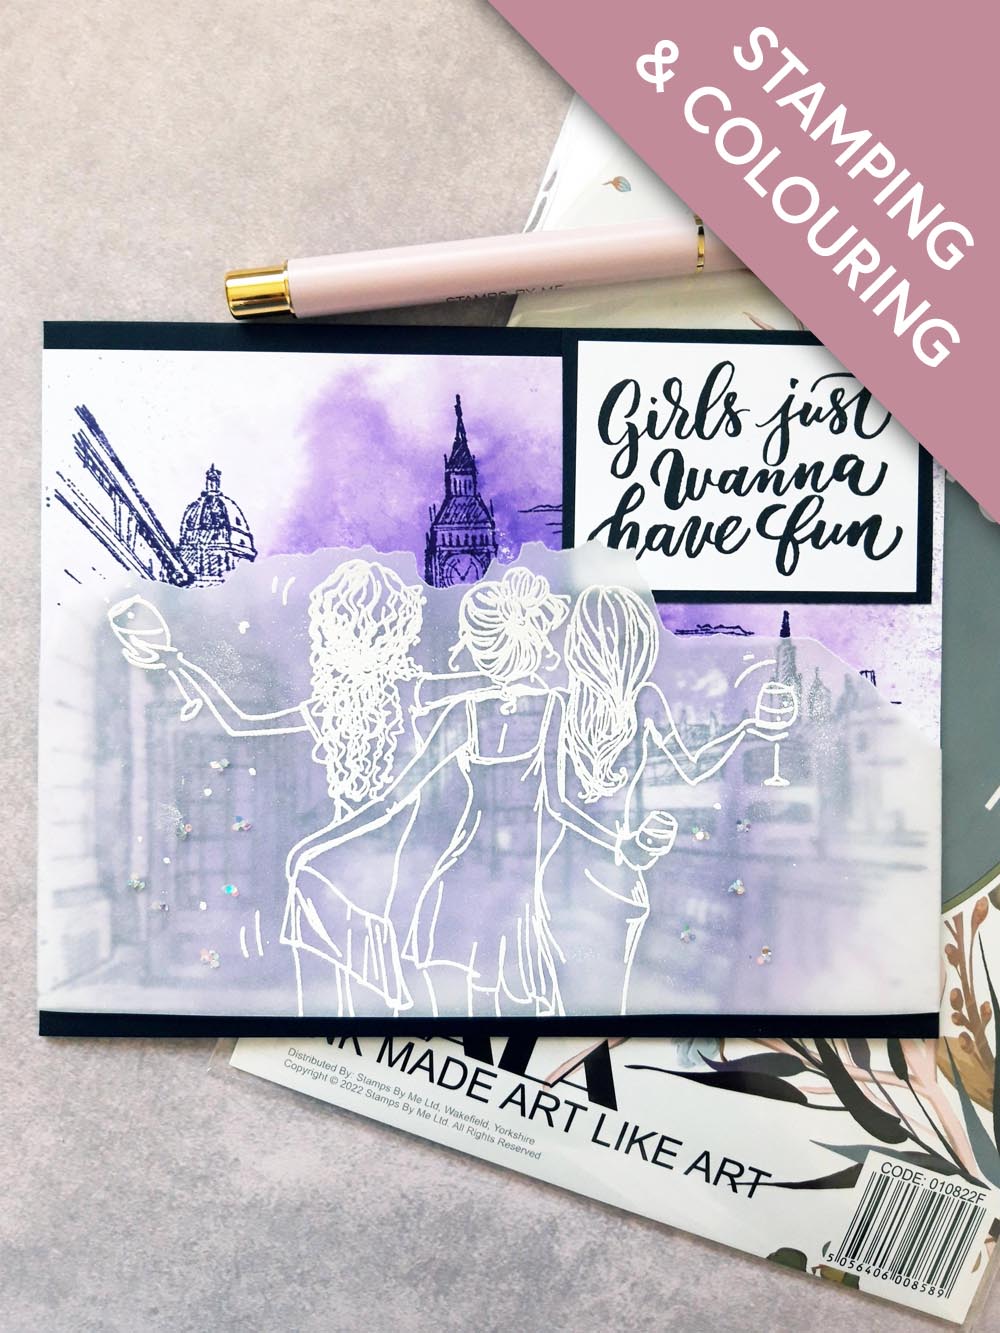
WHAT YOU WILL NEED:
Black landscape card blank 7 x 5"
Black card 3 1/2 x 2 1/2"
White card 7 x 4 1/2"
White card 3 x 2"
Vellum 7 1/2 x 5"
Imala Show Some Love Stamp Collection
Imala London Stamp Collection
Imala Top Hat Stamp Collection
Versafine Ink Pad: Onyx Black
Premium Dye ink pad: Indigo
Water spray bottle
WOW embossing ink pad
WOW heat tool
WOW white embossing powder
Anti-static bag
Midas Glitter: Viennese Waltz
Eureka 101
Paper Trimmer
Perfect Together Glue
Double sided adhesive tape
[click image to enlarge] 
|
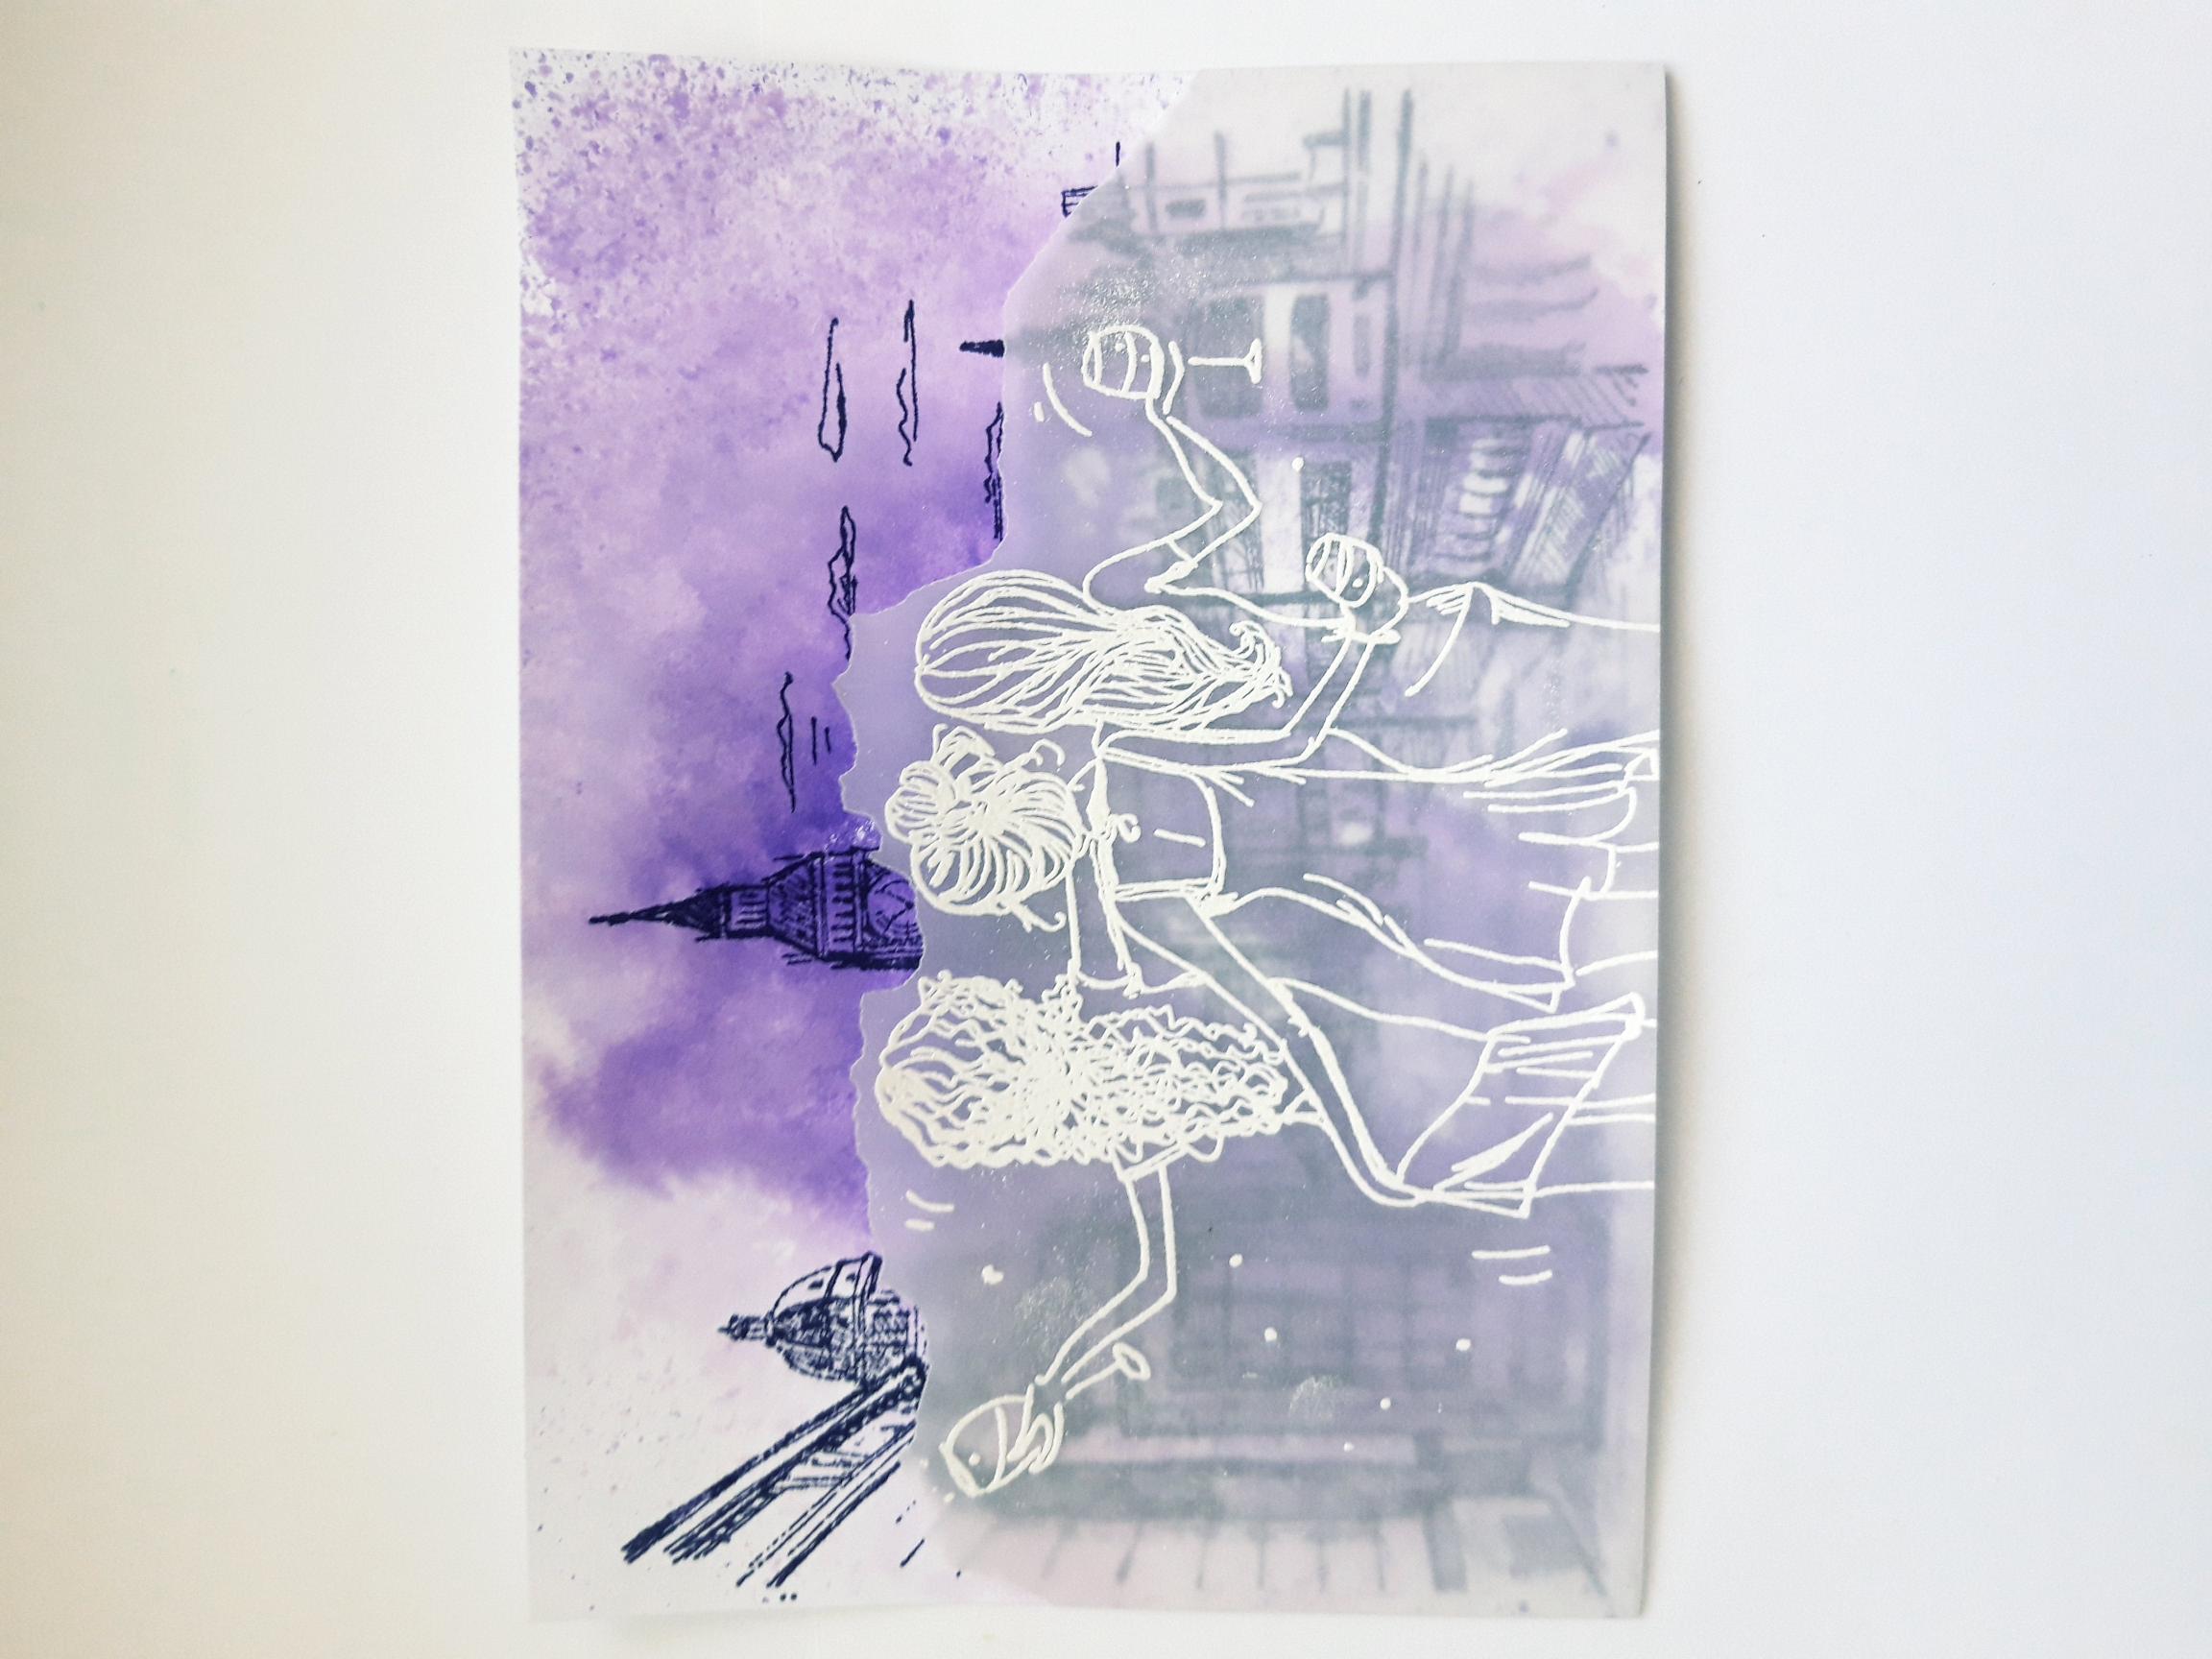
Apply a little of the Indigo ink on to your craft mat, spritz with water and mop up the ink on to the white card, cut to 7 x 4 1/2". Dry off and set to one side. |
|
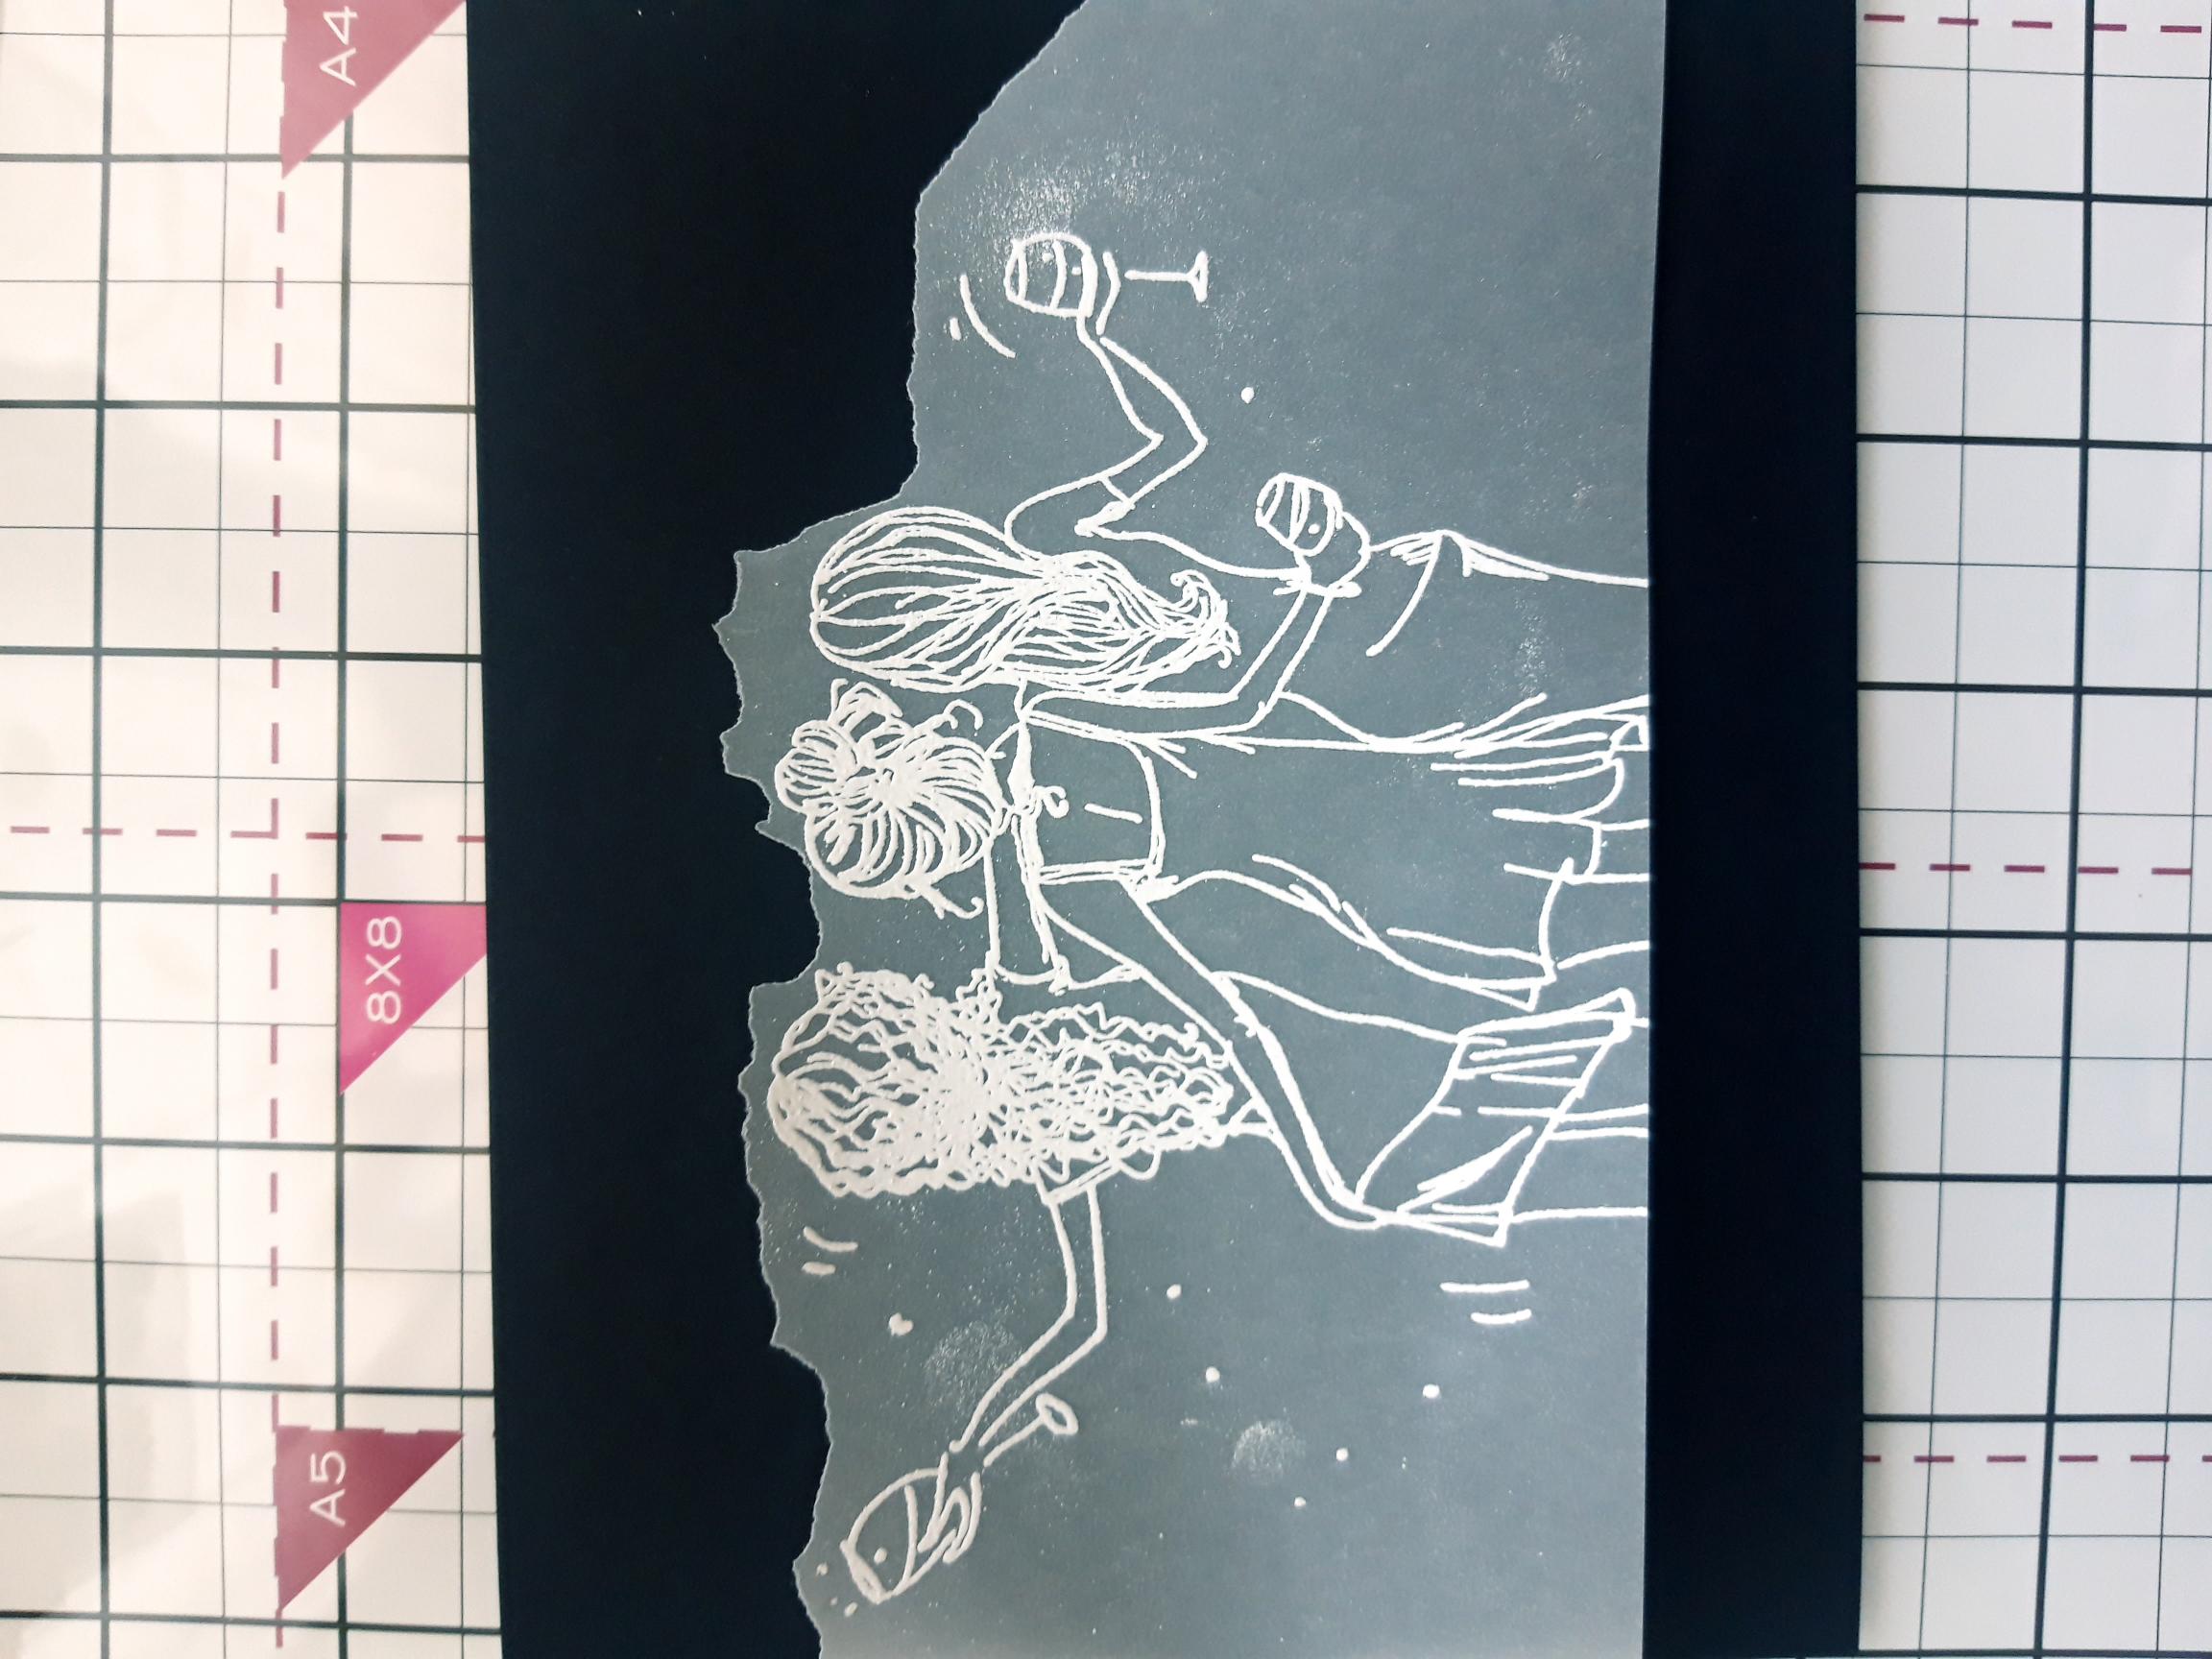
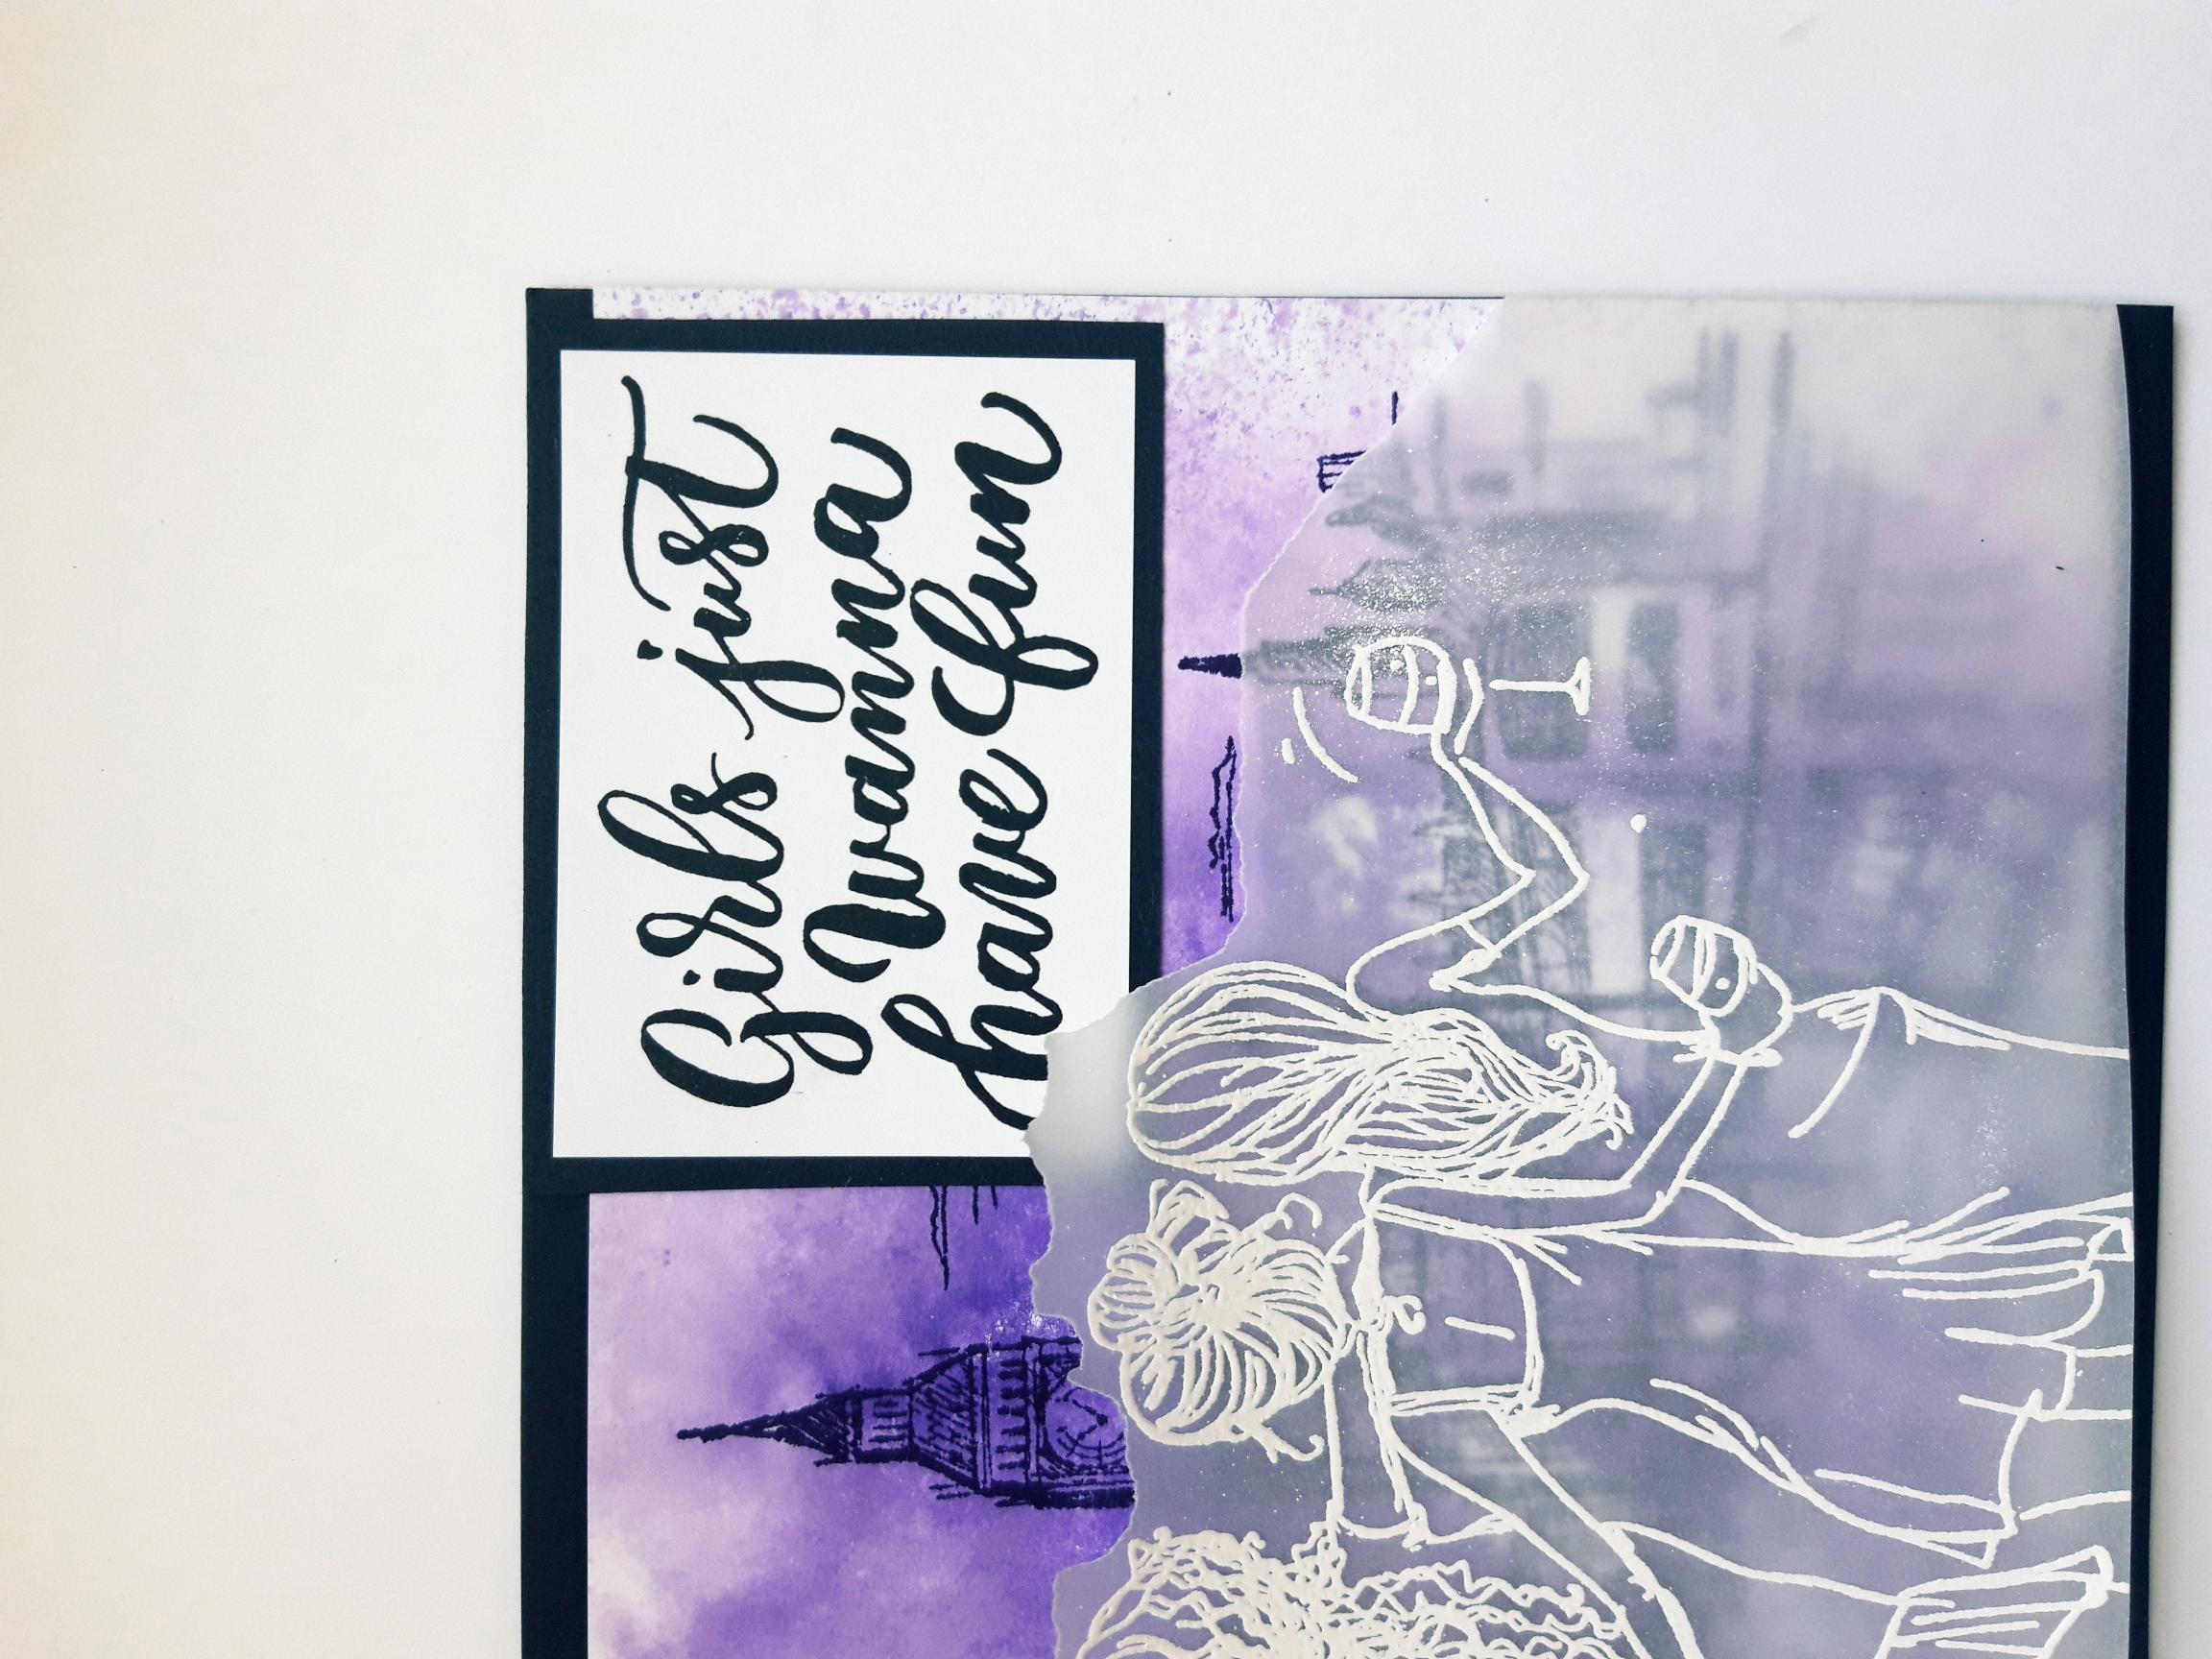
Wipe over the vellum with your anti-static bag. Ink up the stamp from Show Some Love Stamp Collection, with the WOW embossing ink and stamp centrally, on to the vellum. Cover with the white embossing powder and once your heat tool is hot, heat set the powder. Tear across the top of the vellum, roughly following the contours of your stamped image, as shown here. |
|
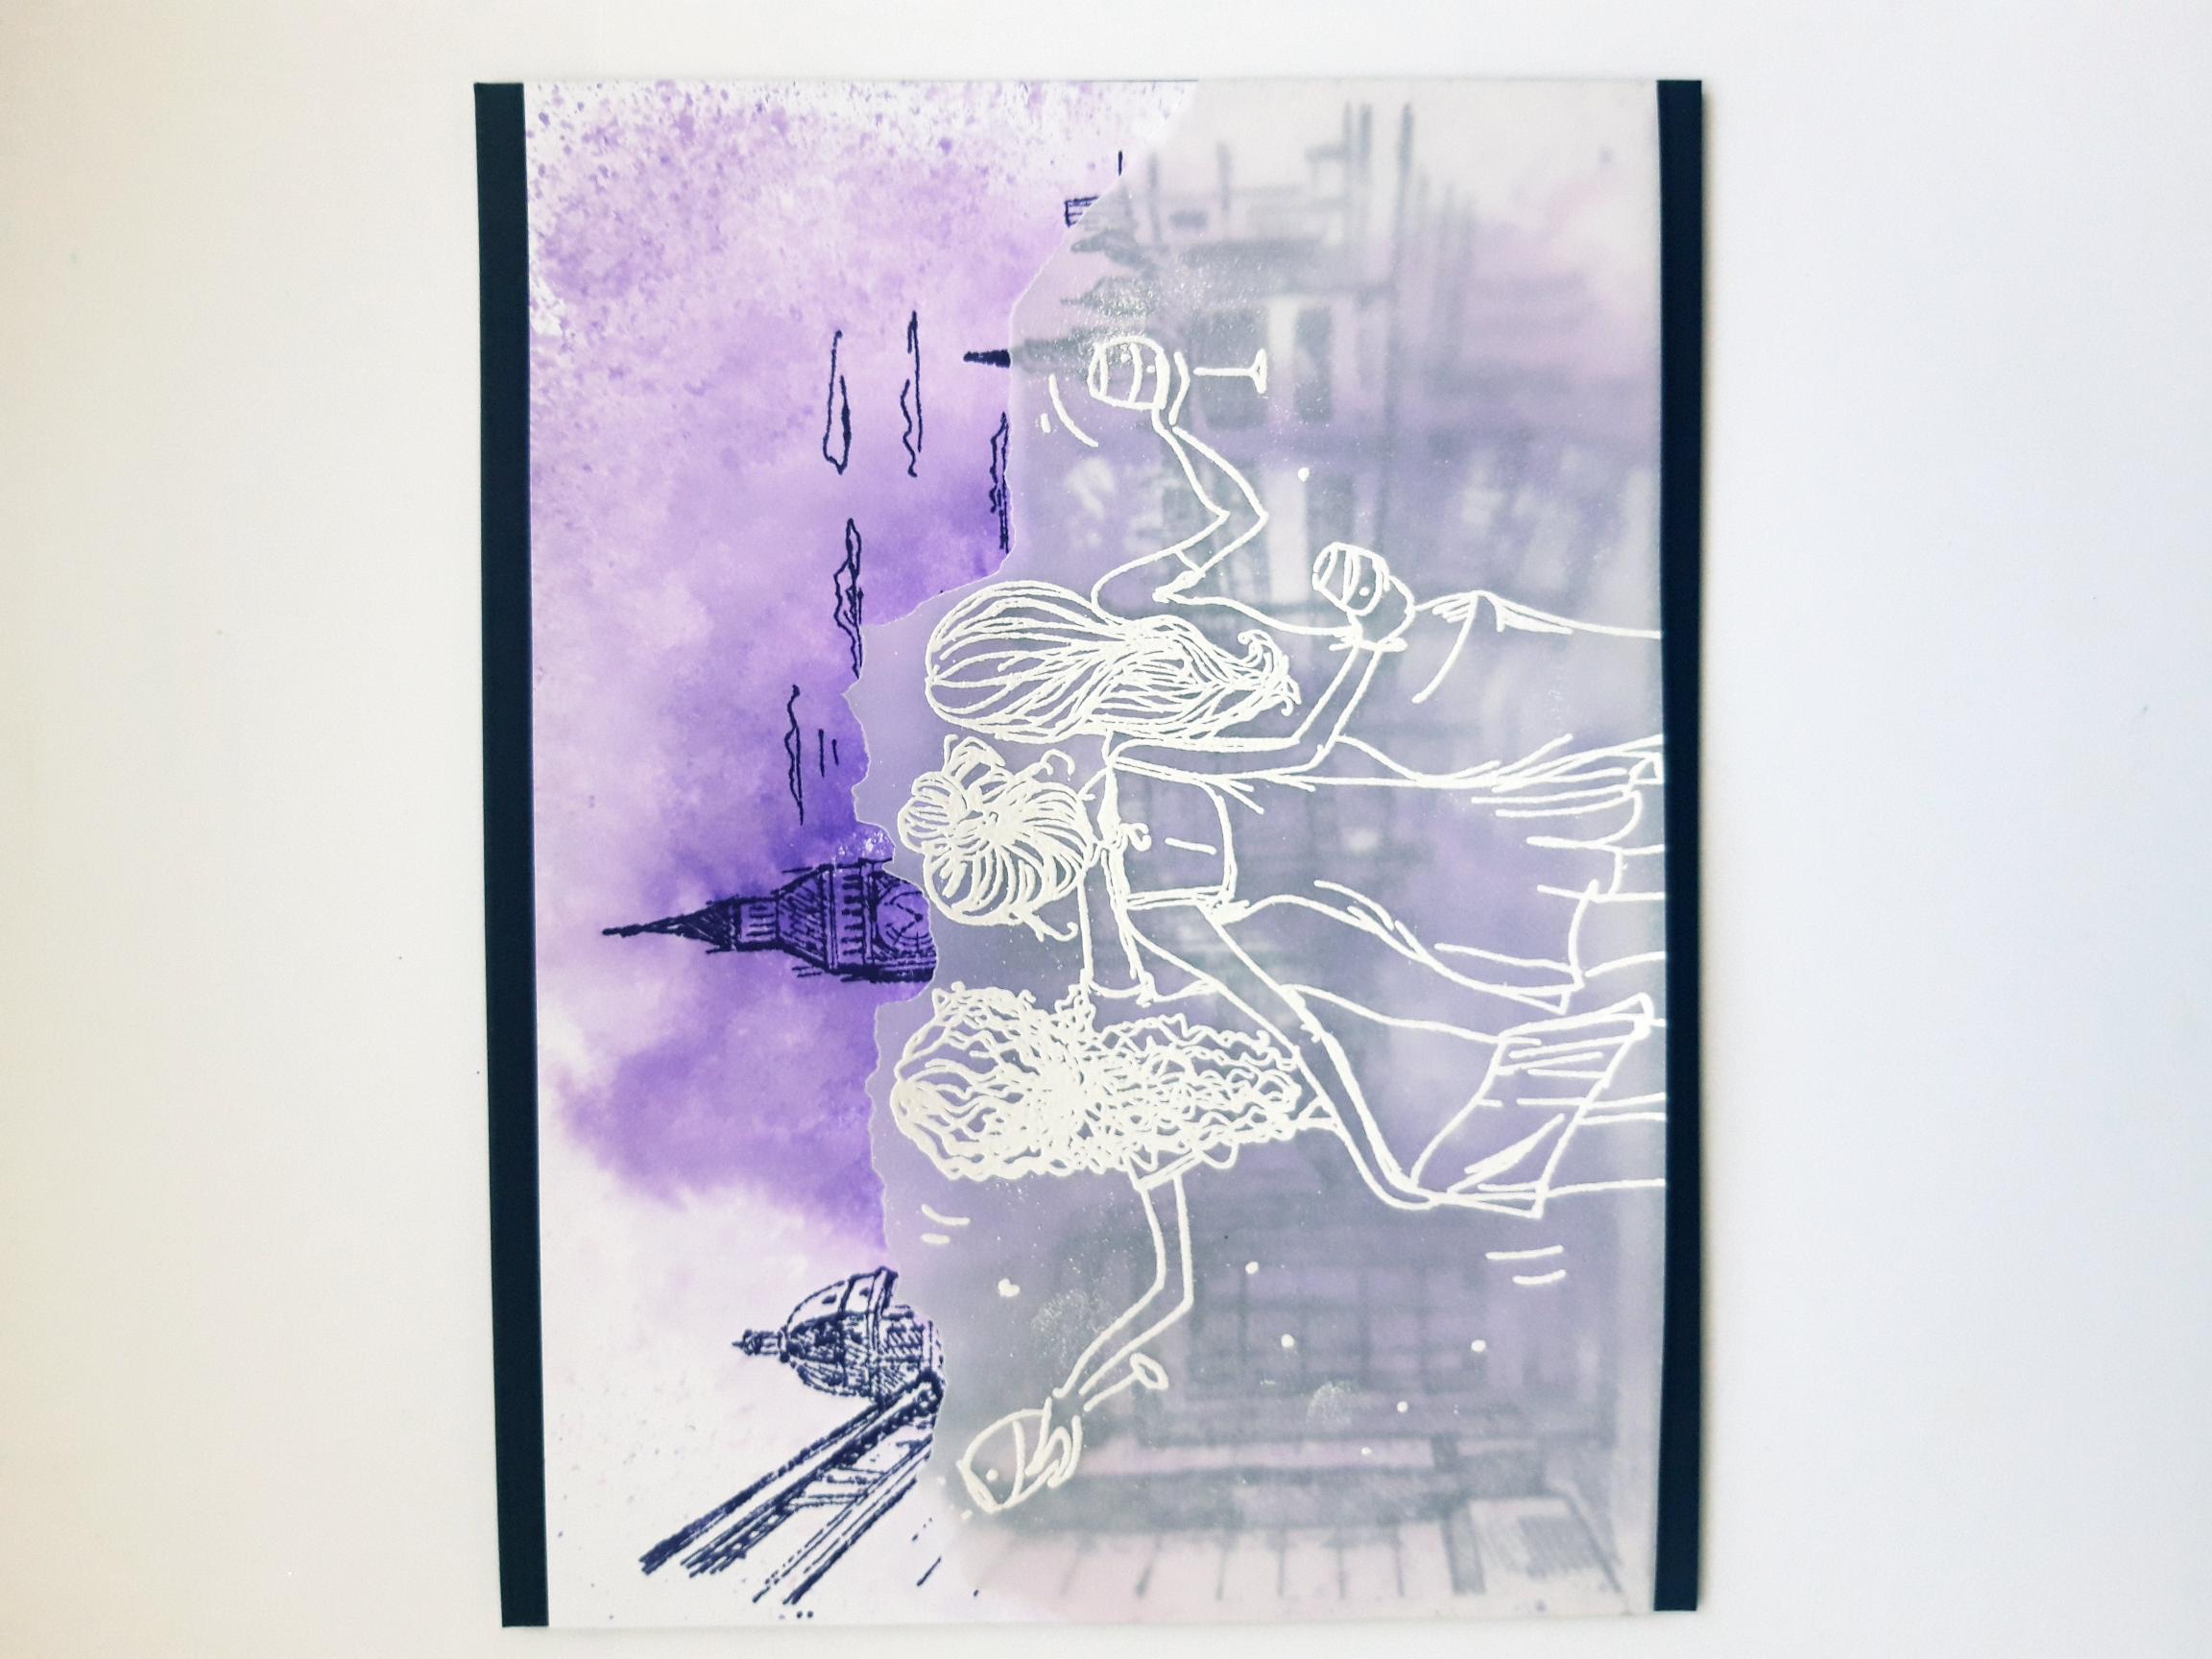
Lay the embossed vellum across your background, so the bottom is flush with the edge of the card. Fold the vellum overhang over each side and secure on the back with tape. |
|
Adhere on to the front of your black, landscape card blank, so the side edges are flush and an equal amount of black card is visible top and bottom, as seen here. Set to one side. |
|
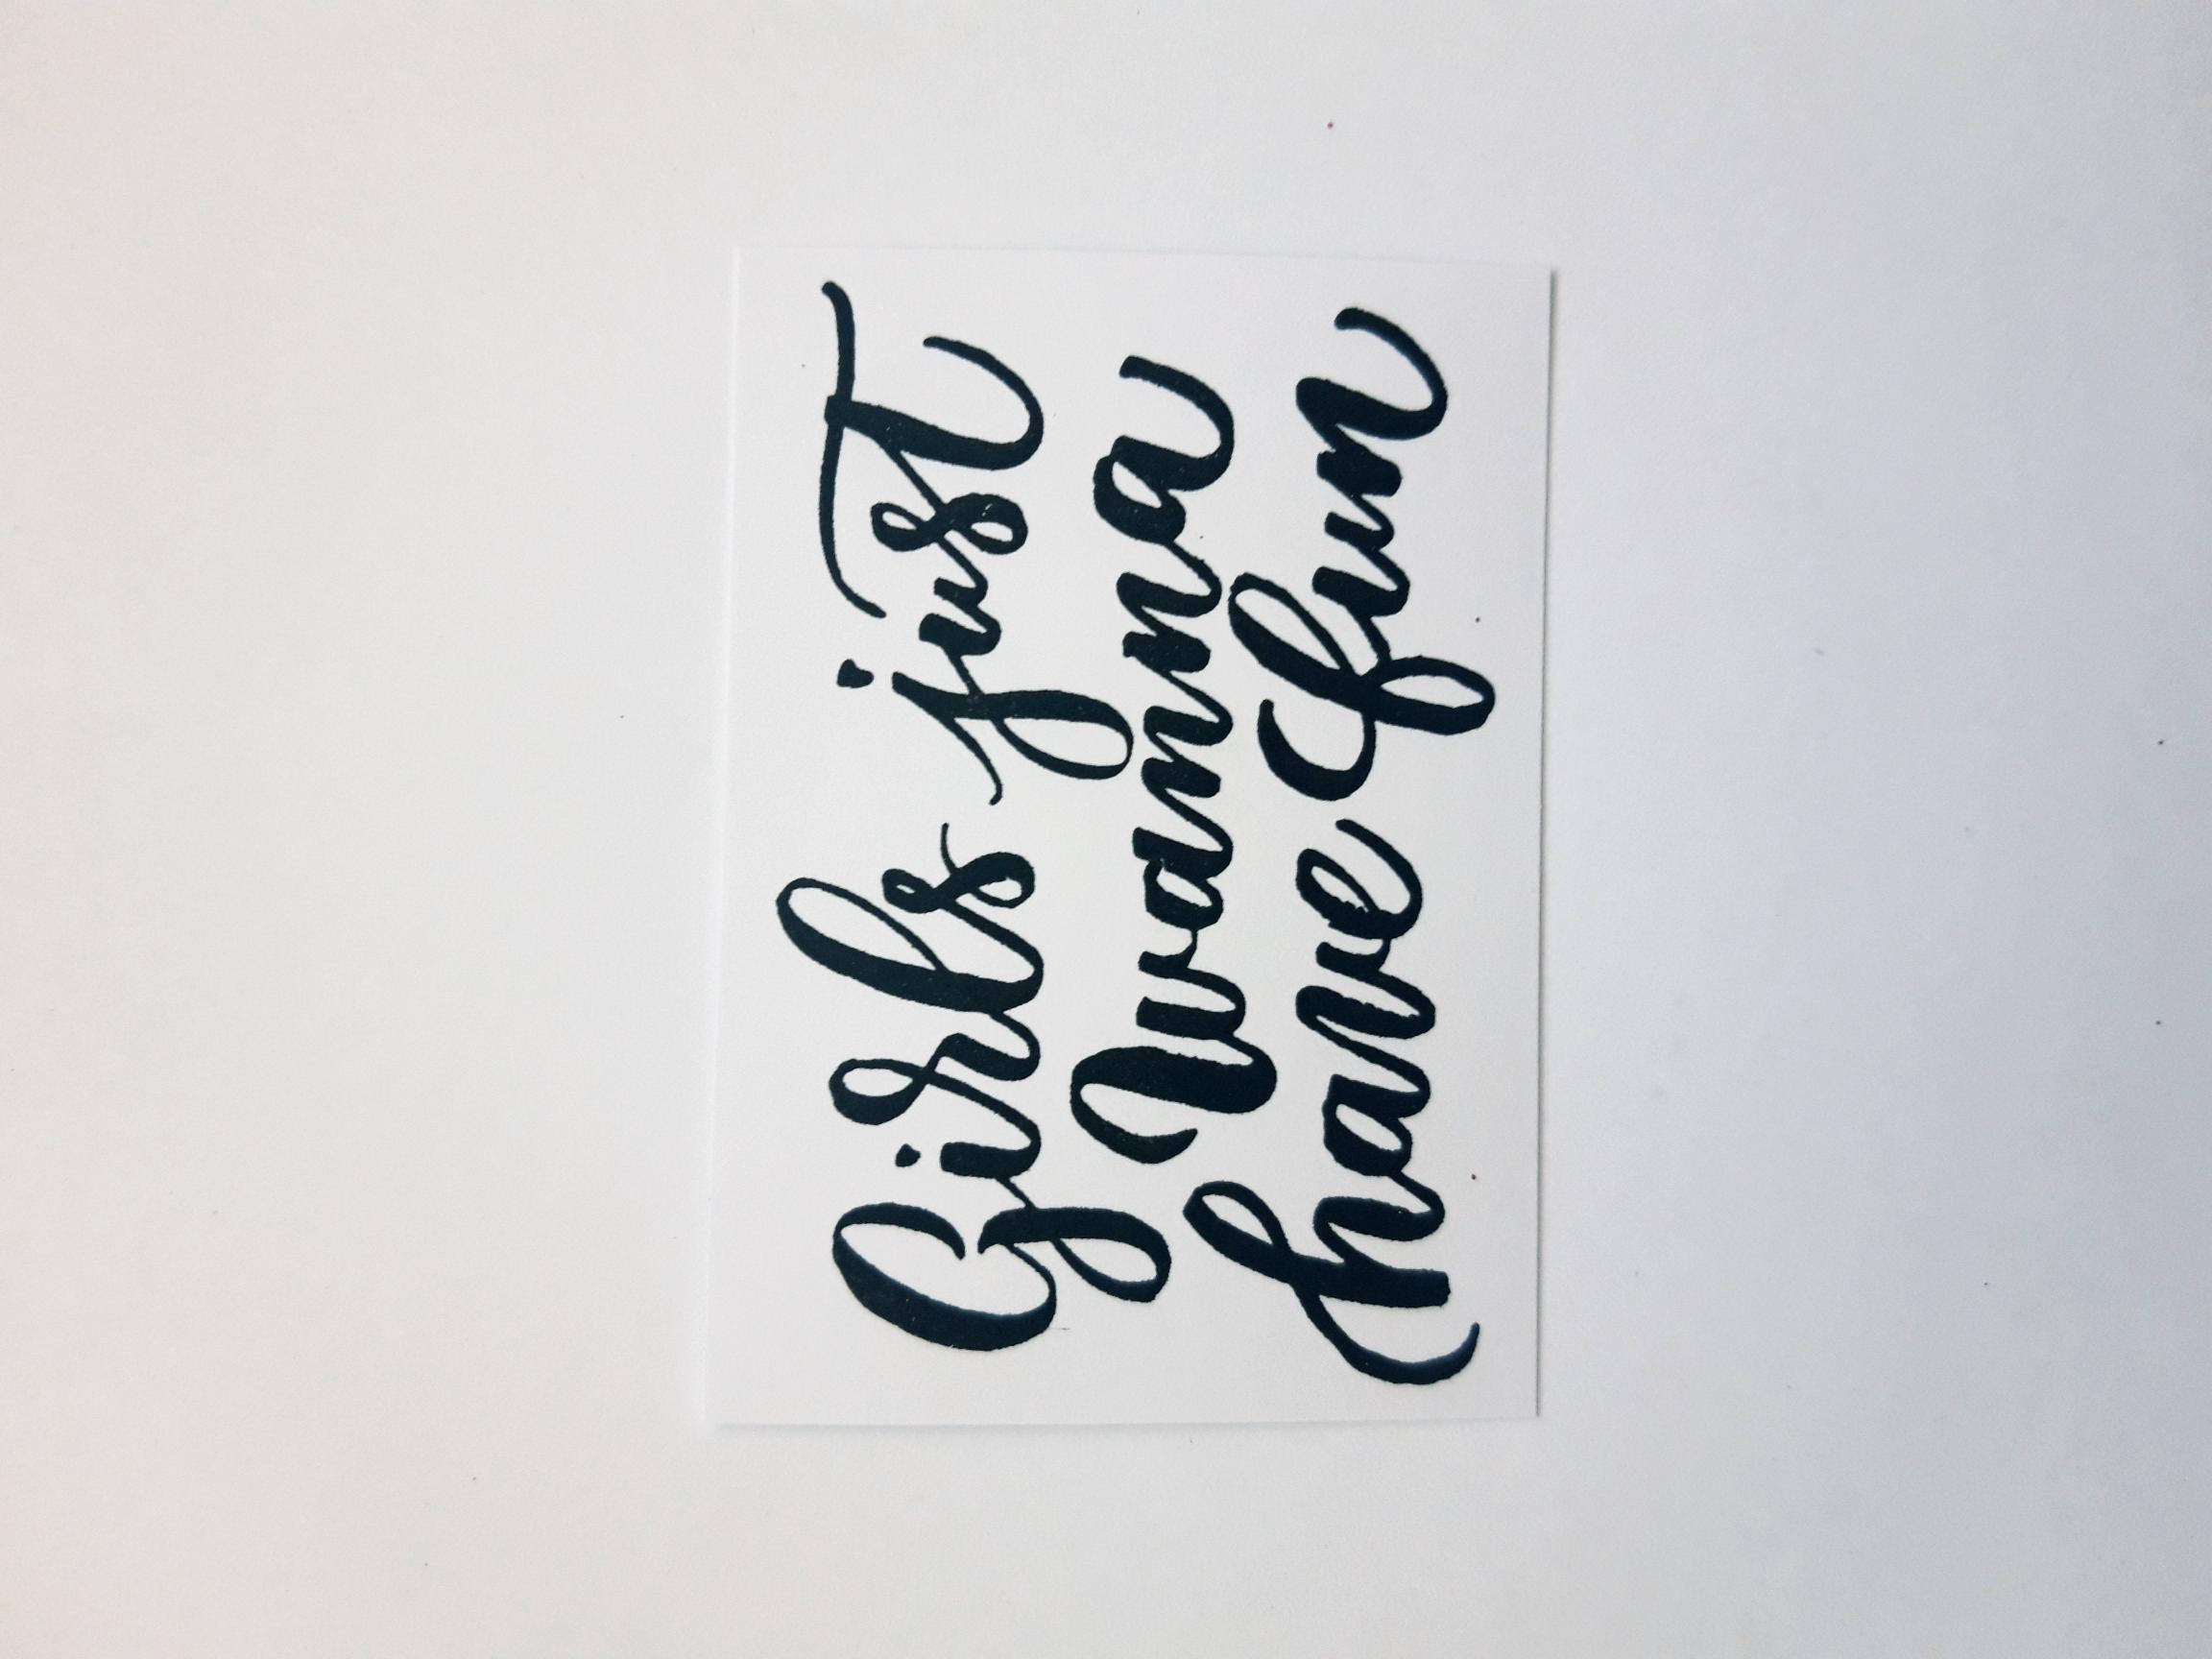
Ink up the sentiment from the Imala Top Hat Collection, with the Onyx Black Versafine and stamp on to the white card 3 x 2". You can trim around your stamped sentiment, as required. |
|
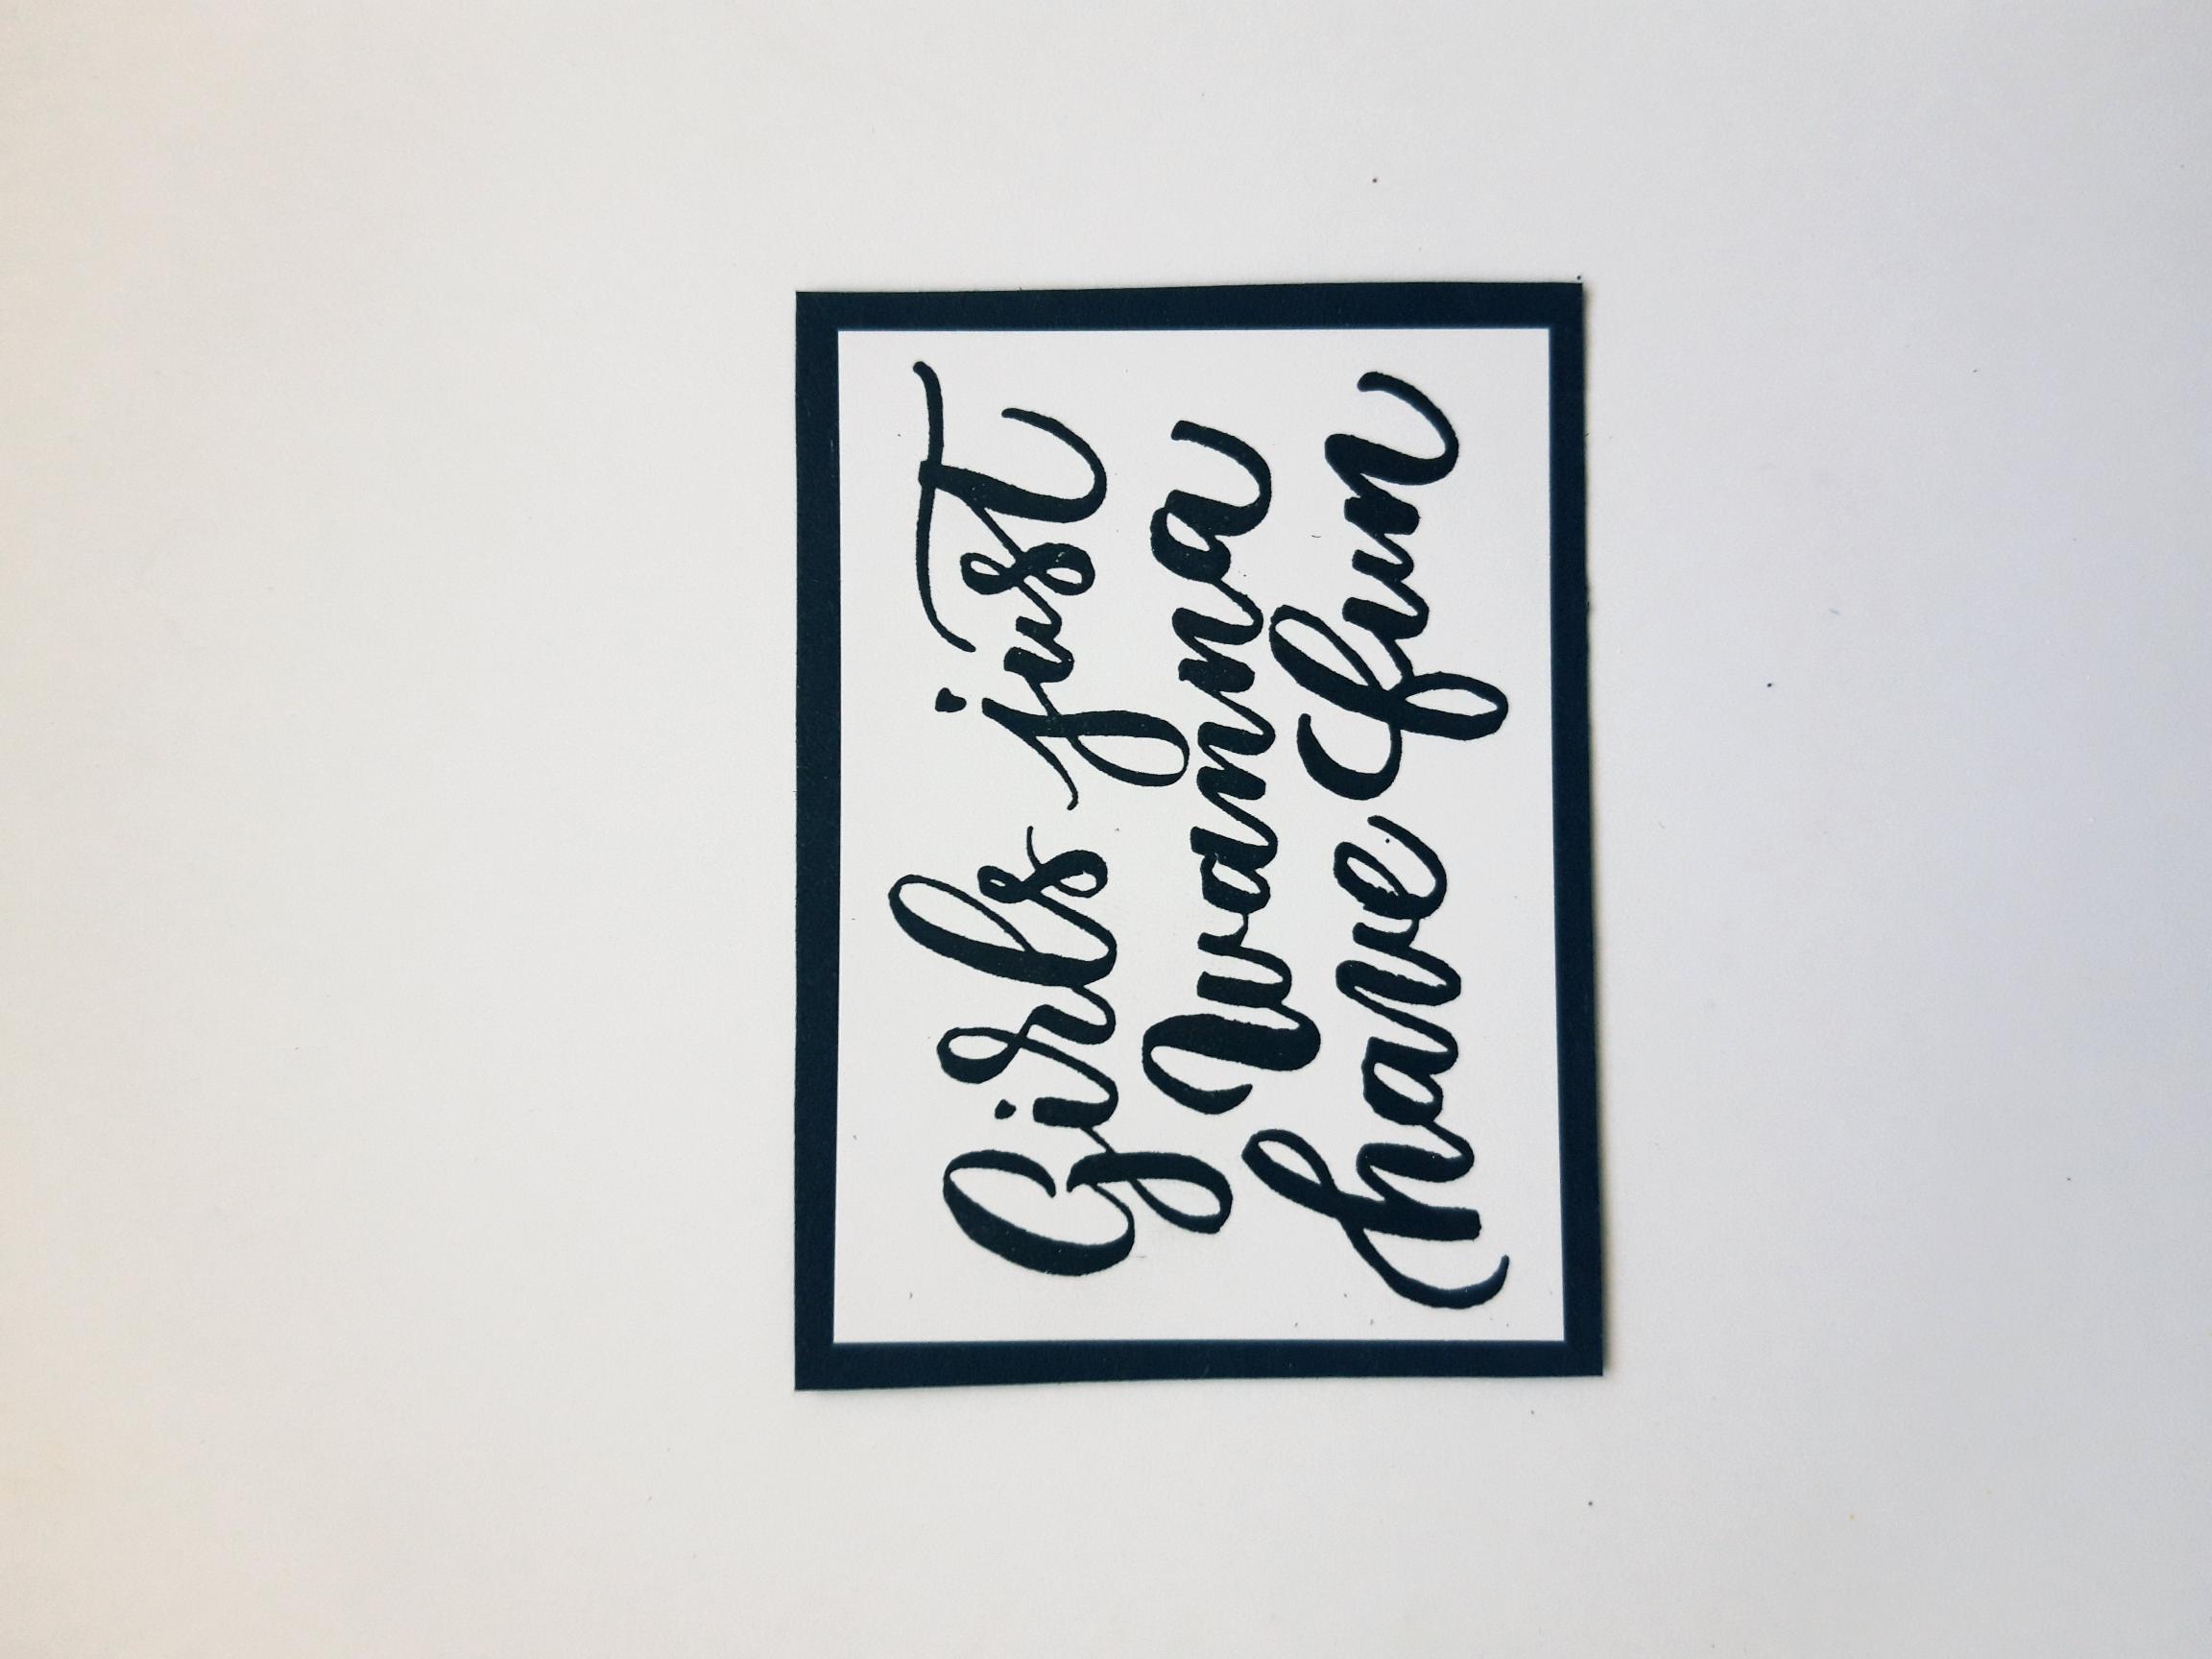
Adhere on to the black card, 3 1/2 x 2 1/2" and trim down as required. |
|
Adhere sentiment to the top right corner of your card. |
|
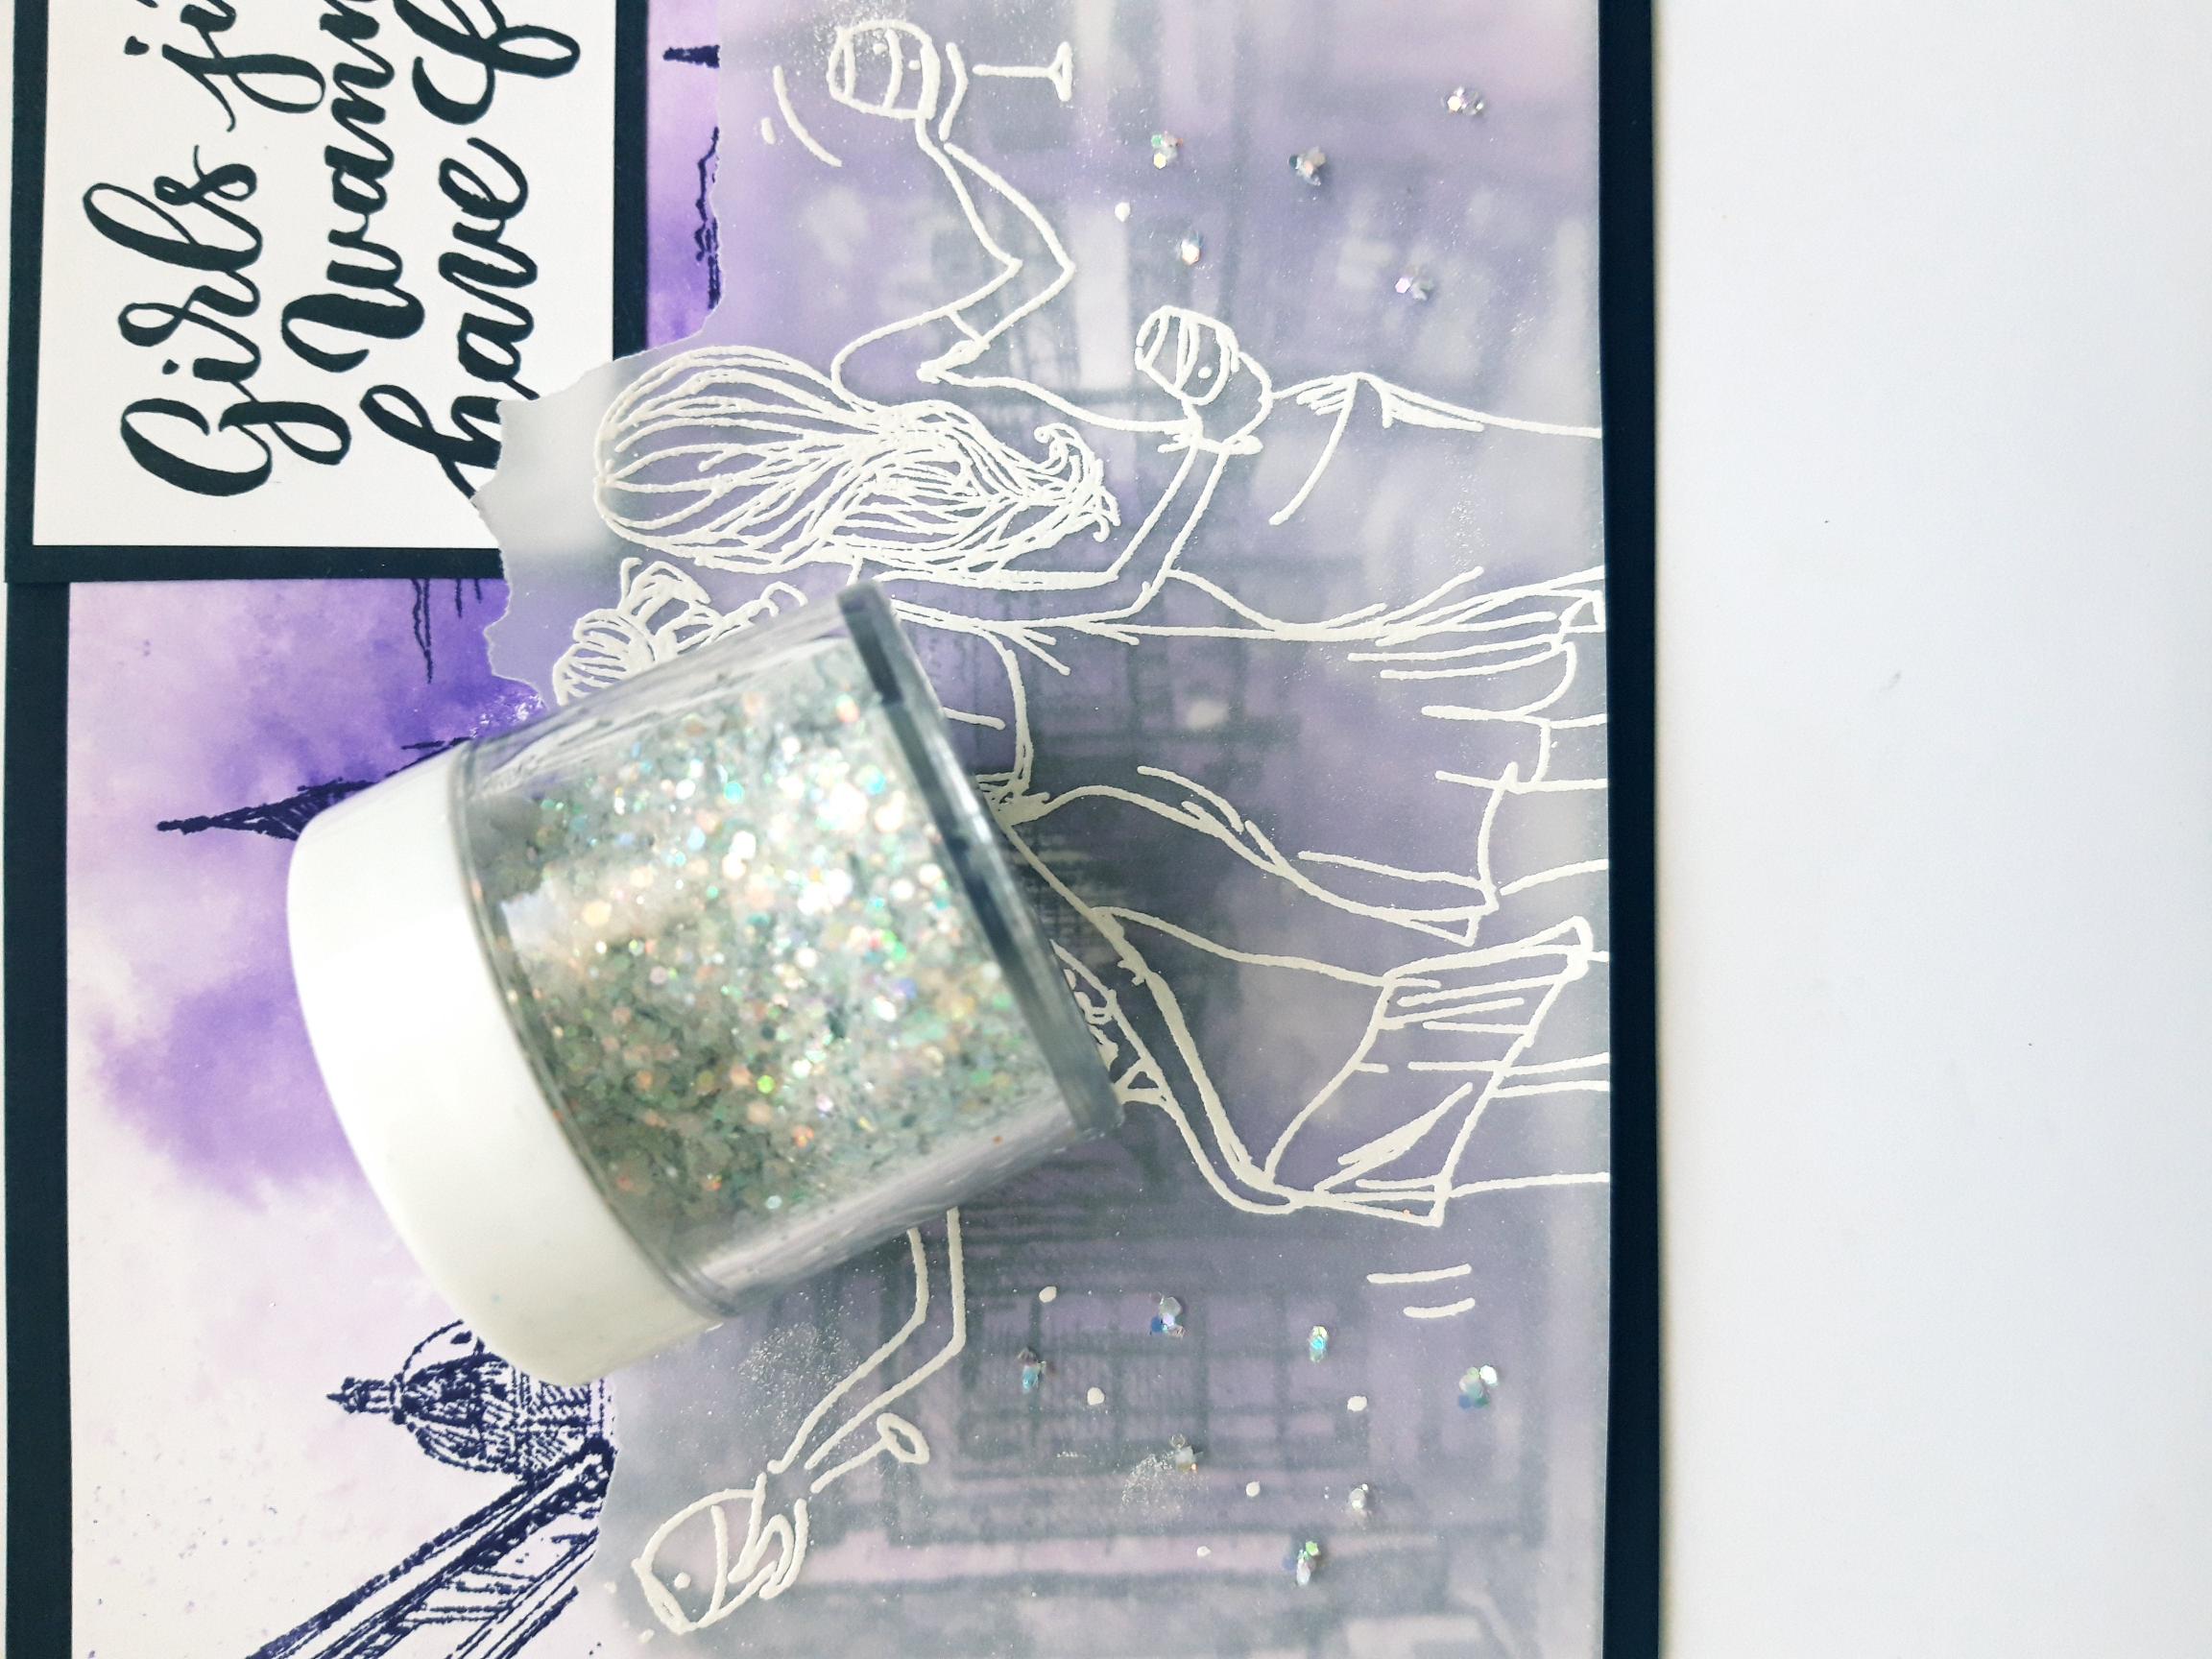
To finish, spot the Midas Glitter around and on your embossed image, where required. |