Give your friends $10 off their first order!
Refer a FRIEND


WHAT YOU WILL NEED
Pink top folding card blank - cut to 7 x 5"
Black card 6 1/2 x 4 1/2"
White card 6 1/4 x 4 1/4"
Vellum - tear to 5 x 1 1/2"
Be Happy Lamination Collection
Premium Dye ink pad: Magenta, Indigo
WOW embossing ink pad
WOW gold embossing powder
WOW heat tool
Anti-static bag
Pearlywinks Golden Shimmer Pearl Mist
Water spray bottle
Eureka 101
Paper Trimmer
Perfect Together Glue
Double sided adhesive tape
[click image to enlarge] 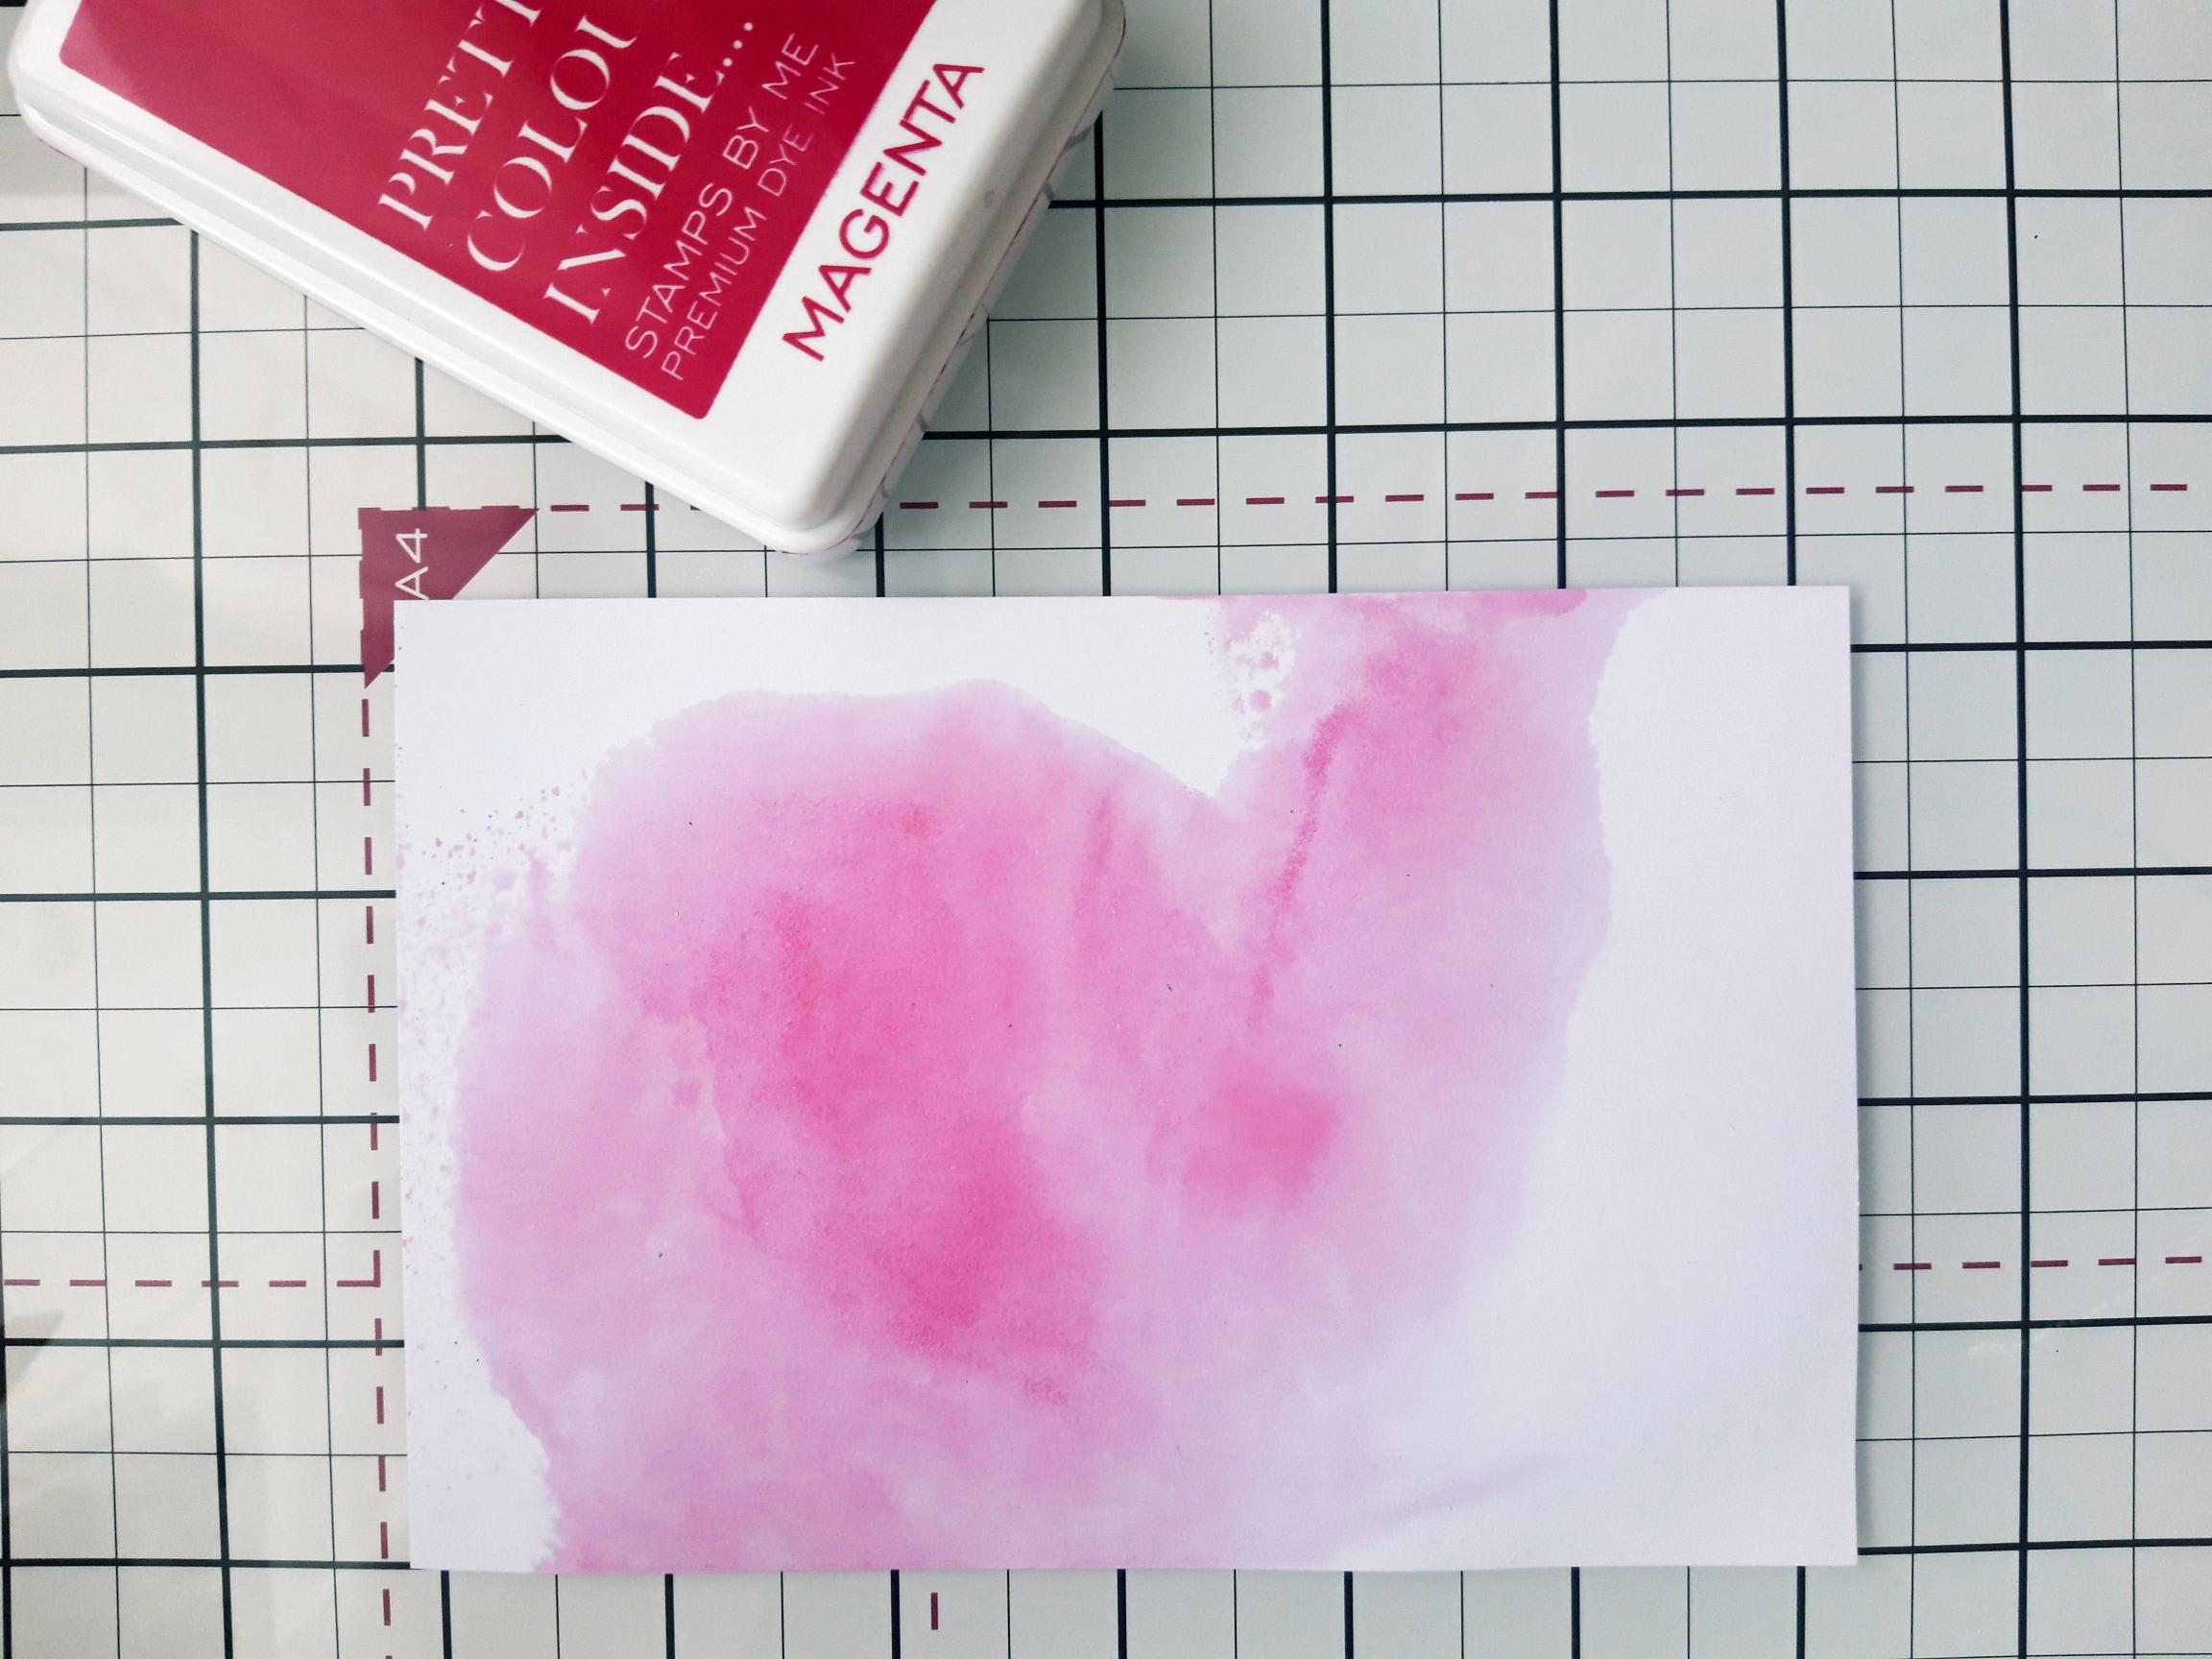
|
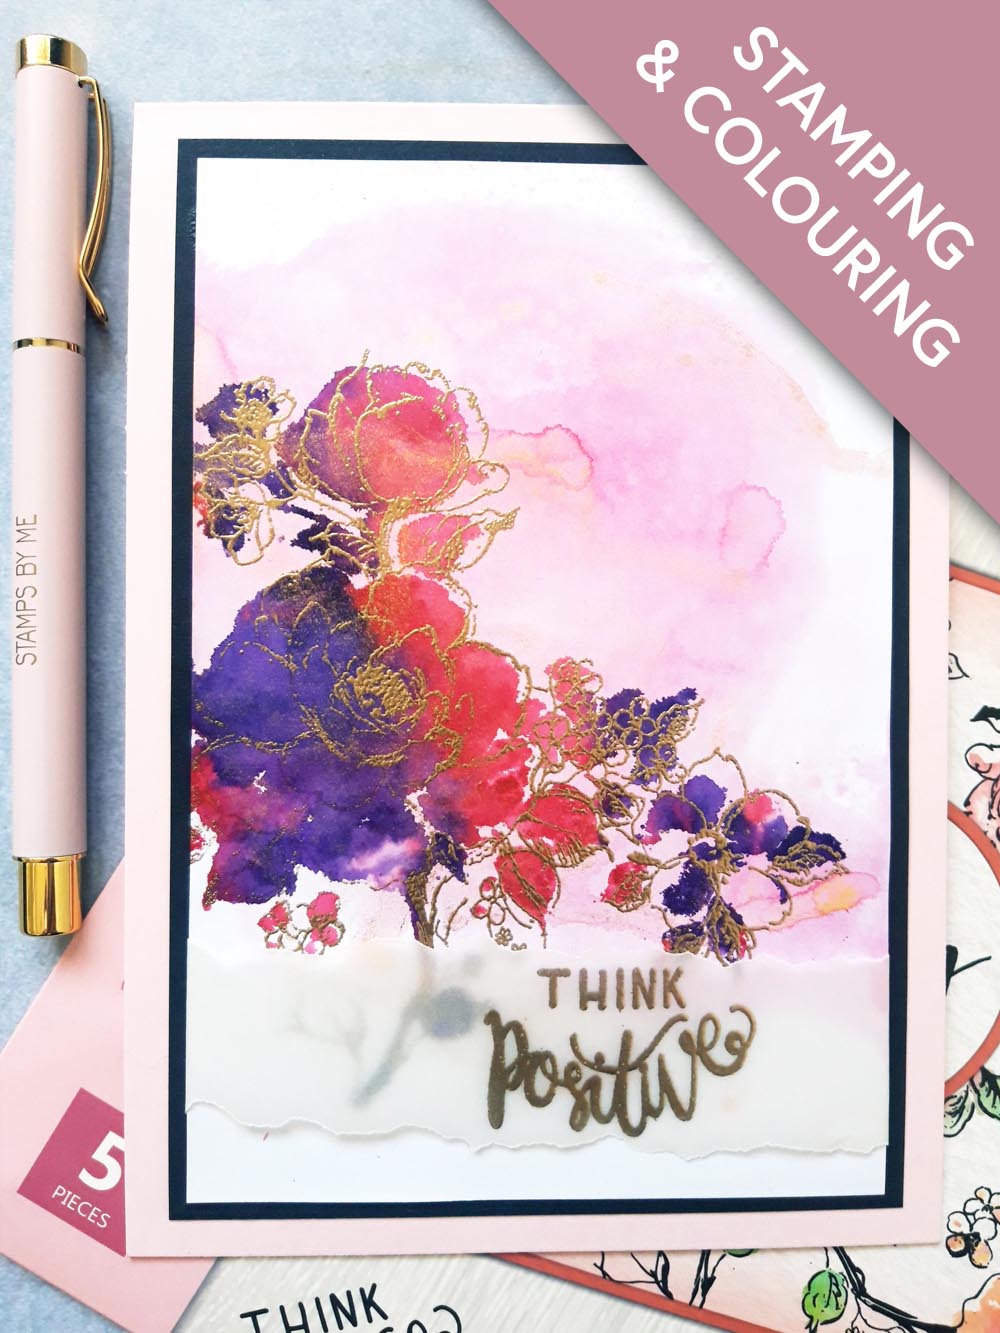
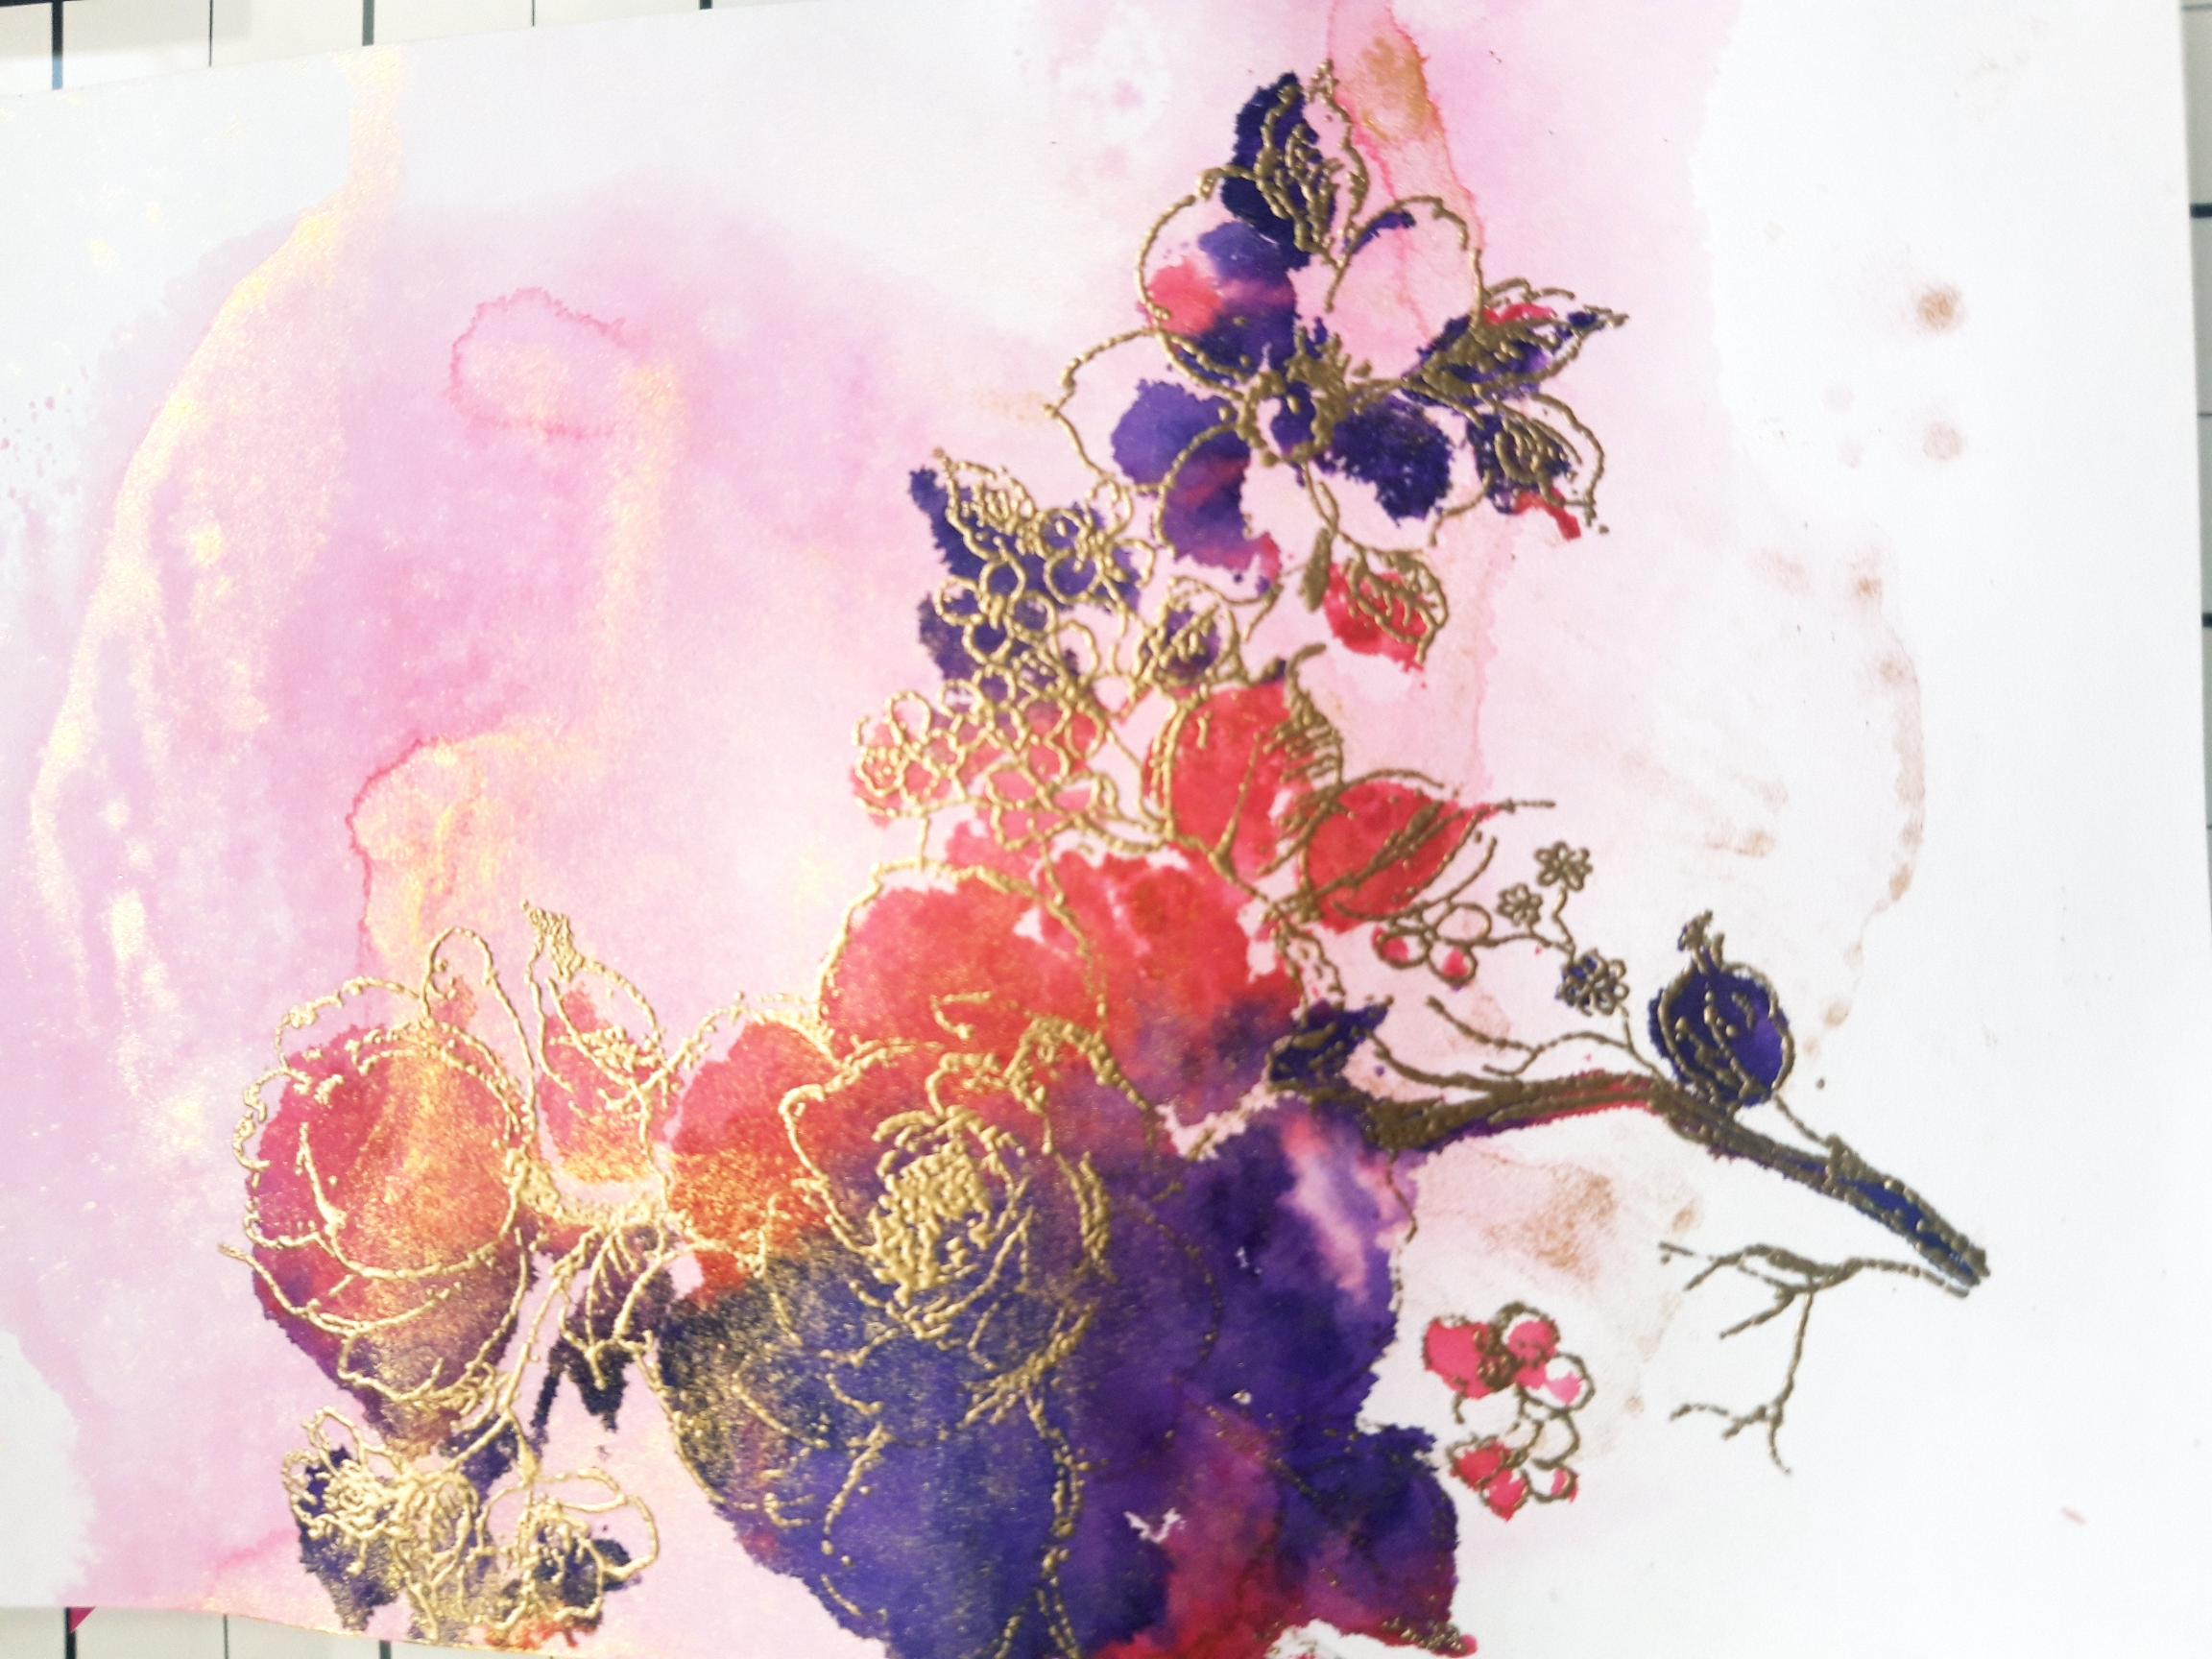
Apply a little of the Magenta dye ink on to your craft mat. Add a little water then smoosh the white card through the ink. |
|
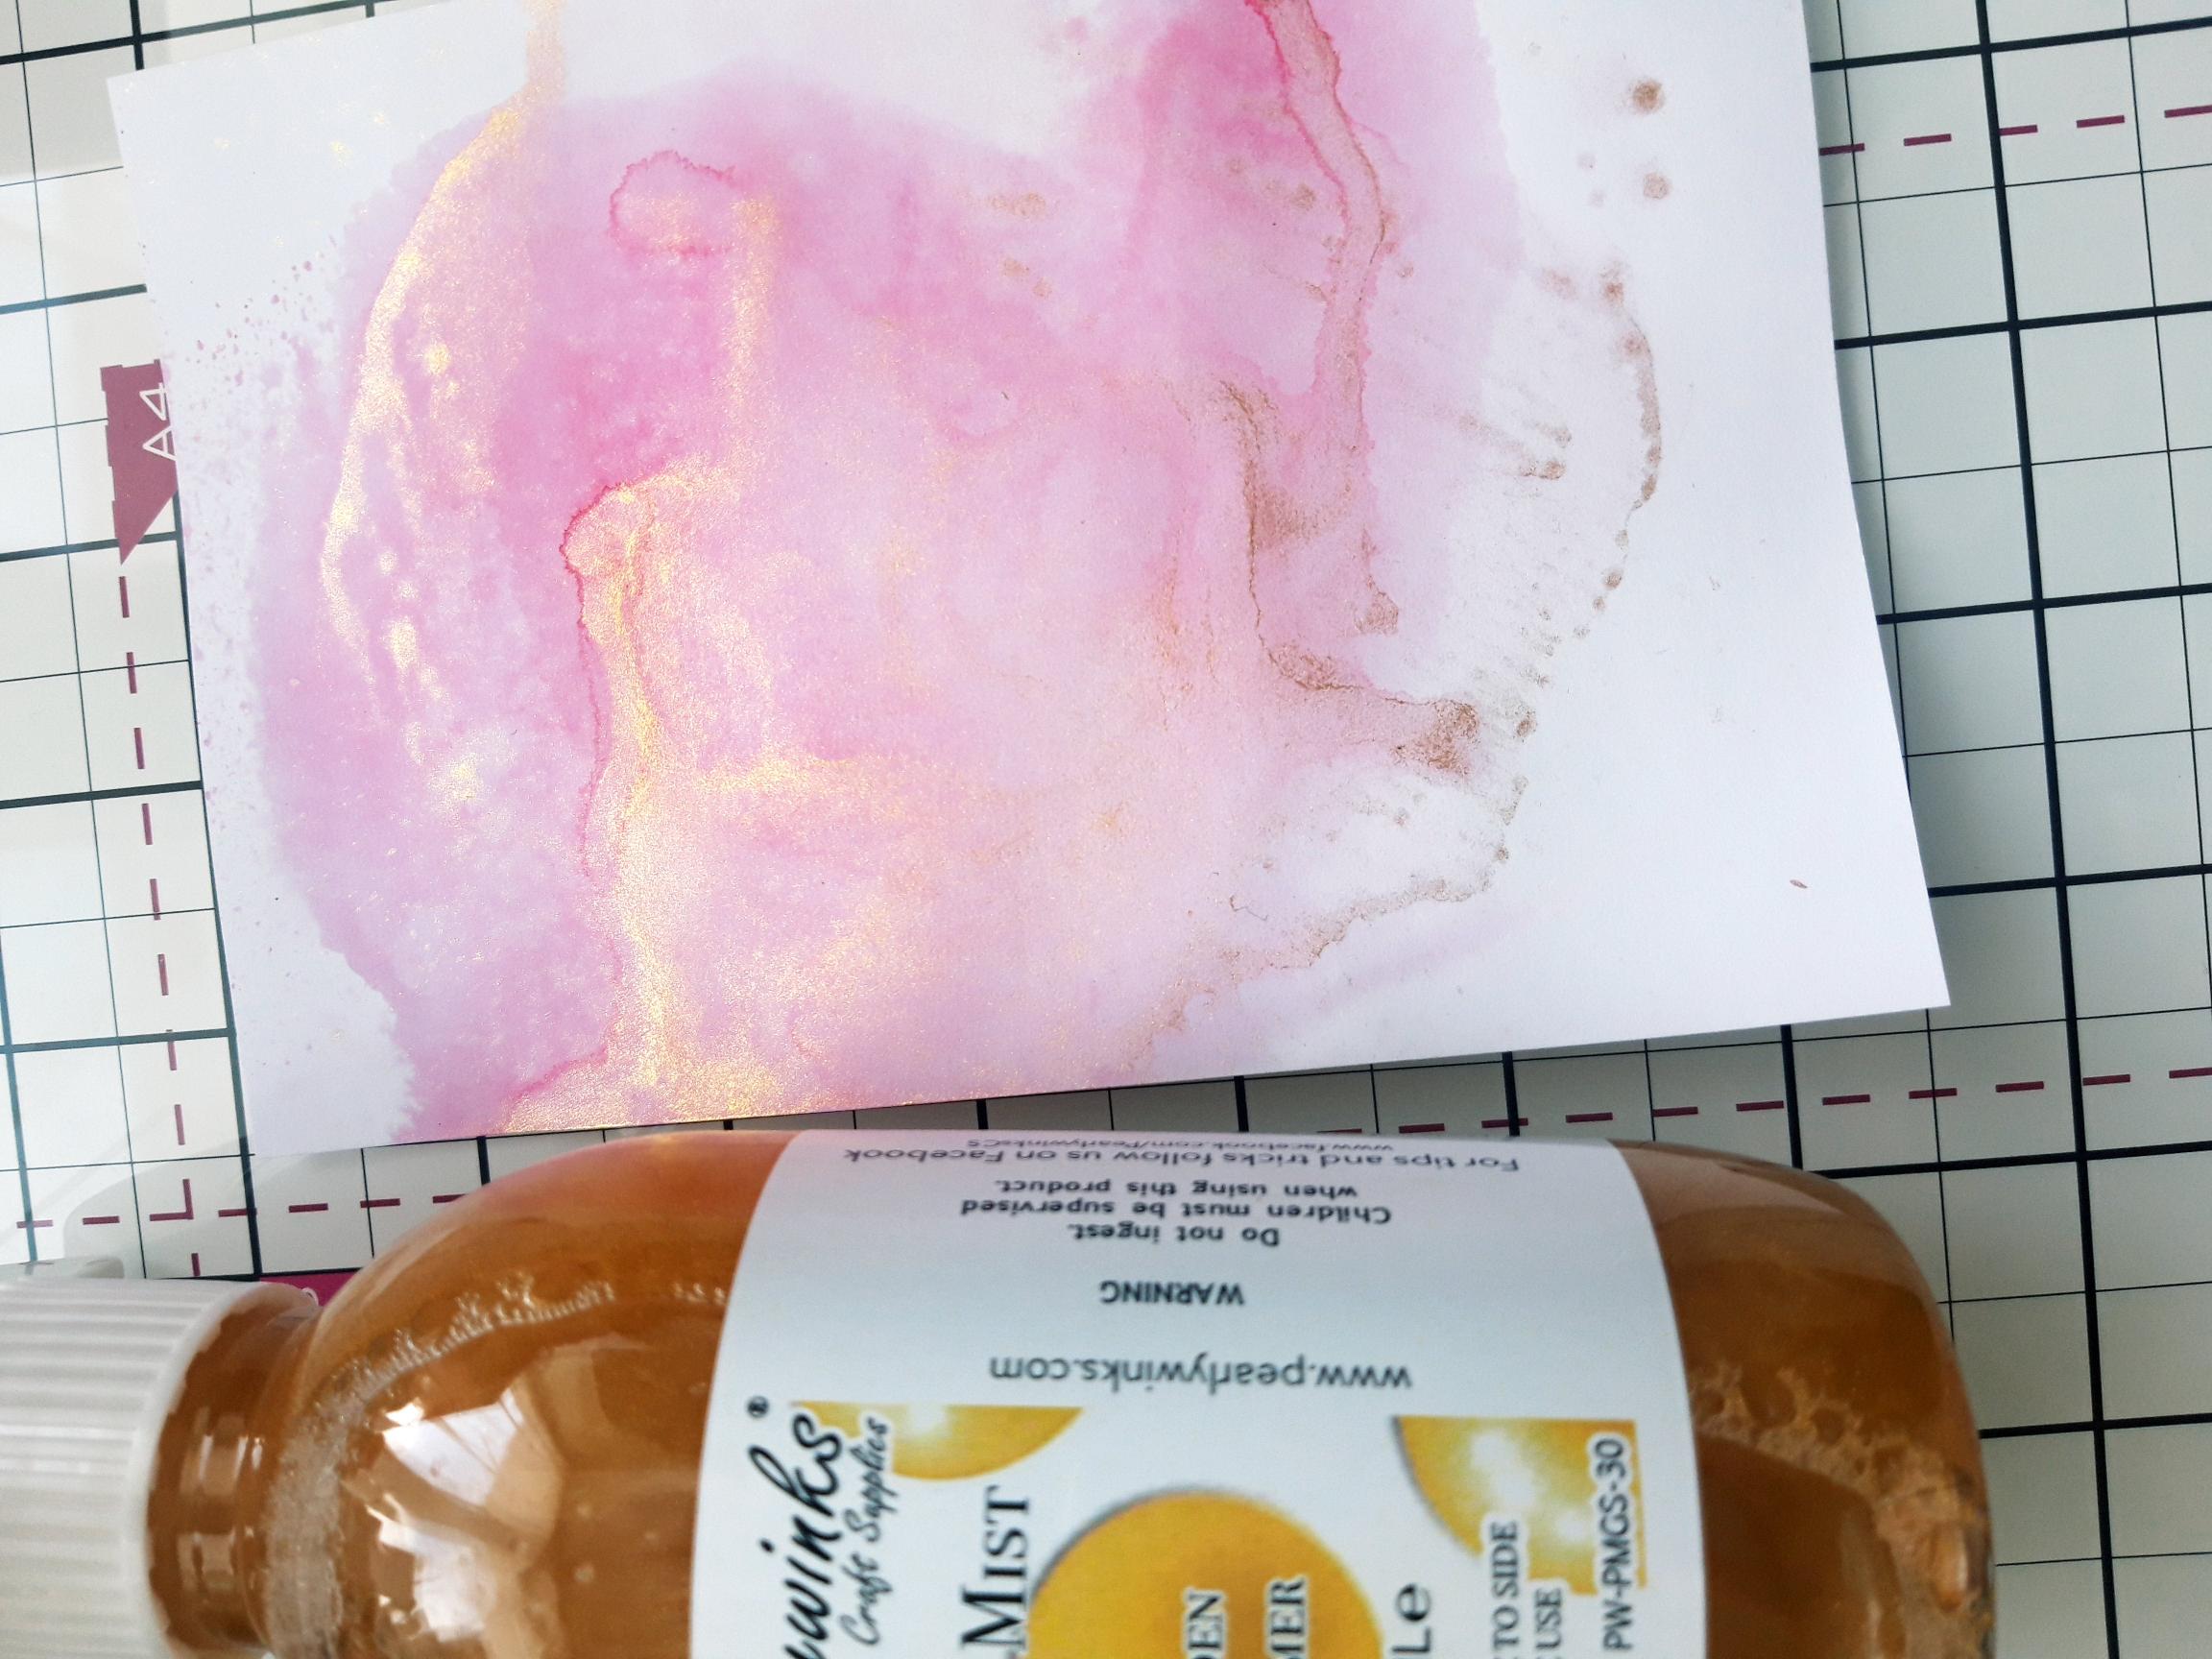
Give the Pearlywinks Golden Shimmer Mist a swirl, then spray on to your craft mat. Smoosh your background through the pearl mist, then dry off with your heat tool. |
|
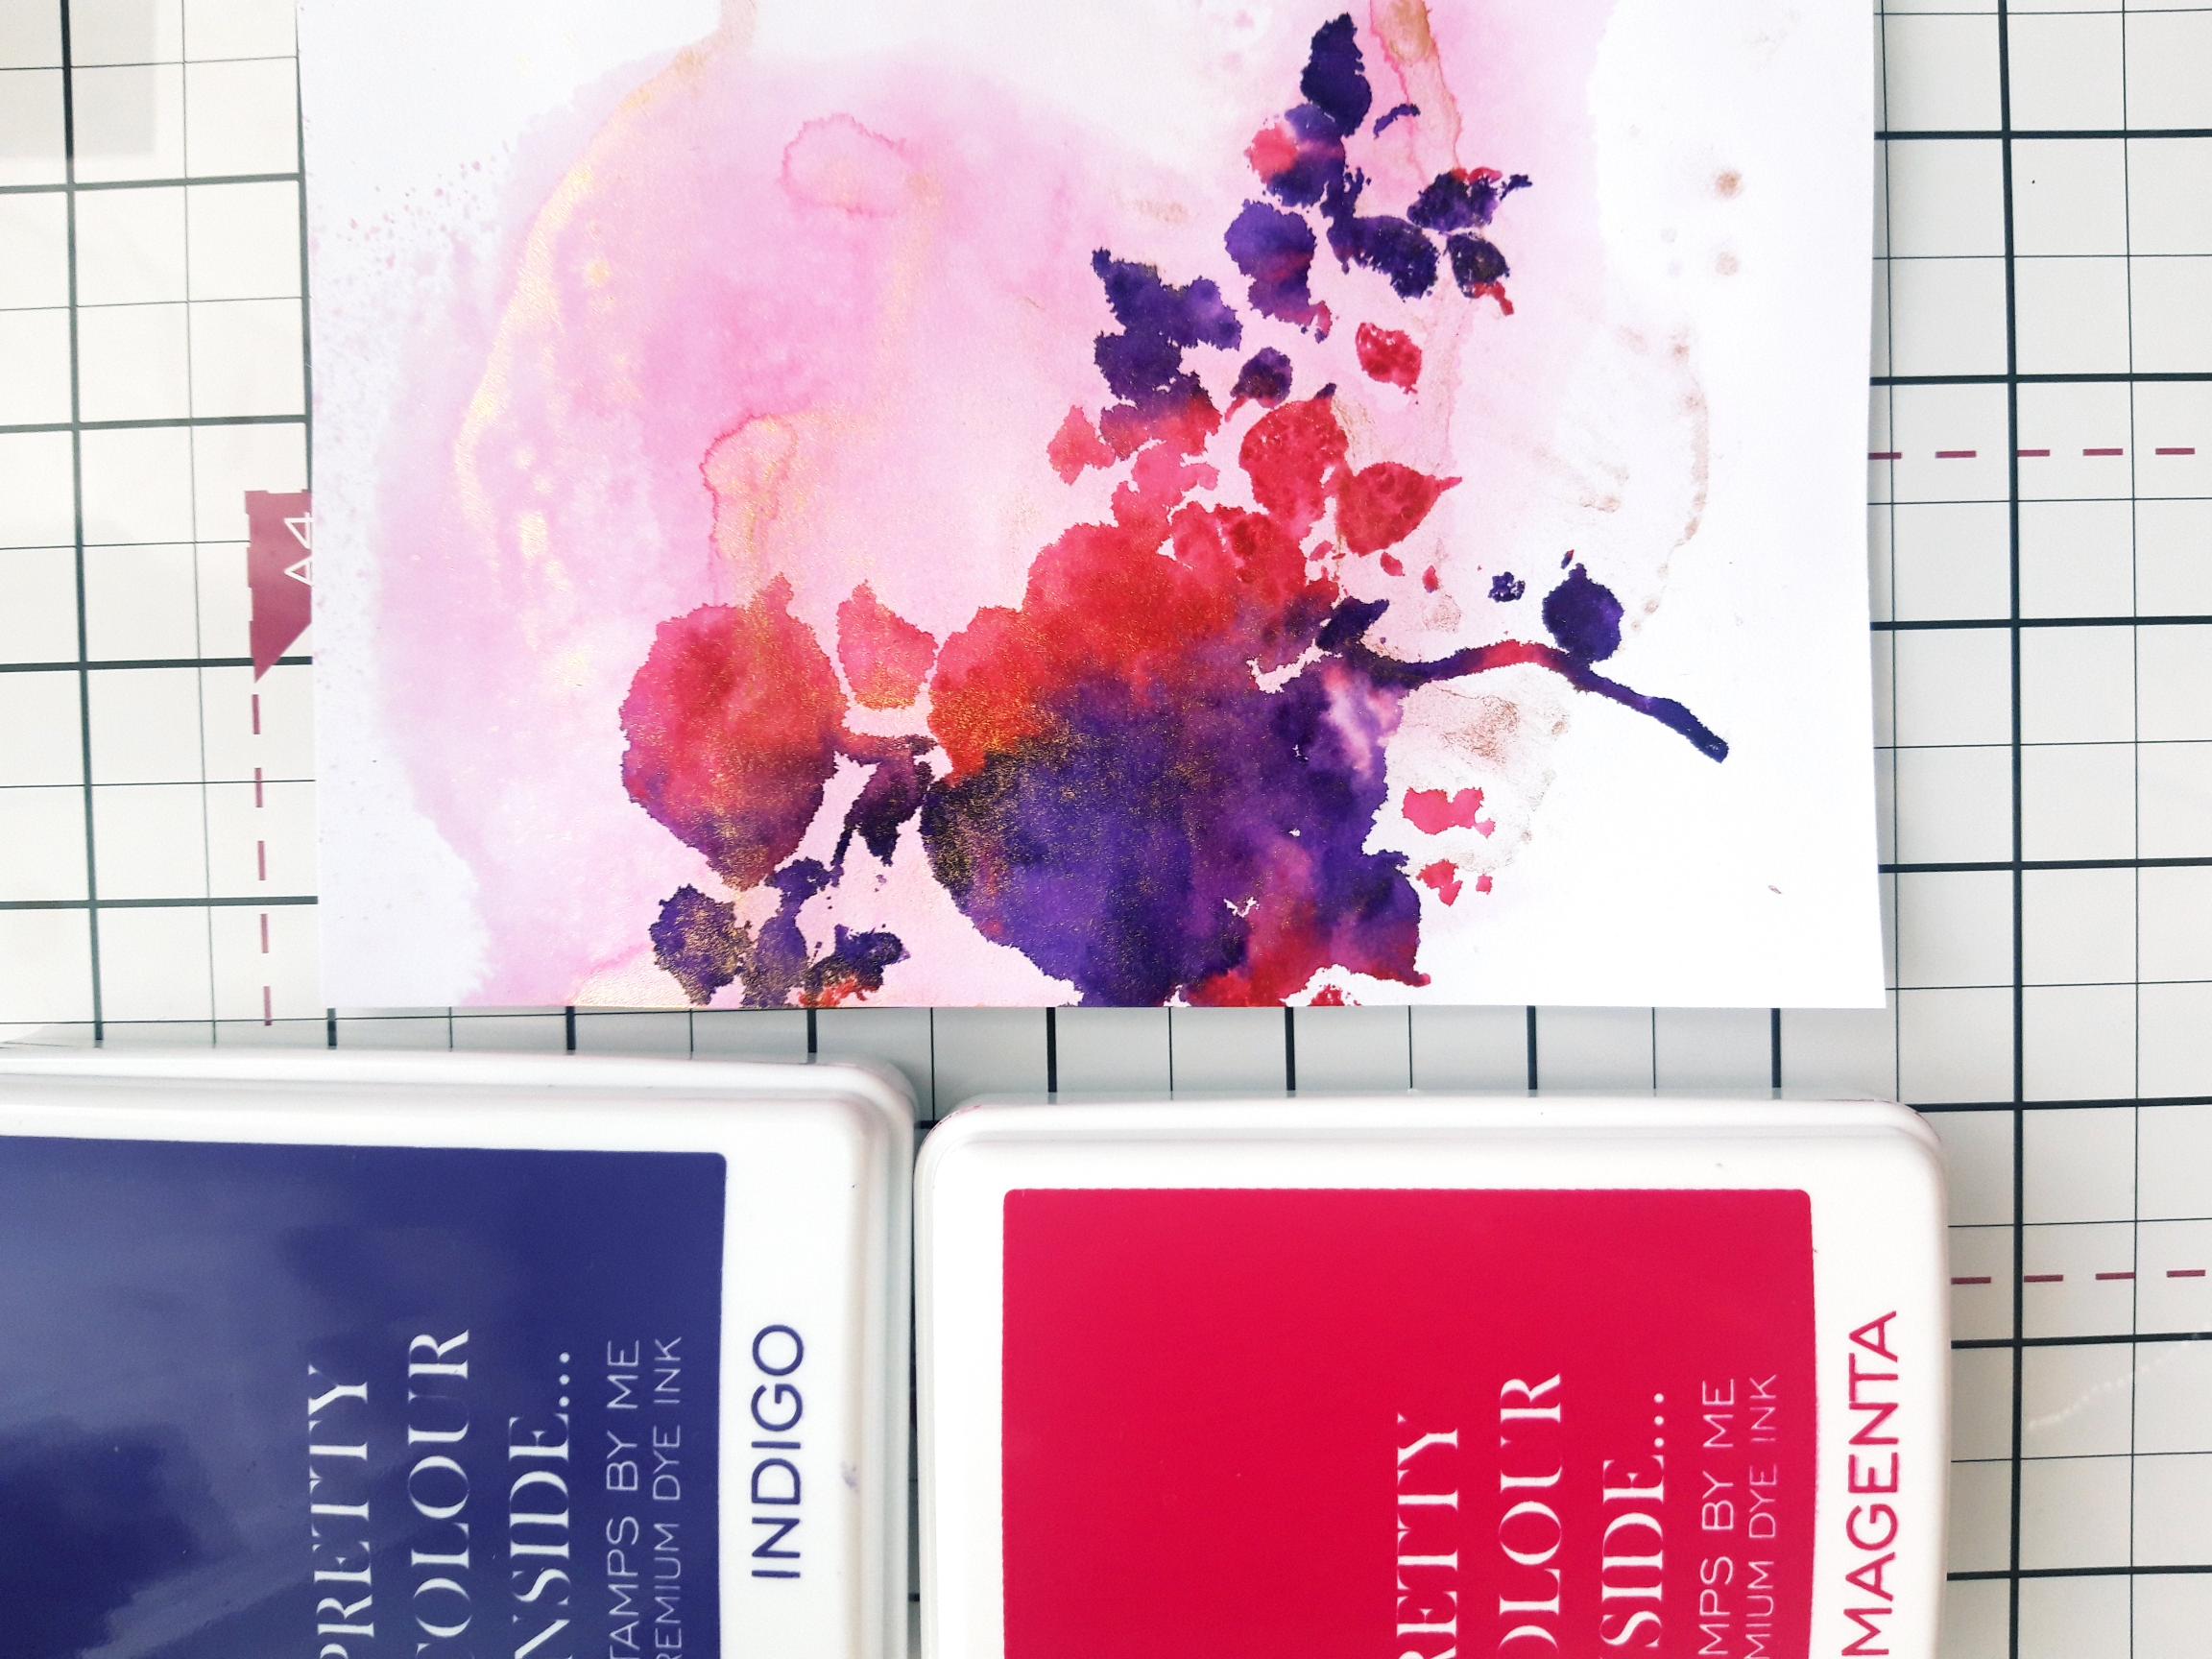
Ink up the solid stamp, from the Be Happy Lamination Collection, with the Indigo and Magenta ink pads. Spritz the stamp with water then stamp just off the left hand edge of your background. Leave the stamp in place for a few seconds, allowing the colours to bleed and the card to drink up the ink. You need to thoroughly dry all the ink, before proceeding to the next step. |
|
Liberally apply the anti-static bag all over your artwork. Ink up the coordinating, detailed stamp with the WOW embossing ink and stamp over your inked image. Sprinkle the gold embossing powder over your sticky image, then once your heat tool is hot, heat set the powder. Ensure you move the heat tool as soon as the powder turns, to avoid warping your card or burning the powder. Set to one side. |
|
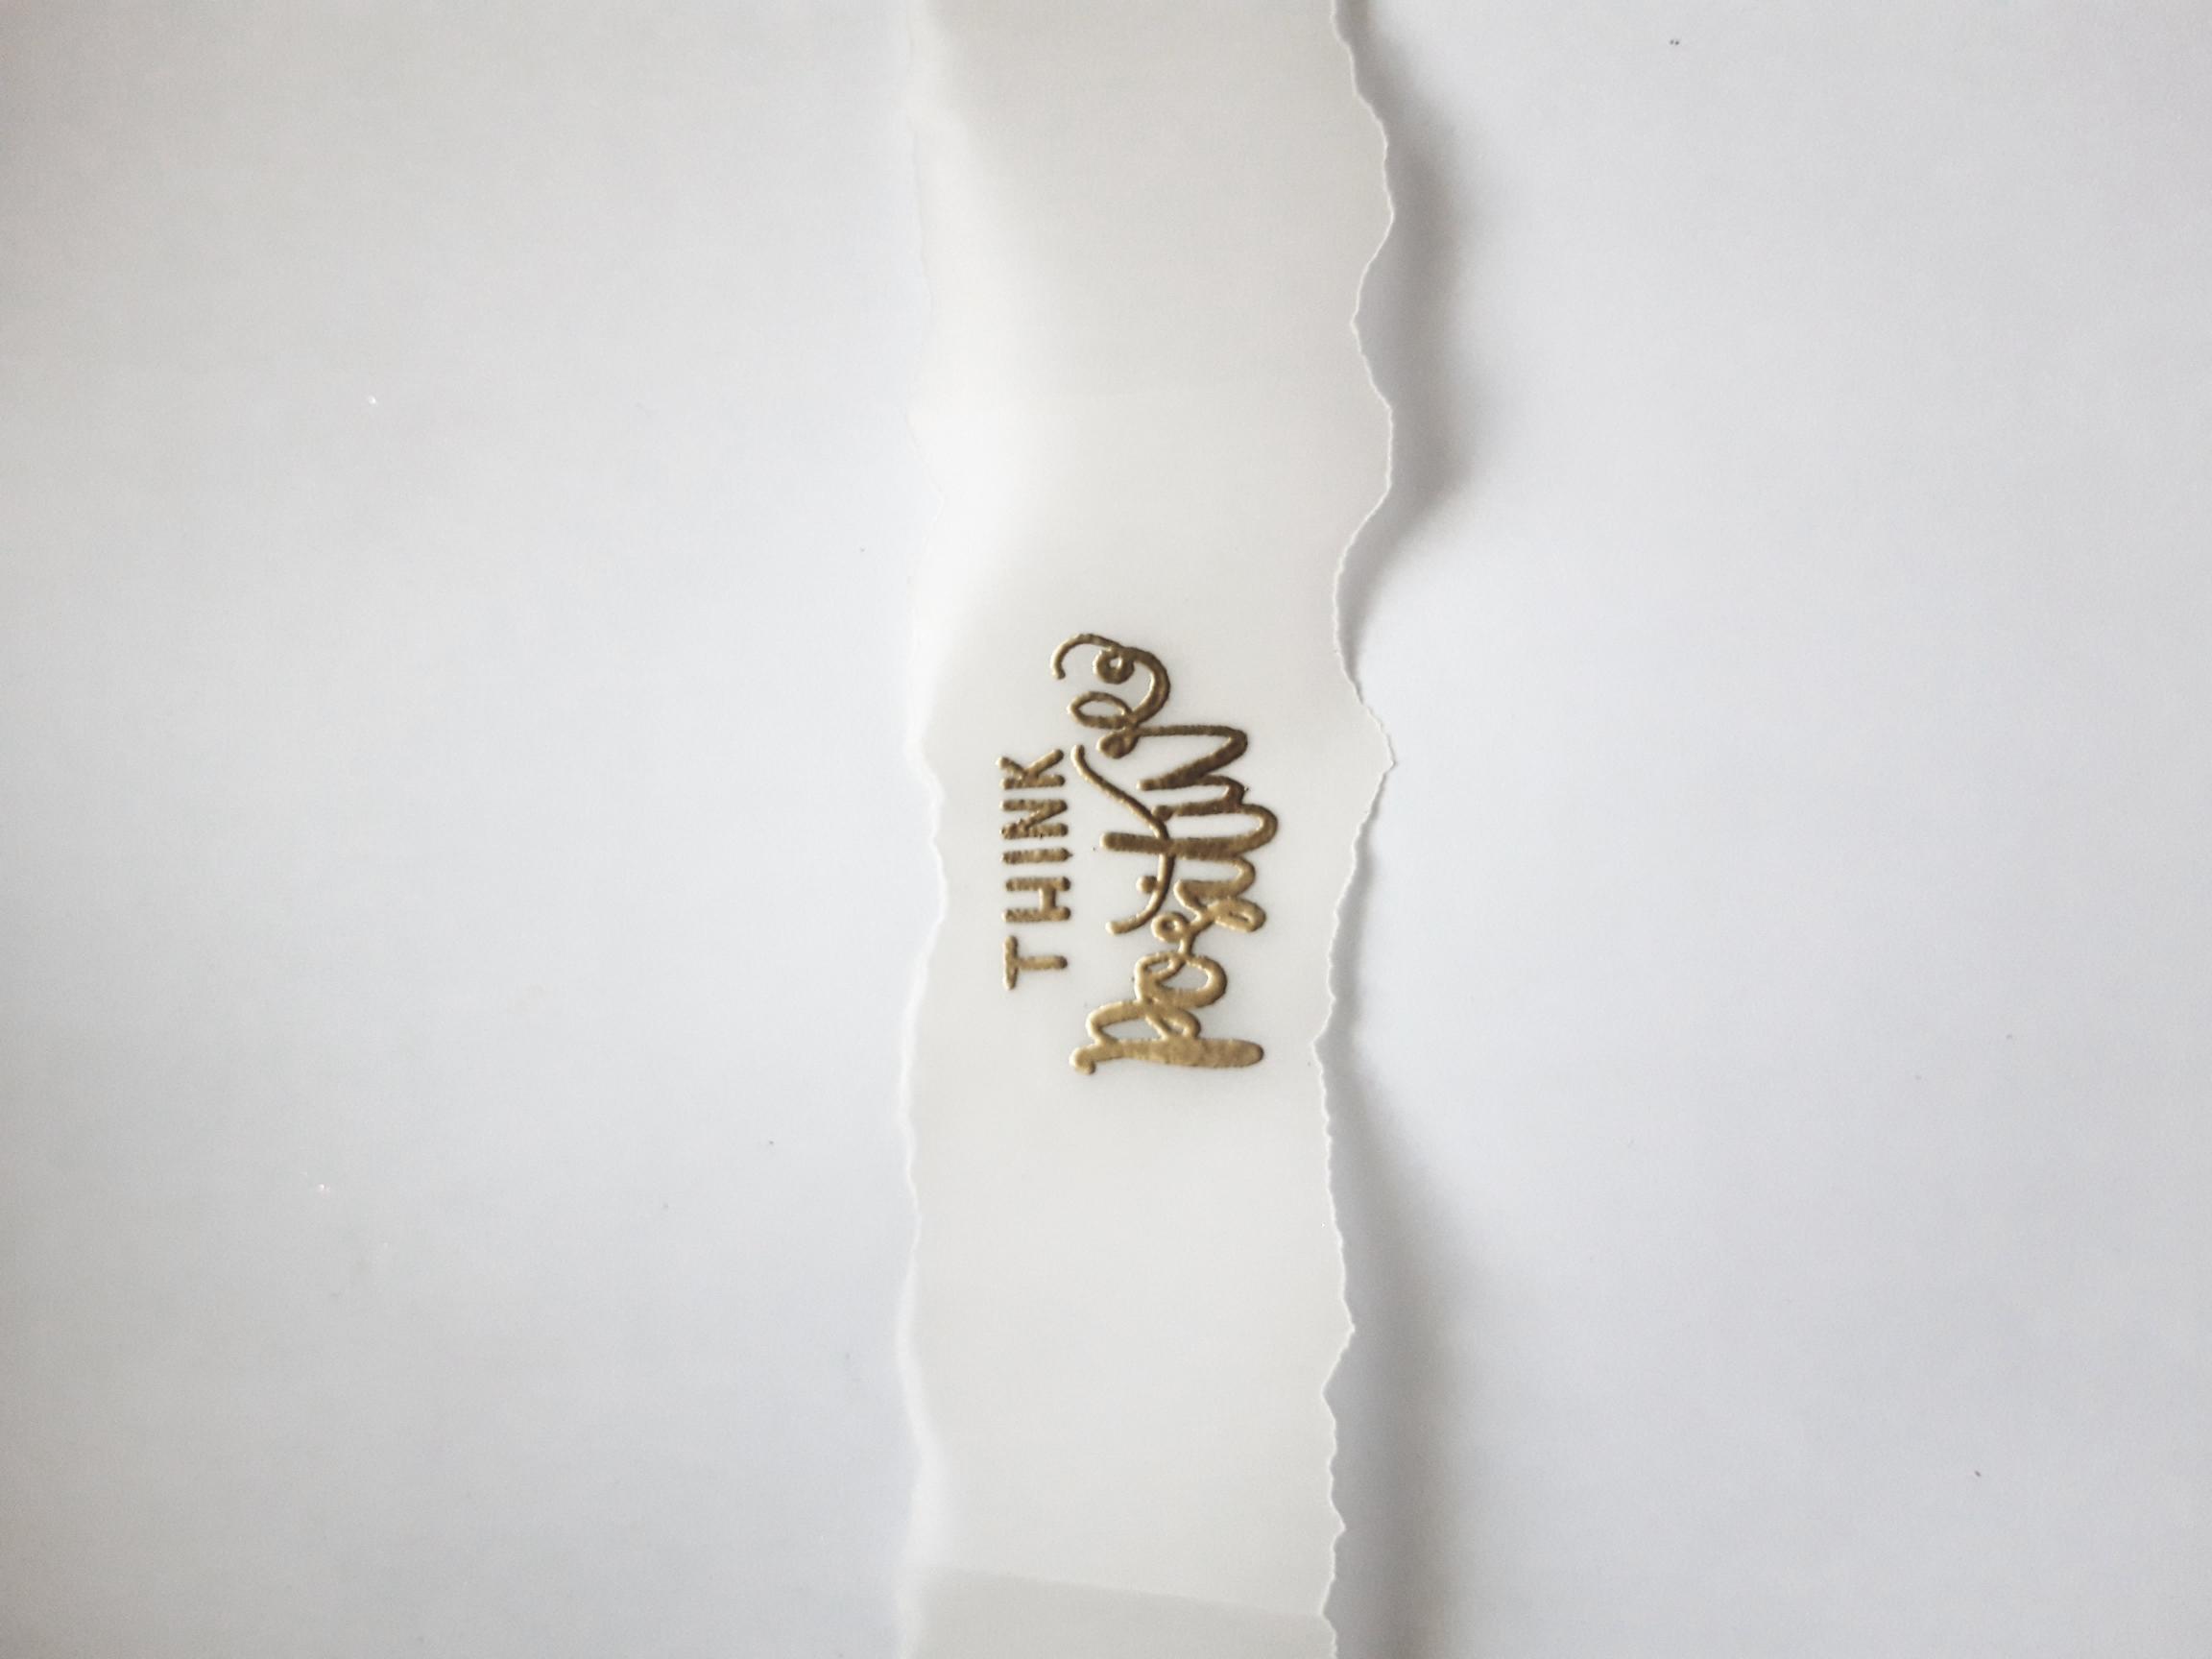
Wipe over the vellum panel with your anti-static bag, then ink up the sentiment stamp, from the same collection, with the WOW embossing ink. Stamp on to the vellum, apply the gold embossing powder and heat set as before. |
|
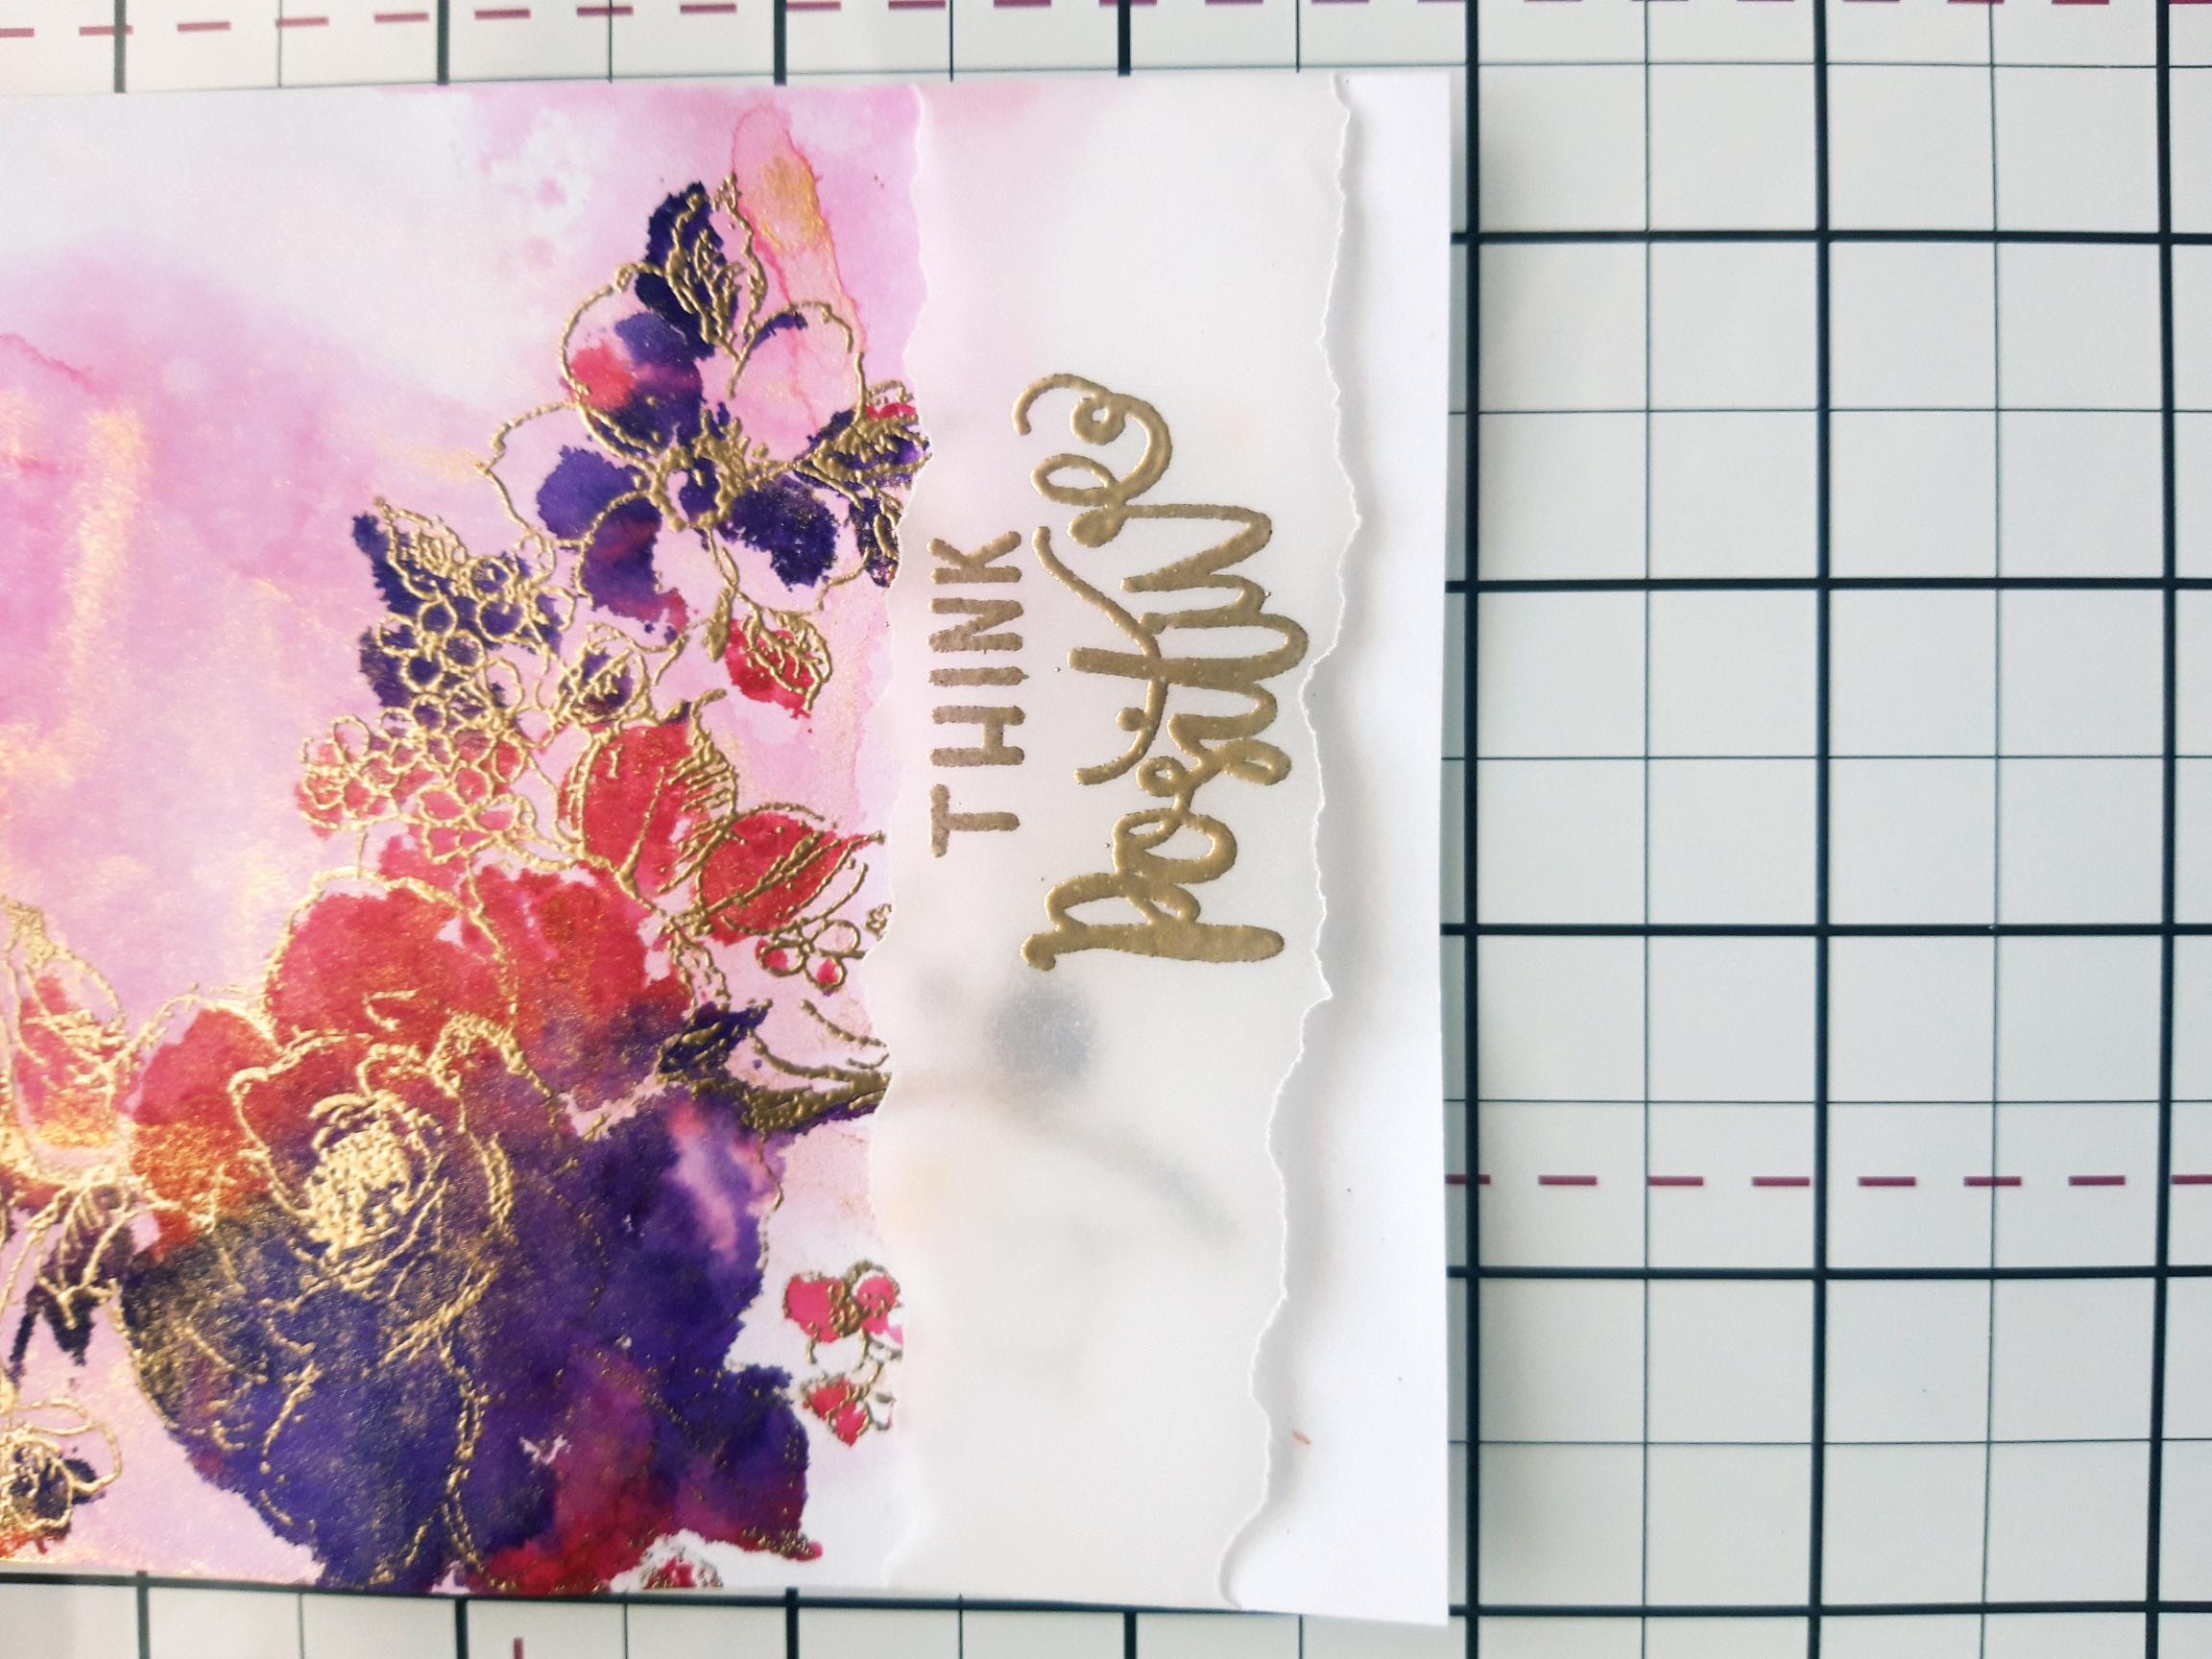
Place the embossed vellum across the bottom of your image, tuck the ends over the sides of the card and secure on the back, with double sided tape. |
|
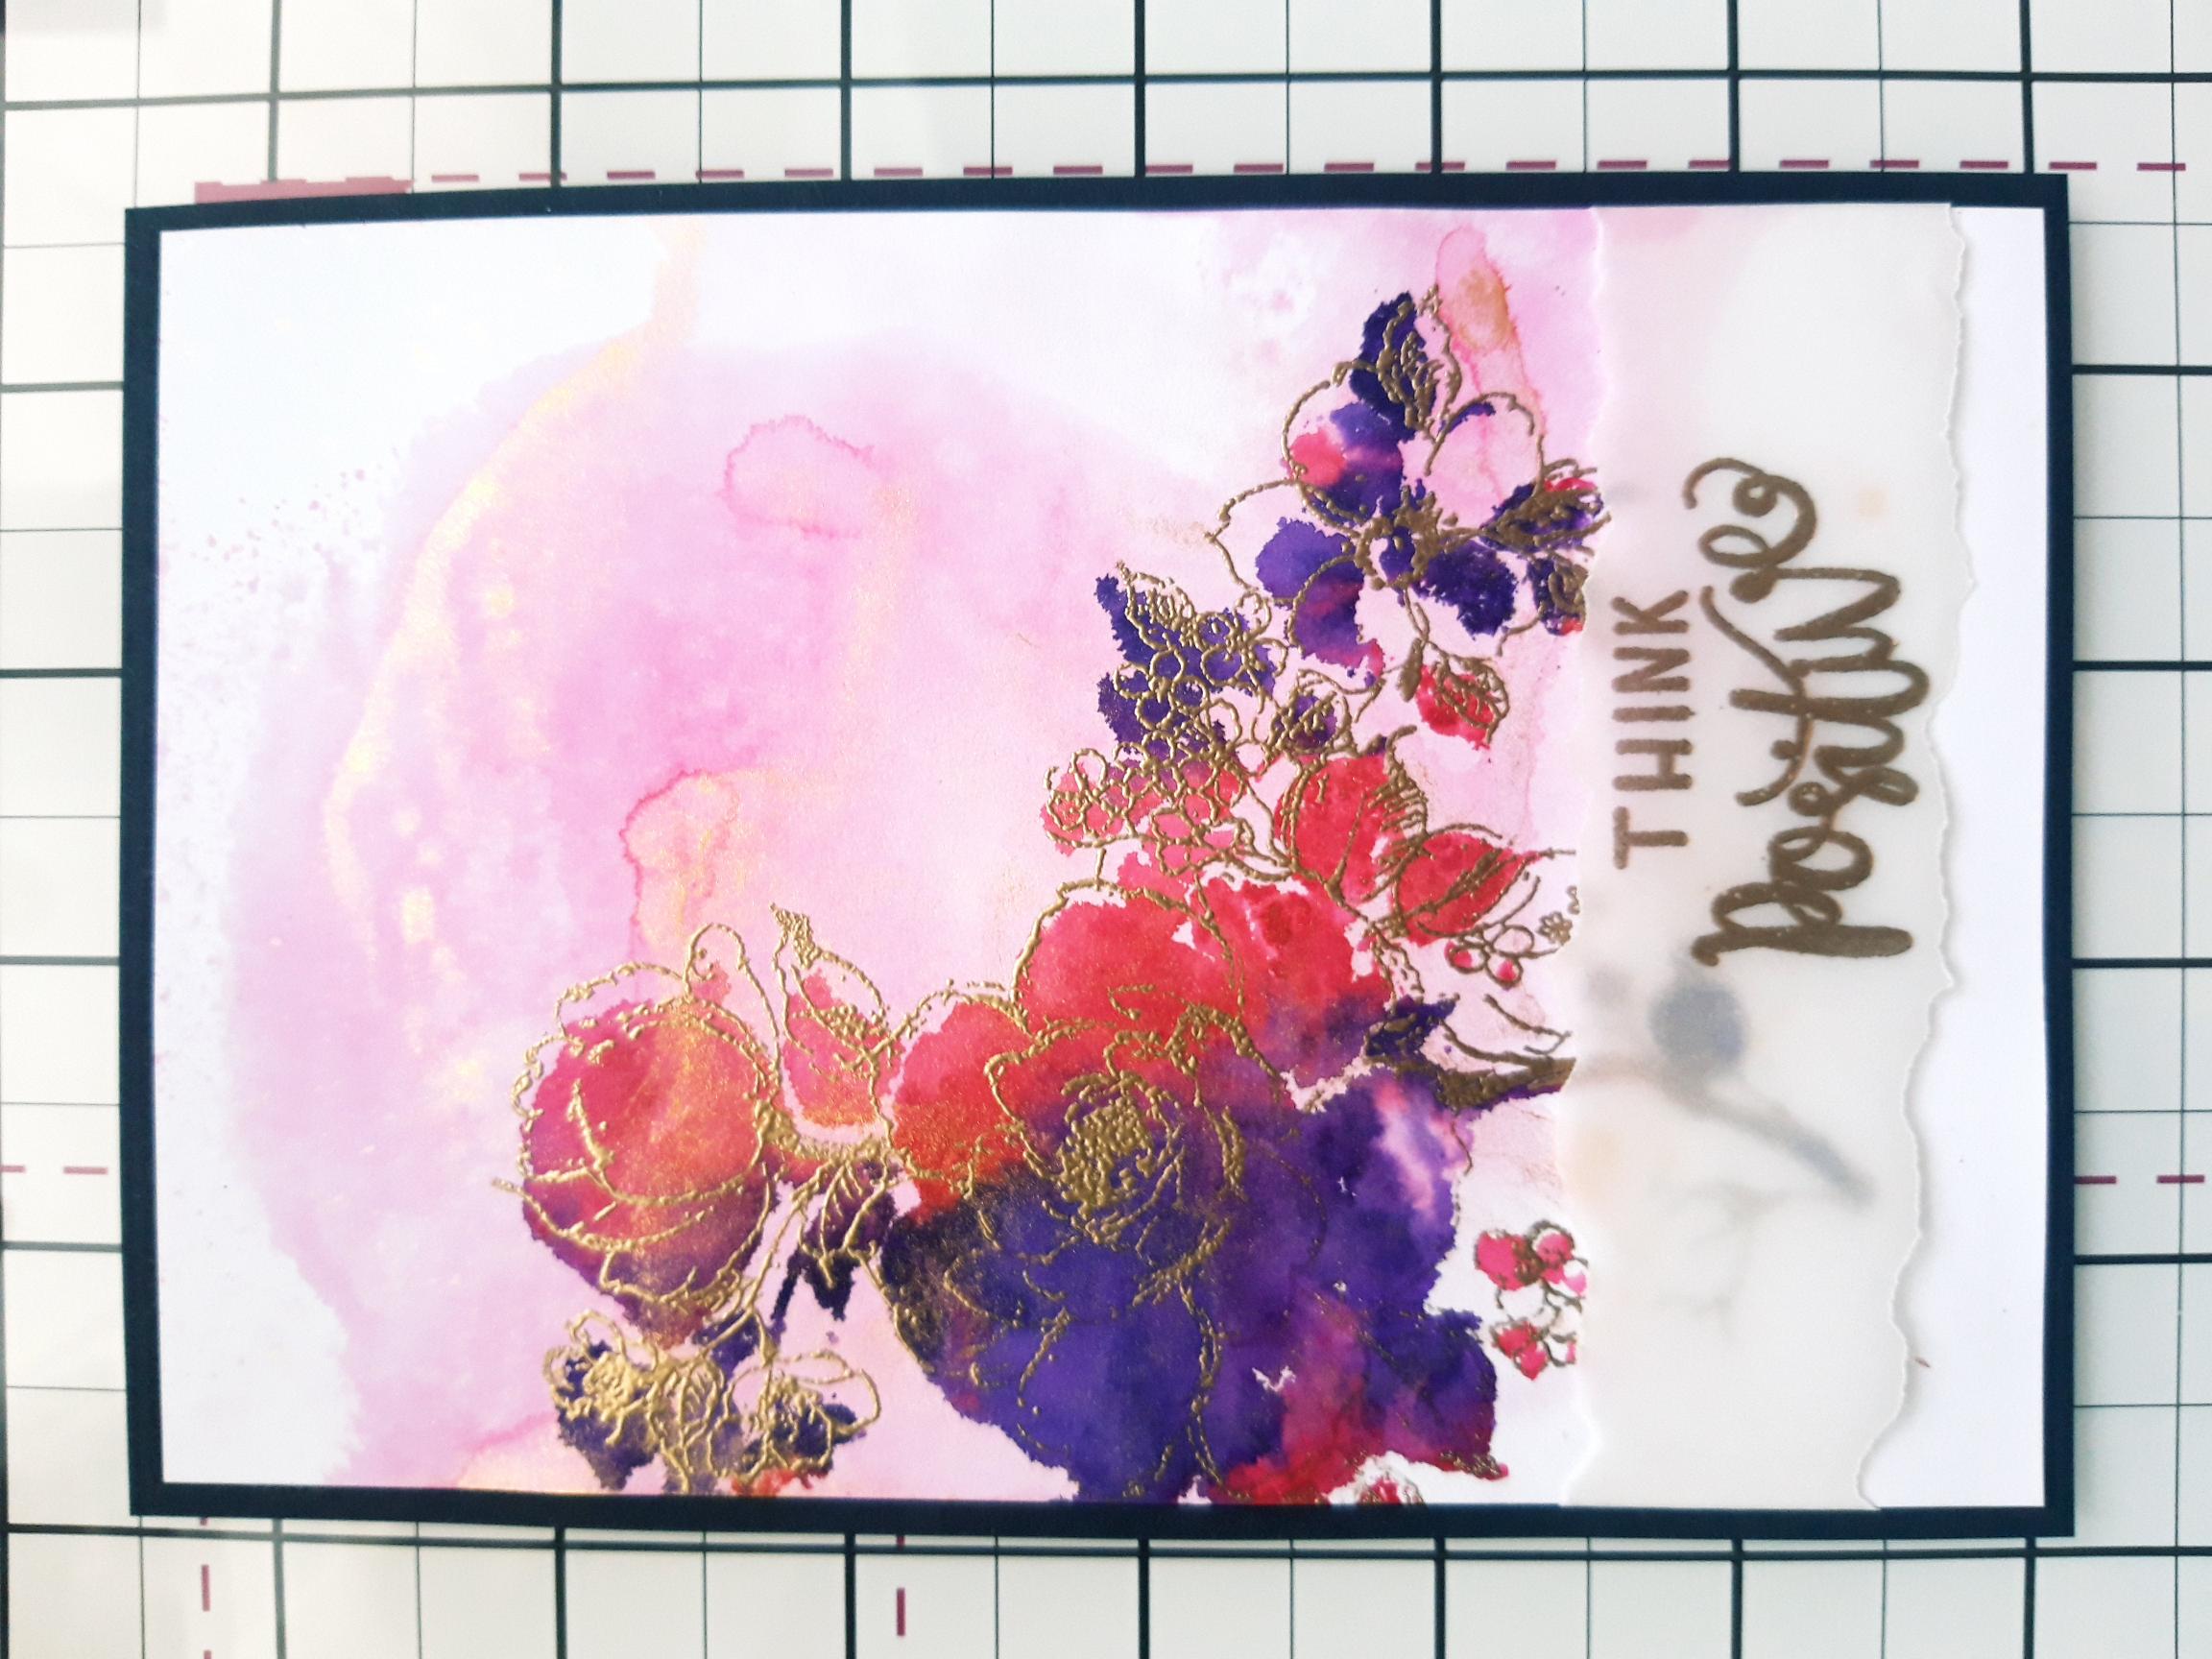
Adhere your artwork on to the black card. |

|
Adhere on to your pink, top folding card blank. |