Give your friends $10 off their first order!
Refer a FRIEND


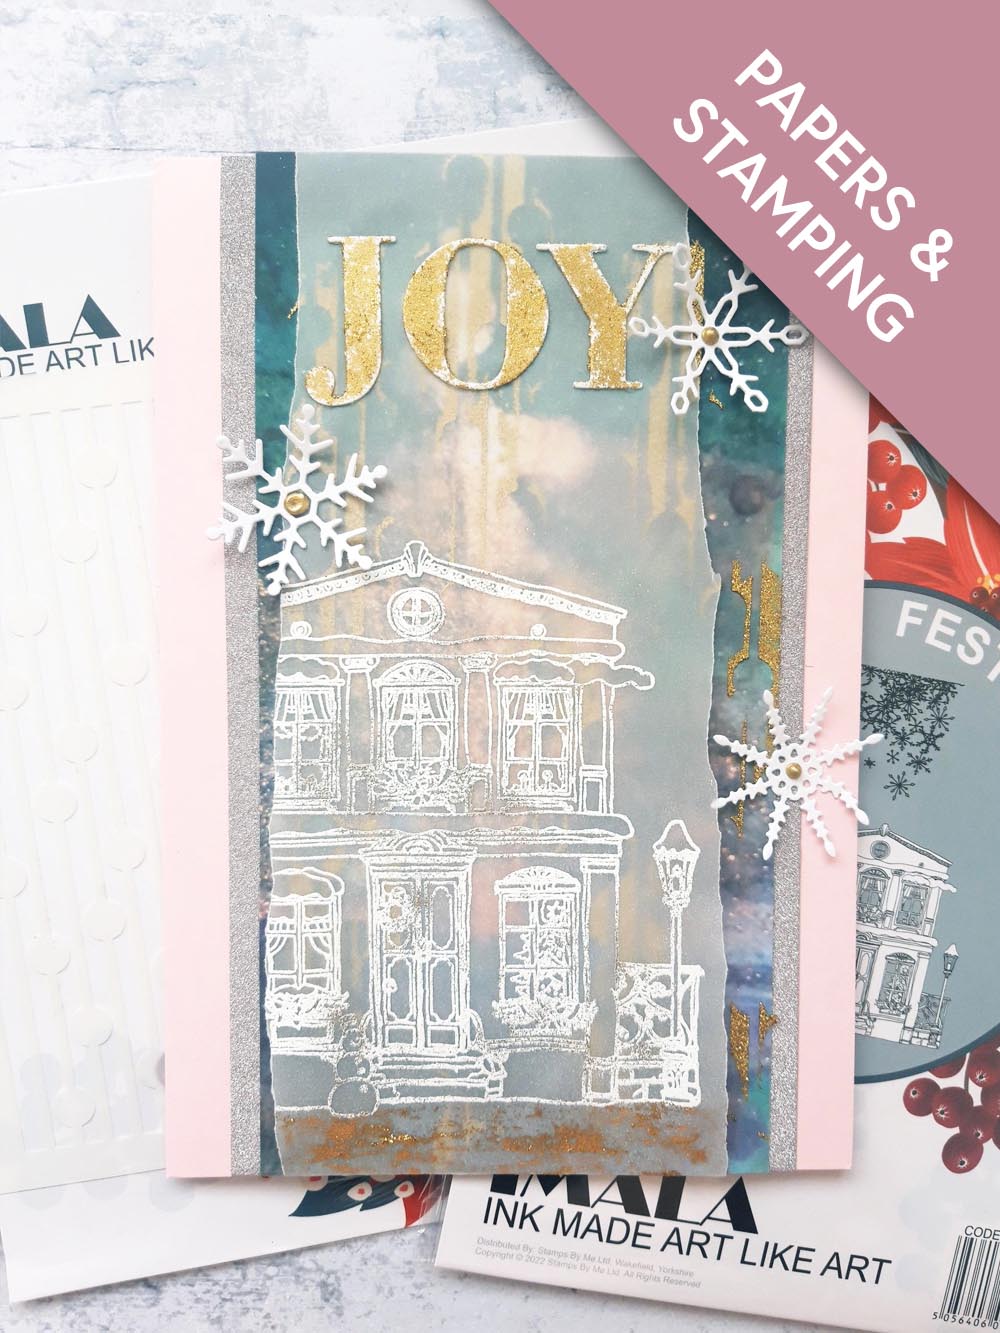
WHAT YOU WILL NEED:
Pink top folding card blank 8 1/4 x 5 3/4"
A4 Premium Cardstock Blush Collection: Pink glitter card 8 1/4 x 4 3/34
White card 4 x 4"
Vellum: tear to 8 3/4 x 3 3/4"
Imala Festive Day Stamp Collection
Imala Collage paper pad
Imala Falling Snow stencil
JOY Die Collection
Take The Photo/Night Before Christmas/Angelic Frame Die Collections...for snowflake dies
Izink Diamond Paint: Dore
Palette knife
WOW embossing ink pad
WOW heat tool
WOW embossing powder: Gold, White
Anti-static bag
Paint brush
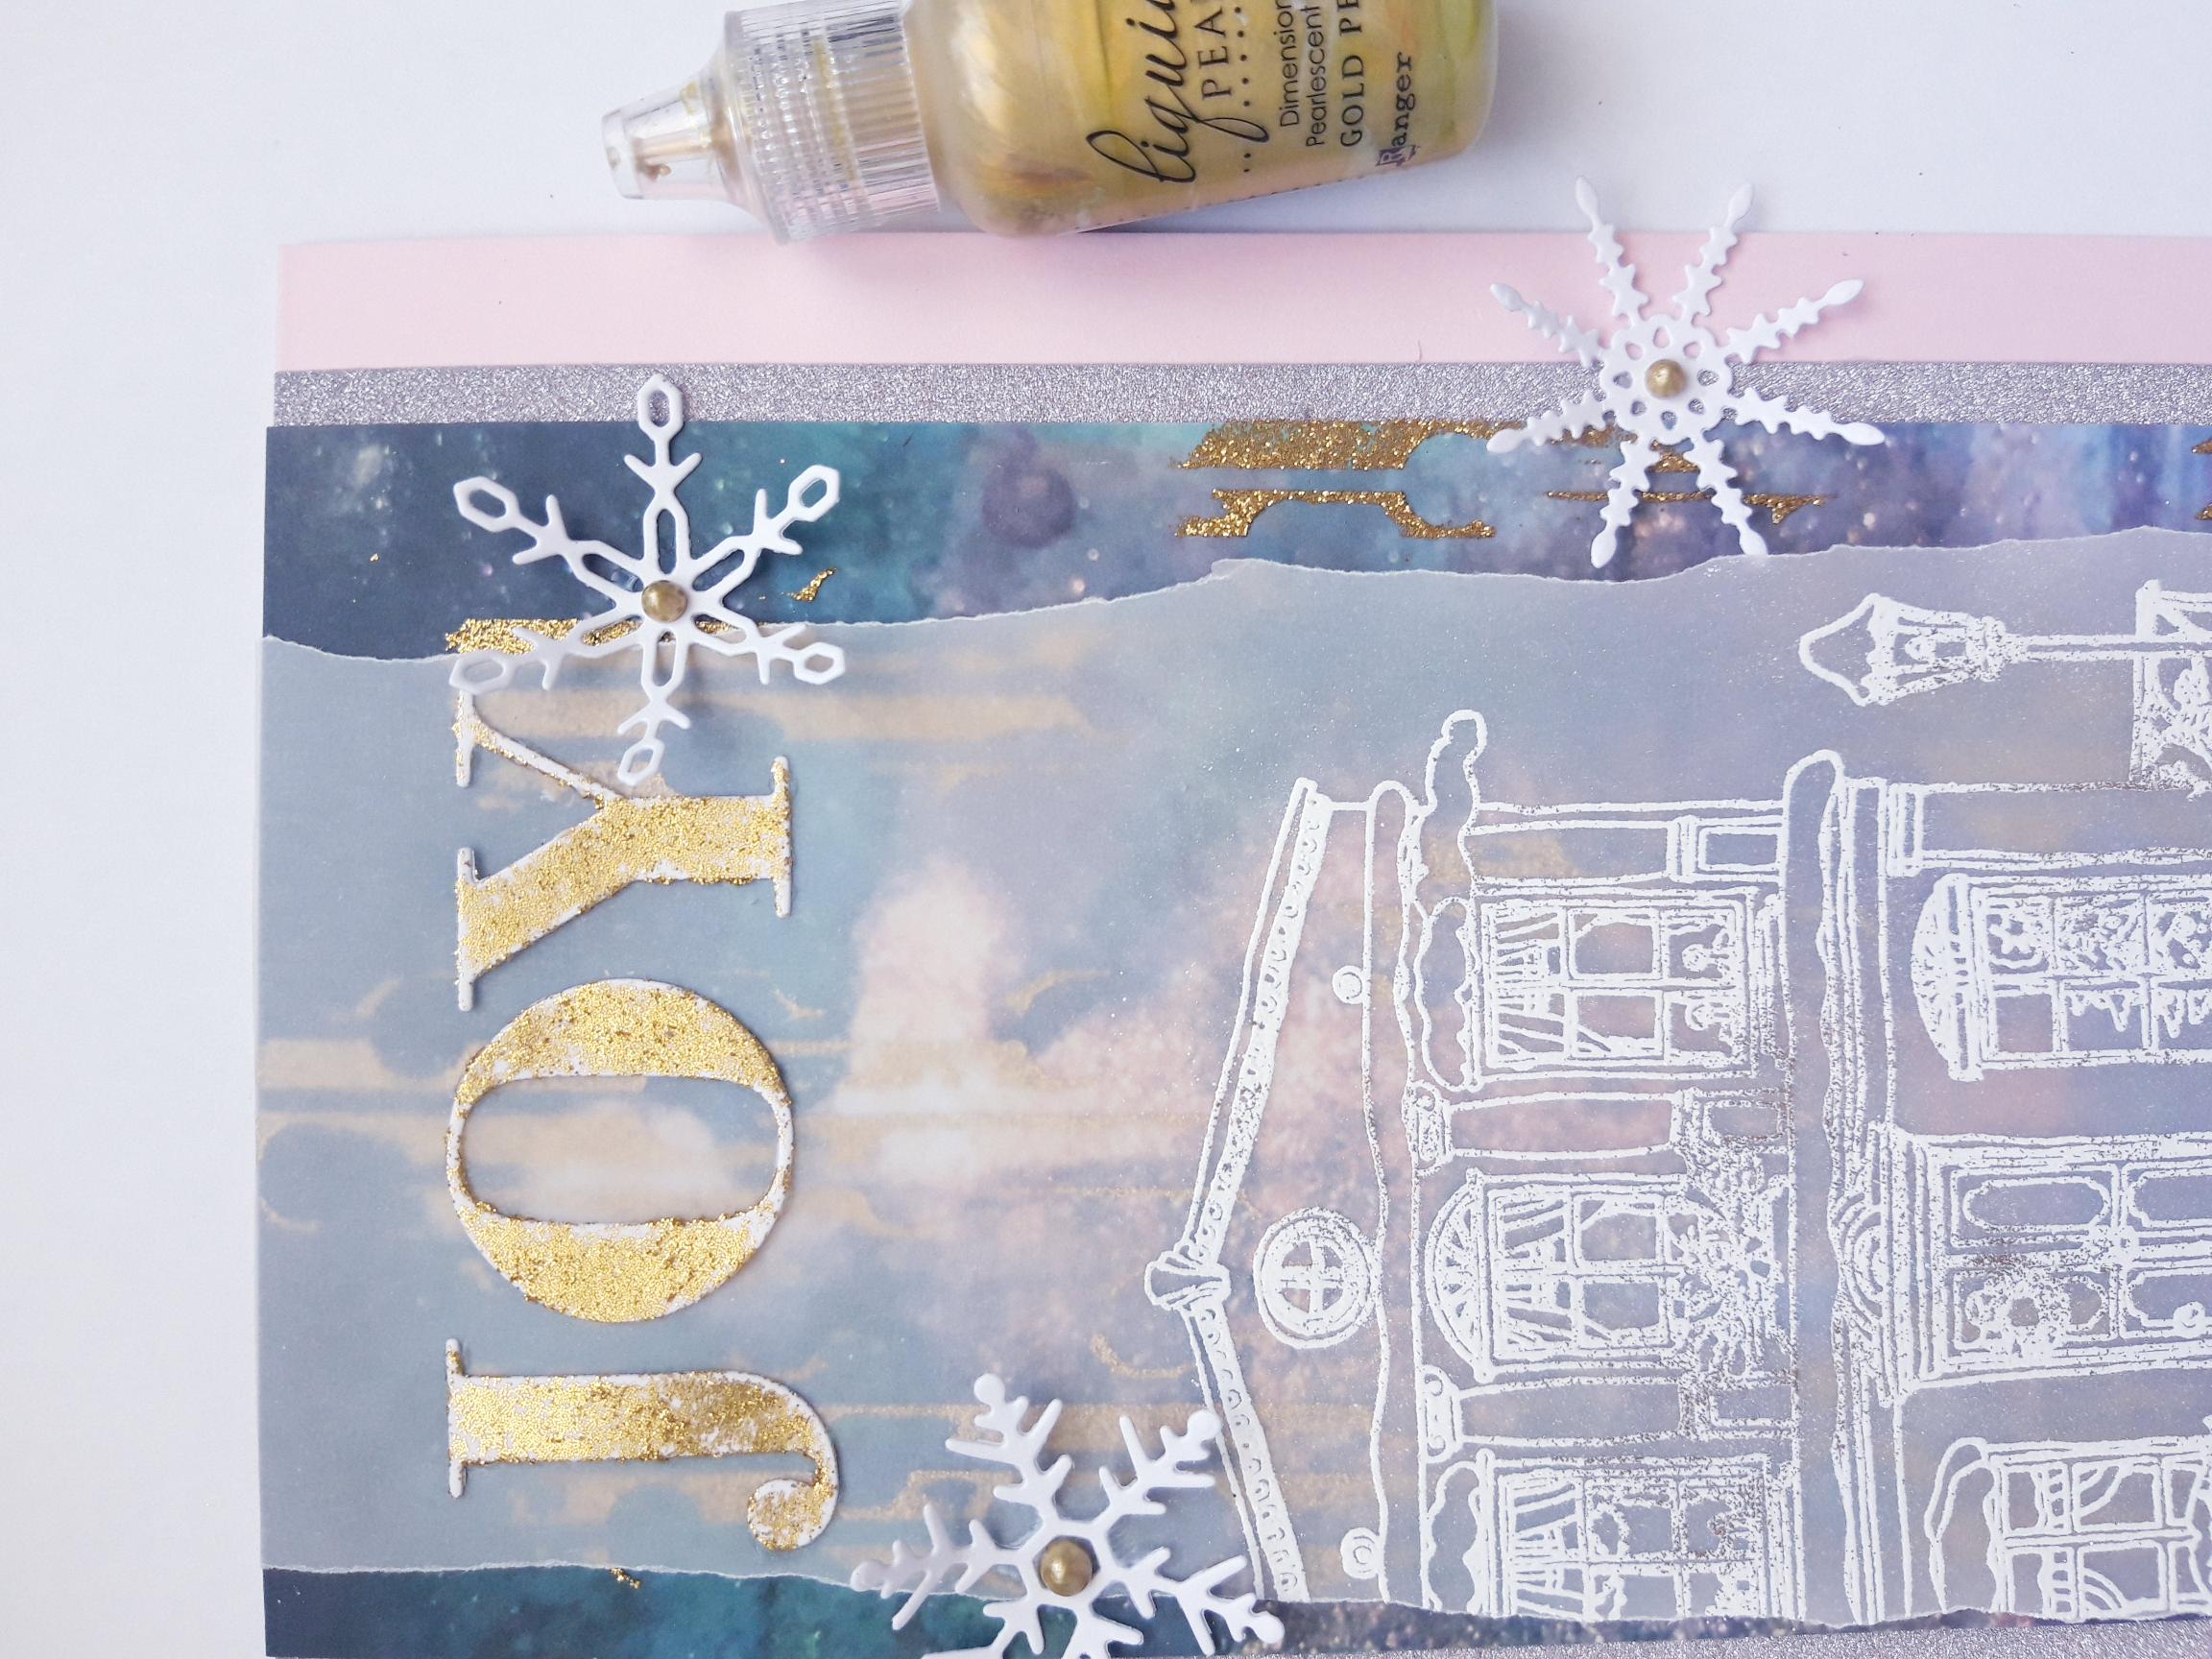
Ranger Liquid Pearl Drops: Gold Pearl
Eureka 101
Paper Trimmer
Perfect Together Glue
Double sided adhesive tape
Die Cutting machine
[click image to enlarge] 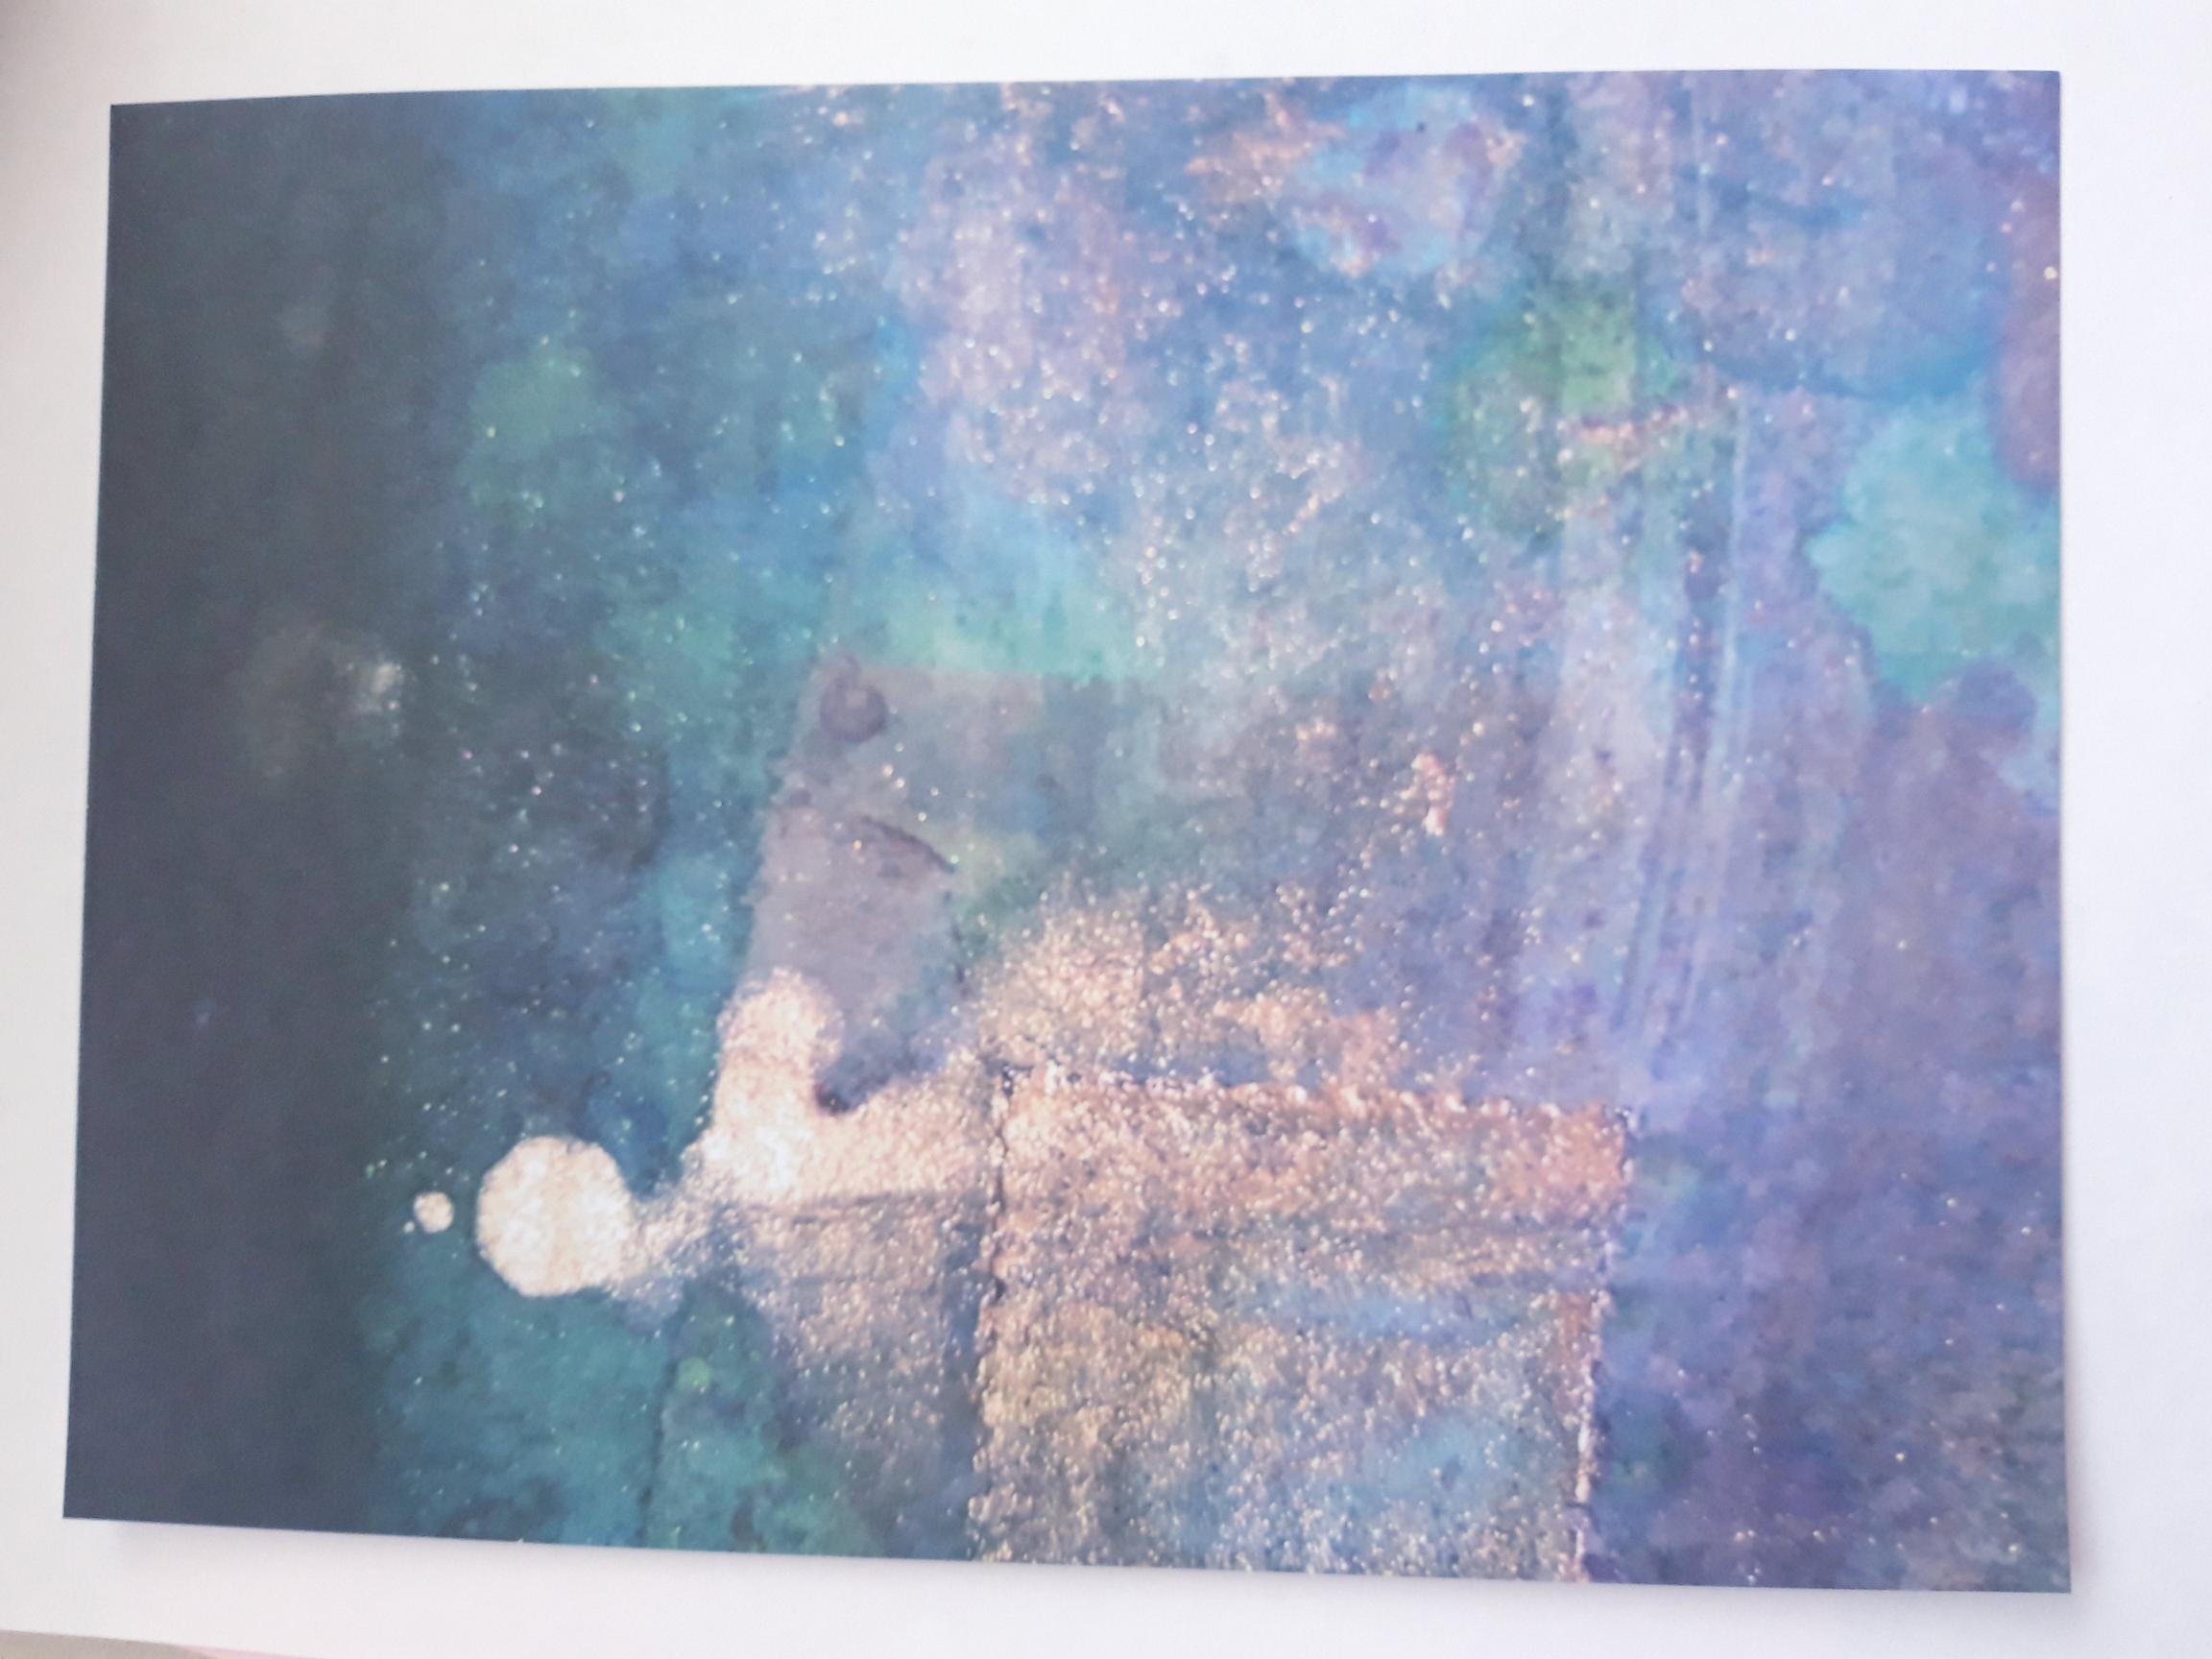
|
Tear out this decorative paper, from the Imala Collage paper pad and trim to 8 1/4 x 4 1/4" |

|
Using your palette knife and the Izink Dore glitter paint, randomly apply it through the Falling Snow stencil on your decorative paper. Set to one side to dry. |
|
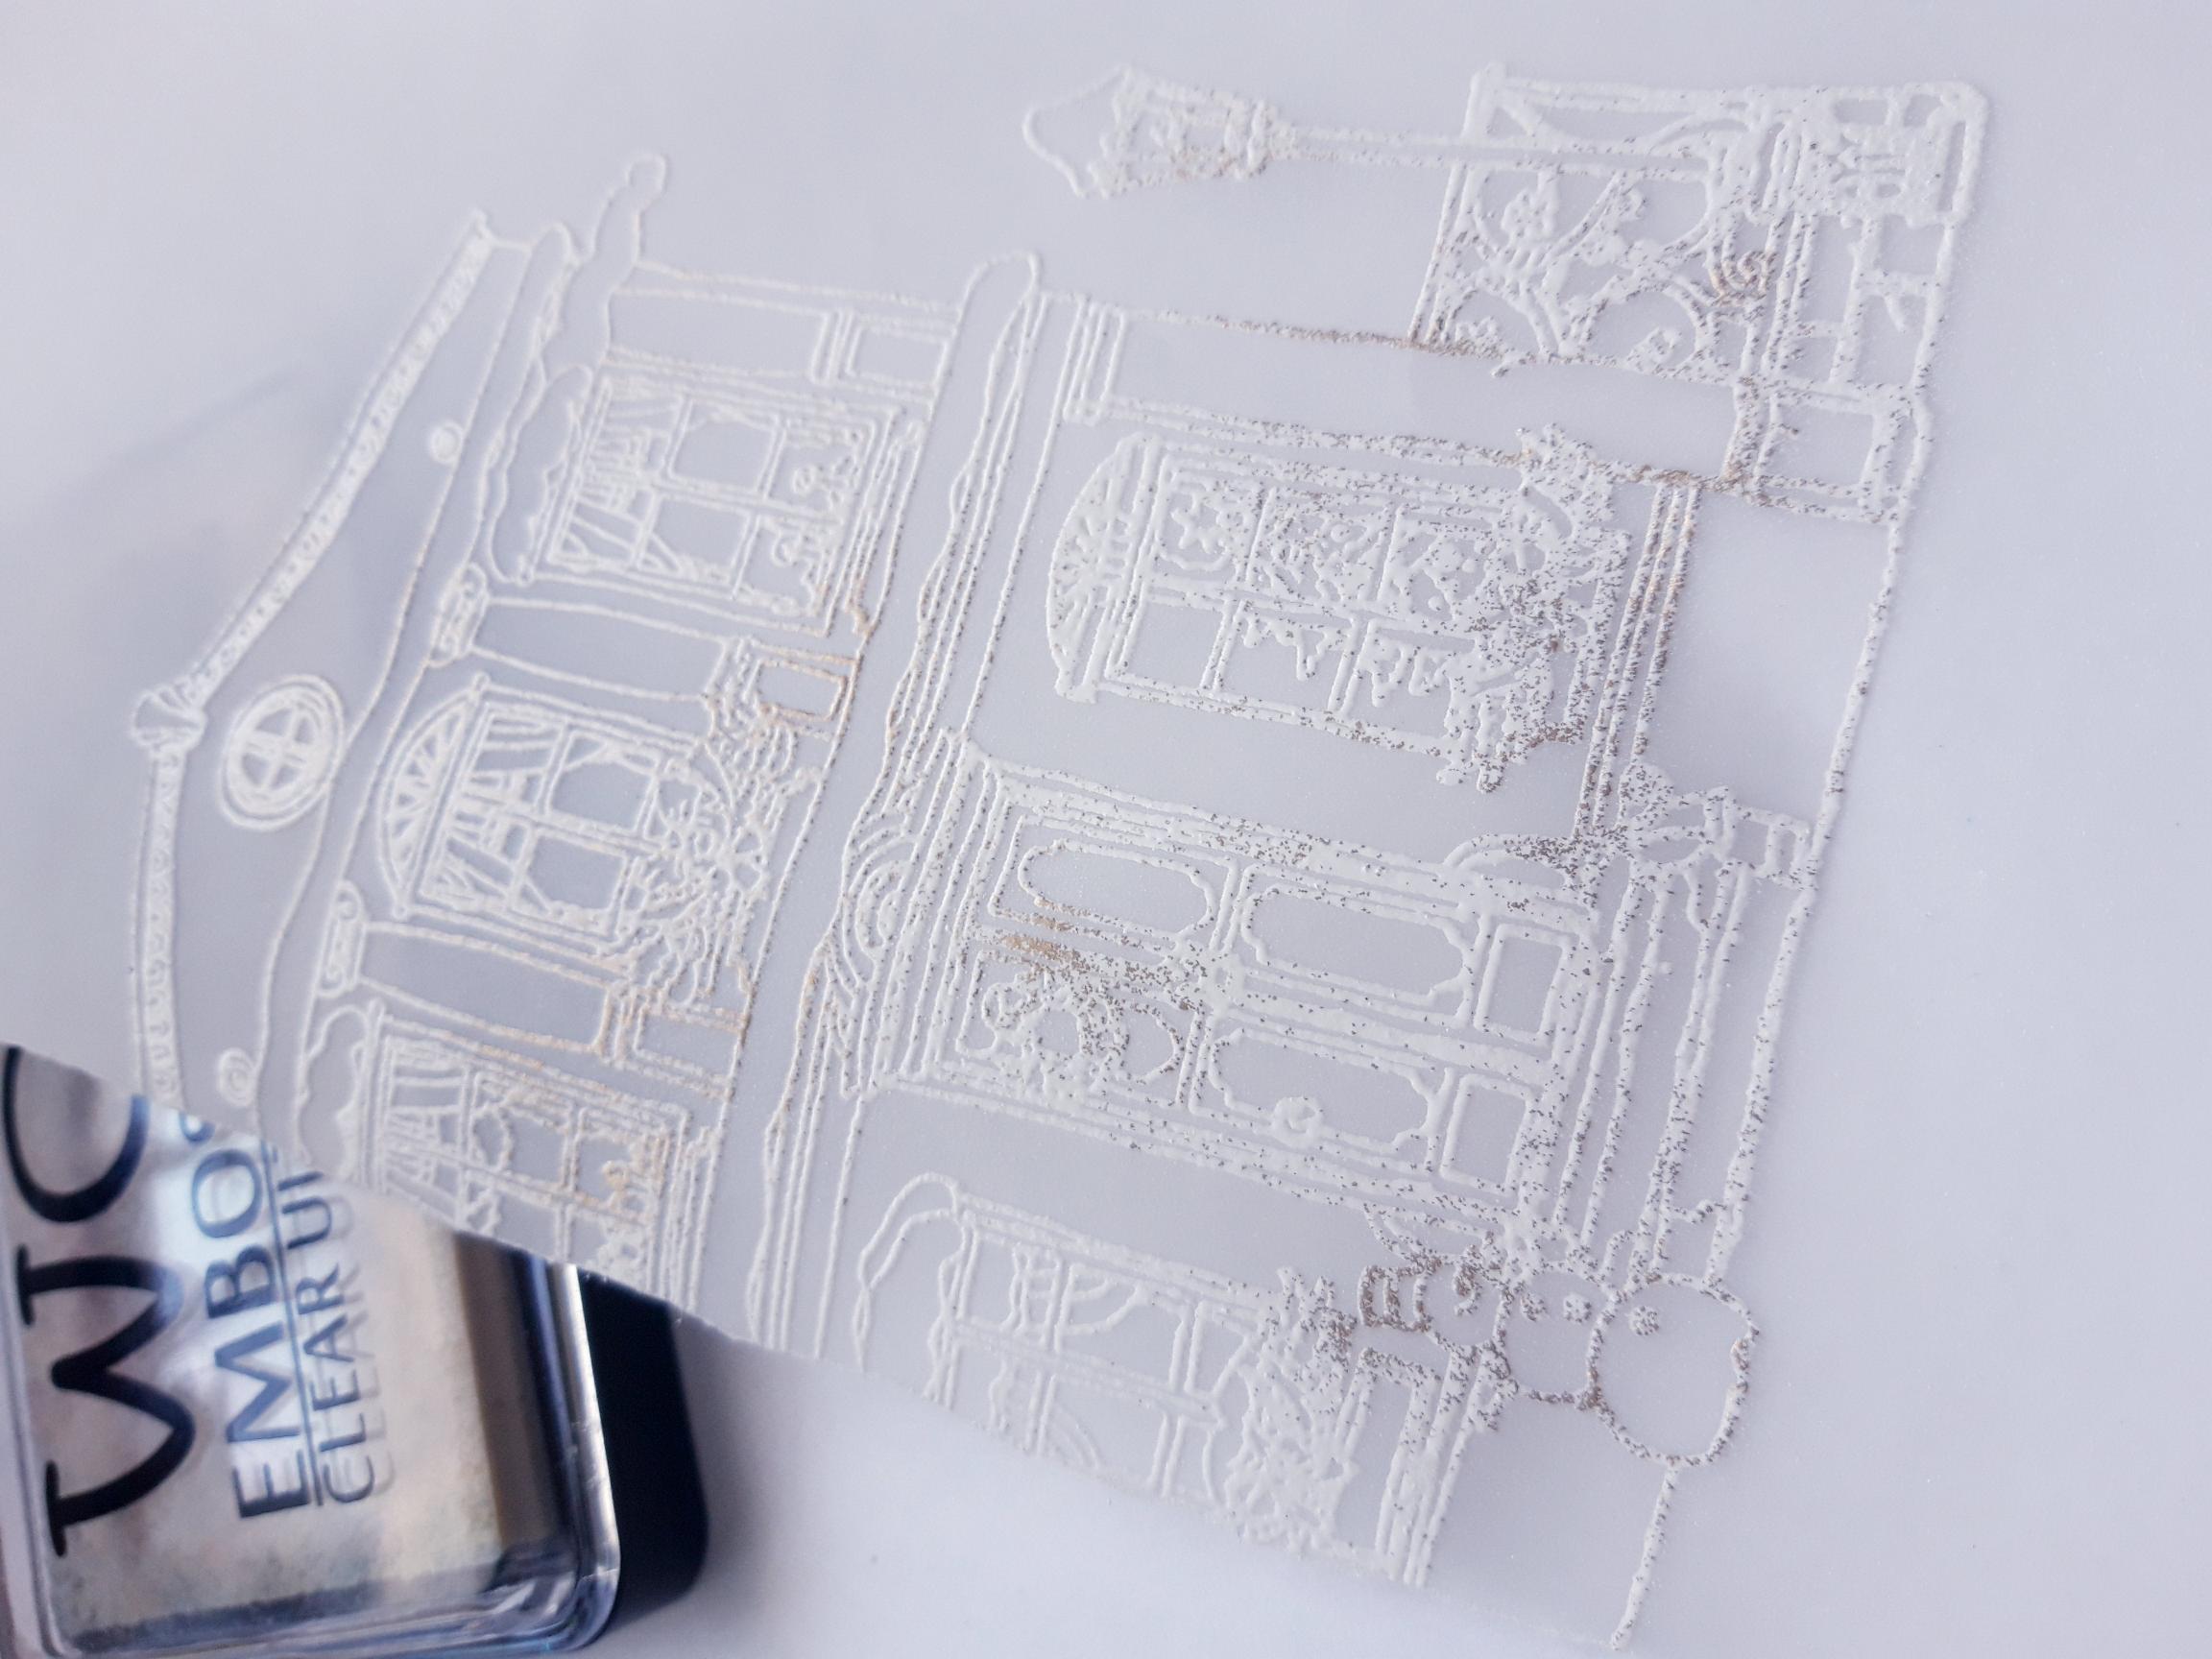
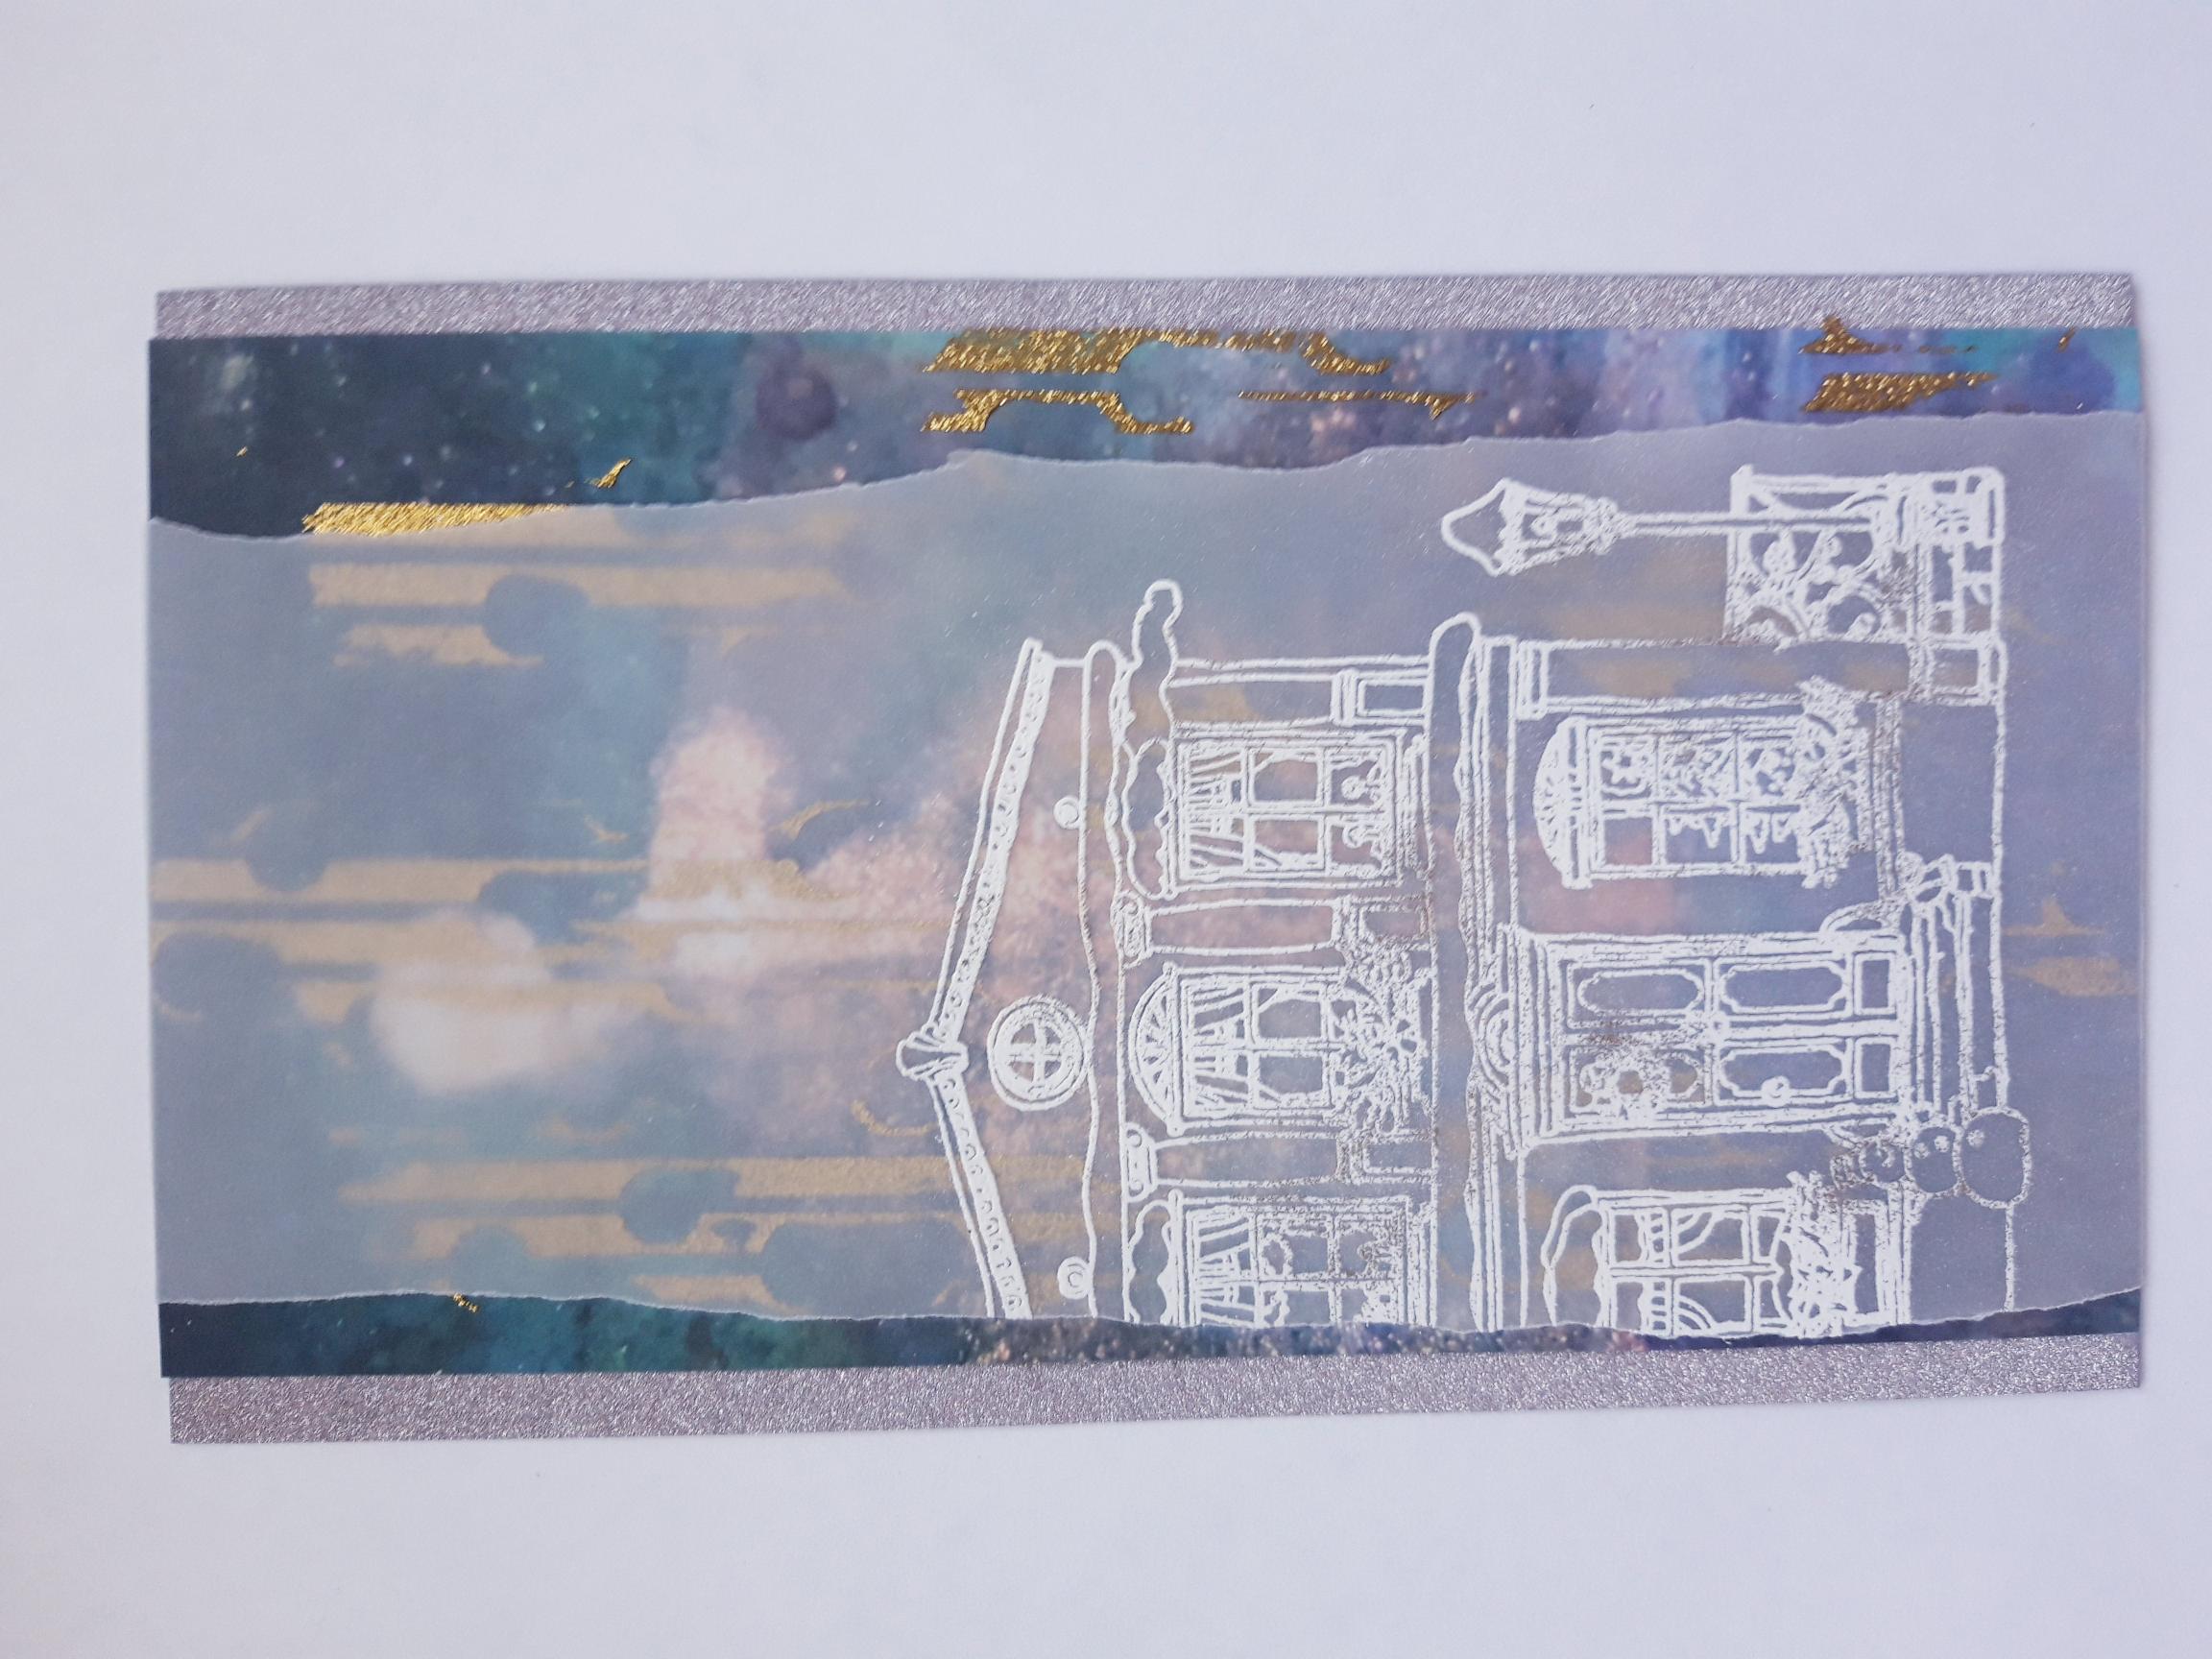
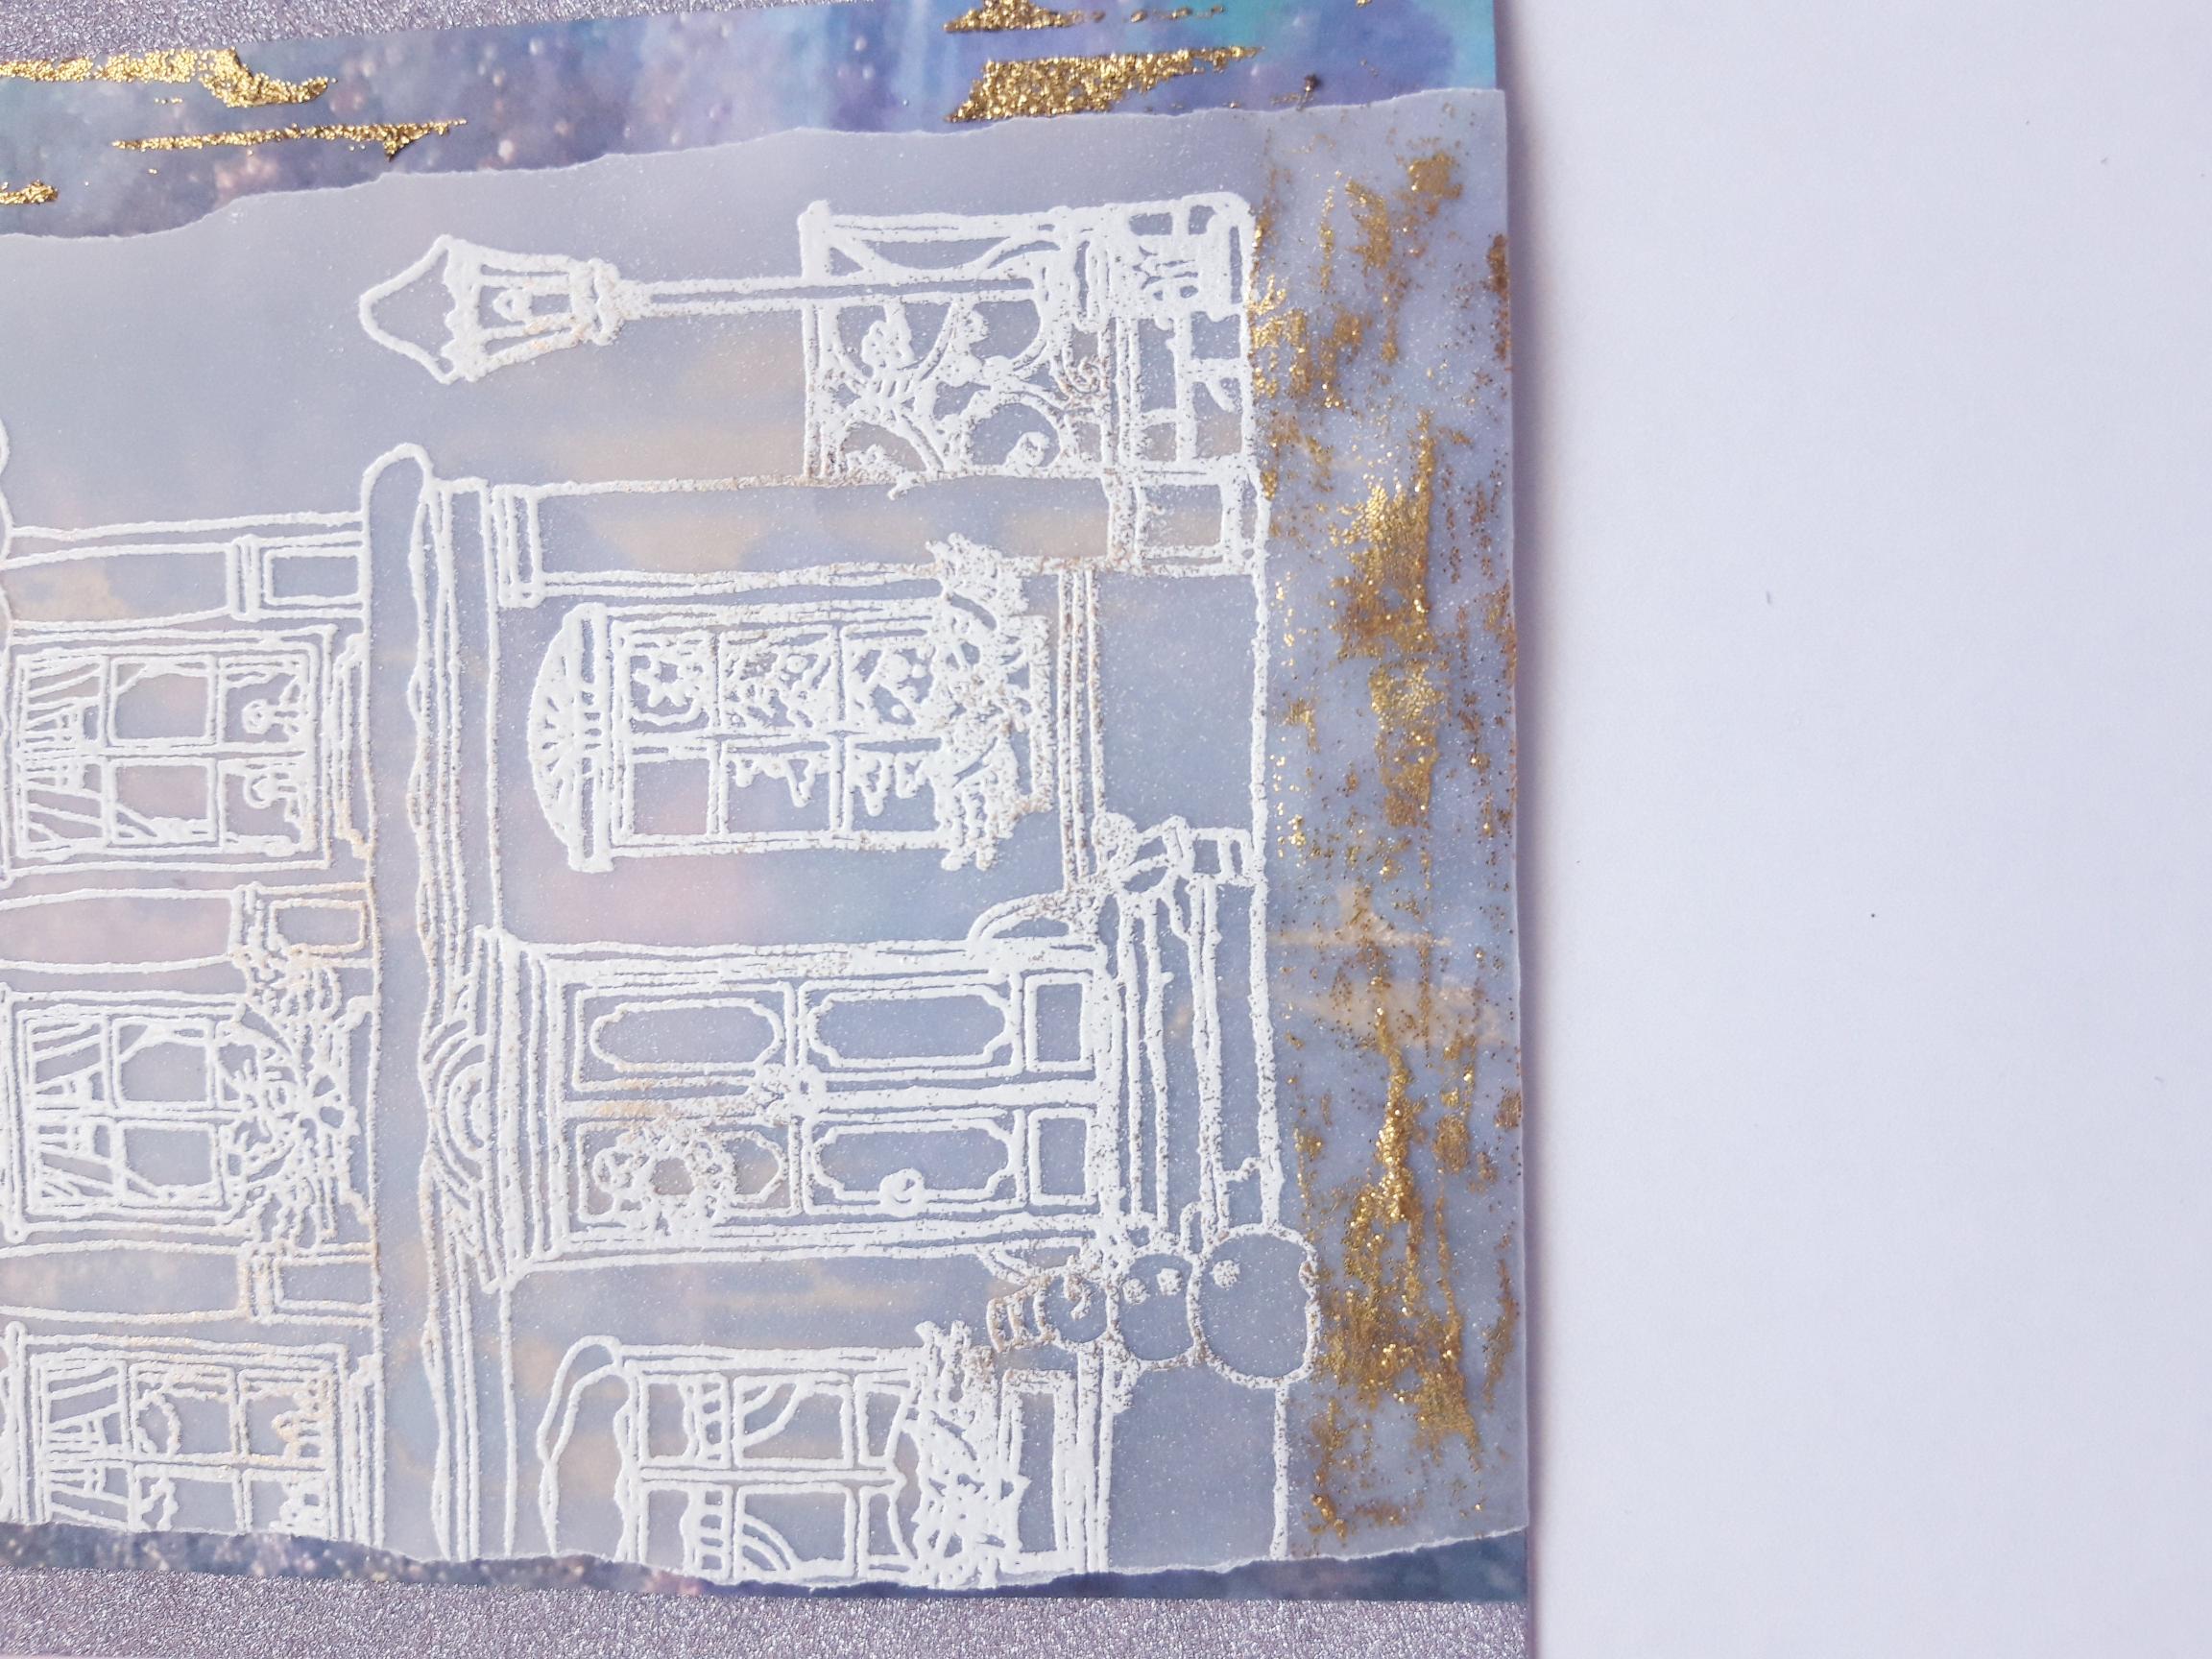
Wipe over your vellum panel with the anti-static bag. Ink up the Festive Day house stamp with your WOW embossing ink and stamp on to the vellum. Sprinkle a little of the gold WOW powder randomly over your stamped image. Tip any excess powder back in its pot, before covering the complete stamped image with the white WOW powder. Get your heat tool nice and hot, before heat setting the powder, ensuring you move your heat tool as soon as the powder starts to turn. This will minimise warping your vellum. |
|
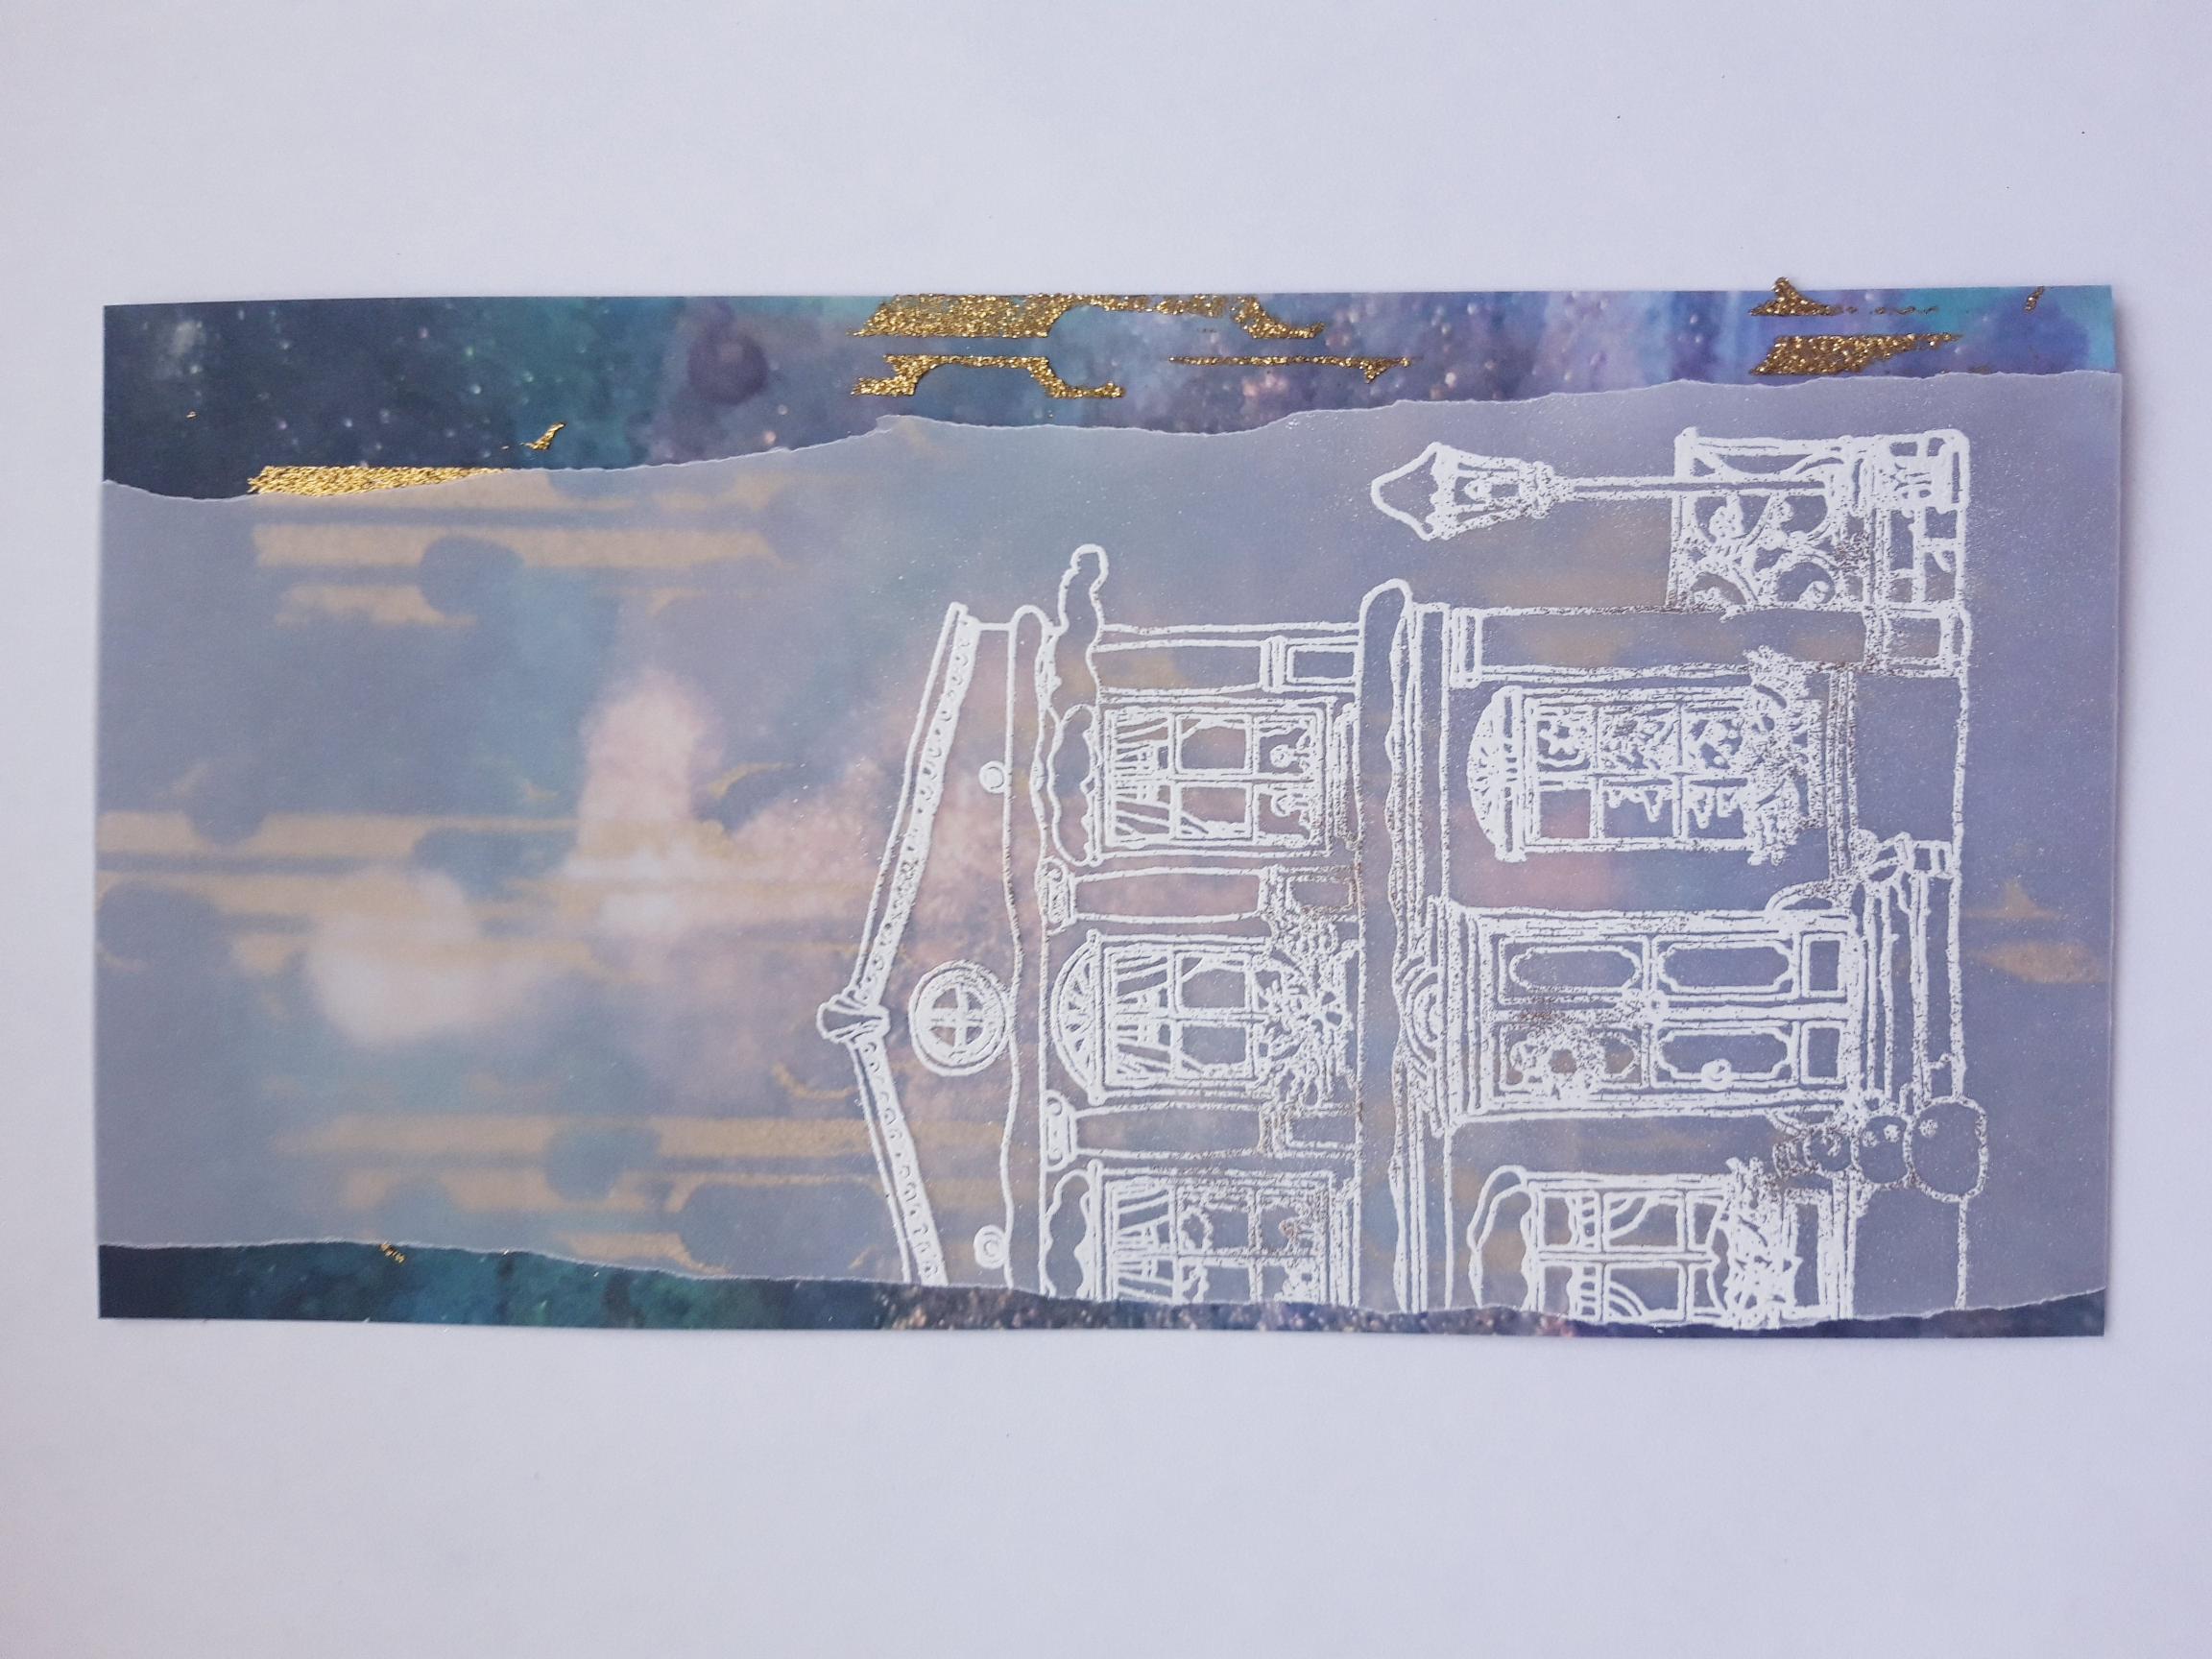
Once the Izink Glitter paint is completely dry, place the stamped vellum on to your background, tuck the edges over the top and bottom and secure on the back, with double sided adhesive tape. |
|
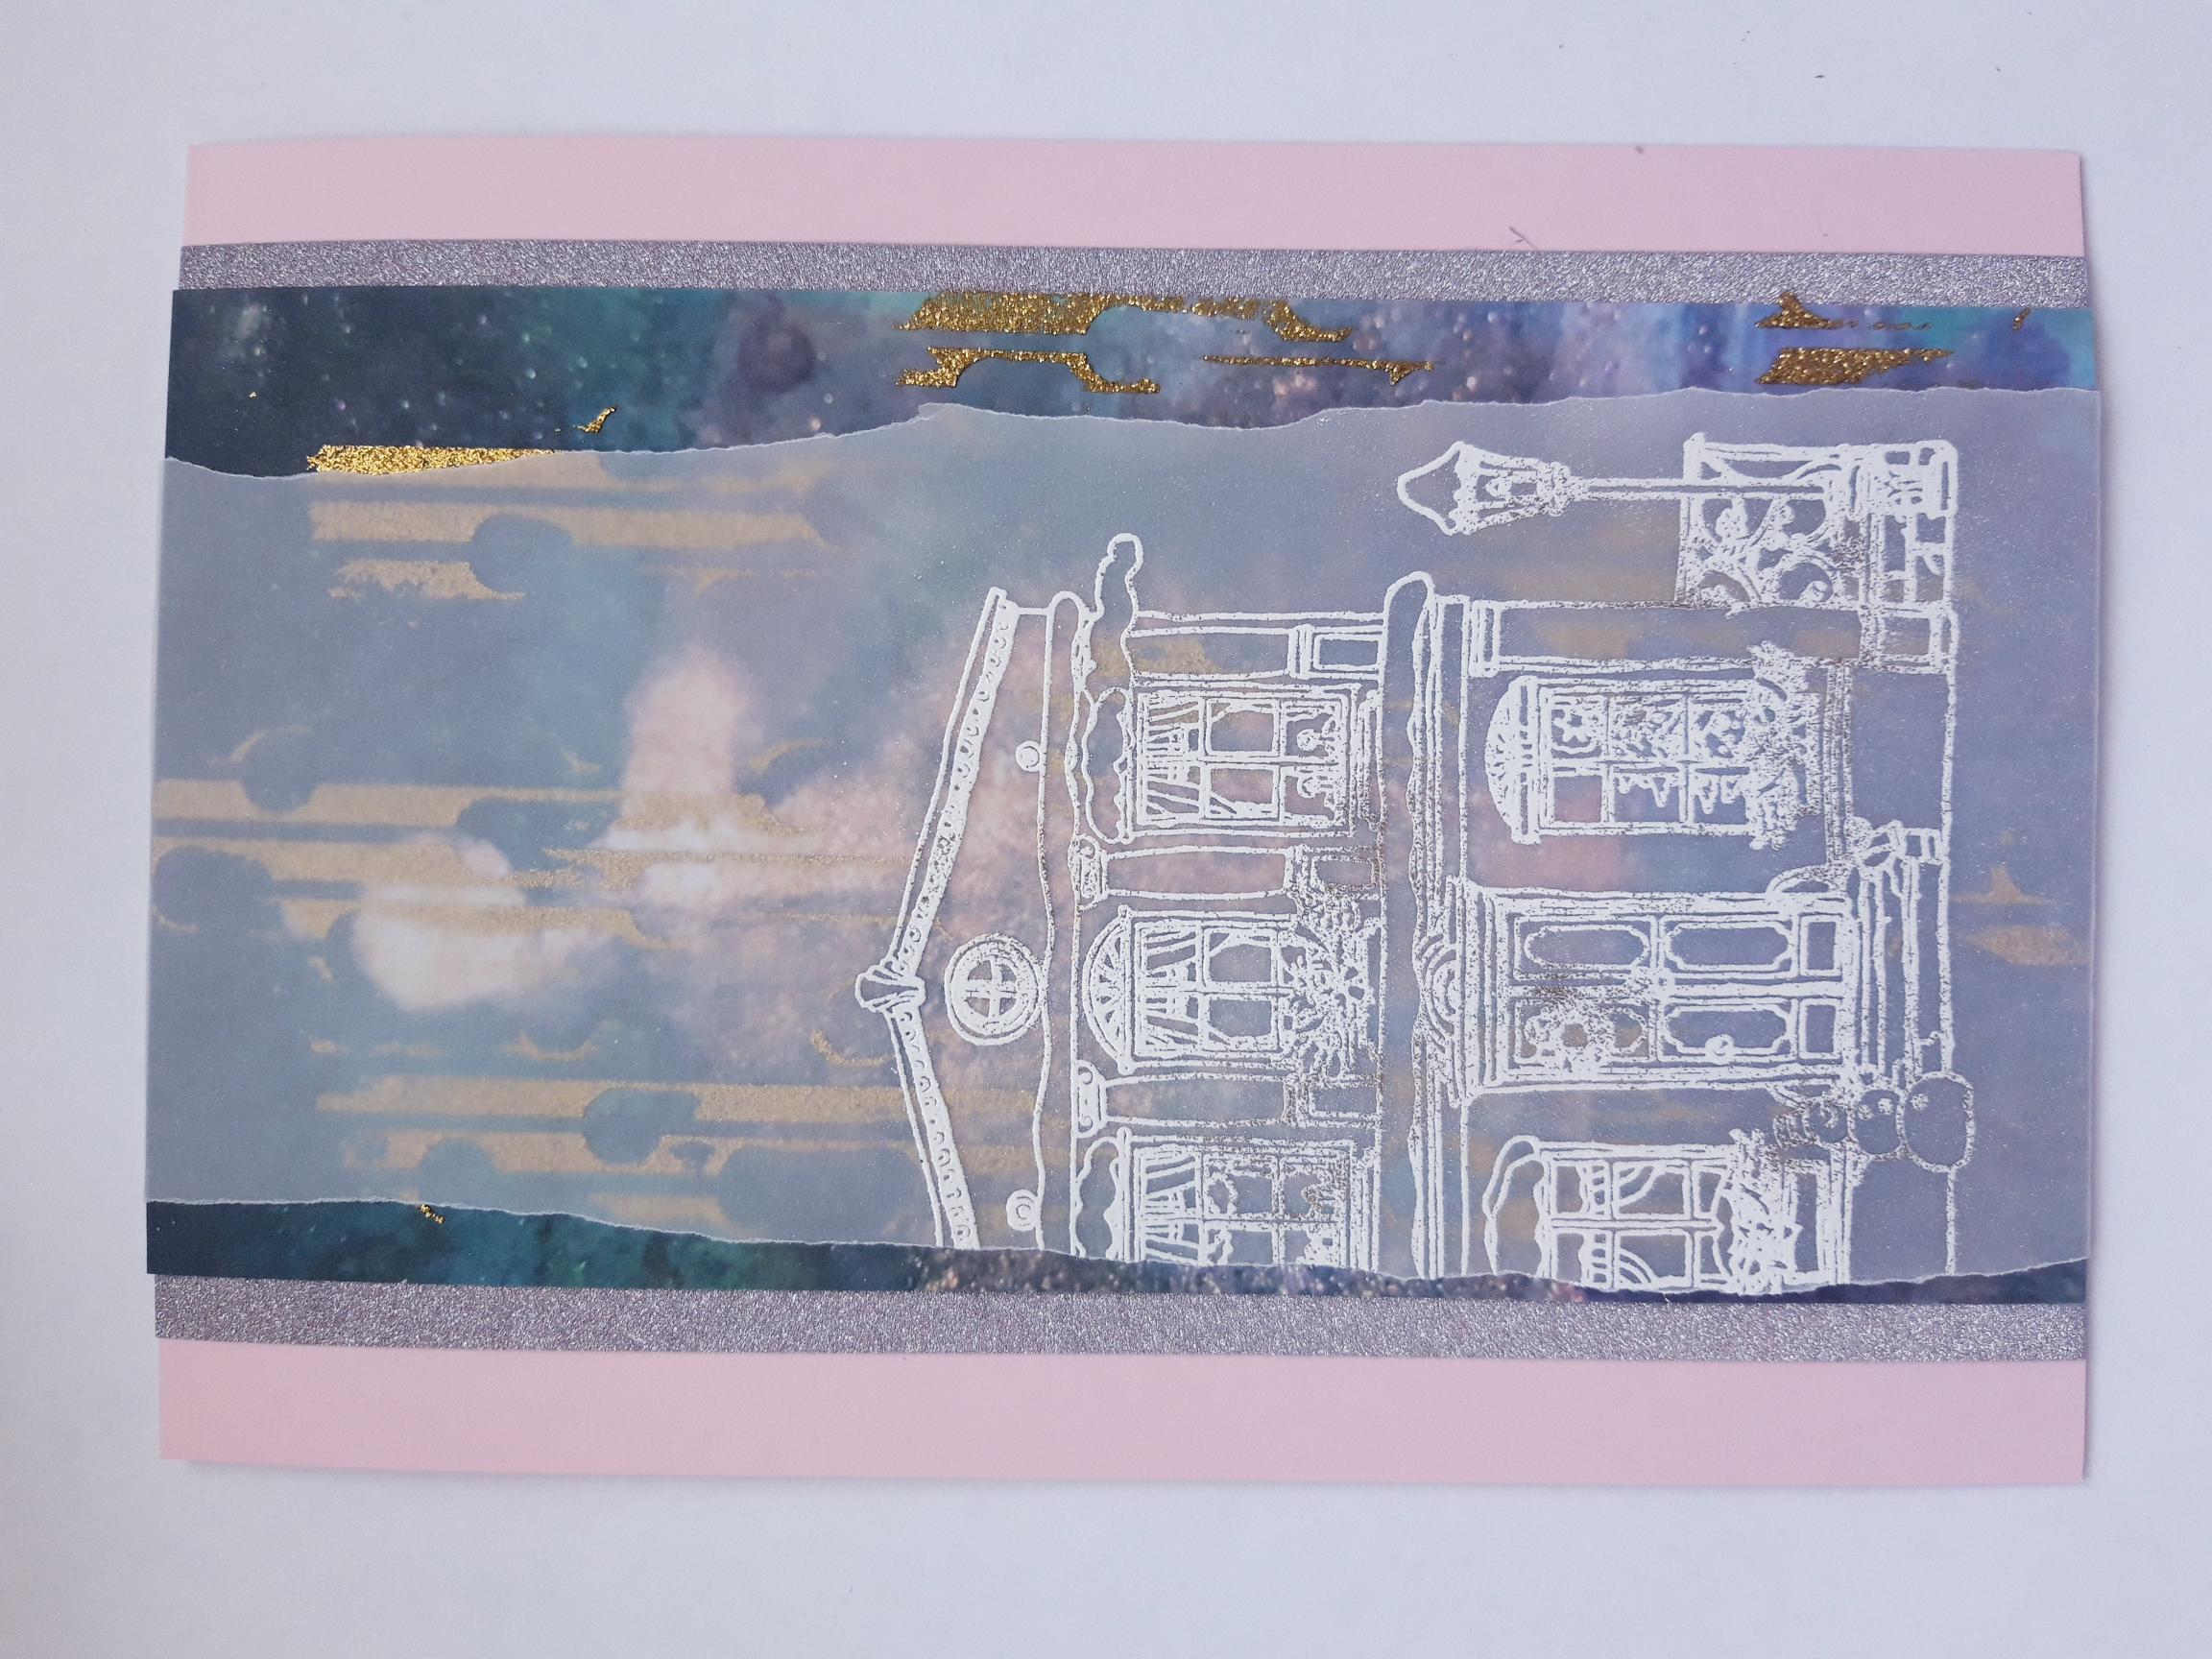
Adhere this on to your pink glitter card, so the top and bottom edges are flush and an equal width of the pink glitter card is visible on both sides. |
|
Adhere on to the front of your pink, top folding card blank. Set to one side. |
|
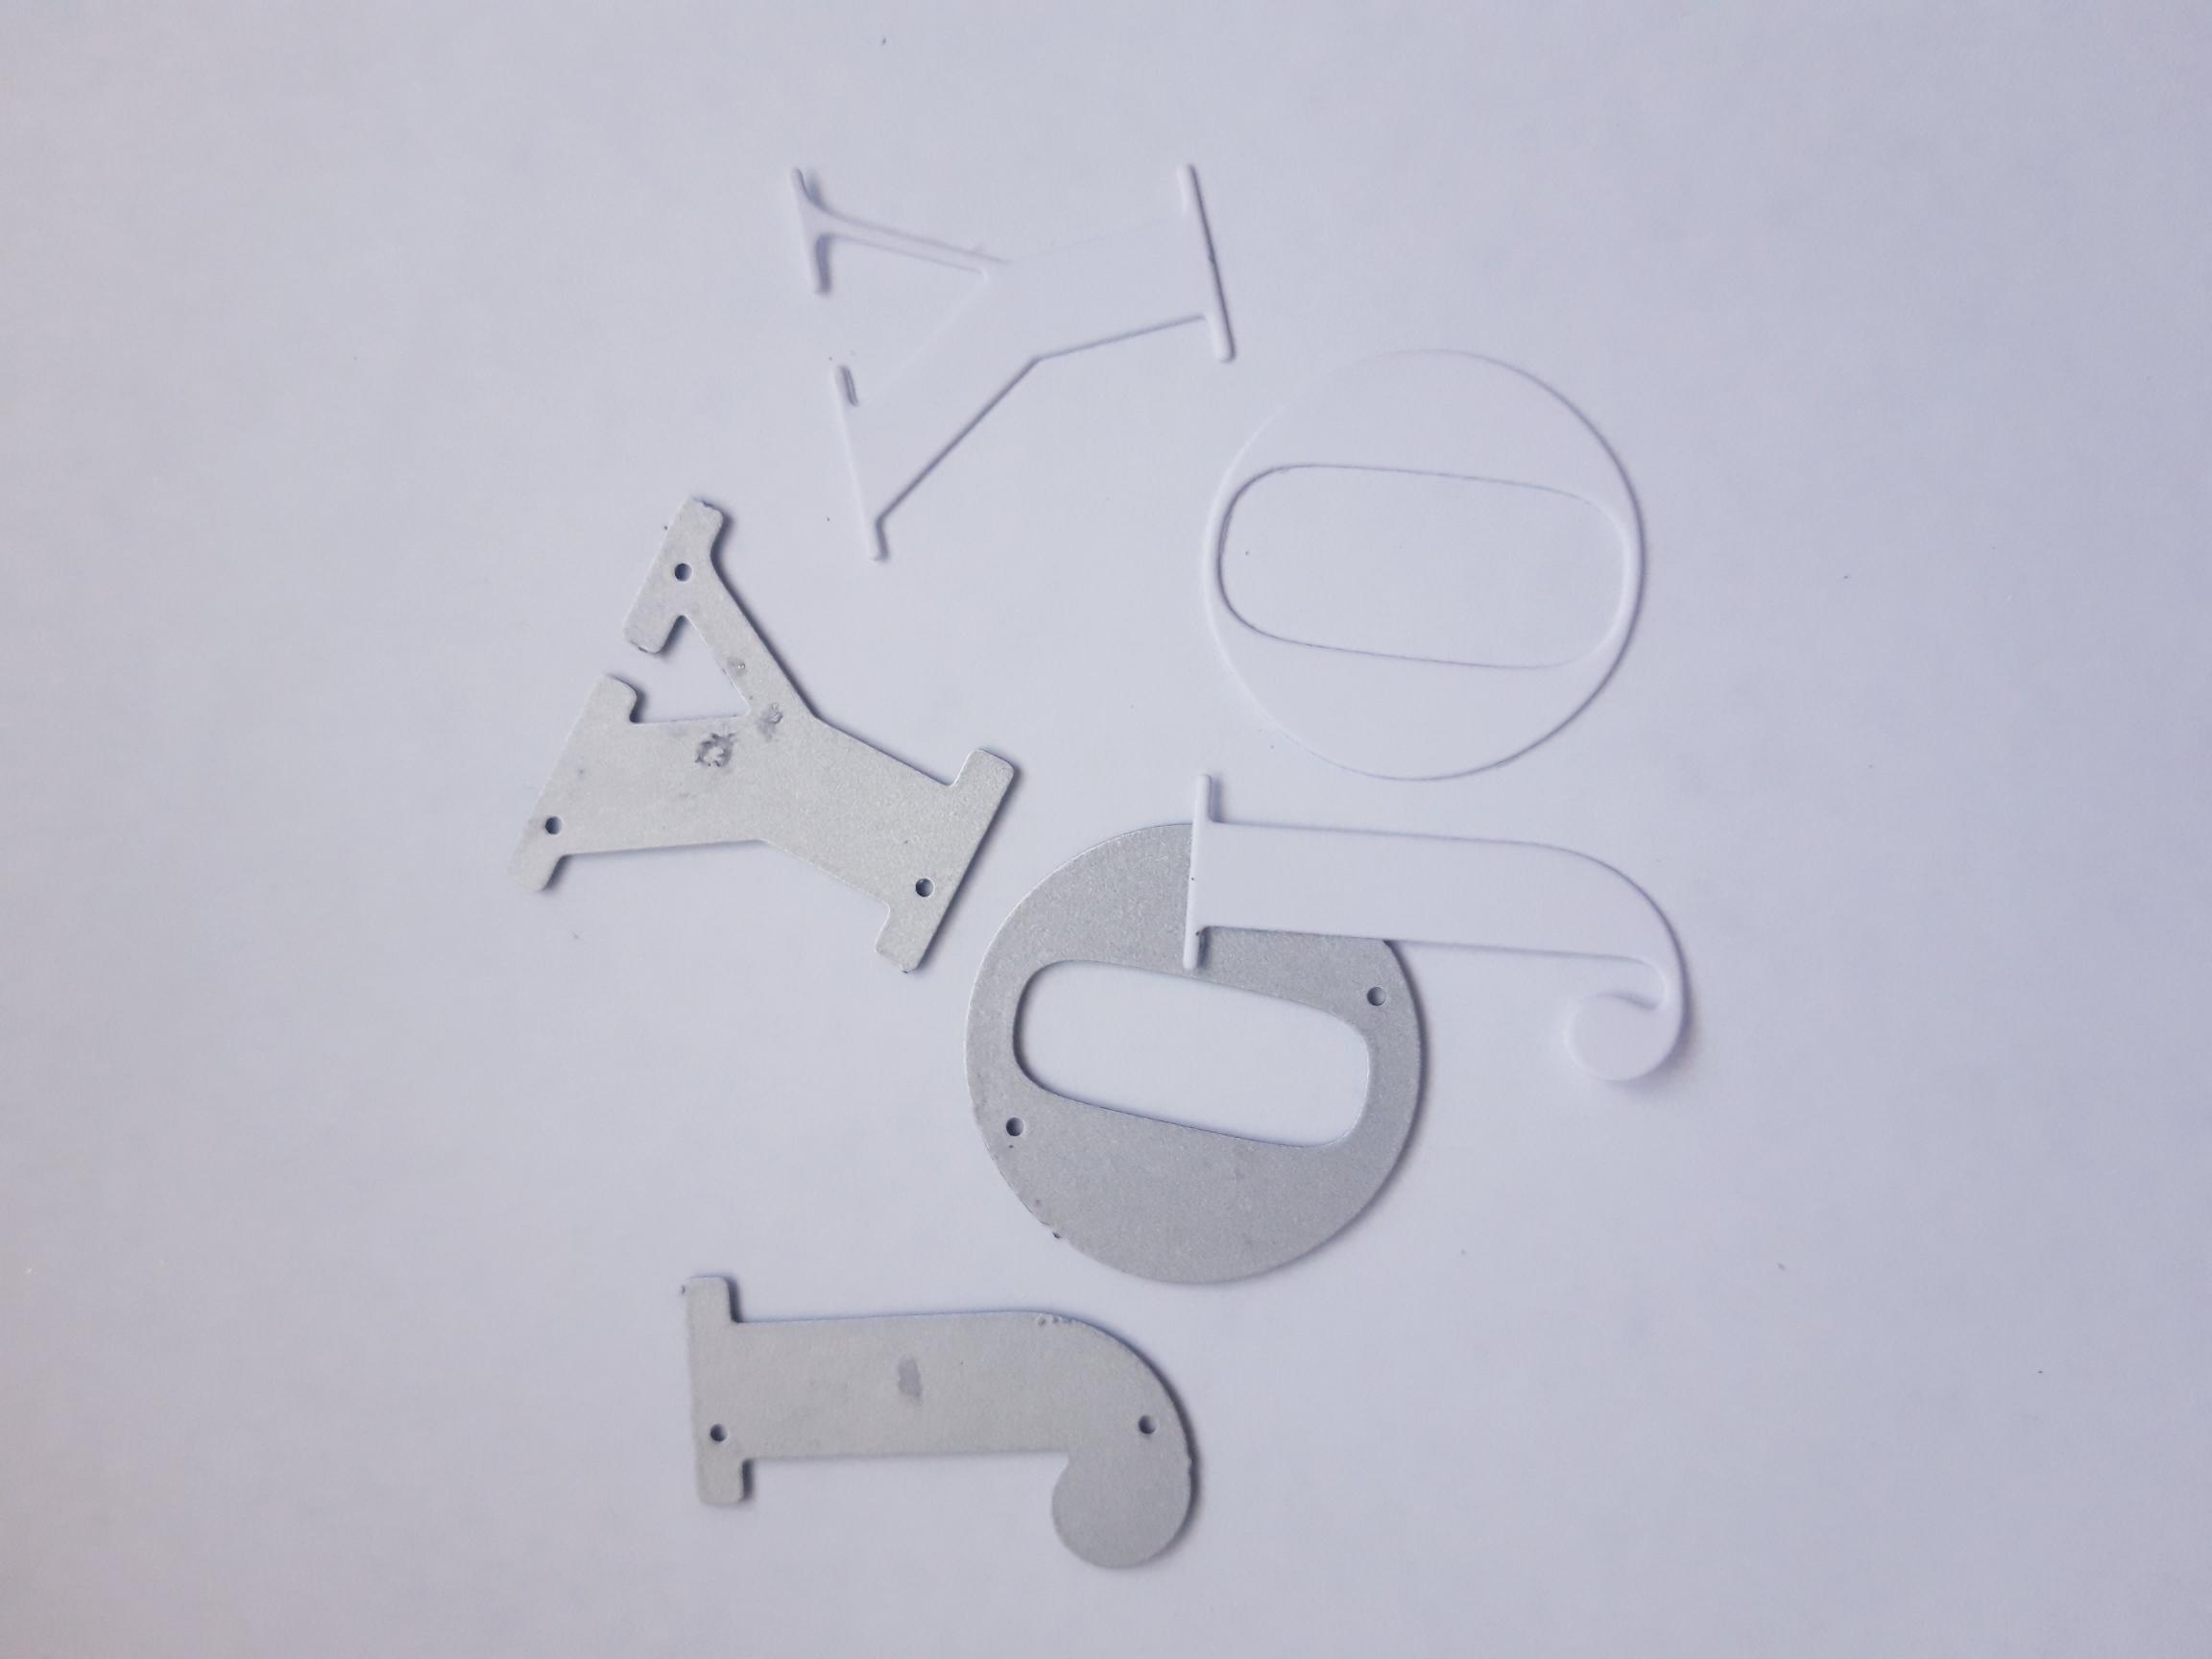
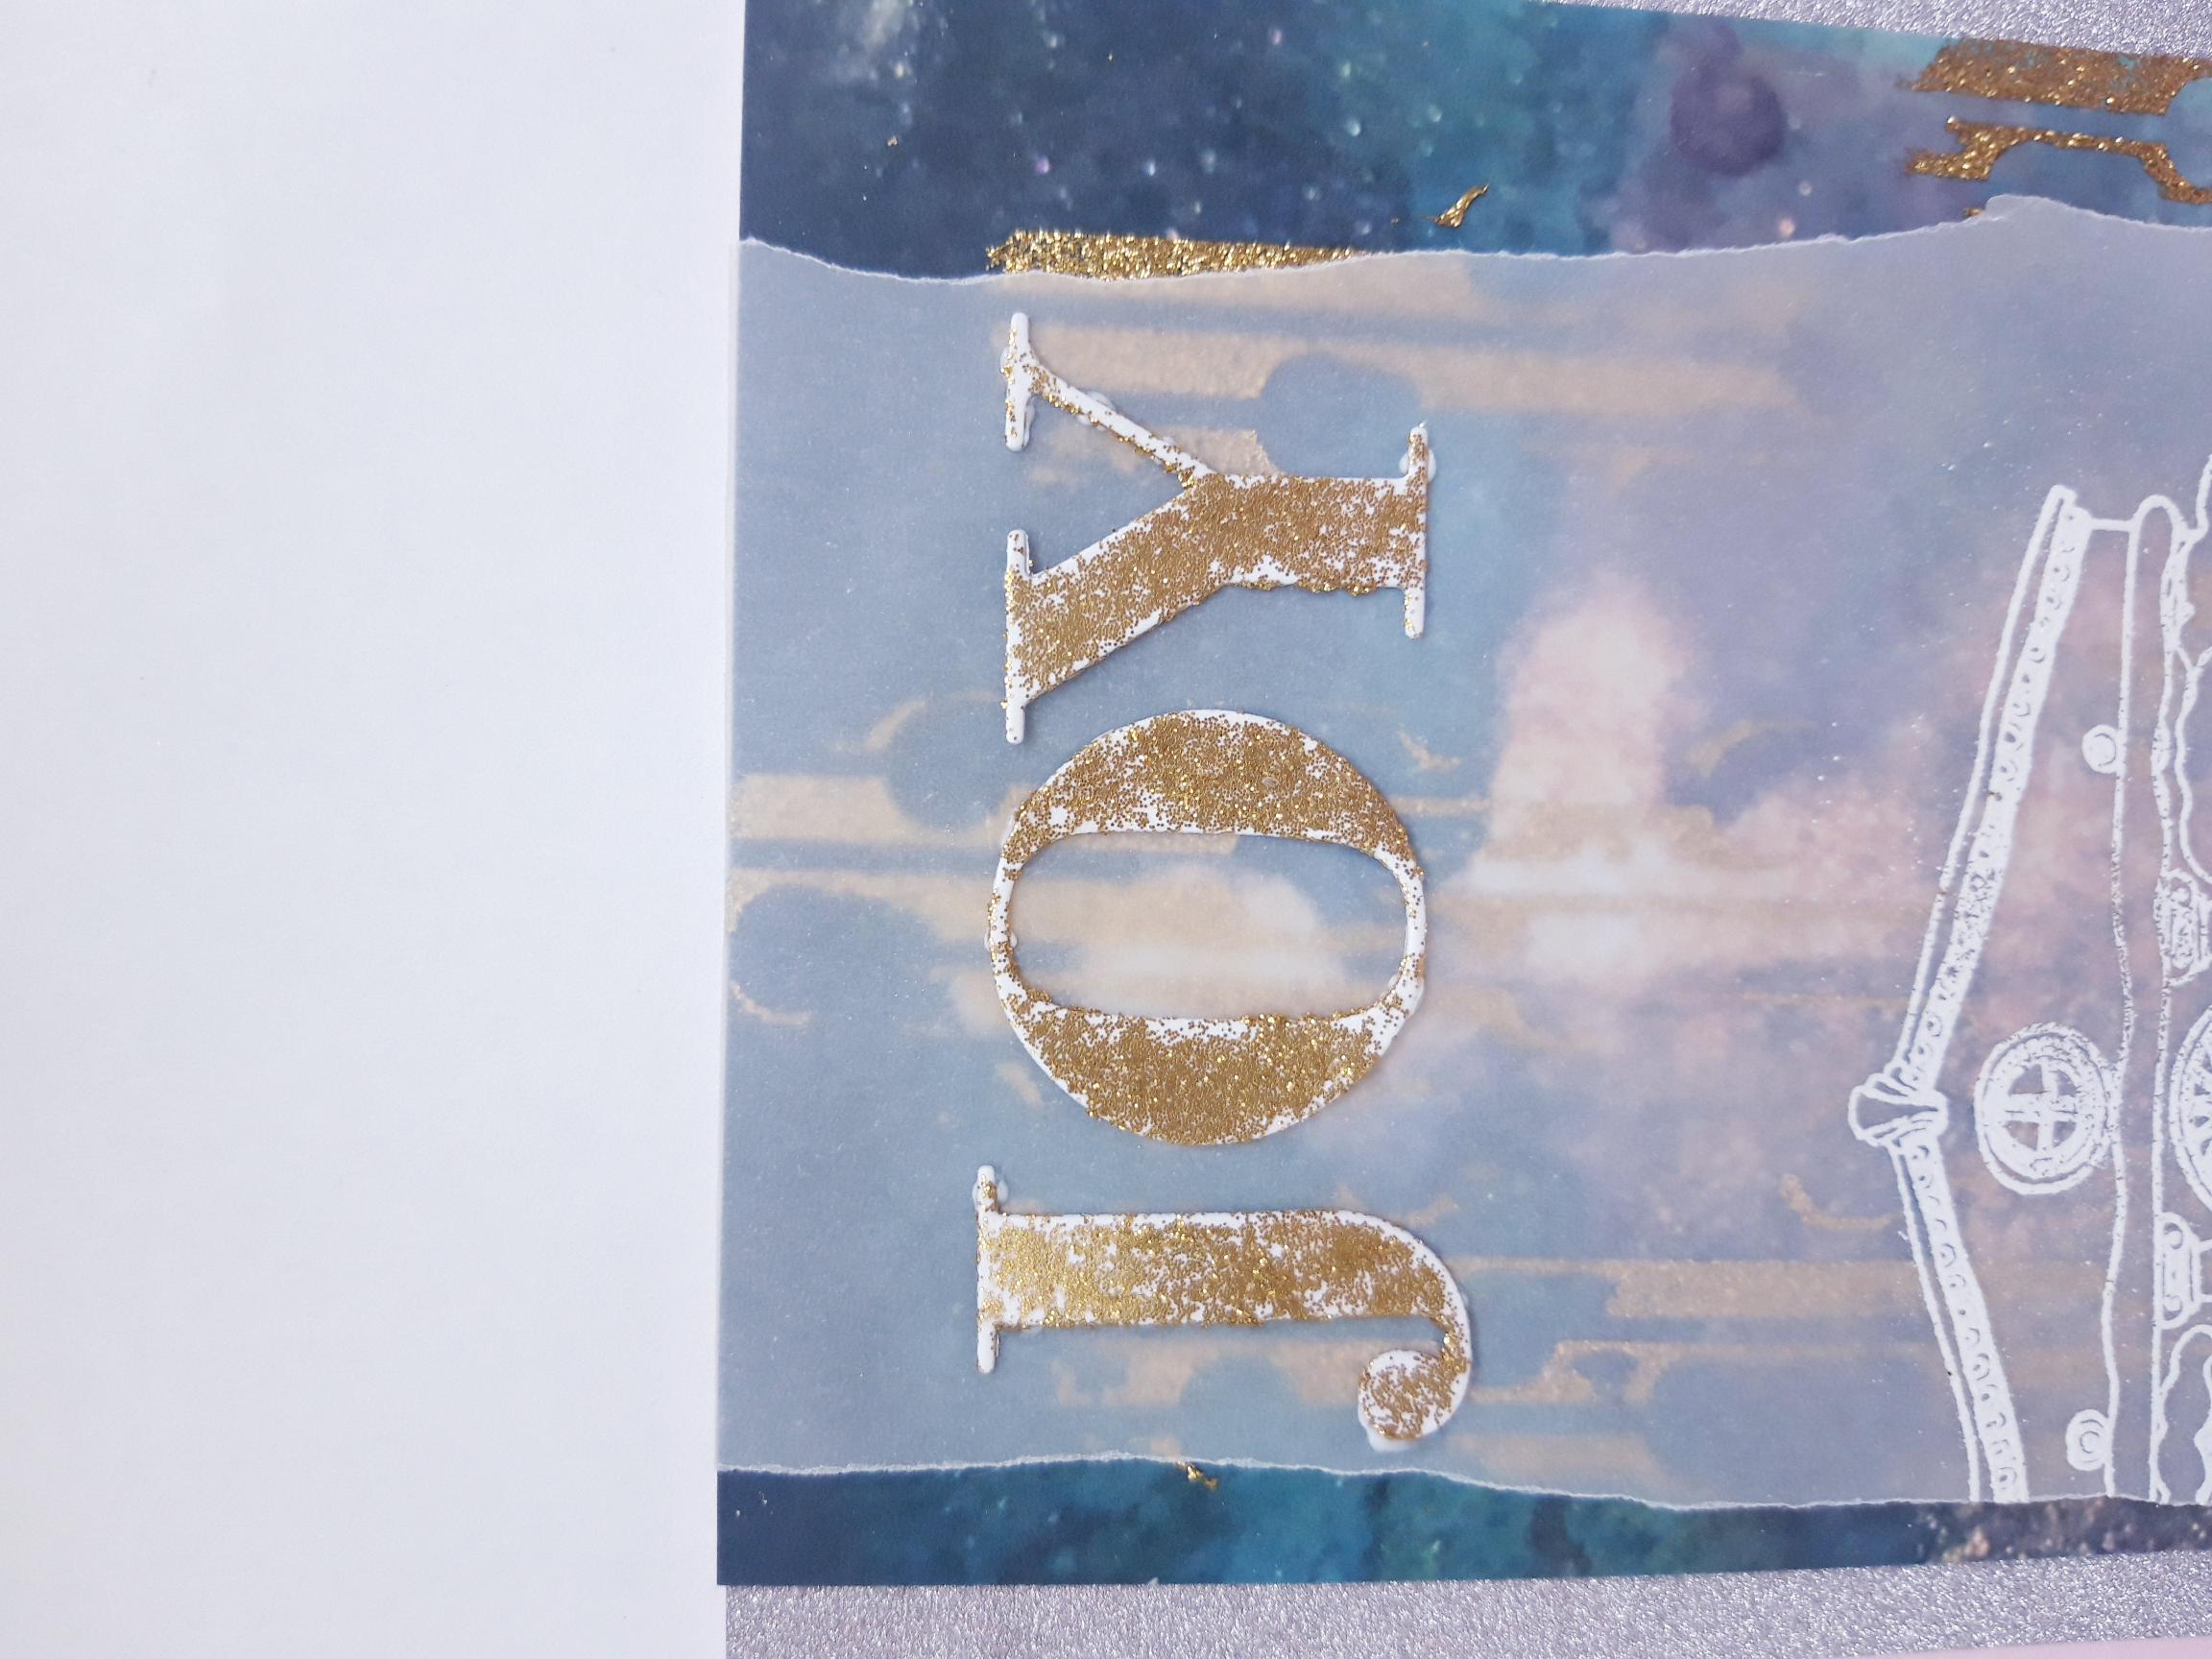
Place the J O Y dies on to the 4 x 4" white card and run it through your die cutting machine. Keep the remaining white card to one side, as you will use this with your snowflake dies, in a later step. |
|
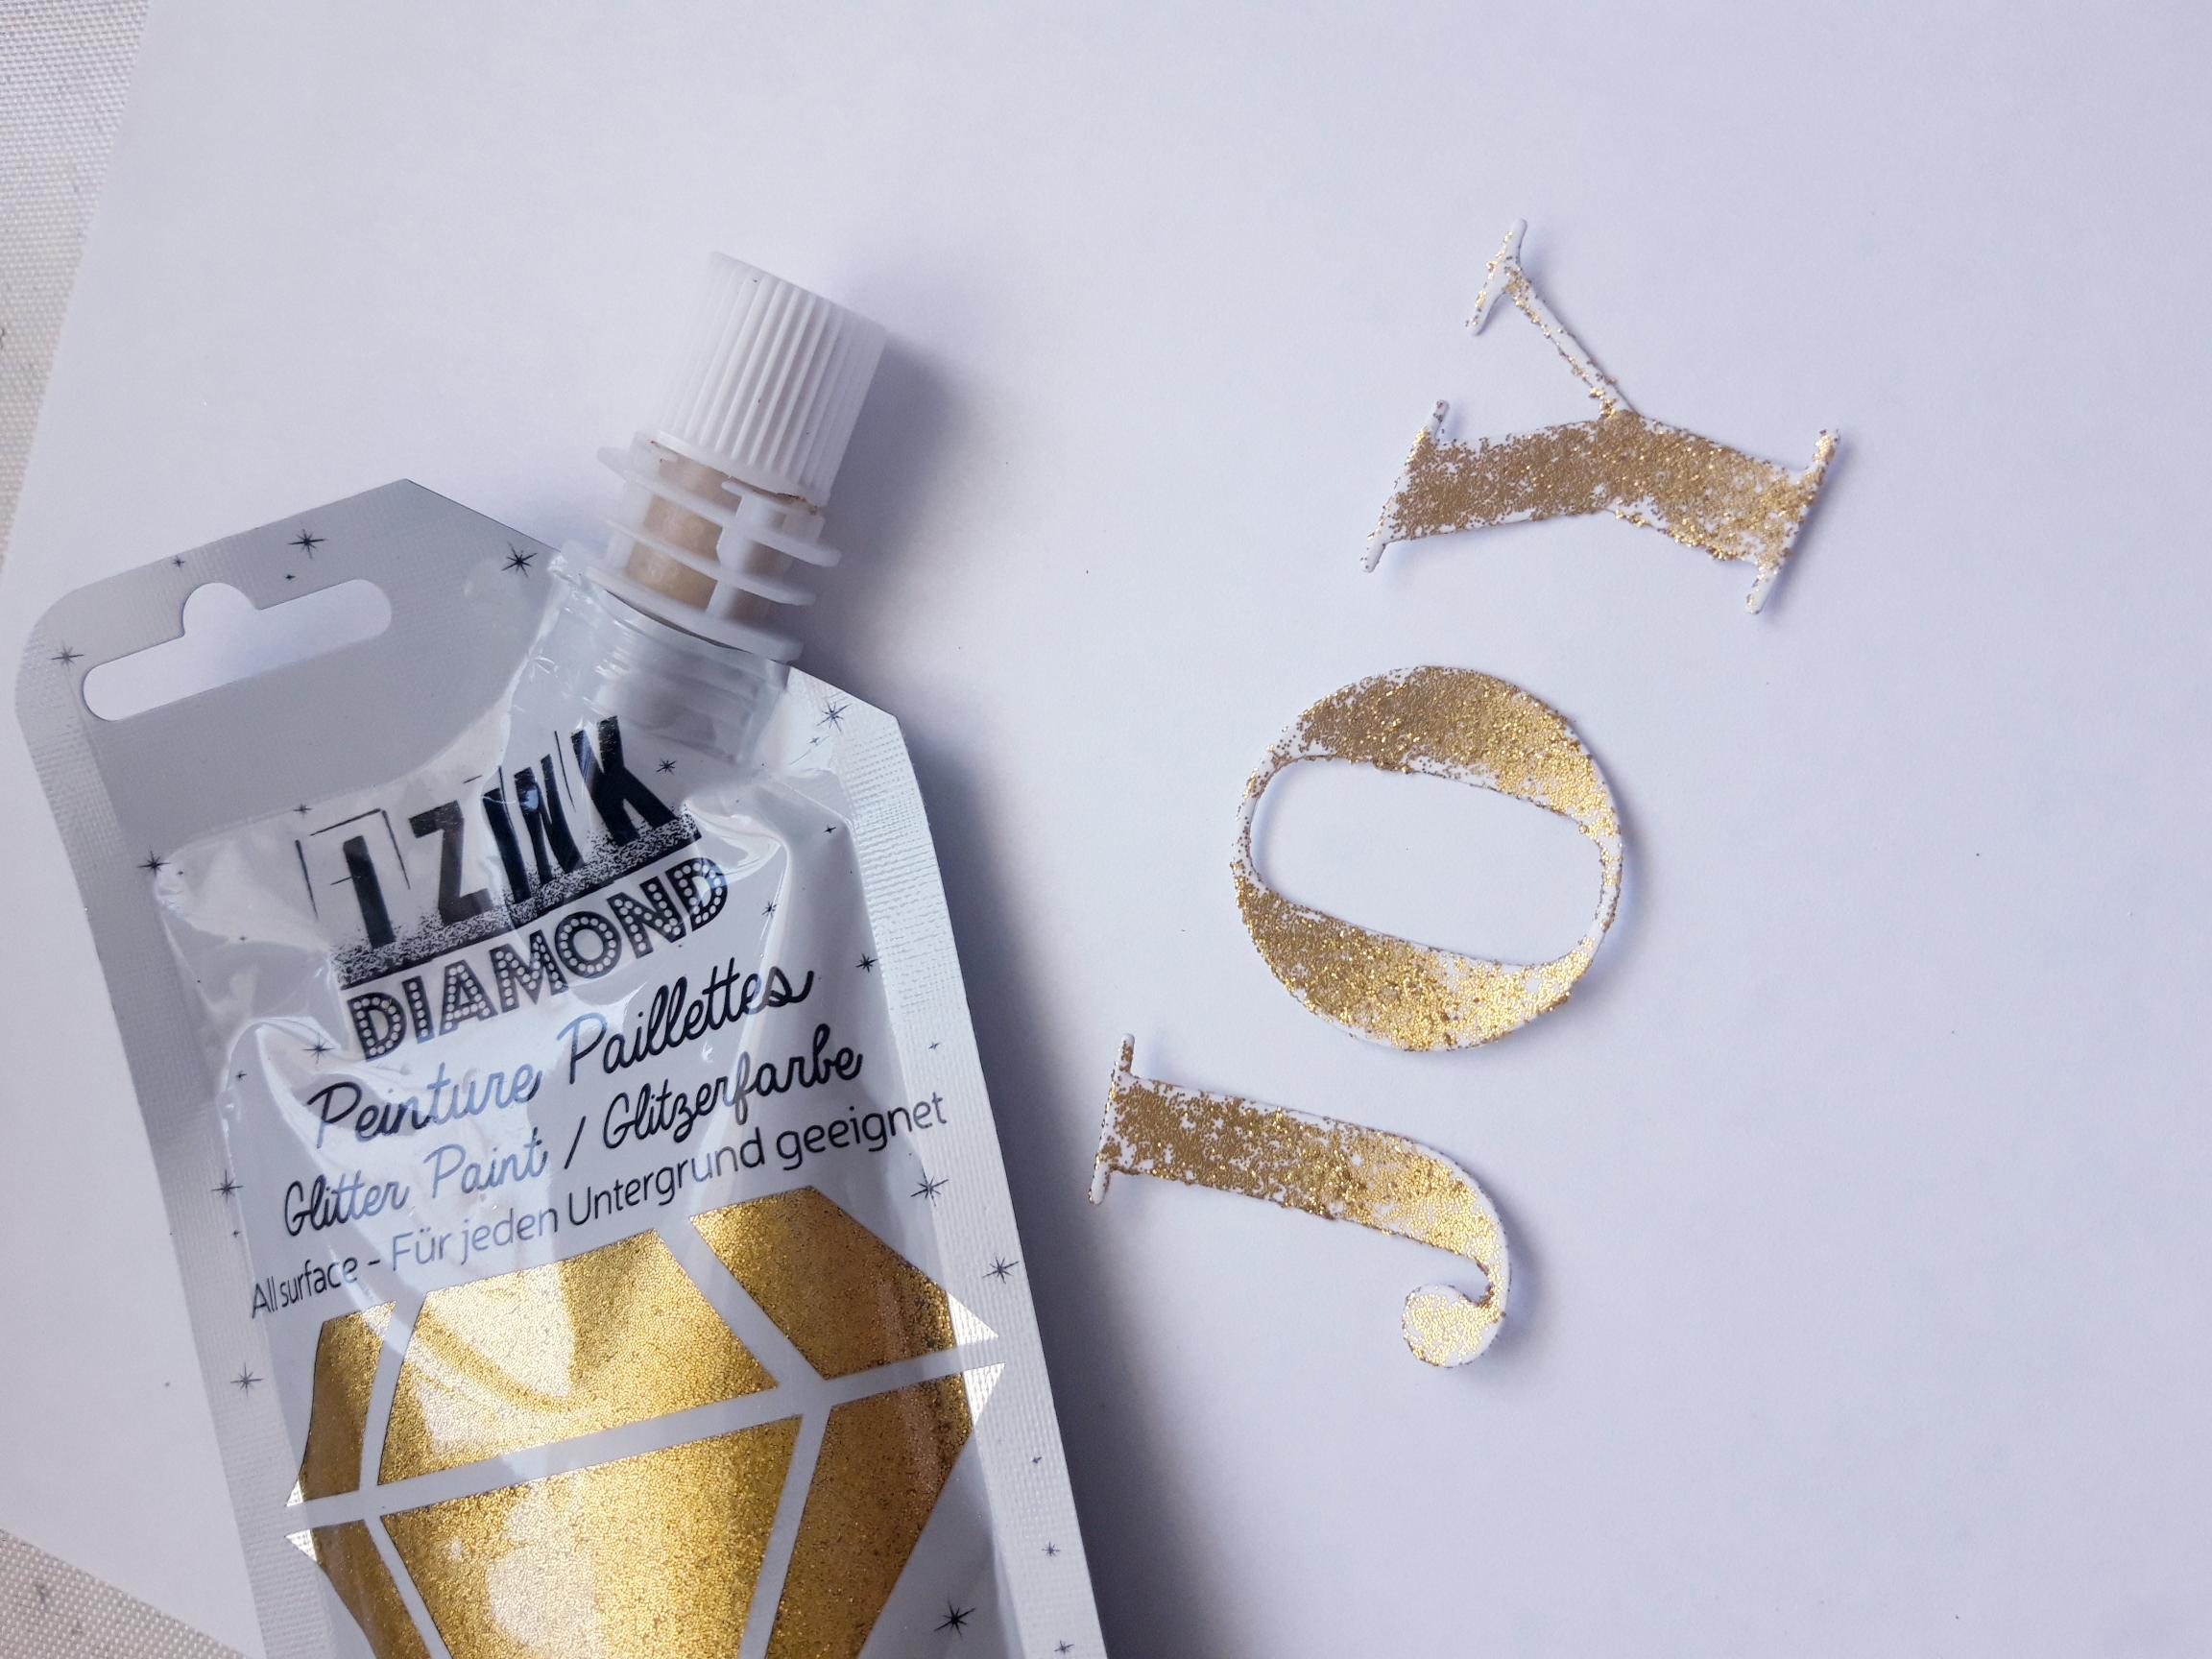
Apply a little of the Izink Dore Glitter Paint on to your craft mat. Add a little water, then use your paint brush to apply the paint to your die cut letters. I wanted mine to look distressed, so i left white spaces. |
|
Paint a little of the gold glitter paint under your embossed house, to "ground" it. |
|
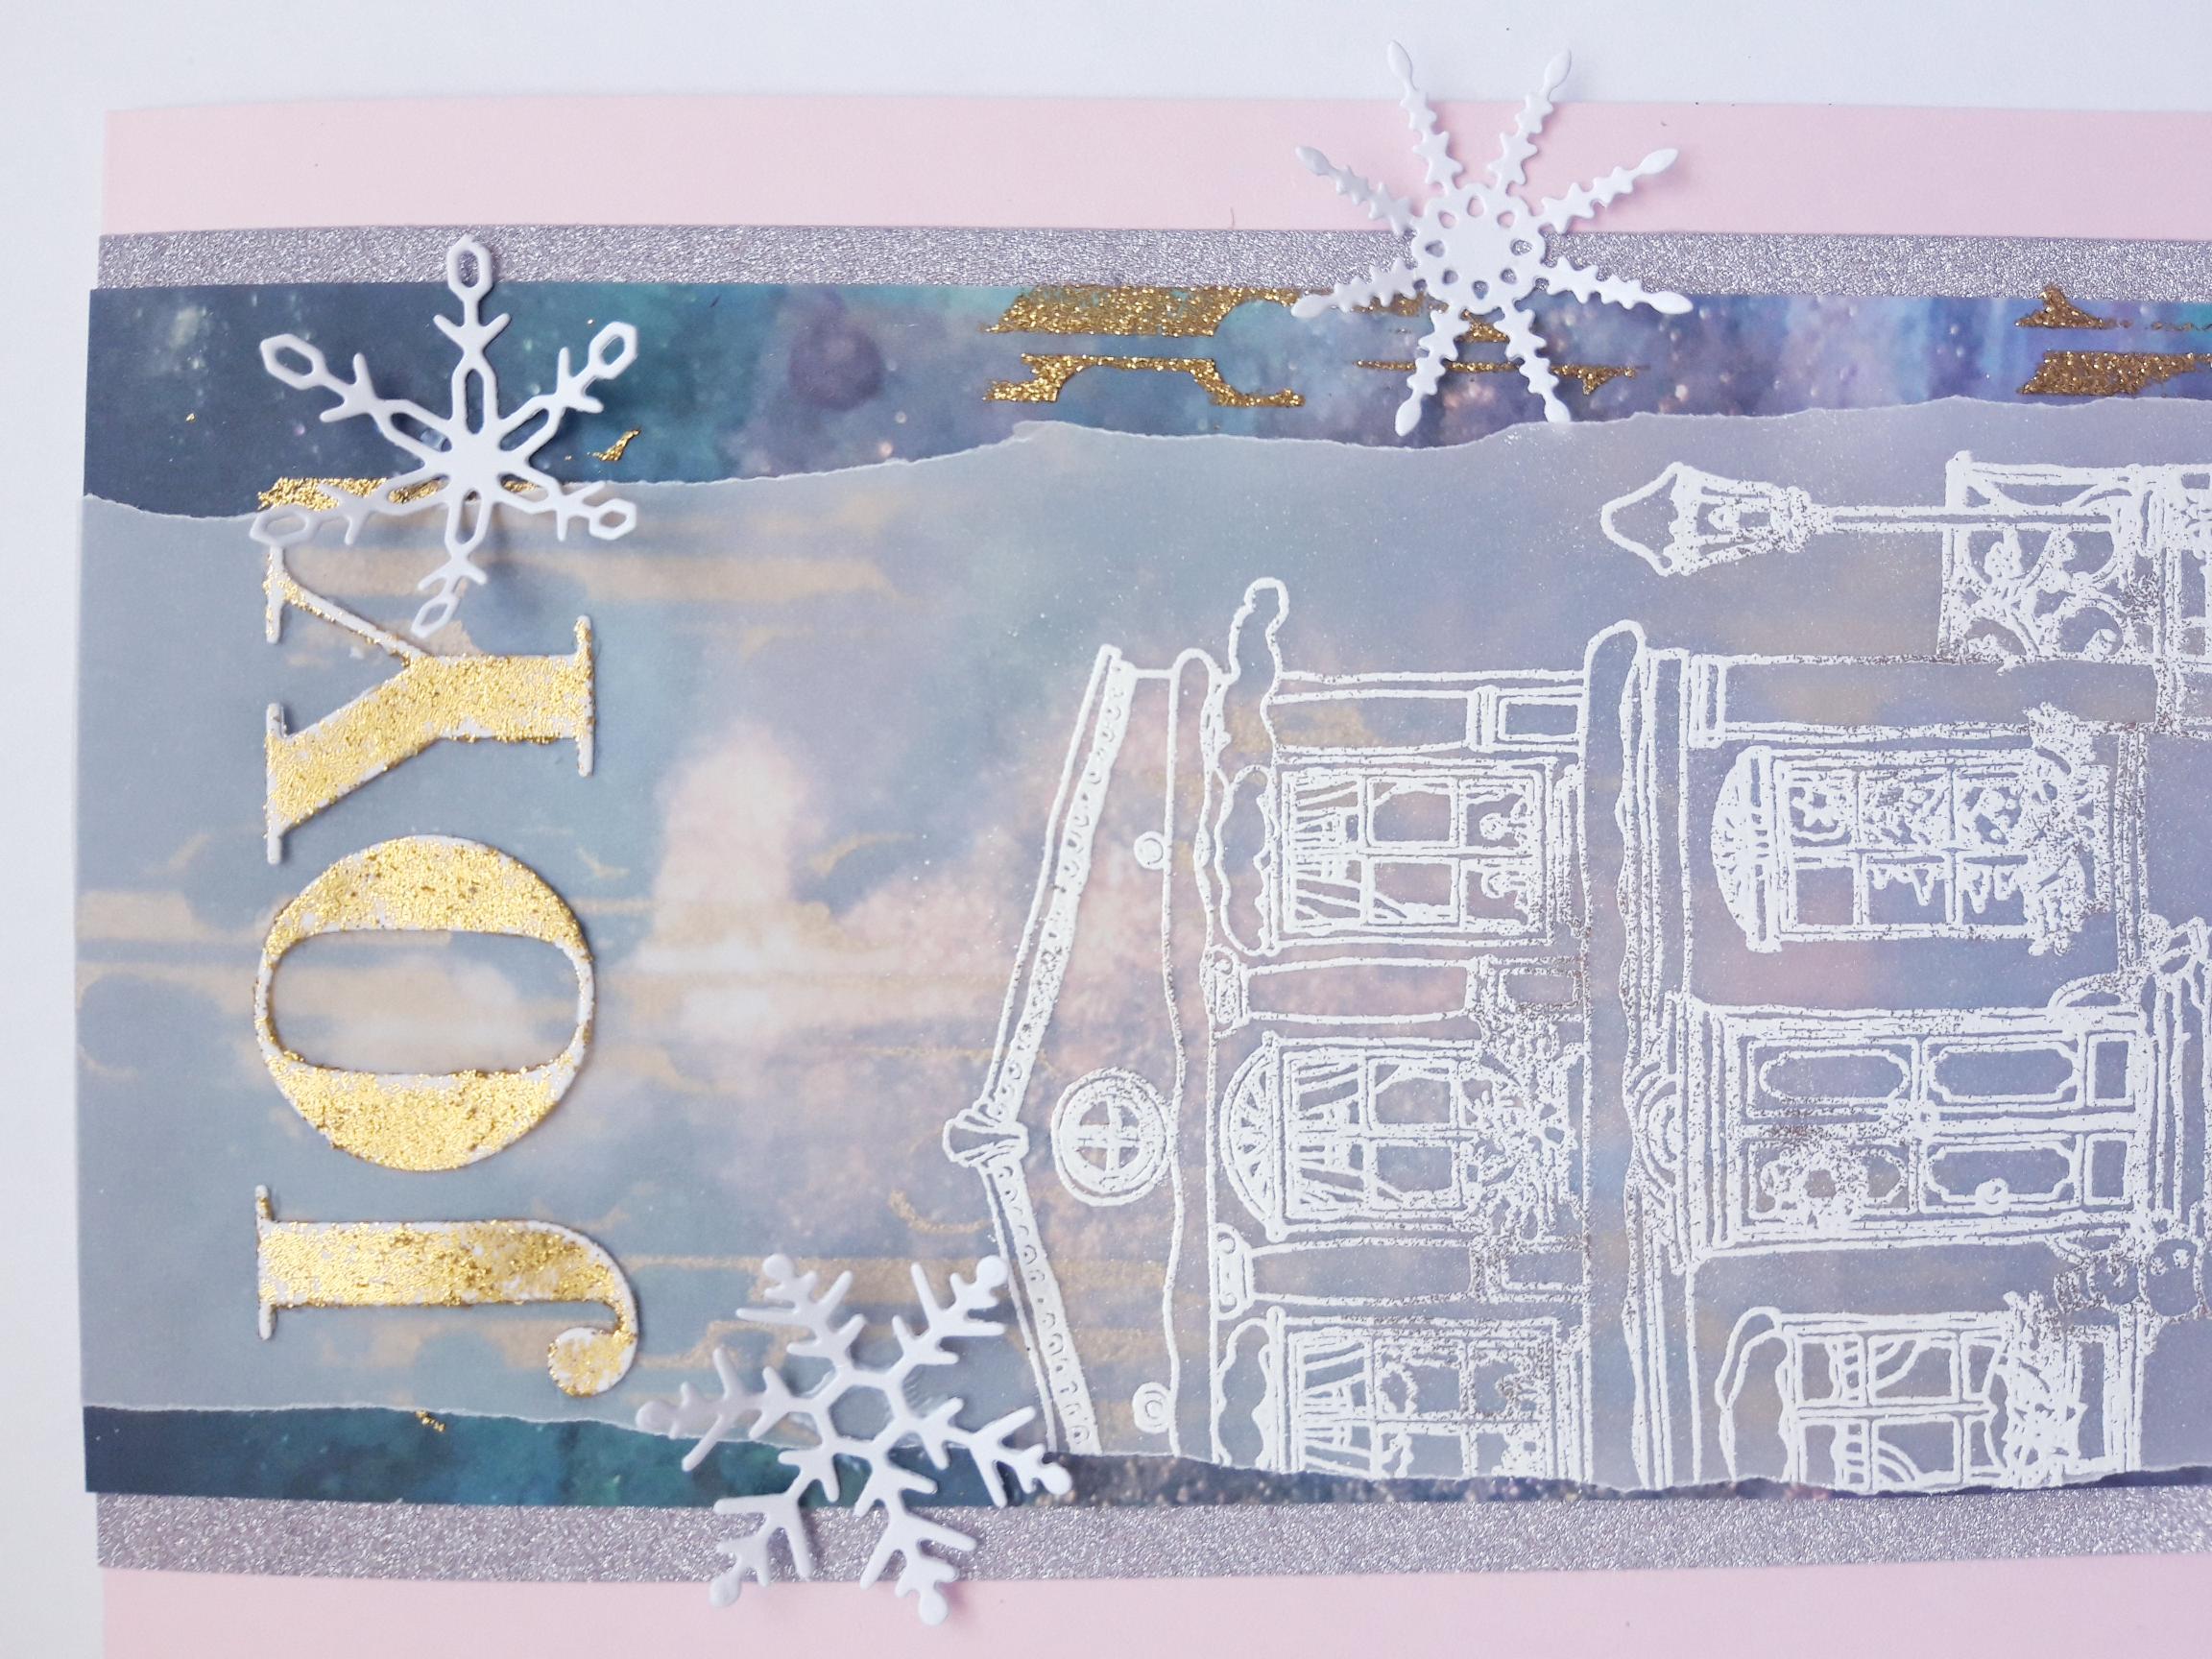
Once dry, adhere your die cut letters above your embossed house. Set to one side. |
|
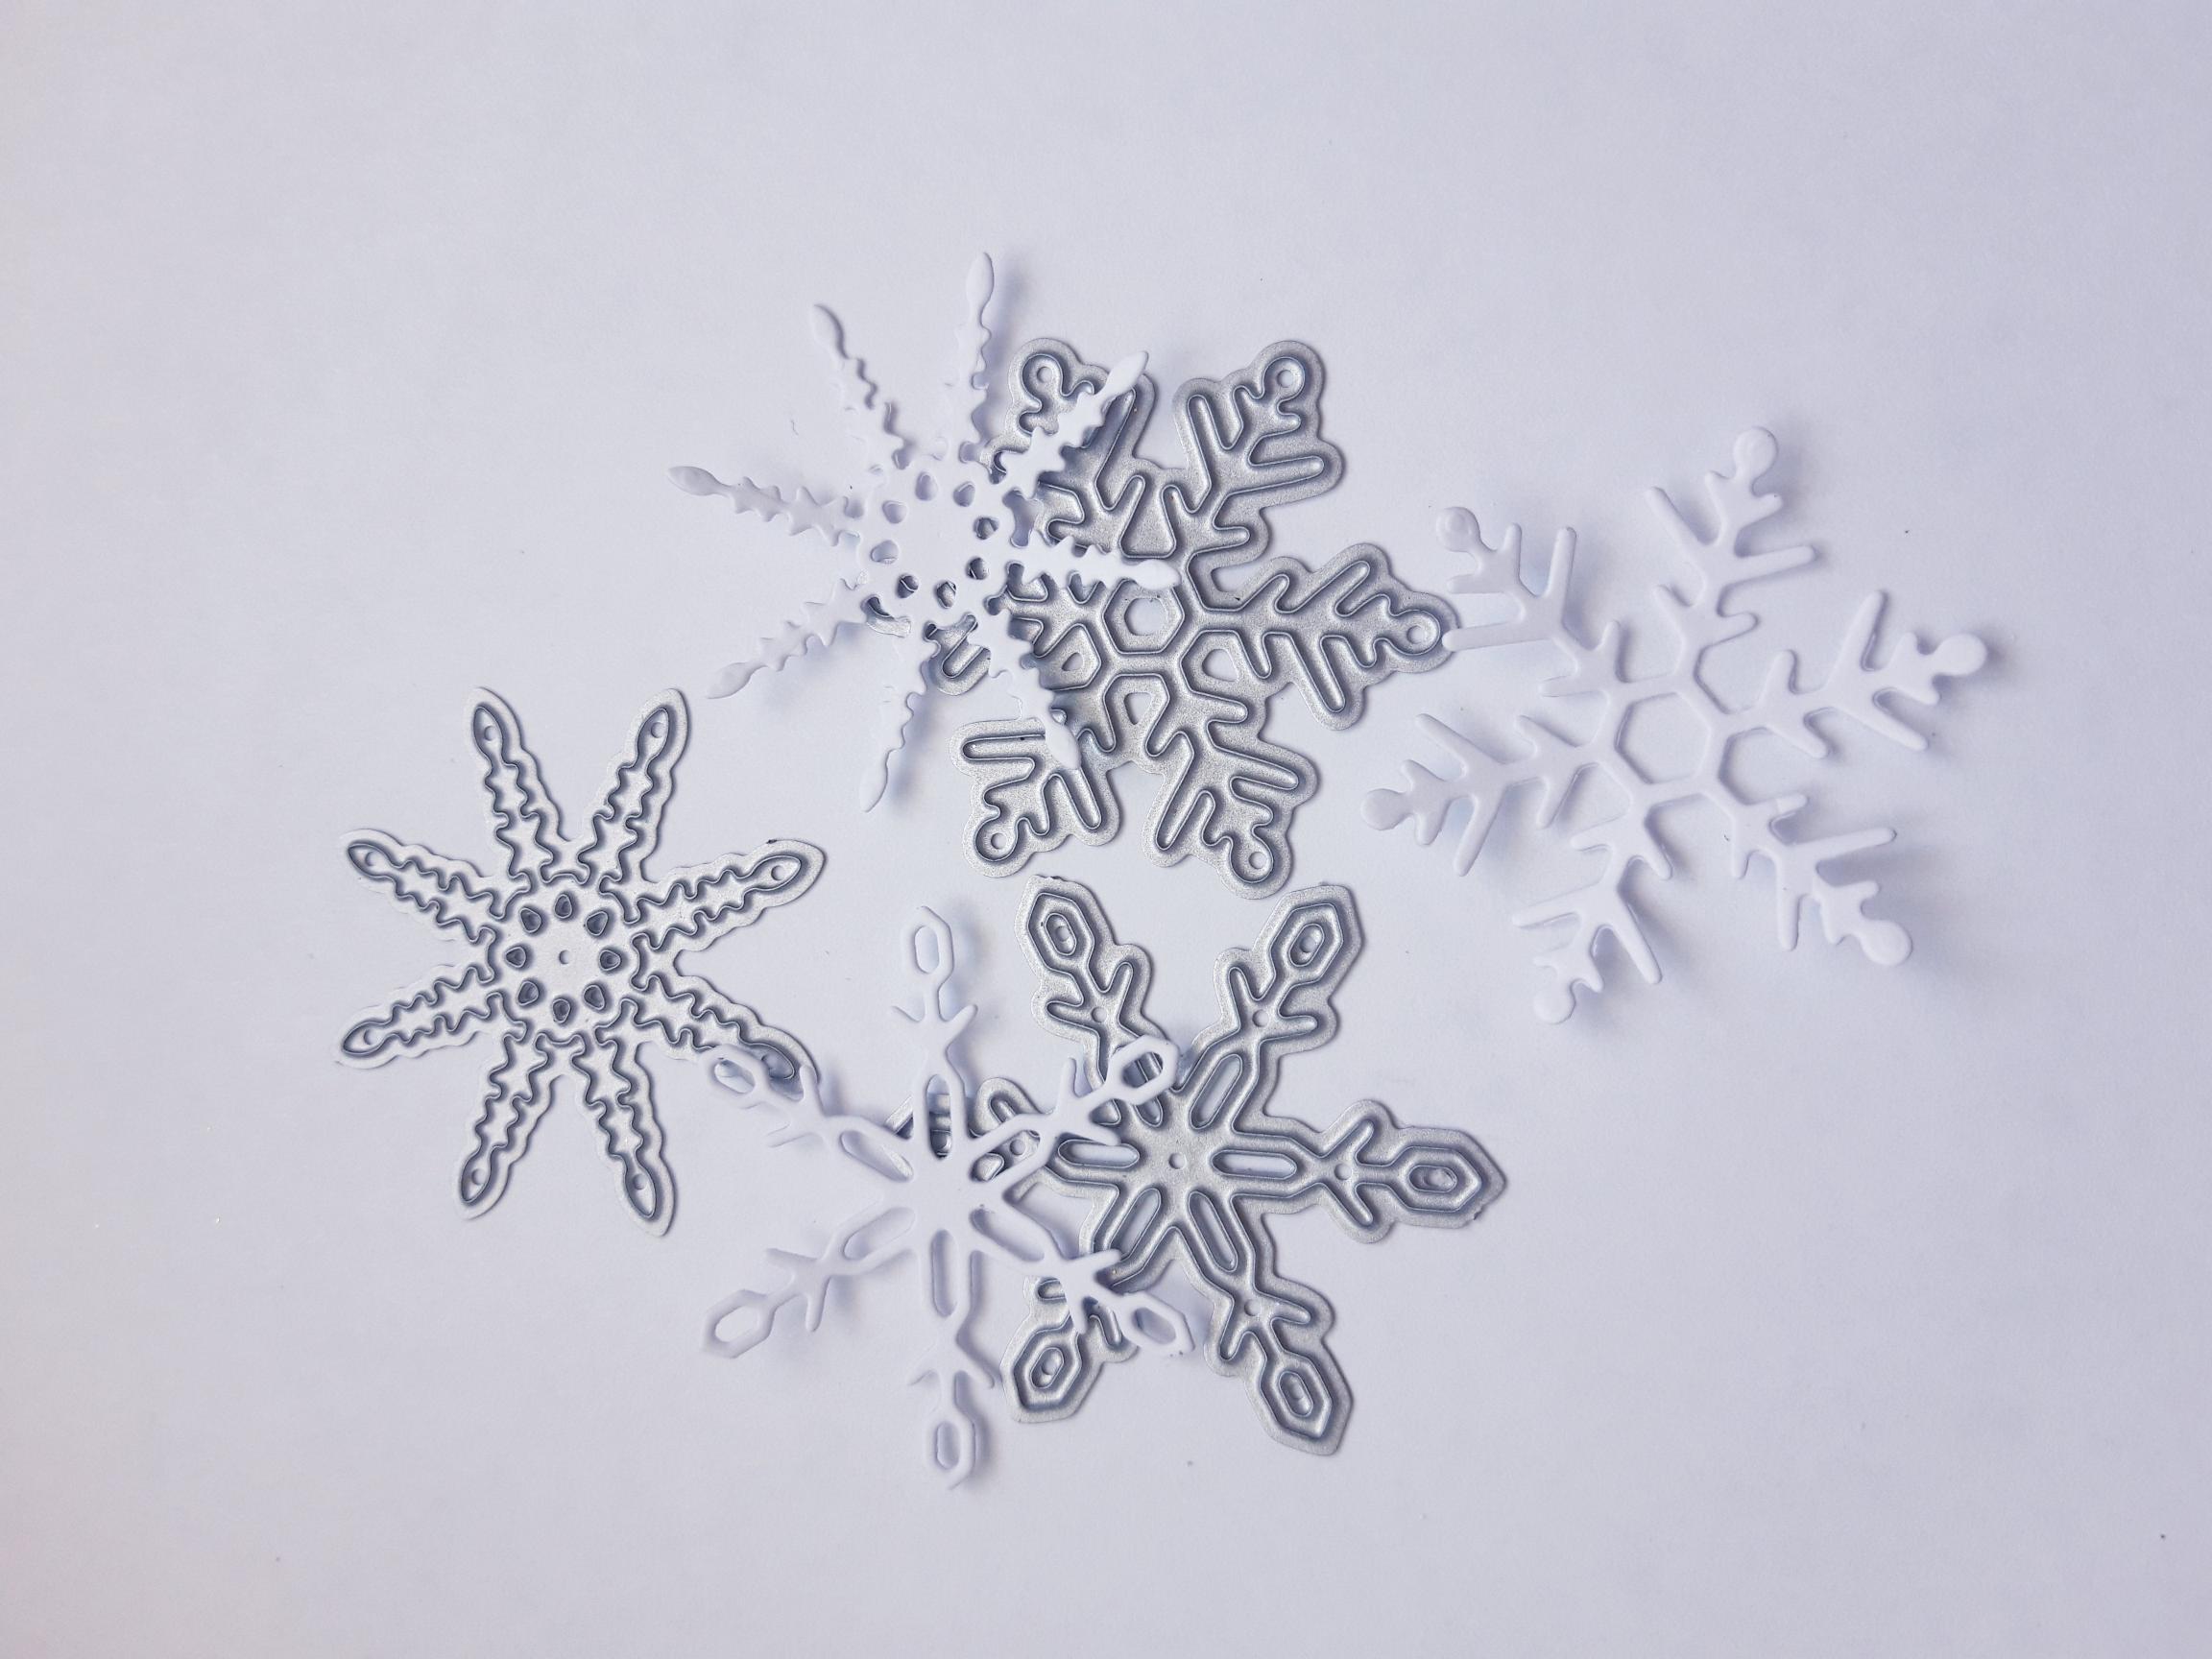
Place the snowflake dies from the Christmas Frame Die Collections, on to the white card you set aside earlier. Run them through your die cutting machine. |
|
Adhere them randomly, on to your card. |
|
To finish, add the gold liquid pearl drops to the centre of your snowflakes. |