Give your friends $10 off their first order!
Refer a FRIEND


WHAT YOU WILL NEED
White DL card blank 8 1/4 x 4"
Purple glitter card 8 x 3 3/4"
Super smooth white card 7 3/4 x 3 1/2"
Vellum - tear to 2 3/4 x 4 1/2"
A4 Card/copier paper
Imala Time To Sparkle Stamp Collection
Imala Gorgeous Snowflake Stencil Collection
Stylized Star Stencil
Memento Ink Pad: Tuxedo Black
Gossip Alcohol Pens: Colours of your choice
Distress Oxide: Shaded Lilac
WOW embossing ink pad
WOW heat tool
Anti-static bag
WOW white embossing powder
Stickles: Frosted Lace
Liquid pearl drops: White Opal
Eureka 101
Paper Trimmer
Perfect Together Glue
Double sided adhesive tape/tape runner
[click image to enlarge] 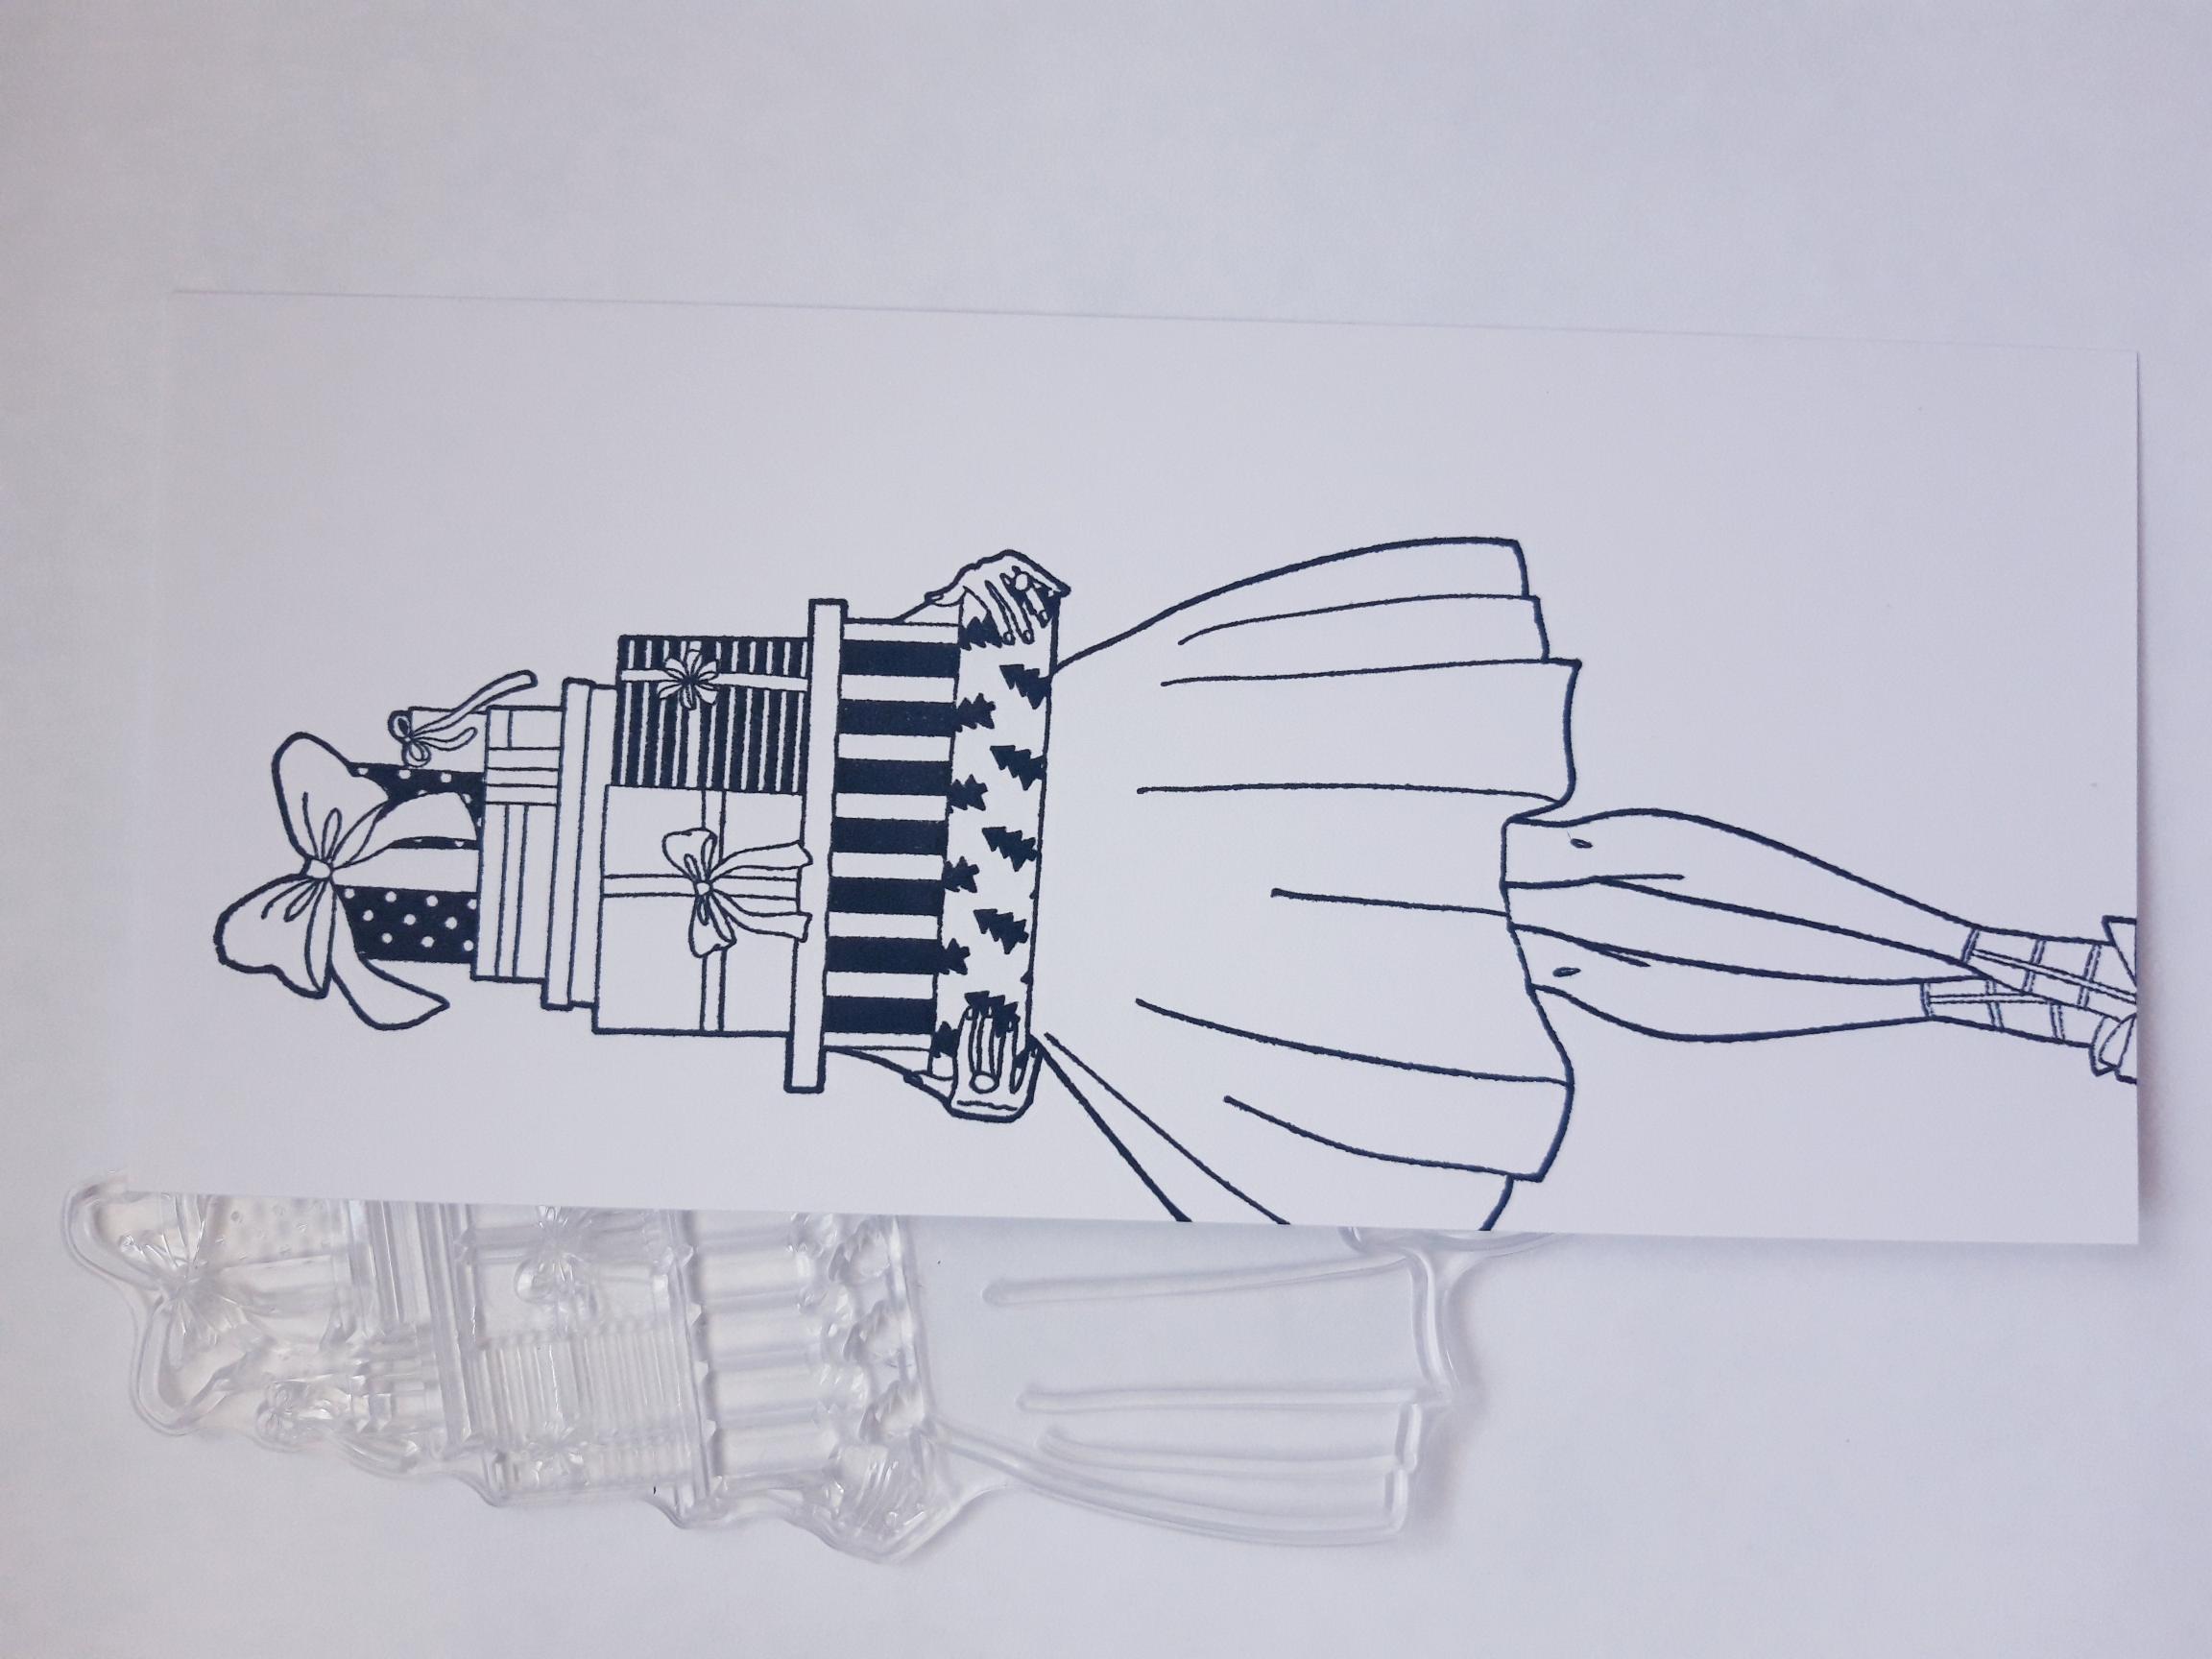
|
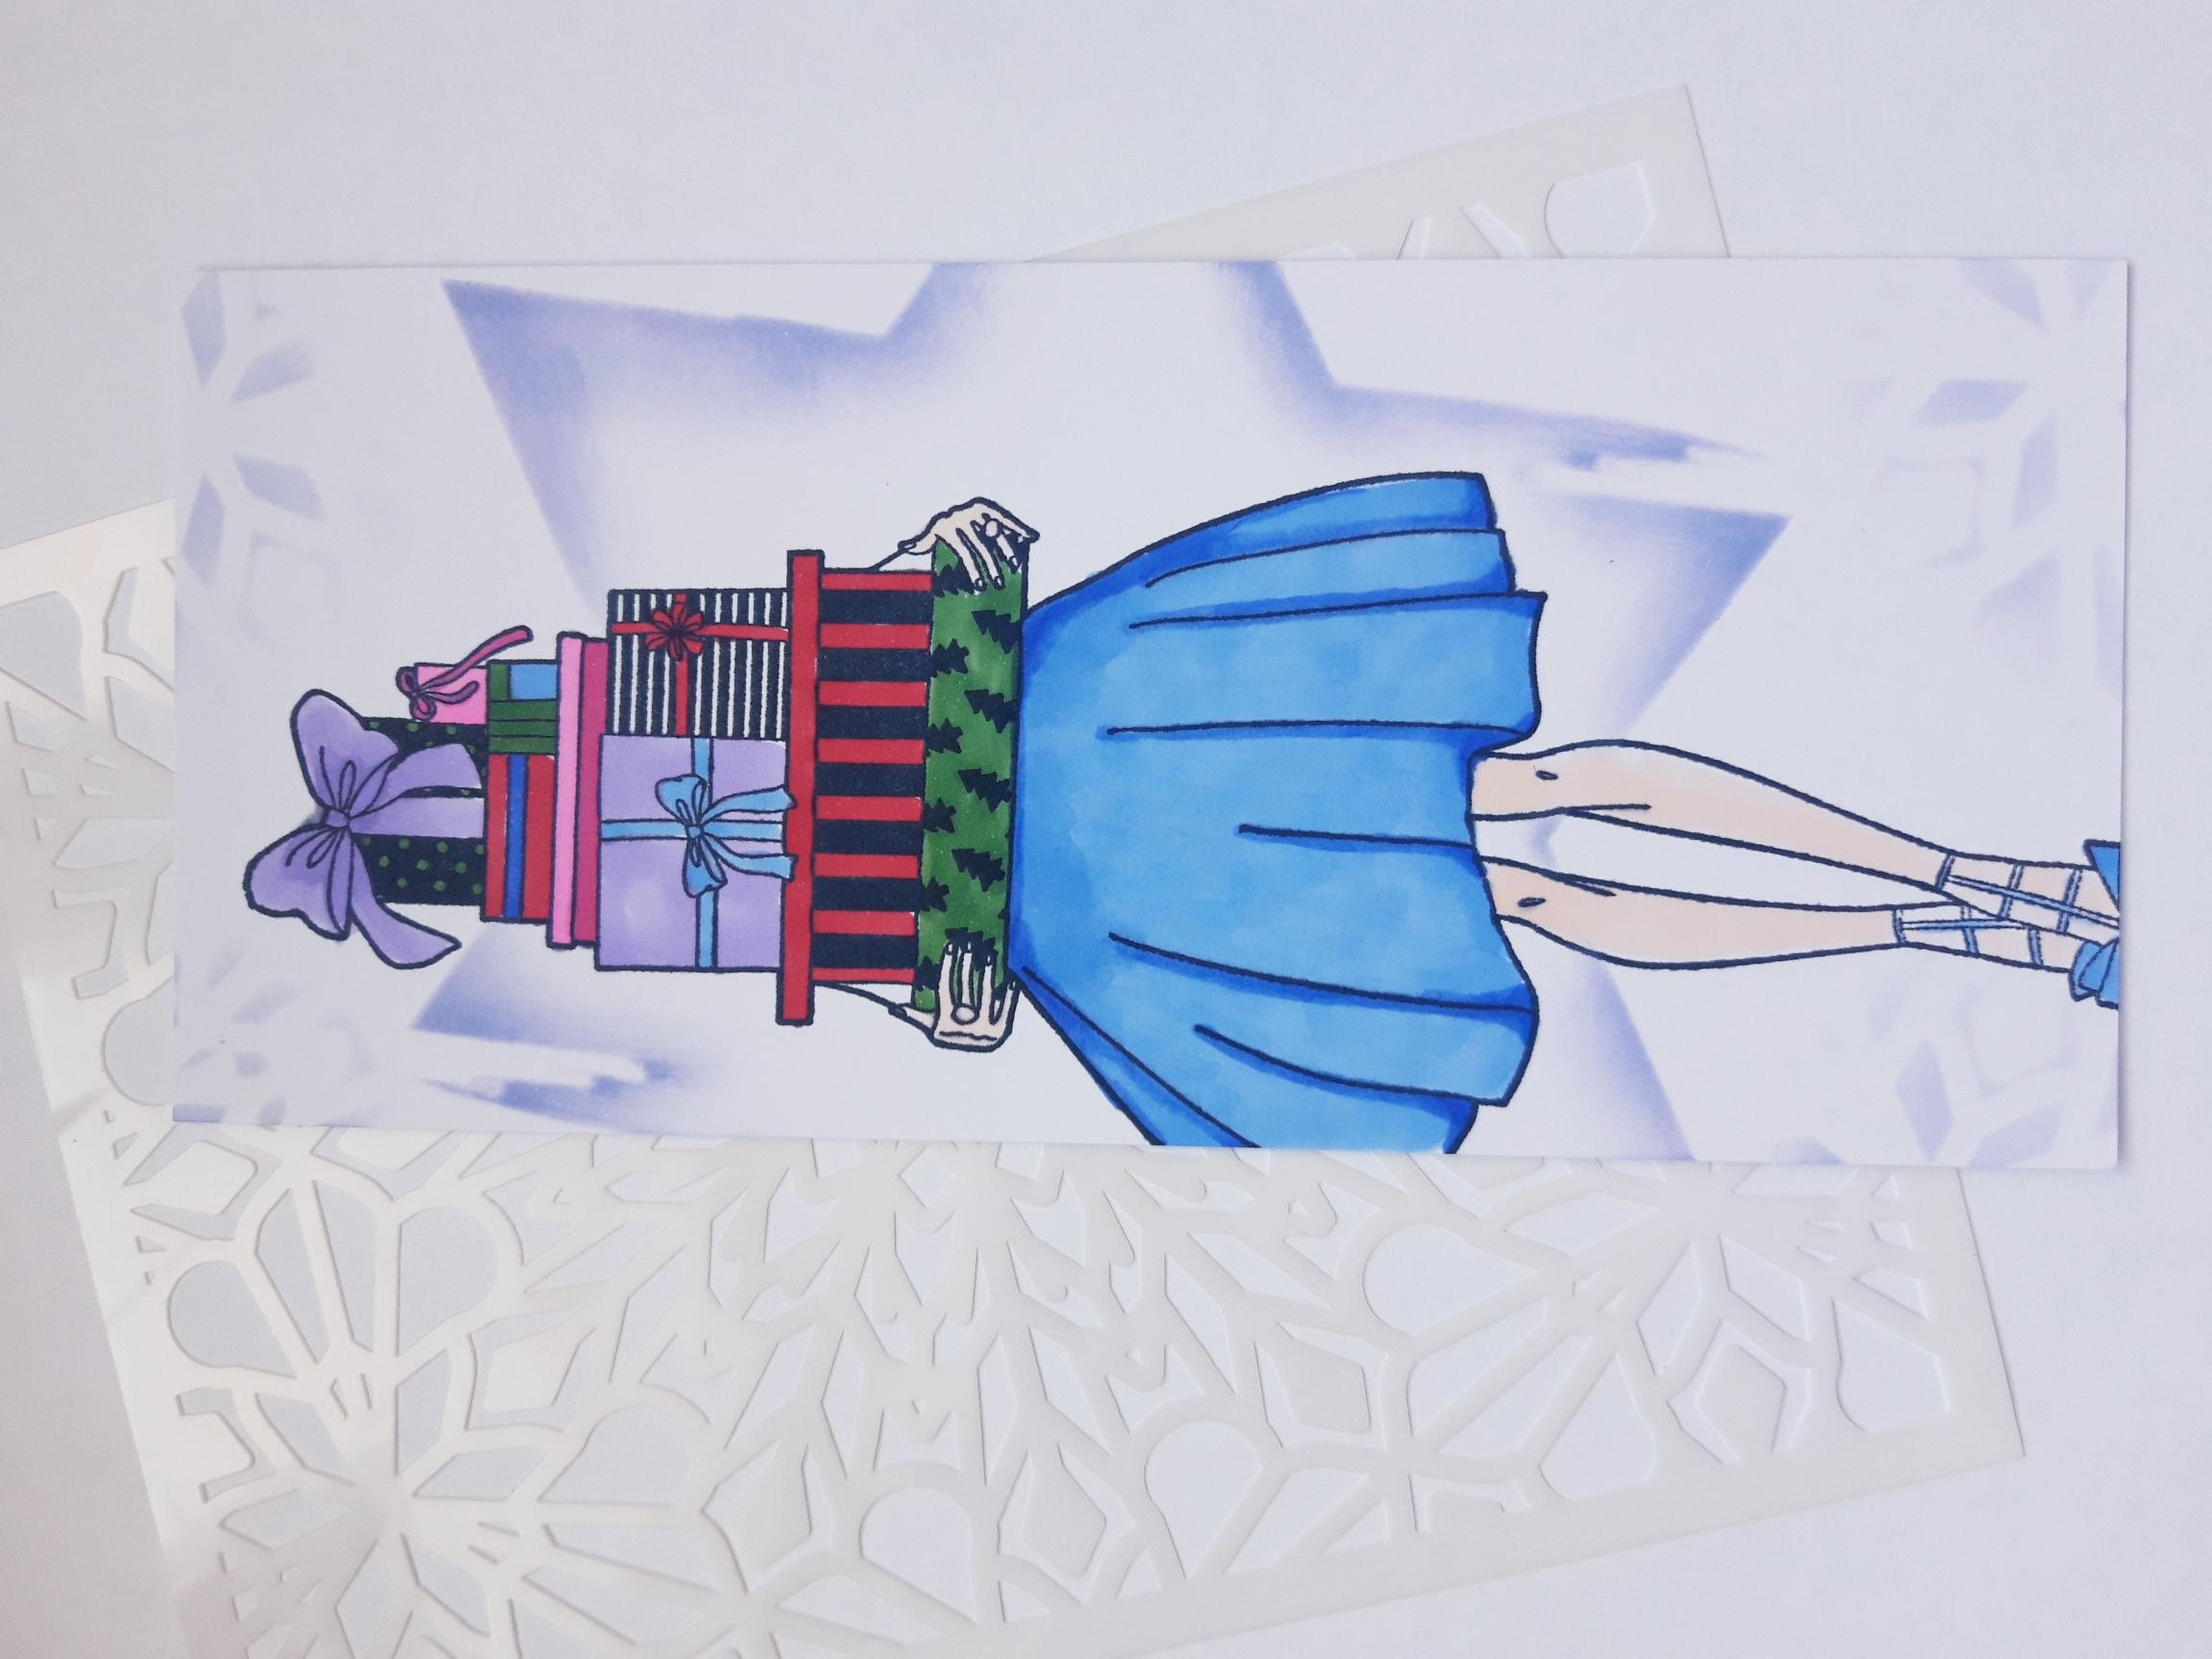
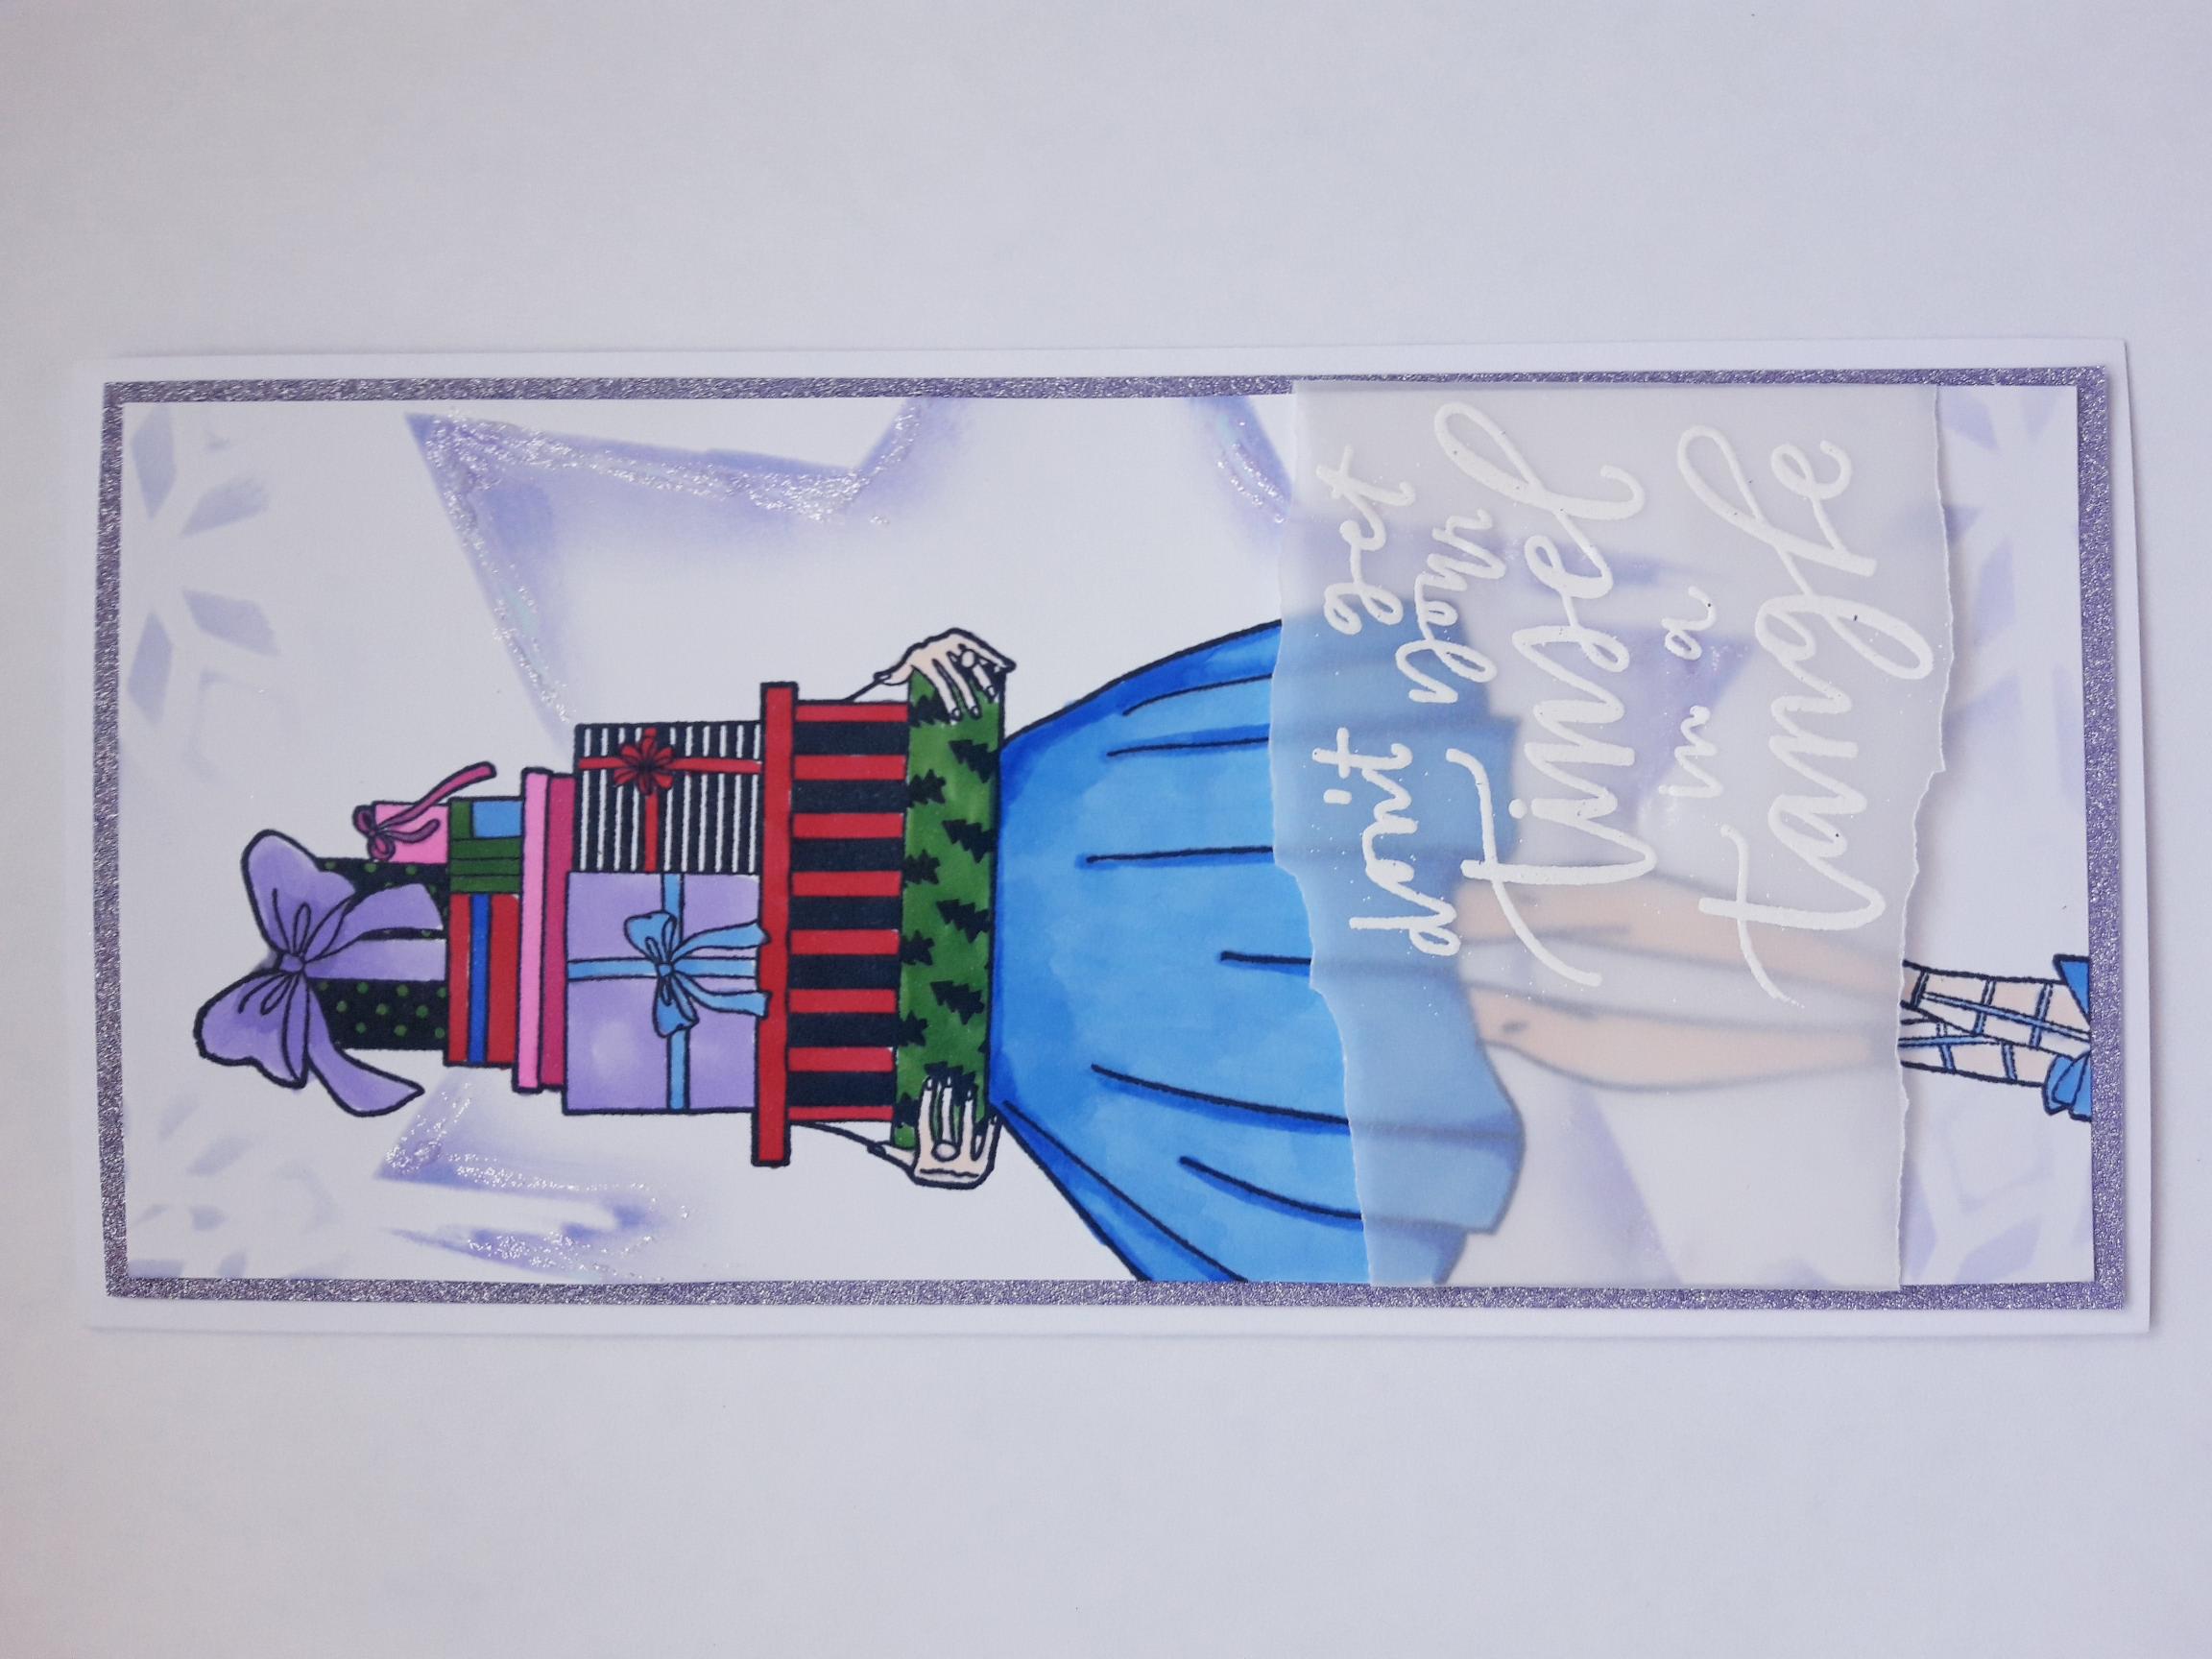
Ink up this stamp from the Imala Time To Sparkle Stamp Collection, with the Memento ink and stamp just off the left edge of the white, super smooth card. |
|
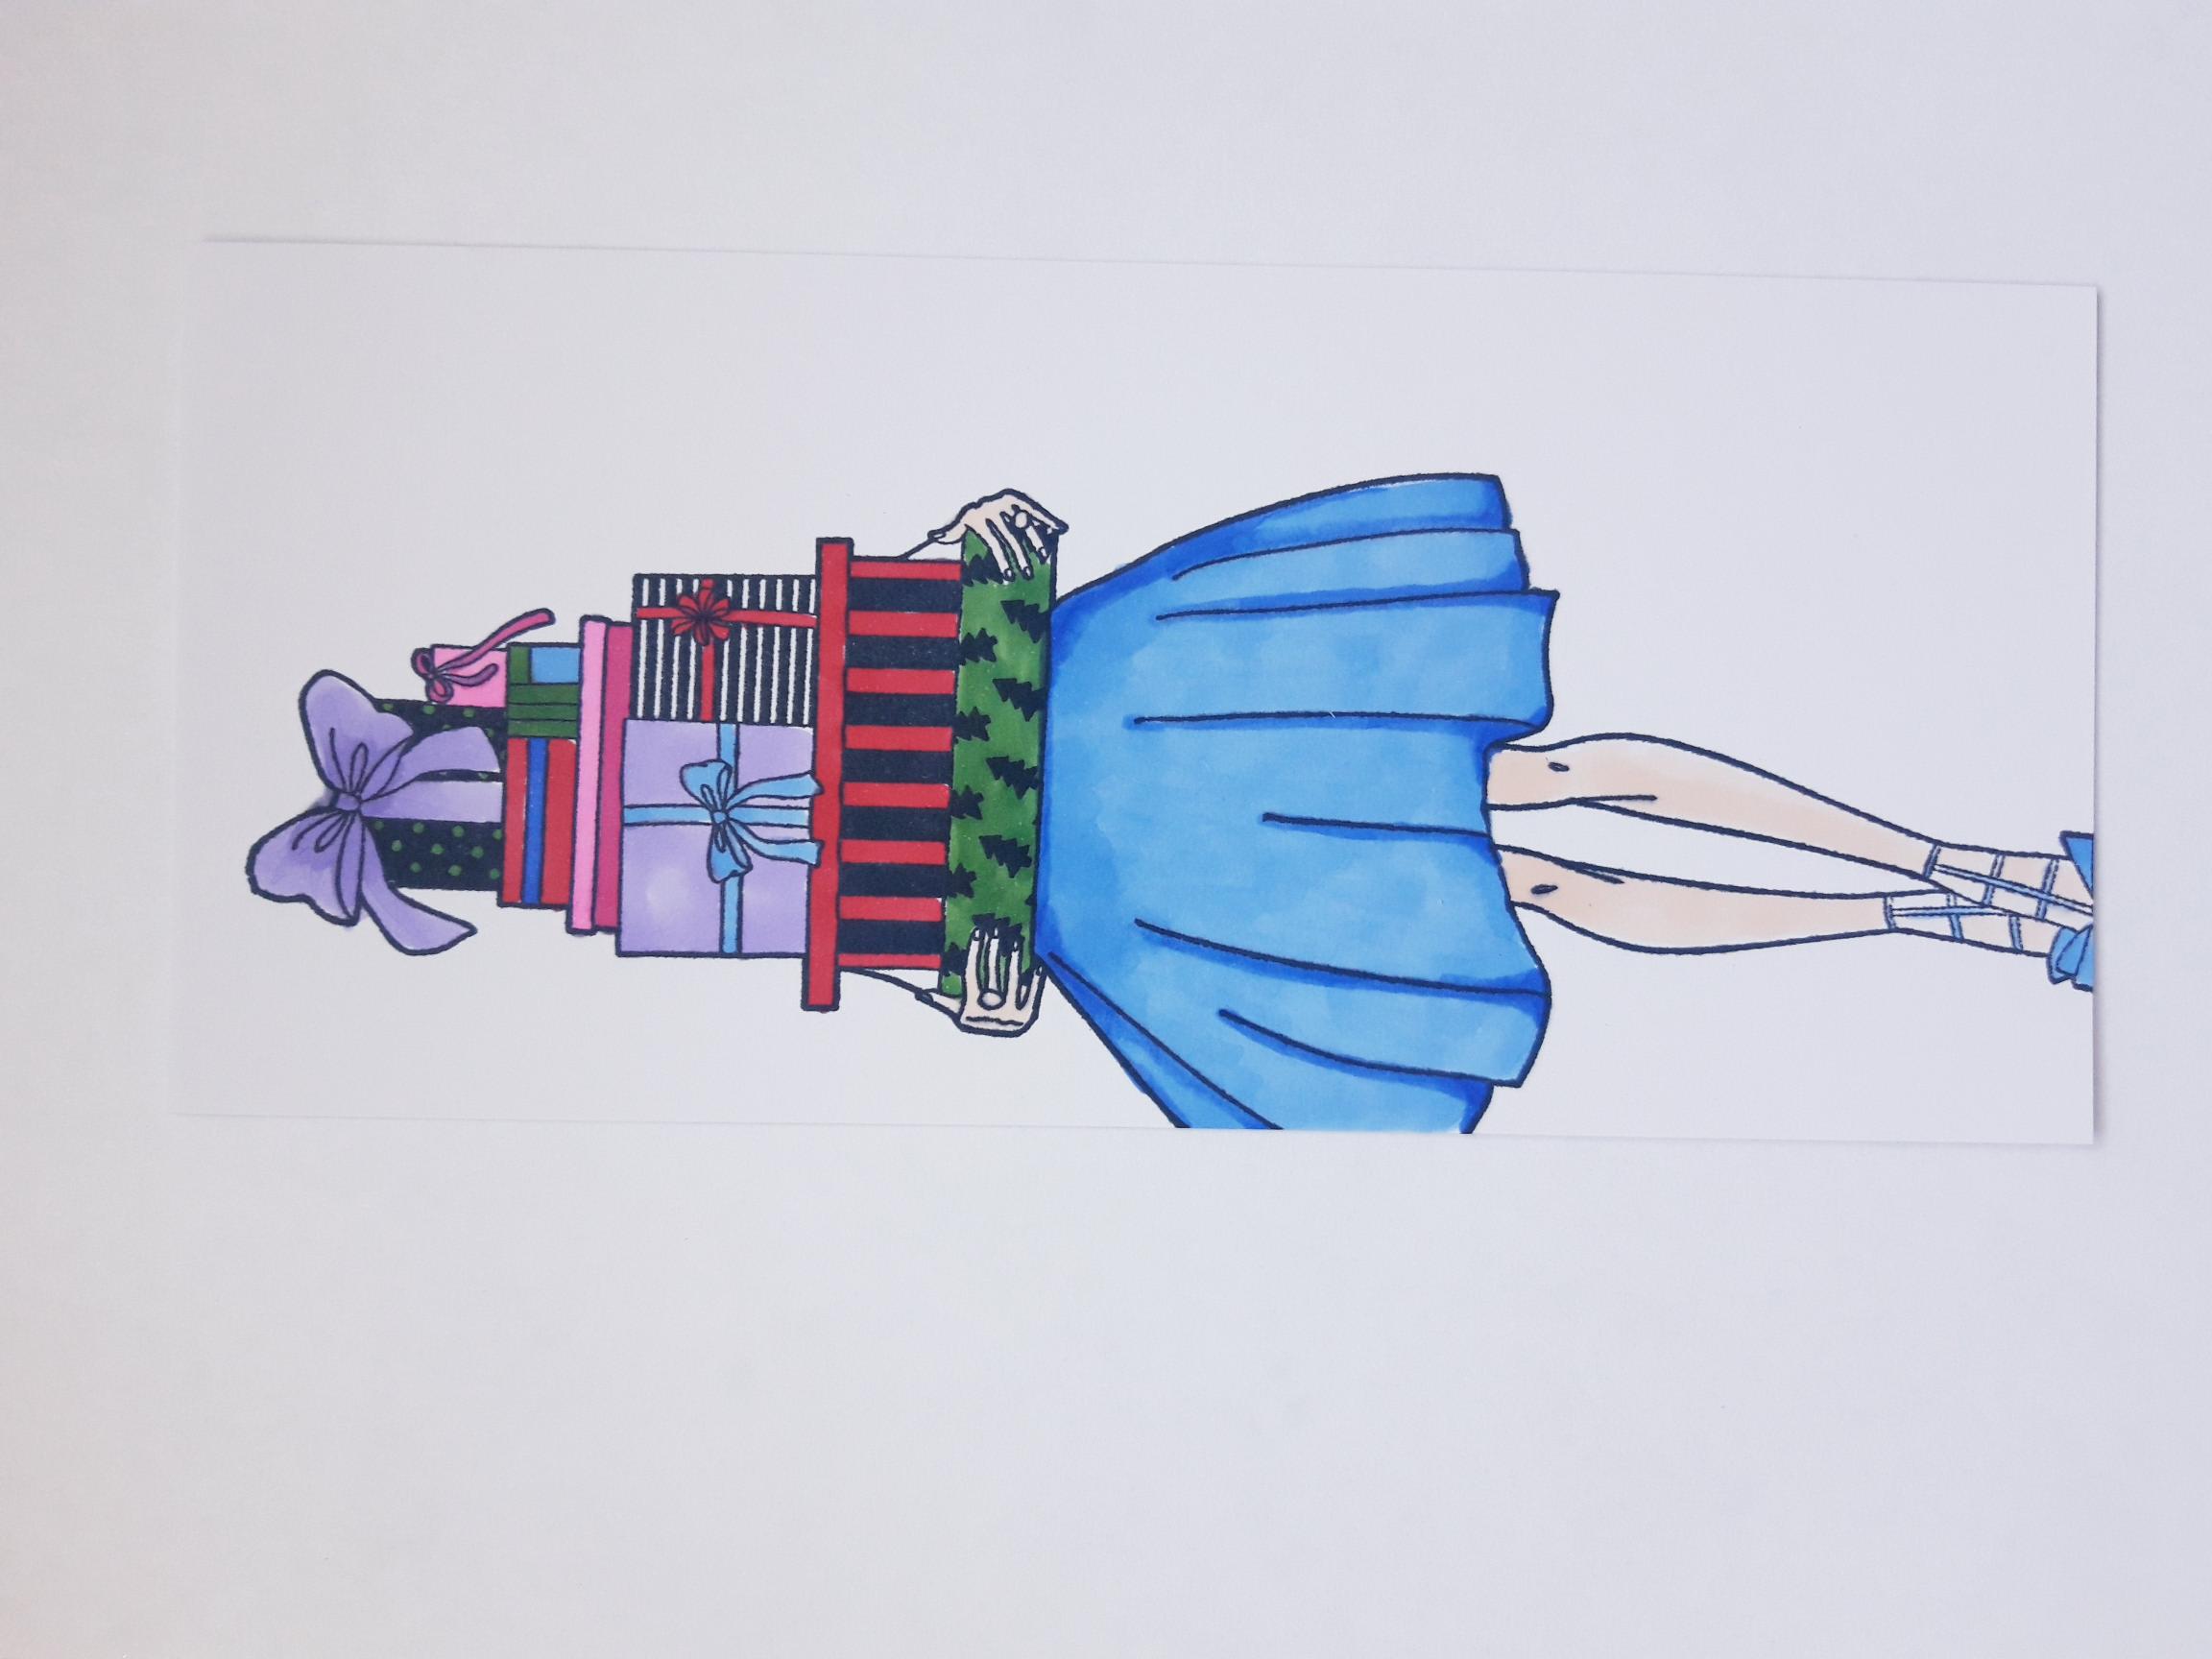
Use your Gossip alcohol pens to colour in your stamped image. NB: The alcohol ink will bleed through your card and may stain the surface below, so place a piece of card, or copier paper, underneath to protect your work surface. |
|
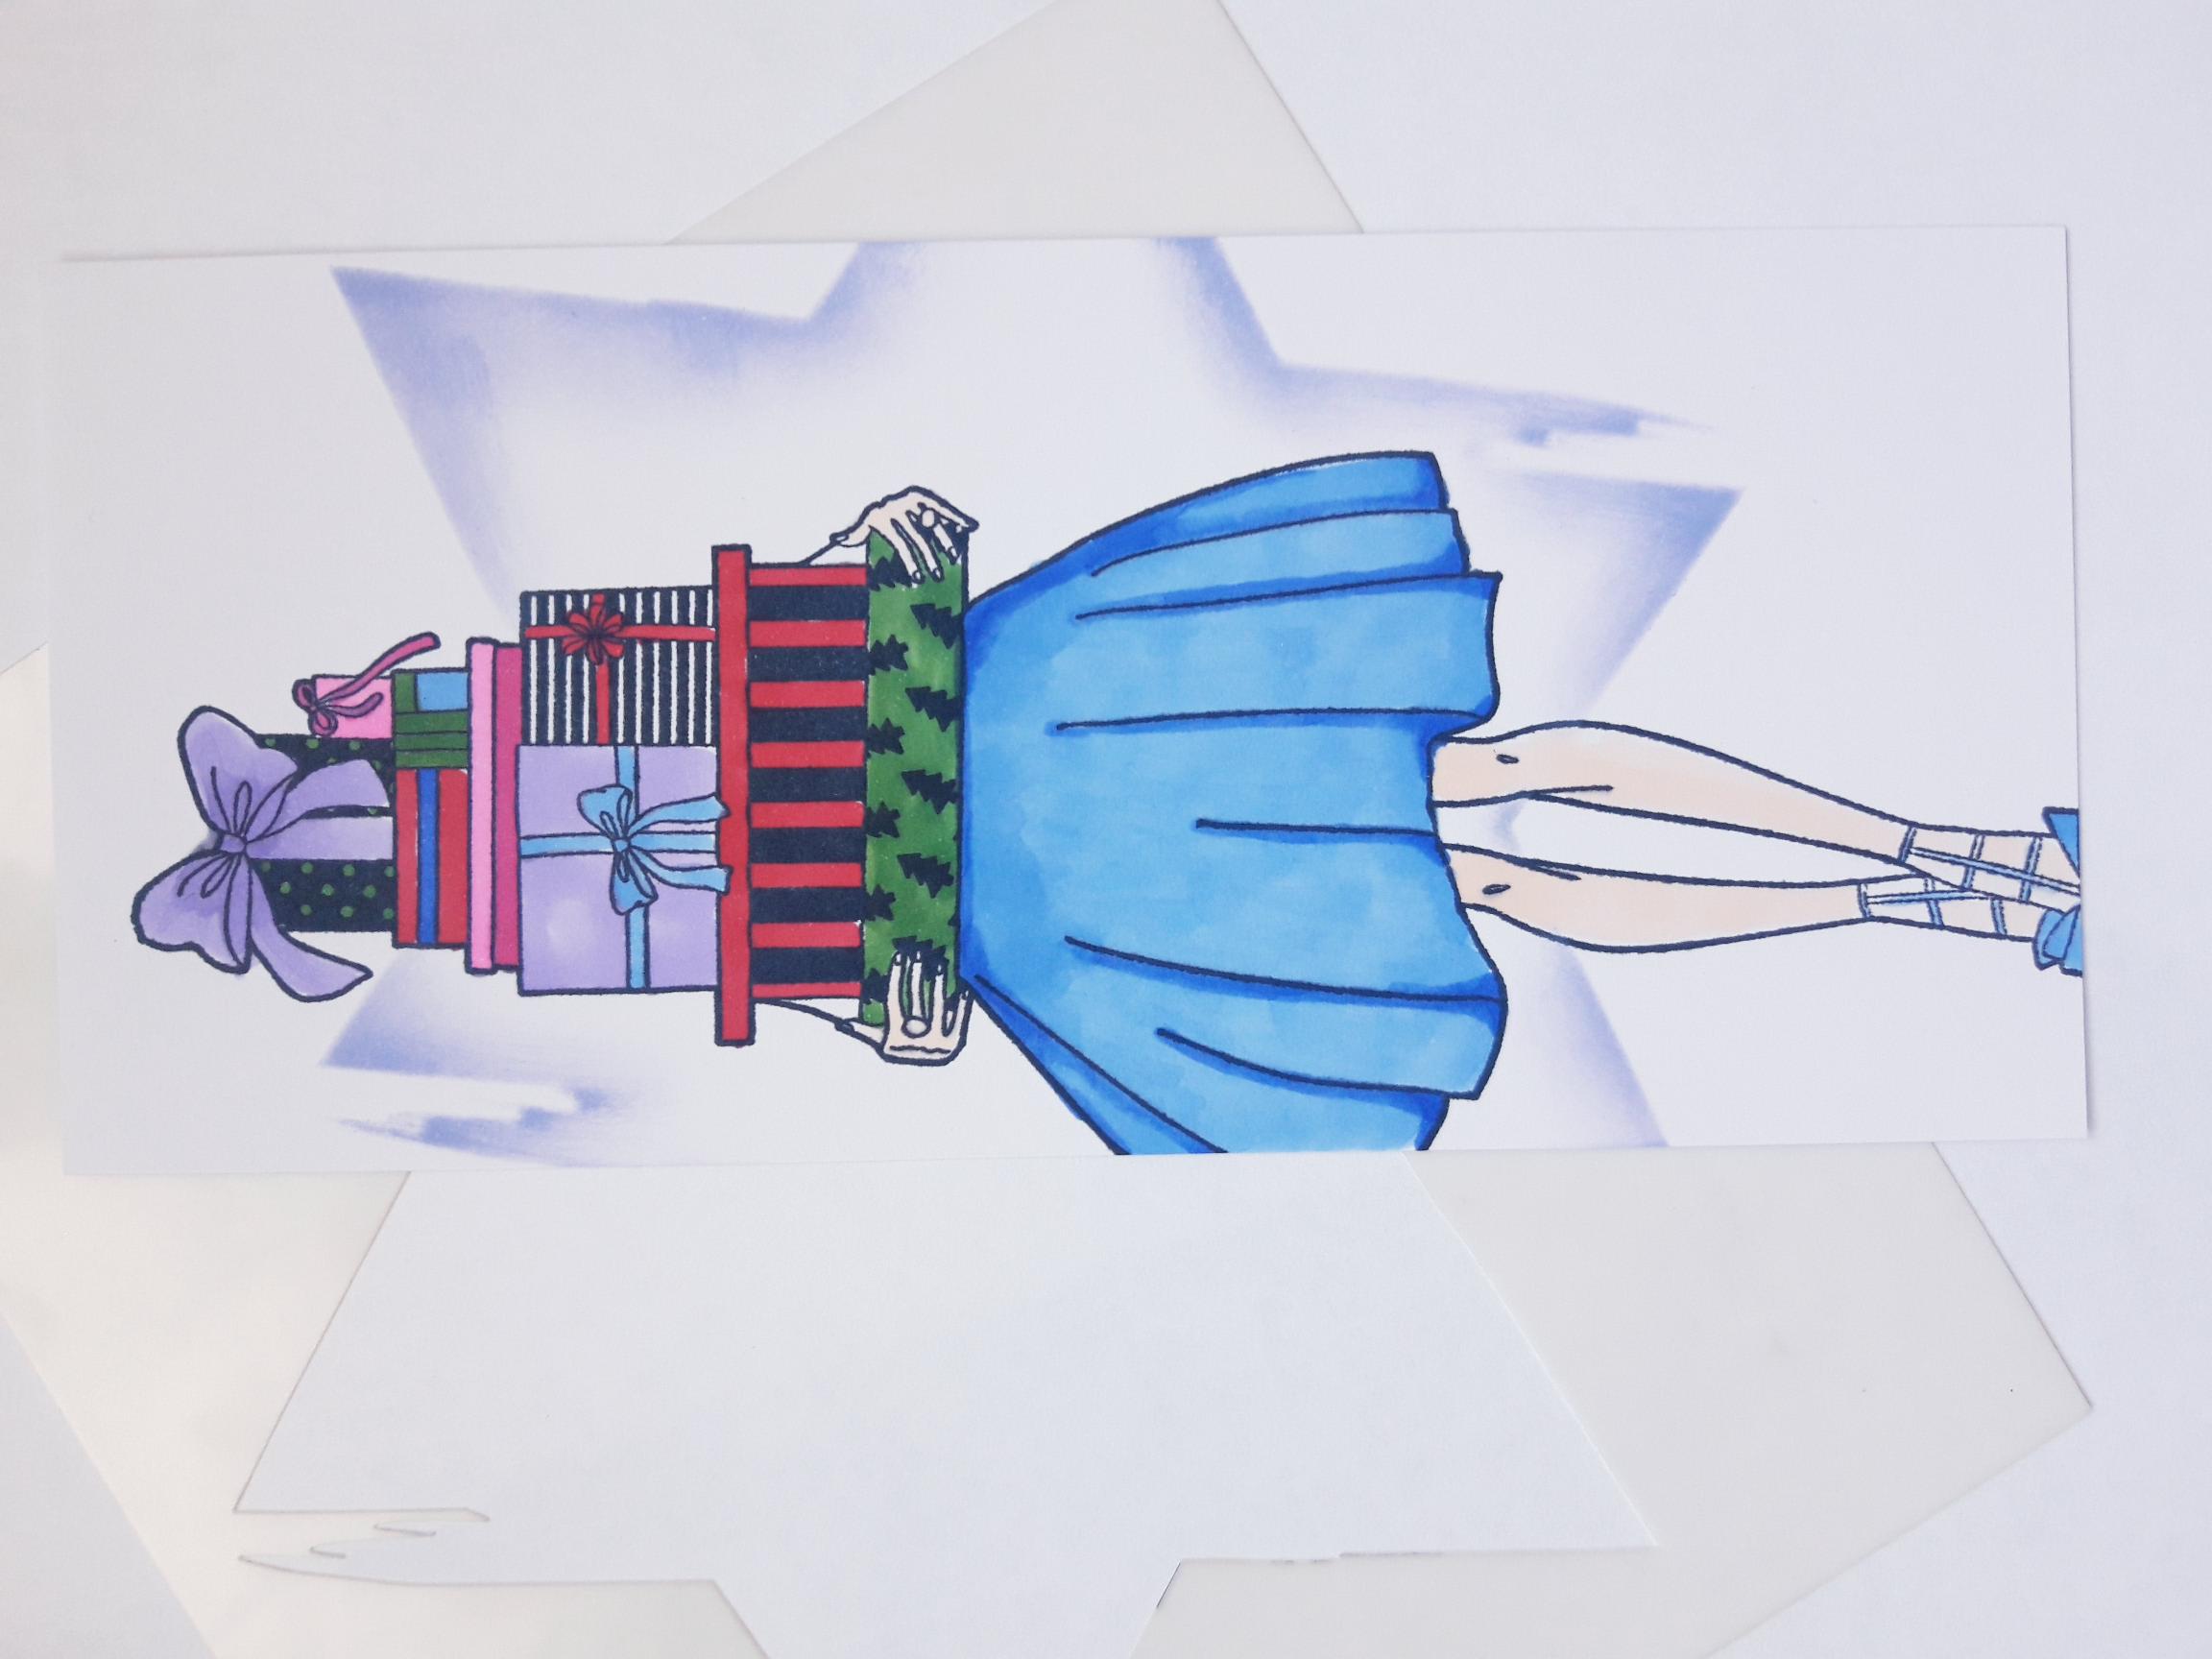
Lay the Stylized Star stencil on to your stamped image and blend through with the Shaded Lilac Distress Oxide, the colour being darker around the edges and fading out, as you move inwards towards your stamped image. |
|
Blend the Shaded Lilac Oxide randomly through the Imala Gorgeous Snowflake stencil, around the edges of your artwork. |
|
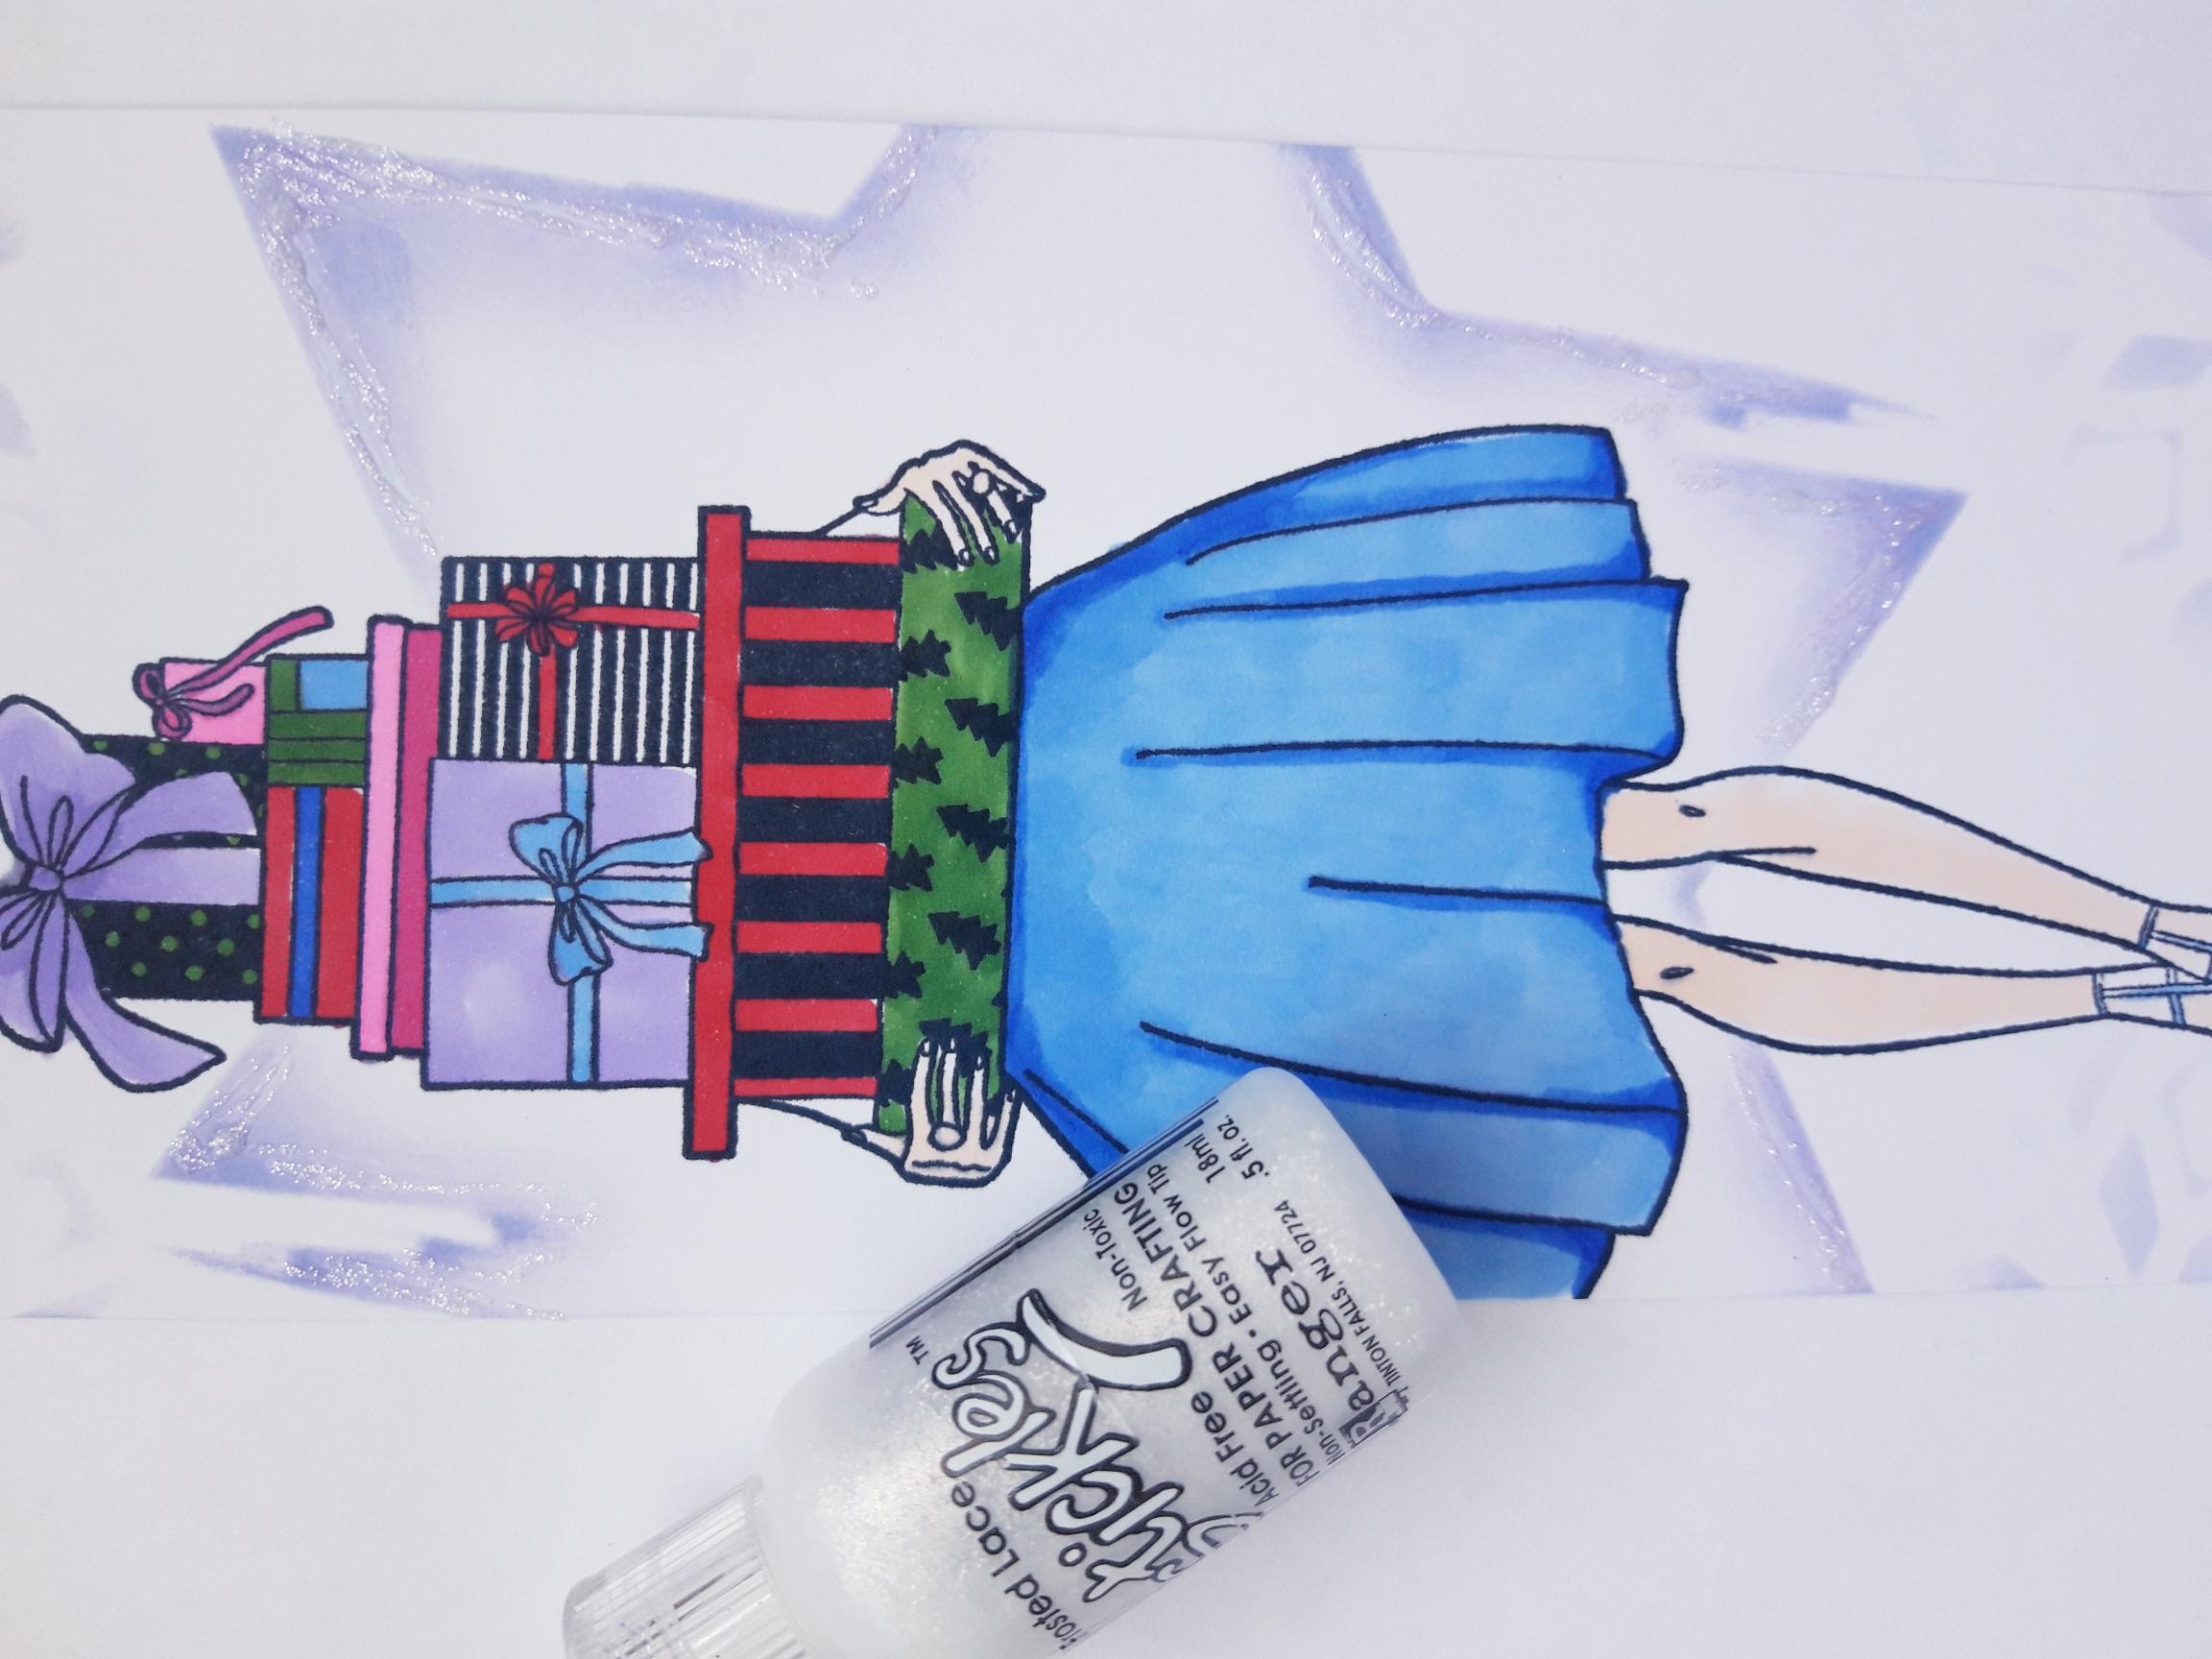
Add the Stickles around the edges of the stencil and blast with your heat tool. |
|
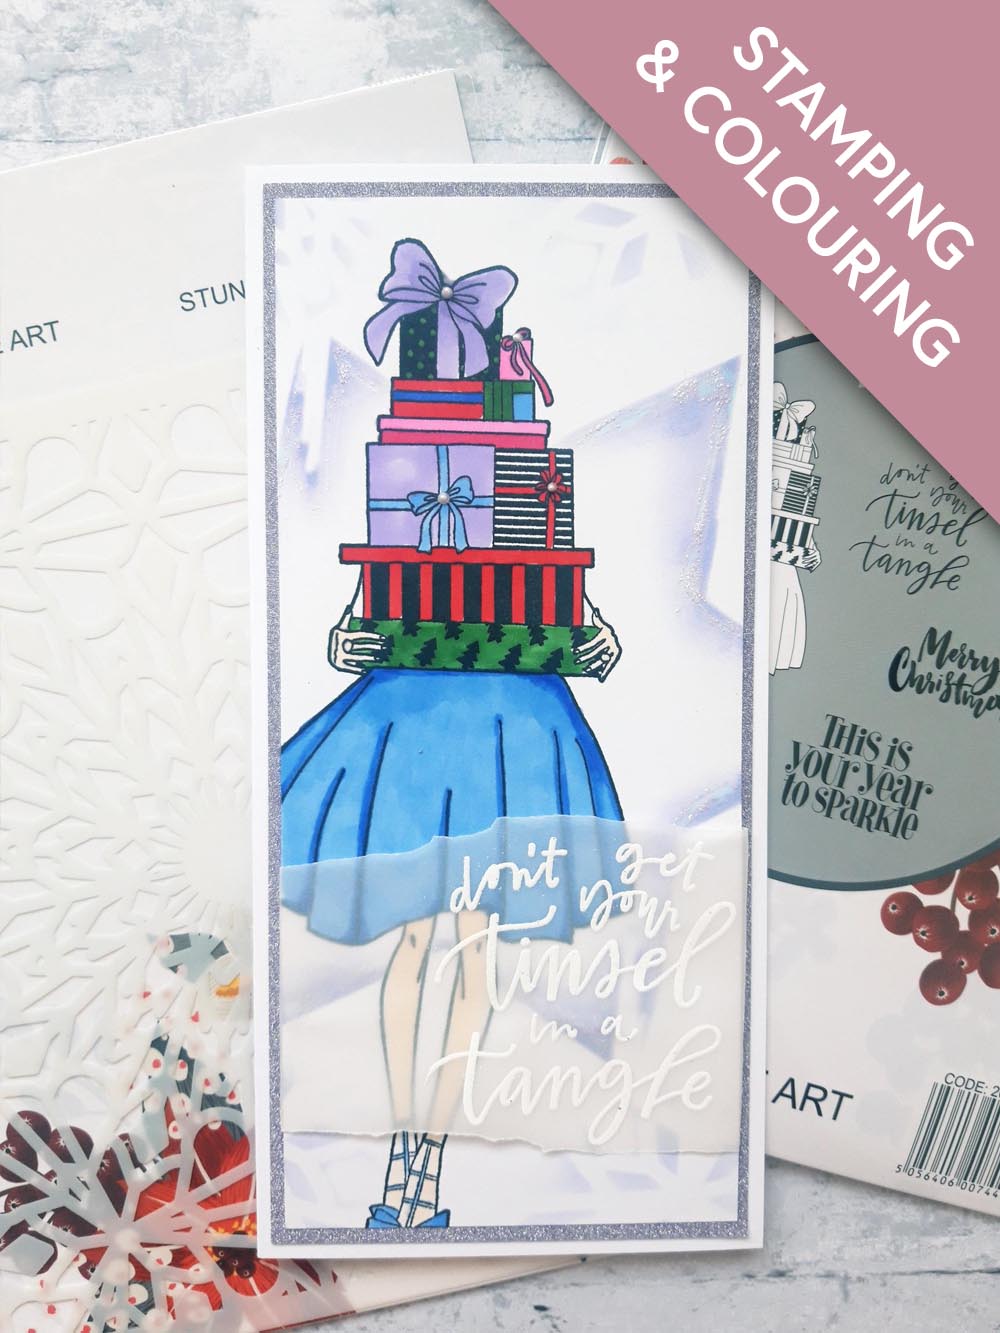
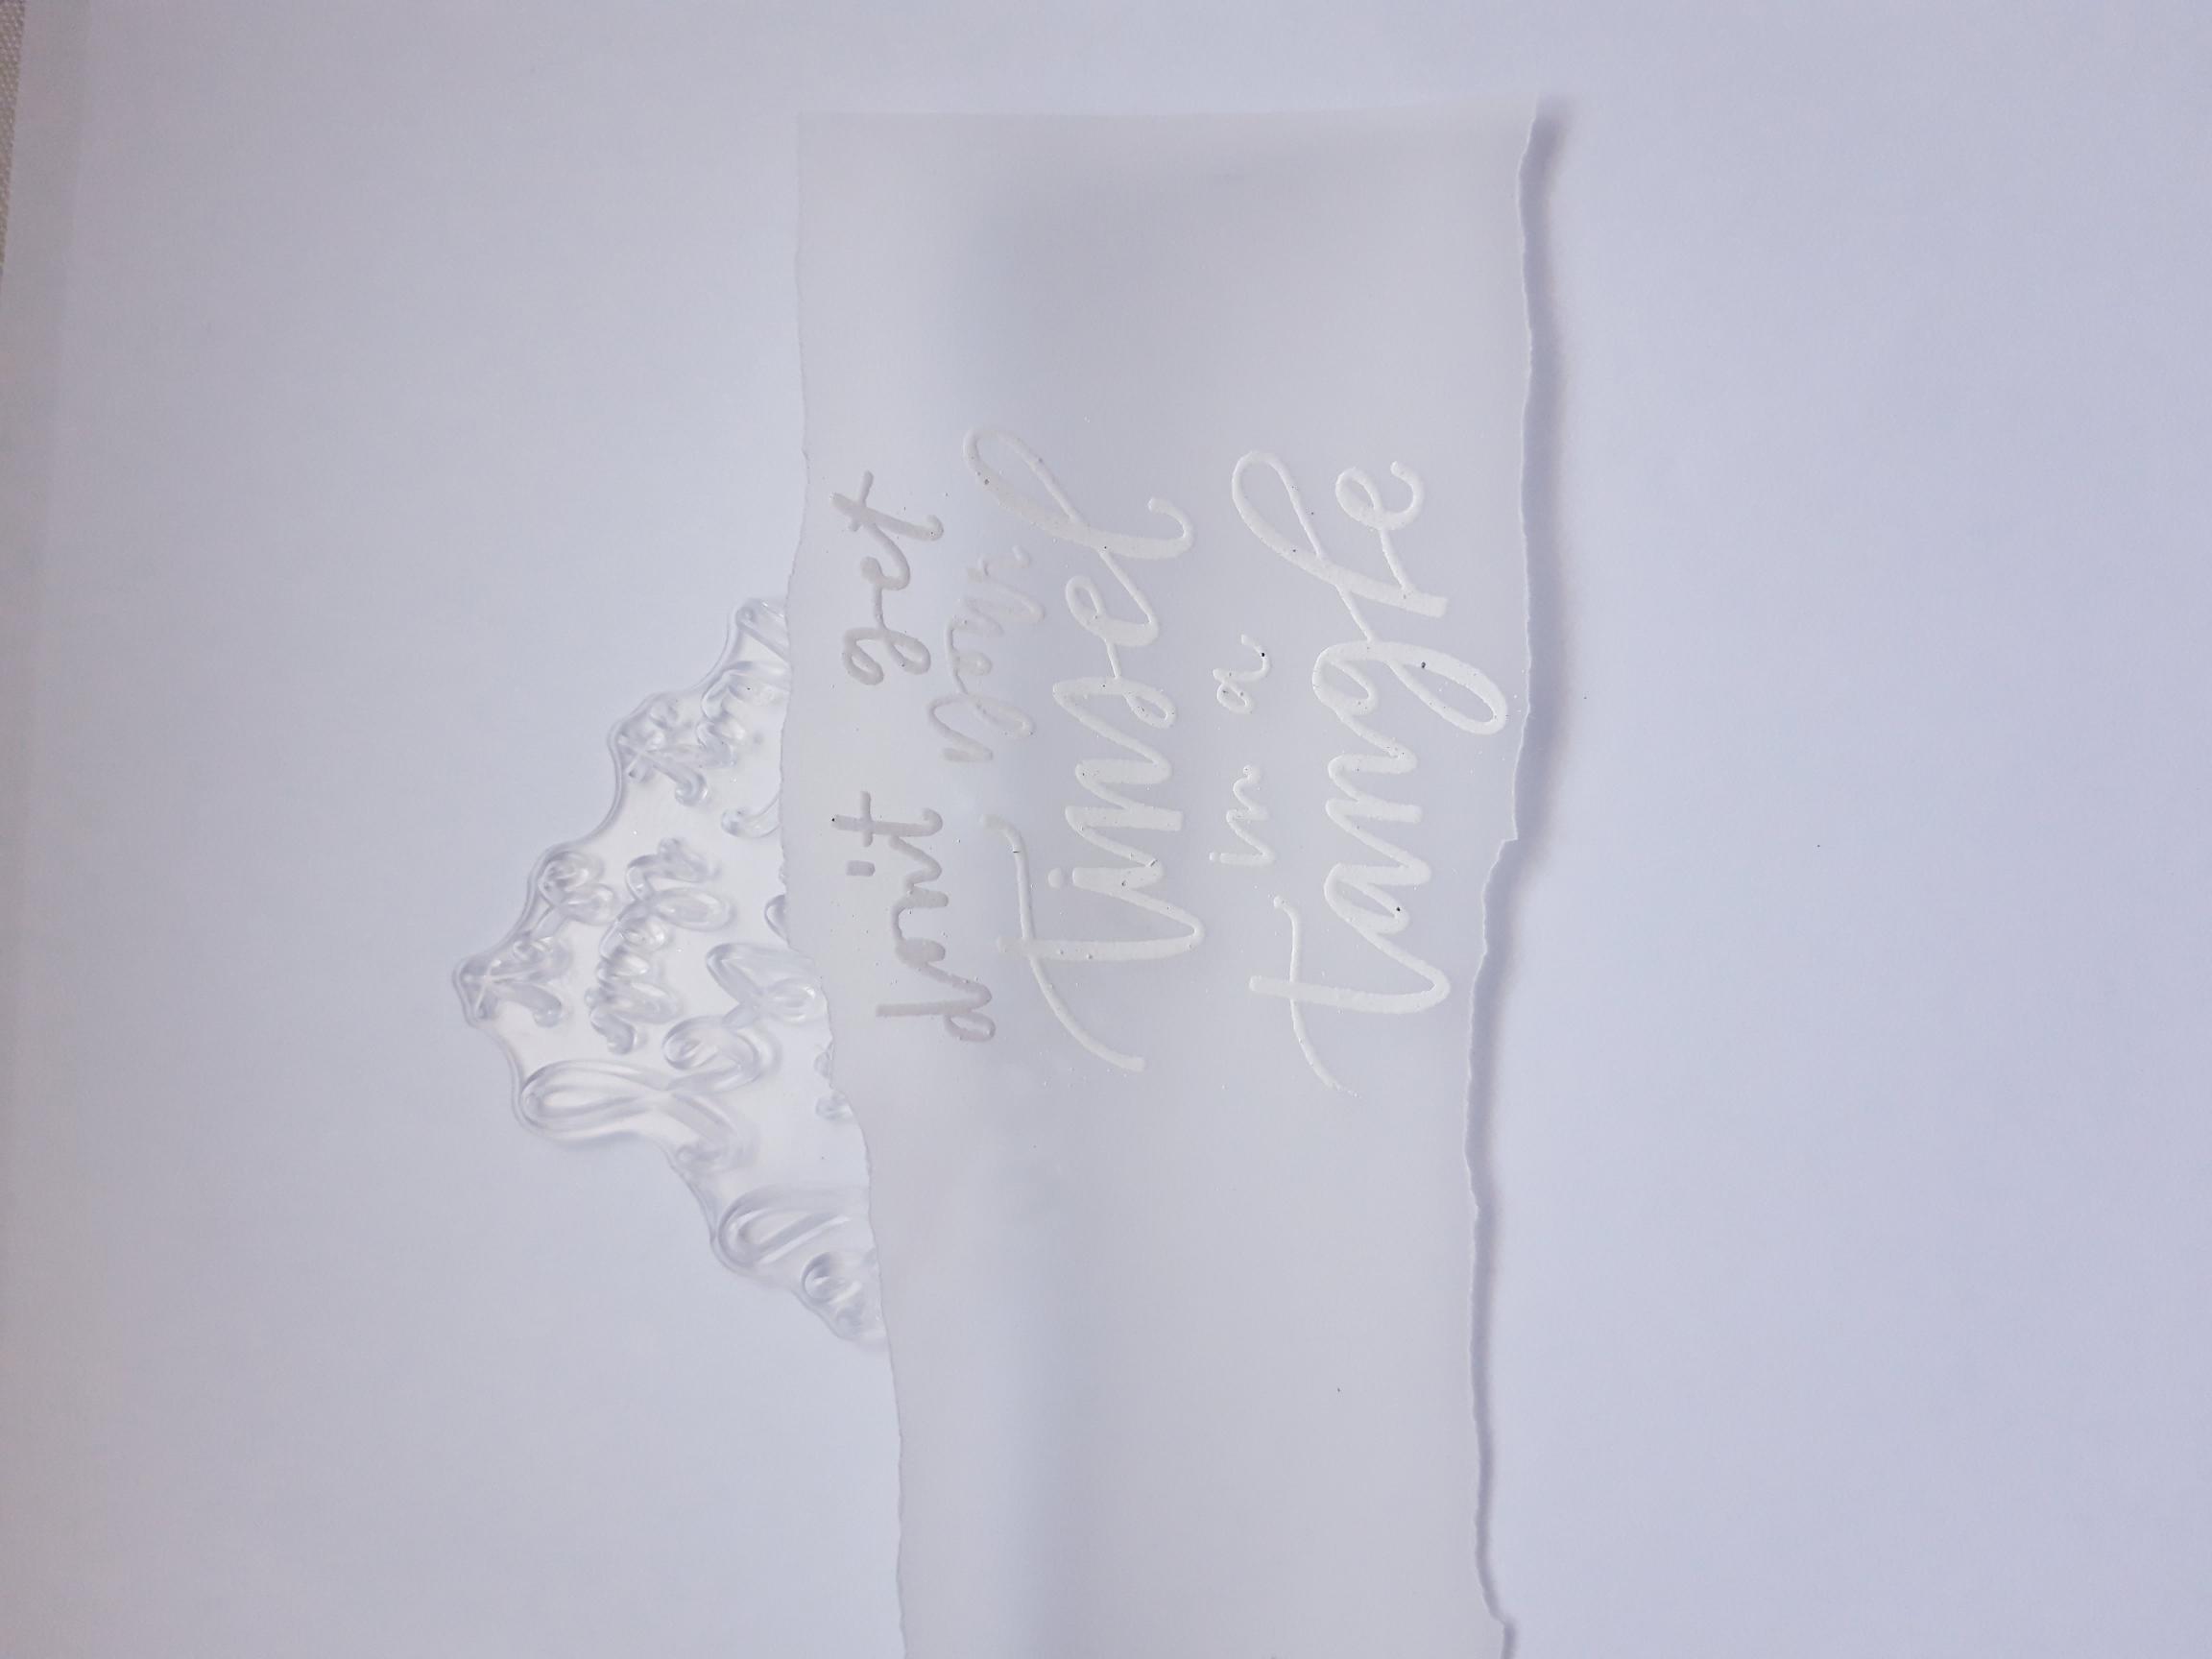
Wipe the anti-static bag over your vellum panel. Ink up the sentiment stamp with the WOW sticky embossing ink and stamp towards the right side of the panel. Cover with the white embossing powder and having got your heat tool hot first, heat set the powder, ensuring you move the tool as soon as the powder starts to turn, thus reducing the risk of warping the vellum or burning the powder. |
|
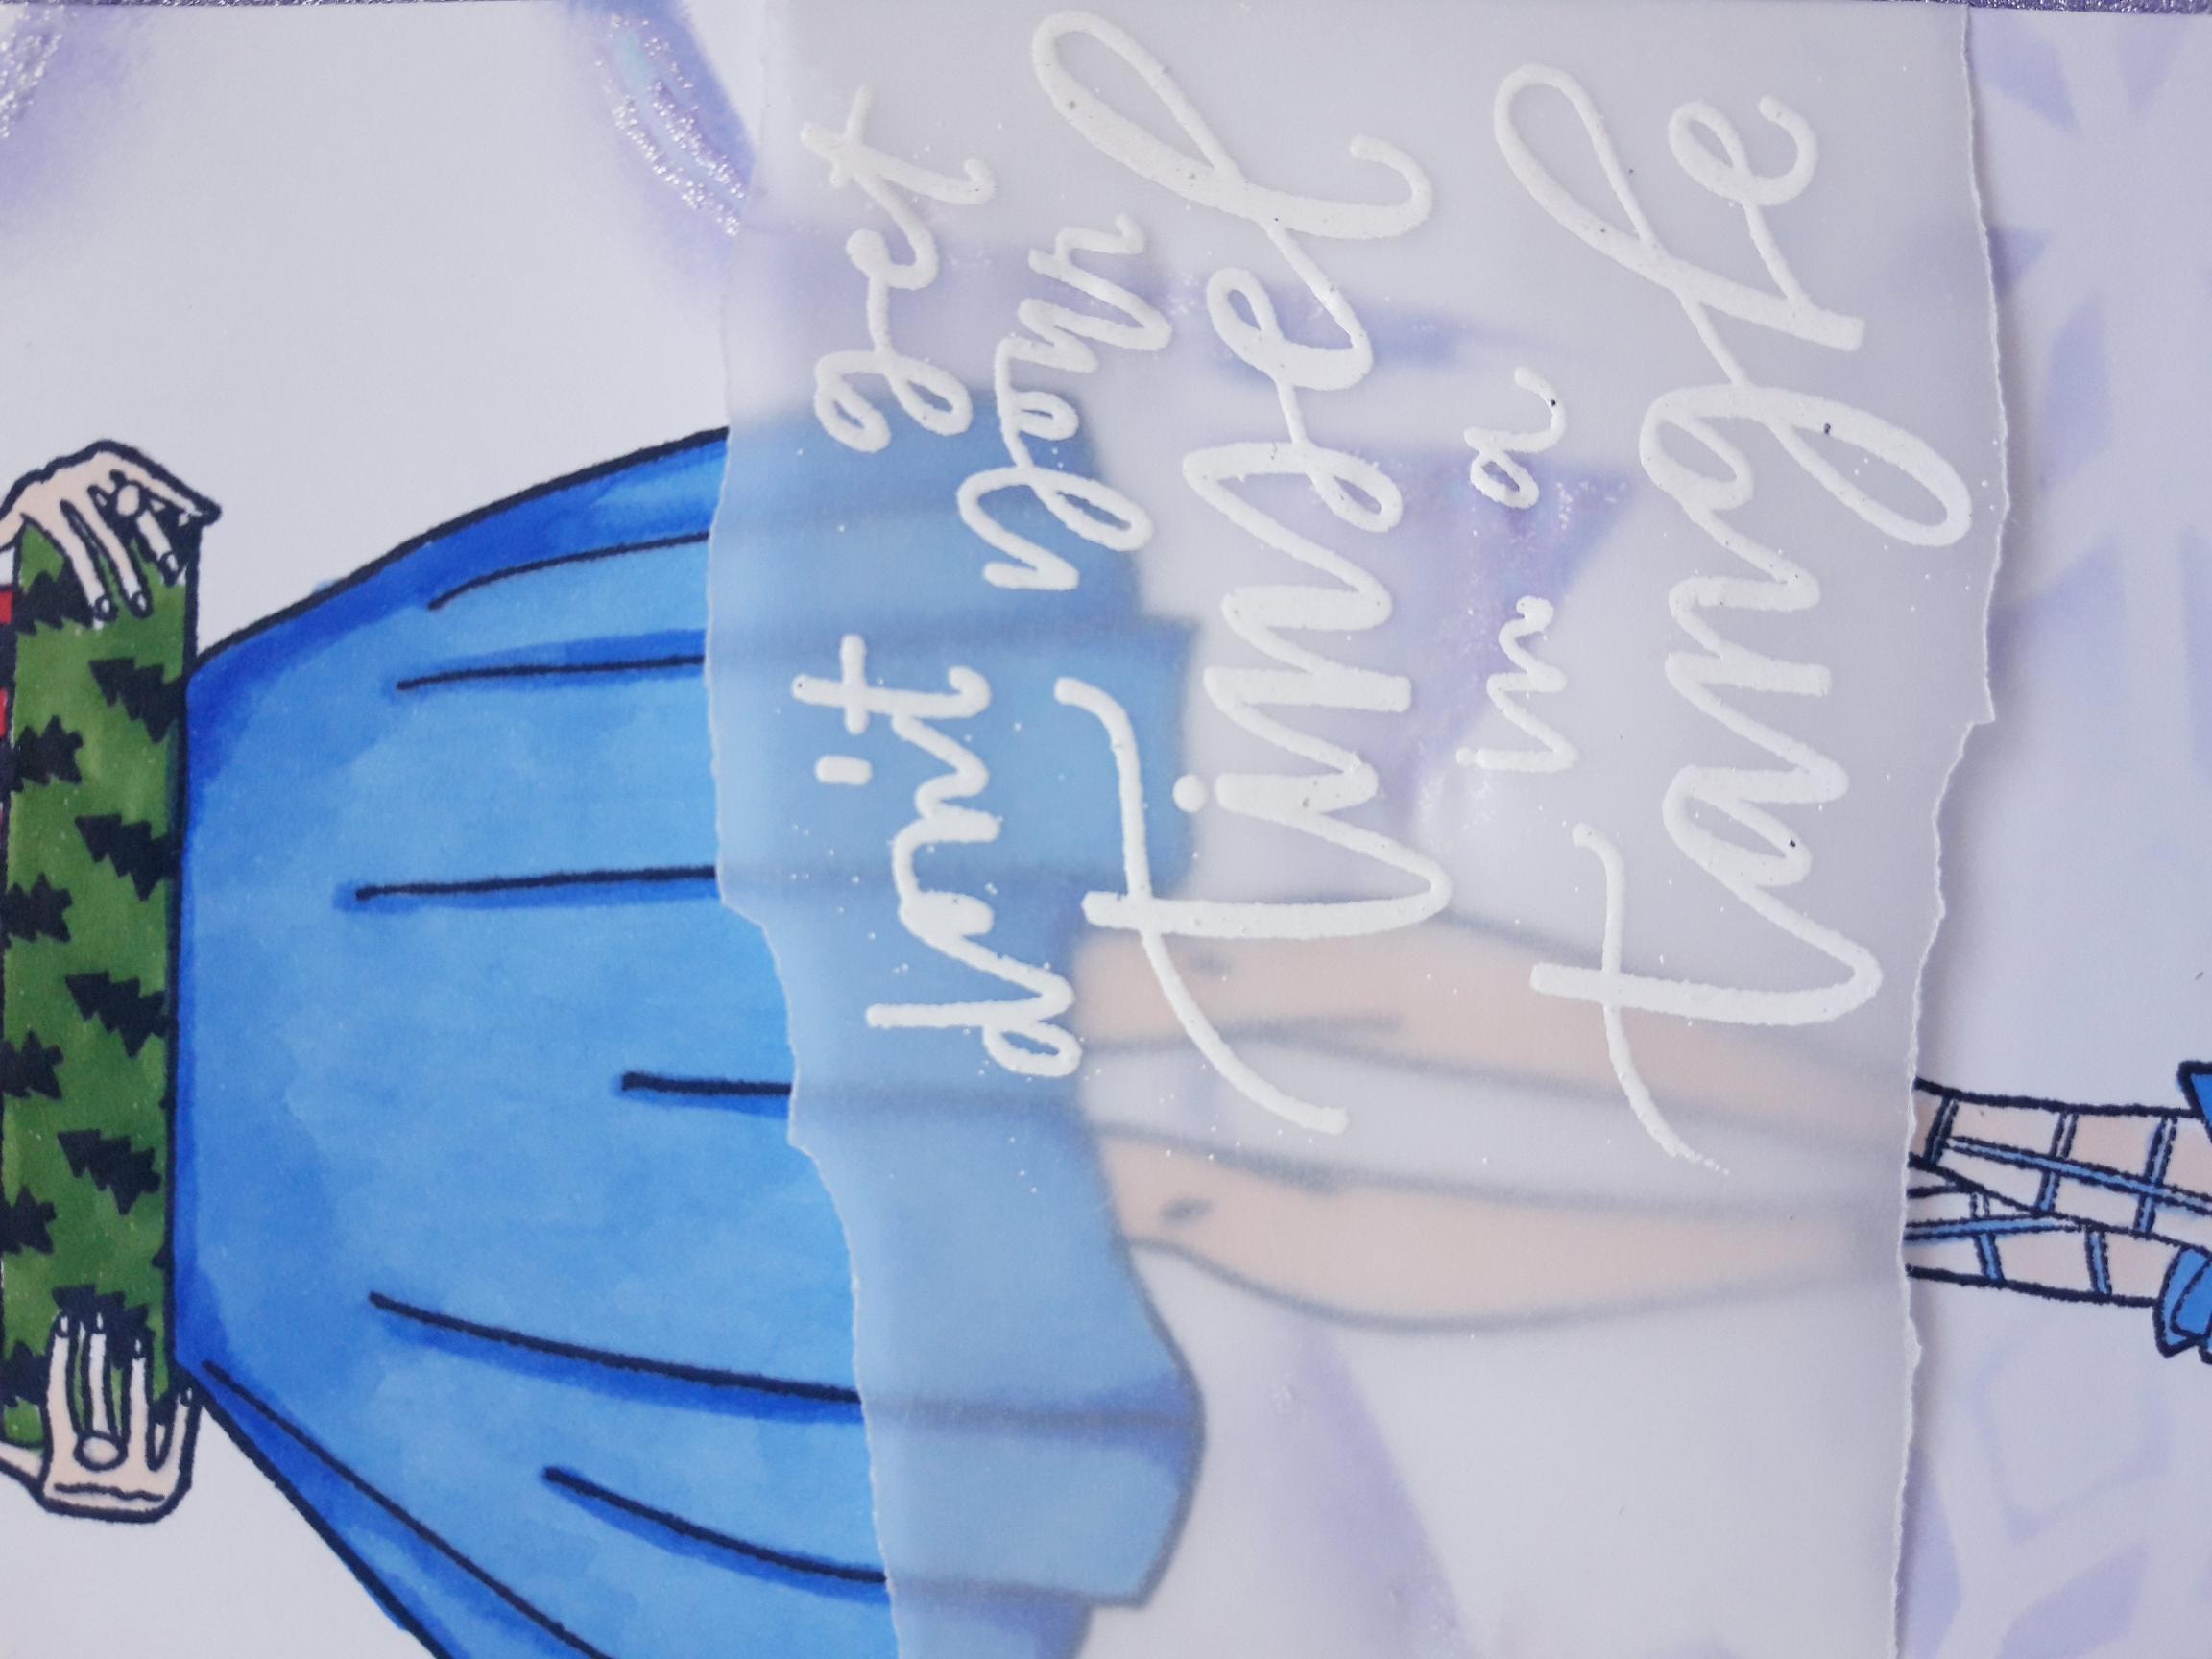
Place the embossed vellum across the lower half of your artwork, tuck the ends over the edges of the card and secure on the back with double sided tape. |
|
Adhere your artwork on to the purple glitter card and then on to your DL card blank. |
|
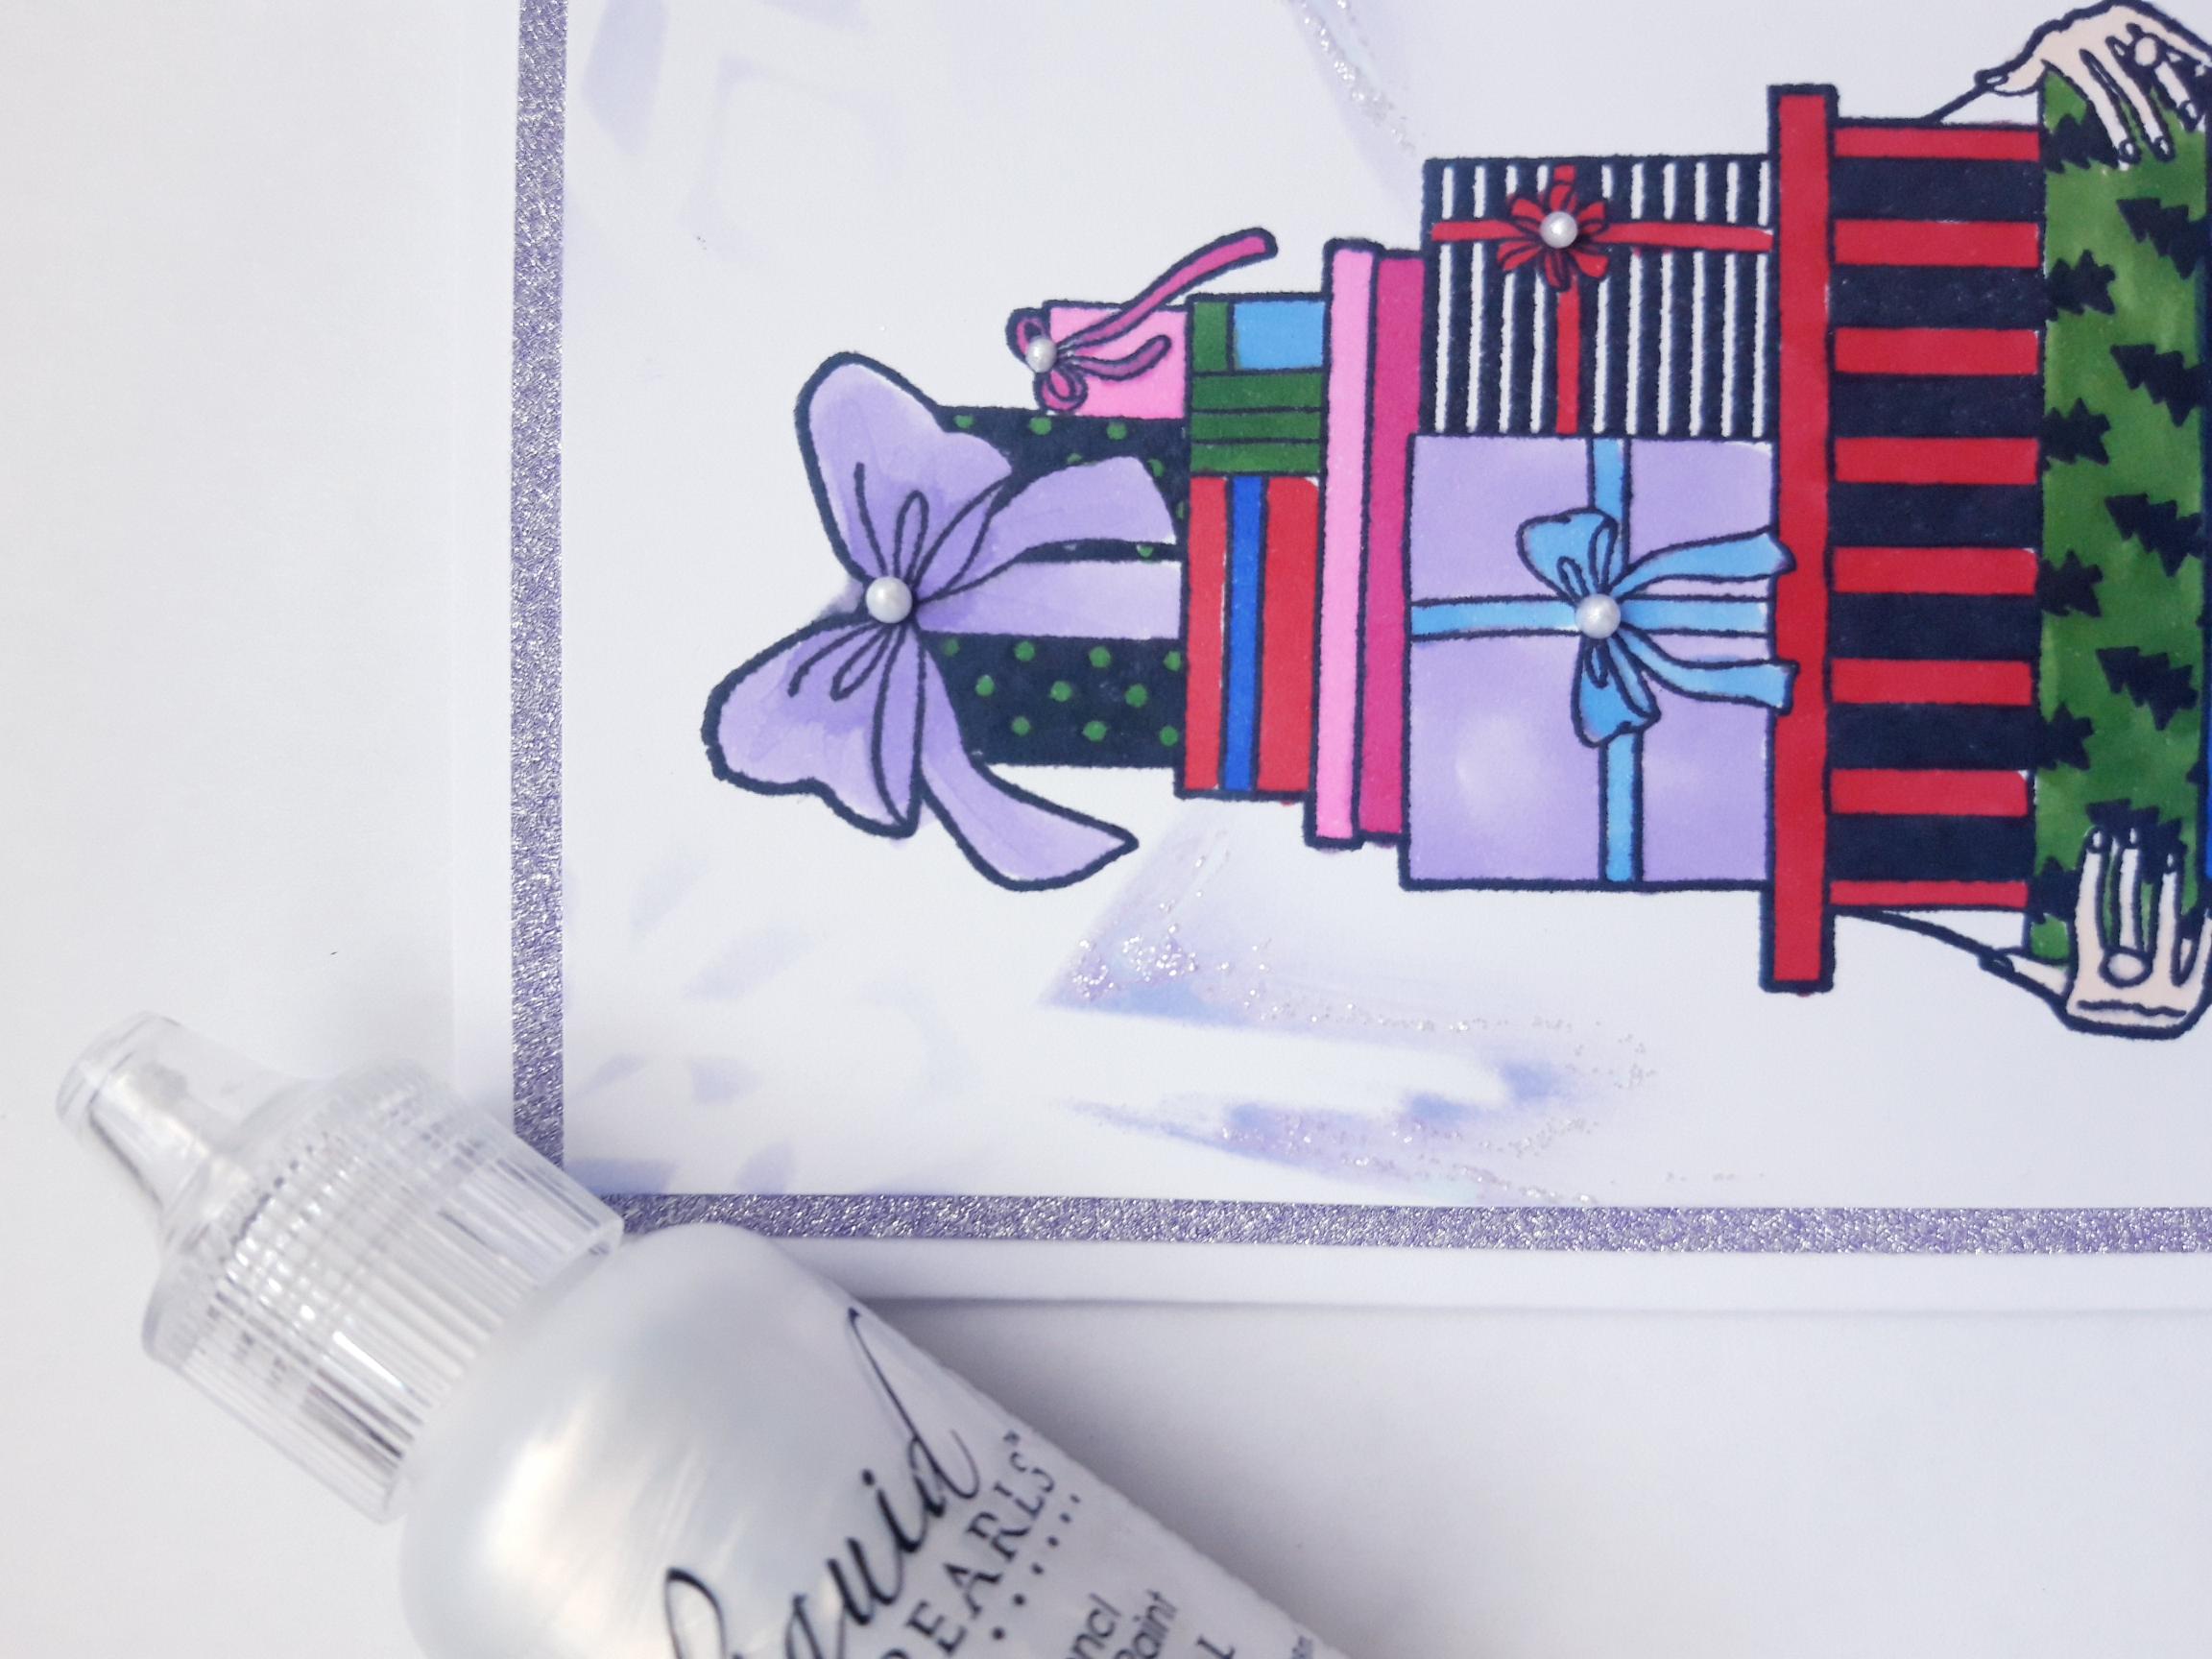
Use your liquid pearl drops to add a little pearl to the centre of the ribbon bows, on the gifts. |