Give your friends $10 off their first order!
Refer a FRIEND


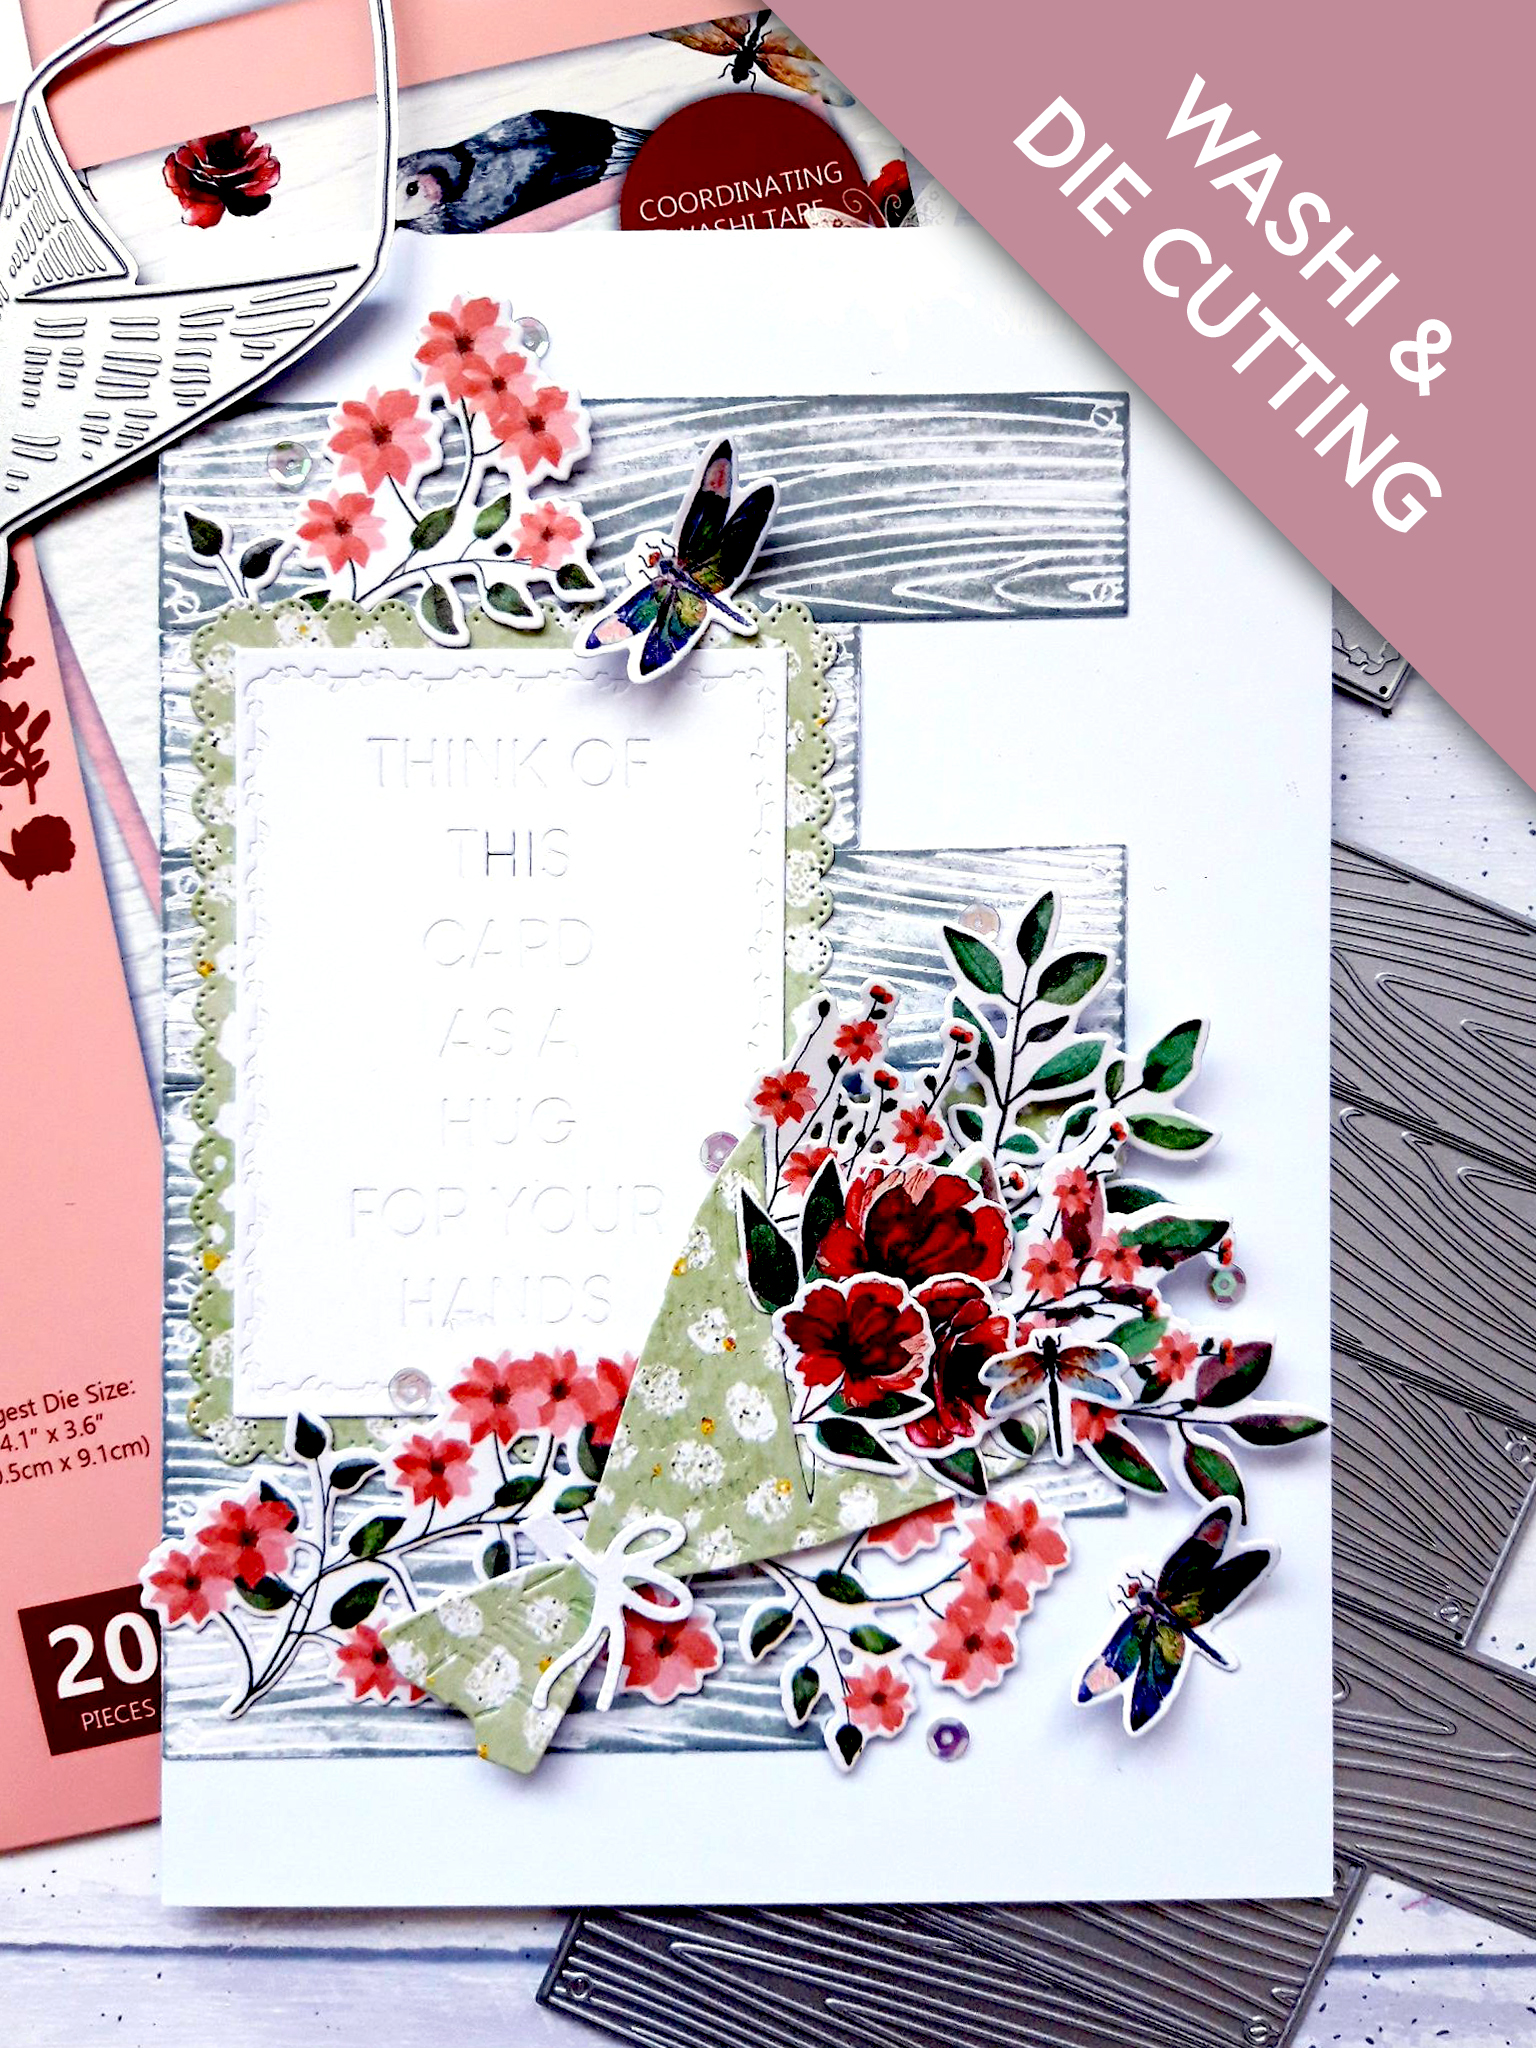
YOU WILL NEED:
White top folding card blank ( 8 1/4 x 5 3/4")
A4 white cardstock (TWO sheets)
Dies from Creative Panels Die Collection
Sentiment die from Hug for your Hands Die Collection
Summer Breeze Washi Tape and Die Collection
Dies from A Gift For You Die Collection
Tulip Charm 12 x 12" Paper Pad
Distress Oxide Ink Pad: Iced Spruce (Alternatives: Weathered Wood, Hickory Smoke)
Sequins: Glistening Waves
Die cutting machine
Foam Pads
Perfect Together Glue
Paper Trimmer
[click image to enlarge] 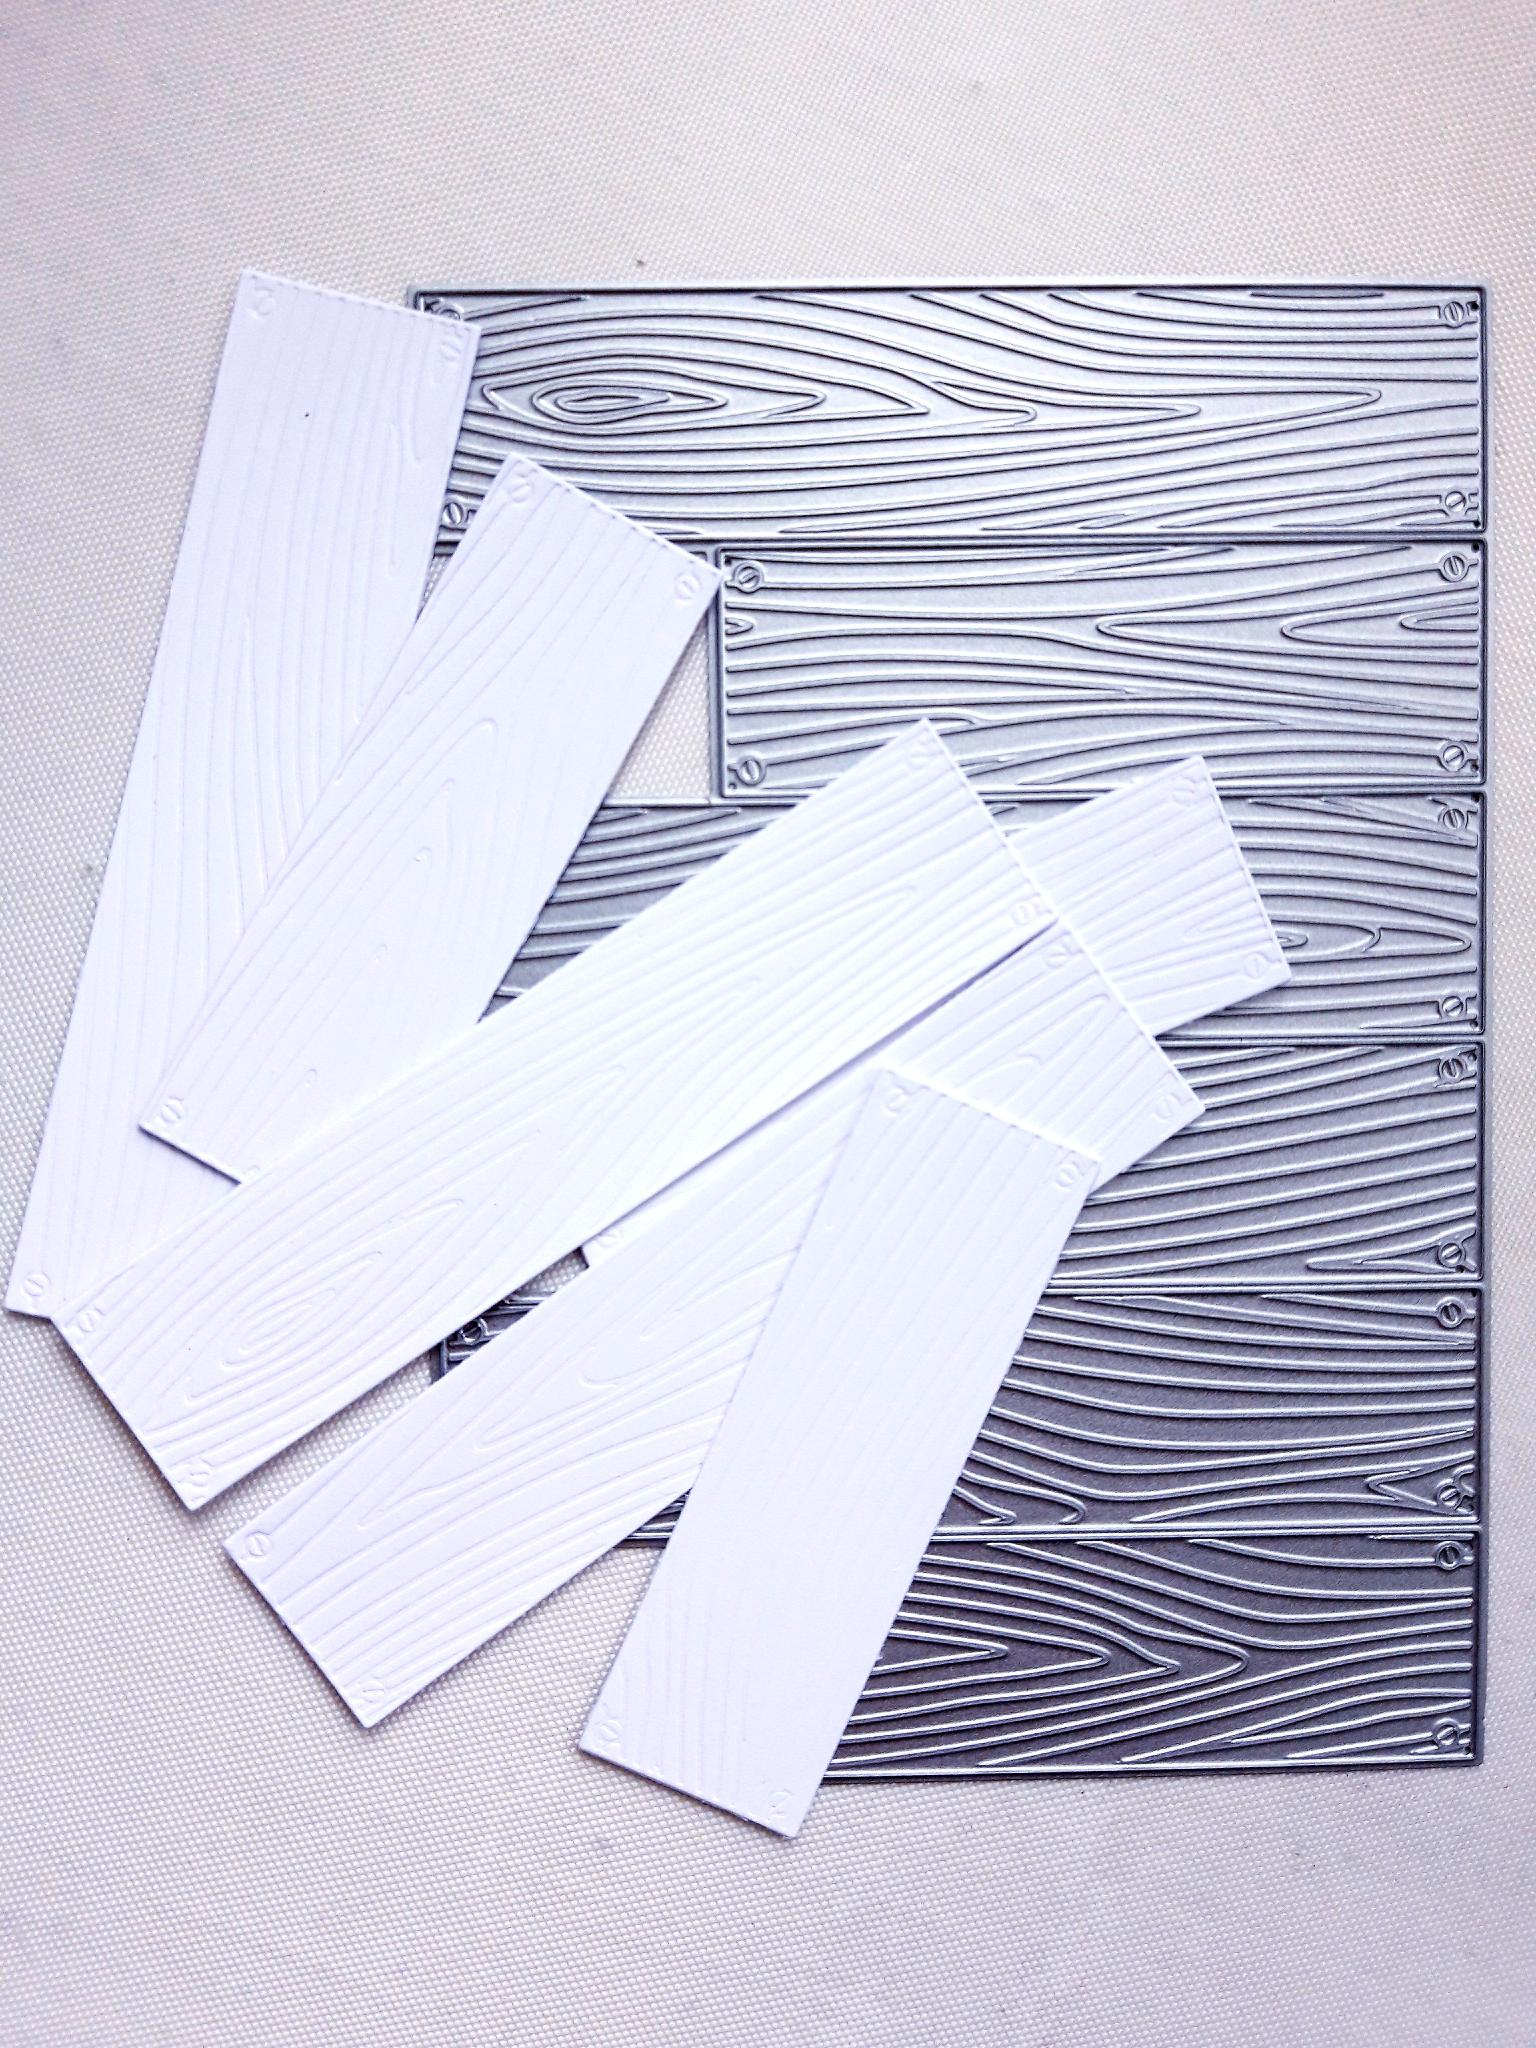
|
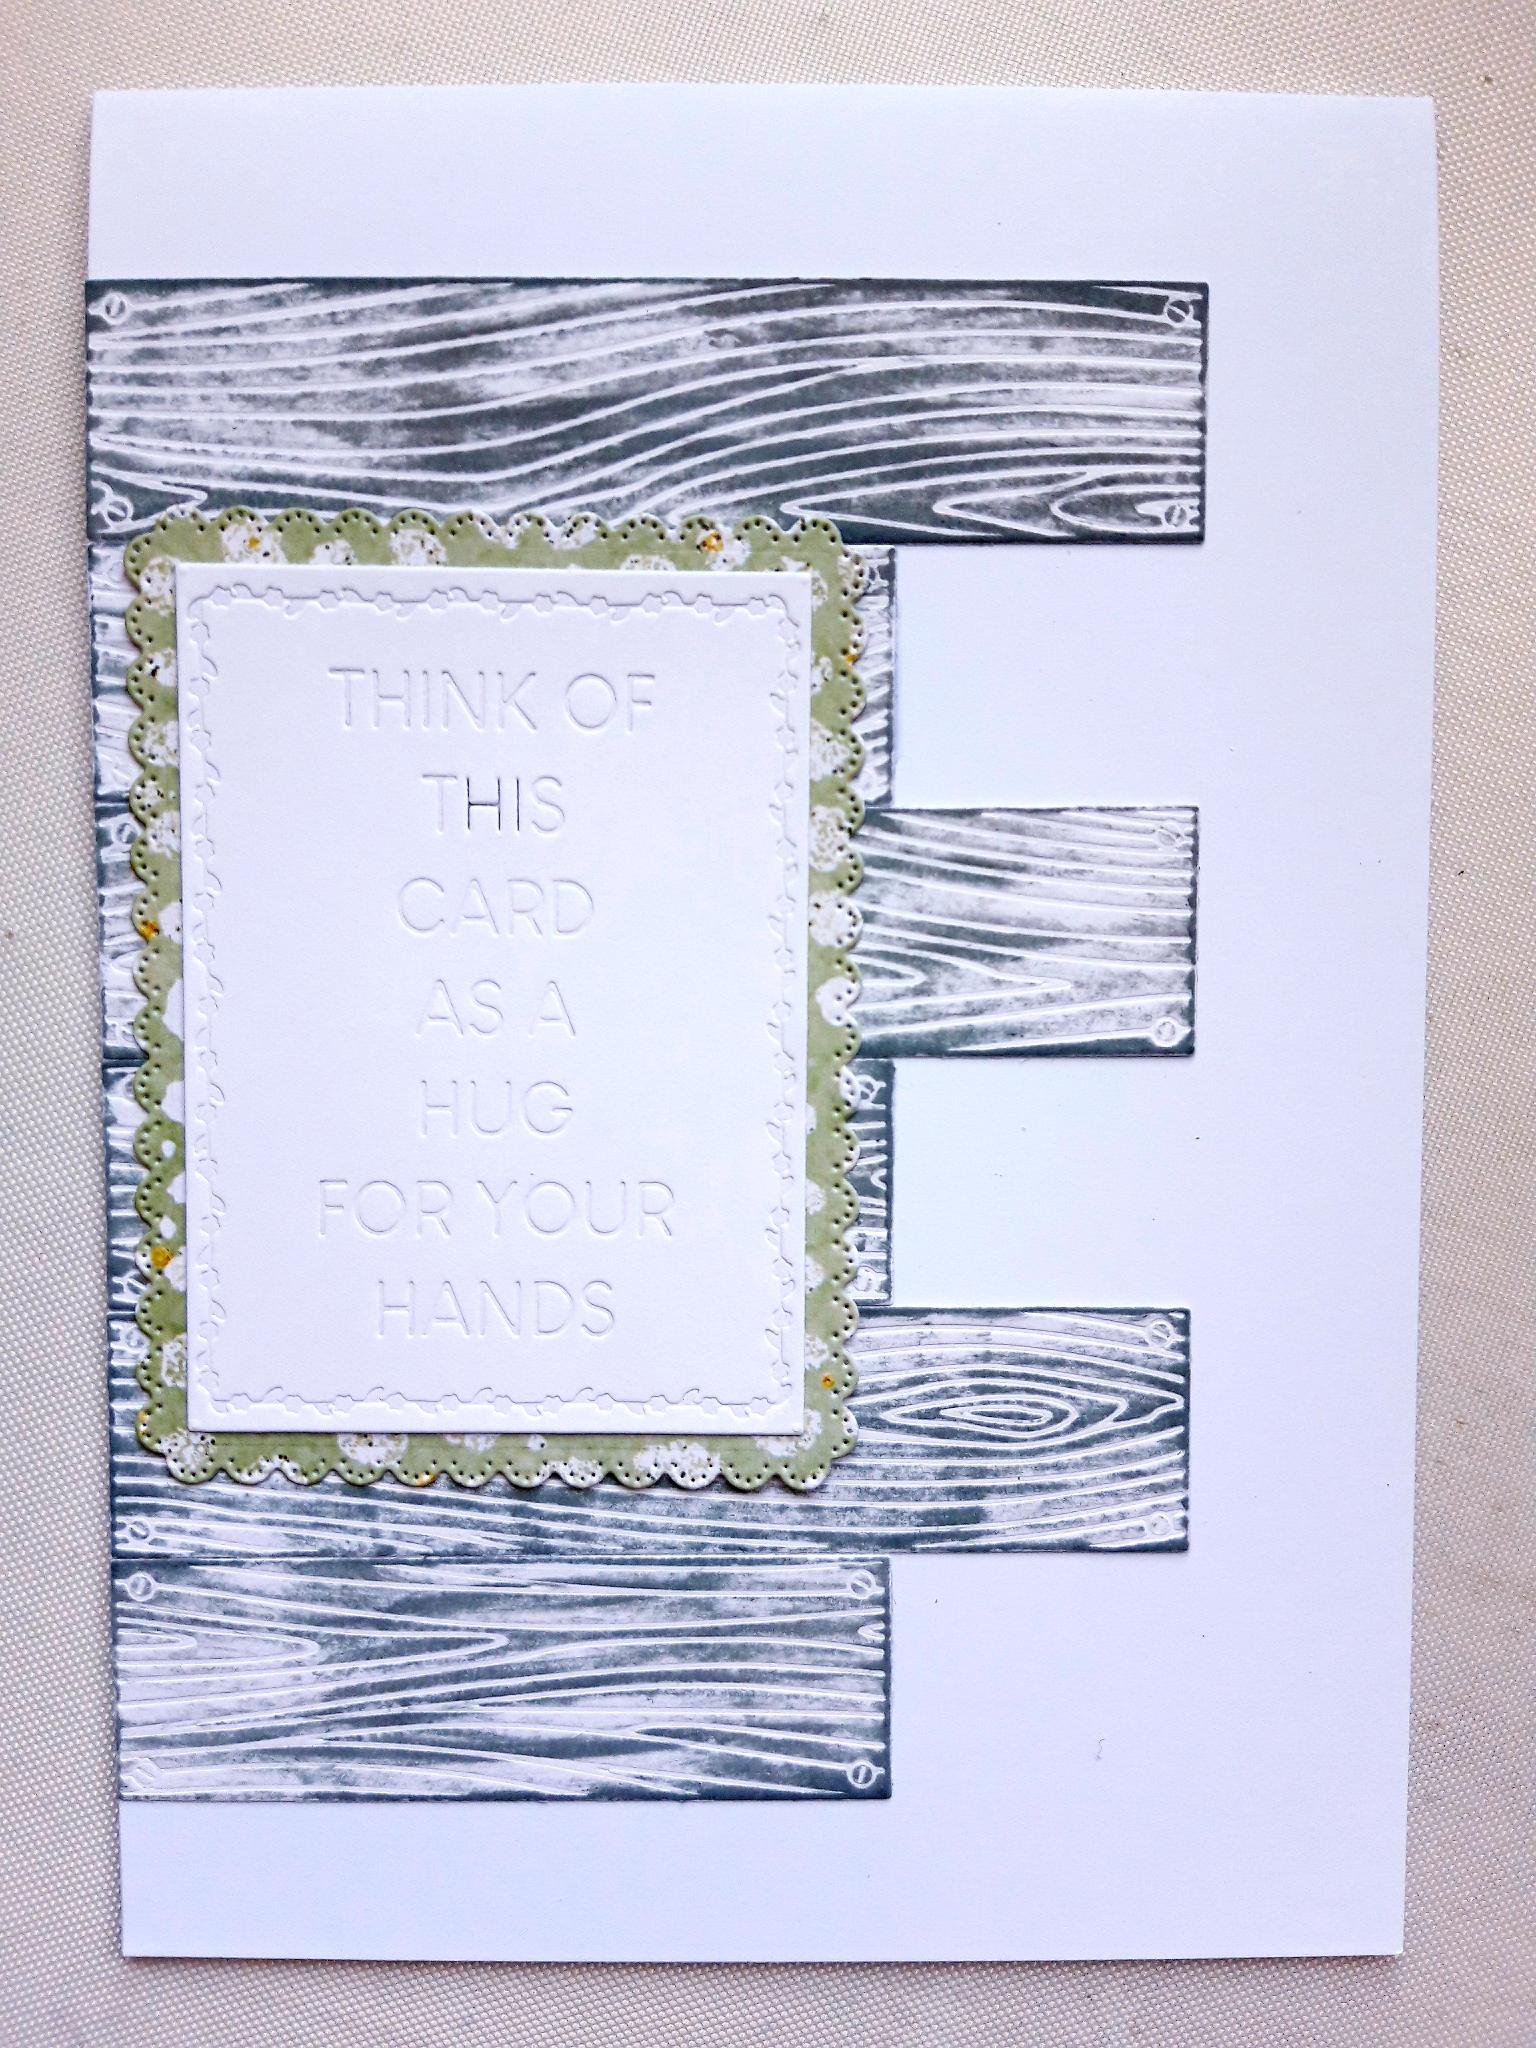
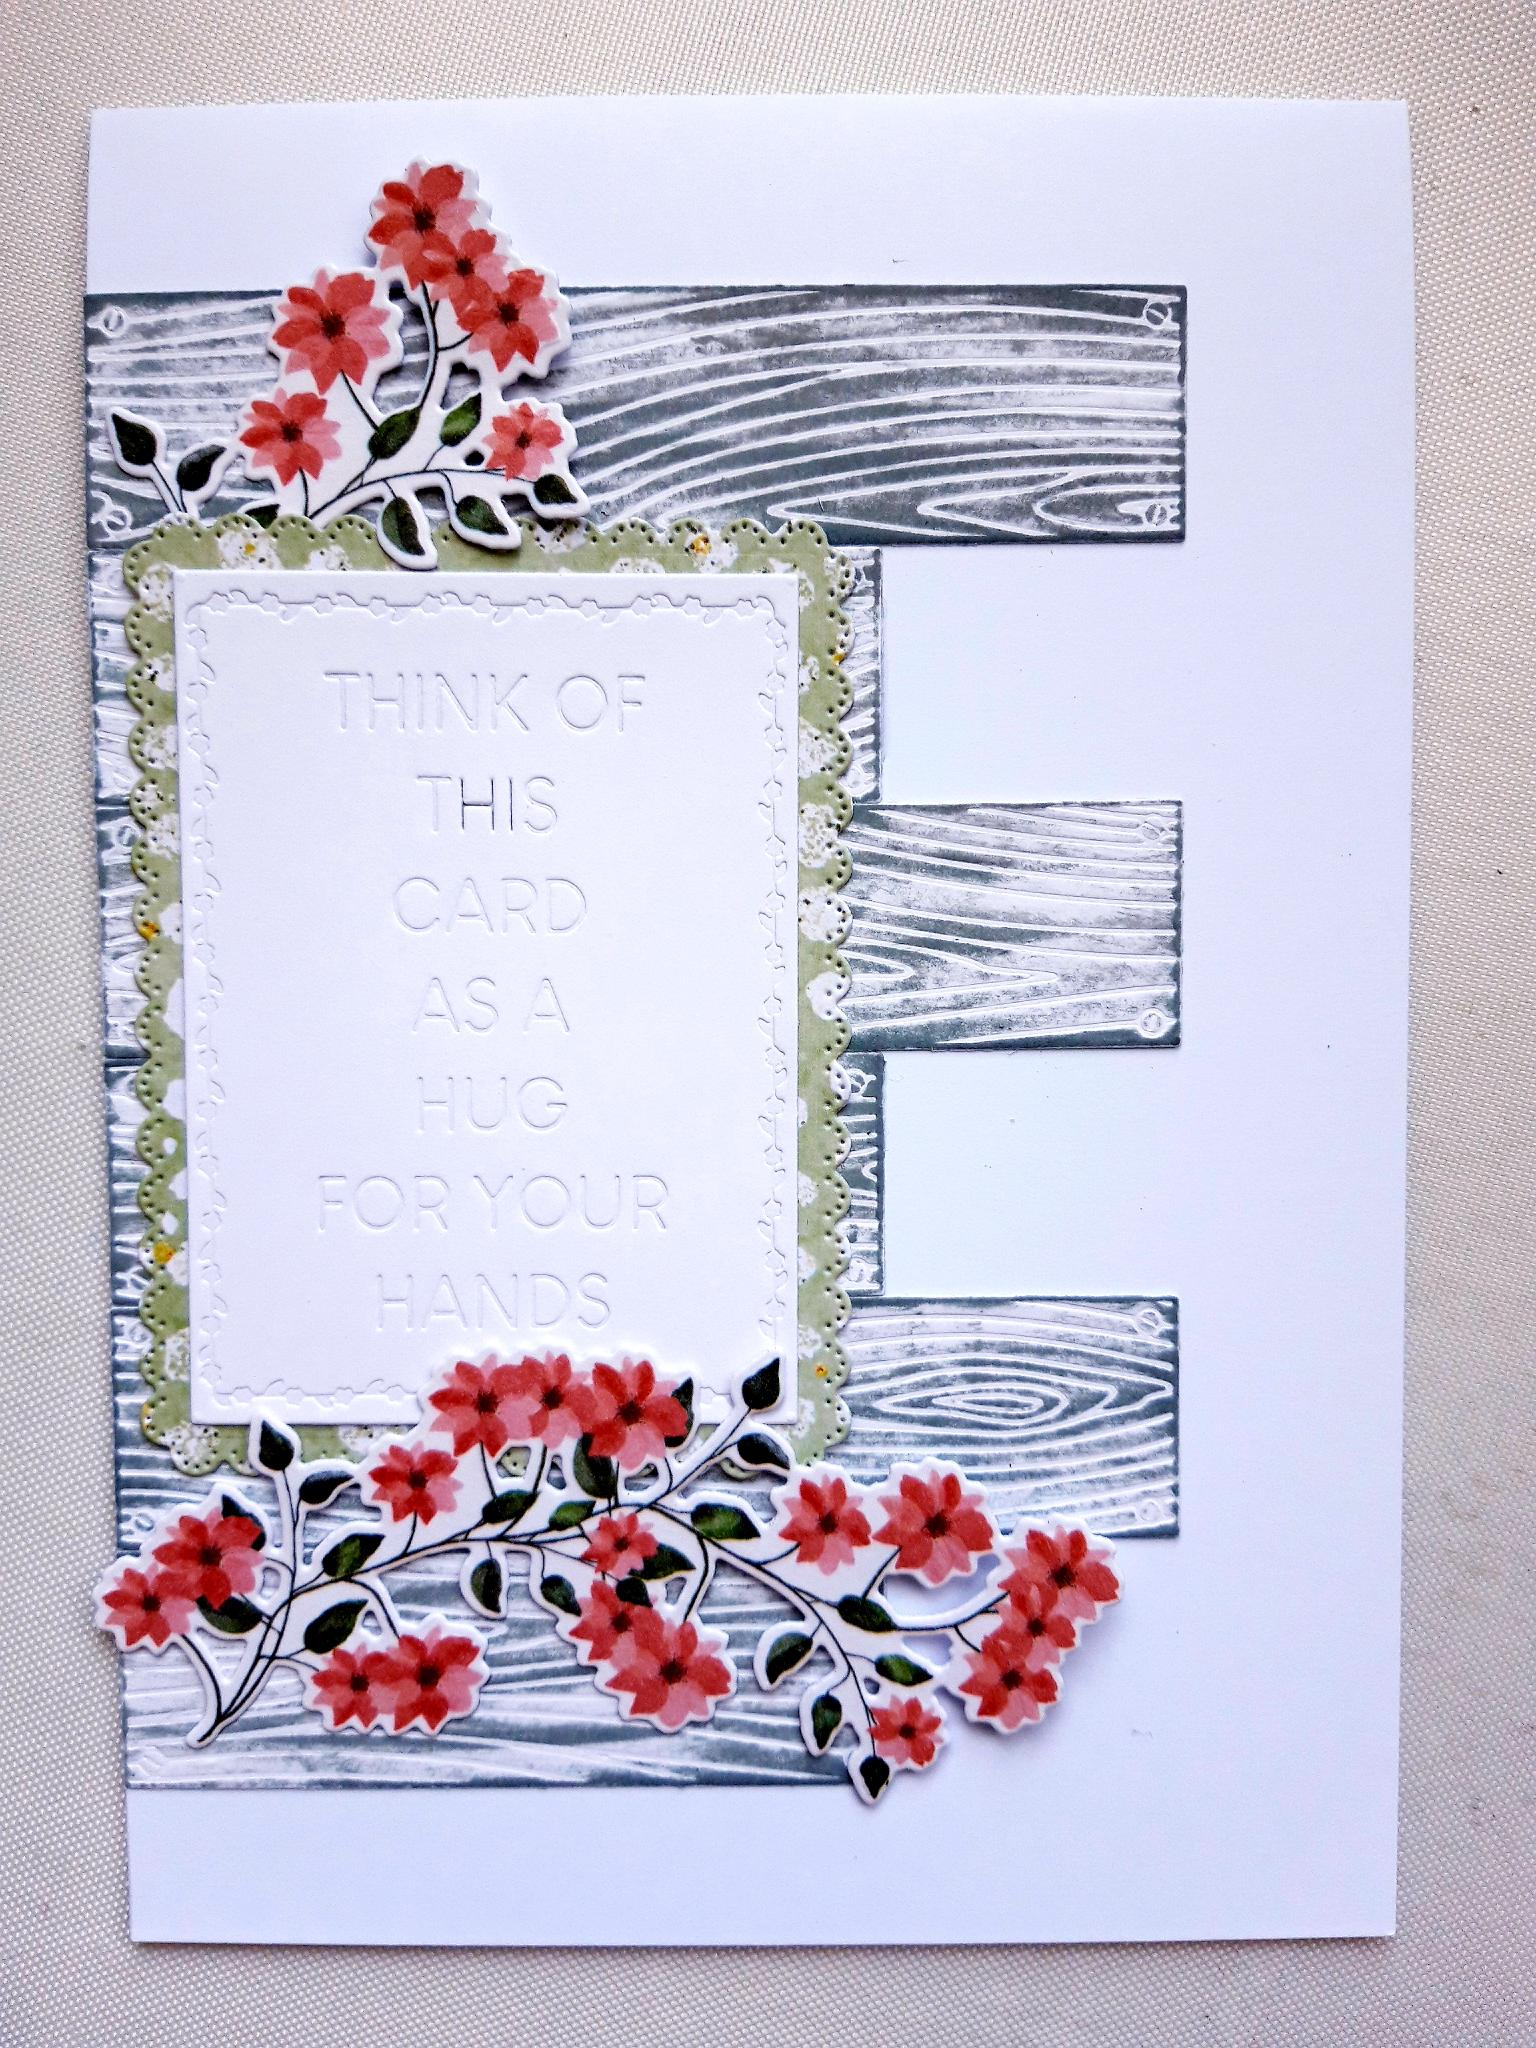
Lay the plate from the Creative Panels Die Collection on to one piece of A4 white cardstock. Run through your die cutting machine. |
|
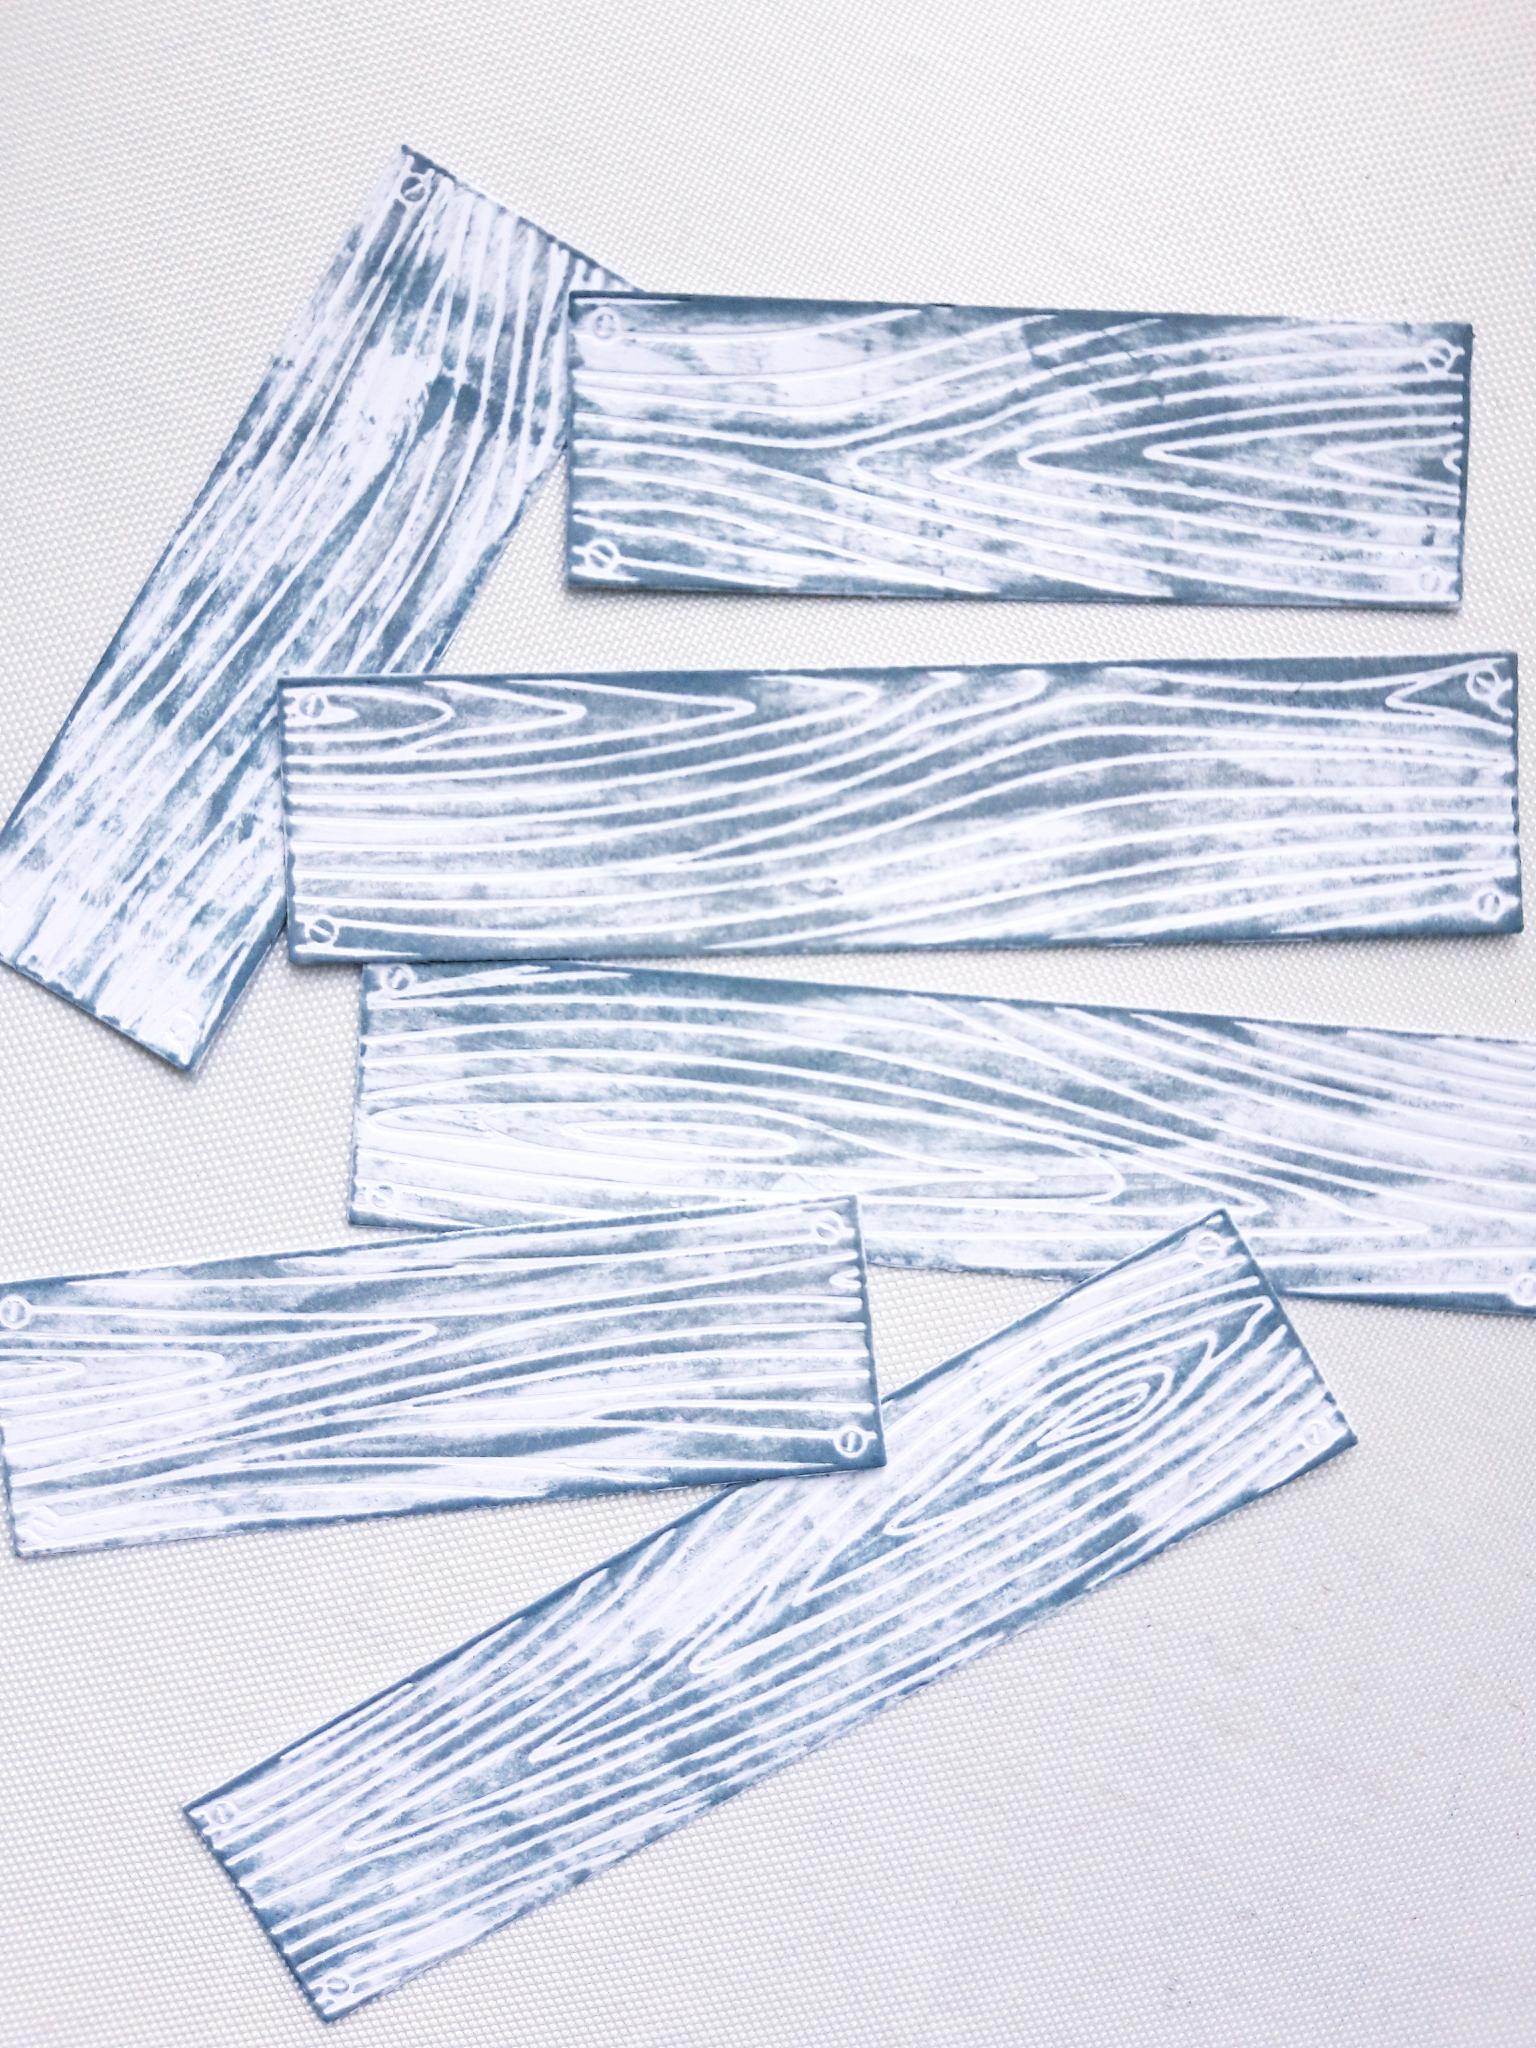
Swipe your Distress Oxide ink pad across the embossed panels, to create a weathered, distressed look. Drop some water on to the panels, wait a few seconds then mop up the excess water. |
|
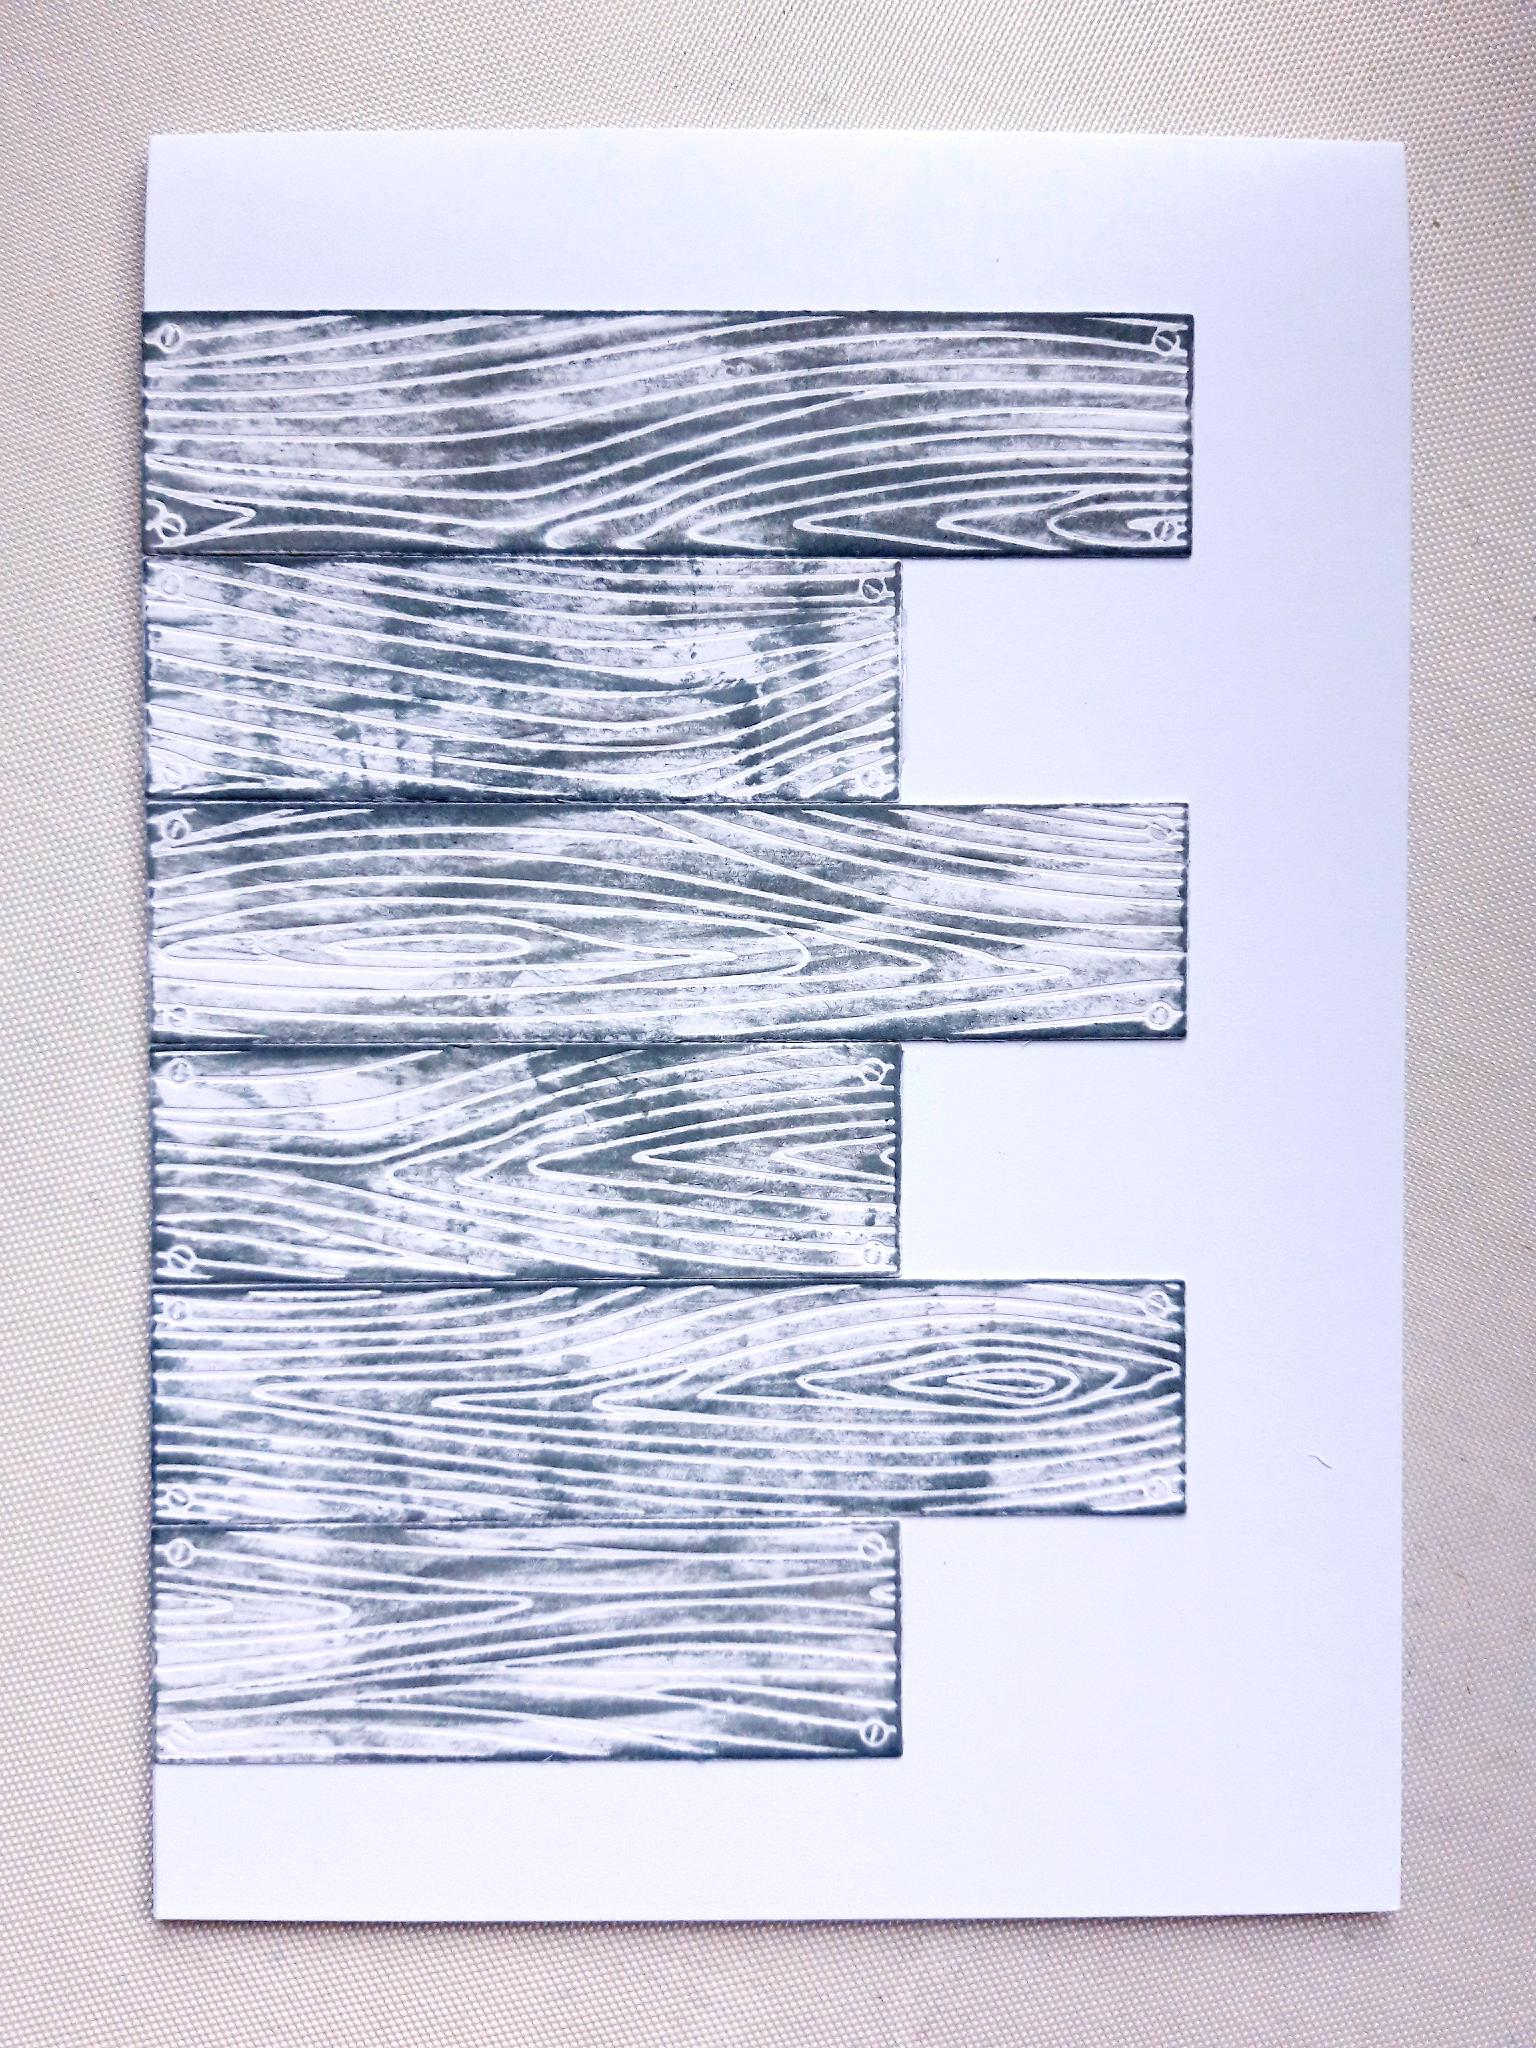
Once dry, adhere your wood panels on to the front of your card blank. Set to one side. |
|
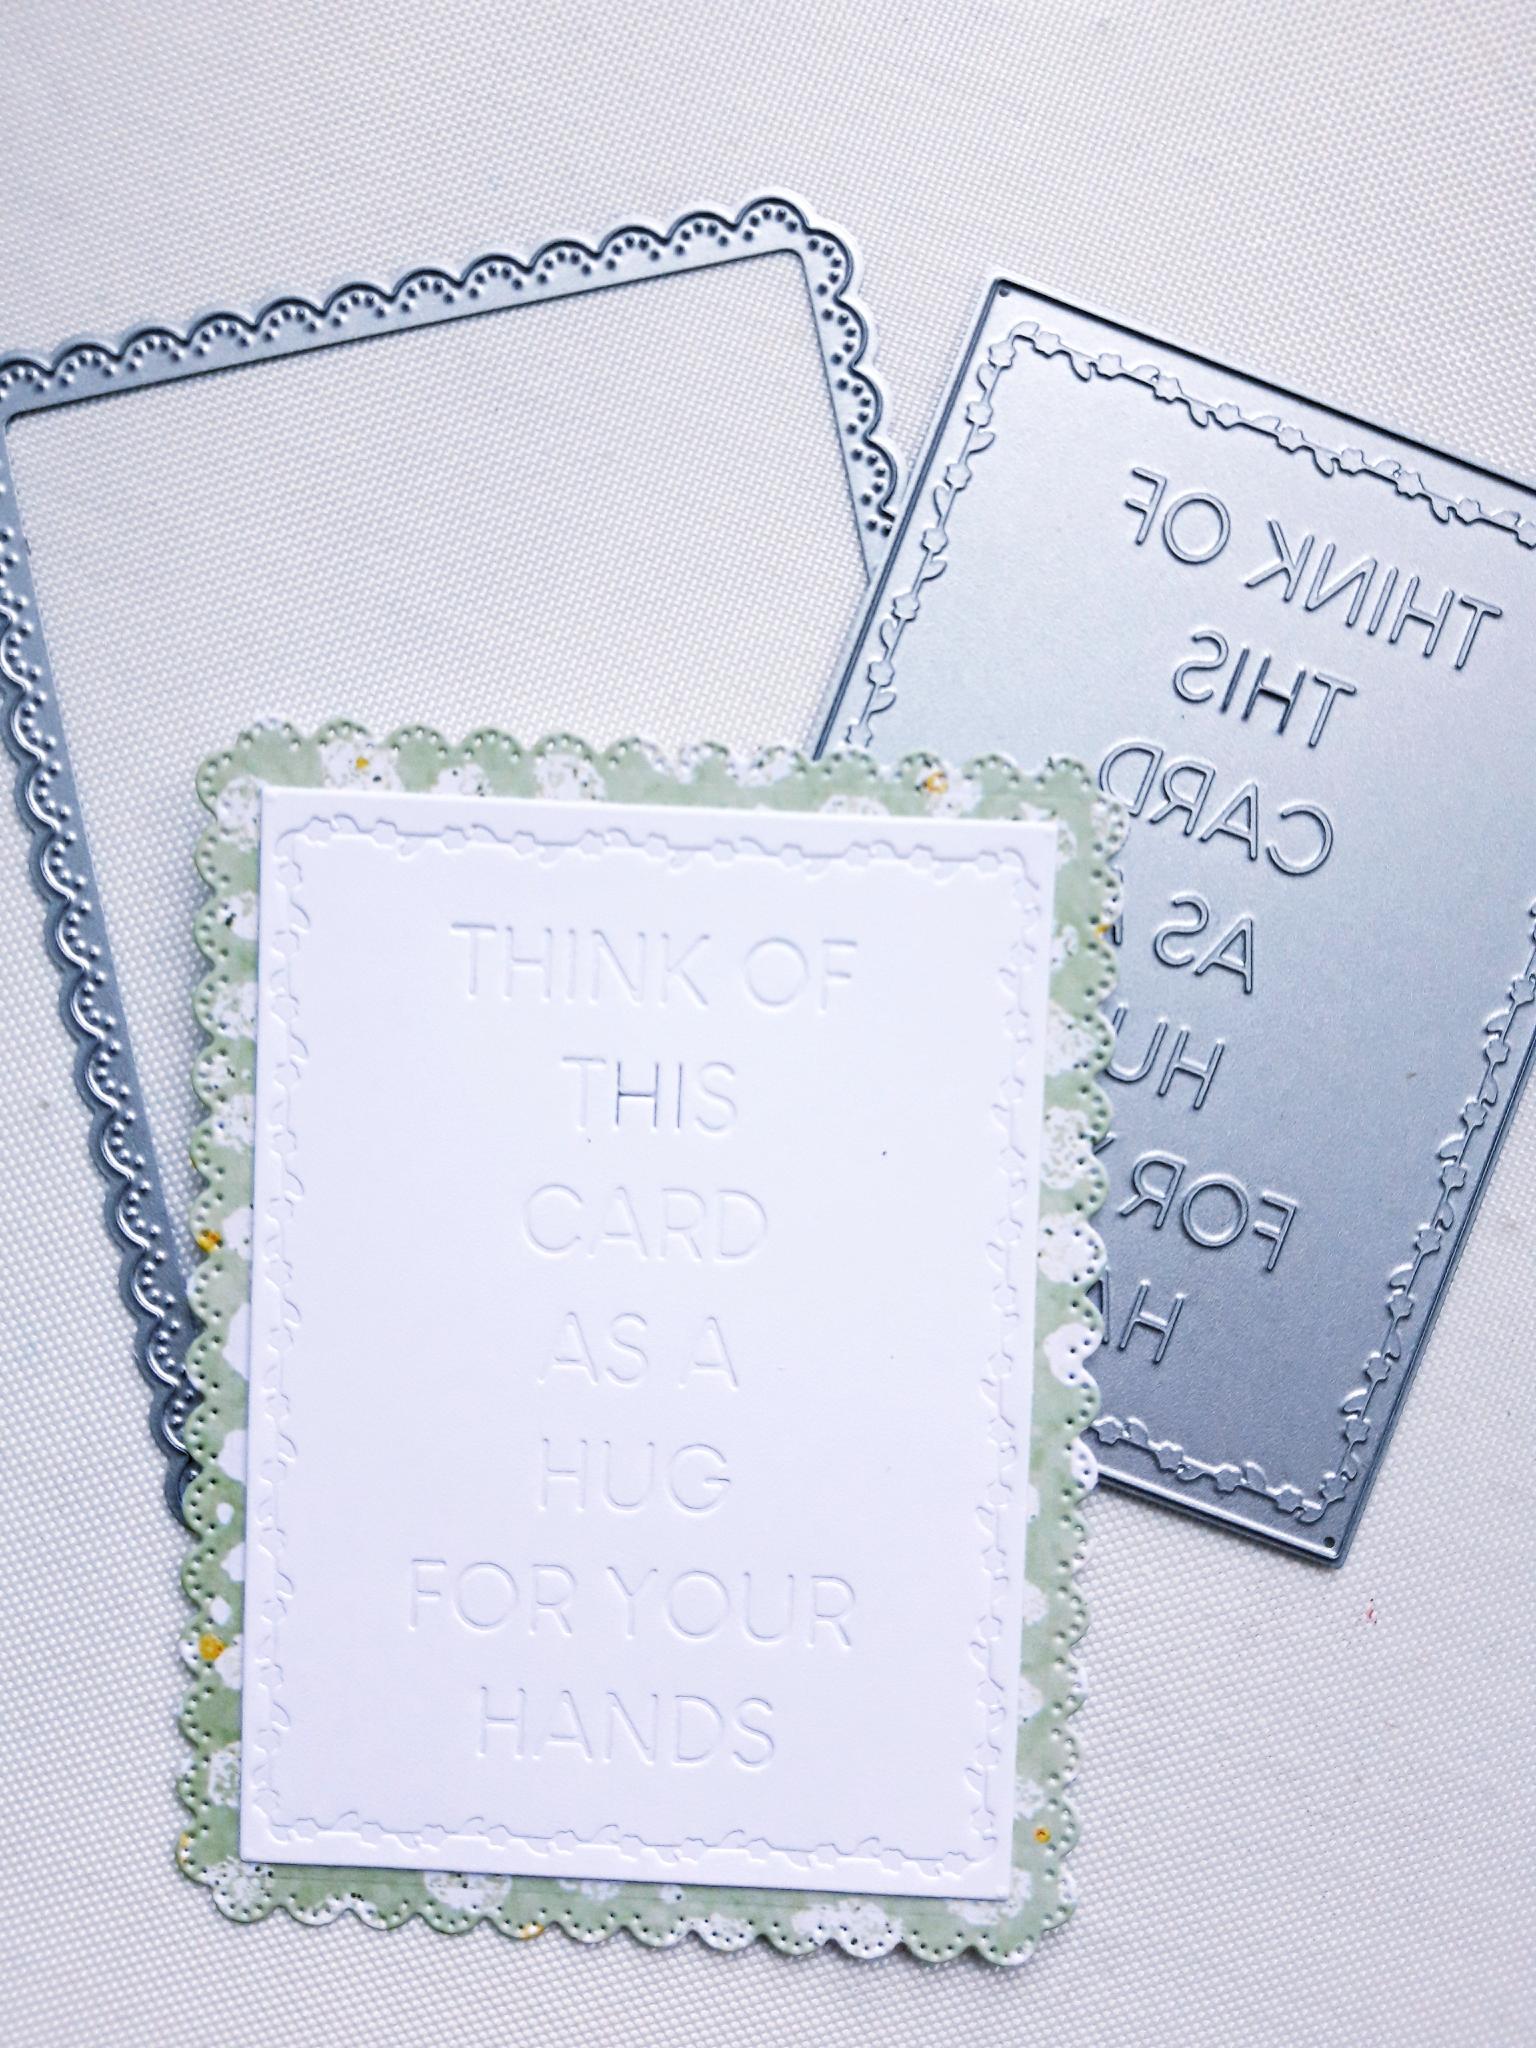
Place the sentiment die plate, from the Hug For Your Hands Die Collection, on to the second piece of A4 white cardstock (keep the rest of the cardstock to one side to be used for die cutting later). Run through your die cutting machine. Tear out a sheet of the green, small floral print paper, from the Tulip Charm 12 x 12" paper pad. Cut off a piece big enough to place the decorative frame die on to, from the Hugs For Your Hands Die Collection. Run through your die cutting machine. Adhere your die cut, embossed, sentiment panel on top of the decorative paper mat.
|
|
Adhere the embossed sentiment panel on to your prepped card blank. You can use wet glue or foam pads. Don't apply your adhesive right up to the edges, as you will need to tuck florals and foliage under the panel, at a later stage. Set to one side. |
|
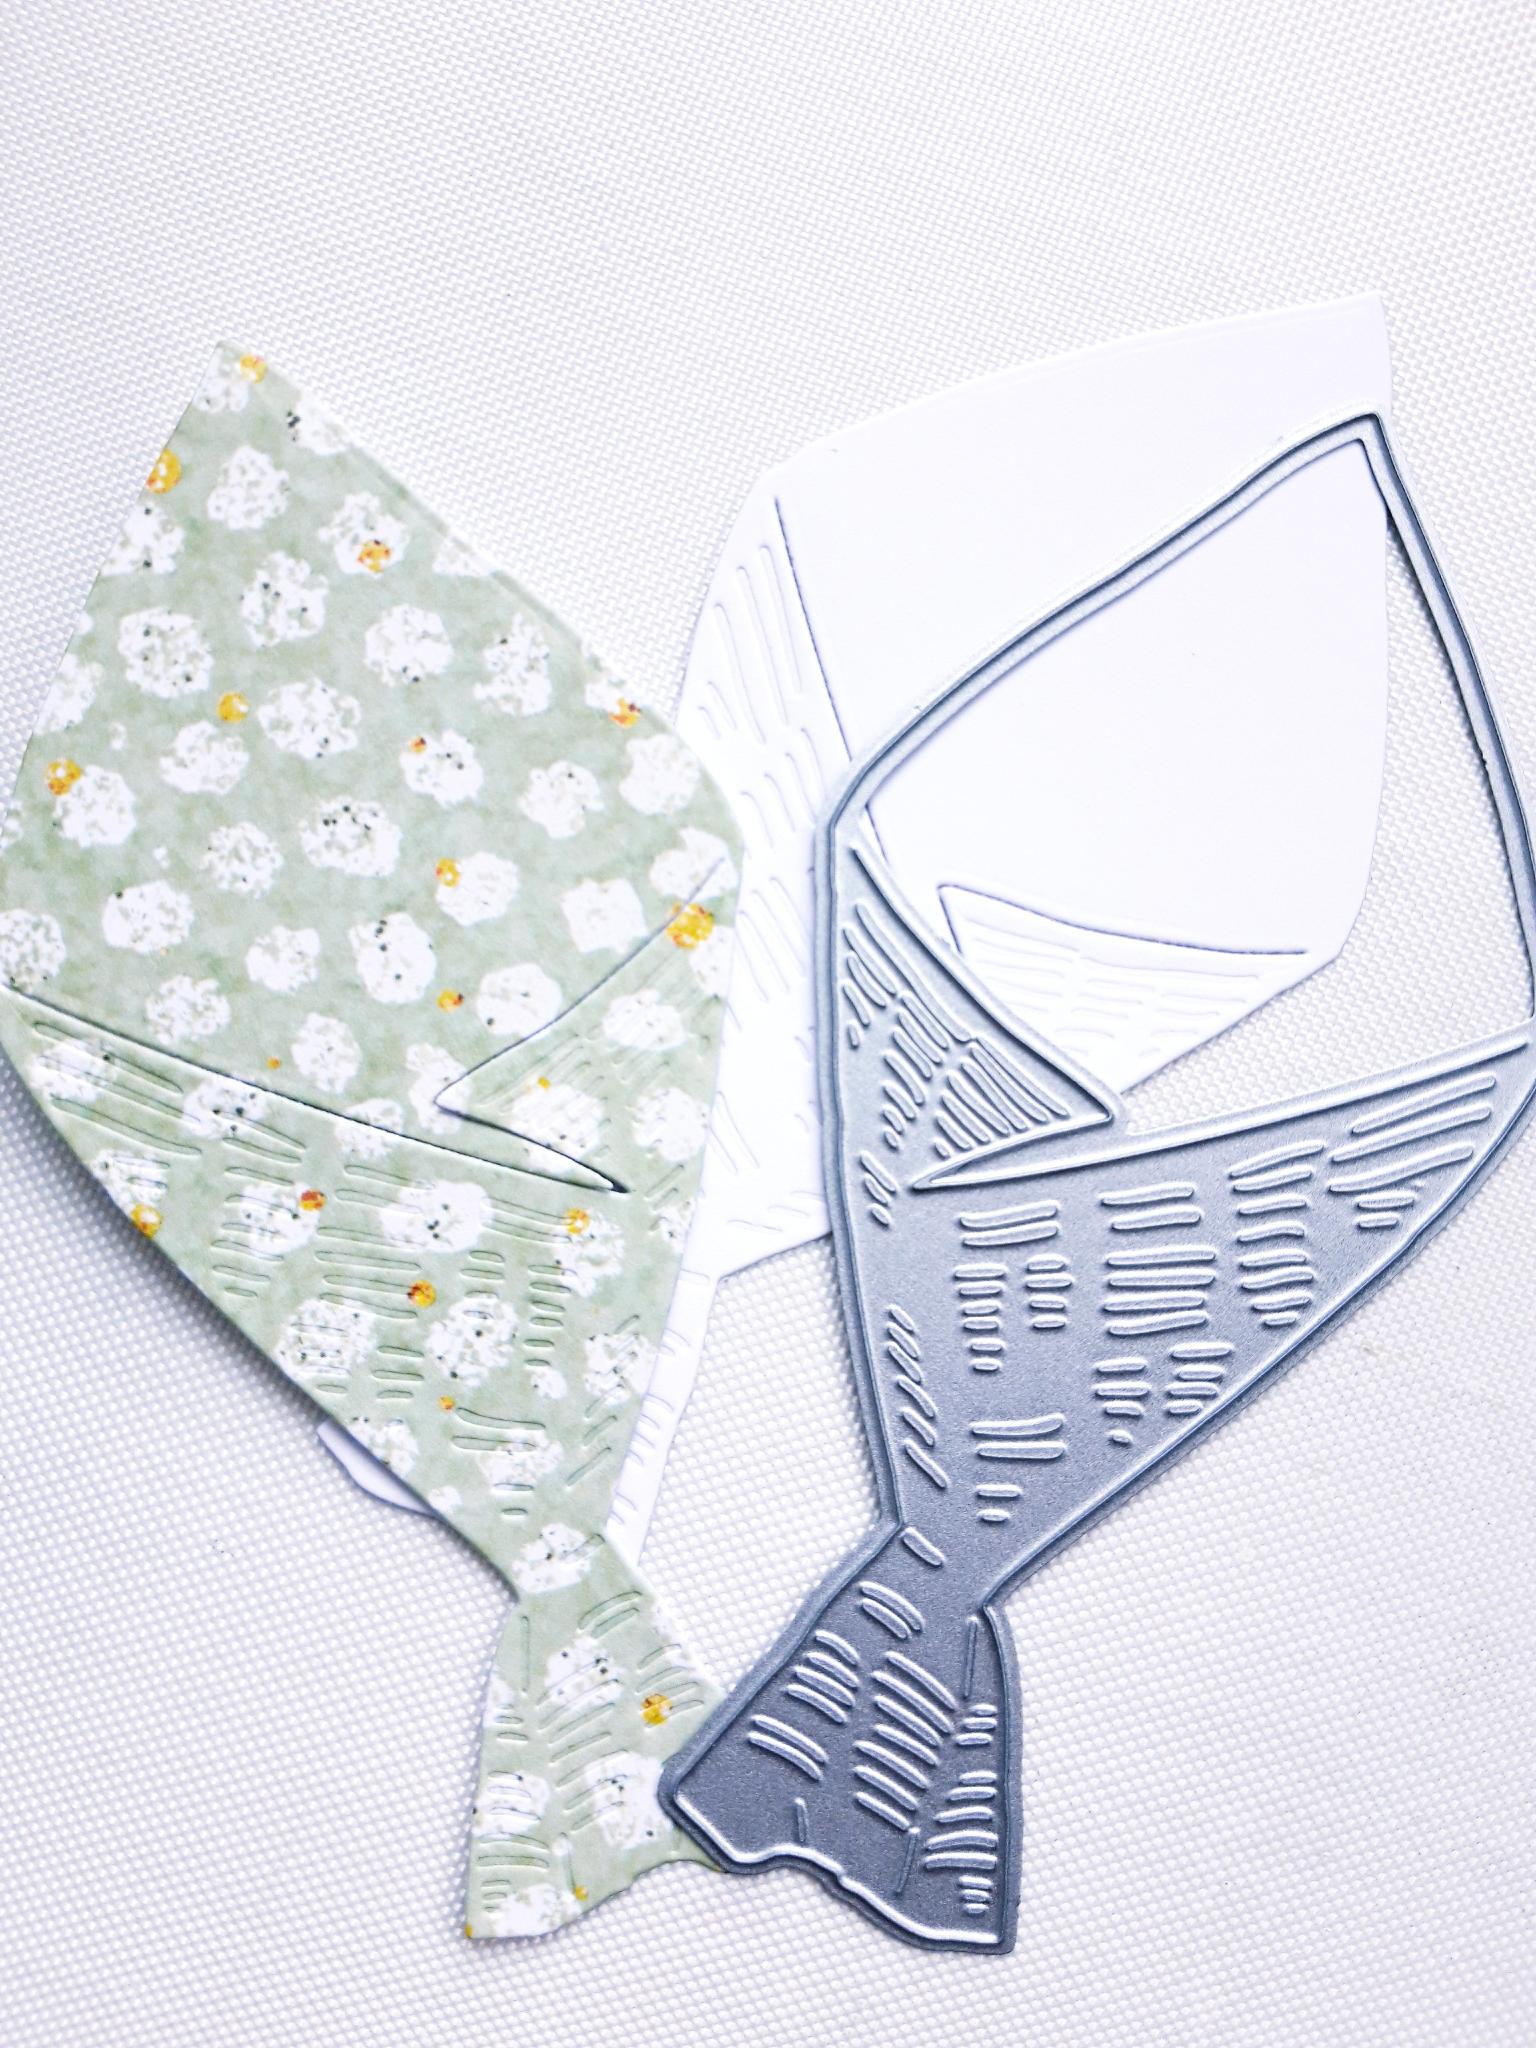
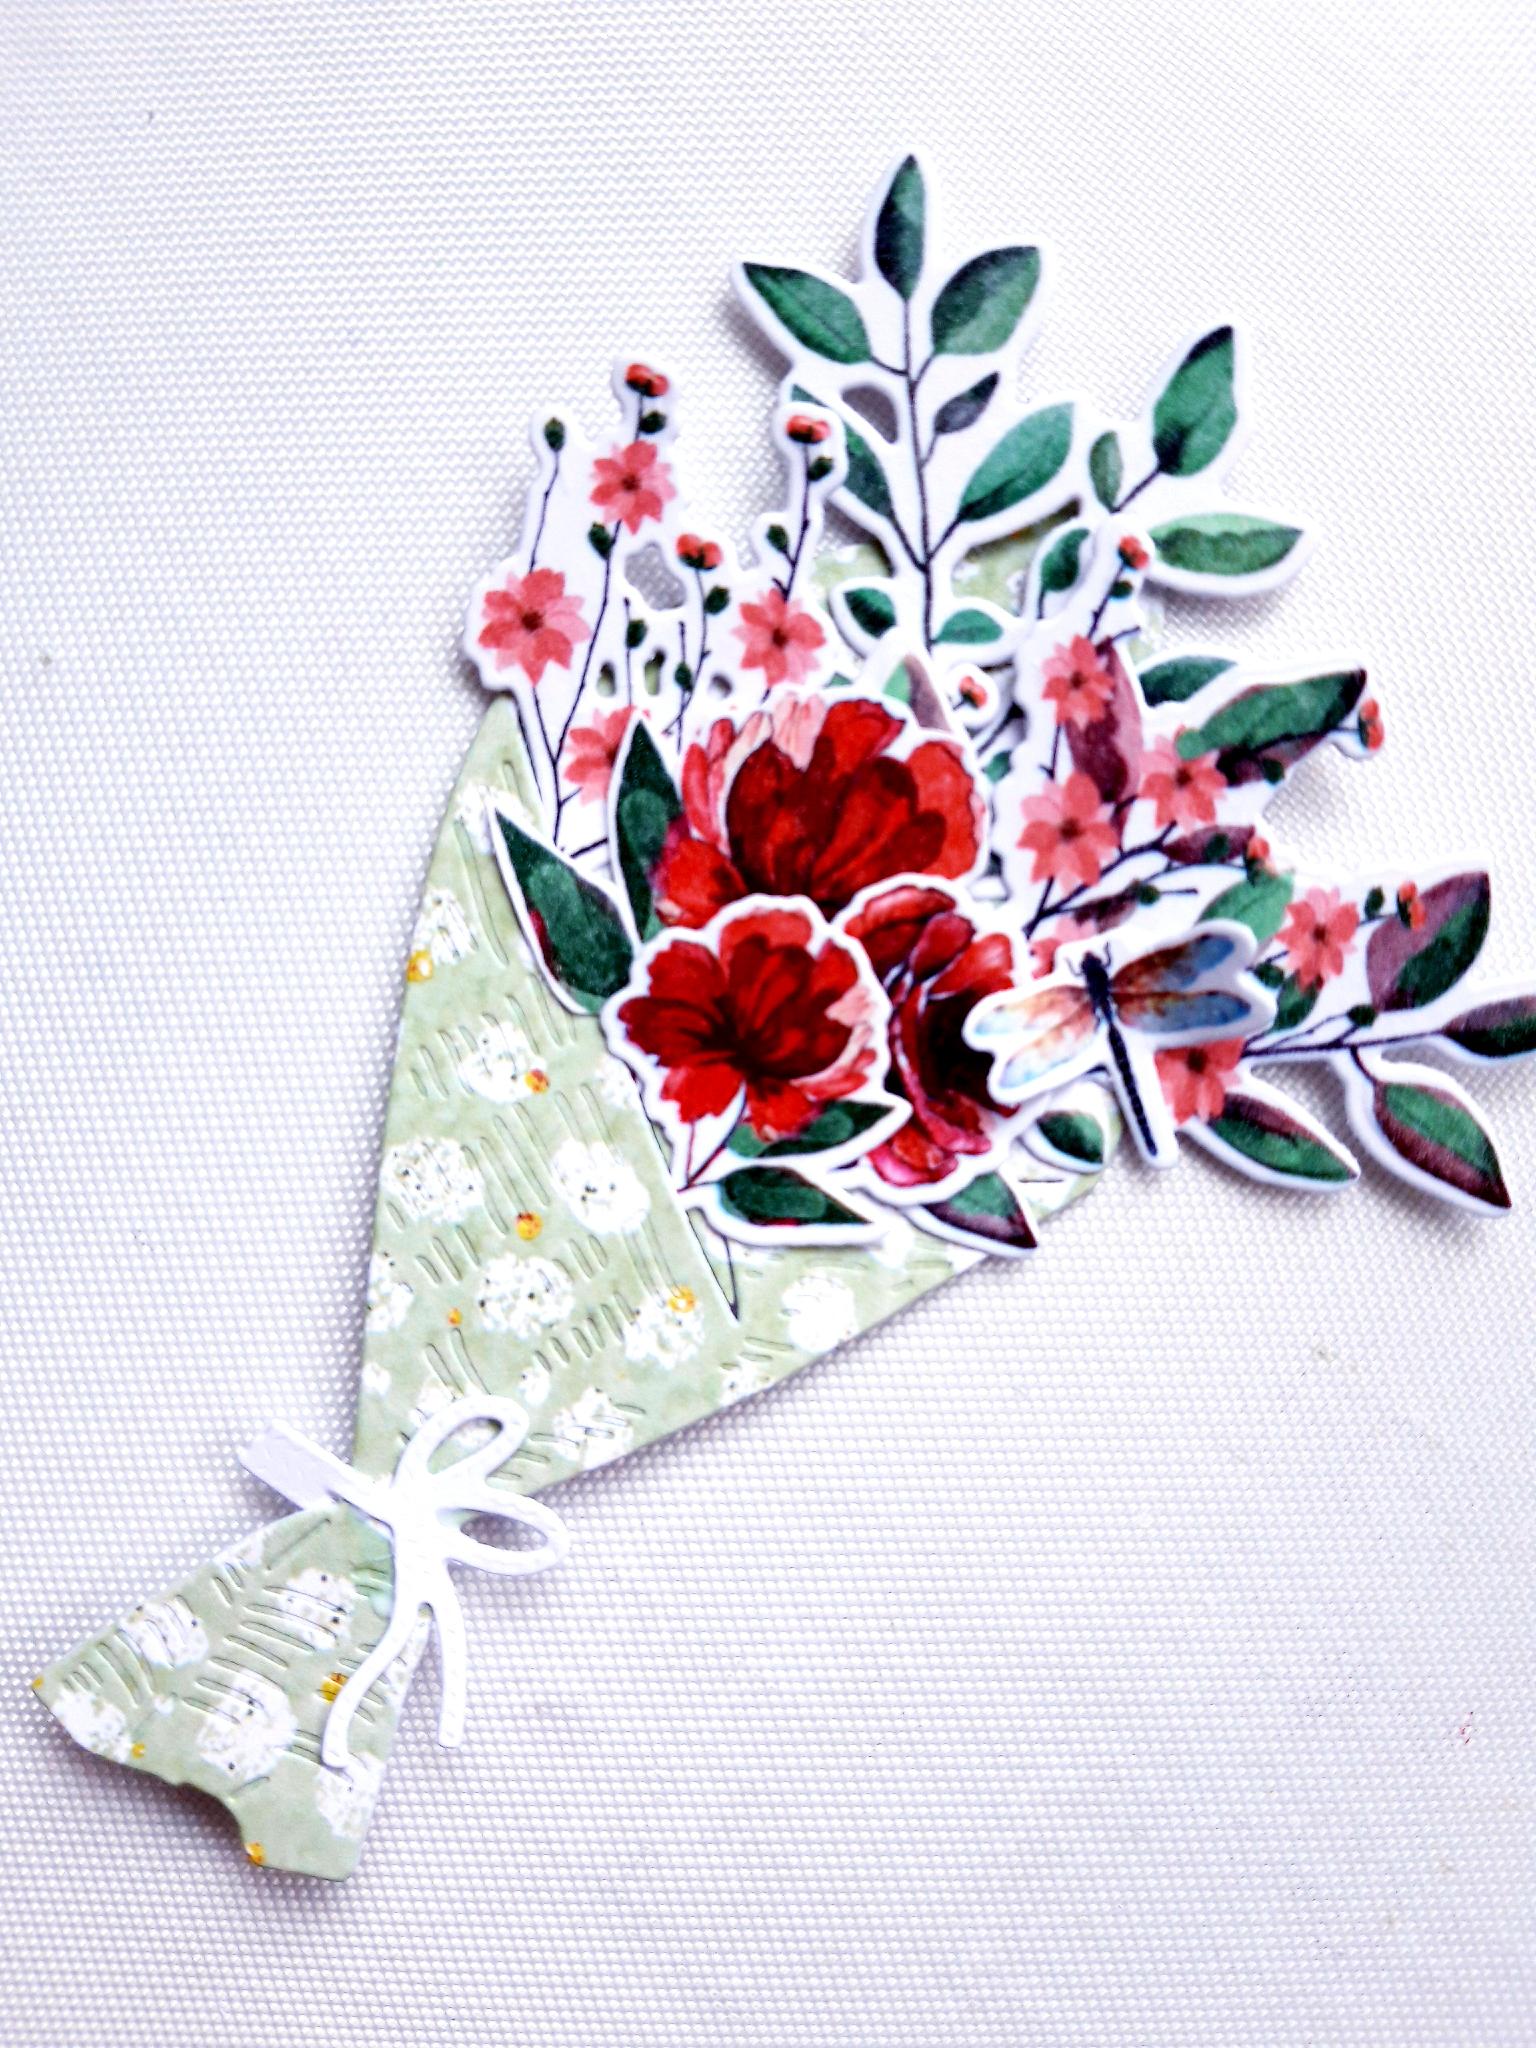
Using the " flower wrap" die from the A Gift for You Die Collection, cut out TWO wraps. One from white cardstock and the other from the Tulip Charm decorative paper. Also die cut out one of the small bows, that will fit across your wrap, from white cardstock. |

|
Glue the decorative paper wrap on top of the white card wrap, to make a more substantial die cut embellishment (If you want your wrap to be even more substantial, like a chipboard embellishment, just cut out more wraps in white cardstock, and glue them all together). |
|
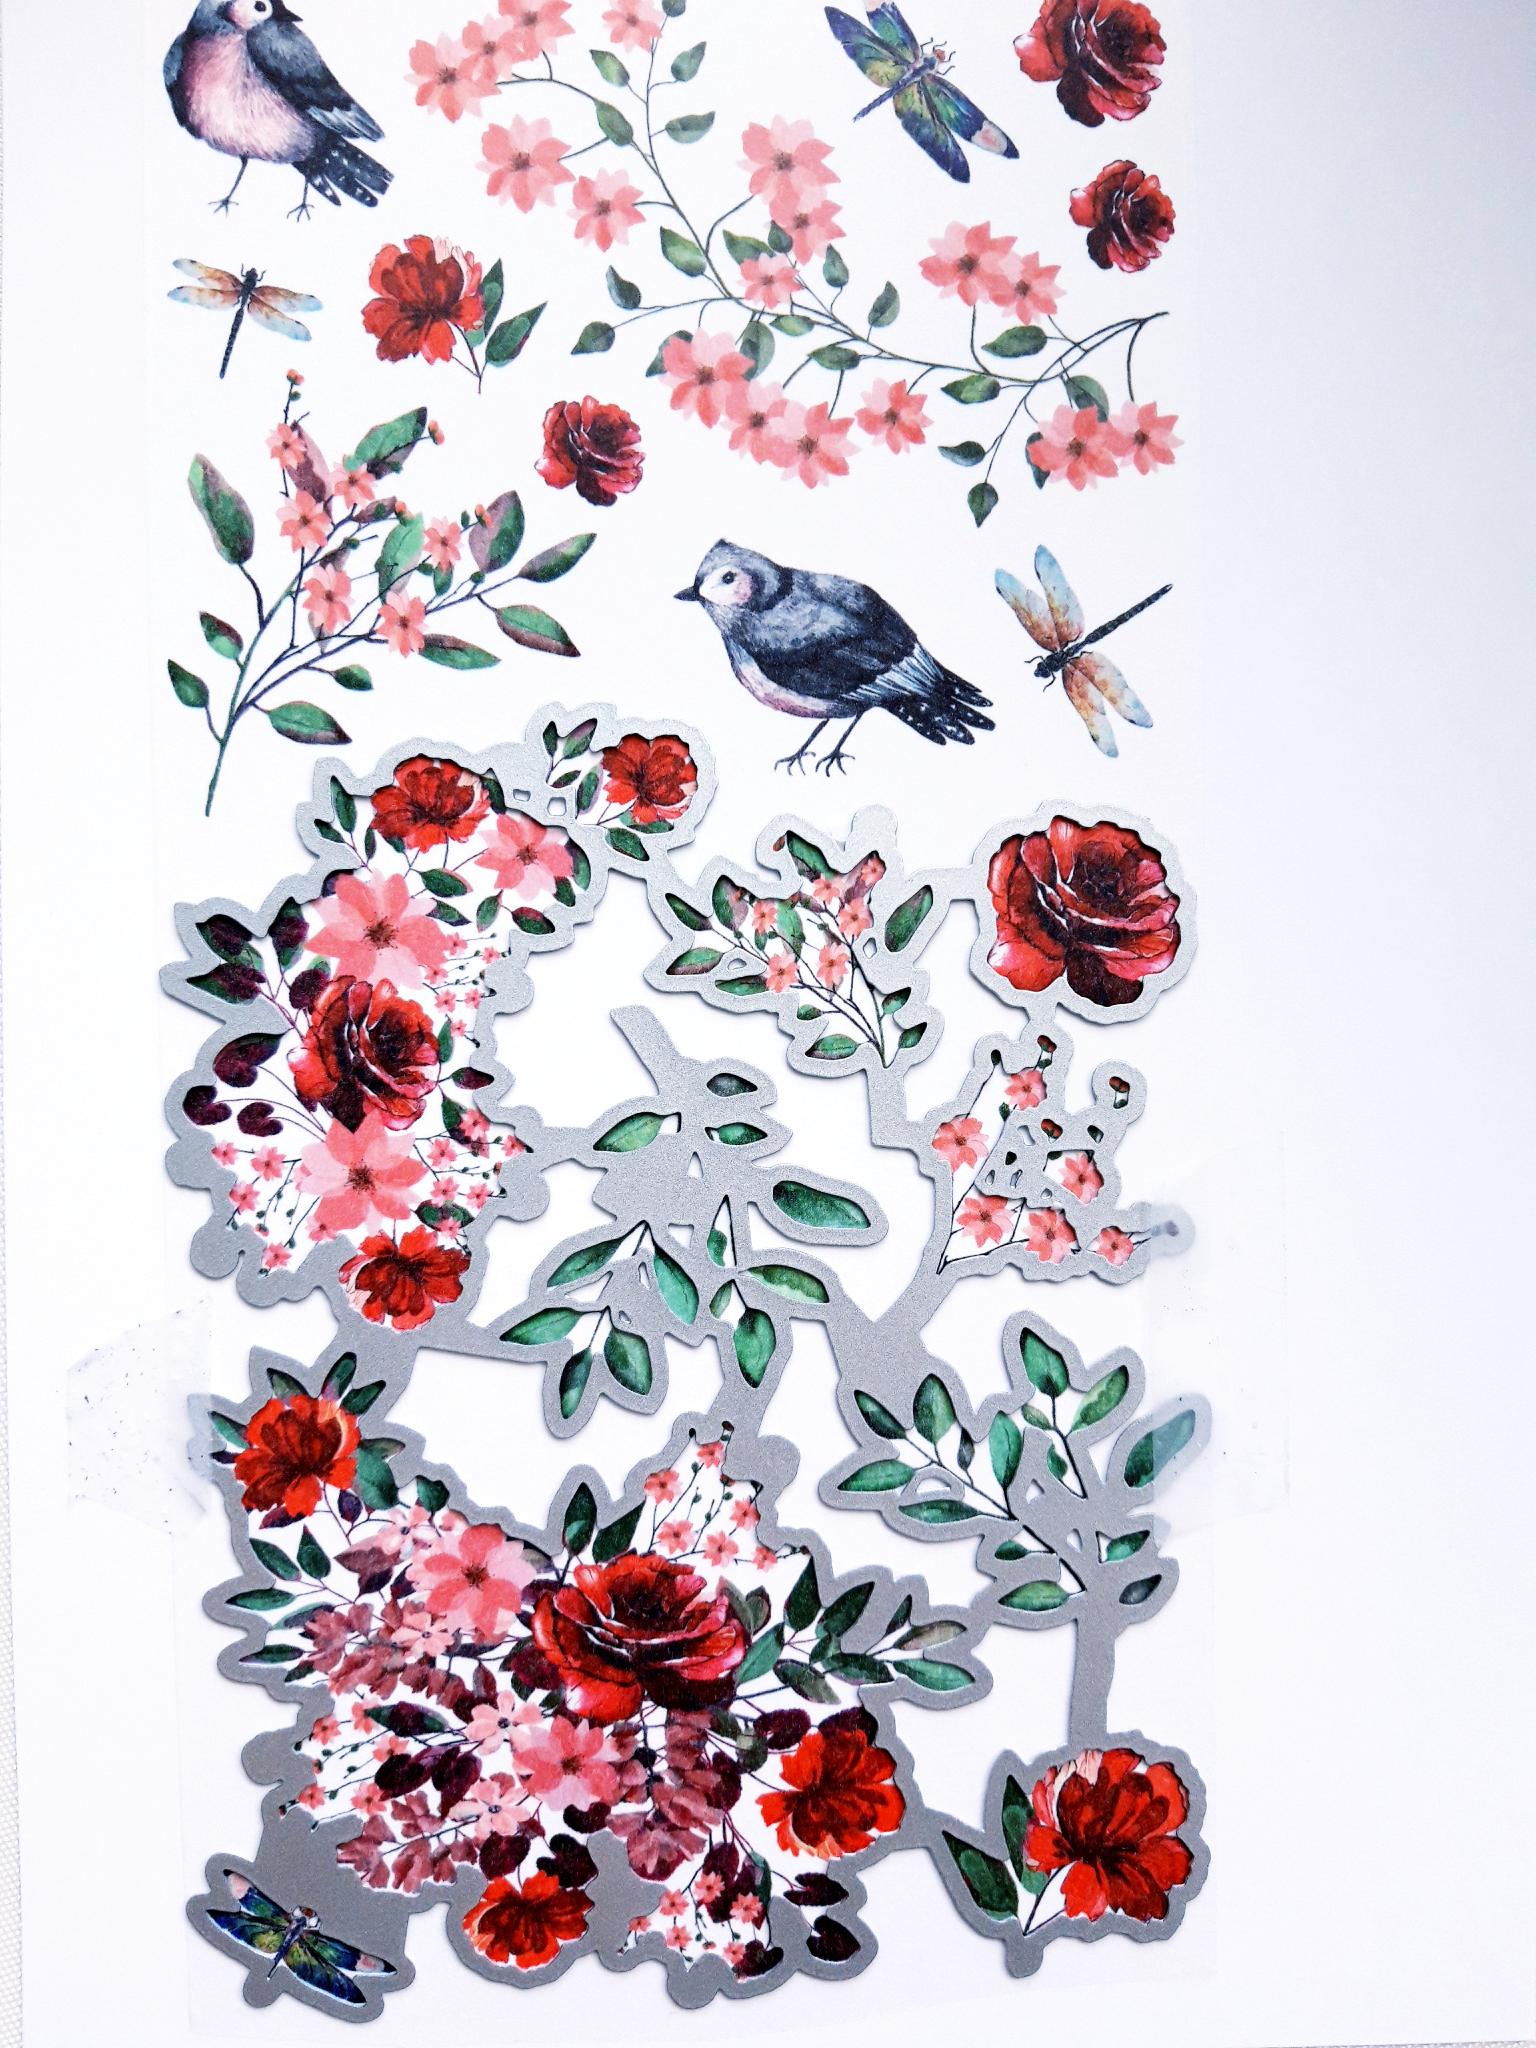
Cut off one full drop from the Summer Breeze Washi Tape (place both dies on the tape to work out where this will be). Peel off one corner of the backing, then carefully unroll, and smooth out the washi, from the centre outwards, as you adhere to the A4 white cardstock. Place one of the coordinating dies in place, on the washi, and run through your die cutting machine. Remove all die cuts and pop to one side. Place the second die in place, on the washi, and run through the die cutting machine. Remove all the die cuts and add to the others, ready for use. |
|
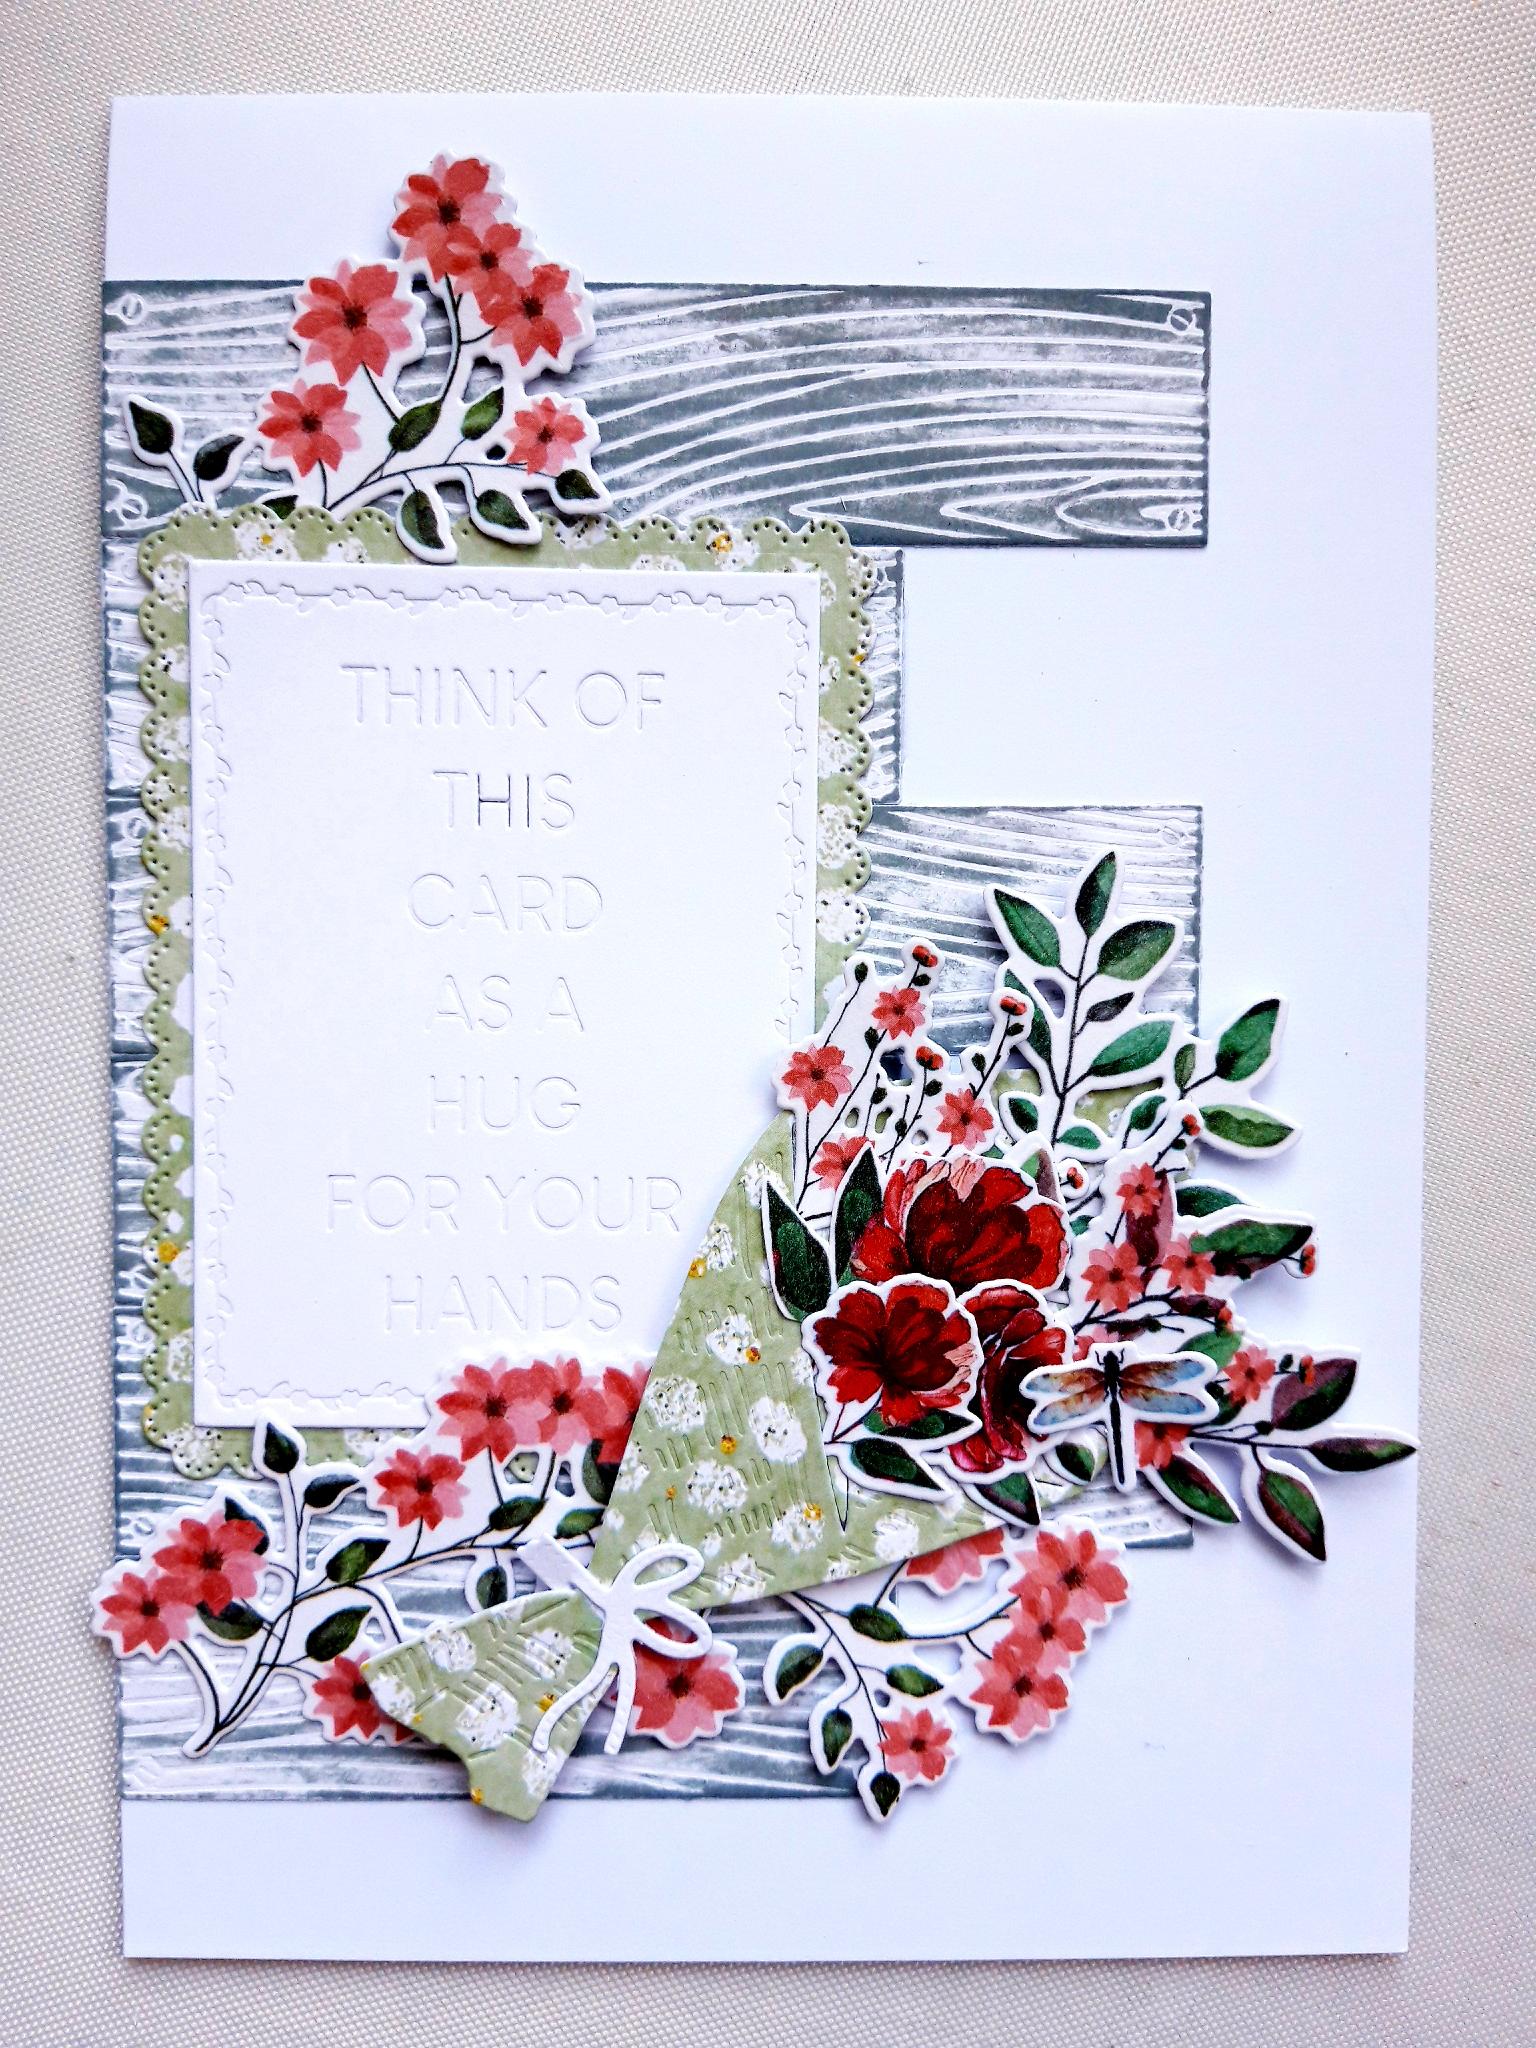
Adhere your die cut washi florals and foliage in place, to create a "bouquet" coming up from inside the wrap. TIP: Have a play with the layout and design of your bouquet first, before gluing anything down. I found it easier to glue down the pieces at the back first, working to the front of my bouquet layout. Also think about how to tuck and overhang your florals and foliage in and around the wrap, and where you therefore need to place the glue, to allow them to move and lay "loose". Glue the little die cut bow in place across the wrap. Set your finished bouquet to one side. |
|
Use your die cut washi florals and foliage to create a floral design around your sentiment panel on your card. Tuck some of the embellishments under the edge of the panel, and allow others to overhang in front. Use wet glue and foam pads, as this will all add to the depth and dimension of your design. |
|
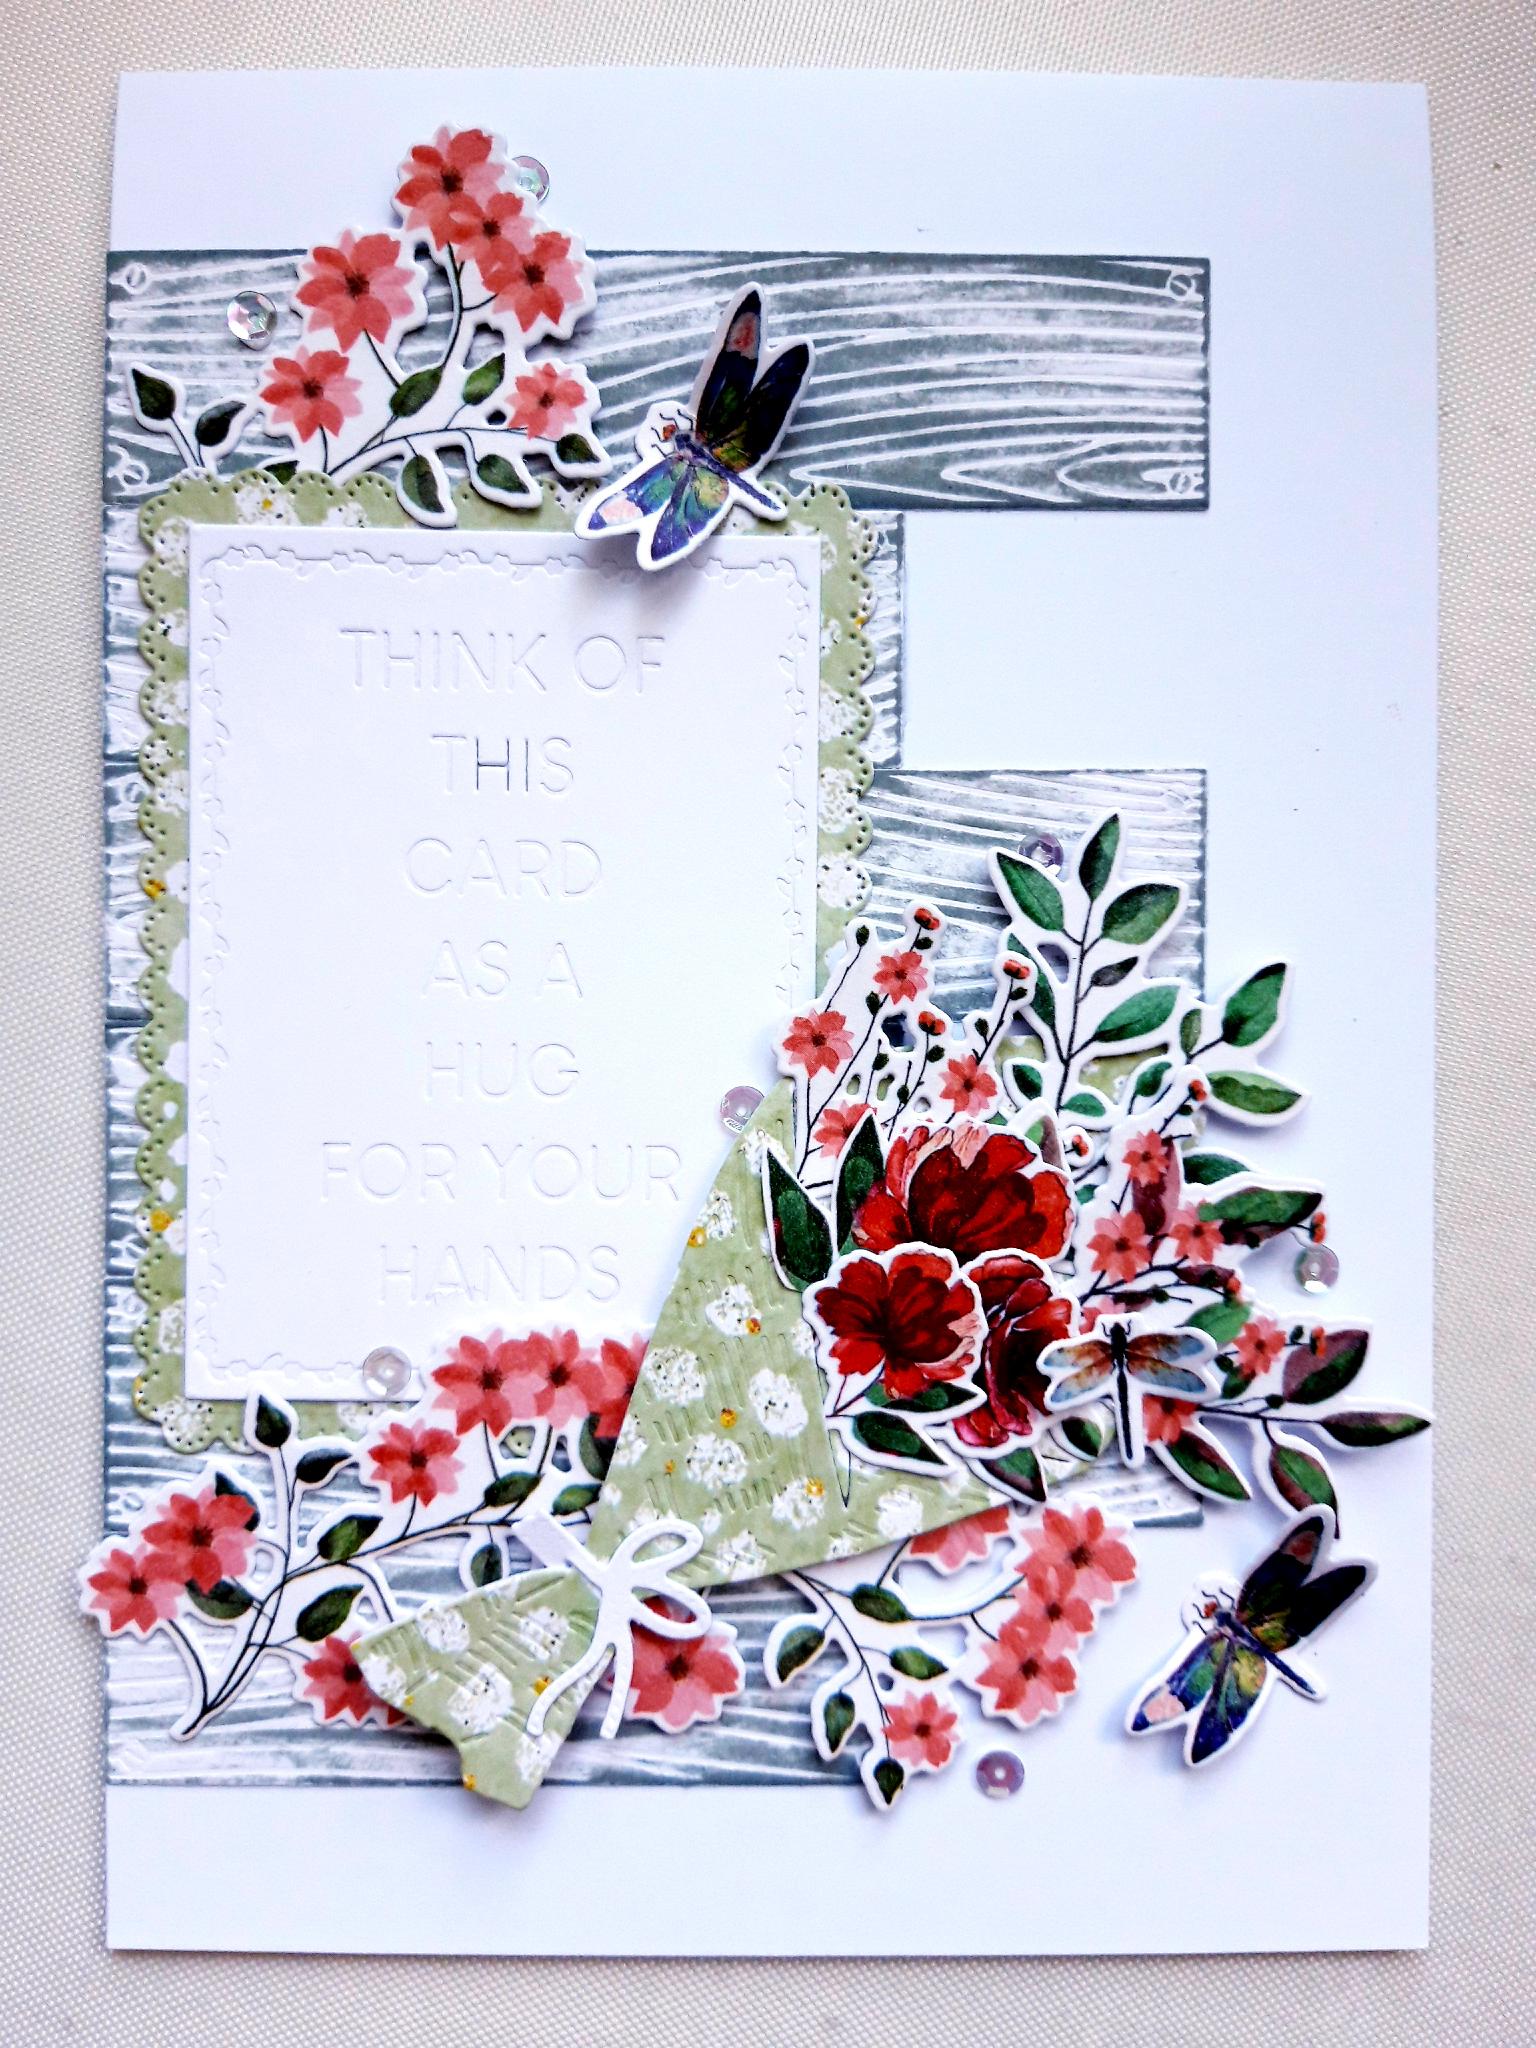
Adhere your wrapped bouquet embellishment on to your card using wet glue, or foam pads to create more dimension. |
|
Add a few washi die cut Dragonflies to your card, applying glue to the body only, so the wings can be raised up. To finish your card add sequins around your artwork, as desired. |