Give your friends $10 off their first order!
Refer a FRIEND


WHAT YOU WILL NEED
Black card 7 x 4"
White card 6 x 3"
Imala Tick Tock Stamp Collection
Thirsty Brush UnLtd Tagged Creative Dies
What You Believe Lamination Stamp Collection
Versafine Ink Pad: Onyx Black
Izink Dye Spray: Morning Mist, Vert D'Eau
Pearlywinks Pearl Mist Glitter Spray
Twine: Natural, Black
Hole punch
White gel pen
Paint brush
WOW heat tool
Eureka 101
Paper Trimmer
Perfect Together Glue
Die Cutting machine
[click image to enlarge] 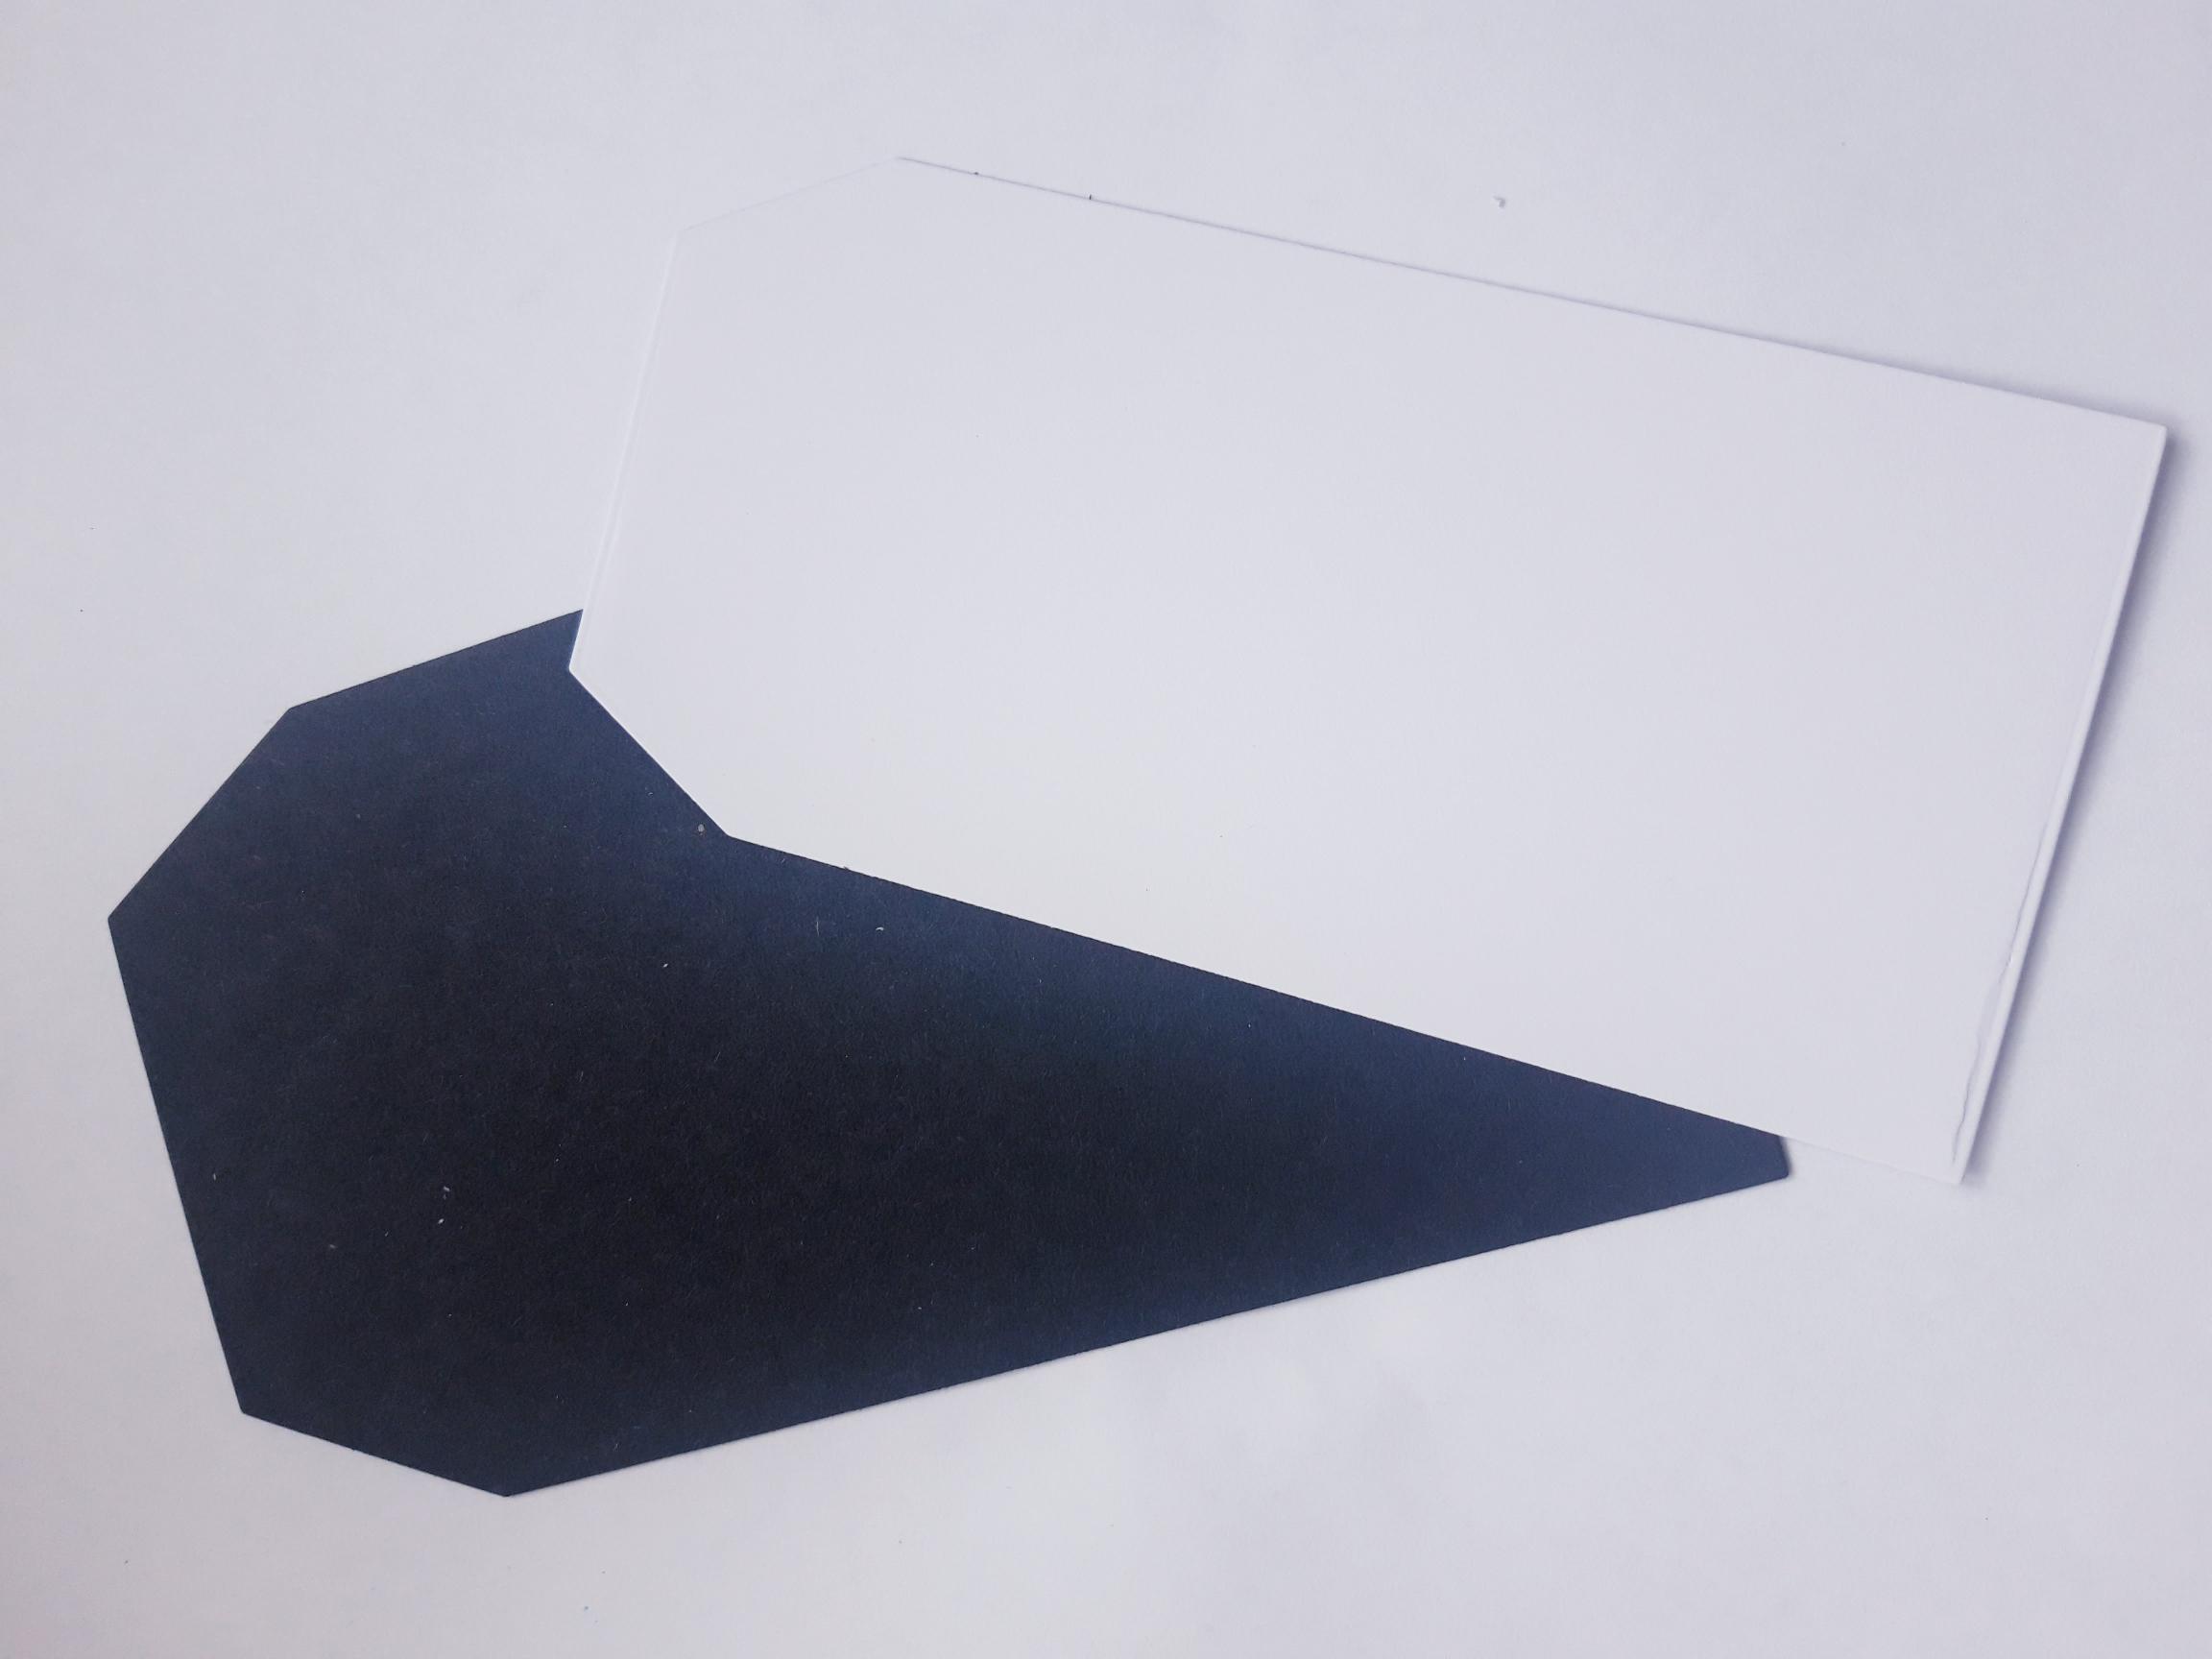
|
Place the Tagged die measuring 6 1/4 x 3 1/2, on to the black card. Place the die that measures 5 3/4 x 2 3/4" on to the white card, then run them both through your die cutting machine. Set the black tag to one side. |
|
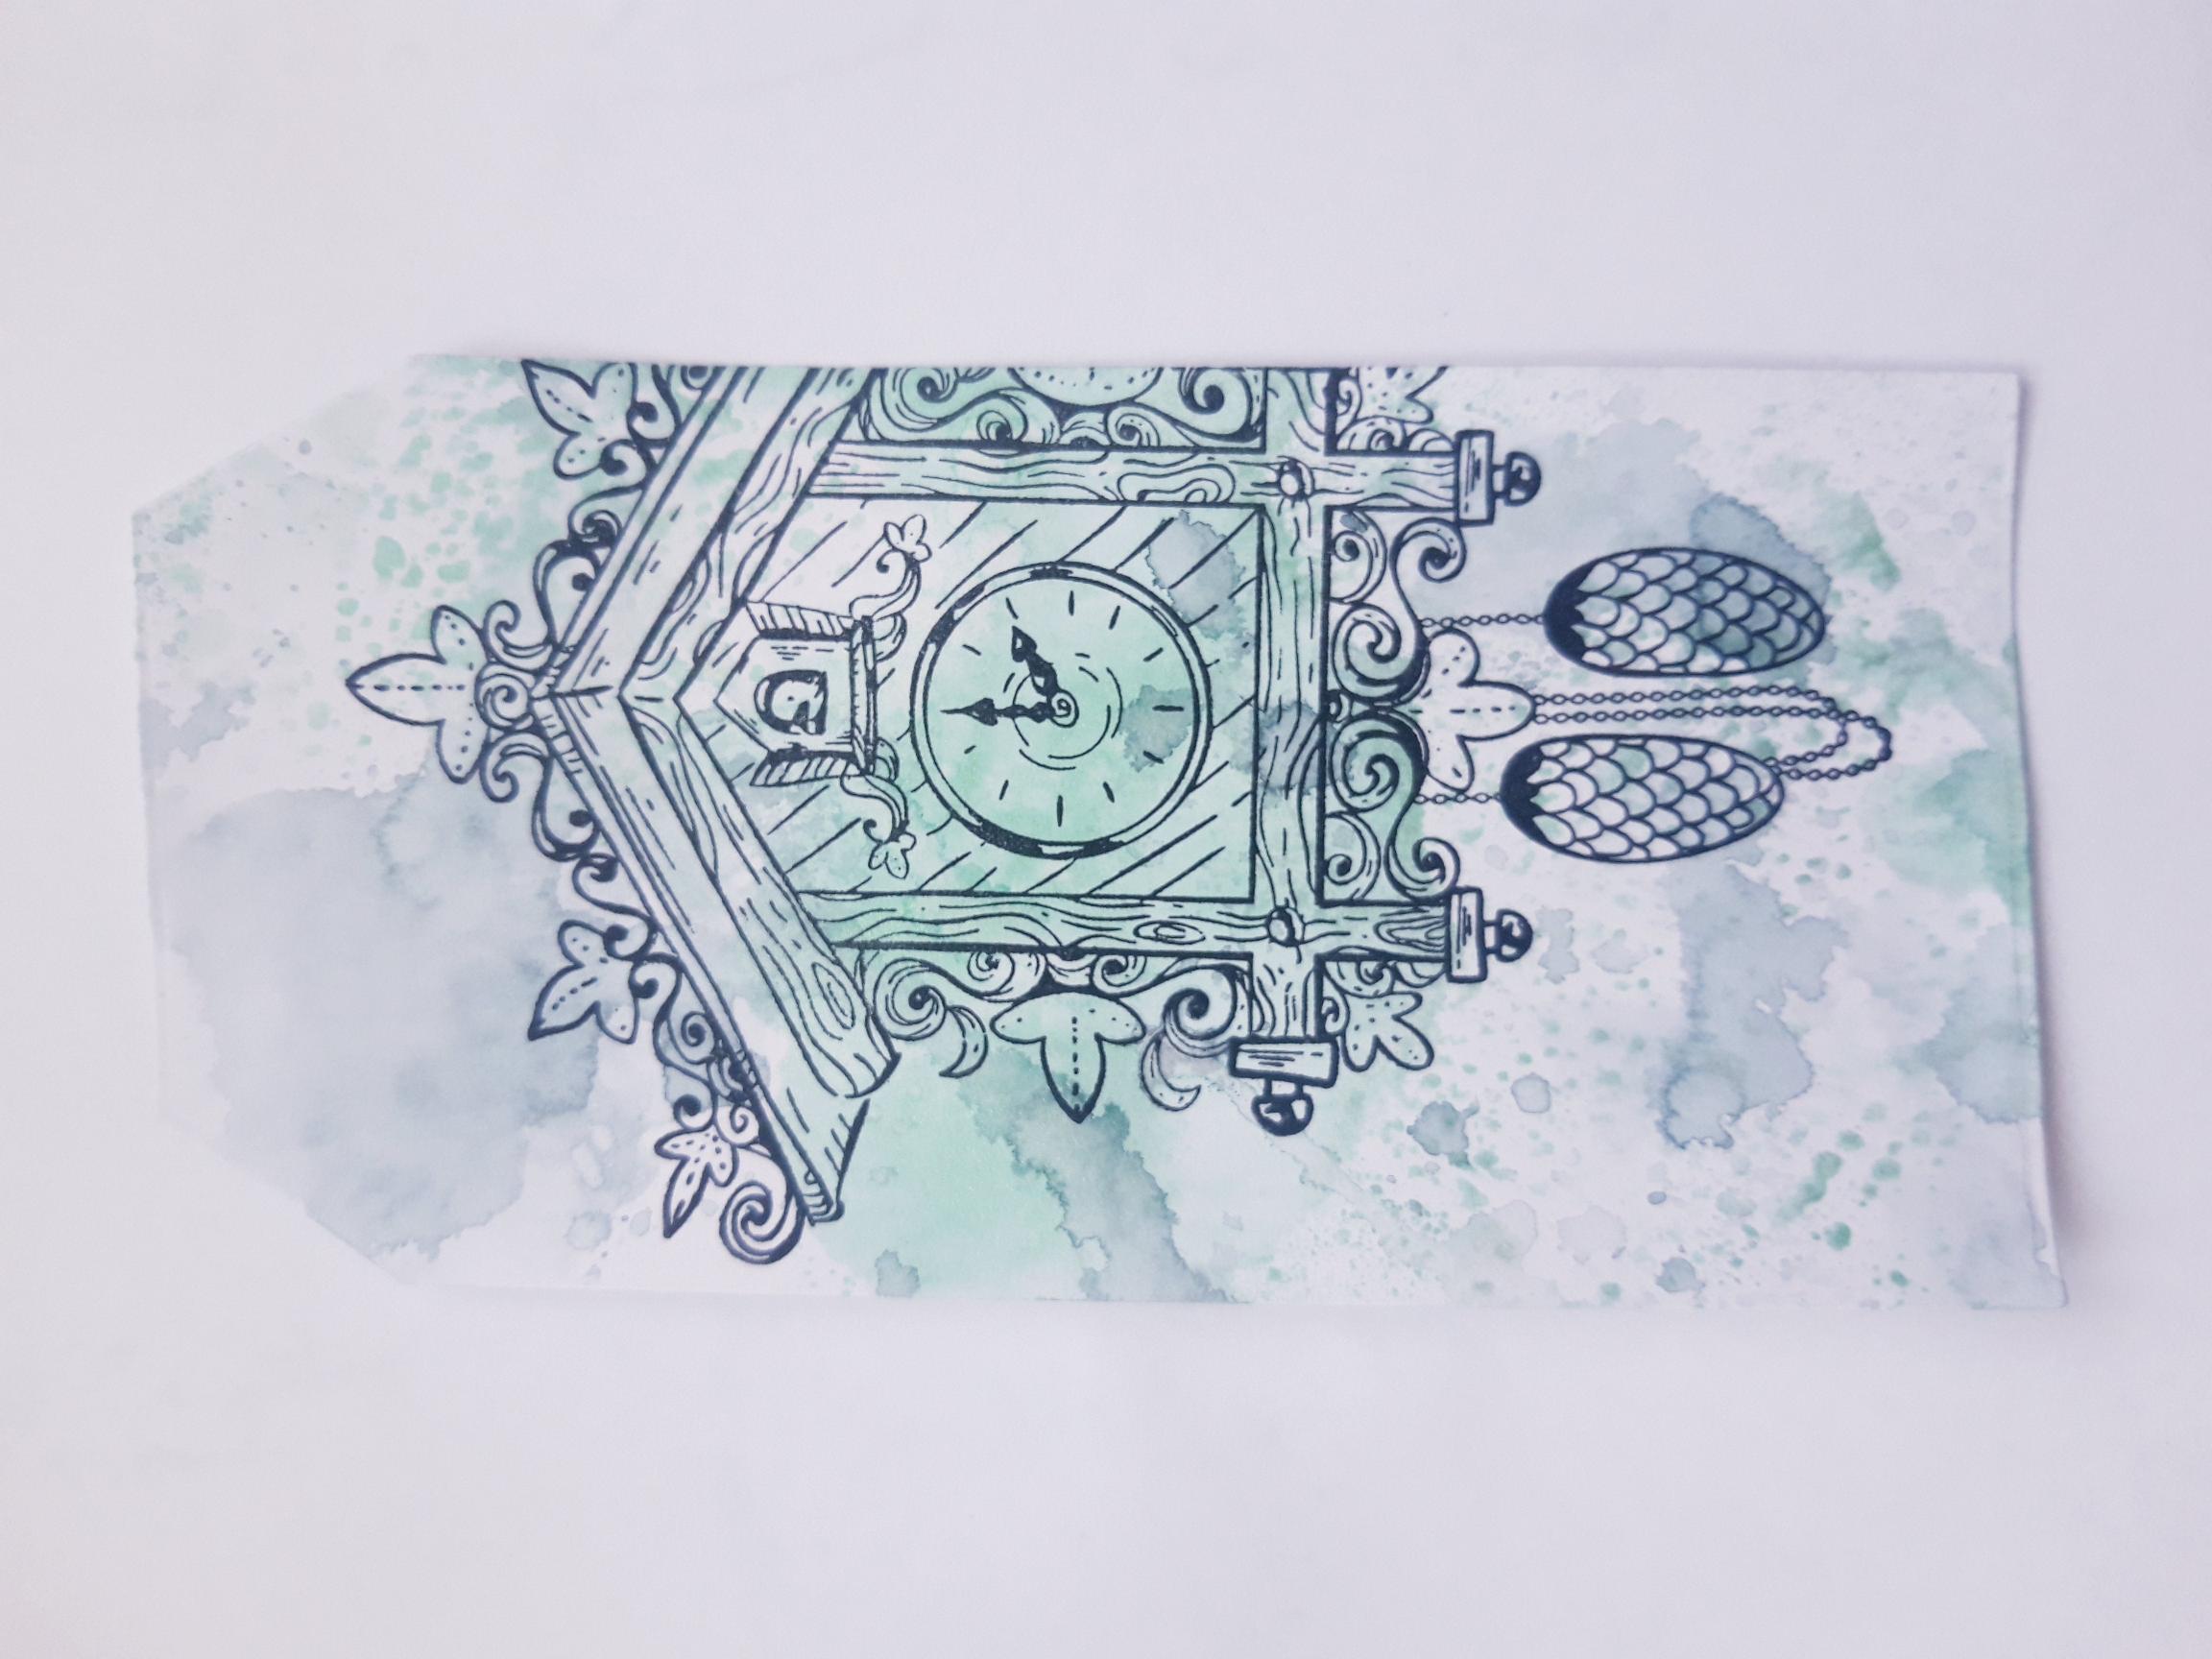
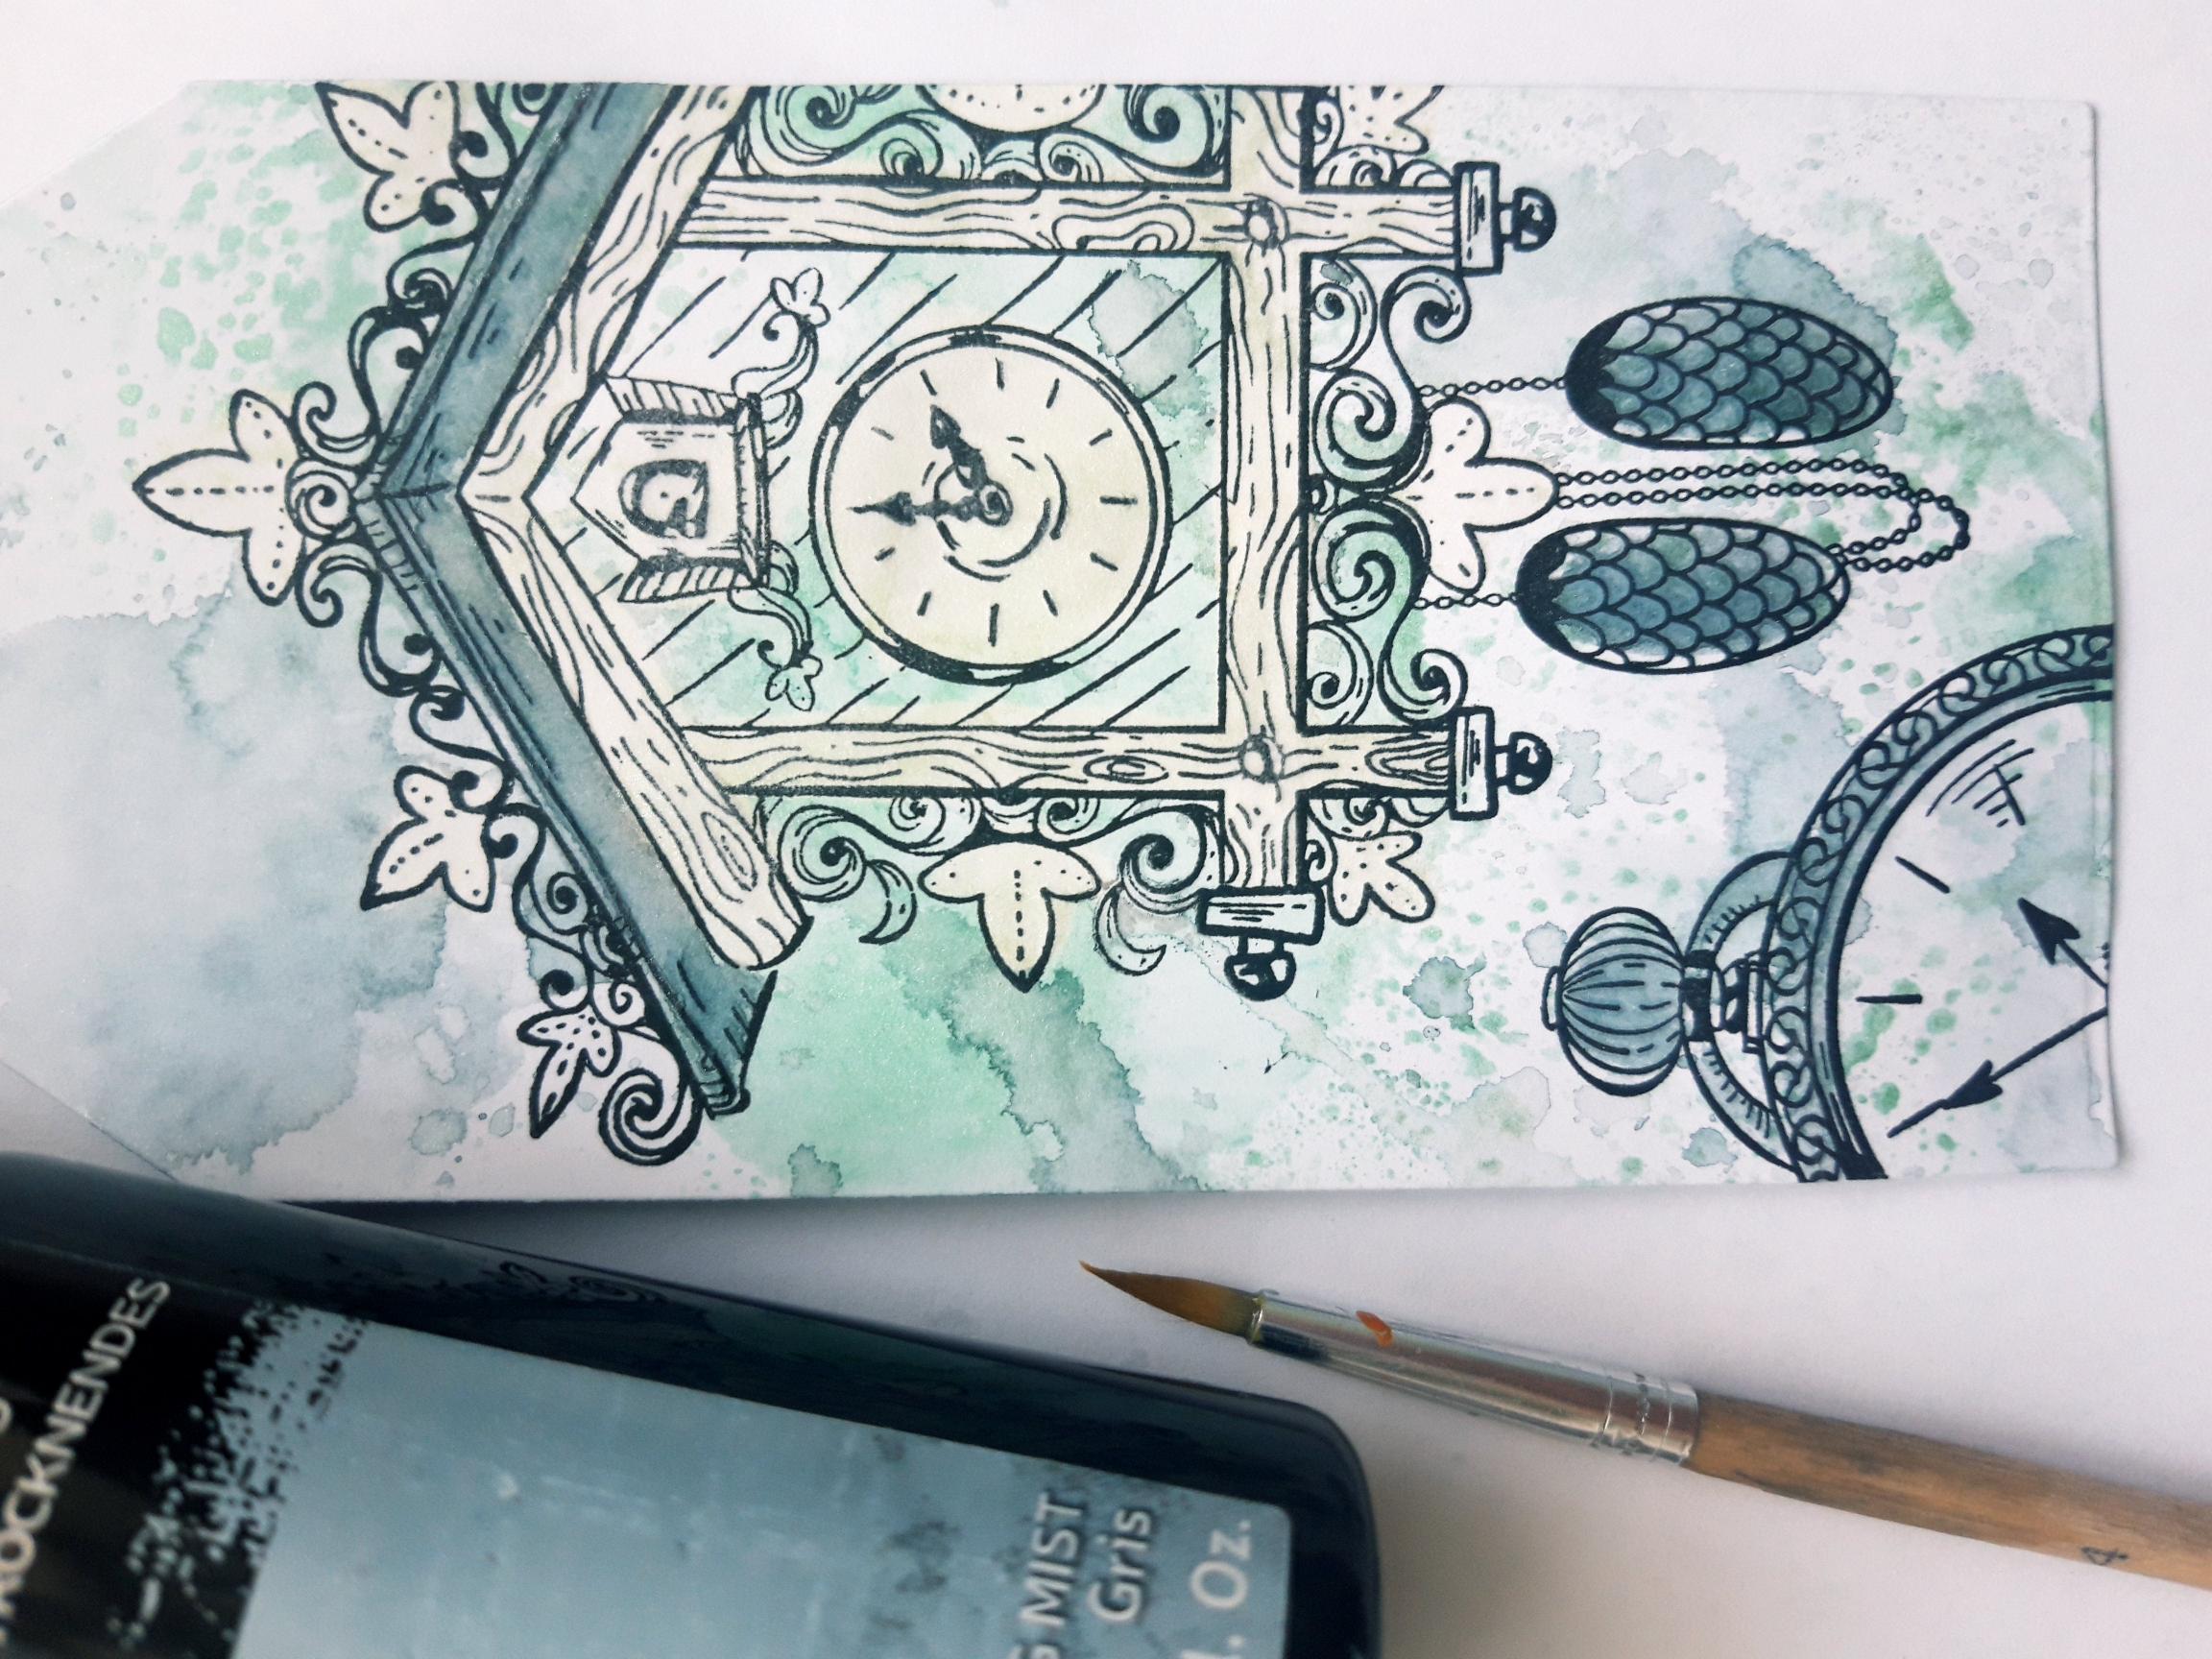
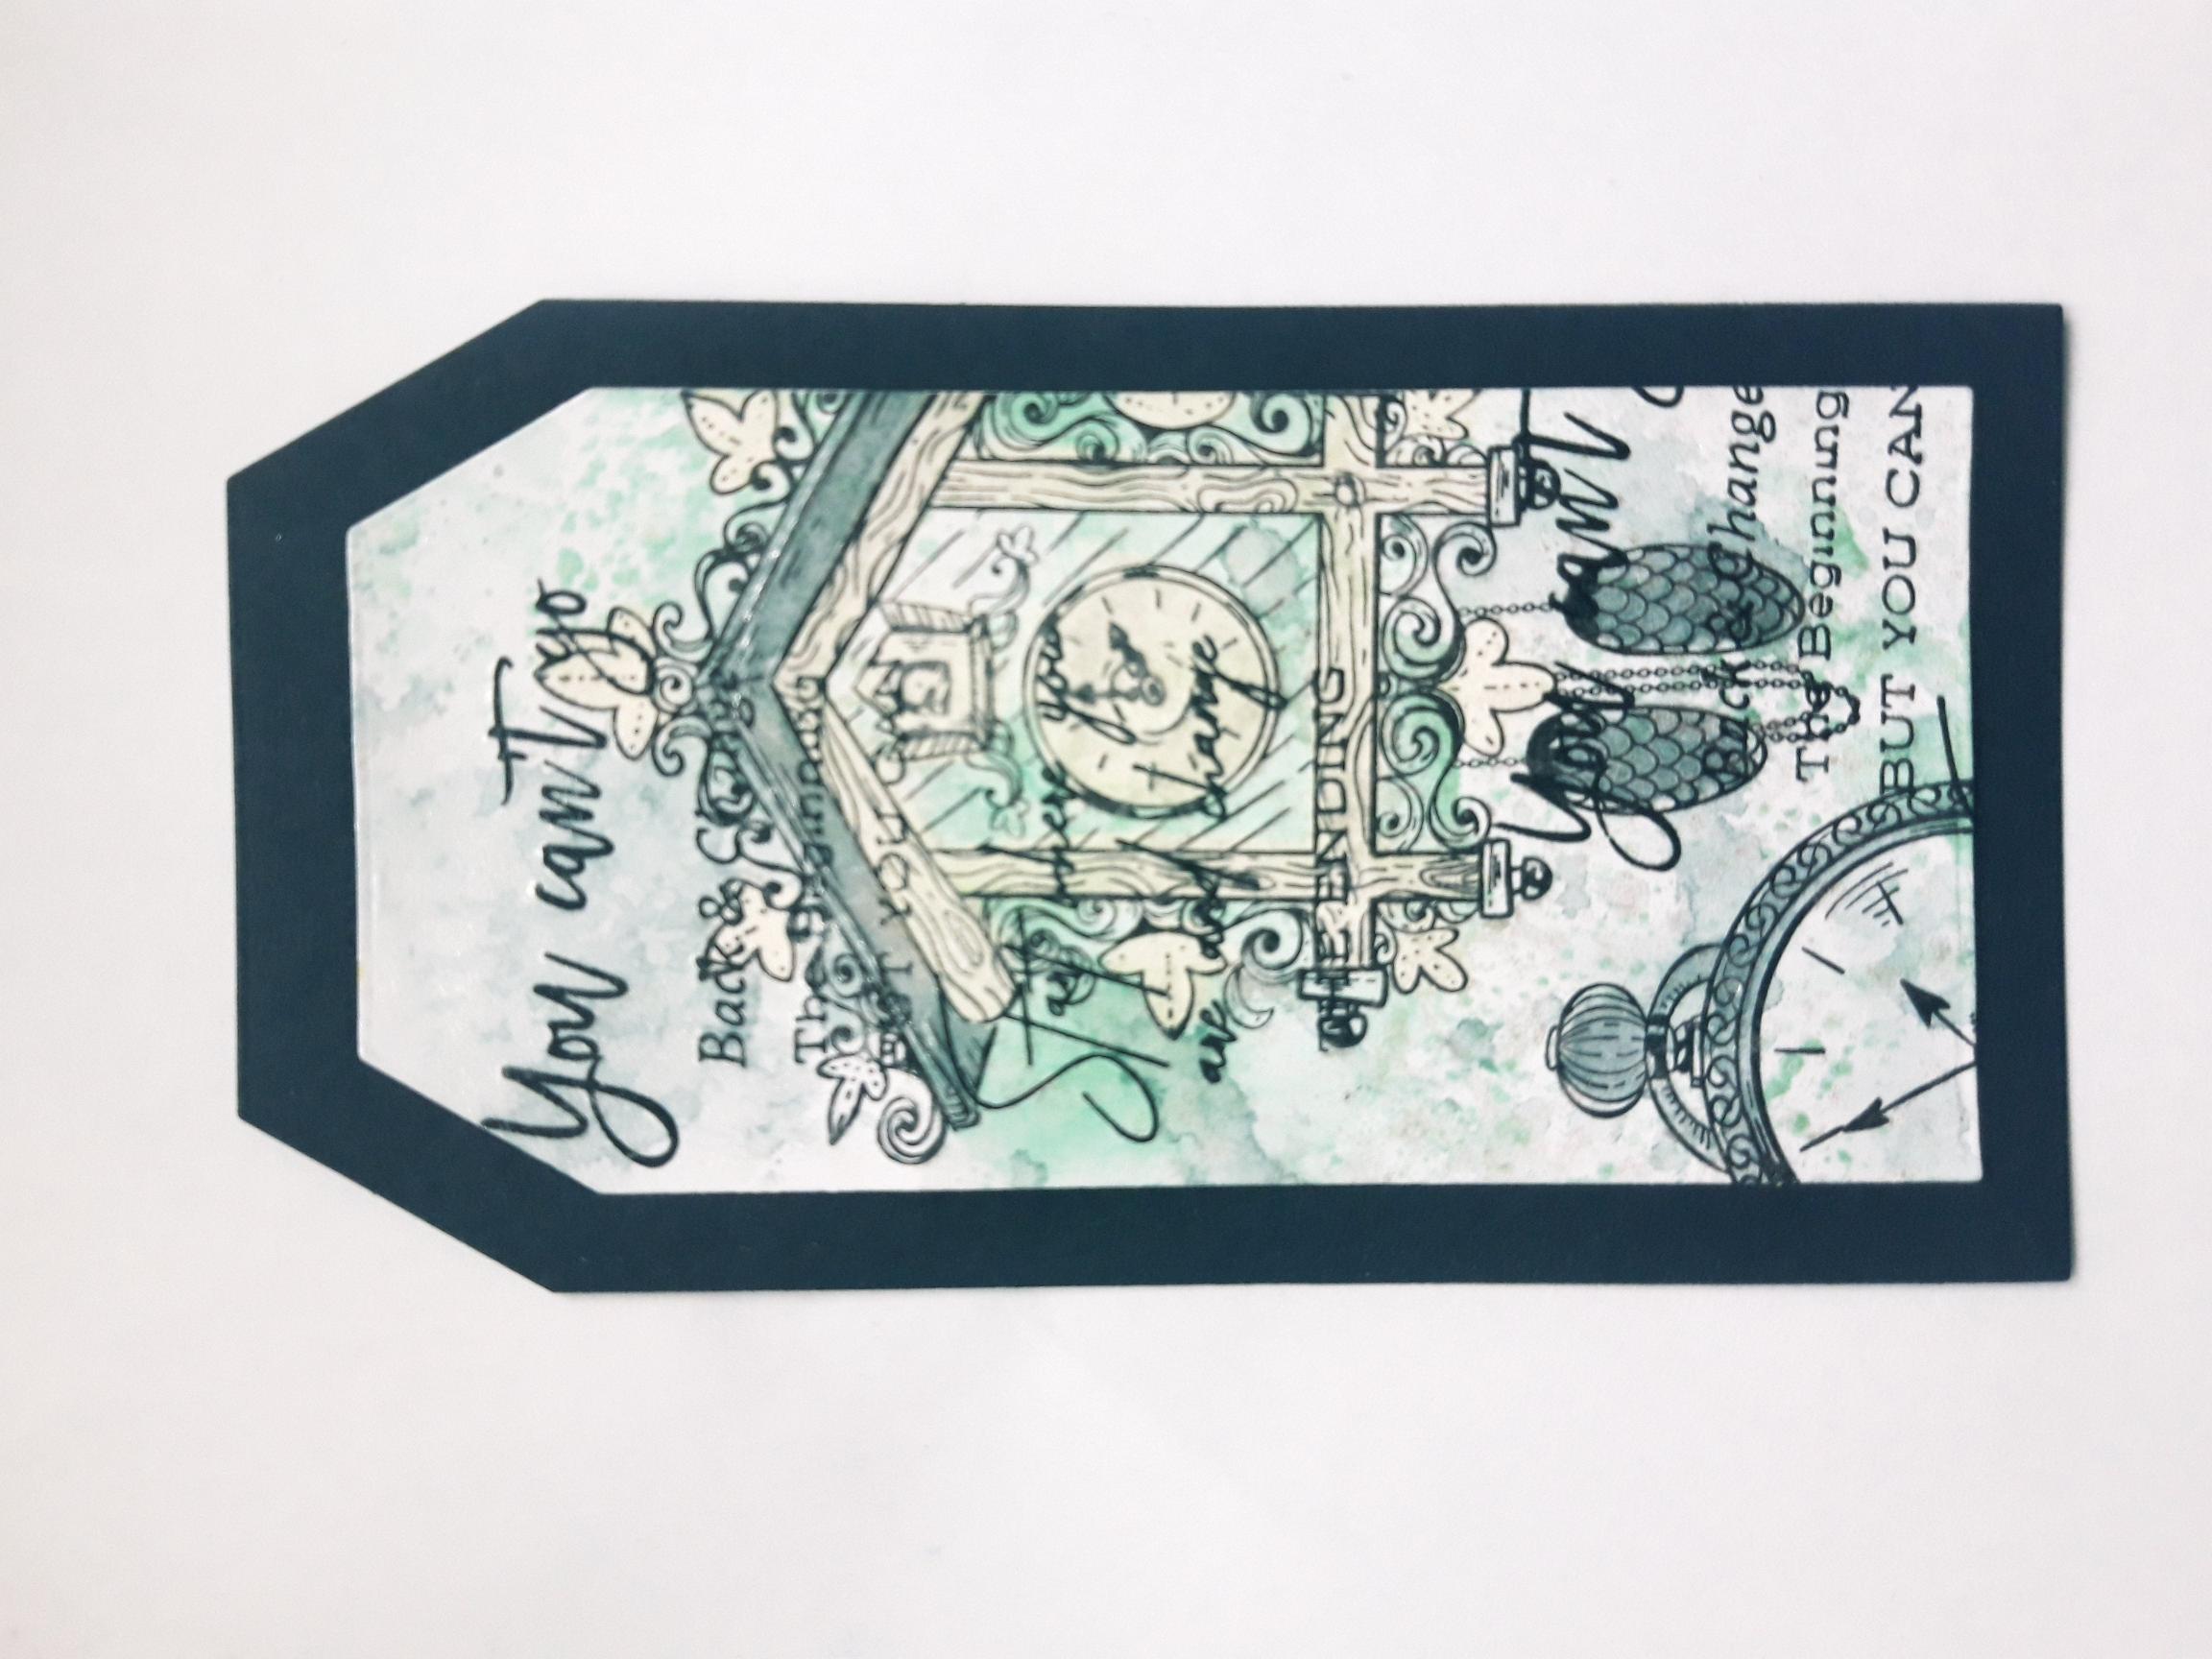
Spray the Misty Morning on to your craft mat, spritz with water and pick up the ink on to the white, die cut tag. Repeat with the Vert D'Eau, then blast it dry, with your heat tool. Ink up this Cuckoo clock stamp, from the Tick Tock Collection, with the Onyx Black Versafine and stamp it just off the right hand edge, of your inked tag. |

|
Ink up a different clock stamp, with the Versafine and stamp it off the bottom left corner. Ensure the Versafine is completely dry, before proceeding to the next step. |
|
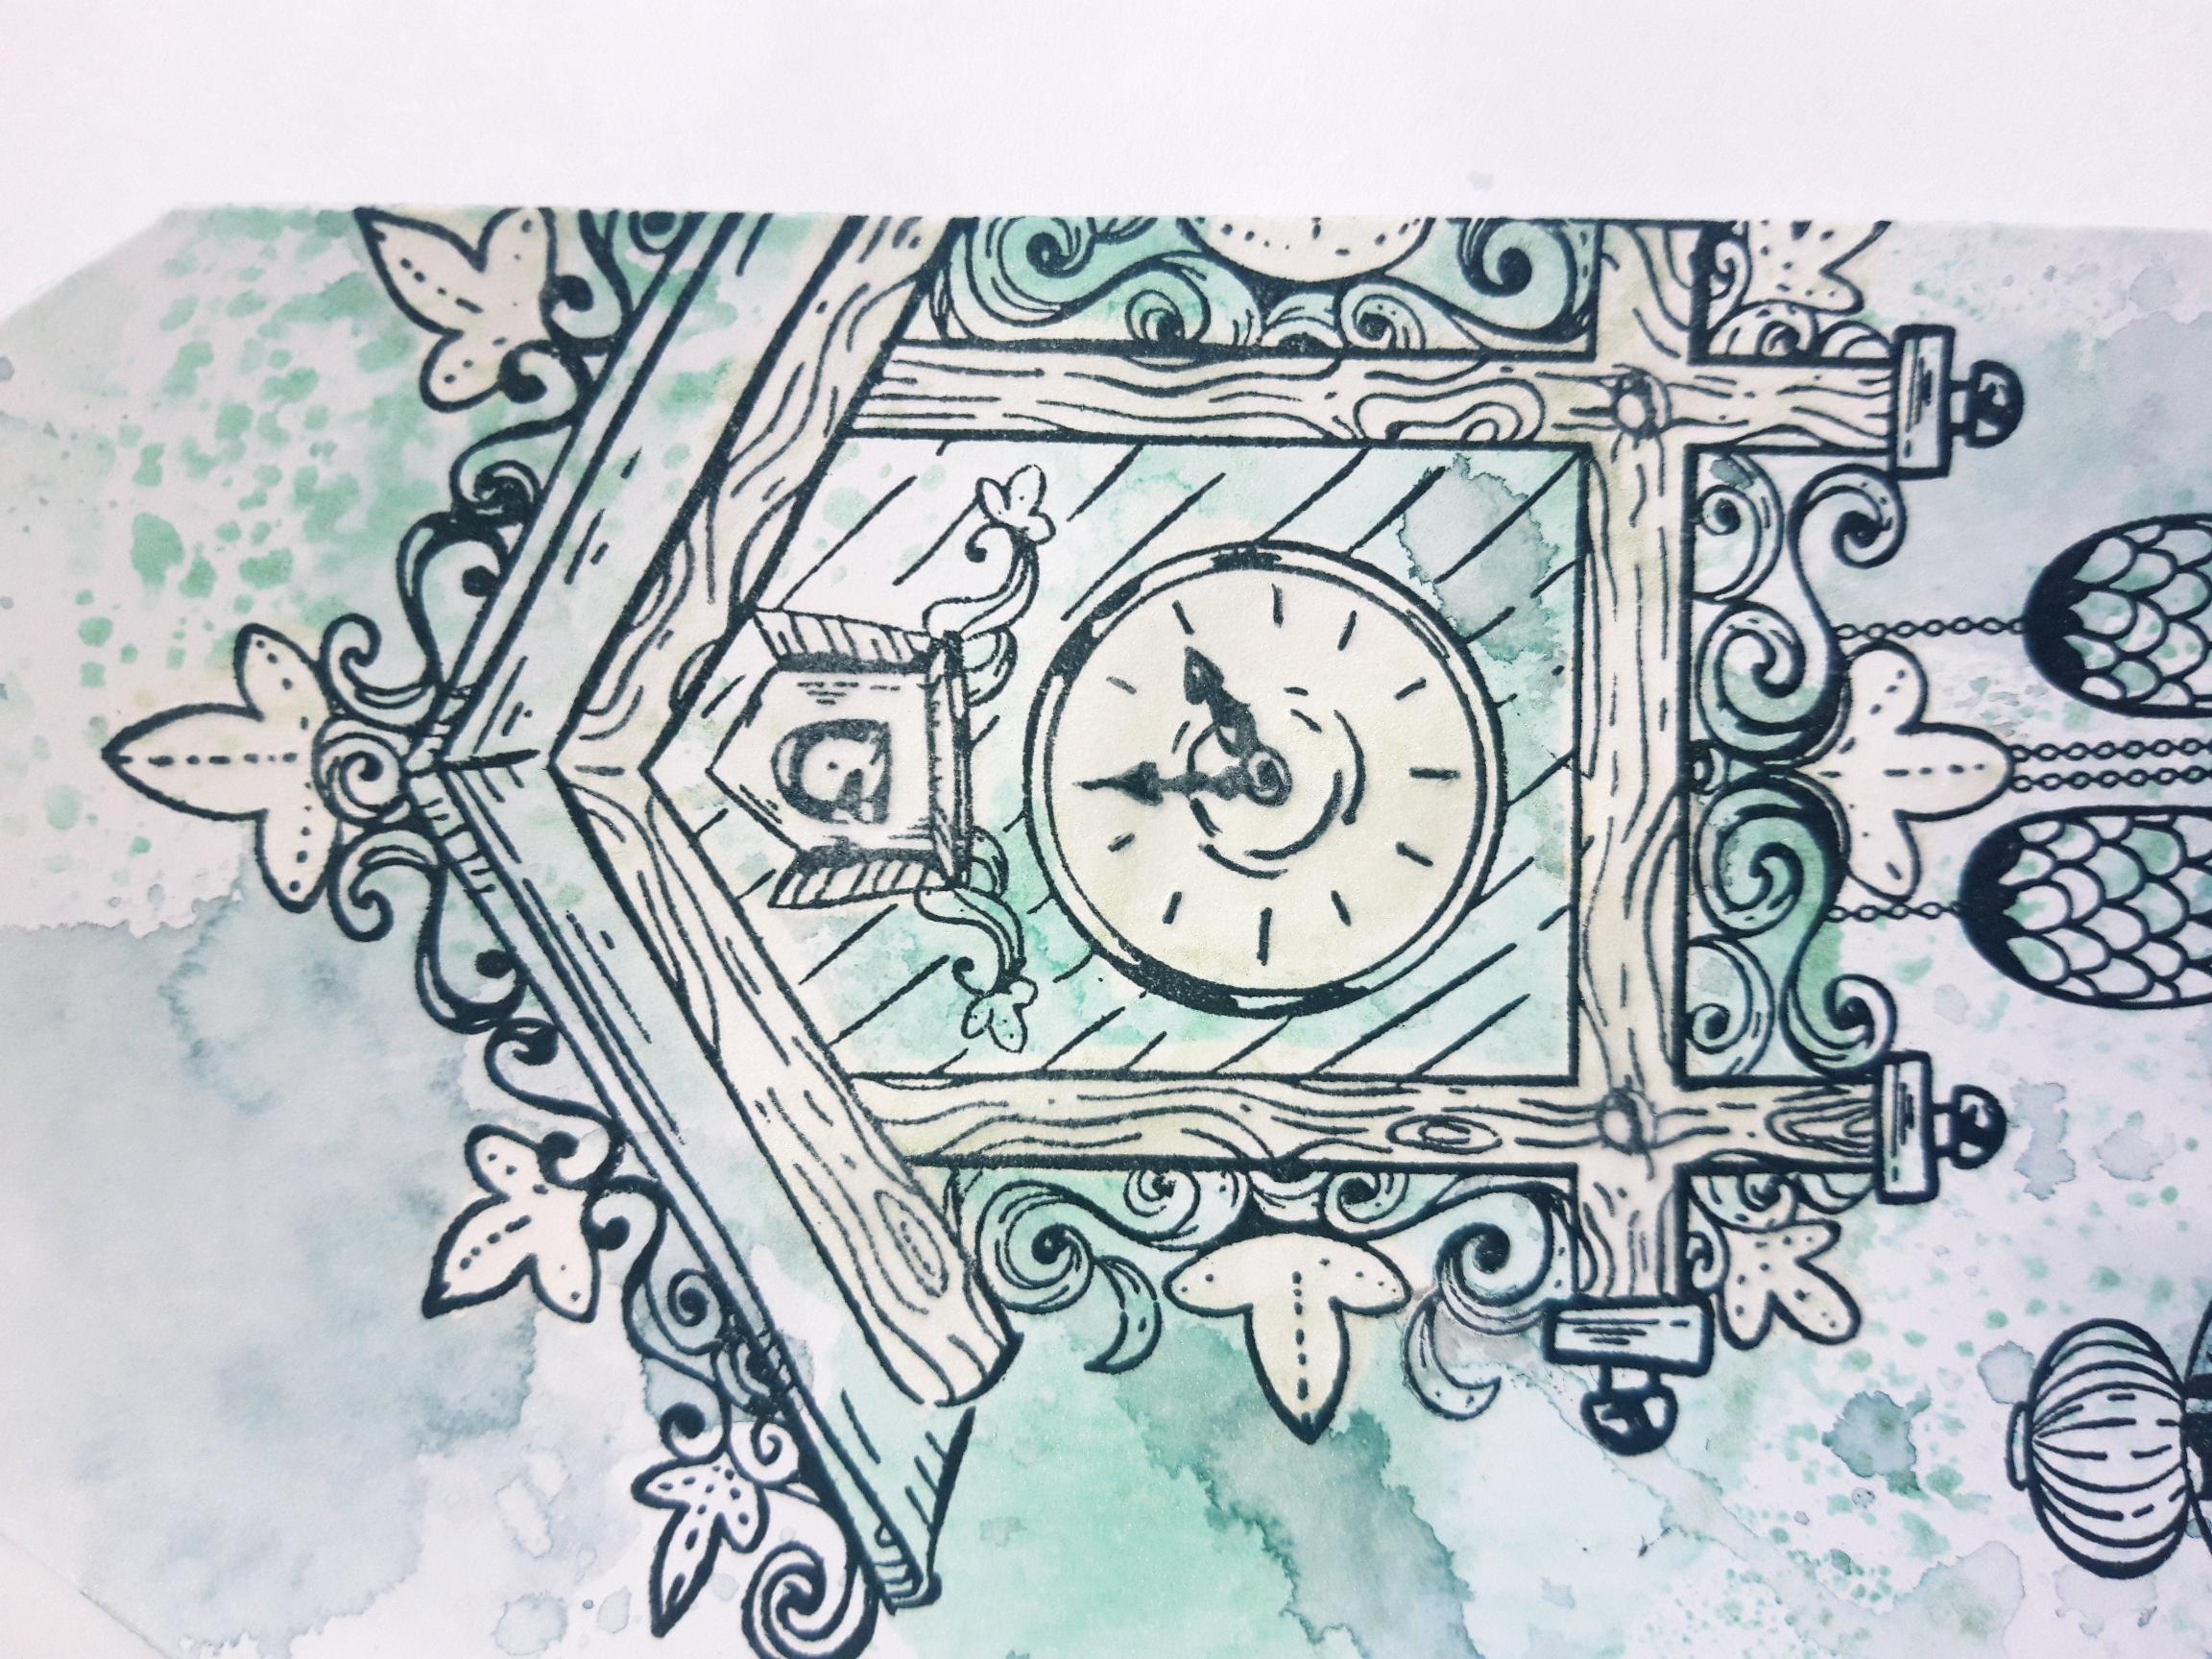
Using your paint brush, add water to various areas of your stamped Cuckoo Clock, wait a few seconds for the water to activate the ink, then lift off the ink with a paper towel. This is called the faux bleaching technique. You can also use diluted household bleach, which gives a stronger lift. |
|
Spray Misty Morning on to your craft mat, add a little water and paint focal areas of your stamped clocks. |
|
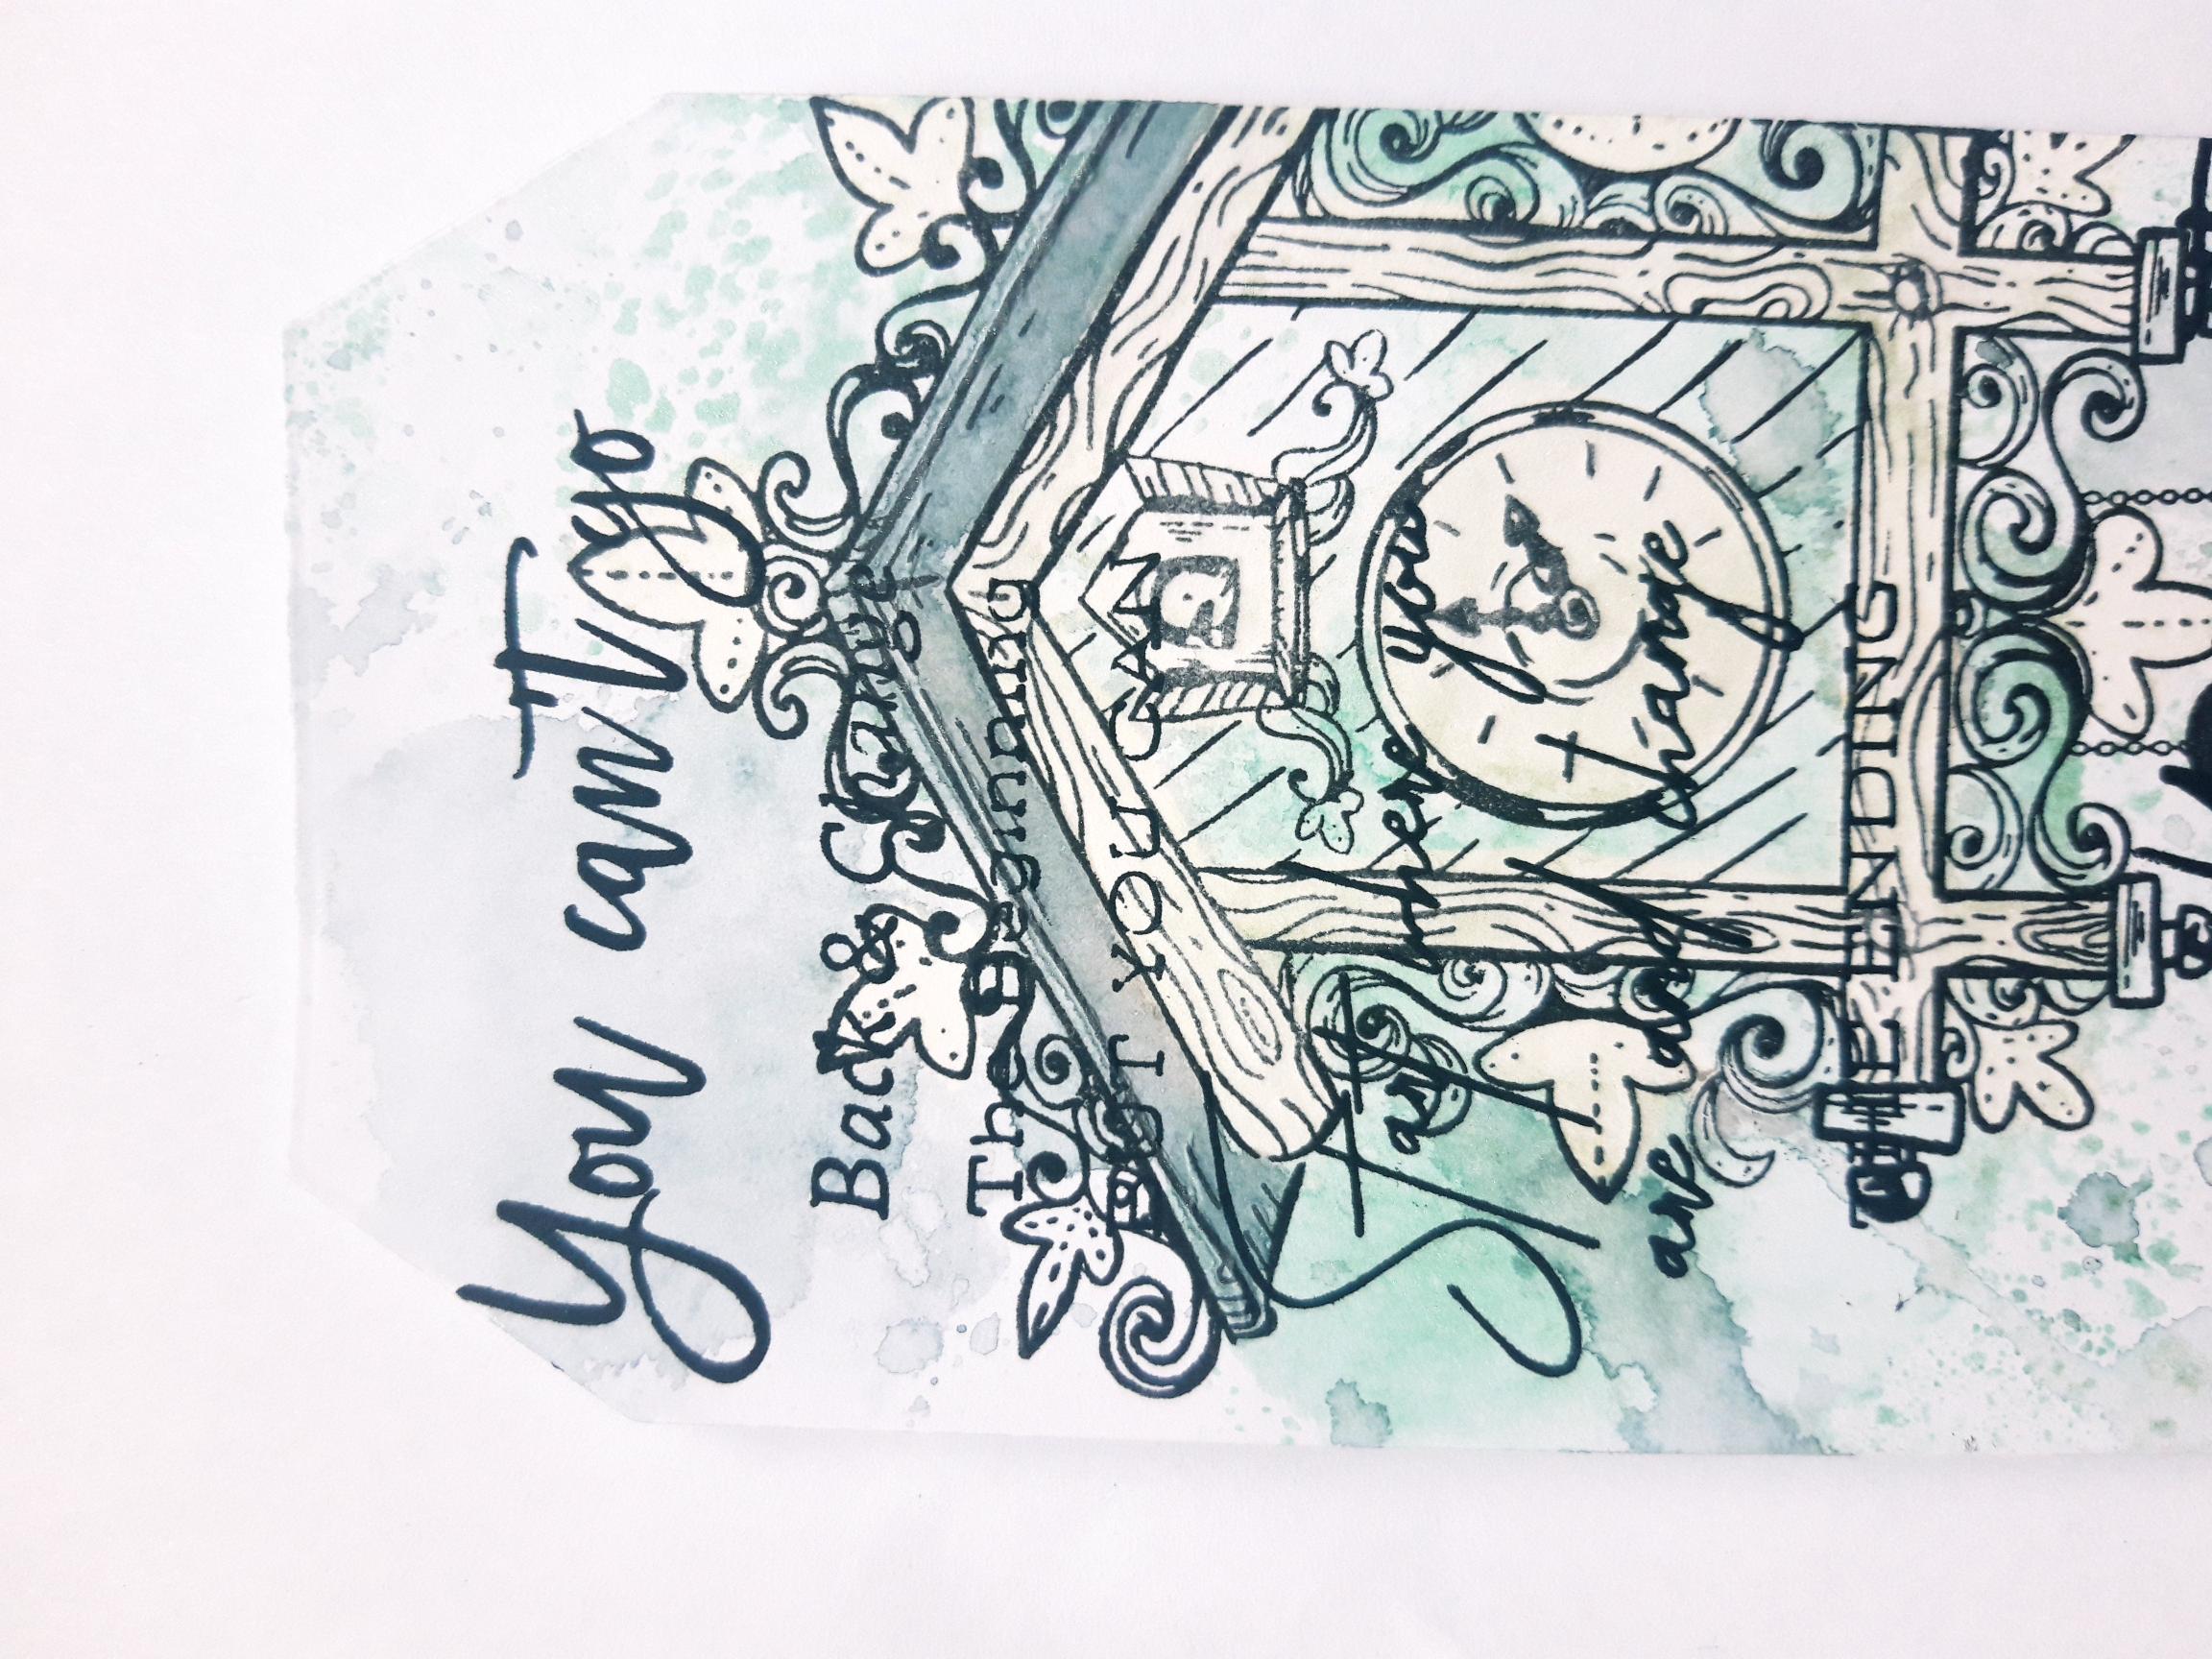
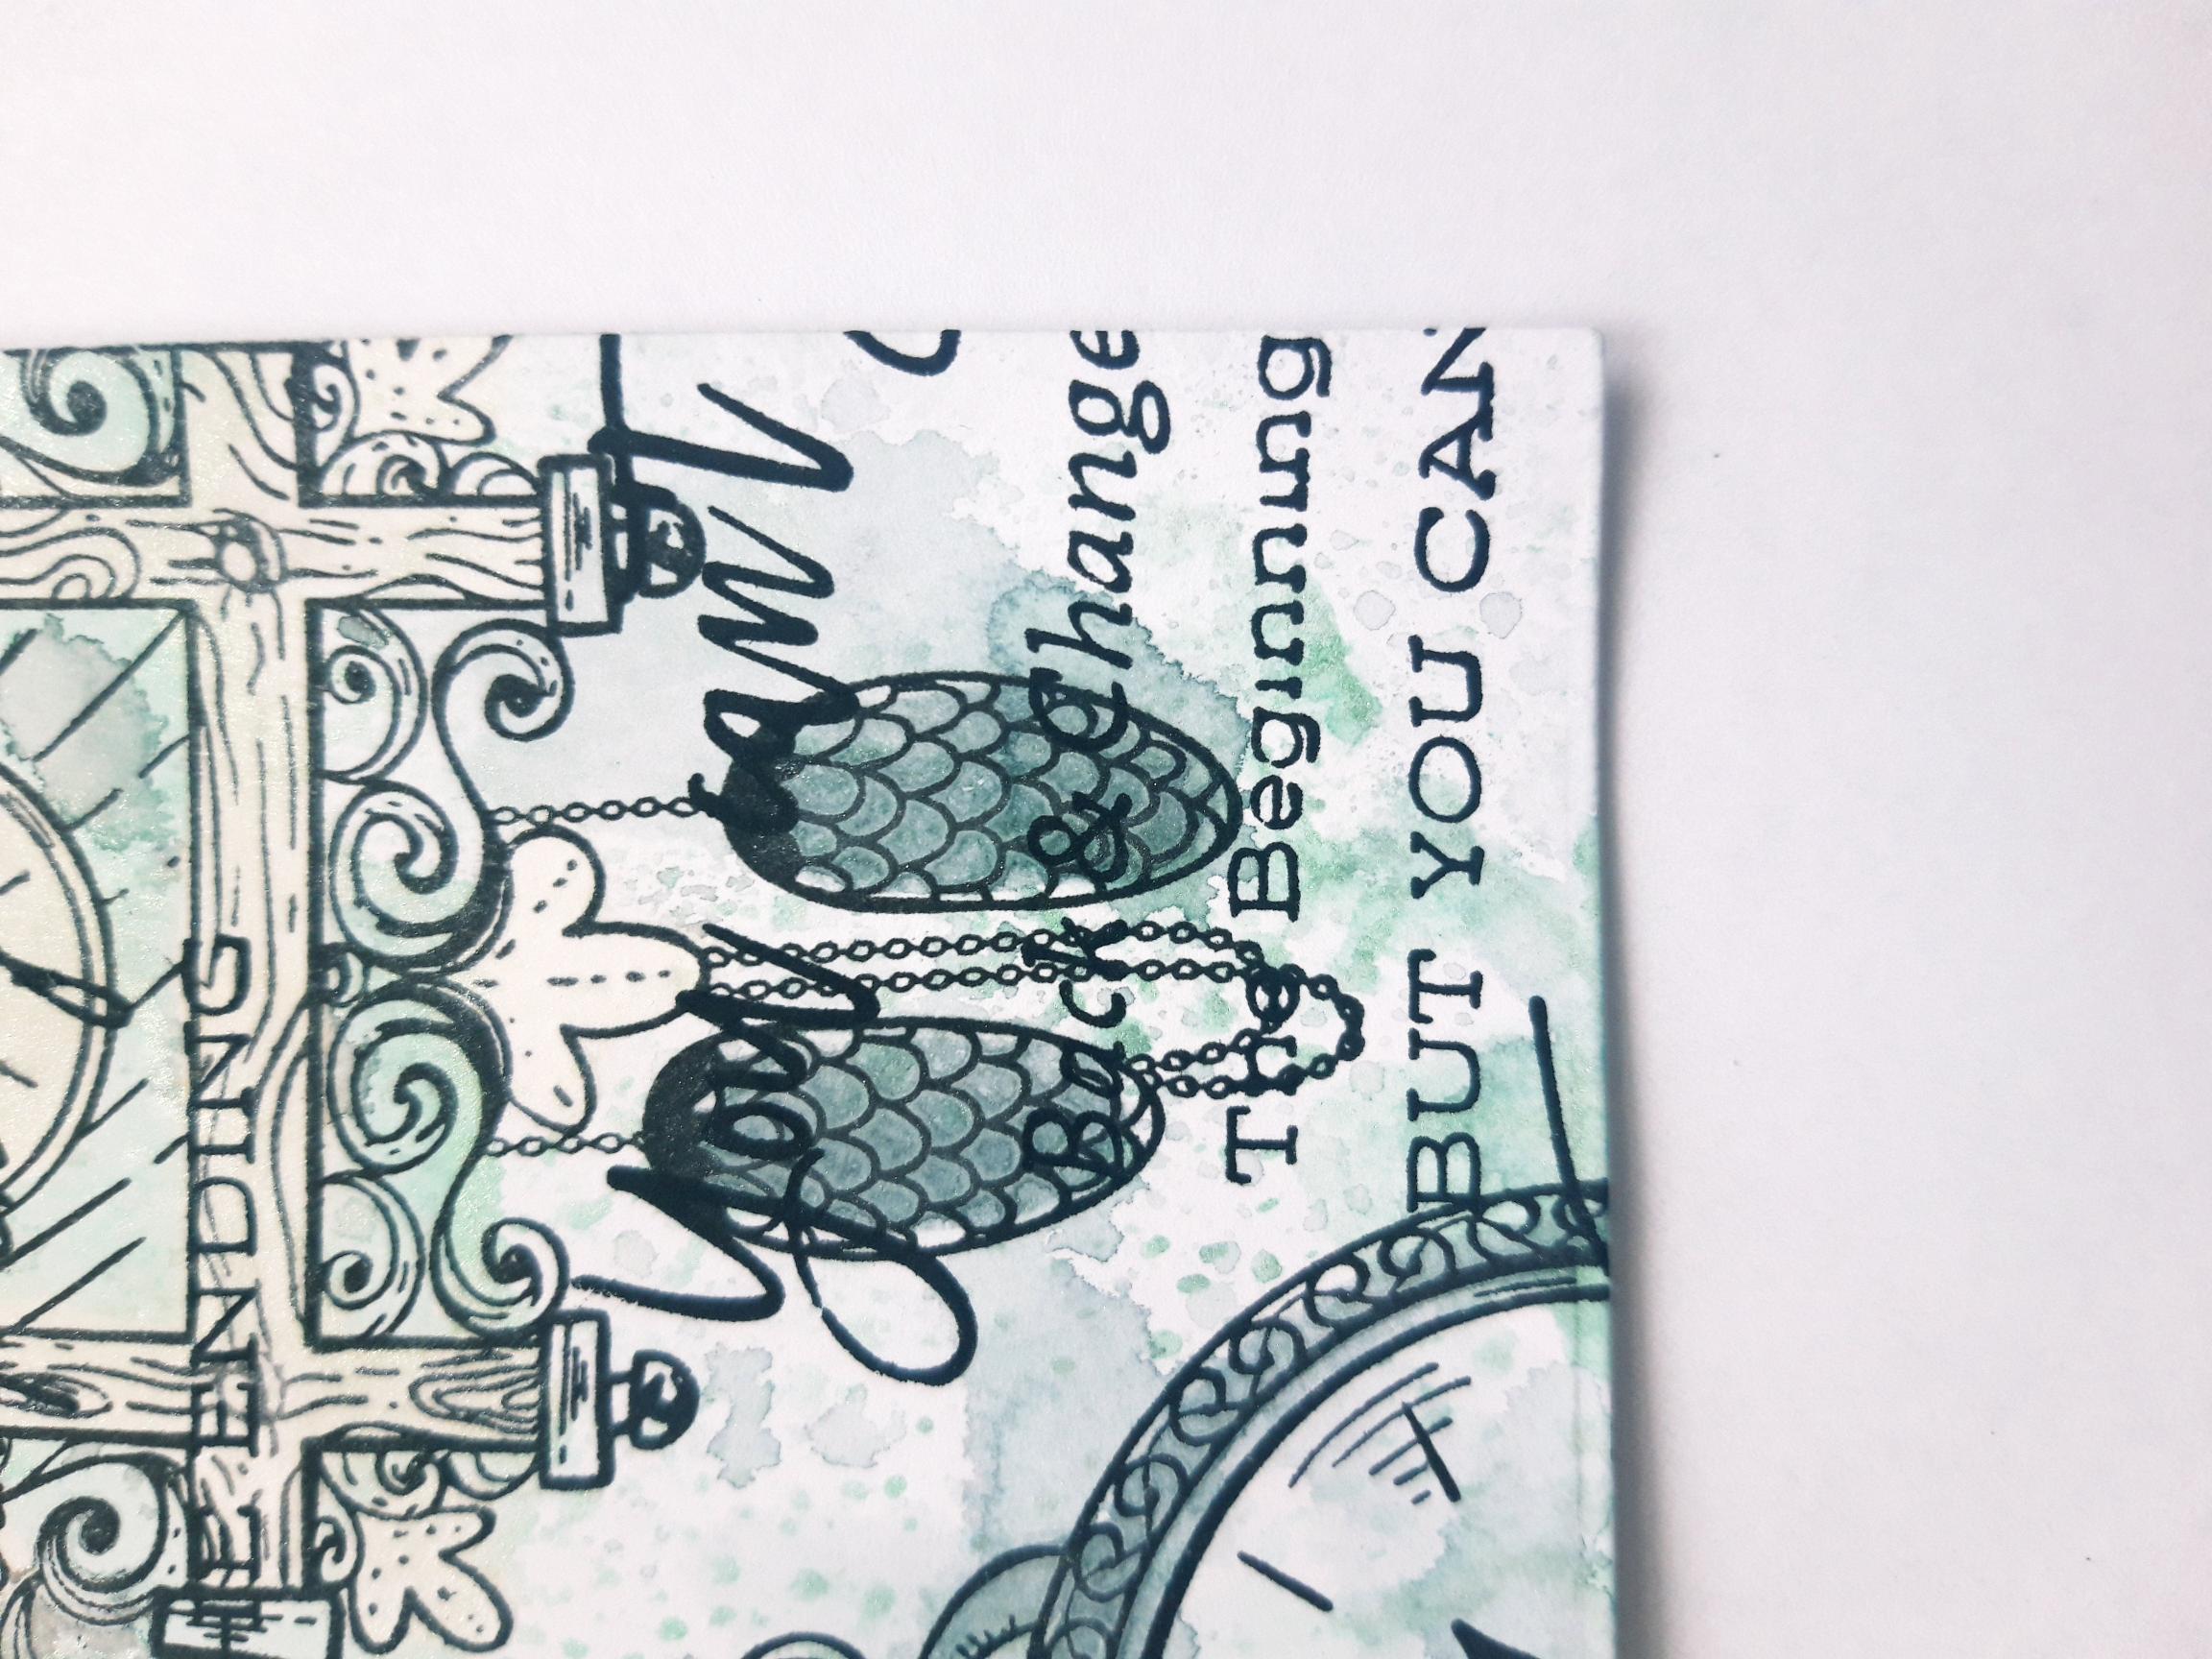
Ink up the sentiment stamp, from What You Believe Lamination Collection, with the Versafine and holding it in your hand, randomly stamp it top left of your artwork...you are looking for a distressed effect, rather than clear and crisp. |
|
Repeat the previous step, stamping the sentiment off the bottom right, of your artwork. Dry your artwork with your heat tool. |
|
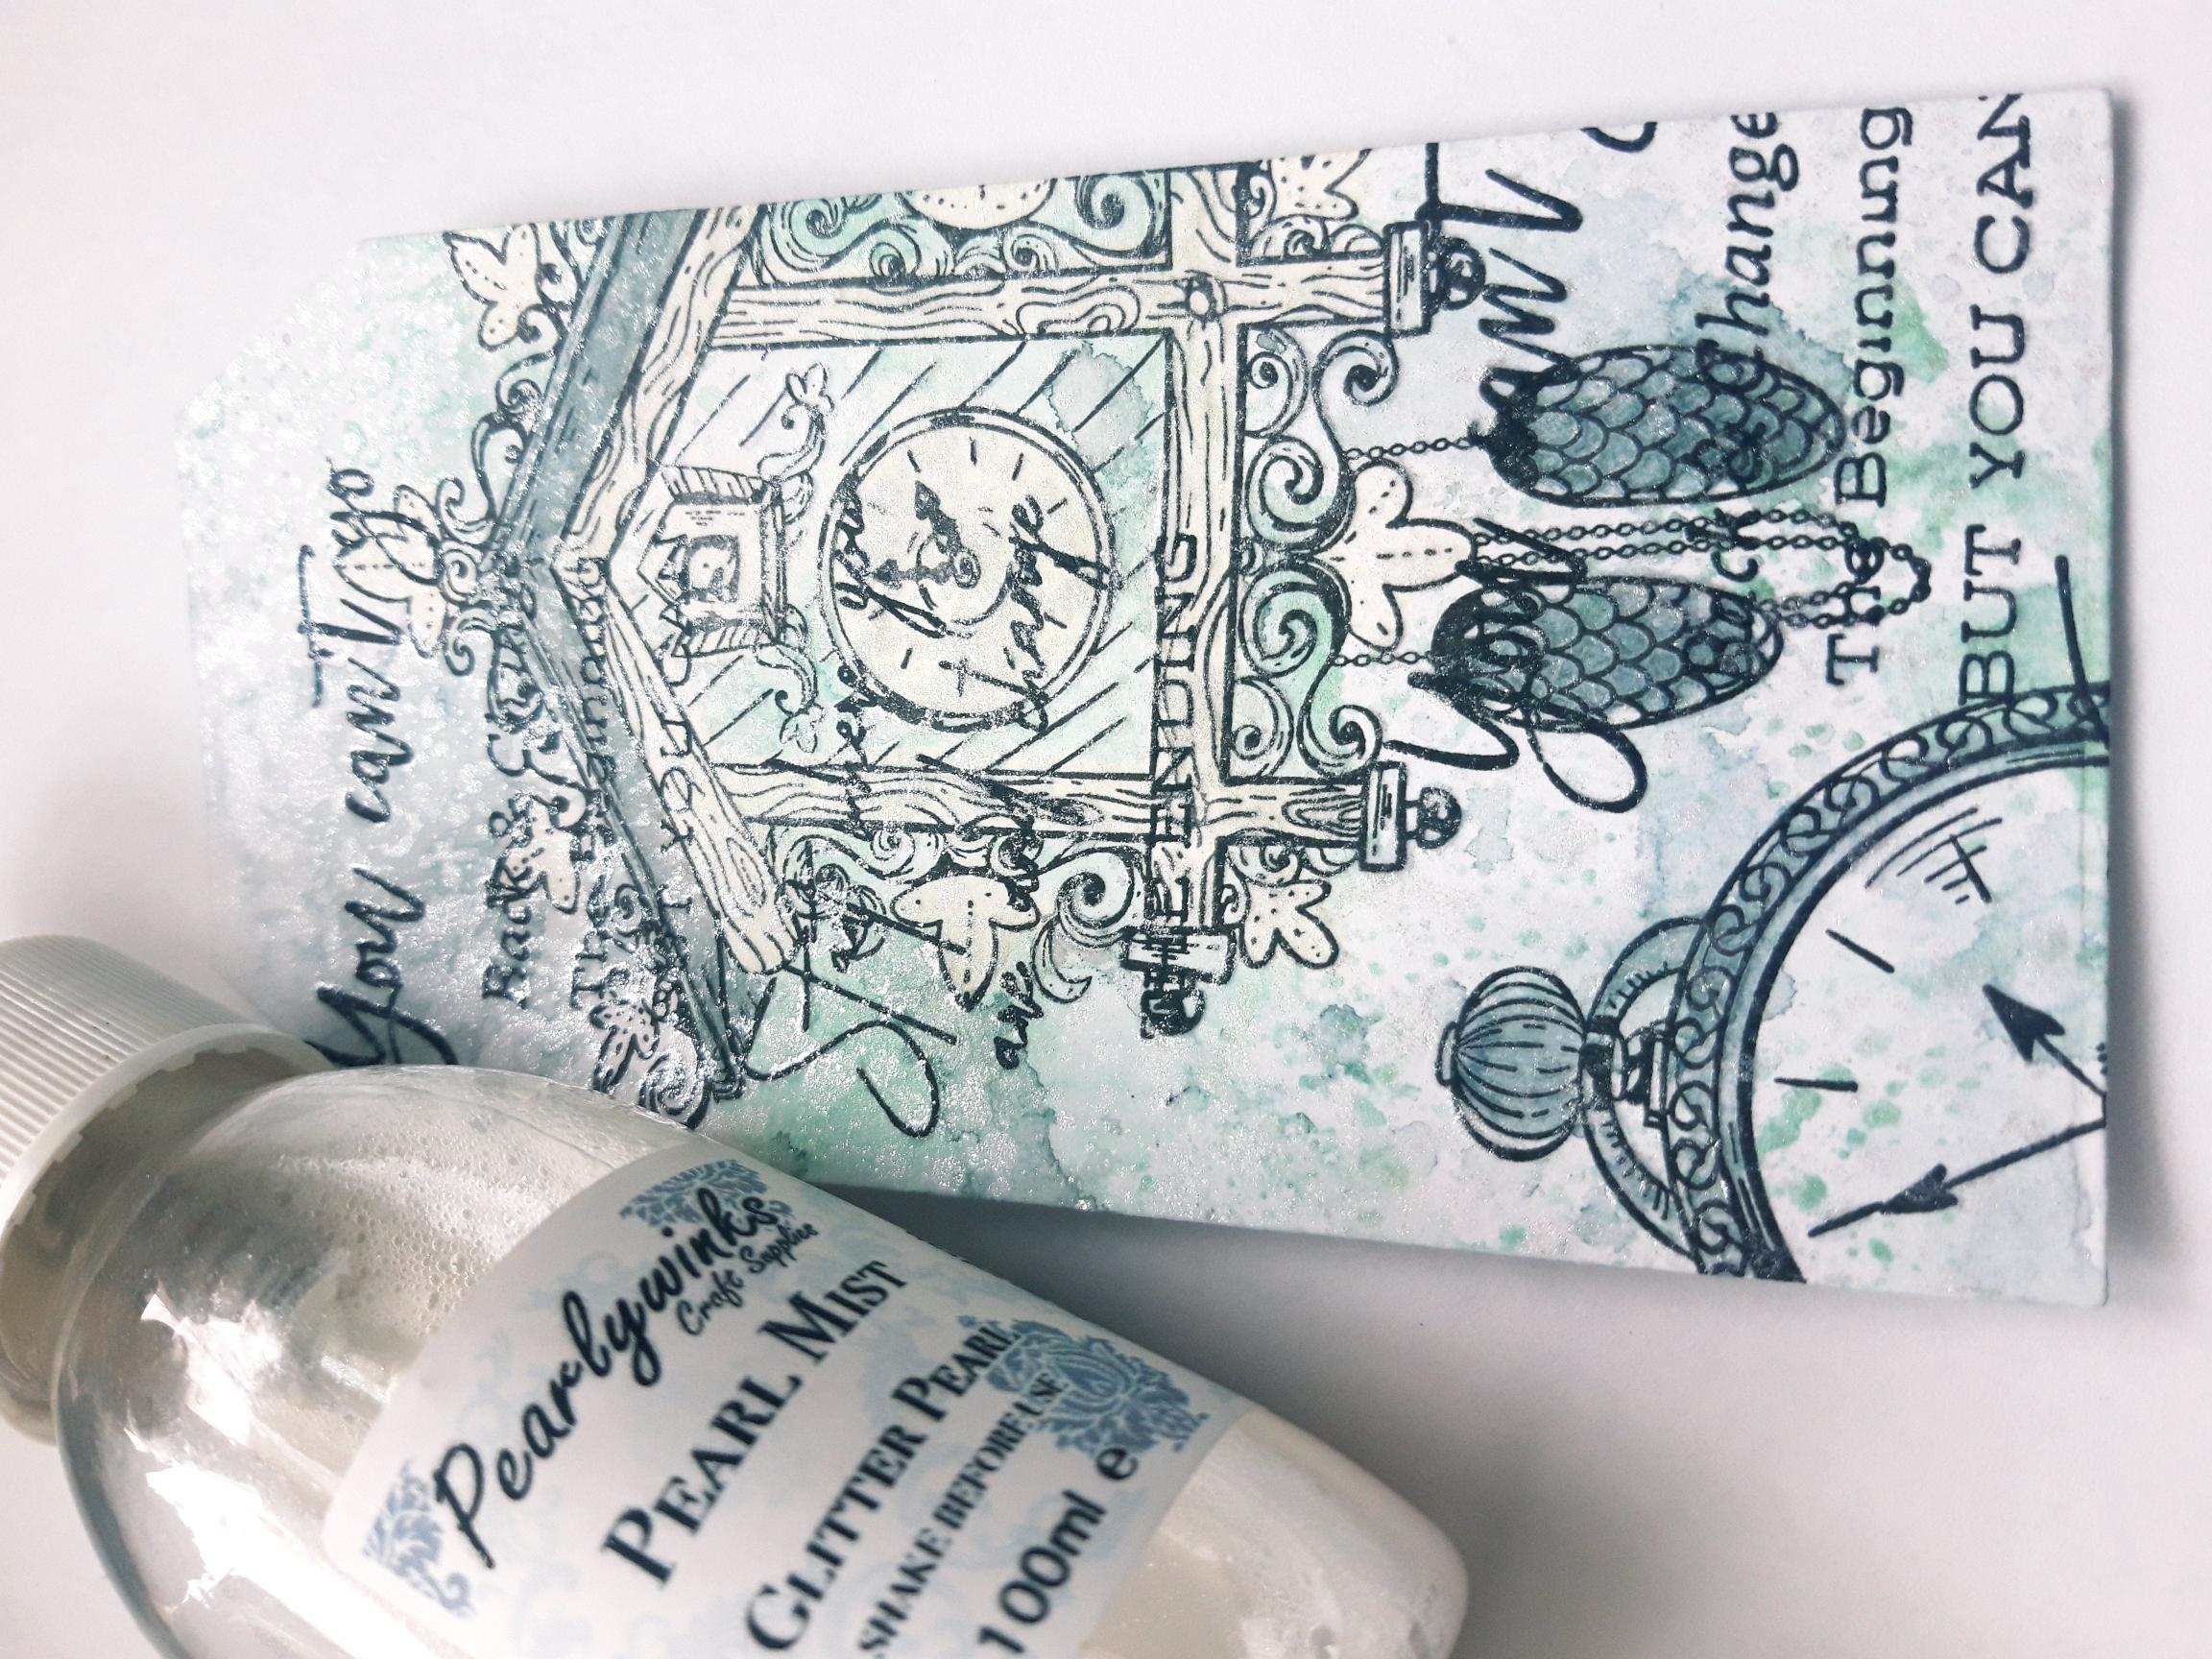
Spray the Pearlywinks Glitter Pearl on to your craft mat and using a paint brush, splatter it all over your tag, to add that touch of sparkle! |
|
Adhere your artwork on to the black, die cut tag. |
|
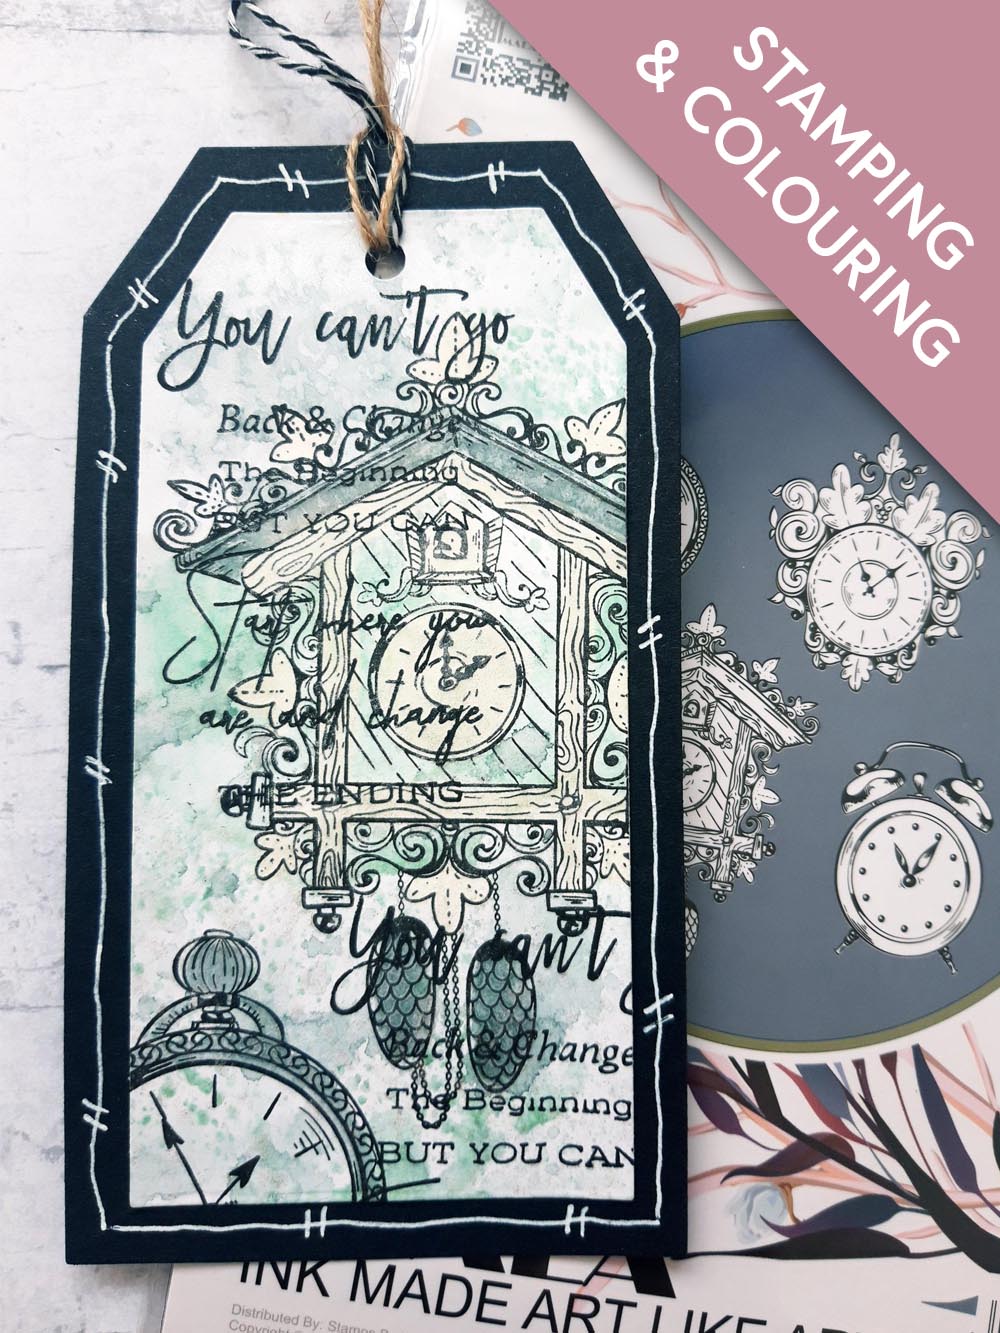
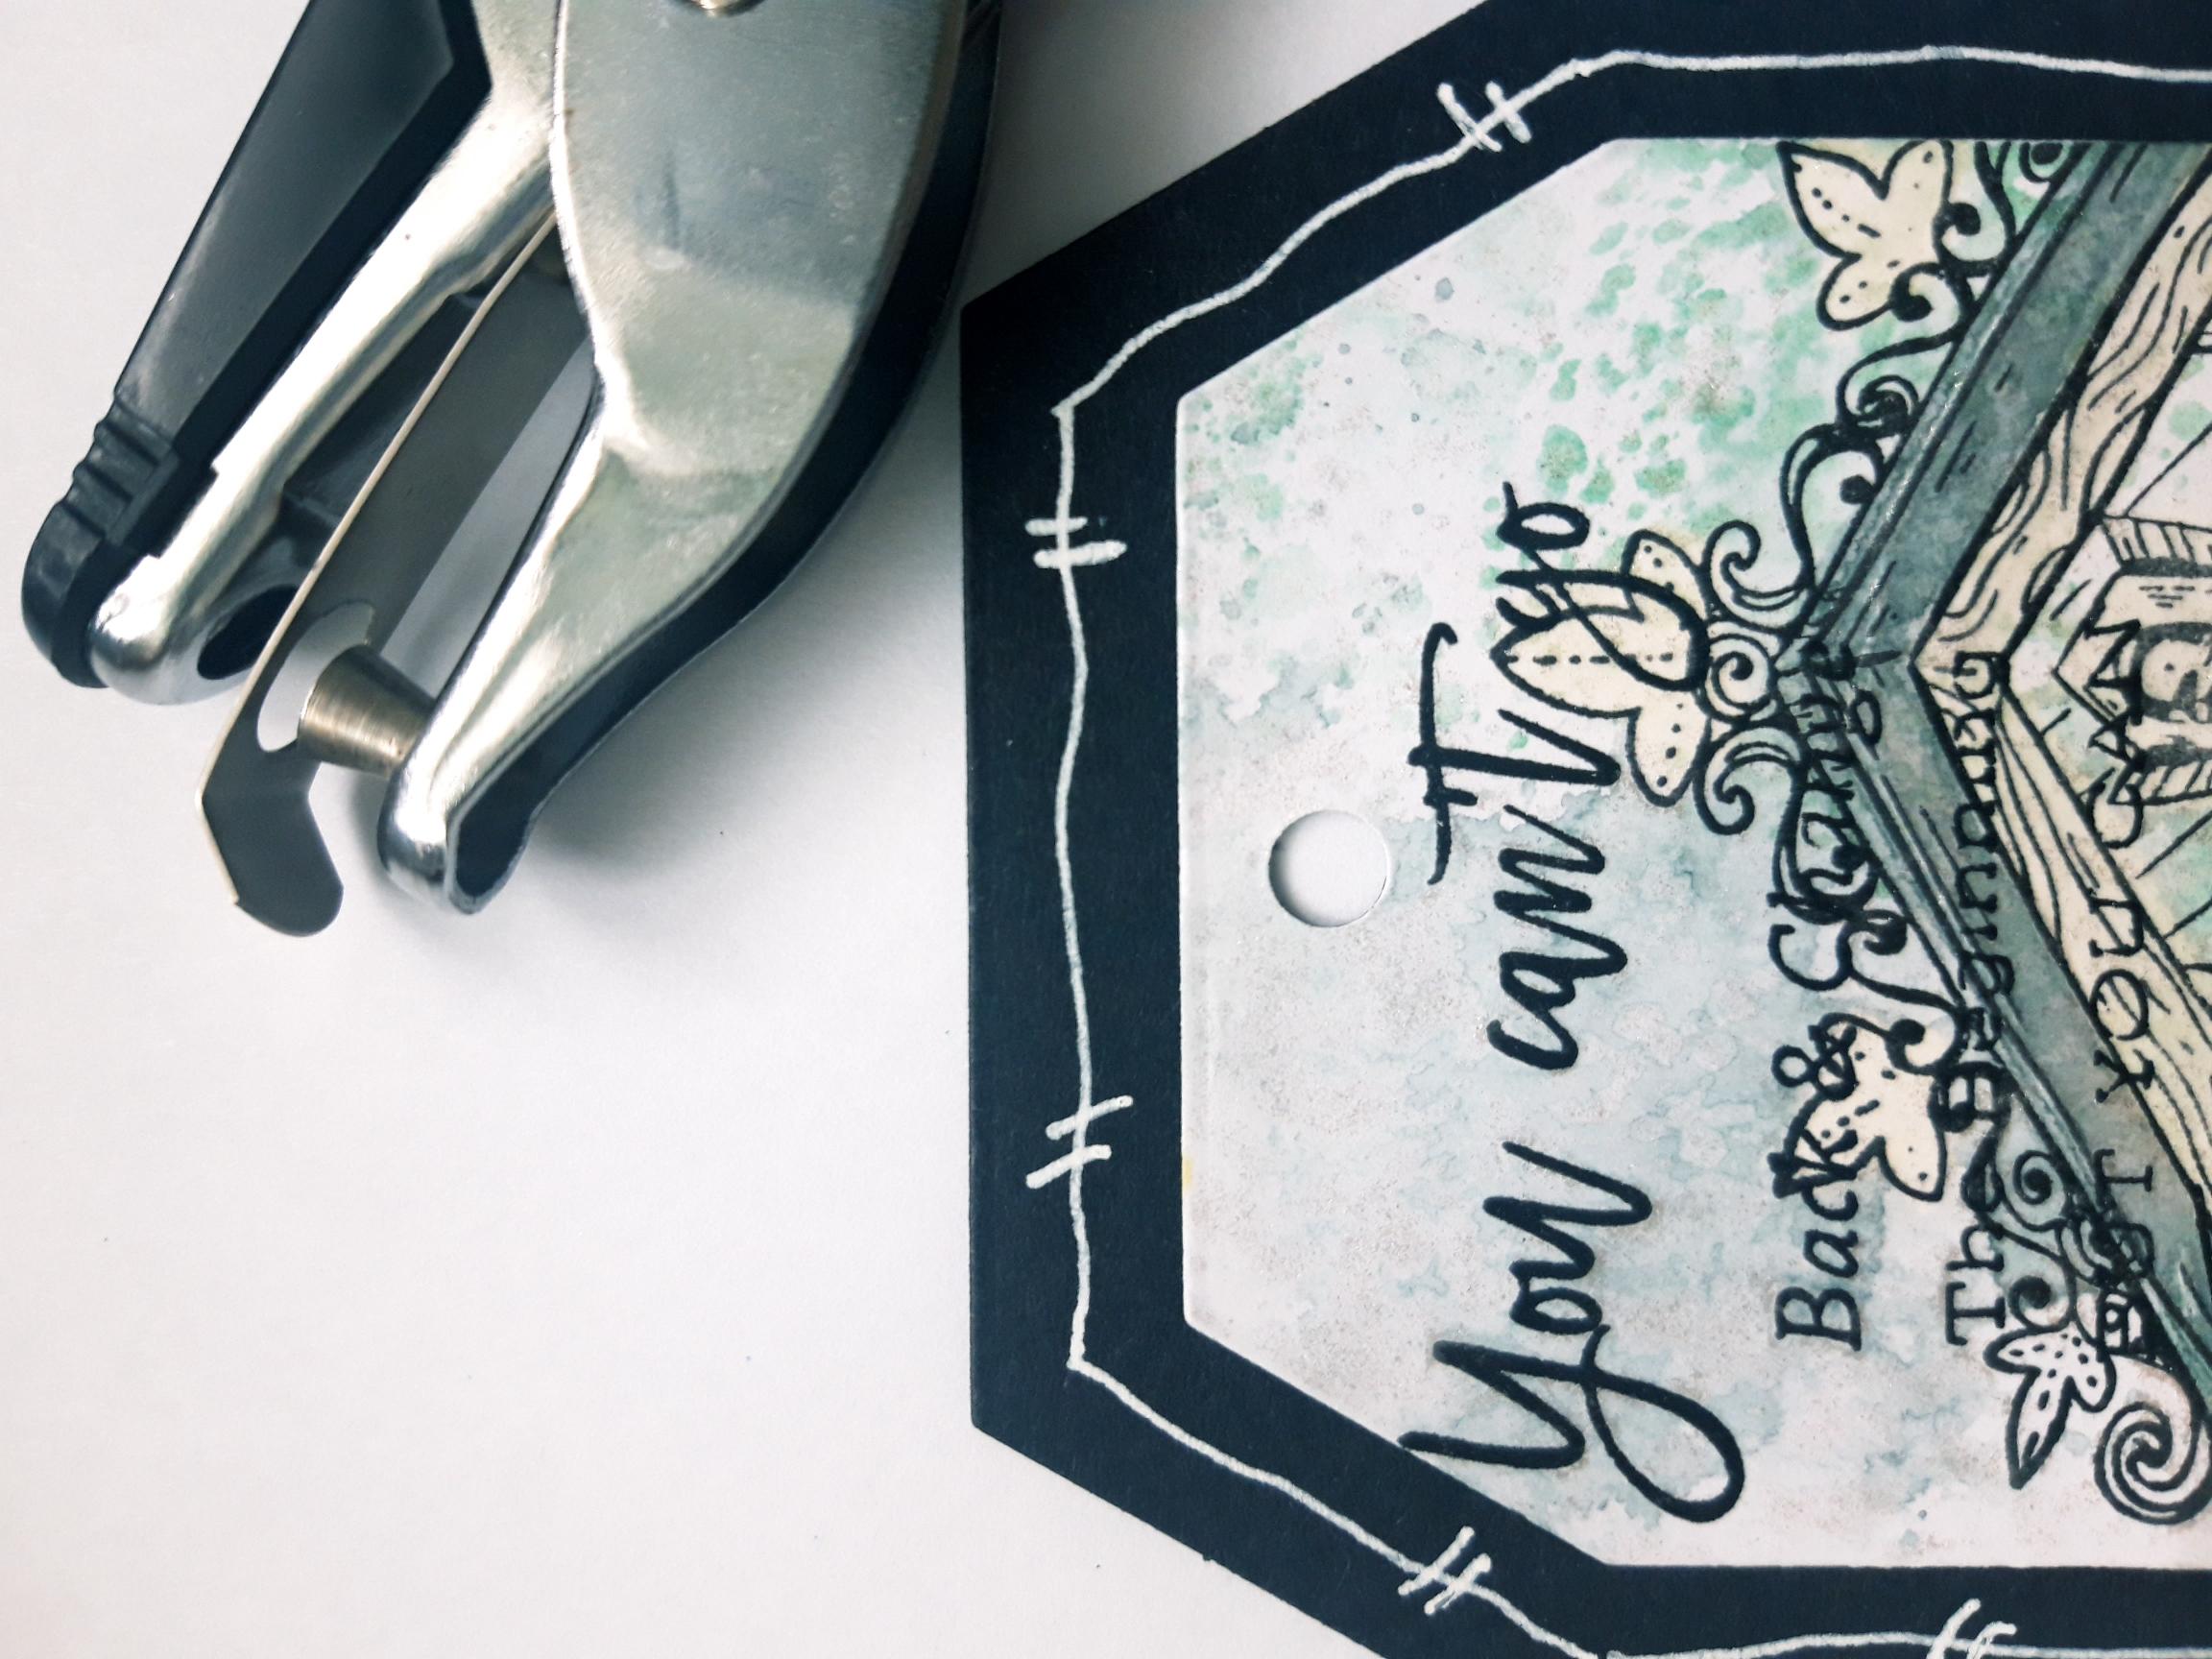
Use your white gel pen to draw a decorative, wiggly frame, around your black tag. Punch a hole in the top of the stamped tag. |
|
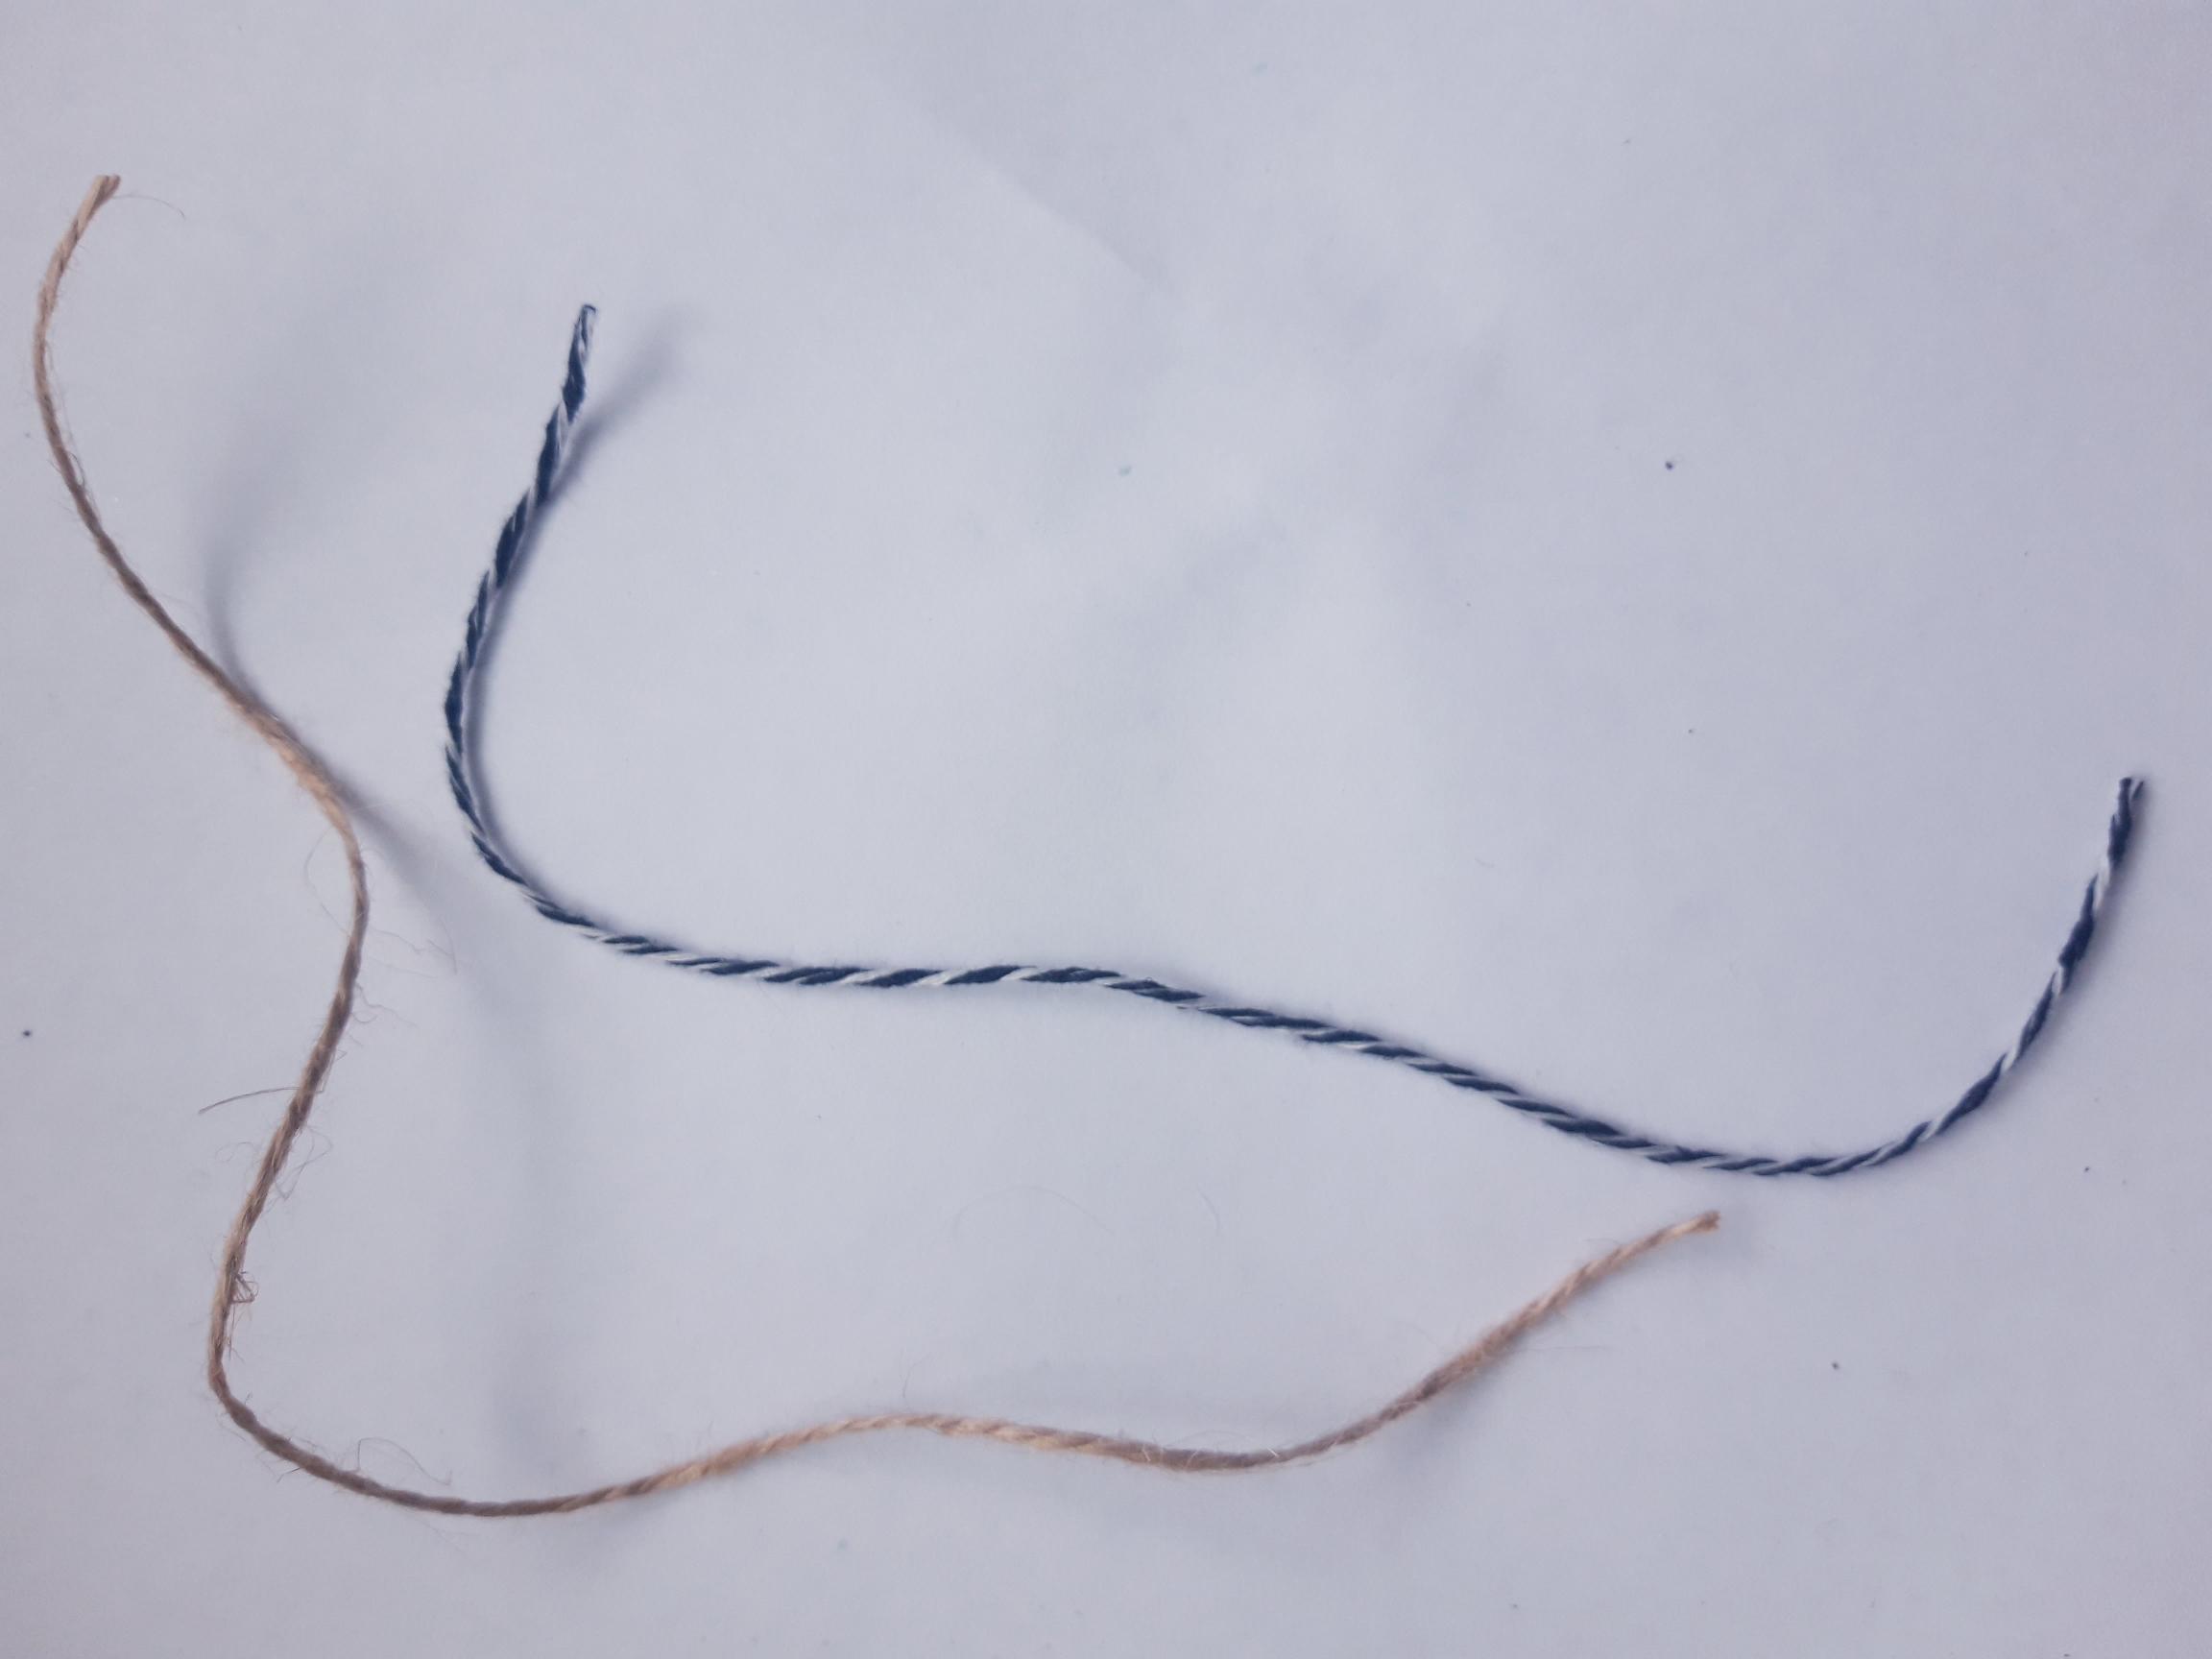
Cut 2 pieces of twine, roughly 8" in length. |
|
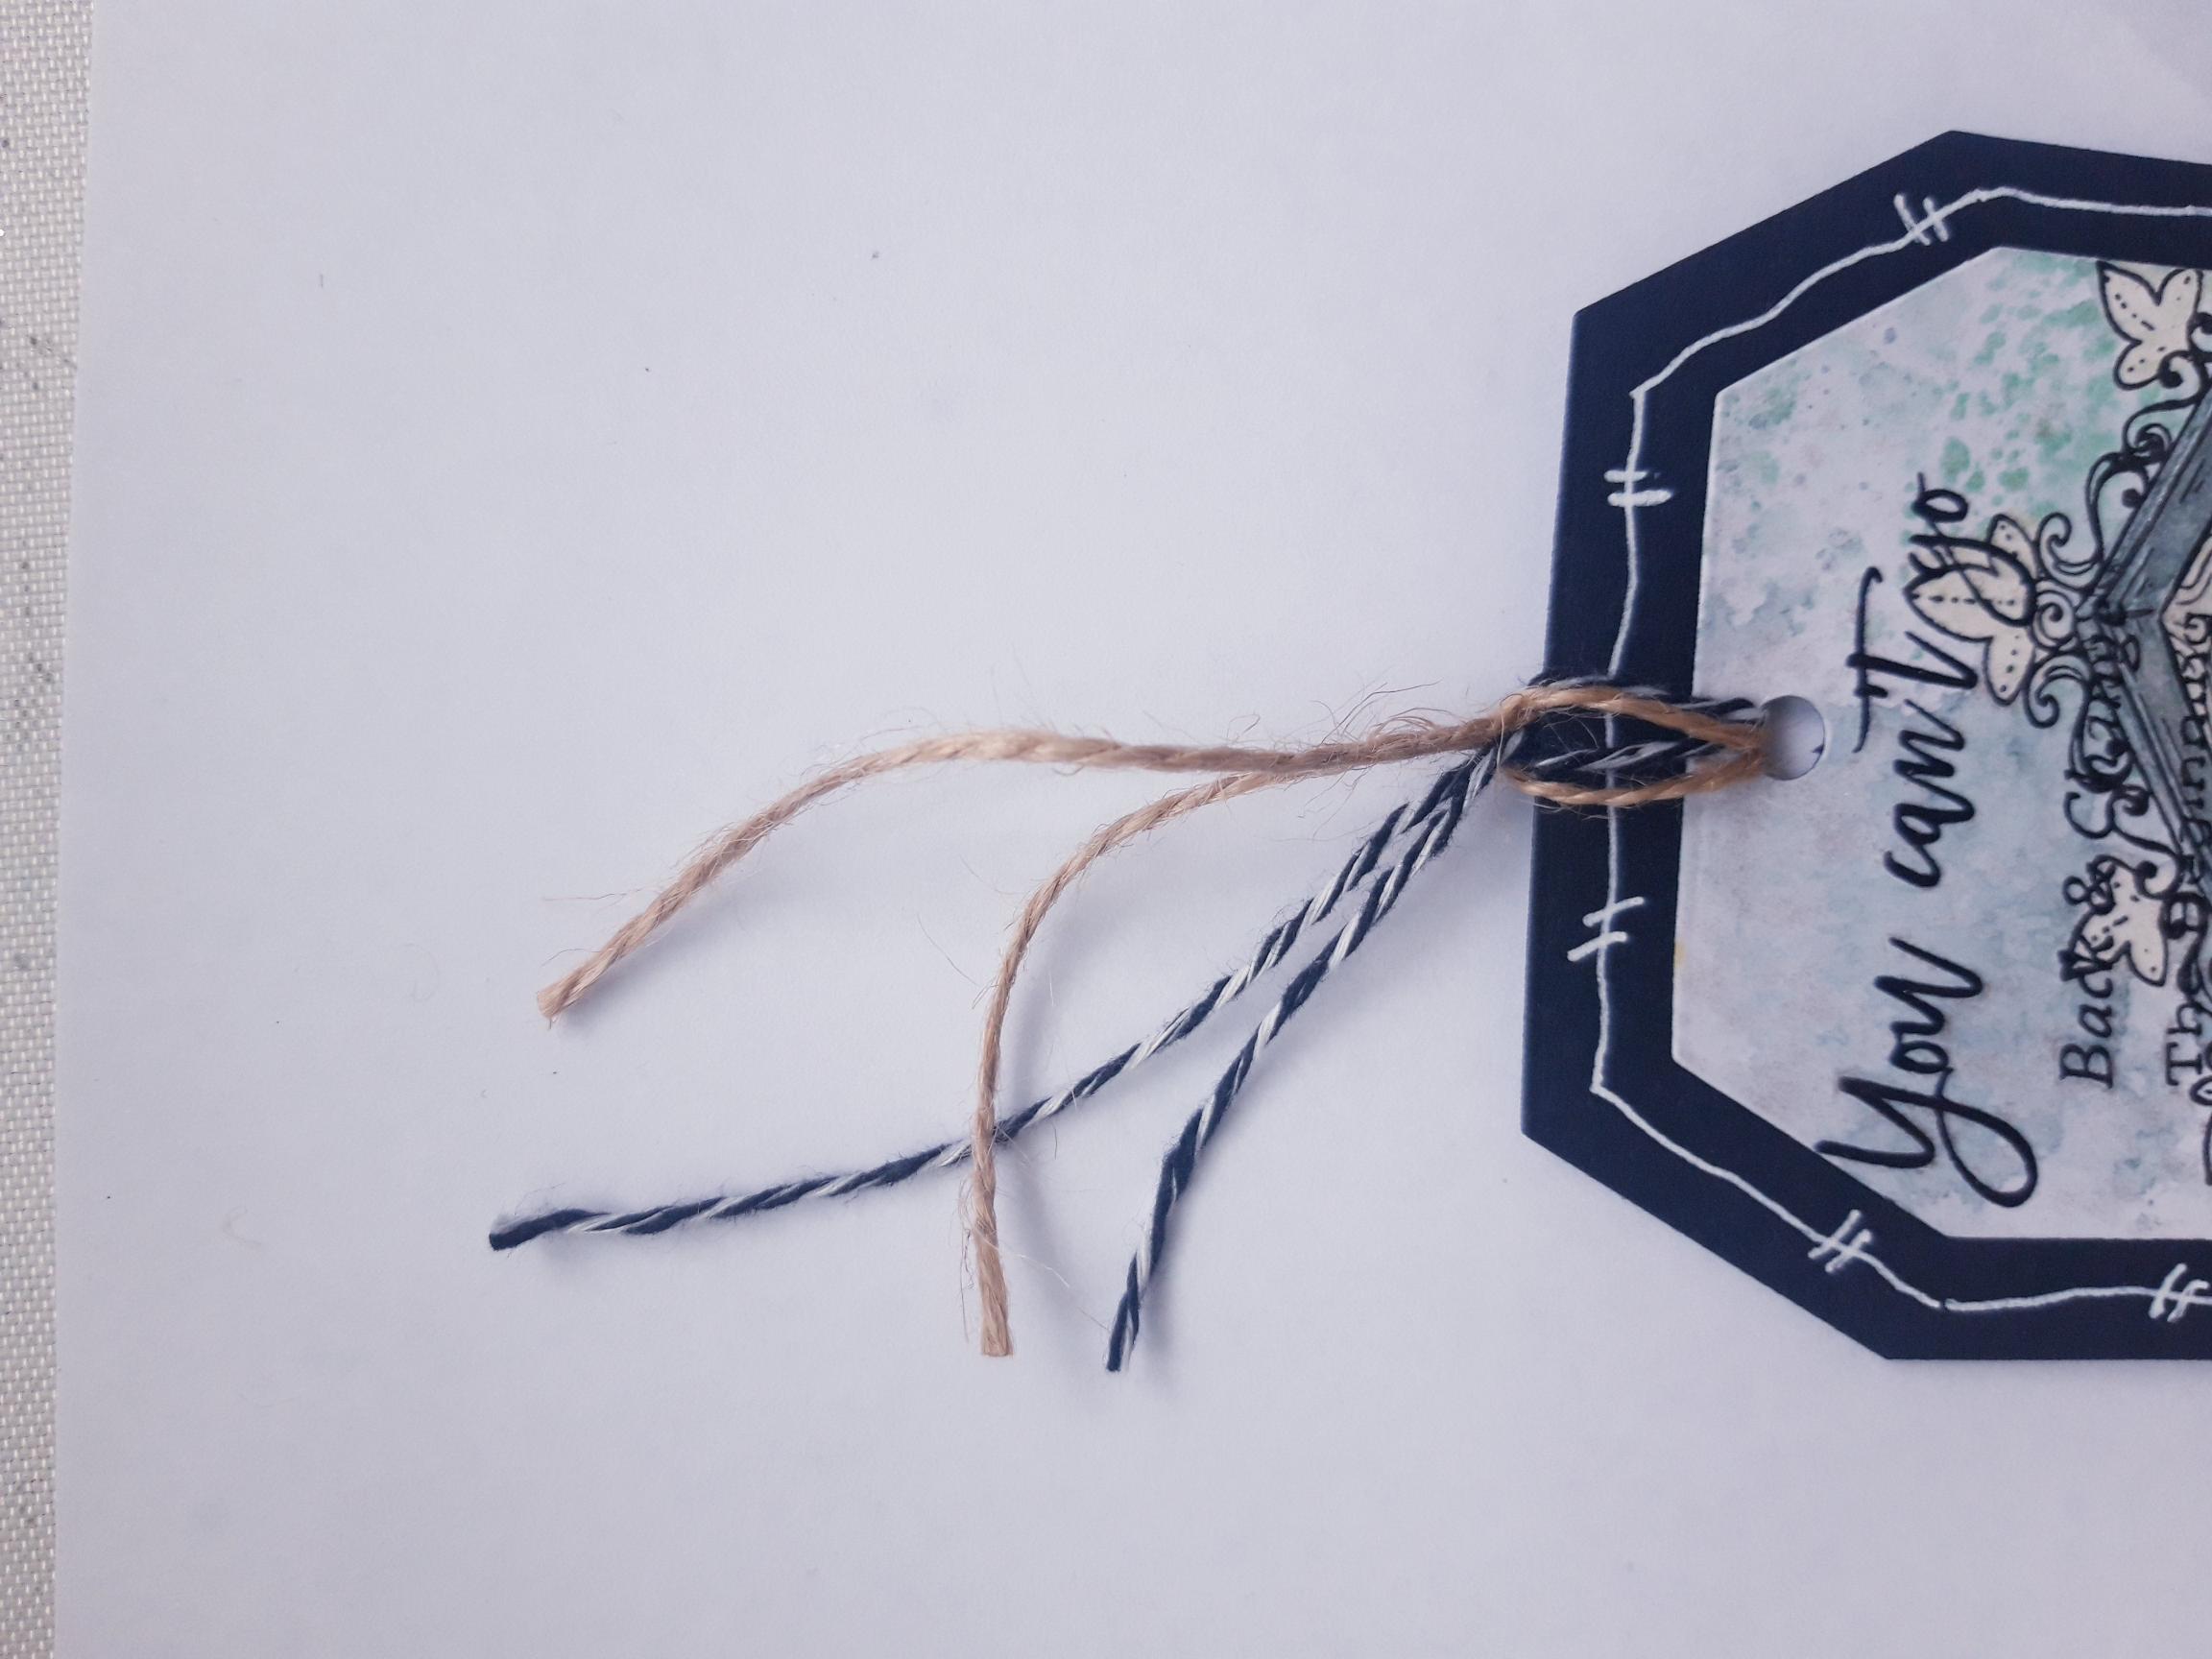
Secure them through the punched hole, to finish. |