Give your friends $10 off their first order!
Refer a FRIEND


WHAT YOU WILL NEED:
Kraft paper gift bag 12 x 9 1/2"
Black card 7 1/2 x 5 1/4"
White card 7 1/2 x 5 1/4"
White card 8 x 5"
Black card 3 1/2 x 2"
Imala Magazines Stamp Collection
Imala Typical Me Stamp Collection
AS IF Stamp and Die Collection
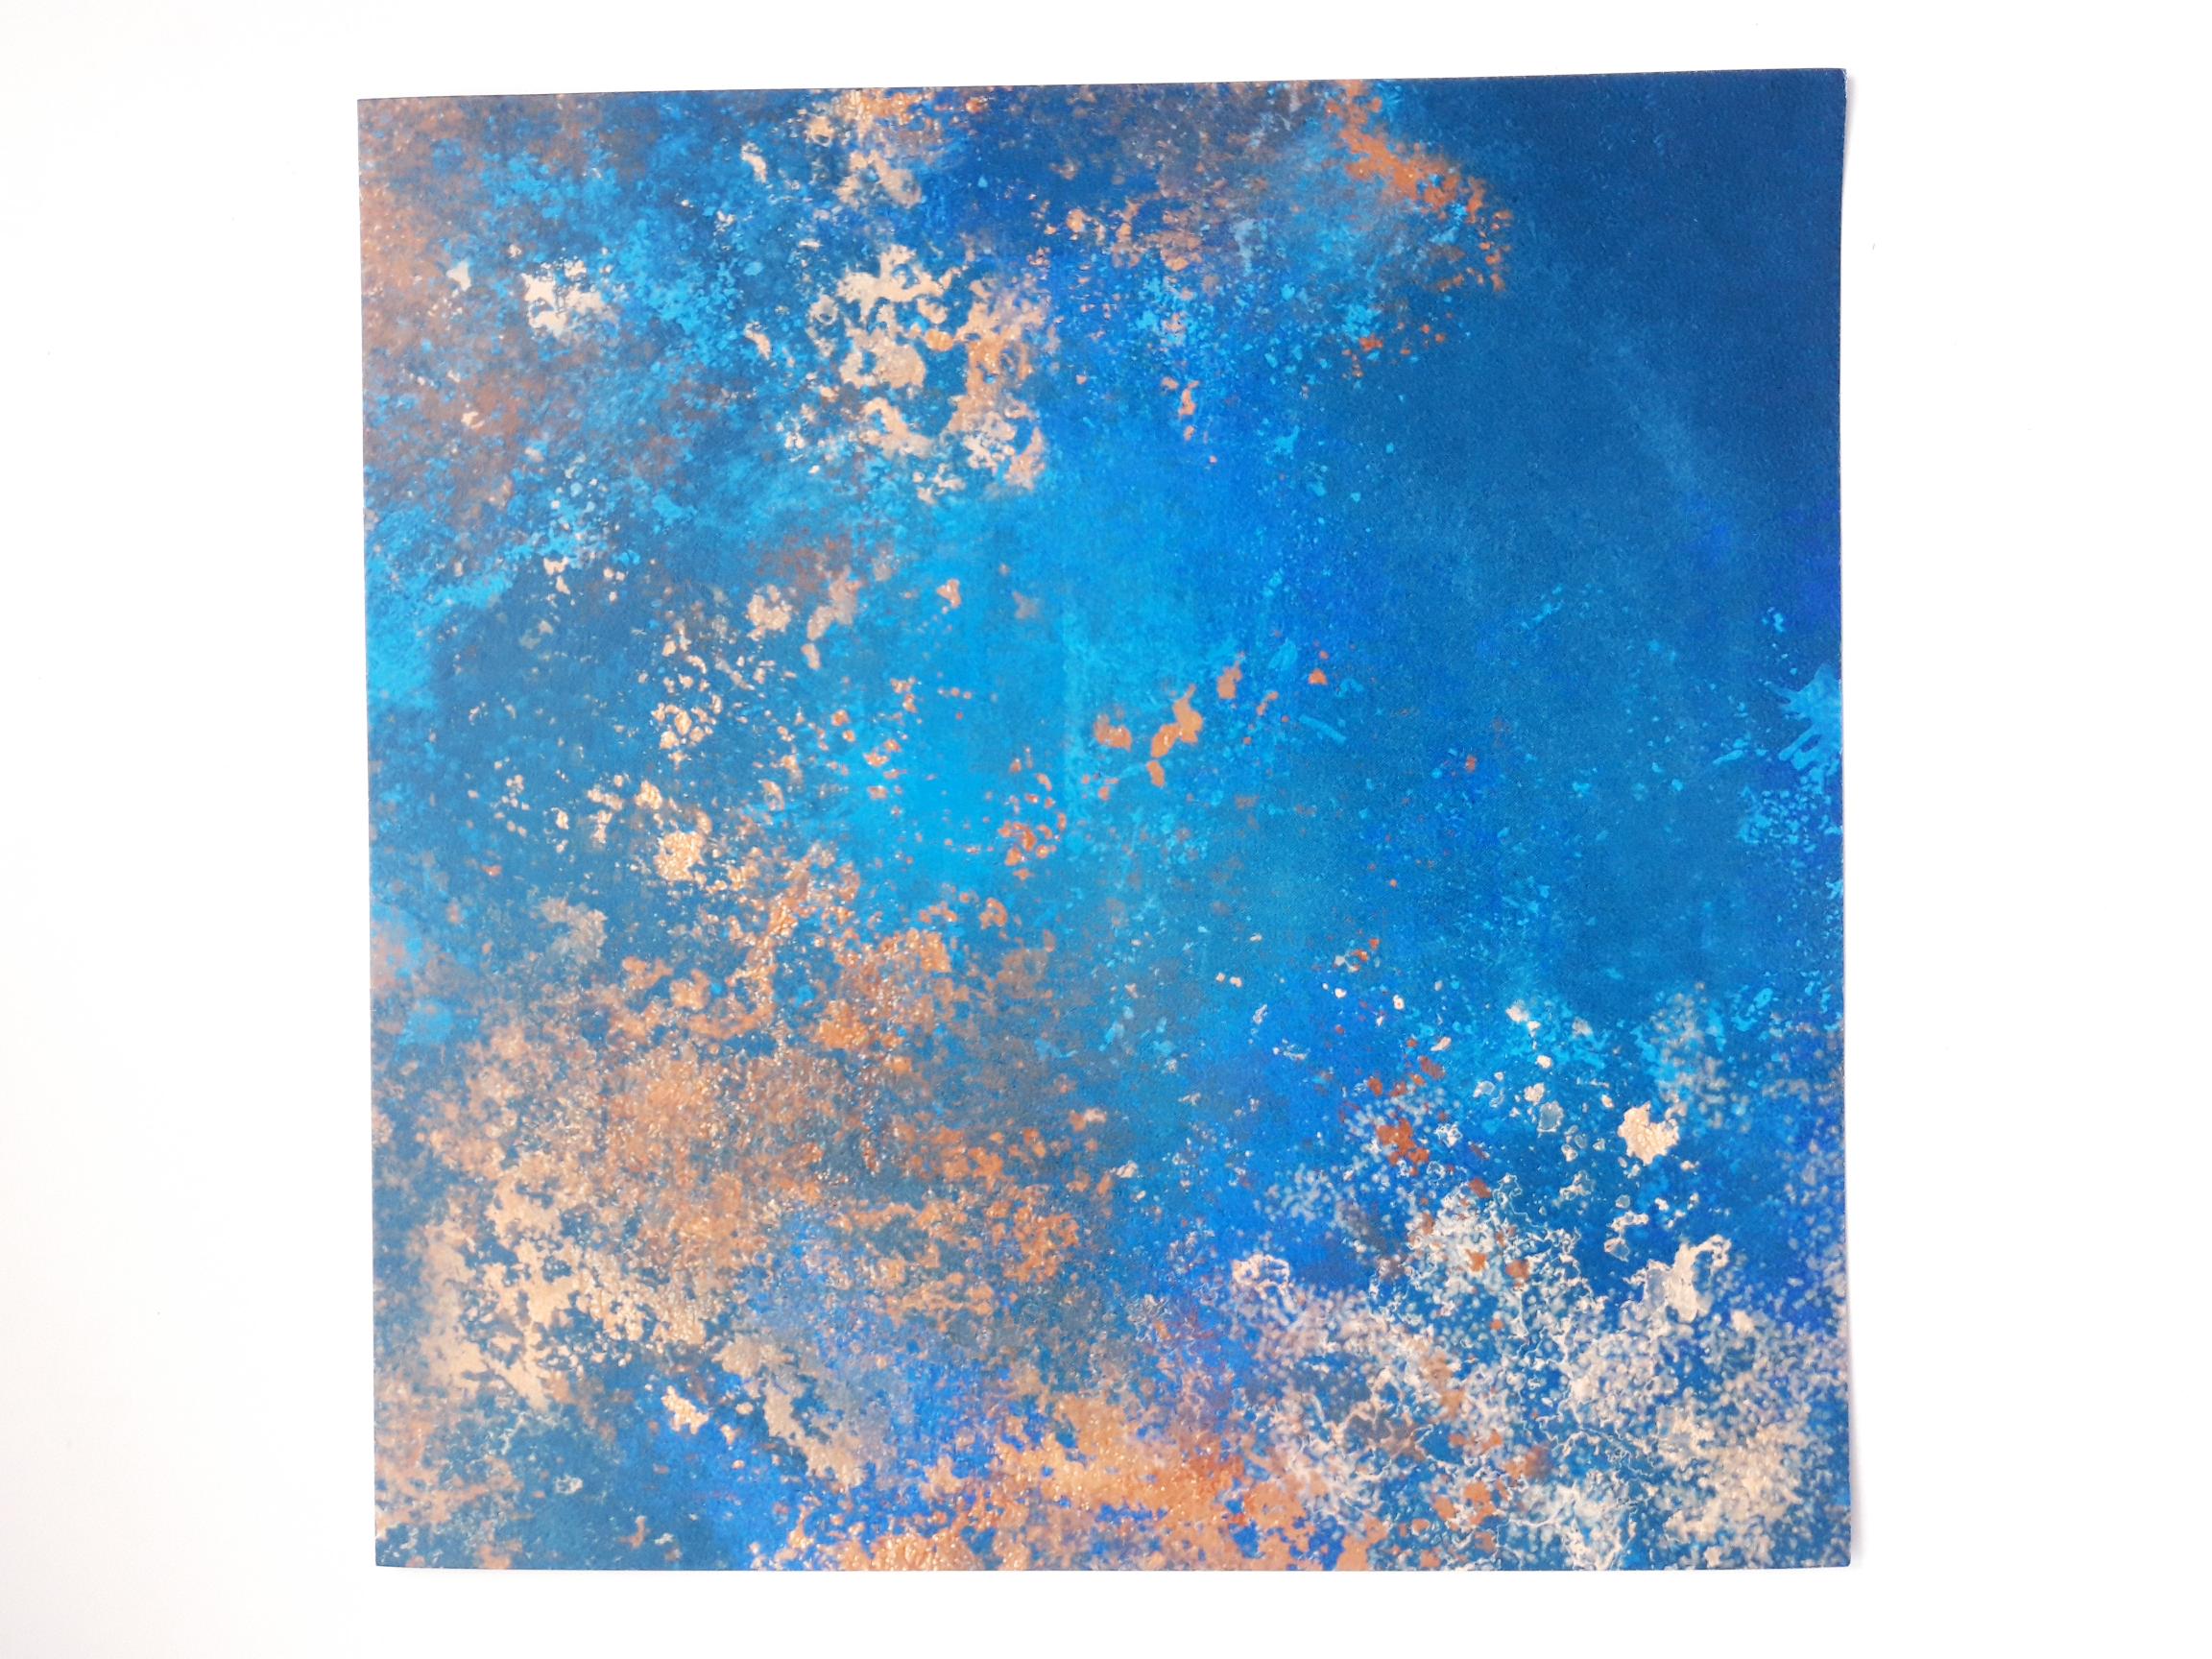
Funky Fossil 8 x 8" Patina Paper Pad
Versafine Ink Pad: Onyx Black
Distress Oxide/Ink ink pad: Unchartered Mariner, Villainous Potion, Peacock Feathers
Water spray bottle
Paint brush
Midas Glitter: Viennese Waltz
Anti-static bag
WOW embossing ink pad
WOW heat tool
WOW white embossing powder
Eureka 101
Paper Trimmer
Perfect Together Glue
[click image to enlarge] 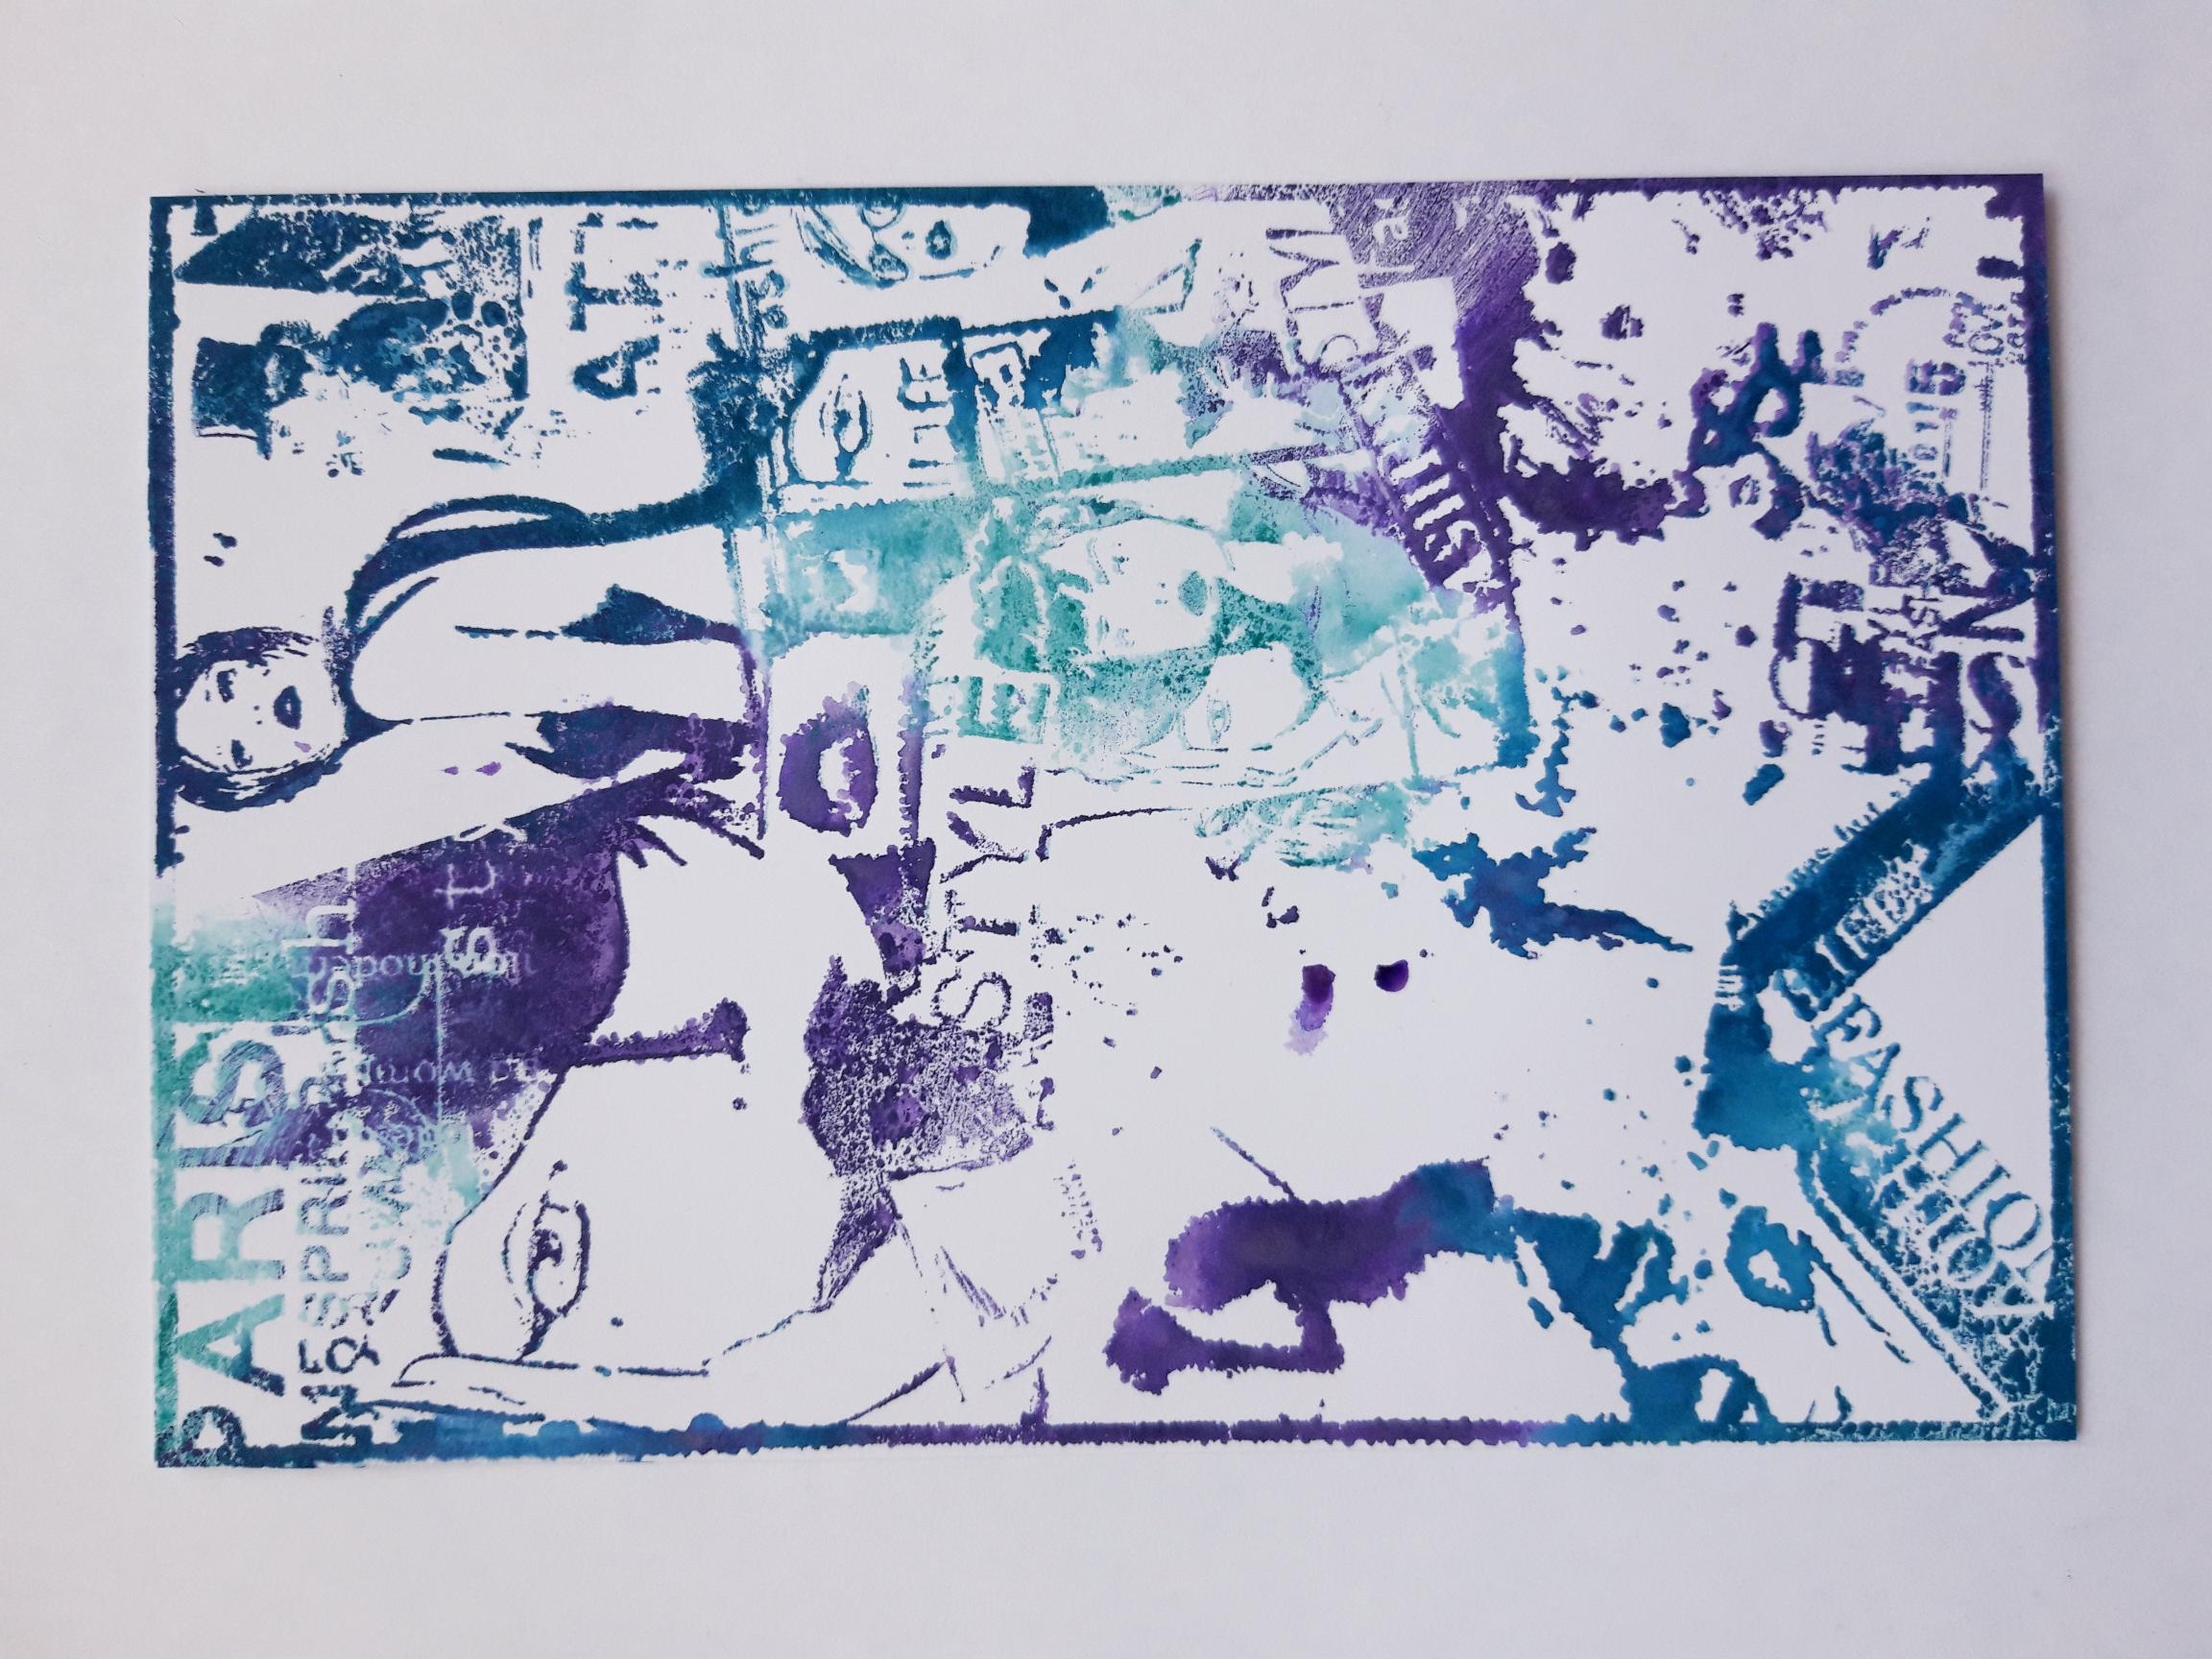
|
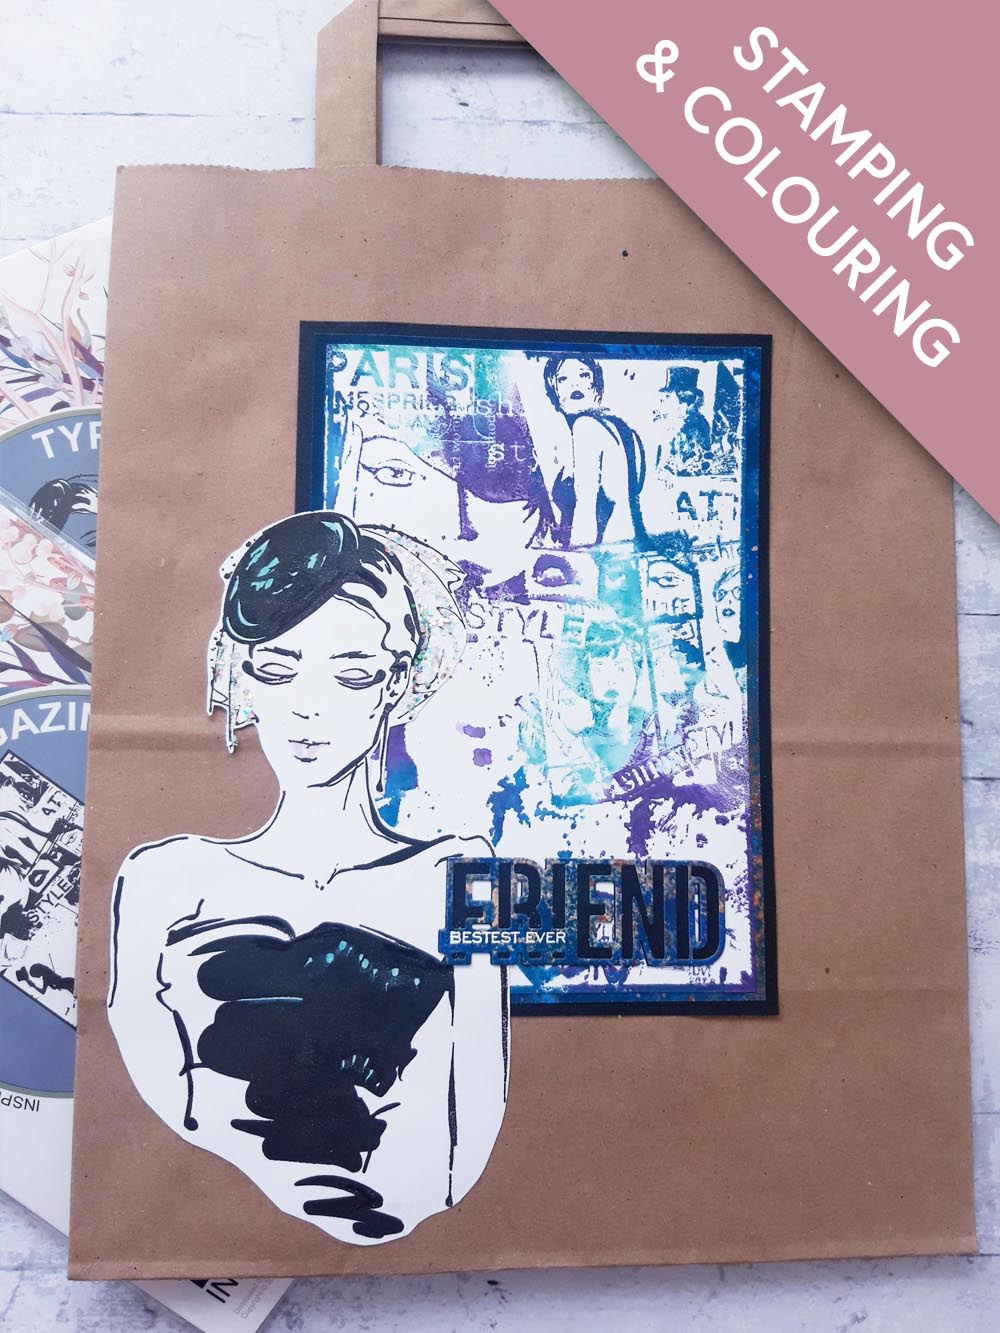
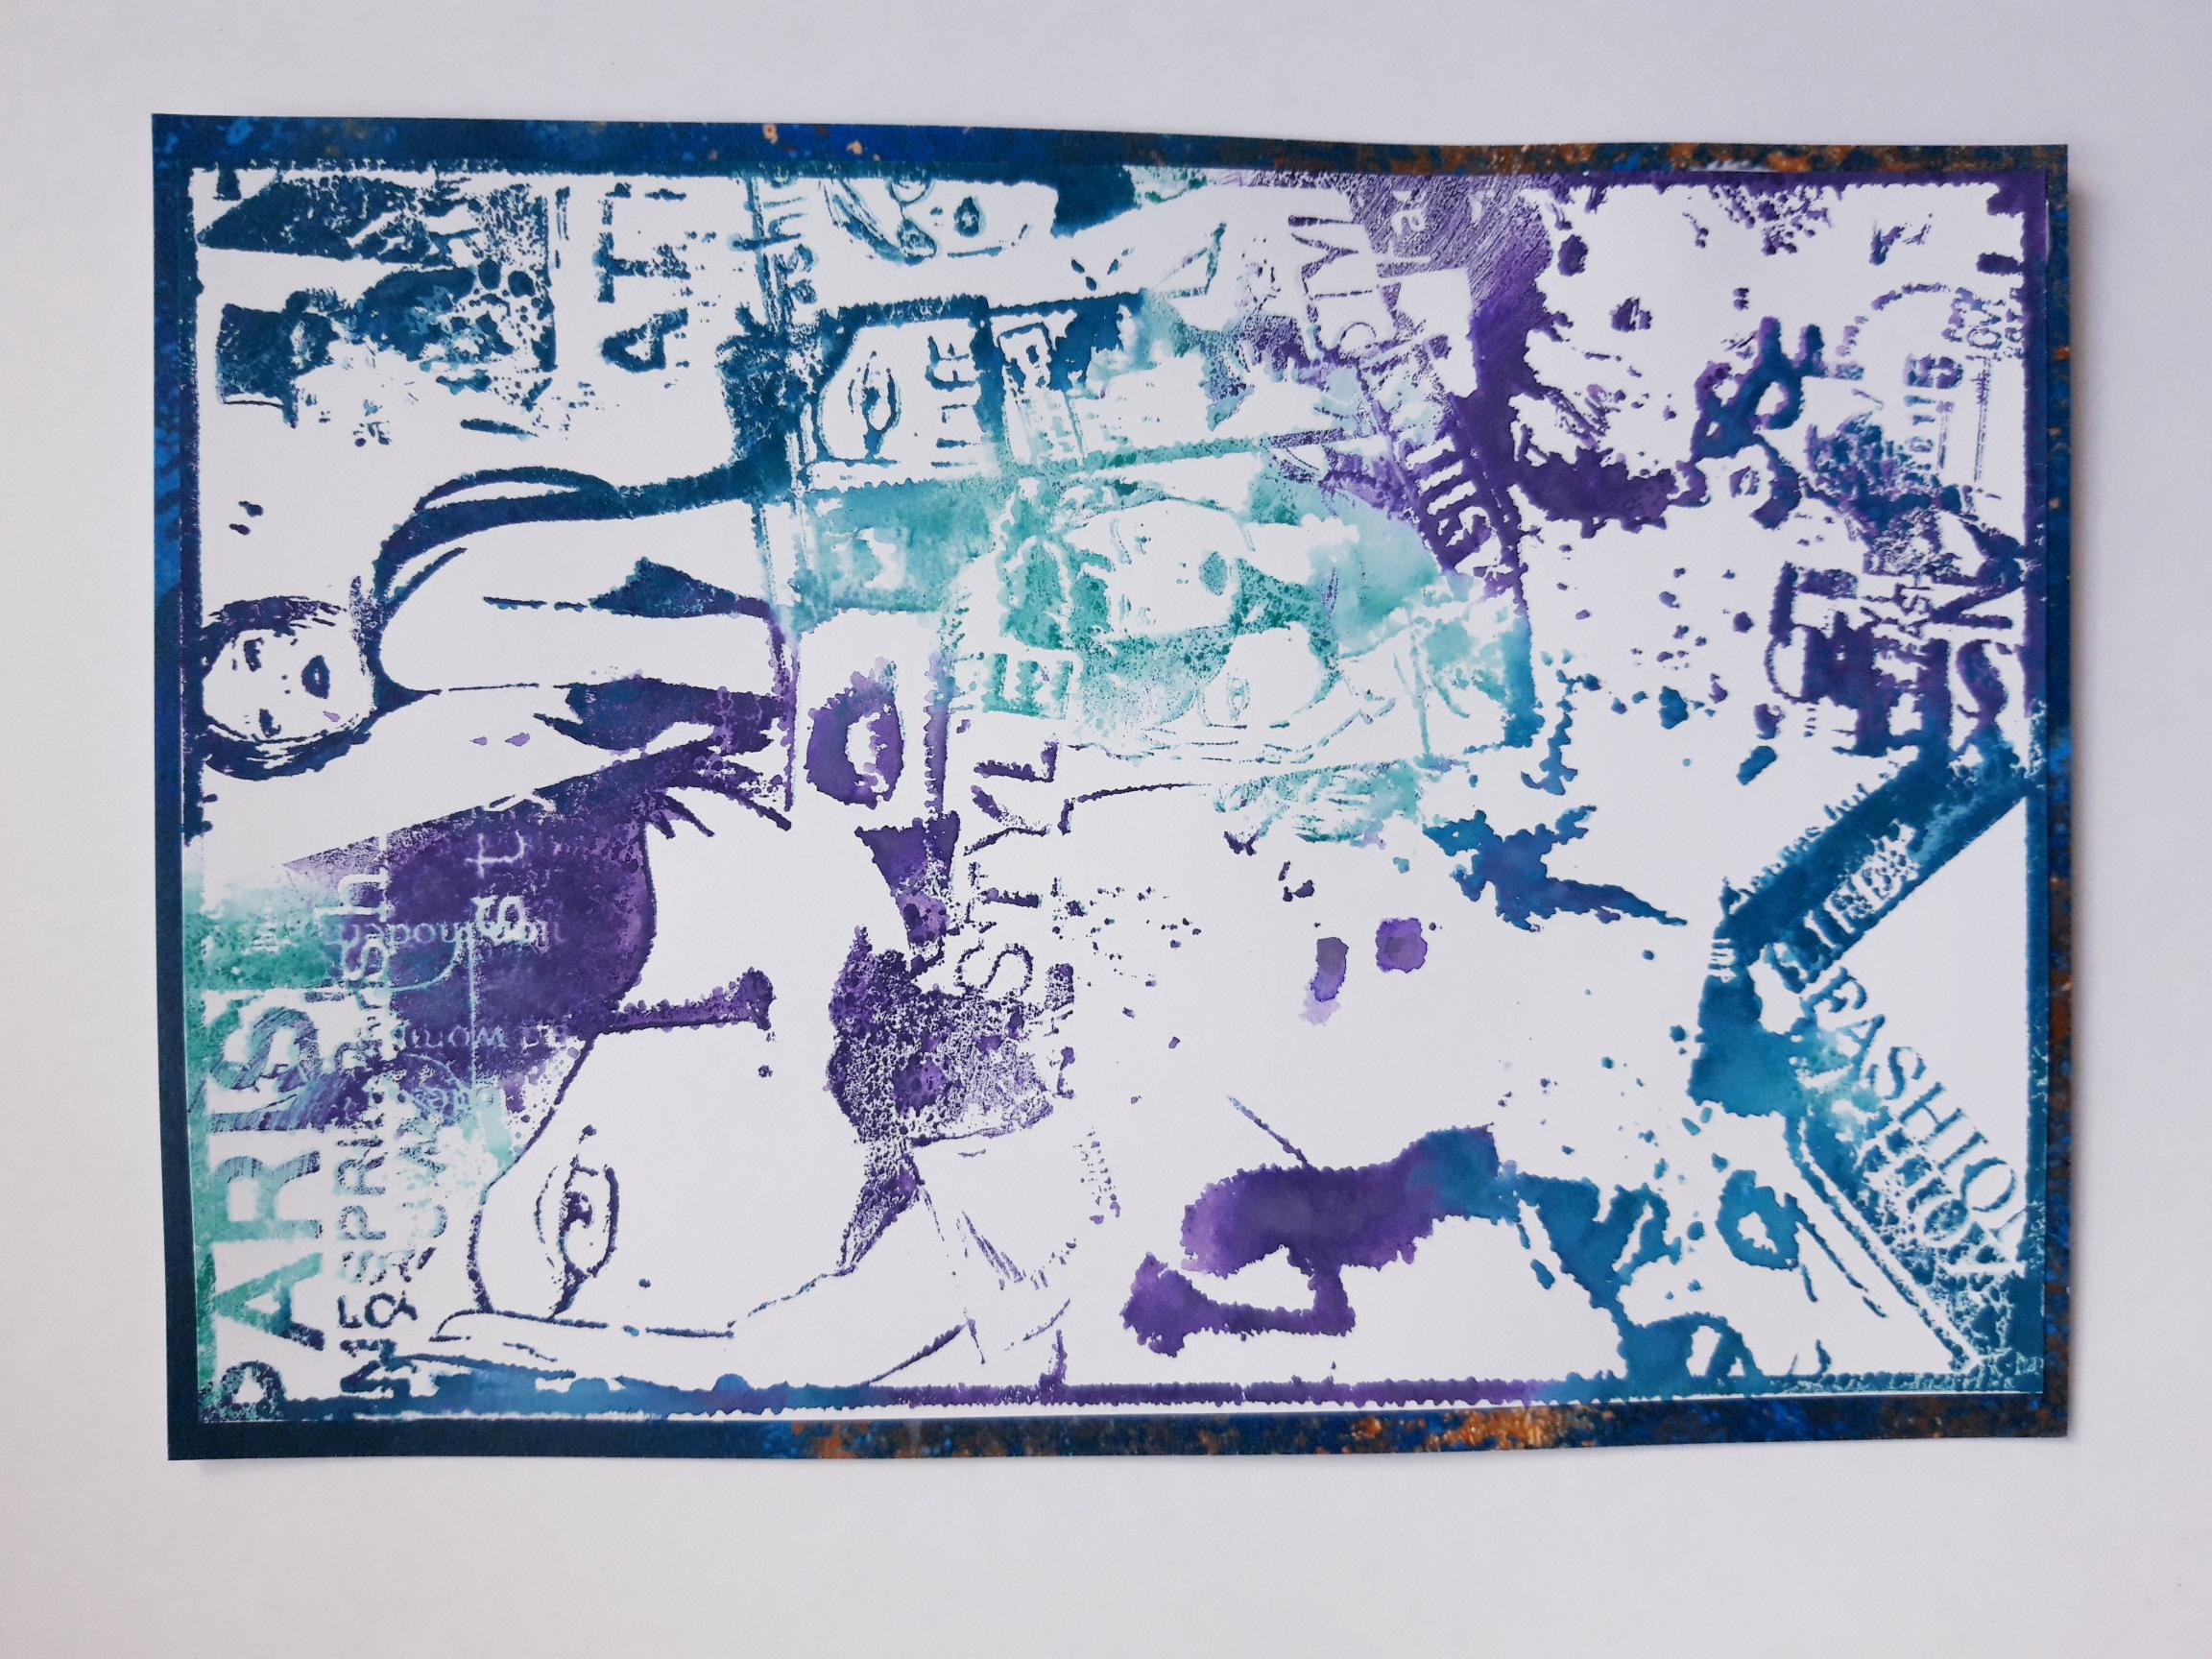
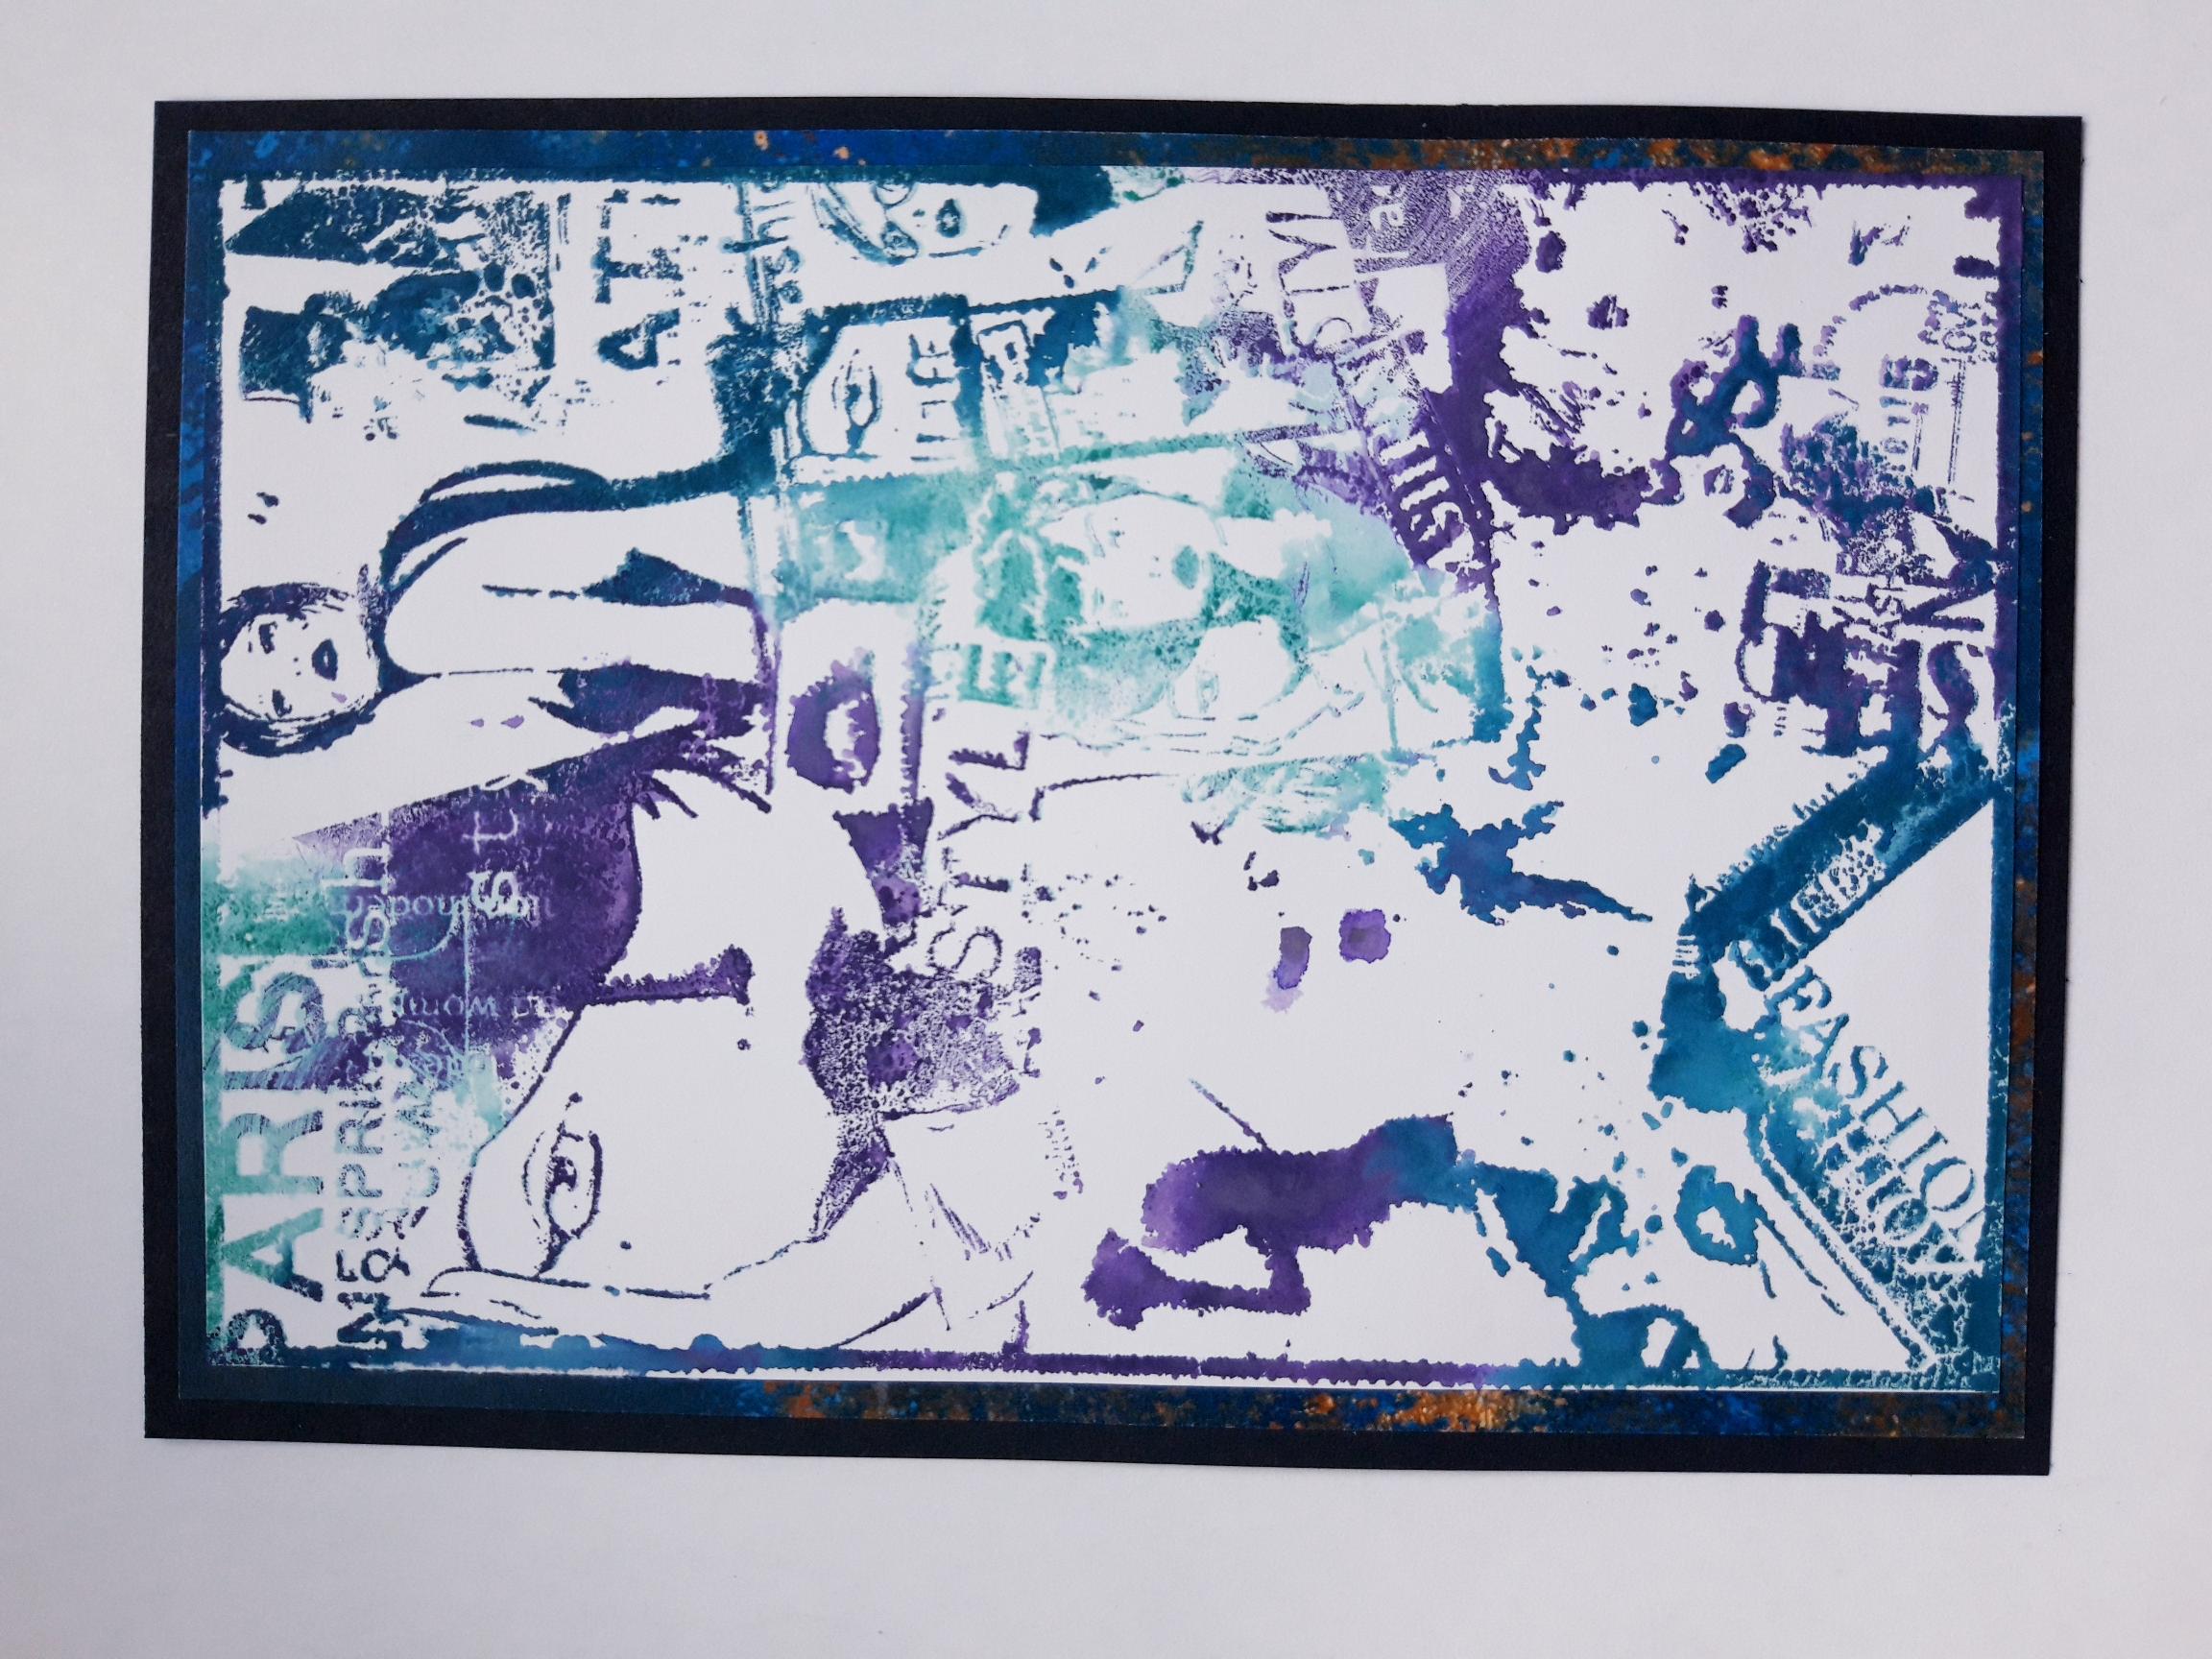
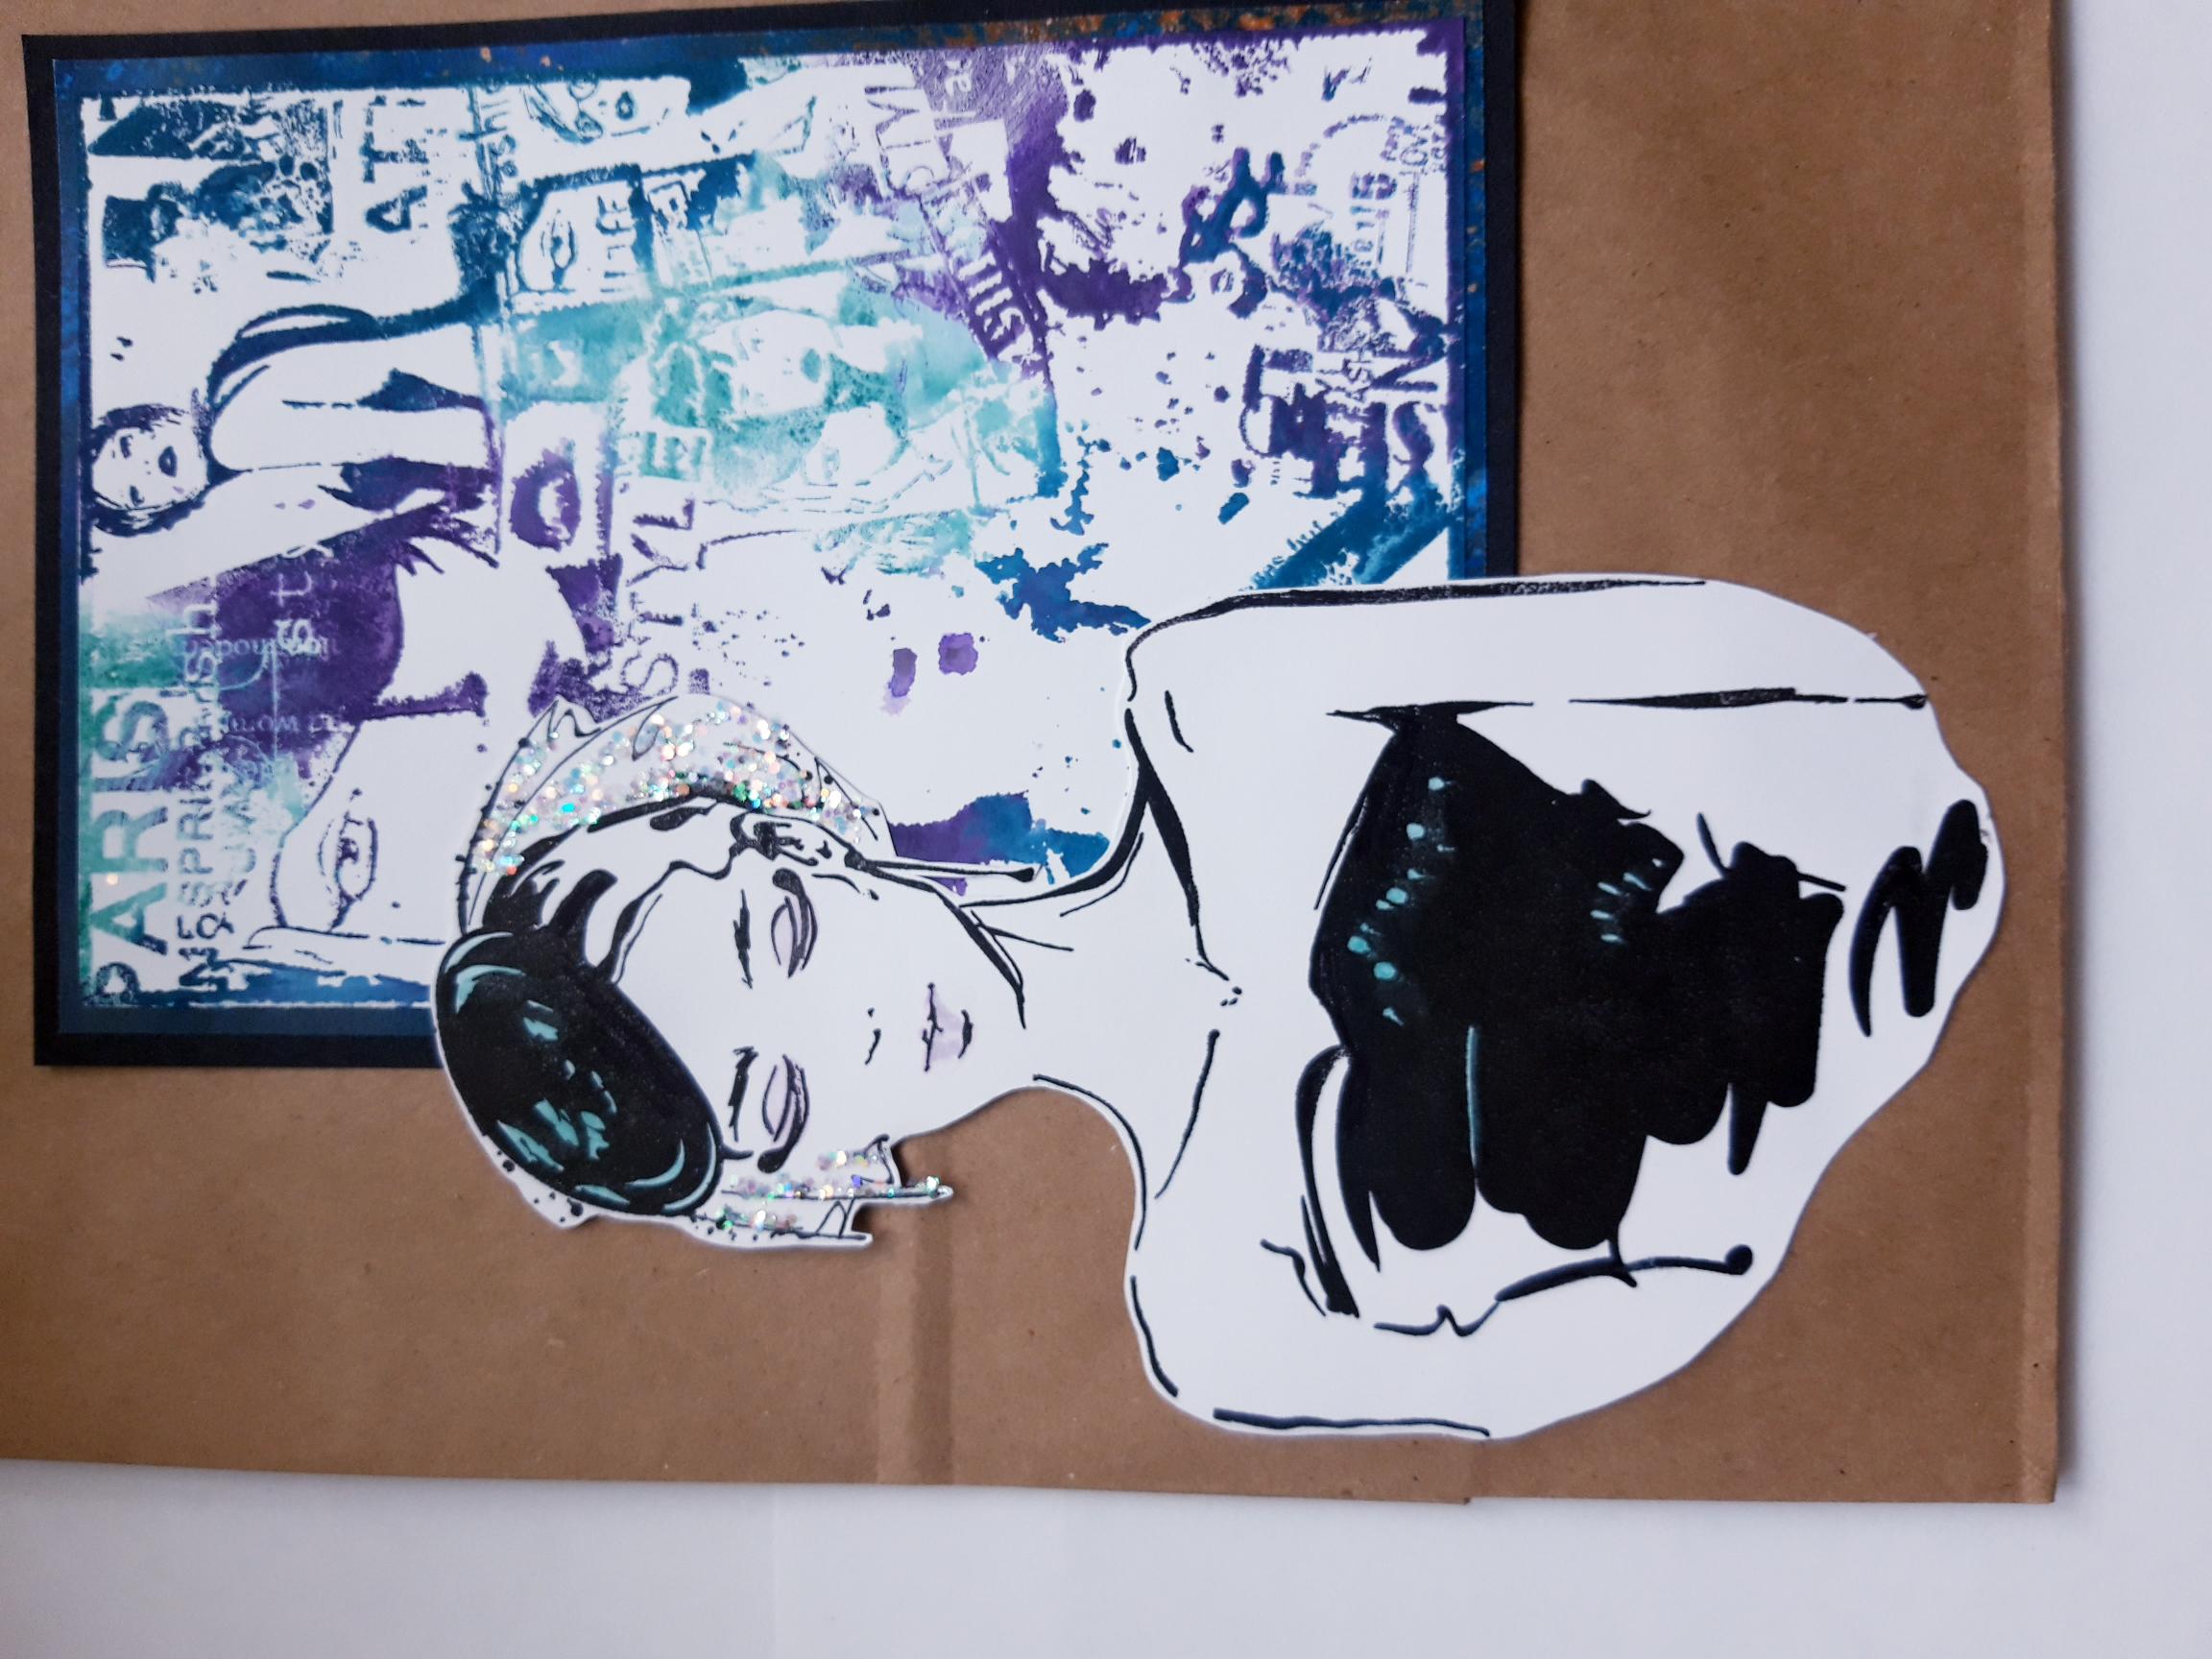
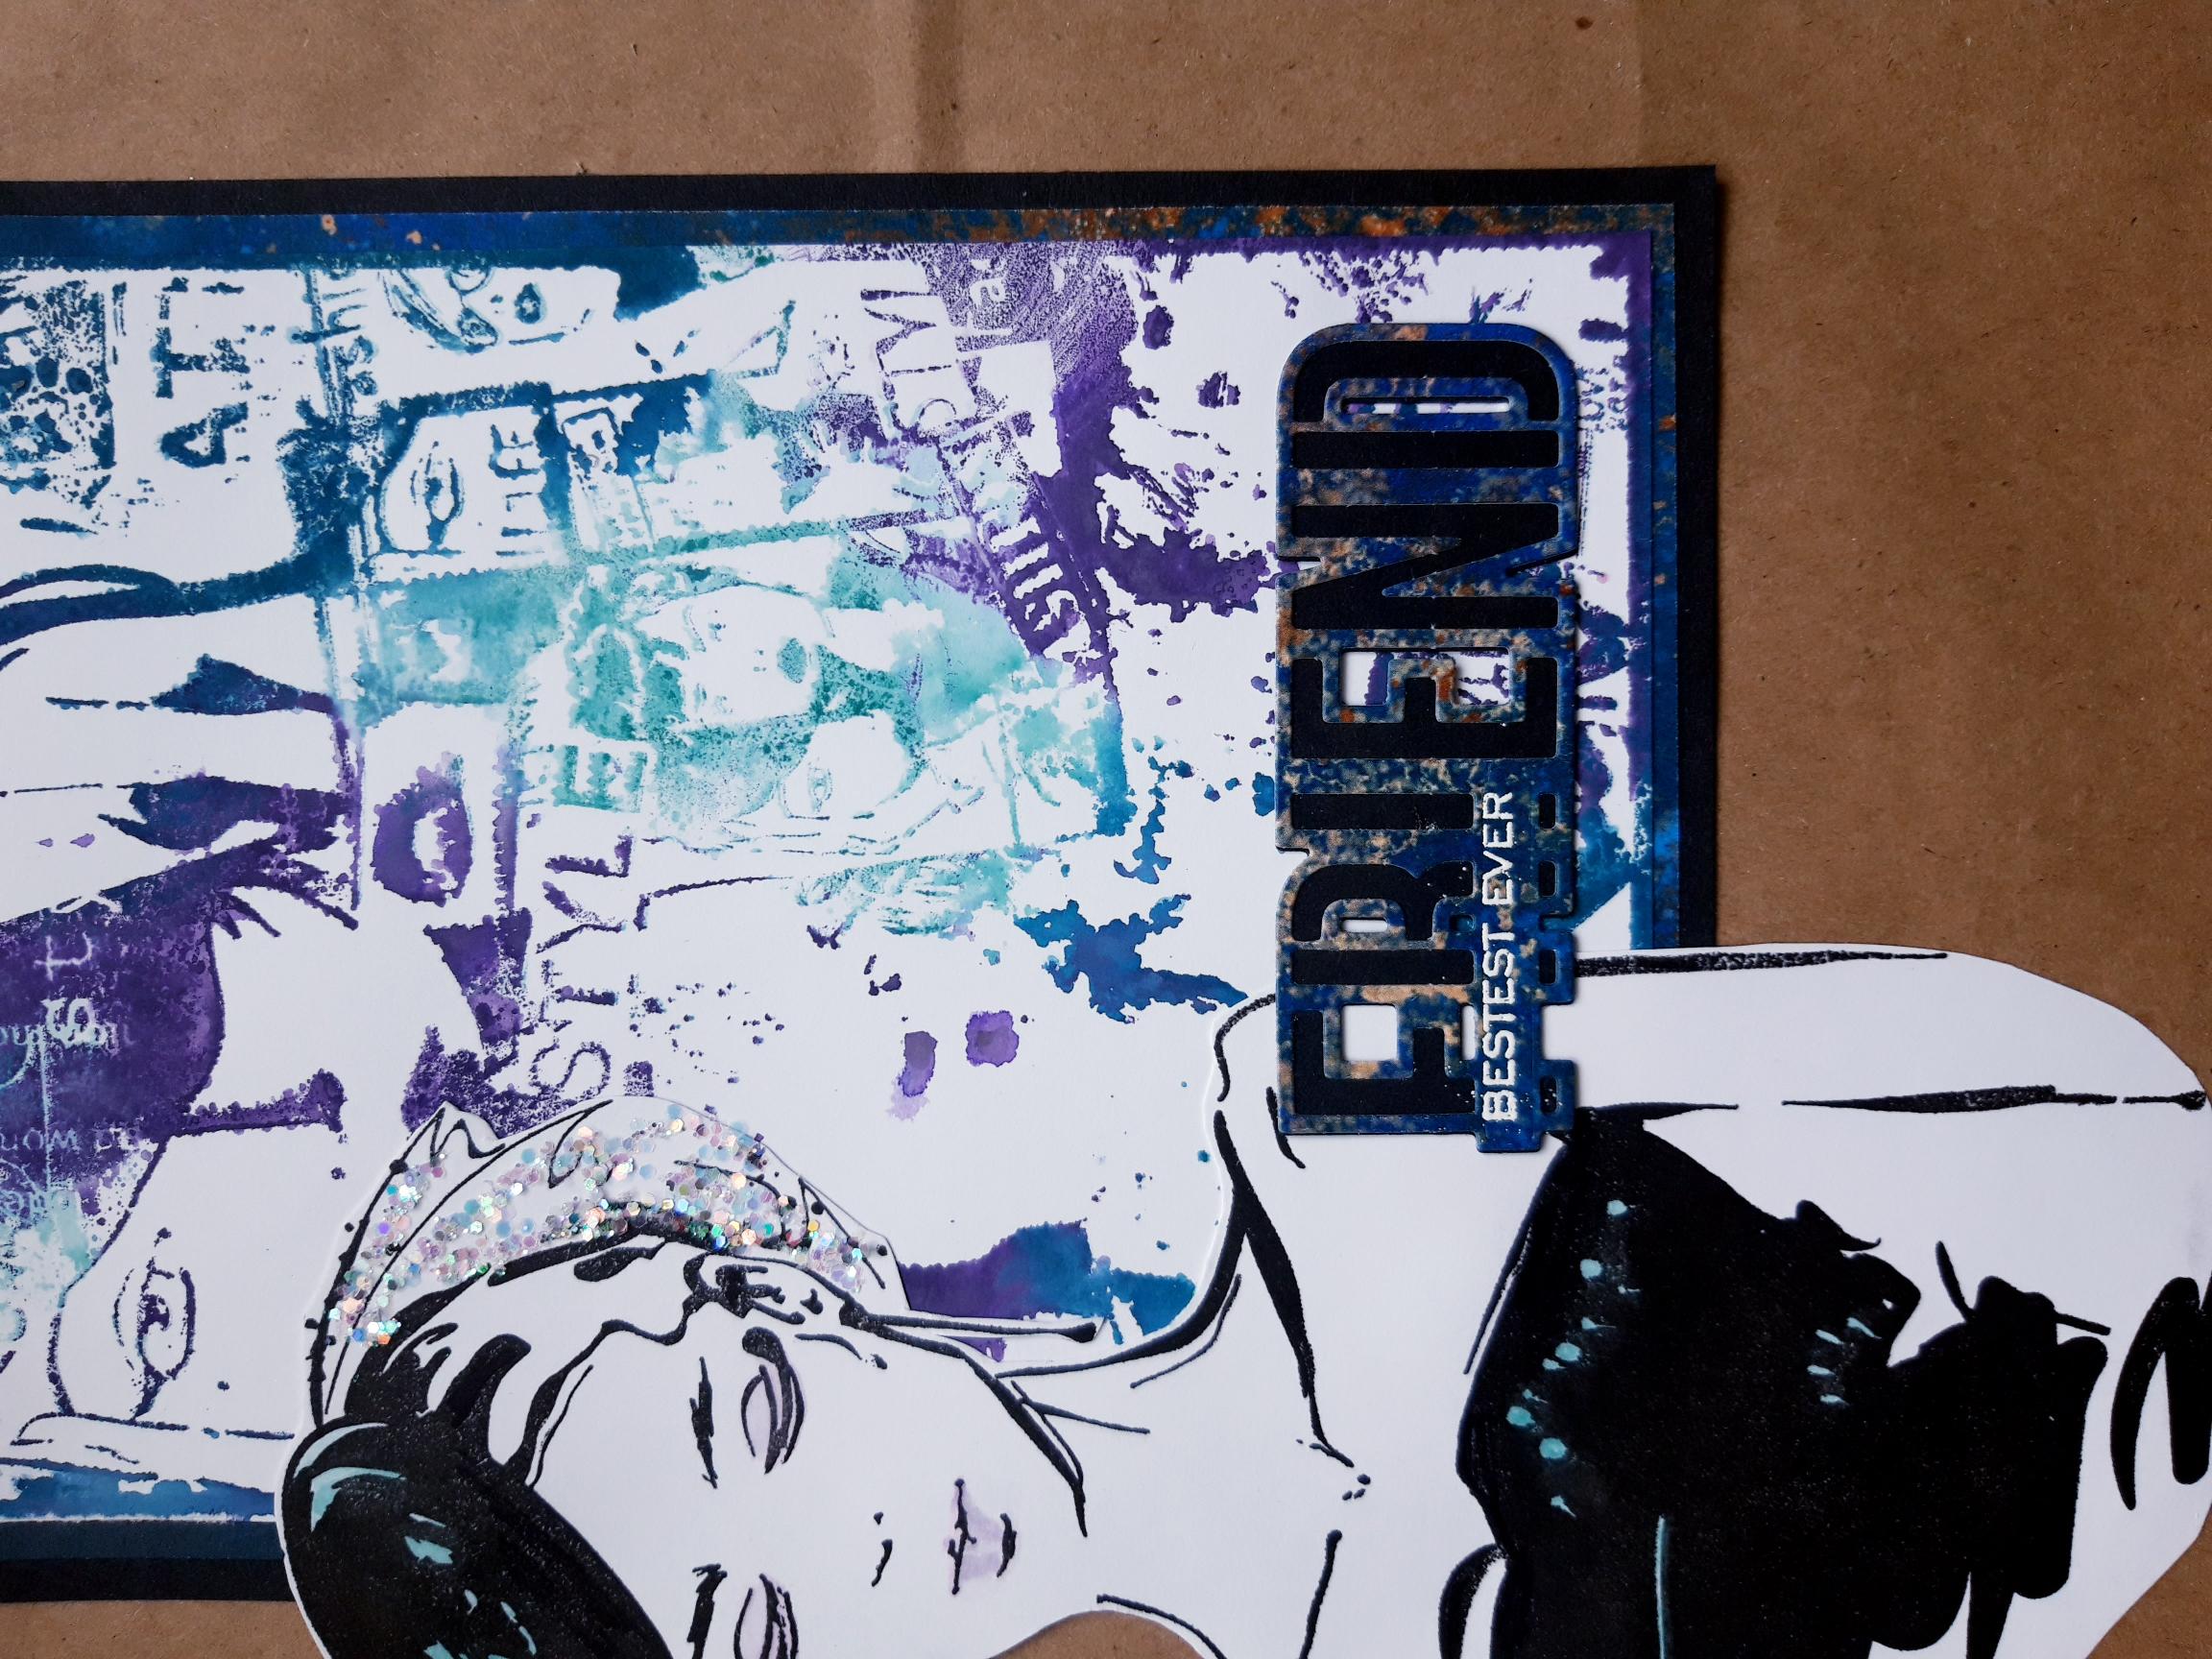
Randomly ink up the stamp from Imala Magazines, with the 3 Oxides. Spritz the stamp with water and stamp on to the white card, cut to 7 1/2 x 5 1/4". Dry off the ink, then trim off the excess white card so you are left with your stamped image. |
|
Tear out this decorative paper, from the Funky Fossil Patina Paper pad and cut to 7 1/4 x 5". Keep the leftover paper for the sentiment mat, in a later step.
|
|
Adhere your inked background on to the decorative paper. |
|
Adhere on to the black card. |
|
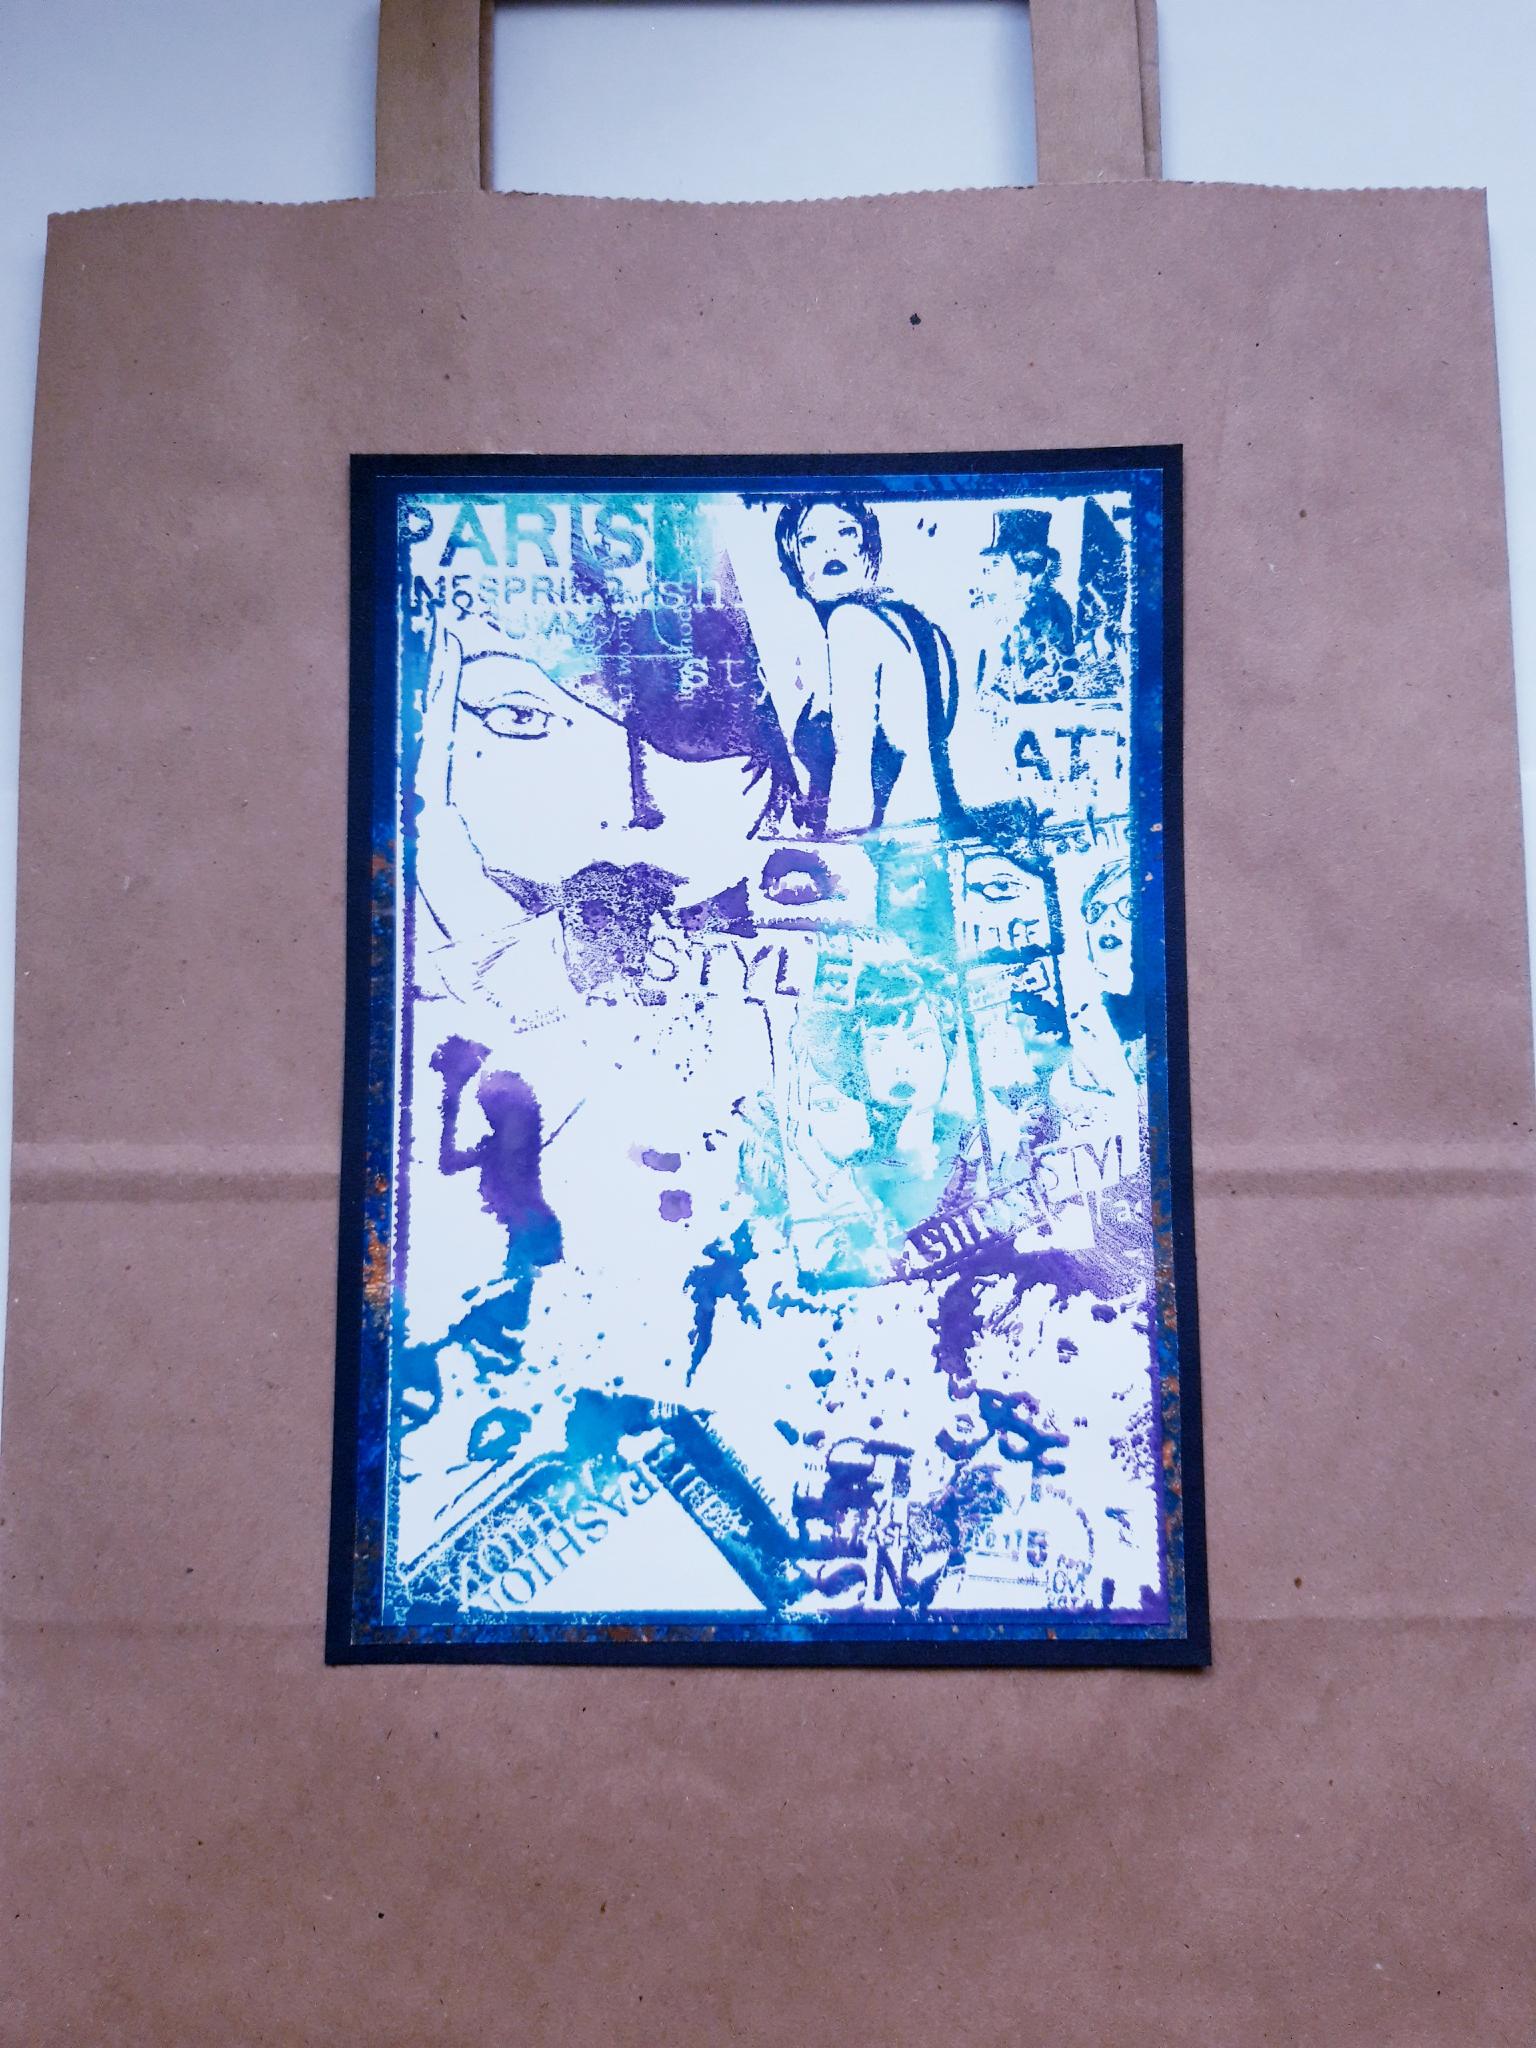
Adhere on to the front of your Kraft gift bag and set to one side. |
|
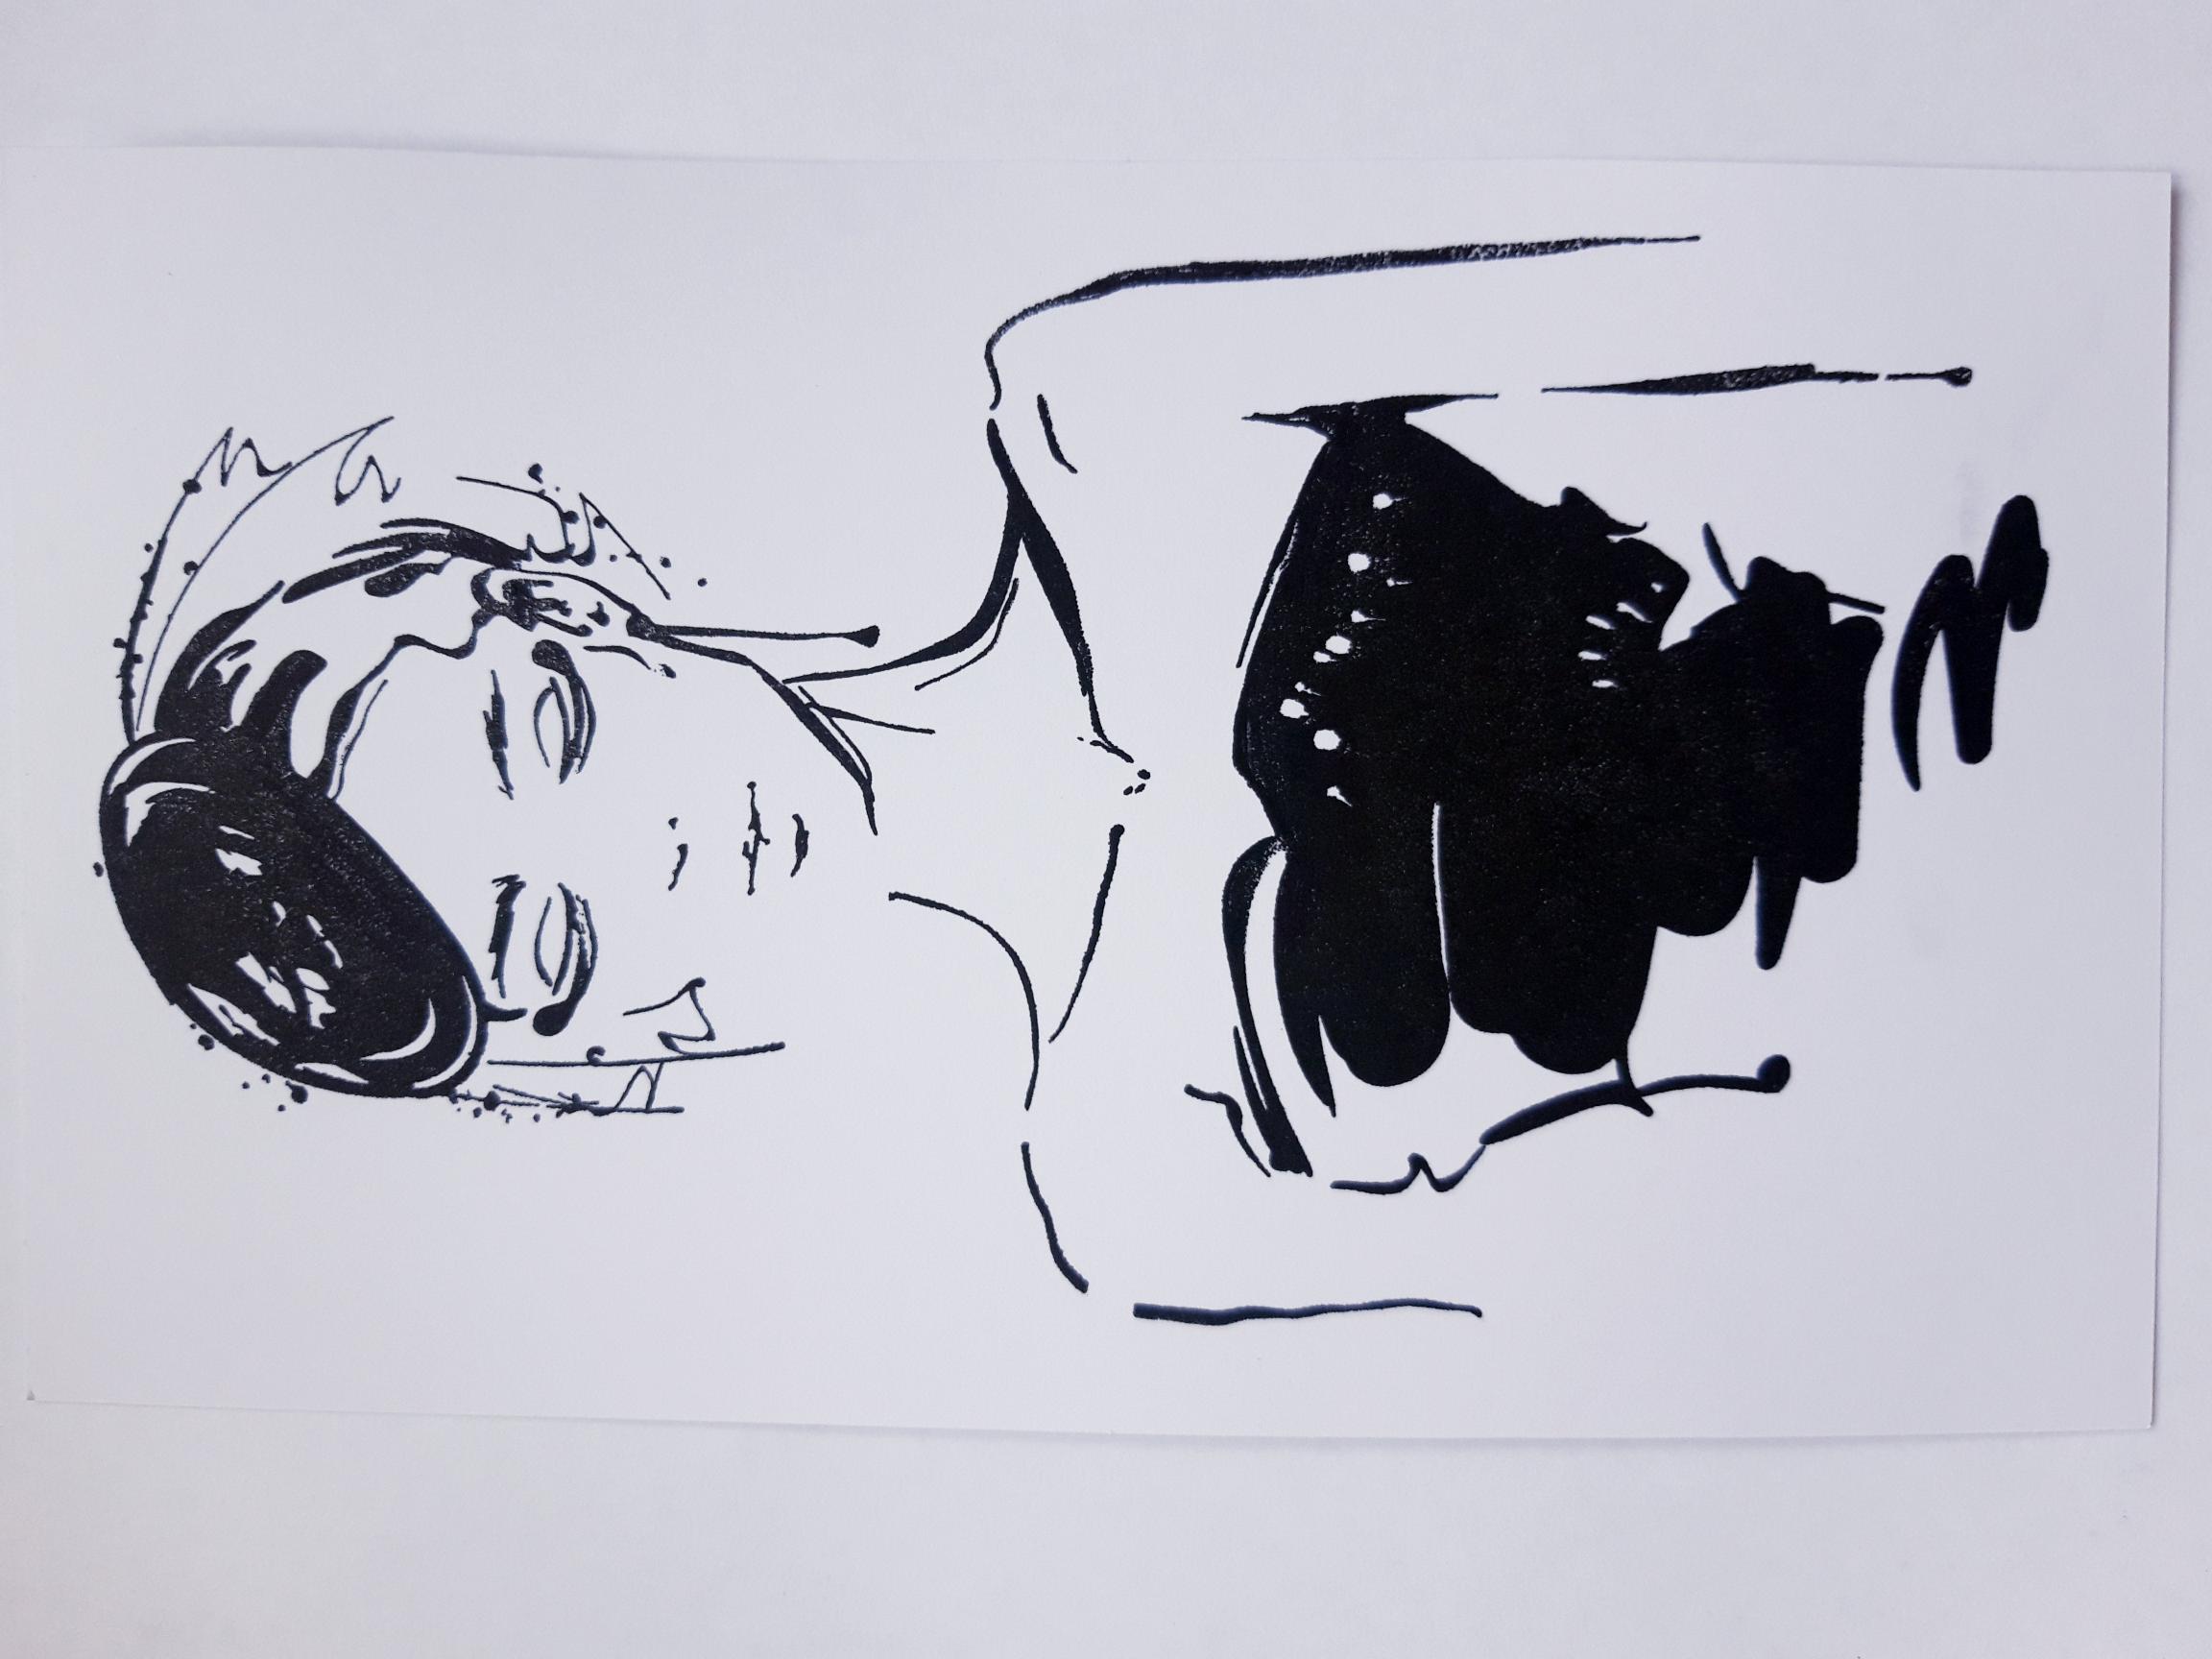
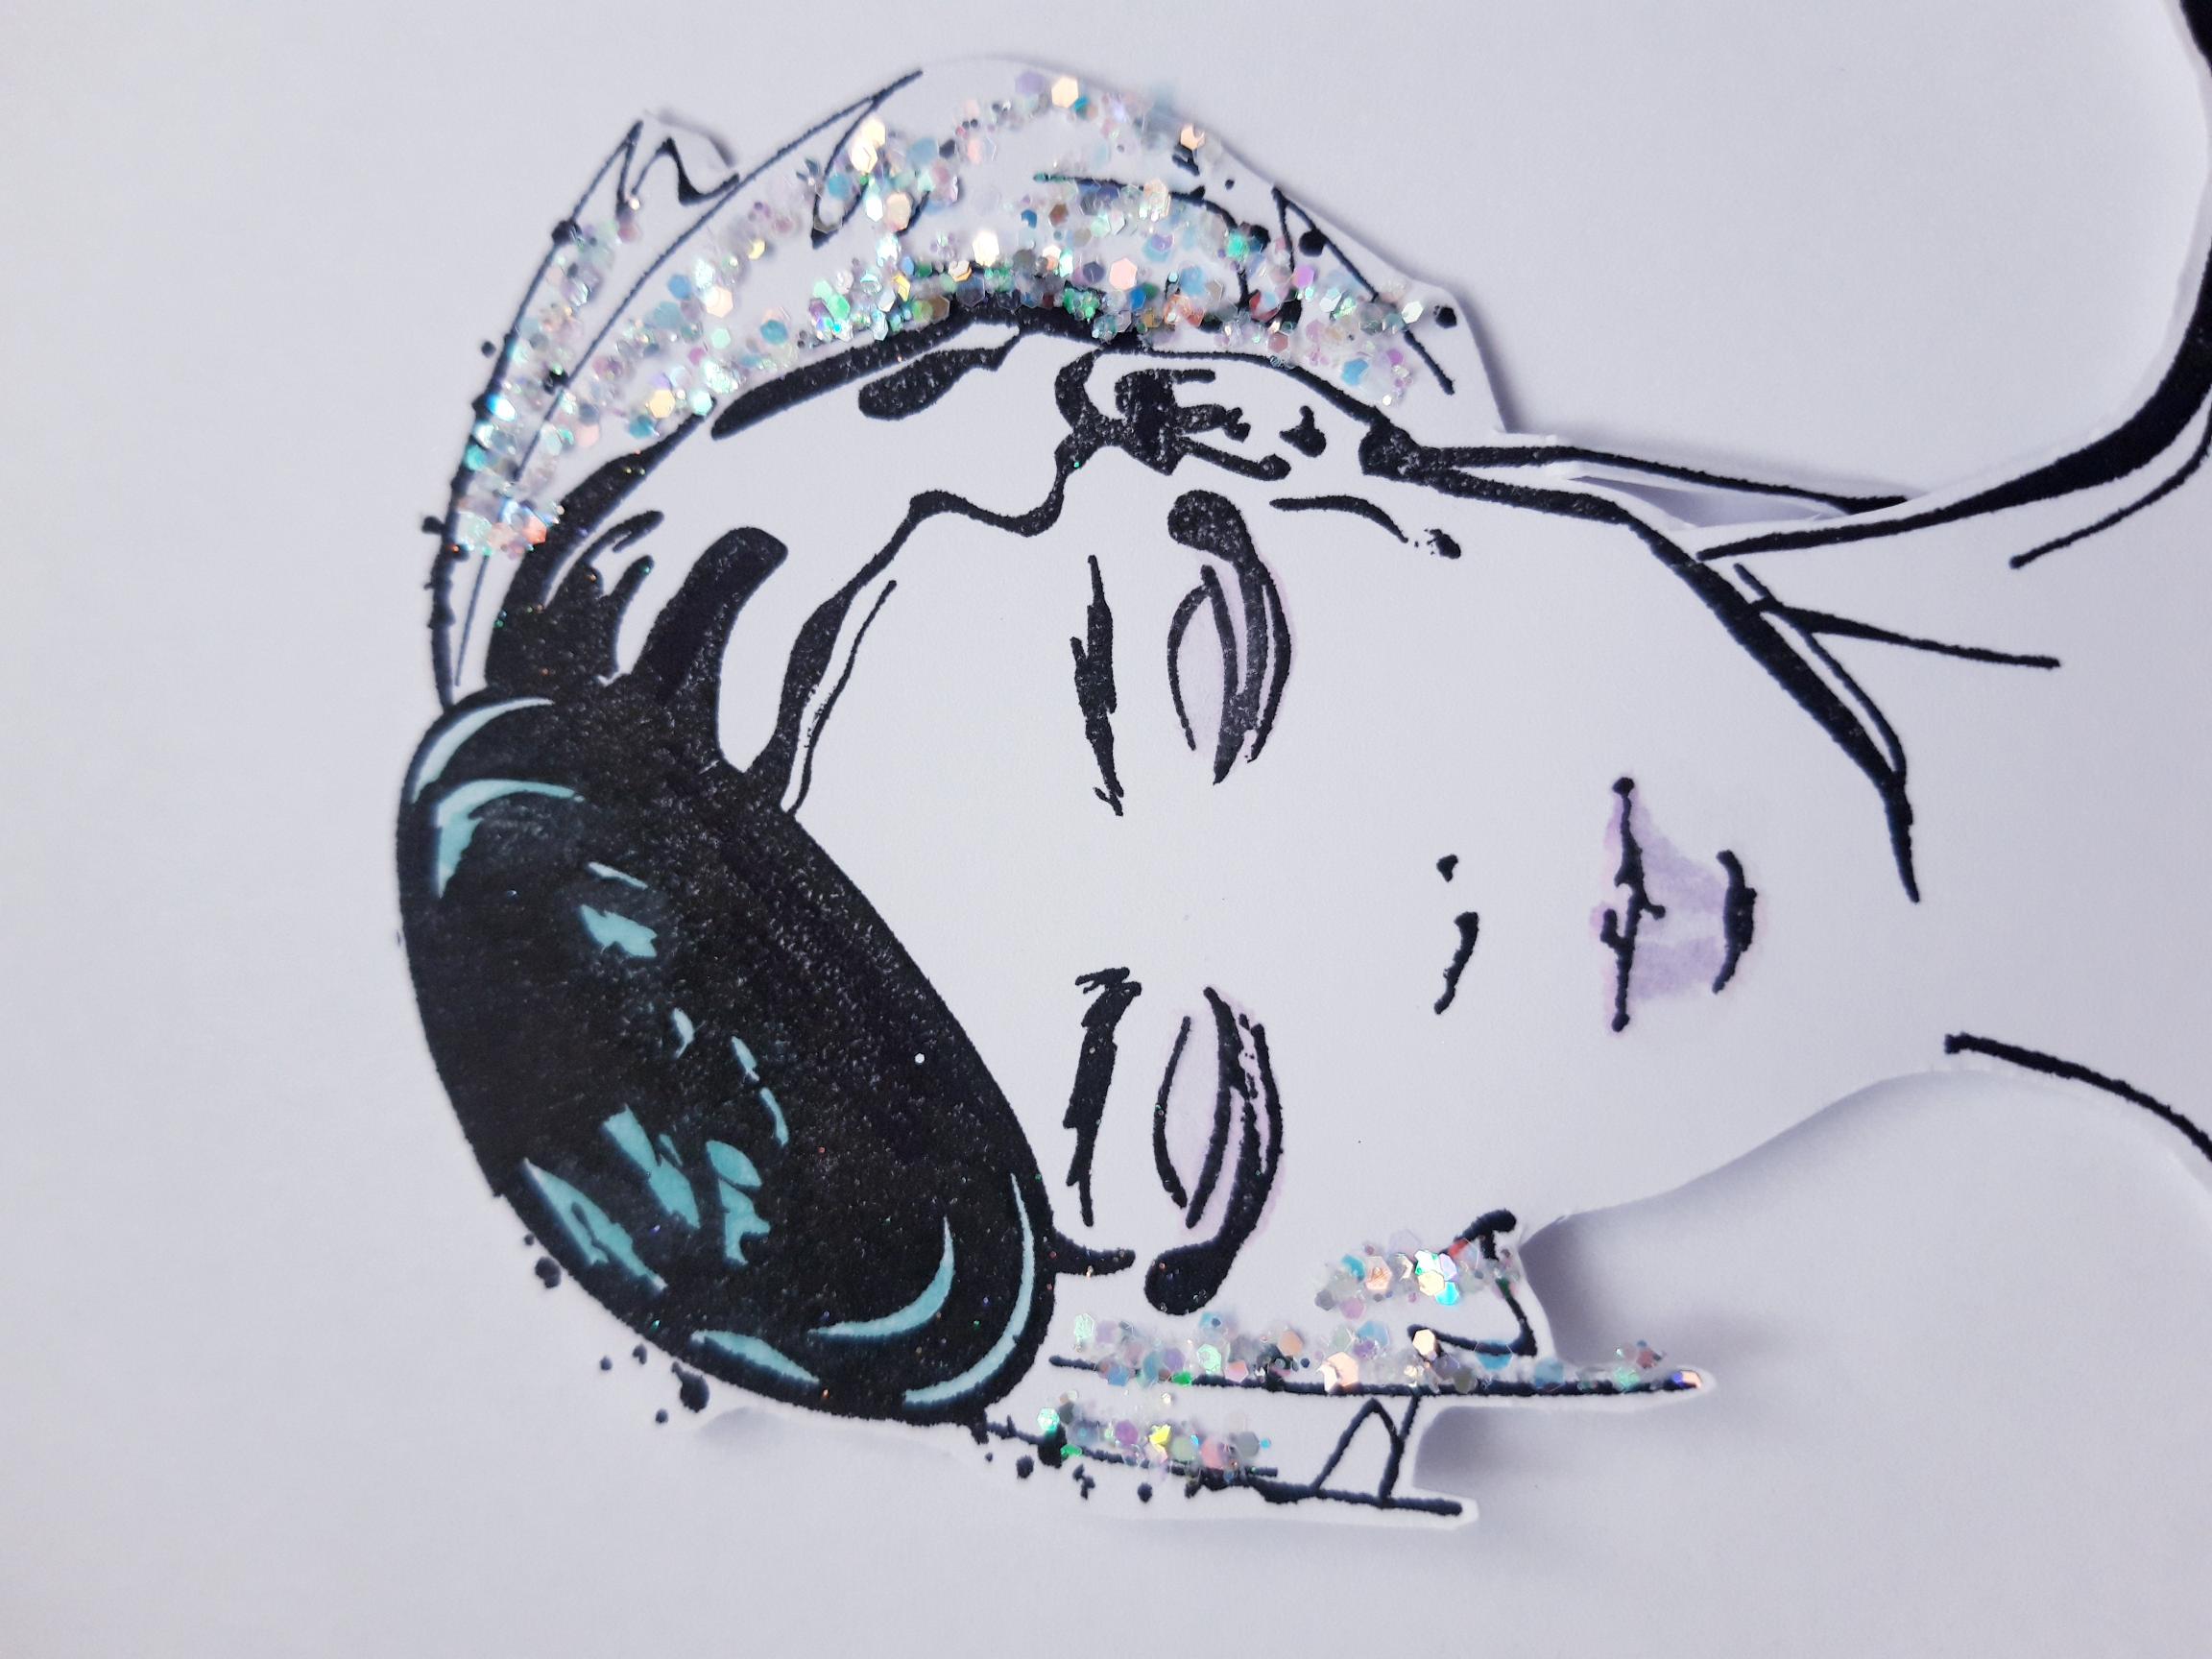
Ink up the stamp from Imala Typical Me, with the Onyx Black Versafine and stamp on to white card, cut to 8 x 5". |
|
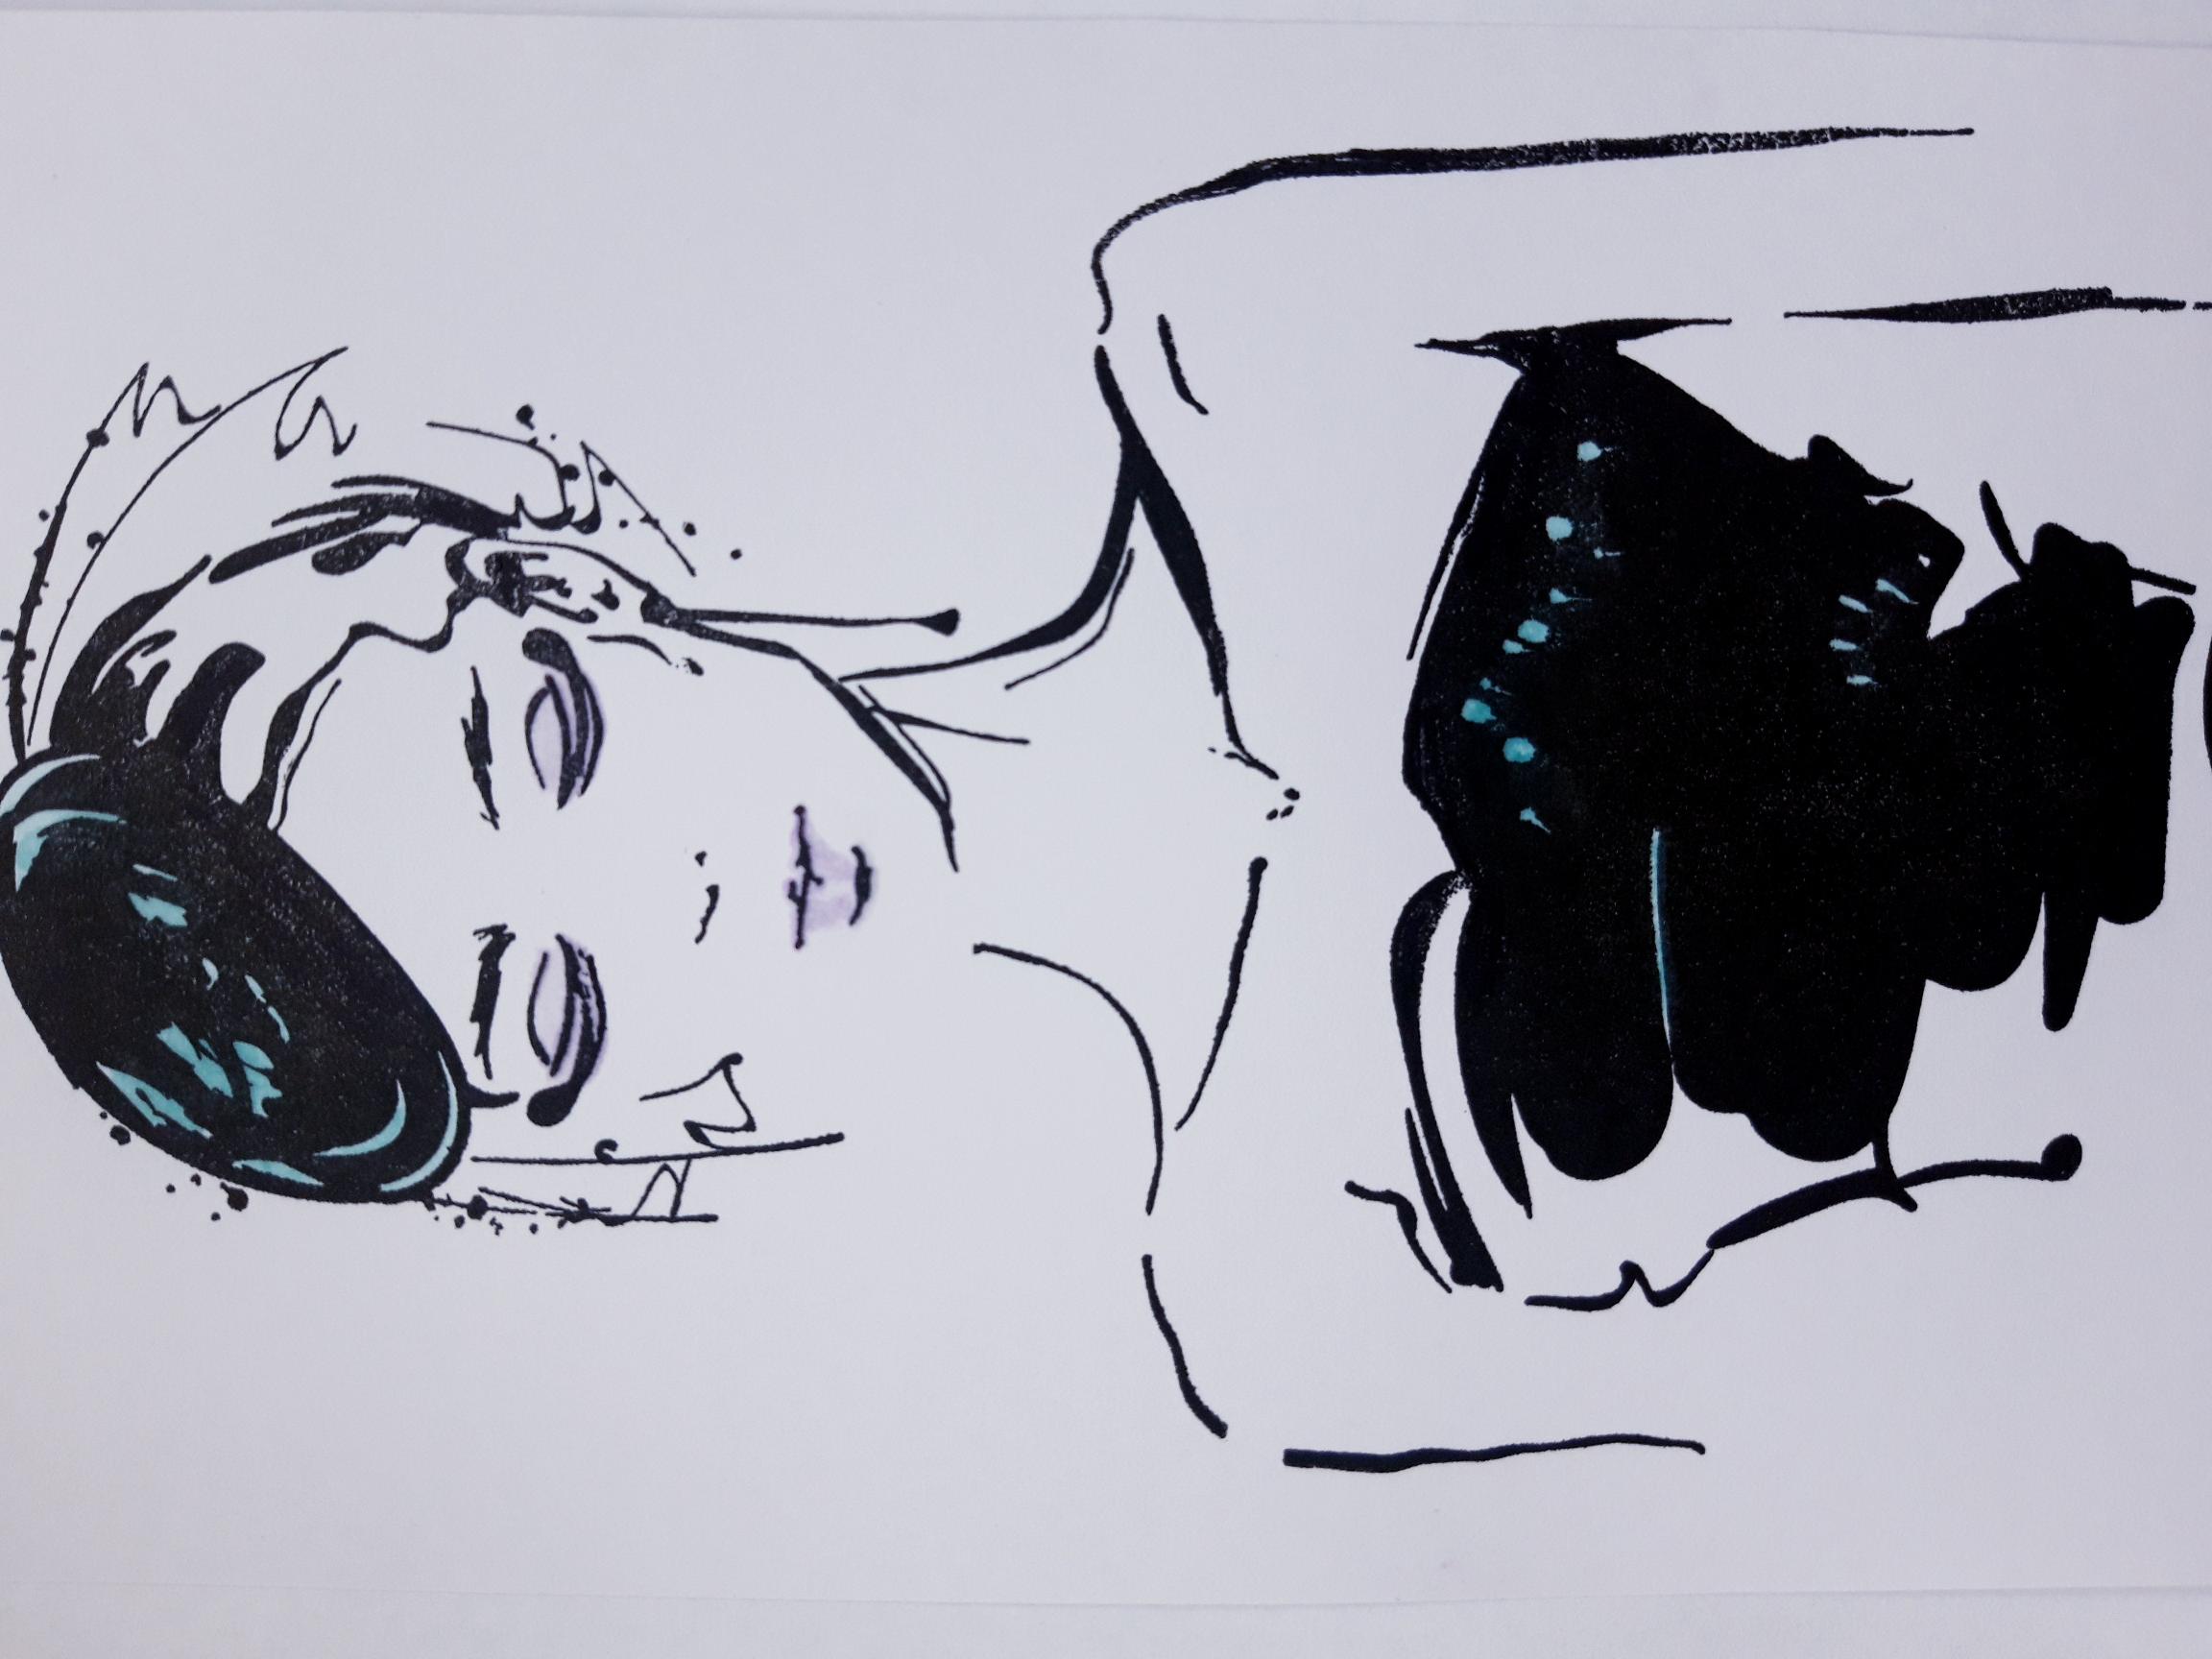
Apply a little of the Villainous Potion and Peacock Feathers Oxides, on to your craft mat. Add a little water and paint her dress, hat, eyes and lips. |
|
Cut out your stamped image, then add Midas glitter to her veil. |
|
Adhere her to your gift bag, to the left of your background. |
|
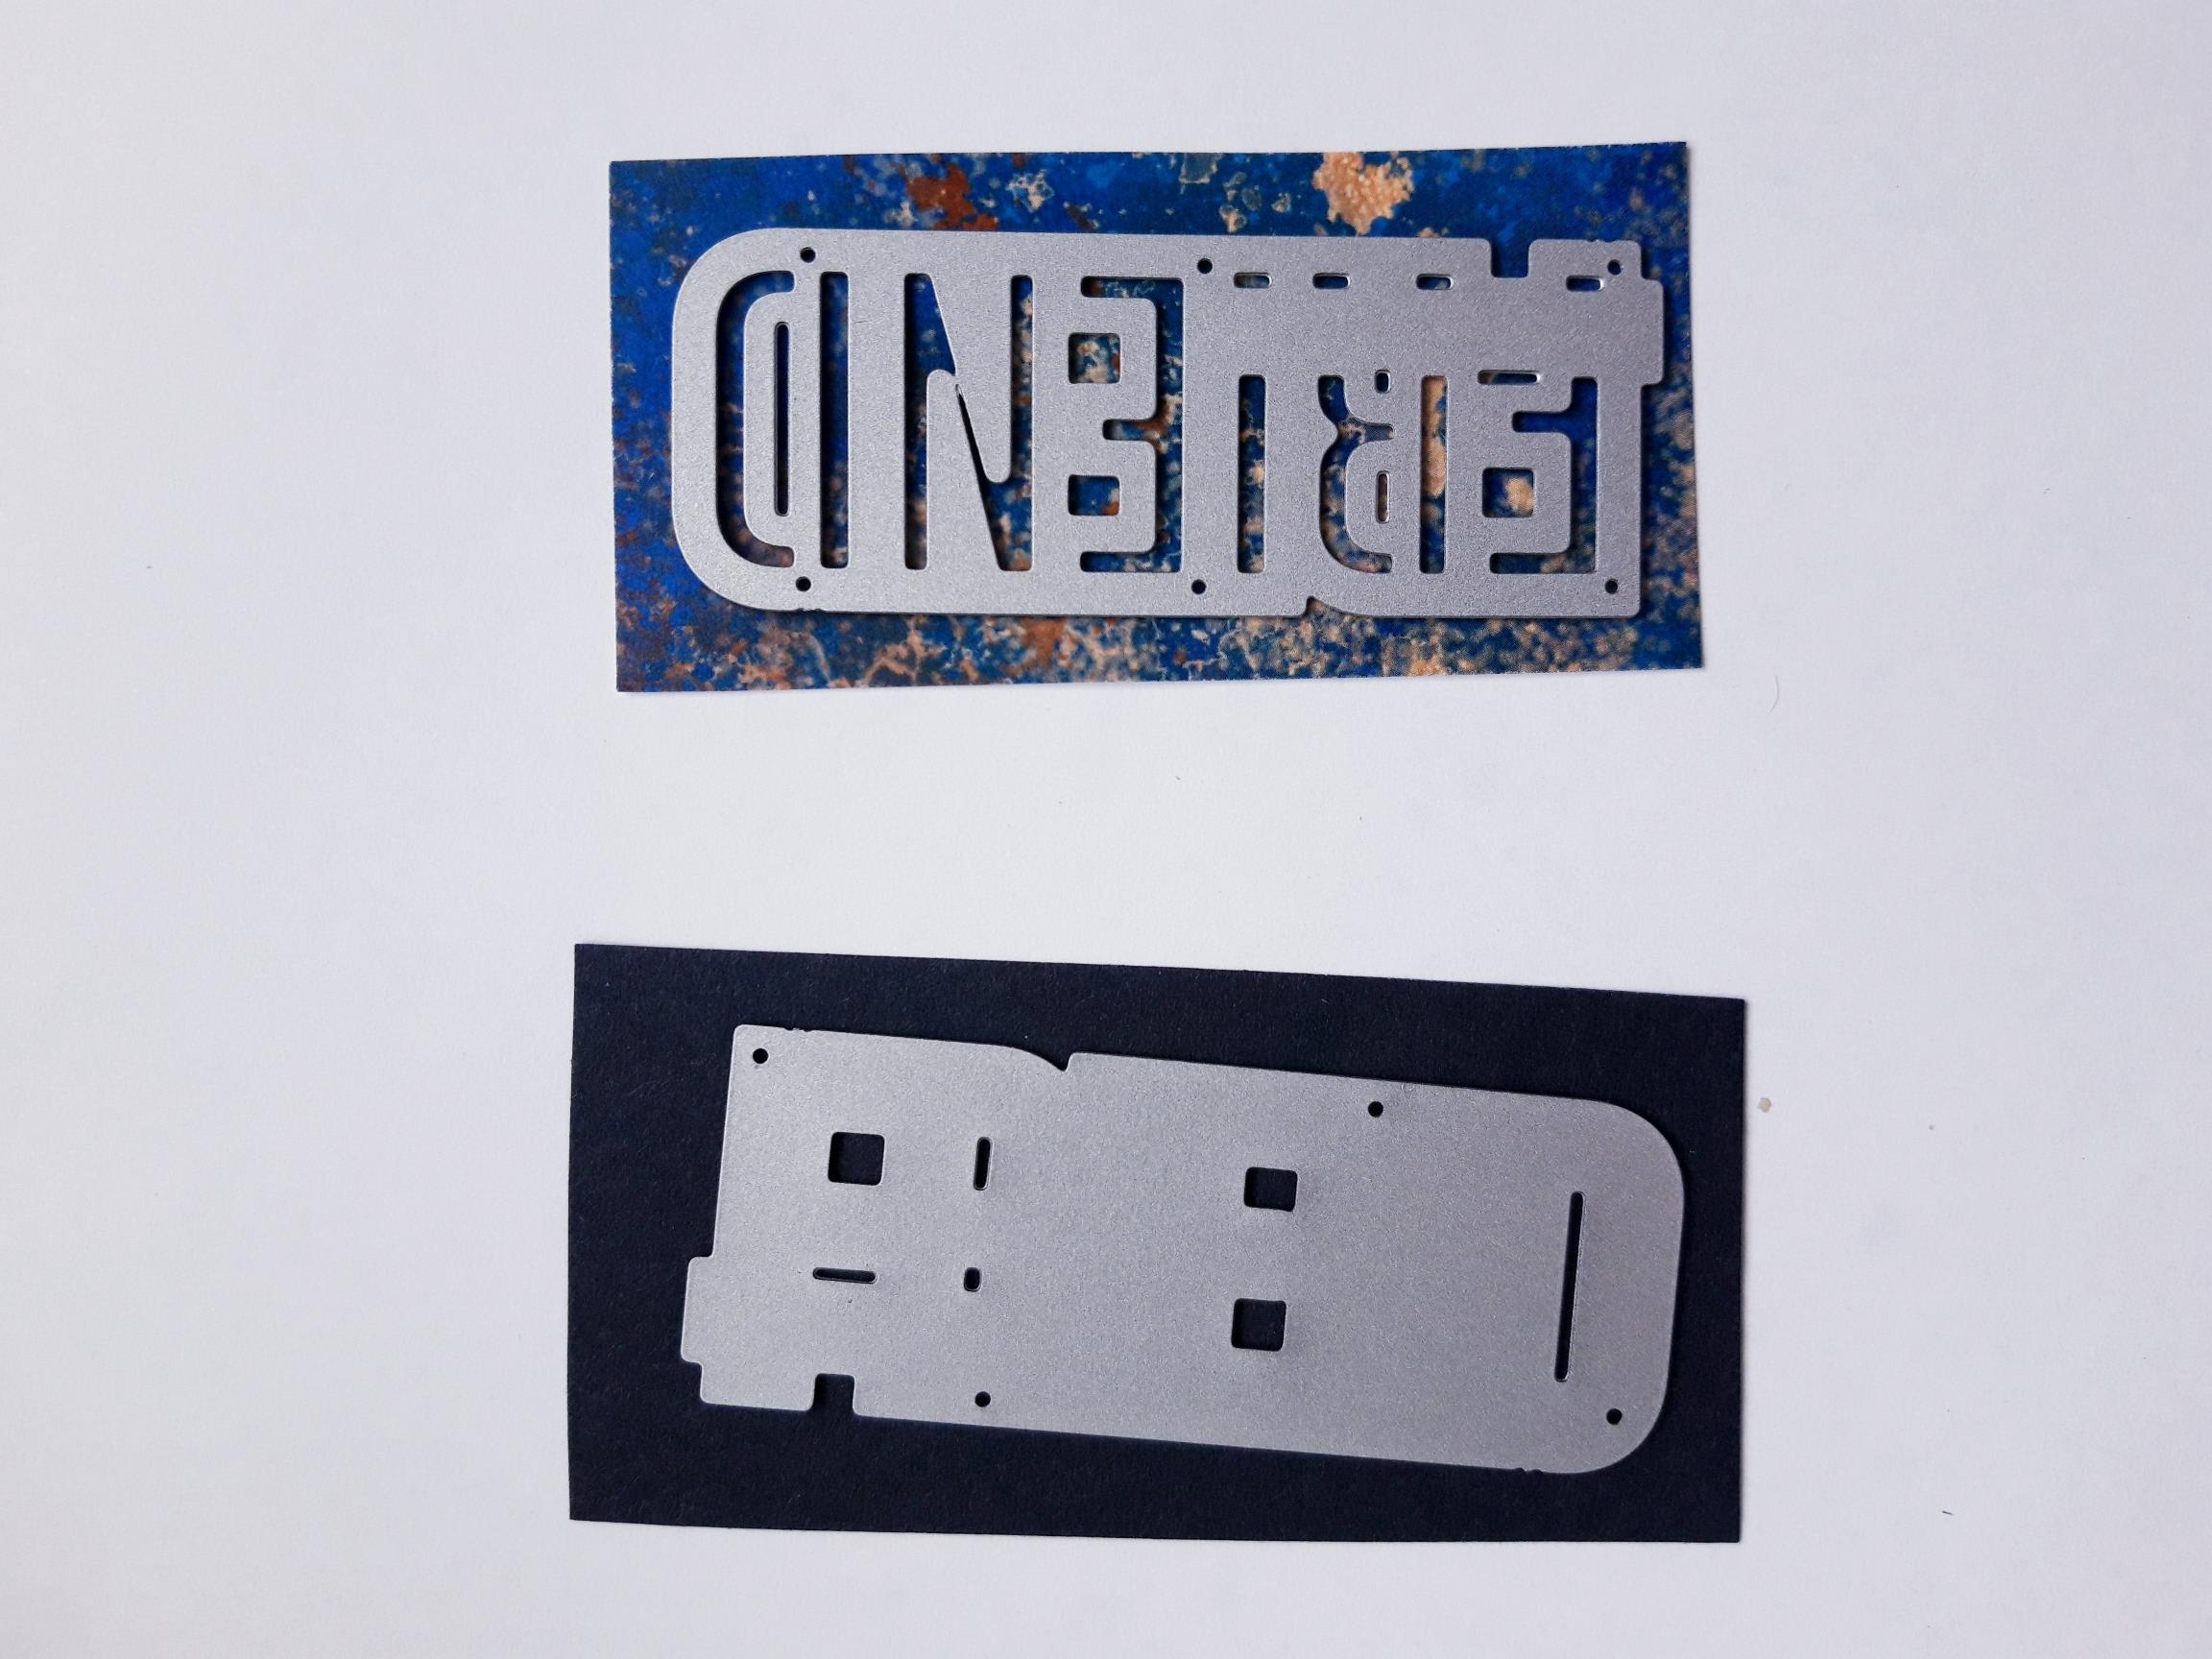
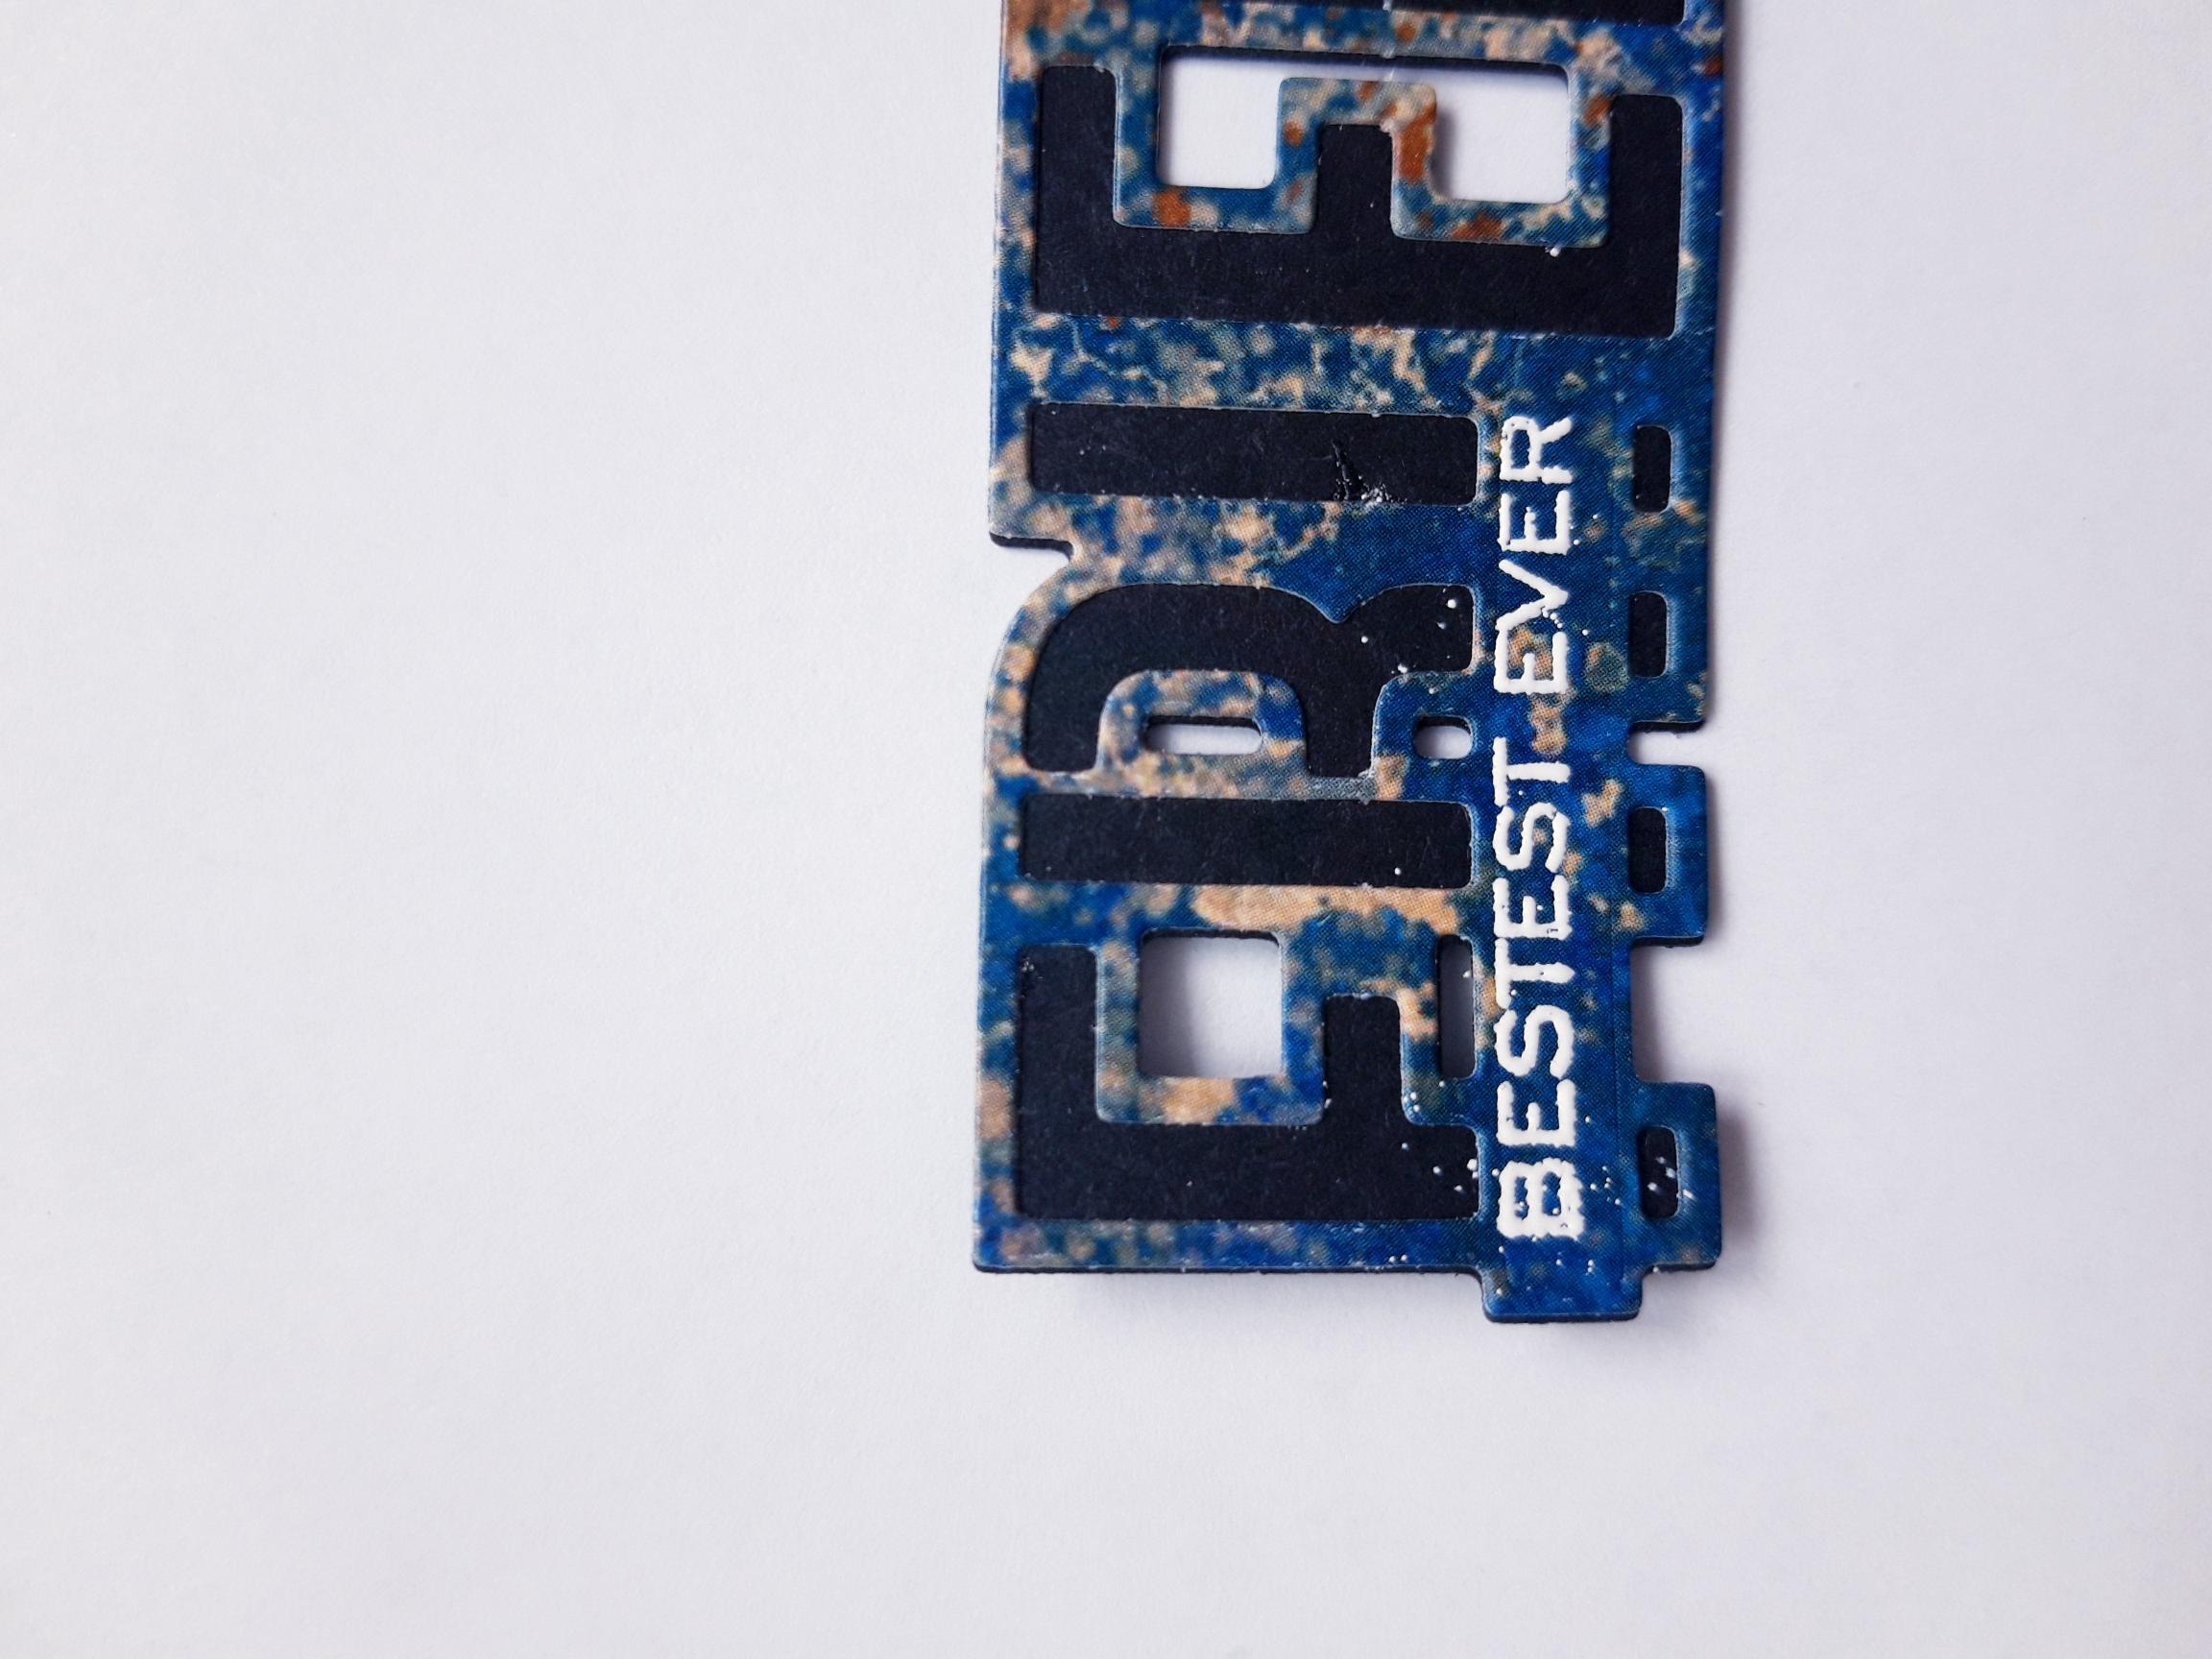
Cut a piece of the leftover Patina decorative paper, to 3 1/2 x 2". Place the detailed FRIEND die, from the As If Stamp and Die Collection, on to the decorative paper. Place the solid coordinating die on to black card (cut to the same size) and run them both through your die cutting machine.
|
|
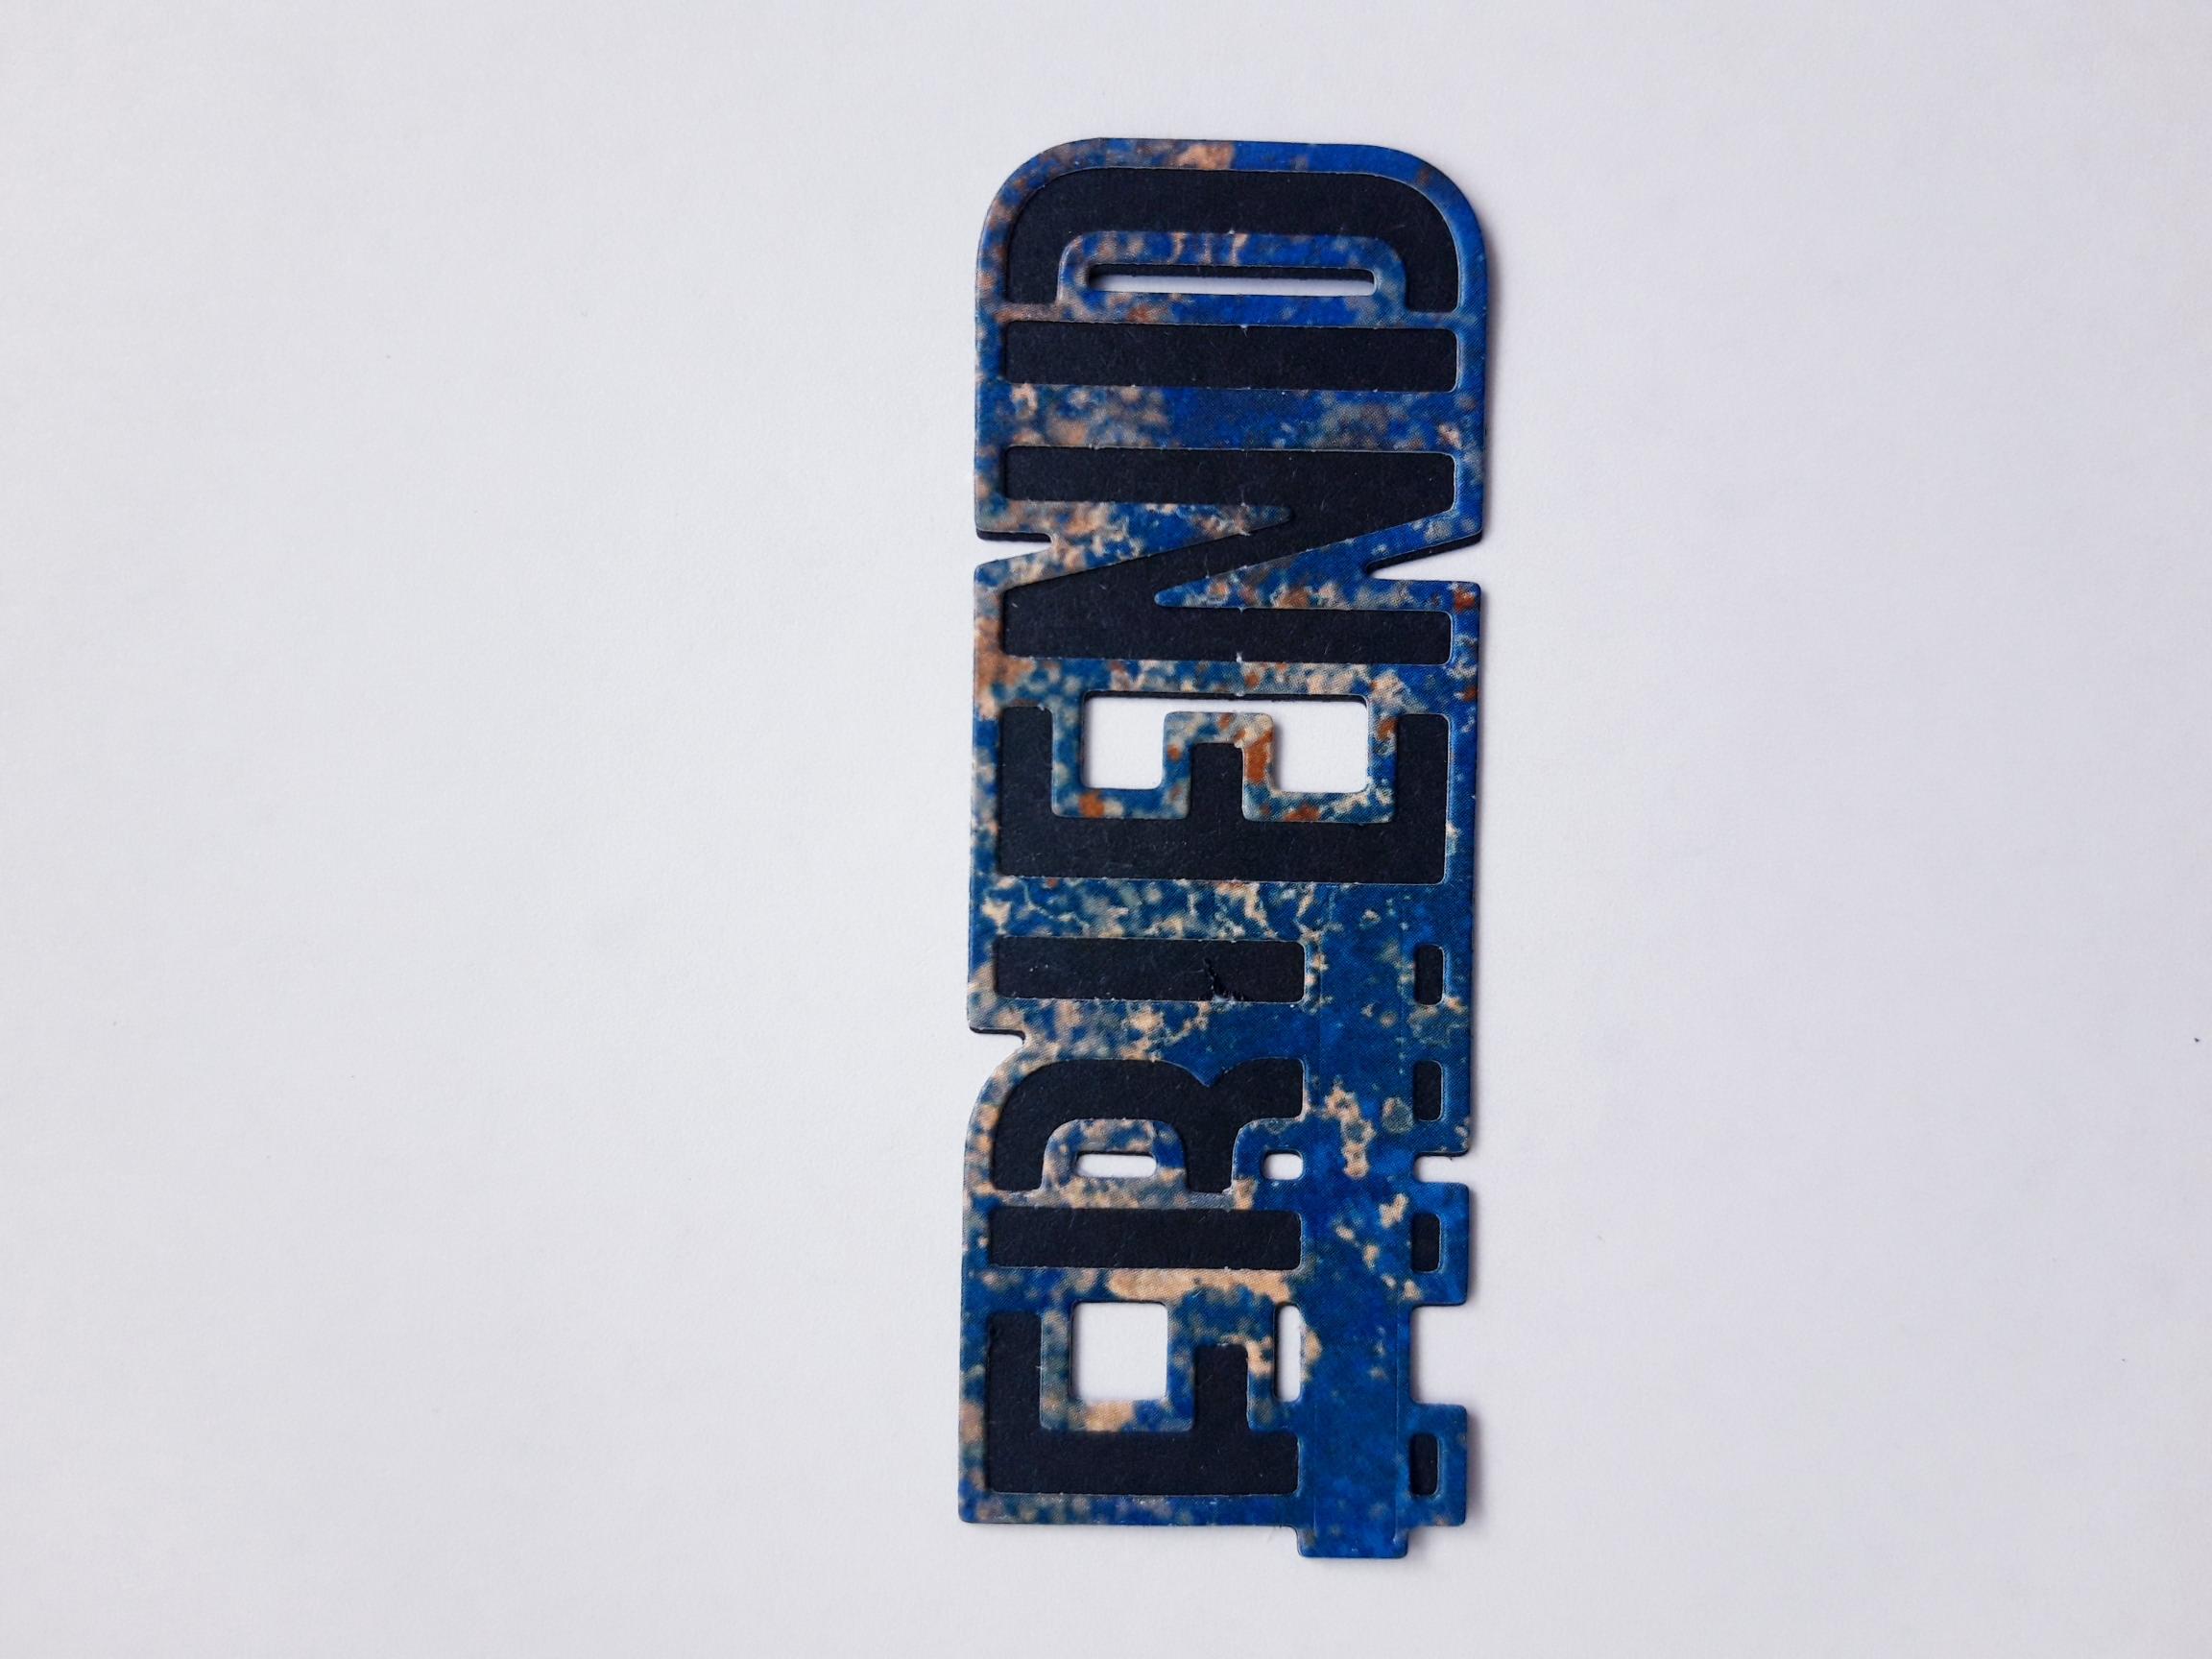
Adhere the detailed die cut on top of the solid, die cut element. |
|
Wipe over the die cut sentiment with your anti-static bag. Ink up your chosen add-on stamp, with the WOW embossing ink and stamp within the panel. Sprinkle the white embossing powder over the stamped sentiment and heat set with your heat tool. Make sure your heat tool is hot before setting the powder, to avoid warping the card or burning the powder. |
|
To finish, adhere your sentiment to the bottom right of artwork, as seen here. |