Give your friends $10 off their first order!
Refer a FRIEND


WHAT YOU WILL NEED
White card blank 7 x 7"
Black card 6 x 6"
White card 5 3/4 x 5 3/4"
White card 2 x 2"
White card 4 x 4"
Signature Watercolour 3D Boxed In Embossing Folder
Your Only Limit Is You Stamp Collection
Trust Your Journey Stamp And Die Collection
Versafine Ink Pad: Onyx Black
Izink Dye ink spray: Rusty Saffron, Liquorice
Water spray bottle
Gilding Wax: Silver
Black pen
White gel pen
Eureka 101
Paper Trimmer
Perfect Together Glue
Low tack tape
Die Cutting machine
[click image to enlarge] 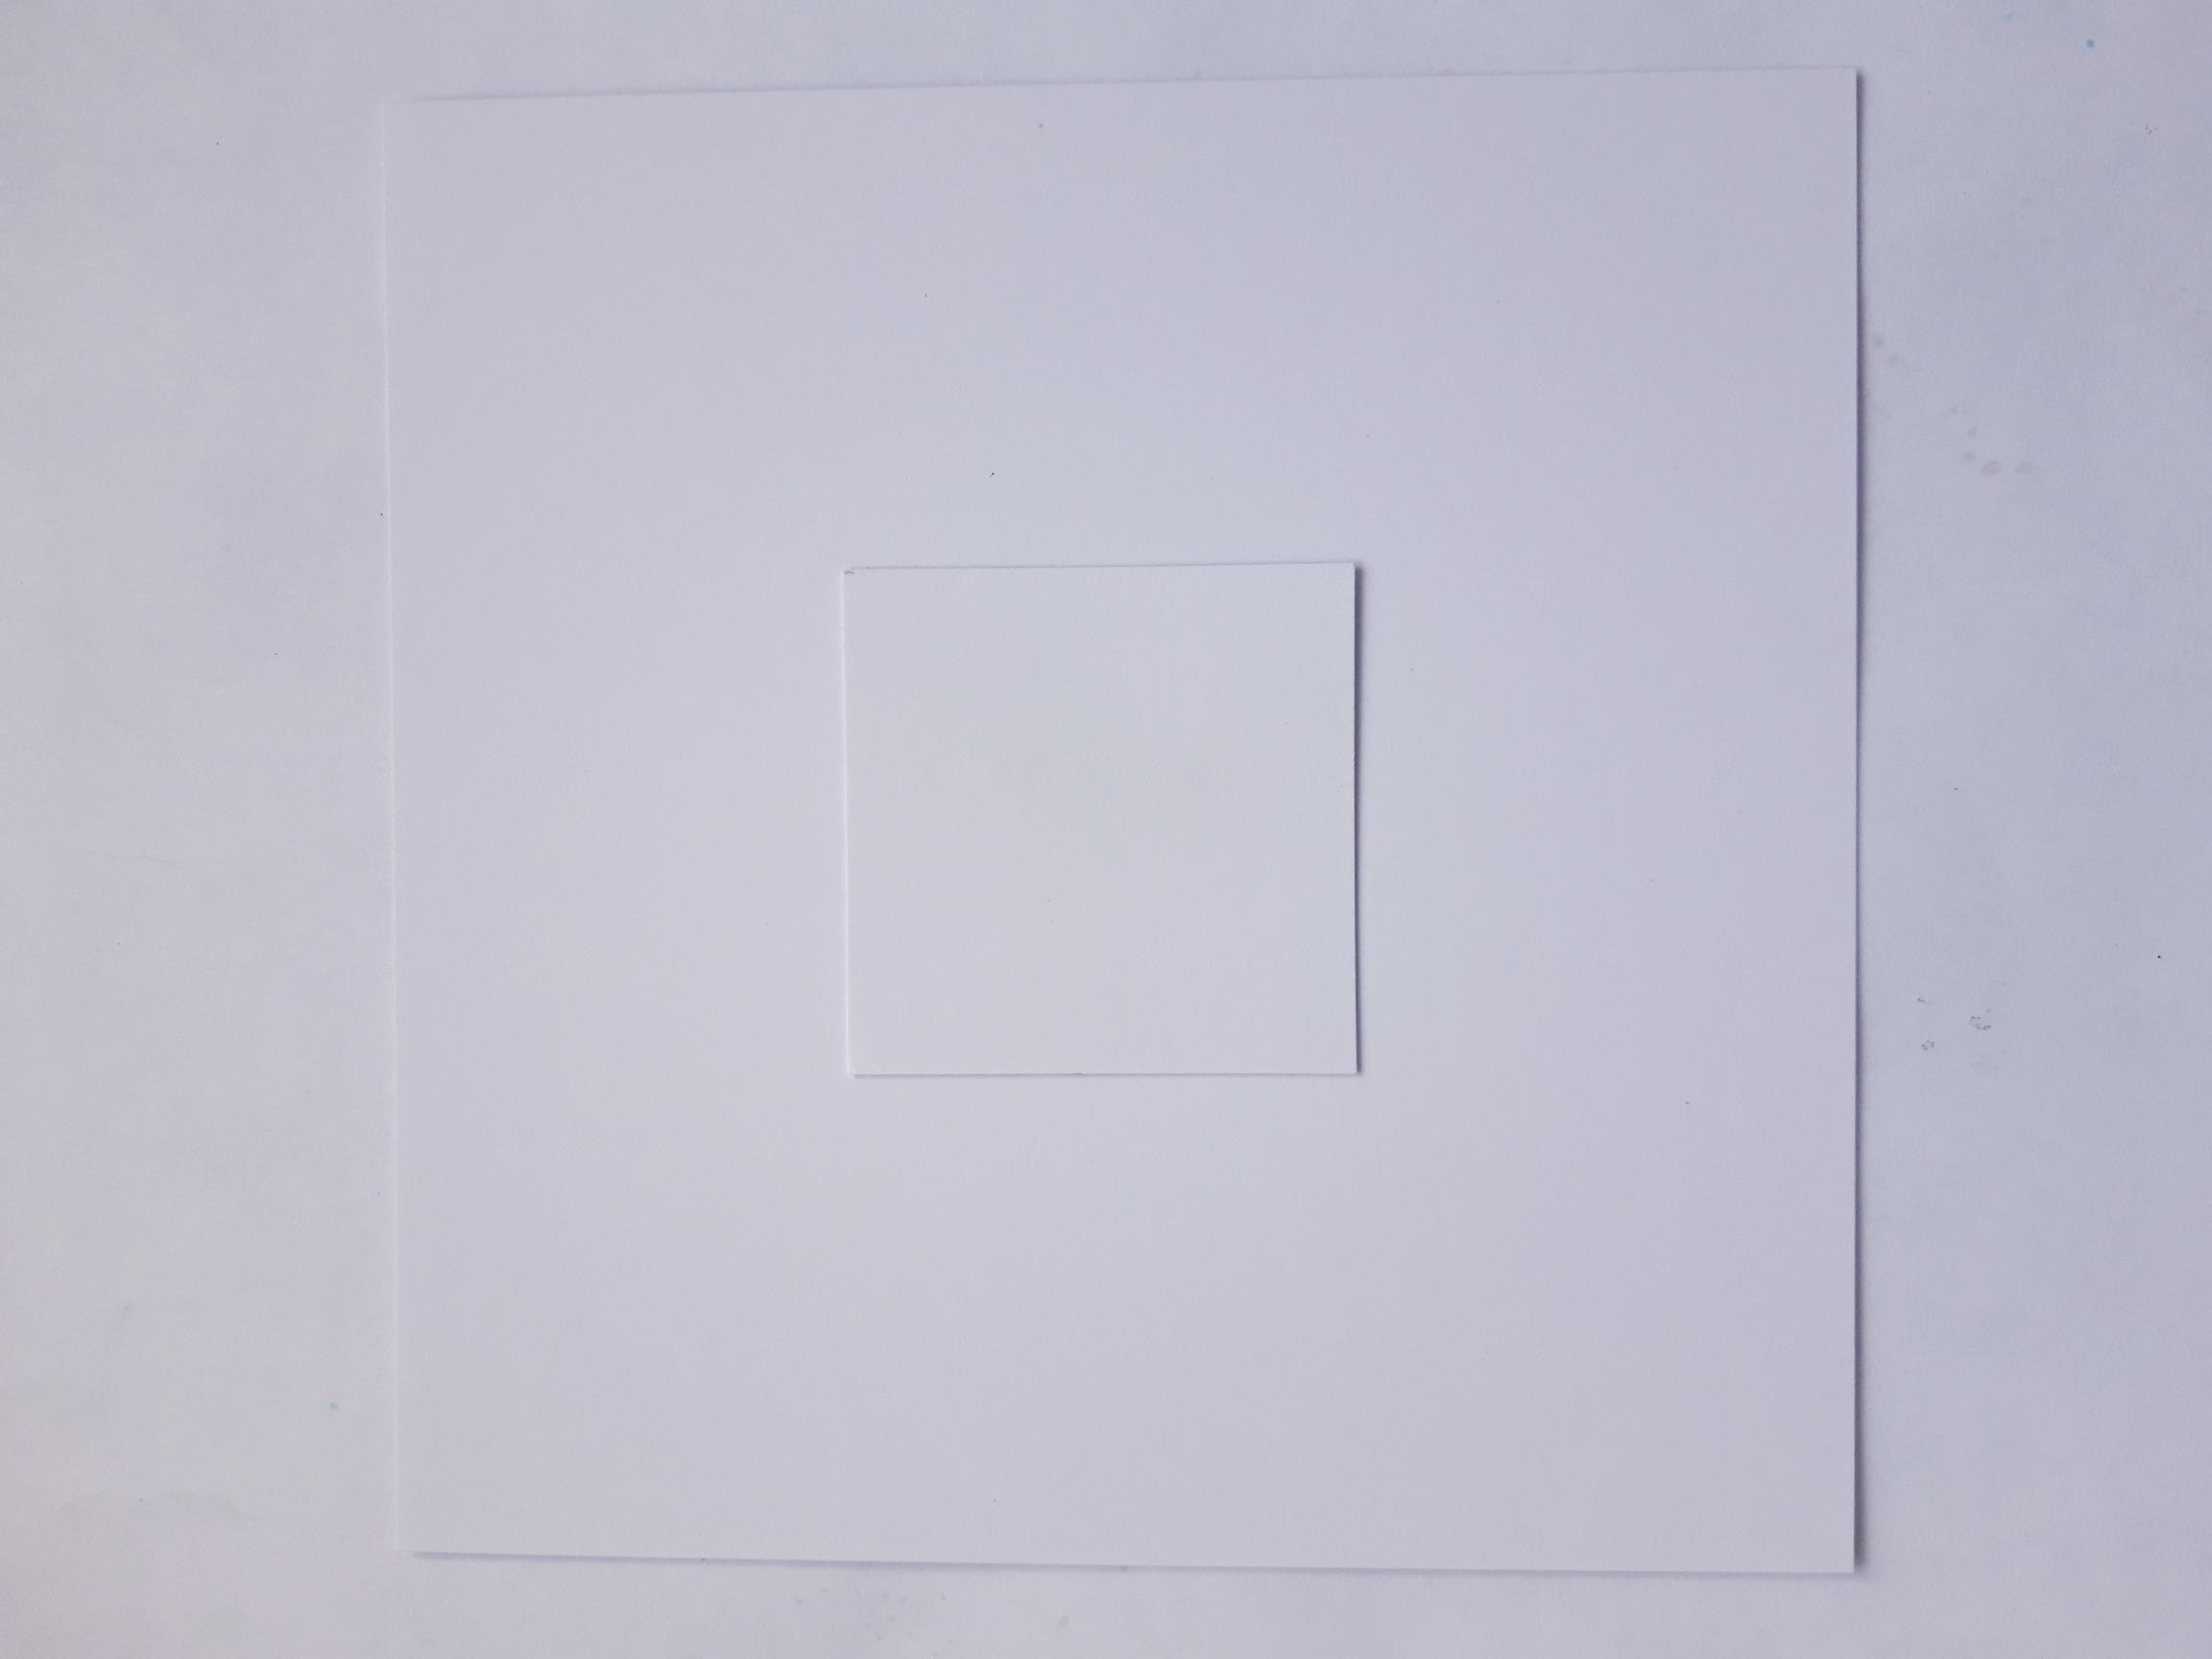
|
Adhere the white card (2 x 2") in the centre of the white card (5 3/4 x 5 3/4"), with low tack tape. |
|
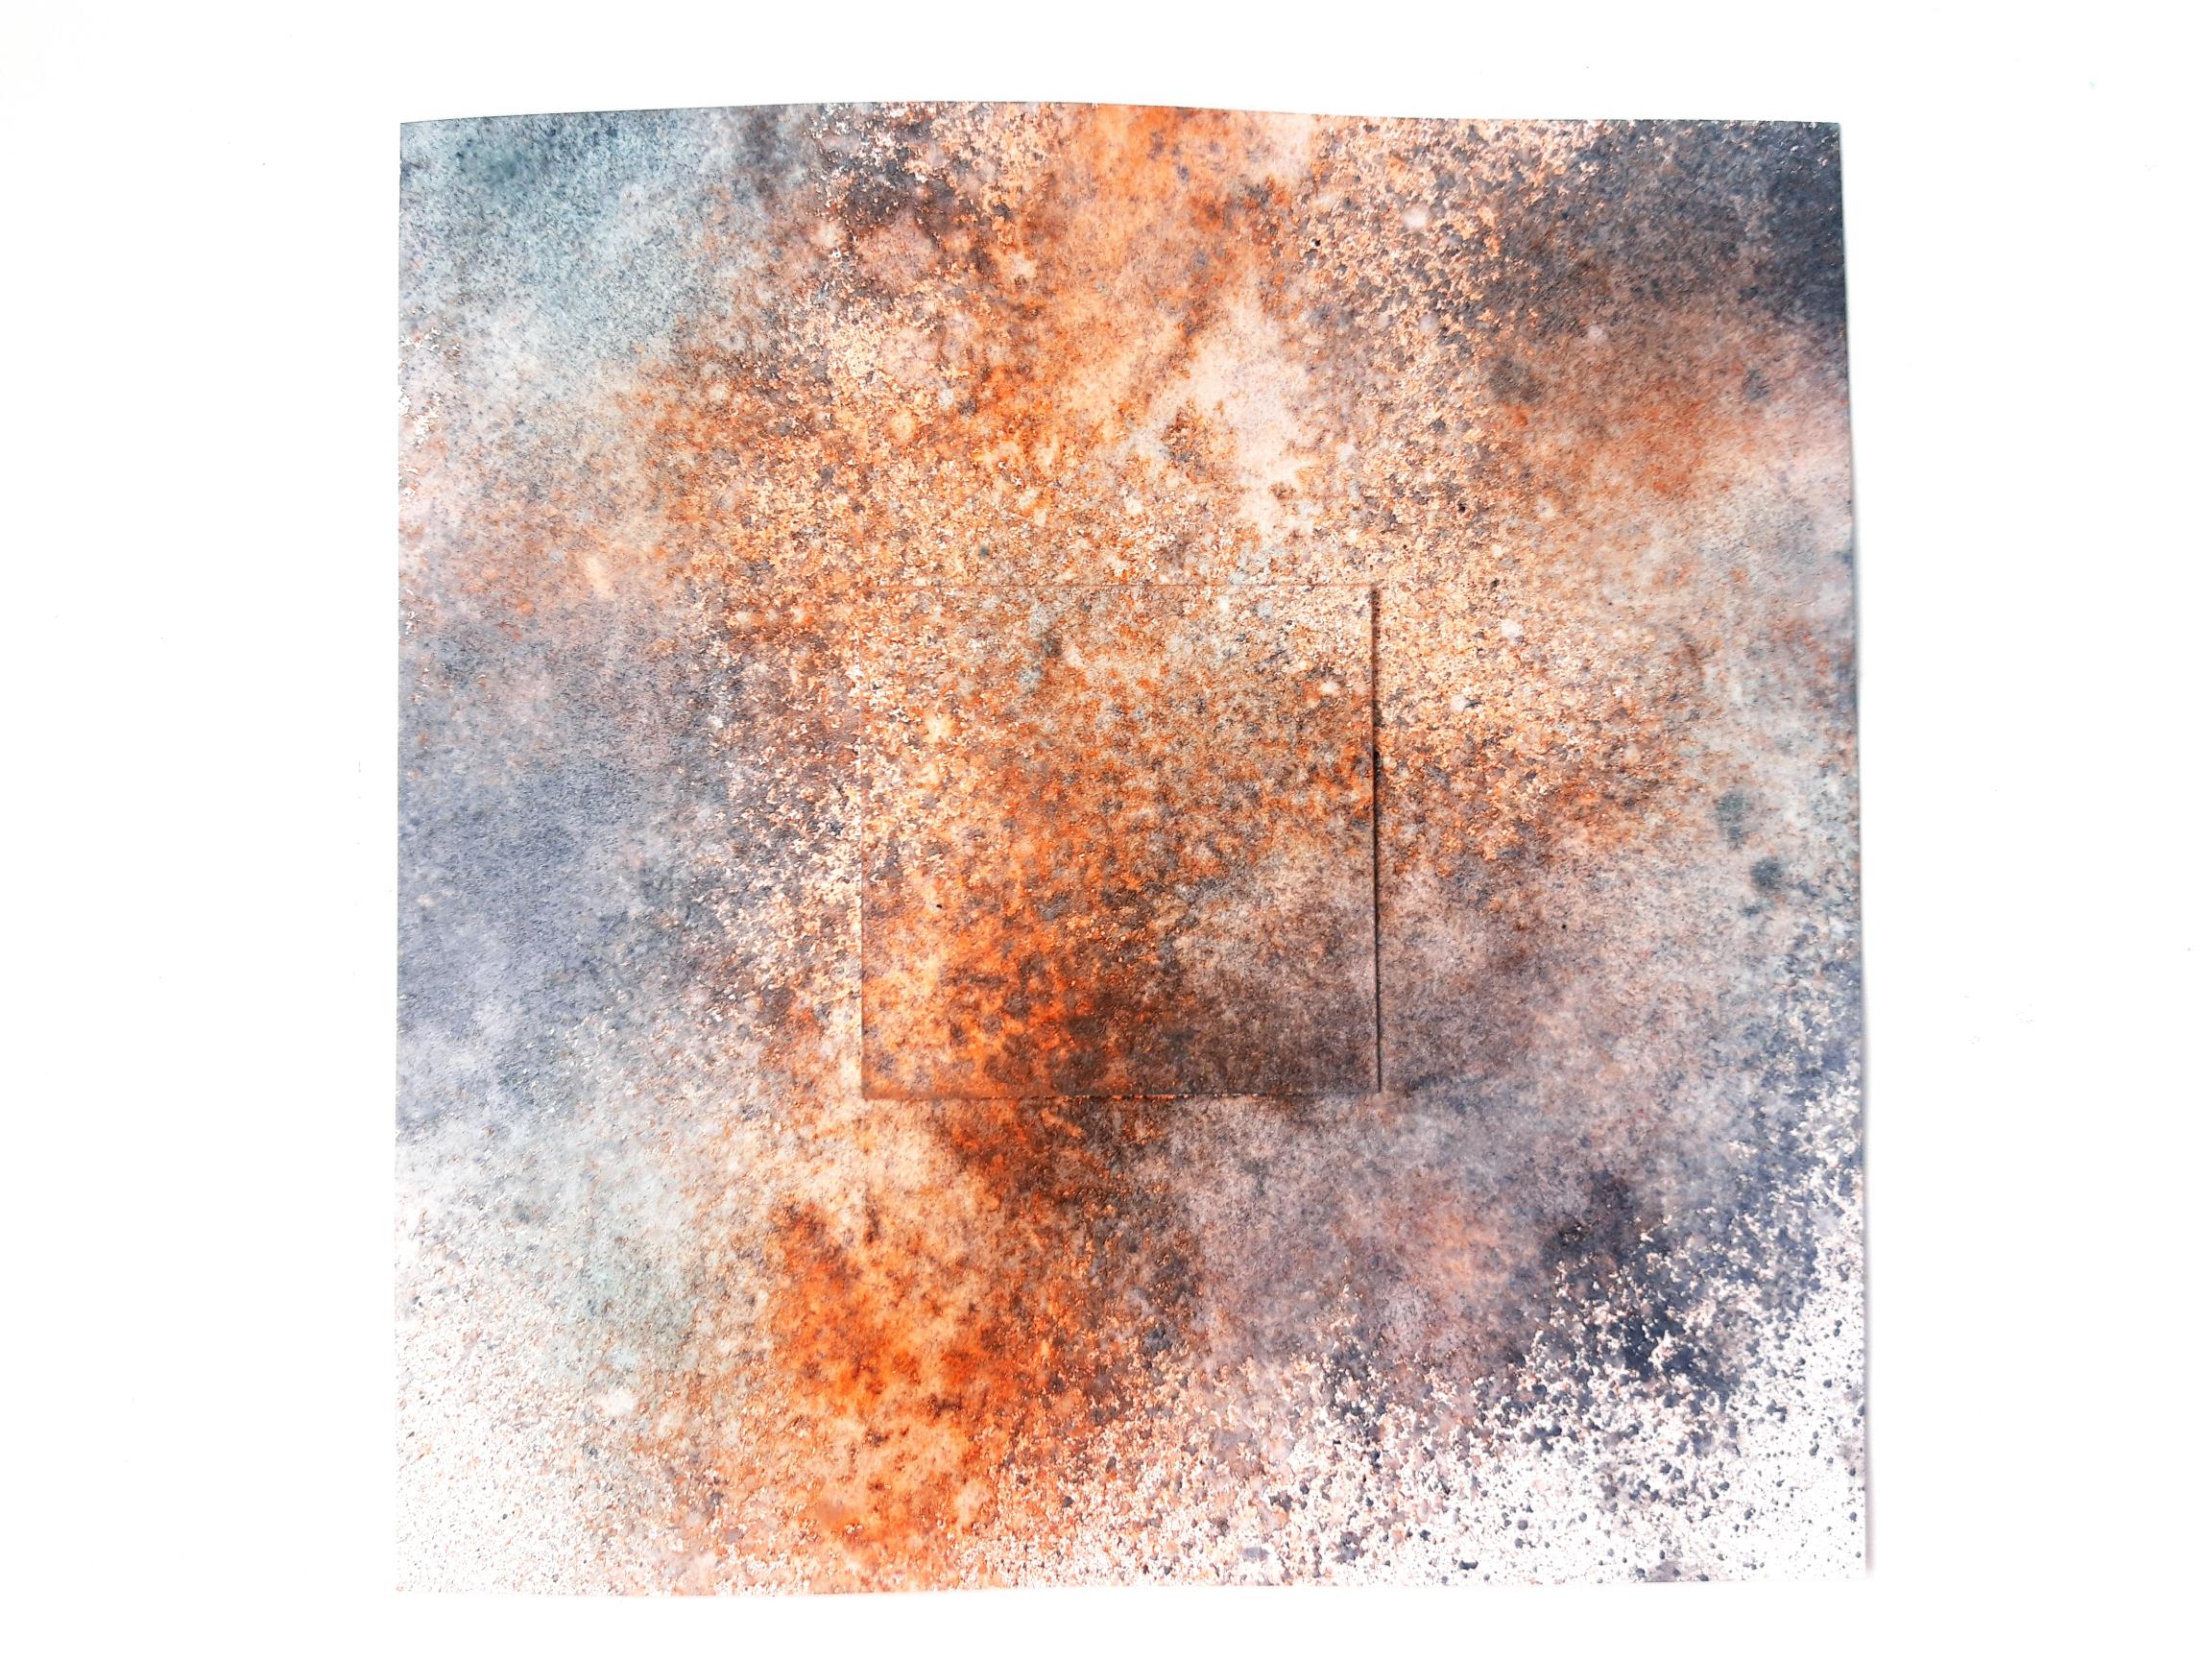
Randomly spray your card with the Rusty Saffron and Liquorice Izink sprays, until you are happy with the effect achieved. I wanted the Rusty Saffron to be the dominant colour, but the choice is yours. |
|
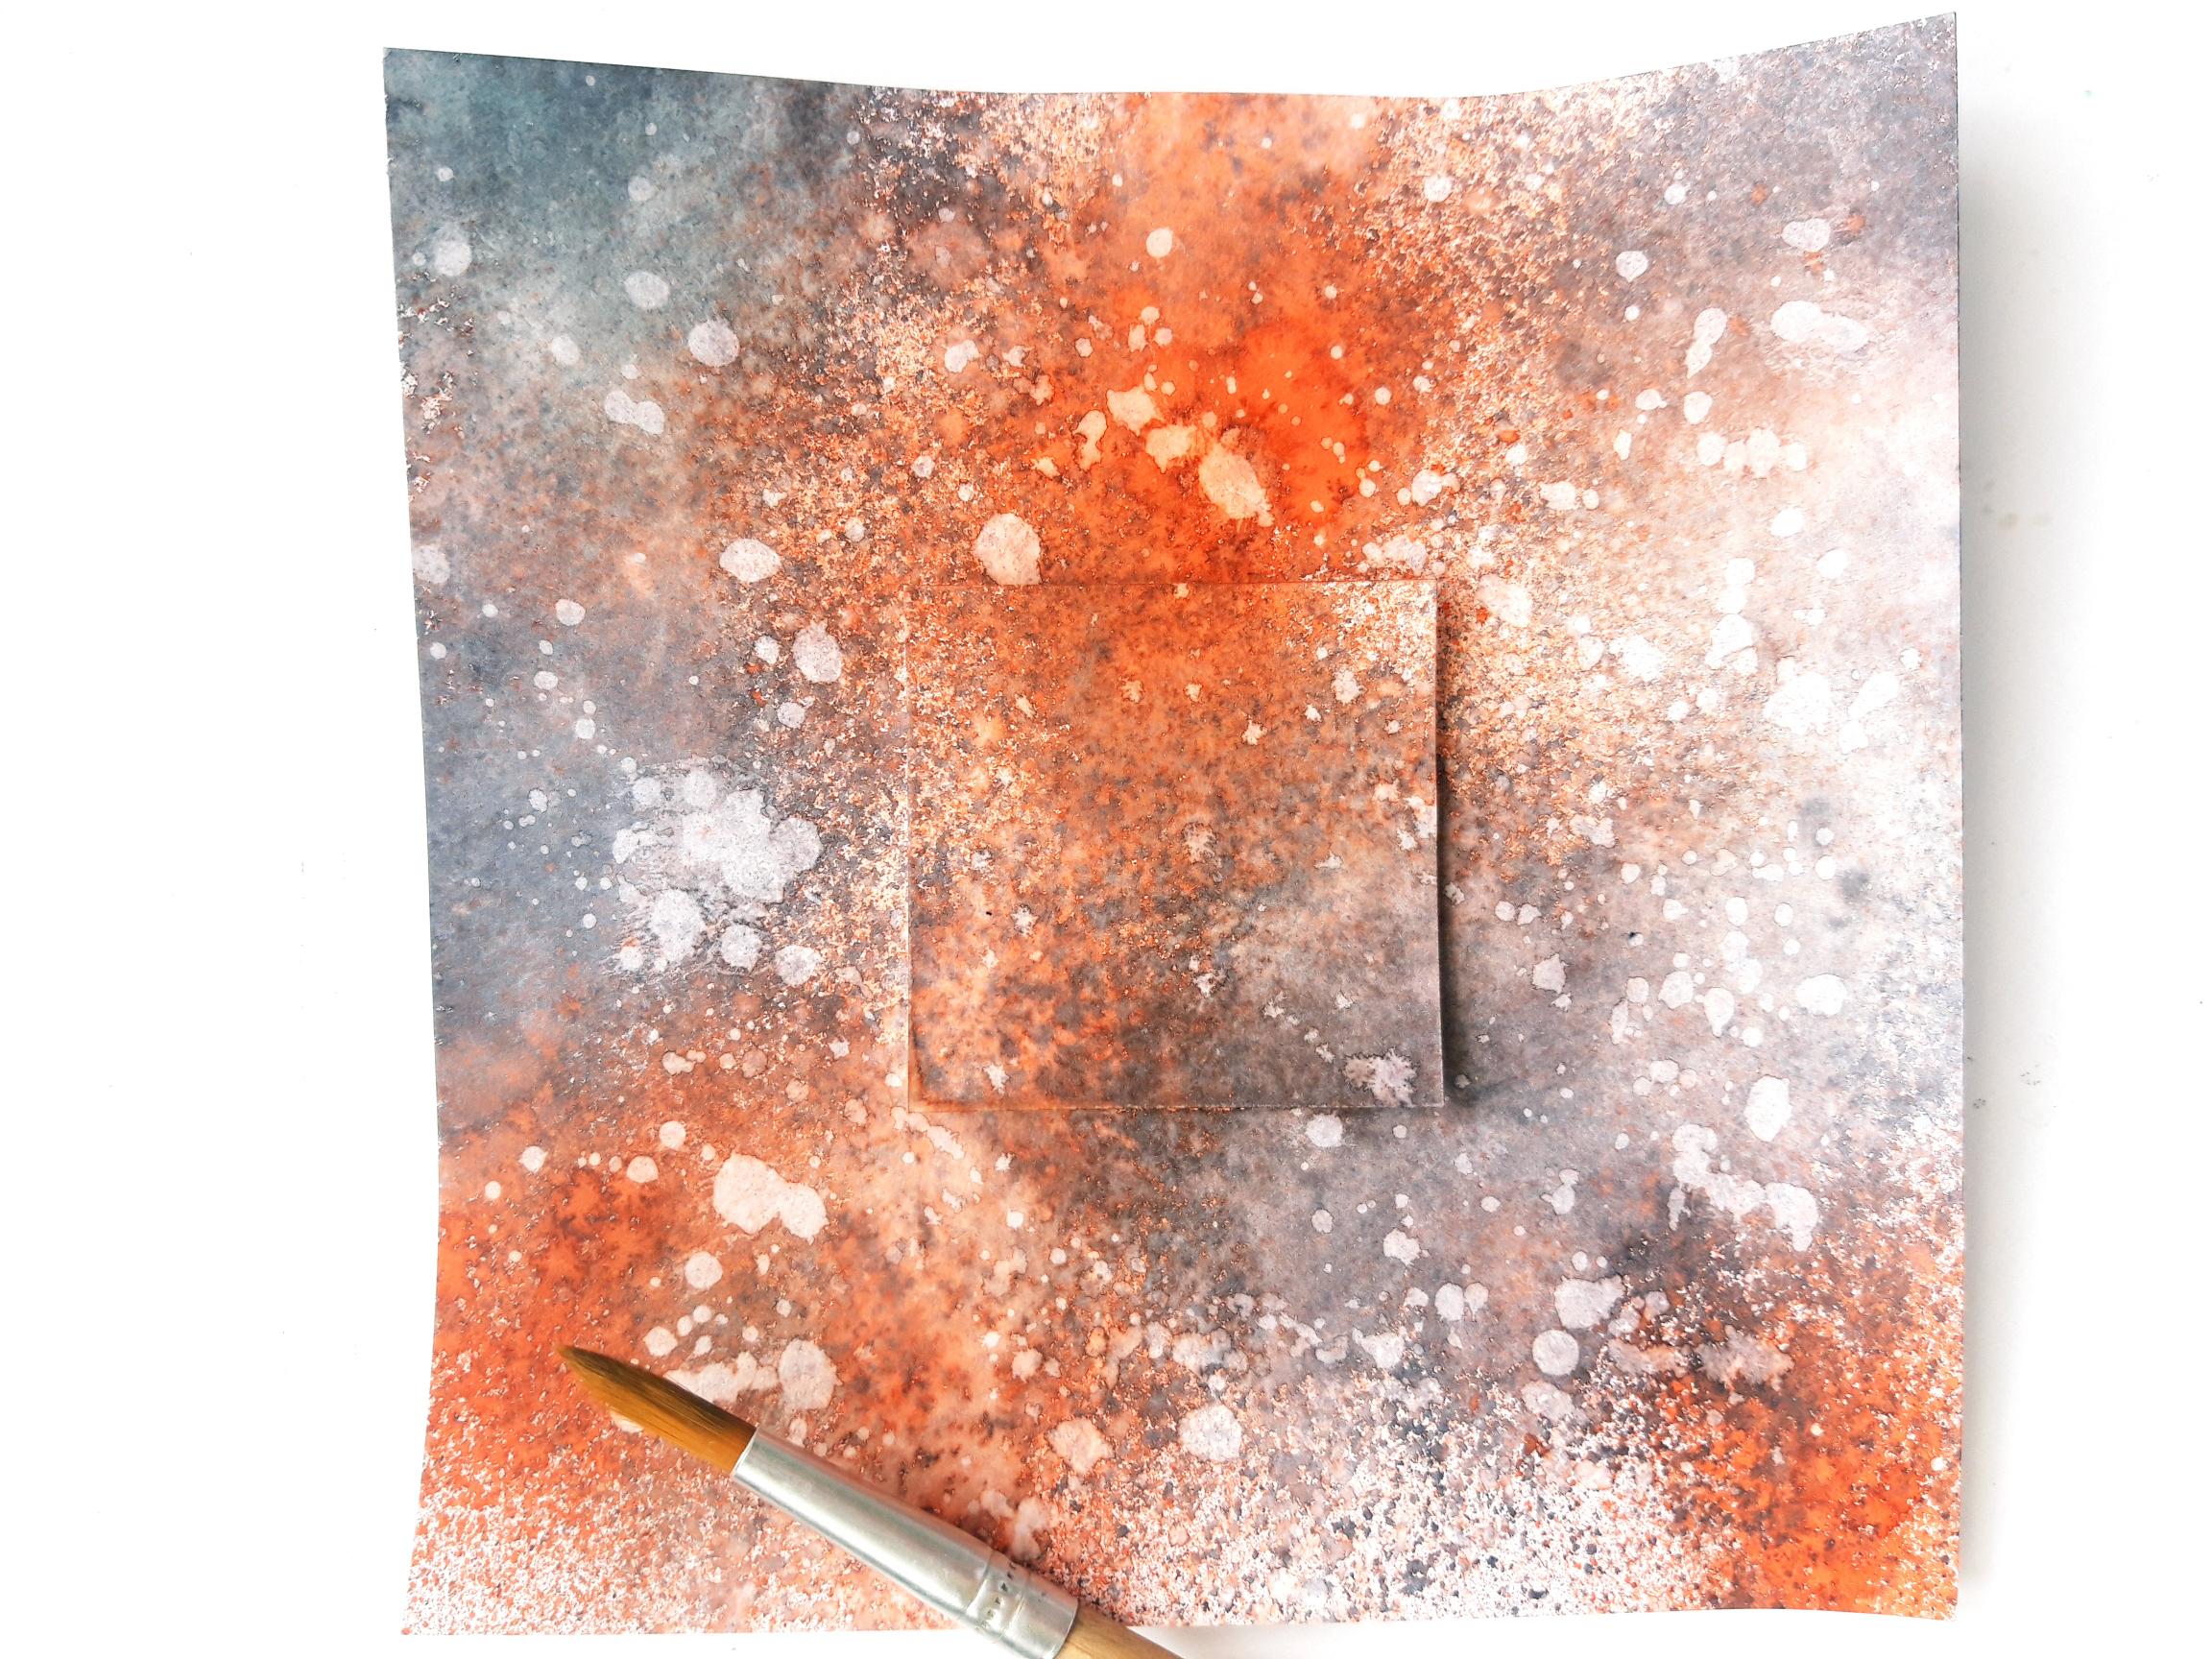
Splatter your background with water, wait a few seconds then mop up the excess water, with a paper towel. Dry your background thoroughly. |
|
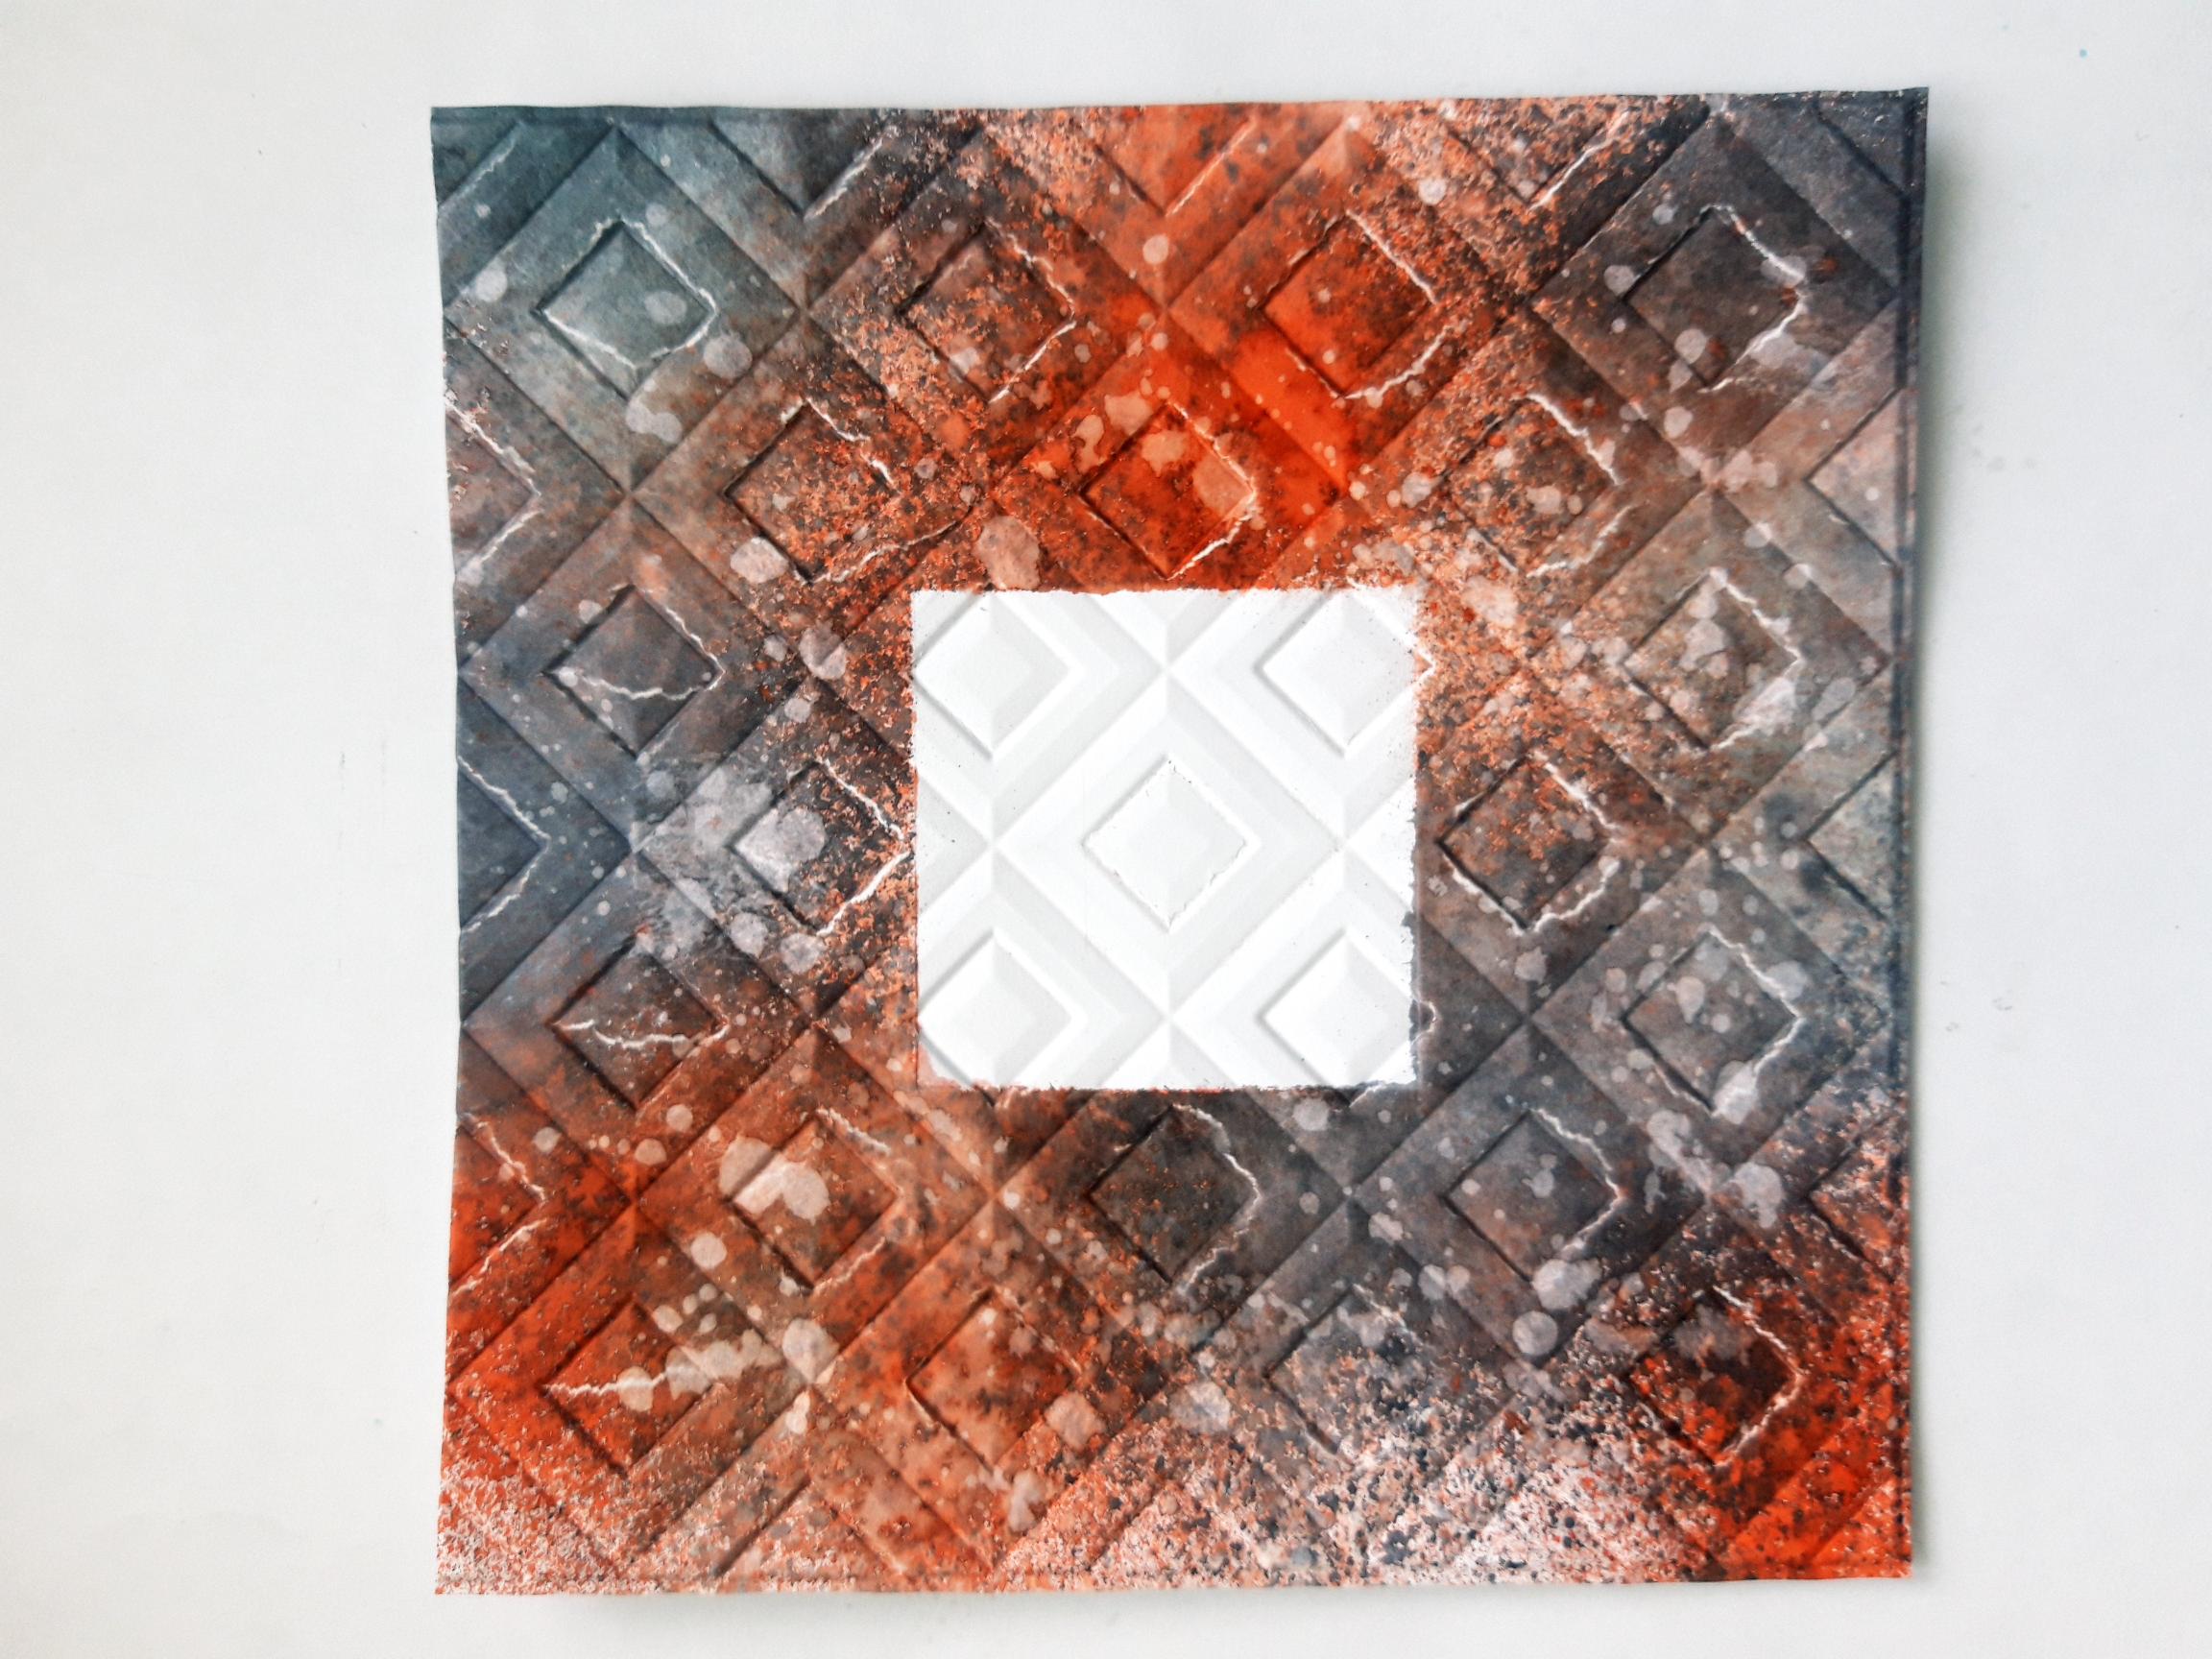
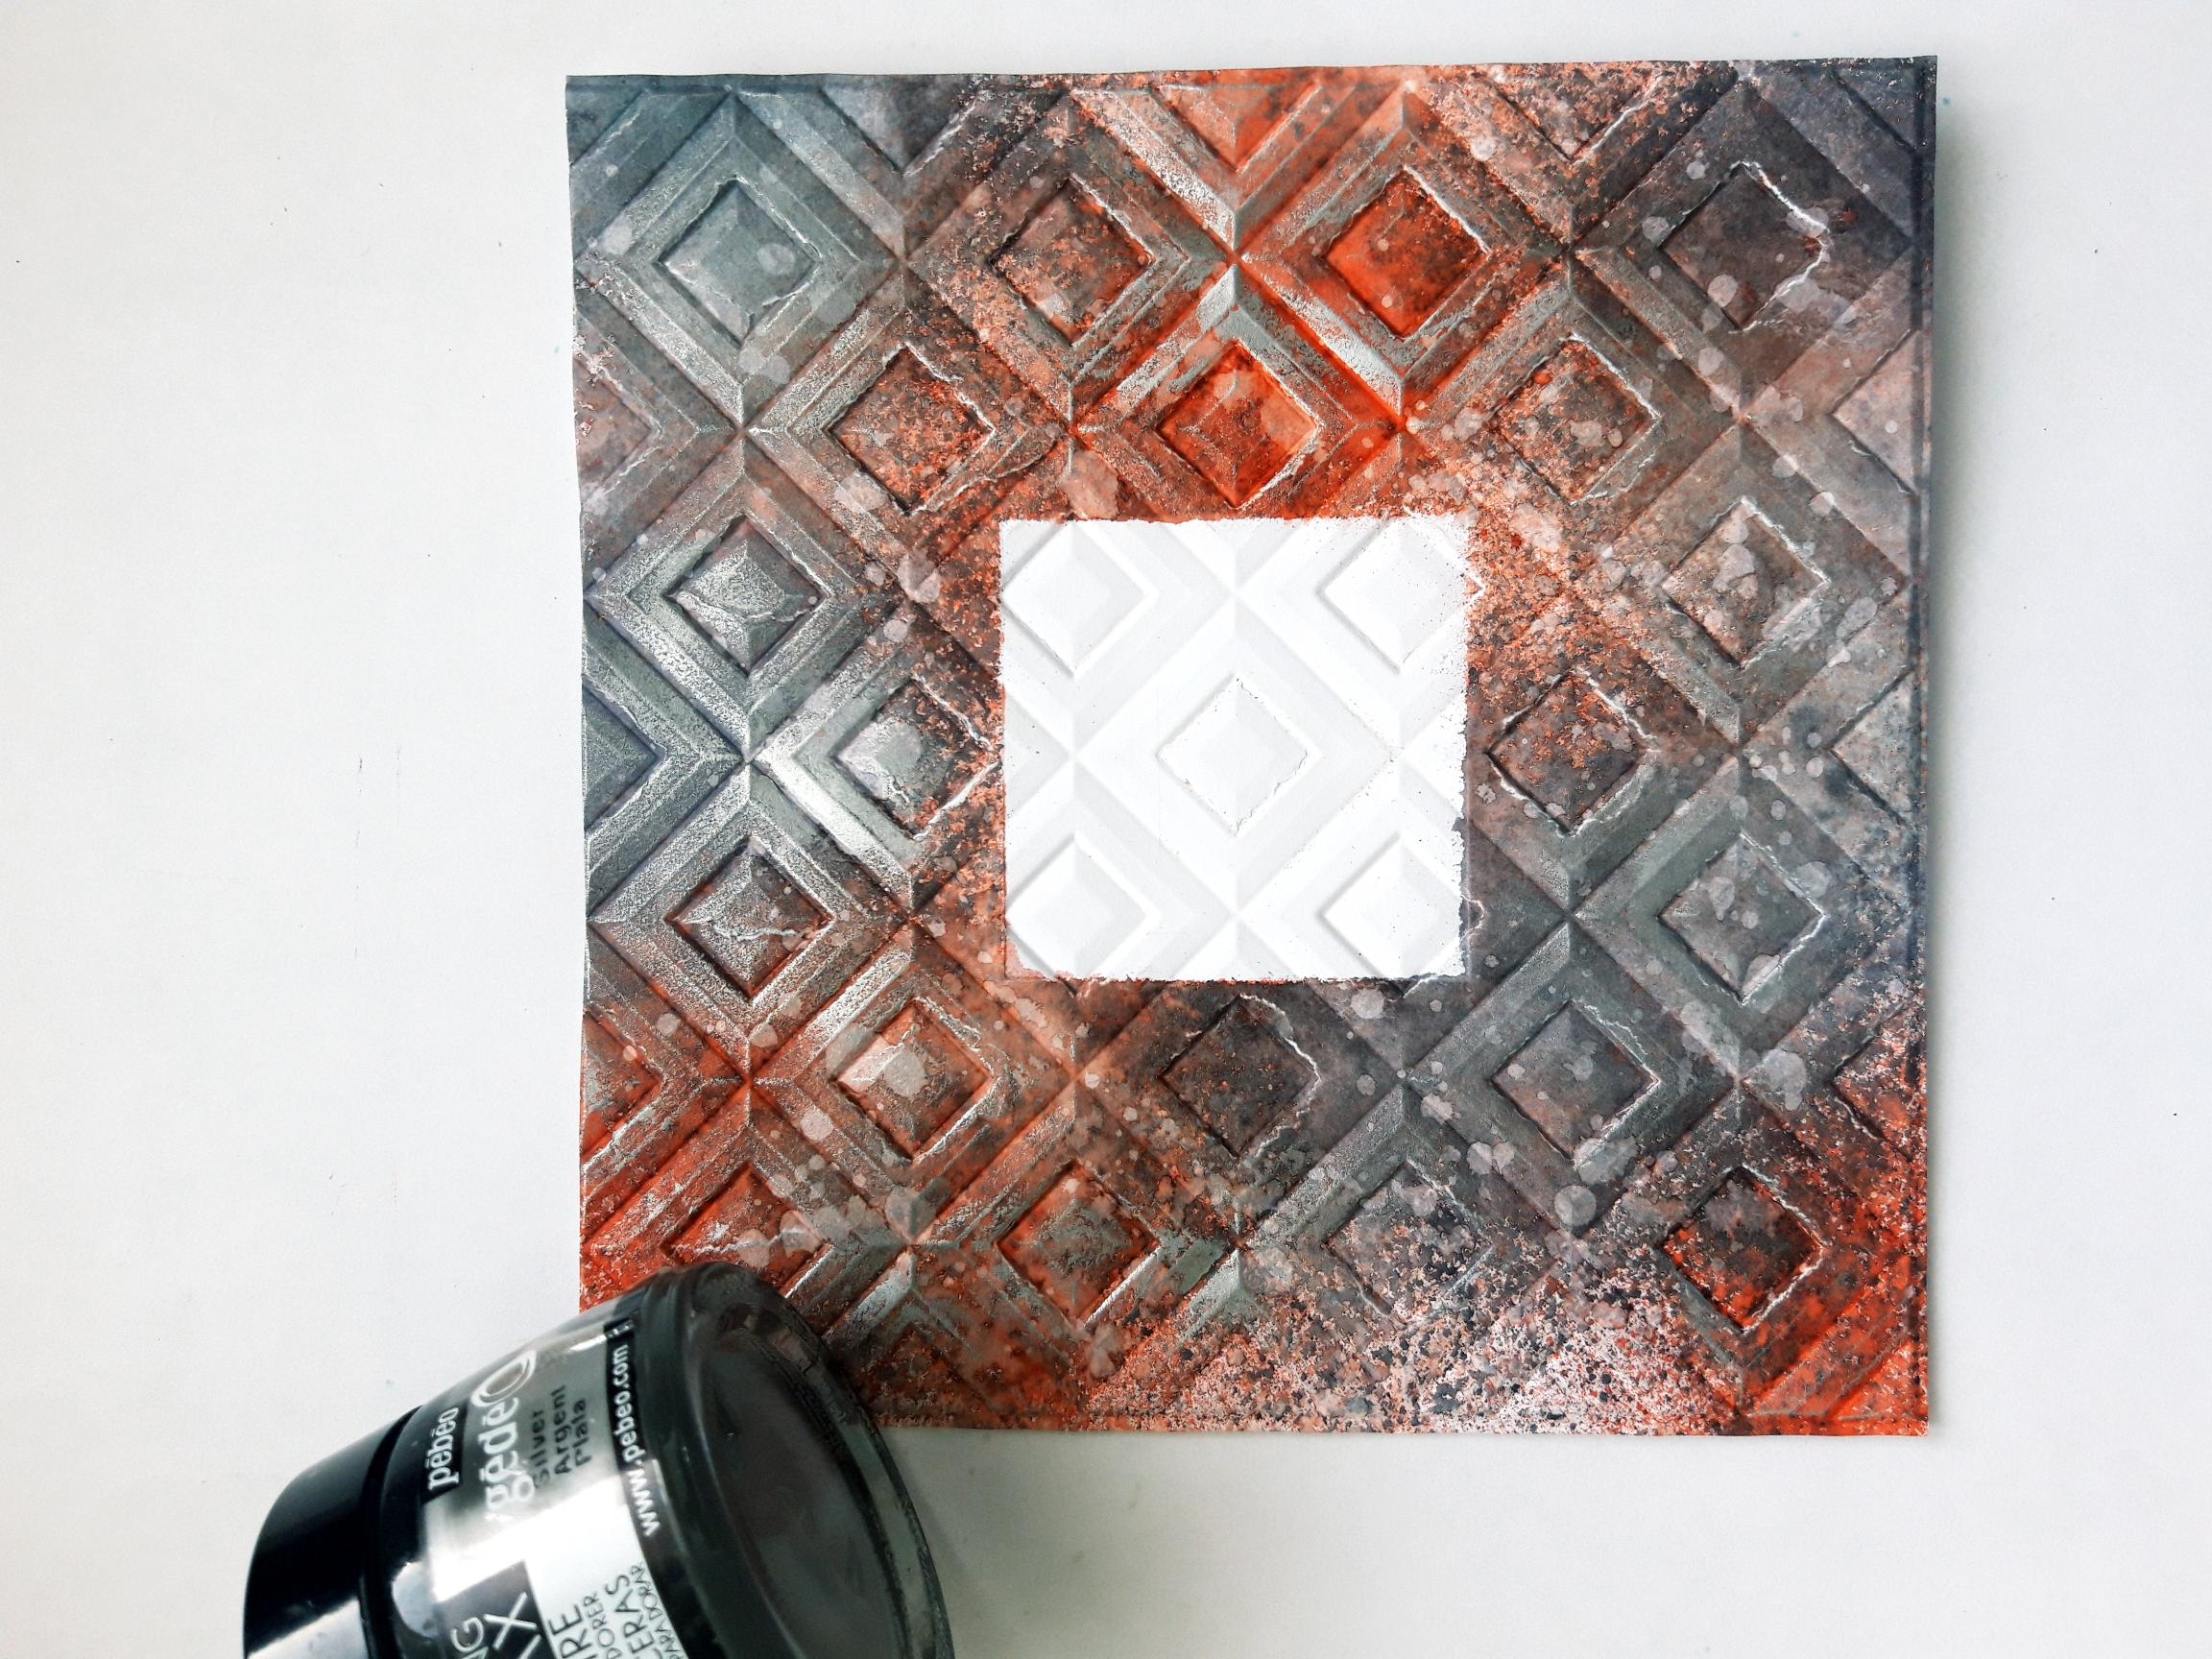
Remove the centre panel and place your inky background inside your Boxed In embossing folder, ensuring the raised image is on the bottom. Run it through your die cutting machine. |
|
Using your ring finger, to give a lighter touch, lightly apply the silver Gilding Wax to the raised, embossed areas of your background. It's better to start off light, gradually adding more wax as required, as the wax cannot be removed! Buff the wax with a soft cloth, to bring out the shine. |
|
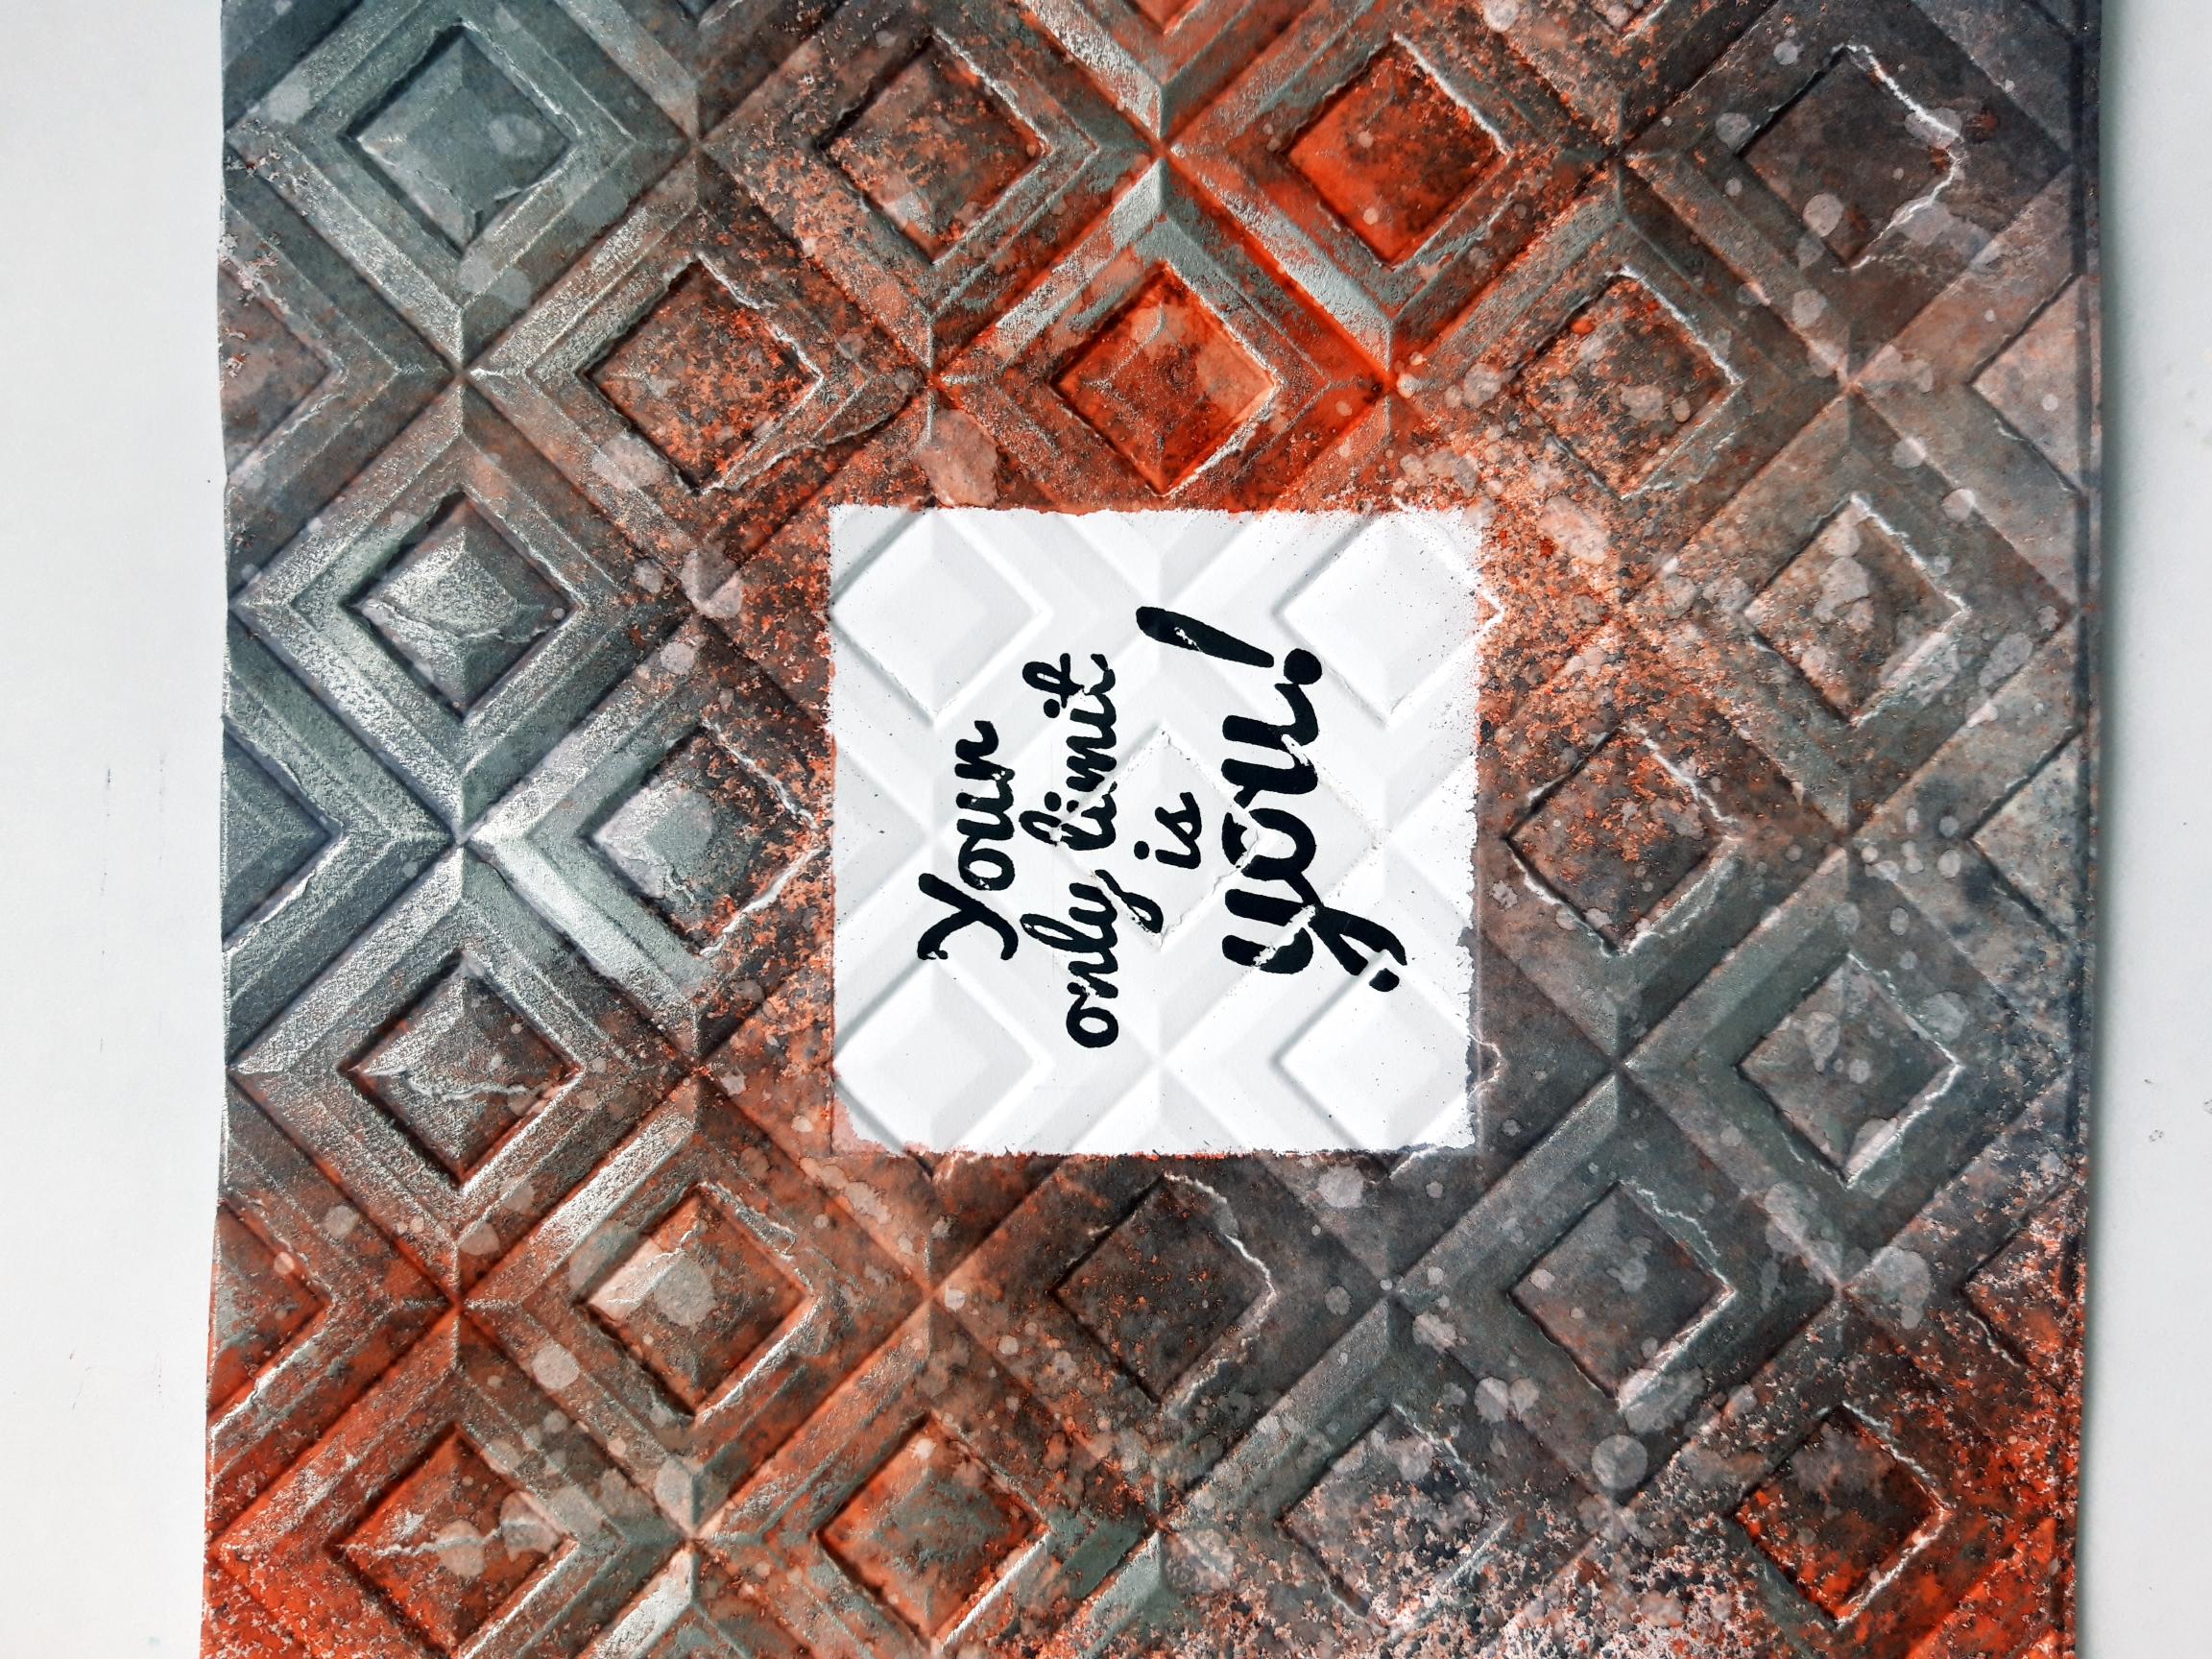
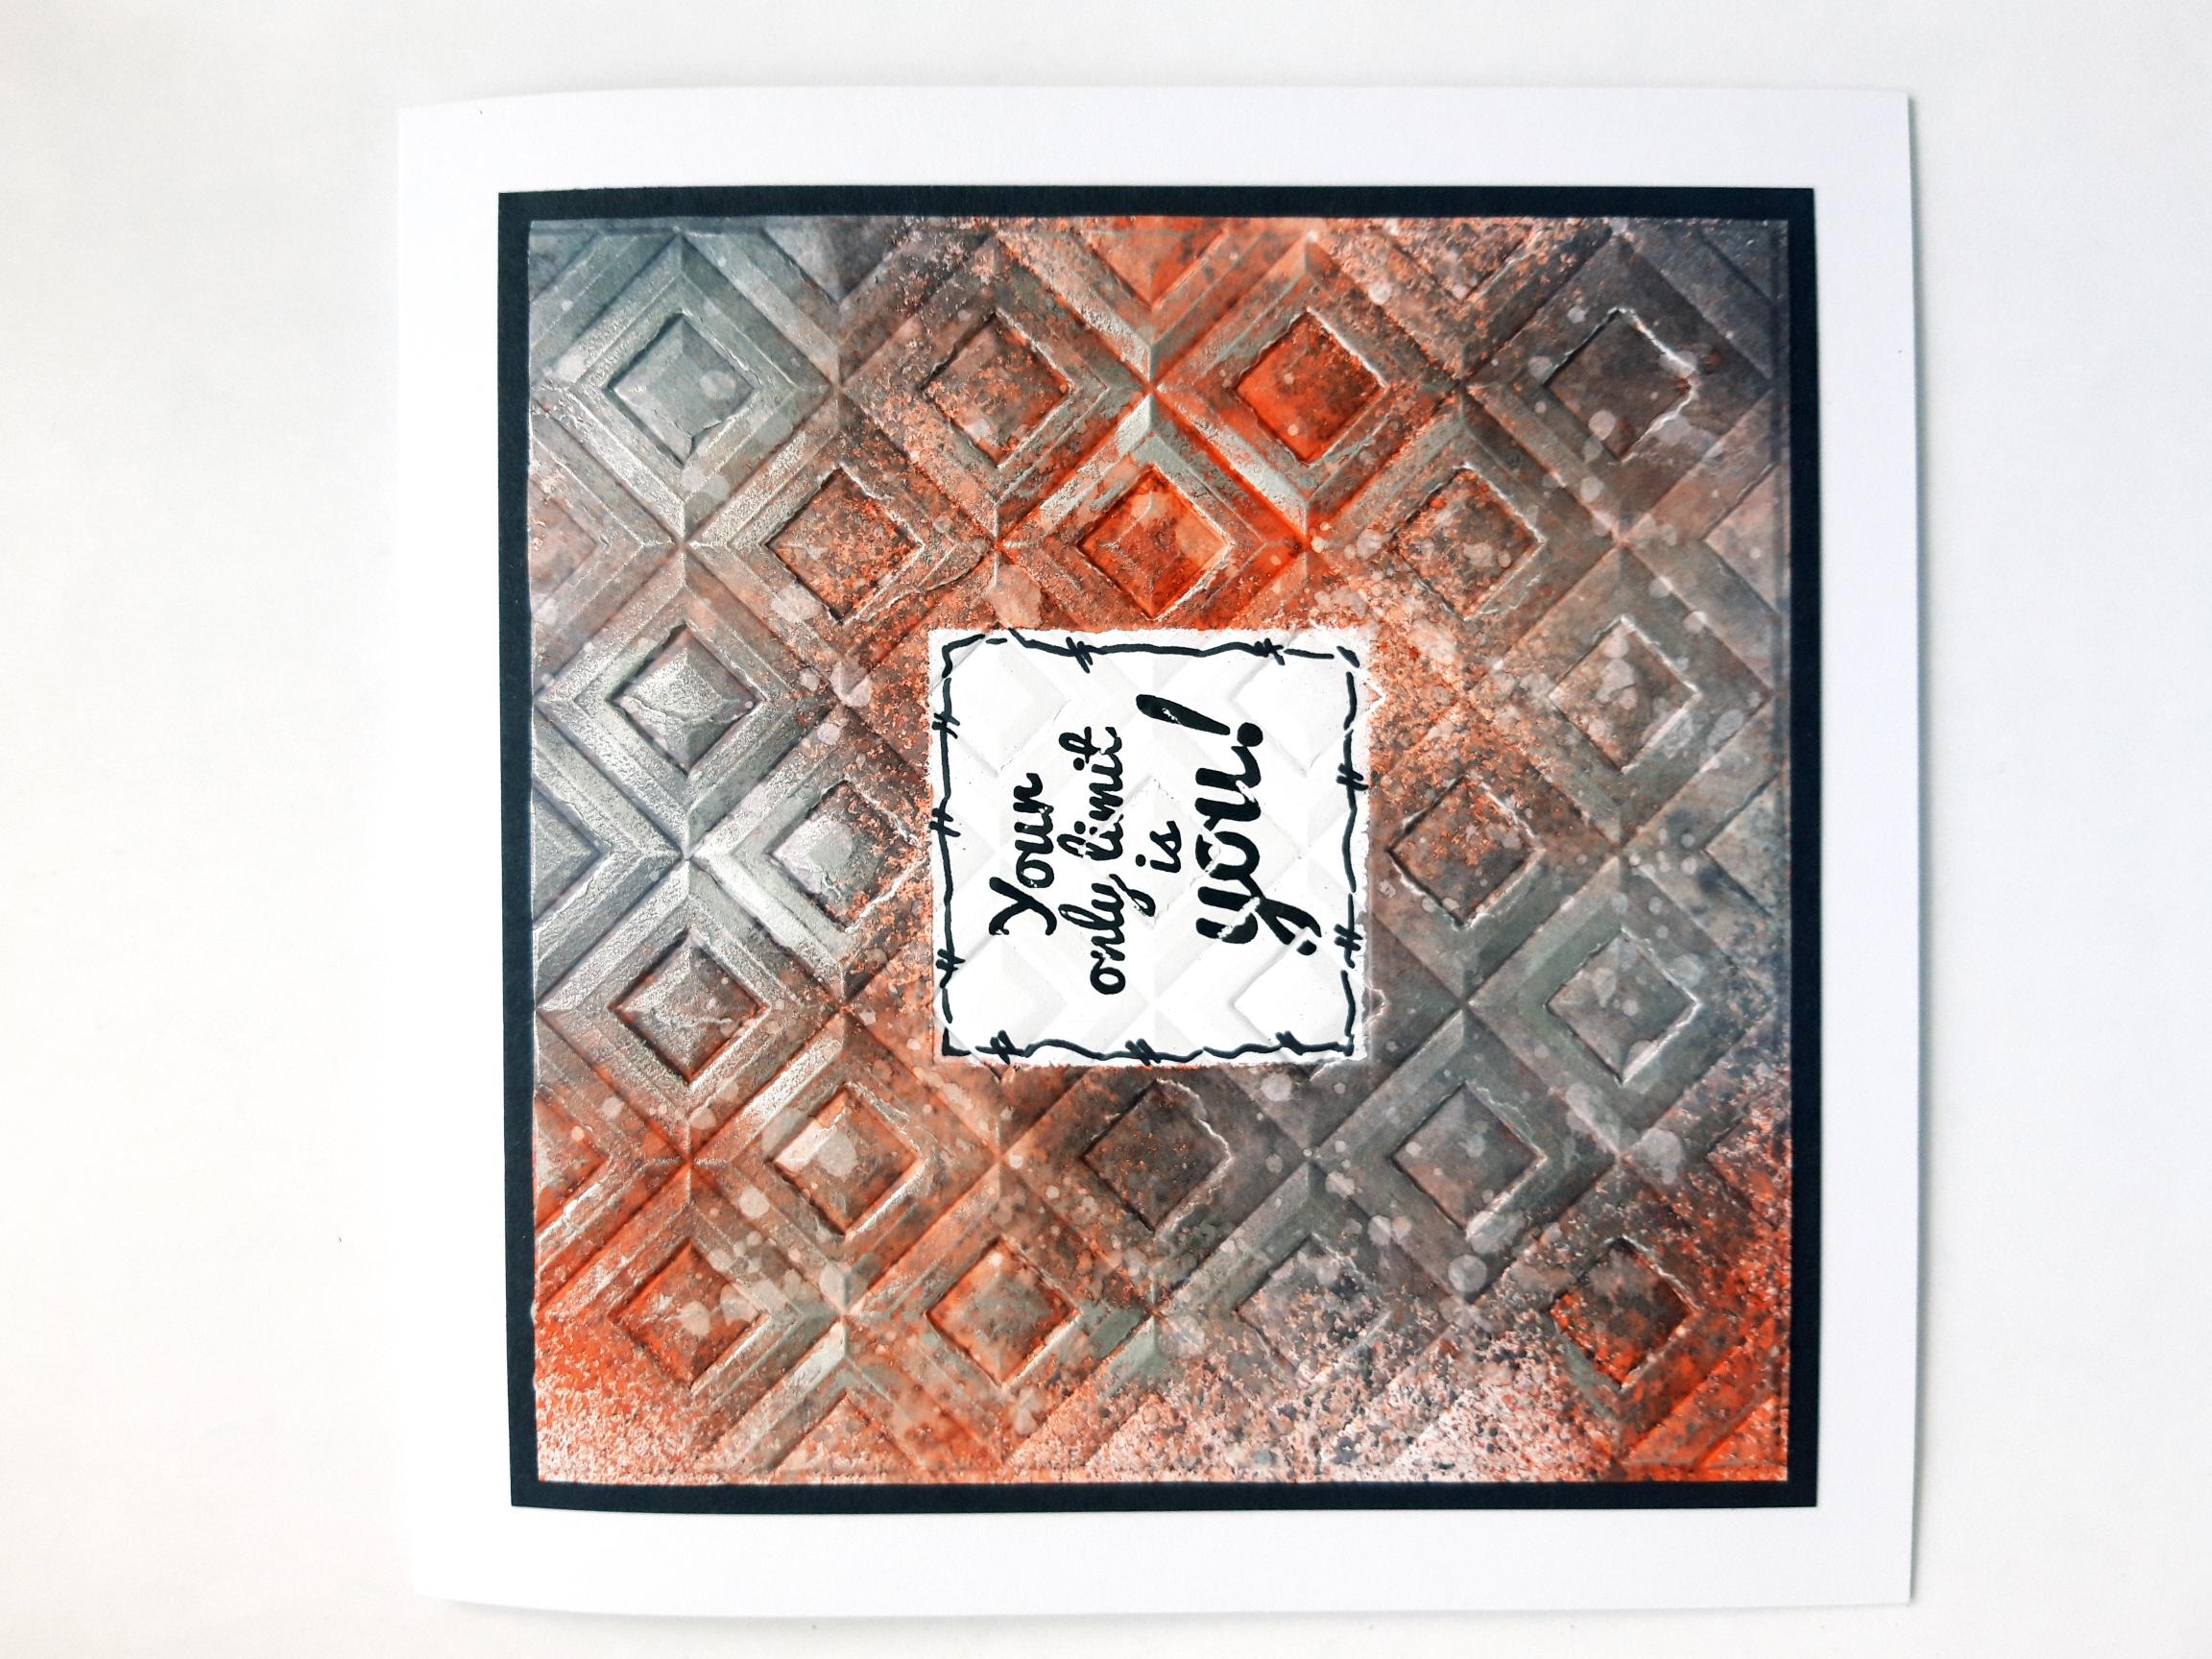
Ink up the sentiment stamp, from Your Only Limit Is You Stamp Collection, with the Onyx Black Versafine and stamp in the centre panel. NB: This will give a distressed look to your stamped sentiment. However, if you want a cleaner look, cut another piece of white card to 2 x 2", stamp your sentiment on here and adhere it over the embossed white panel, with wet glue or foam pads. |
|
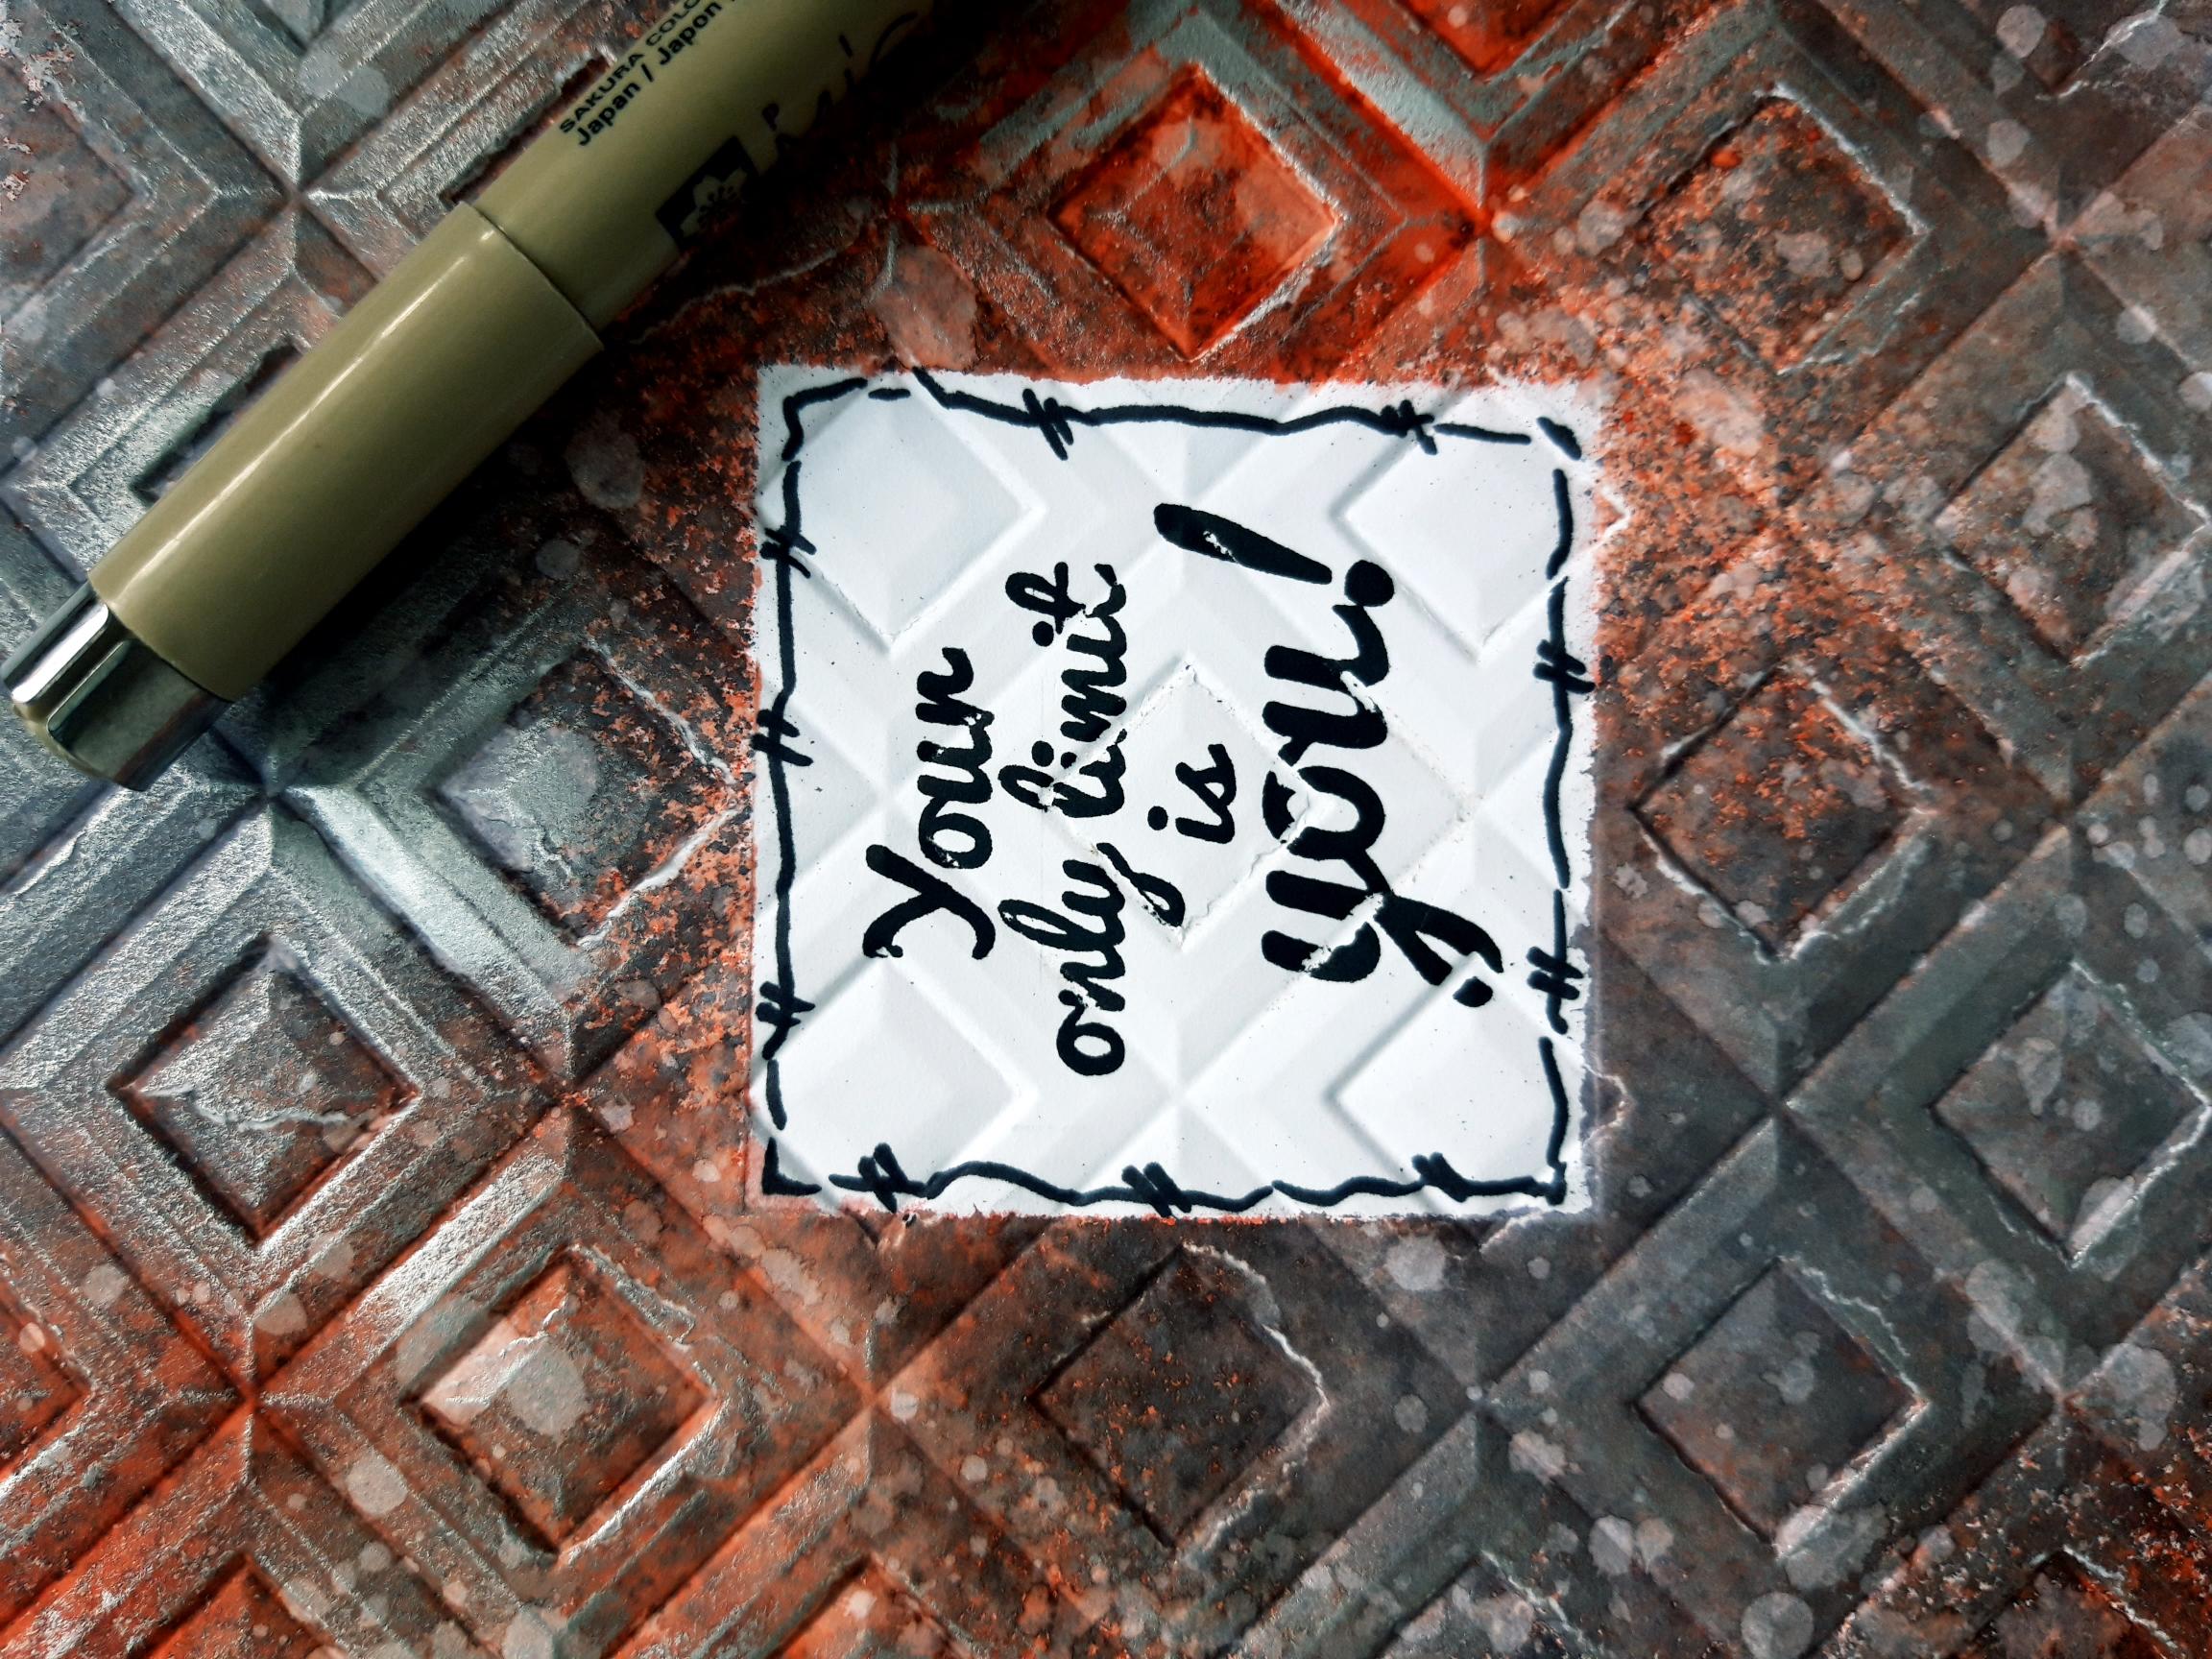
Use a black pen to draw a decorative, wiggly frame, around the centre panel. |
|
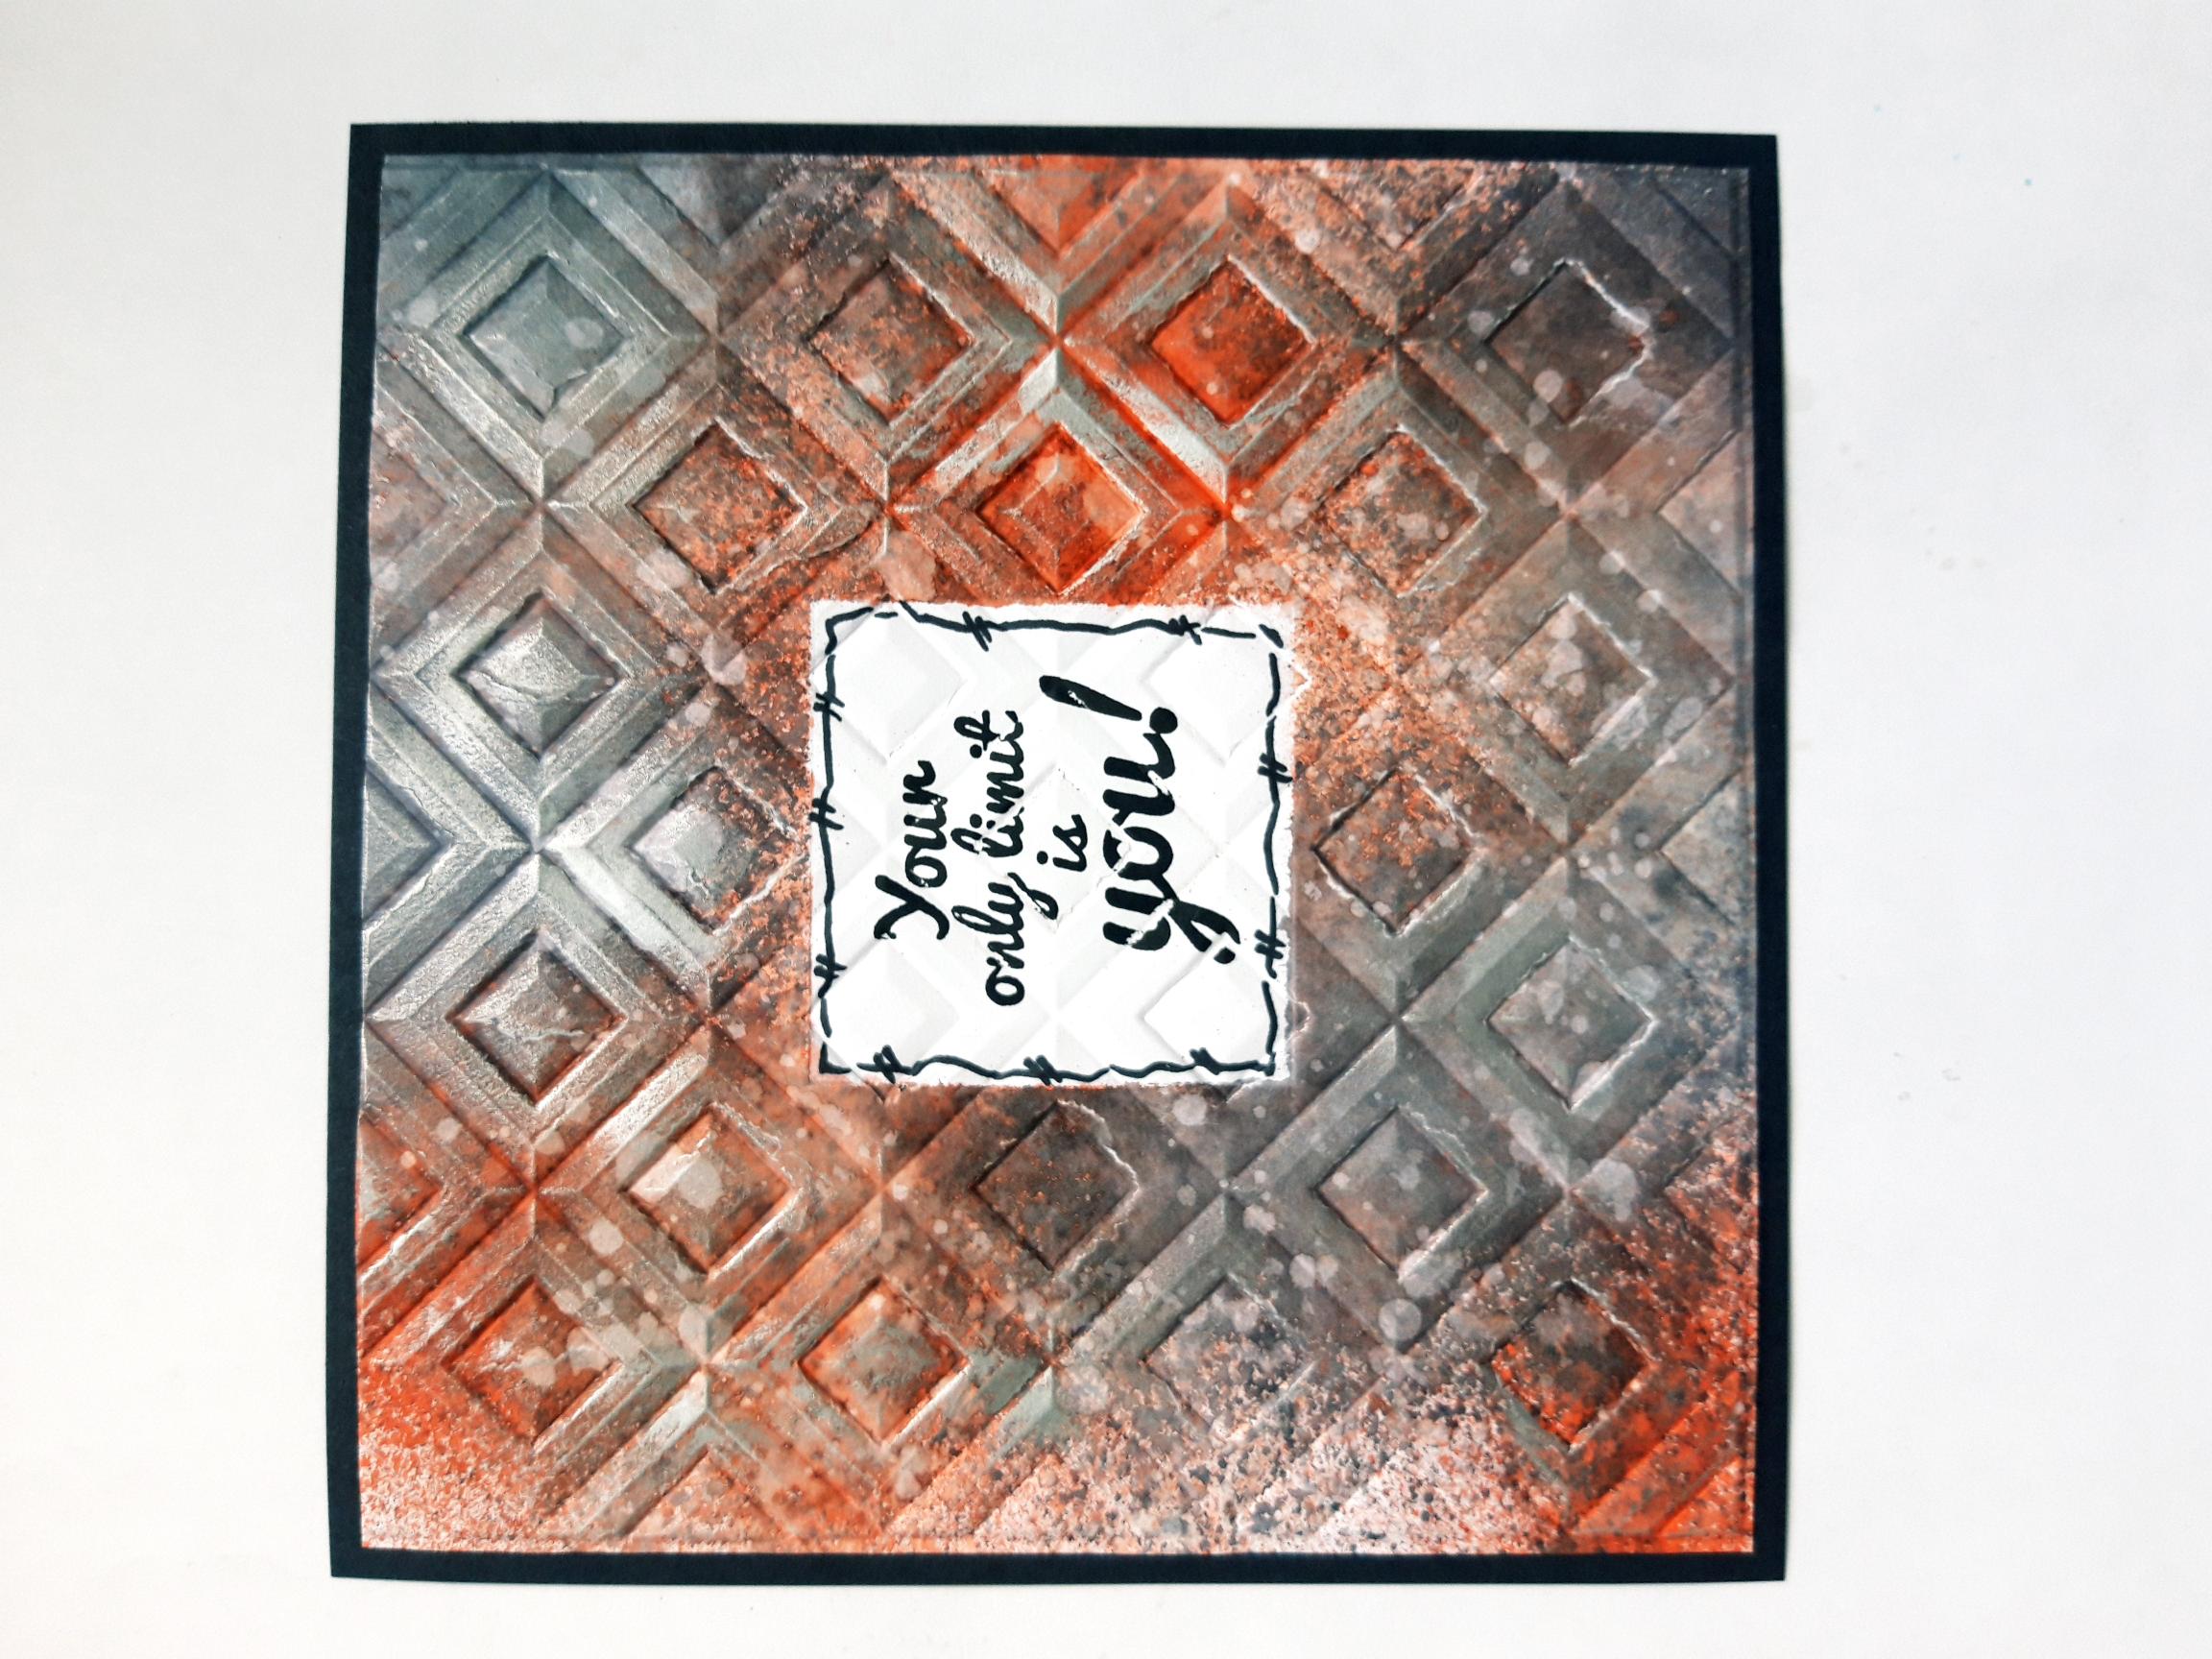
Adhere your artwork on to the black card (6 x 6"). |
|
Adhere to the front of your white card blank and set to one side. |
|
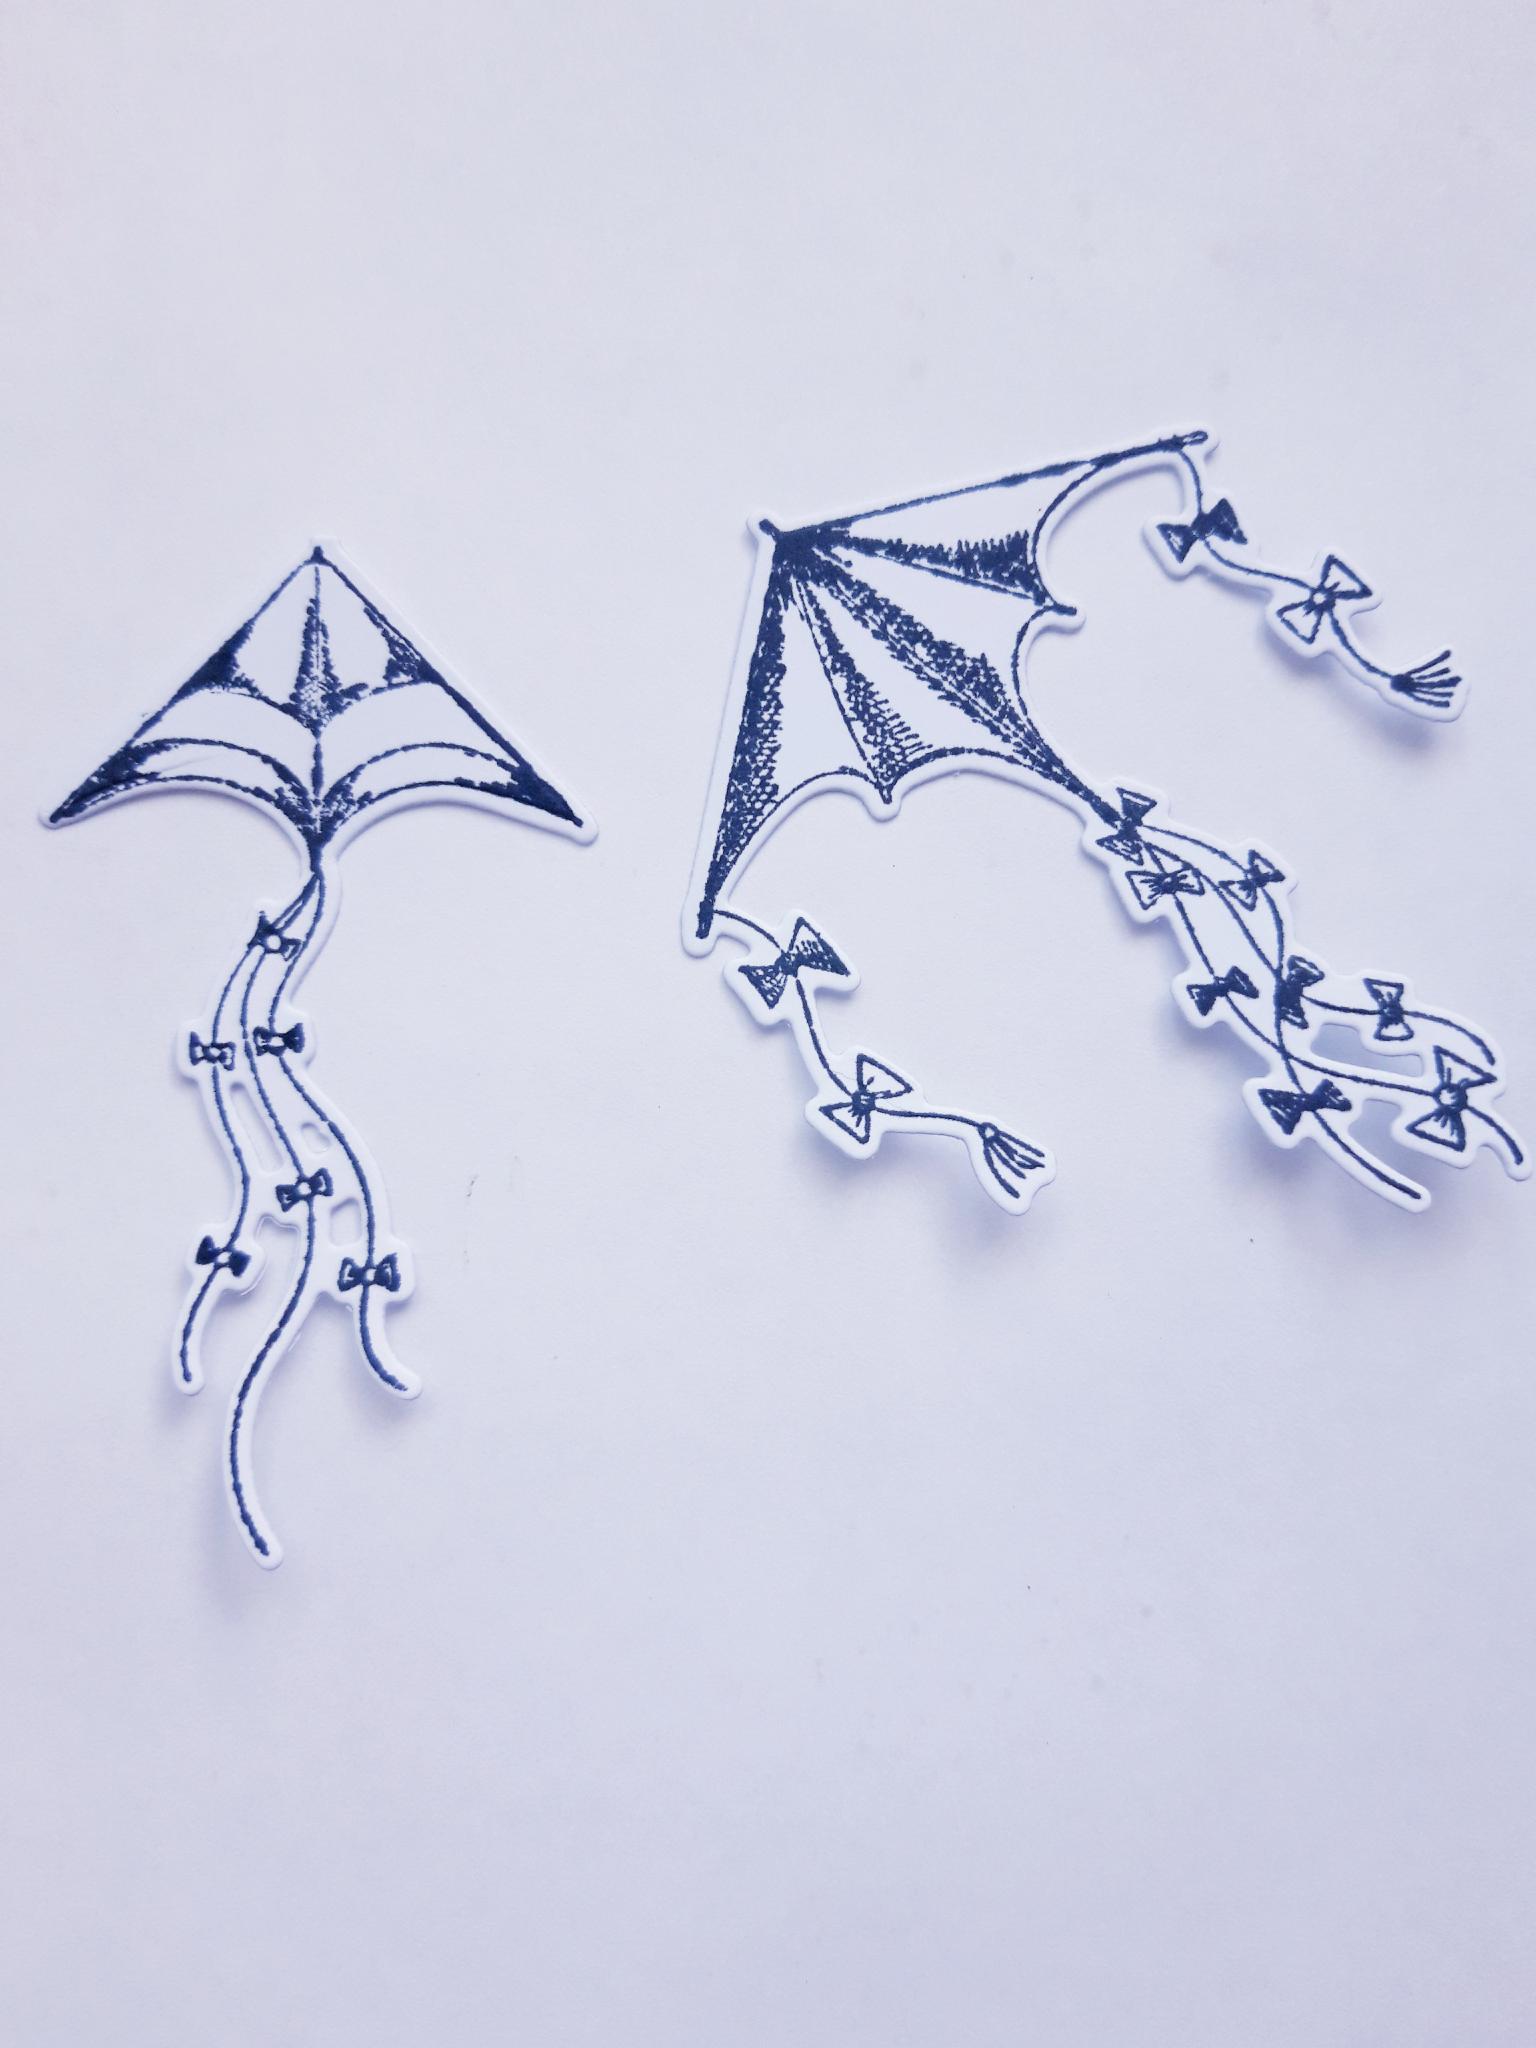
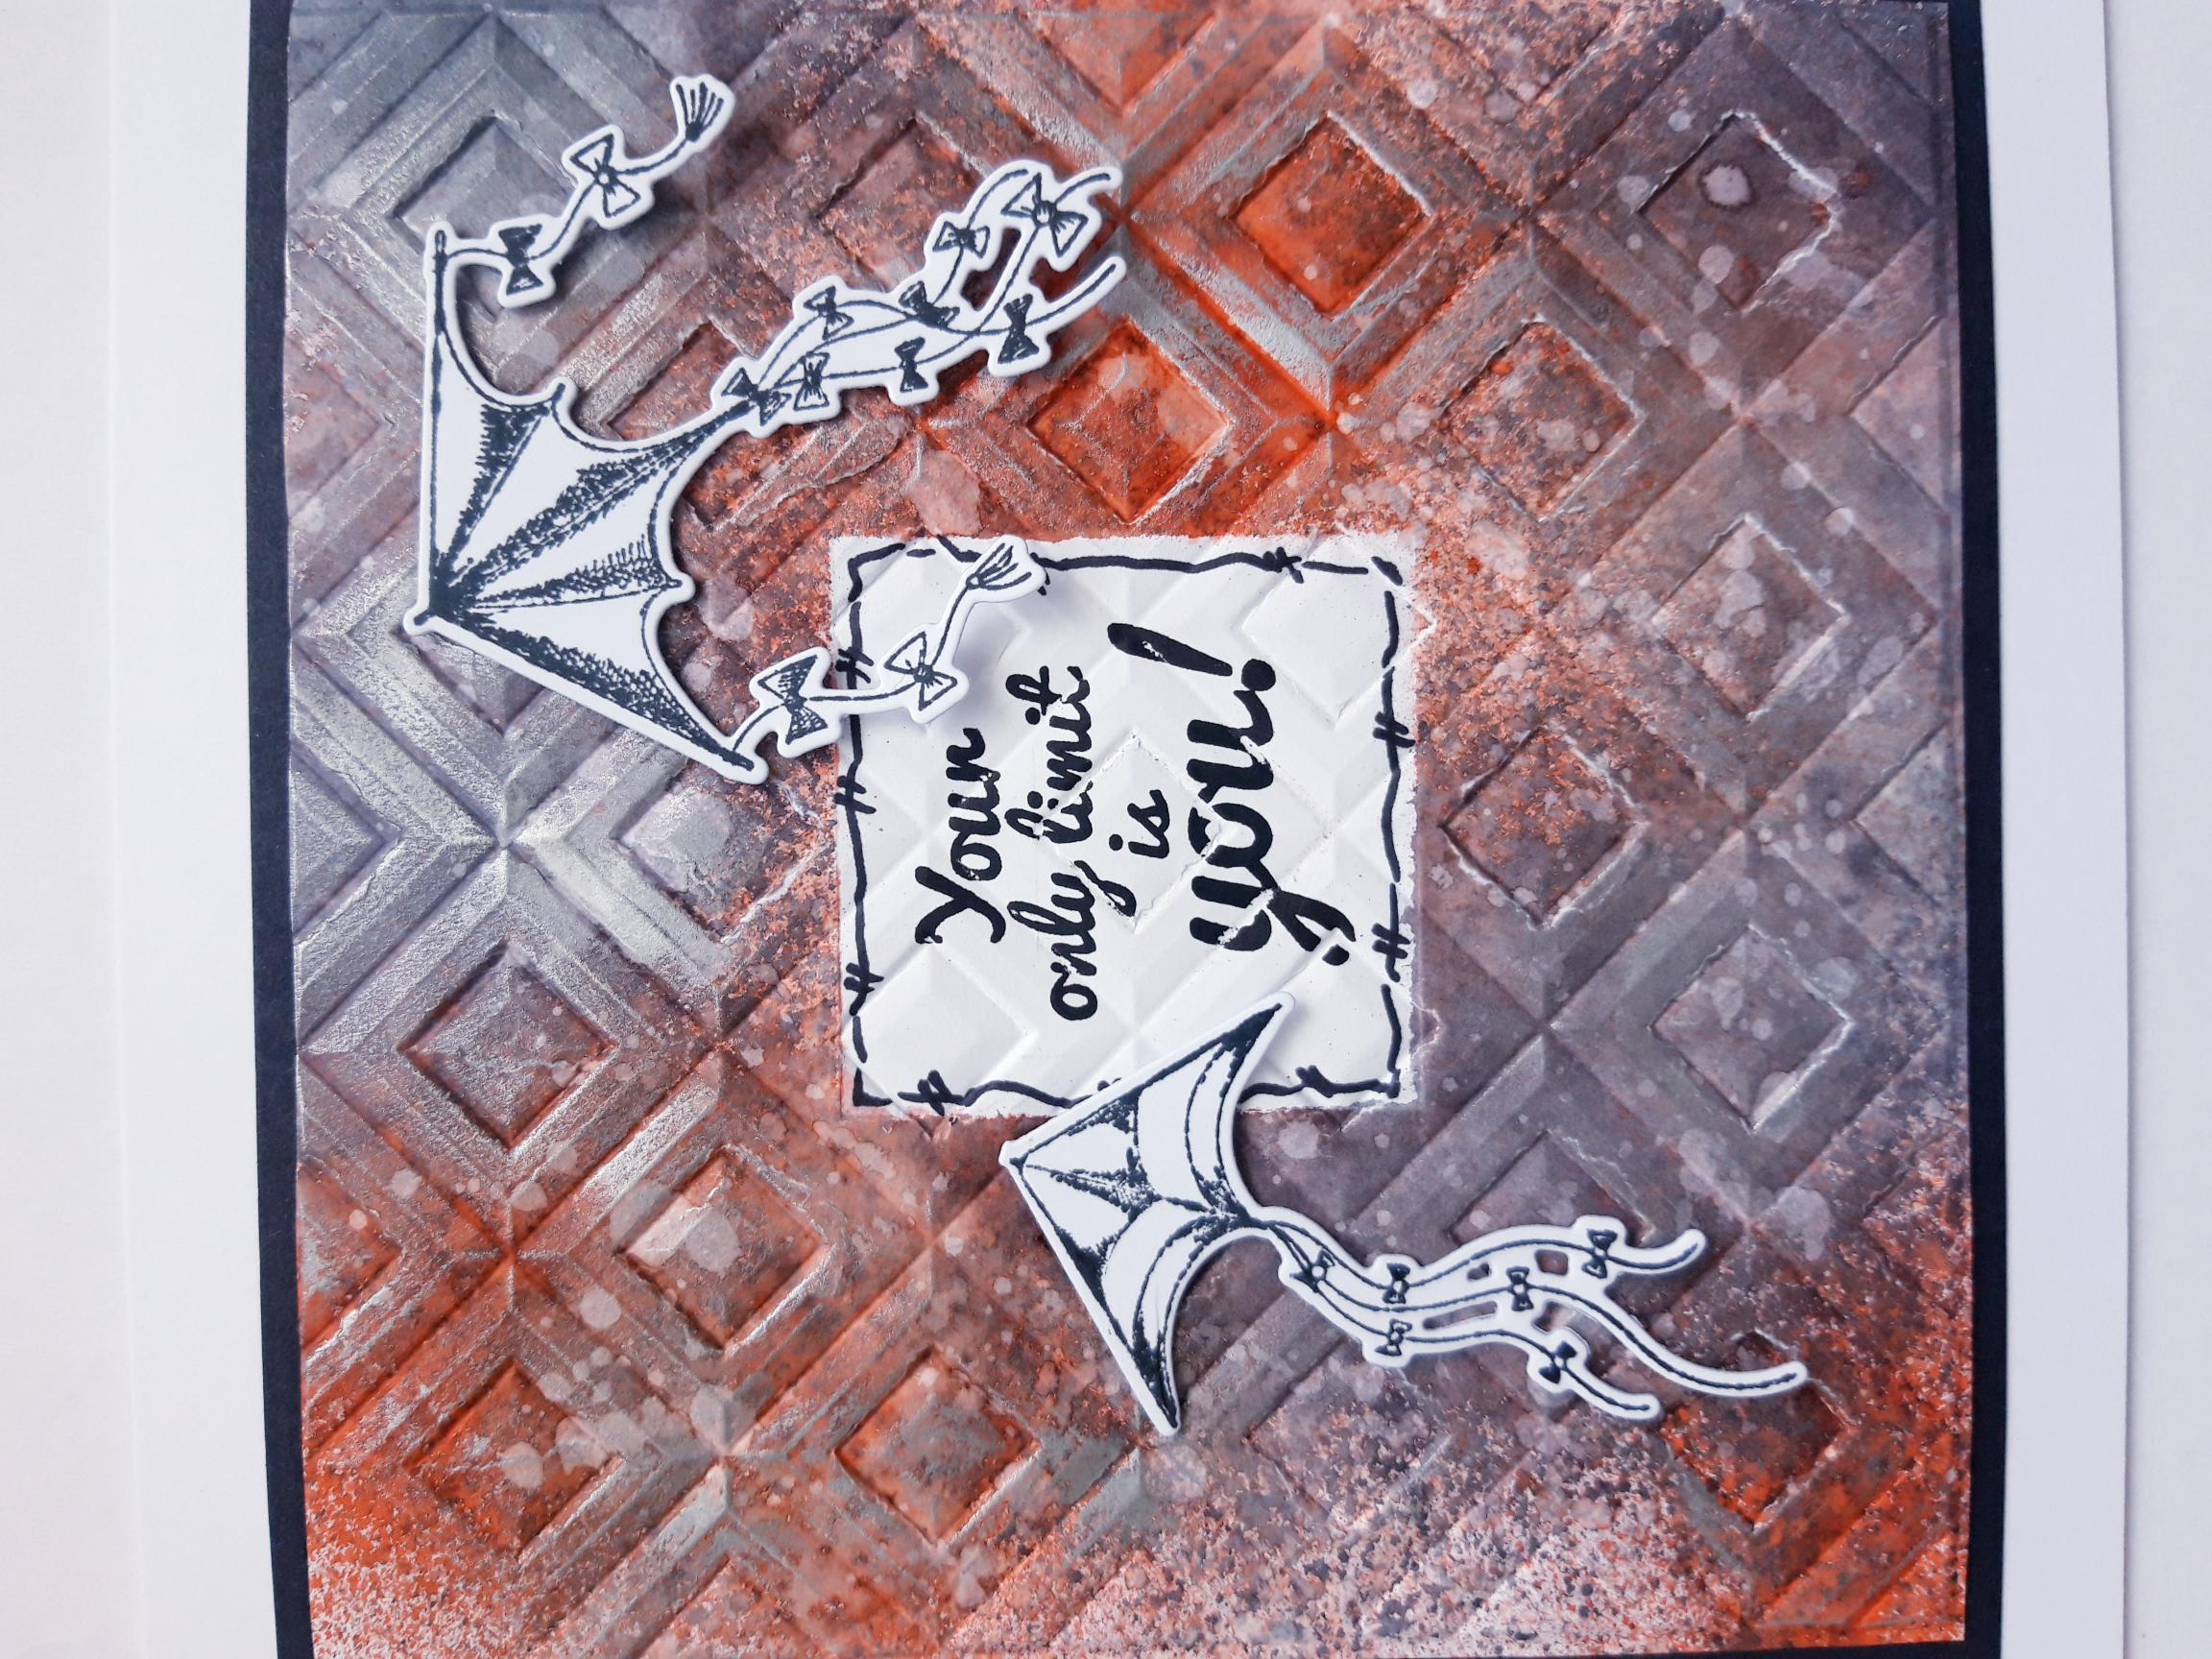
Ink up 2 of the kite stamps, from Trust Your Journey Stamp And Die Collection, with the Onyx Black Versafine and stamp on the white card (4 x 4"). Use the coordinating dies to cut them out. |
|
To finish, adhere to your card using foam pads, but allowing the kite tails to hang loose. |