Give your friends $10 off their first order!
Refer a FRIEND


WHAT YOU WILL NEED:
White card blank (7 x 7")
White card
Black card
Vellum
Sunflower Signature Watercolour 3D Embossing Folder
Every New Day Stamp Collection
Izink Dye Ink Spray: Butterscotch, Coffee, Liquorice
Distress Oxide/Ink ink pad: Unchartered Mariner
Water spray bottle
Paint brush
Anti-static bag
WOW Embossing ink pad
WOW heat tool
WOW white embossing powder
White gel pen
Eureka 101
Paper Trimmer
Perfect Together Glue
Double sided tape
Die Cutting machine
[click image to enlarge] 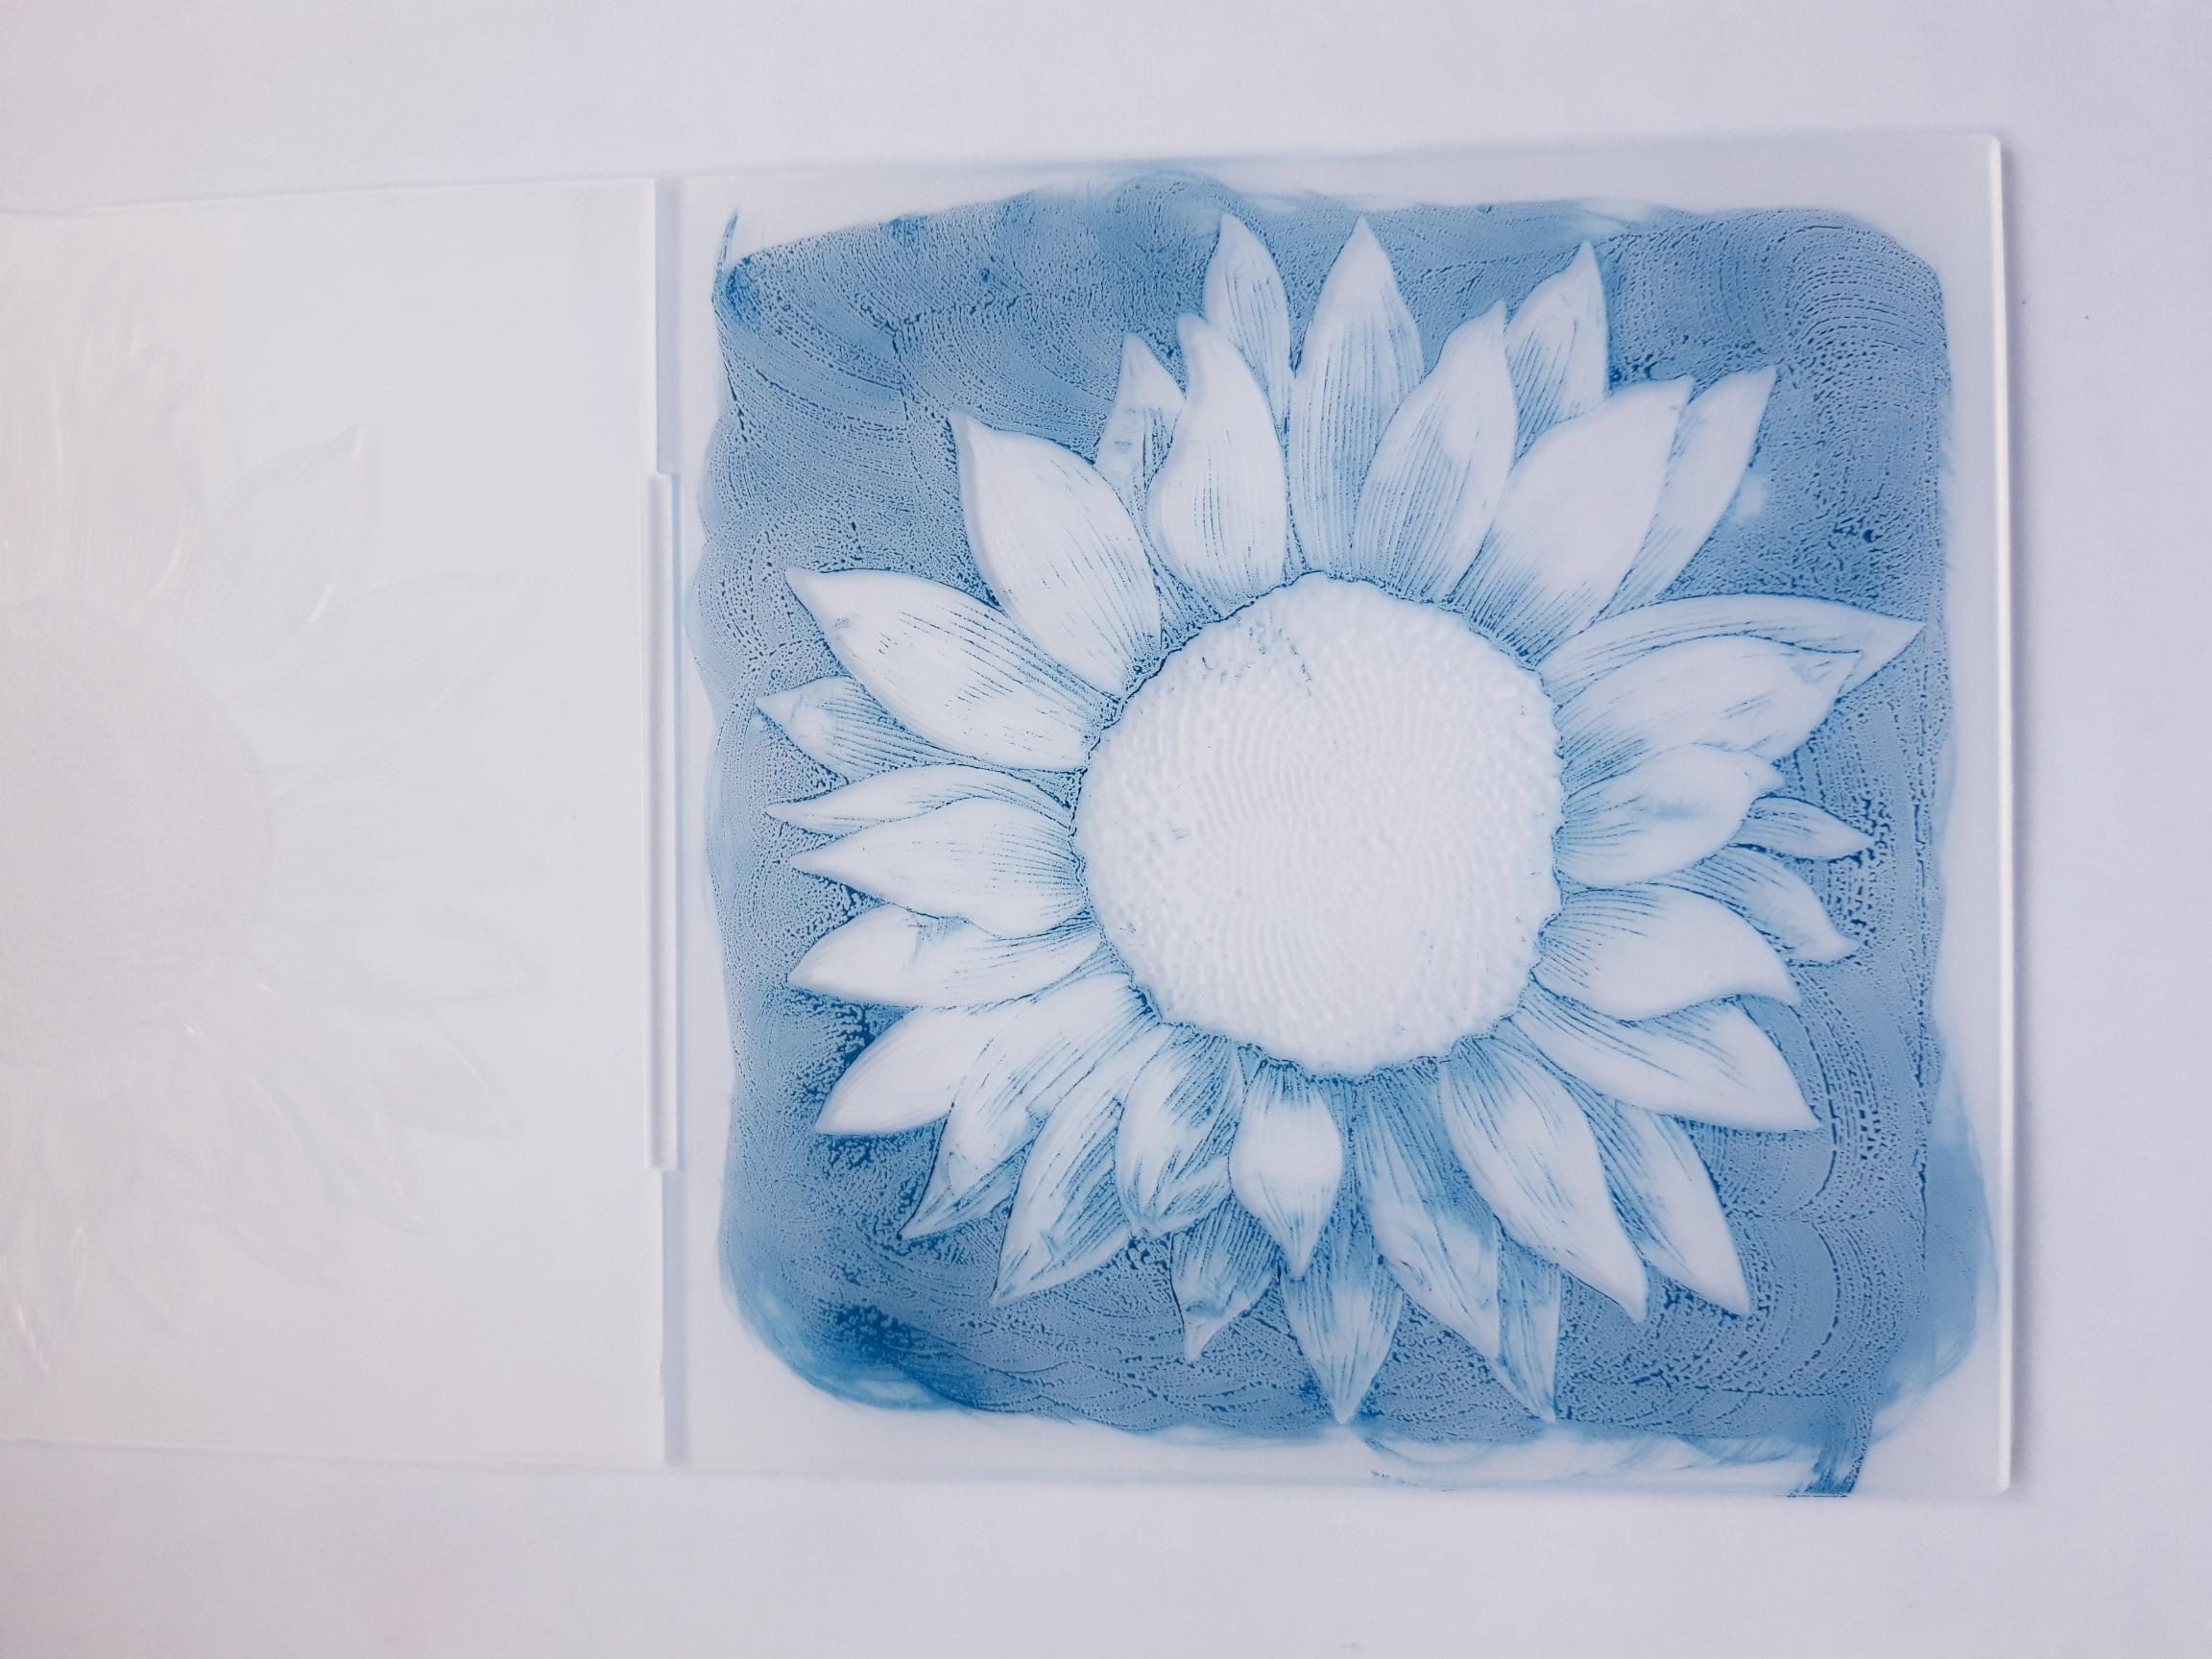
|
Ink up the DEBOSSED side of the Sunflower Embossing folder and spritz with water. |
|
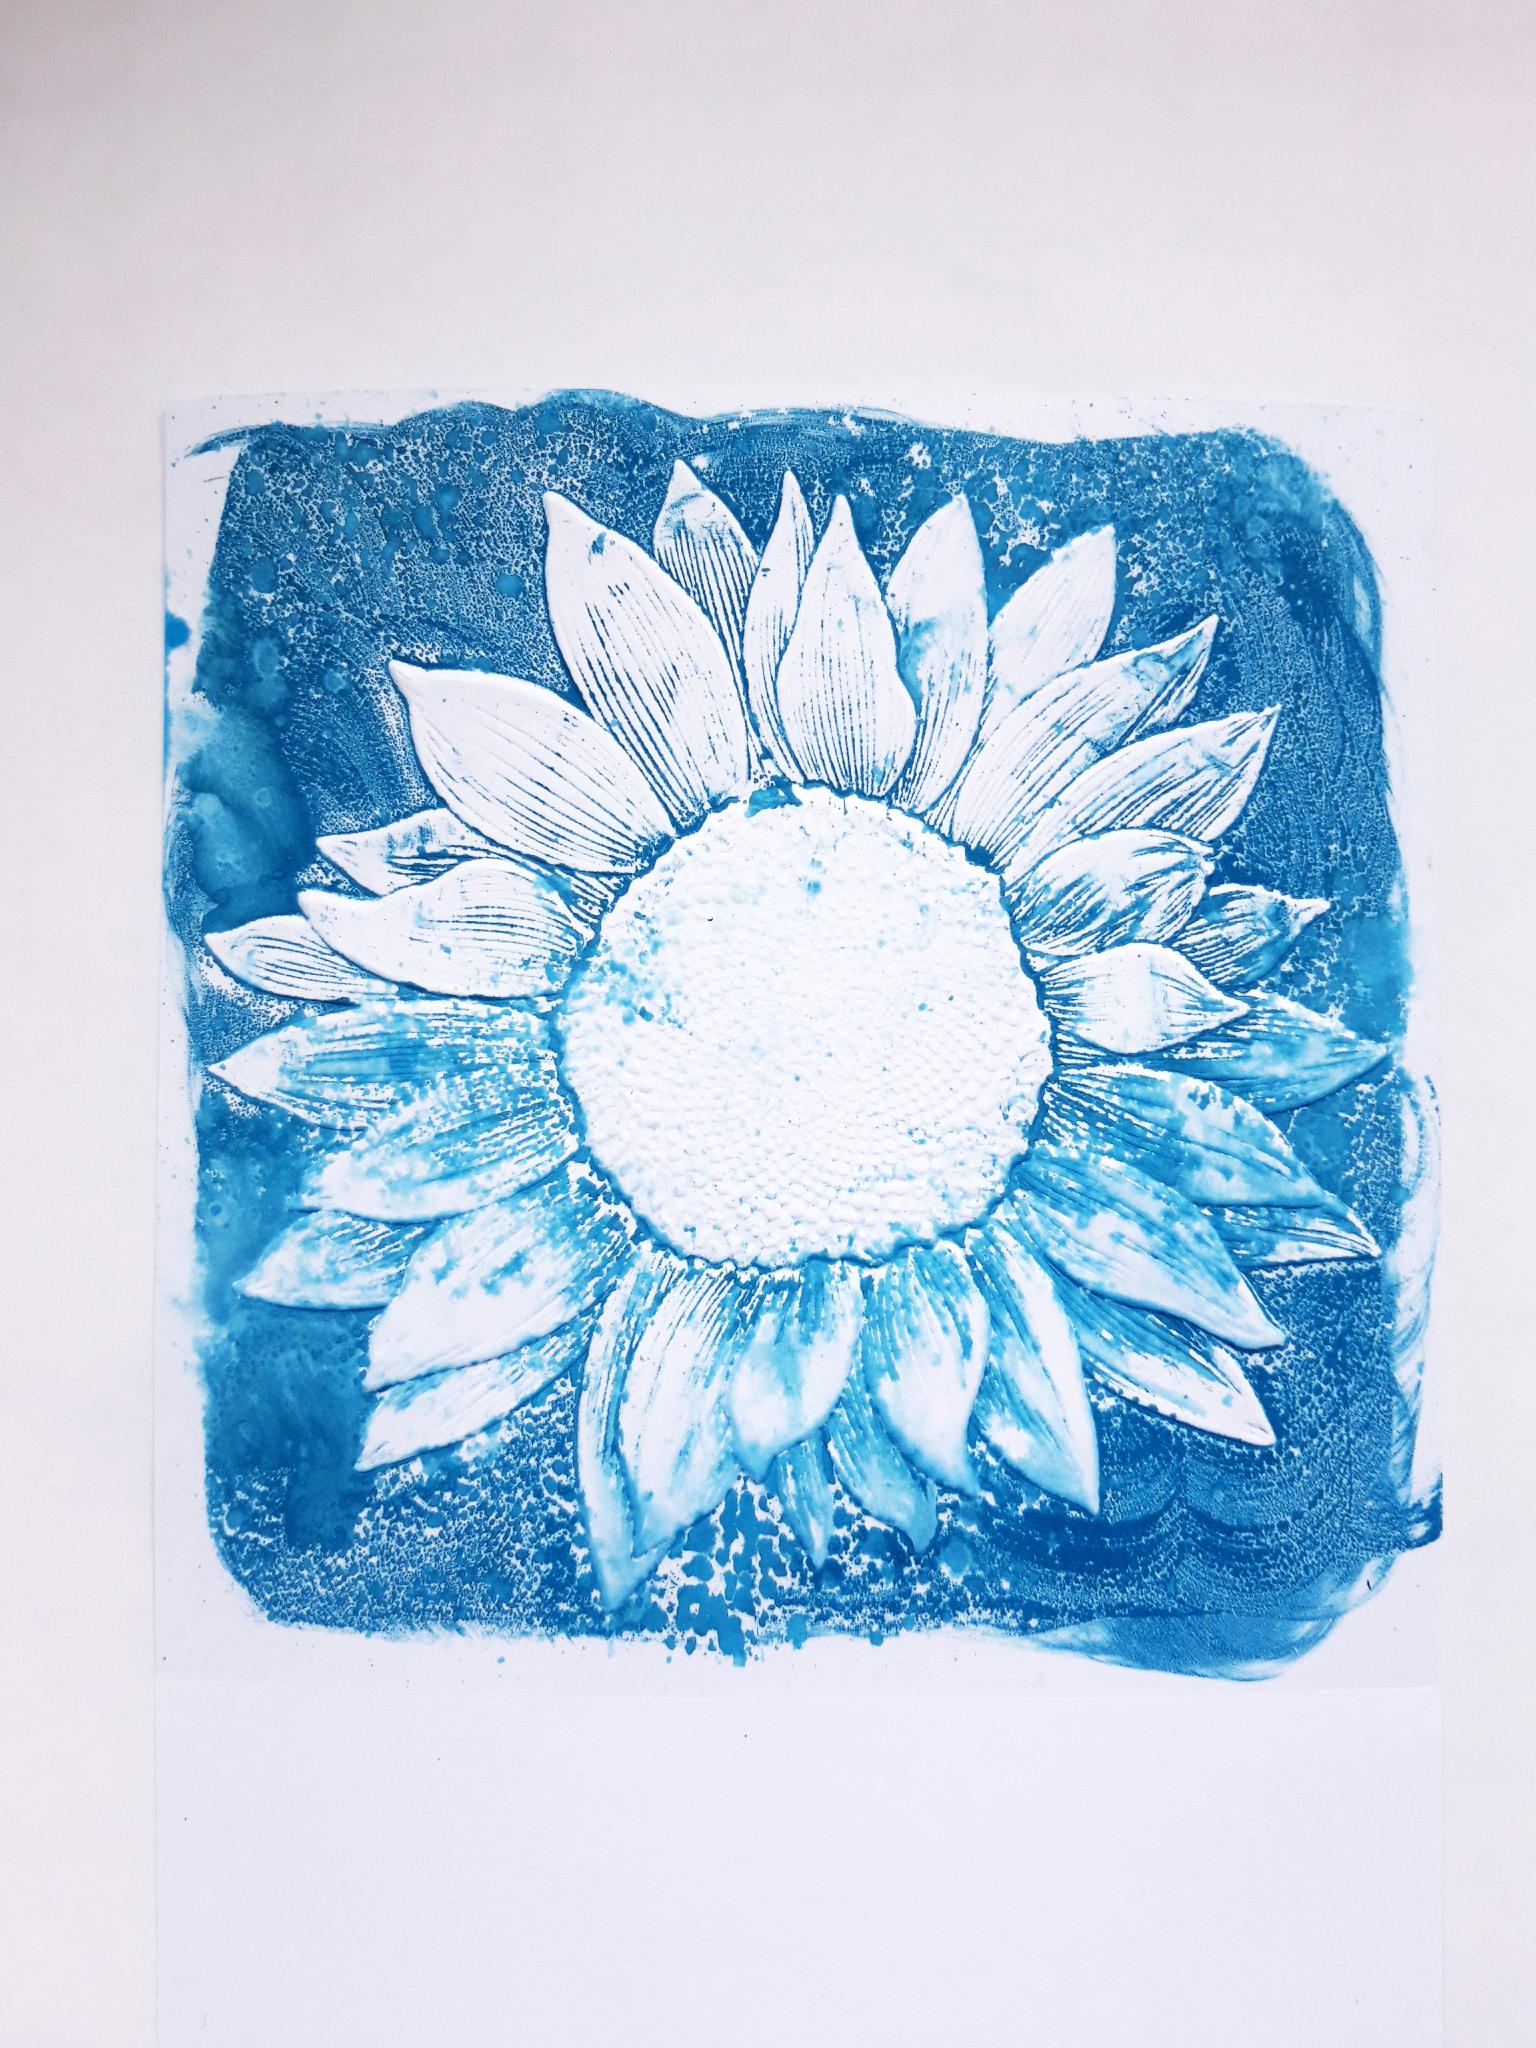
Place white card, cut to 7 x 7", inside the embossing folder and run it through your die cutting/embossing machine. Mop up any excess ink and dry it with a heat tool. |
|
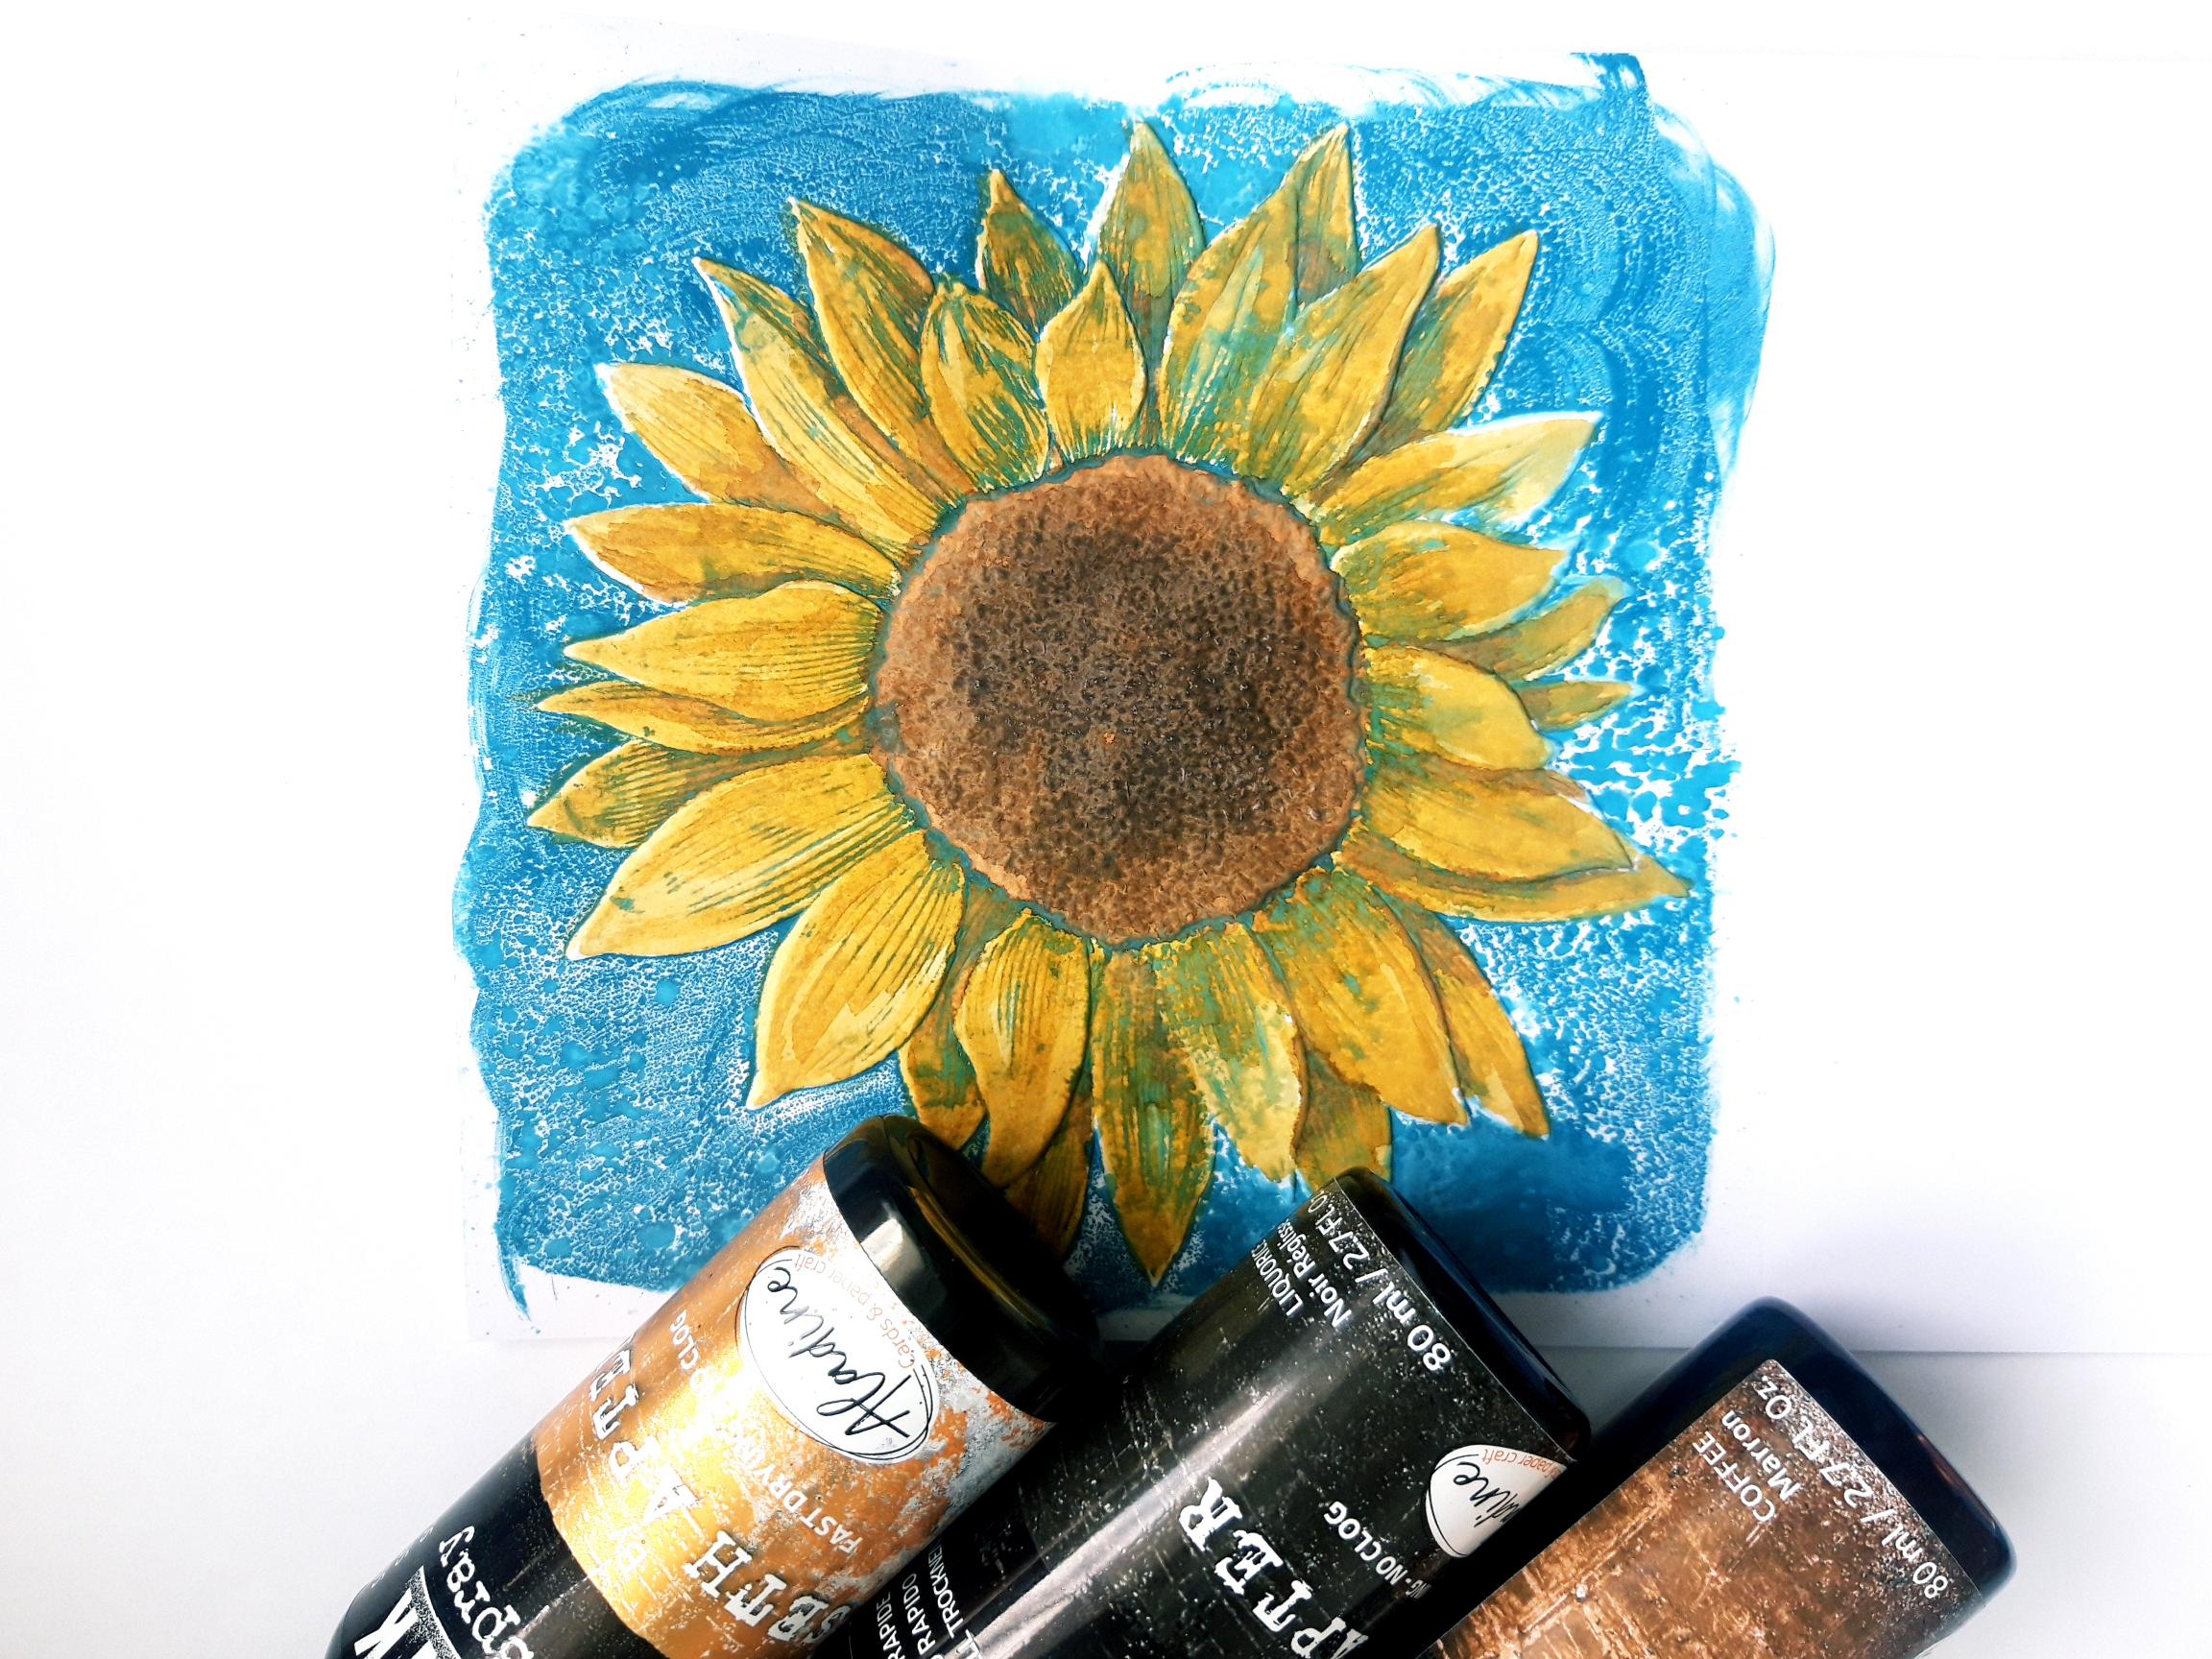
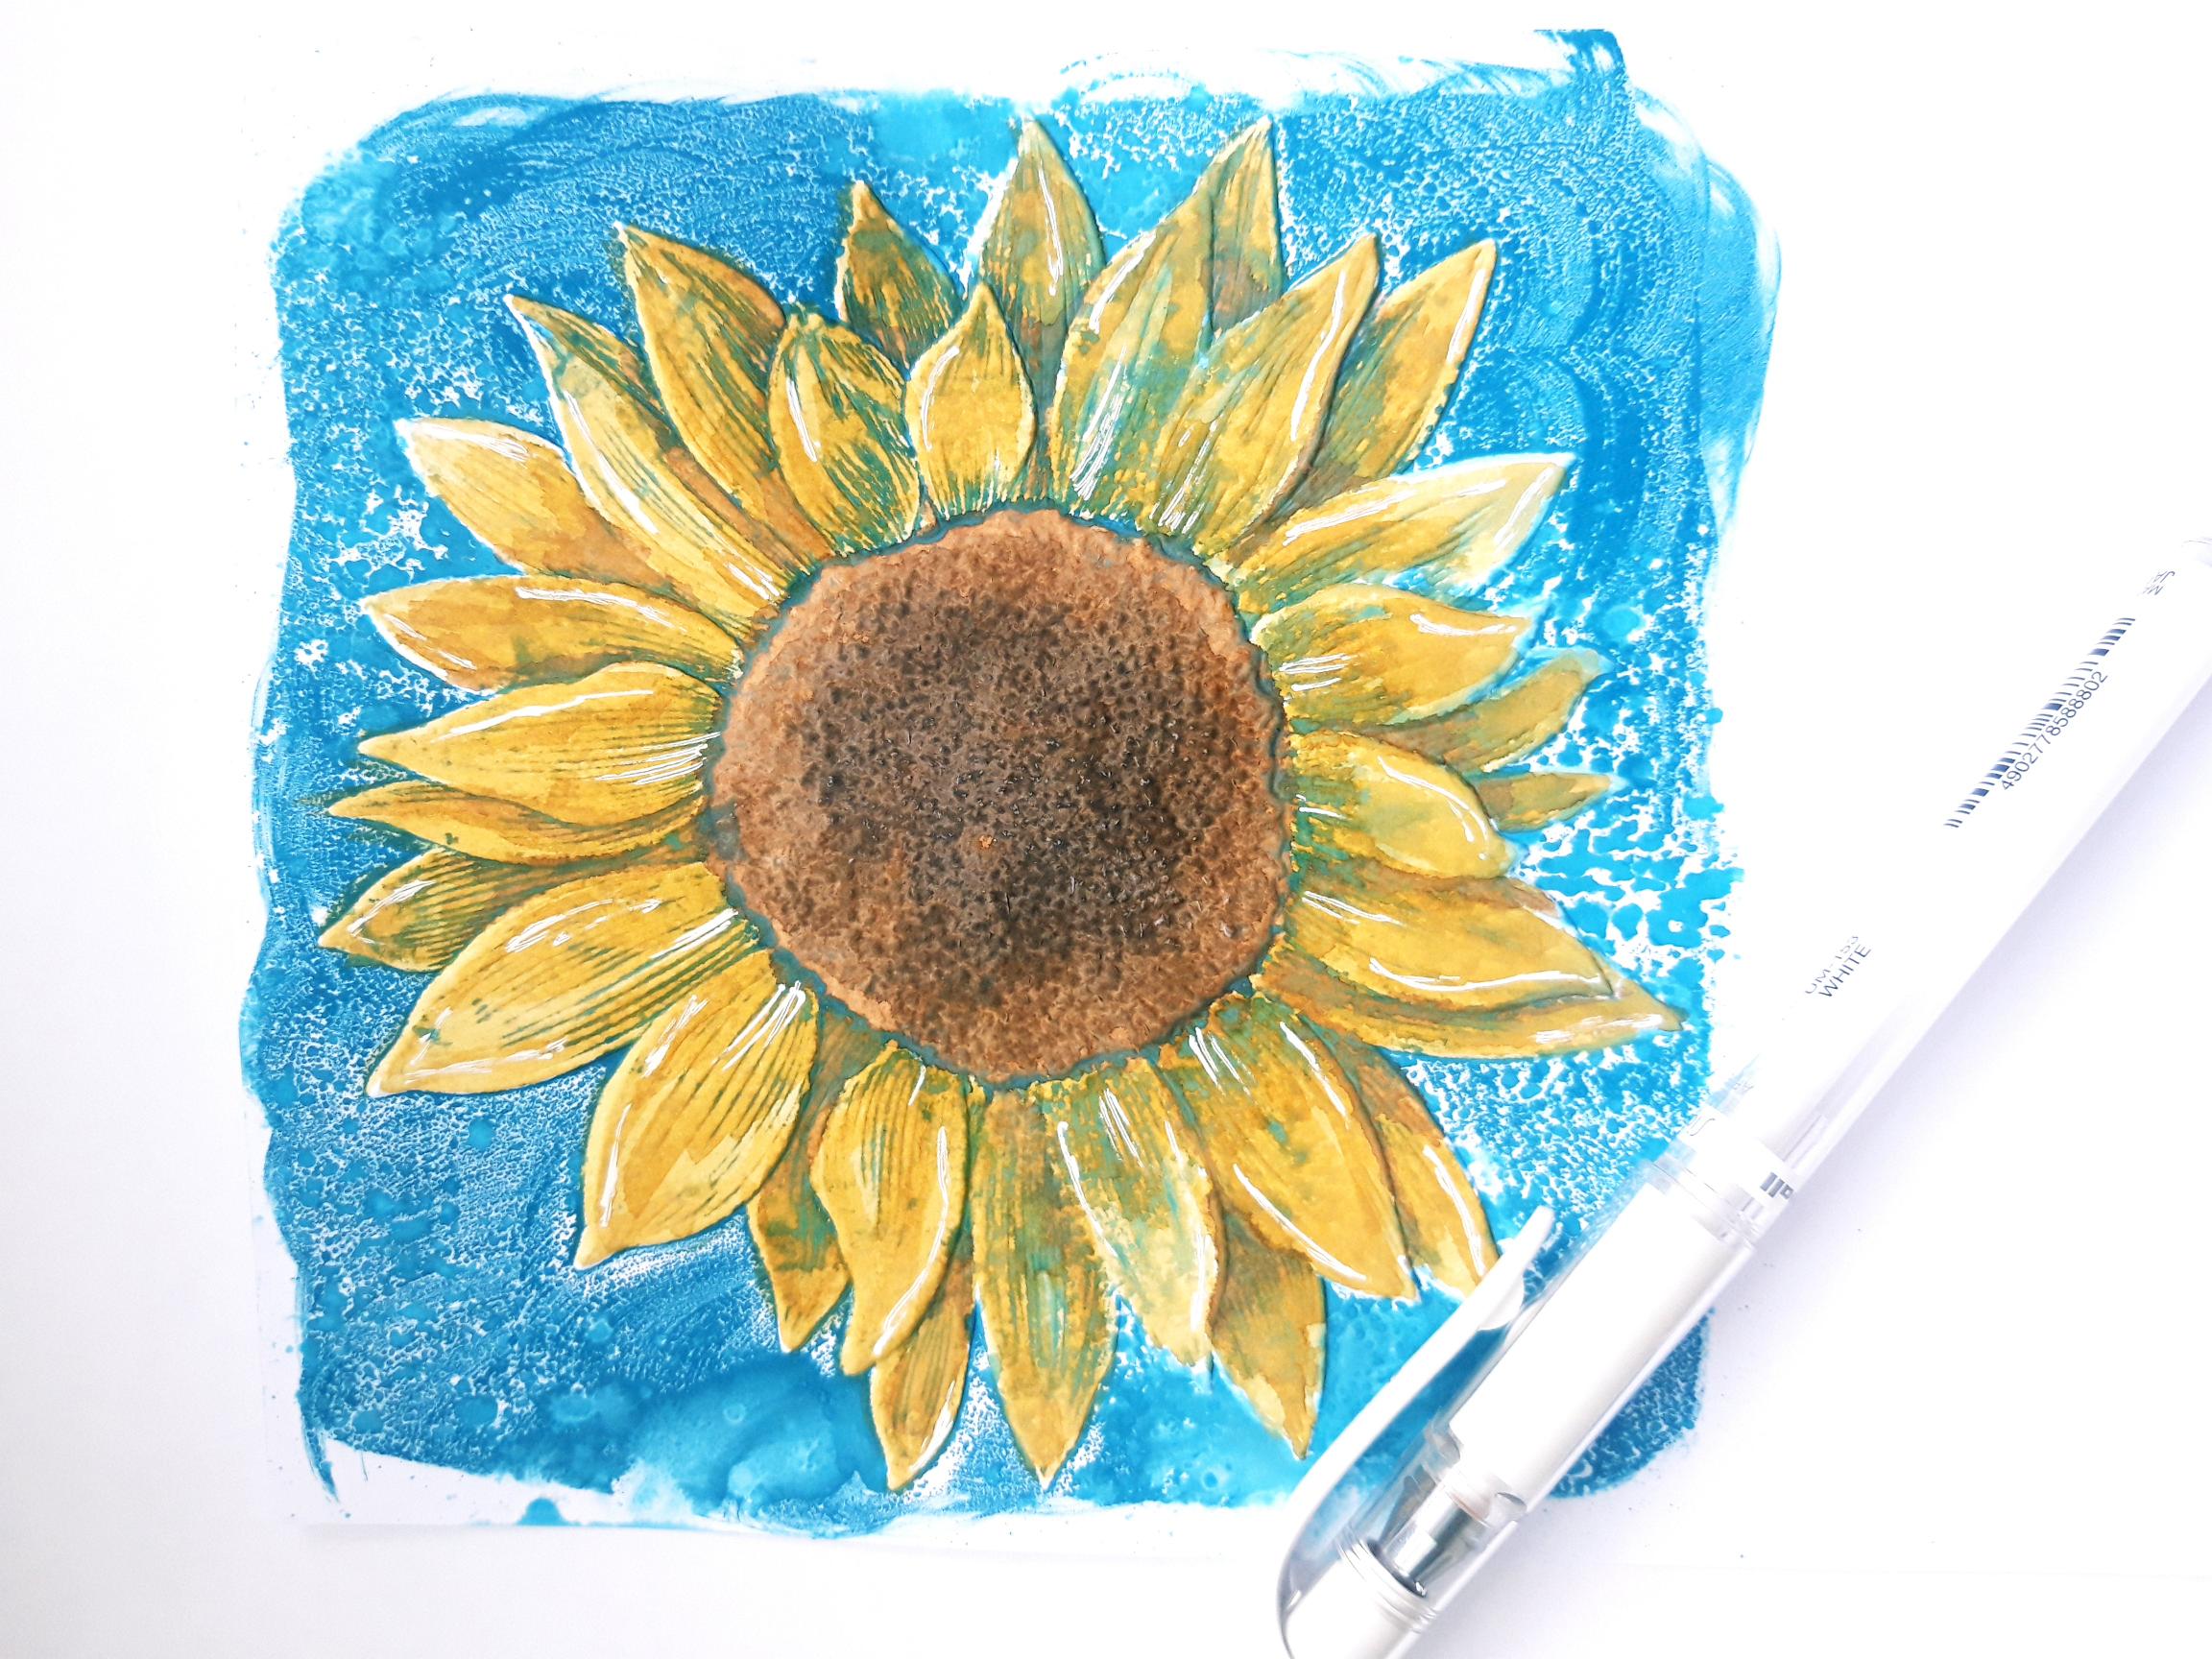
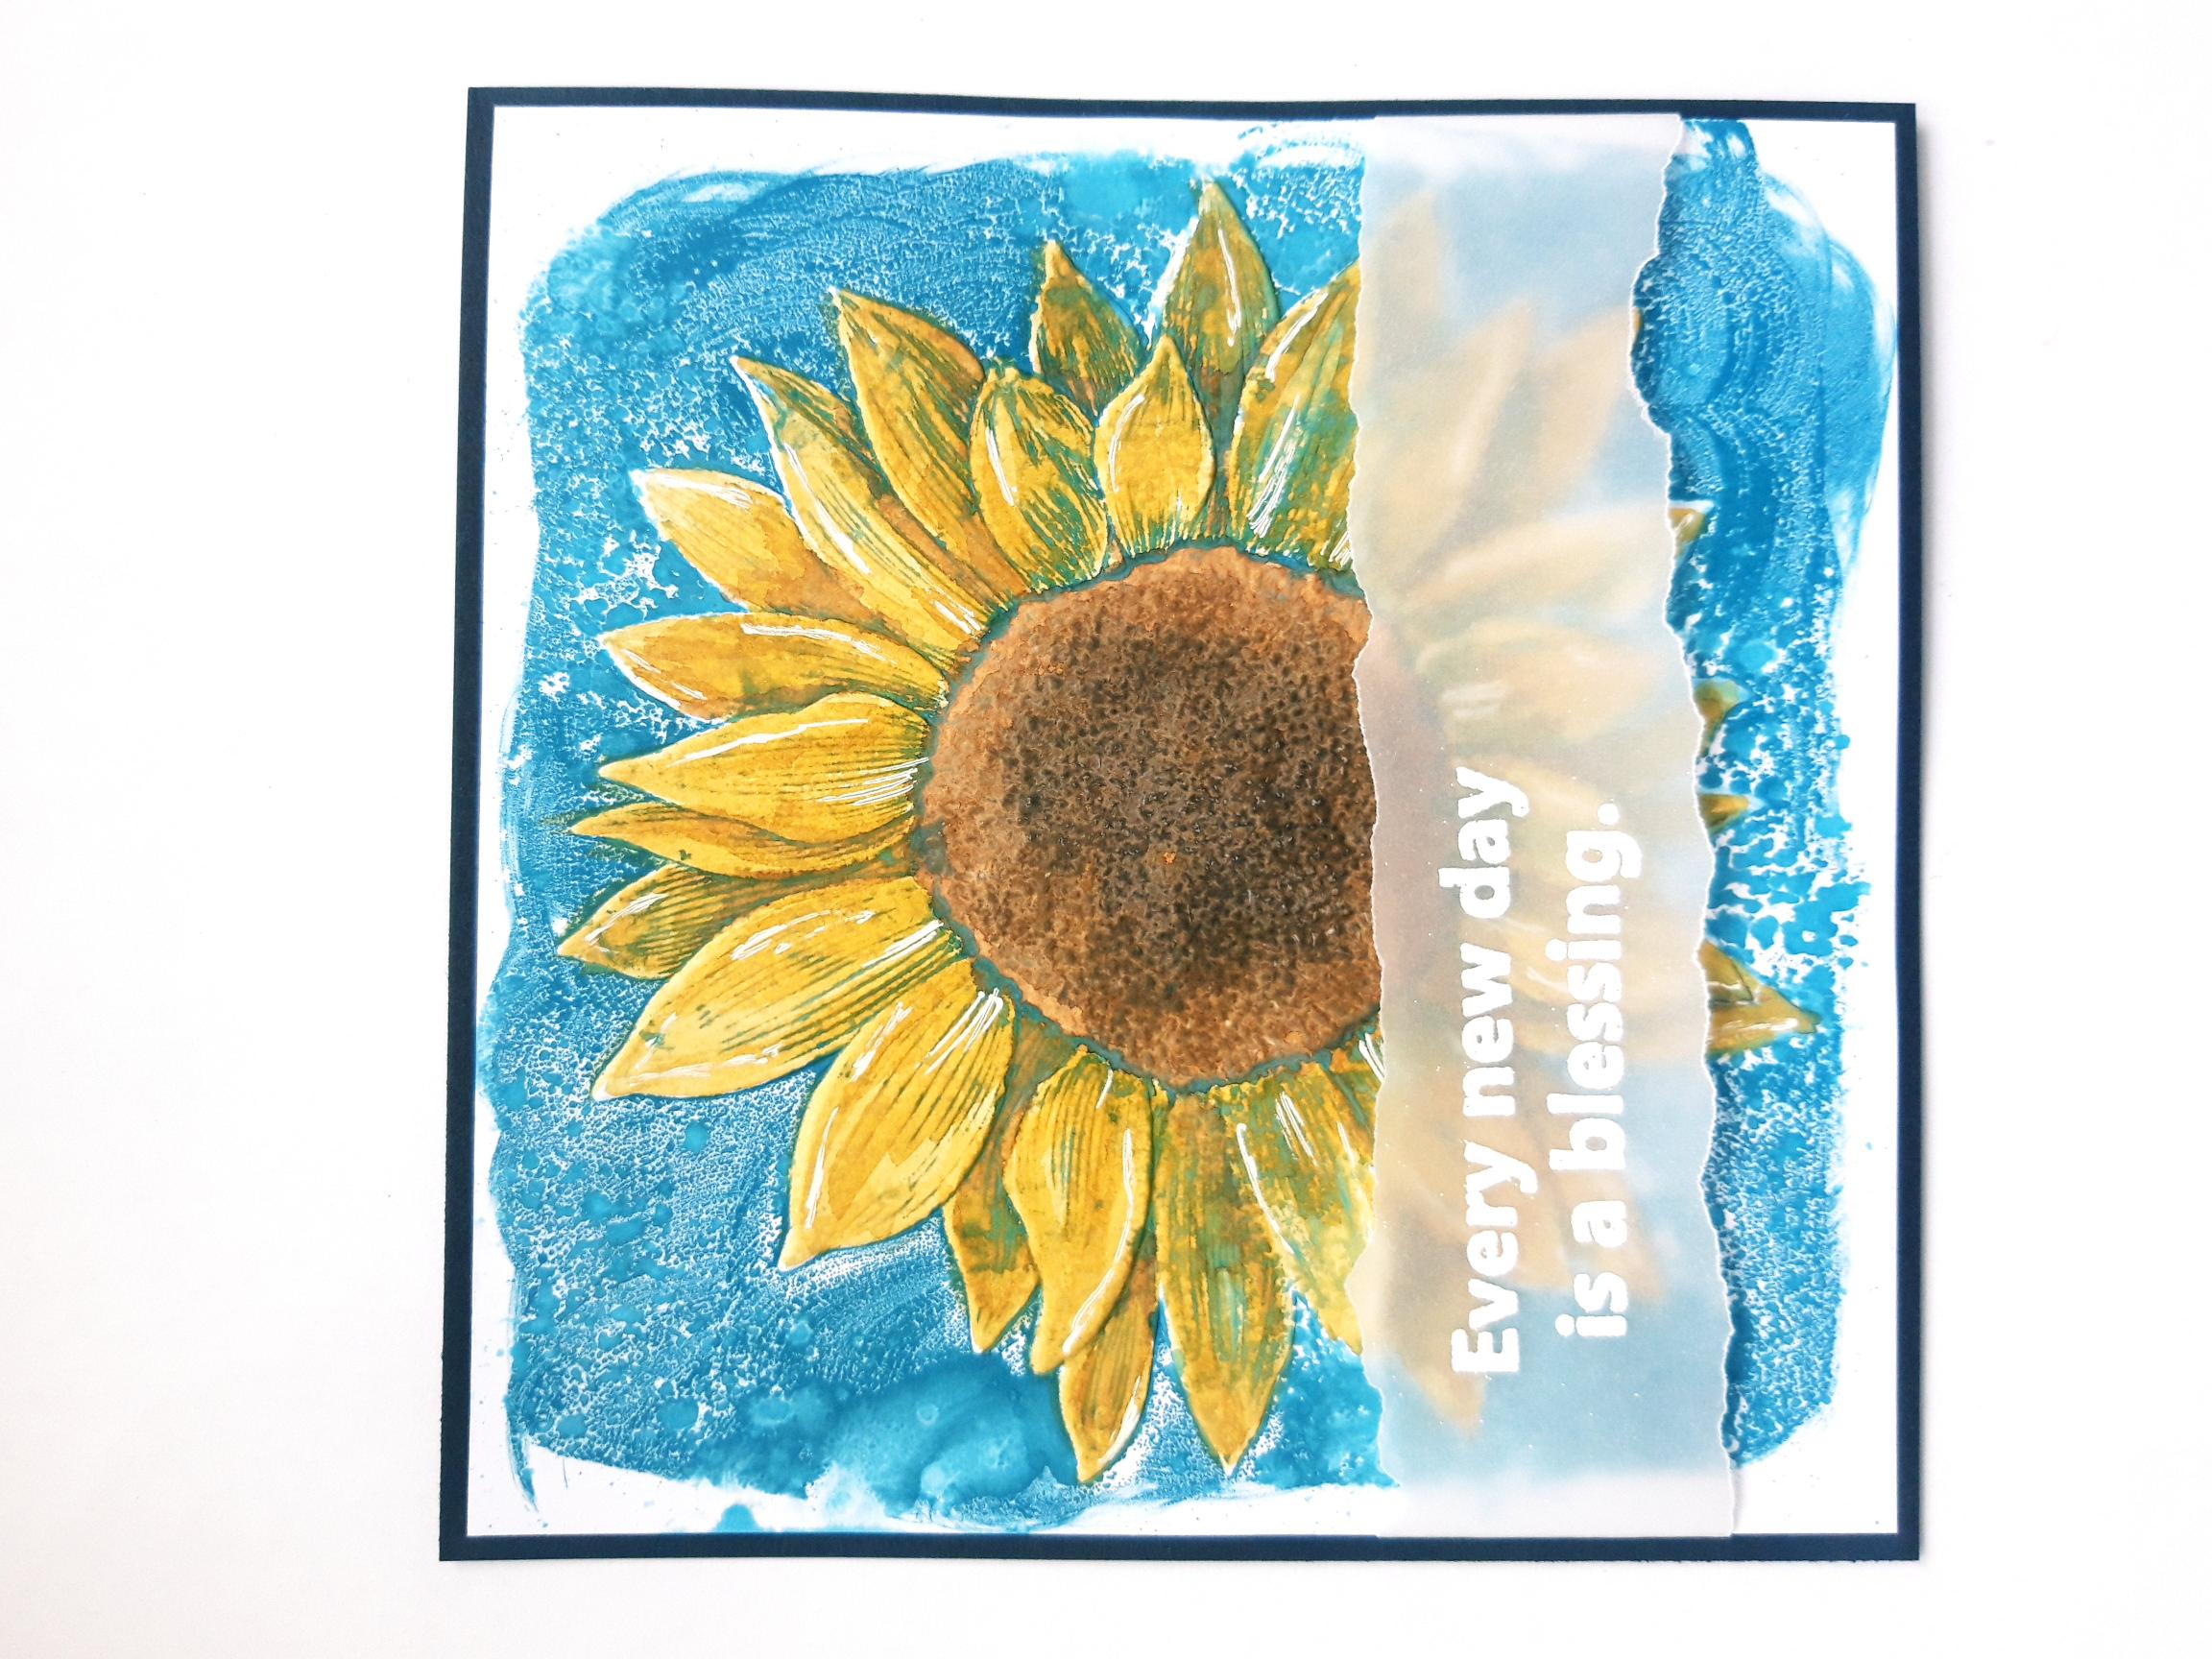
Spray a little of the Izink Dye Sprays on to your craft mat, add a little water and paint your Sunflower. I used the wet in wet technique, adding clear water to each petal, then dropping in the ink and allowing it to move. I went back several times, adding more colour to create light and shade. |
|
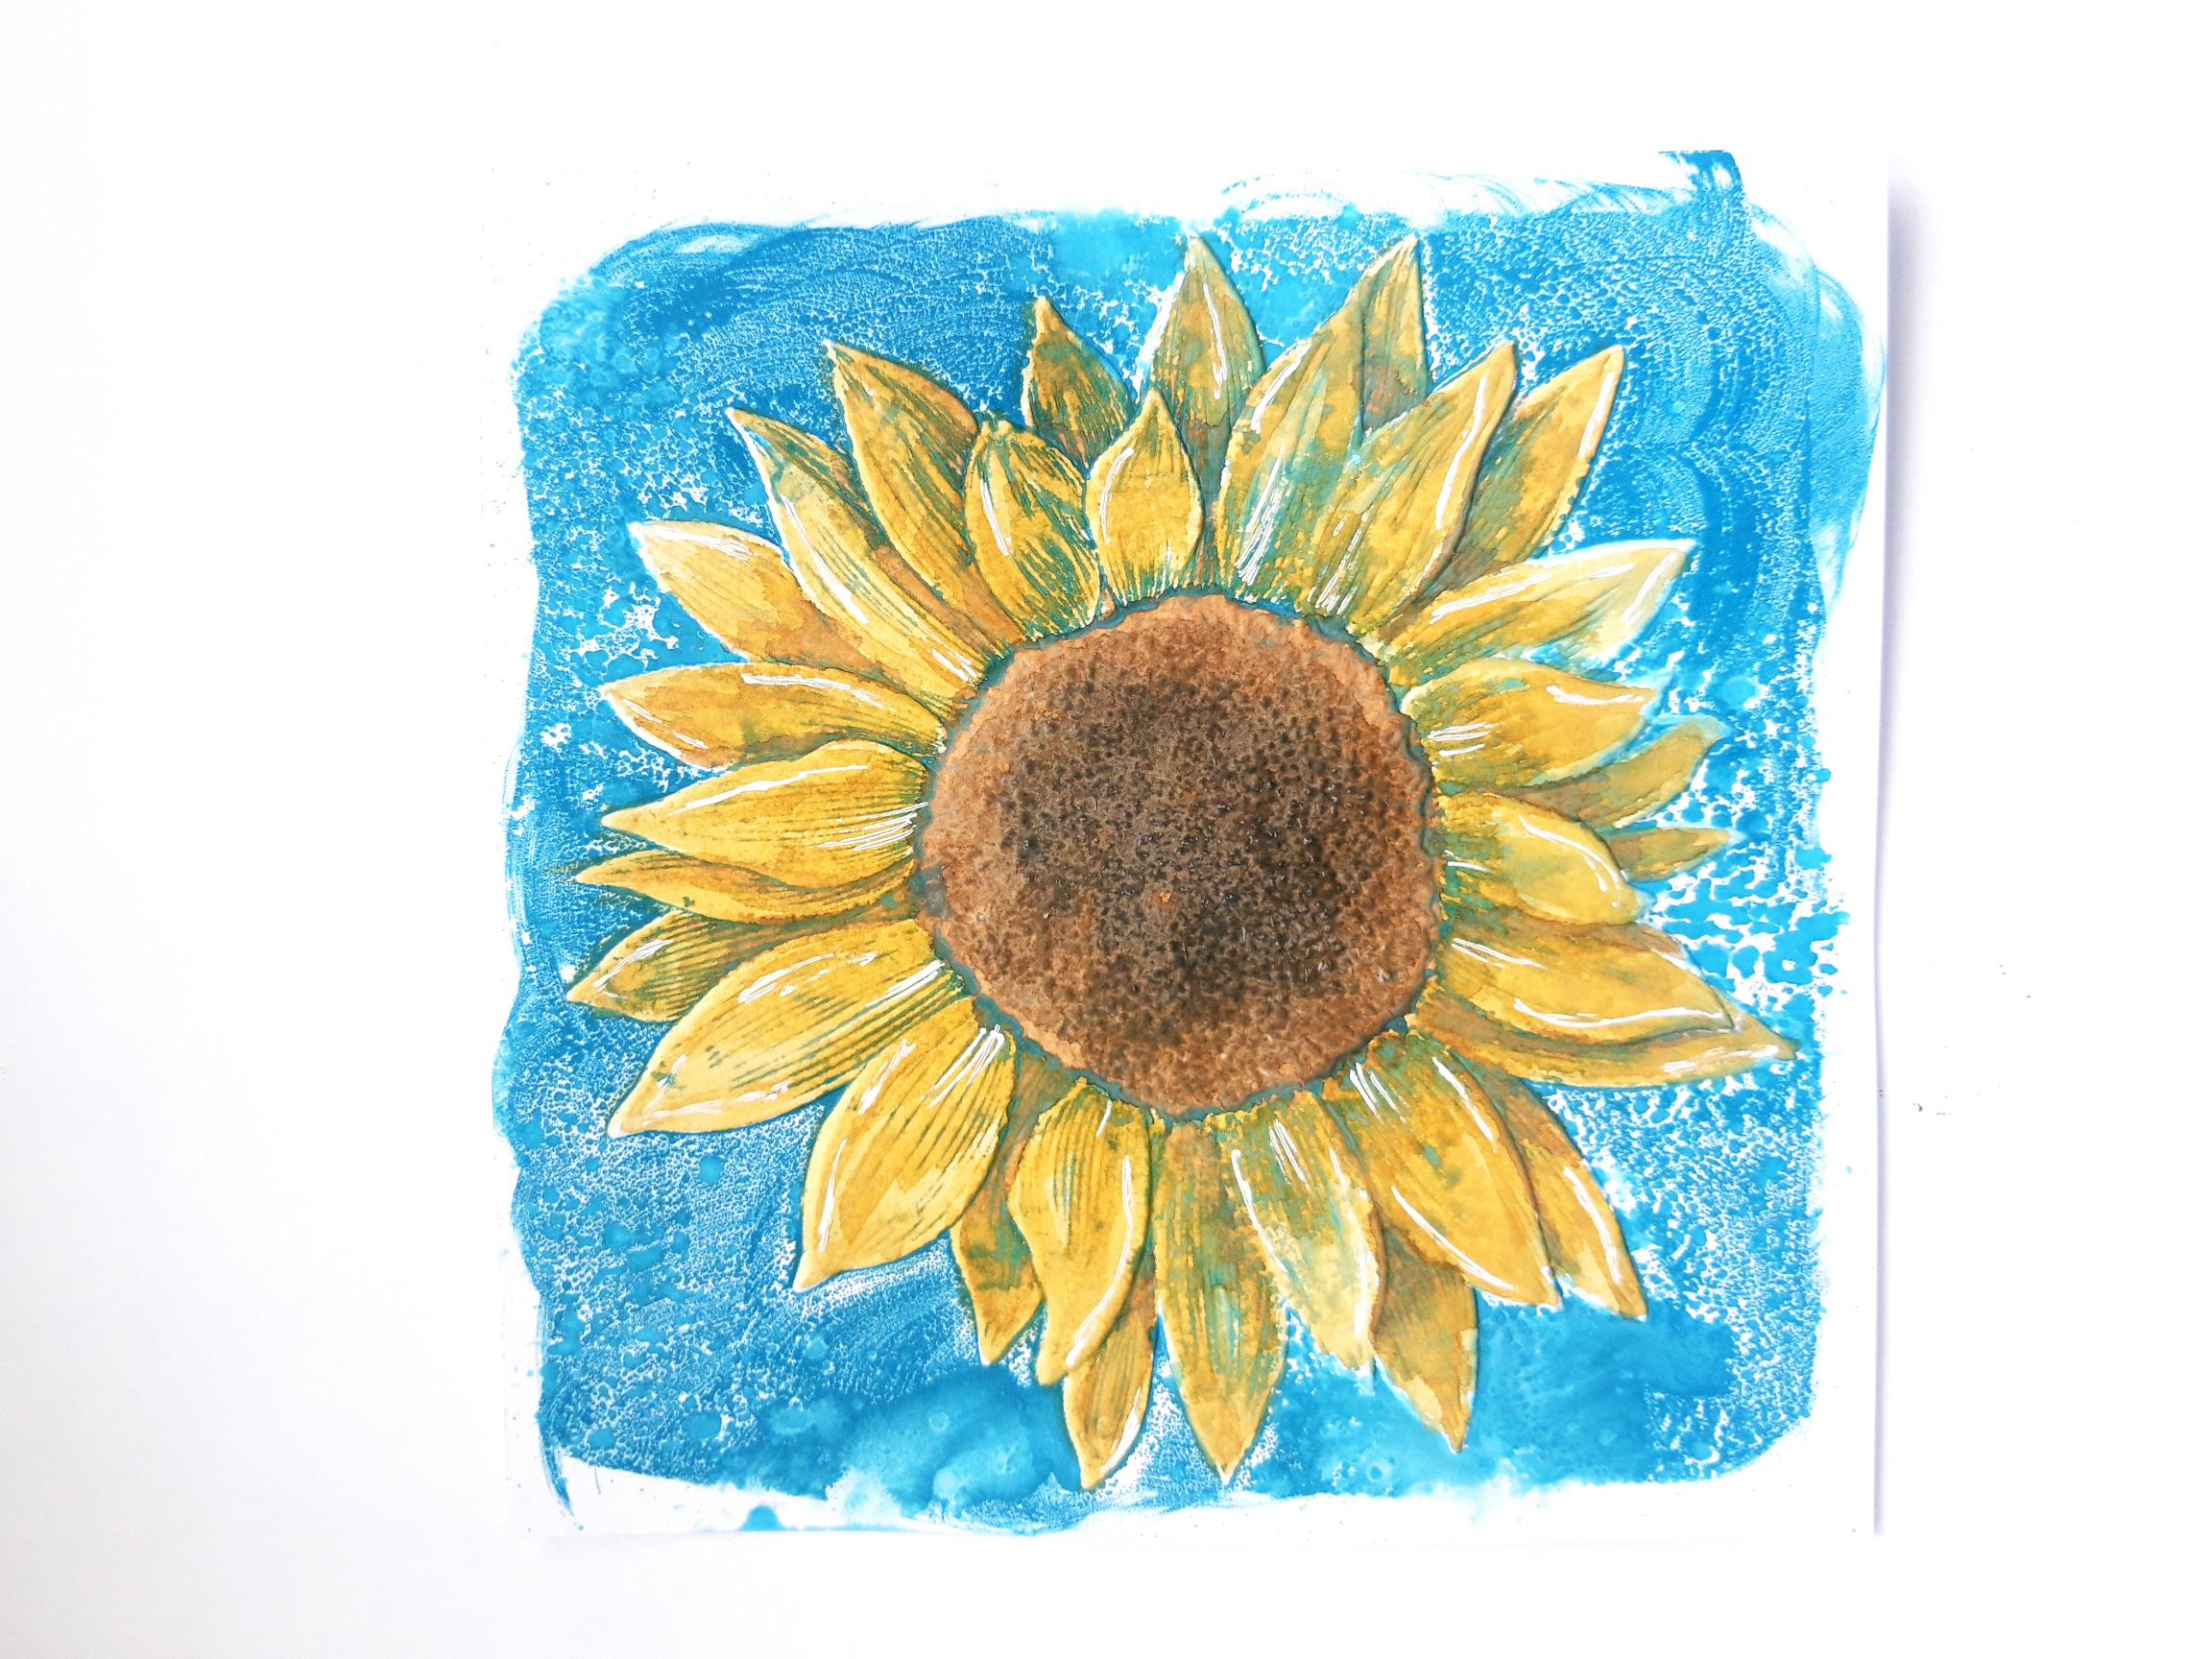
Once your Sunflower is completely dry, go back in with a white gel pen, adding accents and highlights as required. |
|
Trim your card down to 5 3/4 x 5 3/4". |
|
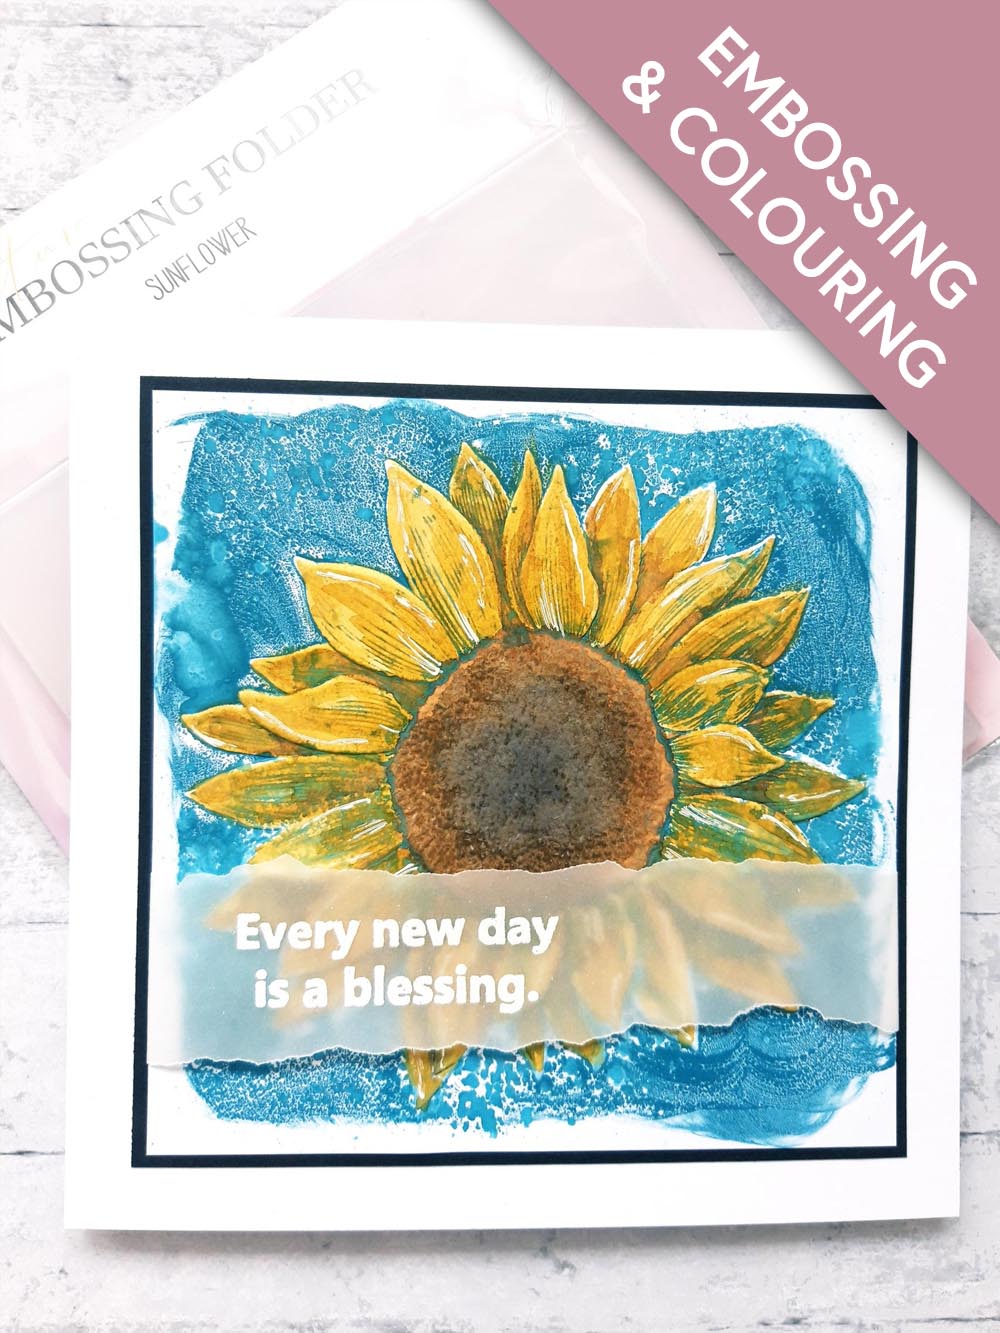
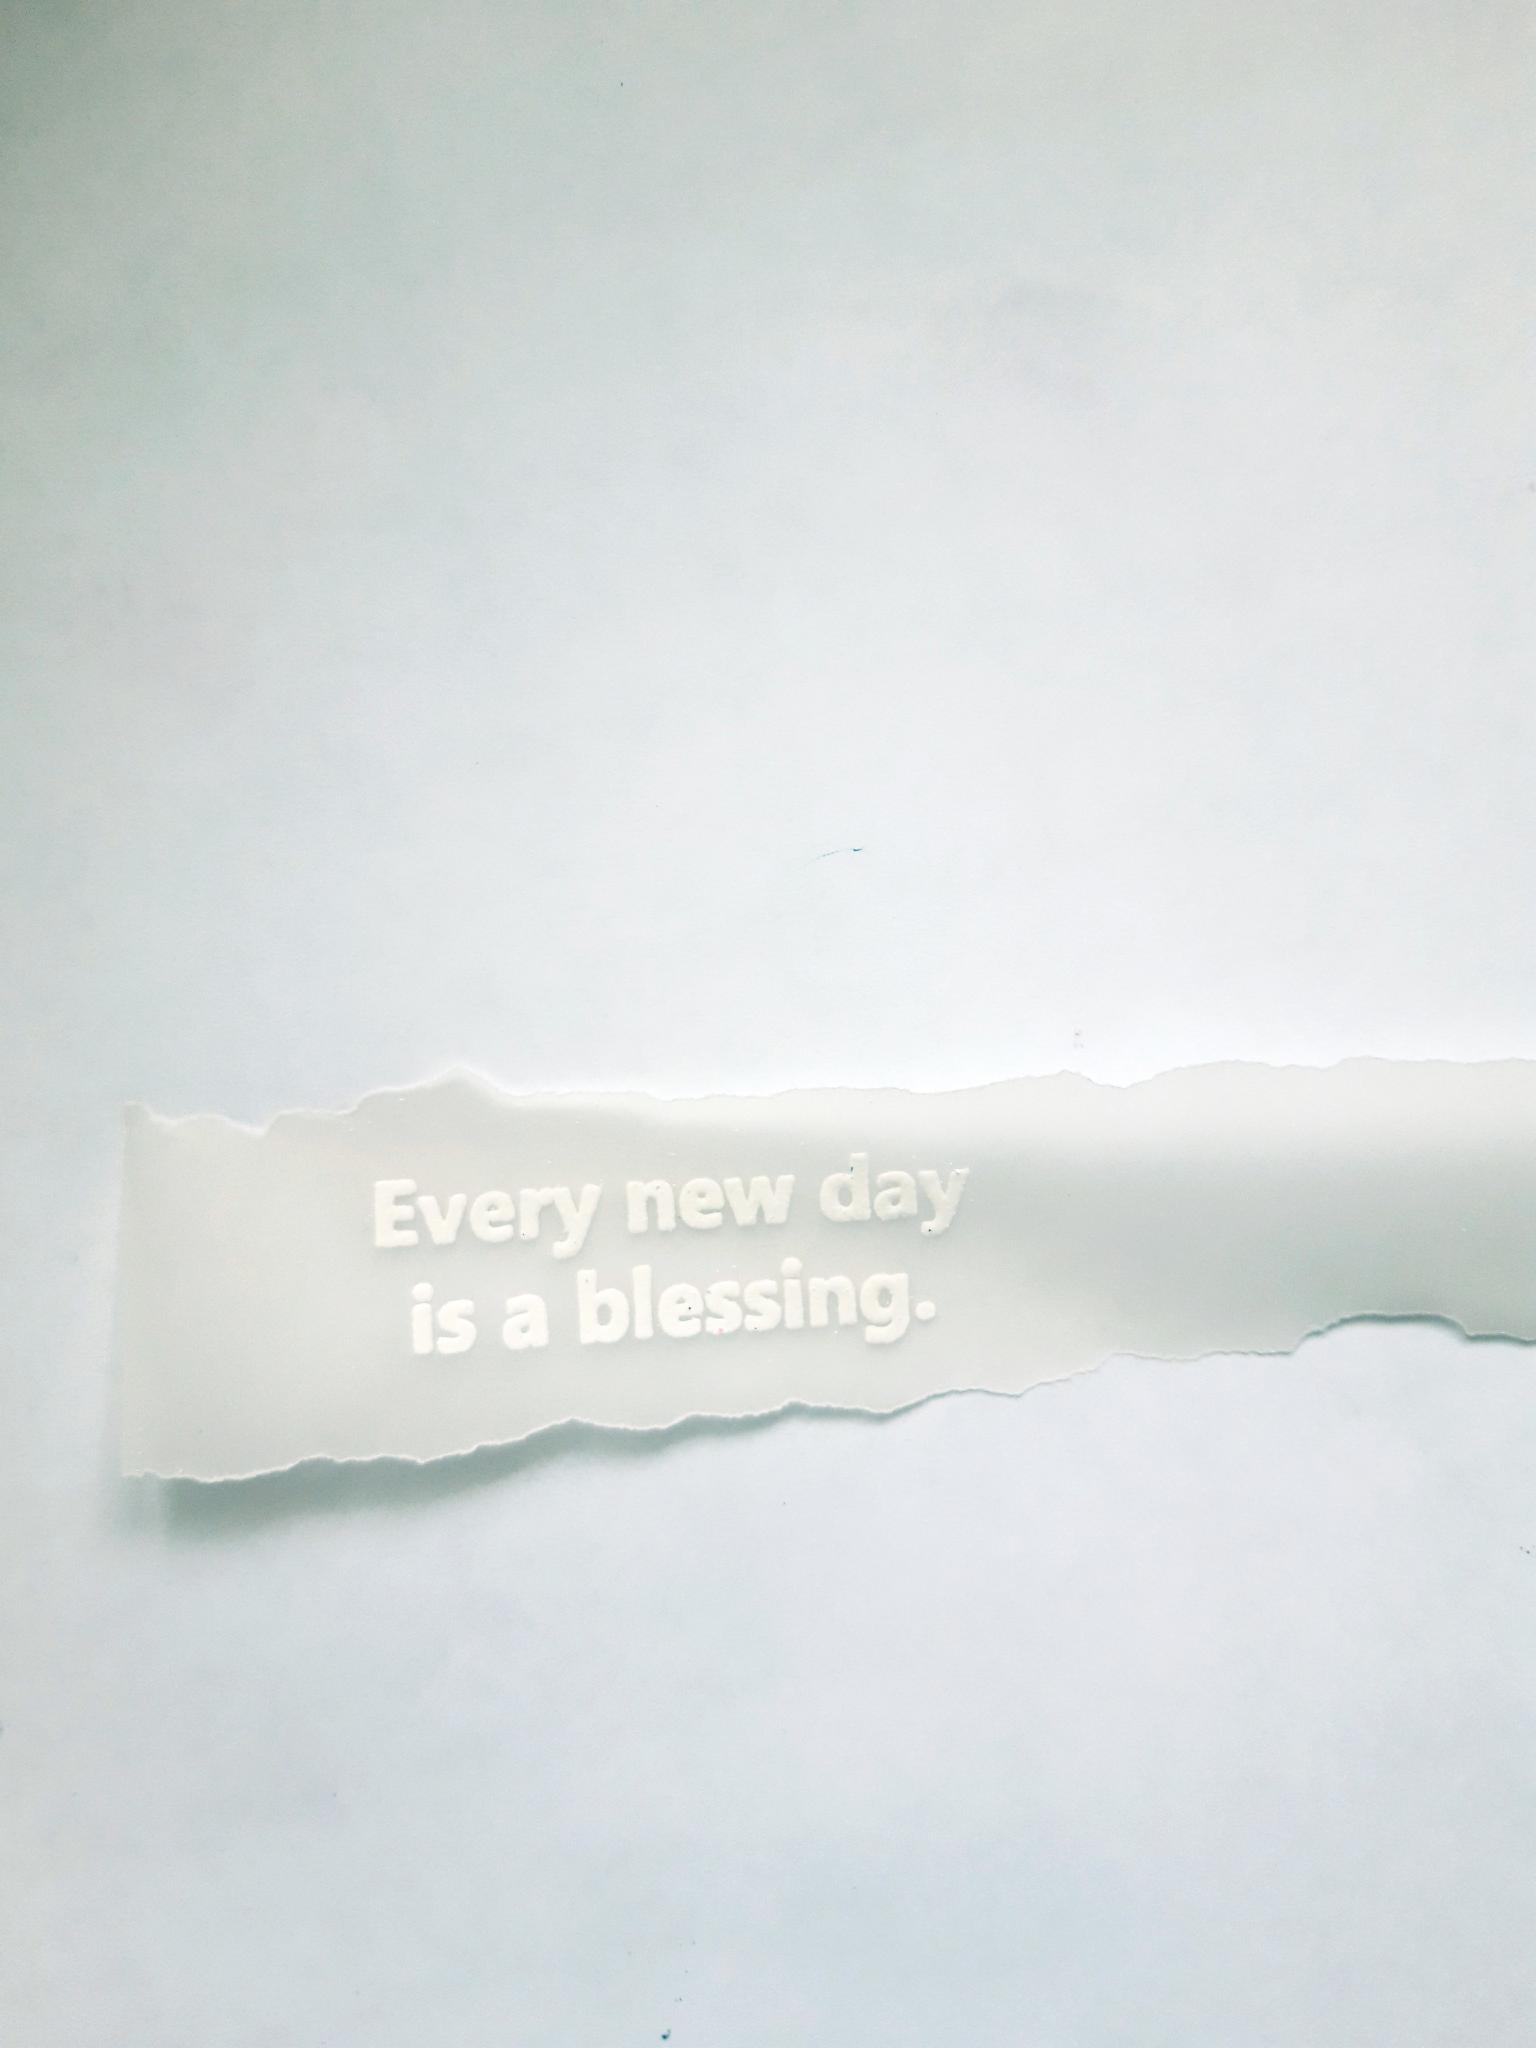
Tear a strip of vellum slightly wider than your card, wiping it over with an anti-static bag. Ink up your sentiment stamp, from Every New Day Stamp Collection, with the WOW Embossing ink pad and stamp it to the left of your torn vellum strip. Apply the white embossing powder over your stamped sentiment, then having got your heat tool hot, heat set the powder. Ensure you move your heat tool as soon as the powder starts to turn, to avoid burning the powder and warping your vellum. |
|
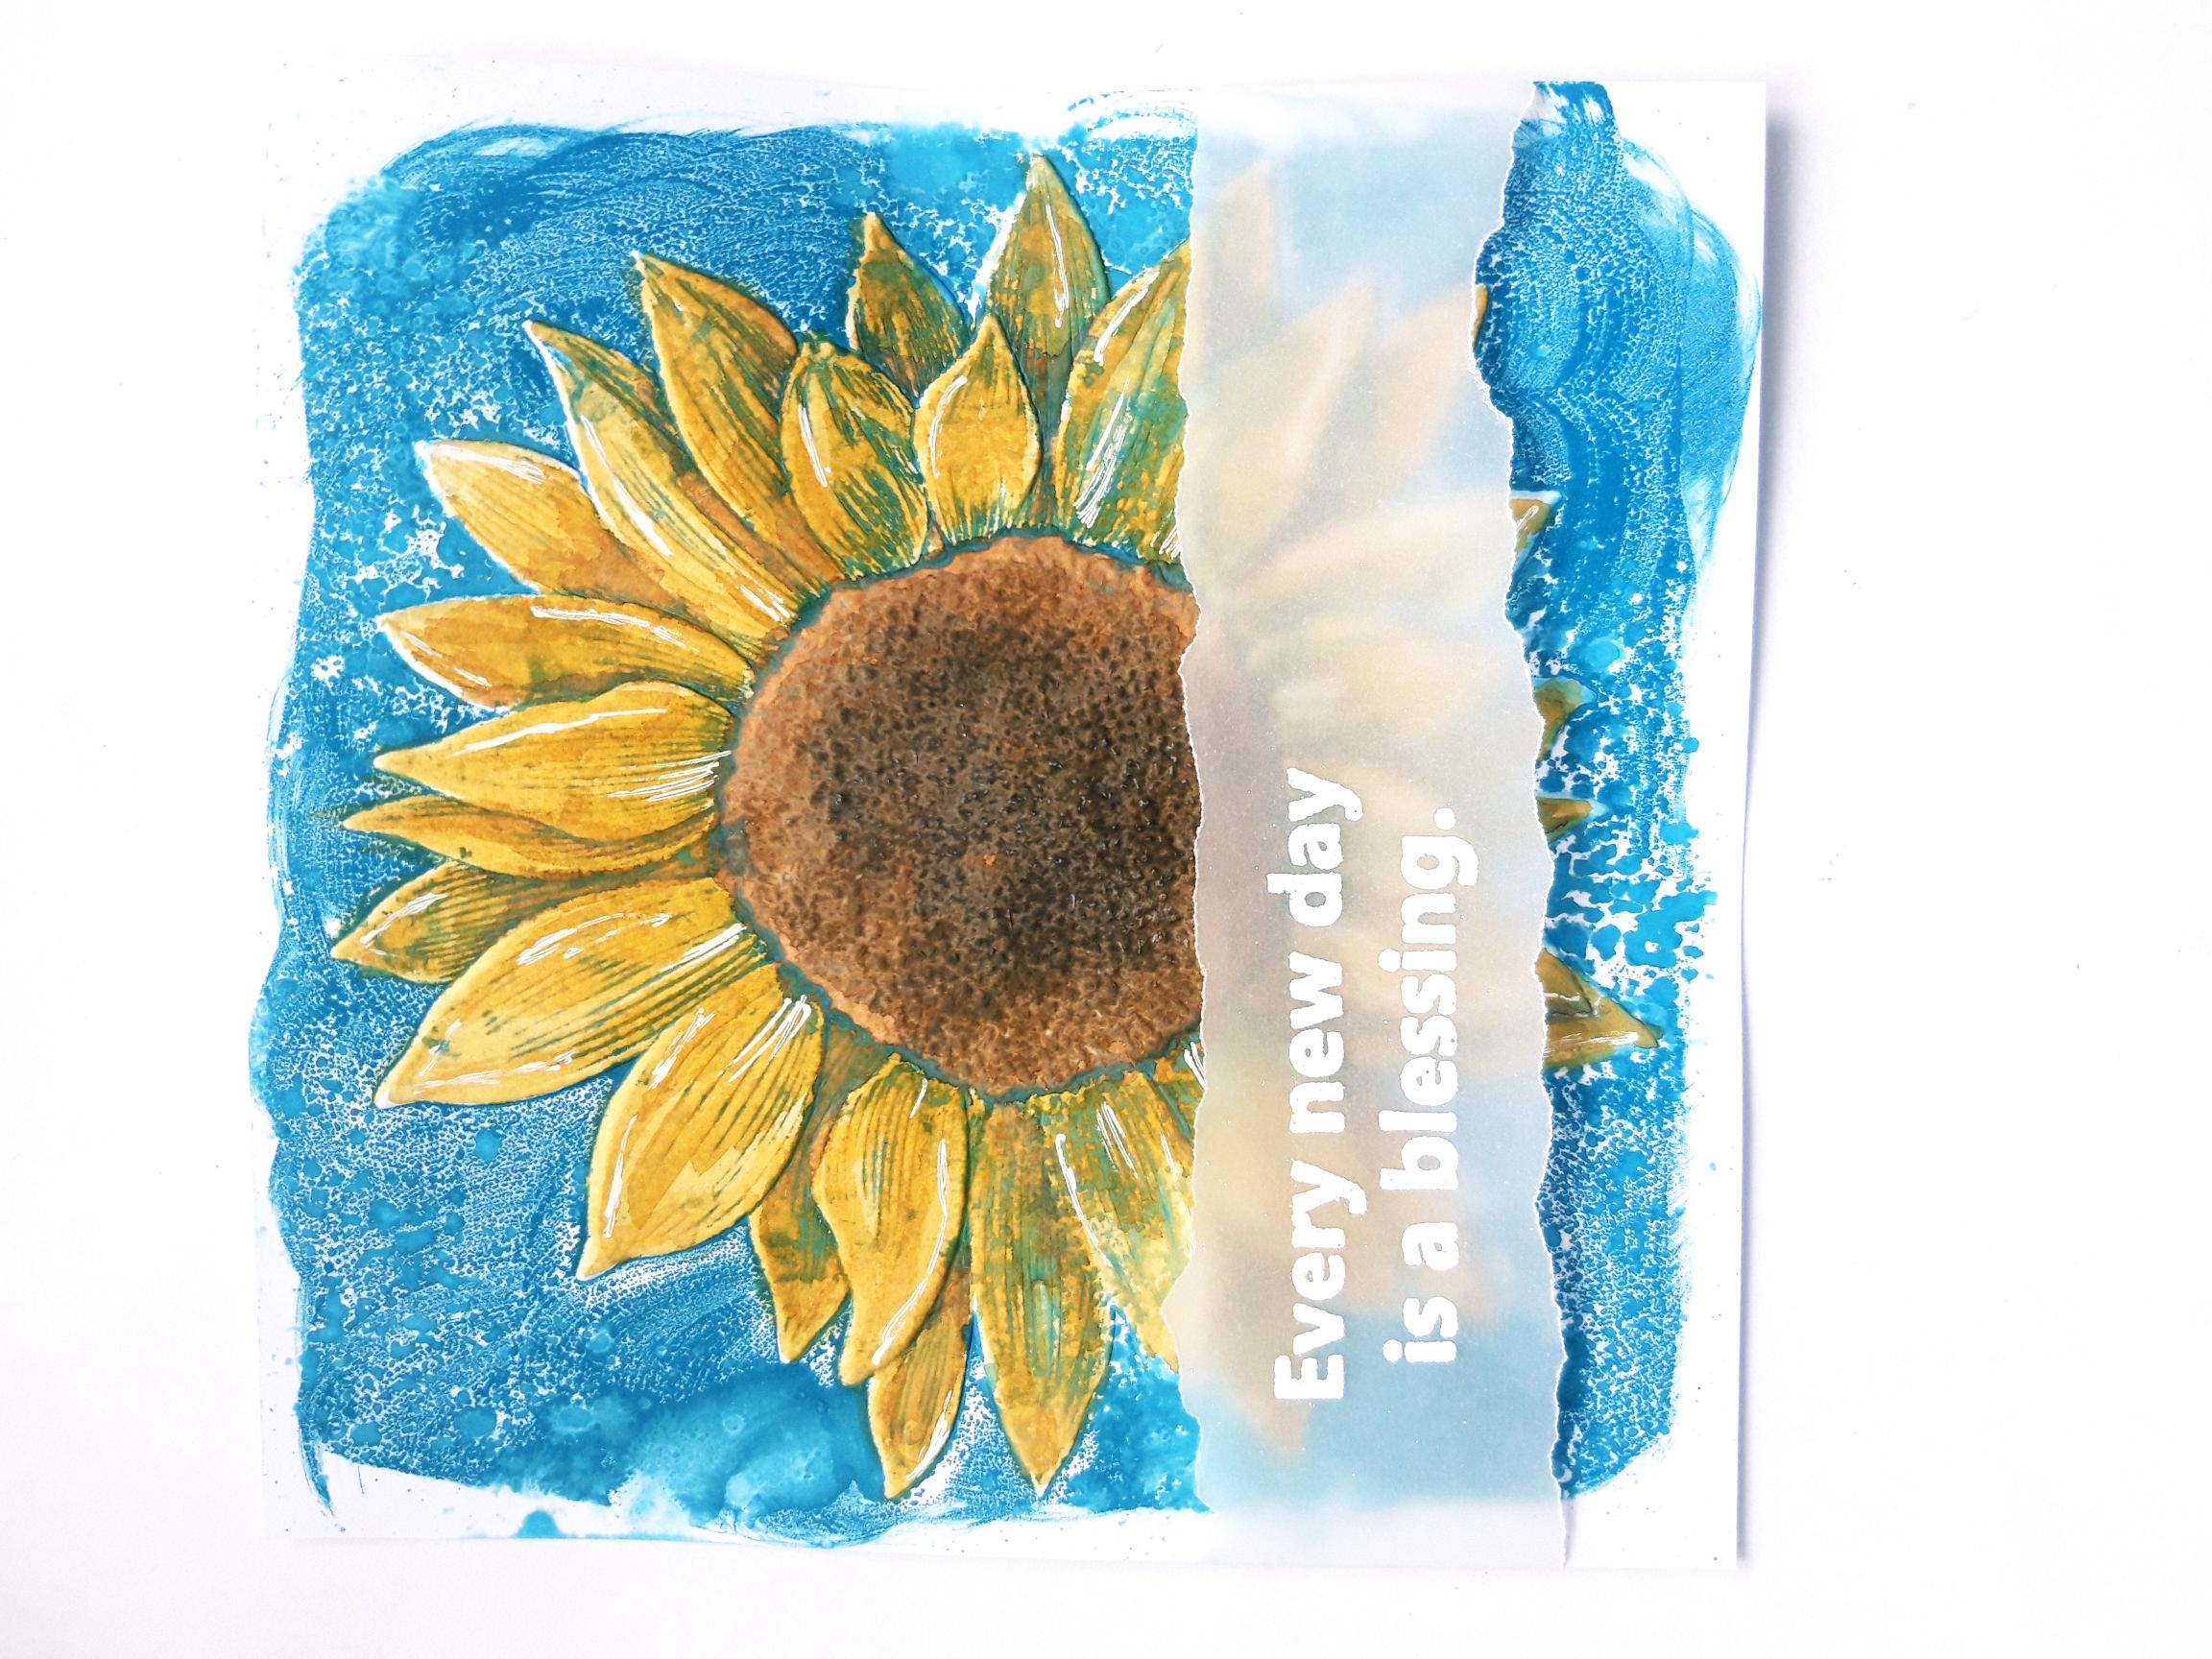
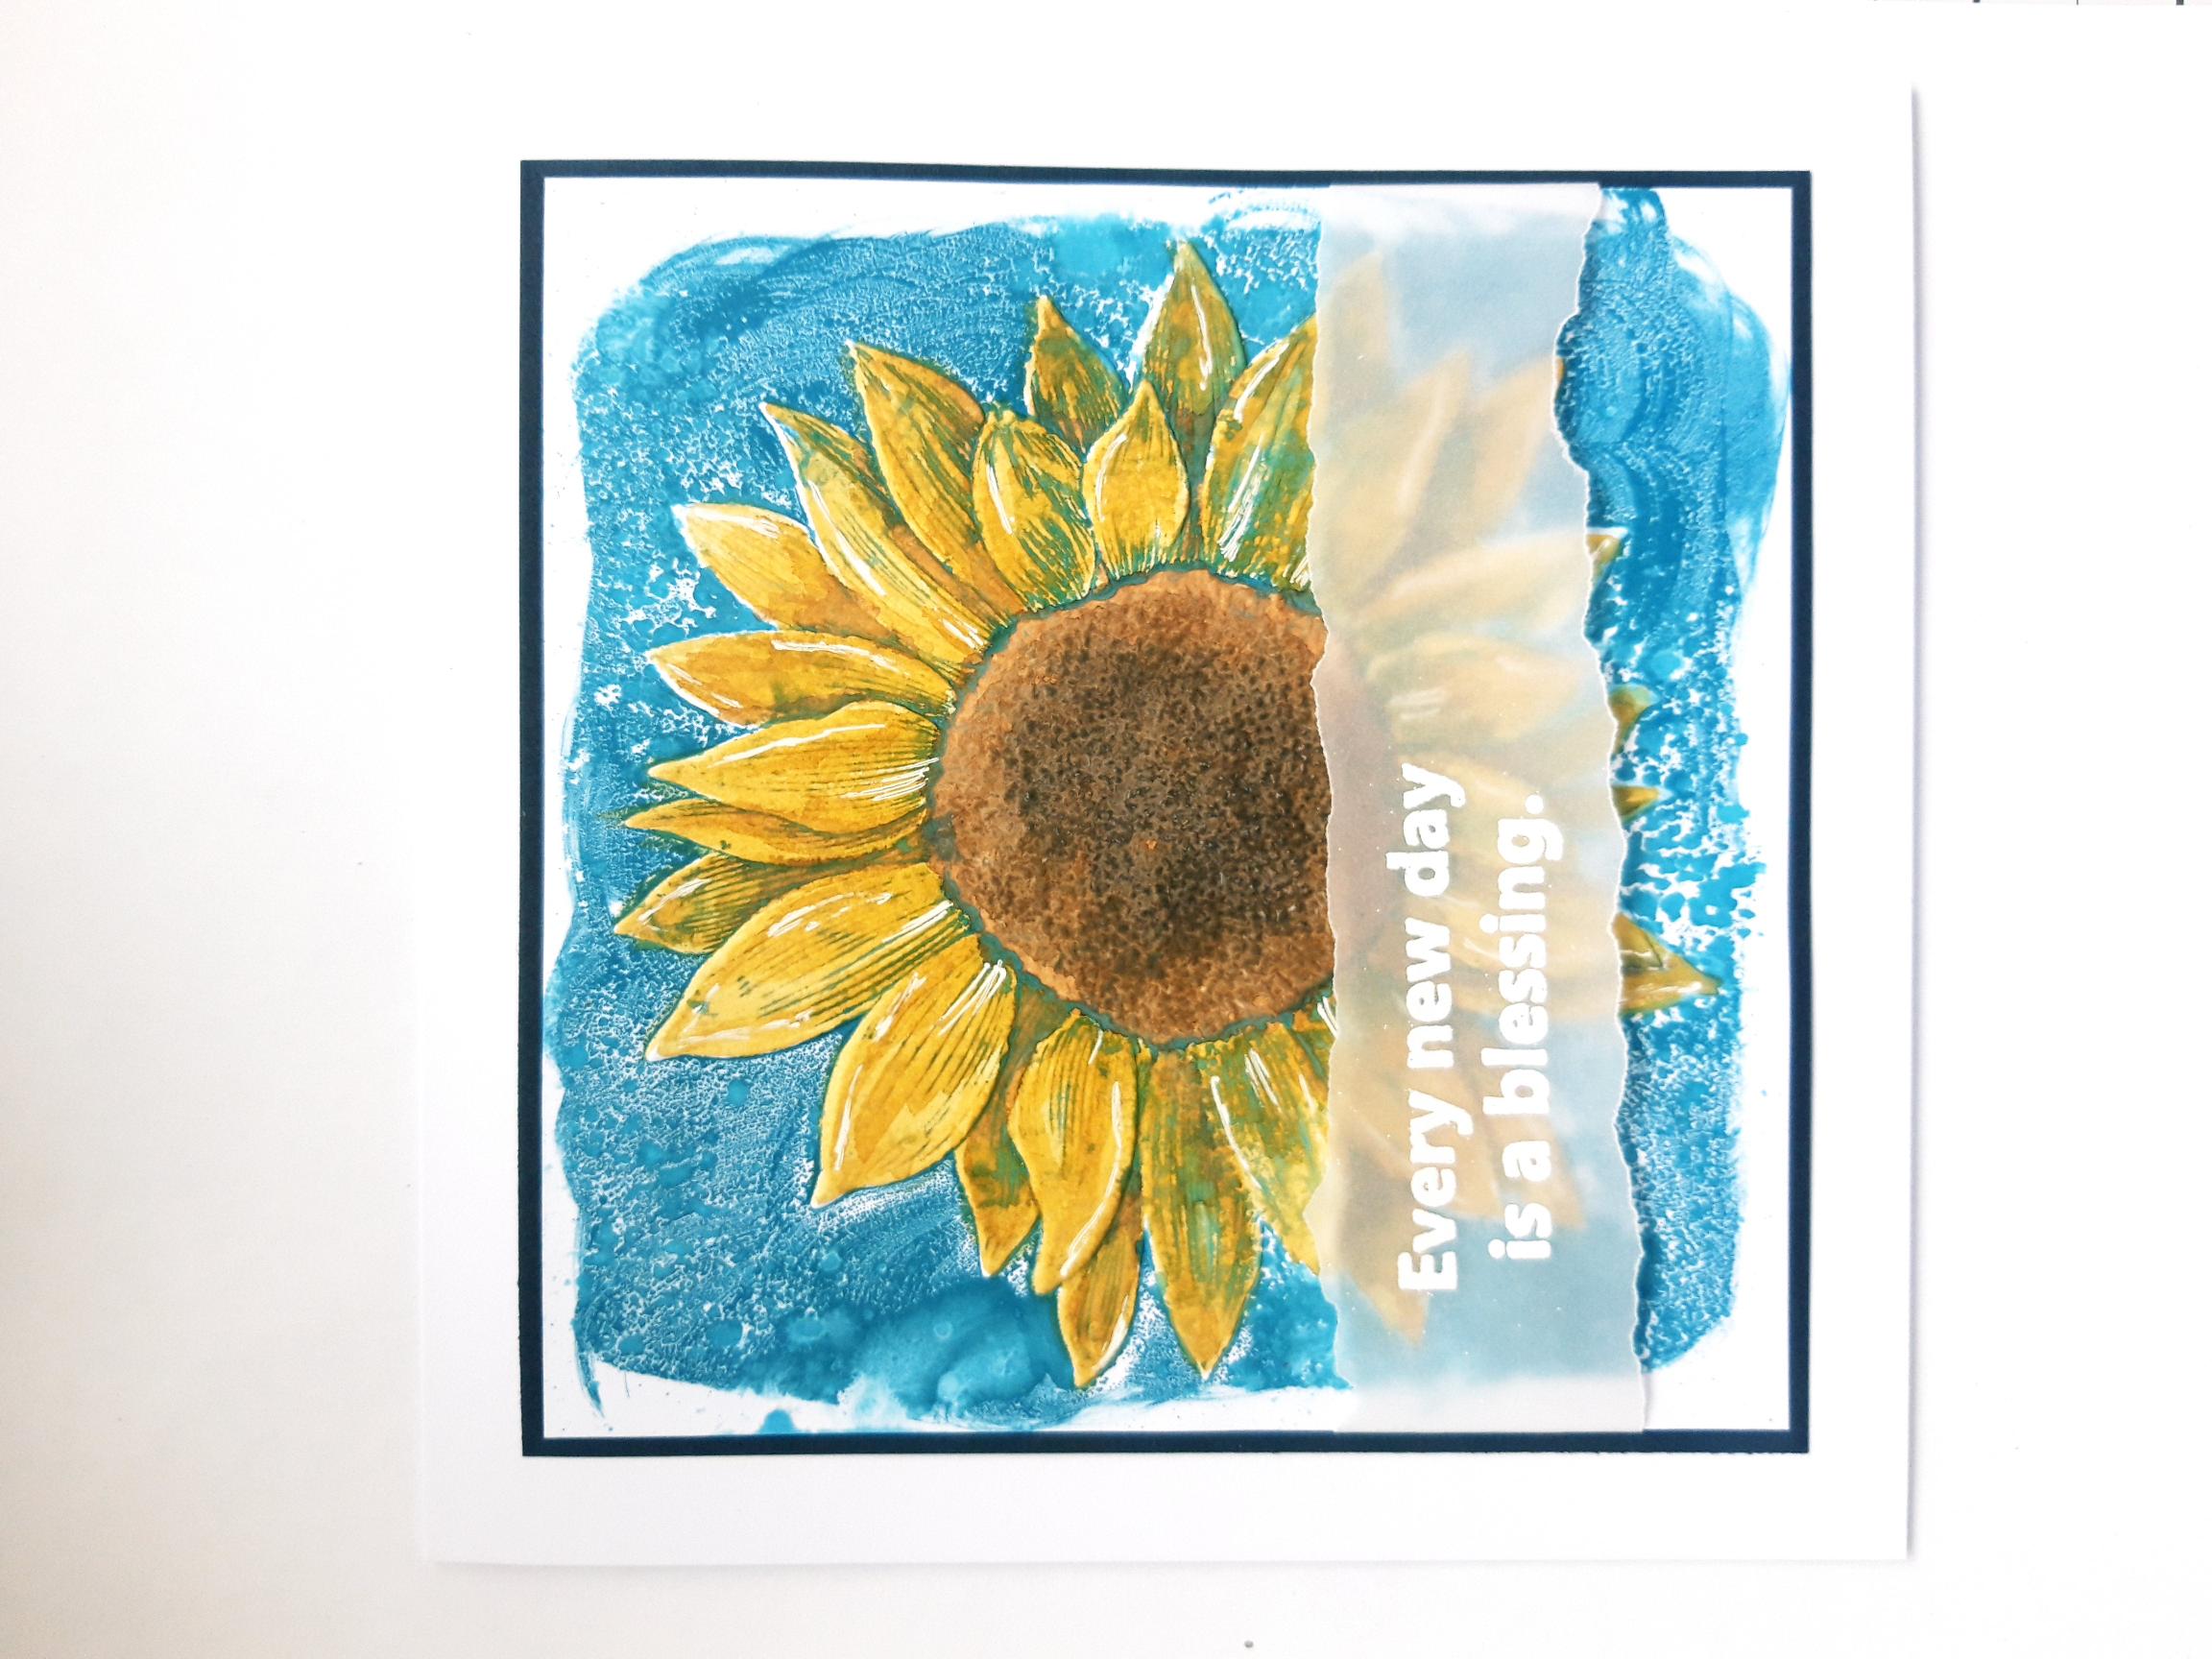
Place the embossed vellum strip across your artwork, tucking the edges over the card and adhering it on the reverse with double sided tape. |
|
Adhere on to black card cut to 6 x 6". |
|
Adhere on to your card blank, to finish. |