Give your friends $10 off their first order!
Refer a FRIEND


WHAT YOU WILL NEED:
Pink top folding card blank (cut to 7 x 5")
White card
Acetate (4 x 4") Plain or snowfall
Avago Ink Designs Terrific Trees Die Collection
Avago Ink Designs Festive Penguins Stamp and Die Collection
Deboss Nesting Circles Die Collection
Memento Ink Pad: Tuxedo Black
Versafine Ink Pad: Onyx Black
Gossip Alcohol Markers: Red, yellow, orange
Distress Oxide/Ink ink pad: Squeezed Lemonade, Kitsch Flamingo, Abandoned Coral
Blending tool
Paint brush
Izink Glitter Paint: Nacre
Sequins/glitter
Anti-static bag
Double sided foam shaker tape/foam pads
Red liner tape
Eureka 101
Paper Trimmer
Perfect Together Glue
Die Cutting machine
[click image to enlarge] 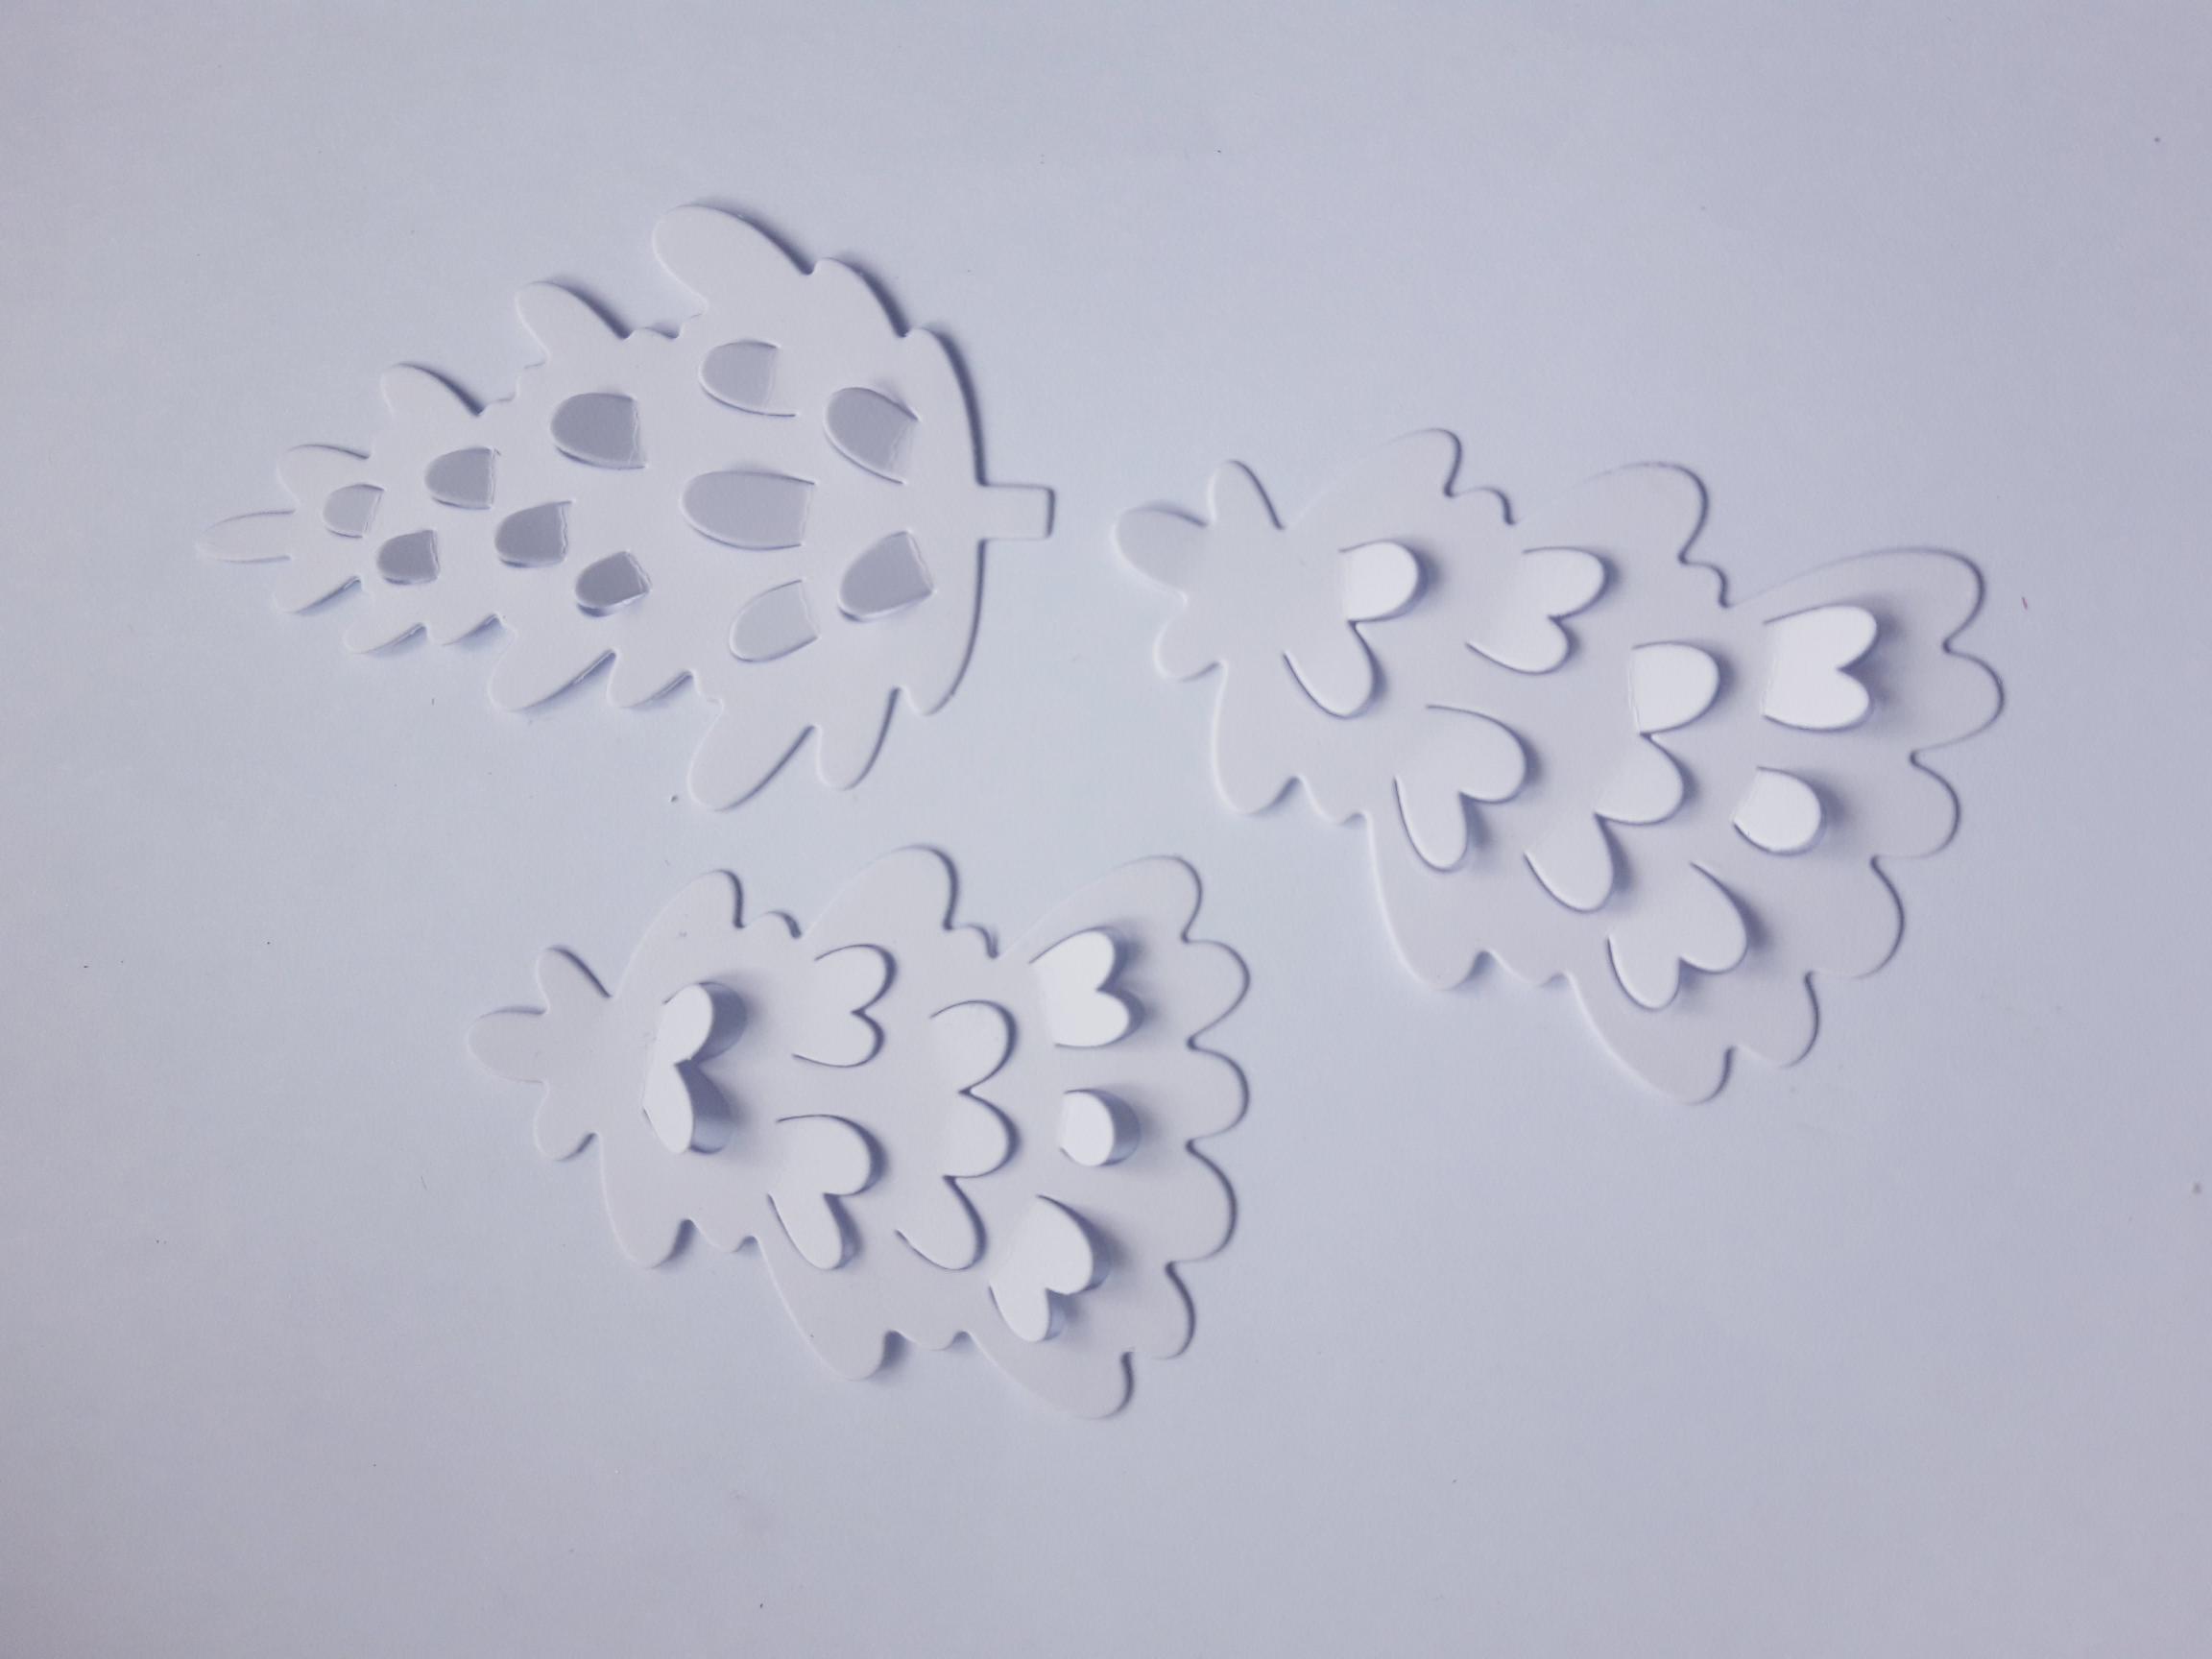
|
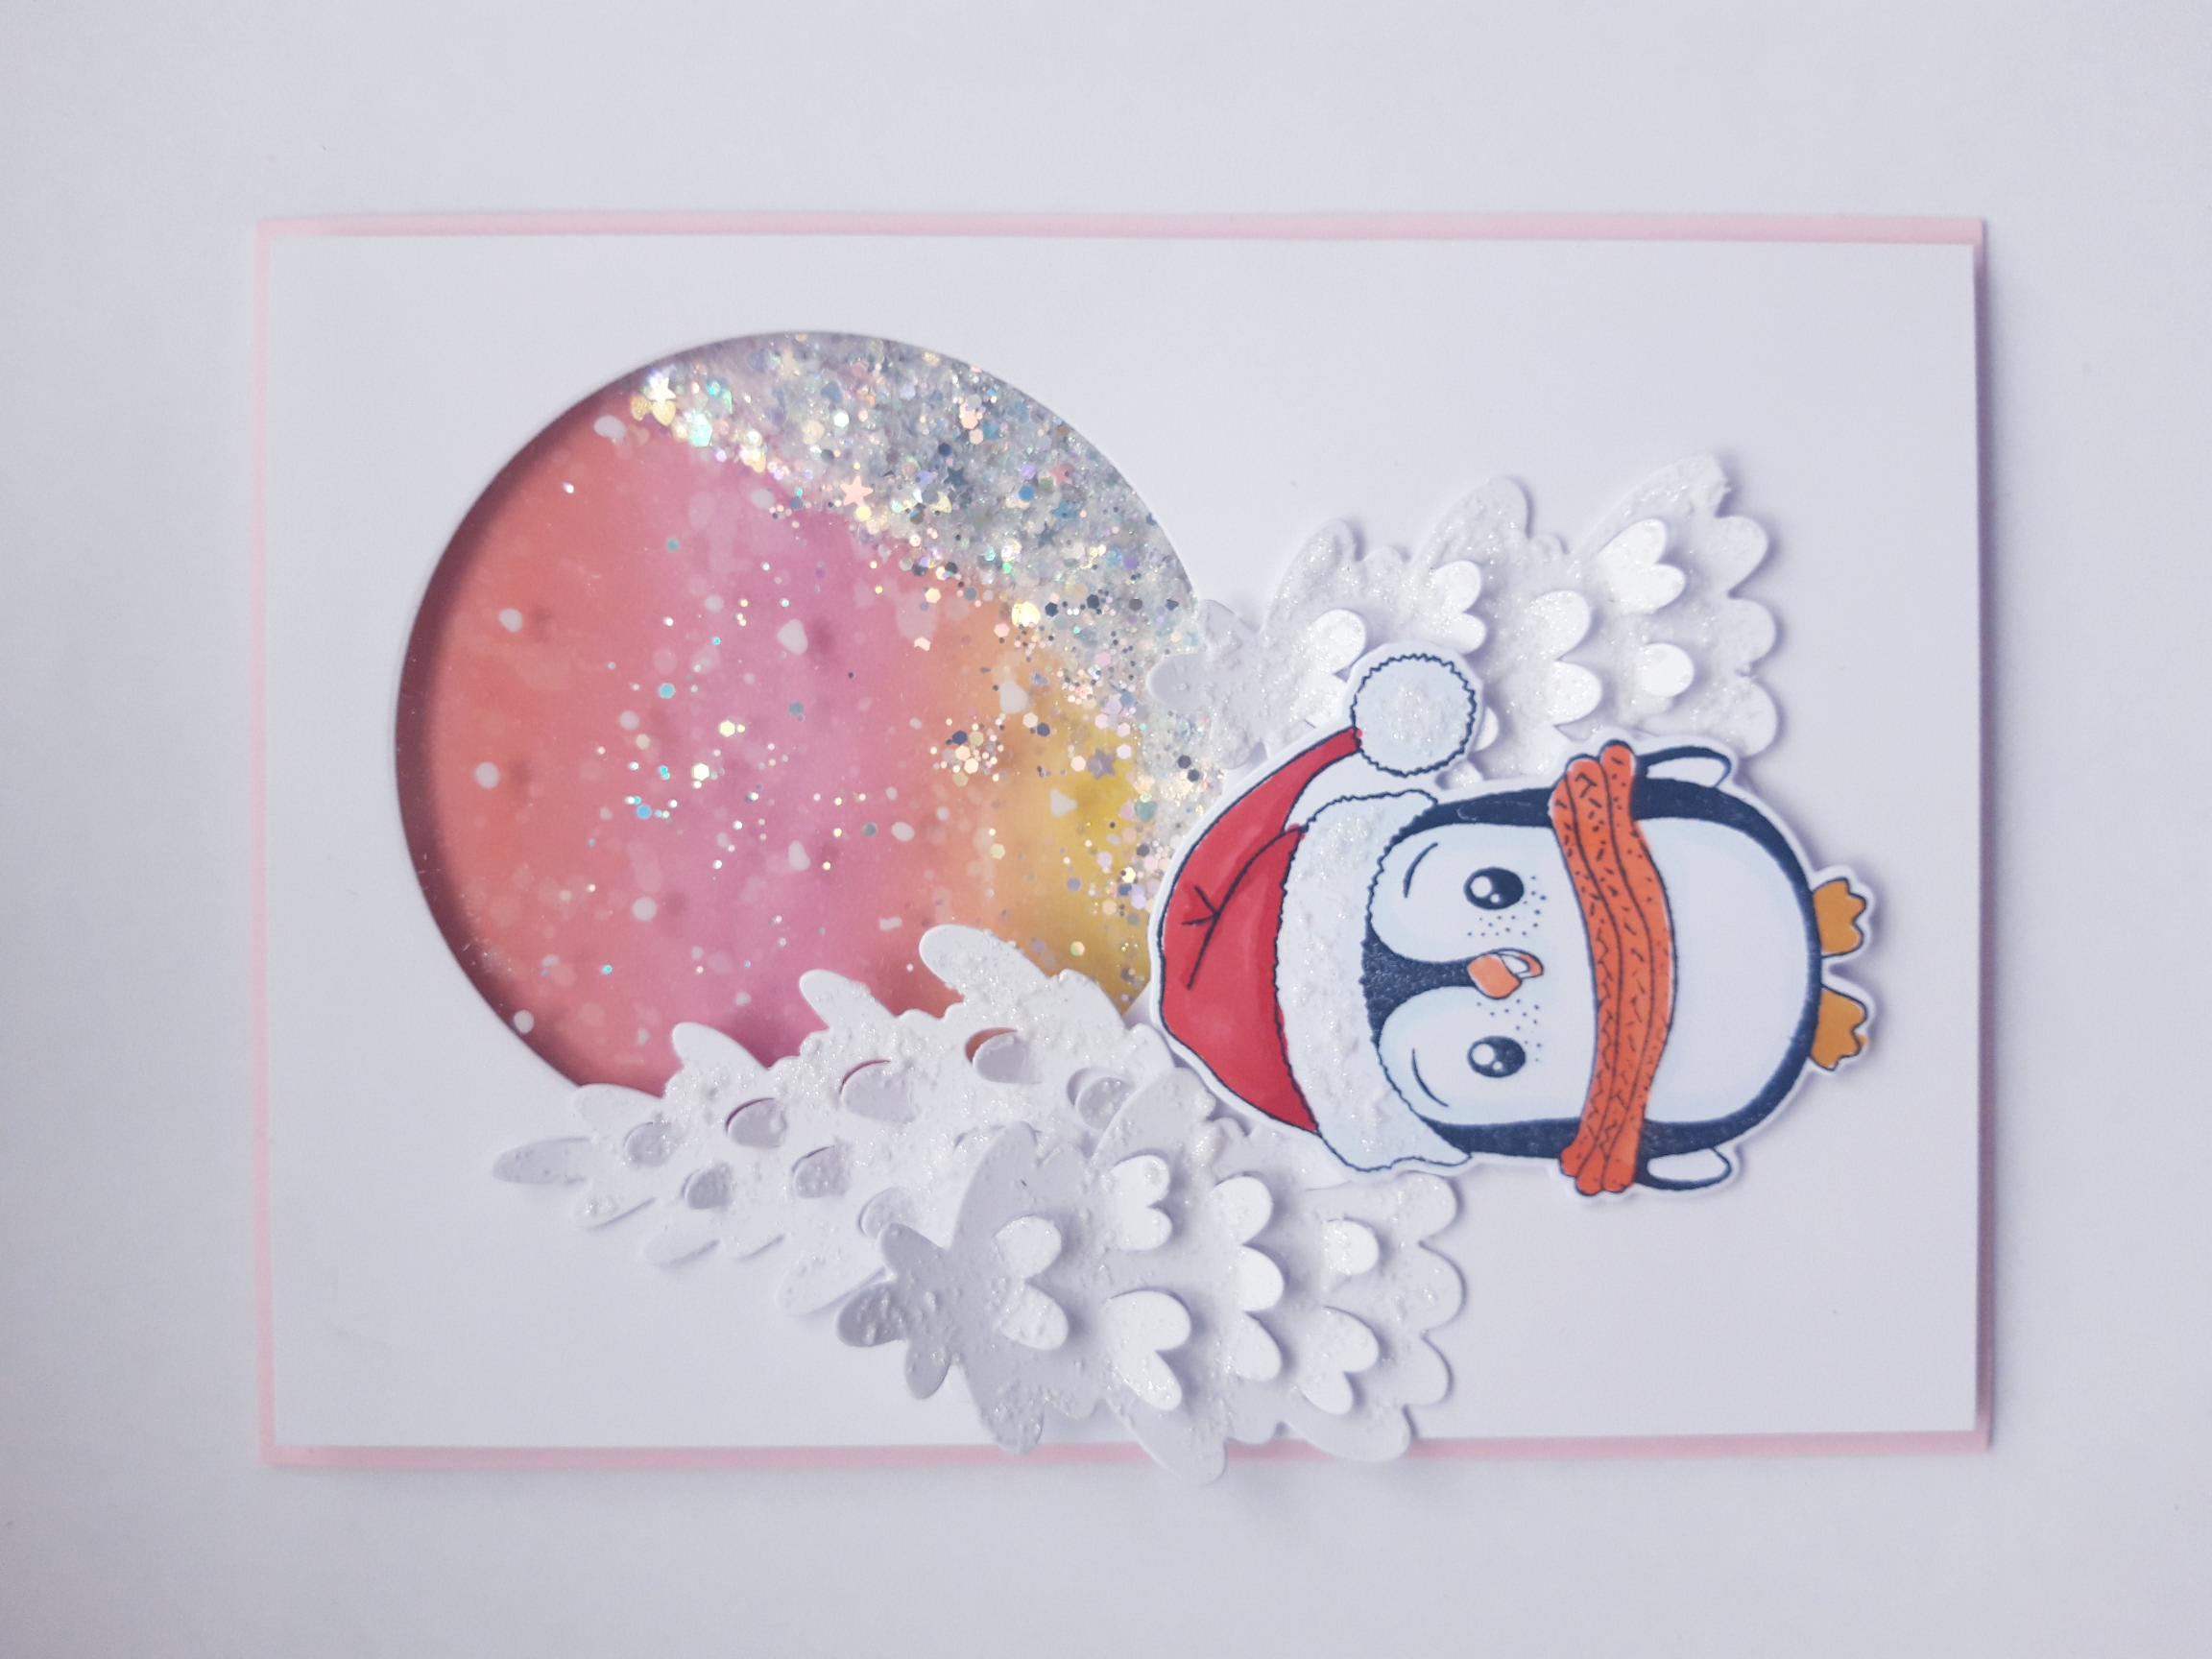
Die cut THREE trees, out of white card, from the Terrific Trees Die Collection. Lift up the little tabs. |
|
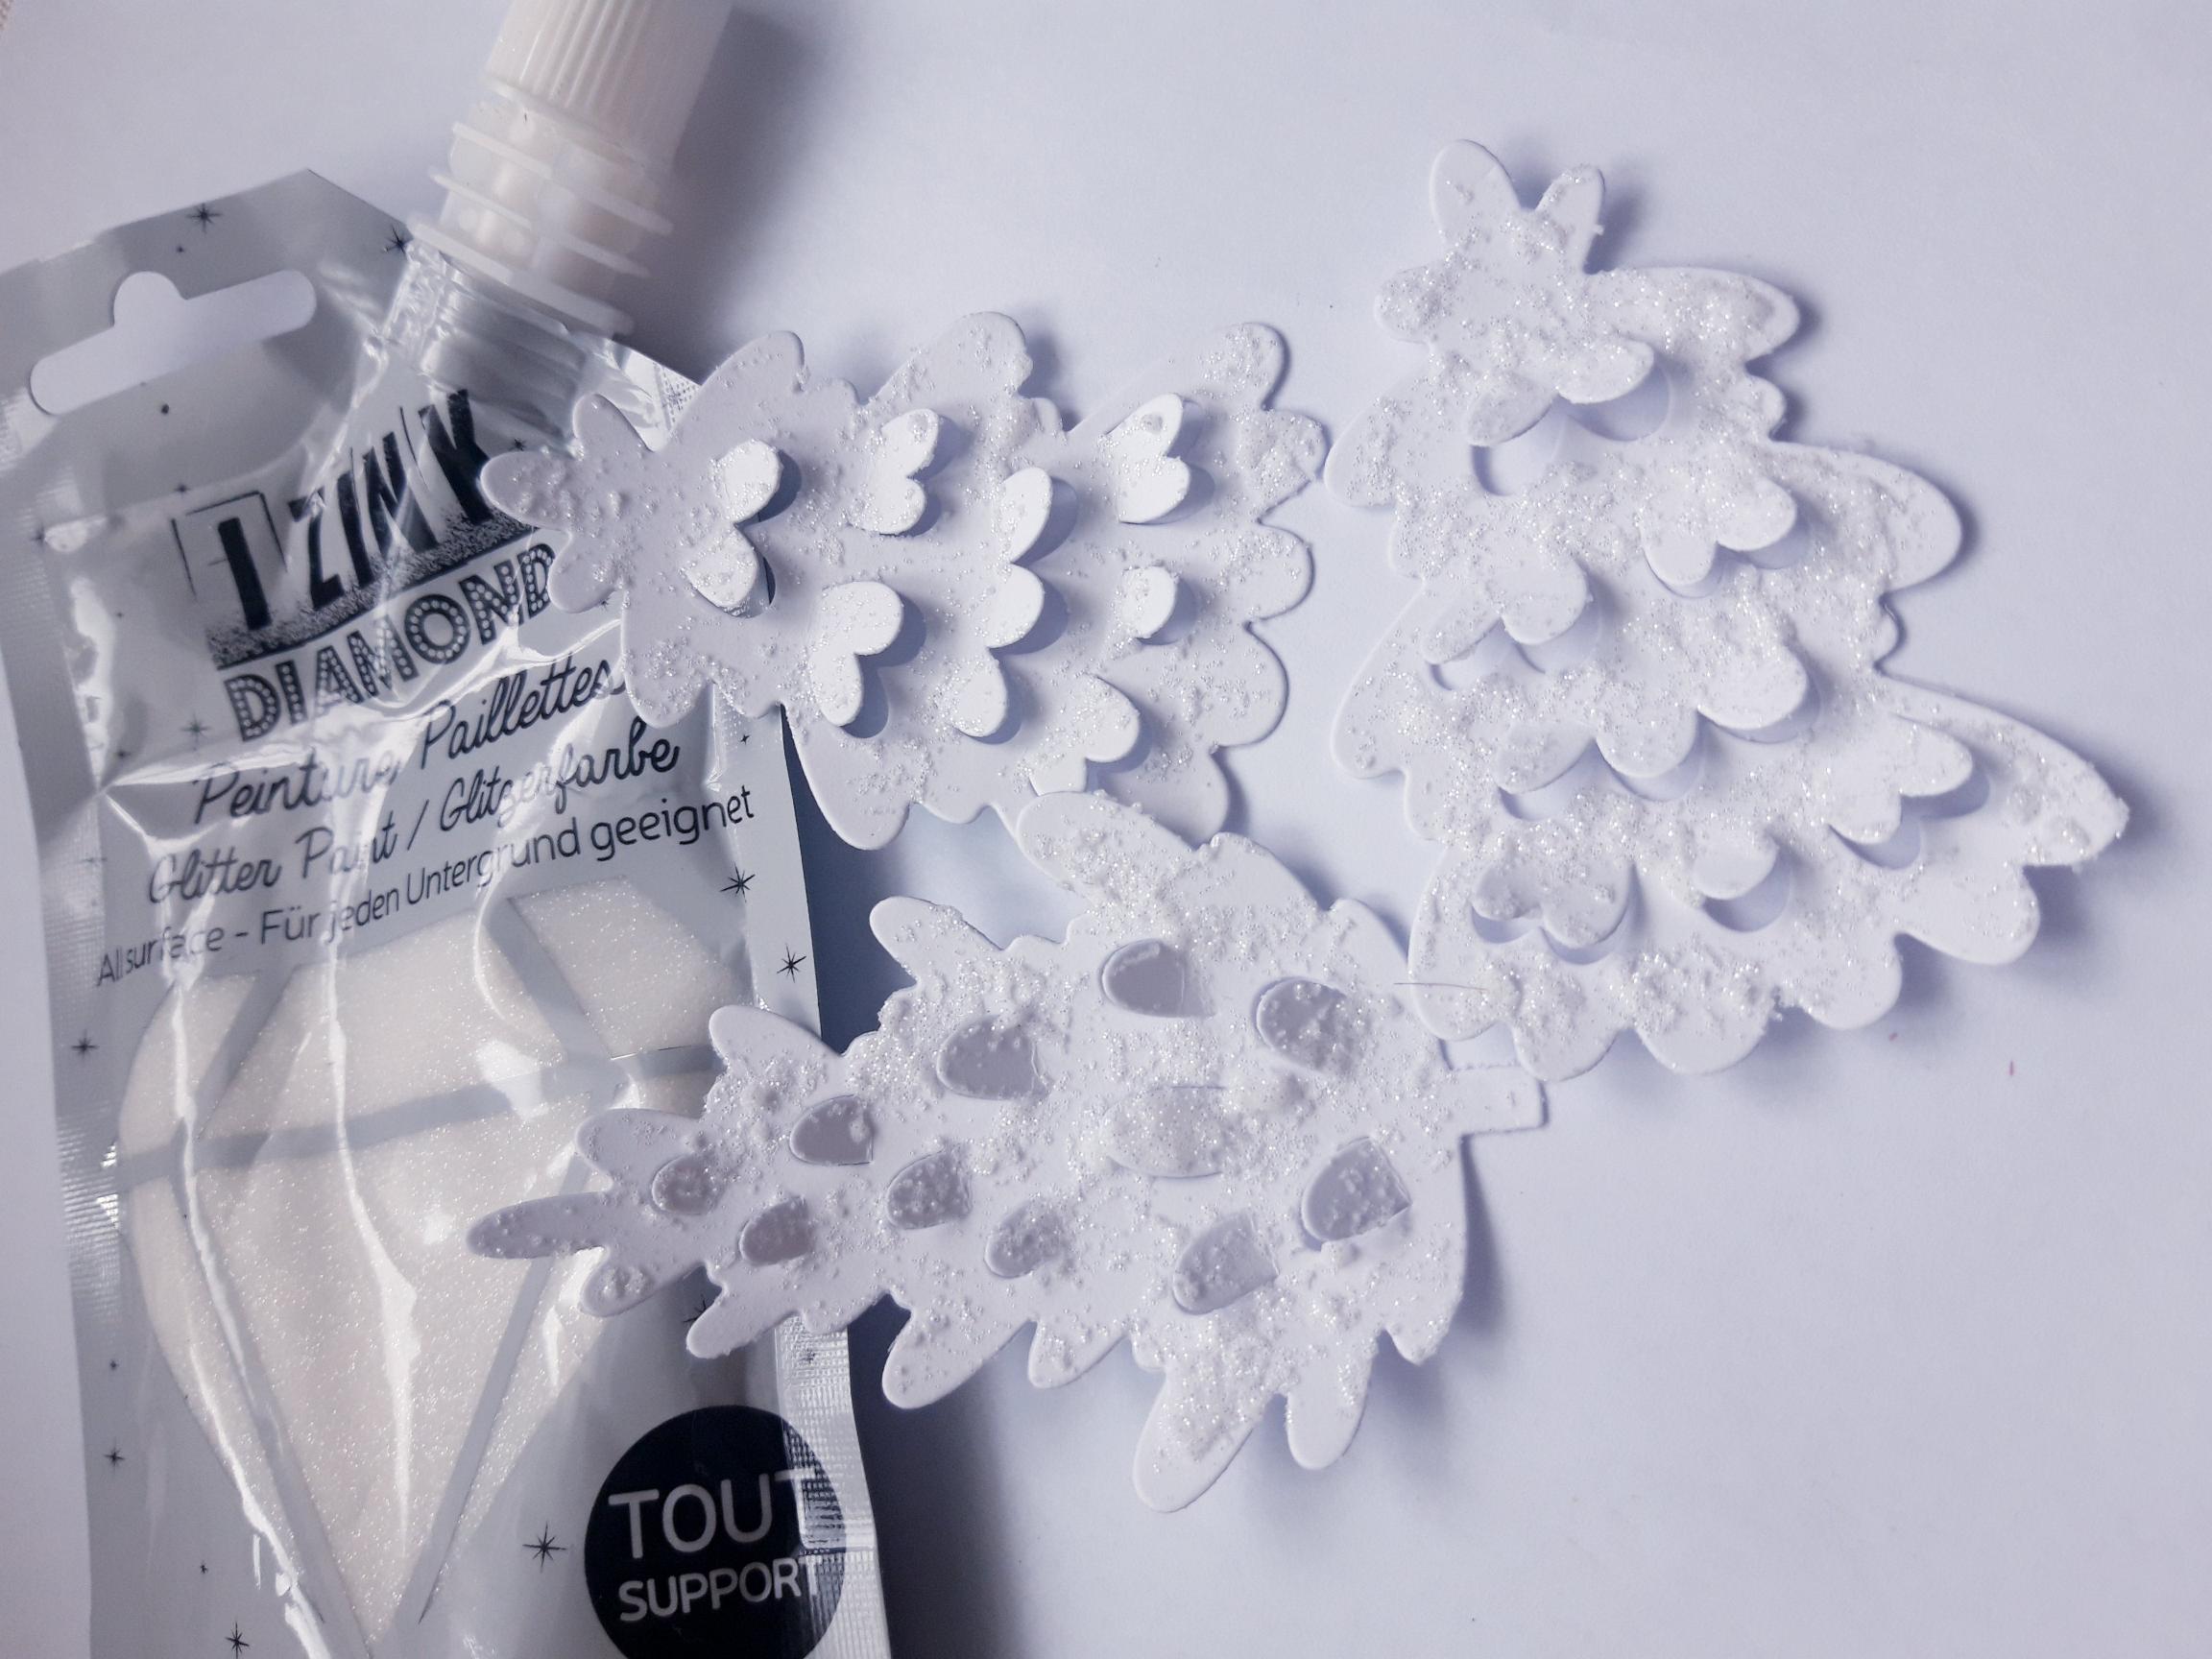
Squeeze a little of the Izink Nacre Glitter Paint on to your craft mat. Add a little water and use a paint brush to "dab" the paint on to your three die cut trees. Be careful not to glue down any of the raised tabs. Set to one side to dry. |

|
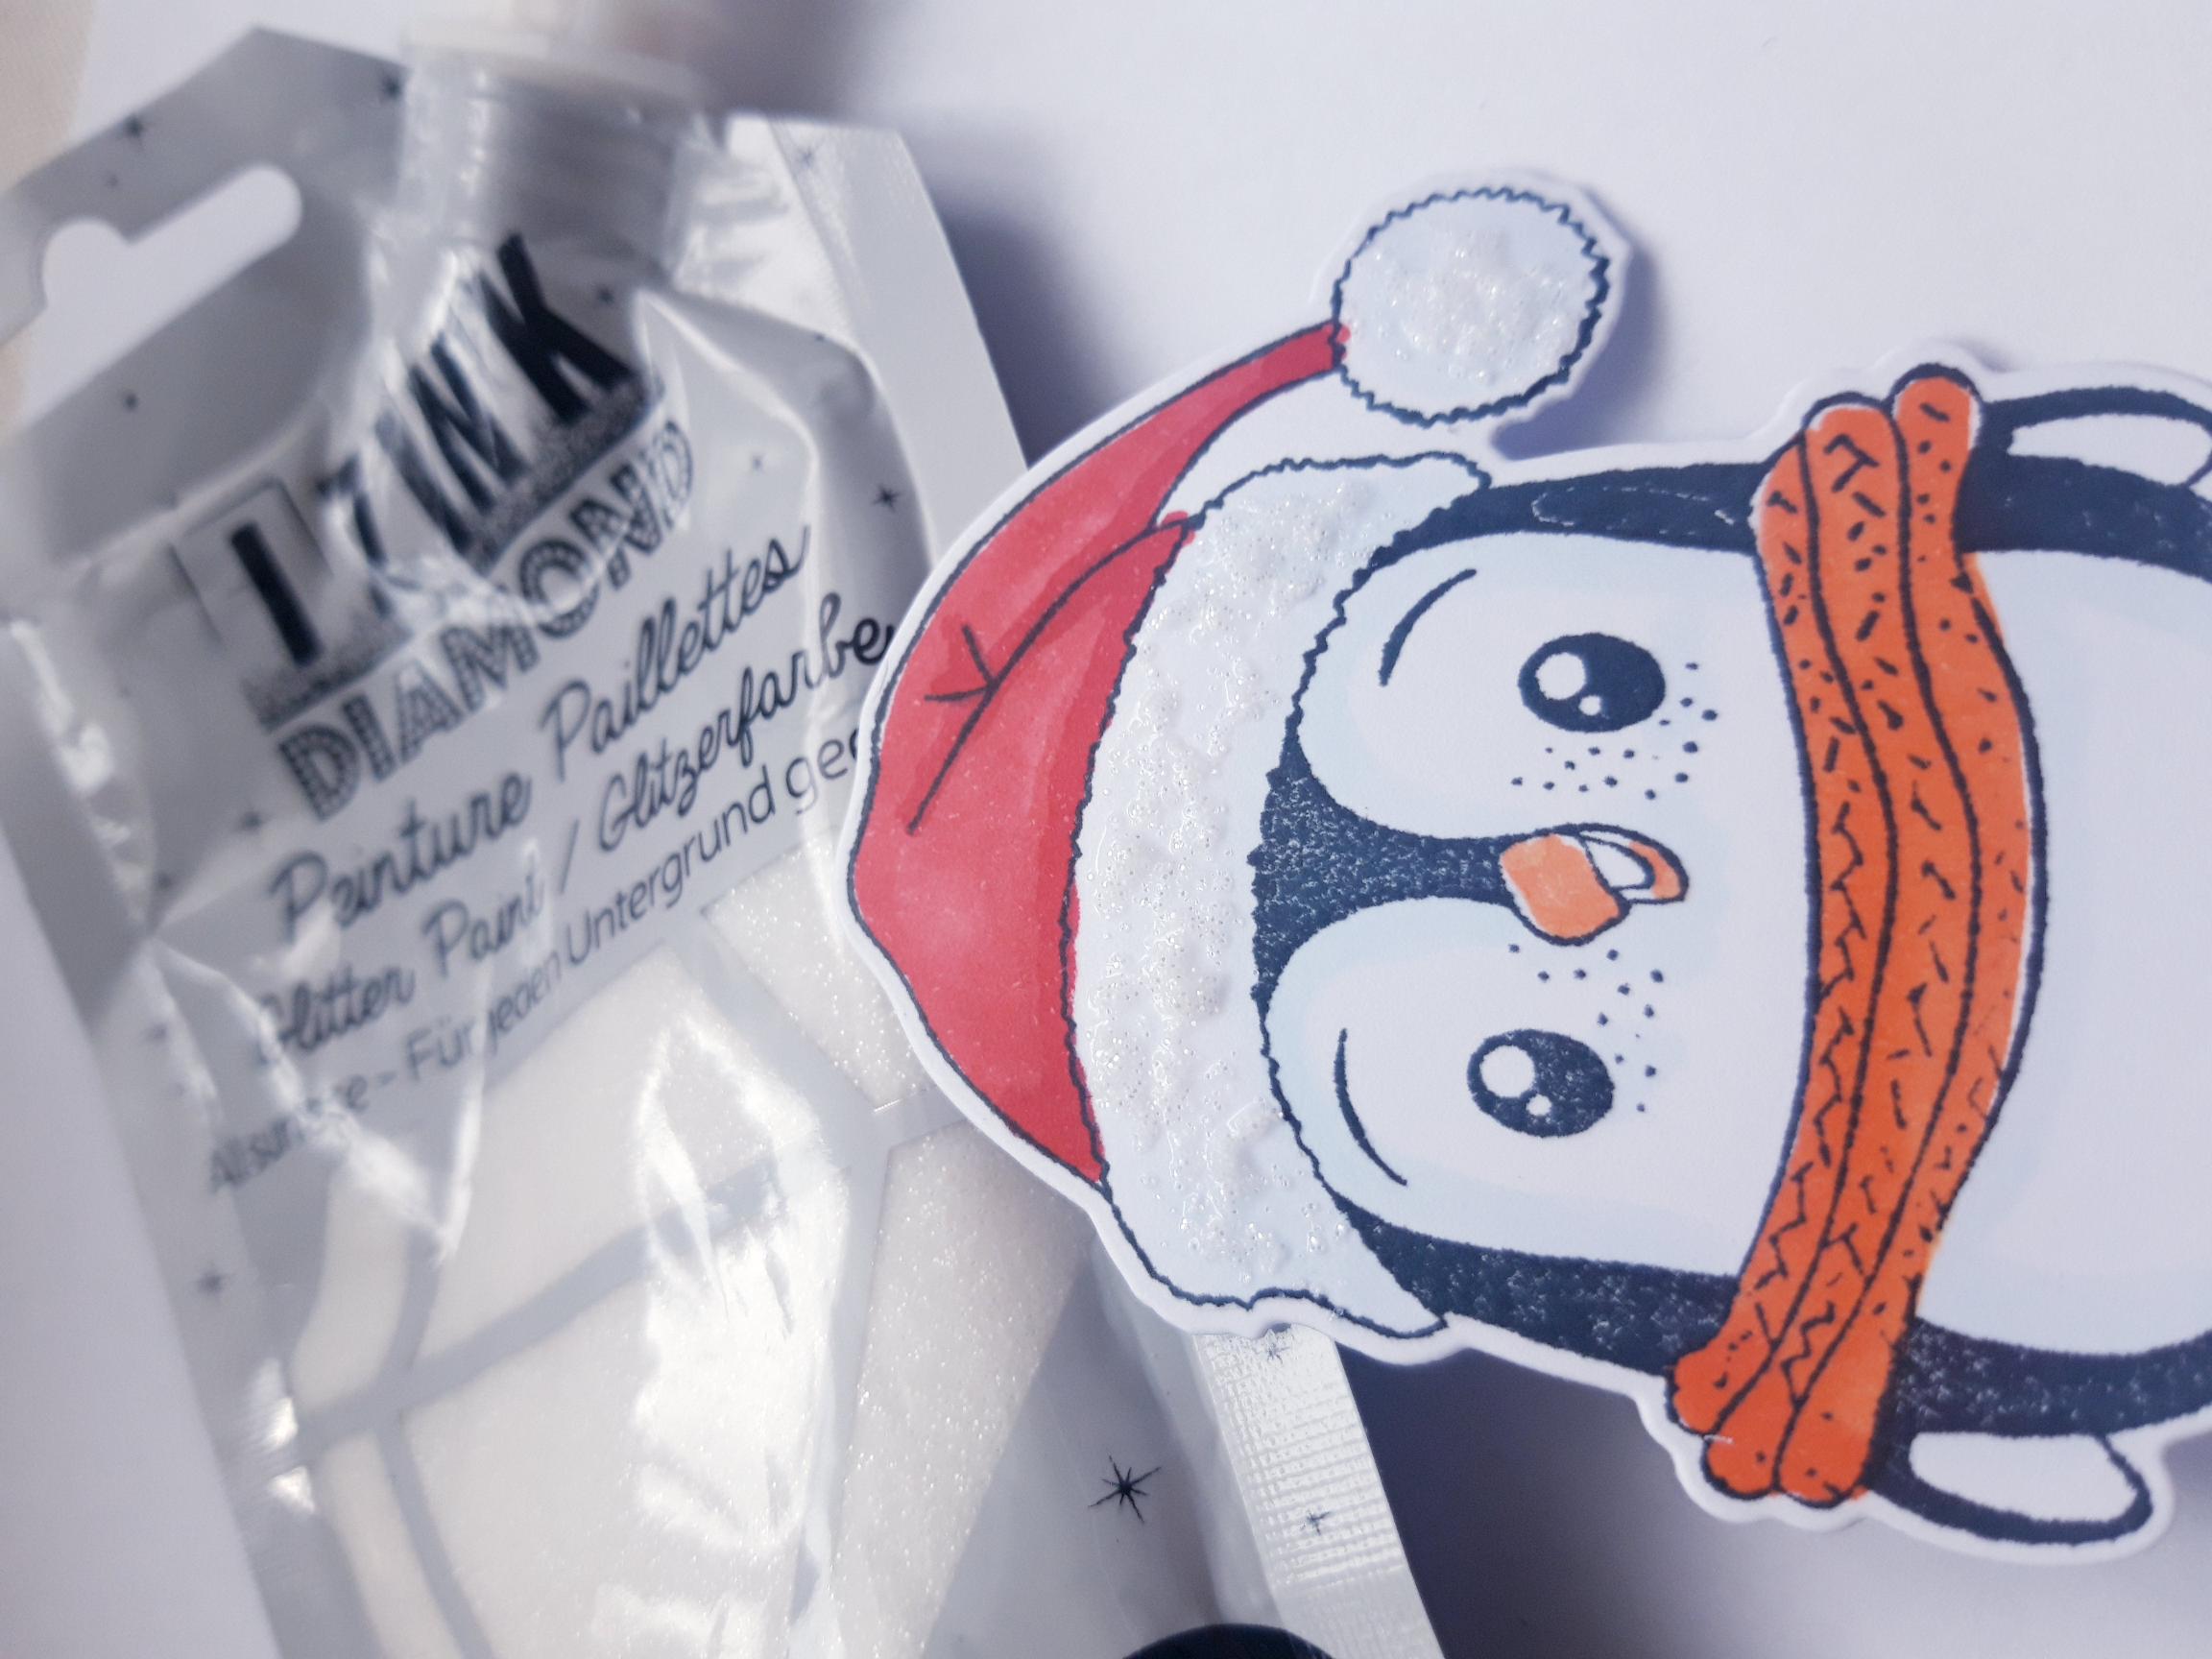
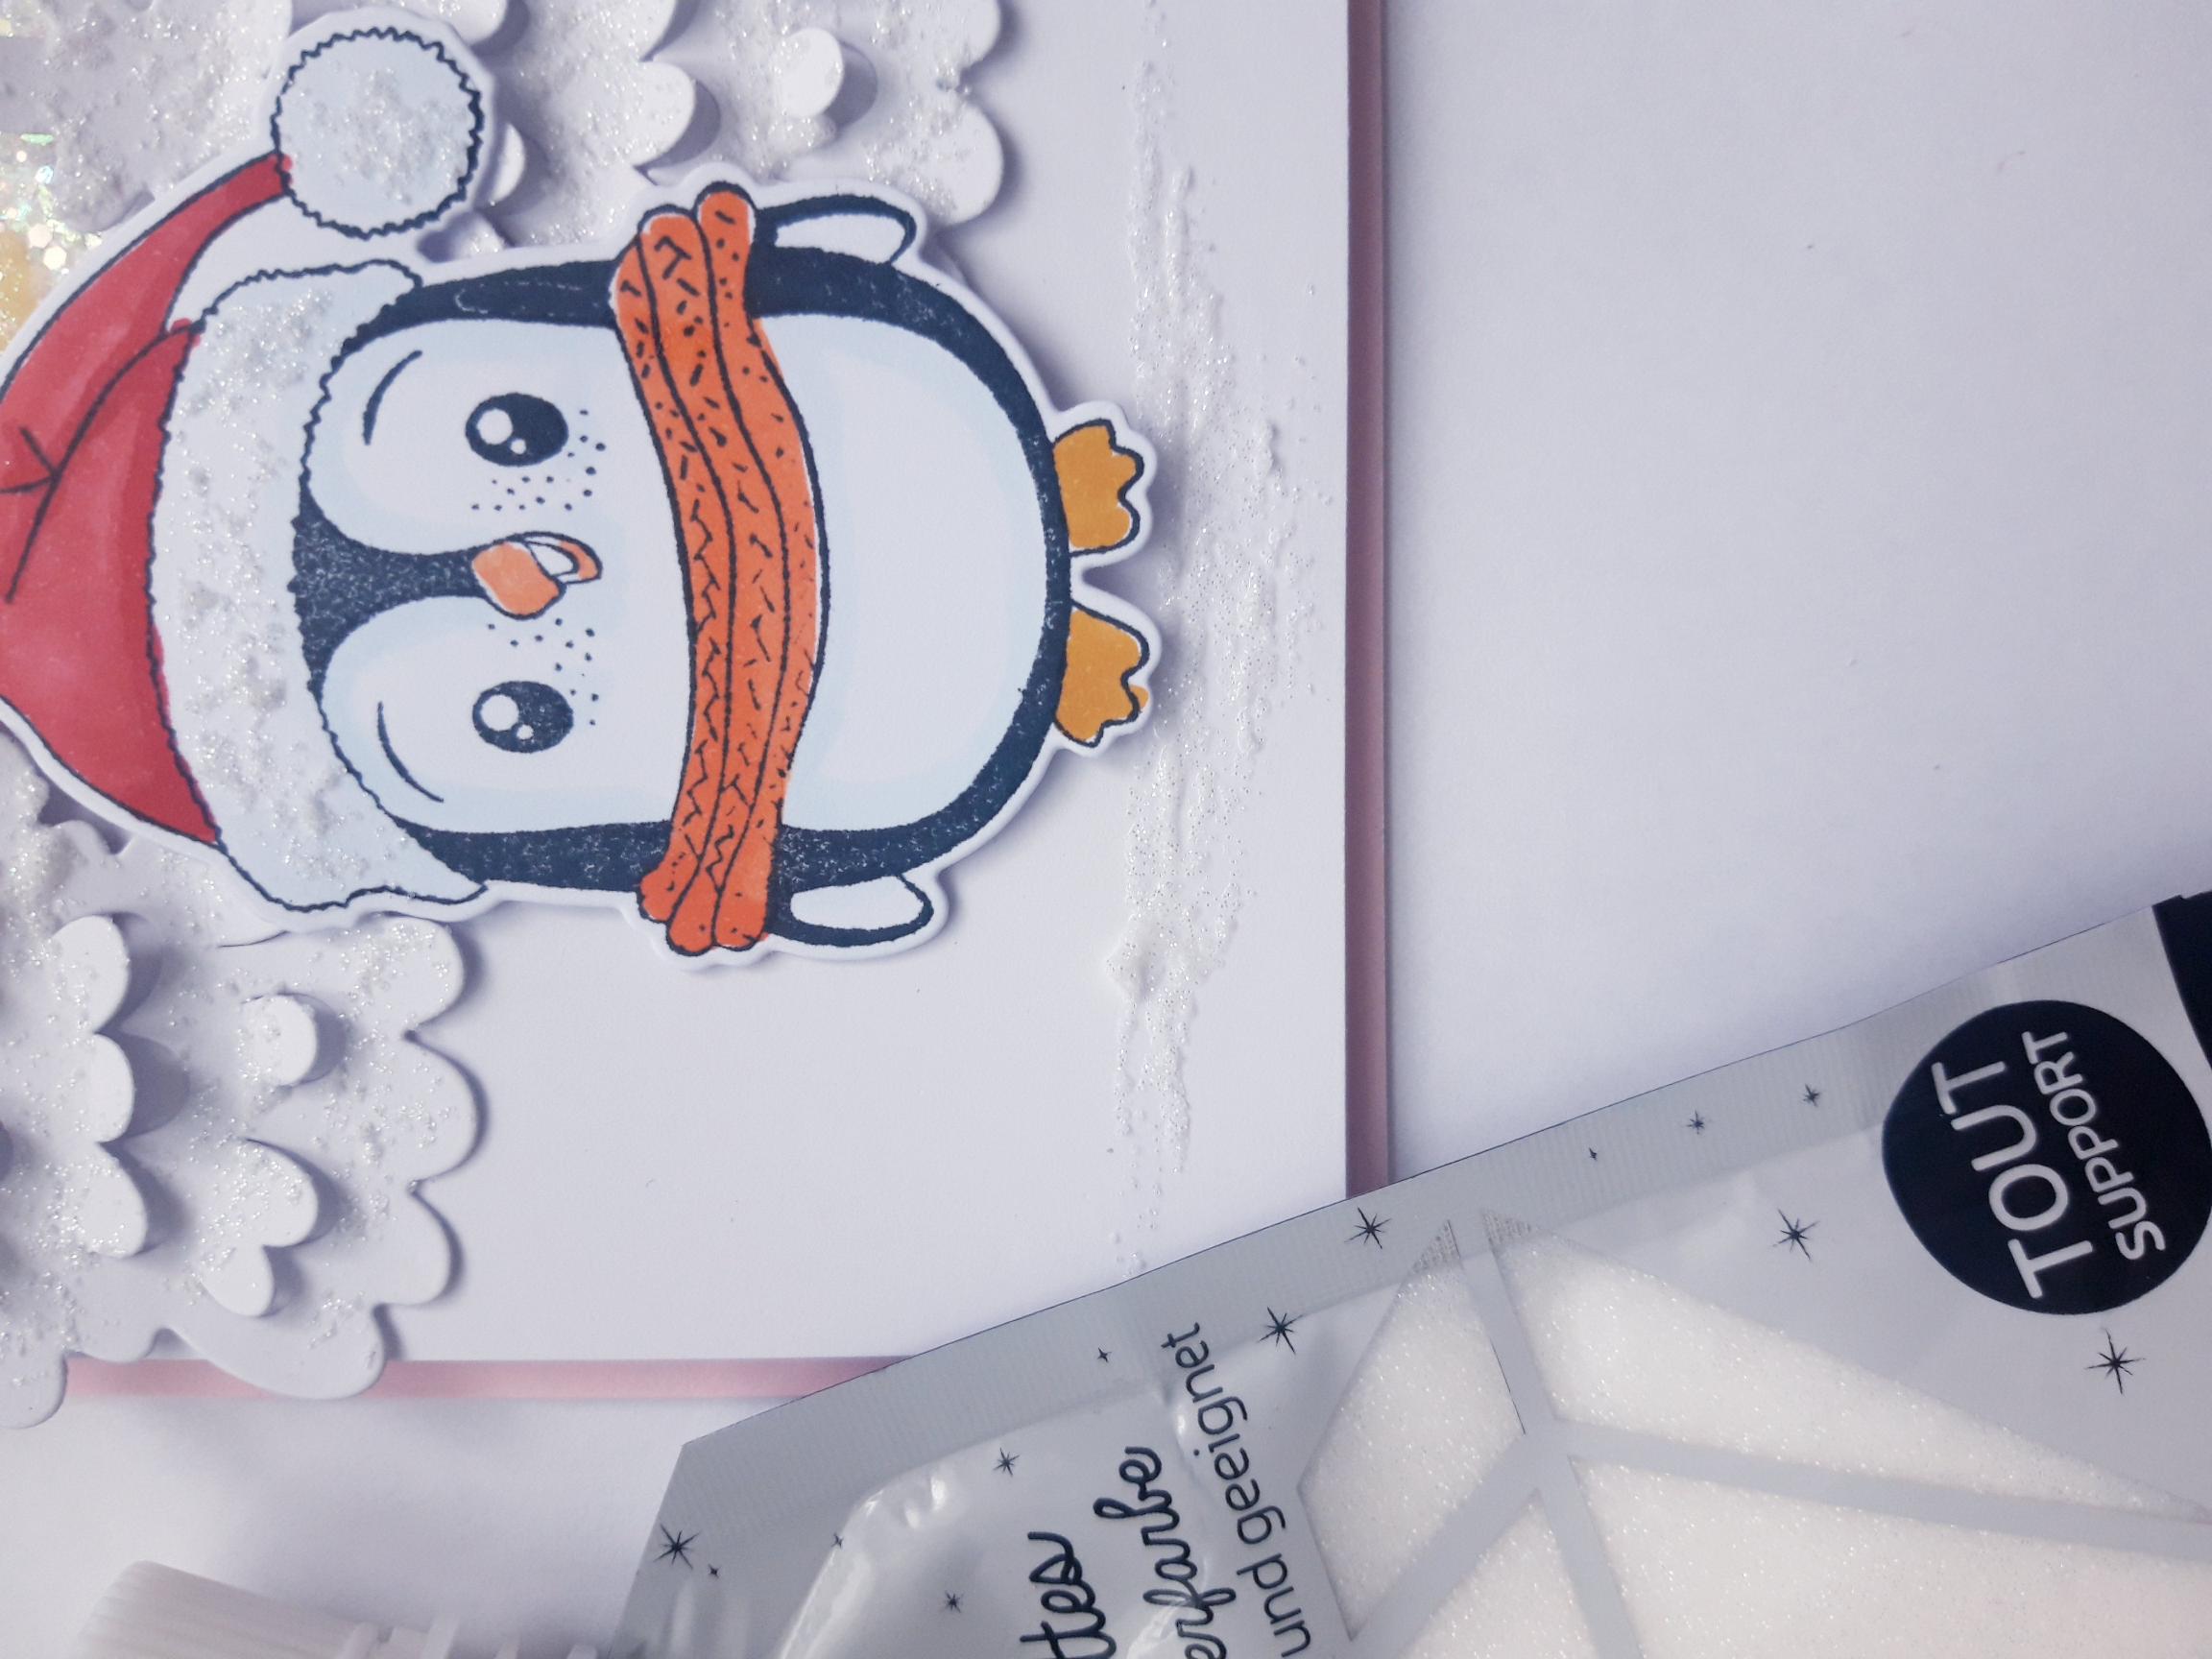
Ink up the Penguin stamp, with the Memento ink and stamp on to white card. Use your Gossip alcohol pens to colour it in. |
|
Squeeze a little of the Nacre Glitter Paint on to your craft mat and as before, add a little water then paint the bobble and fur, on the Christmas hat. Set to one side to dry. |
|
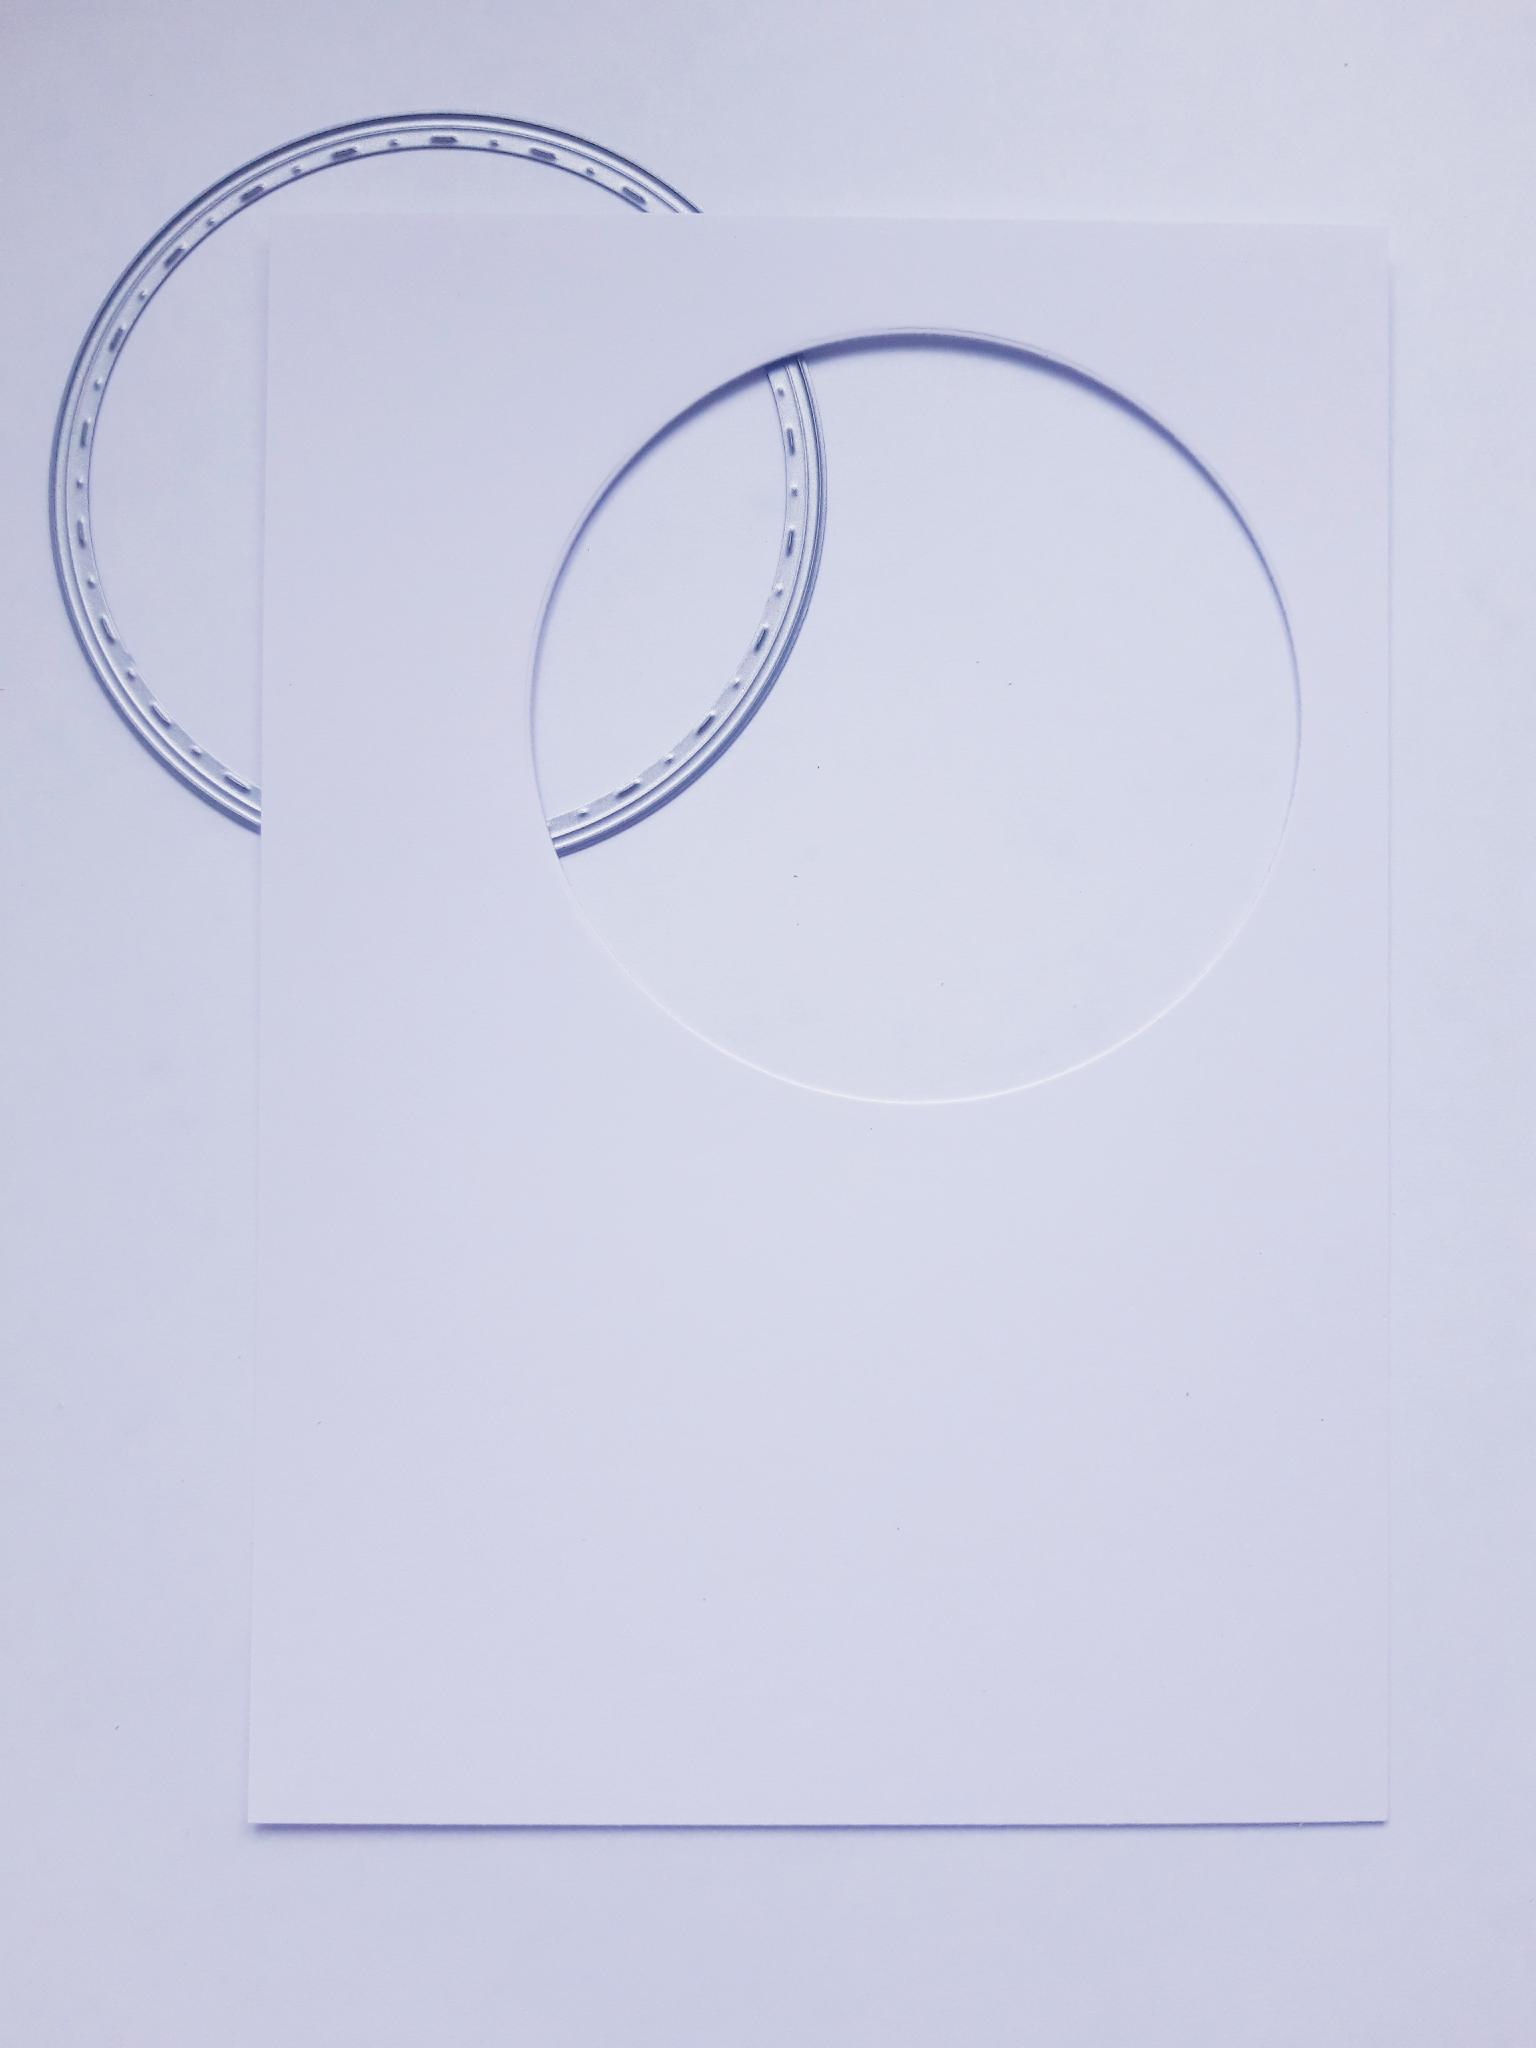
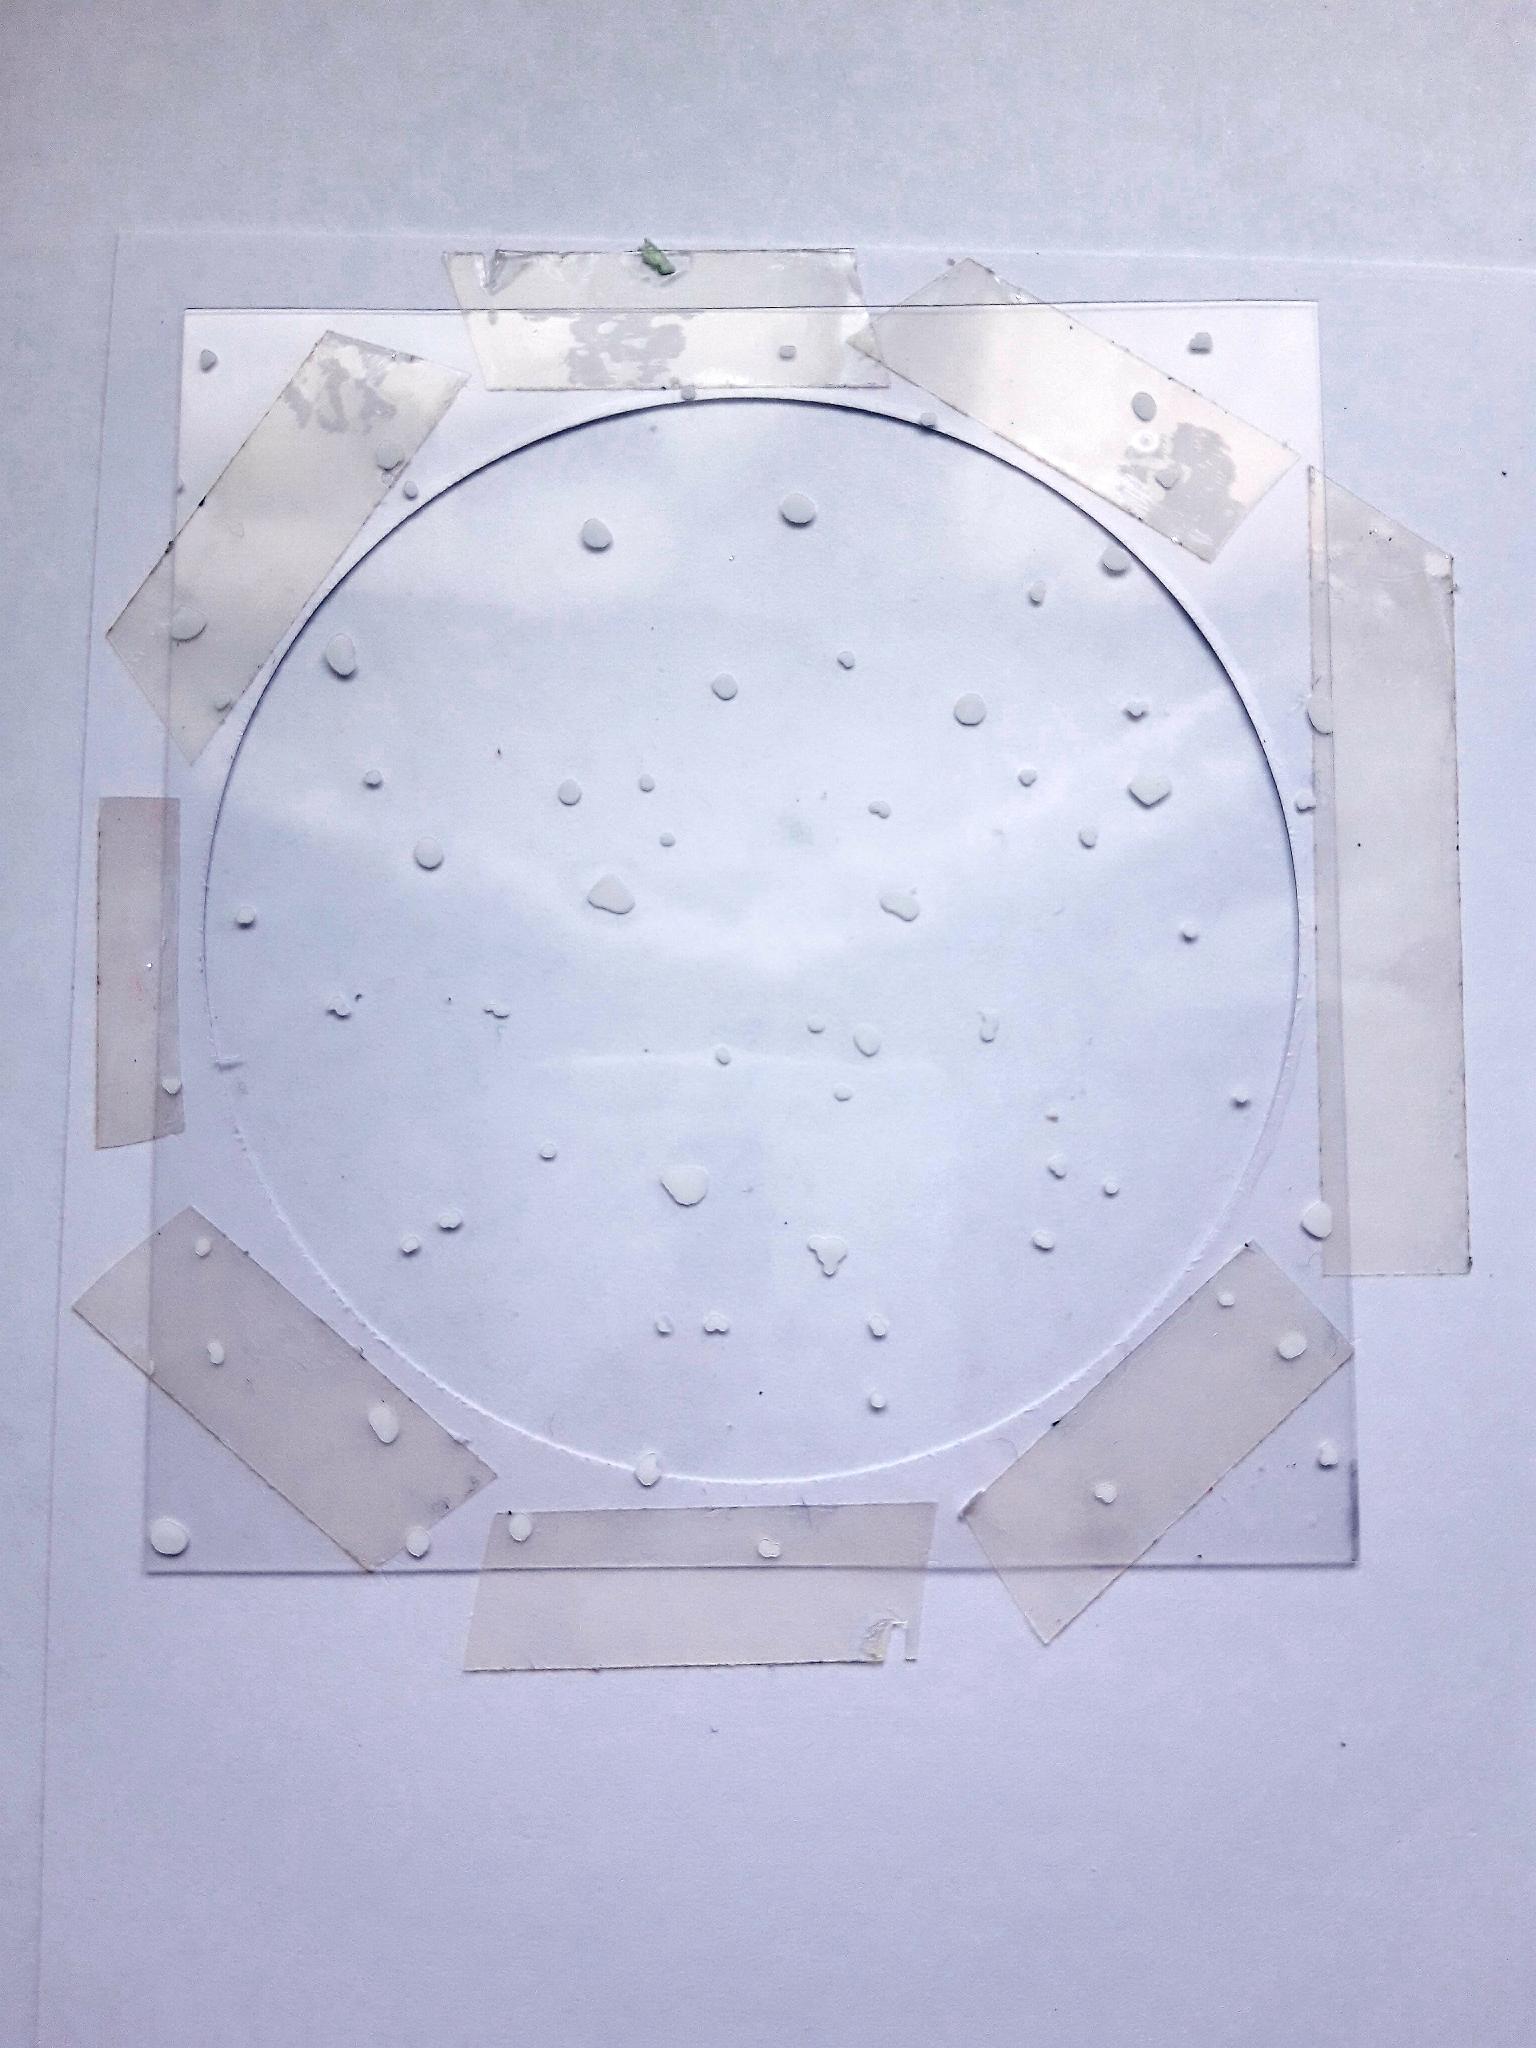
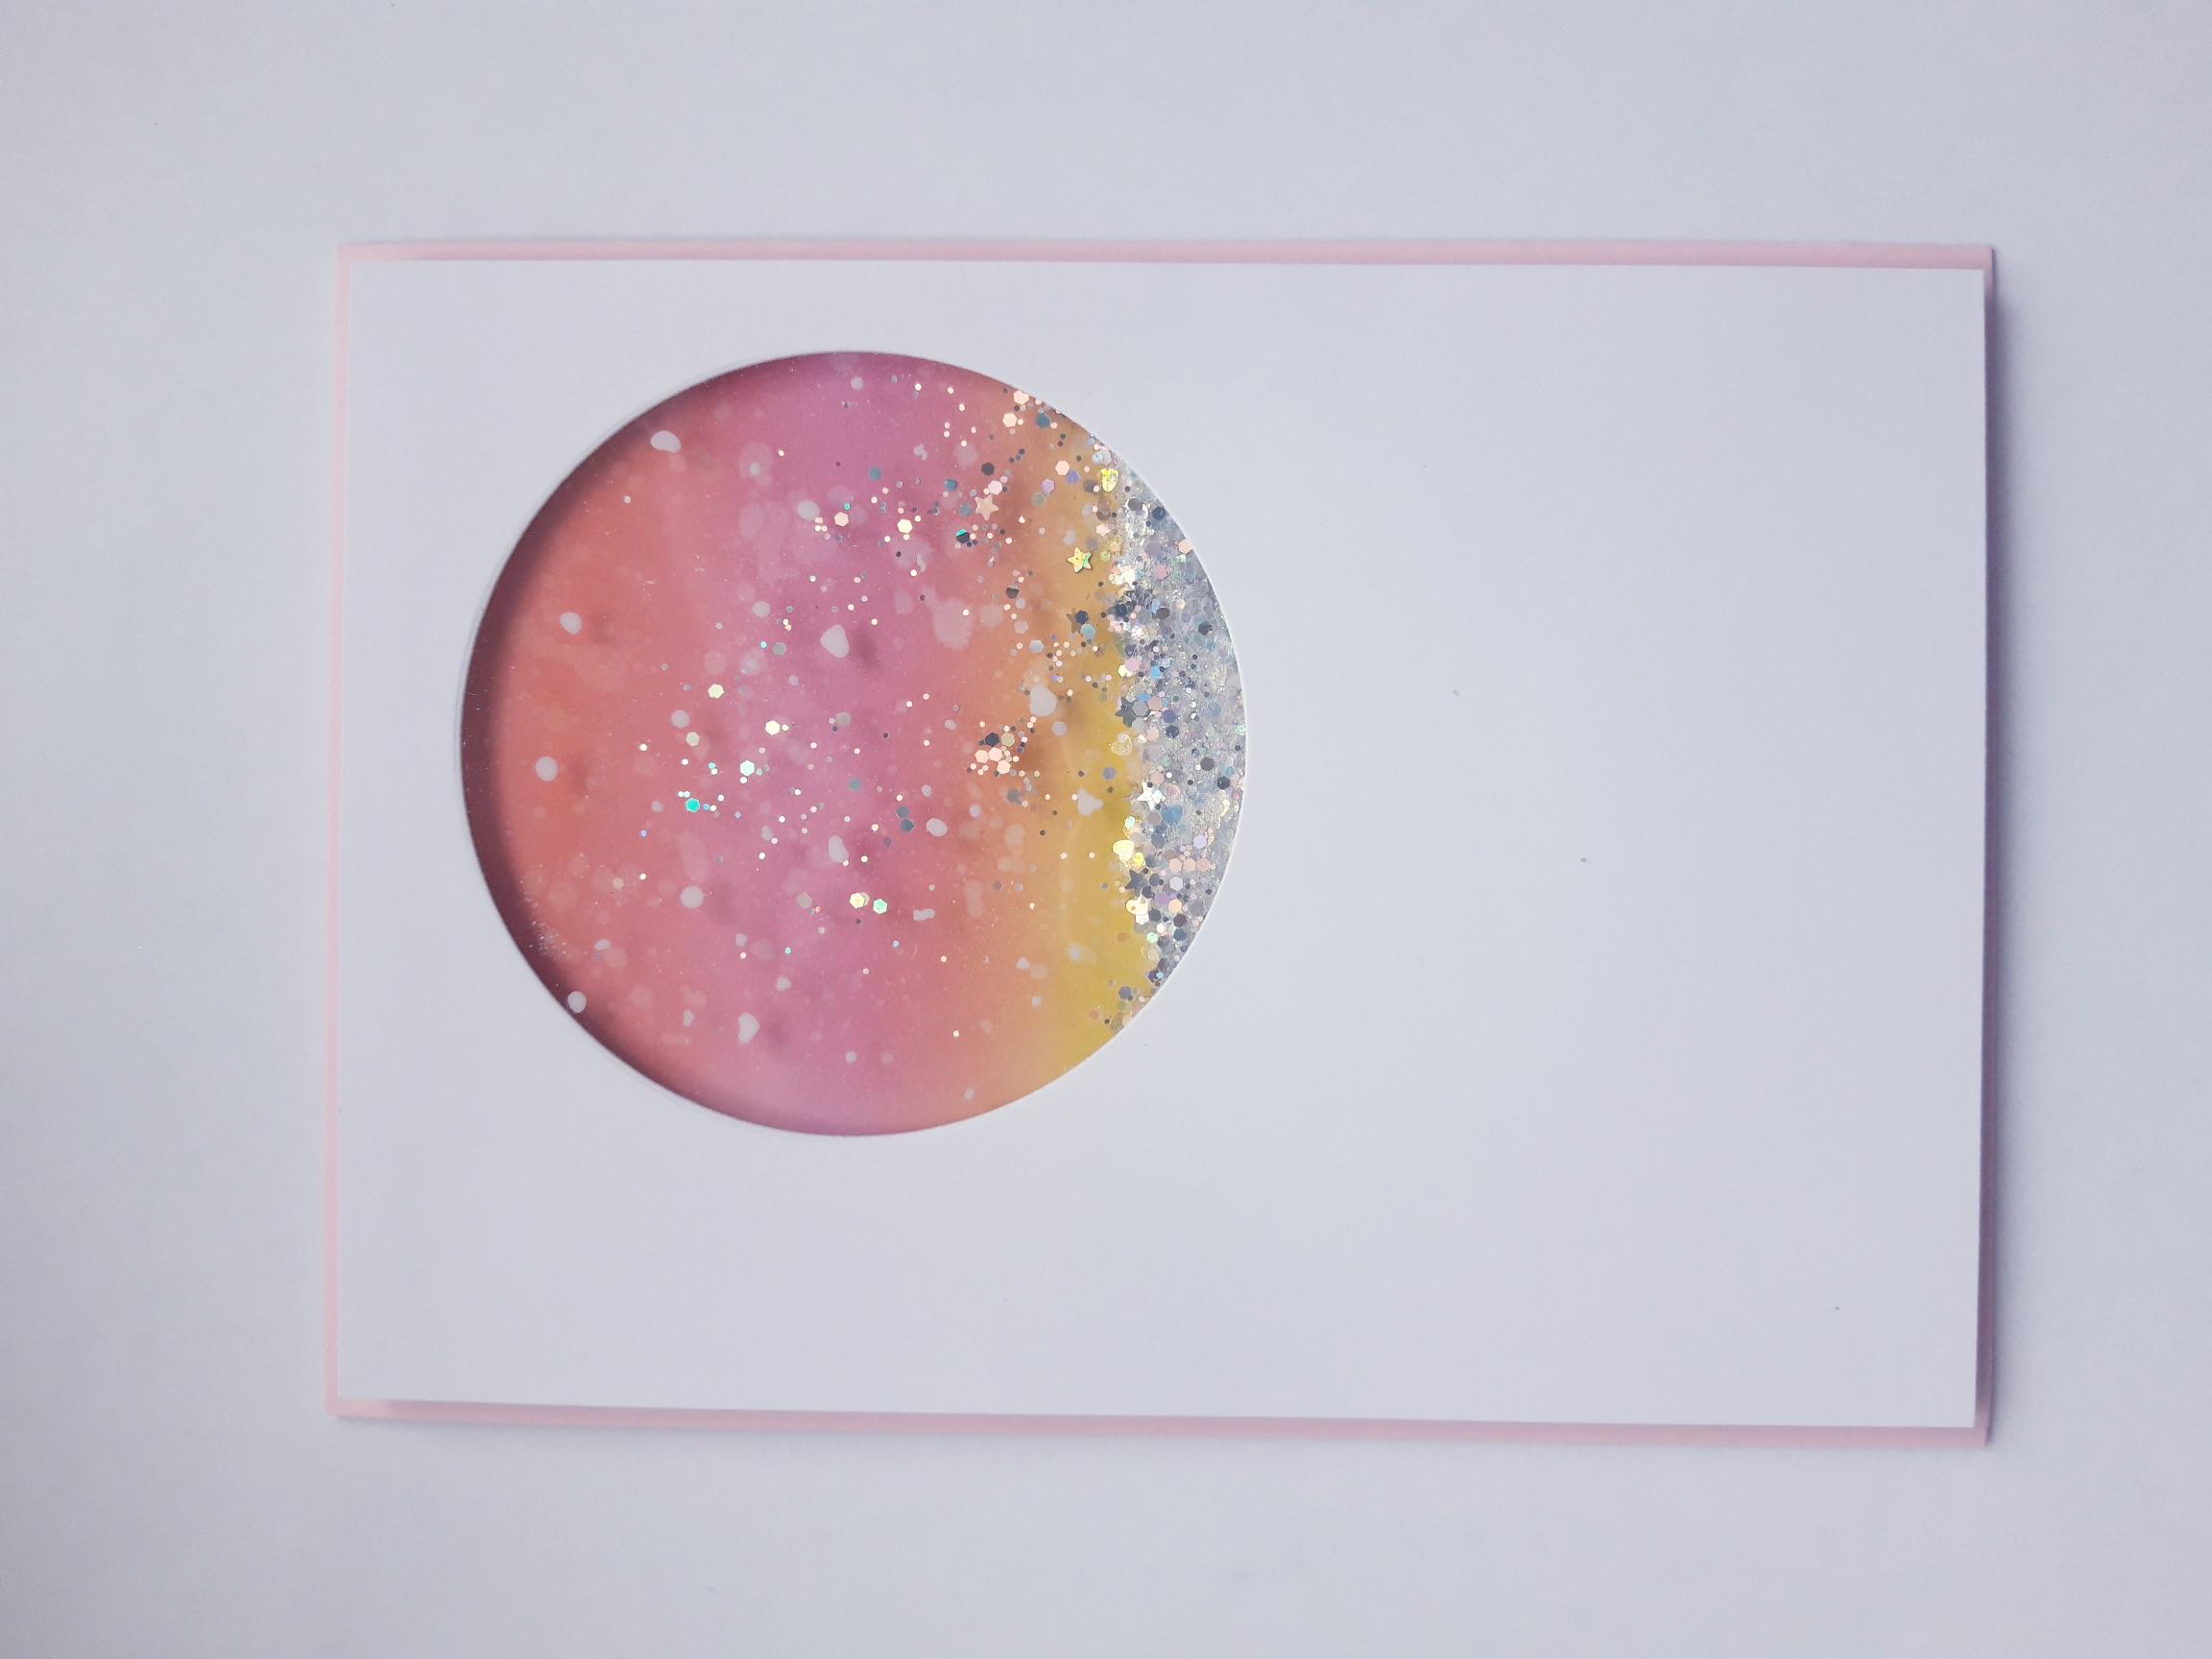
Cut white card to 6 3/4 x 4 3/4". Place one of the circle nesting dies (approx 3 1/4" in diameter), towards the top right of the card and run it through your die cutting machine. Set to one side. |
|
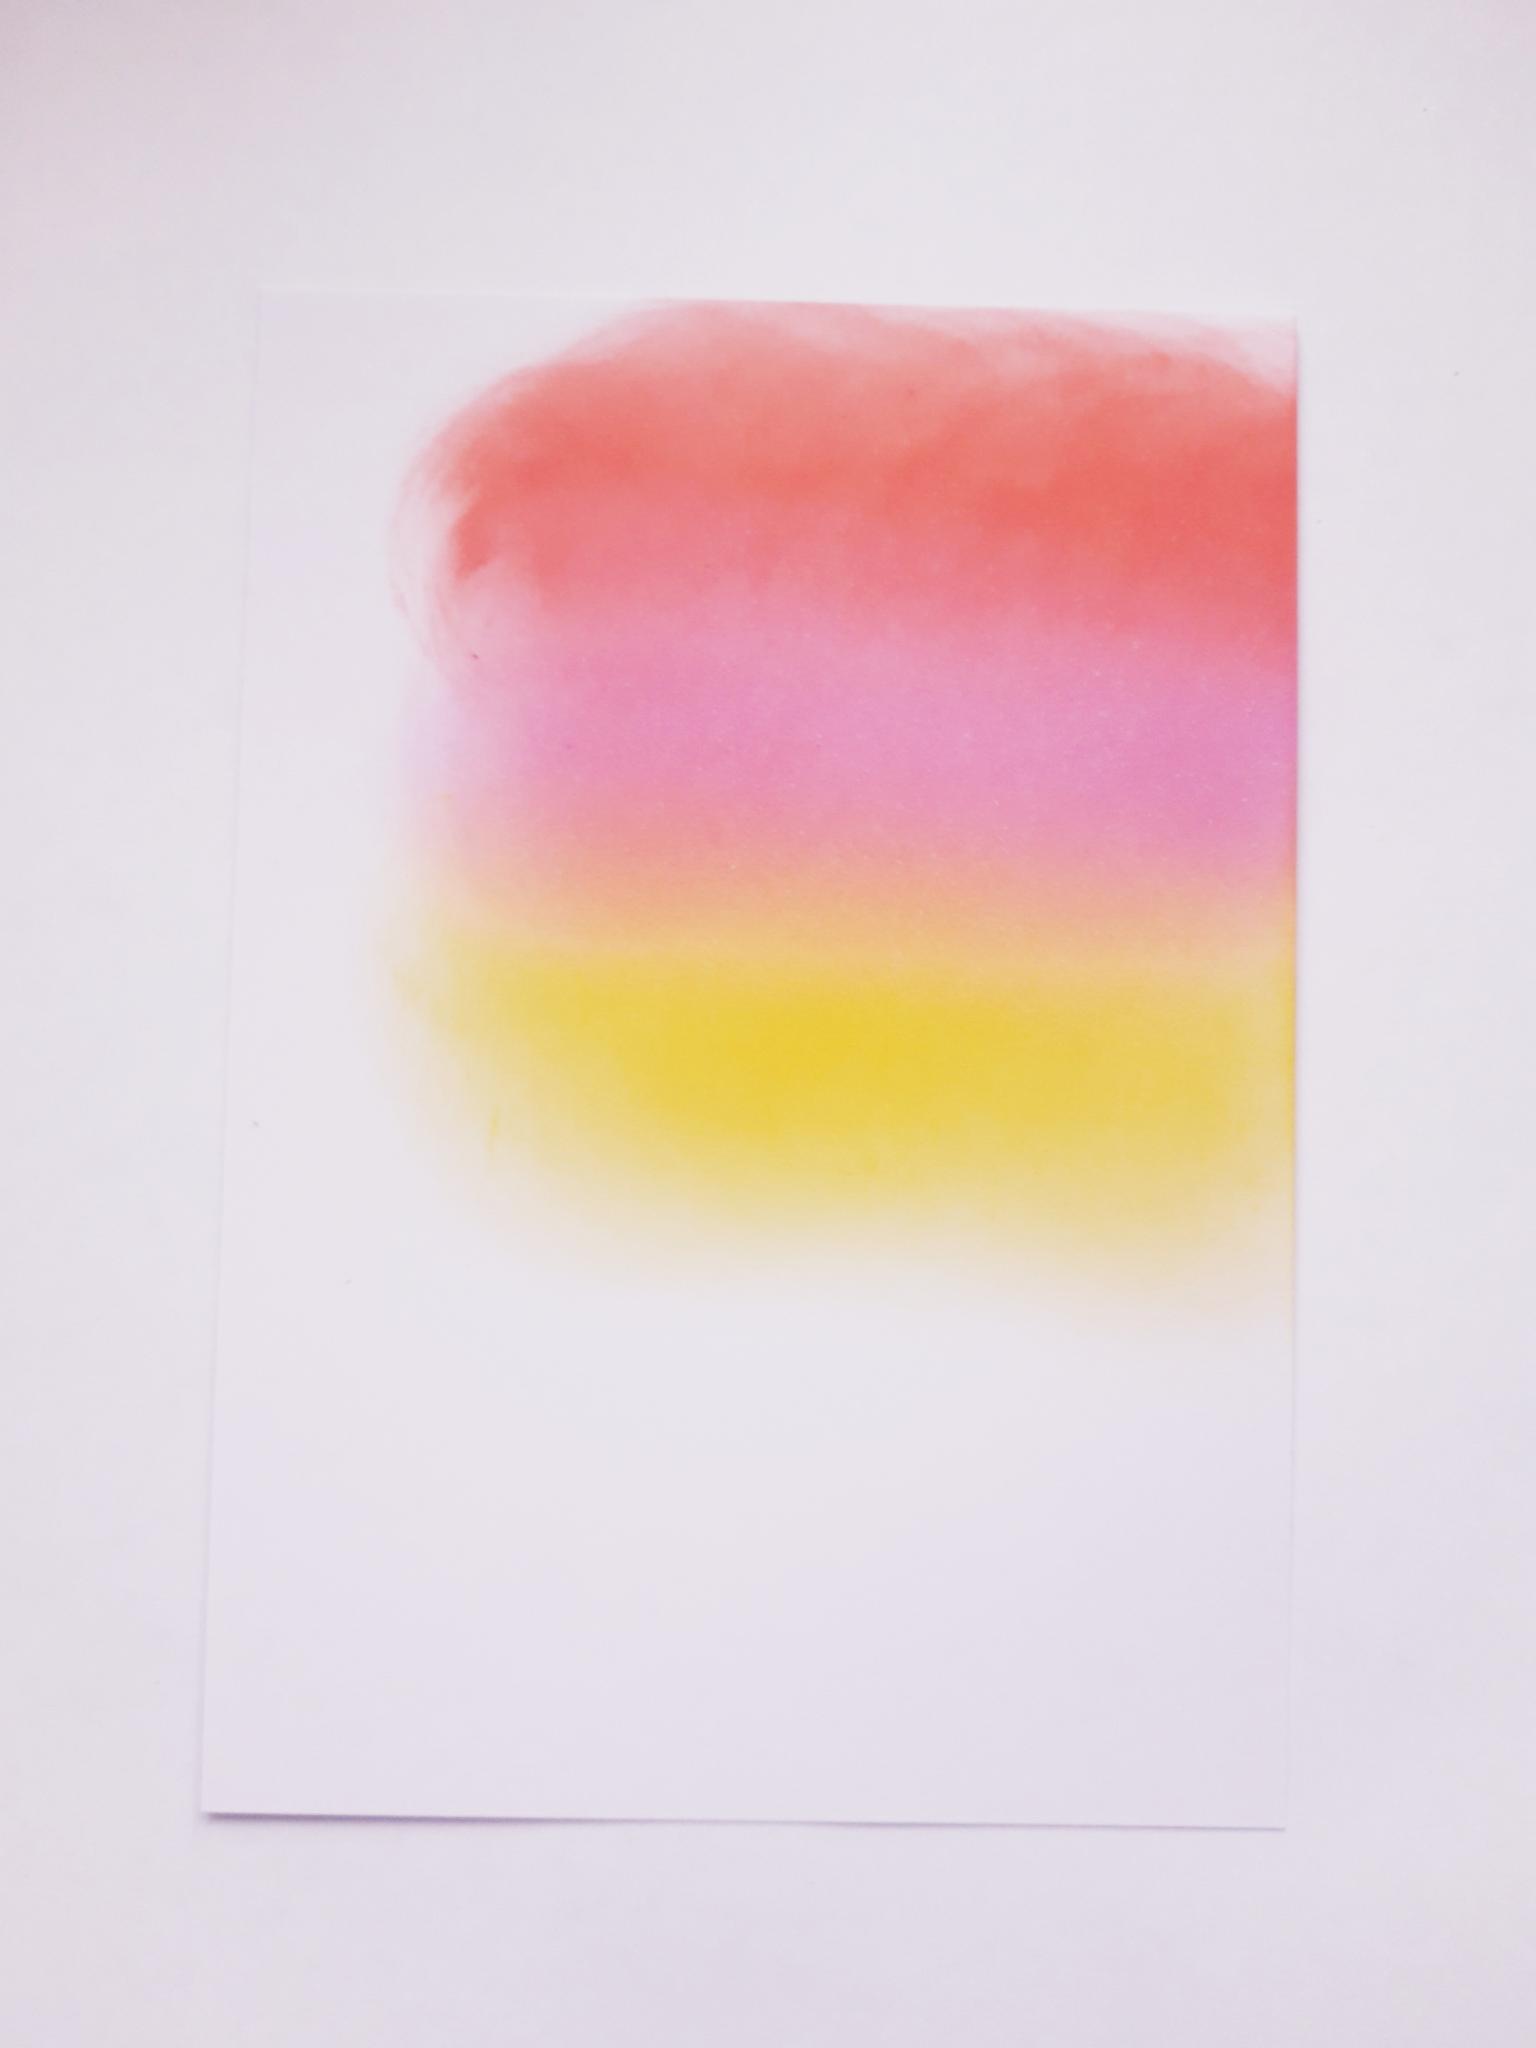
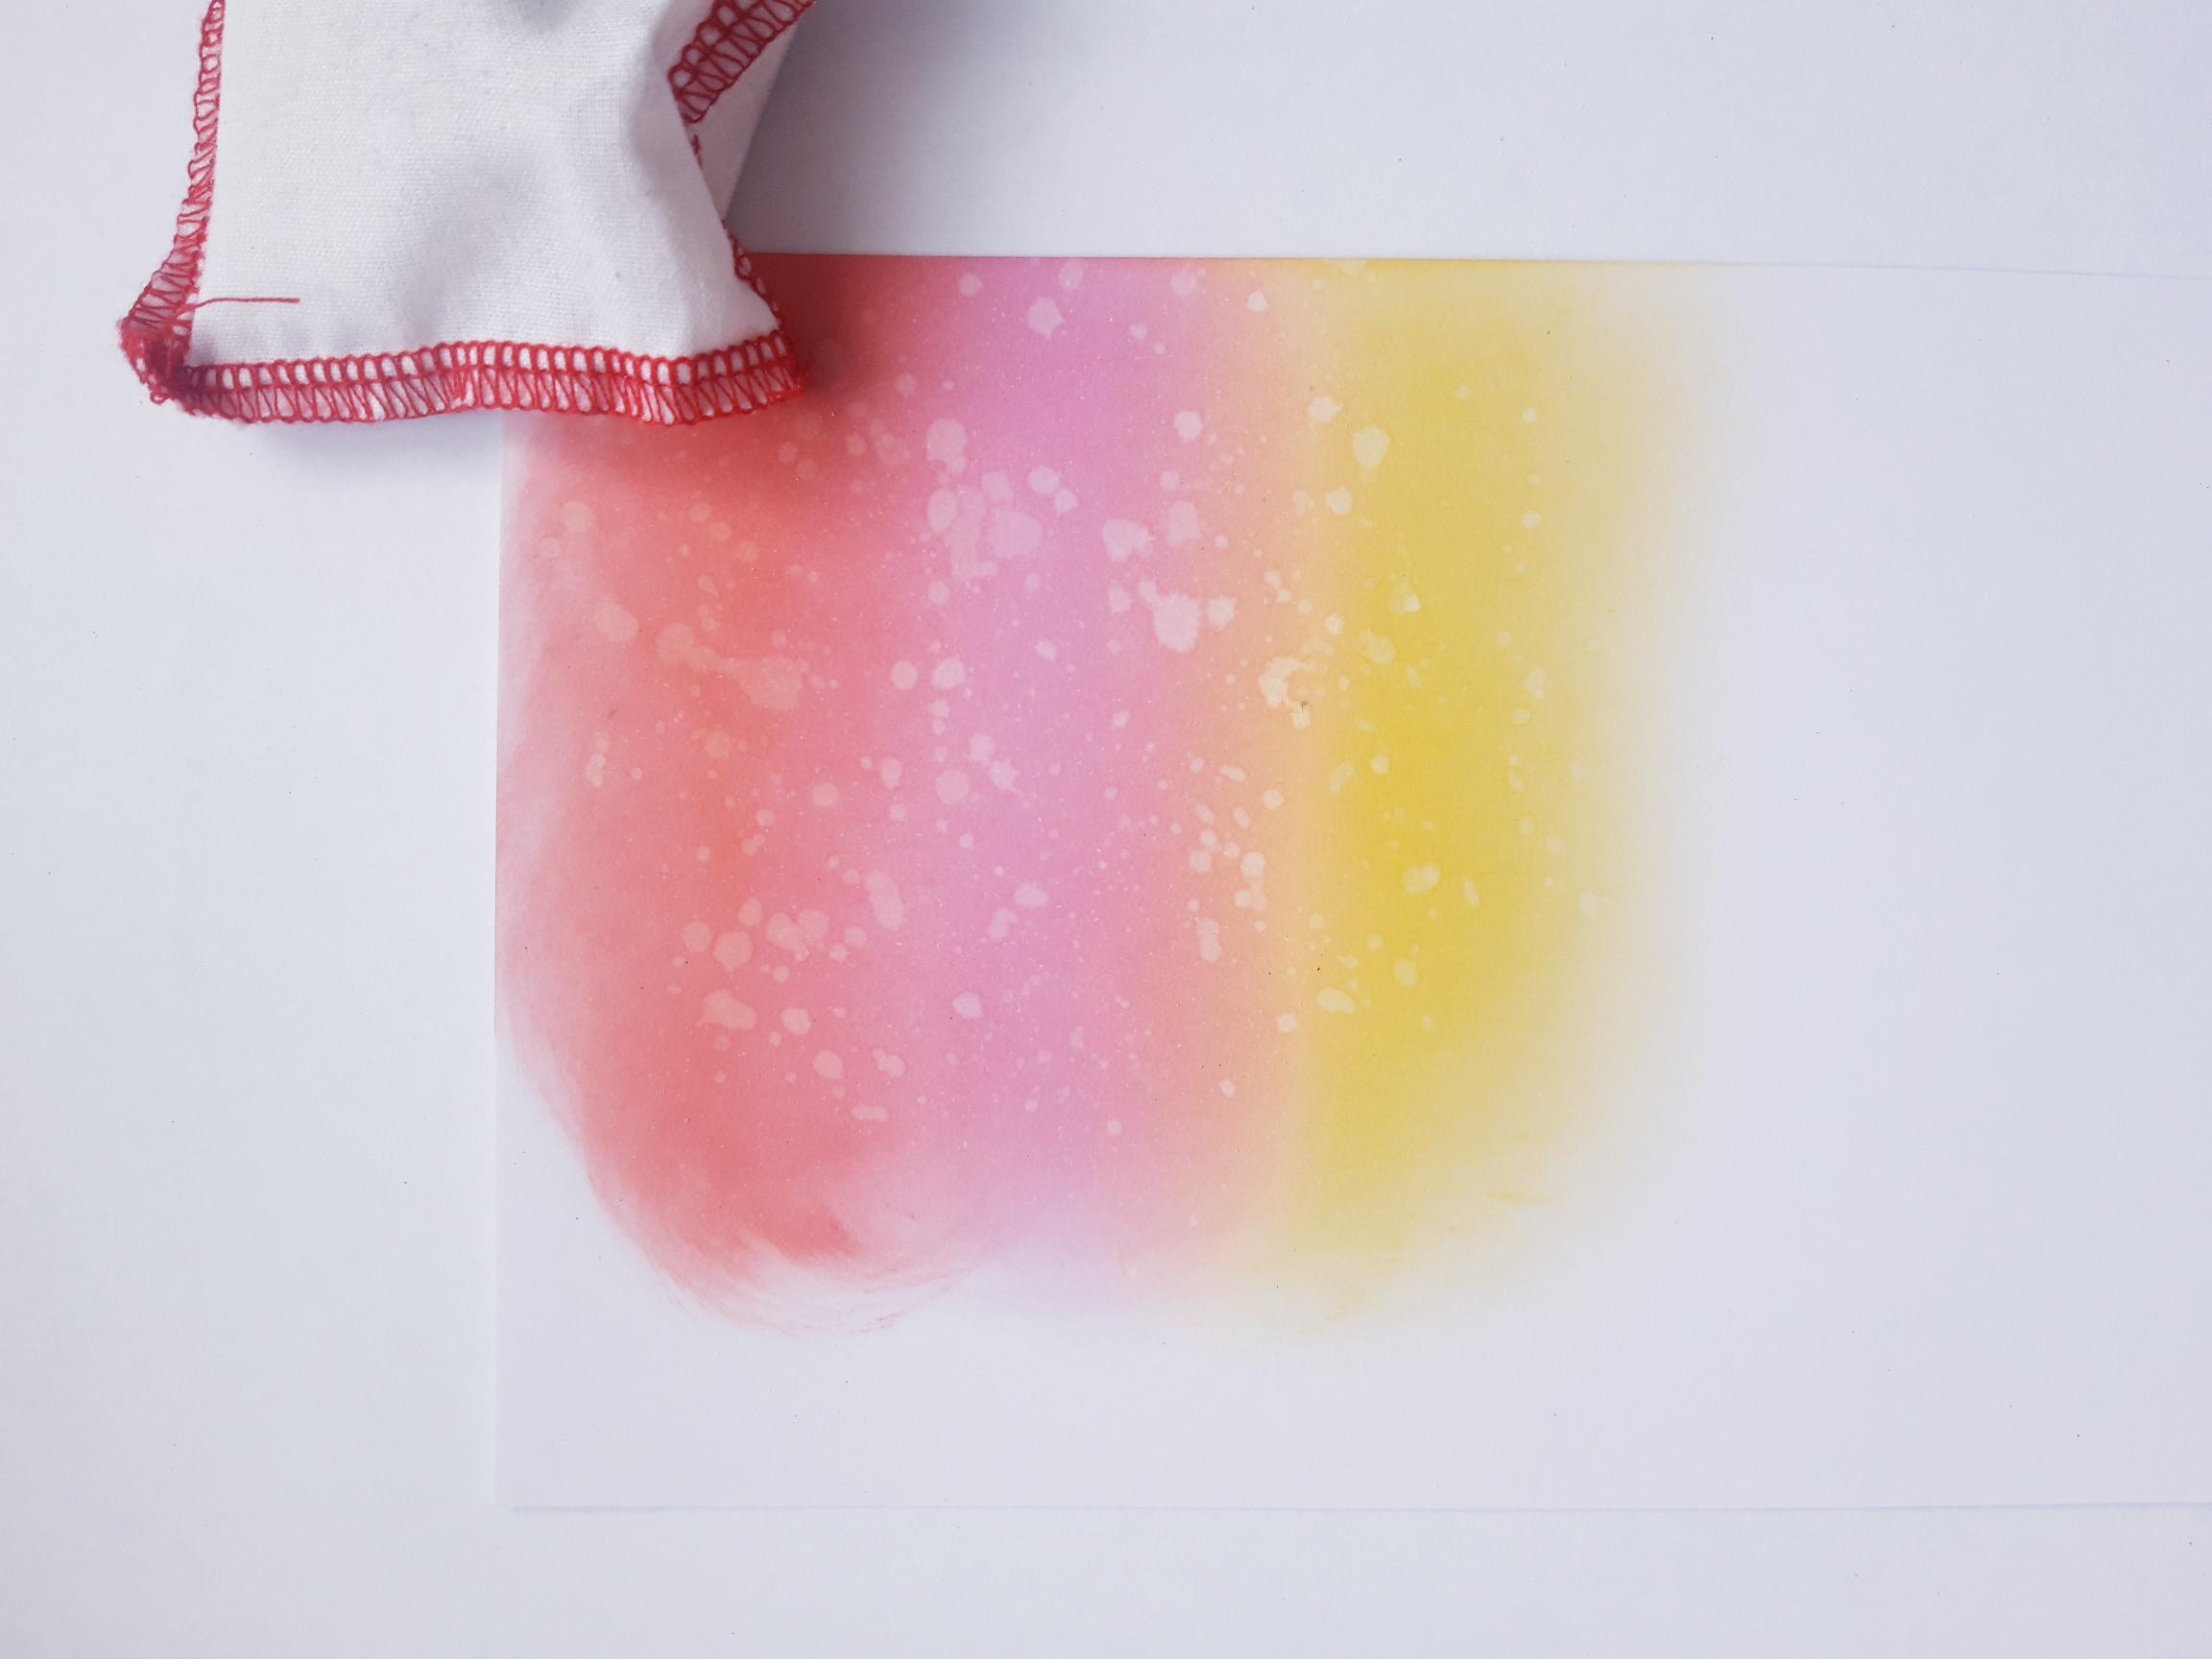
Cut another piece of white card slightly smaller, so it will sit nicely, behind your aperture card. Swipe your Distress ink pads in from the top right of the card, ensuring the inked area will be visible through the circle aperture once it's in place. |
|
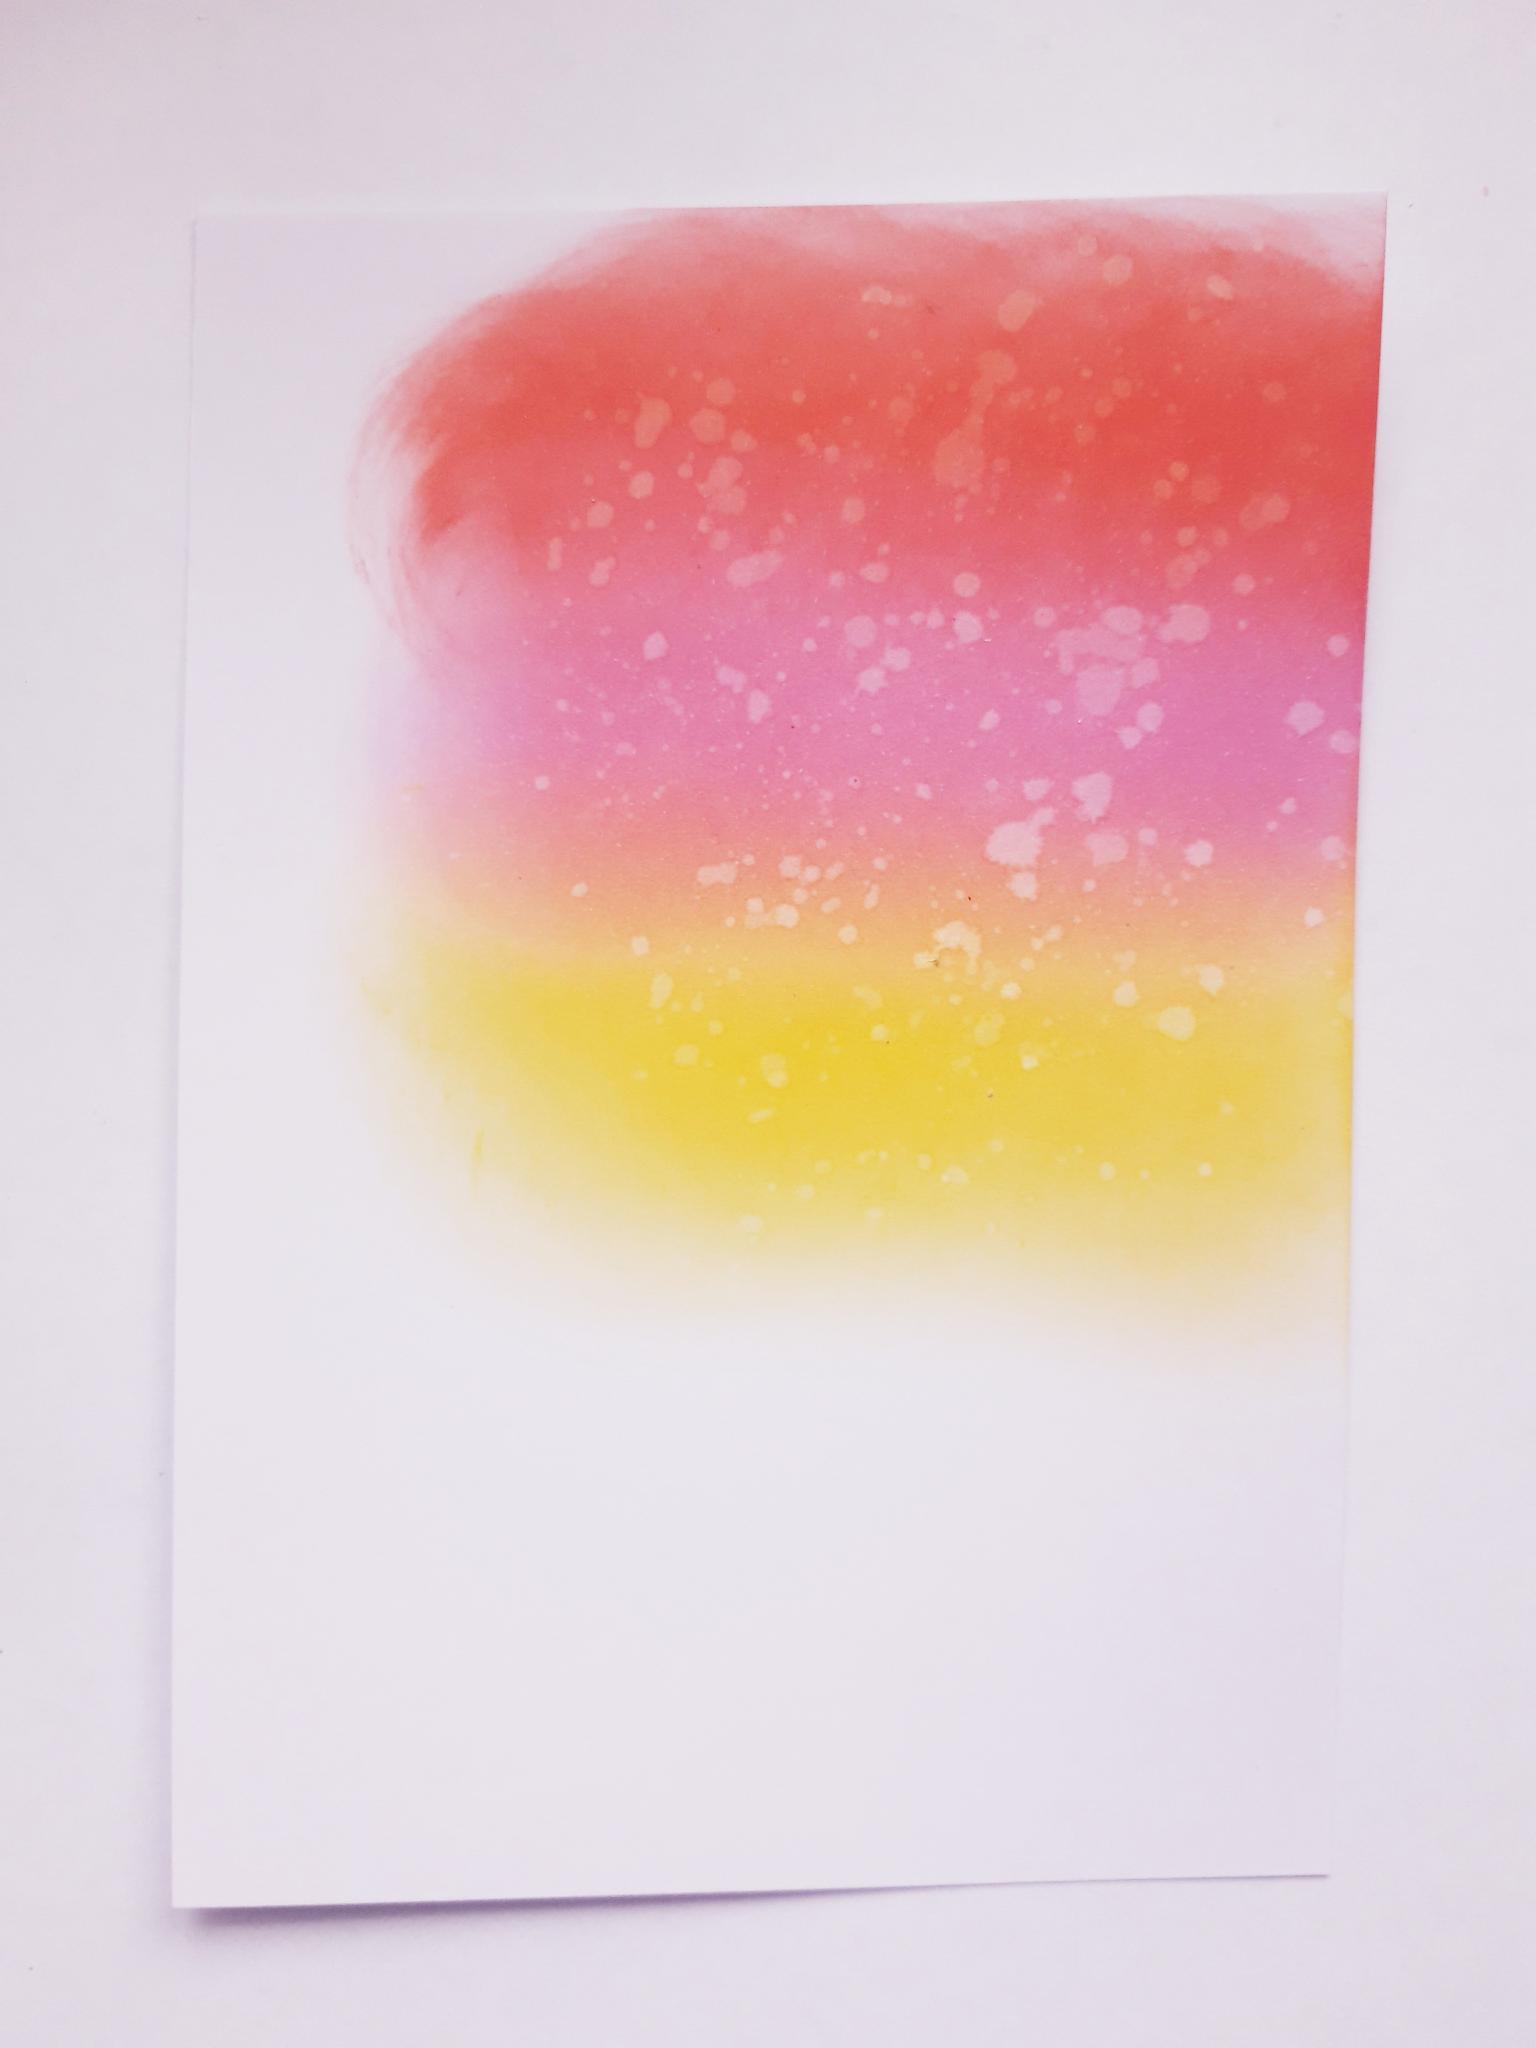
Splatter water over your inks, wait a few seconds then mop up the excess water with a paper towel. Dry your inky panel and set to one side. |
|
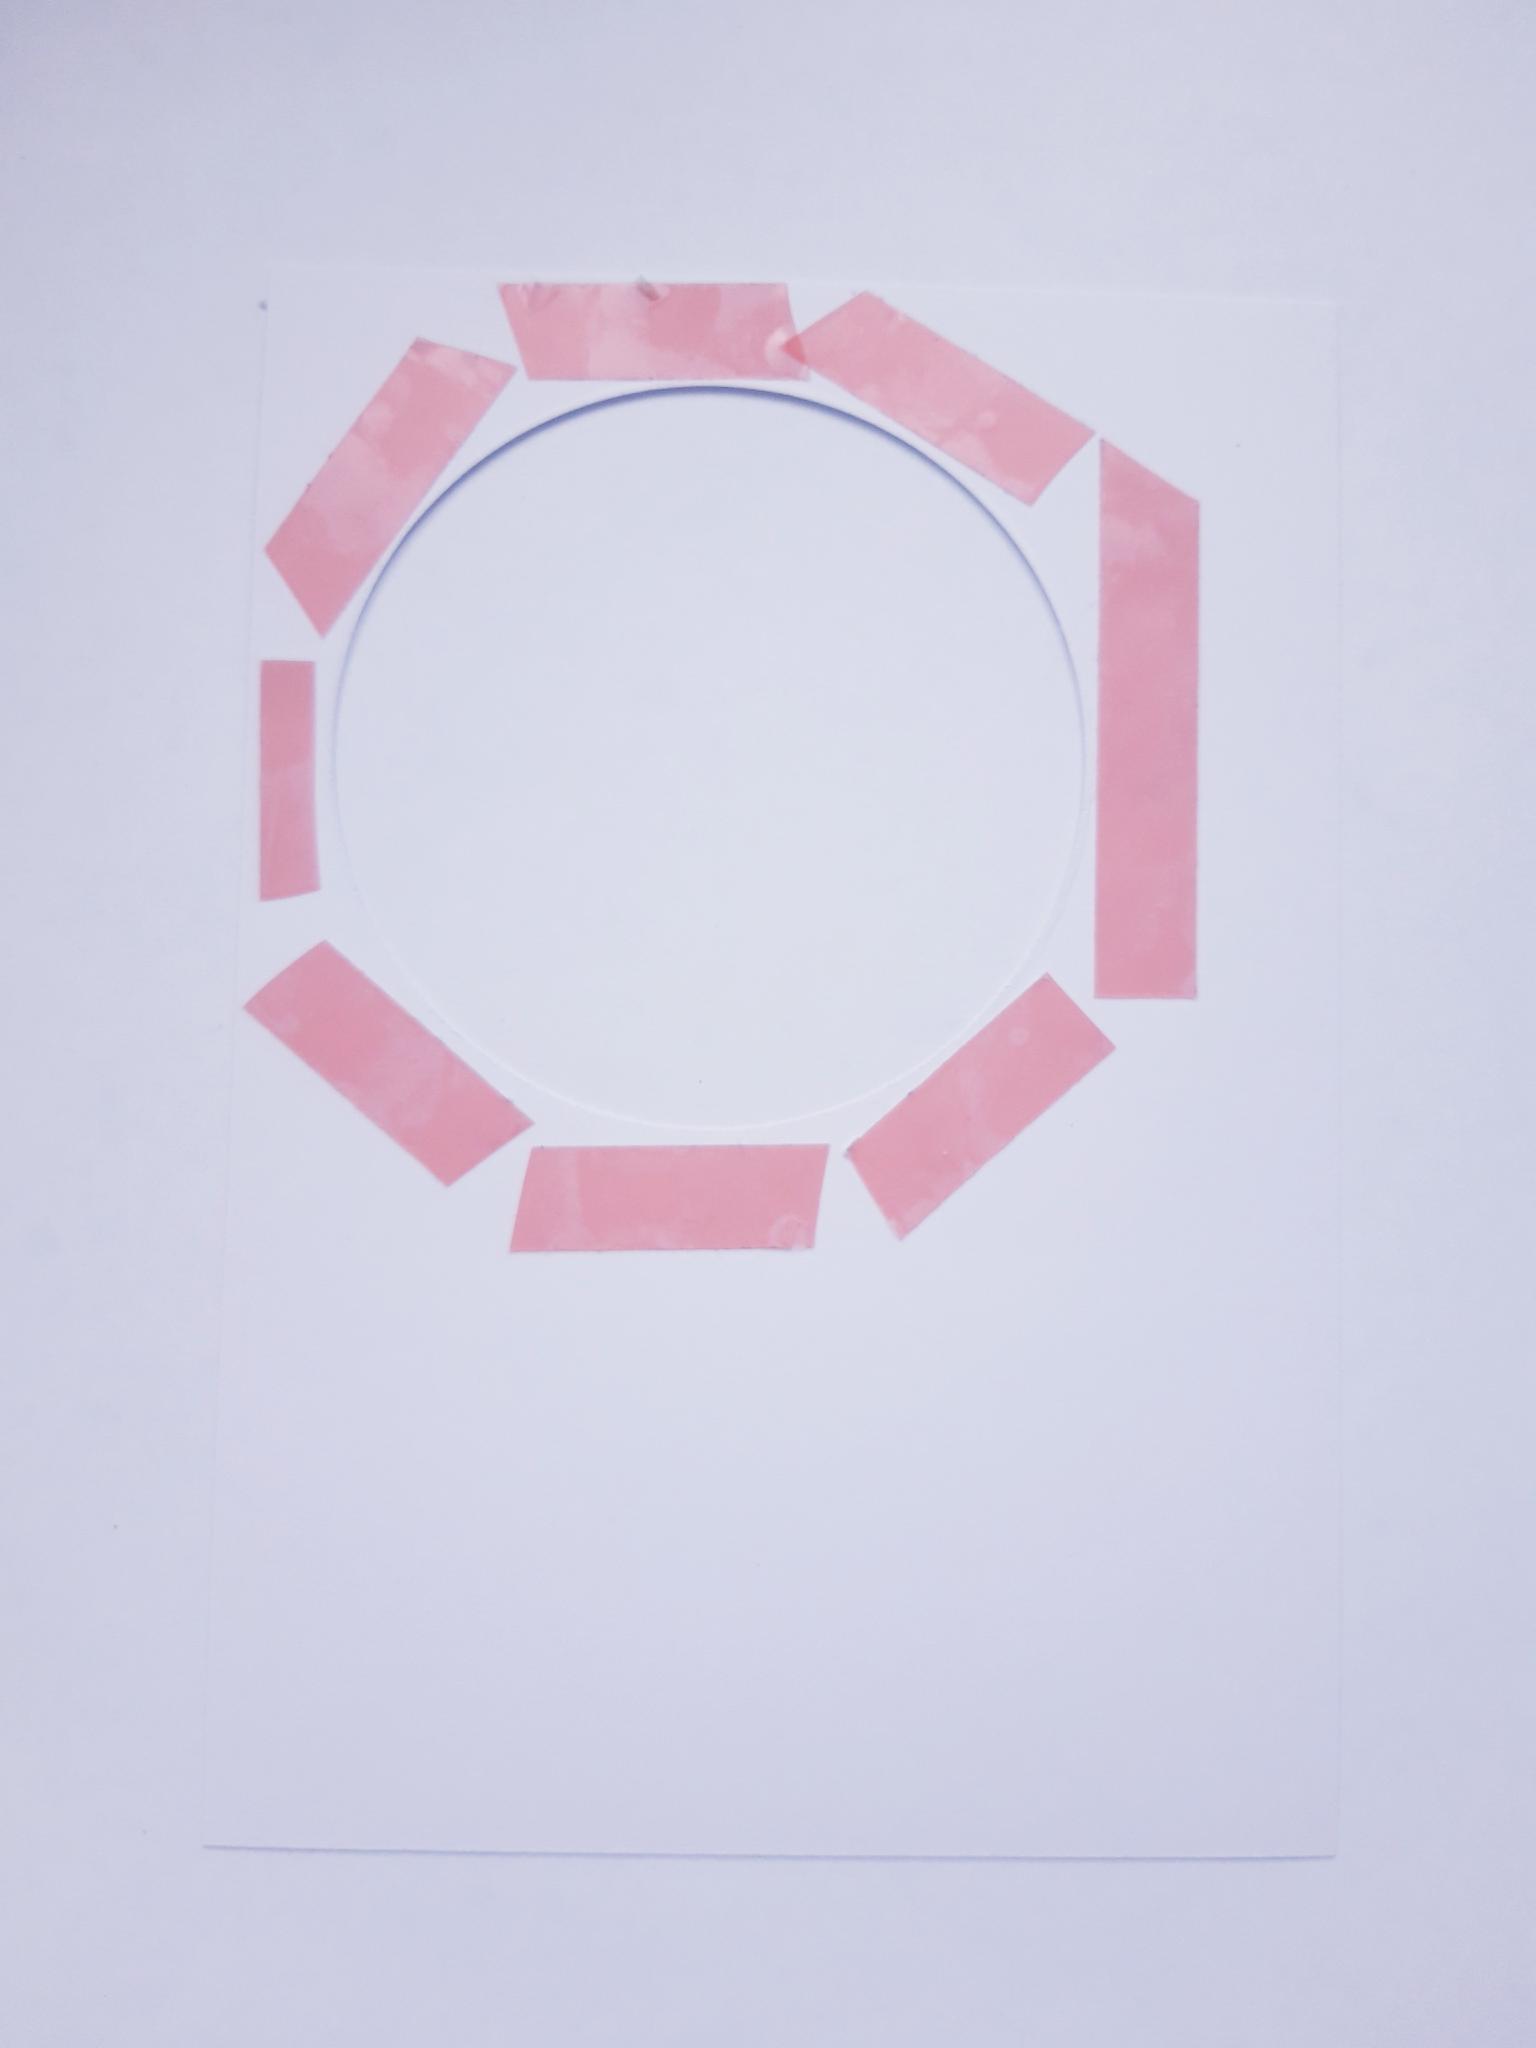
Adhere red liner tape around the circle aperture, on the REVERSE side. |
|
Peel off the backing and affix your acetate in place, over the aperture. |
|
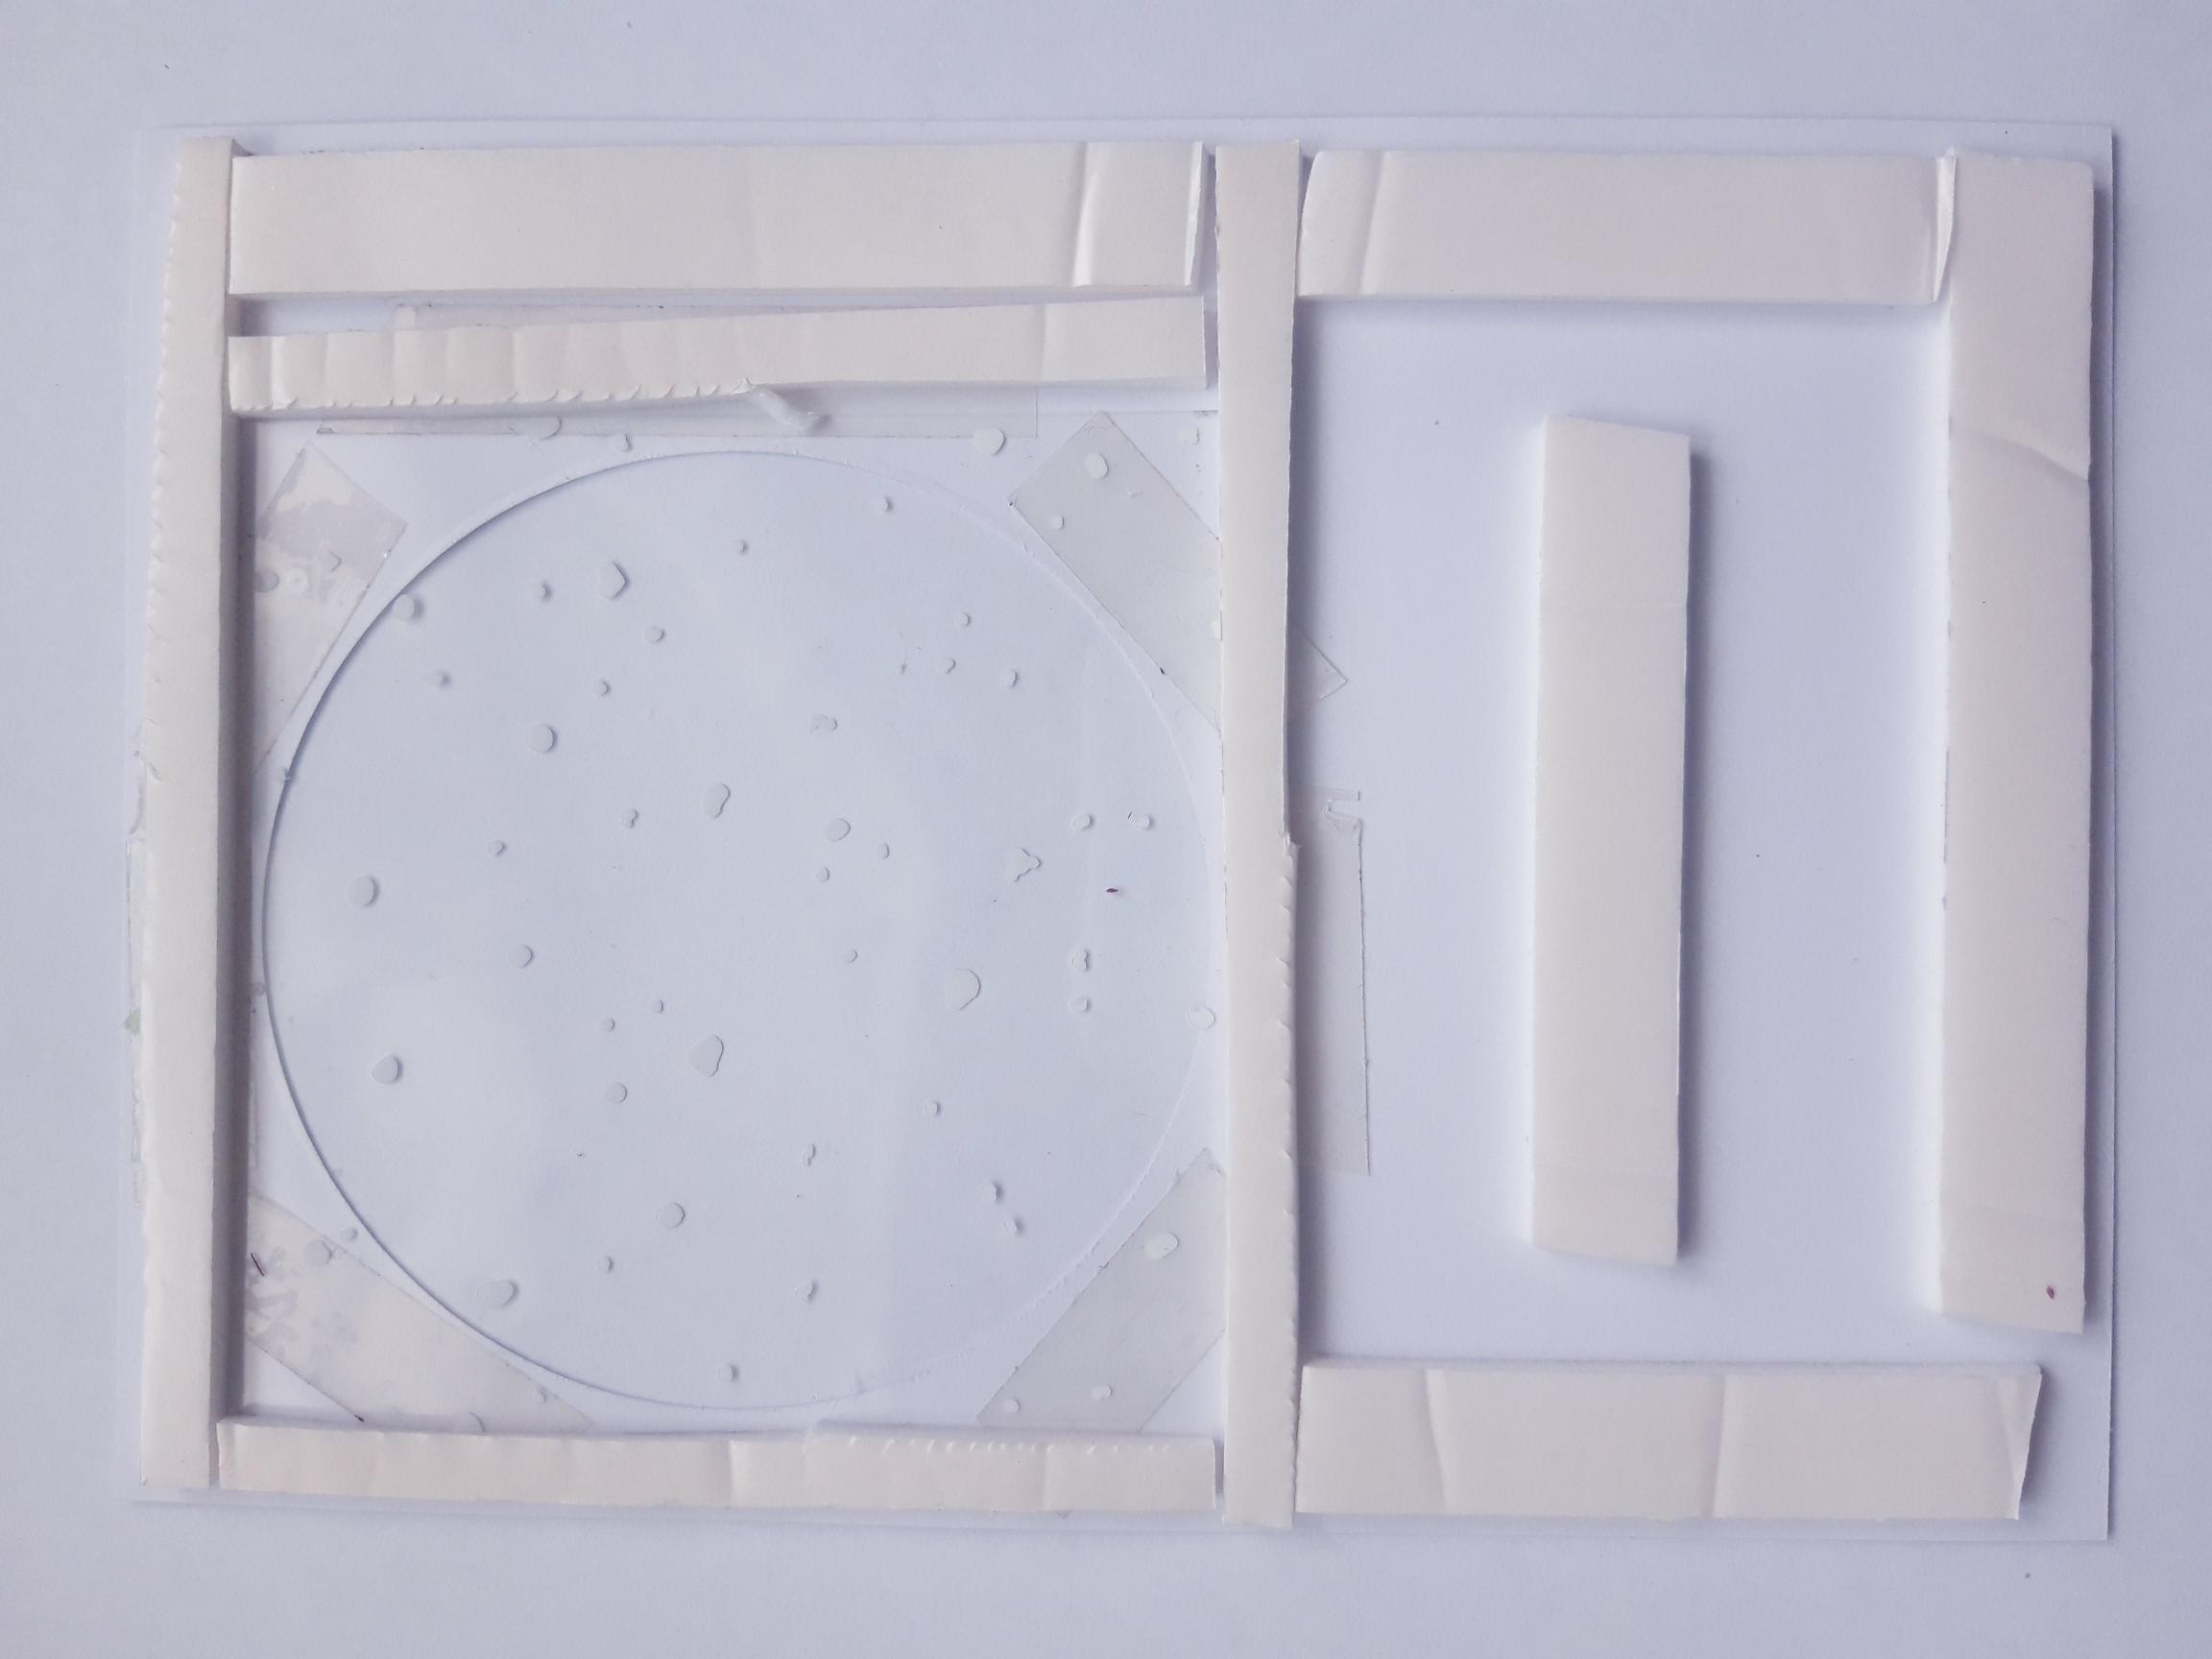
Adhere double-sided foam tape/pads around the aperture, so there are NO GAPS! Also around the edges of your card, so it won't "bow or sag" when adhered to the inked card. |
|
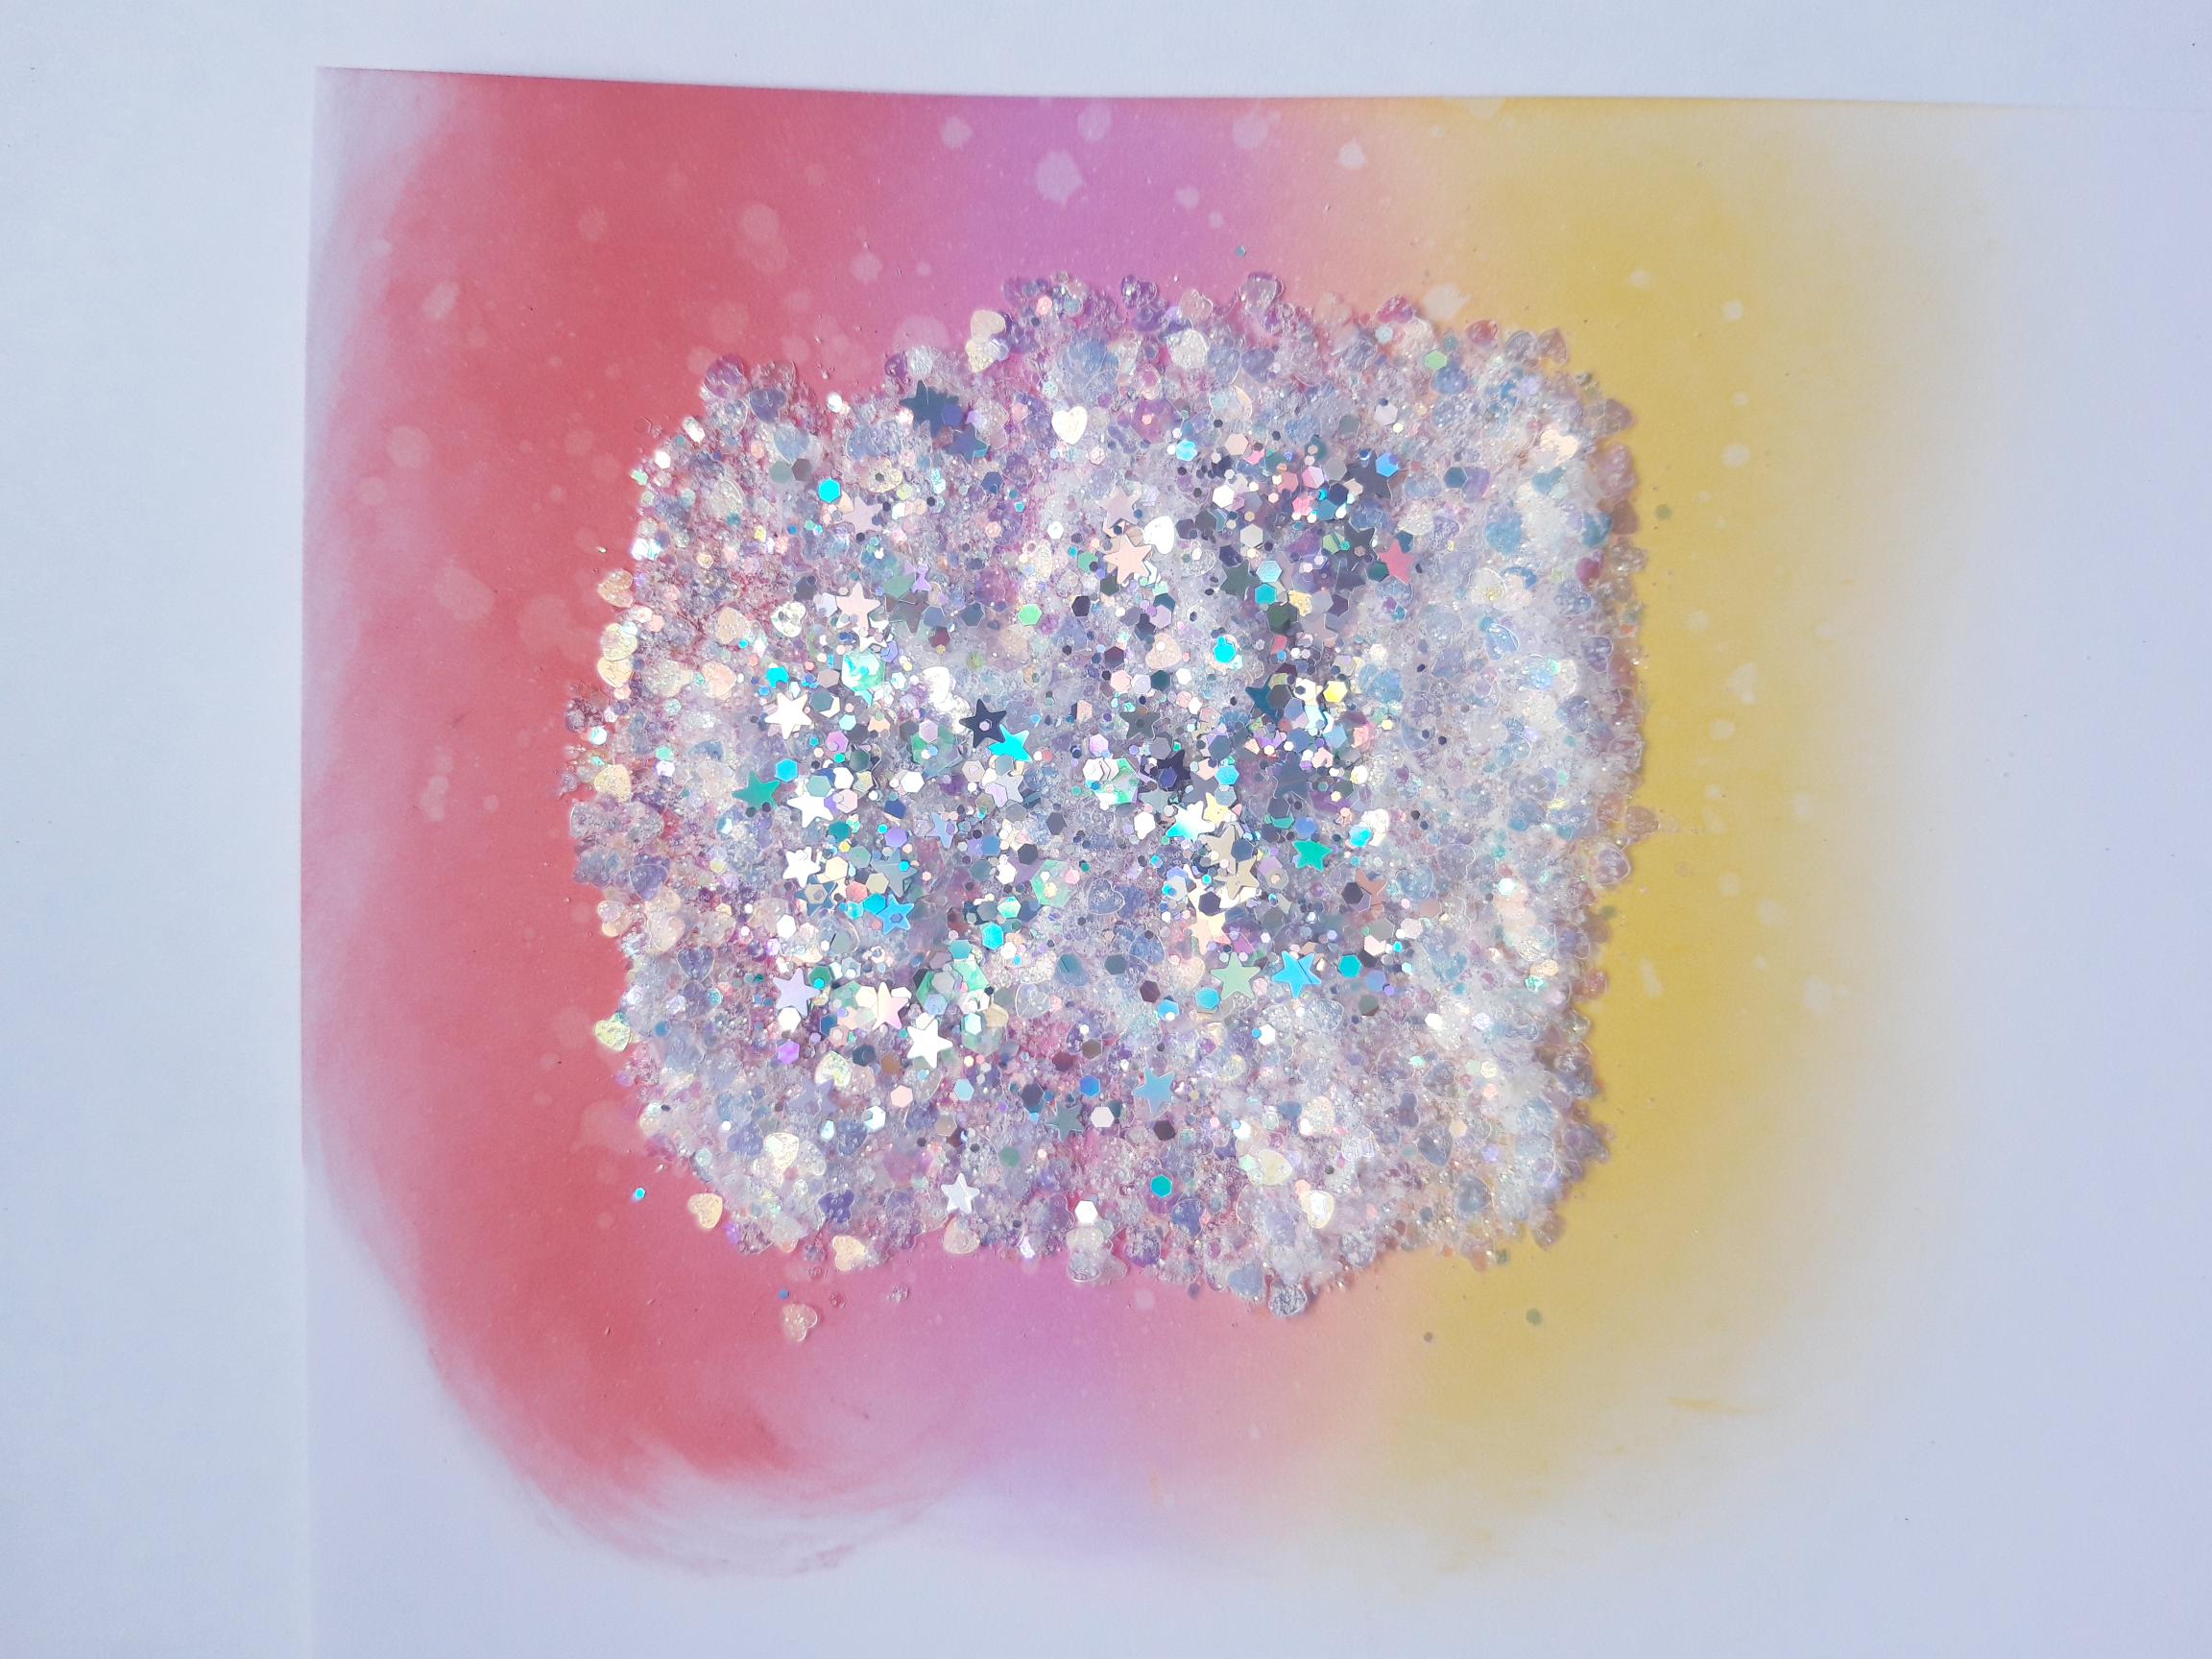
Wipe the anti-static bag liberally over the inked panel. |
|
Pour your sequins/ glitter FLAT, on to the inked panel, using your aperture as a guide to keep it all within the aperture circle ONLY. |

|
Peel off all the backing tape, from the double-sided foam tape/pads. Wipe the acetate and the inner edges of the foam tape, with your anti-static bag, as this will help to prevent all the sequins and glitter from "sticking". Now carefully line up and adhere this on to the glittered card, making sure you rub your finger firmly round the edge of the aperture. This ensures that the foam tape is stuck down and creates an effective seal. If not....glitter everywhere!!! |
|
Adhere this on to the front of your pink, top folding card blank. |
|
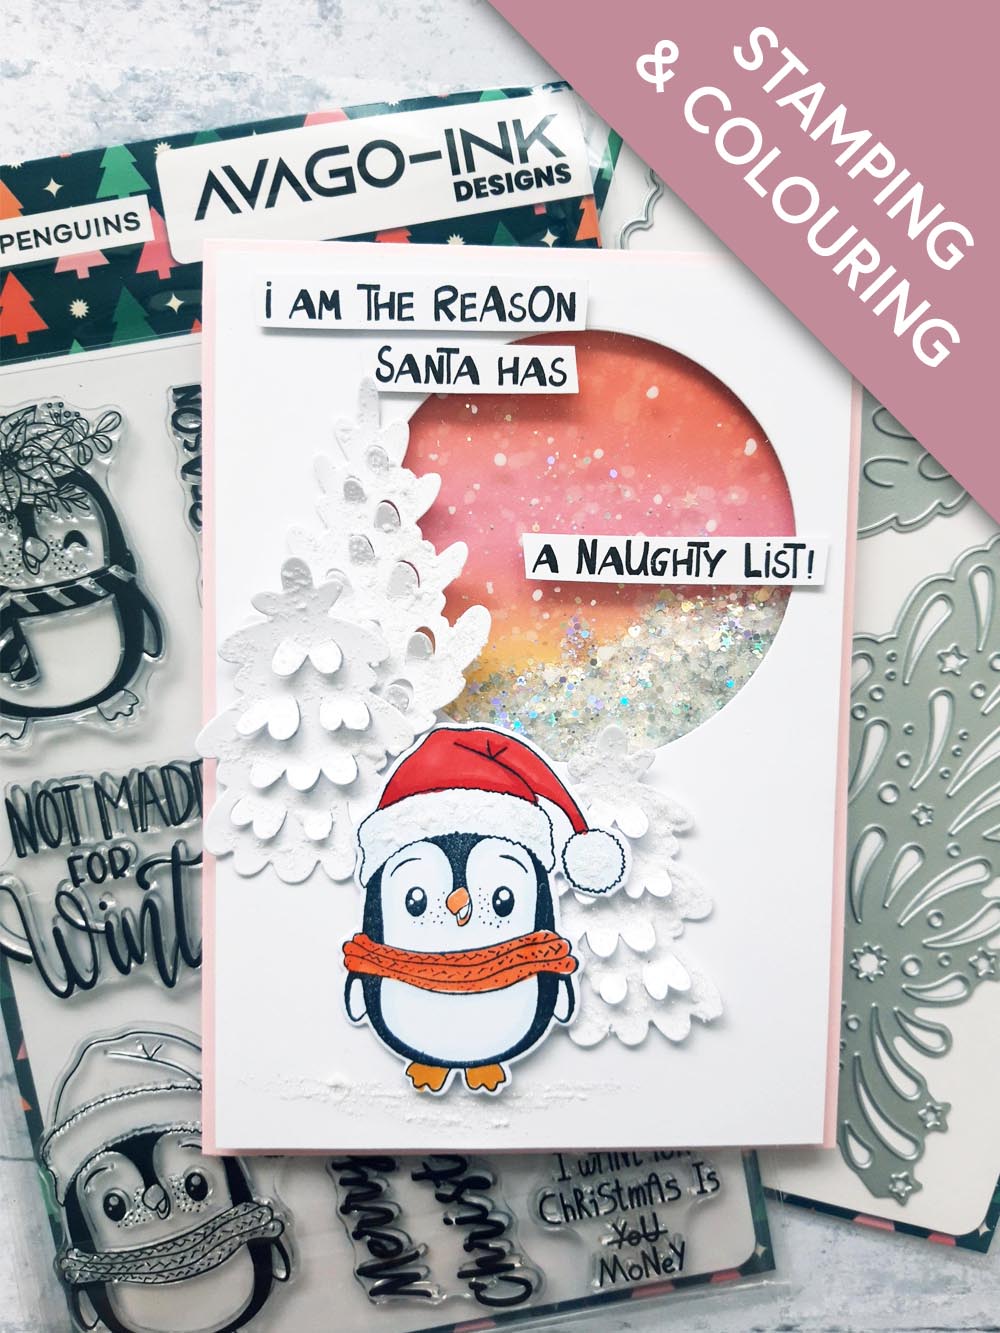
Use both wet glue and foam pads, to adhere your die cut Penguin and trees, as required to the left of your aperture. |
|
Squeeze a little of the Nacre Glitter Paint on to your craft mat, add a little water and add it below your Penguin, to "ground" him. Set to one side. |

|
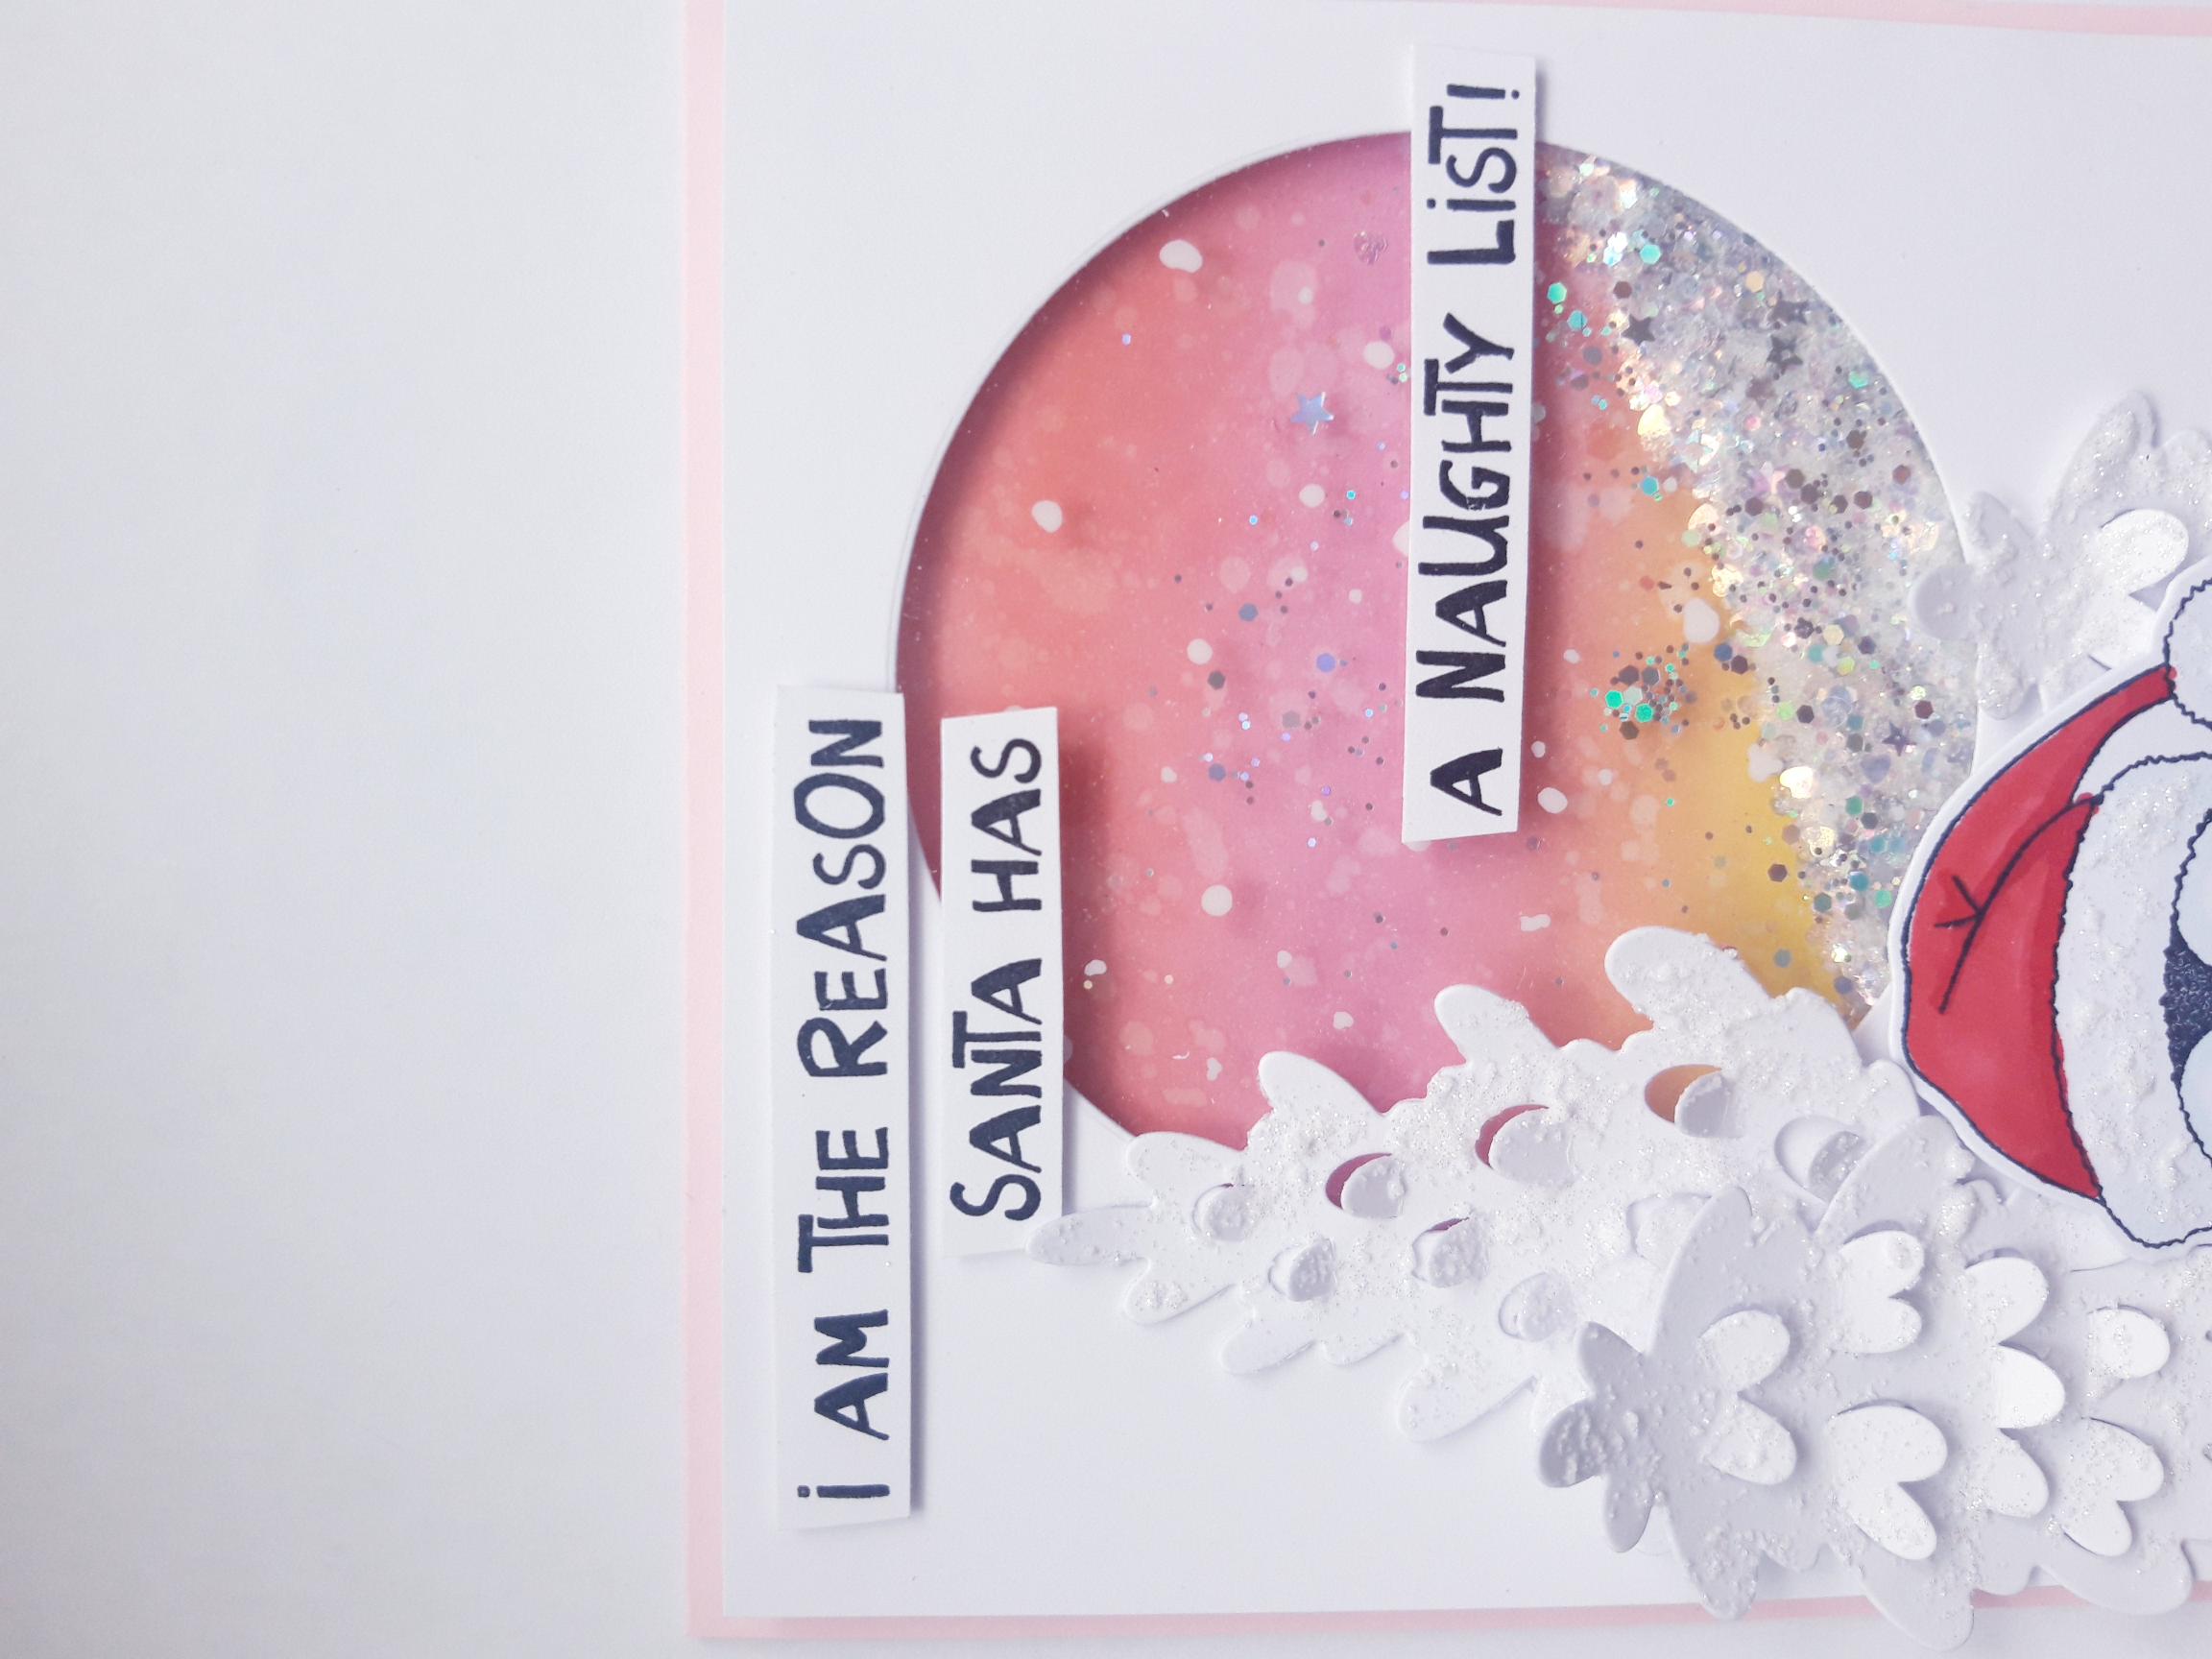
Ink up the sentiment stamp with Onyx Black Versafine and stamp on to white card. Cut it in to strips. |
|
Adhere around the shaker aperture, as required, to finish. |