Give your friends $10 off their first order!
Refer a FRIEND


WHAT YOU WILL NEED:
White top folding card blank - landscape (cut to 7 1/4 x 5 1/4")
Black card (7 x 5")
White card (6 3/4 x 4 3/4")
White card - super smooth (4 x 4")
White card (3 1/2 x 2 1/2")
White card (4 x 2")
AVAGO Ink Designs Festive Penguins Stamp And Die Collection
AVAGO Joyful Journey Stamp And Die Collection
STAR Die Collection
Versafine Ink Pad: Onyx Black
Memento Ink Pad: Tuxedo Black
Gossip Alcohol Markers - colours of your choosing
Izink Dye Spray: Rusty Saffron, Butterscotch, Underwater
WOW Party Poppin Trio Powders: Poppin Yellow
WOW Heat tool
Black pen
Liquid Pearl Drops: White Opal
Ruler
Eureka 101
Paper Trimmer
Perfect Together Glue
Foam Pads
Die Cutting machine
[click image to enlarge] 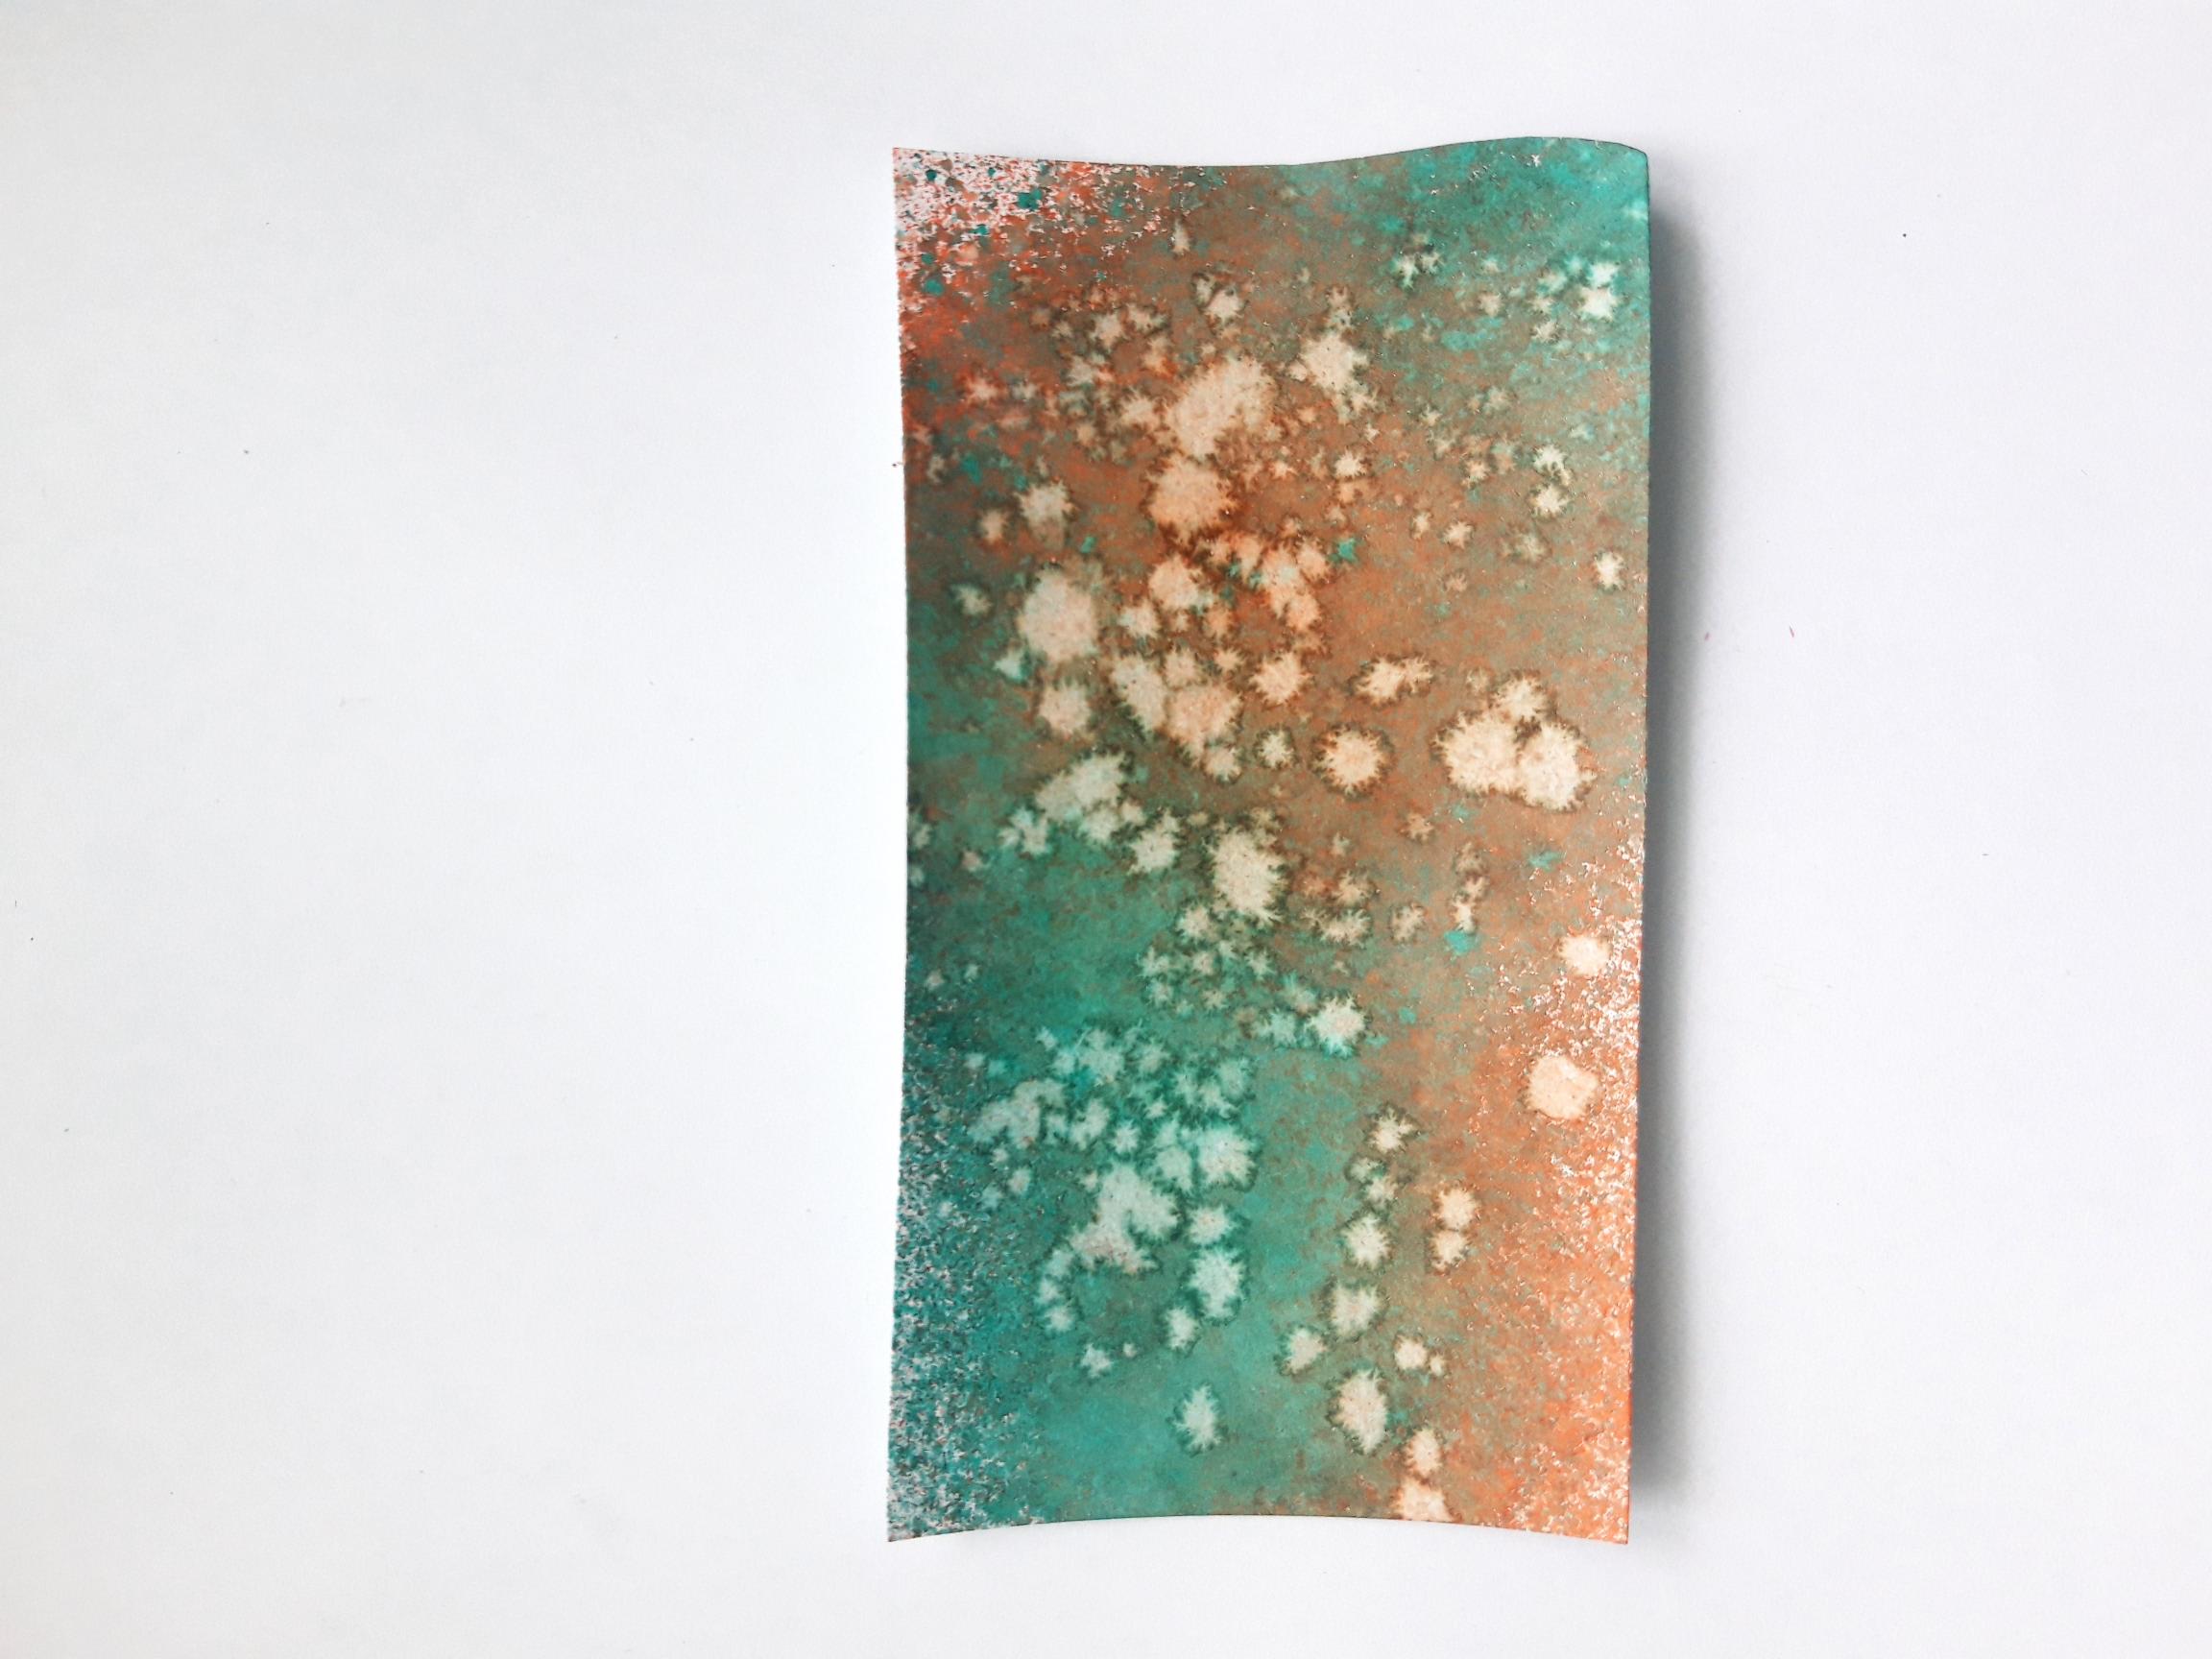
|
Spray the Izink Dye inks on to the white card (4 x 2"). Splatter water over the wet ink with a paint brush, wait a few seconds and mop up the water and lift the ink, with a paper towel. Dry off the ink completely. |
|
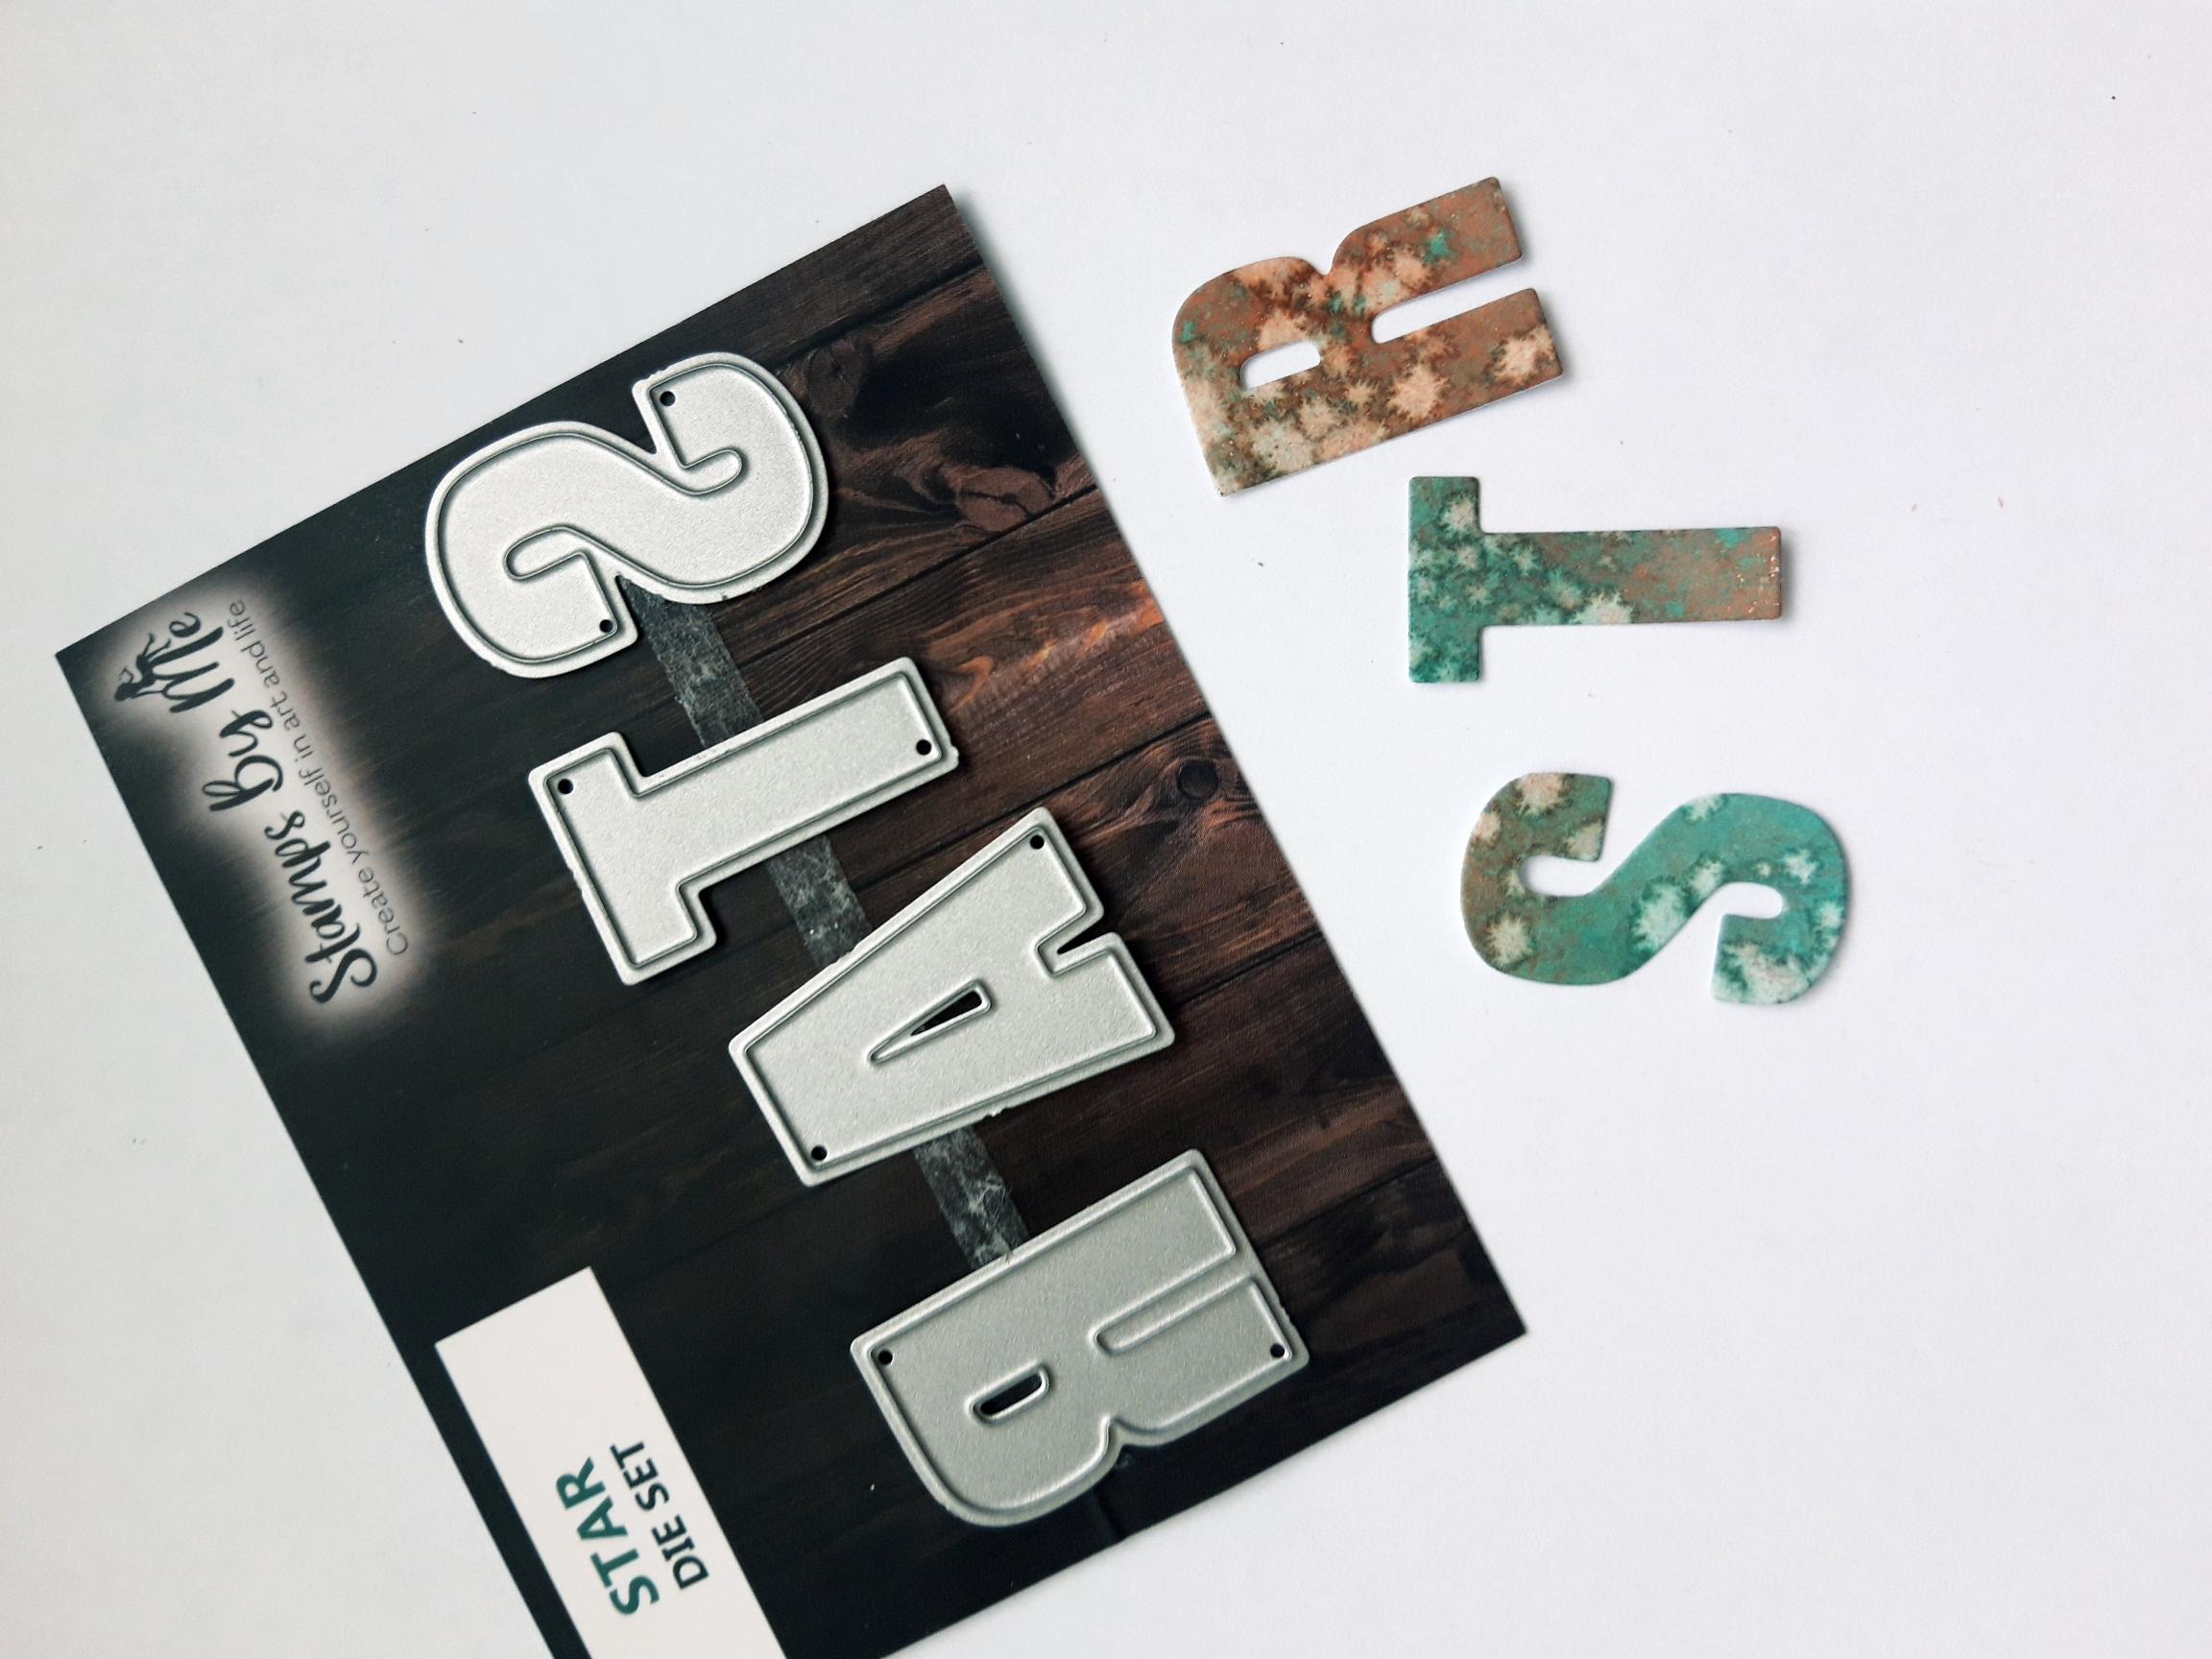
Place the S, T and R dies, from the STAR Die Collection, on to the sprayed card and run it through your die cutting machine. Set to one side |
|
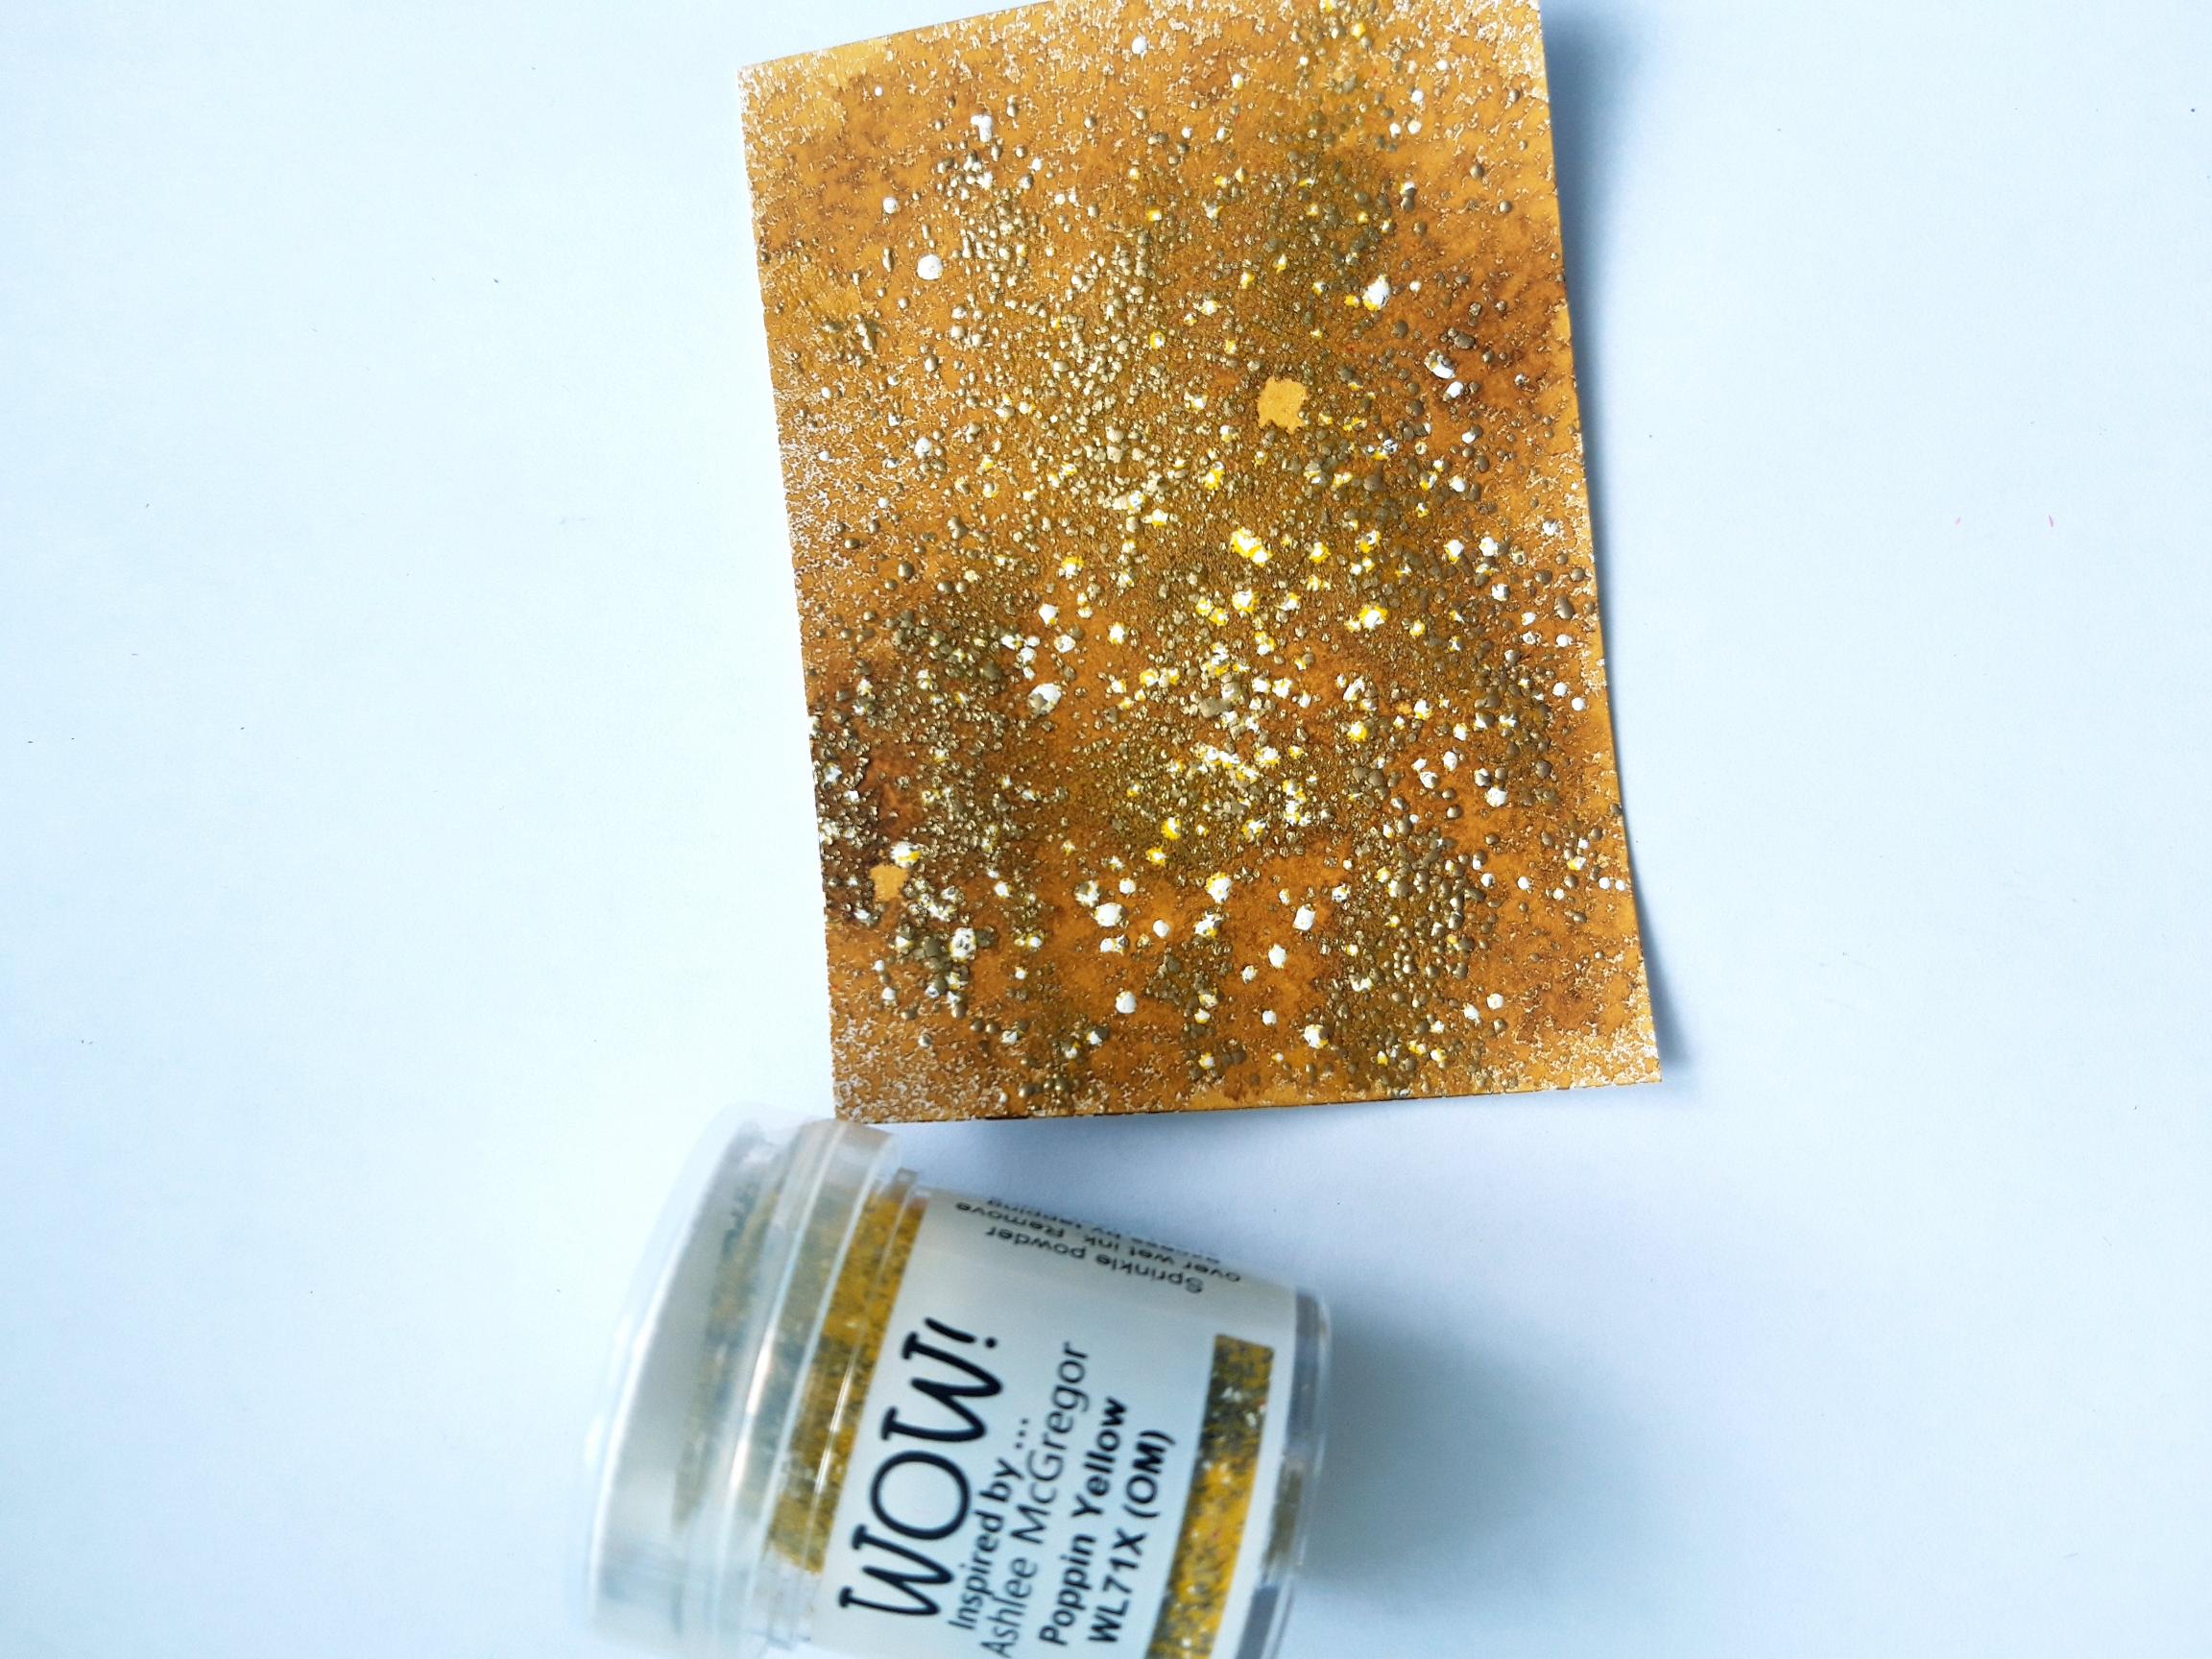
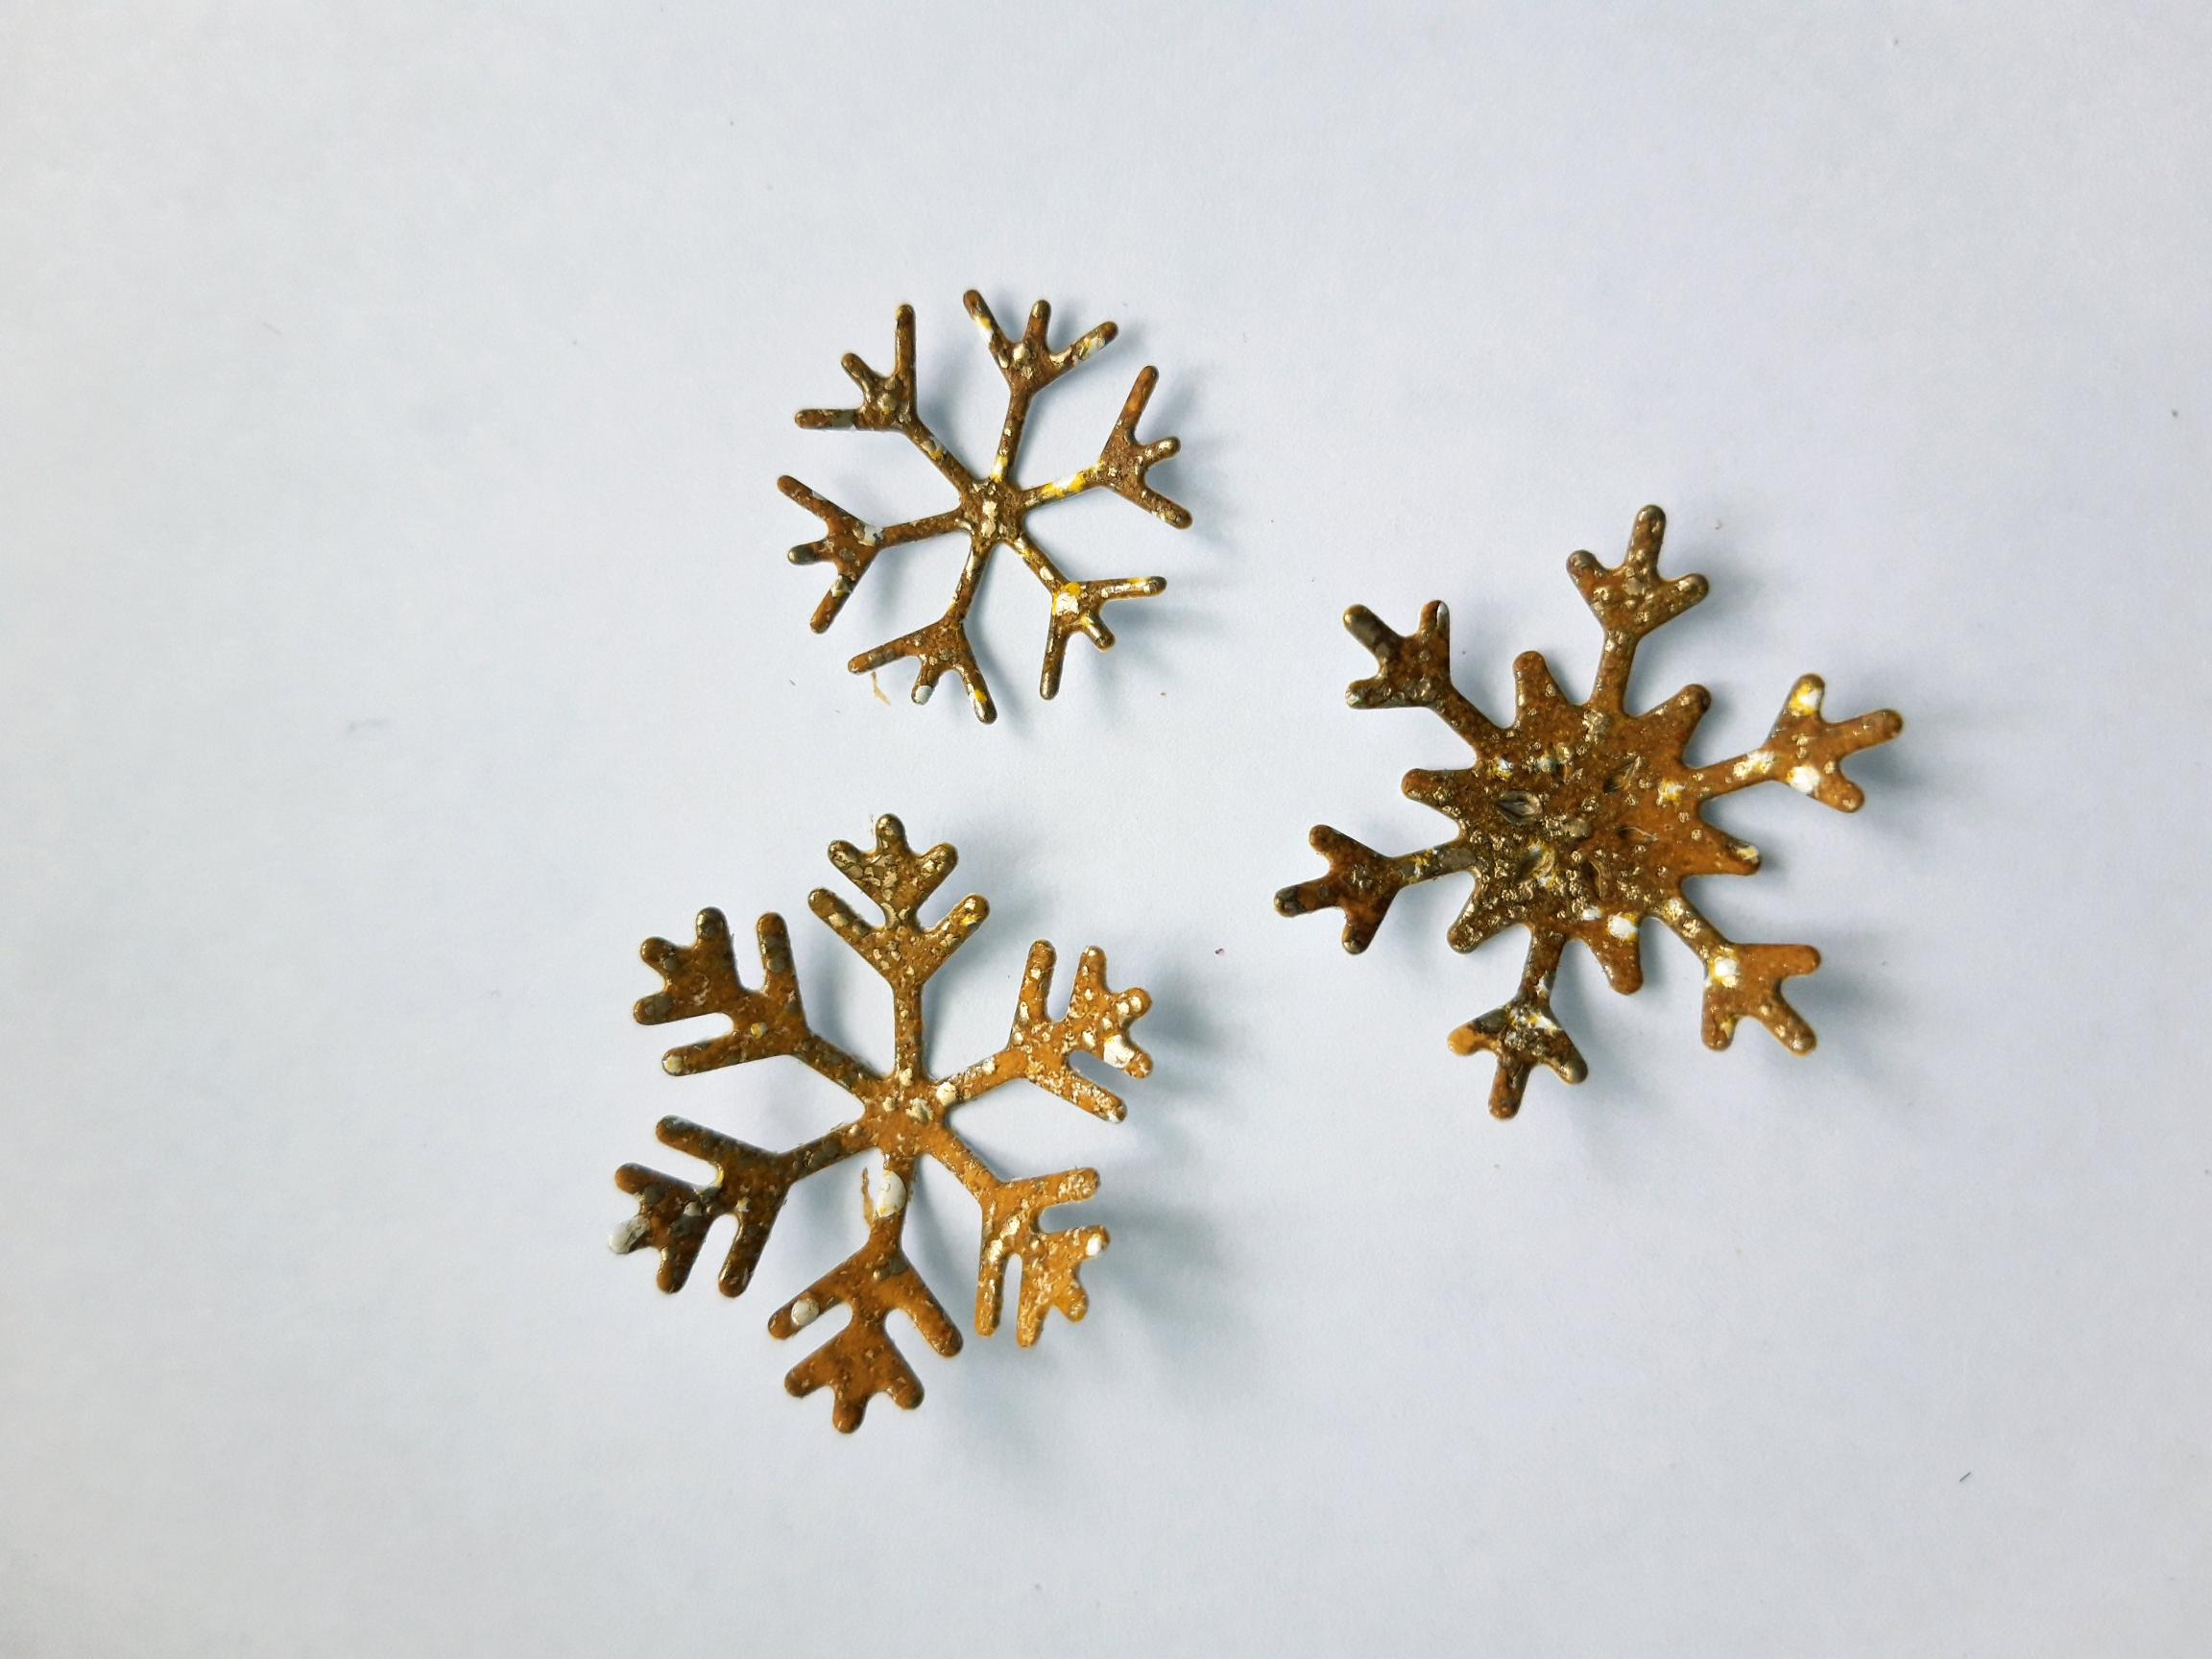
Spray the Izink Butterscotch on to the white card (3 1/2 x 2 1/2"). Whilst the ink is wet, use your fingers to randomly sprinkle the Poppin Yellow WOW embossing powder in to the ink. Once your heat tool is good and hot, heat set the powder from BELOW the card...this helps stop the powder from blowing off the wet ink. |
|
Place as many of the snowflake dies as you want, from the Festive Penguins Collection, on to the inked, embossed card. Secure with low tack tape and run through your die cutting machine. Set to one side. |
|
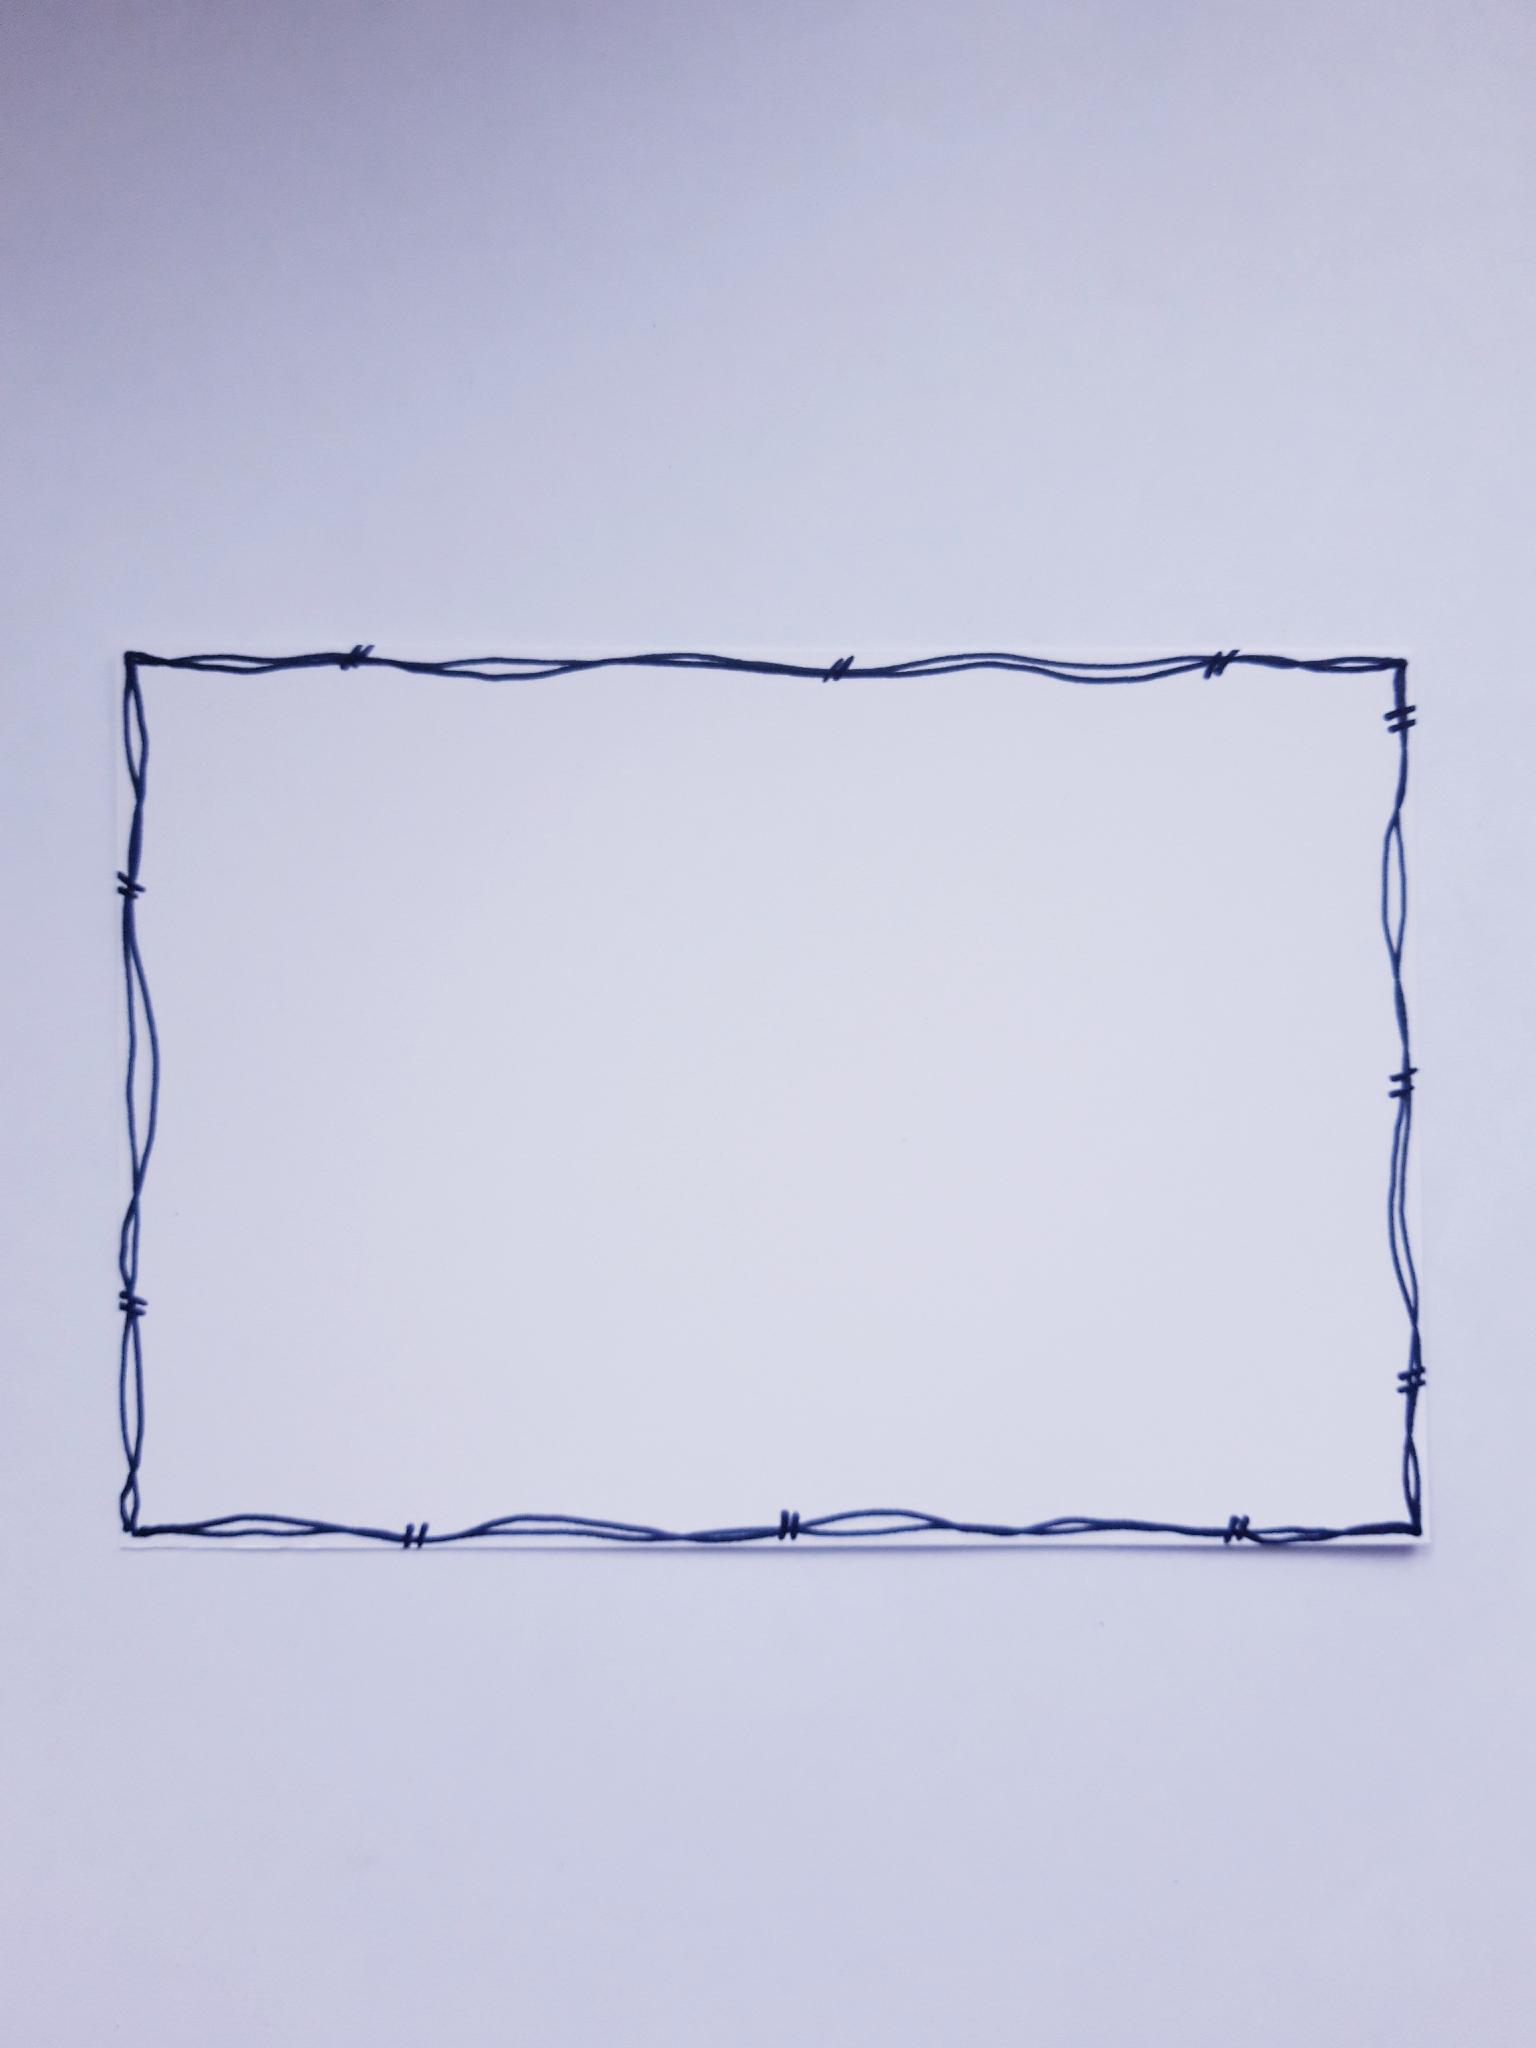
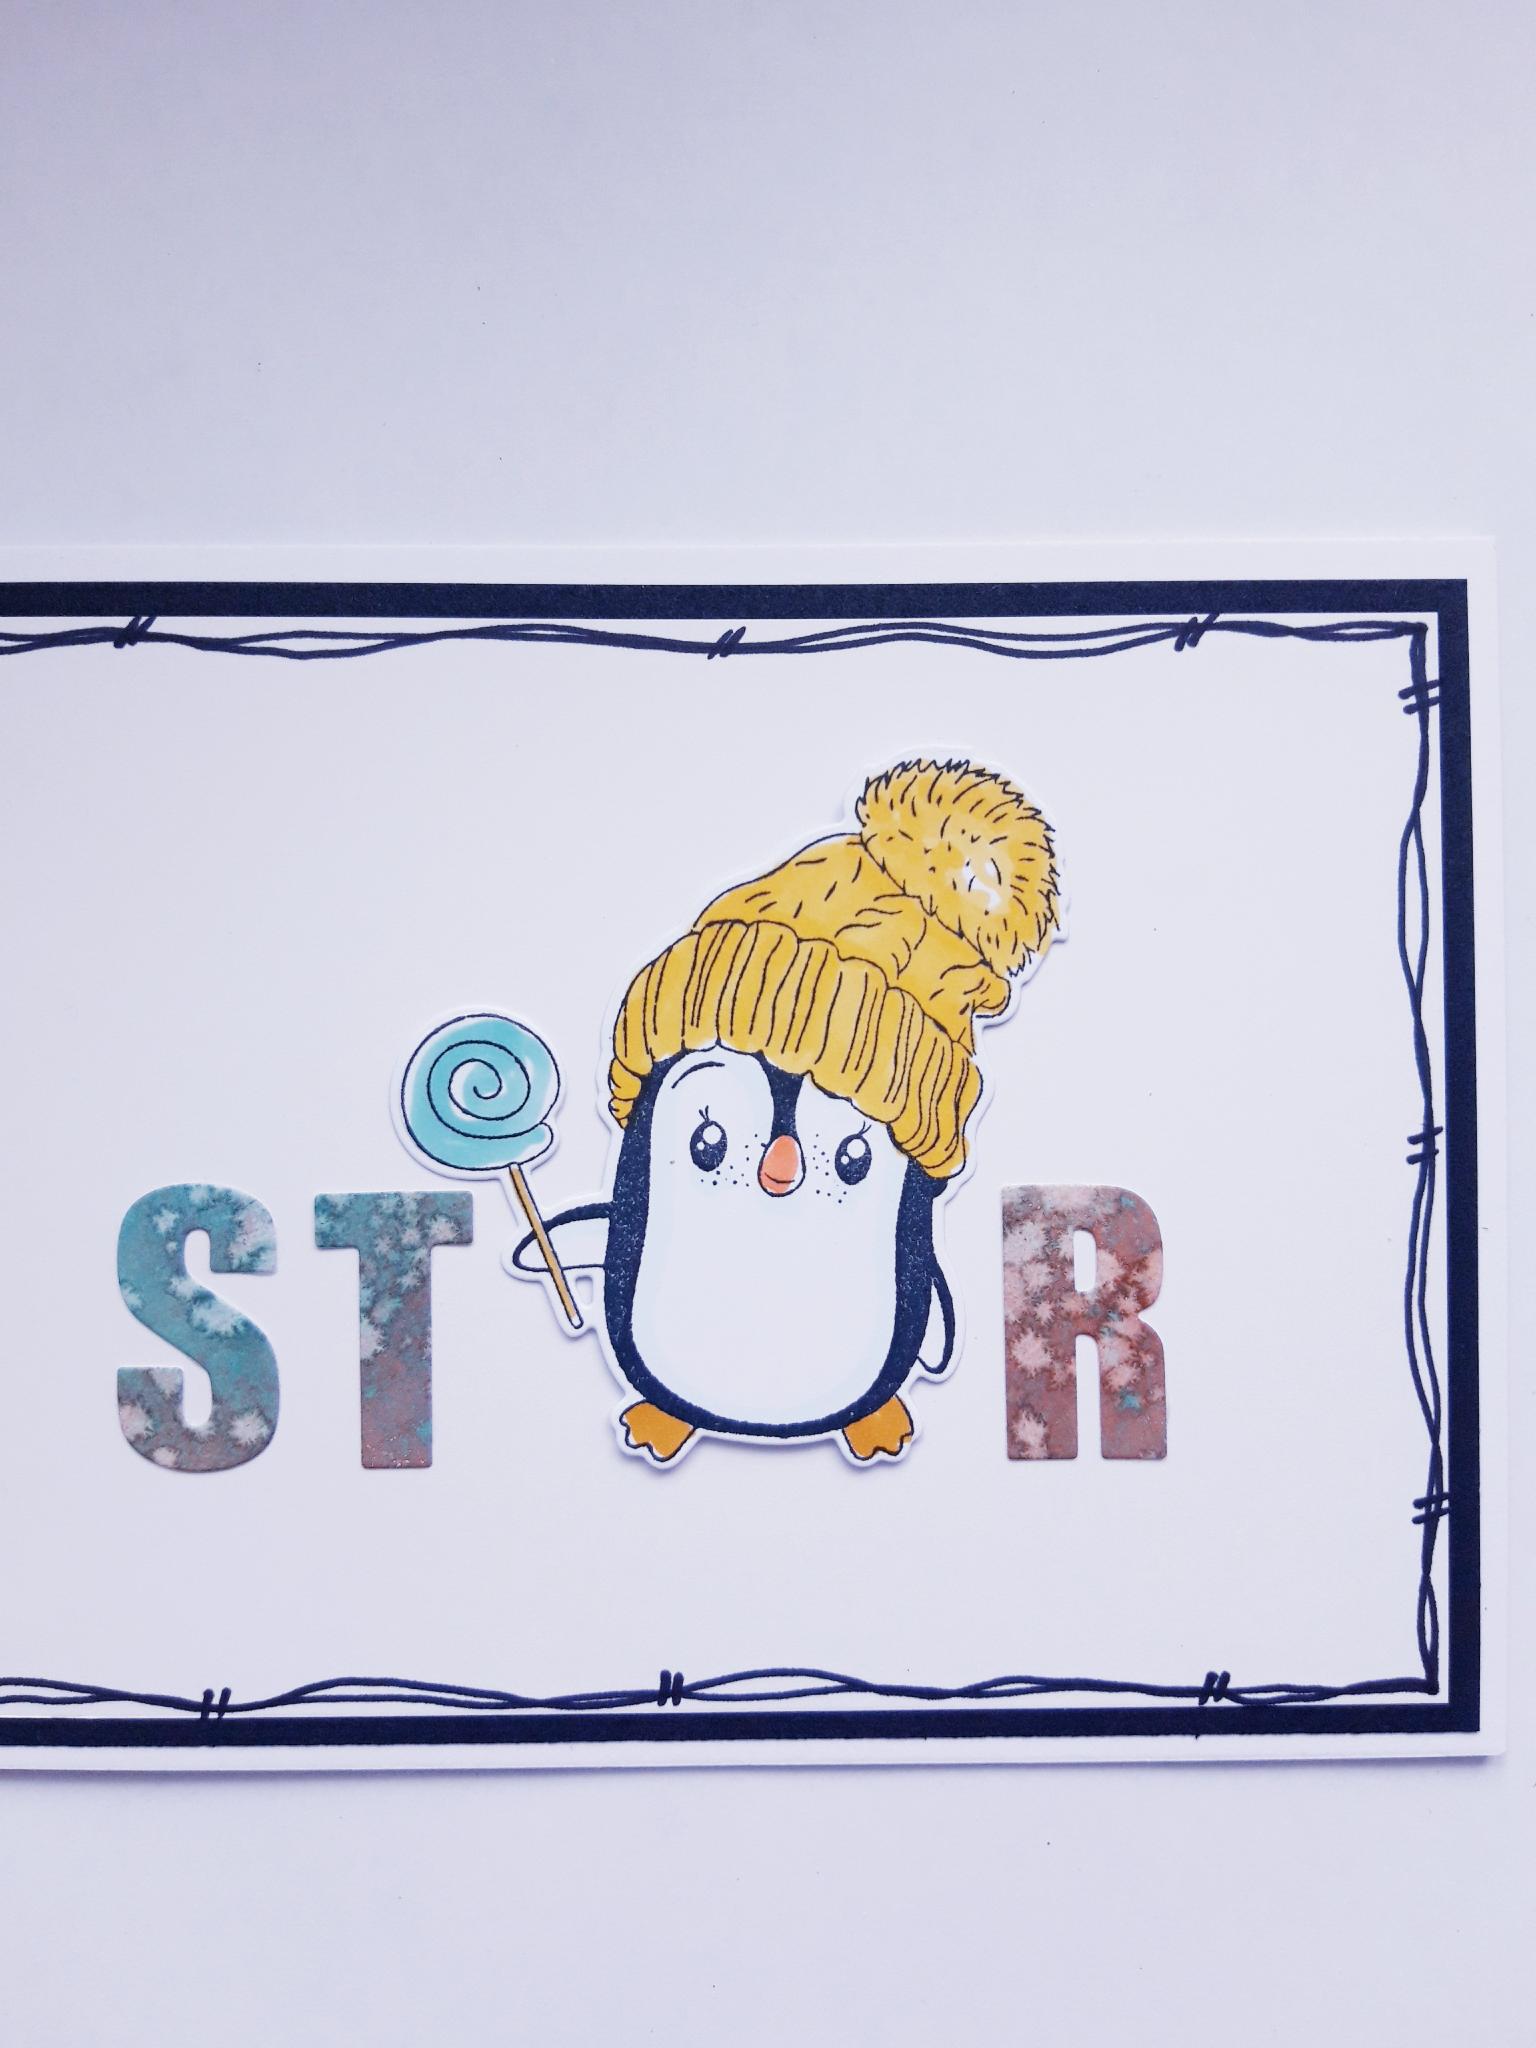
Use your black pen to draw a decorative frame around the white card (6 3/4 x 4 3/4"). |
|
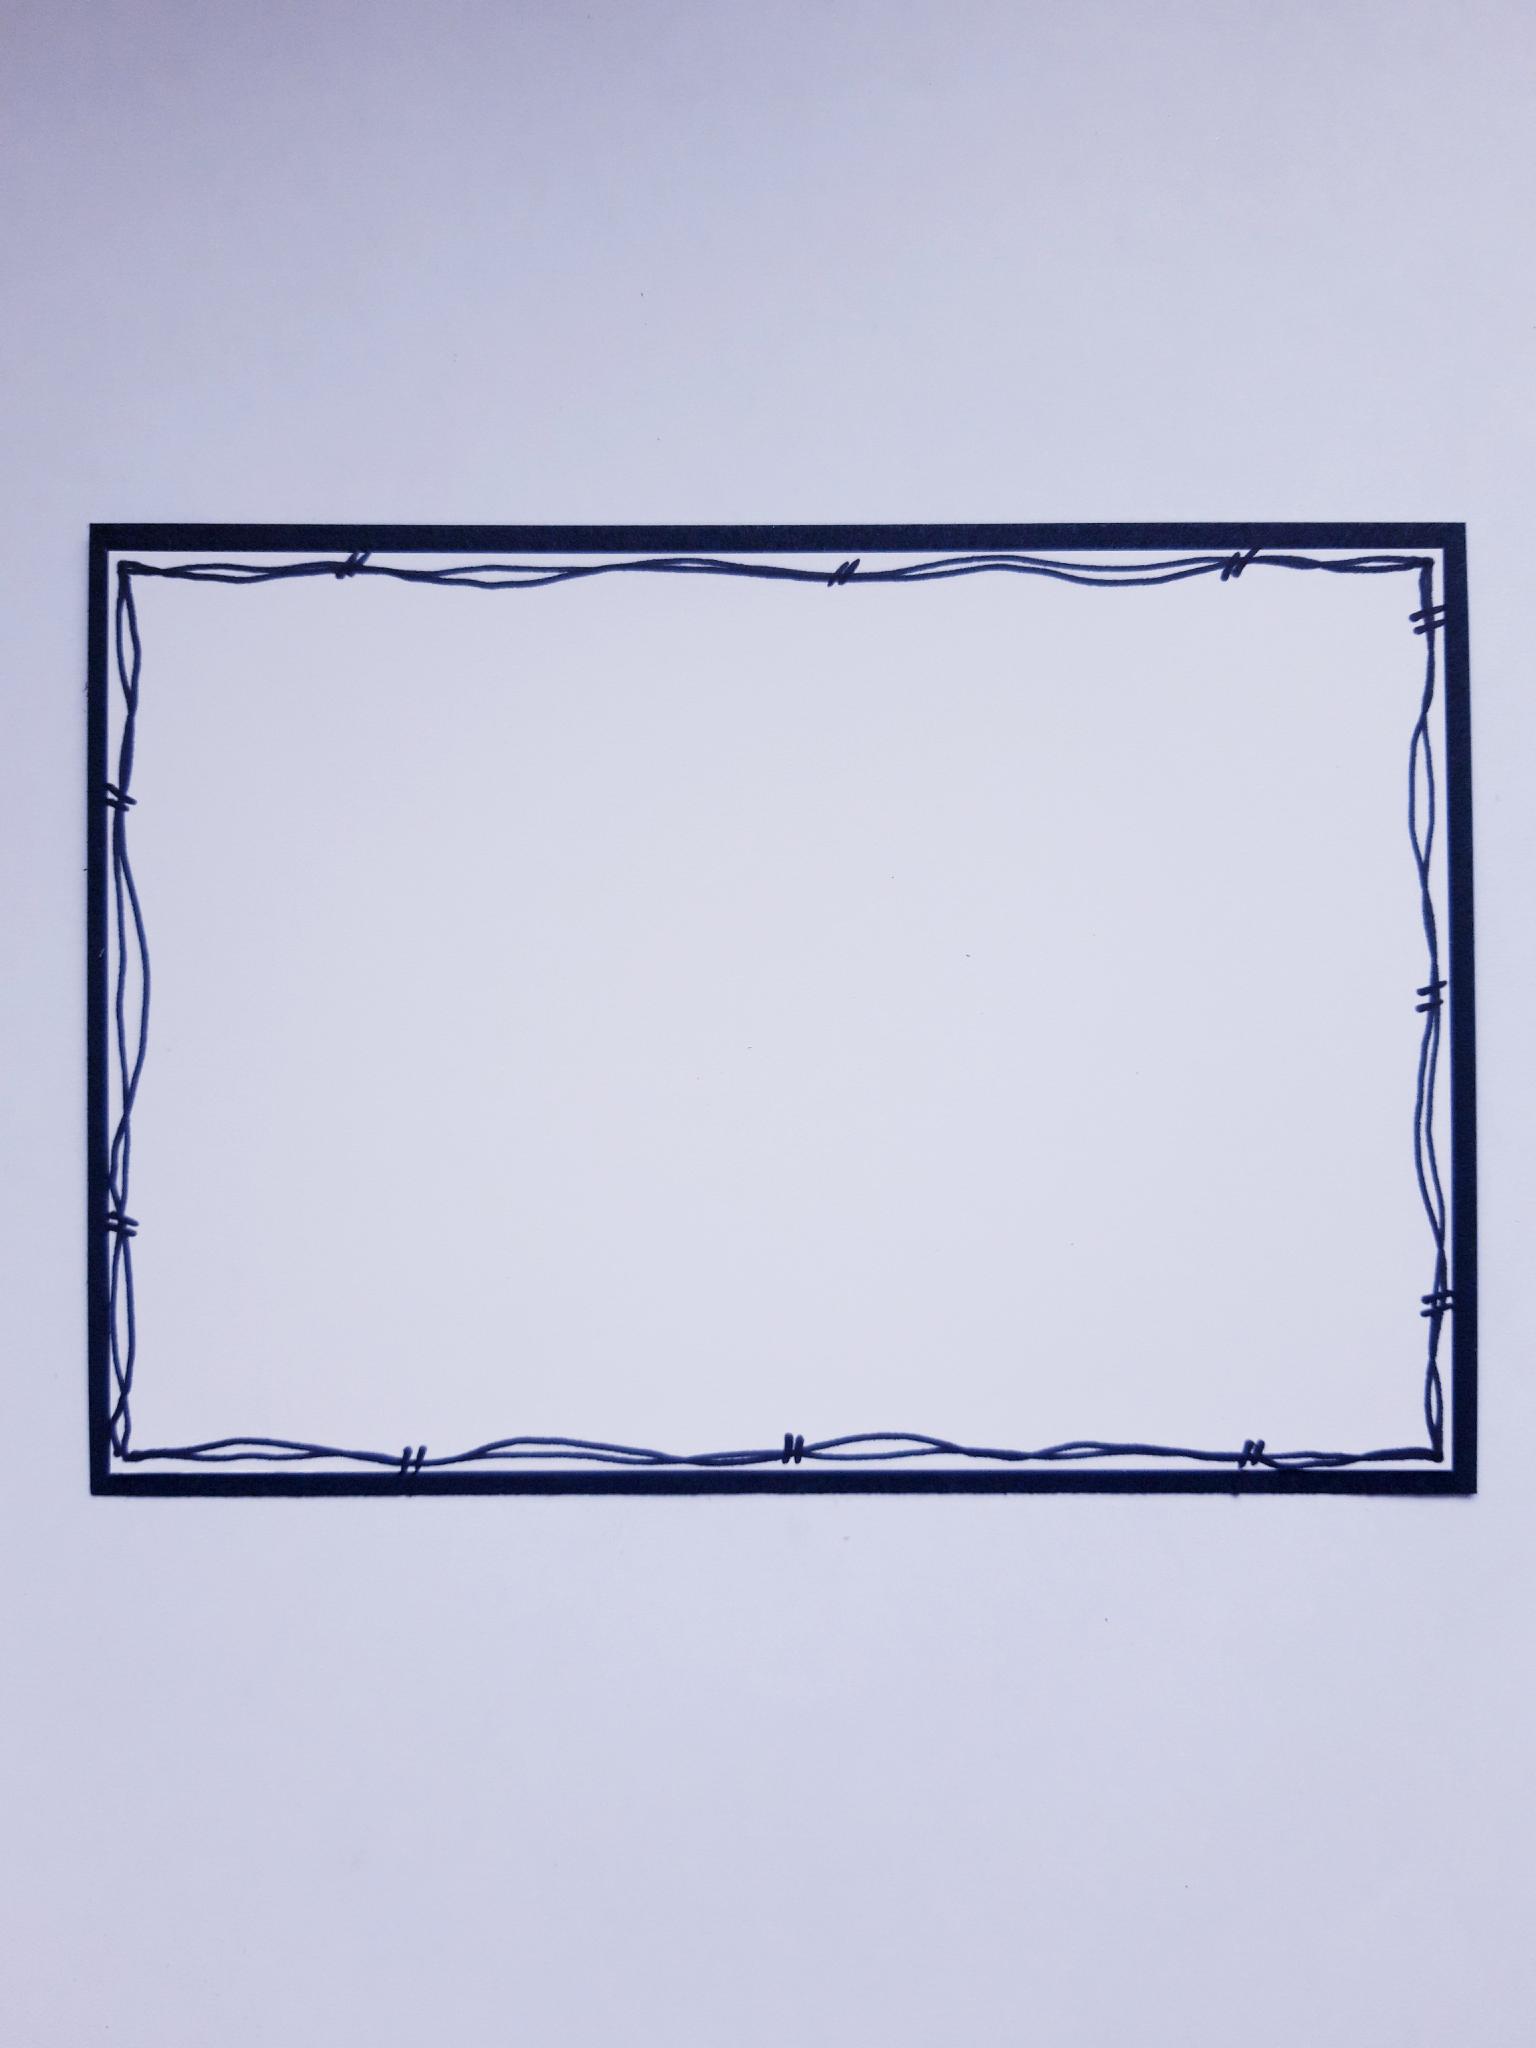
Adhere this on to the front of the black card (7 x 5"). |
|
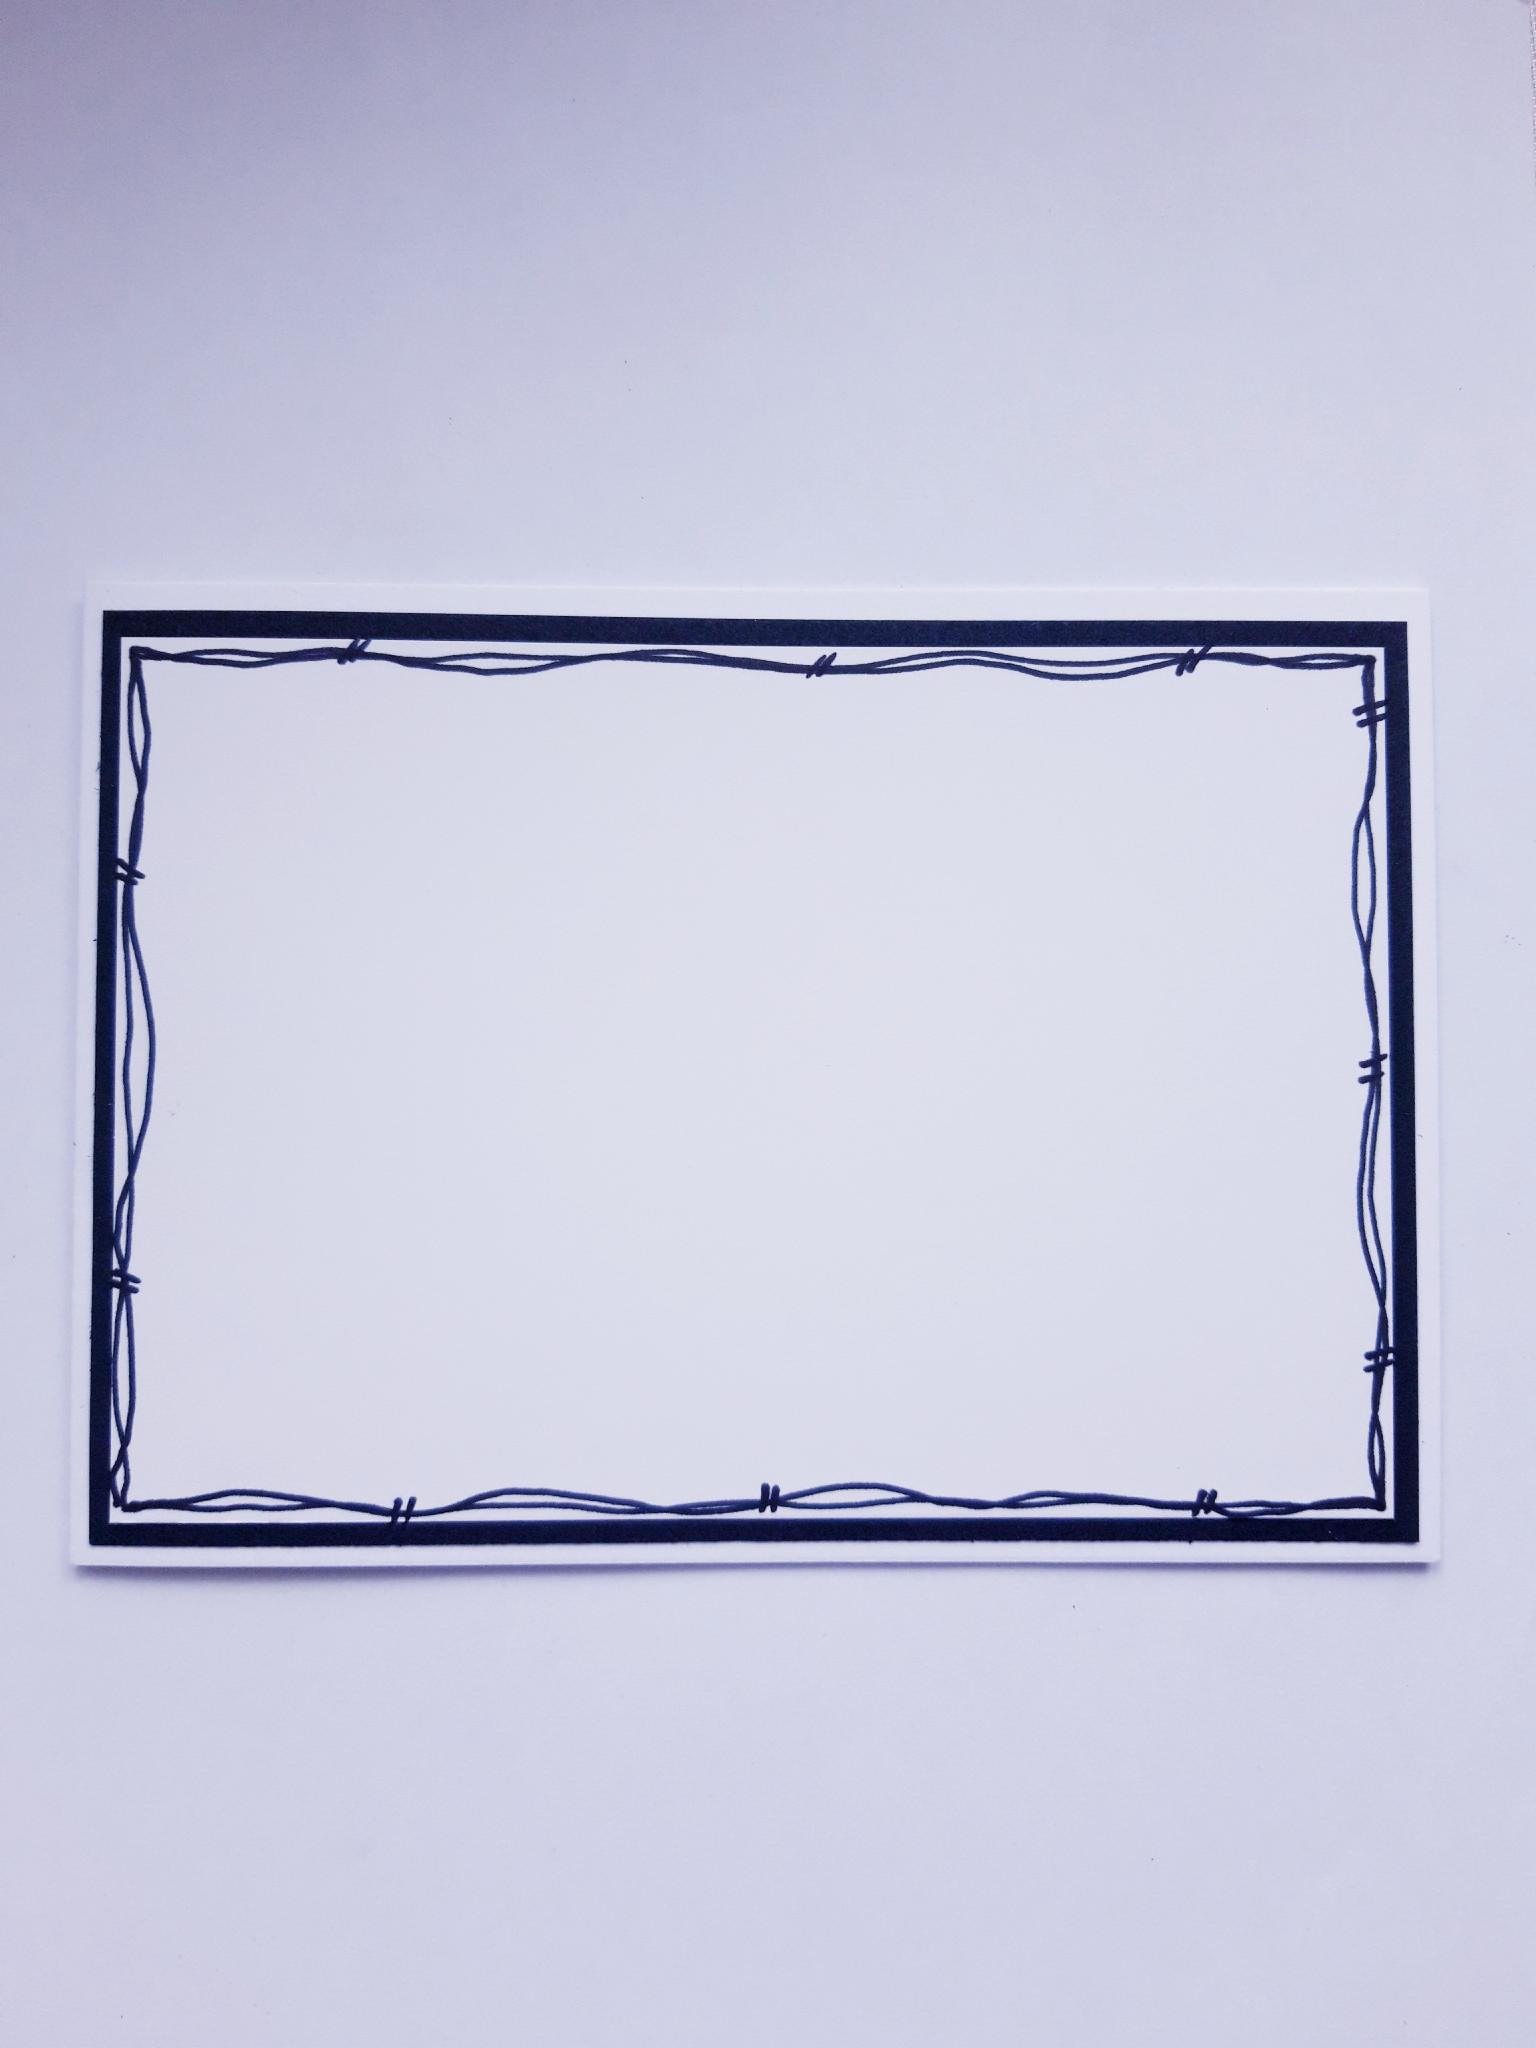
Adhere this on to the front of your white, landscape card blank. |
|
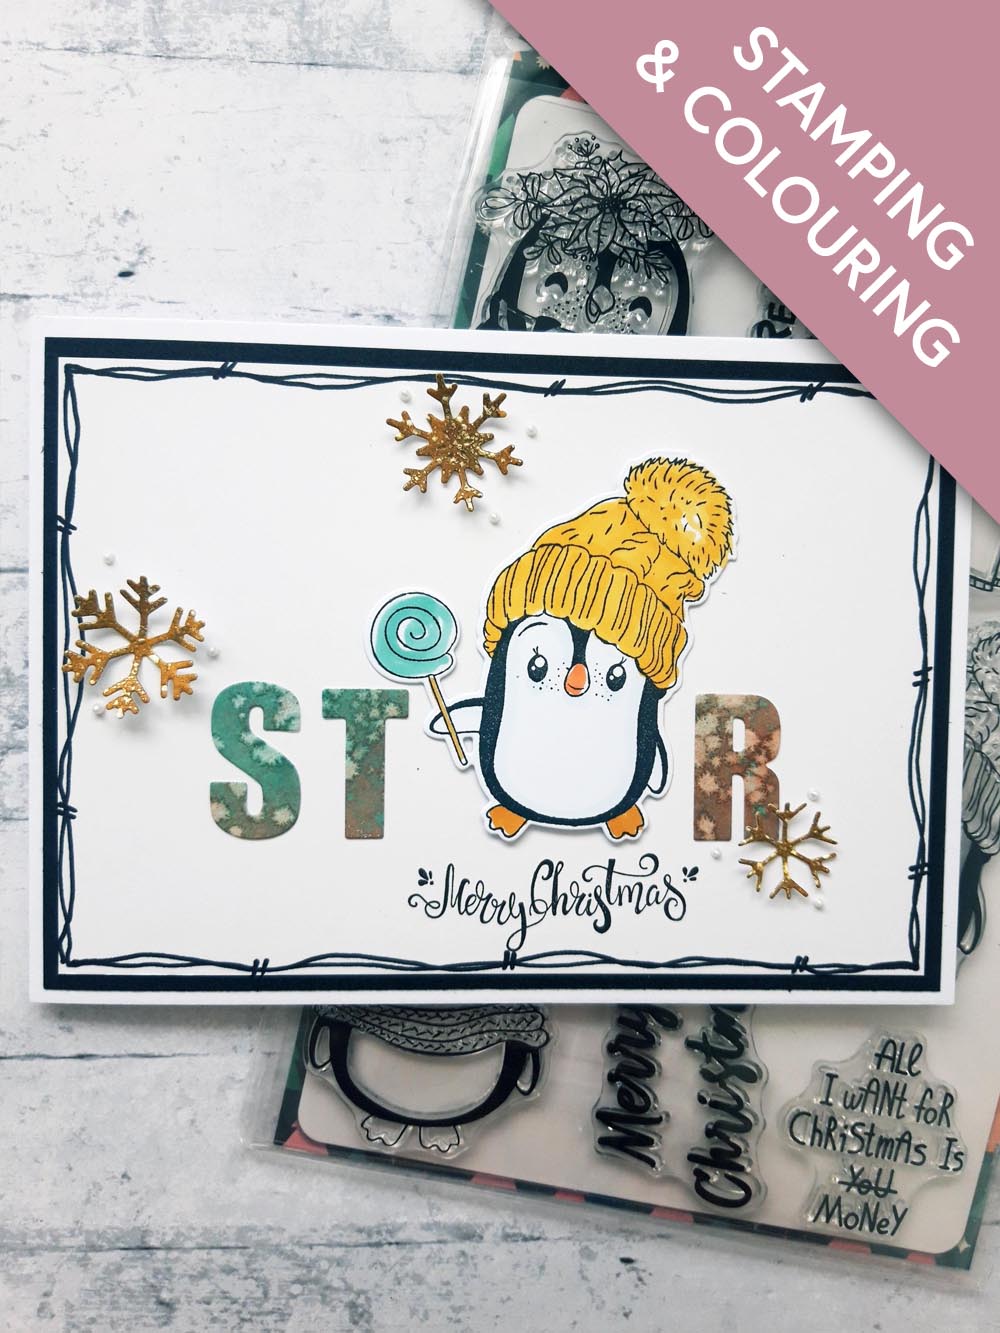
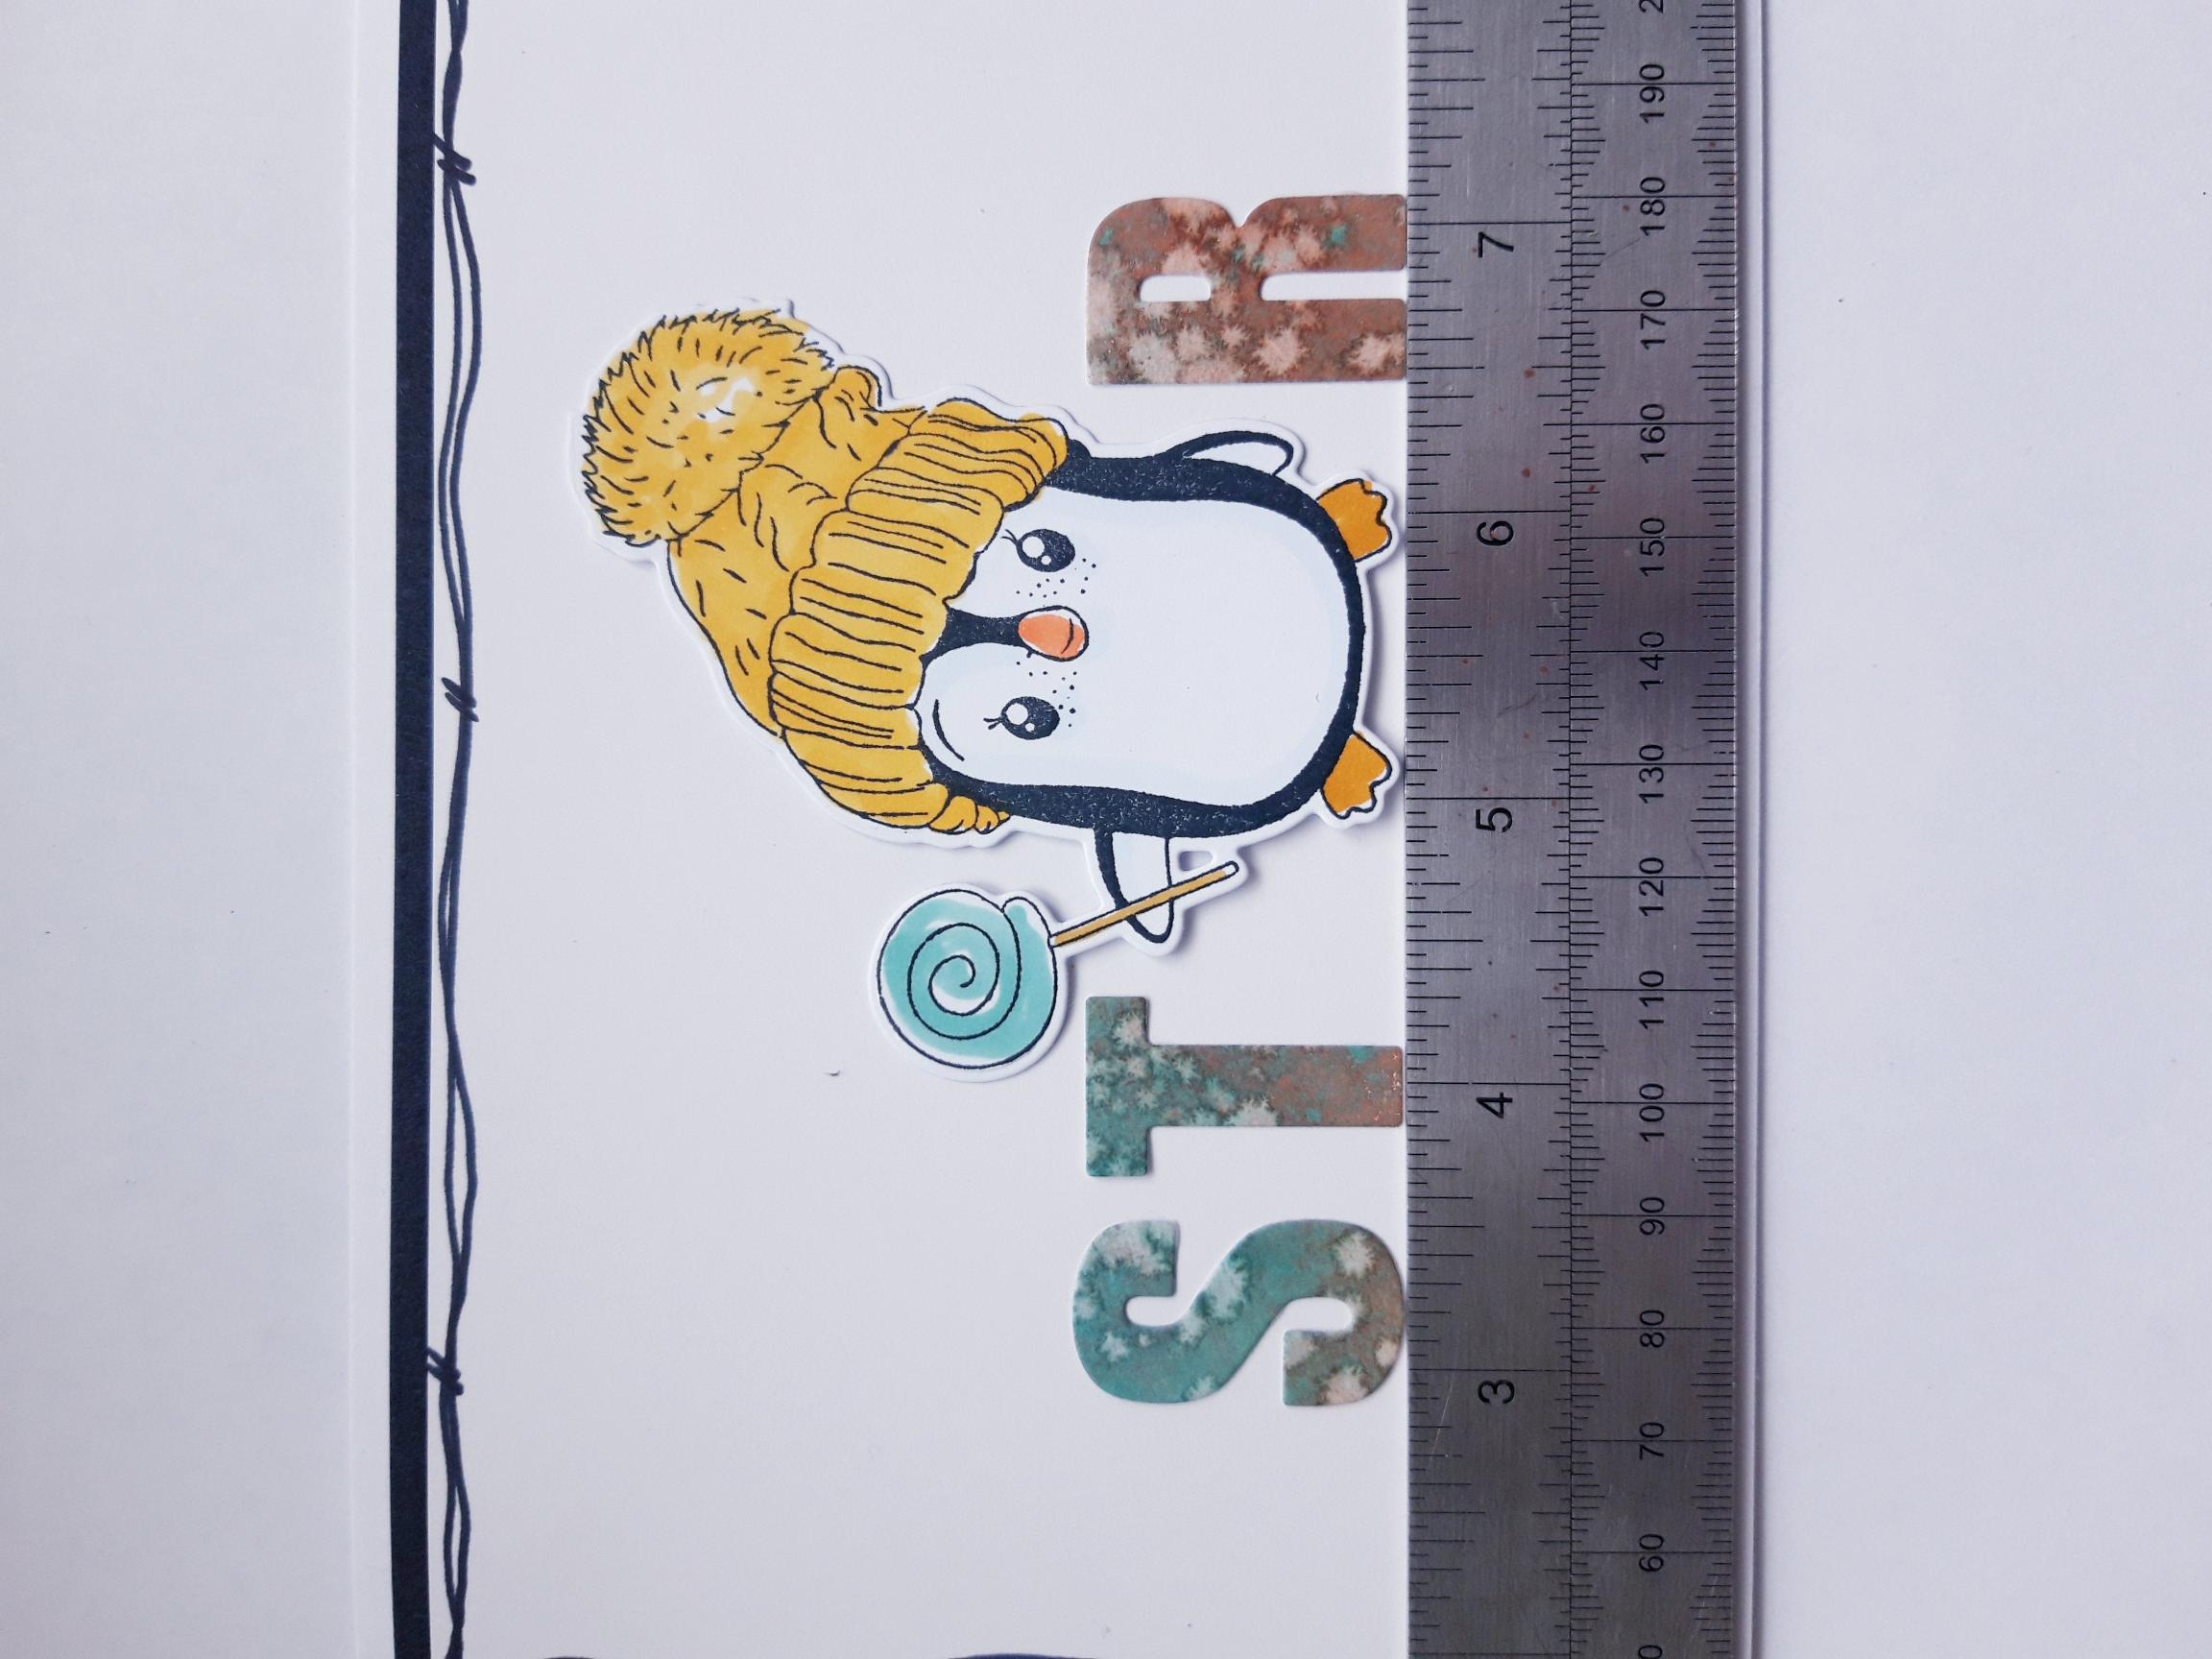
Ink up a Penguin stamp, from the Festive Penguins Collection, with the Memento and stamp on to the 4 x 4" white, super smooth card. Place the coordinating die on top, secure with low tack tape and run it through your die cutting machine. Colour in with your Gossip Alcohol Markers. Place a ruler across your card, and decide where you want your die cut letters, and Penguin, to be placed.
|

|
Keeping the ruler, Penguin and letters in situ, adhere each of the letters in their place, with wet glue. You can now remove the ruler and Penguin. |
|
Mould shape in to your Penguin, with your fingers, then adhere using foam pads to create dimension. You can position the penguin in line with the letters, or slightly below/above, as preferred. |
|
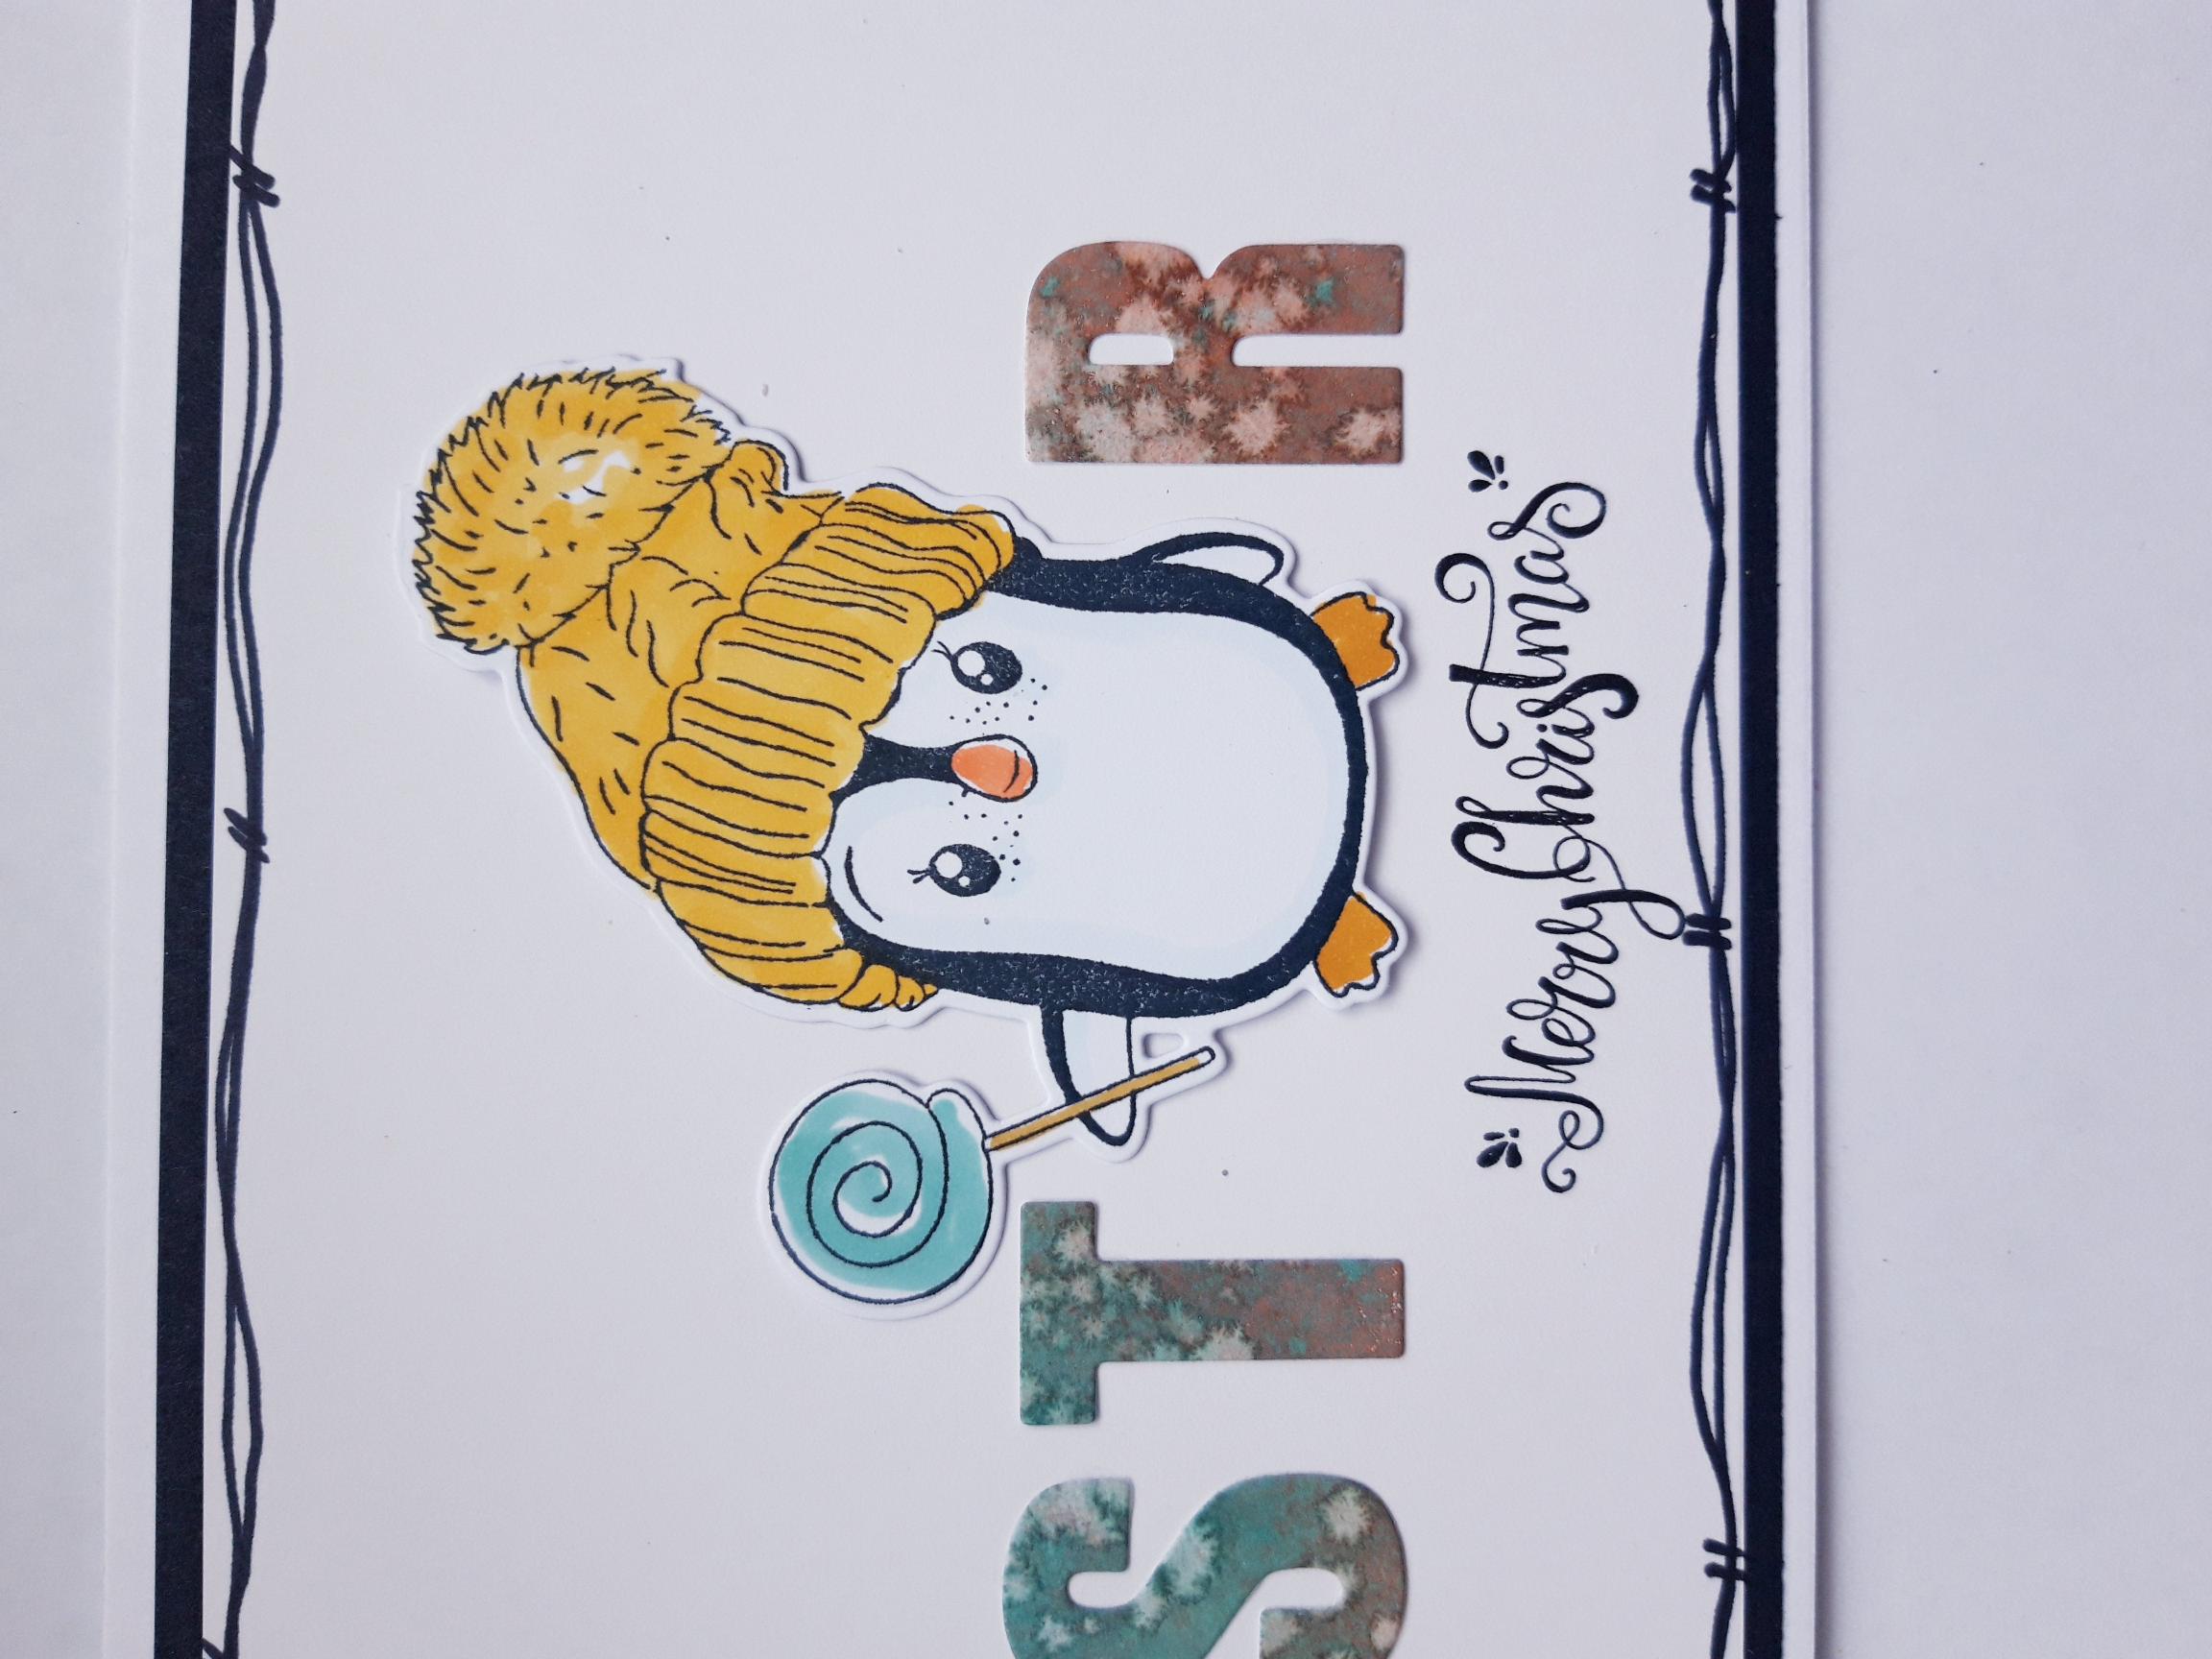
Ink up the sentiment stamp, from the Joyful Journey Collection, with the Onyx Black Versafine and stamp under your Penguin. |
|
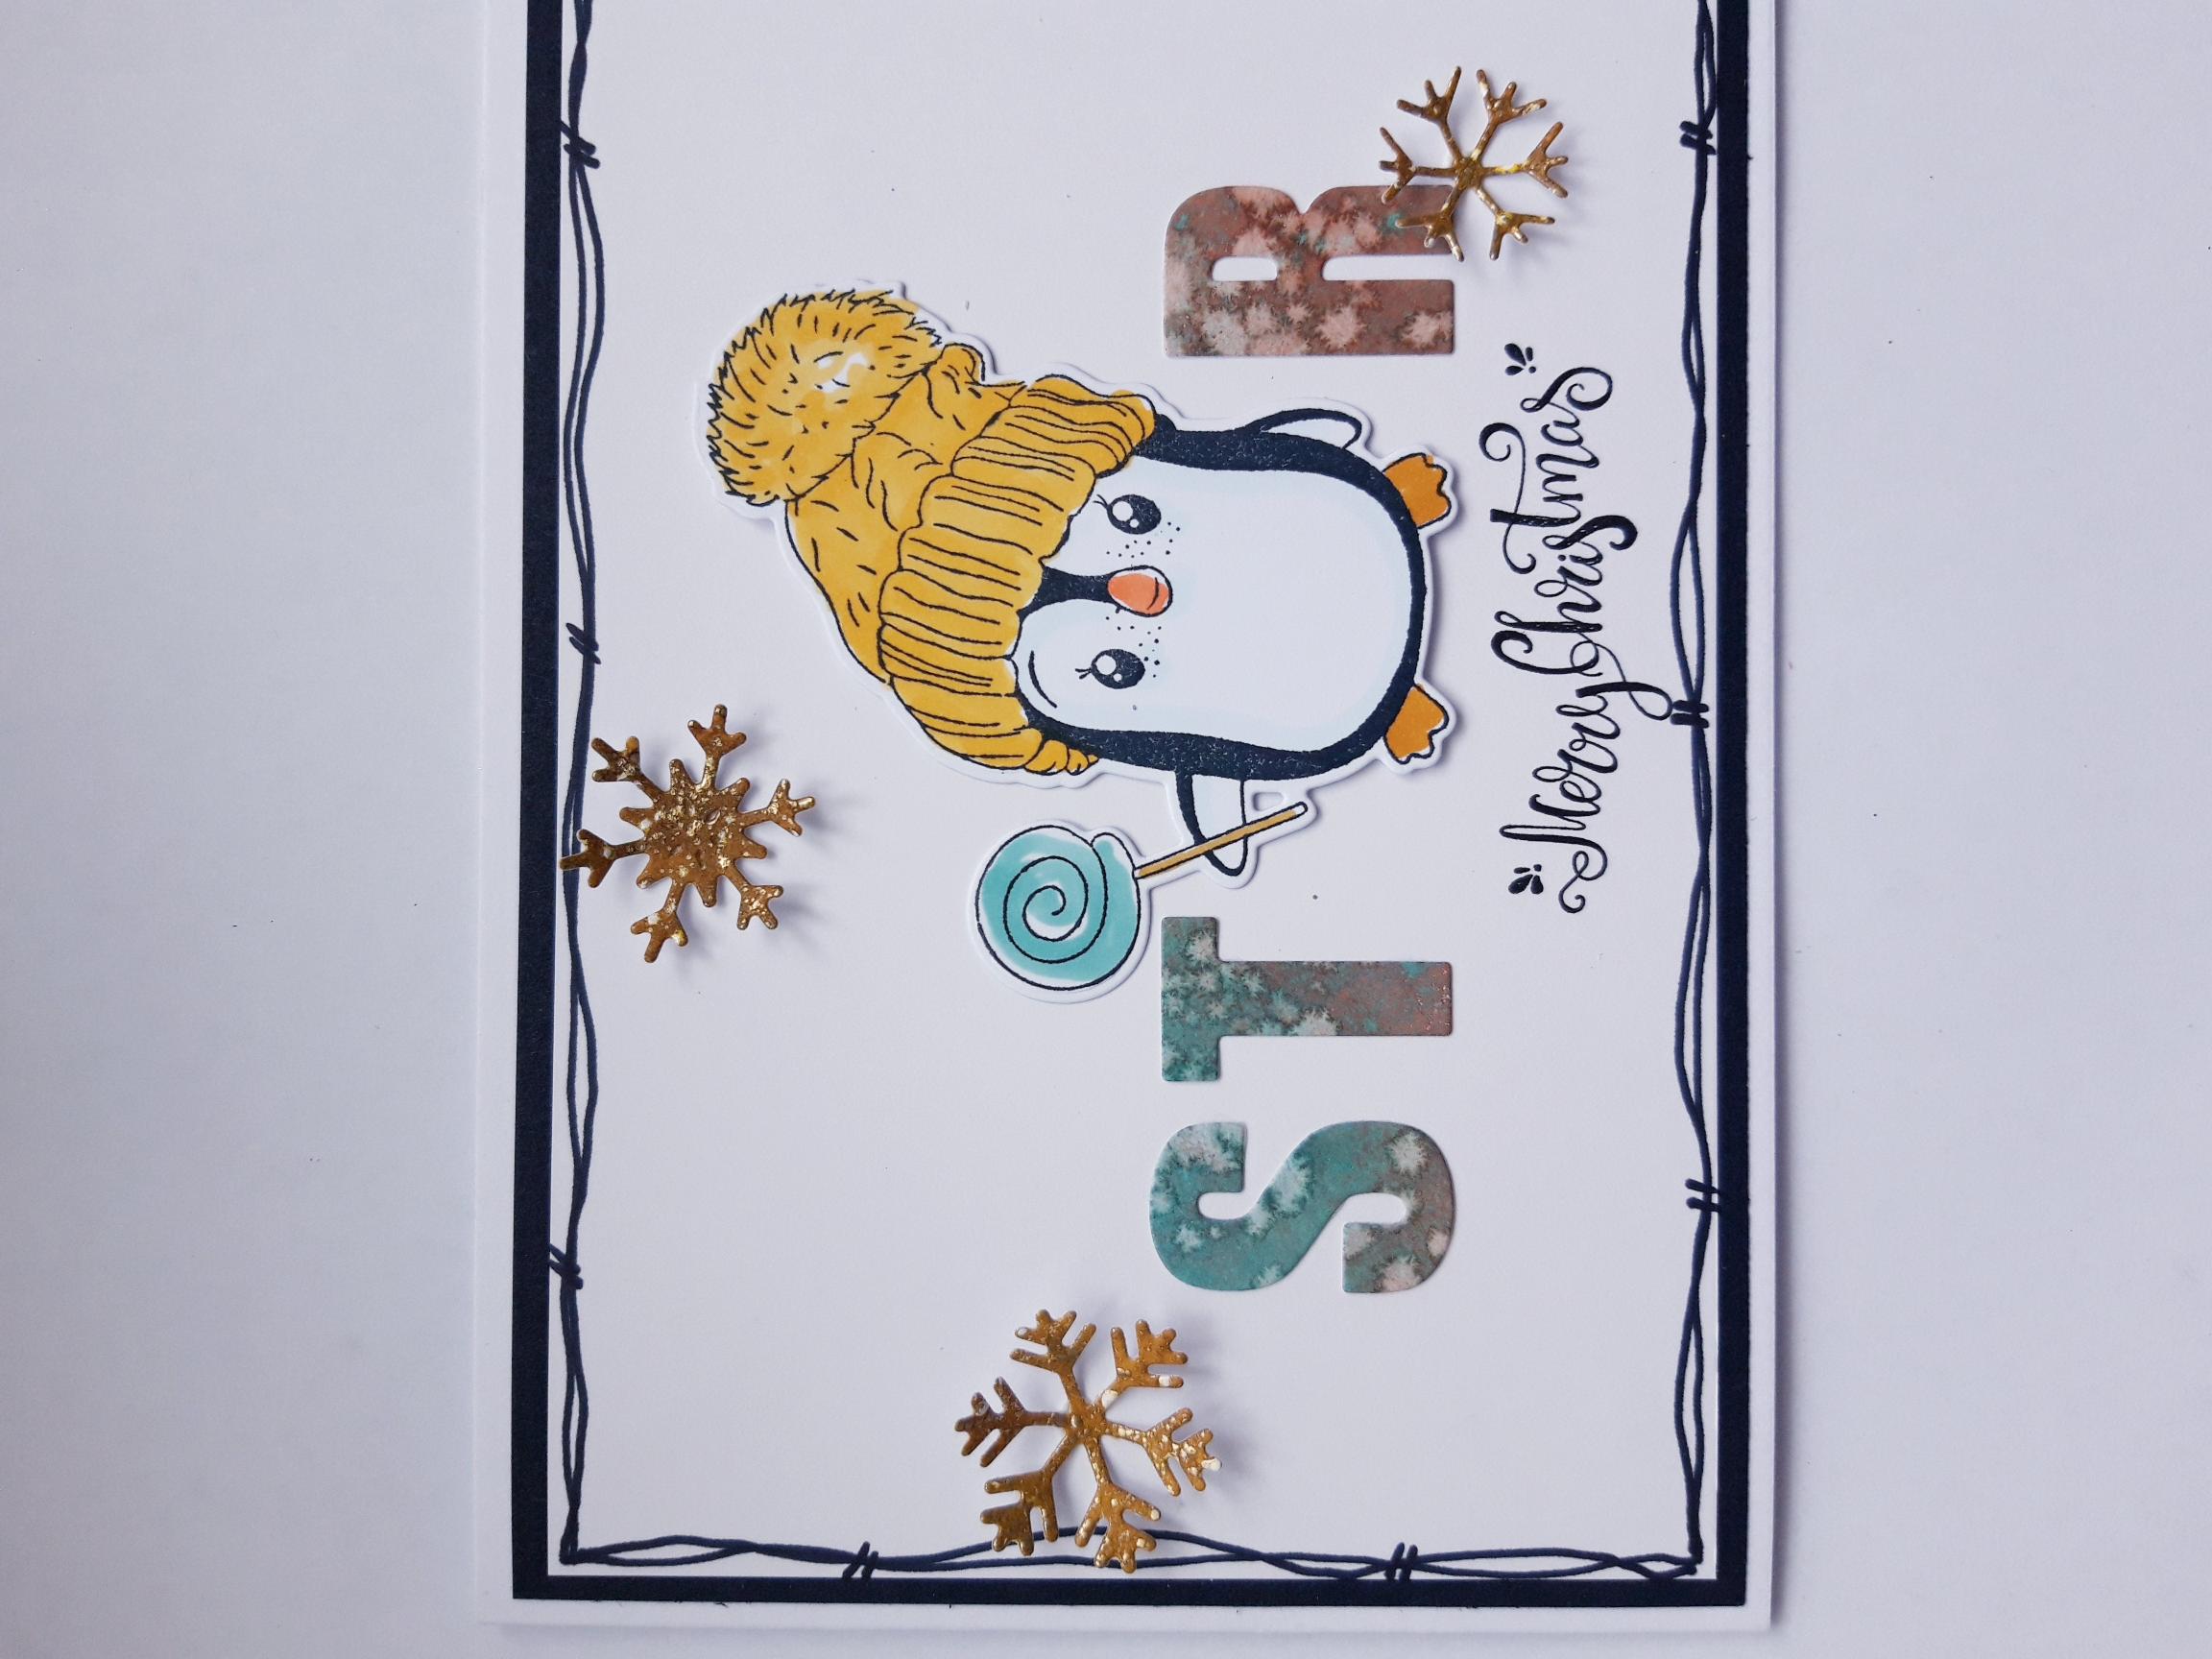
Shape and adhere your die cut stars, where required. |

|
To finish, add Liquid Pearl Drops as required. I added mine around the die cut stars. |