Give your friends $10 off their first order!
Refer a FRIEND


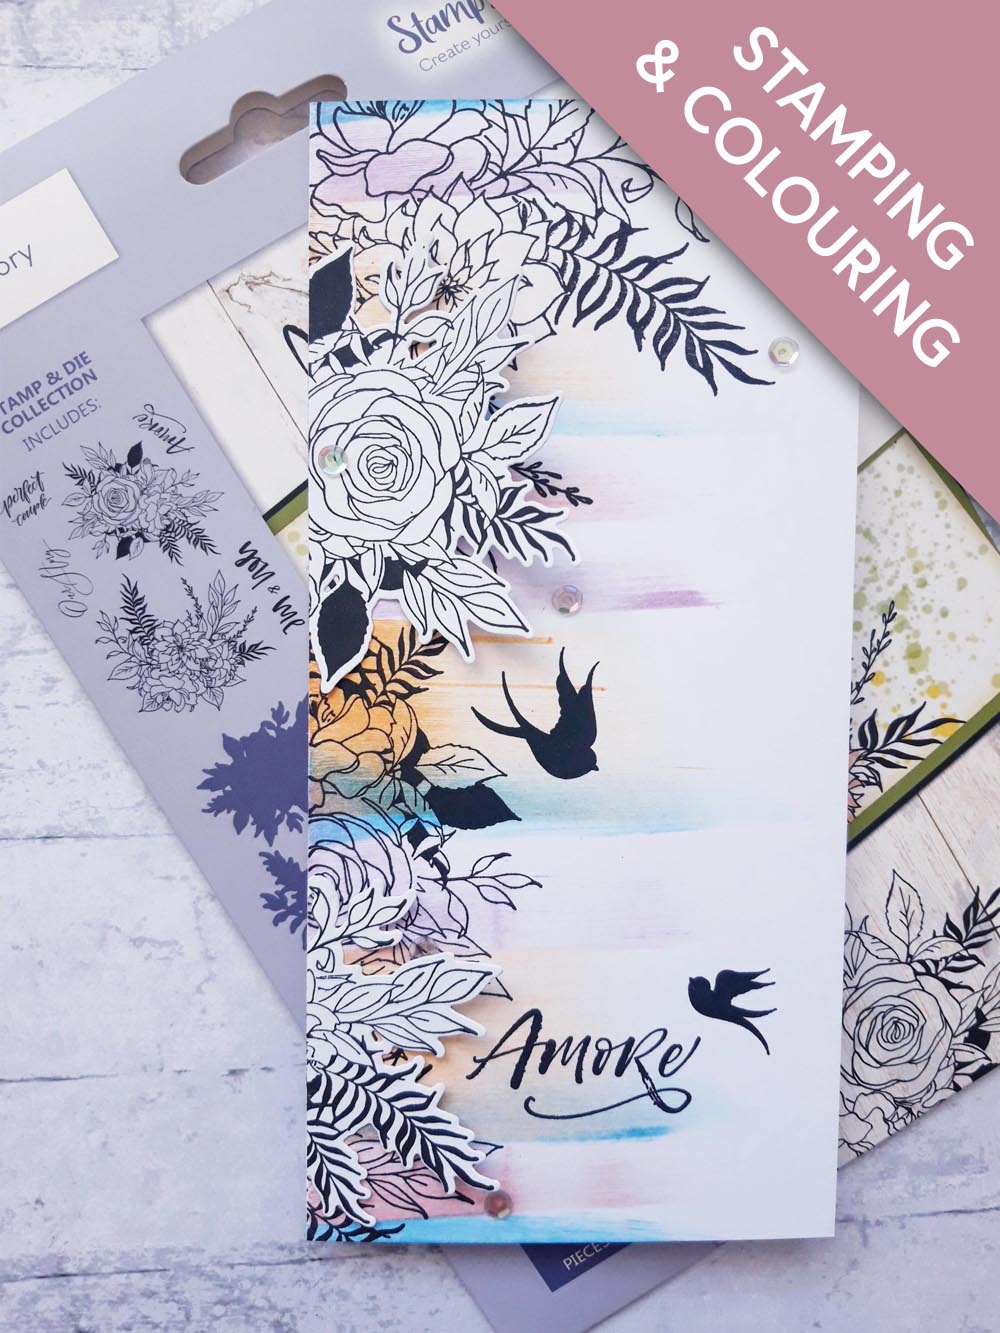
WHAT YOU WILL NEED:
White DL card blank (8 1/4 x 4")
White card (5 x 4")
Our Story Stamp And Die Collection
Congratulations Stamp And Die Collection
Versafine Ink Pad: Onyx Black
Izink Pigment Ink Pad Vintage Collection: Orange, rose pink, purple/pink, blue
Sequins: Glistening Waves
Gem Pick Up and Pokey Tool
Eureka 101
Perfect Together Glue
Die Cutting machine
[click image to enlarge] 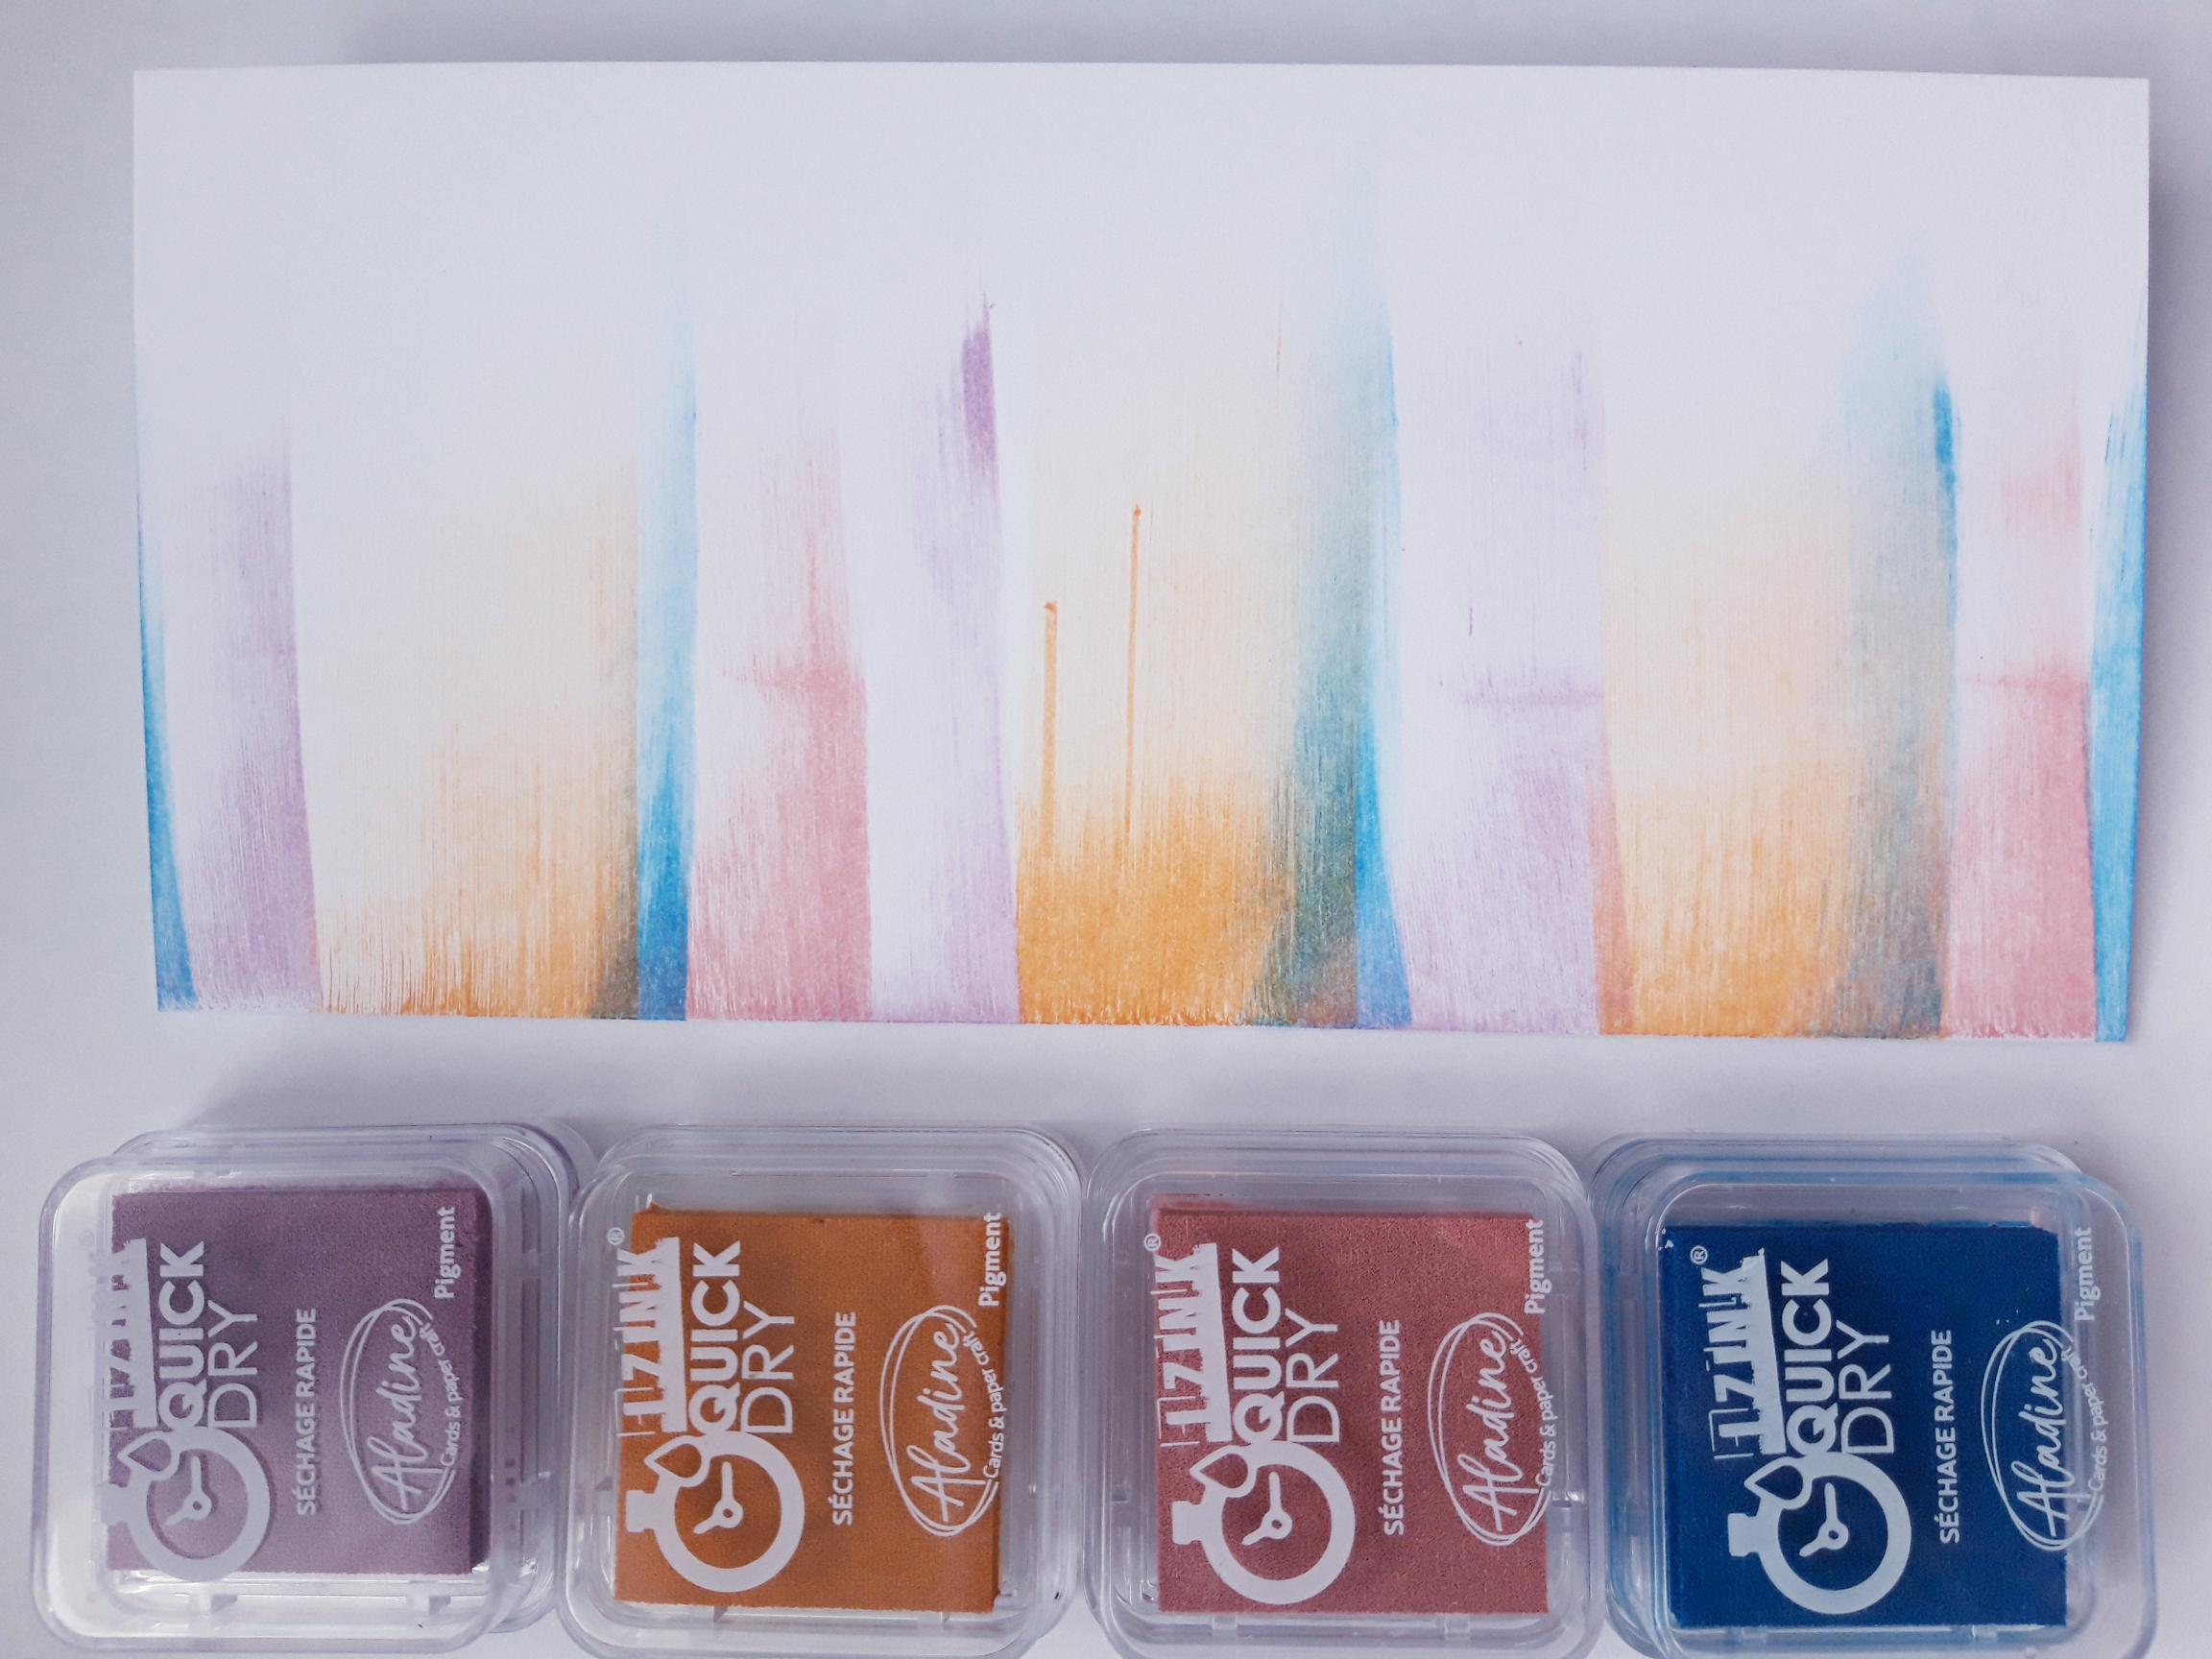
|
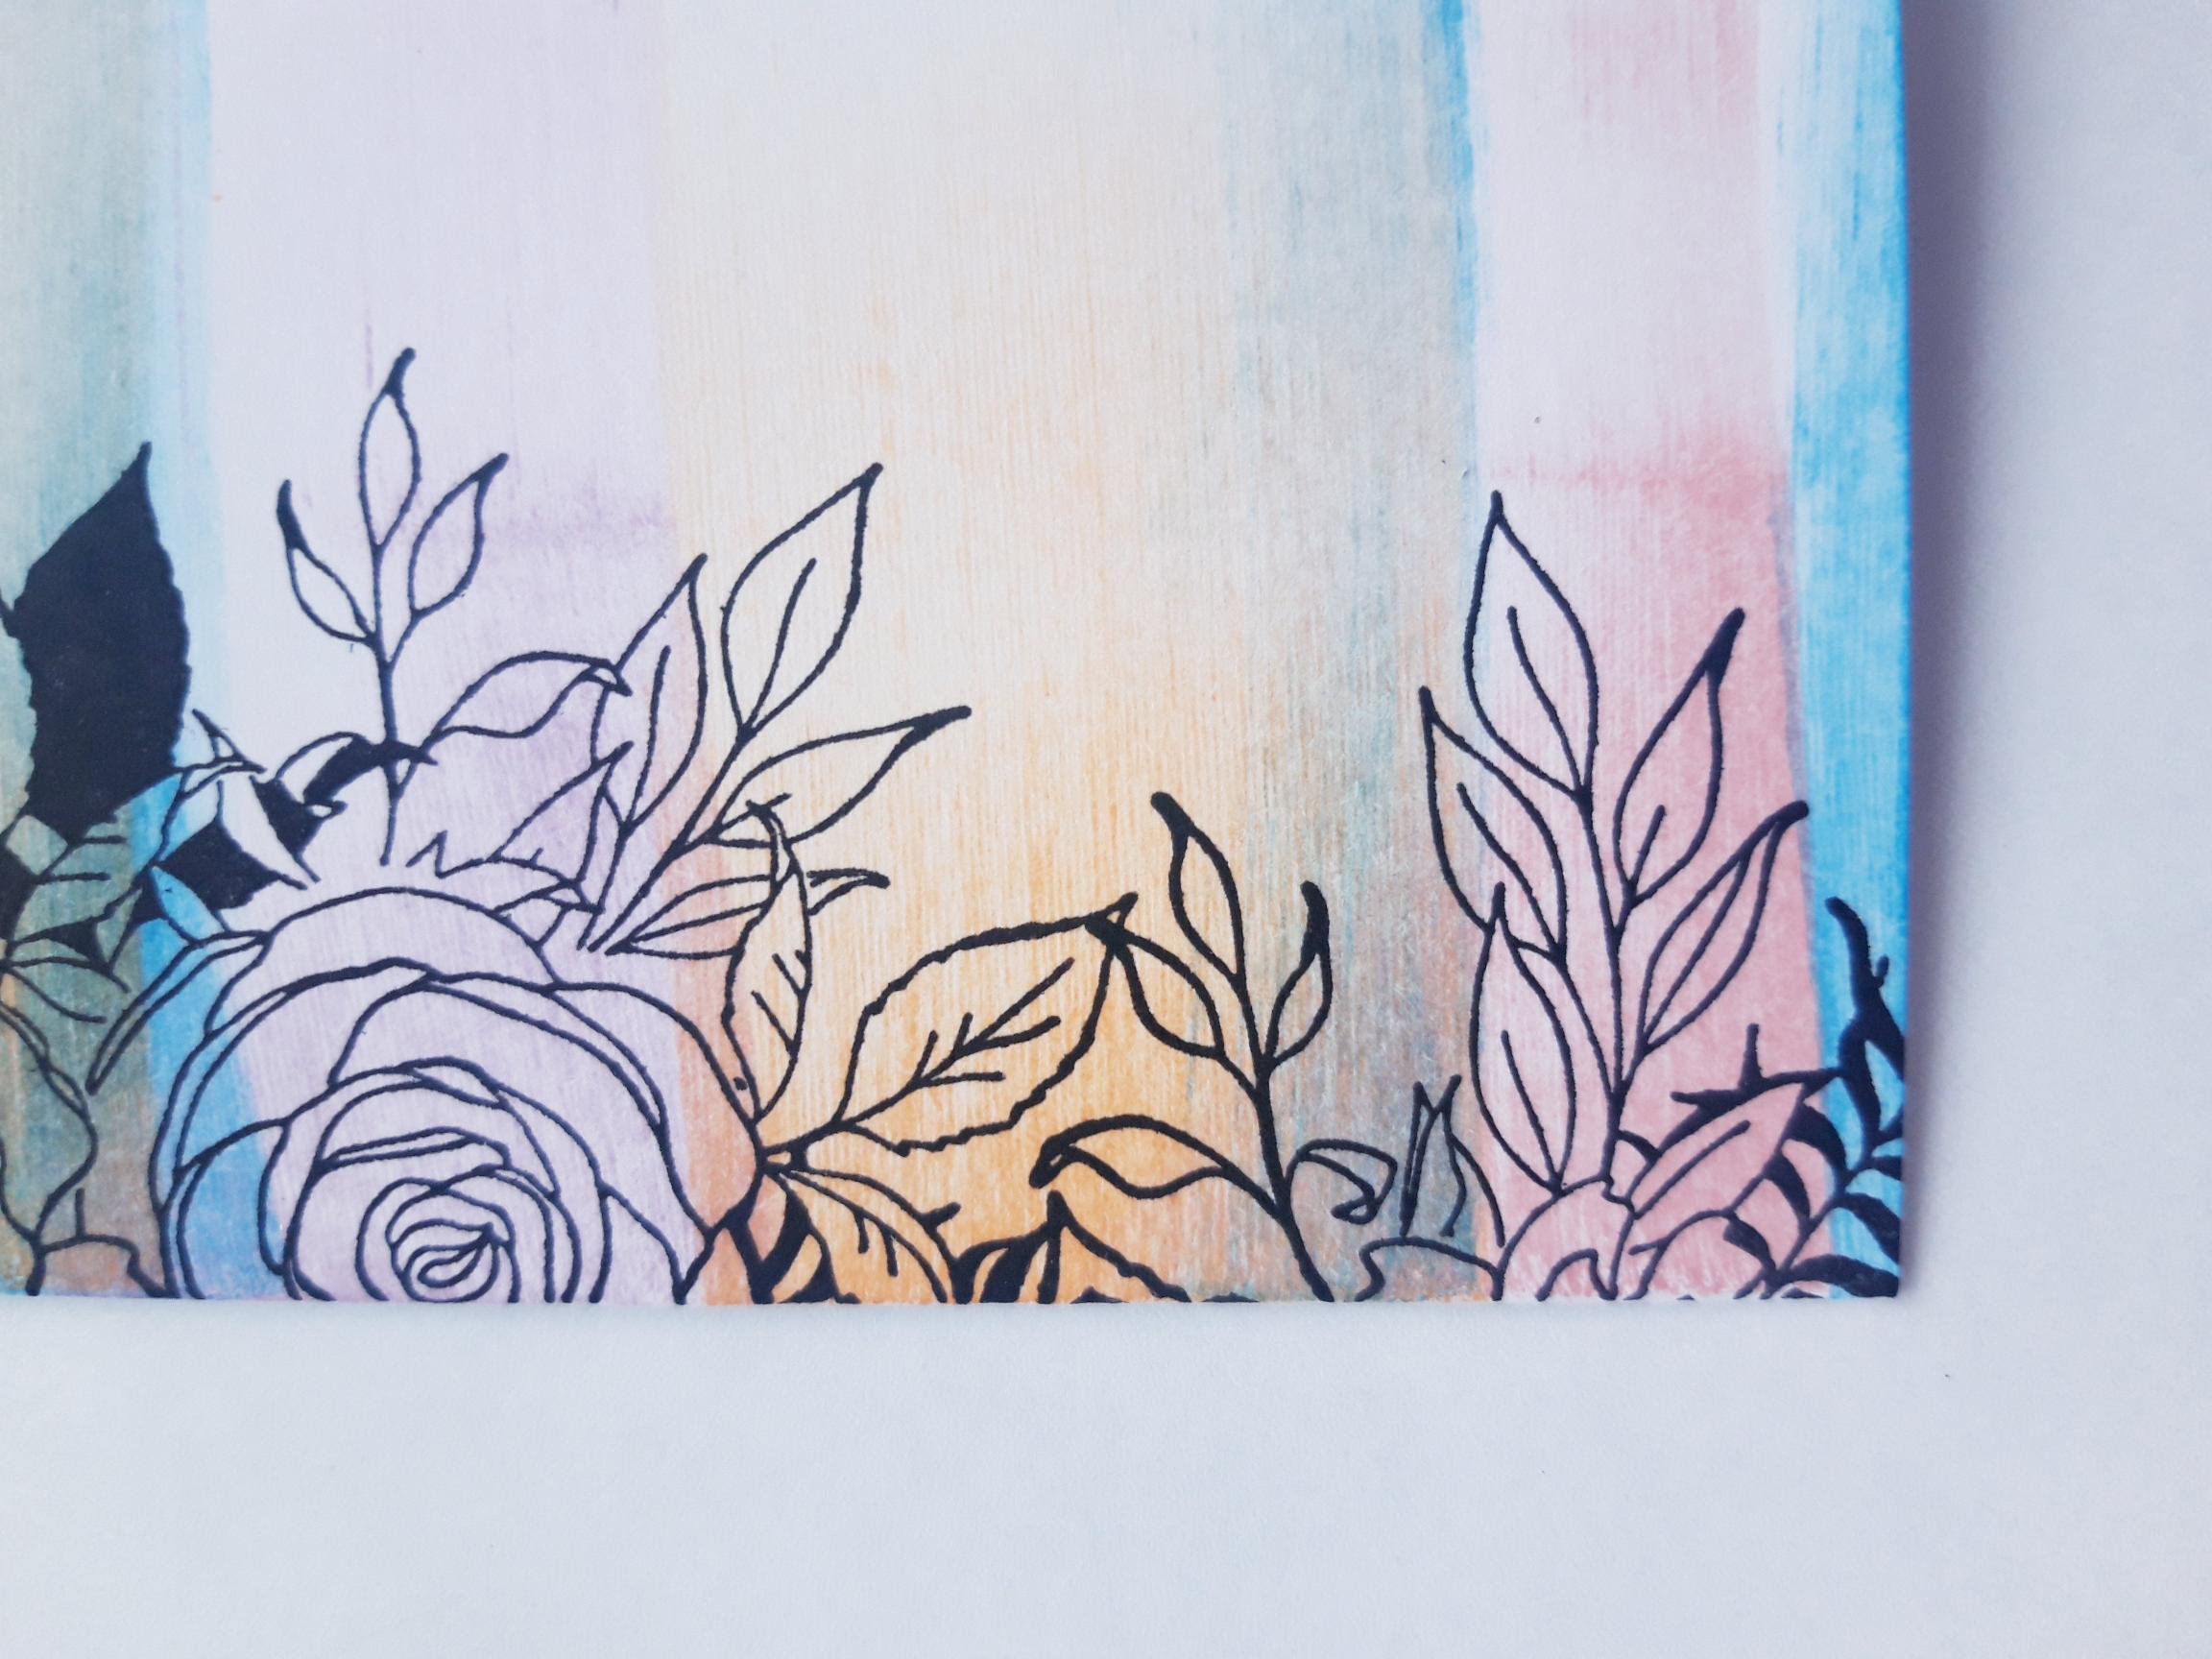
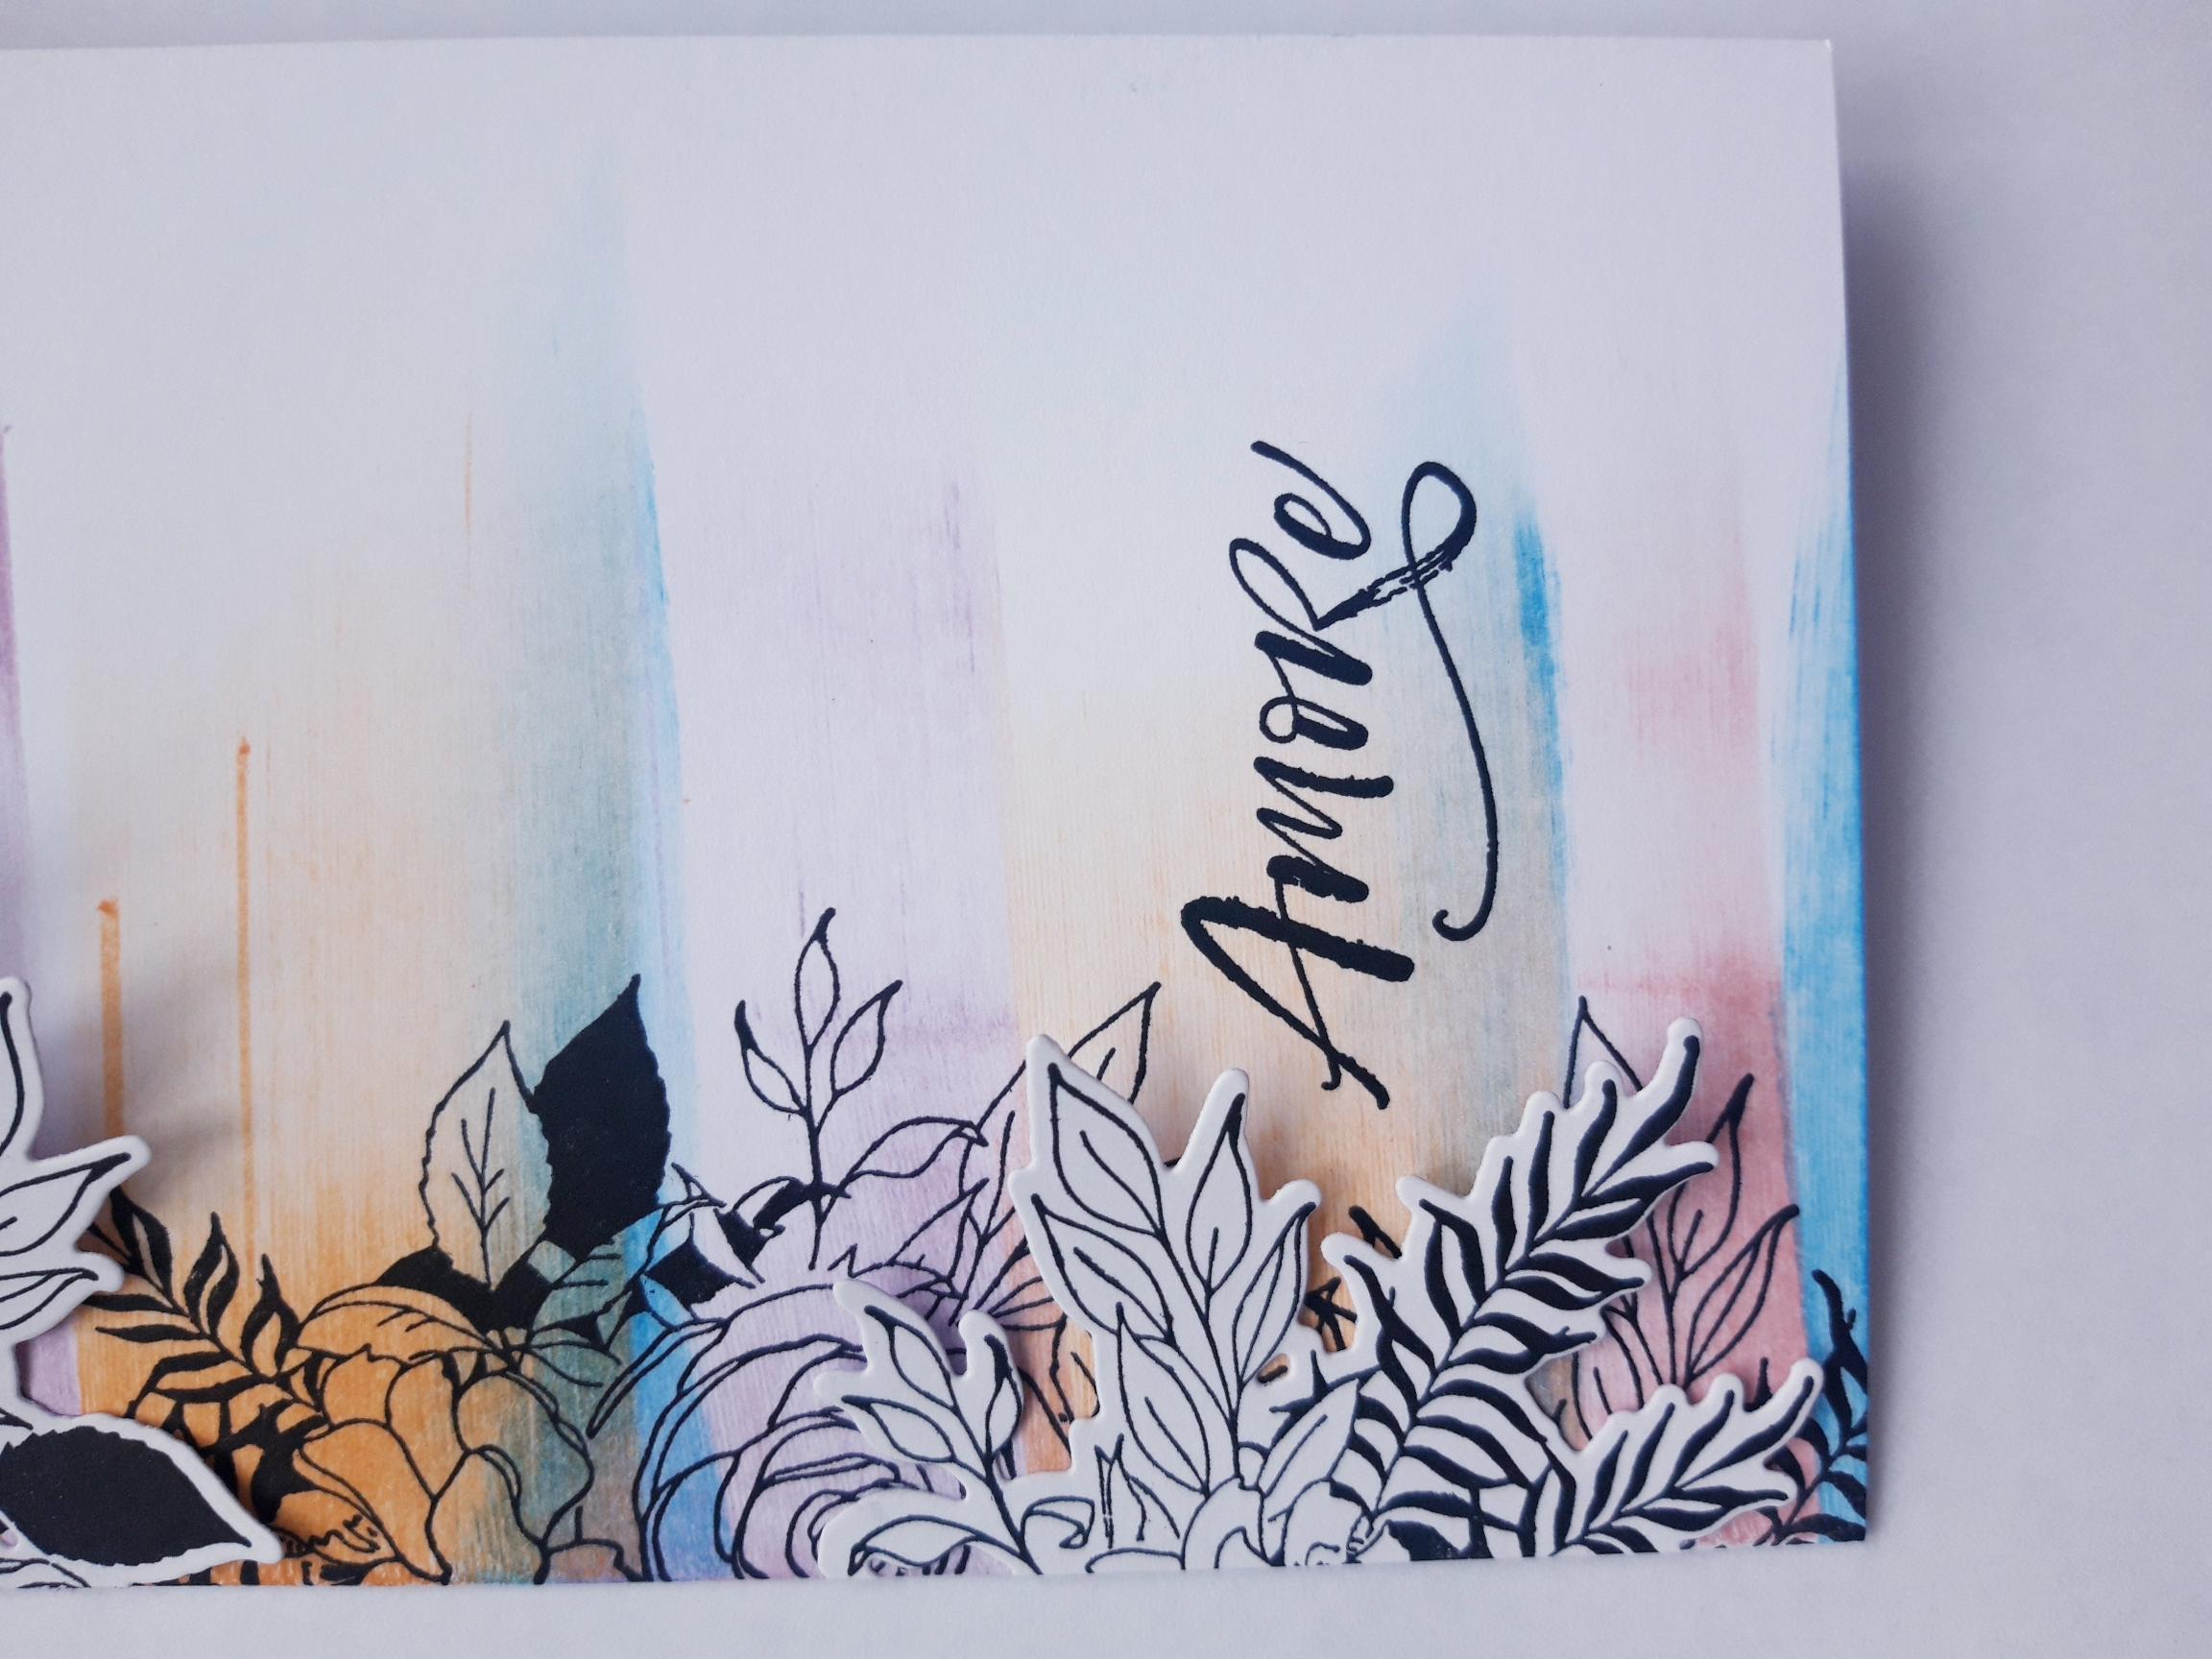
Swipe each of the Izink Pigment ink pads from left to right, across the front of your DL card blank. Vary the lengths and widths of each swipe to create your background. |
|
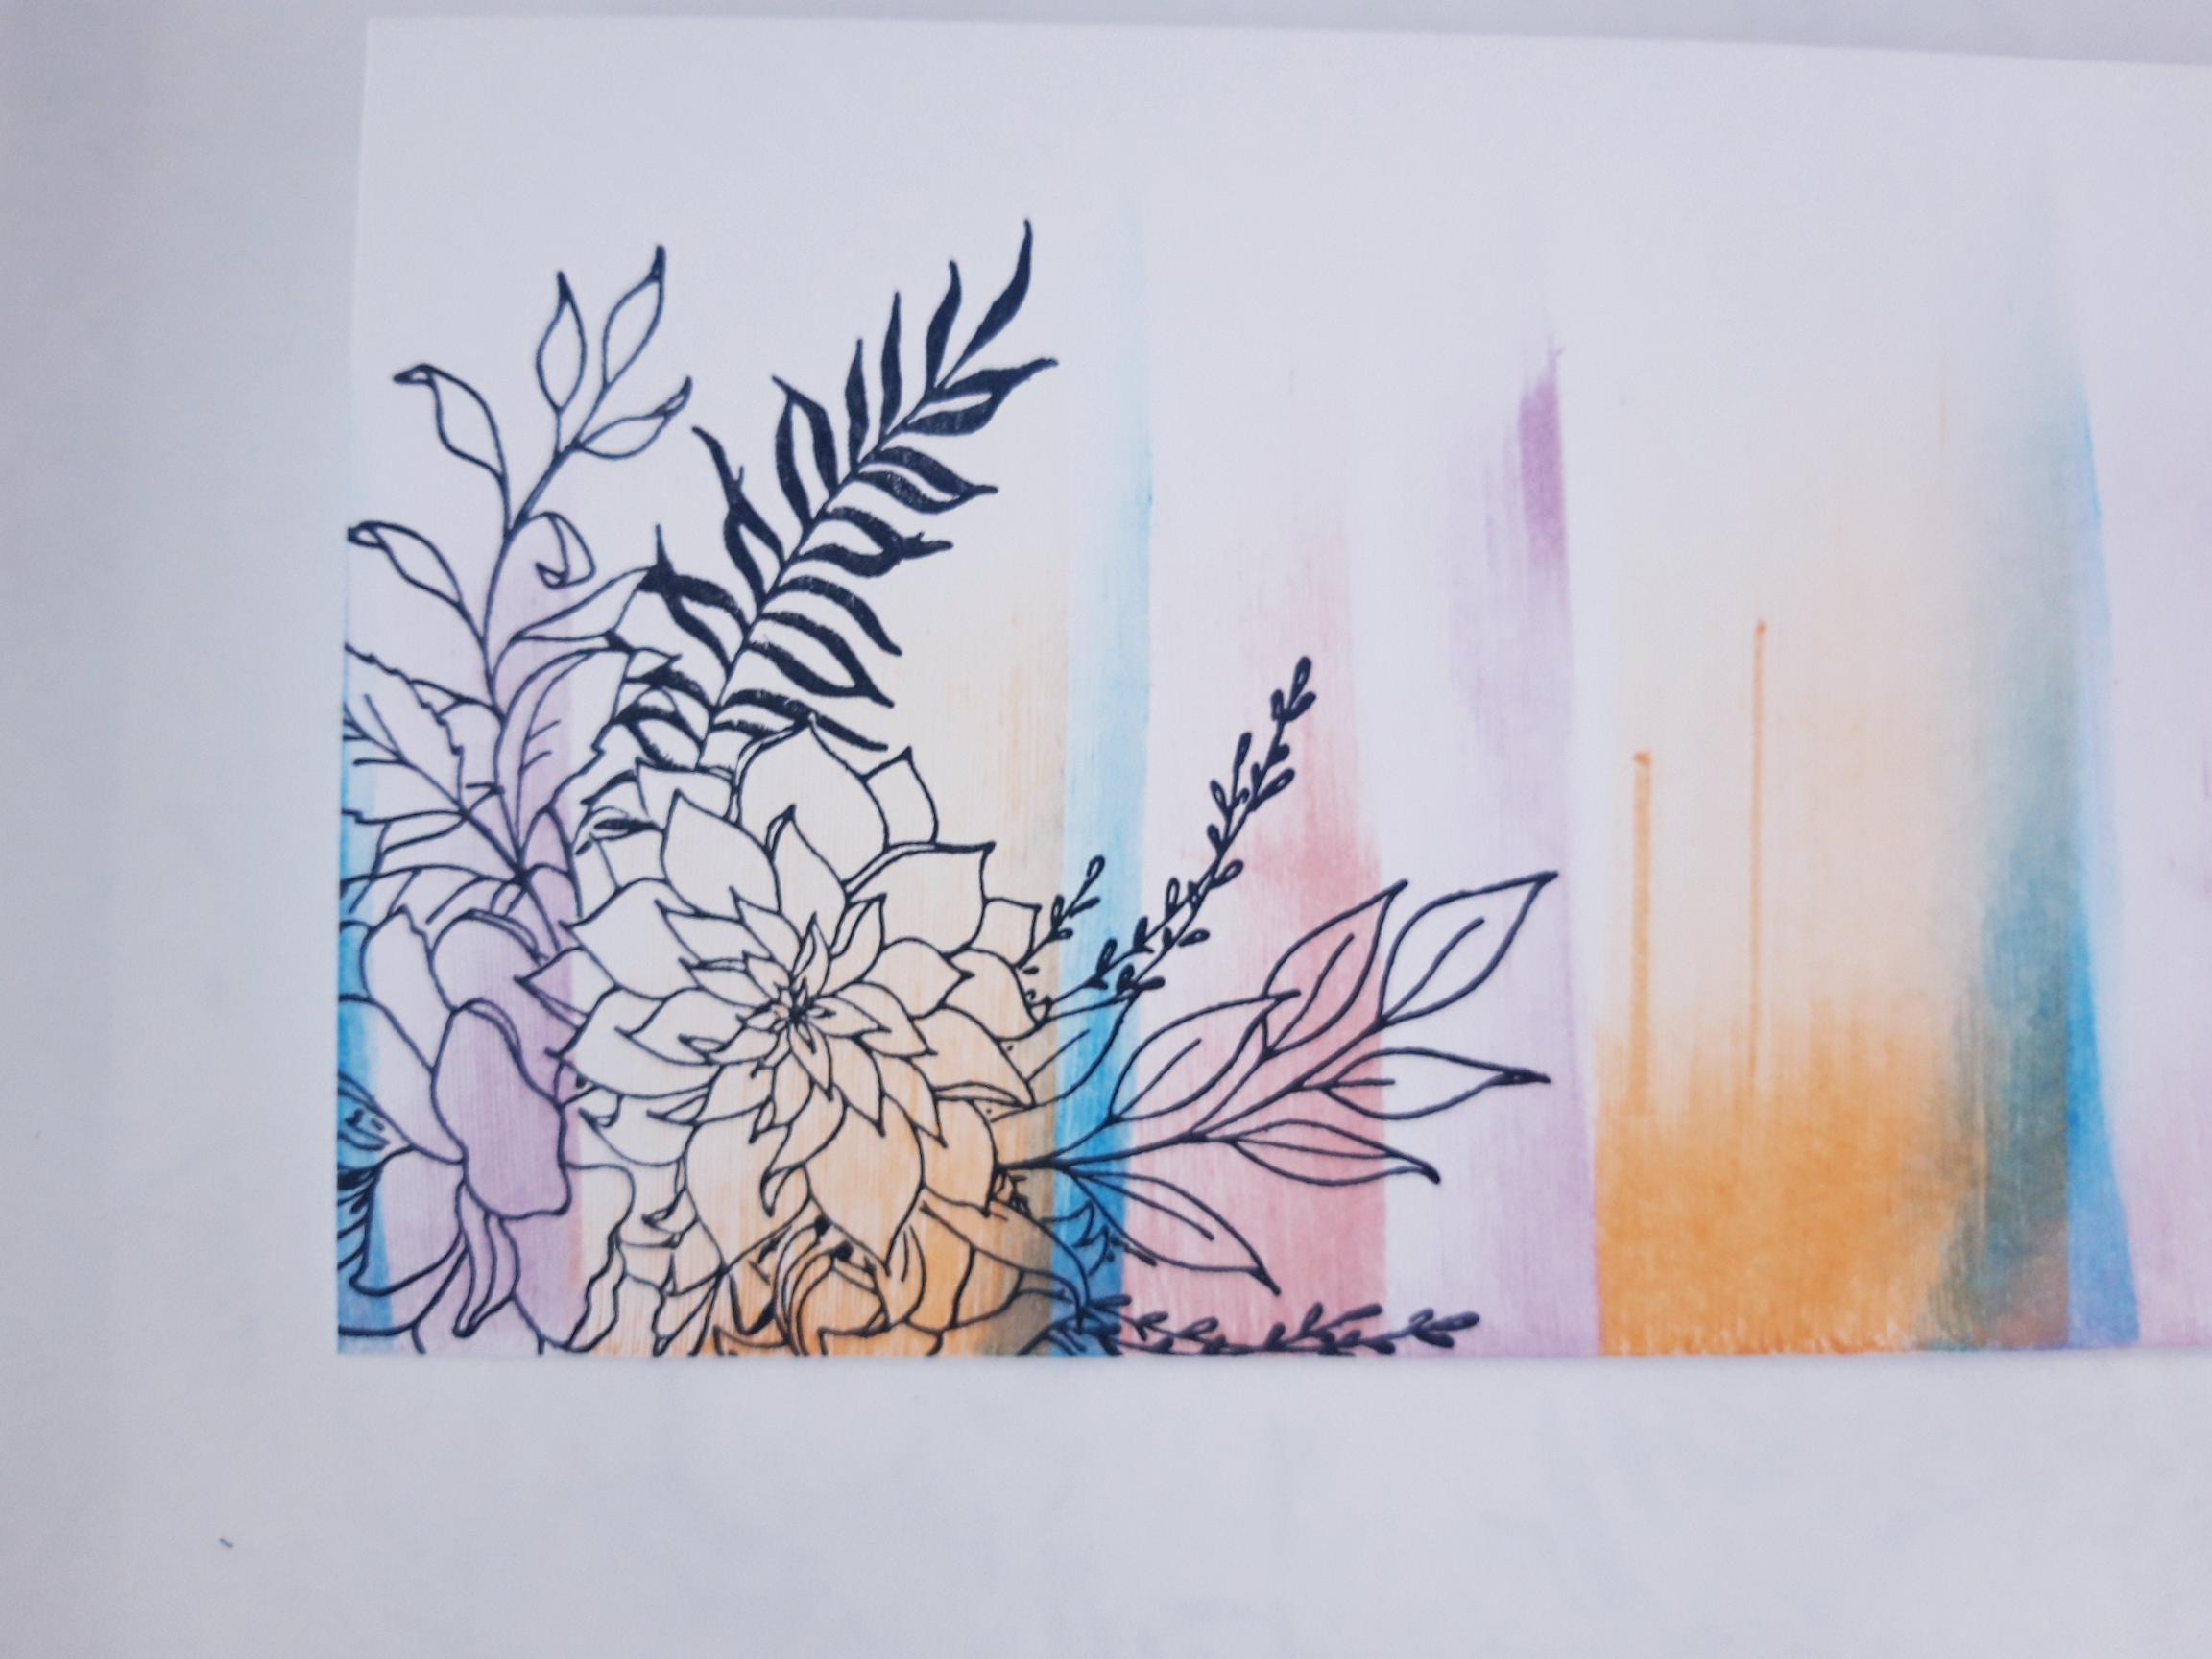
Ink up one of the floral stamps, from Our Story Stamp And Die Collection, with the Versafine. Stamp coming down from the top left corner of your background. |
|
Ink up the same stamp again OR you can ink up the other floral stamp, in the same collection. Stamp it coming on to the left edge of your background under, but connected, to the first stamped image. |
|
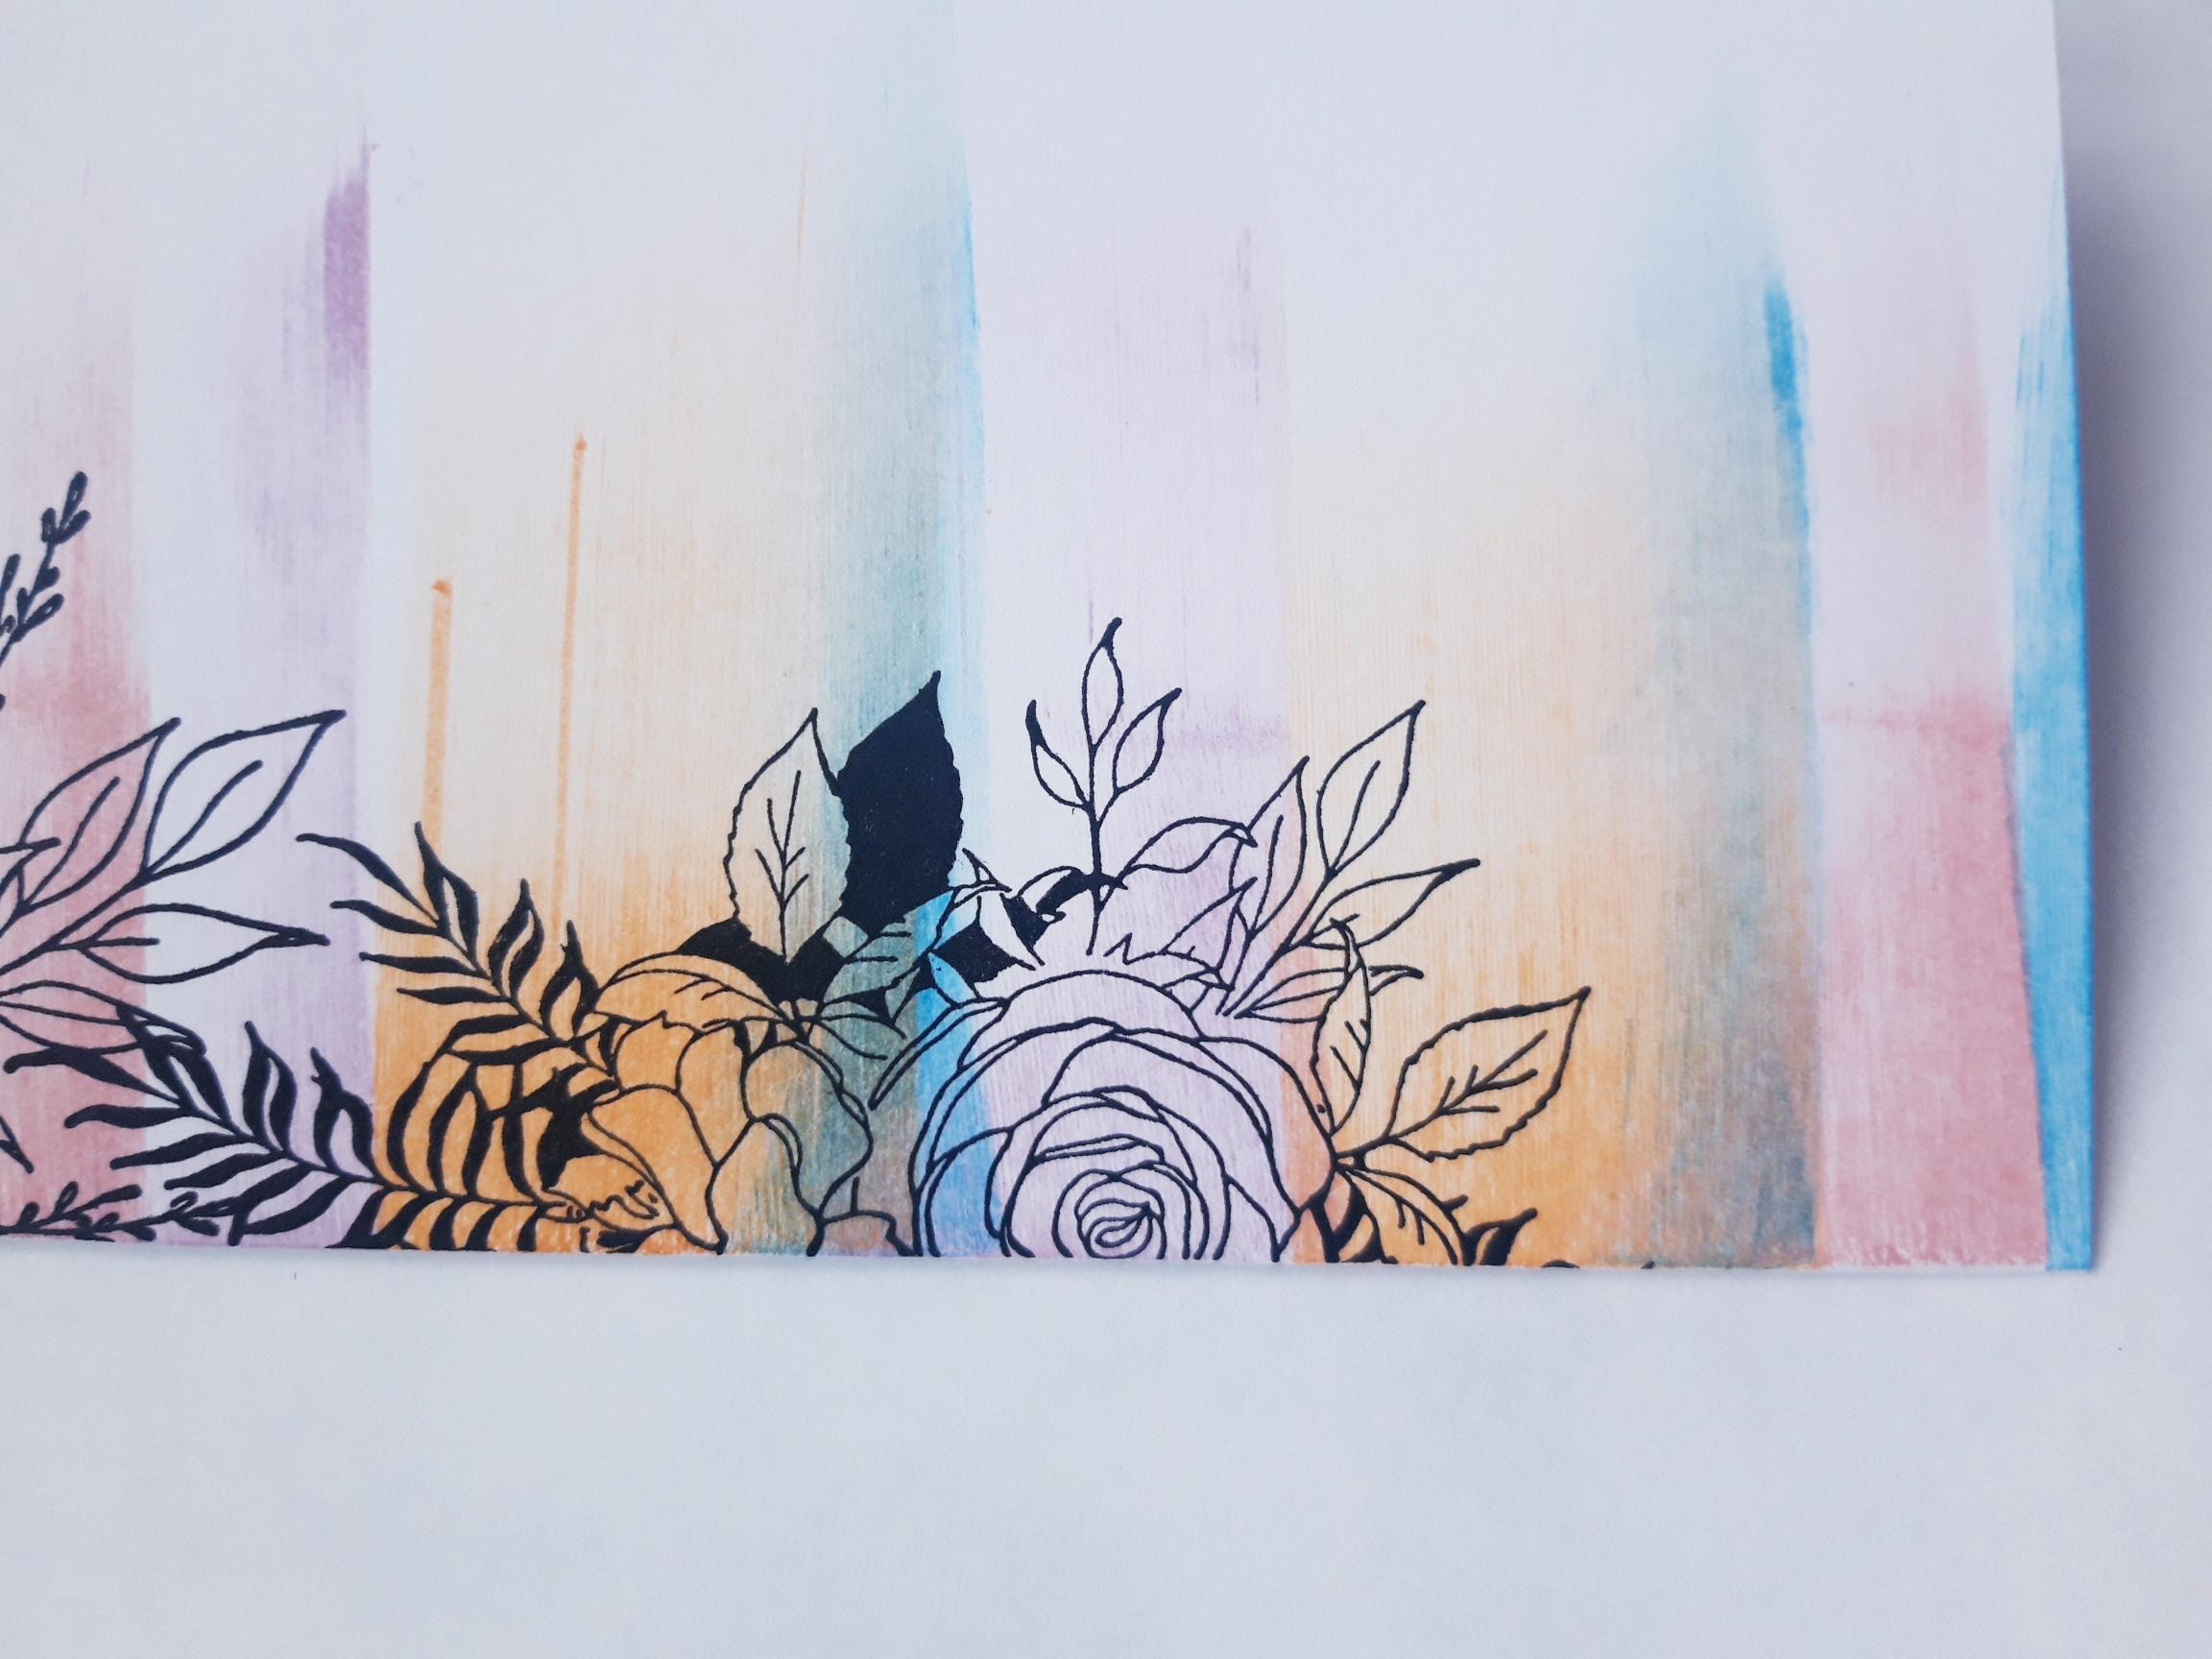
Ink up either of the stamps again and stamp, in a different orientation, coming on to the left hand edge of the card, thus creating a beautiful floral border down the side of your card. Set your card to one side to dry, as the Pigment inks are slow drying. |
|
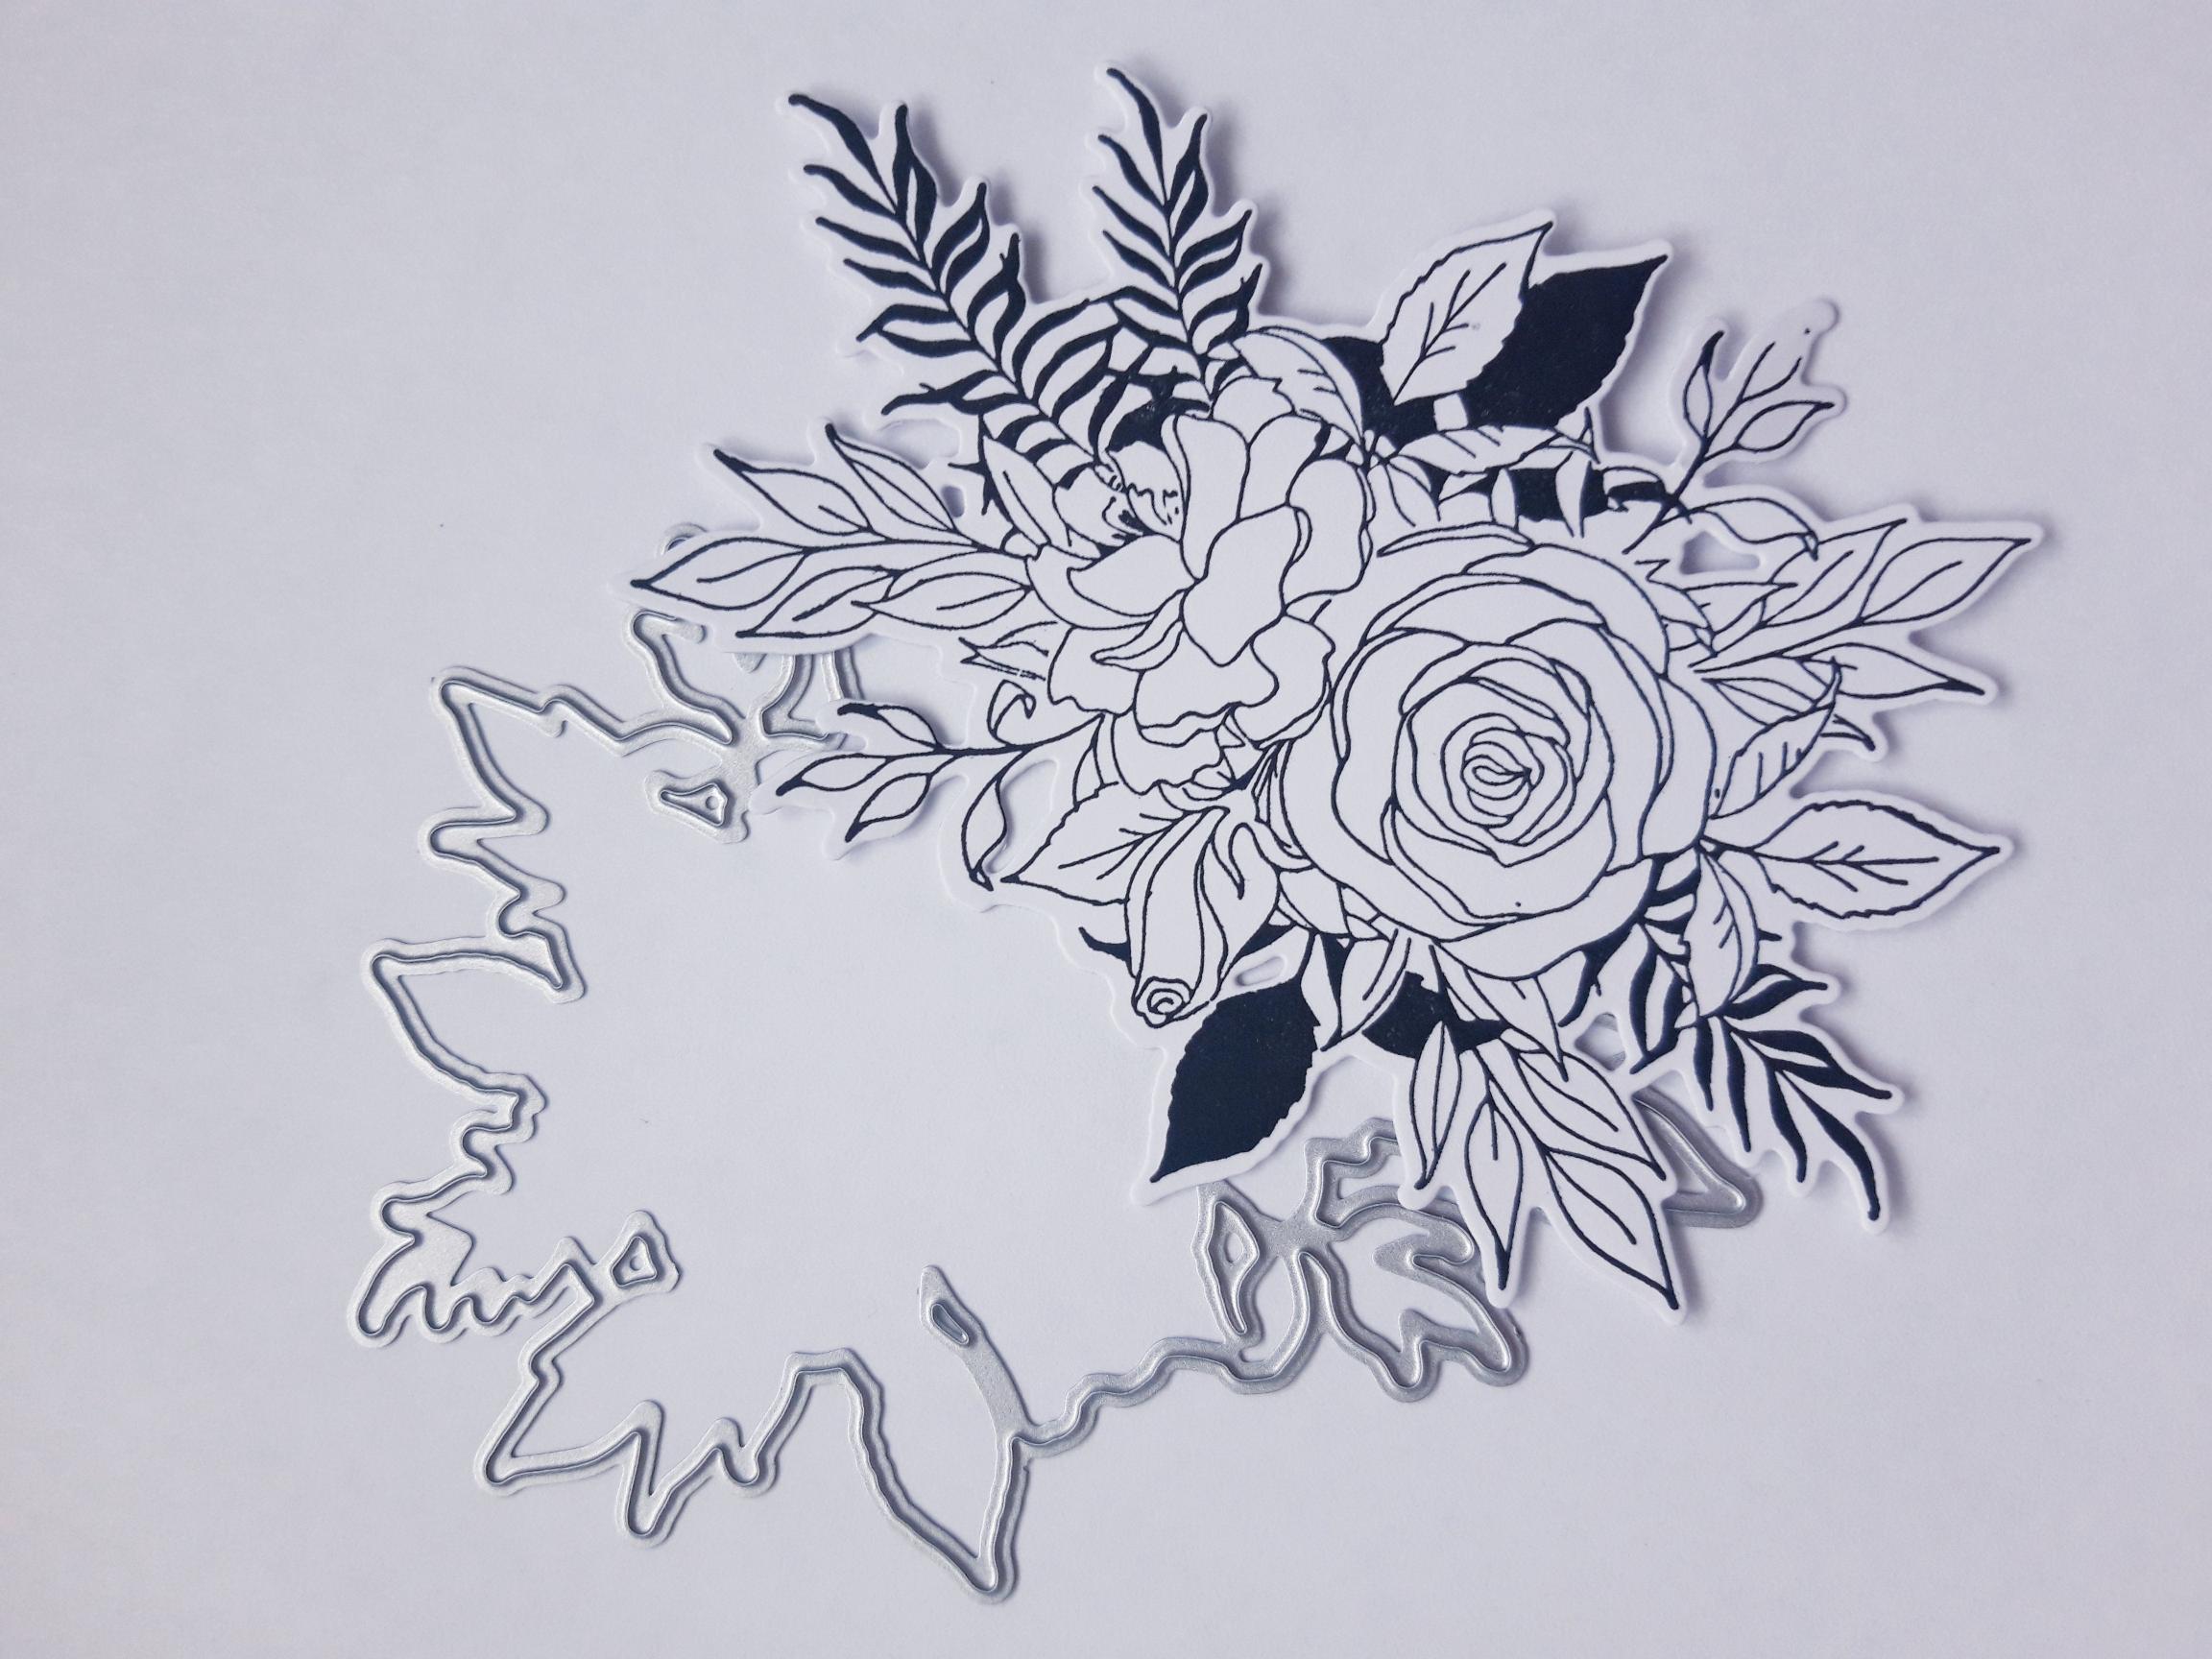
Ink up one of the floral stamps again and stamp it on to the white card (5 x 4"). Place the coordinating die over your stamped image, securing with low tack tape if preferred and run it through your die cutting machine. |
|
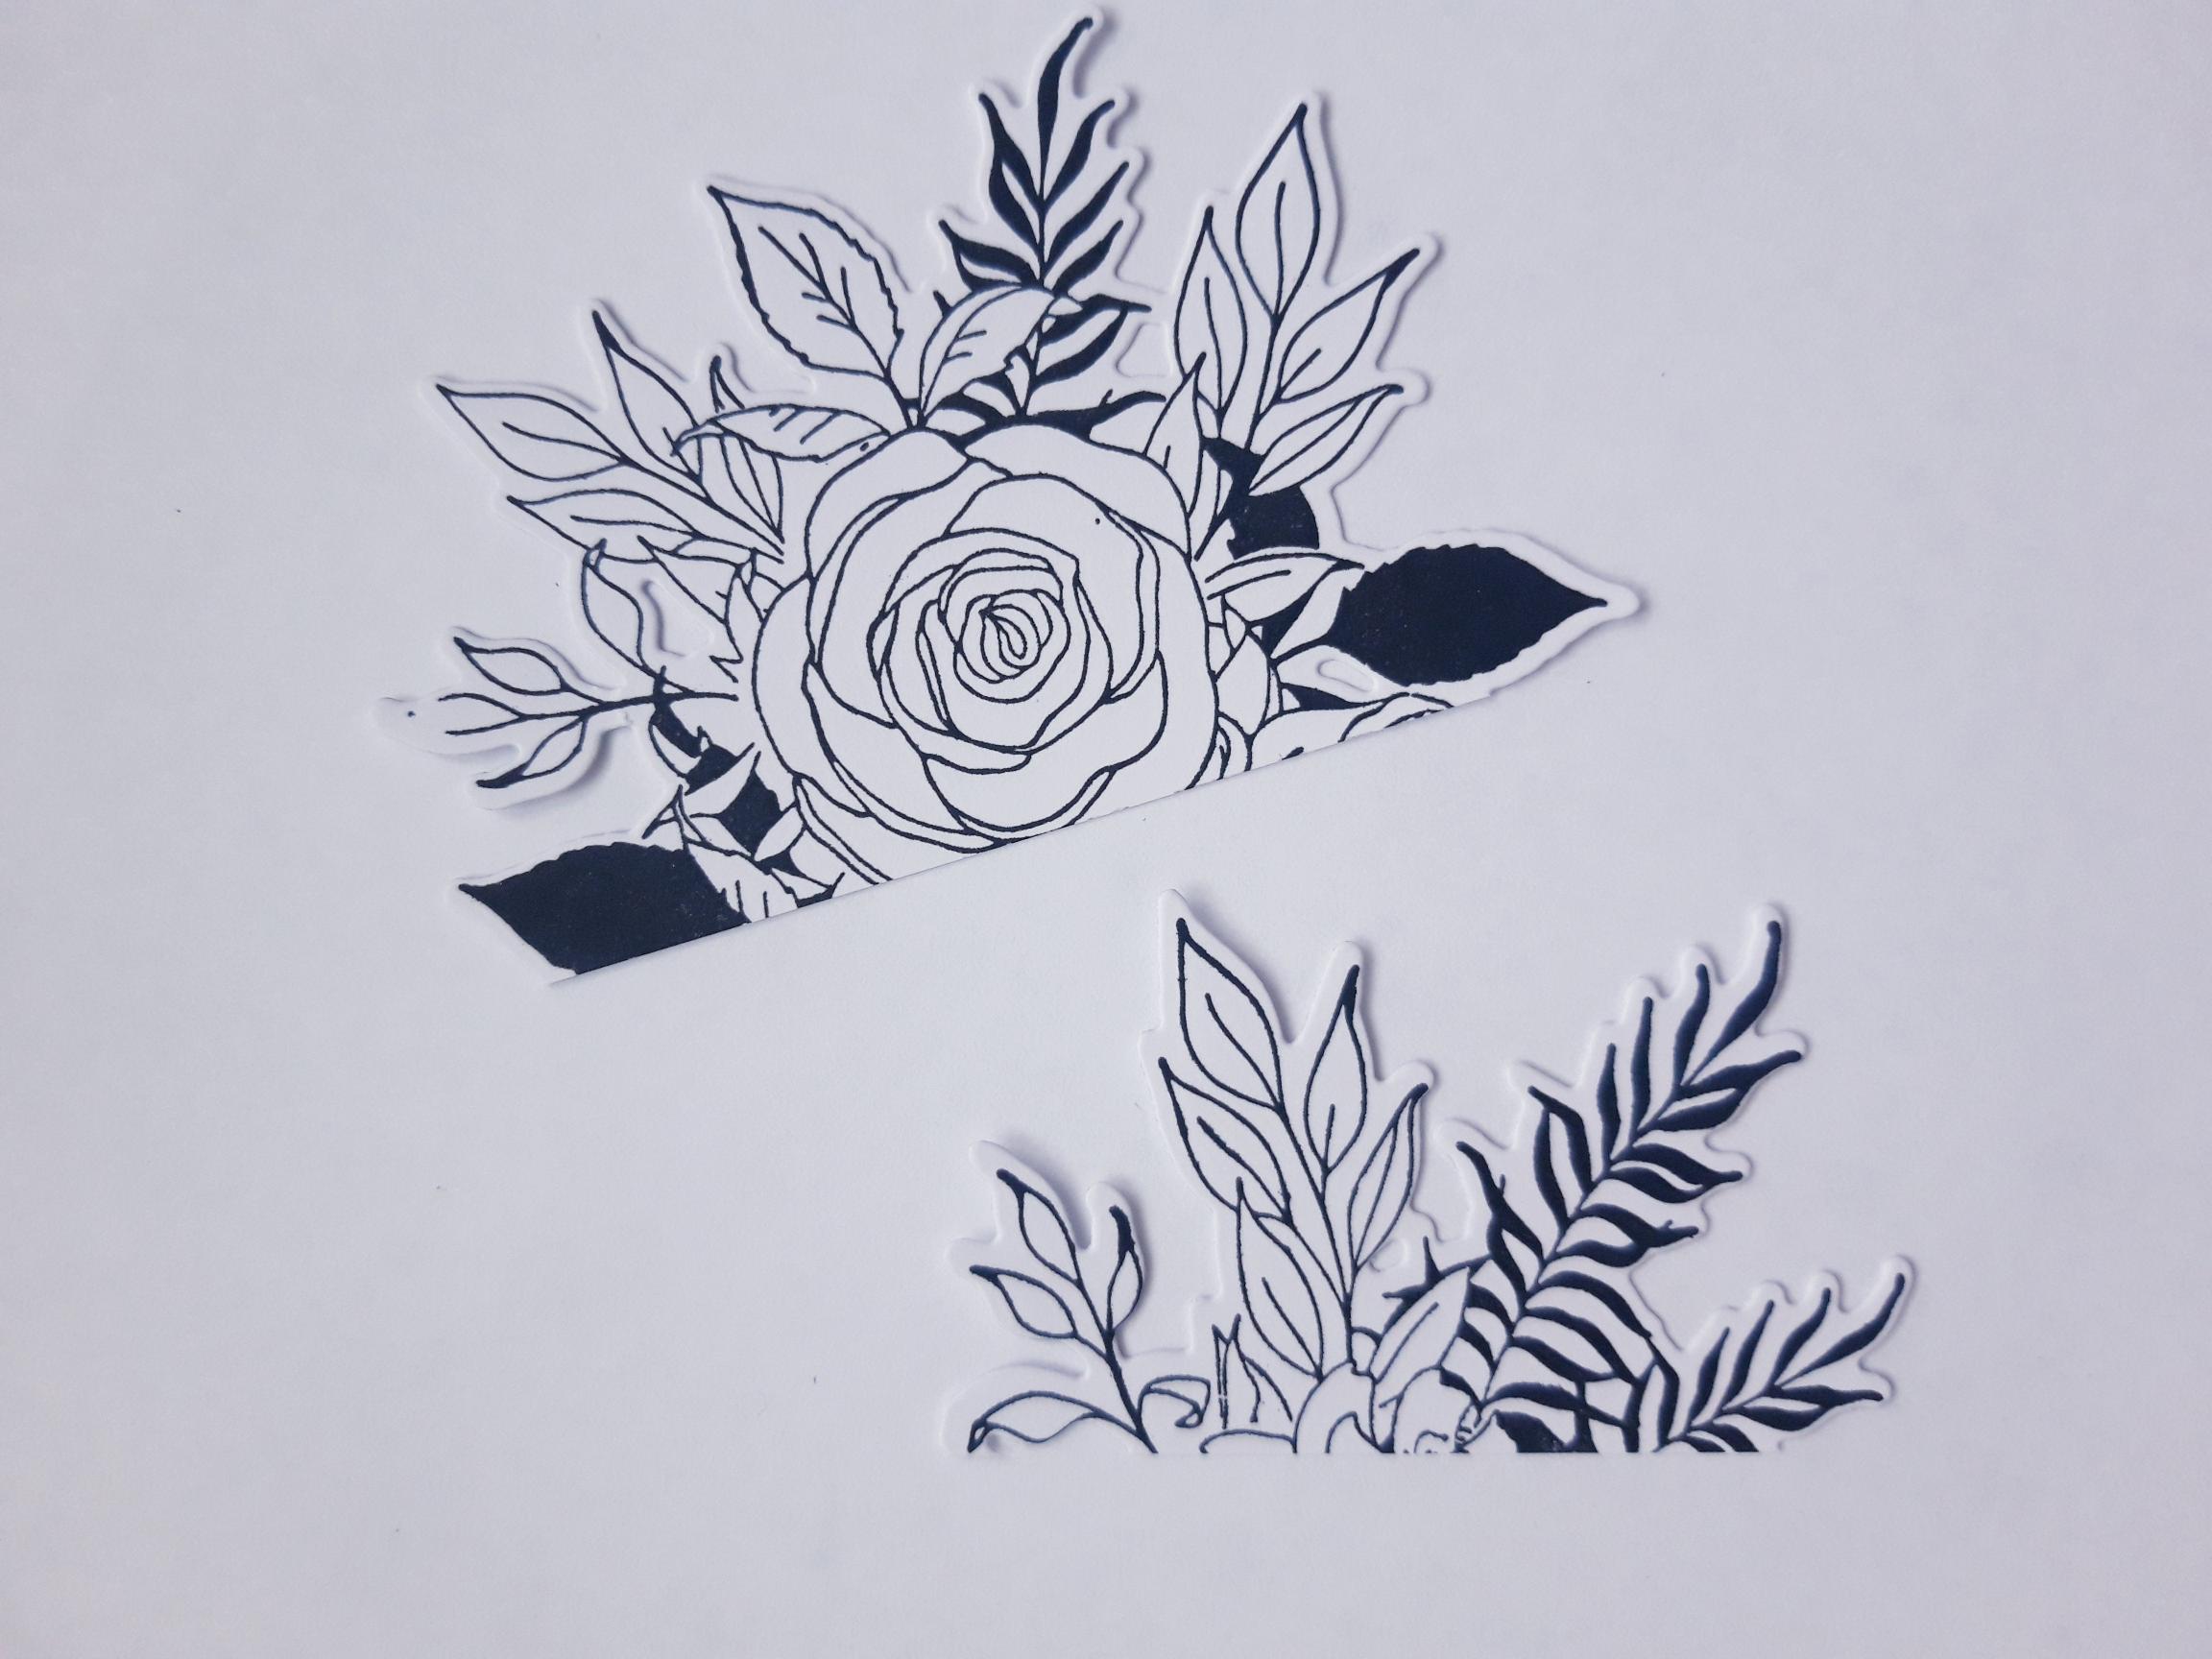
You will need to cut your die cut element in to TWO pieces, both with a straight edge on the left hand side of the element, as shown here. Where you make the cut is up to you. |
|
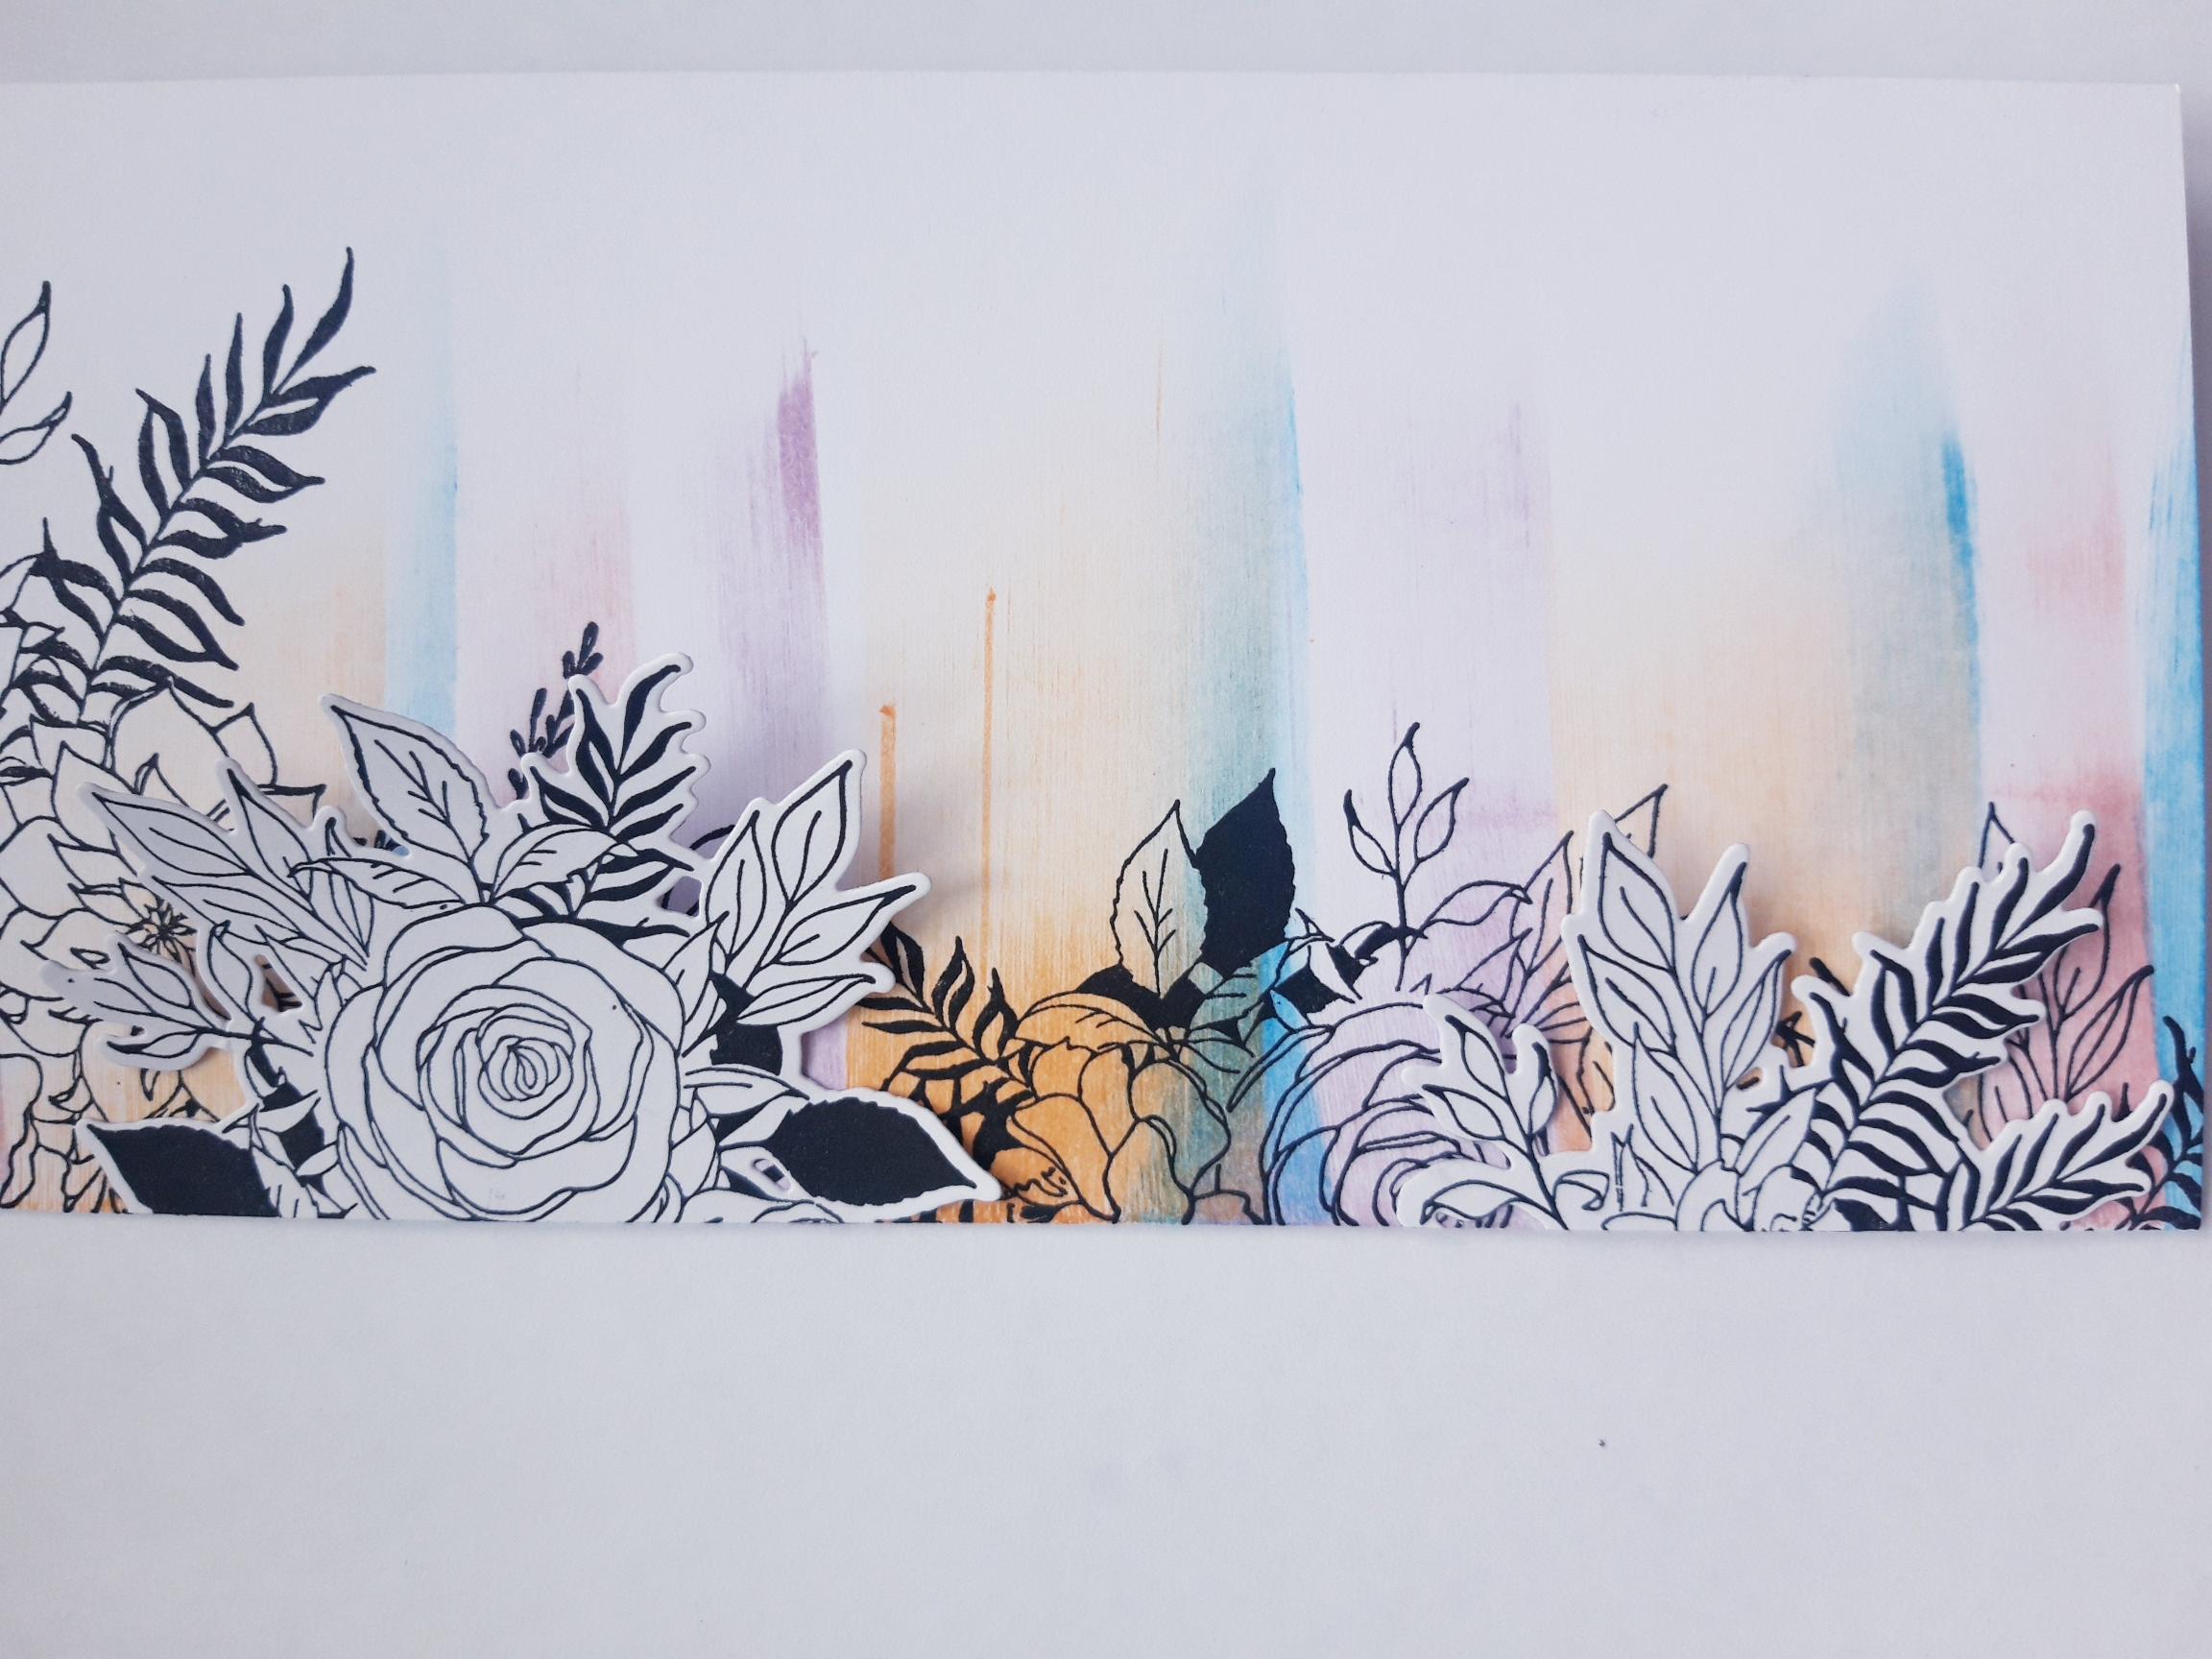
Slightly shape and mould the die cut elements with your fingers. Apply glue down the straight edge ONLY, on both elements and adhere flush with the left hand edge of the card blank, where required. |
|
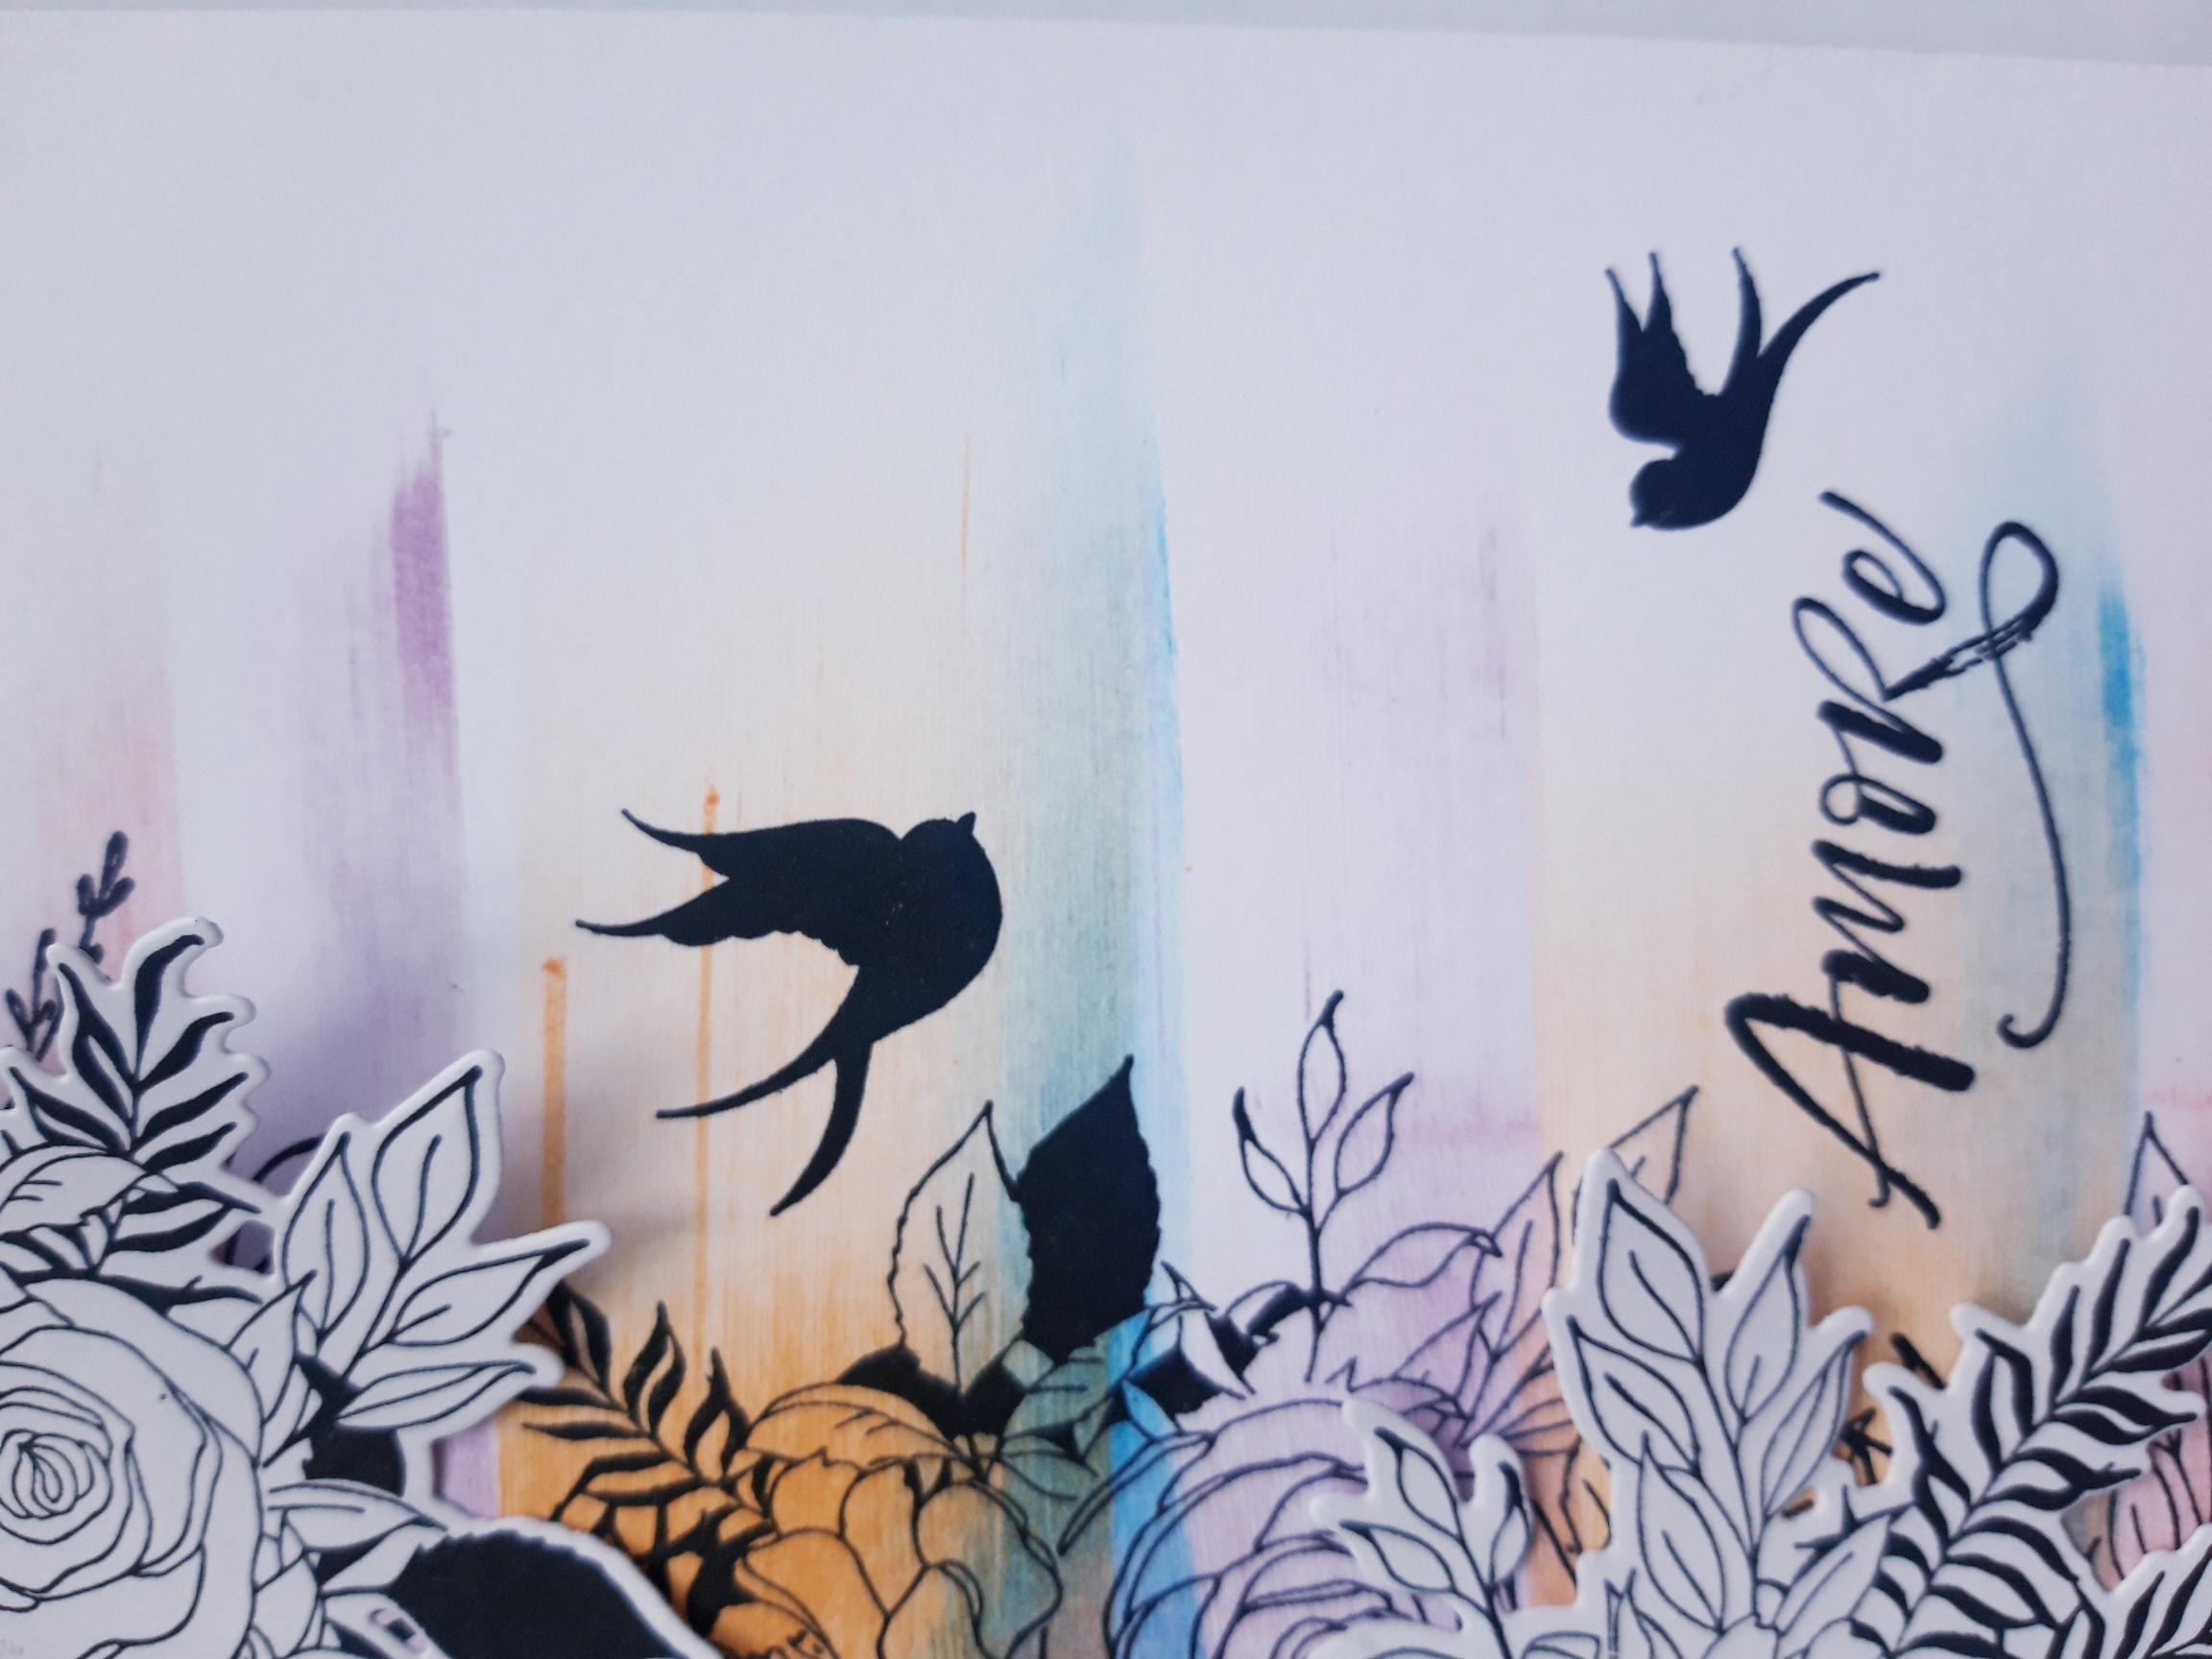
Ink up the sentiment stamp with the Versafine and stamp bottom left. |
|
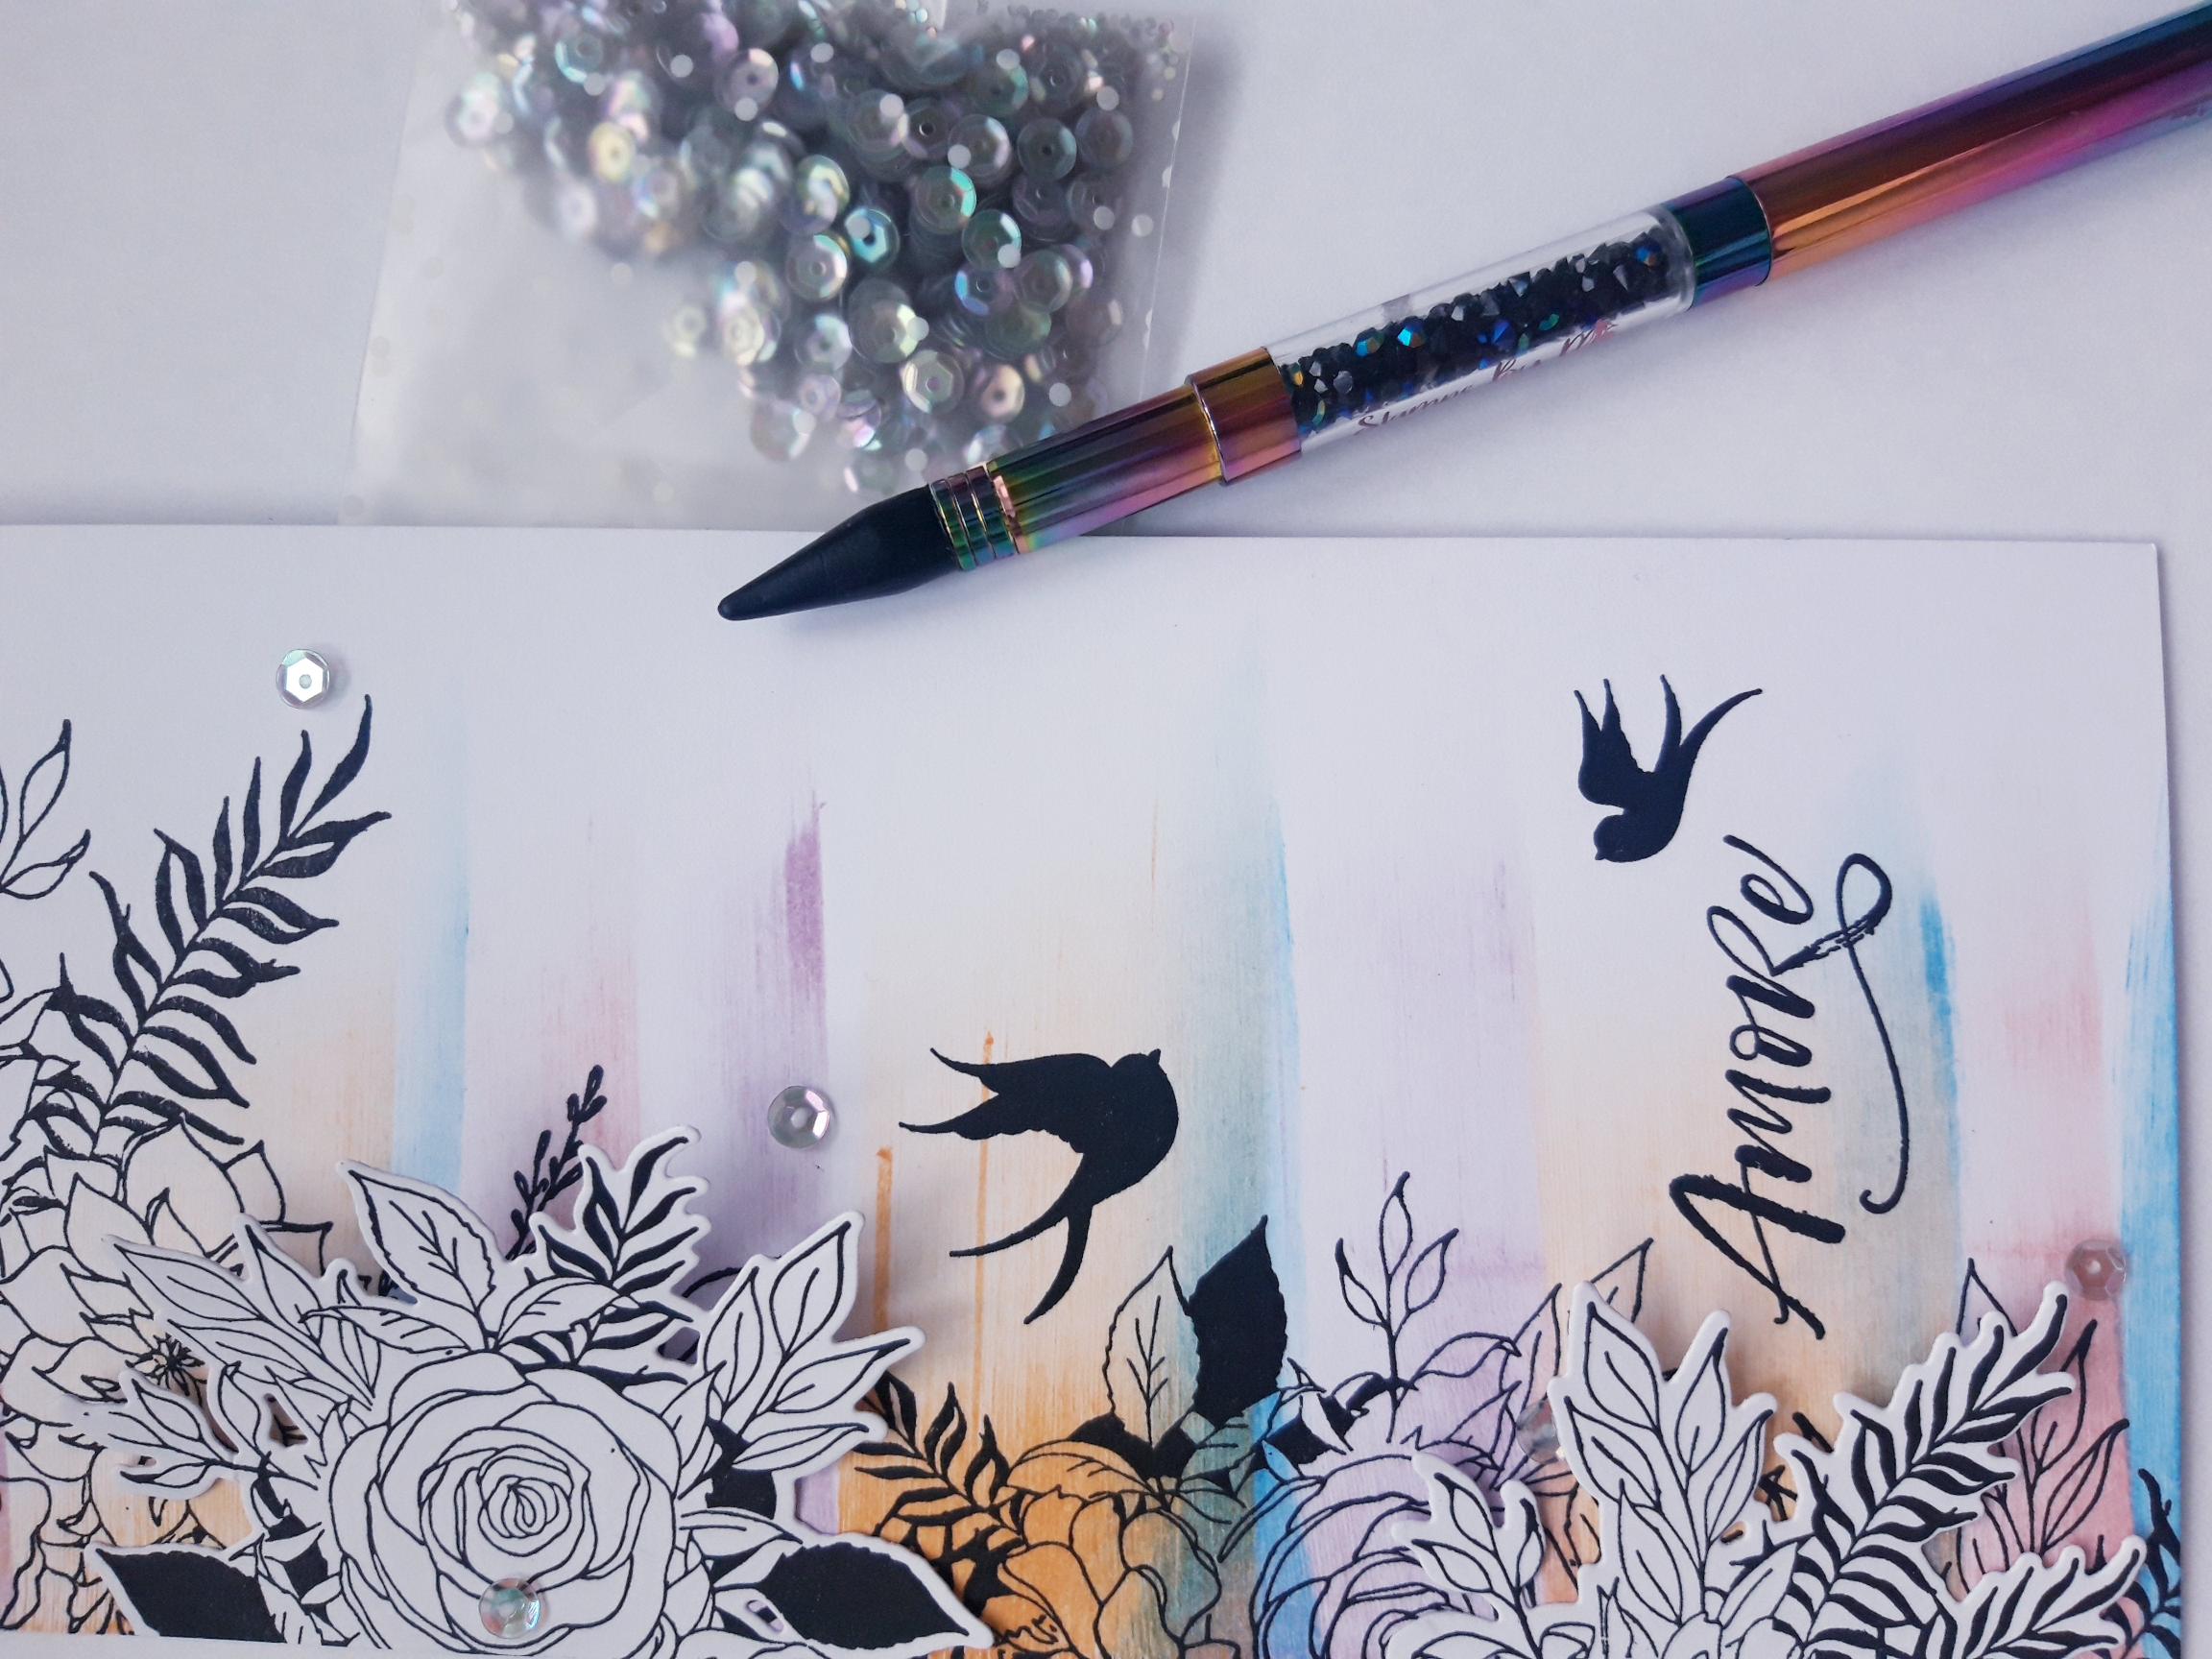
Ink up a couple of the bird stamps, from the Congratulations Stamp Collection, with the Versafine and stamp where required. |
|
Add a few sequins on, around and peeking out from under your artwork. |