Give your friends $10 off their first order!
Refer a FRIEND


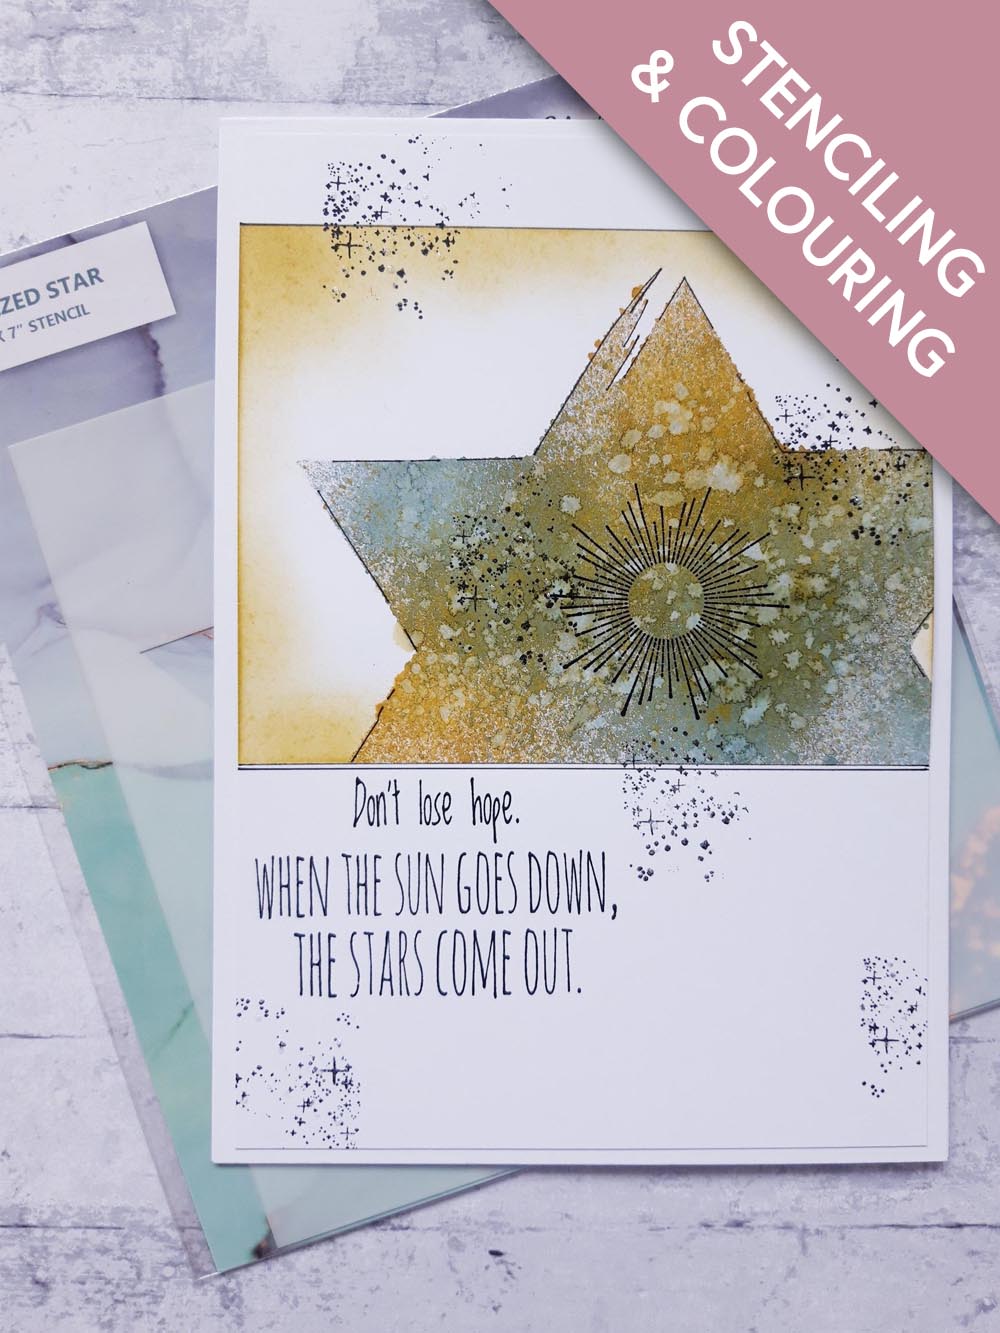
WHAT YOU WILL NEED:
White top folding card blank (8 1/4 x 5 3/4")
White card (8 x 5 1/2")
Reach For The Stars Stamp Collection
Stylized Star stencil
Versafine Ink Pad: Onyx Black
Izink Dye Spray: Butterscotch, Morning Mist
Izink Pigment Vintage Ink Pad Collection: gold green ink pad
Paint brush
Blending tool
Fine line black pen
Ruler
Stickles: Frosted Lace
Eureka 101
Paper Trimmer
Perfect Together Glue
Low tack tape/masking tape
[click image to enlarge] 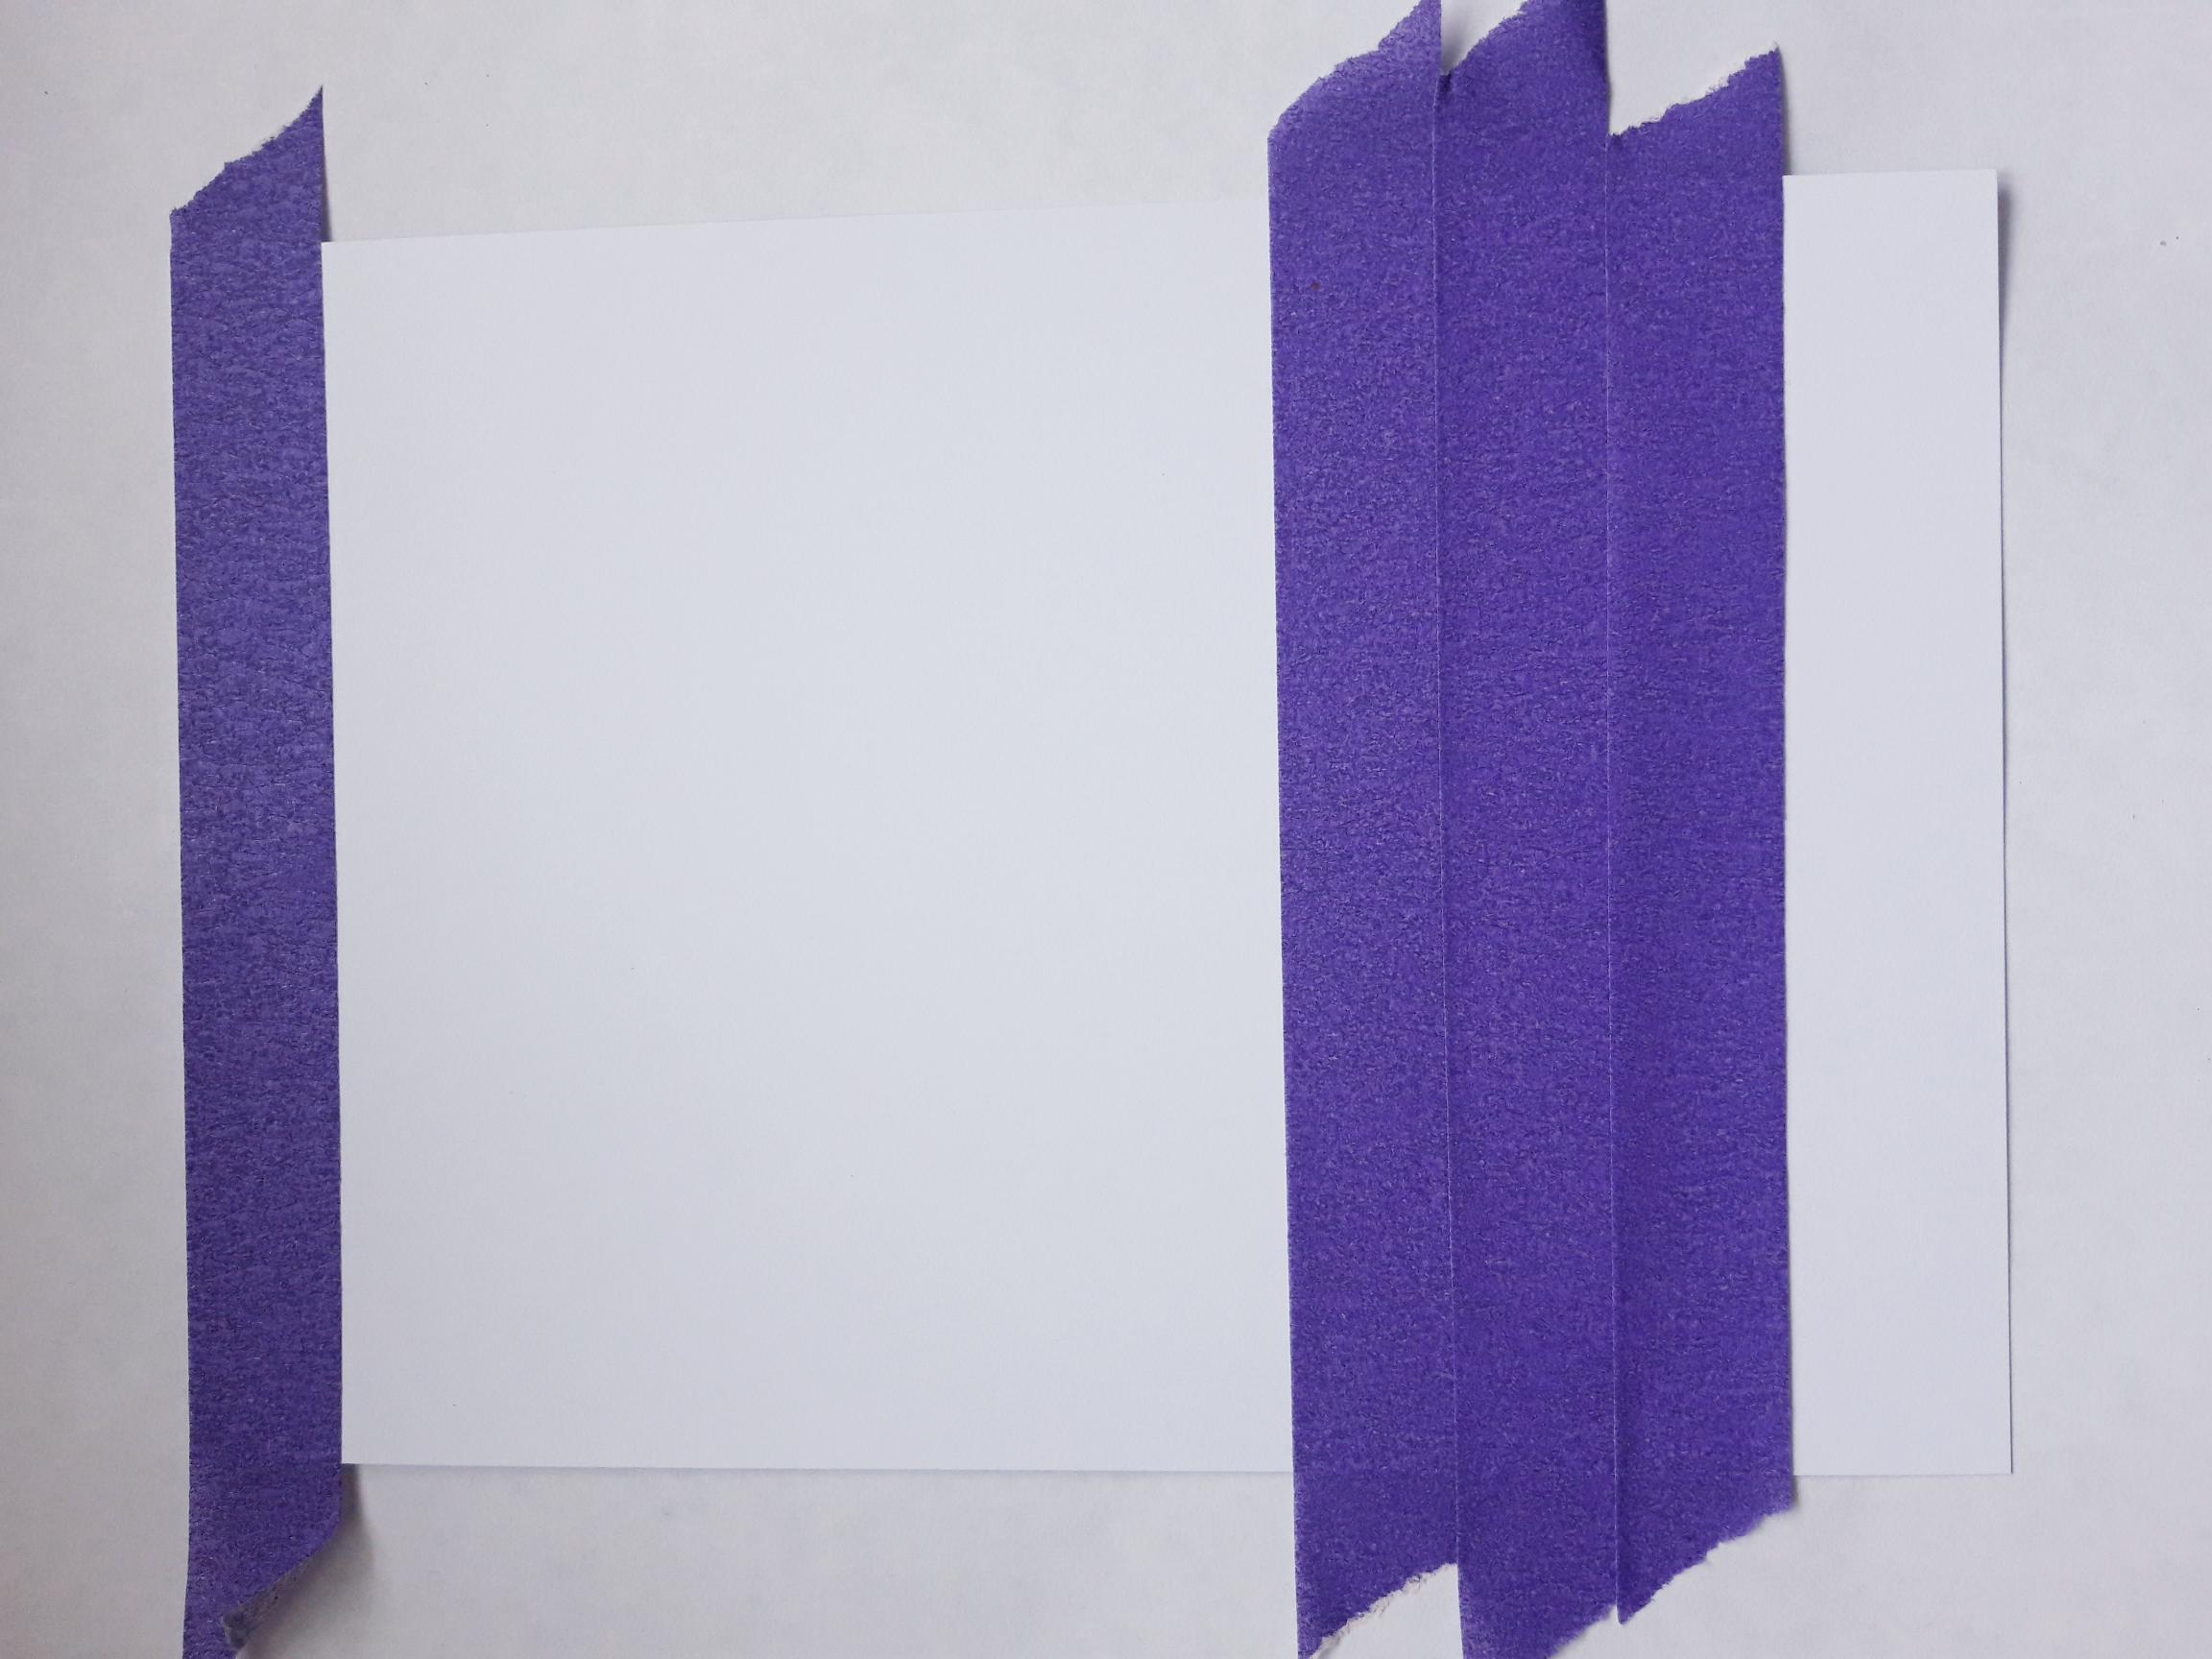
|
Using the Stylized Star stencil as a guide, use the low tack/masking tape, to mask off a panel near the top of the white card (8 x 5 1/2"). |
|
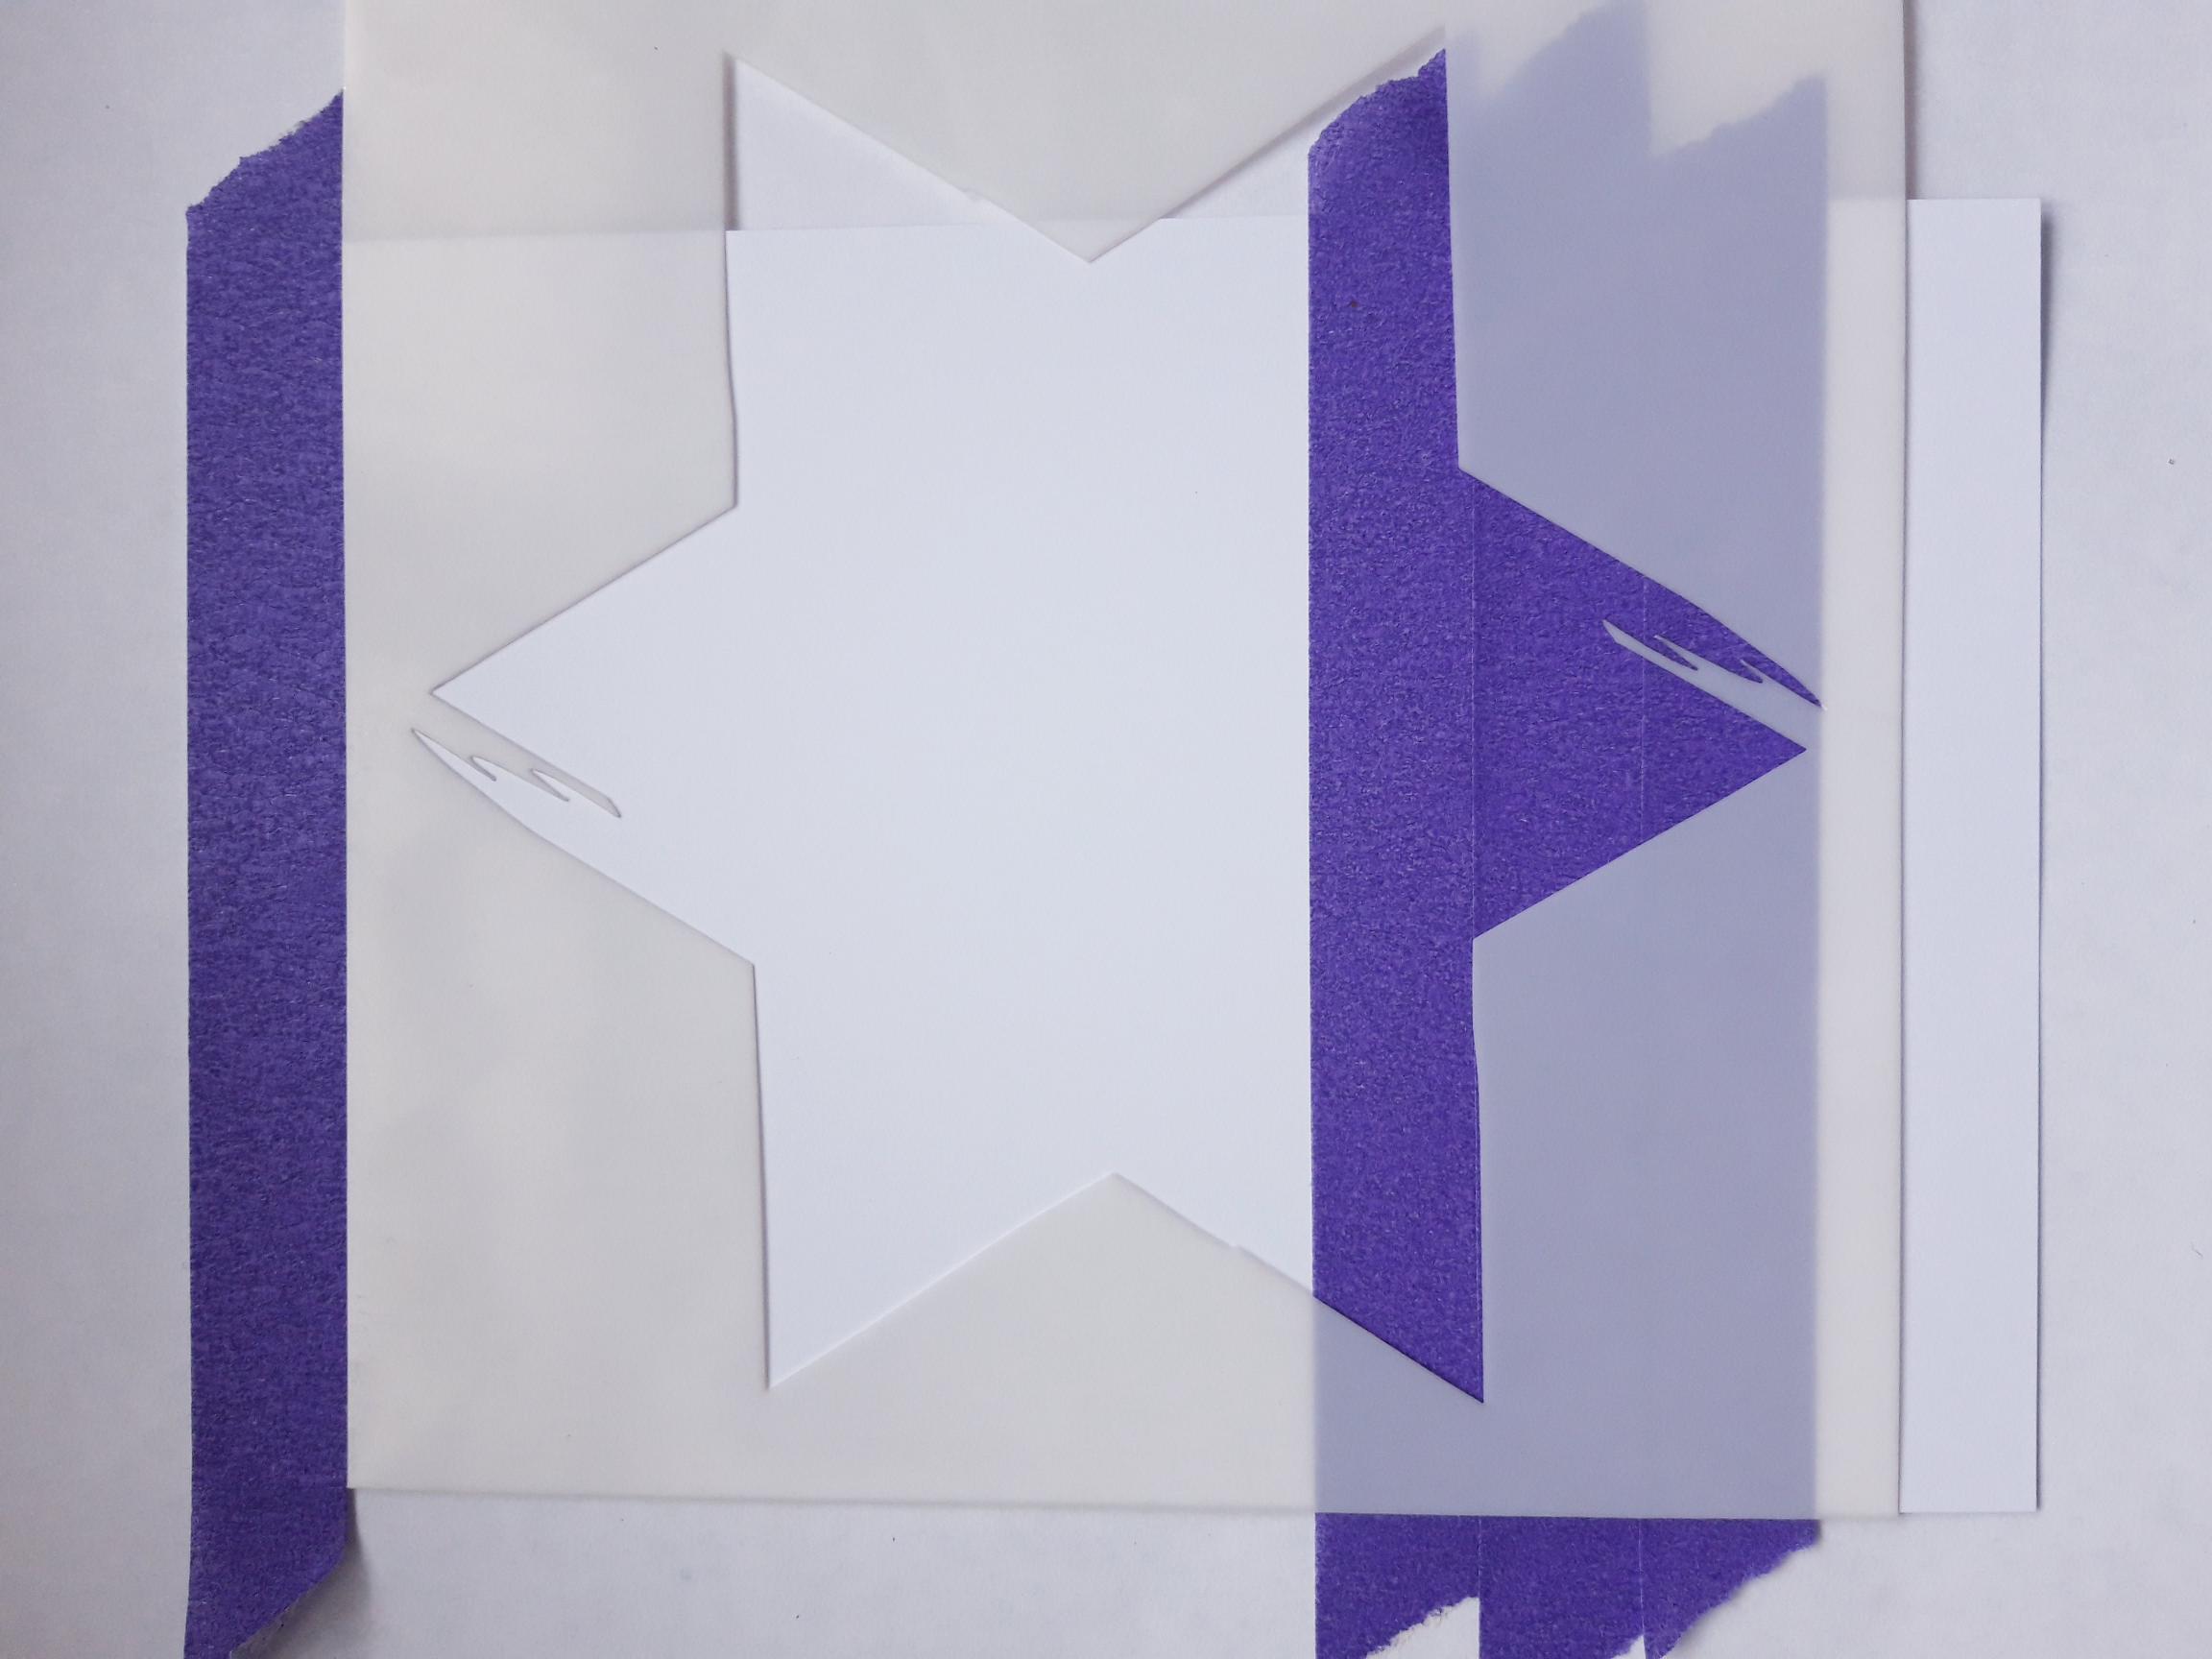
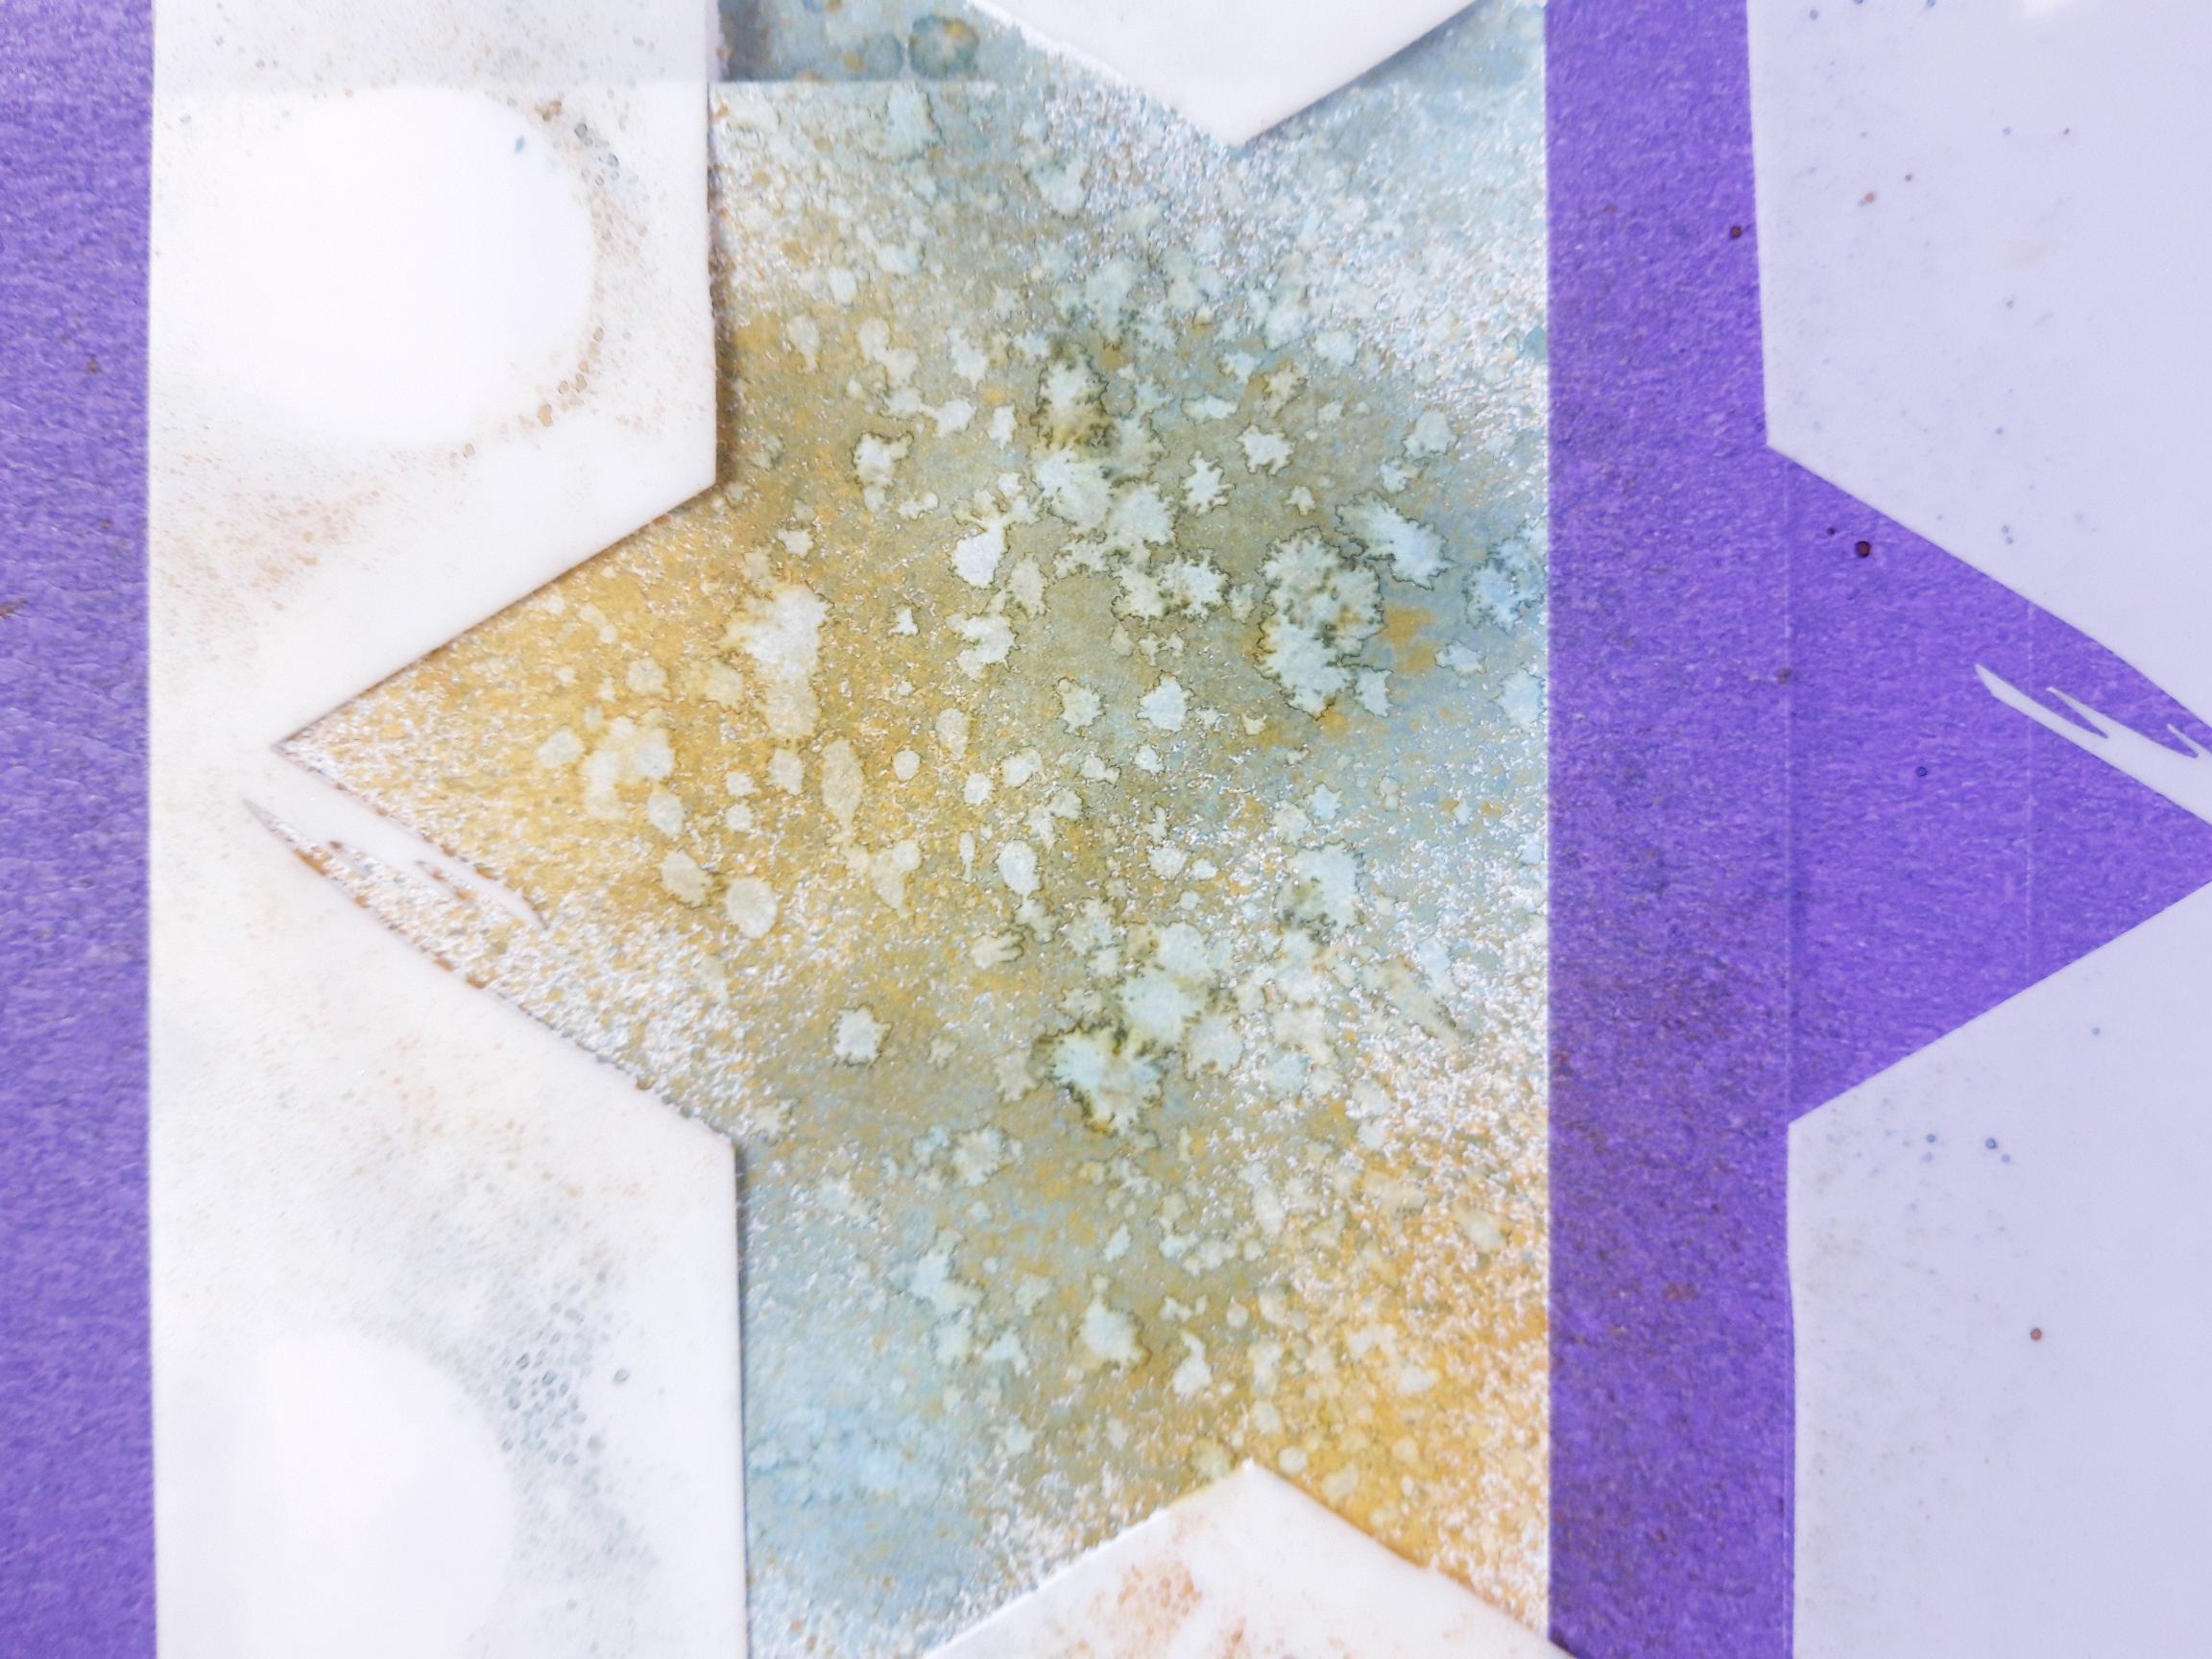
Place the star stencil within the masked off panel, so its near to the top and just off the right hand edge, of the card. |
|
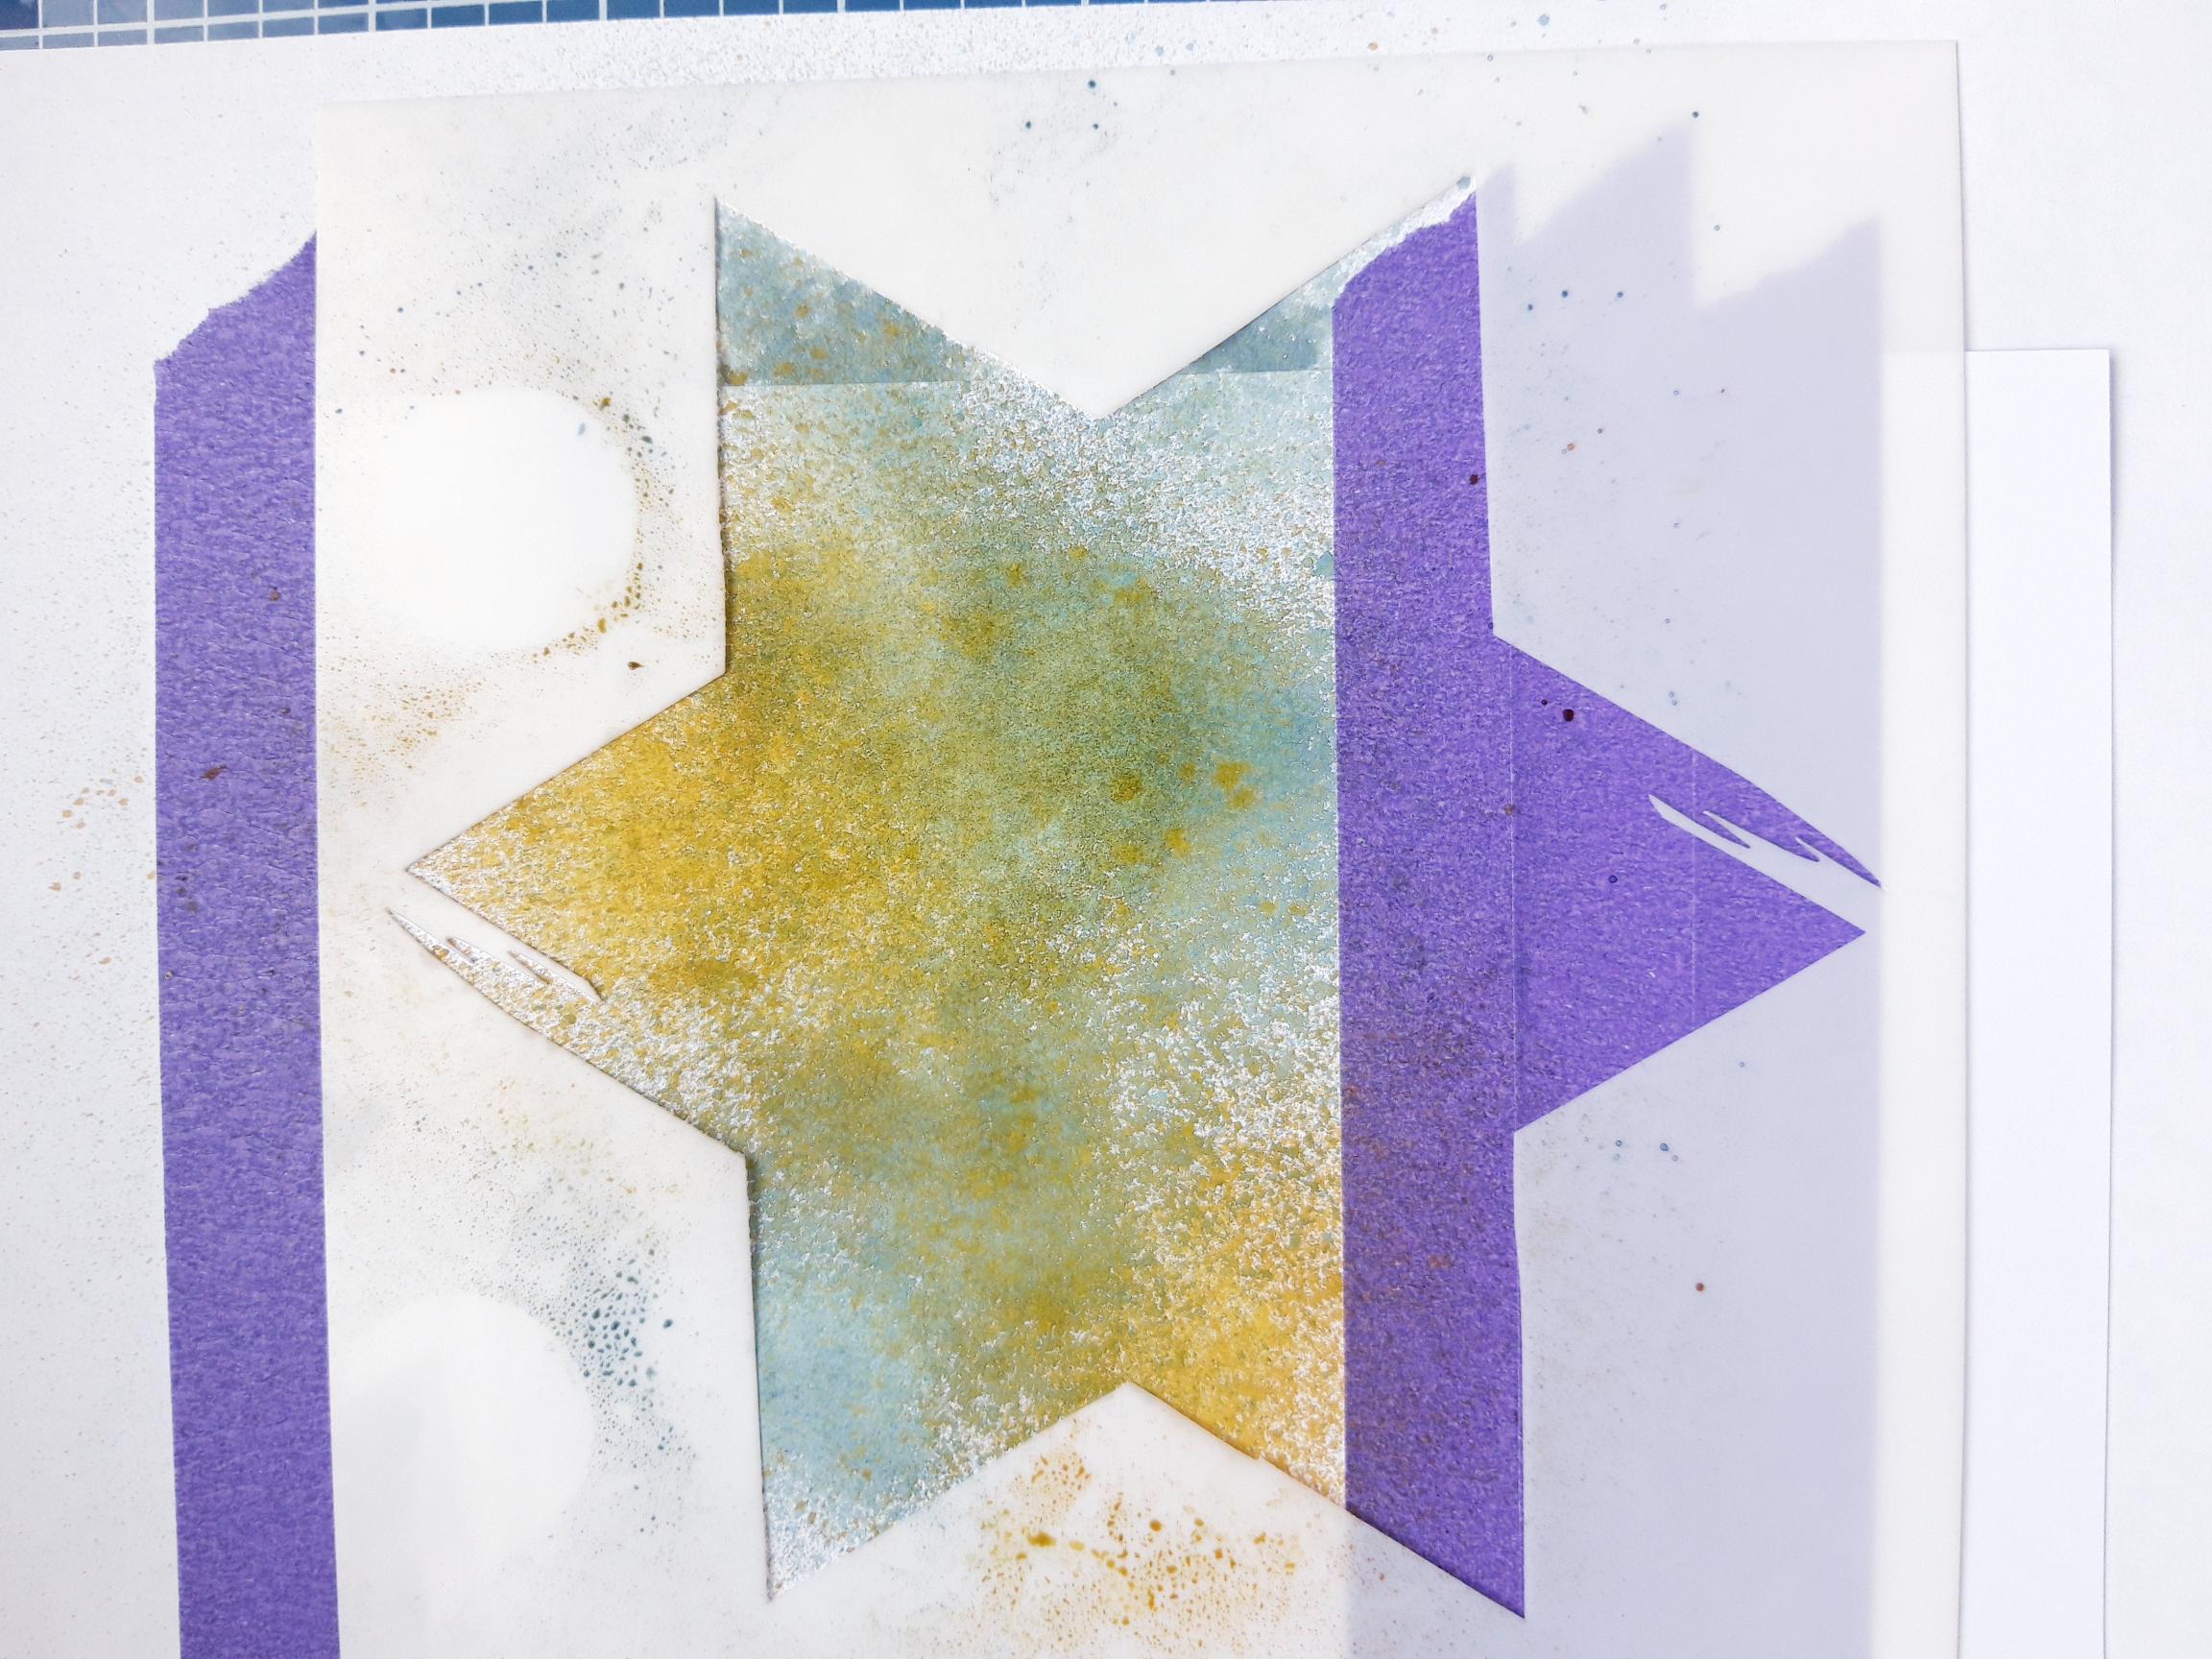
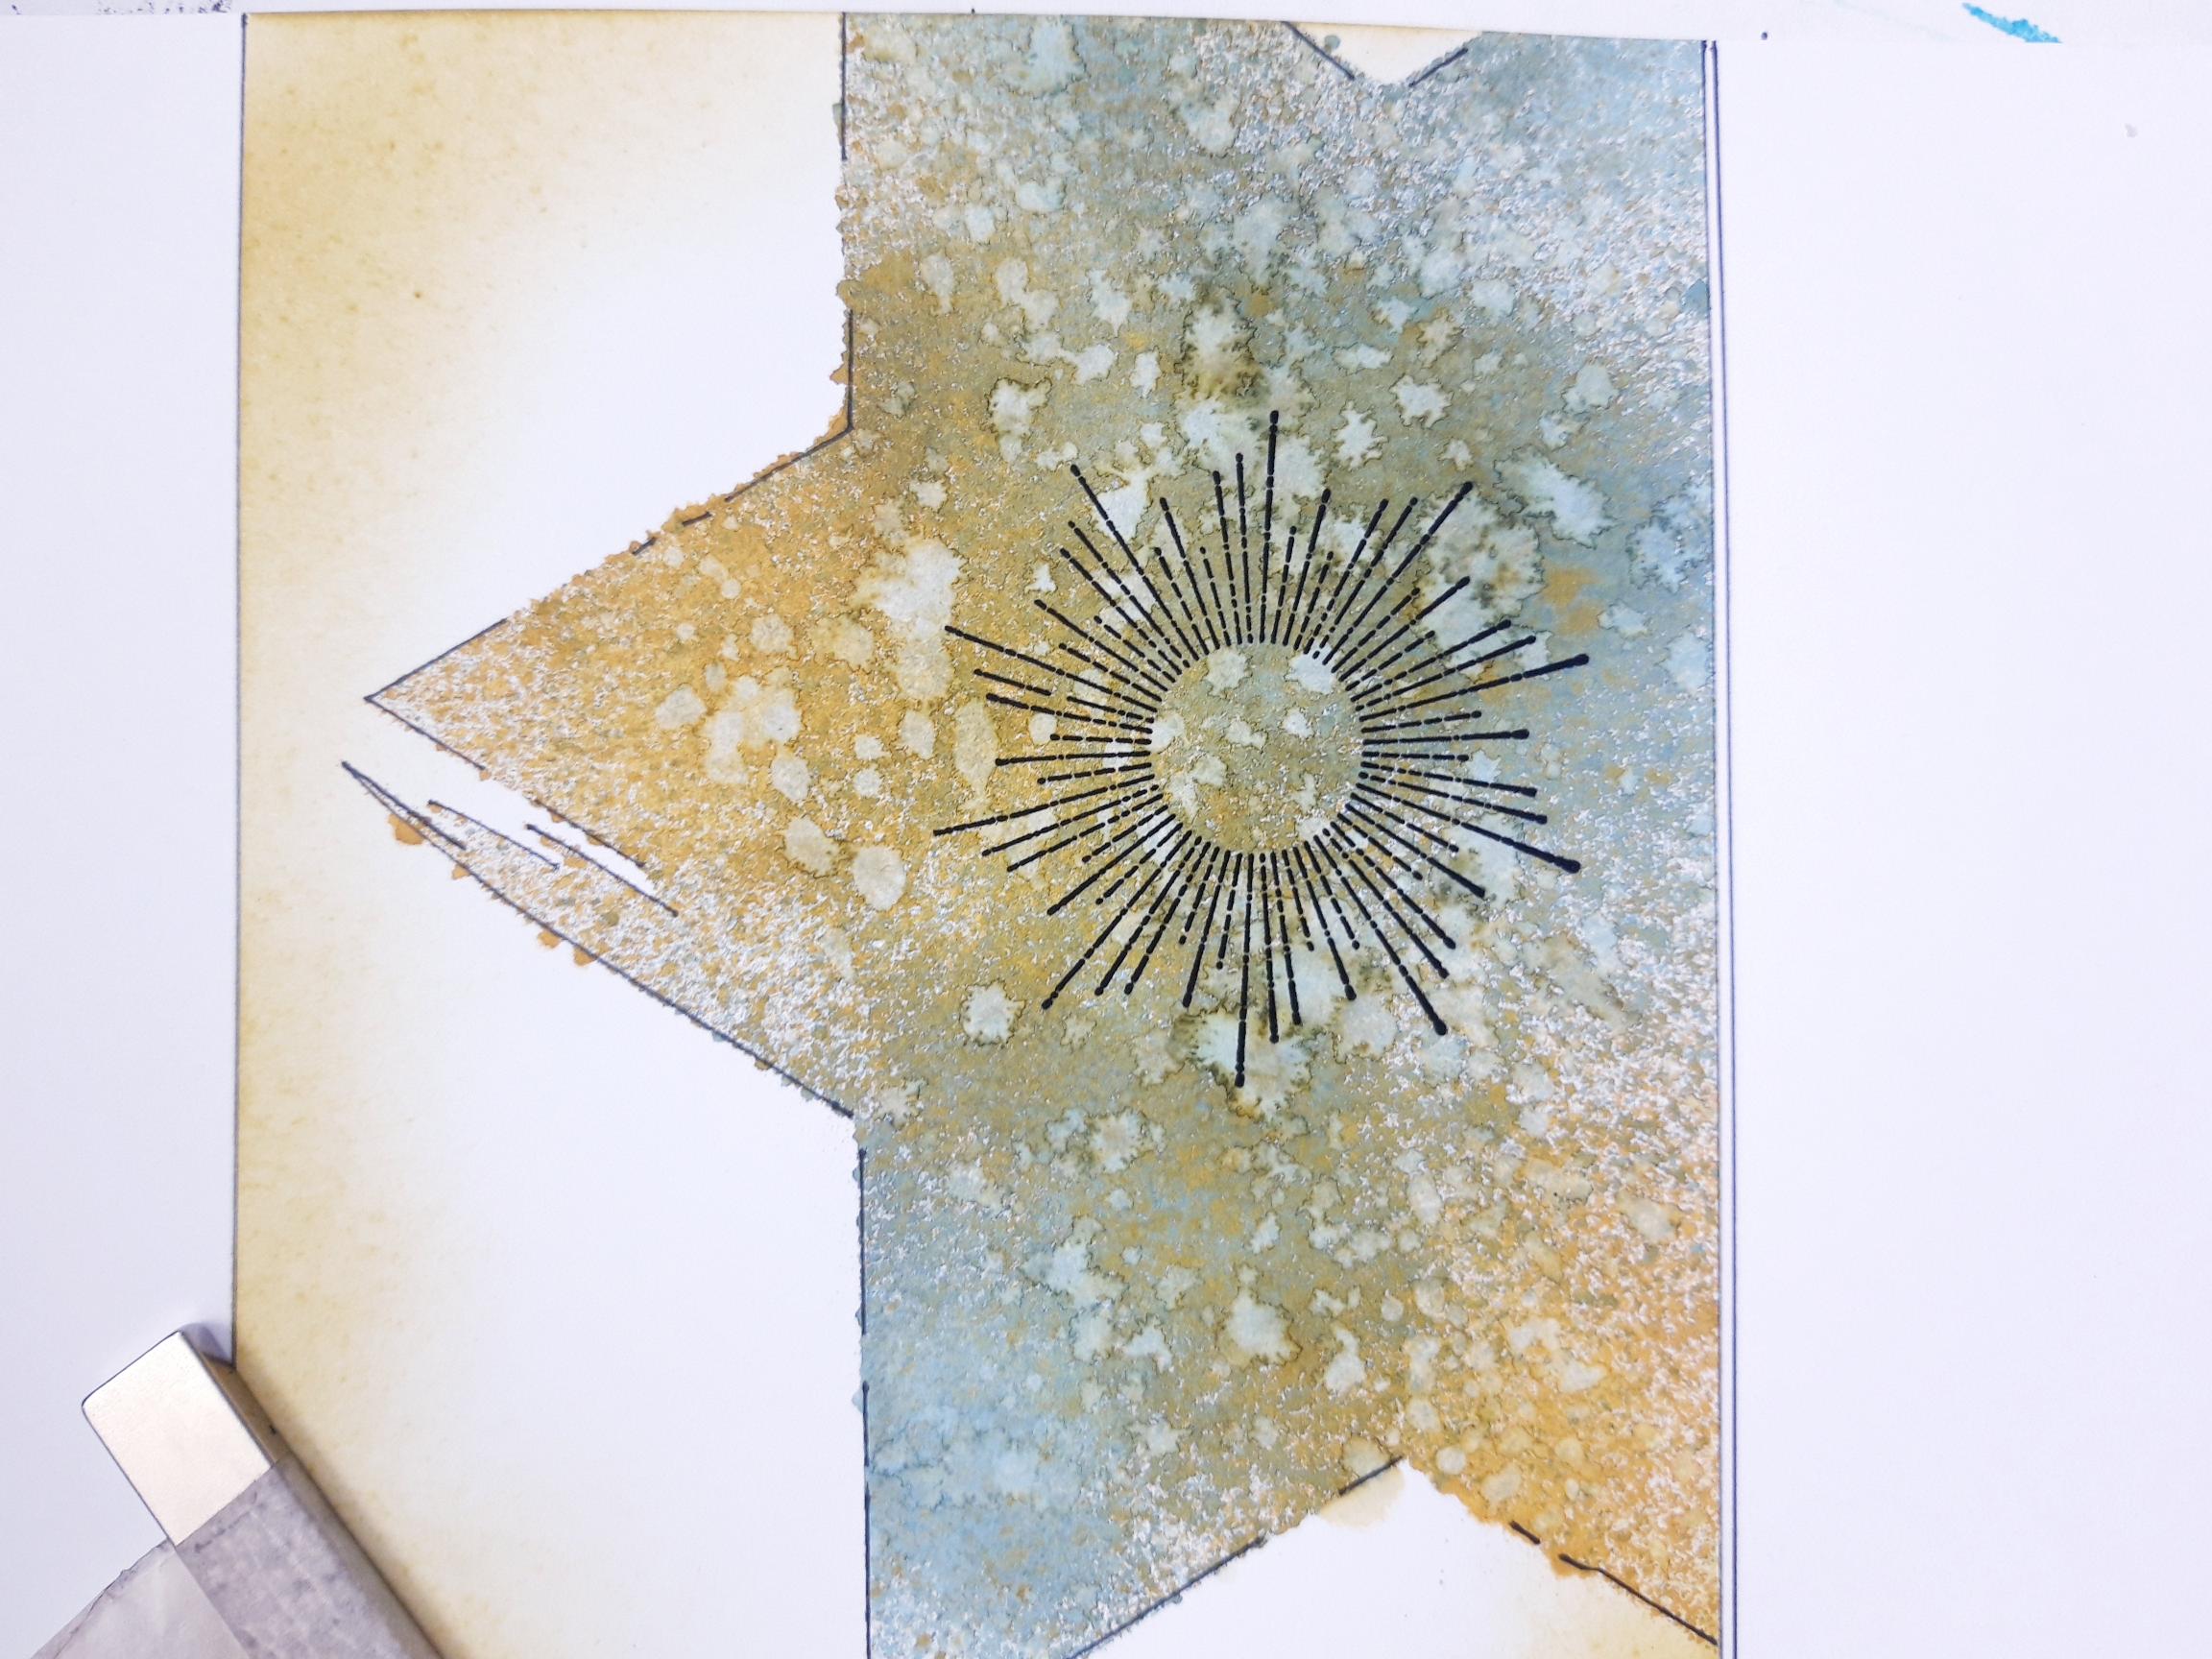
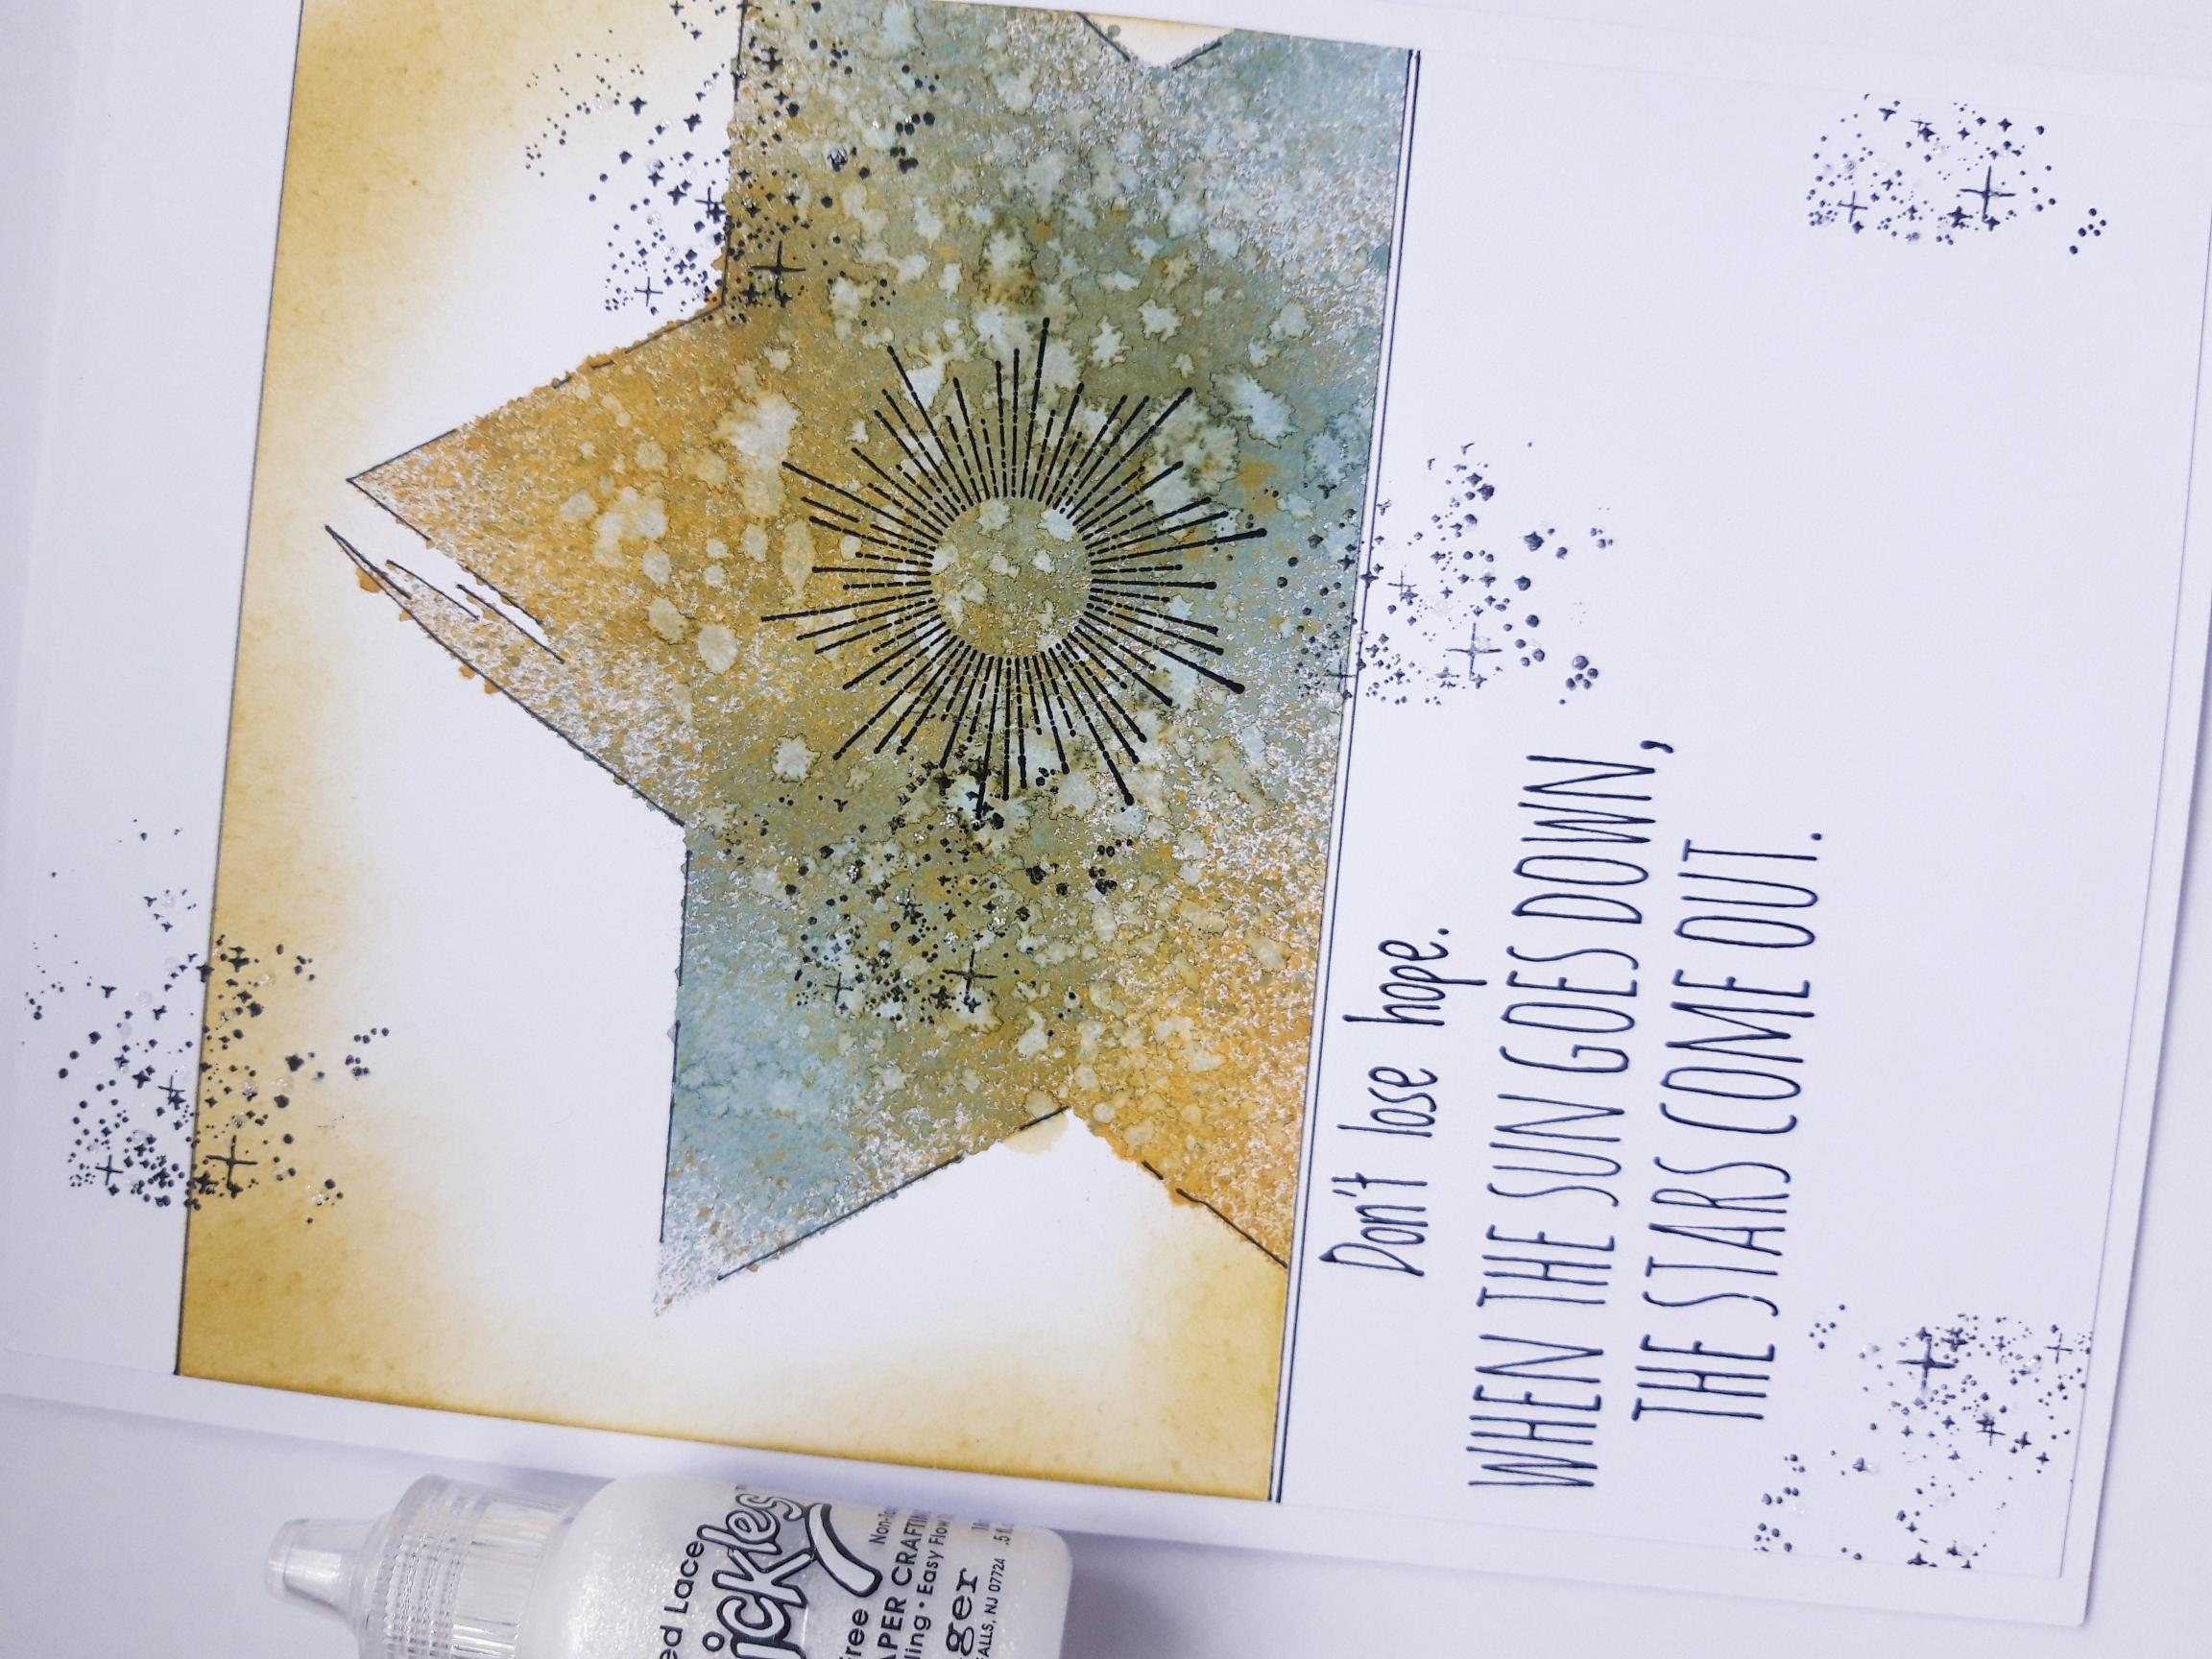
Spray the Izink Butterscotch and Morning Mist within the star, leaving some white spaces. |
|
Use your paint brush to splatter water over the ink. Wait a few seconds, then mop up the excess water and ink, with a paper towel. Dry off the sprayed ink. |
|
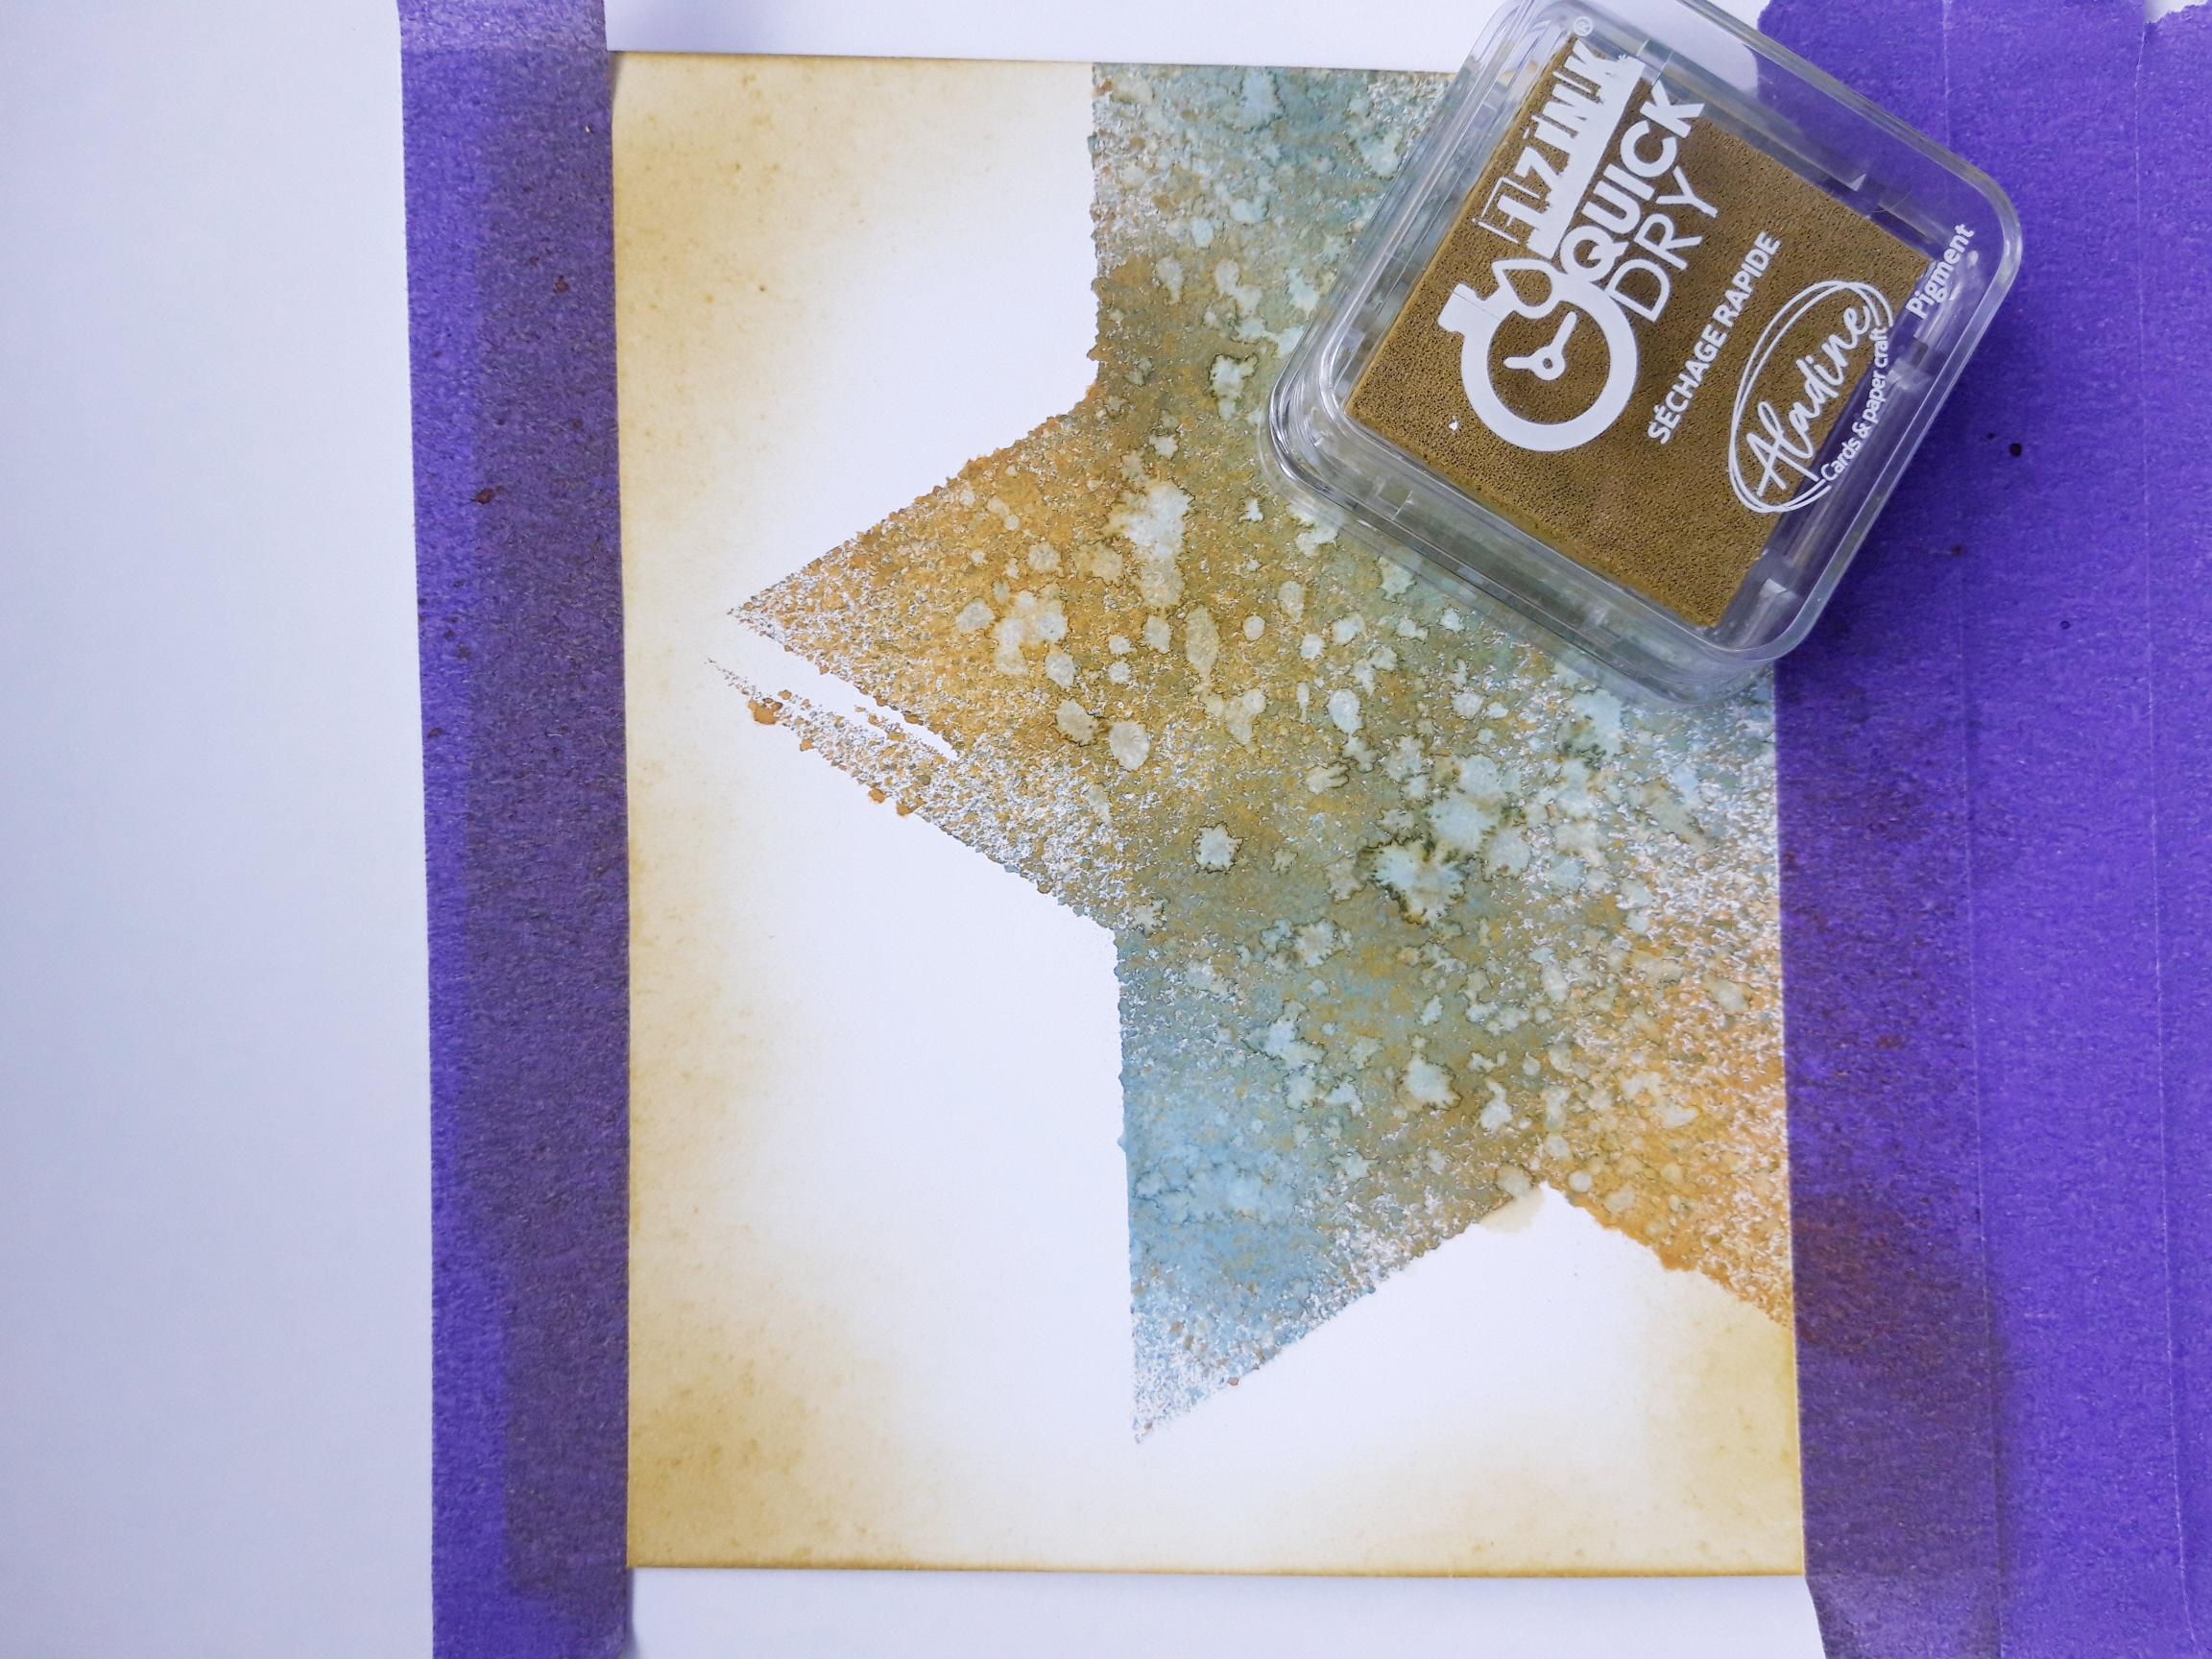
Lightly blend the Izink Pigment ink around the edges of the masked off panel. The Pigment ink is a slow drying ink, so make sure the ink is completely dry, before moving to the next step. |

|
Carefully remove all the low tack/masking tape. |
|
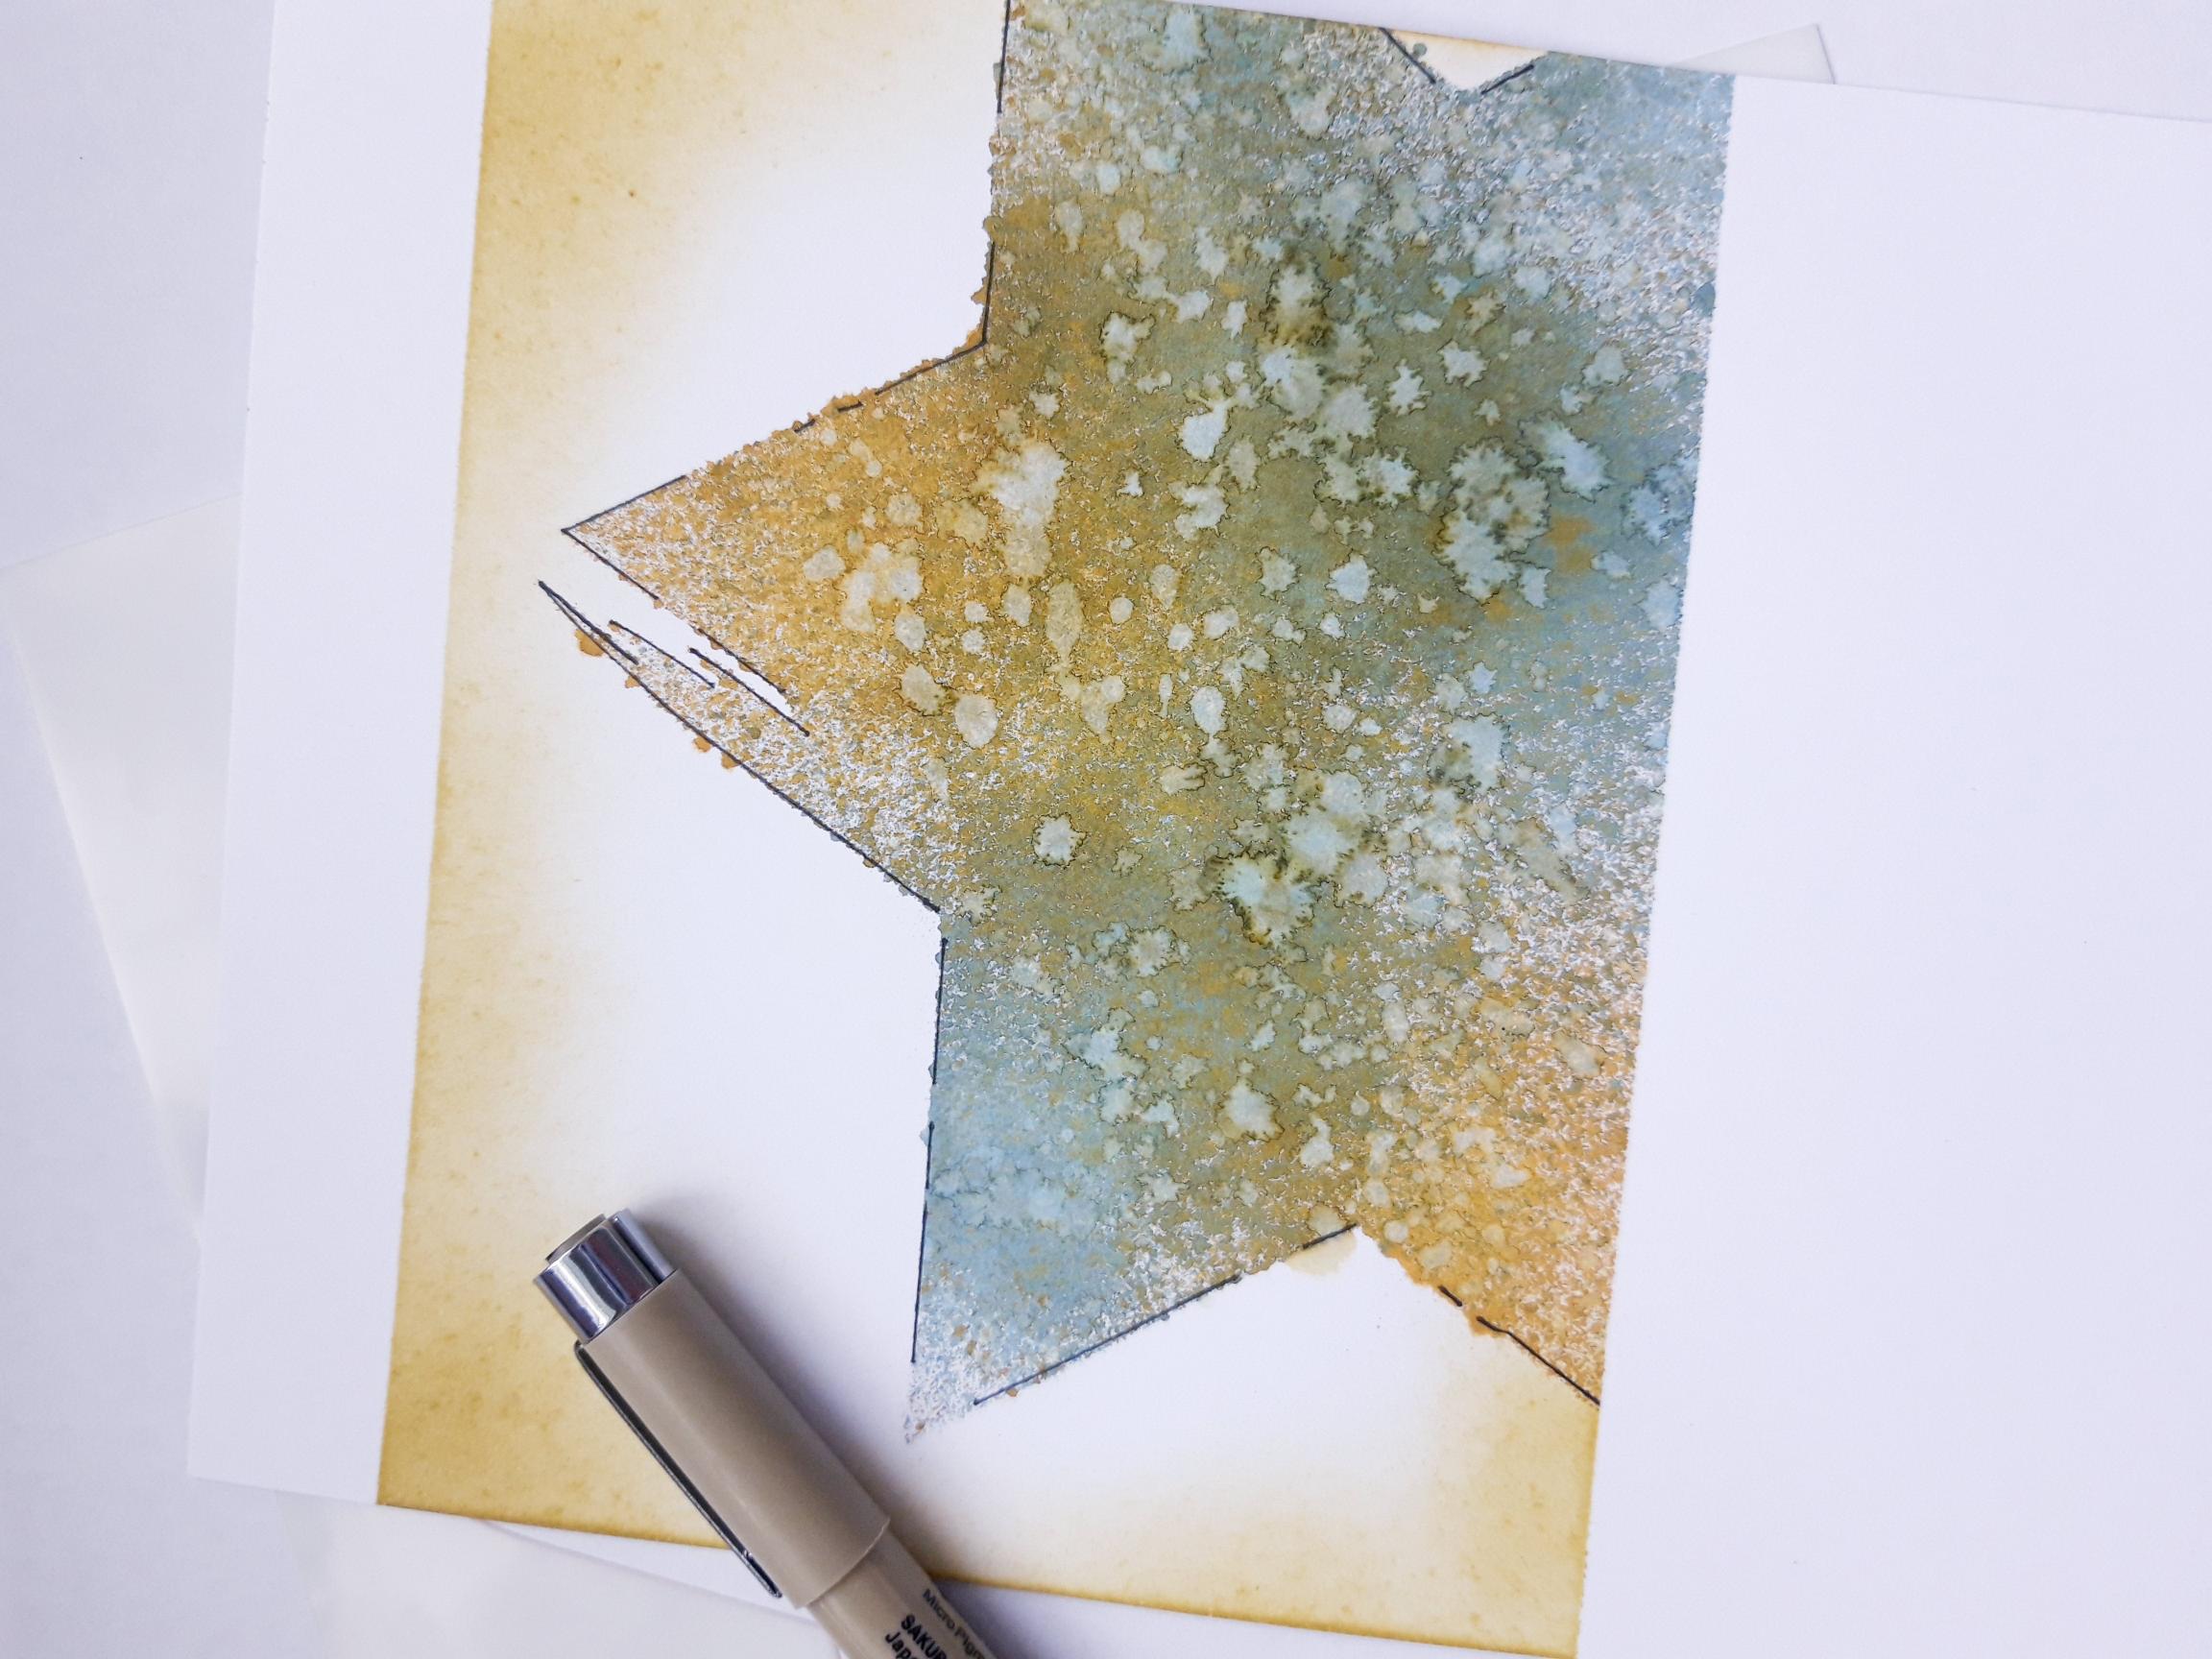
Place the star stencil back in place and use a fine line, black pen, to draw around random areas of the stencil, to accentuate it's shape. |
|
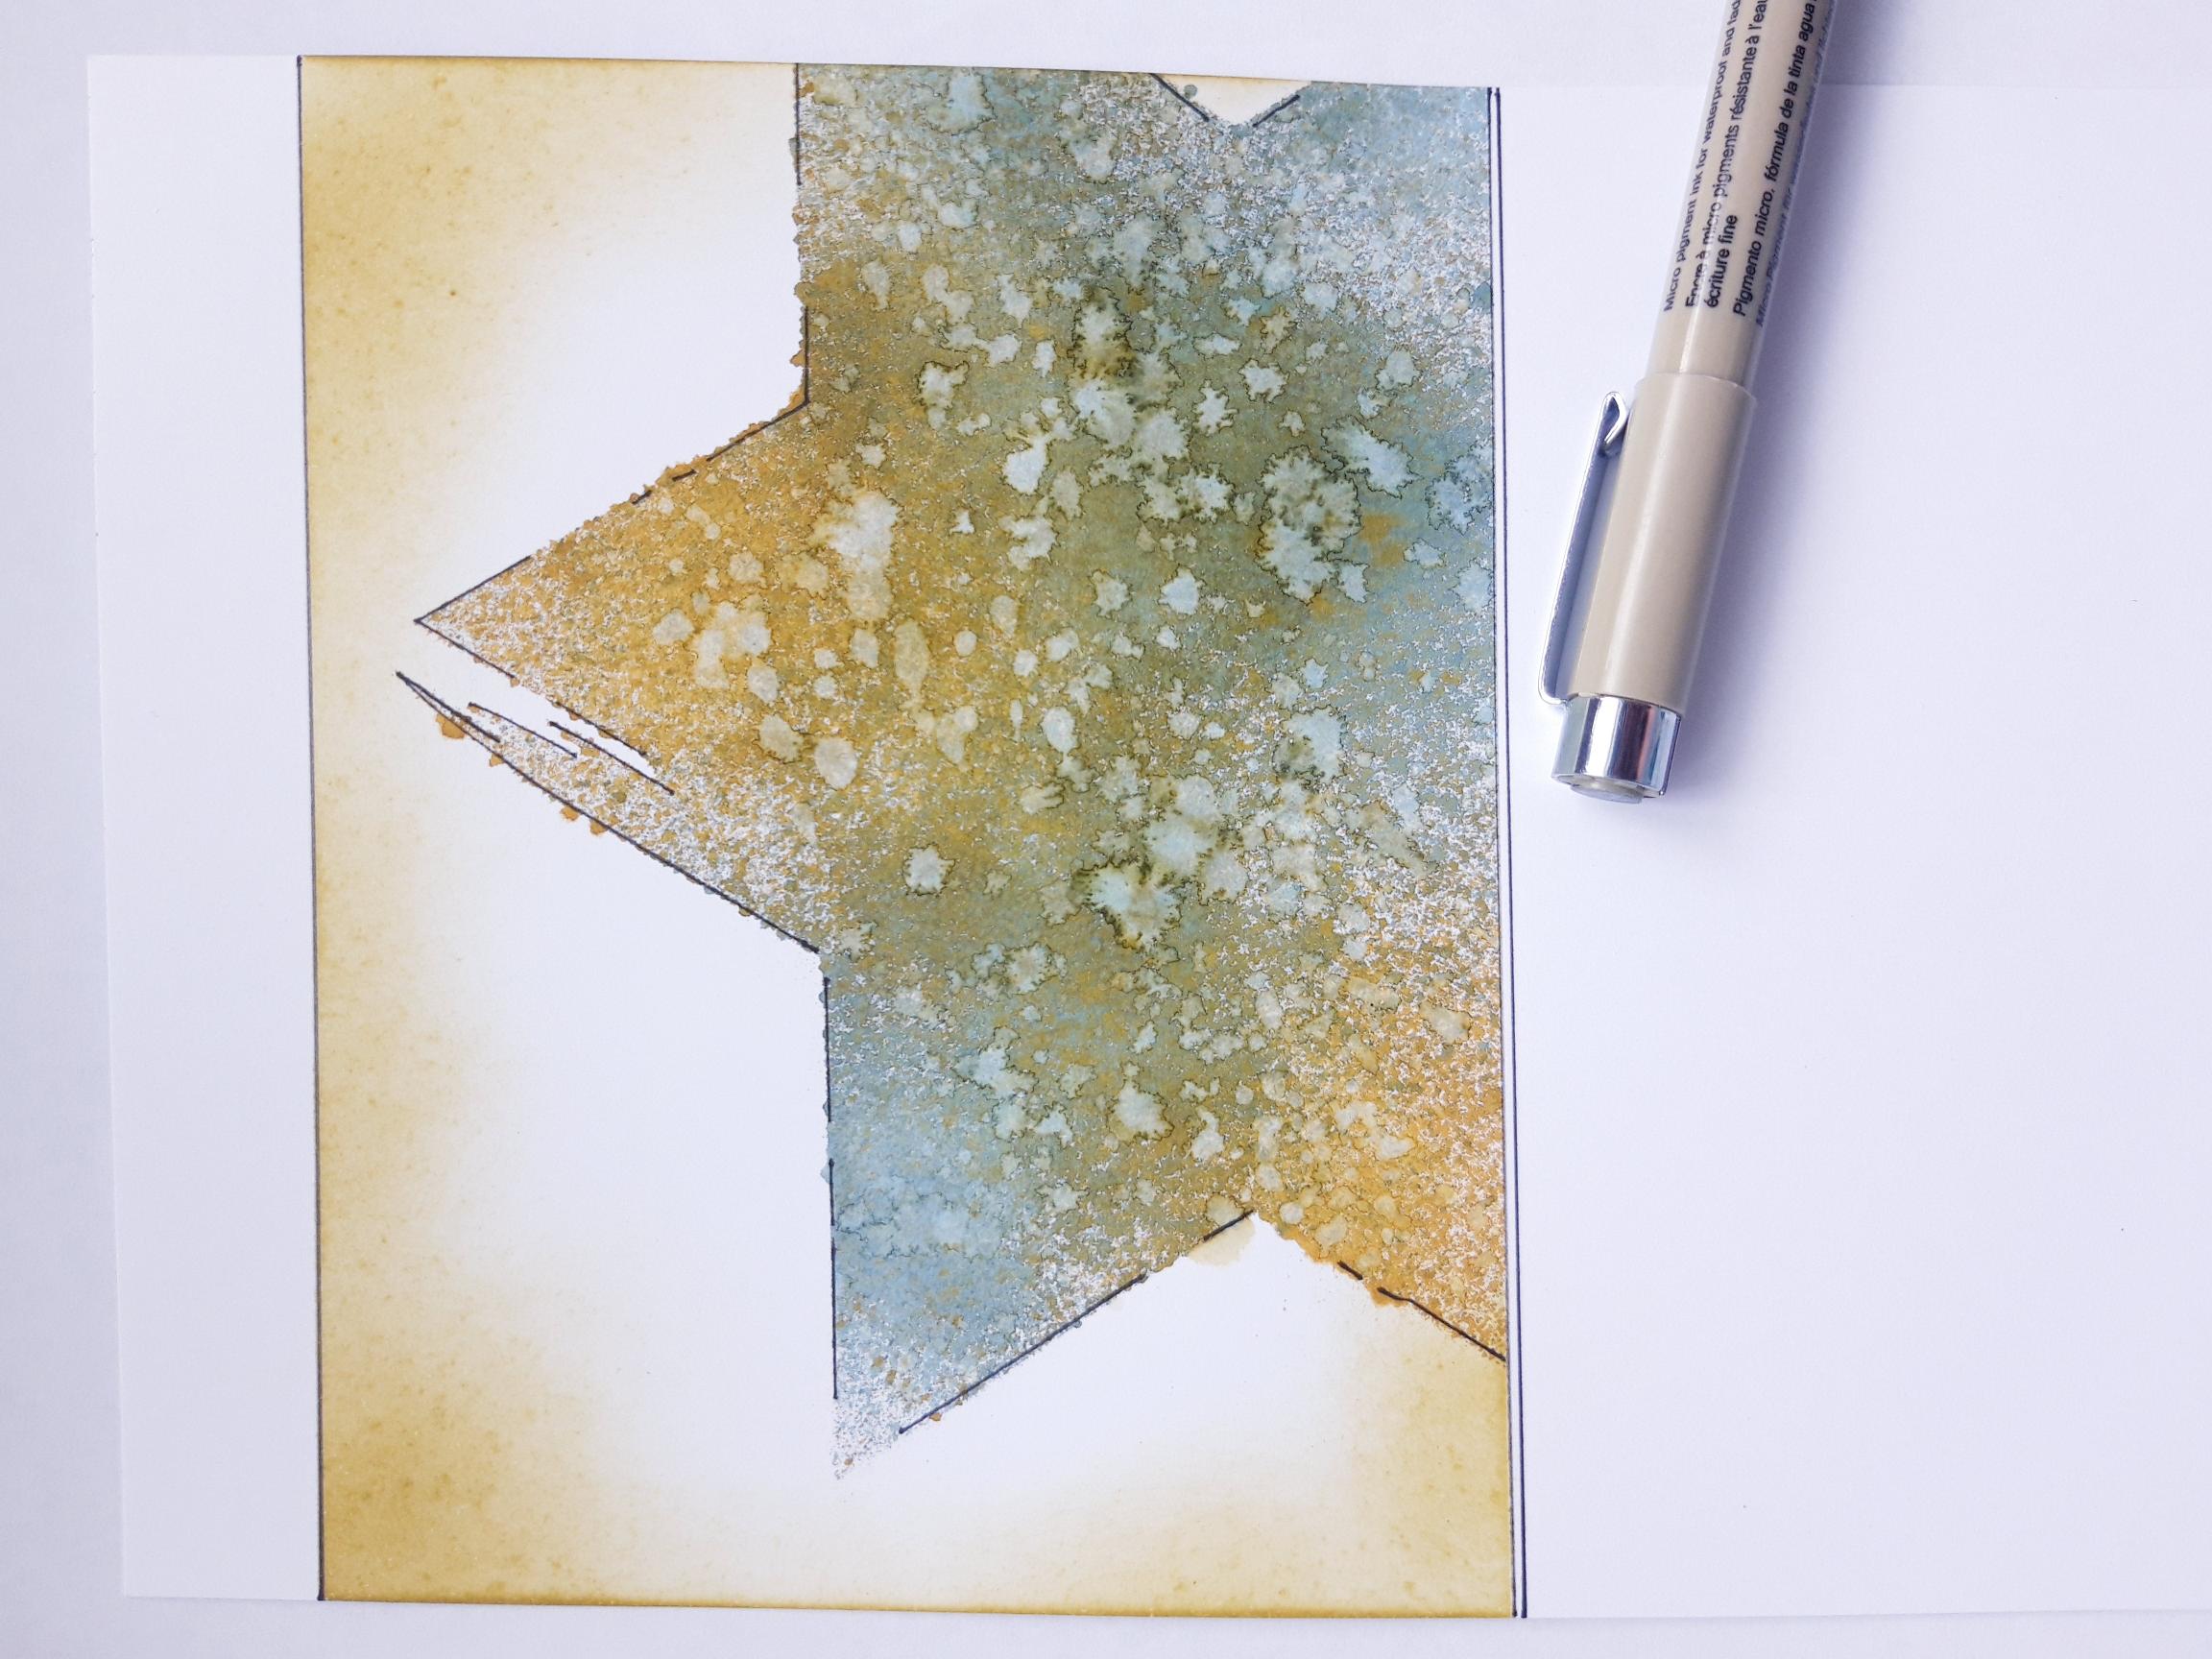
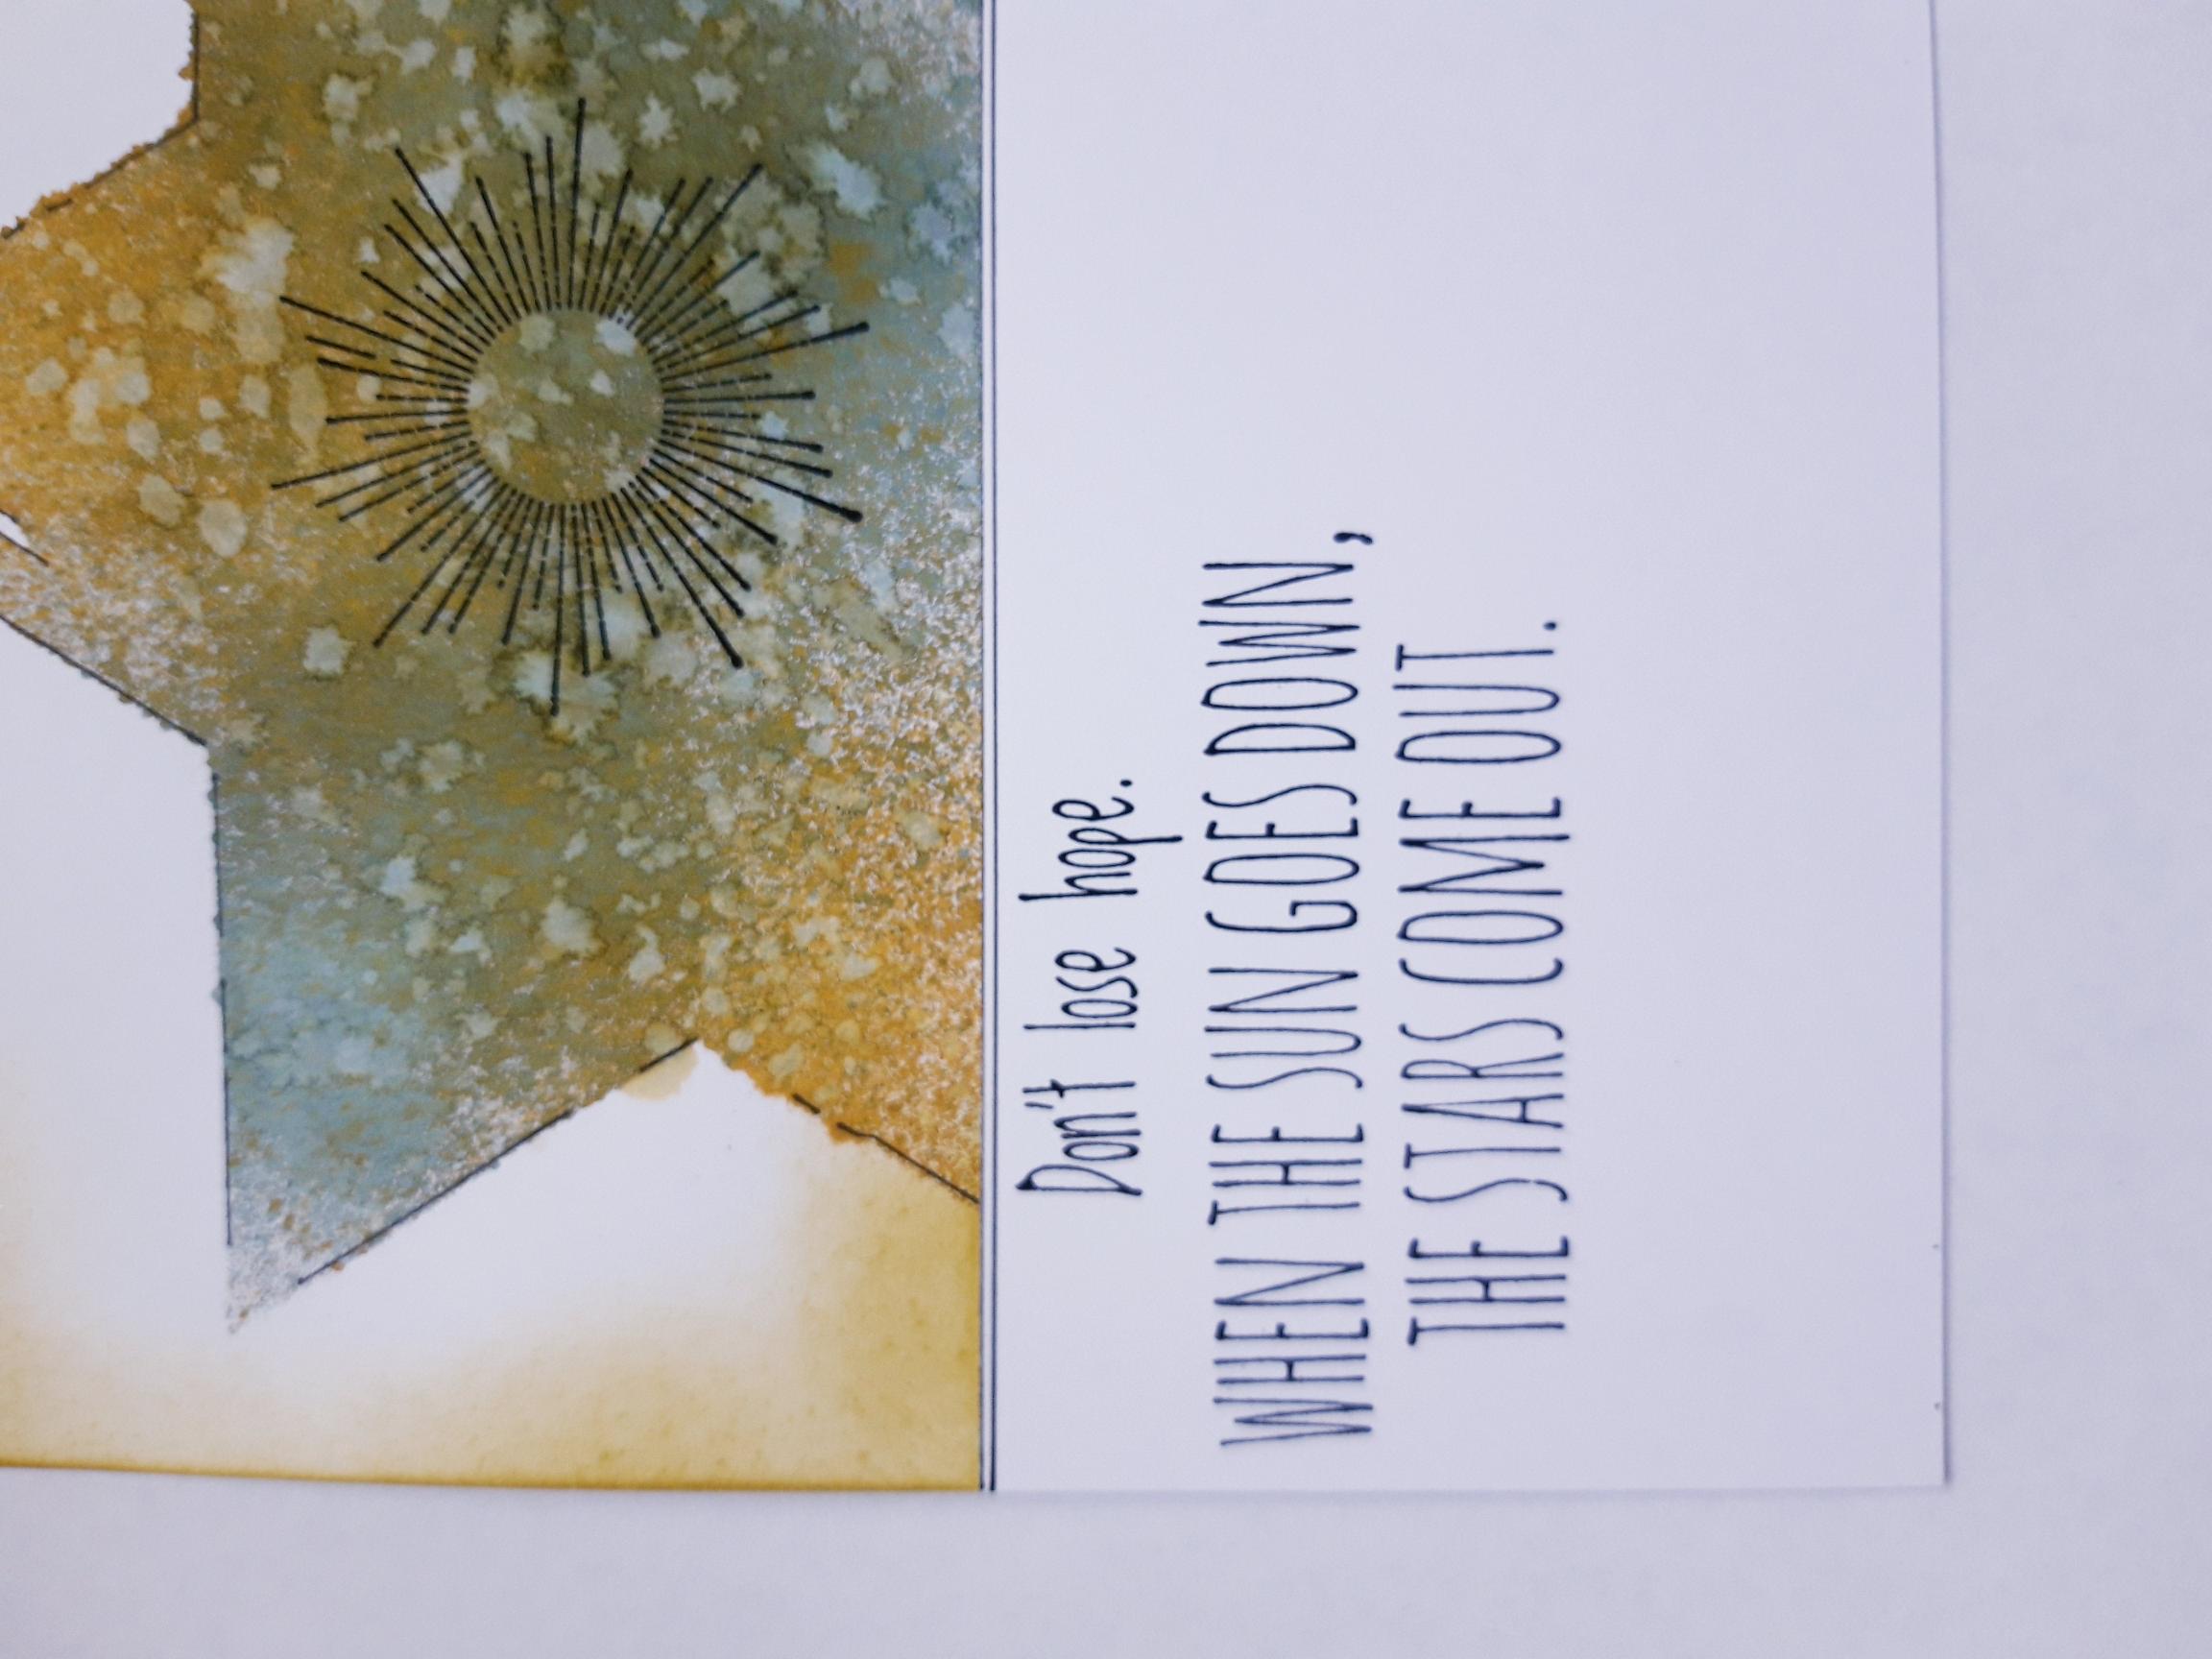
Use your ruler and black pen to draw a line along the top of the inked panel. Draw a line along the bottom of the inked panel and a second line just below that. |
|
Ink up the decorative circle/sun stamp, from the same collection, with the Onyx Black Versafine. Stamp it centrally, within your inked star. |
|
Ink up the sentiment stamp with the Versafine and stamp under the inked panel, to the left of your card. |
|
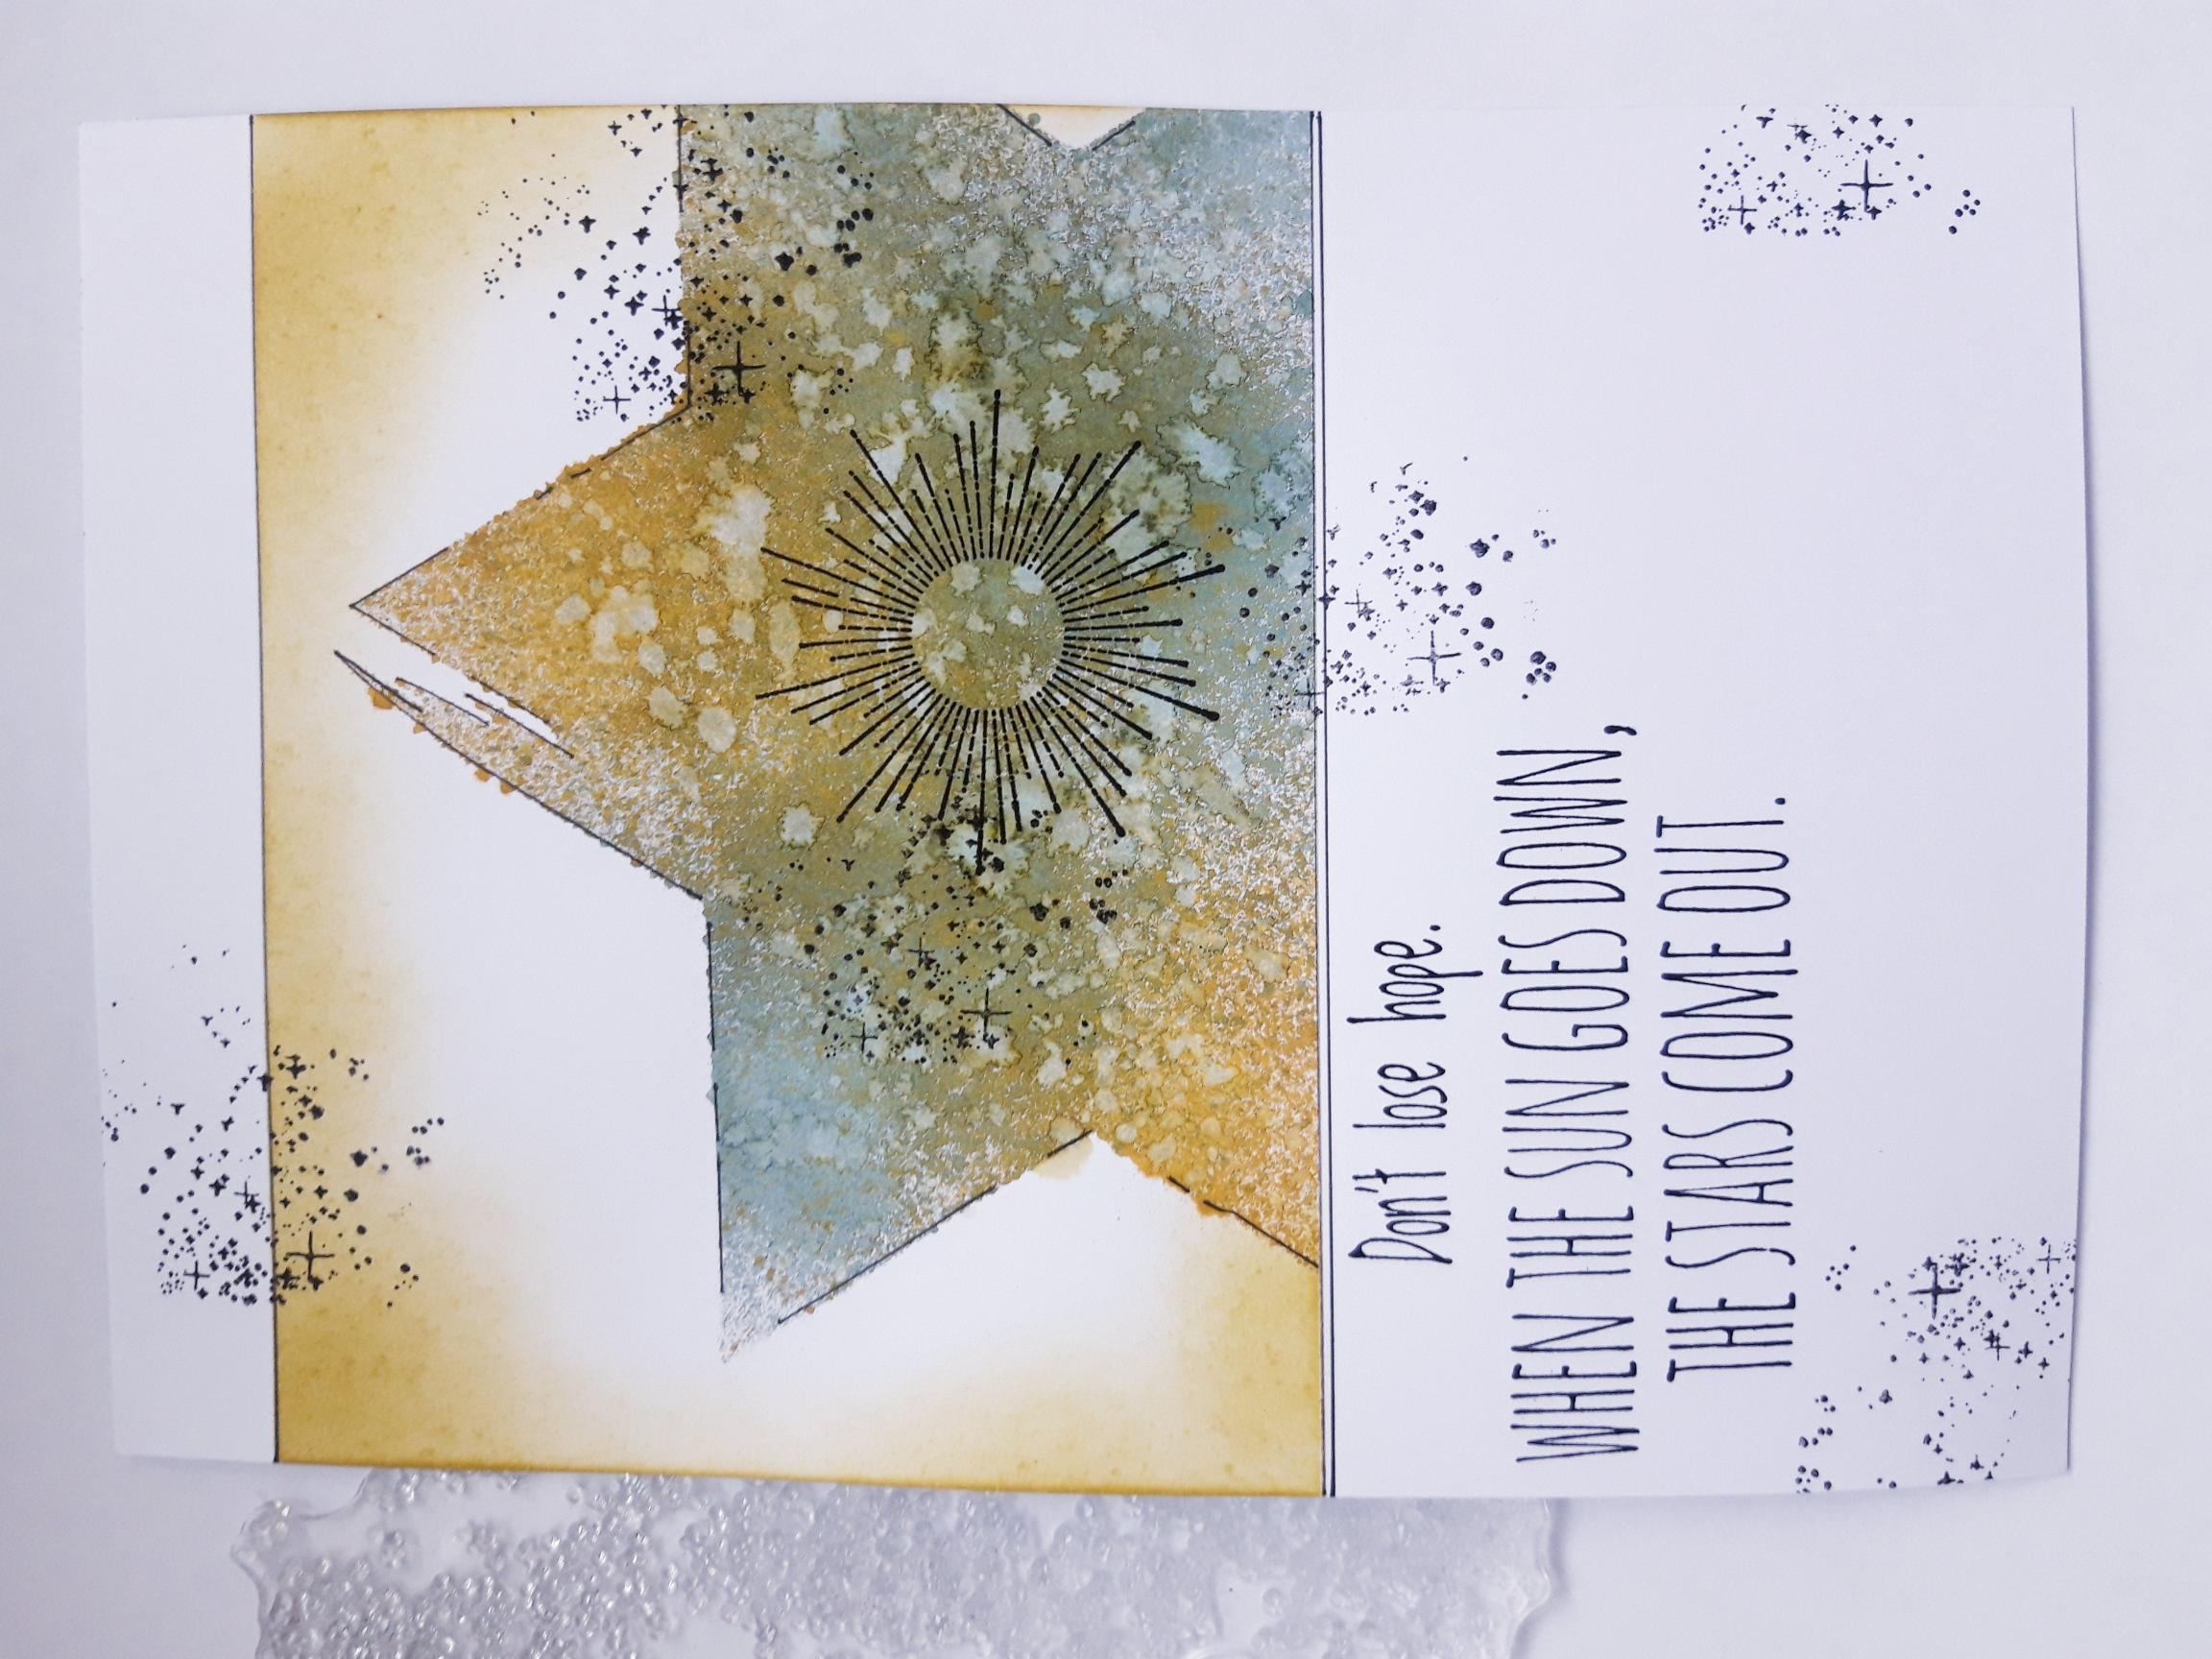
Ink up the textured star stamp with the Versafine and randomly stamp on and around your artwork. |
|
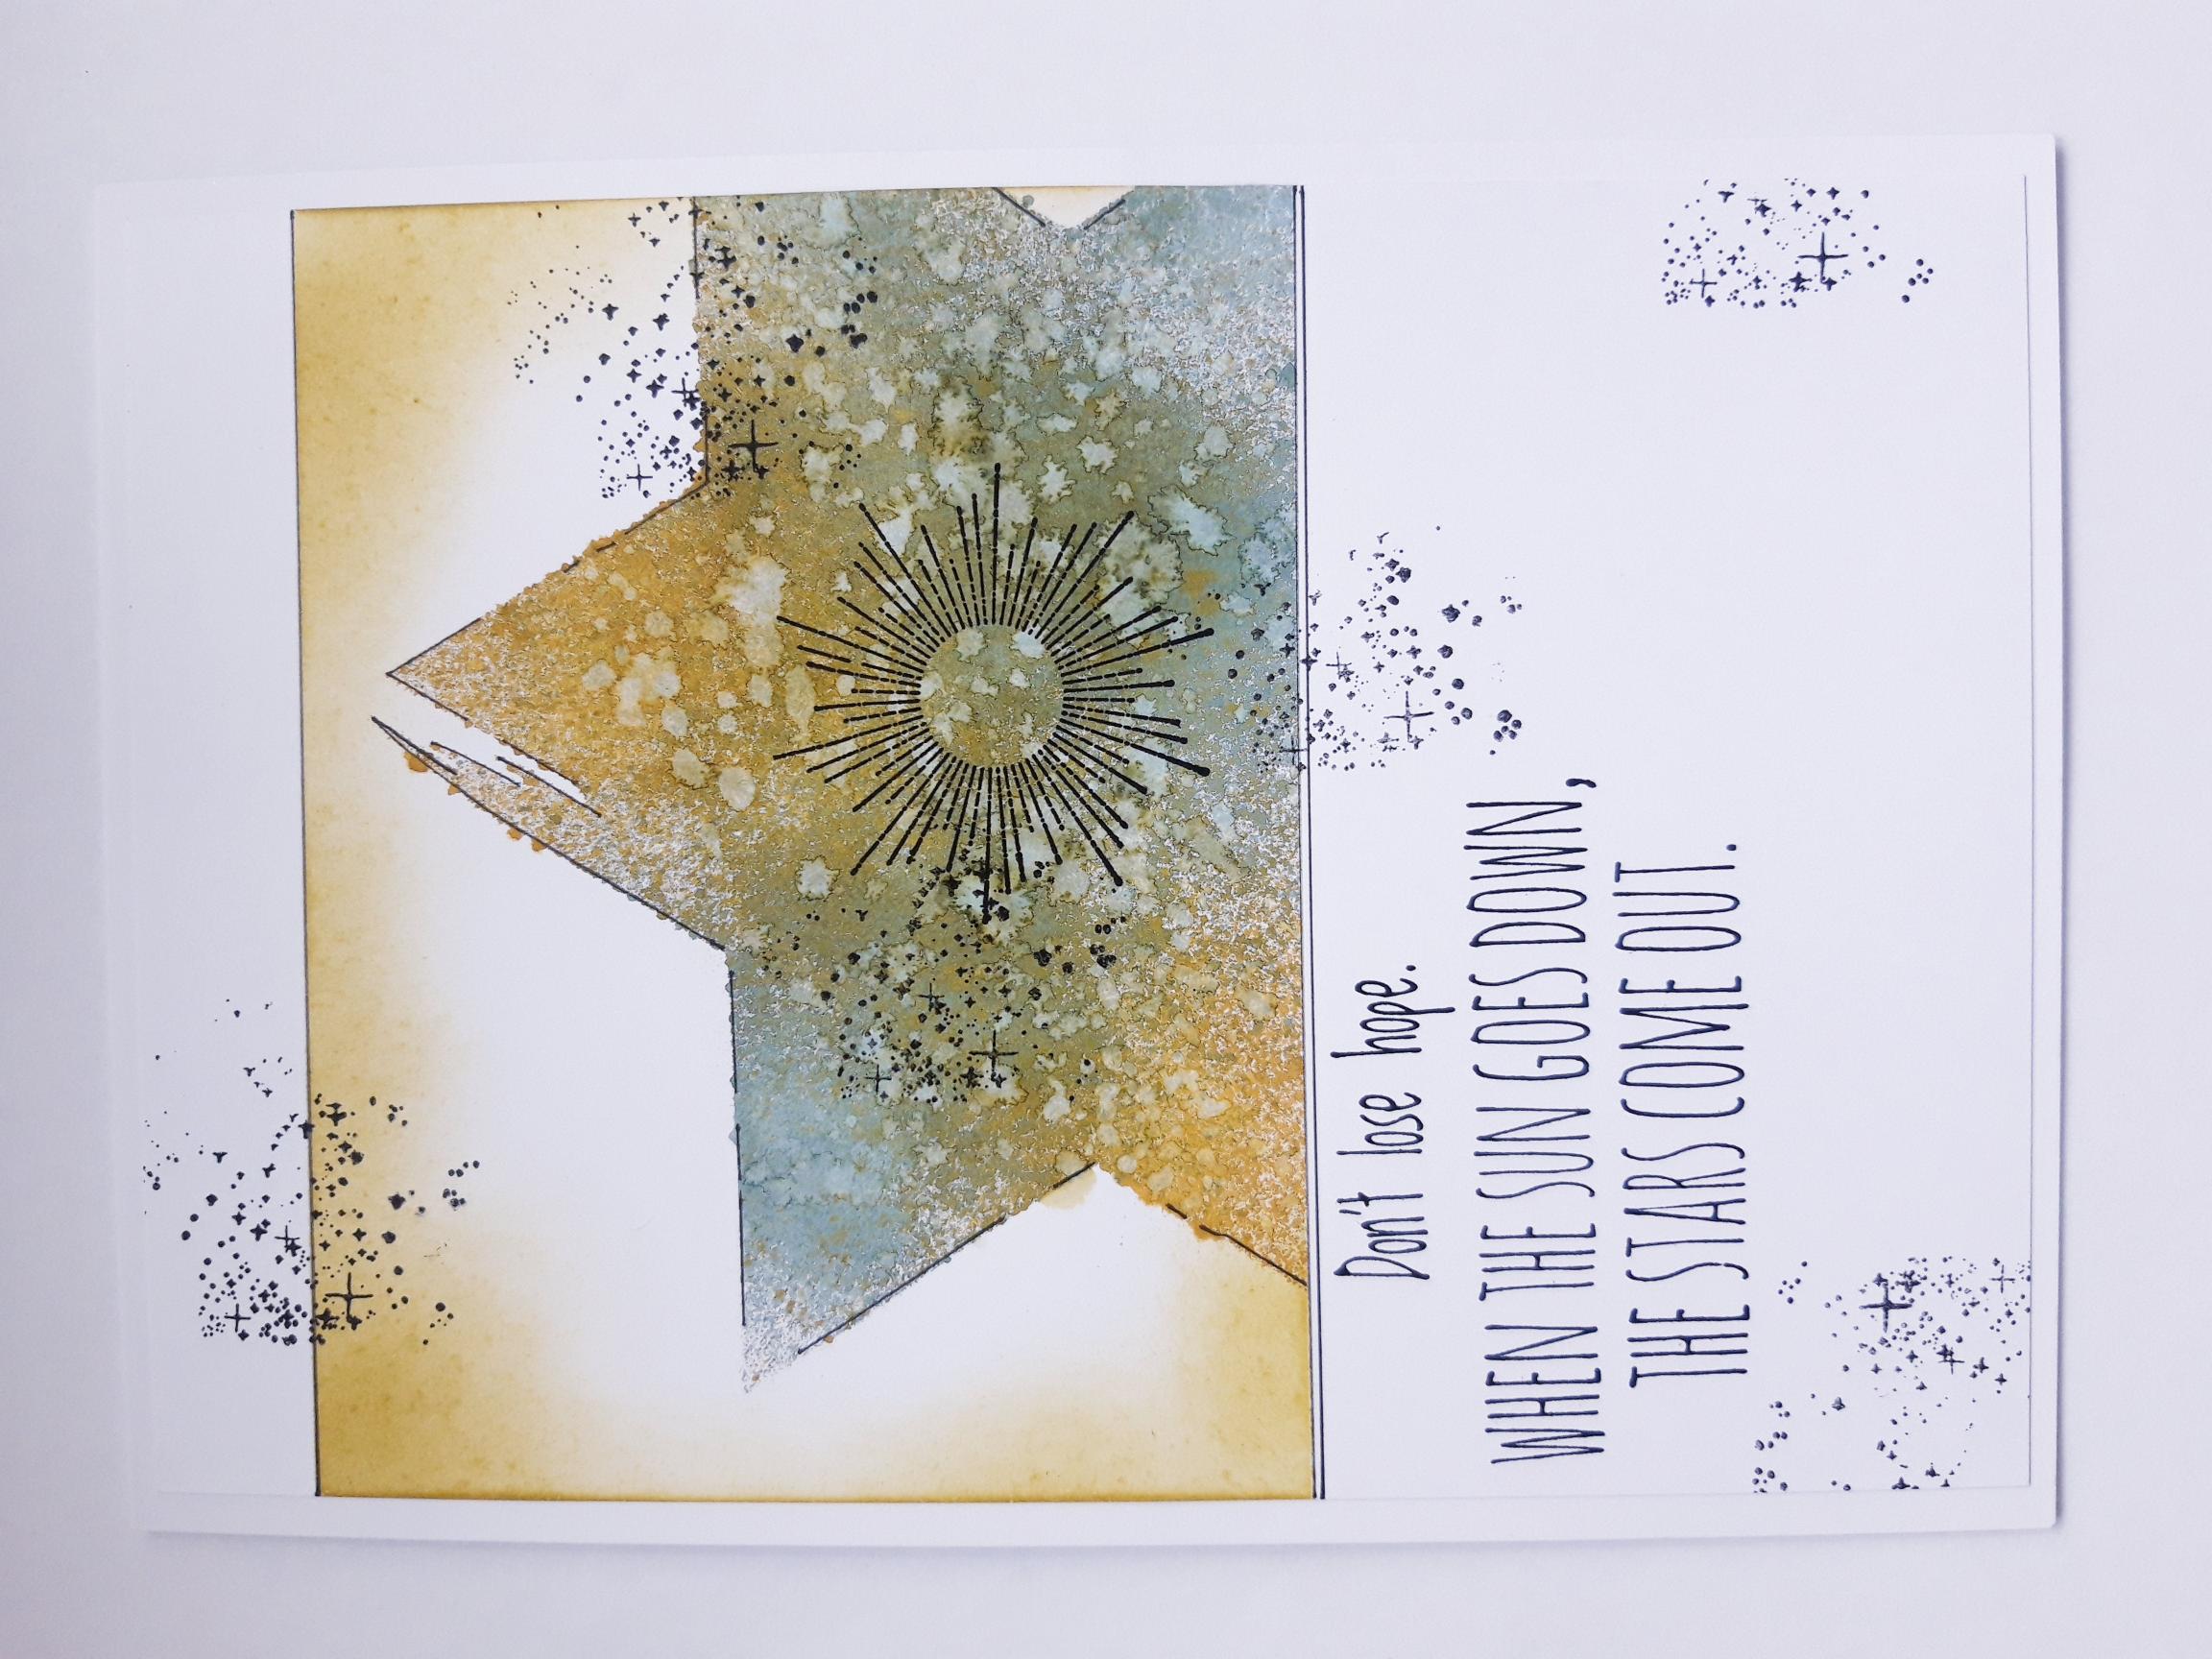
Once all your artwork is dry, adhere it on to the front of your white, top folding card blank. |
|
To finish add your Stickles wherever you want a bit of glitter and sparkle! |