Give your friends $10 off their first order!
Refer a FRIEND


WHAT YOU WILL NEED:
6 X 6" white card blank
6 x 5" black cardstock
6 x 4 1/2" white cardstock
4 x 2" black cardstock
4 x 2" white cardstock
4 x 2 1/2" black cardstock
5 x 5" white cardstock
Stamps from the set Thirsty Brush Blooming Foliage
Die from the set Thirsty Brush DREAM
Stencil : Thirsty Brush BLOSSOM
Versafine Ink Pad: Onyx Black Versafine
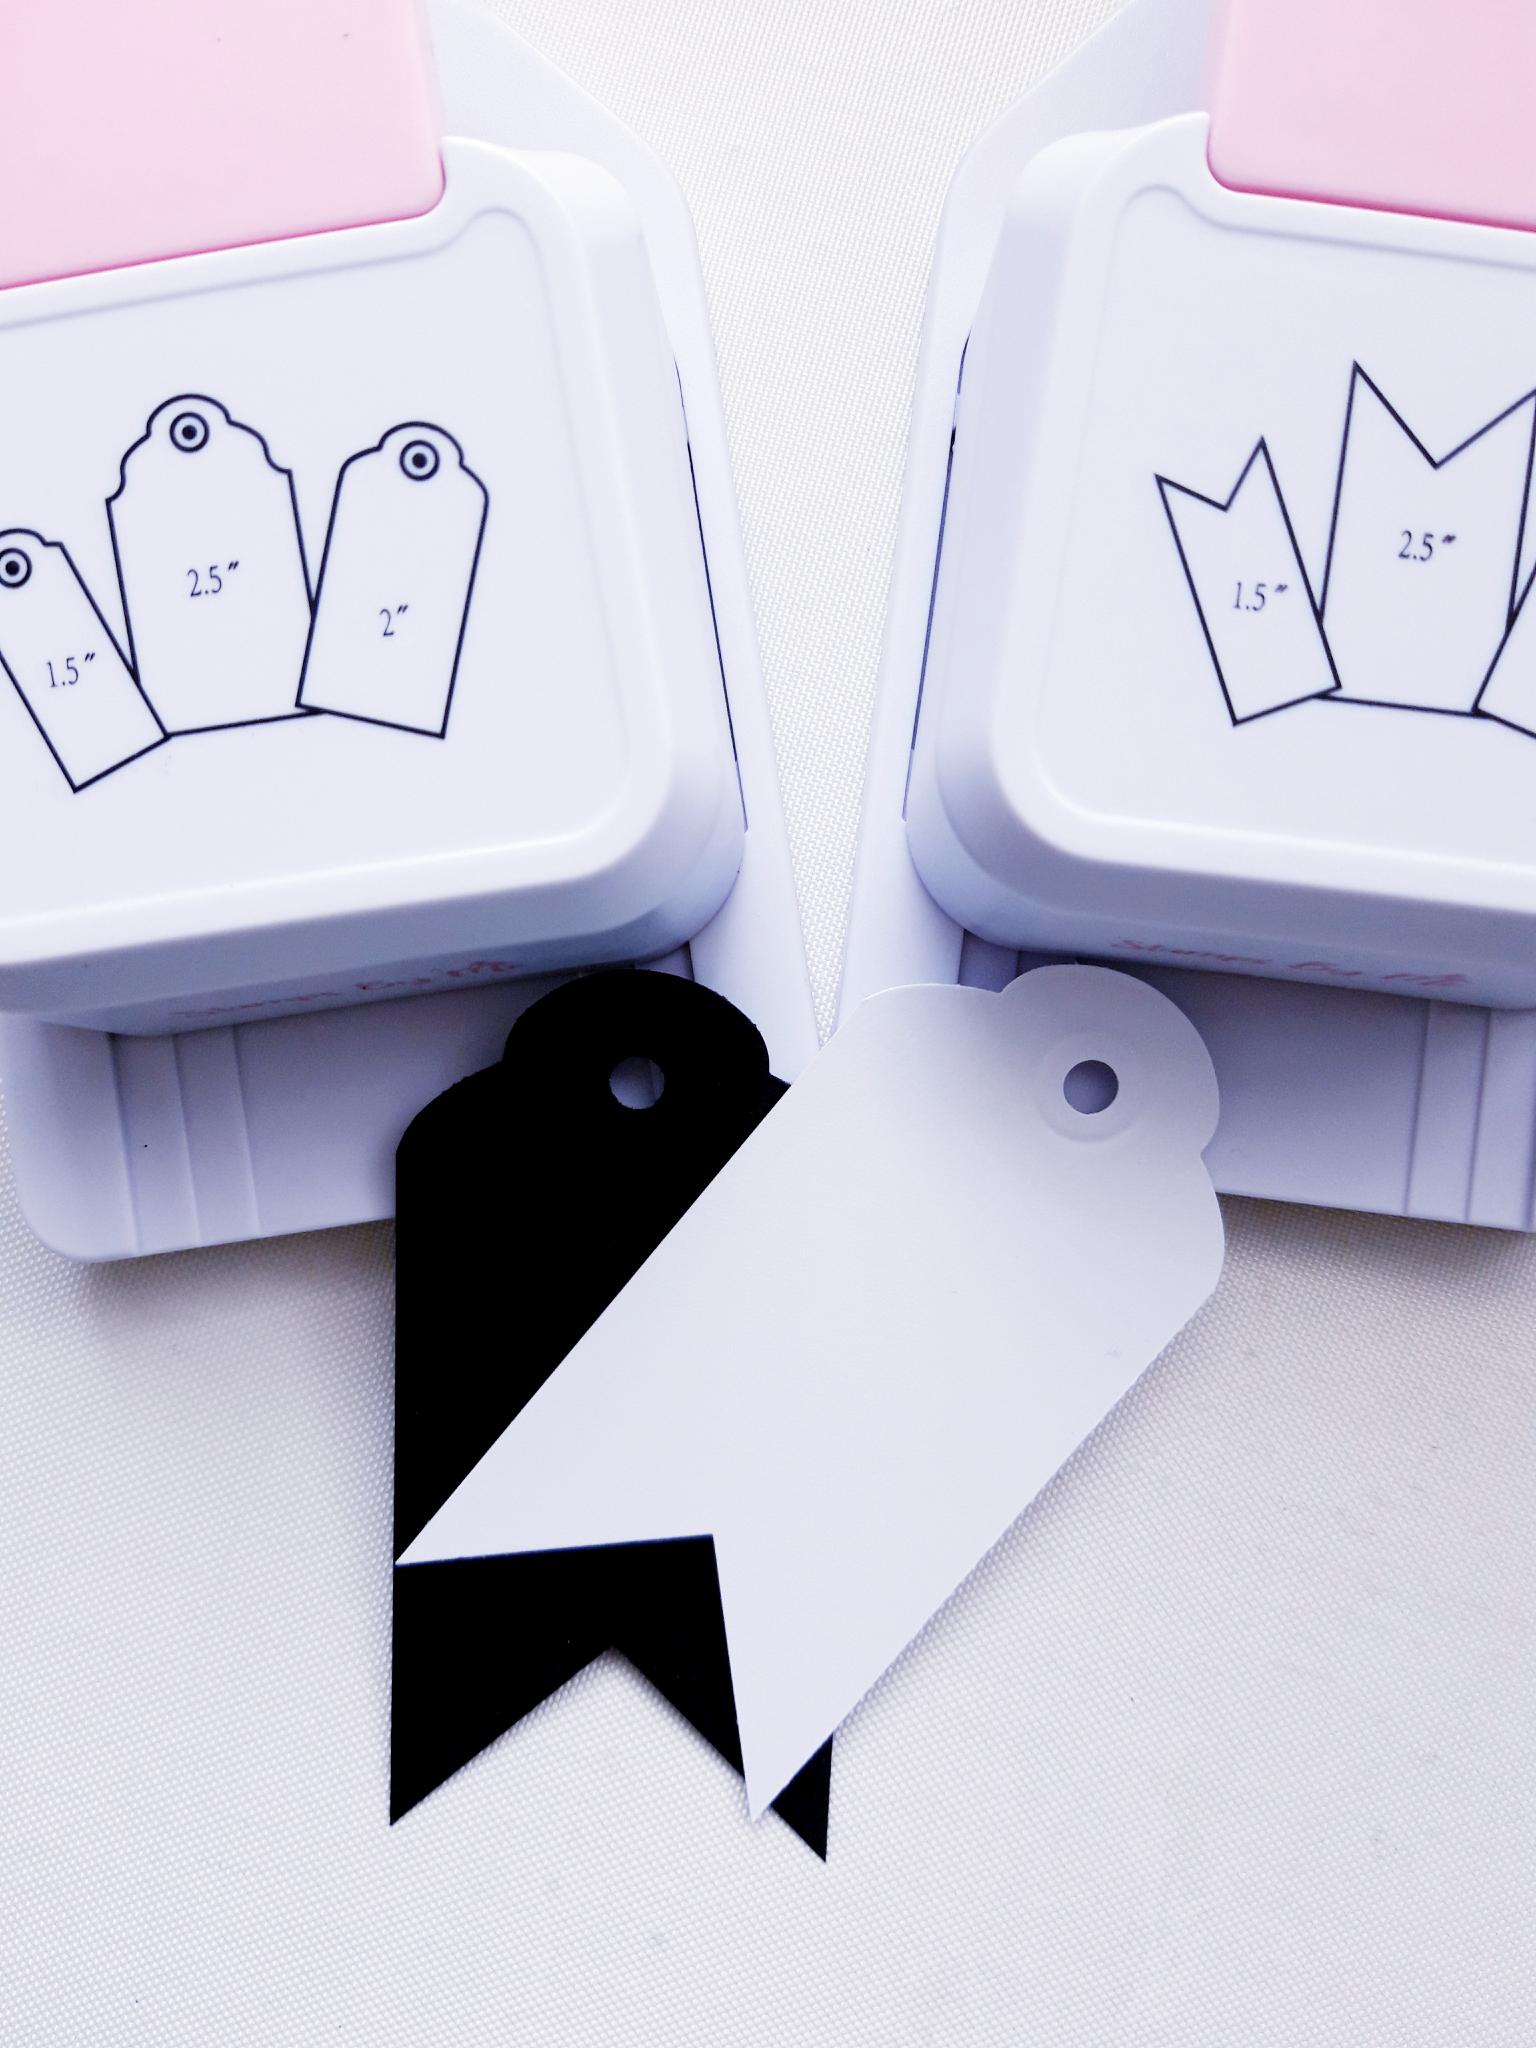
Banner Tag Punch
Tag Punch
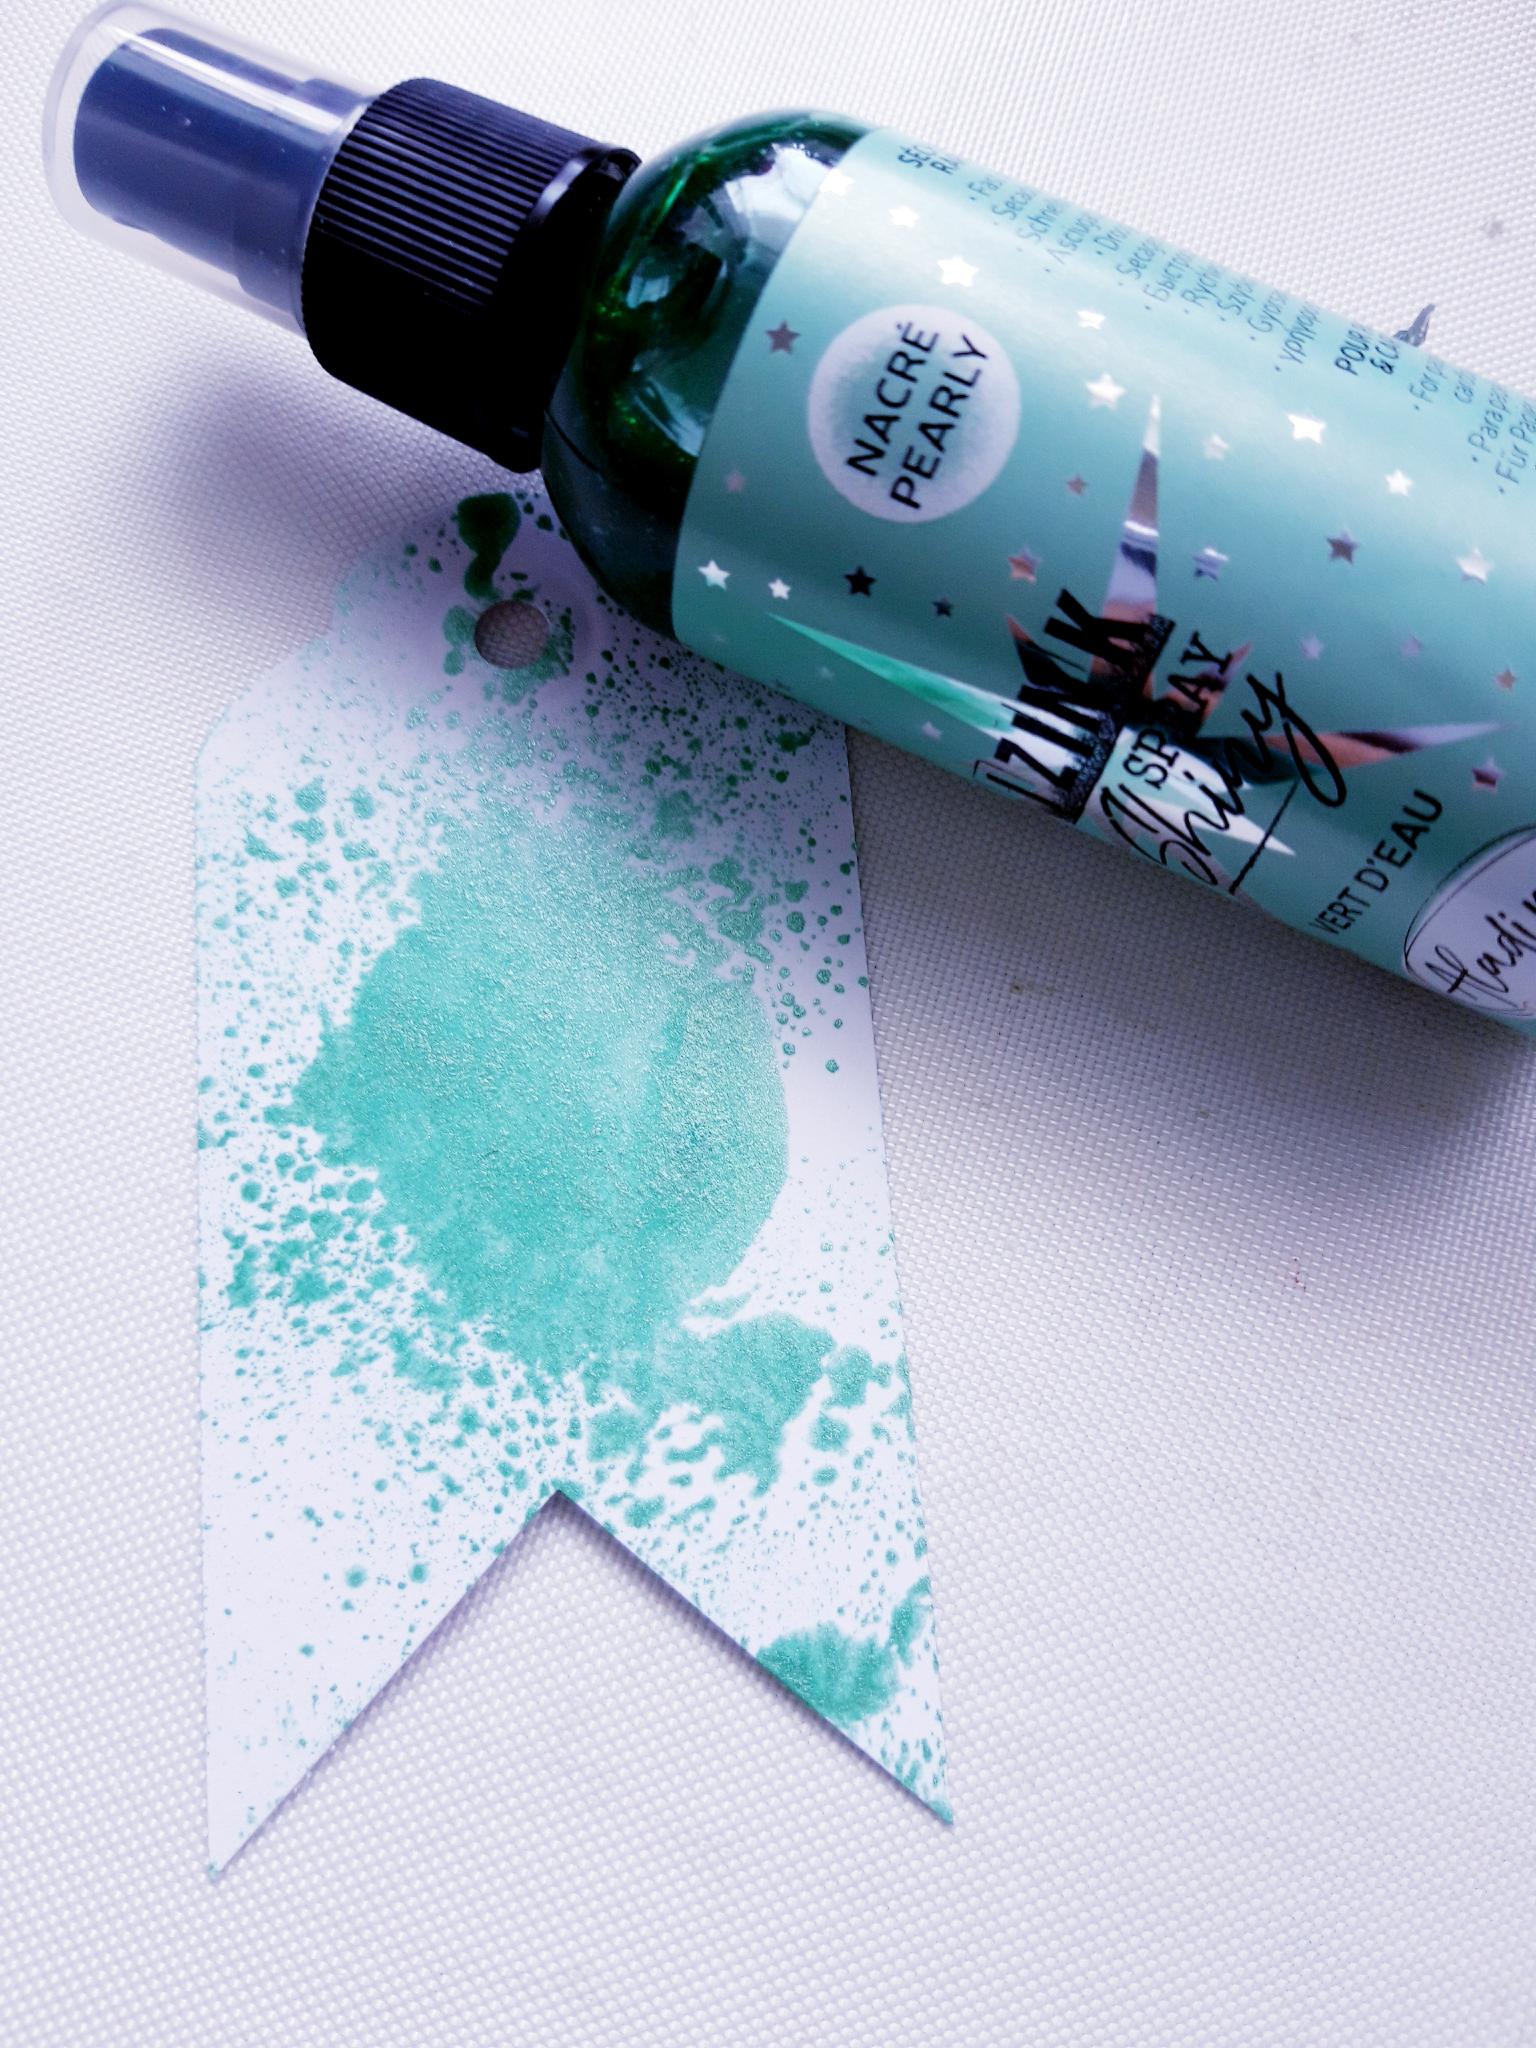
Izink Shiny Spray: Orange Pastel, Vert D'Eau
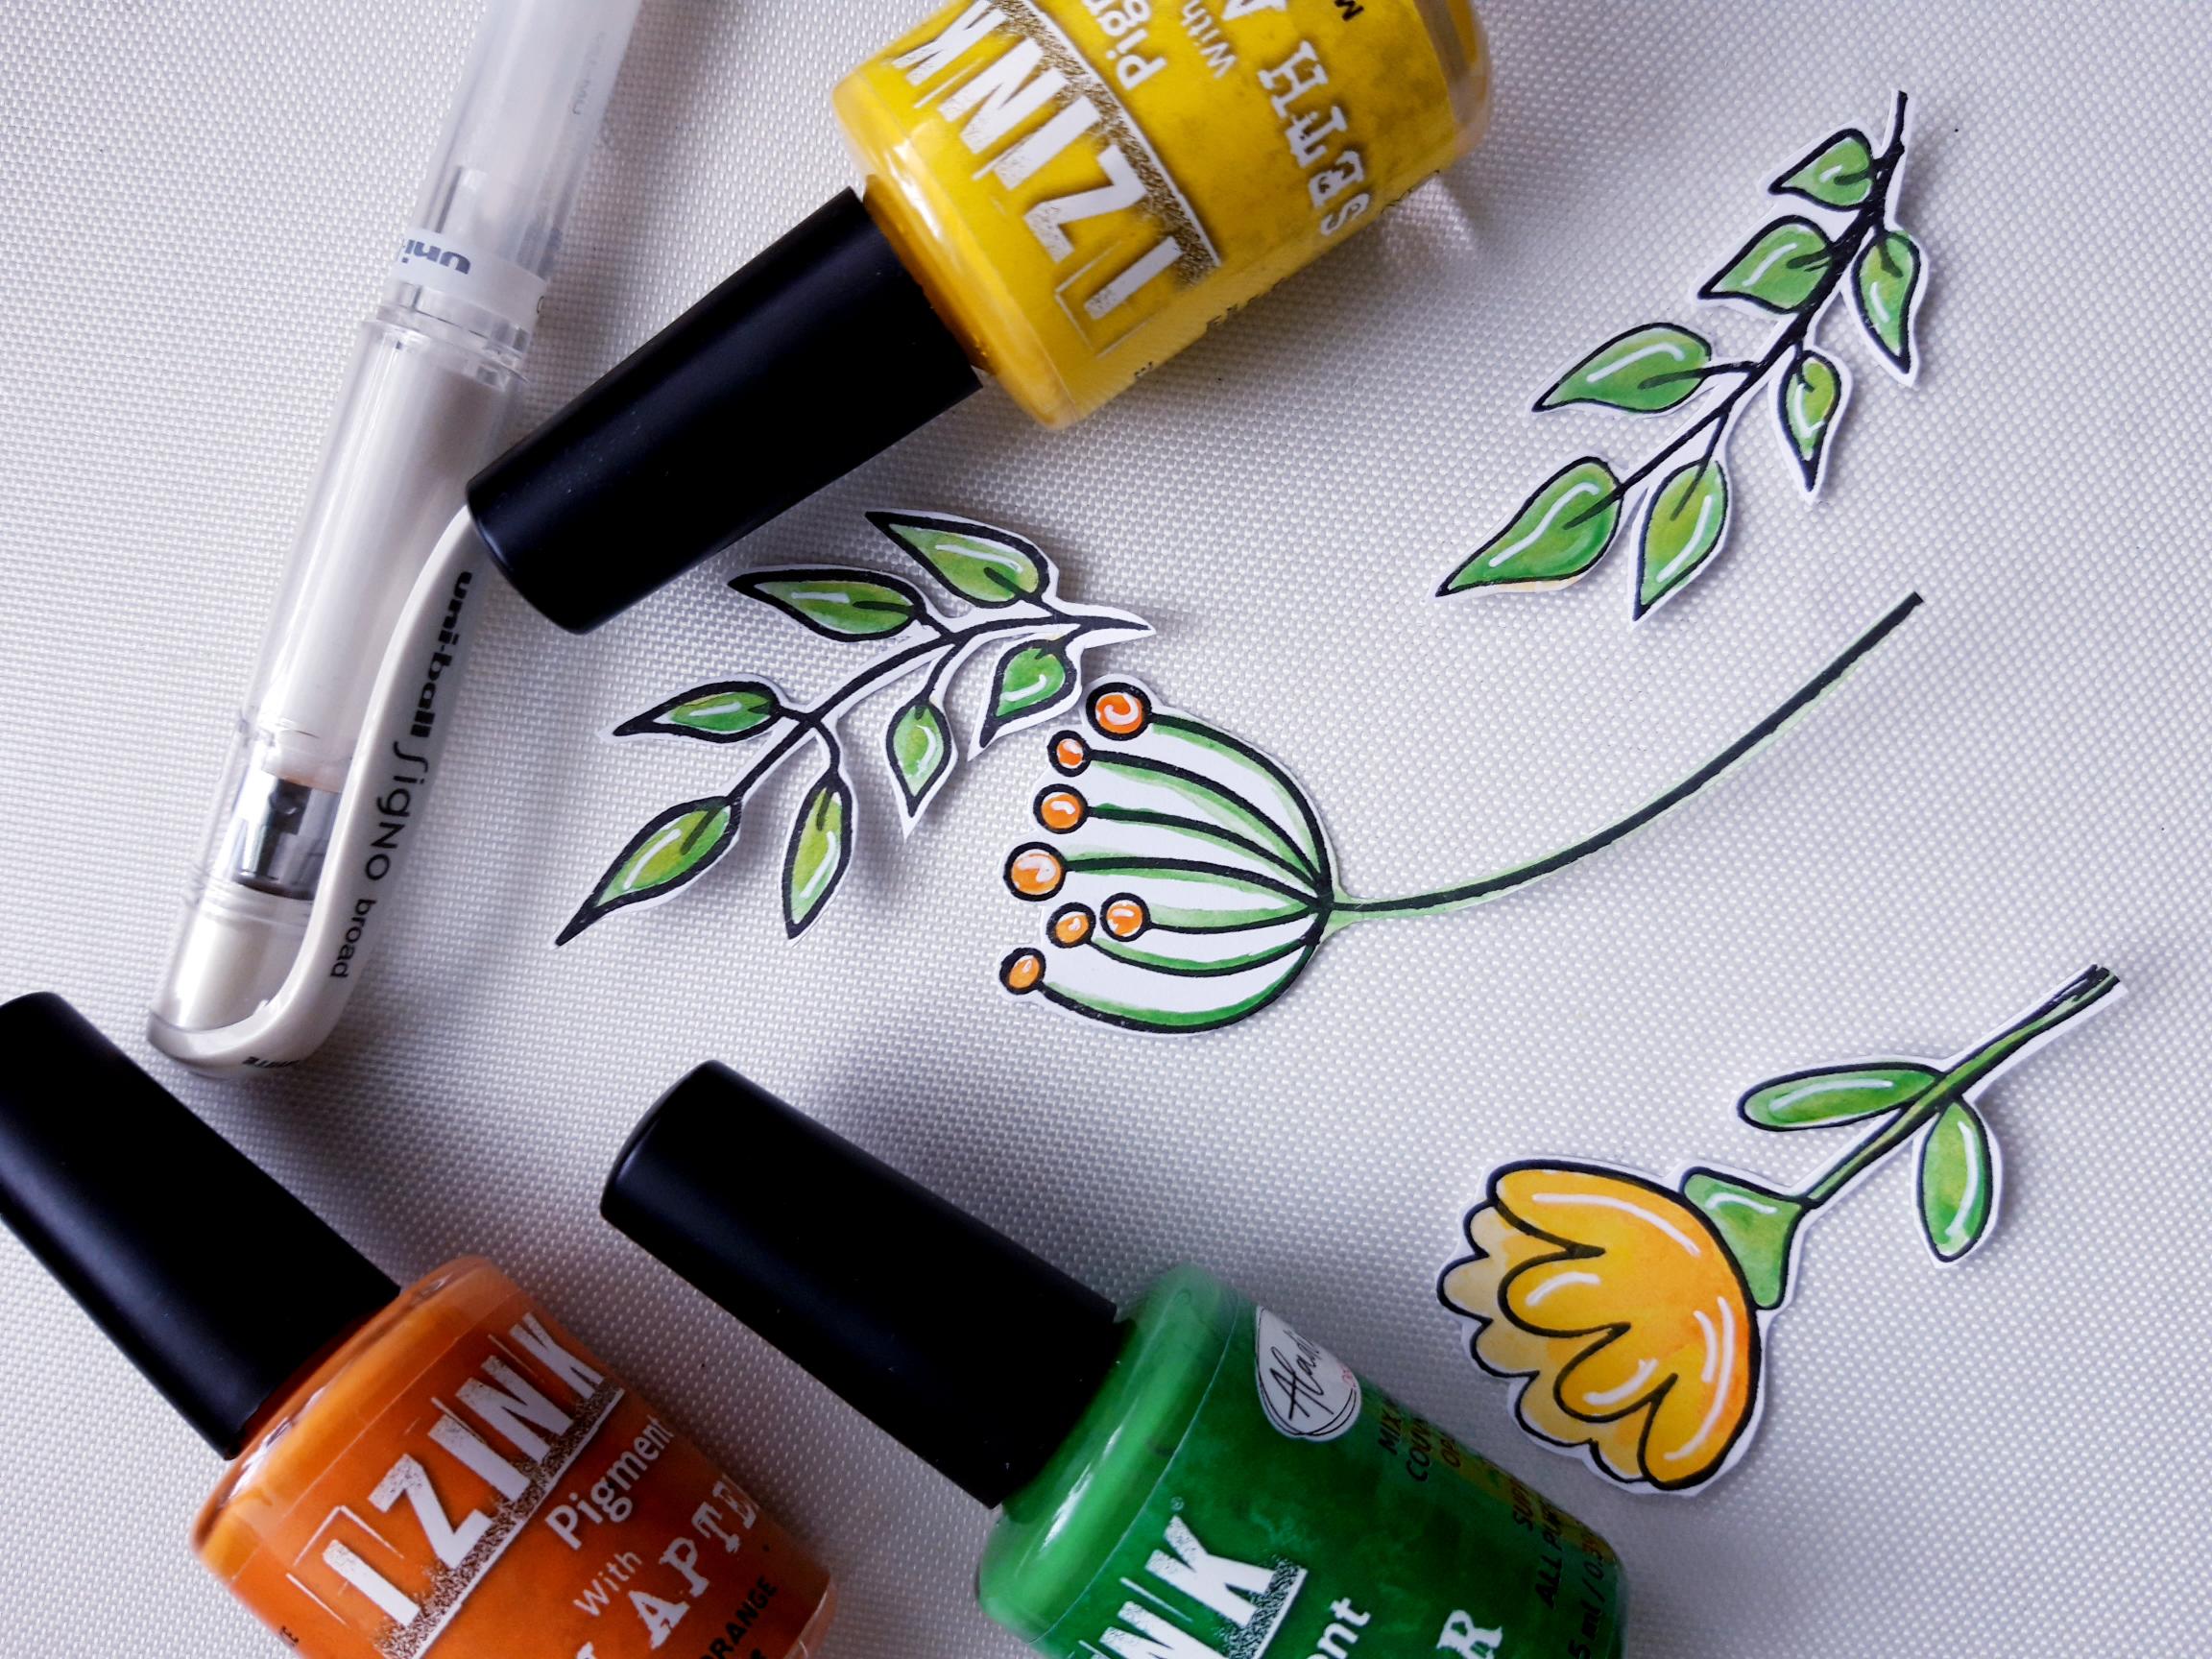
Izink Pigments: Wet Meadow, Mimosa, Burnt Orange
Izink Diamond Glitter Paint: Noir
White gel pen
Black fine line pen
Black and white bakers twine
Sequins: Glistening Waves
Water spray bottle
Paint brush
Palette knife
Heat gun (optional)
Eureka 101
Die cutting machine
Foam Pads
Perfect Together Glue
Paper Trimmer
[click image to enlarge] 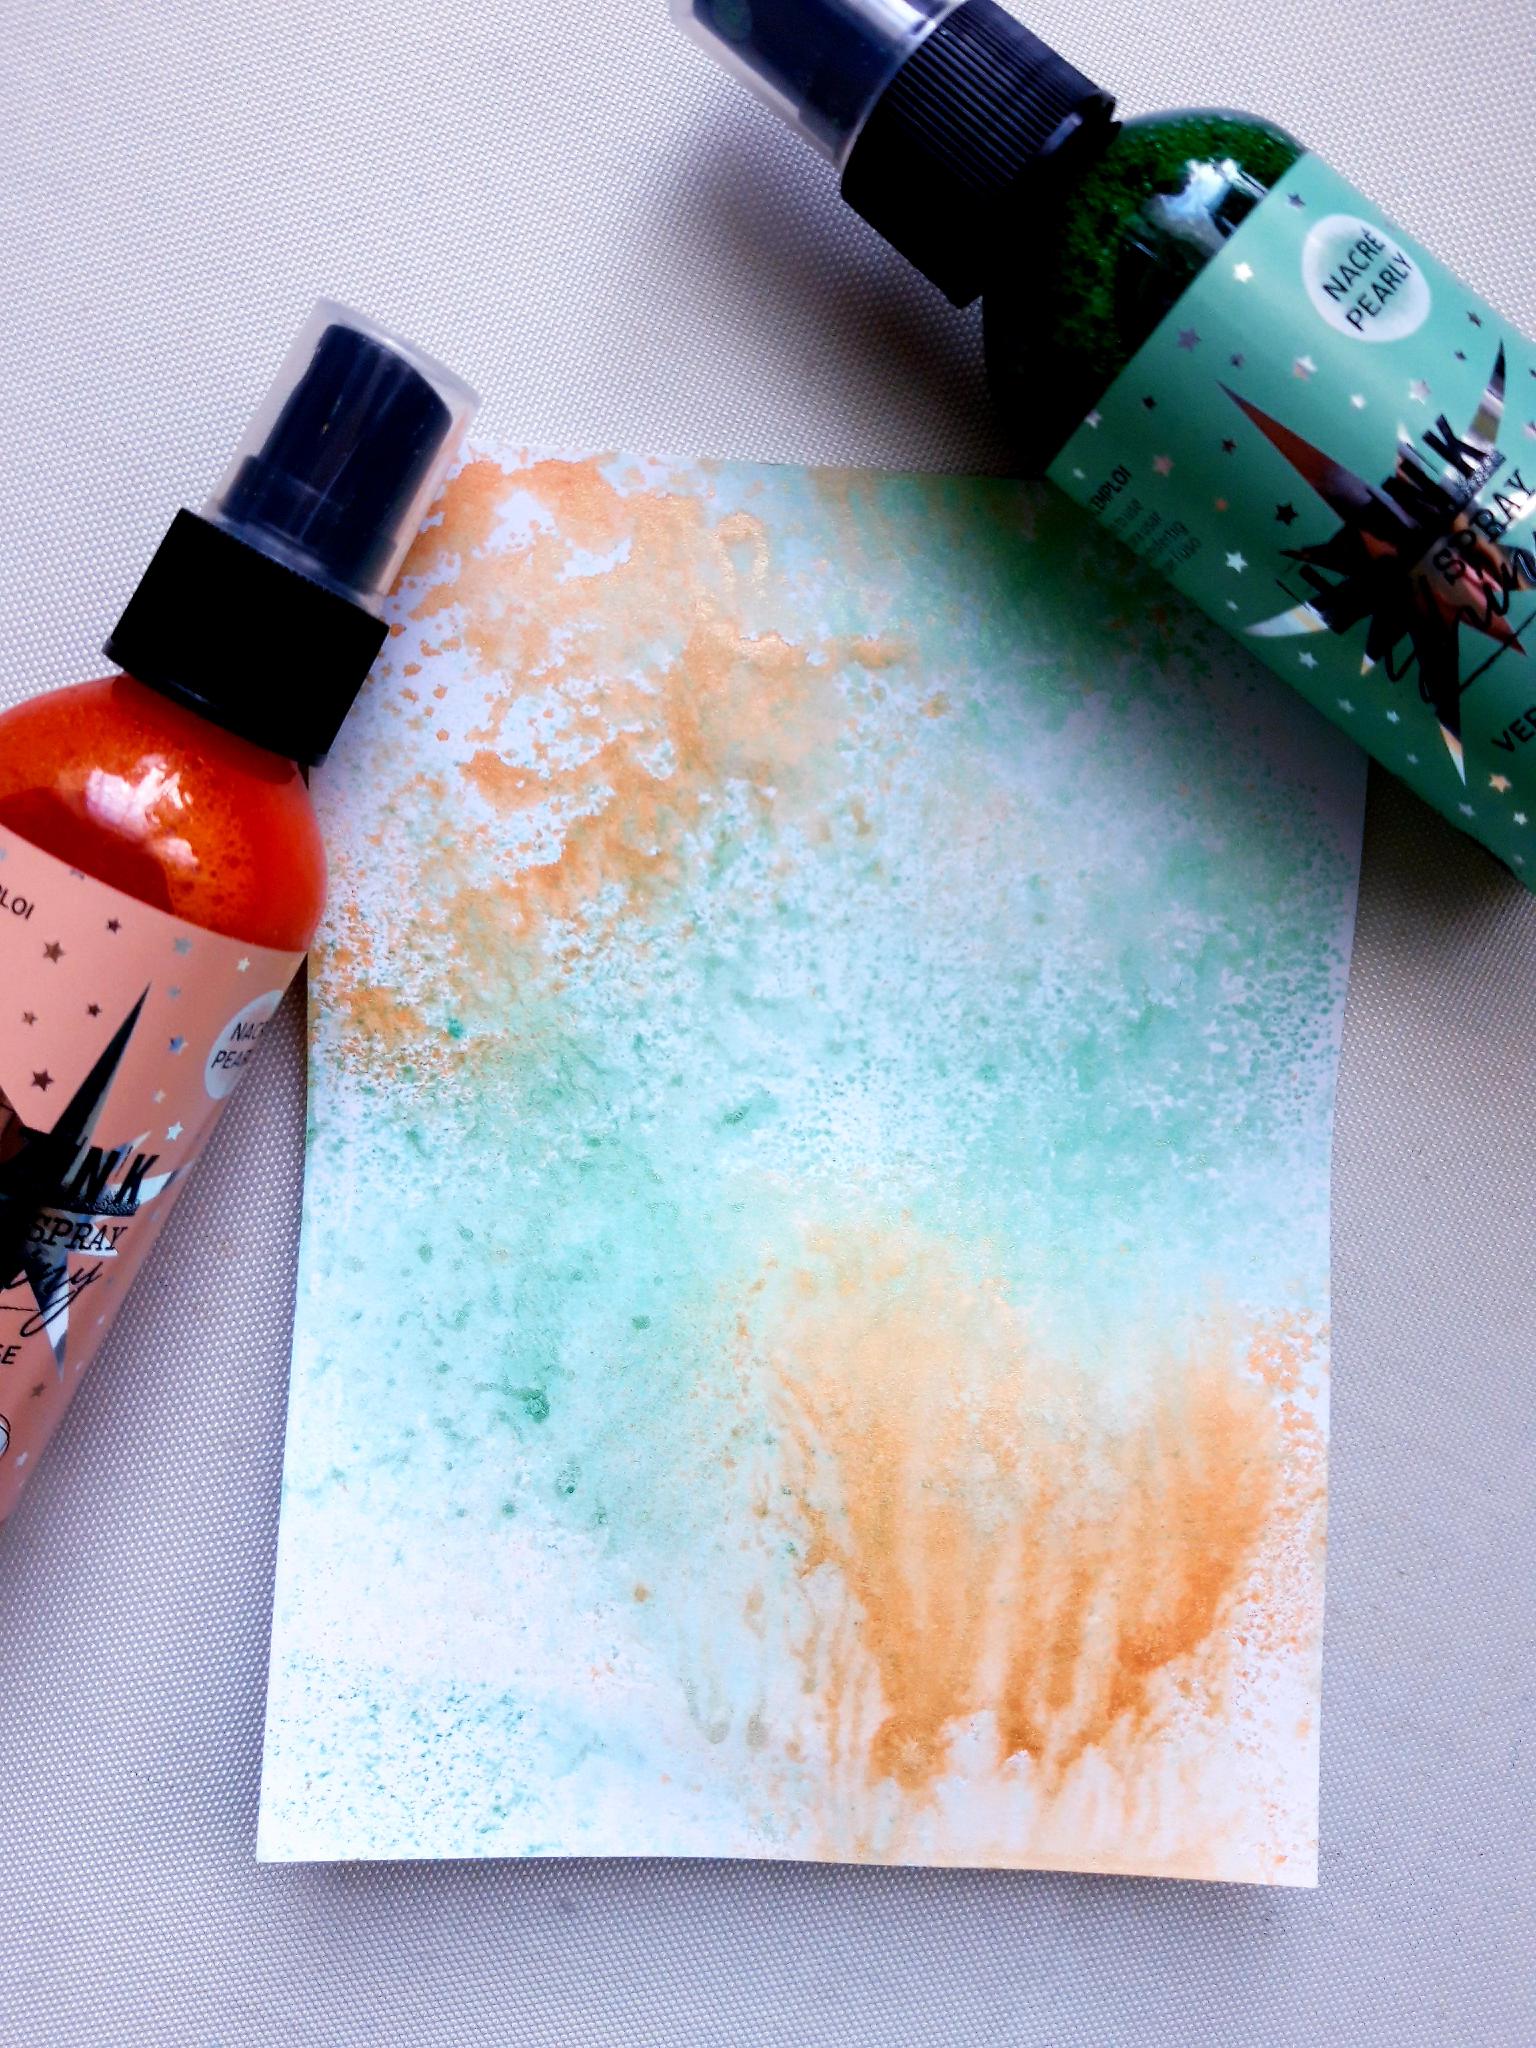
|
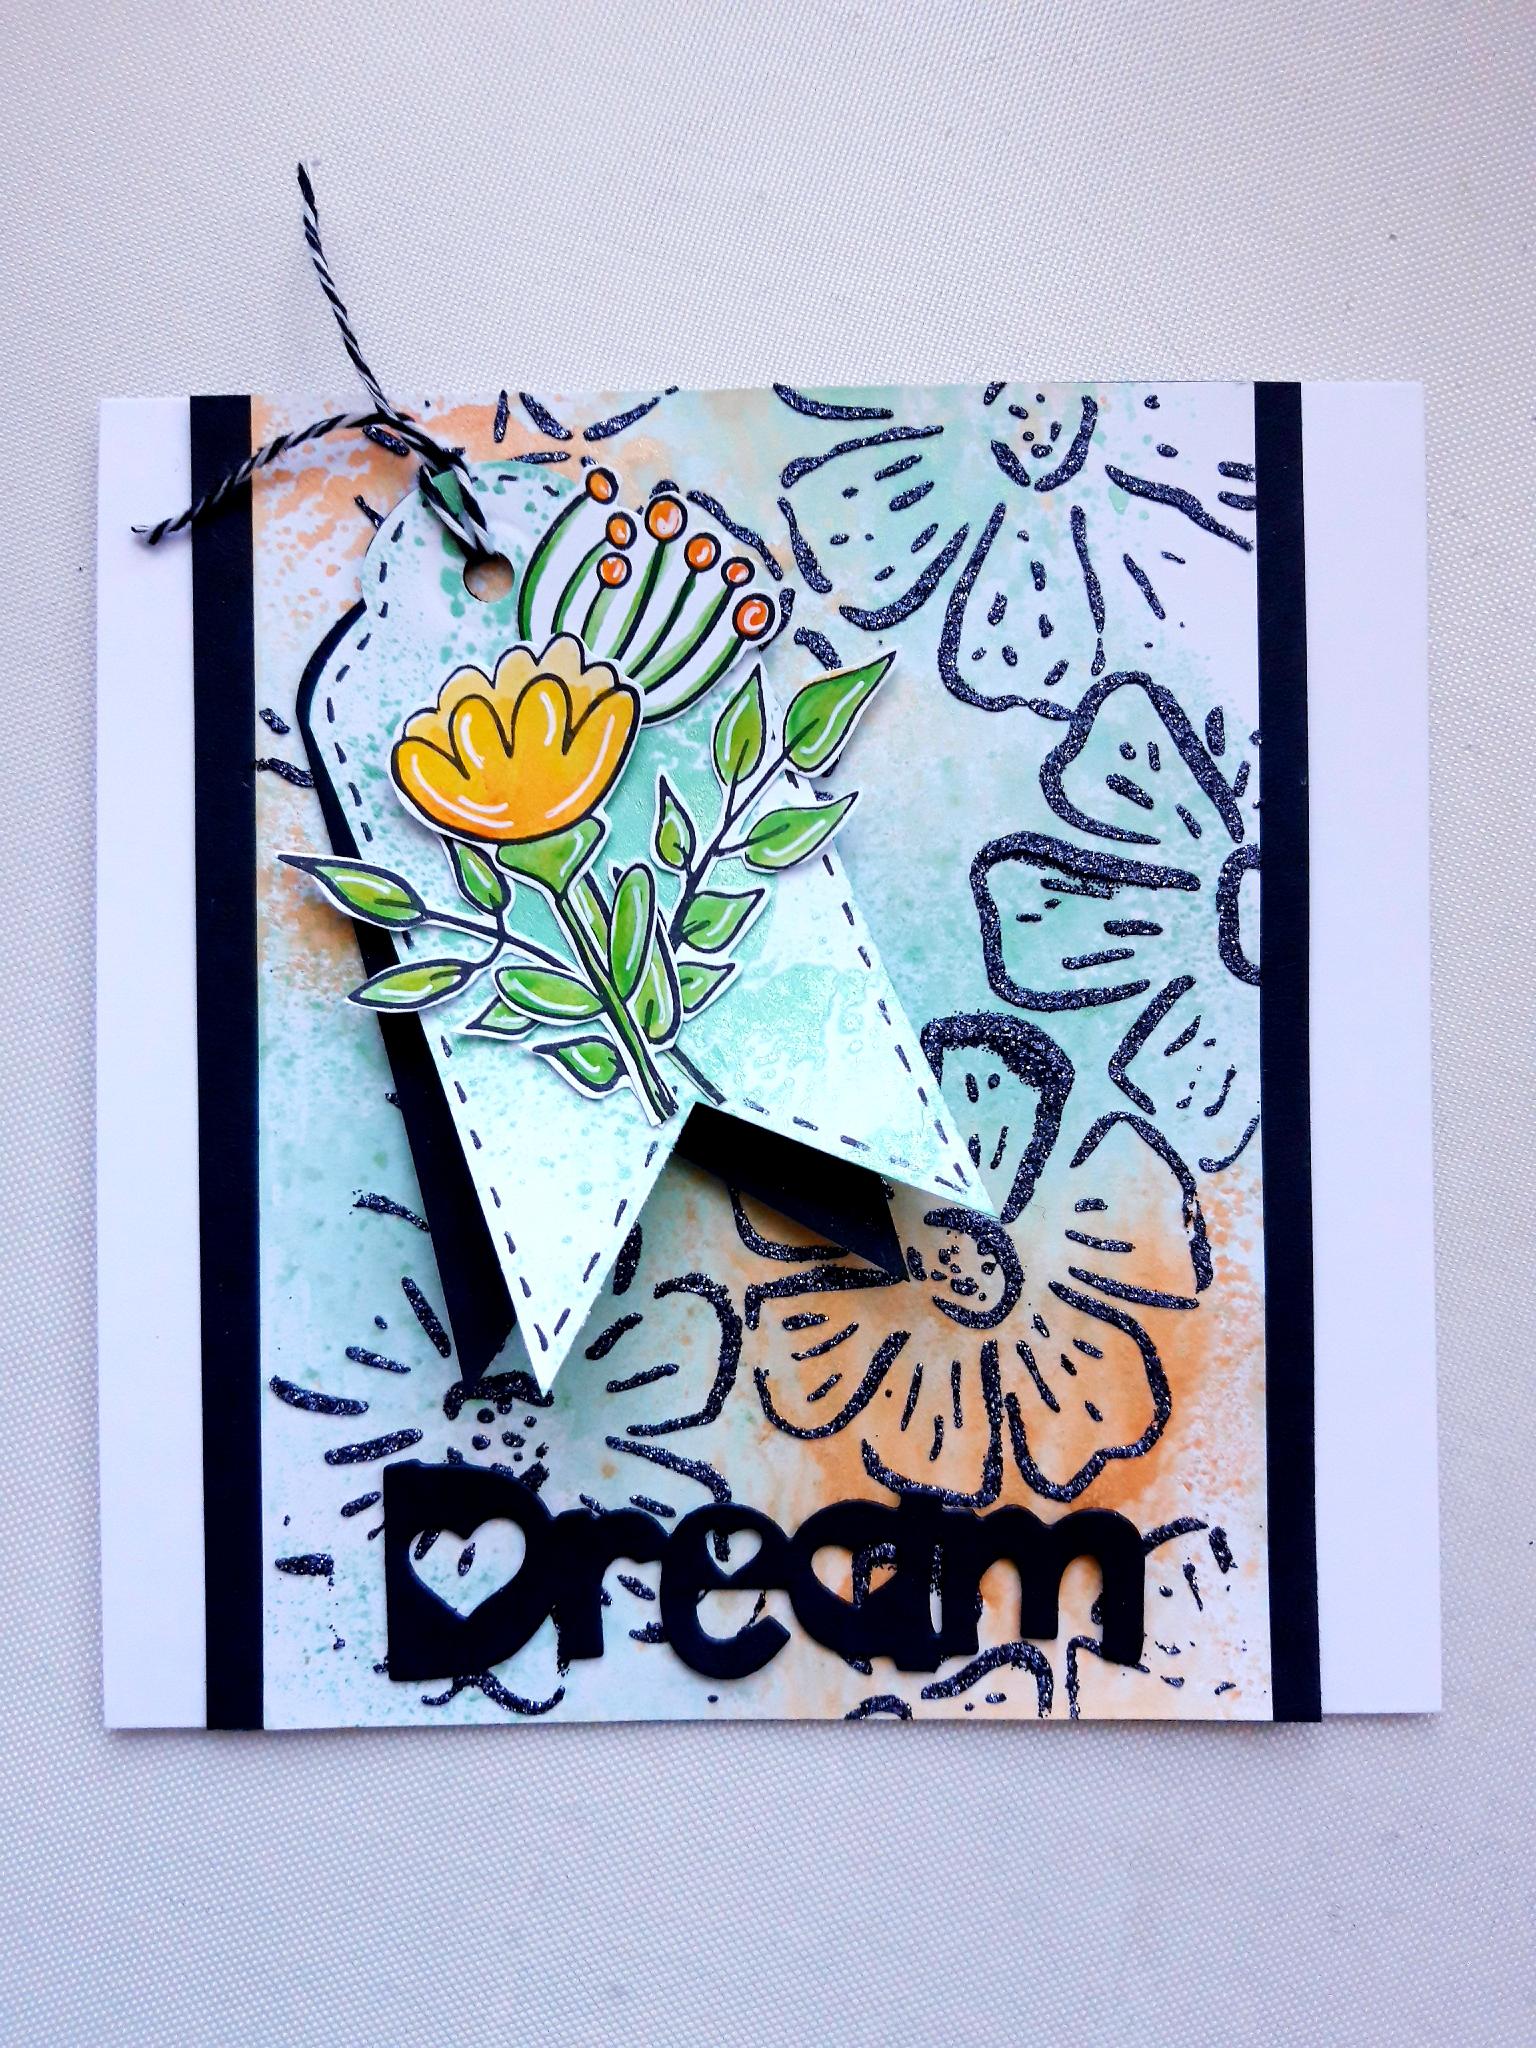
Spray the Izink Vert D'Eau on to a glass or craft mat and lightly spritz with water. Pick up the ink with the 6 x 4 1/2" white card. Repeat with the Izink Orange Pastel. Splatter with a few drops of water.
|
|
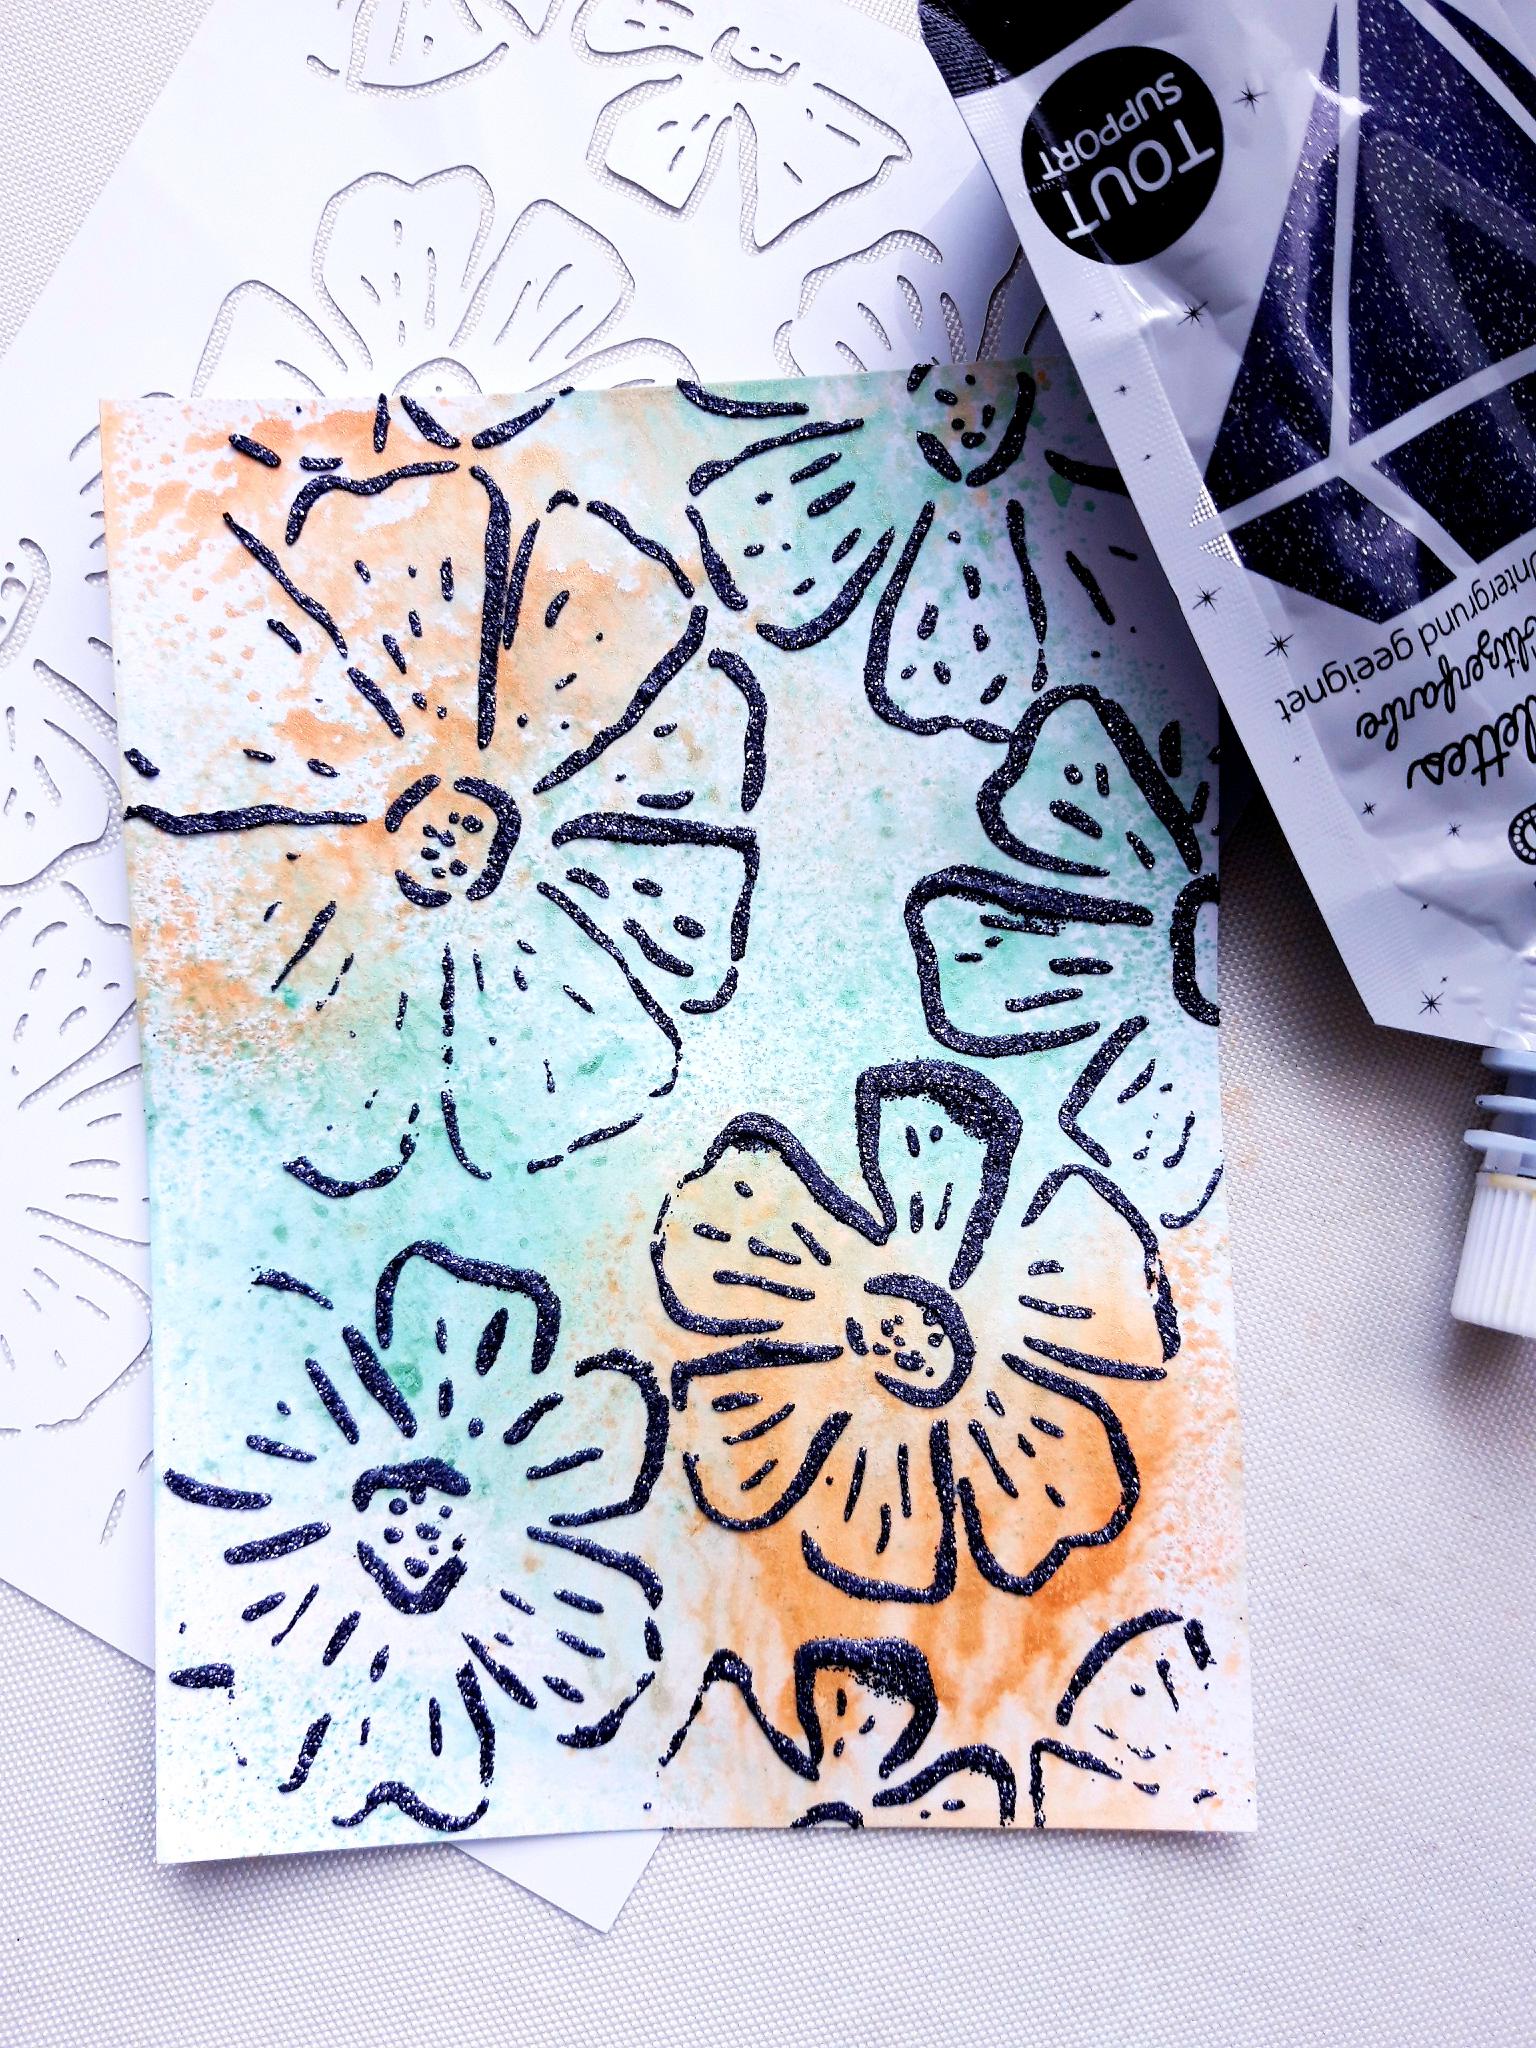
Once completely dry, lay the BLOSSOM stencil on top of your background. Apply the Izink Diamond Paint, with a palette knife, blending evenly over the stencil. If possible allow to dry naturally, but you can dry it off with a heat gun, if you're impatient, like me!
|

|
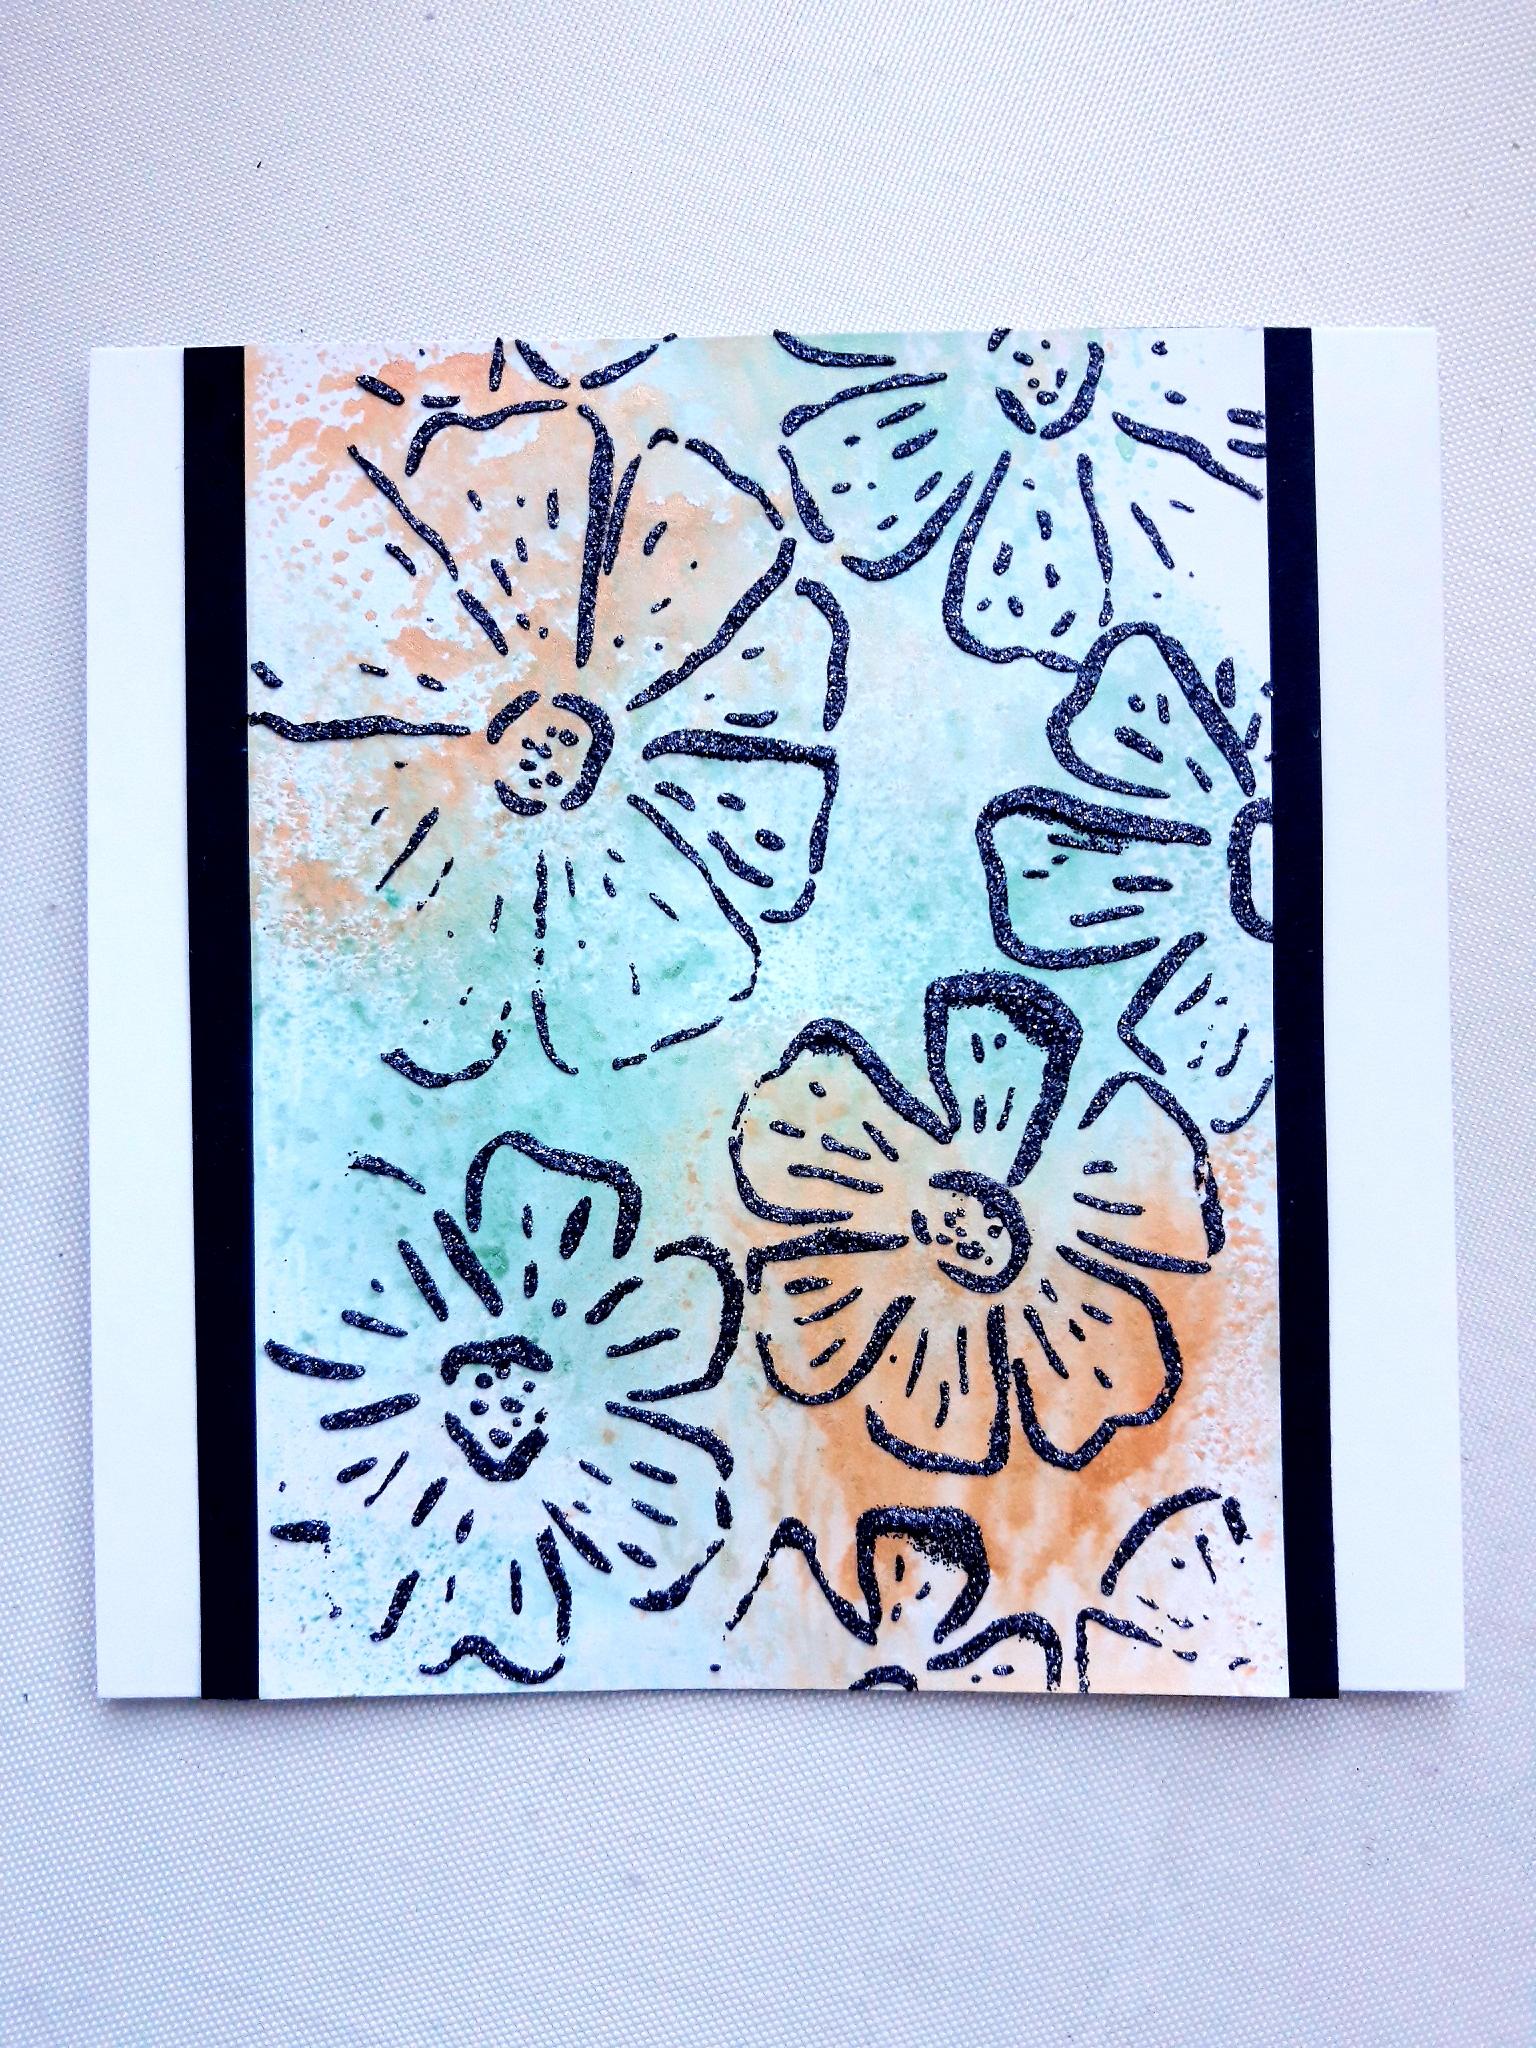
Once your background is completely dry, adhere it to the black cardstock ( 6 x 5"), leaving an equal strip of black cardstock visible down each side. |
|
Adhere this on to the front of your card blank, leaving an equal strip of the white card visible down each side. Set to one side. |
|
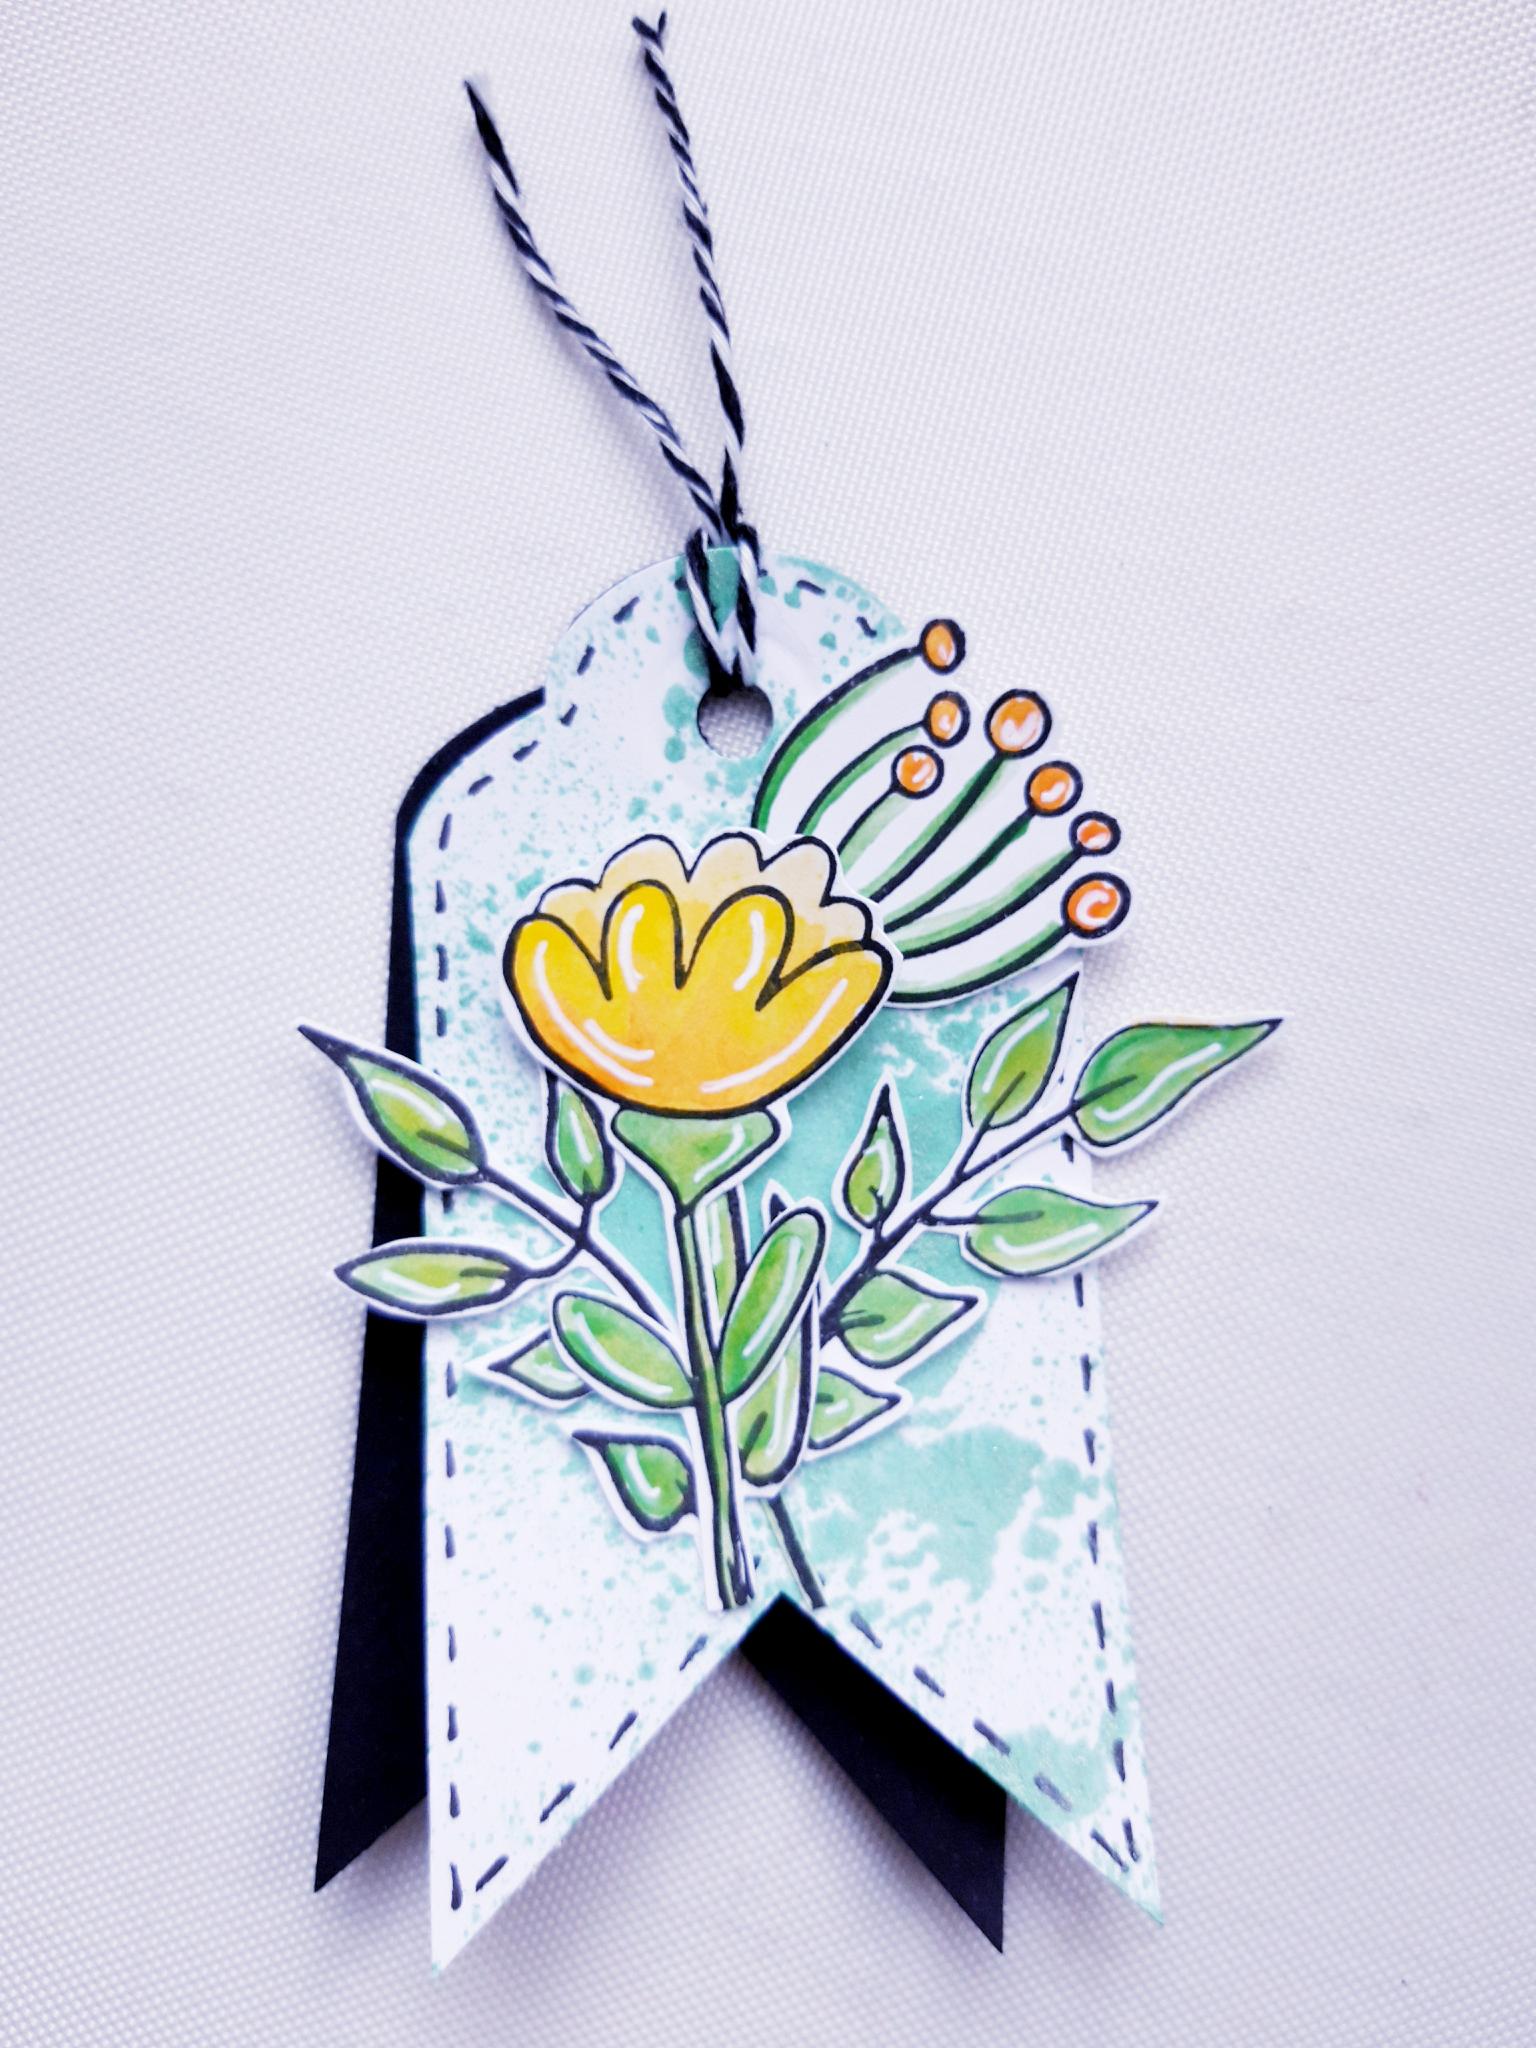
Taking the white and black cardstock ( 4 x 2"), use the Tag punch on one end of each piece of card. Use the banner tag punch on the other end of each tag. |
|
Spray the Izink Vert D'Eau on to a craft or glass mat. Spritz with a little water, then pick the ink up with the white banner tag.
|
|
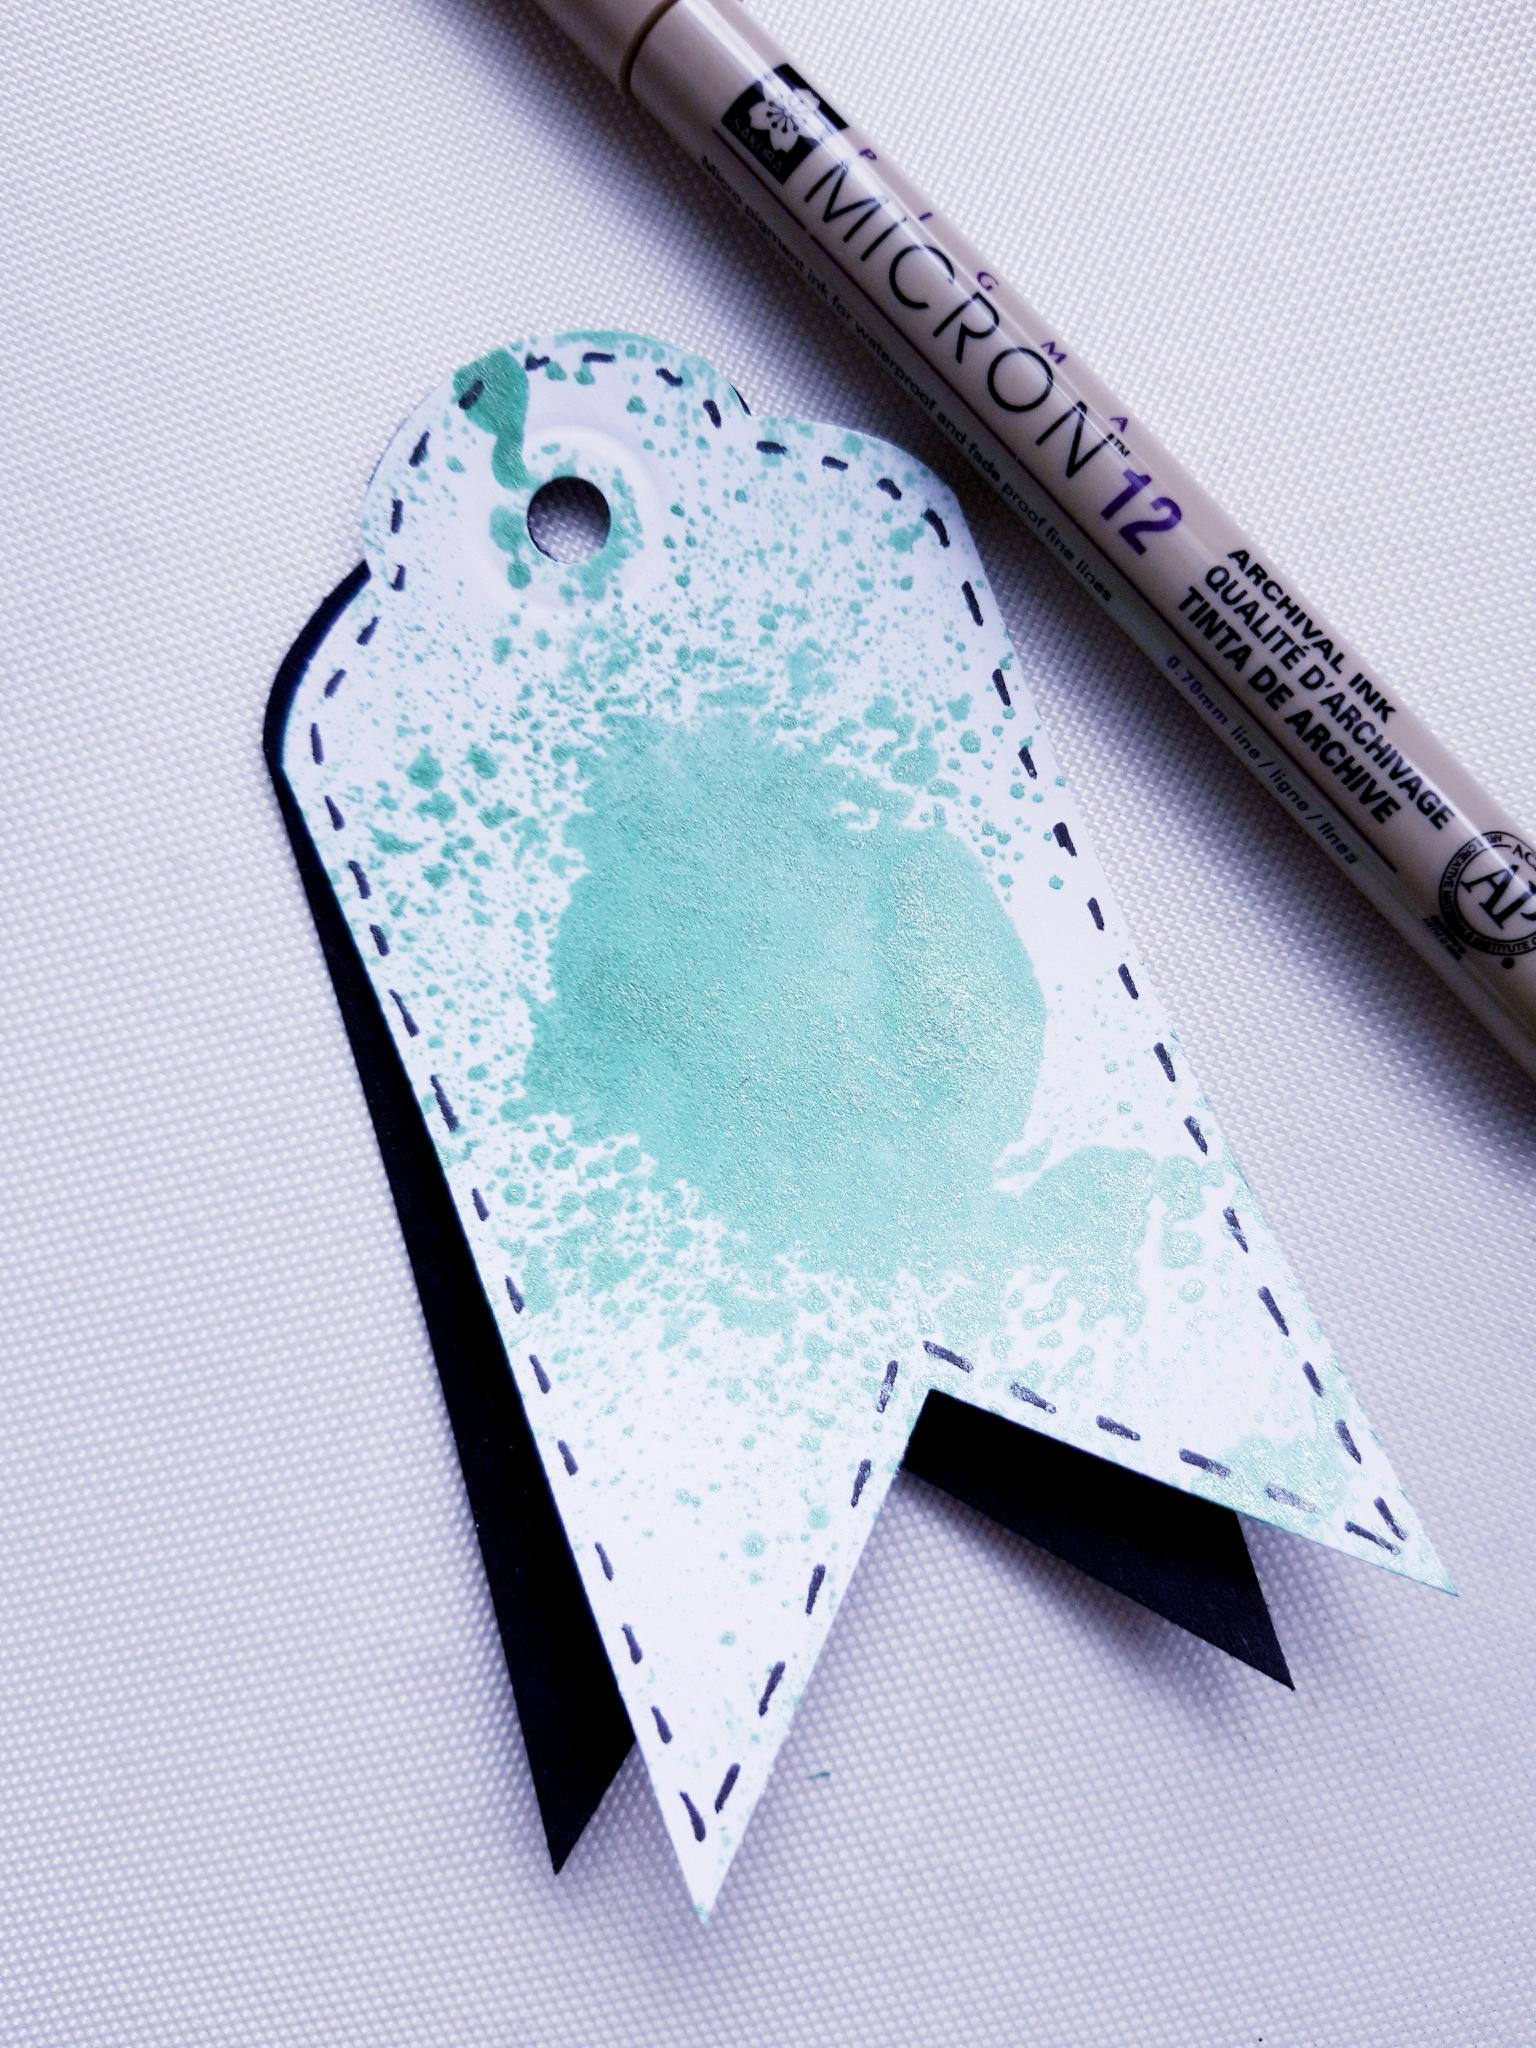
Once dry, glue the white and black tags together, offset at an angle, with a little glue just at the top of the tag, allowing the curled ends to be loose. Use a black fine line pen to draw a stitched line around the tag. |
|
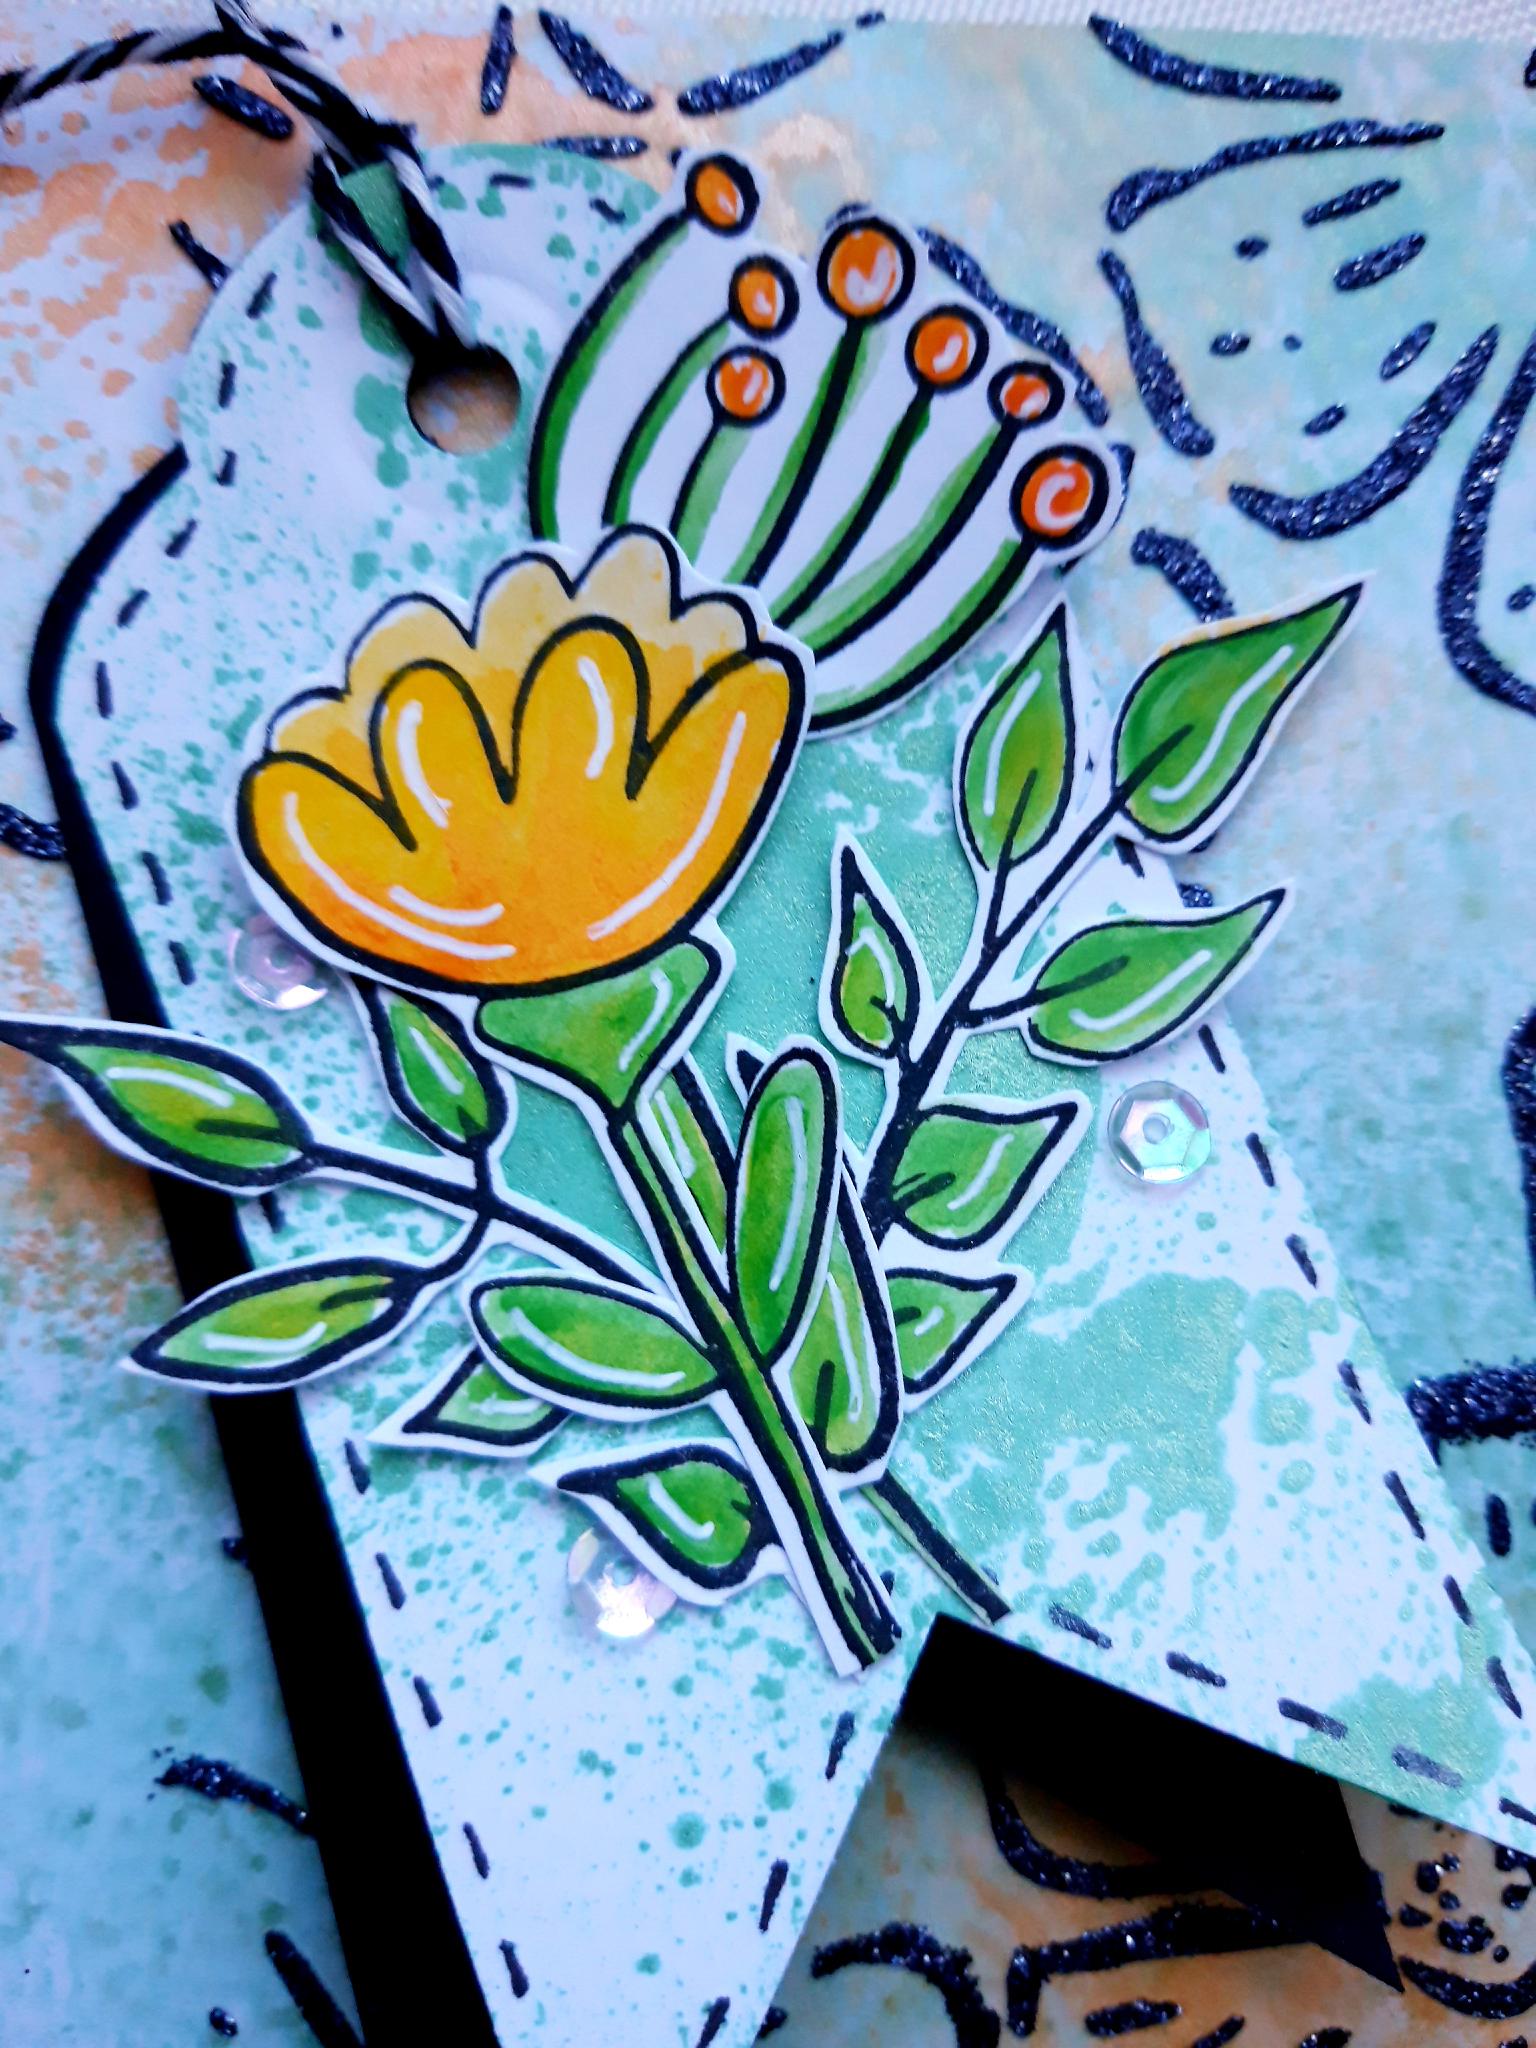
Ink up a few of the floral and foliage stamps, from the Blooming Foliage stamp set, in the Onyx Black Versafine and stamp on to the 5 x 5" white cardstock. Pop some of the Izink Pigments on to a glass or craft mat, add a little water and paint your stamped images. Once the ink is dry, use the white gel pen to add highlights and accents. Don't be precise or exact, just add random hints of white, to lift your images. Fussy cut them out. (You can cut them out before you paint them, it's personal preference). |
|
Glue your painted, die cut images, on to your prepared tag. You can use wet glue and/or foam pads, to add dimension, as required. Attach some Bakers Twine through the punched hole. |

|
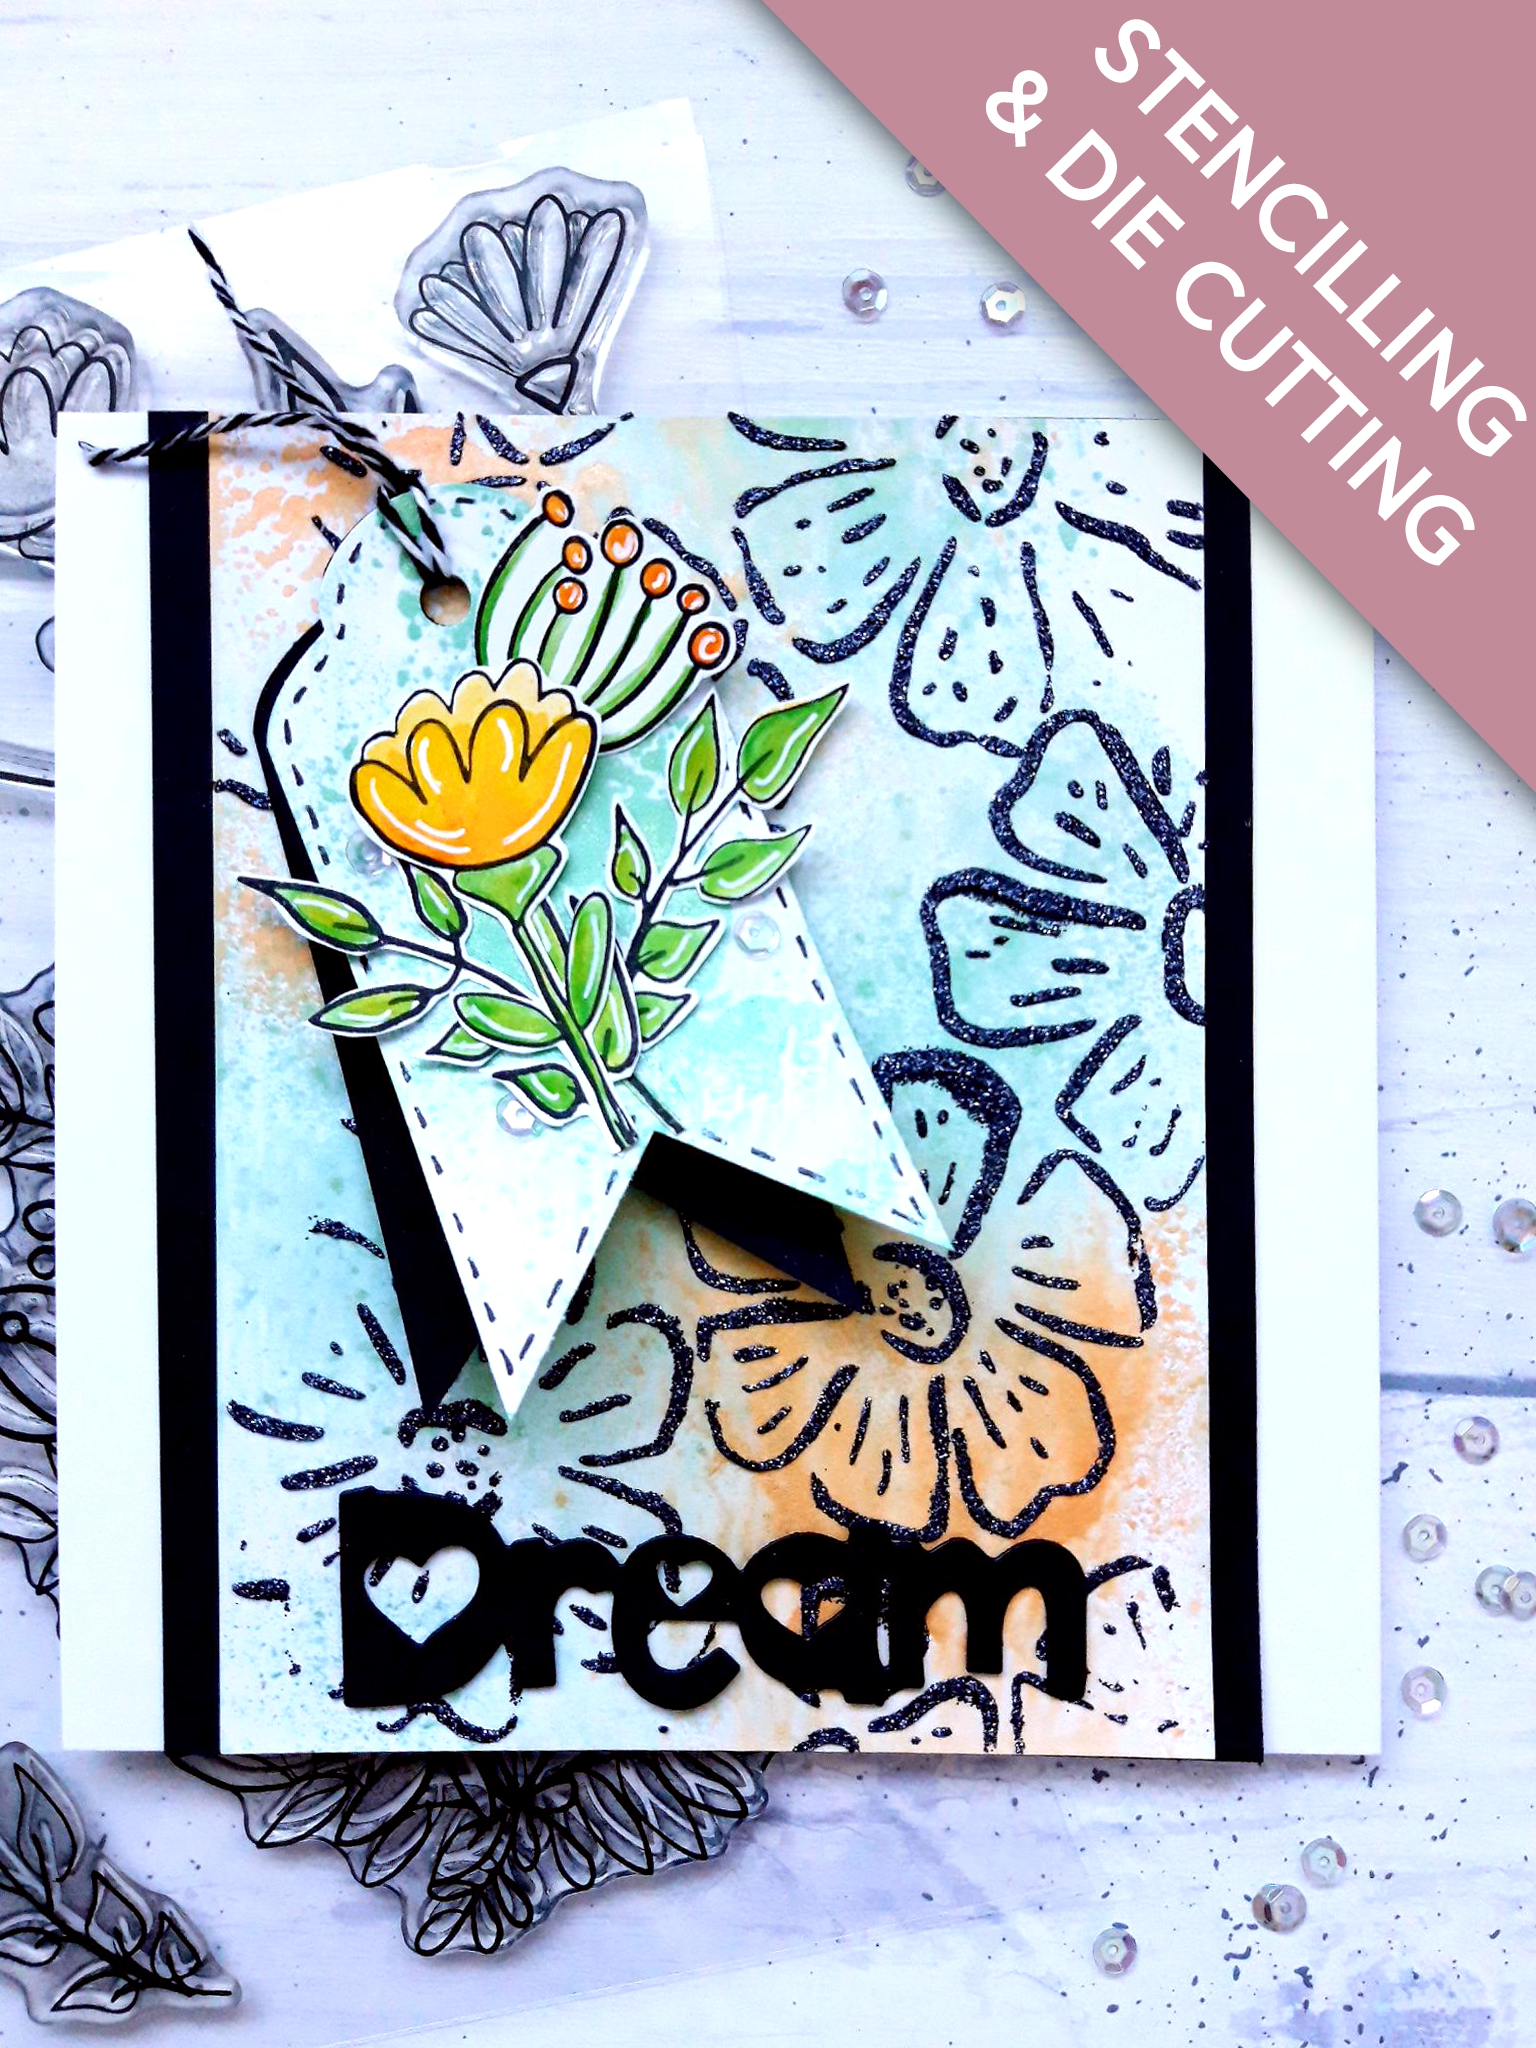
Glue your decorated tag on to the top left of your card. Just apply a little glue to the top of the tag, allowing the curled ends to be loose. Alternatively you can use a removable adhesive, allowing the recipient to take off the tag, and keep as a little gift, bookmark etc. |

|
Die cut TWO "DREAM" sentiment words, from the 4 x 2 1/2" black cardstock, using the die in the DREAM die set. Glue them together. |
|
Adhere the die cut sentiment on to the bottom of your card. |
|
Finish off your card by adding sequins around your die cut flowers and foliage, |